• Some users have recently had their accounts hijacked. It seems that the now defunct EVGA forums might have compromised your password there and seems many are using the same PW here. We would suggest you UPDATE YOUR PASSWORD and TURN ON 2FA for your account here to further secure it. None of the compromised accounts had 2FA turned on.
    Once you have enabled 2FA, your account will be updated soon to show a badge, letting other members know that you use 2FA to protect your account. This should be beneficial for everyone that uses FSFT.

WORK LOG: Modding p182 Se window

MzL

Limp Gawd
Joined
Jul 9, 2007
Messages
281
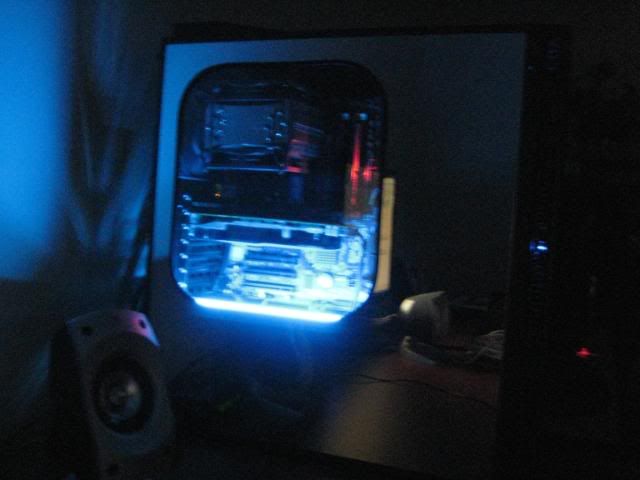
hi guys . ill be keeping a log on my mod on my p182Se window.

it will be done within the next week or so.

wish me luck :)

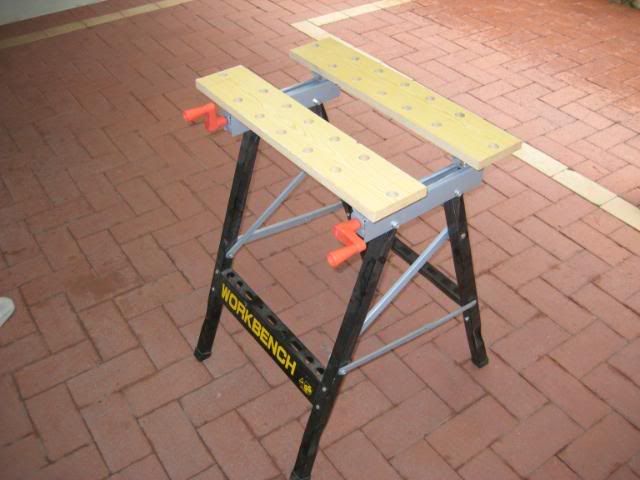
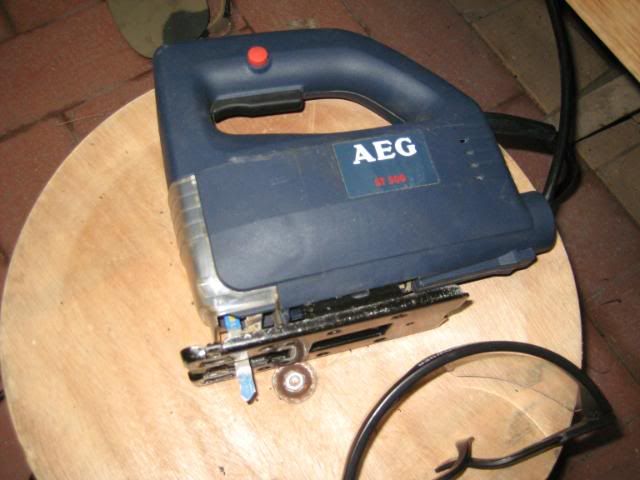
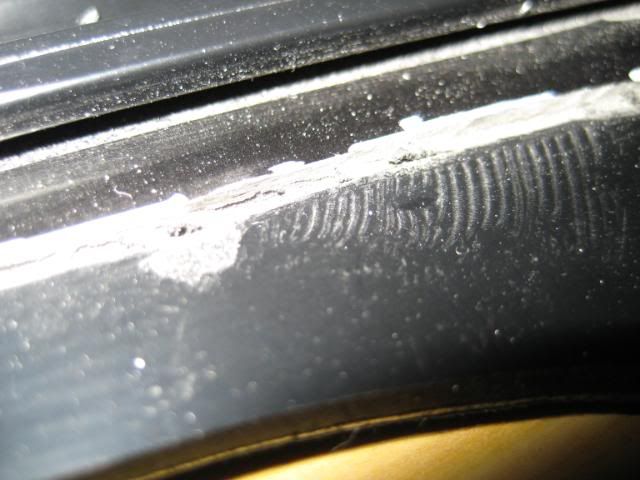
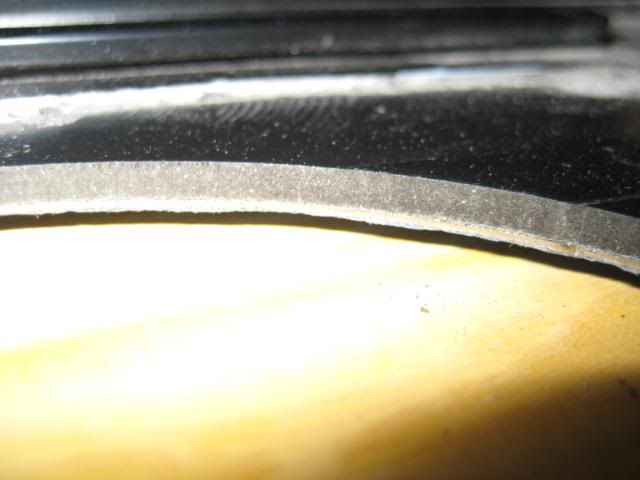
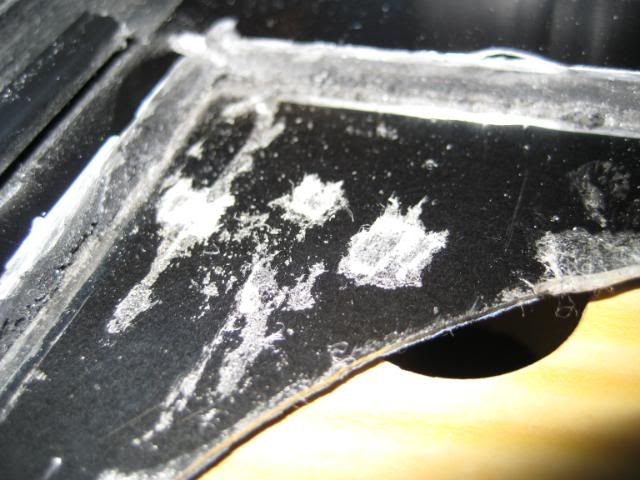
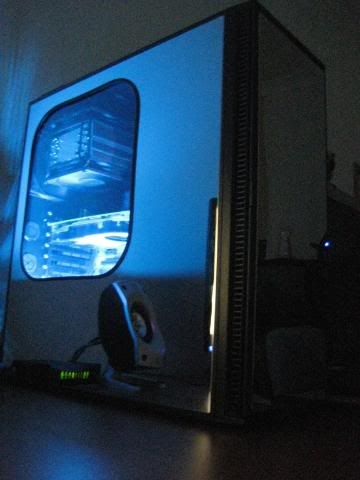
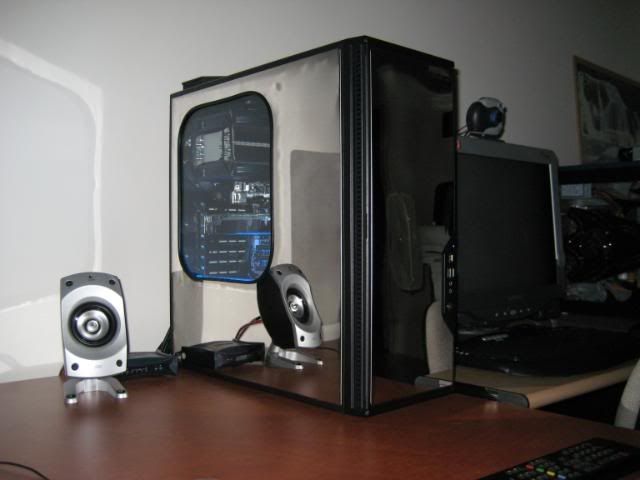
heres some pics to start of with
IMG_0813.jpg

IMG_0815.jpg

IMG_0822.jpg

IMG_0818.jpg

IMG_0827.jpg

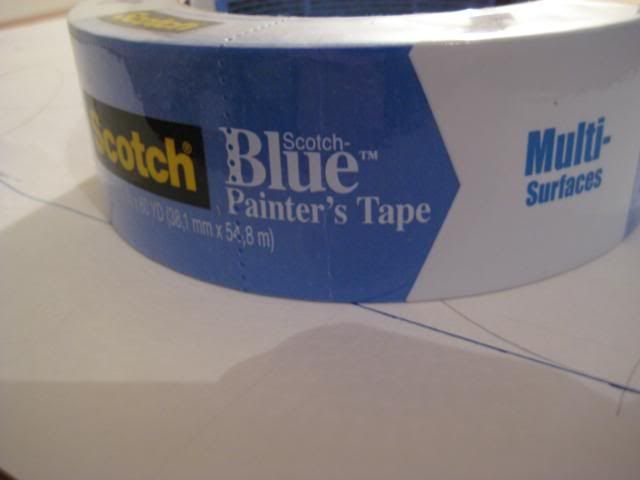
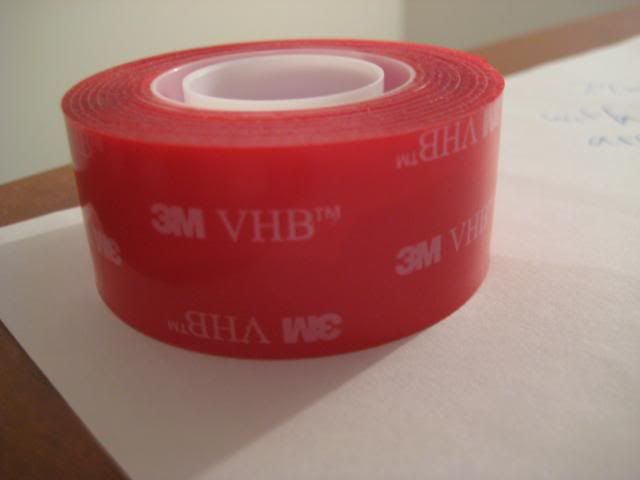
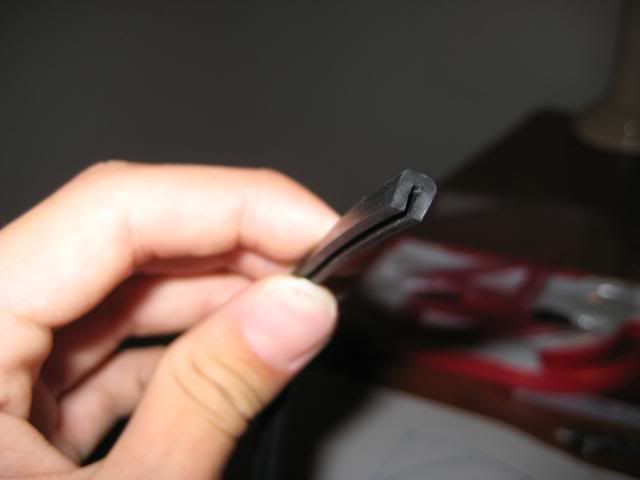
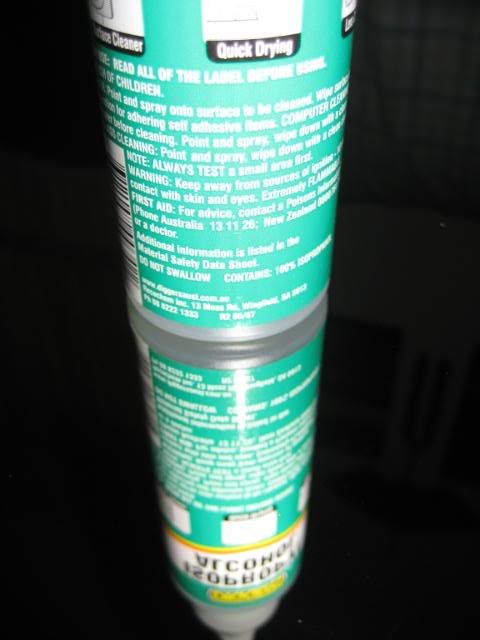
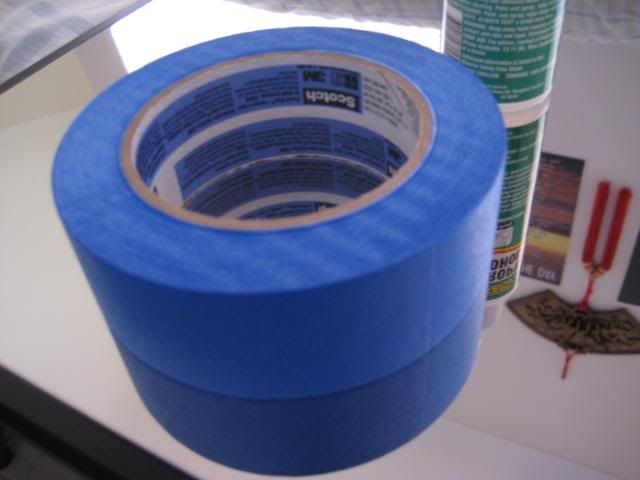
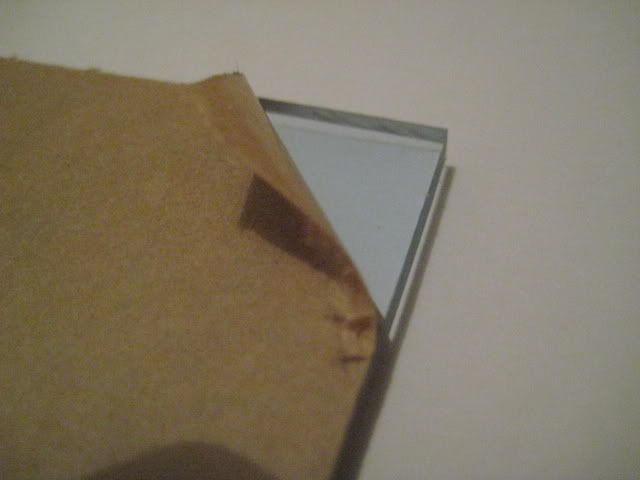
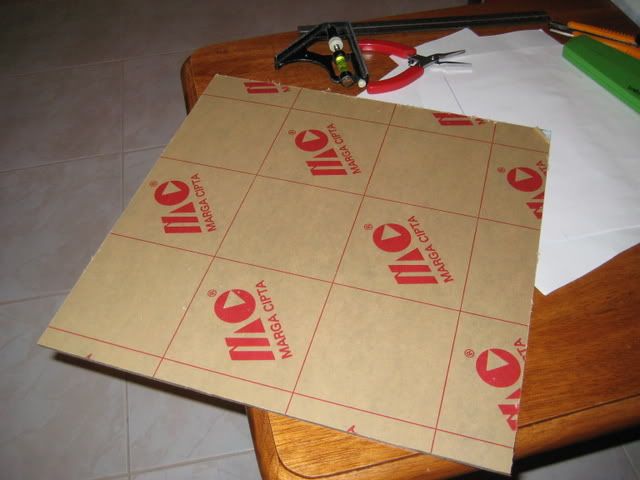
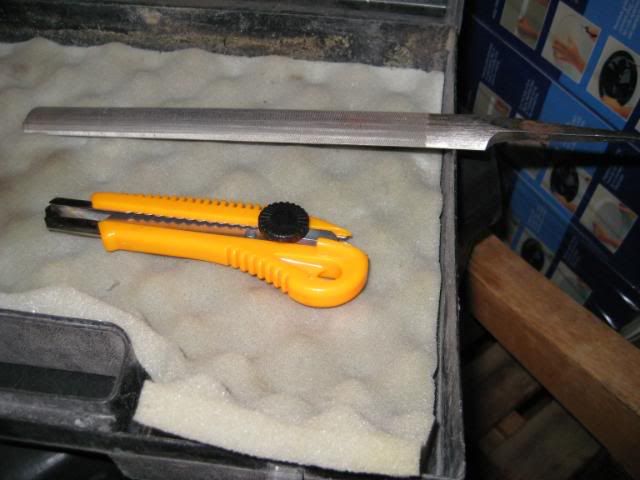
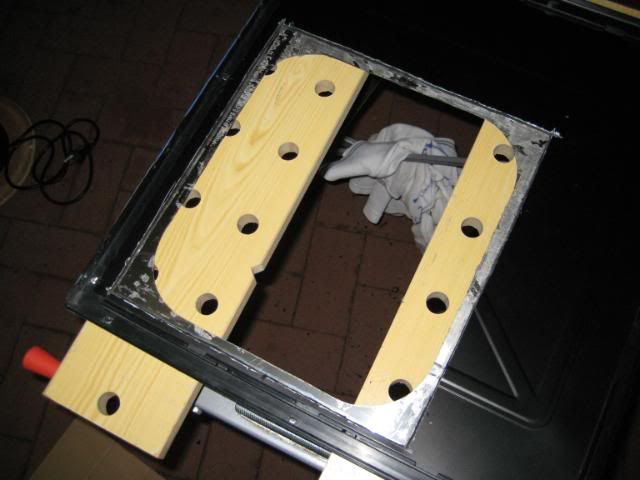
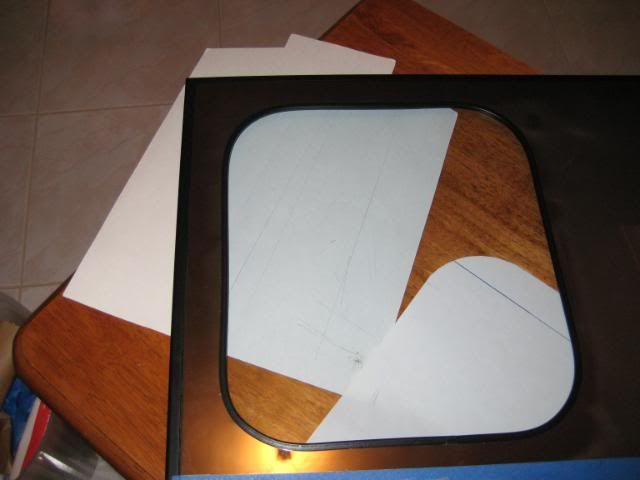
thats the stuff ill be useing. ill be getting some clear acrlyic perspecs soon.

IMG_0809.jpg

IMG_0811.jpg

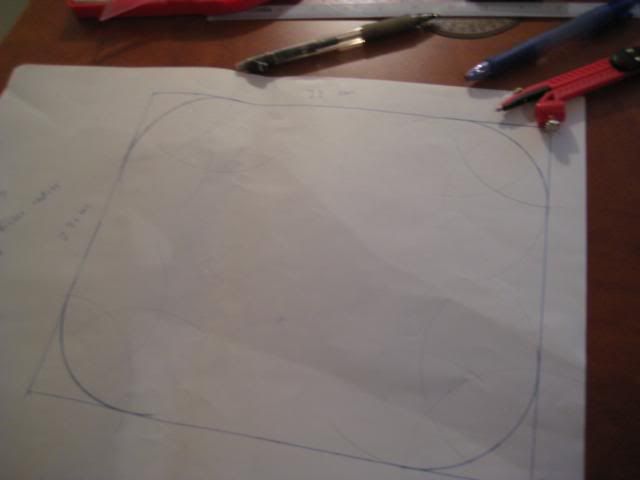
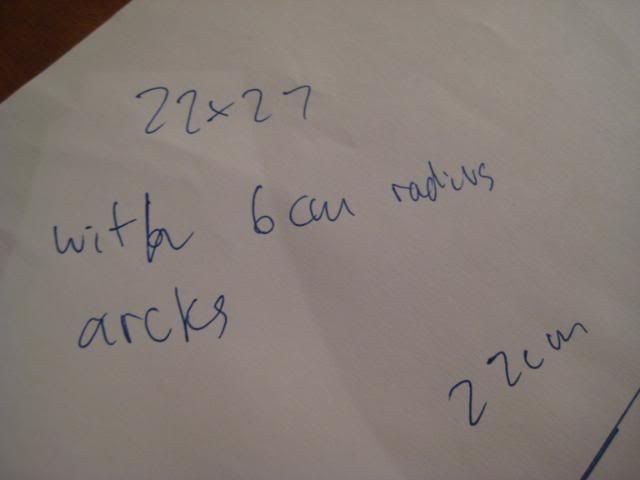
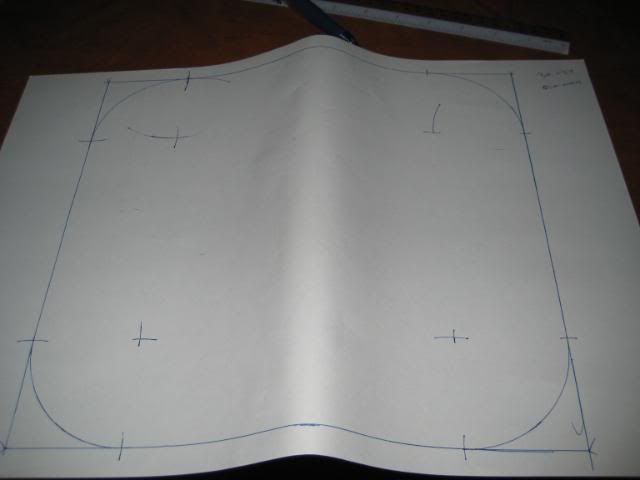
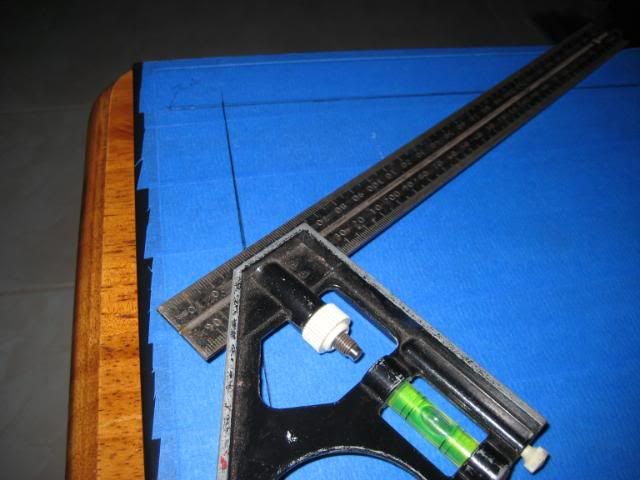
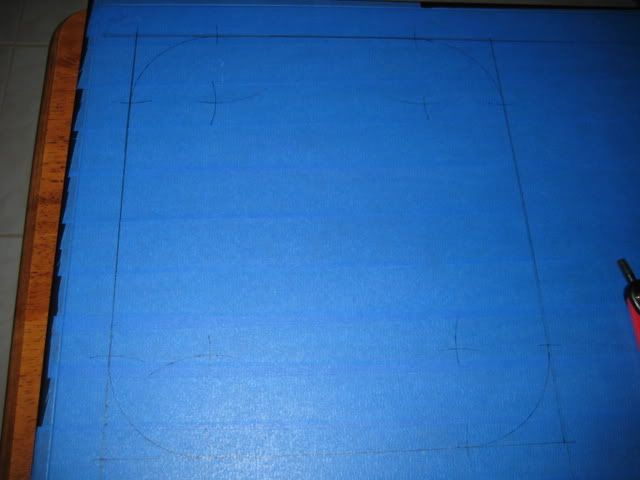
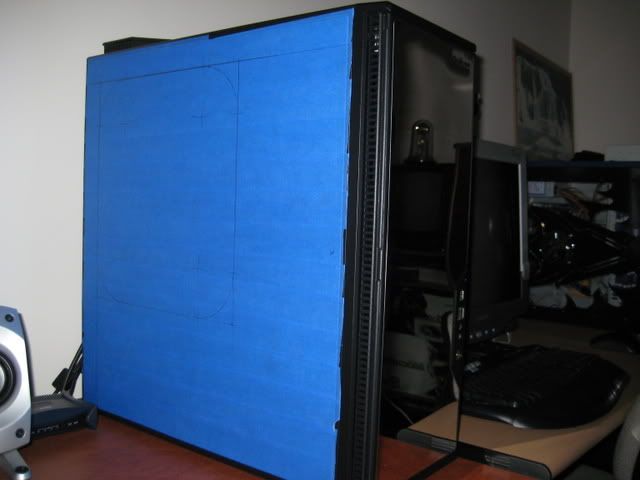
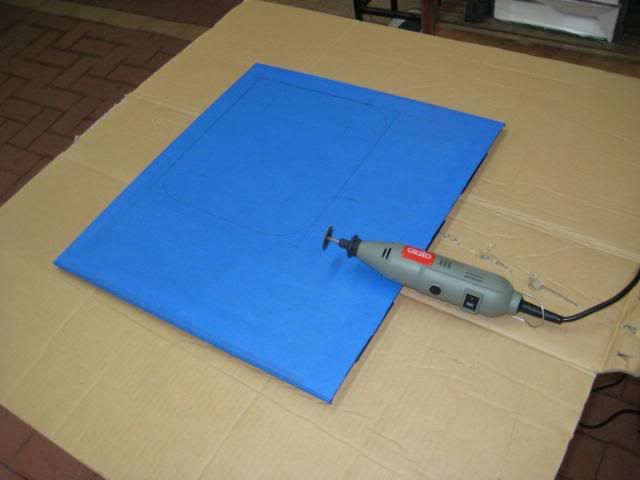
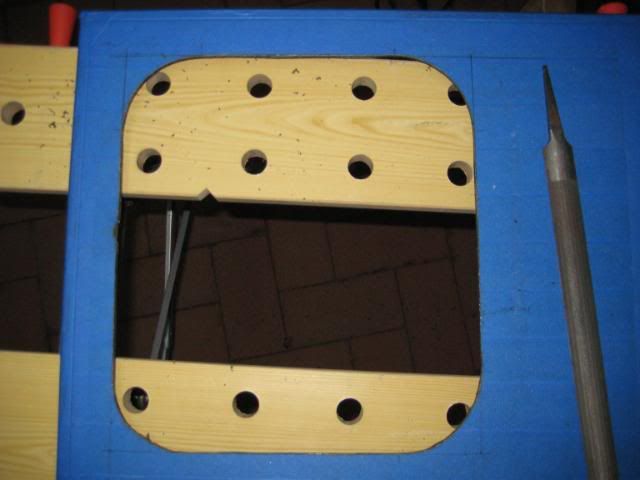
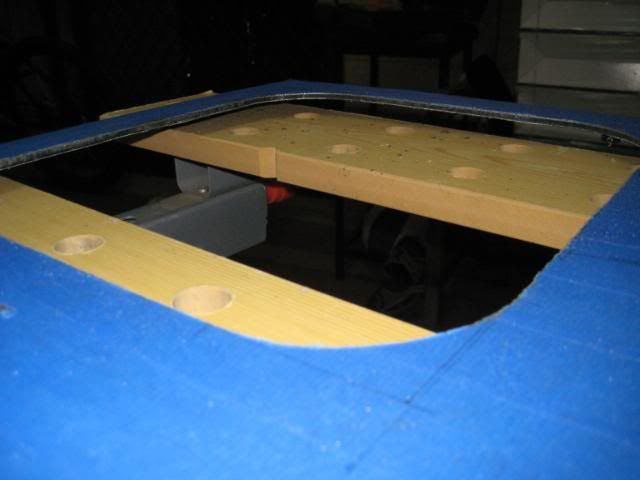
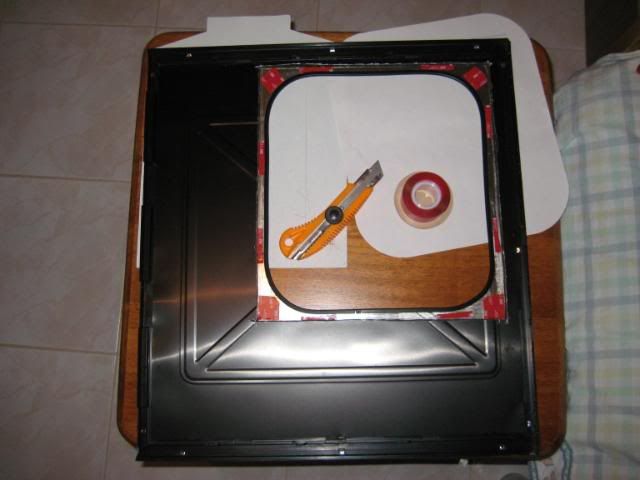
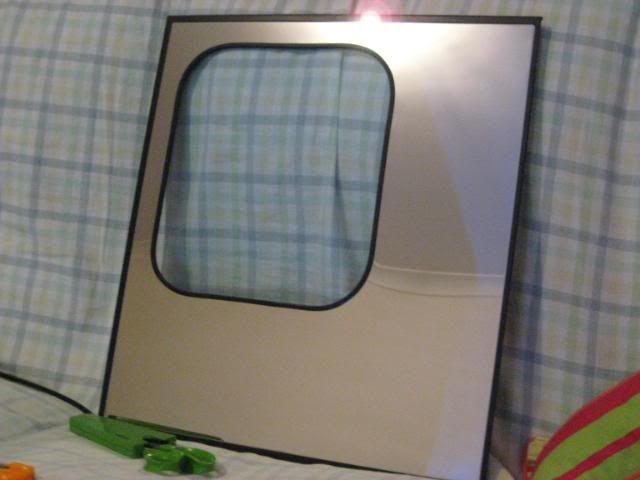
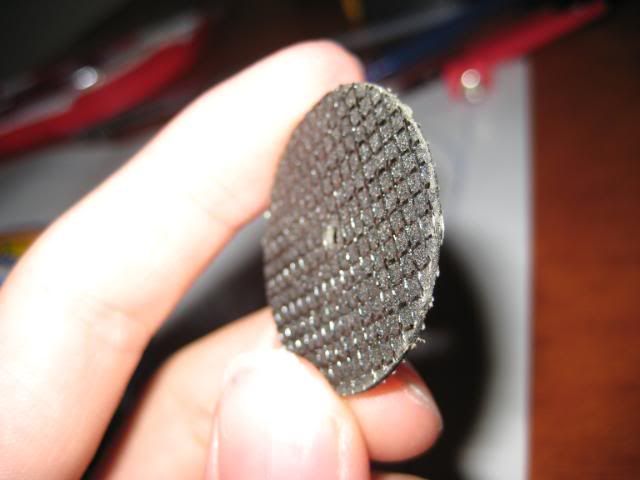
heres the template i will be working with :)

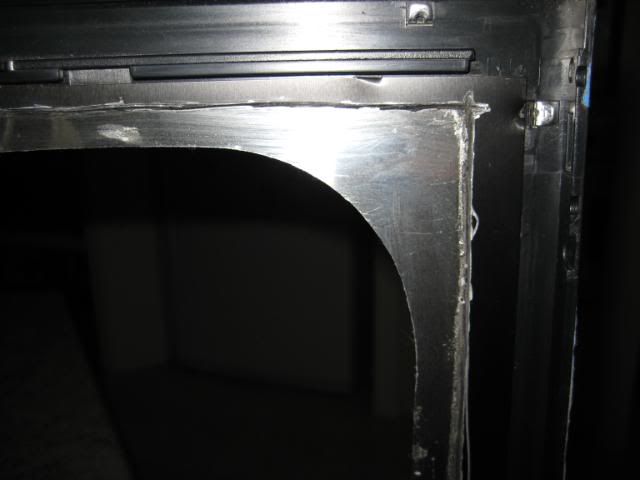
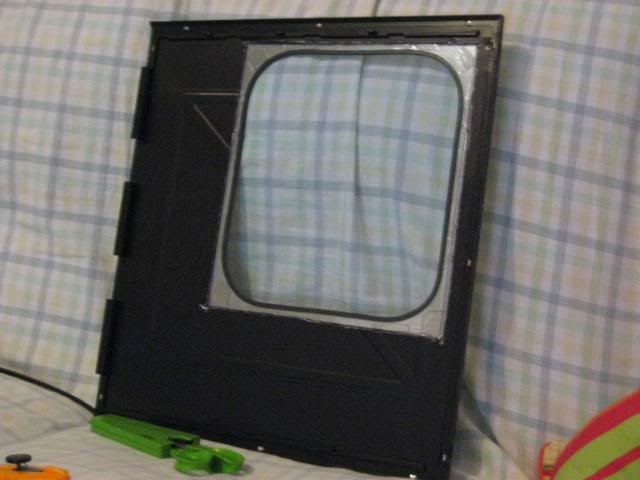
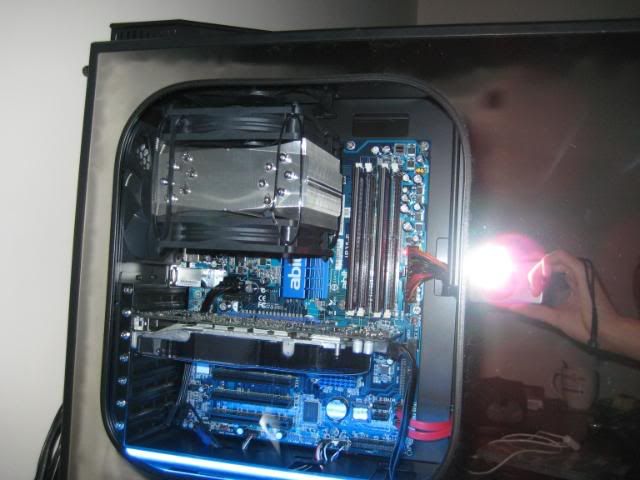
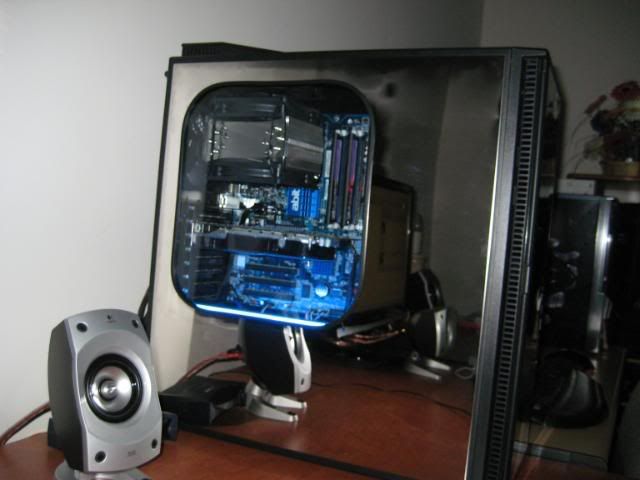
i hope i can get it done so i can see the insides of my comp :)
IMG_0794.jpg
 
o that stuff.

i live in australia and i got it from clark rubber.

im having seconde thought on that size. i don't think it will look nice ><. might have to get different one
 
cant wait to see it finished make sure u get heaps of practice before u cut the MIRROR FINISH!!!!
 
be getting my perspec later today but for now i had some chagne of pan ><

i made my template a bit bigger. :)

IMG_0840.jpg

IMG_0838.jpg

IMG_0837.jpg

IMG_0834.jpg

IMG_0828.jpg


IMG_0832.jpg

did i mention that i got this roll of tape for free? well when i went to bunnings and got my stuff the check out chick didn't scan some stuff in my trollerly.
so i walked out and got home and was like ' i still got money left????'
saved like 40bucks :) the tape and alcohol thing for free :)
 
Be careful! The metal-plastic-metal 3 layer nature of that sidepanel is a bit of a pain in the butt! Looking forward to seeing how it turns out.
 
did i mention that i got this roll of tape for free? well when i went to bunnings and got my stuff the check out chick didn't scan some stuff in my trollerly.
so i walked out and got home and was like ' i still got money left????'
saved like 40bucks :) the tape and alcohol thing for free :)

your paint will melt off due to karma
 
If i were u id invest in a jigsaw. I got one at lowes for 30 and it cuts through my single layer aluminum so much faster than the dremal. And the P182 side panel is a lot thicker and not to mention 3 layers.
 
IMG_0841.jpg

IMG_0842.jpg


i finsihed with the template and marked everything. then mearsured it agian.
i ended up drawing the cut-out on the panel rather then template. seemed more accurate.
it looks alright and about the right size and scale.

a little delay with the perspec. but i will be planning to get a clear blue kinda color. so my blue cathodes will give us a good blue glow. if not get a tinted shade one

i forgot to mention im cutting with a jigsaw not the rotary tool. the rotary tool only 2 cut the inside to get rid off 2 layers of the side panel so the perspec sits almost flush with the mirror.
( i have the jigsaw somewhere in the shed have to find it >< )
 
IMG_0988.jpg

IMG_0986.jpg


finaly got my perspec :) its like a glass kind of color.

proably be cutting tommow :)
 
lol . hope it works out DONT FUK IT UP PLZ!!haha ul be spewin if u stuff ur mirror side with liek crooked cut or somthin ahah good luck bro
 
lol . hope it works out DONT FUK IT UP PLZ!!haha ul be spewin if u stuff ur mirror side with liek crooked cut or somthin ahah good luck bro

I think my IQ just dropped...

Anyway, good luck cutting into that! I'd personally be too paranoid of messing it up to do that! But the upside, it WILL look amazing! :D

I'm curious to know how you're going to mount the plexi... since the panels are quite thick. I'll be checking back!
 
ok i finished it :)

went well. not much complication.

(imma spam loads of pictures now . sry ><)

IMG_0990.jpg

IMG_0992.jpg

IMG_1010.jpg

IMG_0999.jpg

IMG_1000.jpg

IMG_1007.jpg

IMG_1005.jpg

the pic above was a shocker. i remove the metal sheet on the bak and find out the middle was just plastic. a thick sheet of hard plastic......
IMG_1012.jpg

IMG_1015.jpg

IMG_1014.jpg

IMG_1016.jpg

IMG_1018.jpg

IMG_1019.jpg

IMG_1020.jpg

IMG_1025.jpg

IMG_1022.jpg

the pic above u can see how blue the perspec is. look like glass . looks alright :)
IMG_1027.jpg

IMG_1029.jpg

IMG_1030.jpg

IMG_1031.jpg

IMG_1032.jpg

IMG_1033.jpg


here my photopucket album if anyone is interested
http://s234.photobucket.com/albums/ee249/MzL47/?special_track=nav_tab_album


im quite pleased with my efforts. took a while doing it properly. but it came out very nice :)

if there any questions or u want extra photos. pls feel free to ask .

thanks [H]forum guys :)
 
nice job!
good that you installed the window, it would be a shame to hide that great wiring !
 
thanks guys for the comments :)

in the future i might get new plexi or put some cool engraving on it :)
 
Looks awesome! I wish I had the know-how and the tools to be able to do things like this. :(
 
Thanks So much for posting all of this!

Looks fantastic... and it will save me $90 from buying a predone one... I am going to order the parts today!

Was scratching my head trying to figure out how to do that on my P182 SE... but now that I see this... not hard at all!
 
Back
Top