Videos on watercooling

JLangevin

[H]ard|Gawd
Joined
Apr 13, 2007
Messages
1,181
Hey guys, In the 5 years that I have been a member here, I have done dozens of watercooling builds and and am always PMd for advice on watercooling. I decided to put together a 2 part video about watercooling so hopefully this can help someone here.

Part 1
http://www.youtube.com/watch?v=fUW4BHoKHag

Part 2
http://www.youtube.com/watch?v=DJcTnIanB4k

There are obviously many ways to build custom loops so if you disagree with something in the video, feel free to comment respectfully and help others learn!

Thanks for looking.
 
Facebook-Like-Button-small.png
 
very professionally done. I would make the 2nd video, into the third video. and create a new video as #2, dealing with the explanation of compression fittings, barbs, and angled fittings. it would allow people to kind of get an idea of aesthetics as part of their loop.
 
Id love to however I dont have any compression fittings or angled/swivel fittings to demonstrate with :-\
 
Great videos man. I was actually looking for something like this. I'll be putting mine together sometime in the next month and it will be my first build. Definitely helpful.

Also, Reality, I like the idea, but as far as aesthetics go, it really varies from person to person.
 
Great video, comments are hilarious as always, I can see some confusion when your explaining jumping the pins on the 2nd power supply, you omit information regarding running power to the pump, I can see that being confusing for some.
 
Whoops. didnt realize I edited that out. Doh. Taking 45min worth of video and compressing it down to a watchable length theres bound to be an important detail missed, HOWEVER, I also feel that if someone doesnt realize that they have to plug the pump in to it, they should NOT be doing a custom loop anyway lol
 
Hey guys, In the 5 years that I have been a member here, I have done dozens of watercooling builds and and am always PMd for advice on watercooling. I decided to put together a 2 part video about watercooling so hopefully this can help someone here.

Part 1
http://www.youtube.com/watch?v=fUW4BHoKHag

Part 2
http://www.youtube.com/watch?v=DJcTnIanB4k

There are obviously many ways to build custom loops so if you disagree with something in the video, feel free to comment respectfully and help others learn!

Thanks for looking.

Awesome video. The thermal paste application was terrible. And the comment you make about how've you done it for years, does not mean you've done it correctly or efficiently.

I would direct people to arctic silver website, which has been proven time and again to be the best application method.

The main issue with your way, is I can almost 100% guarantee you are over applying, and will have some micro bubbles on the surface.
 
Youre likely 100% right, and Ive tried all the methods... the pea, the thin line, the X, all of it and I never noticed a difference at all.

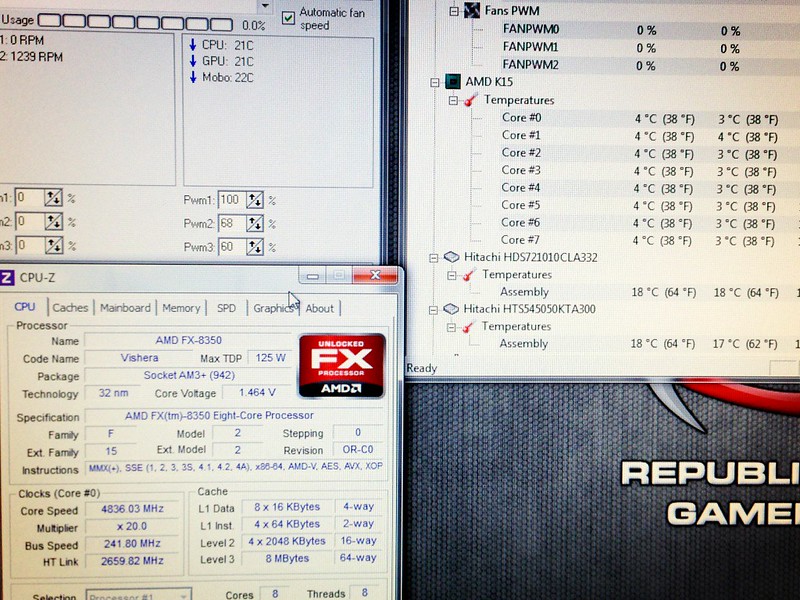
In fact my temps right now are idling in the upper 20*s and loading in the low 40s. Perhaps Ive been very lucky, that its just MY method. I definitely encourage people to do whatever method they are comfortable with.

You have me wanting to go and try that method again but hoenstly, when I have temps like this, its hard to change. Also, it looks like a lot in the video but its really very thin application, plus when I do remove the block, that thing is practically glued to the CPU, and even when twisting, Ive had it once pull the CPU right out of the socket when trying to remove it.... eep!

8464773563_af669c8566_c.jpg

You'd be wasting your time, since it has been done many many times in the past, and proven that any method done without micro bubbles, and not over applied, outperforms any method that can introduce micro bubbles and over application of the TIM.

But the videos and the editing are great man. Keep it up
 
Last edited:
Very true, and Im not offended at all. TIM has always been one of those things where you can even have people who do it through very approved methods disagreeing over who is right.

Perhaps I will add an annotation and piece in the description to direct the viewer to always do their research and apply the TIM in a manner they are comfortable with.

Ive personally used many different methods and USUALLY use the pea method however the last couple of applications Ive used the business card method with decent results. Perhaps Ive just been lucky not to get micro bubbled, and Ive never had the TIM squish out past the sides of the heat spreader.

I encourage conversations like this! Its how we all learn! Thanks for the input.

I have another video planned where I want to address TIM application, perhaps I should show the different methods as well as what happens when too much is applied!
 
Back
Top