The Post Pics Of Your Rig Thread! - ABSOLUTELY NO COMMENTS

Status
Not open for further replies.
100_0494.jpg

100_0495.jpg

100_0496.jpg
 
here's my rig. it was budgeted well in my opinion. pm me if you have any questions

JeffsComp012.jpg

JeffsComp003.jpg

JeffsComp004.jpg

JeffsComp005.jpg

JeffsComp001.jpg

JeffsComp006.jpg

JeffsComp016.jpg

JeffsComp017.jpg


sorry for no pics of it running but at the time of the pics i would keep it under my bed and it was hard to get nice angles of it.
 
Custom Cooler Master Elite 340
Images have all been deleted :(
 
Last edited:
Here are some updated pics of my CM Stacker 830. Posted in that thread also, but as I'm sure this one gets more traffic thought I'd post here as well. I think I'm finally done hardware-wise for awhile. After much tweaking and many different wiring setups over the past 6 months, I've finally gotten my Stacker 830 just about right where I want it. Switched all my fans to Zalman Green LEDs and rearranged the 5.25" bays, cathodes, and of course the wiring. I'm now running dual EVGA 8800 GT's with Arctic Cooling Accelero S1 Rev. 2's. I also now have 1.4 TB of Hard Drive space... :D
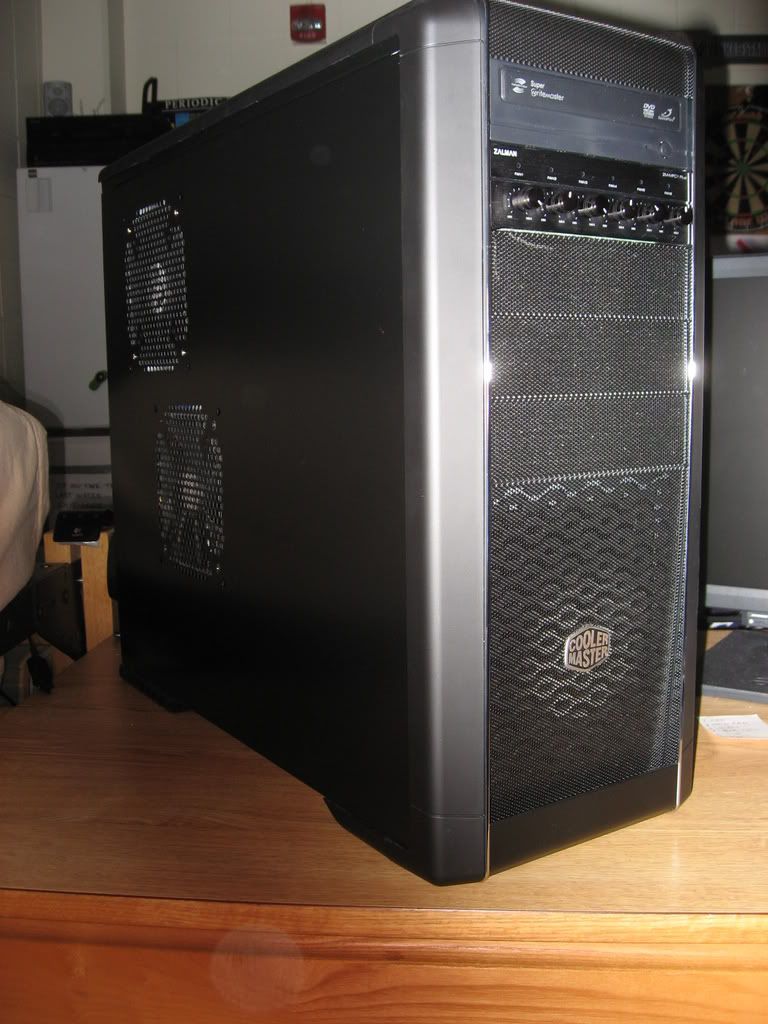
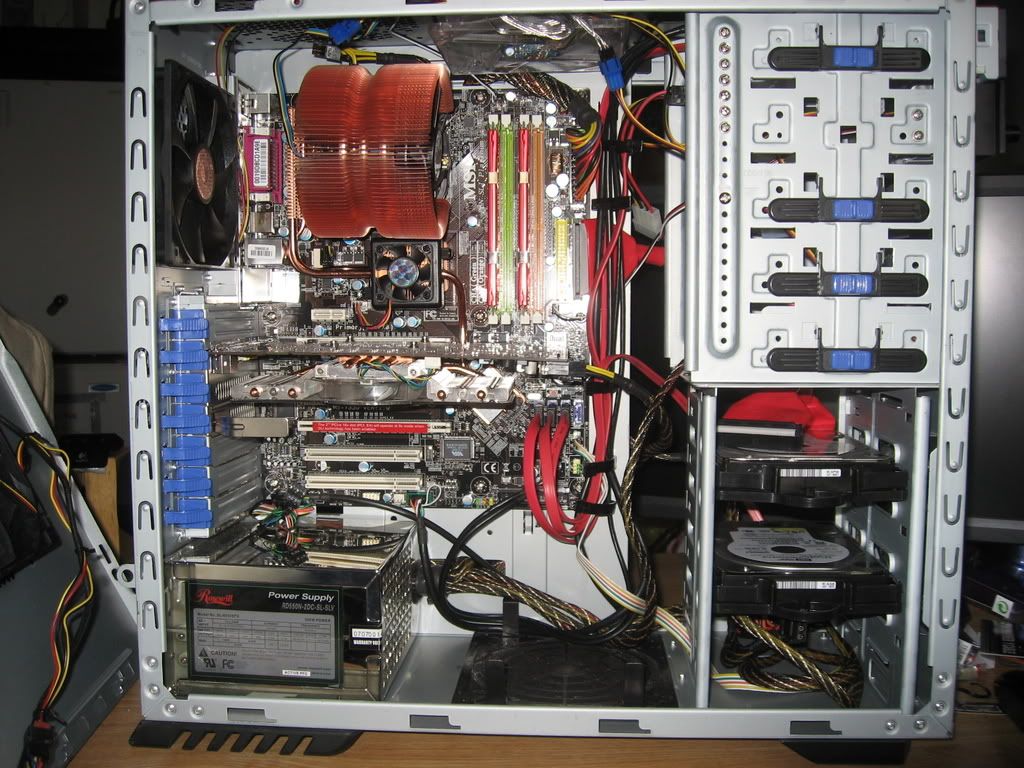
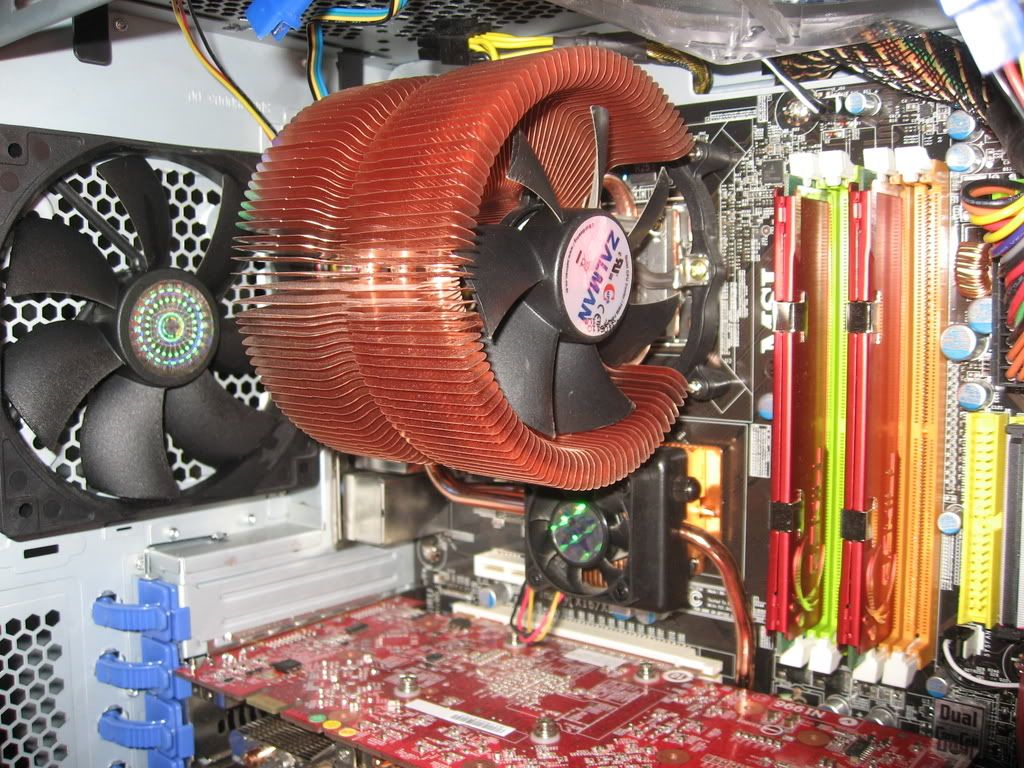
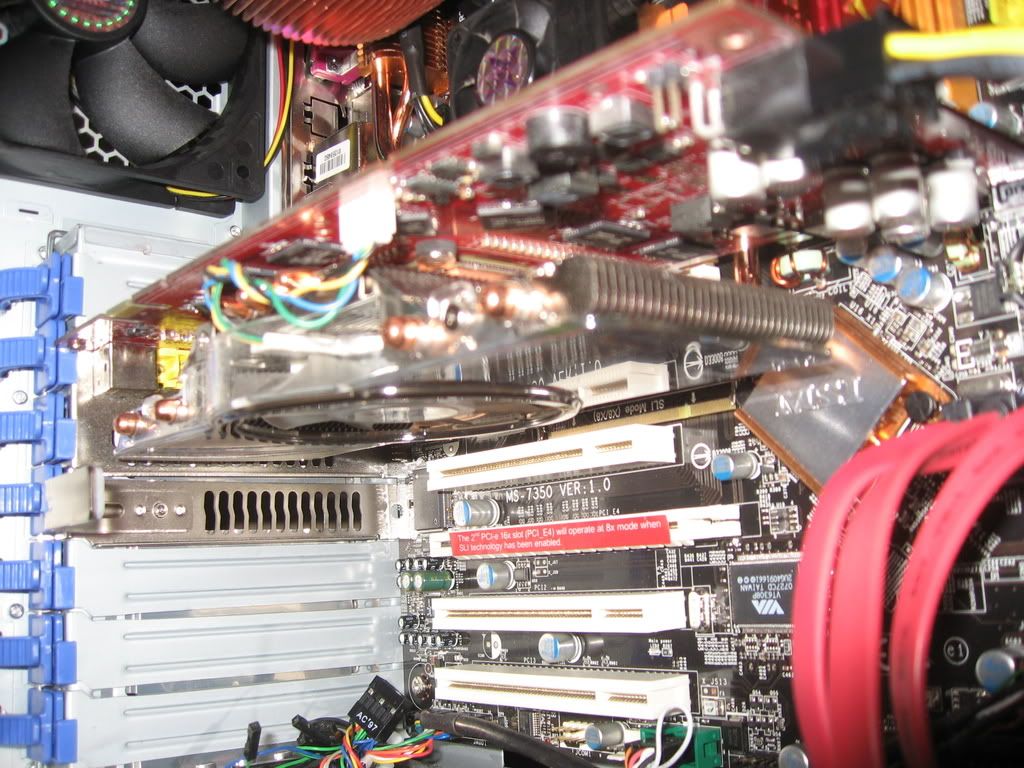
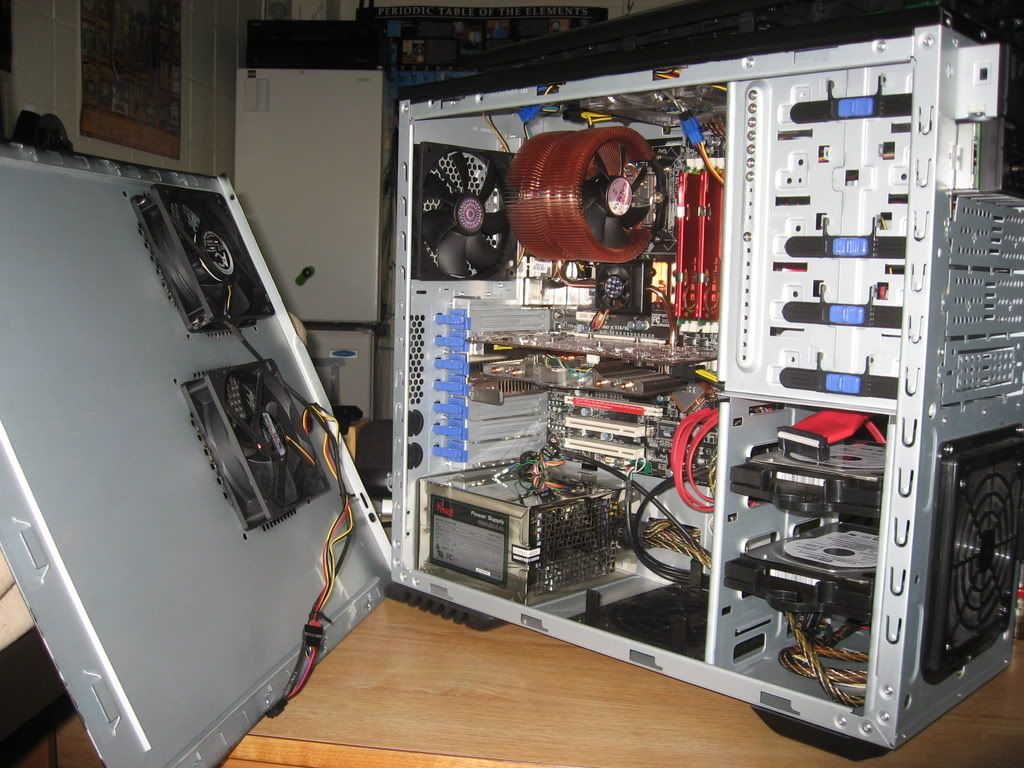
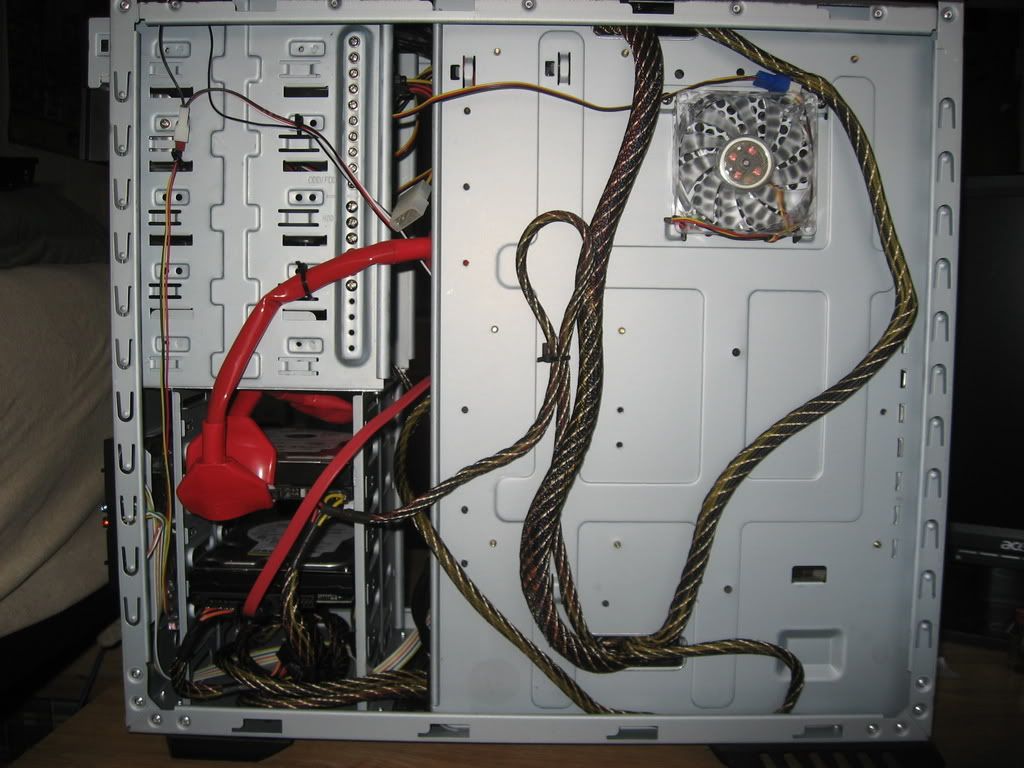
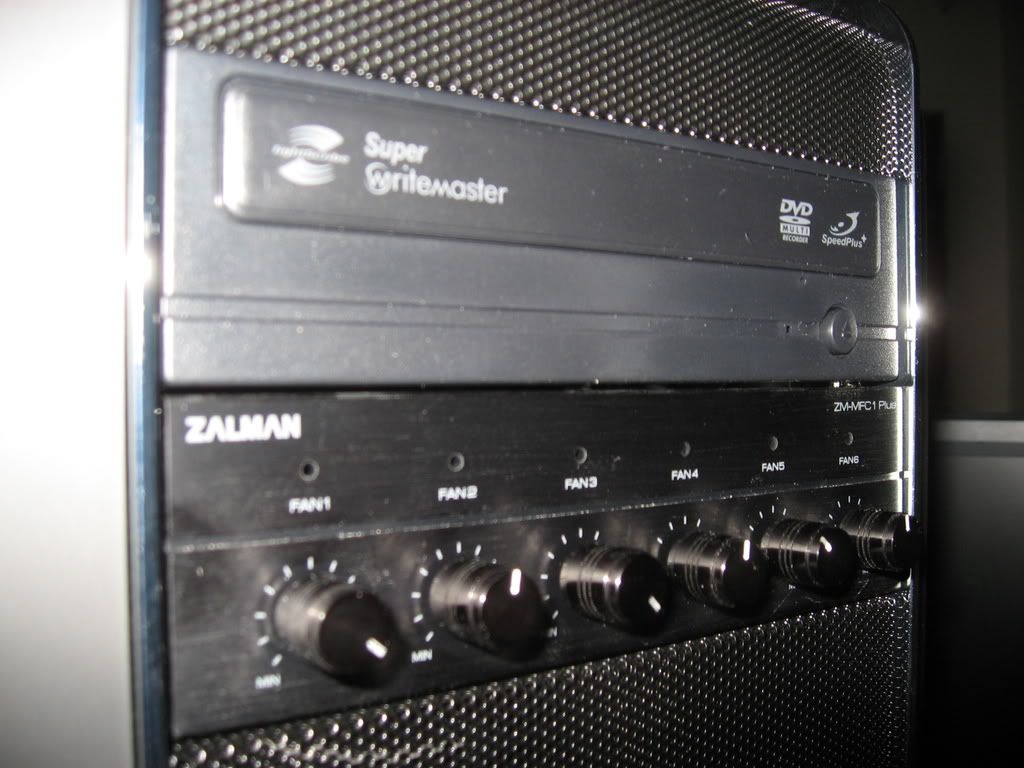
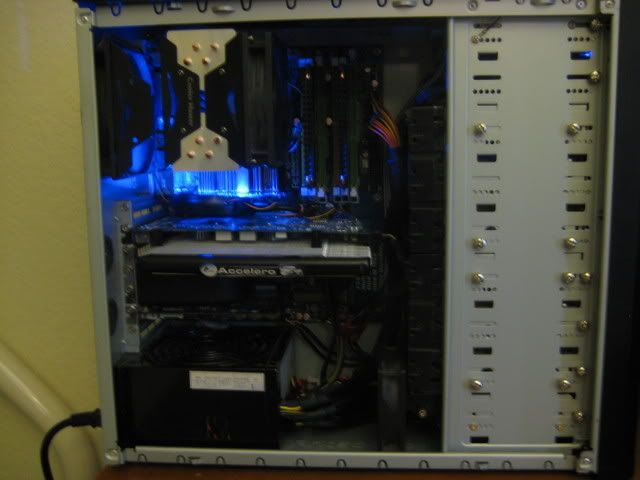
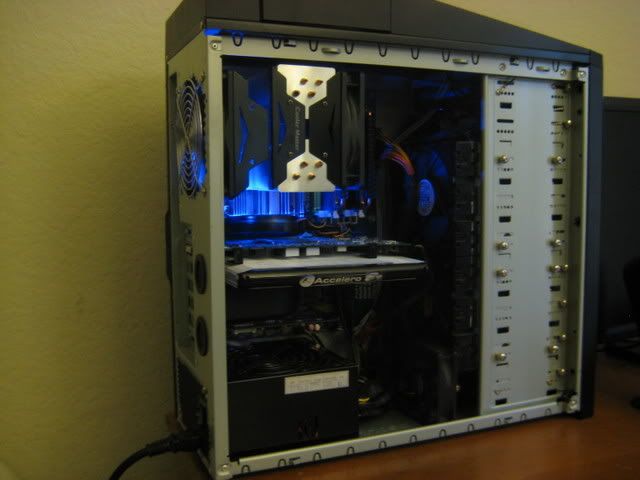
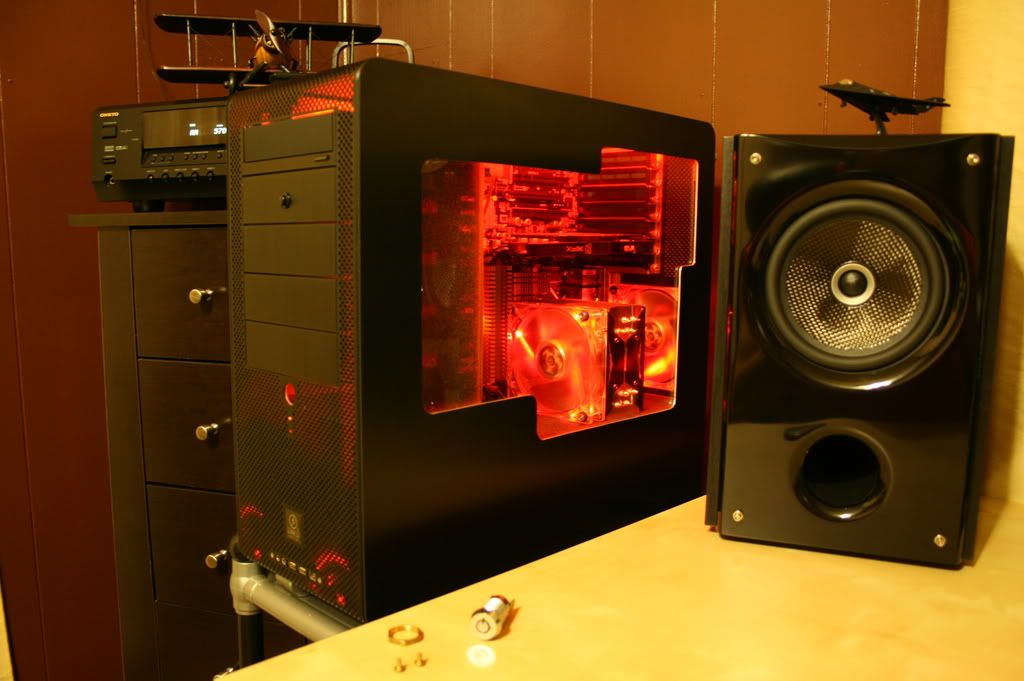
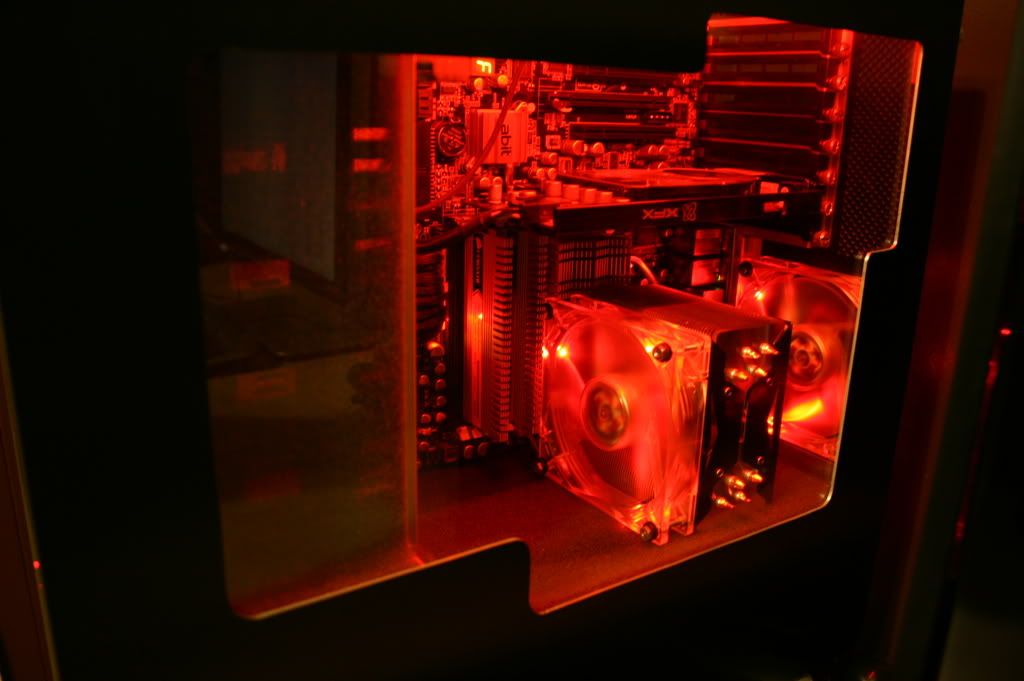
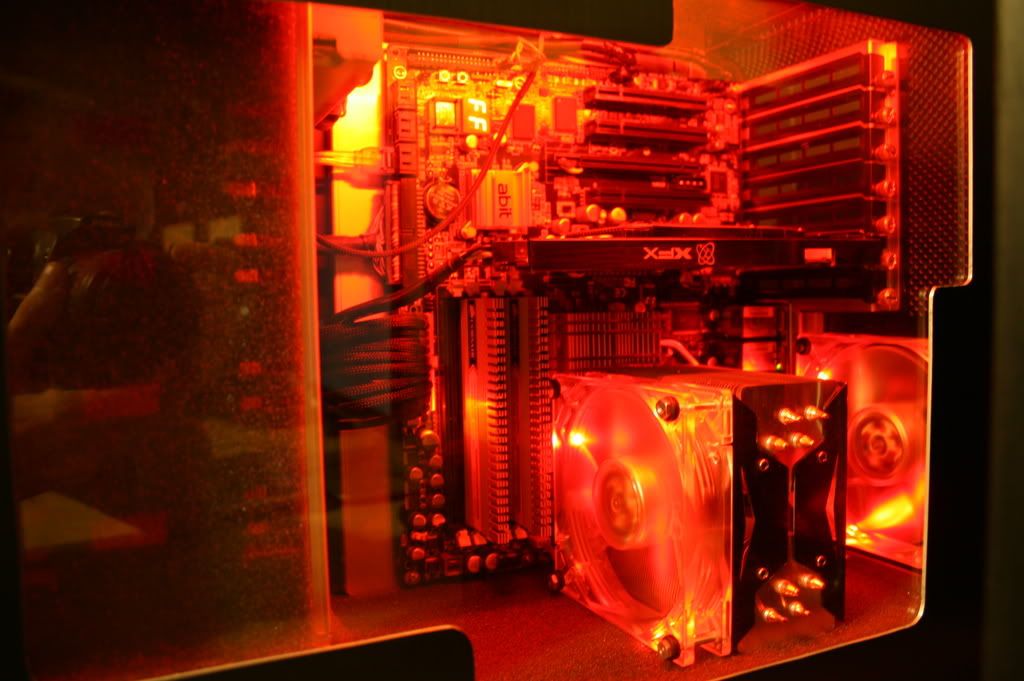
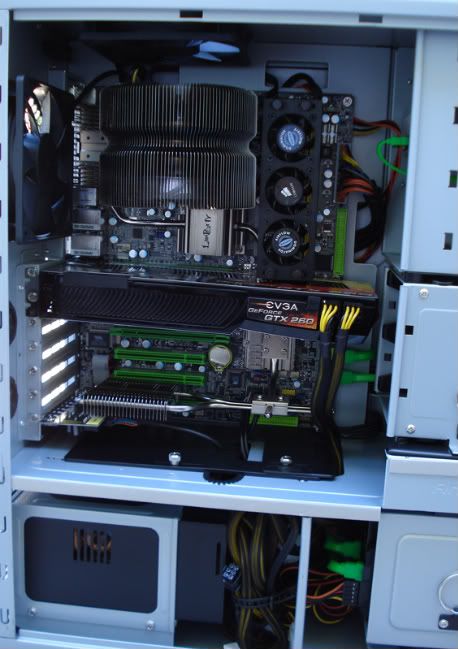
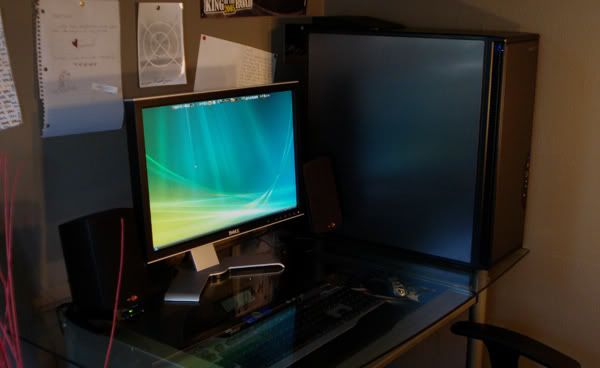
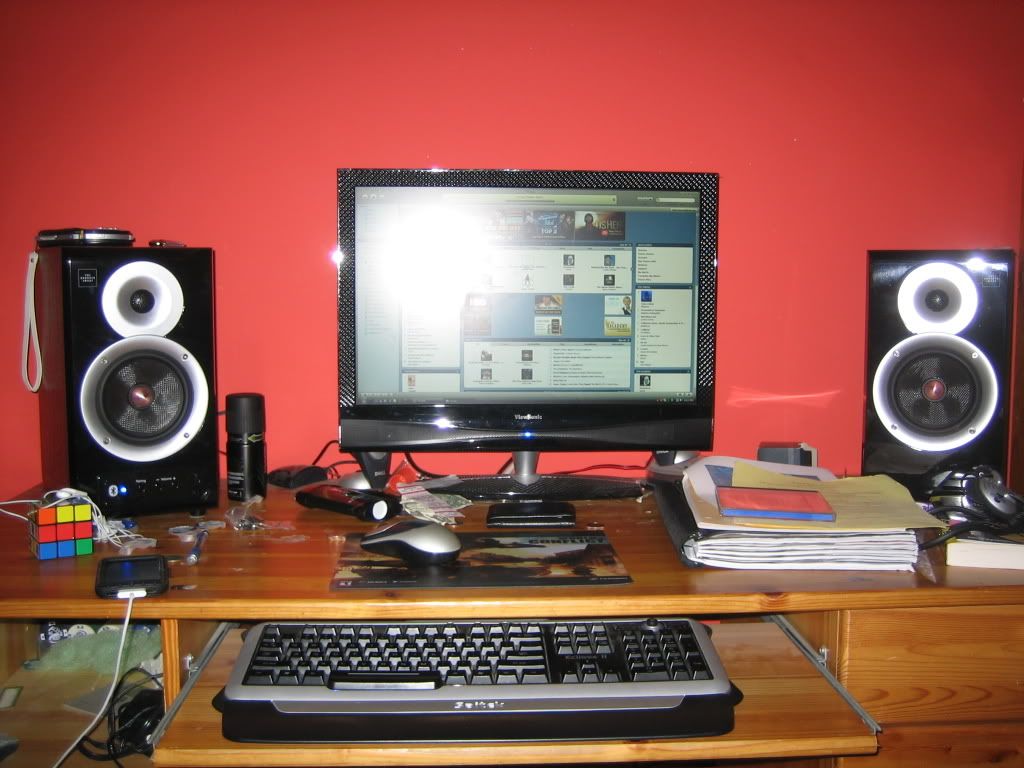
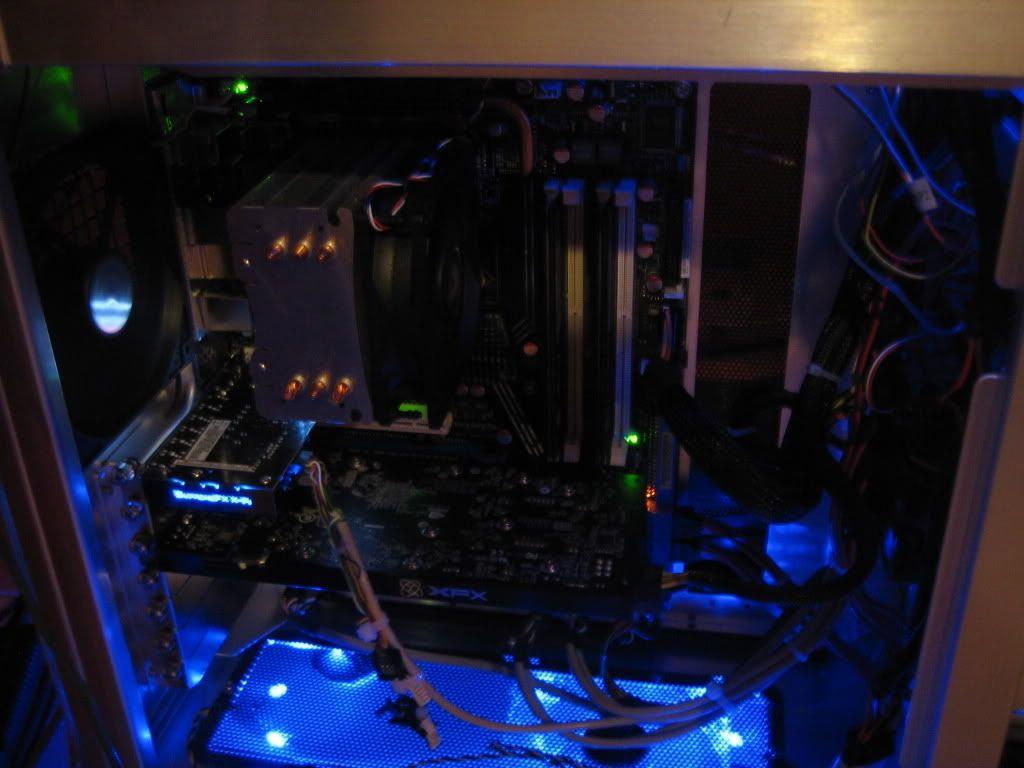
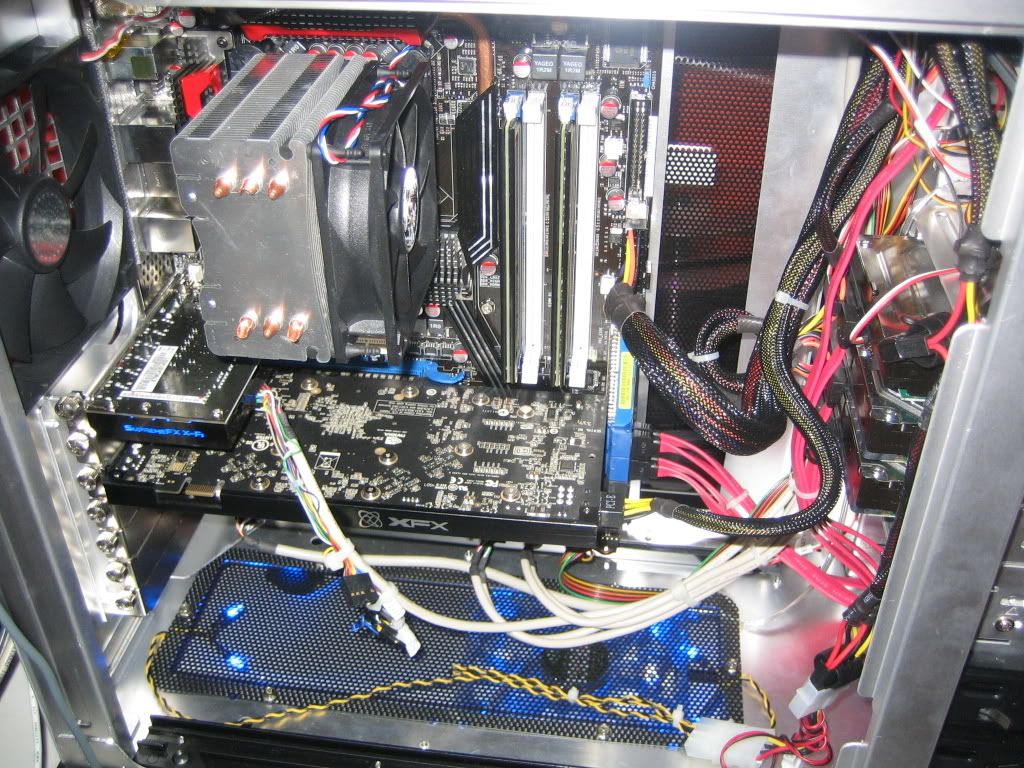
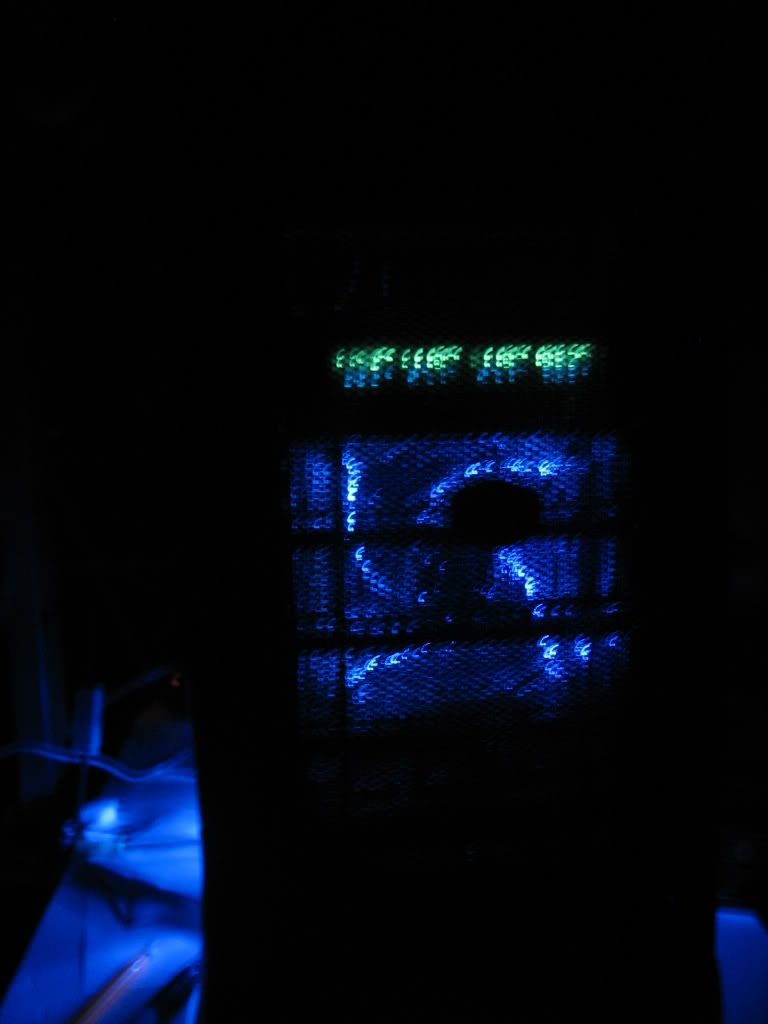
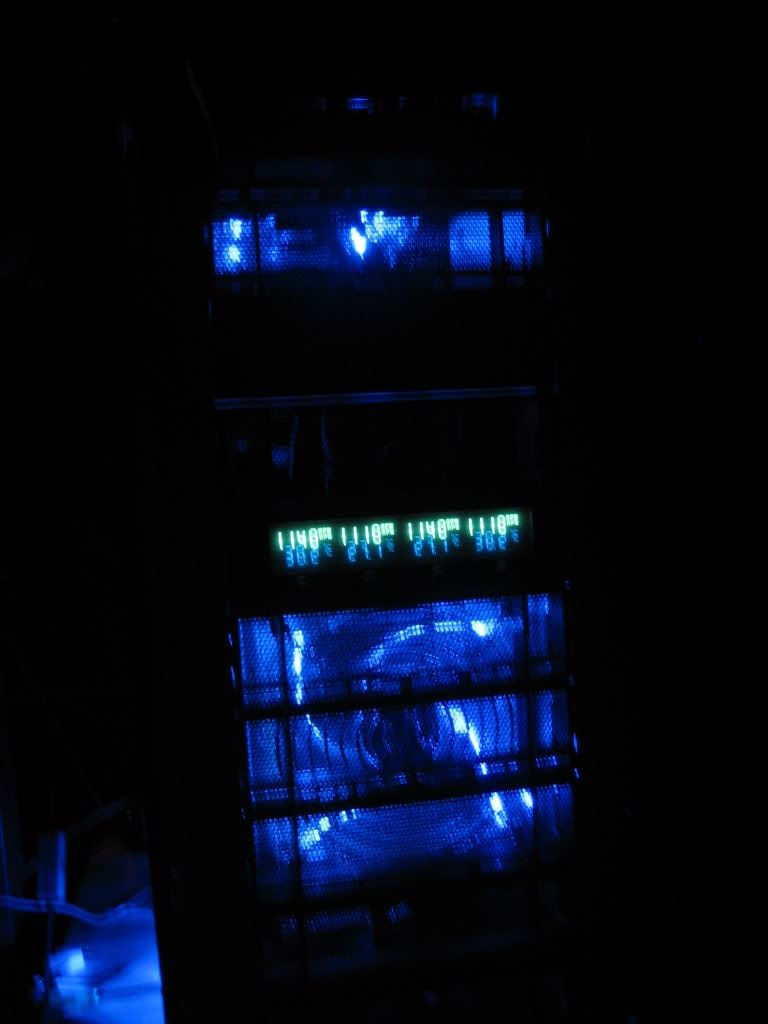
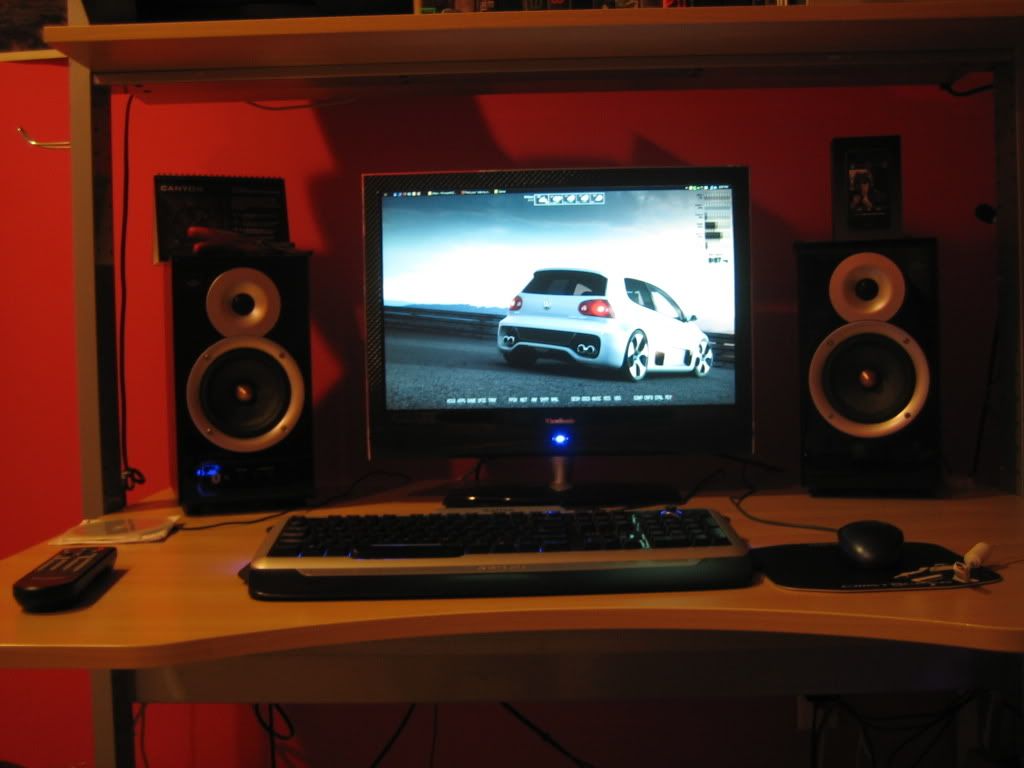
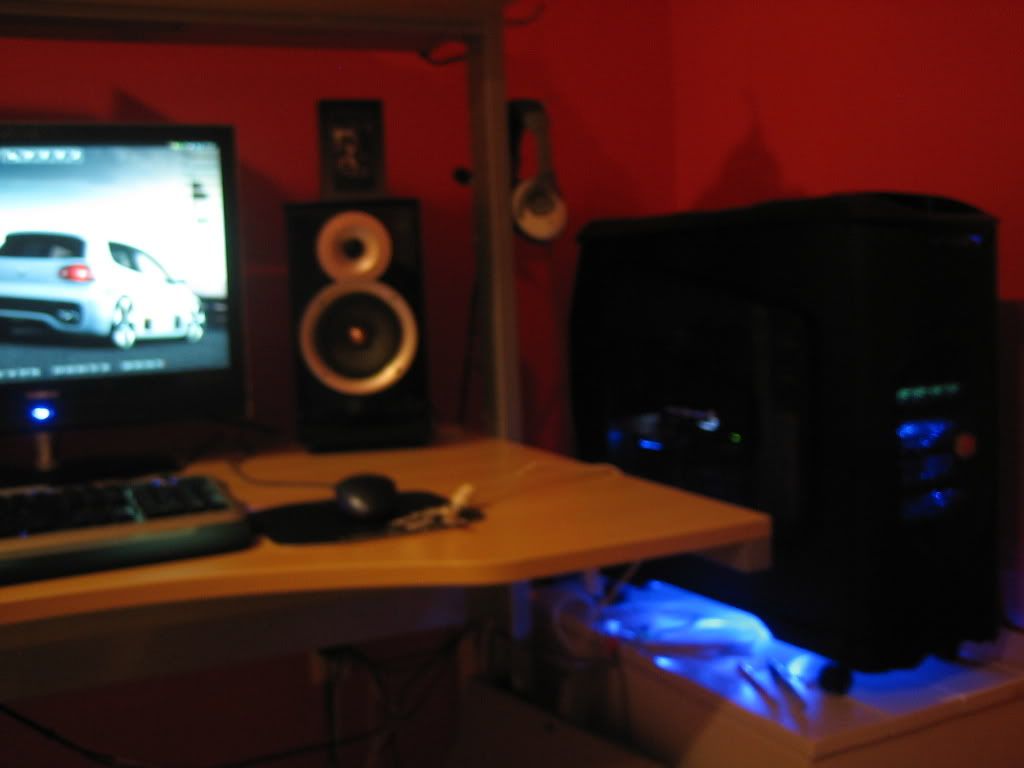
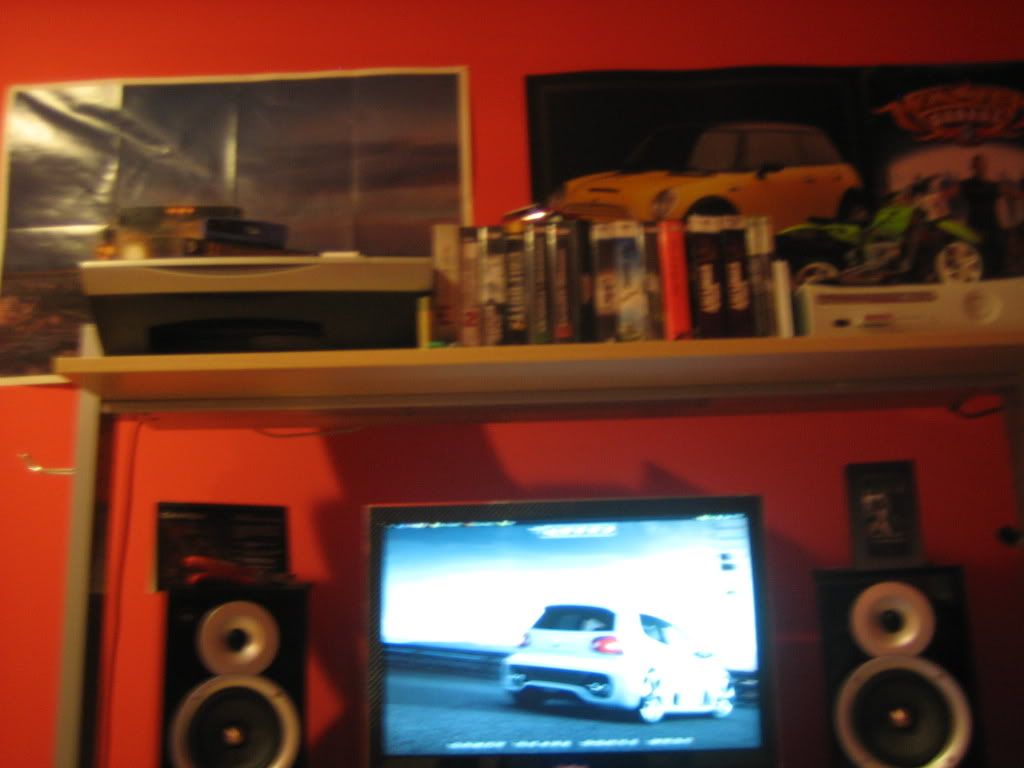
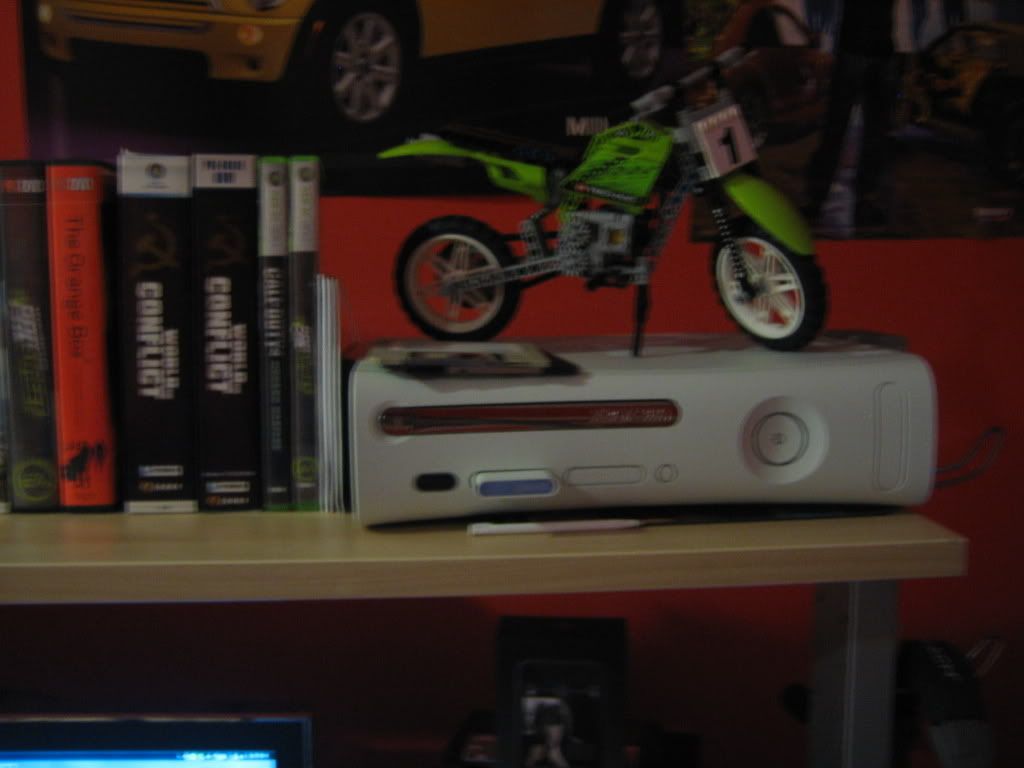
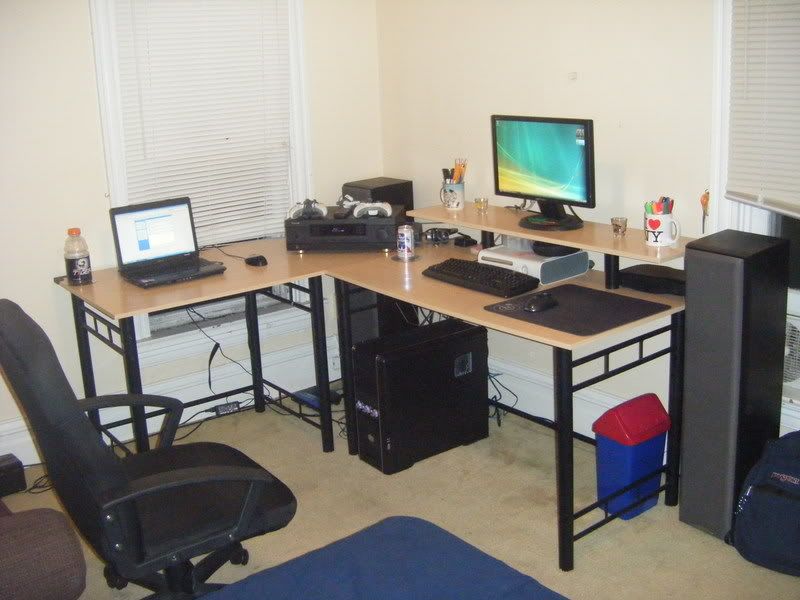
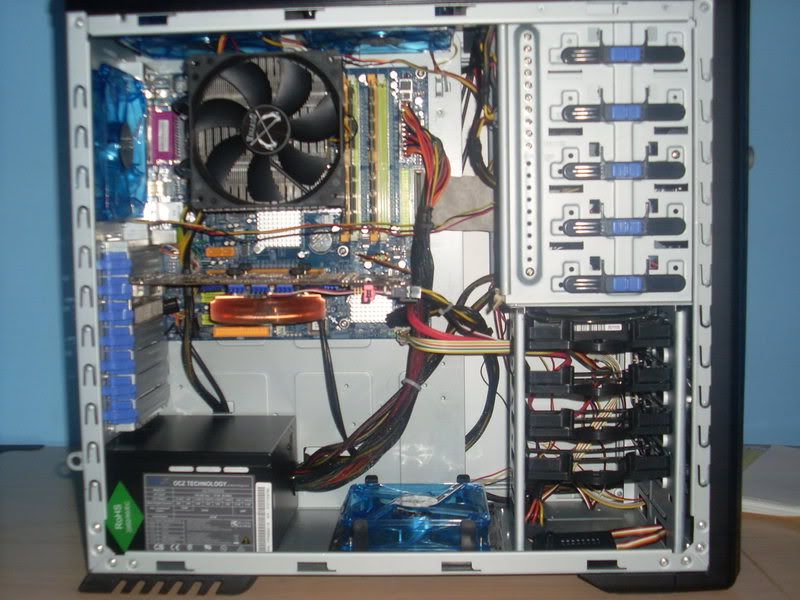
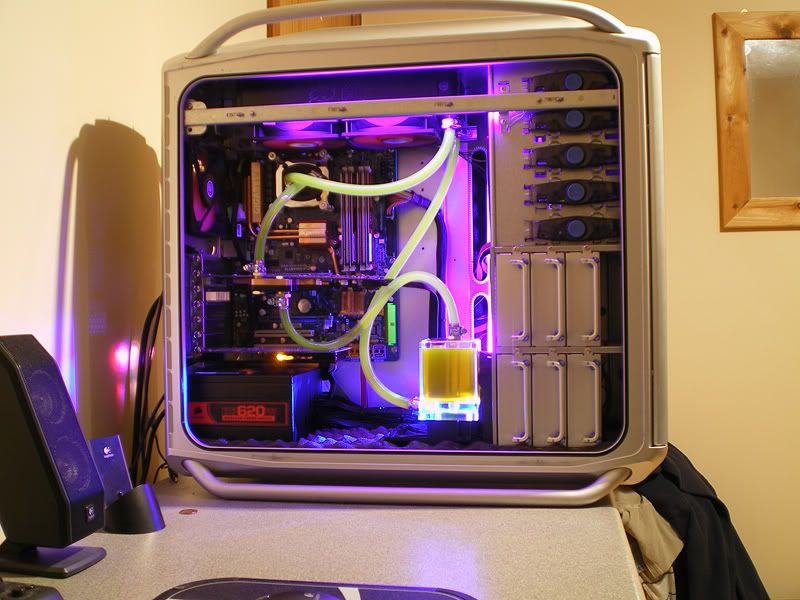
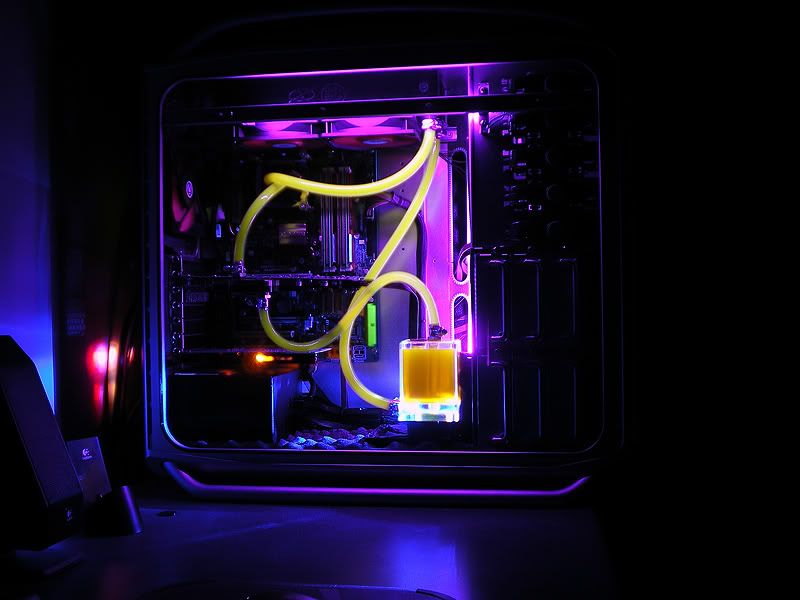
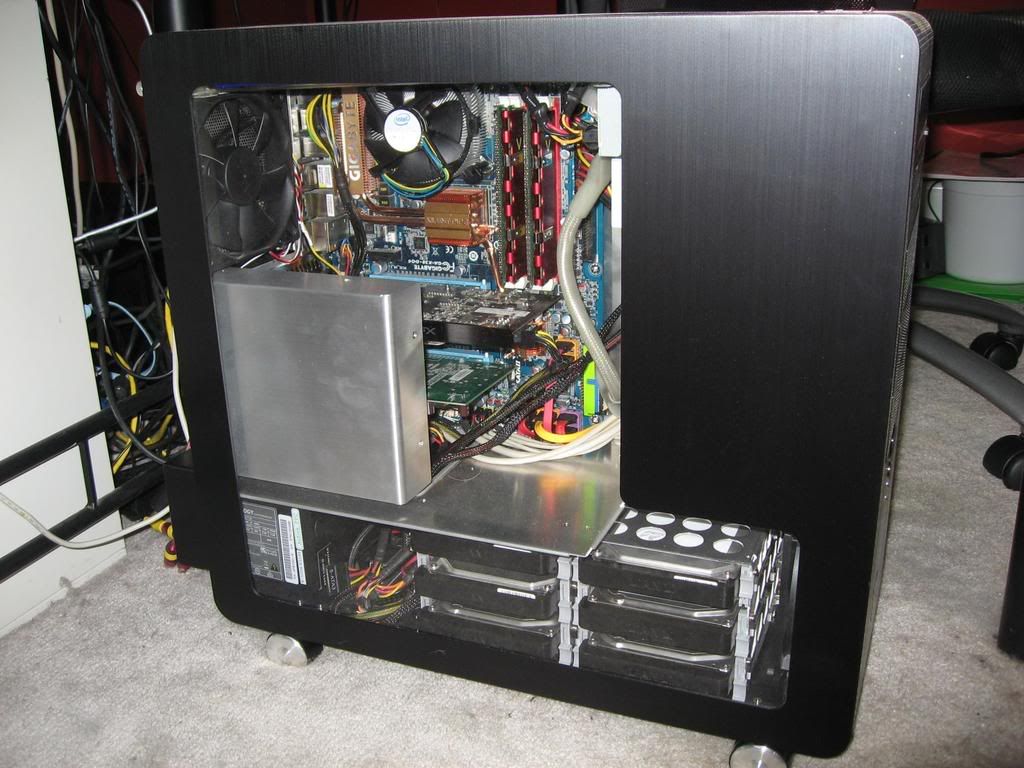
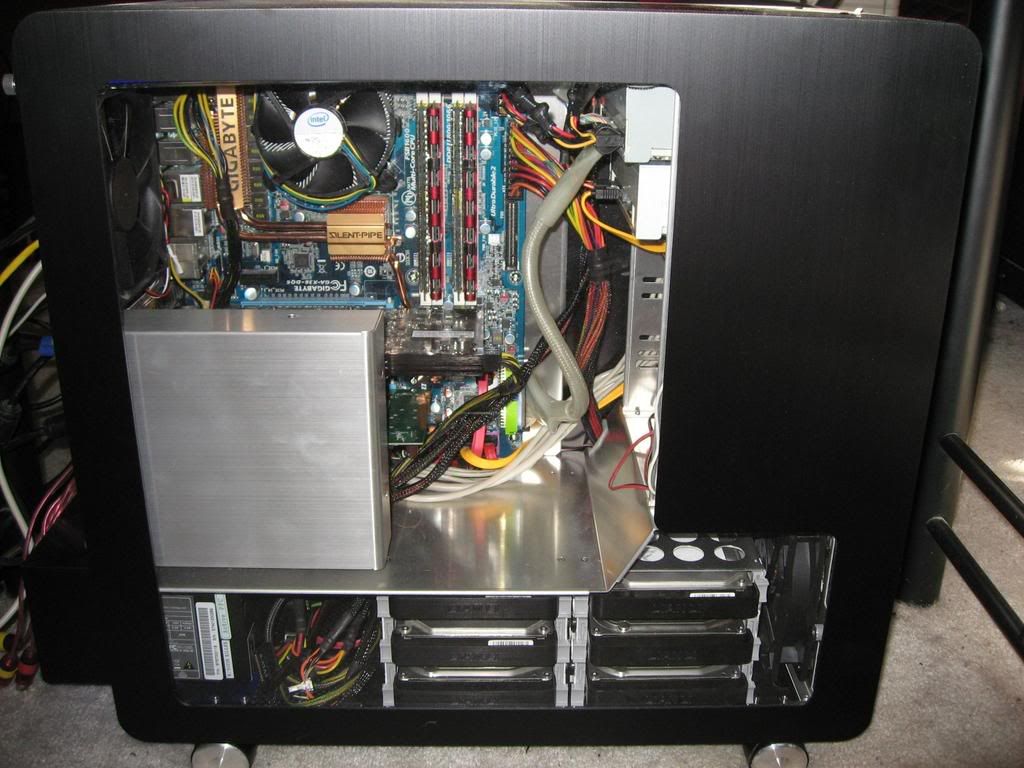
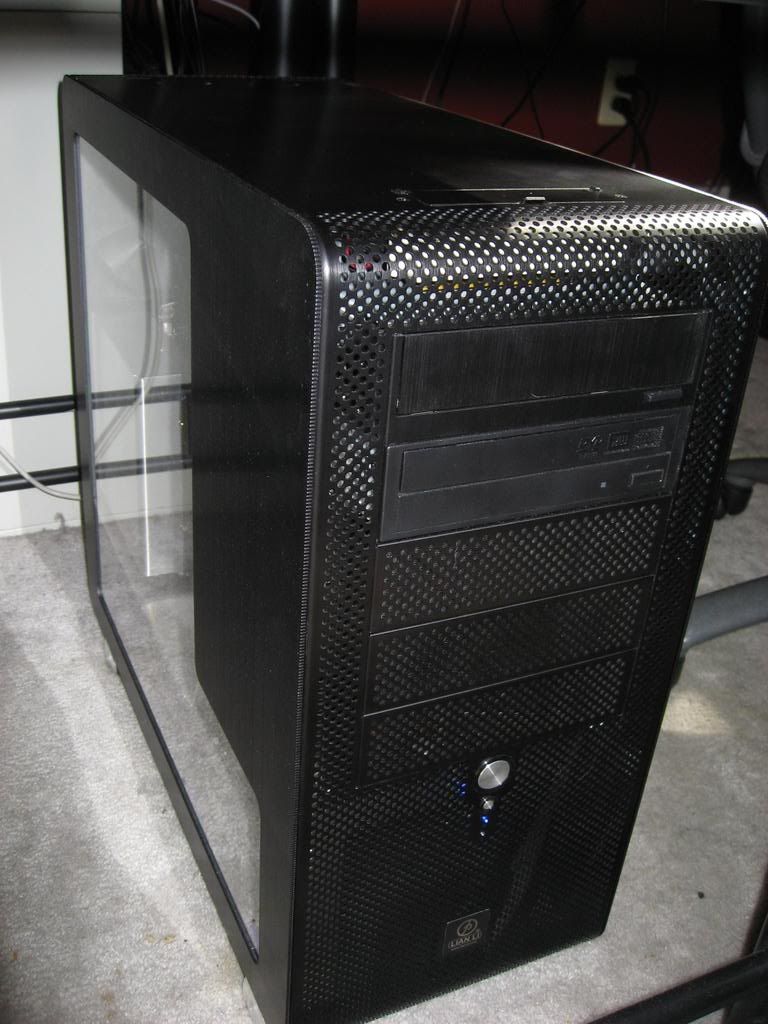
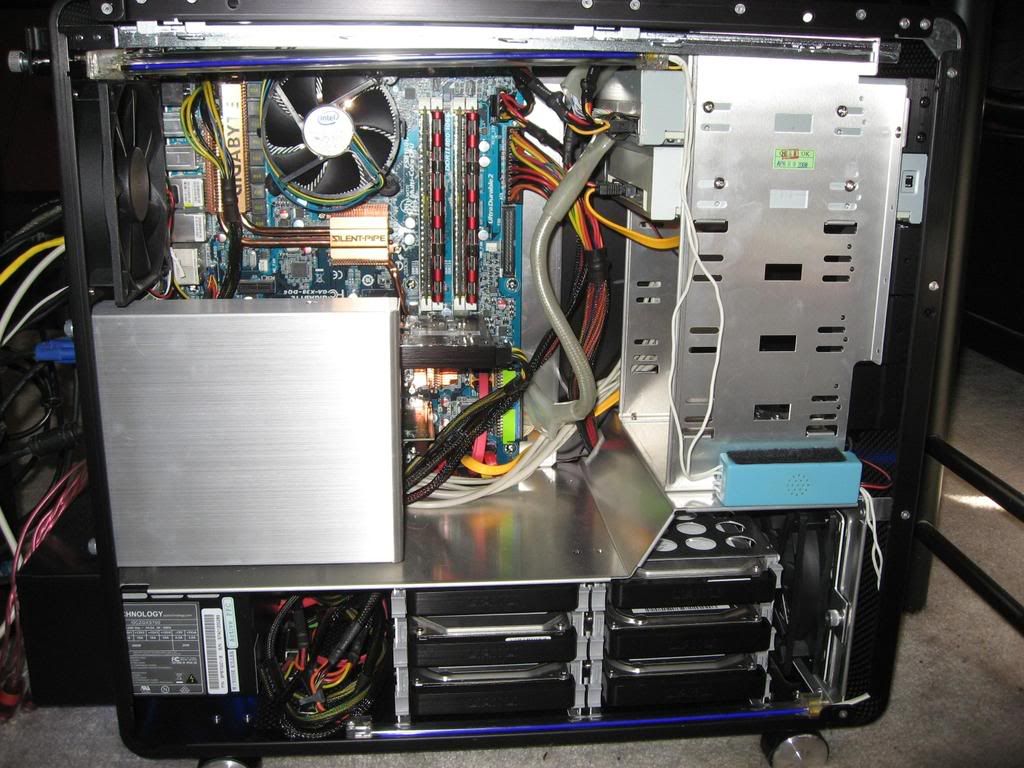
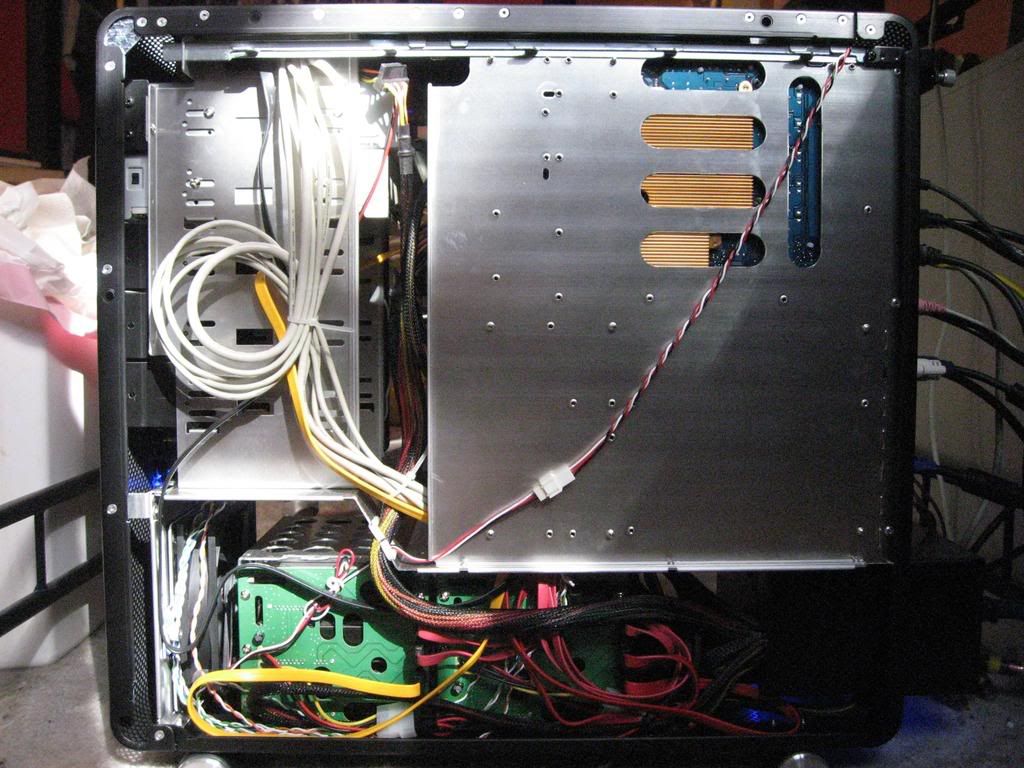
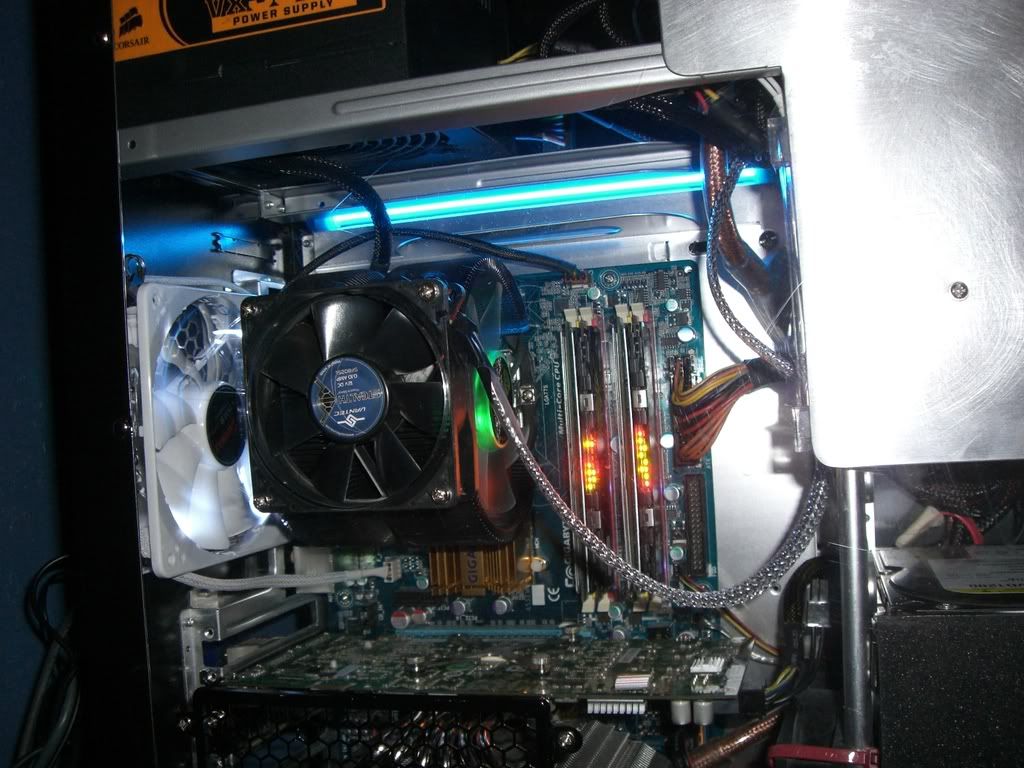
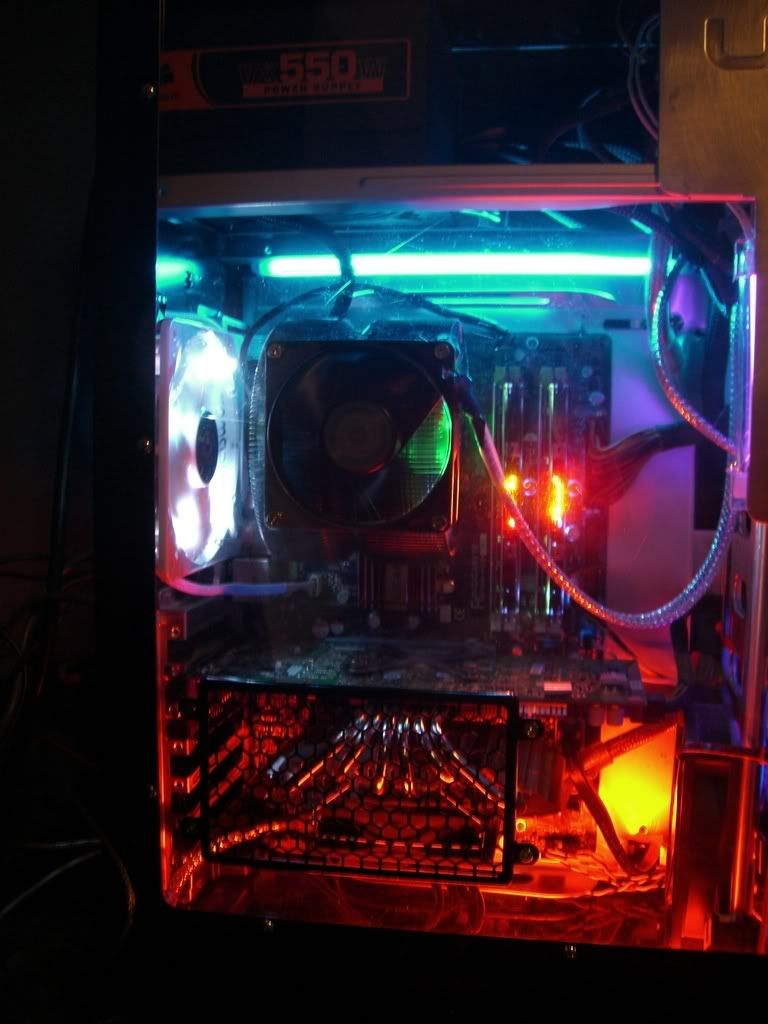
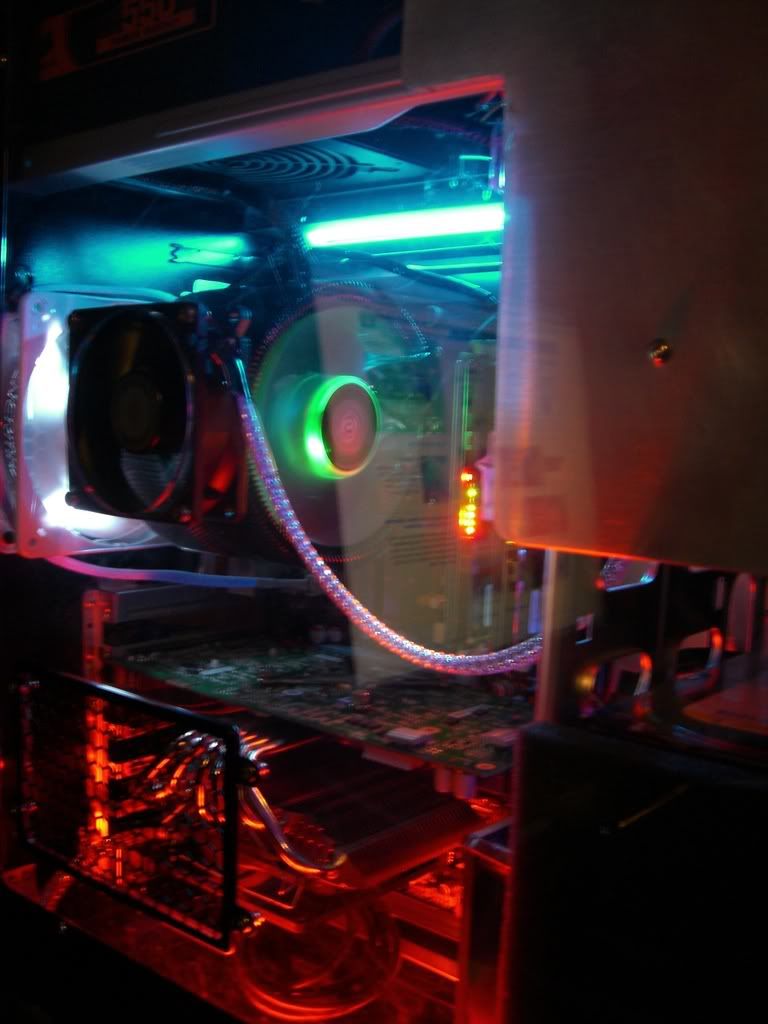
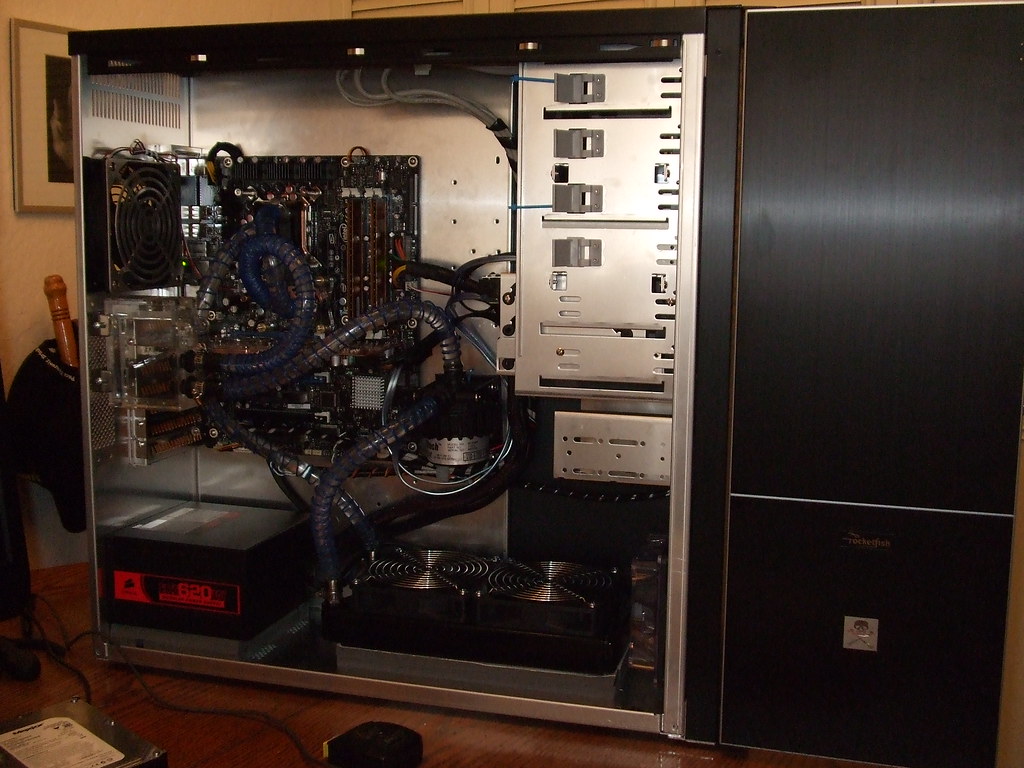
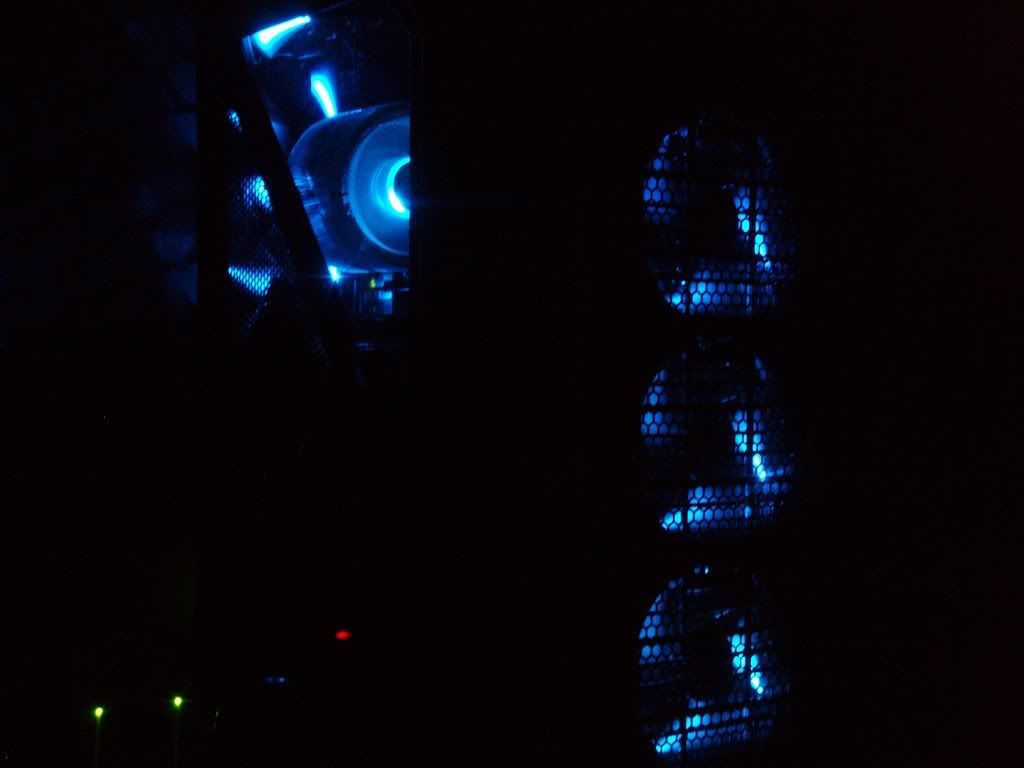
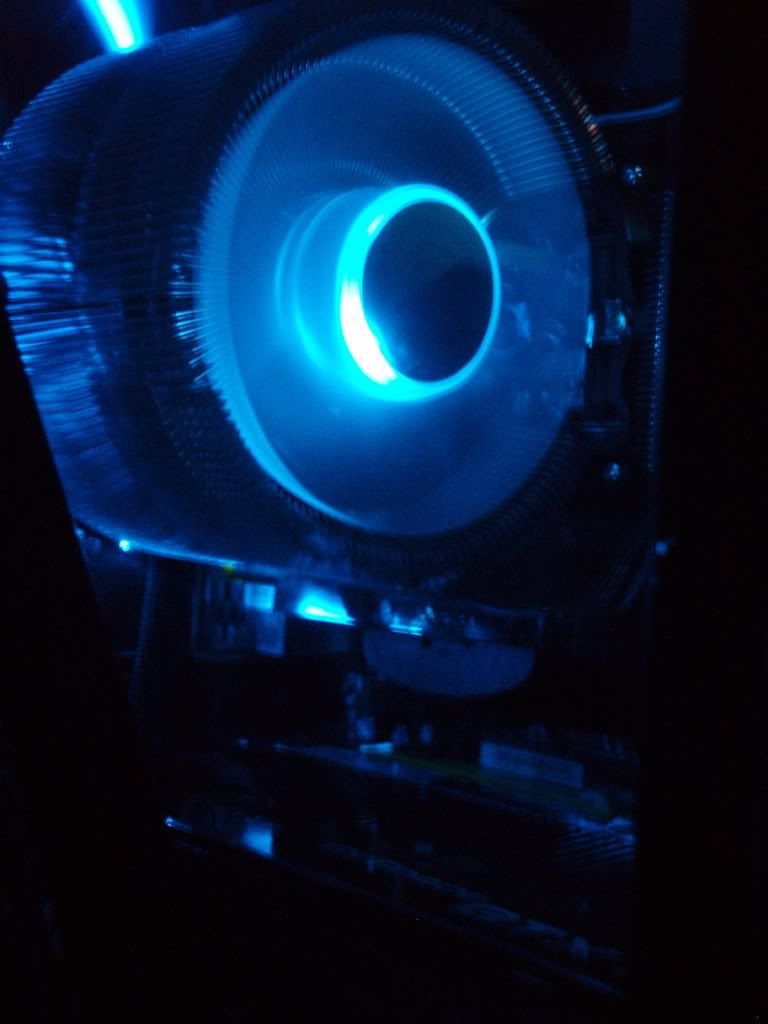
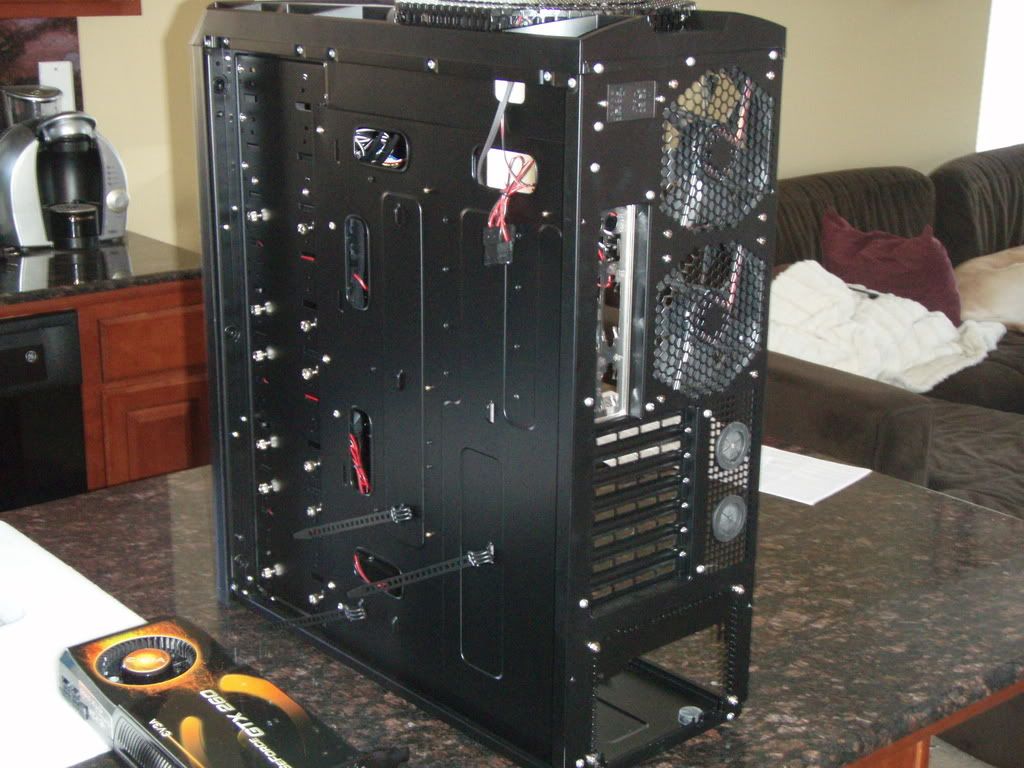
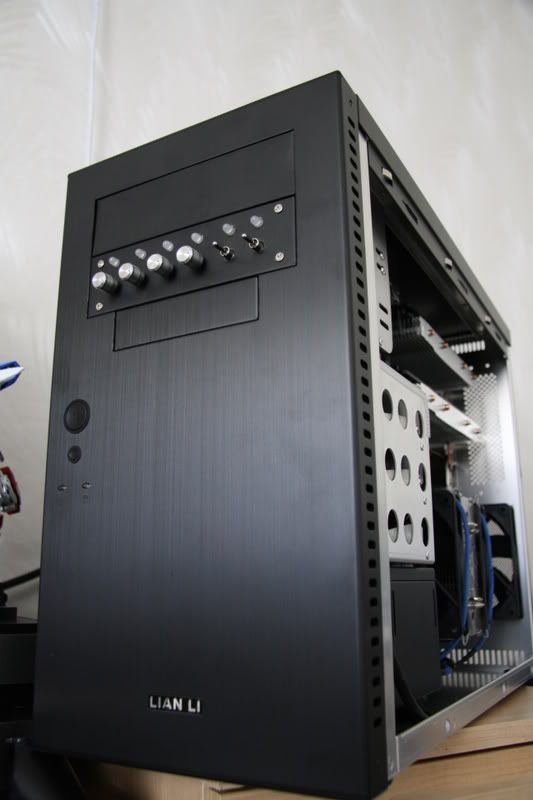
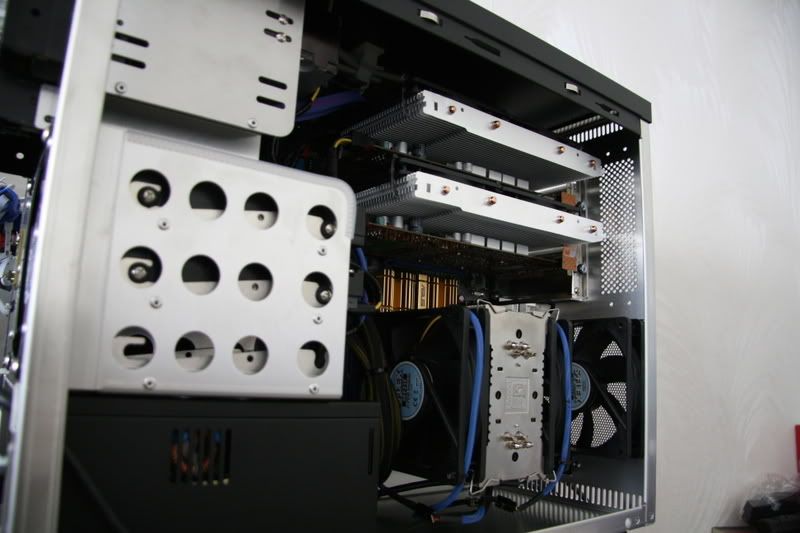
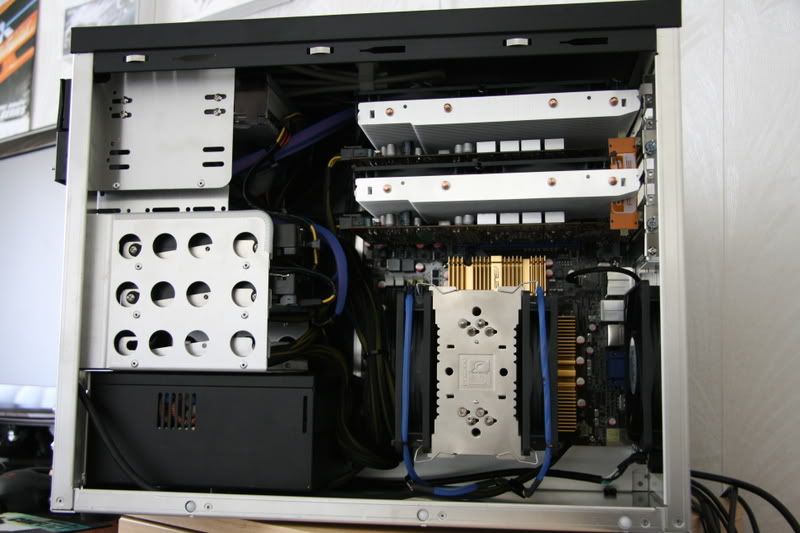
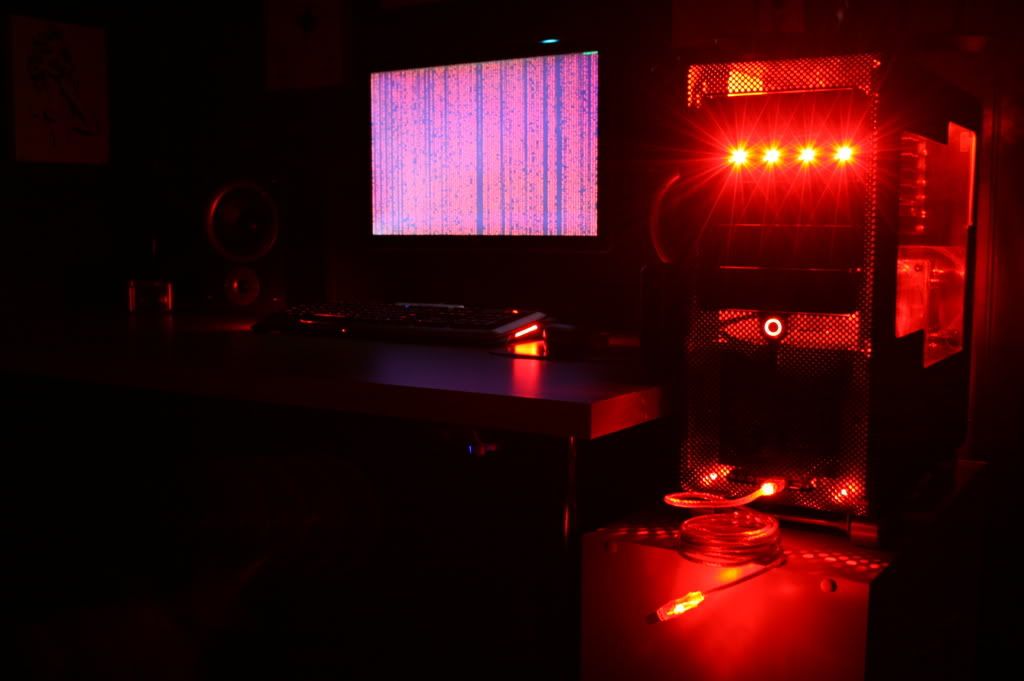
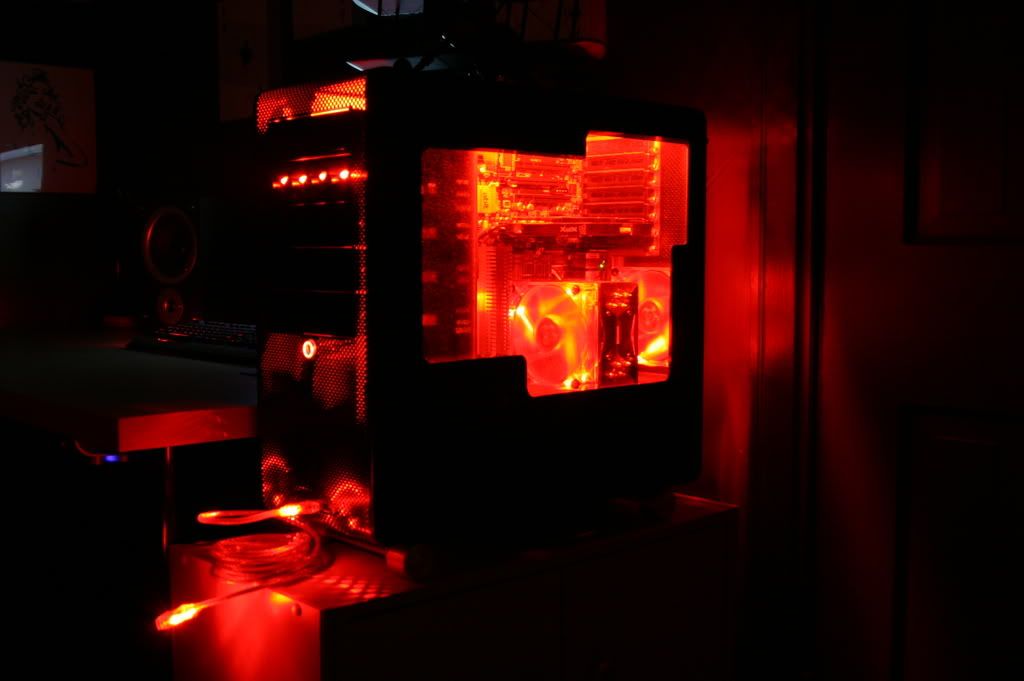
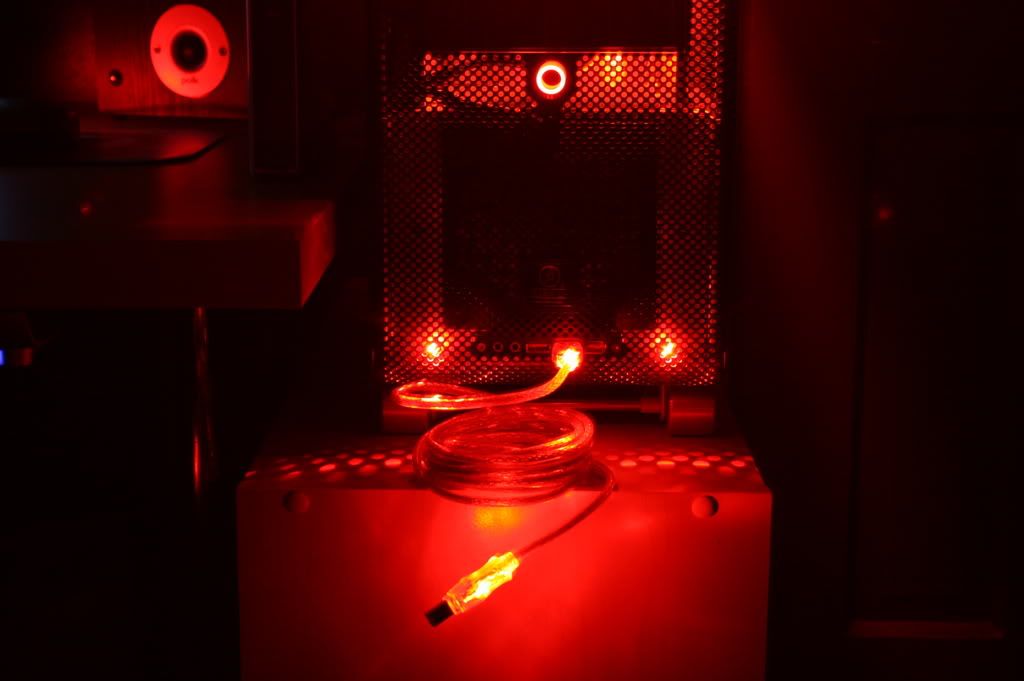
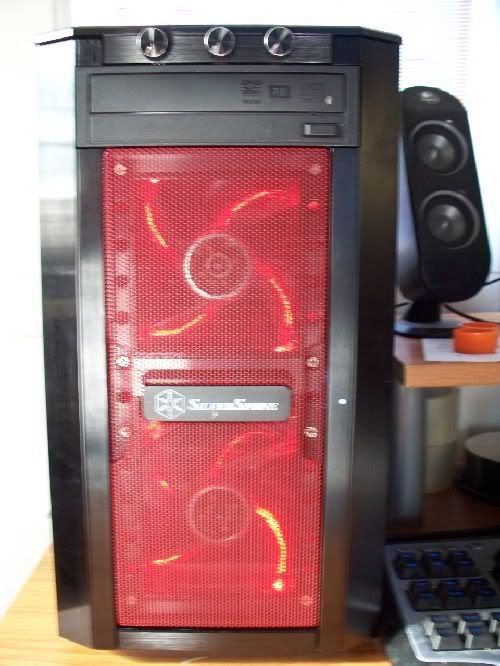
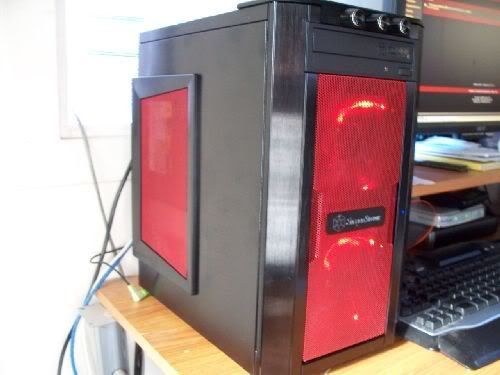
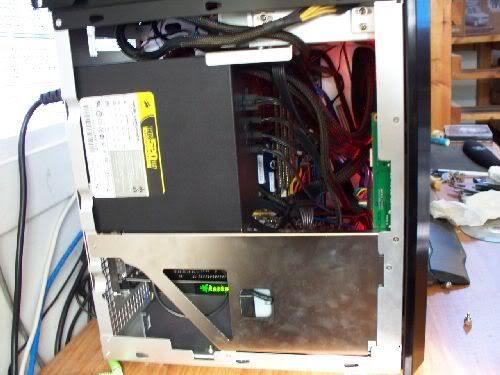
. Everything runs fast and cool and VERY quiet, which is exactly what I was hoping for when I started out on this journey. Specs are in the sig. And now, for the pics:
DSC00799.jpg

DSC00804.jpg

A couple shots of the exterior here.
DSC00824.jpg

Straight on shot of the side mesh "window."
IMG_0075.jpg

And here is the interior. And one more below. As you can see I used an extra piece of the sound dampening foam to cut out my gamer handle and backlit it with a green cathode behind a sheet of thin white cardboard attached to the foam.
DSC00774.jpg

DSC00795.jpg

Those Arctic Cooling Accelero's are huge, but boy do they work!
DSC00778.jpg

This OCZ SLI Ready edition RAM really finishes off the theme nicely.
DSC00793.jpg

DSC00794.jpg

Yes I managed to fit the CPU power cable in behind the graphics cards. w00t!
DSC00782.jpg

The fan controller doesn't fit perfectly, but it's close and it works great, especially coupled with the Zalman fans and CPU cooler.
 
Just finished mine up, still have a few things I want to change/swap out but I'm probably 90% done.

Sideon.jpg


Lights on, I decided to go withan LED stirng here, running two sets of 30 white LED's being run off the switches on top.
lightsside.jpg


Top_View.jpg


lightthrow.jpg


Side off, lights off; I decided to go with candy apple red metal flake; it's also probably the last time I end up using metal flake paint in a rattle-can; damn thing clogs a lot and I ended up constantly cleaning it.
Sideoff.jpg


Here is a shot of the 8800 GT's, both running Accelero's and a pair of Yate Loon 120mm x20mm, keeps the cards nice and frosty, ideling around the mid/upper 30's. If you look at the SLI bridge I was able to, (after a while of gentil persuasion, I was able to remove the fins from the top Accelero and put the bridge between them, then reseat them; this one I'm very happy the way it turned out.
SLIcards.jpg
 
Stealthy DVD-RW Drive:
p1010188xx9.jpg


Innards:
p1010185pr6.jpg

p1010184sv1.jpg


I'm was using the dominator cooling module as an intake to get air to my video cards. It actually works quite well until the module starts taking in air from the videos cards' exhaust. So now I'm not using it.
 
New Case: Lian-Li PC-V1000Z

IMG_0463.jpg

IMG_0464.jpg

IMG_0466.jpg

IMG_0467.jpg

IMG_0468.jpg

mmm...hot-swap sata bays.

Also, added another 2 500GB Samsung harddrives bringing it up to 3x500gb and 3x200gb. Planning to replace the 2 120mm fans with 2 Delta GHS 120's.
 
Initial build

P5Q%20Build%202.JPG


Rebuilt a few weeks later for some much improved cable management

P5Q%20Build%204a.jpg


Back of the modified case

P5Q%20Build%205.jpg
 
Just changed my case to the Rocketfish and did some fun modding. Did the side window myself, the top mount for the 320 rad and the loop got redone. I will have it going to my MCR60 when I upgrade.

The UV lights actually work during the daytime with light too, but not enough light and the flash messes it up. Fesser blue UV Die, and it is sure as heck UV reactive.

img1631mp8.jpg


img1633eg3.jpg


img1635cm2.jpg


img1639zl6.jpg


img1640ha6.jpg


img1641kq0.jpg
 
It doesn't look like I posted pics of my new rig in this thread yet!


It works - mostly - and I love it.
 
I finally got the interior lined and I settled on a color. Disregard the hole where the power switch should be, I plan on getting a new one... maybe a Bulgin Vandal. Also disregard the wire that's hanging inside... it belongs to the soon to replaced power switch. I was also thinking of getting some mesh bay covers.

IMG_2197.jpg


IMG_2199.jpg


IMG_2203.jpg


IMG_2205.jpg
 
heres the first computer i built its liquid cooled with a bigwater 760i and has q6600 and an overclocked 9600gt

2006082022by5.jpg


4616547068a8145178889ltb6.jpg


0308081942mh9.jpg


0308081944cw3.jpg
 
Out with the old
145.jpg


In with the new

No Flash
hdd040.jpg


Flash
hdd044.jpg


Mobo Lights
hdd045.jpg


Night Pics
hdd046.jpg


hdd047.jpg


hdd048.jpg


The vast improvements from the old including my "new" used Jerker desk (YAY Craigslist)

hdd049.jpg


hdd050.jpg


Game Collection (only the very best);-)
hdd051.jpg


hdd052.jpg


Xbox 360 60 gb version and my Lego Technic dirt bike
hdd053.jpg
 
I made a minor change. I had an idea an I wanted to try it out to see what it would look like. I bought some charcoal fiberglass screen and lined it on the inside of the panel behind the window... I love the results. I tried to capture this in the pictures as best I could, but the pictures don't do it justice... it looks so kickass in person. Just thought I'd share.

mesh3.jpg


mesh4.jpg


mesh2.jpg


mesh.jpg
 
Here's my modest setup. Just moved into college apartment so i figured I'd throw this up here.
Entire Setup
house002.jpg


Tower insides
SL380163.jpg
 
I played around with some of the settings on the XTi and came up with a couple of shots that show the fiberglass screen better... gotta love the manual mode :D

redlights19.jpg


redlights18.jpg


Here's a couple more shots I consider to be decent... for all you V series lovers out there ;)

redlights14.jpg


redlights15.jpg
 
with 4850

2850526109_352900f1c6_b.jpg


with 9800 gtx

2850520851_e7cb541c8a_b.jpg


final -- with gtx 260 (and all 4 sticks of memory, pic just didn't include it as it was doing some tests)

2850523567_22ec94e247_b.jpg


using a sonata 3

2851345762_b814cd6efd_b.jpg
 
Status
Not open for further replies.
Back
Top