SR-X

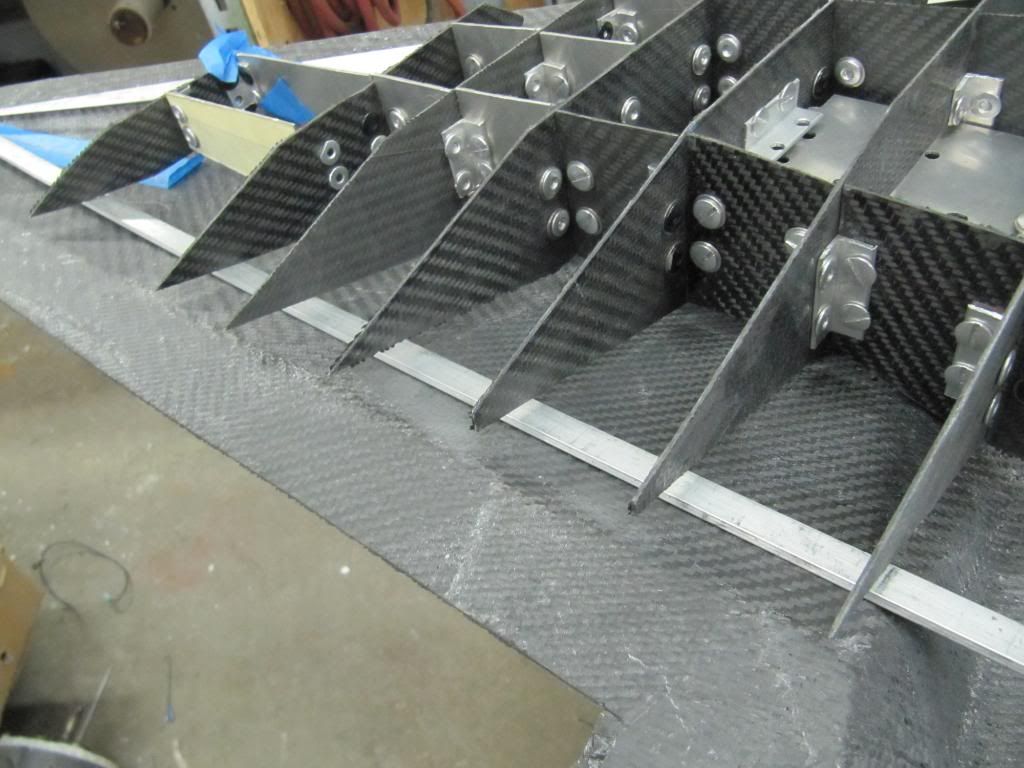
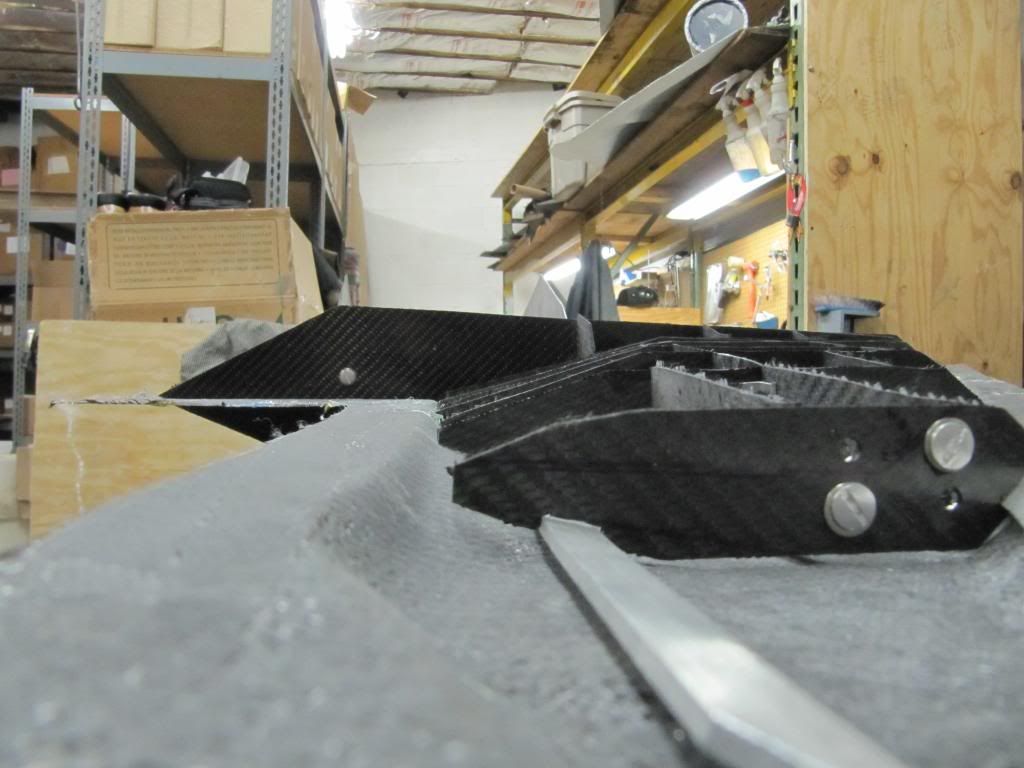
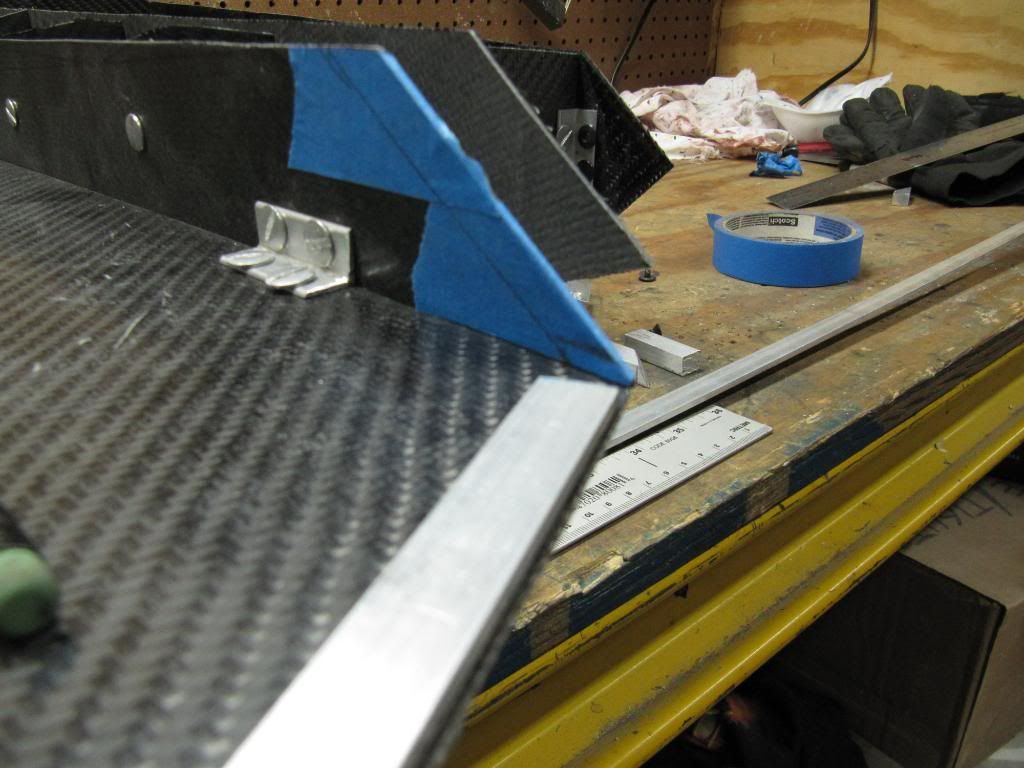
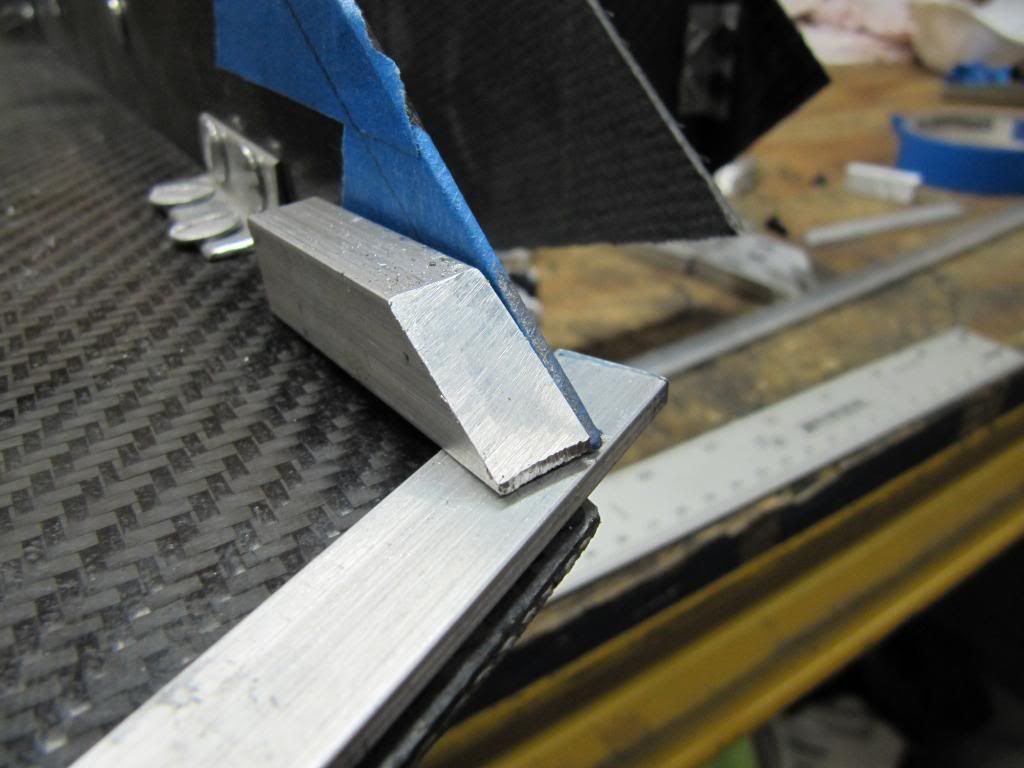
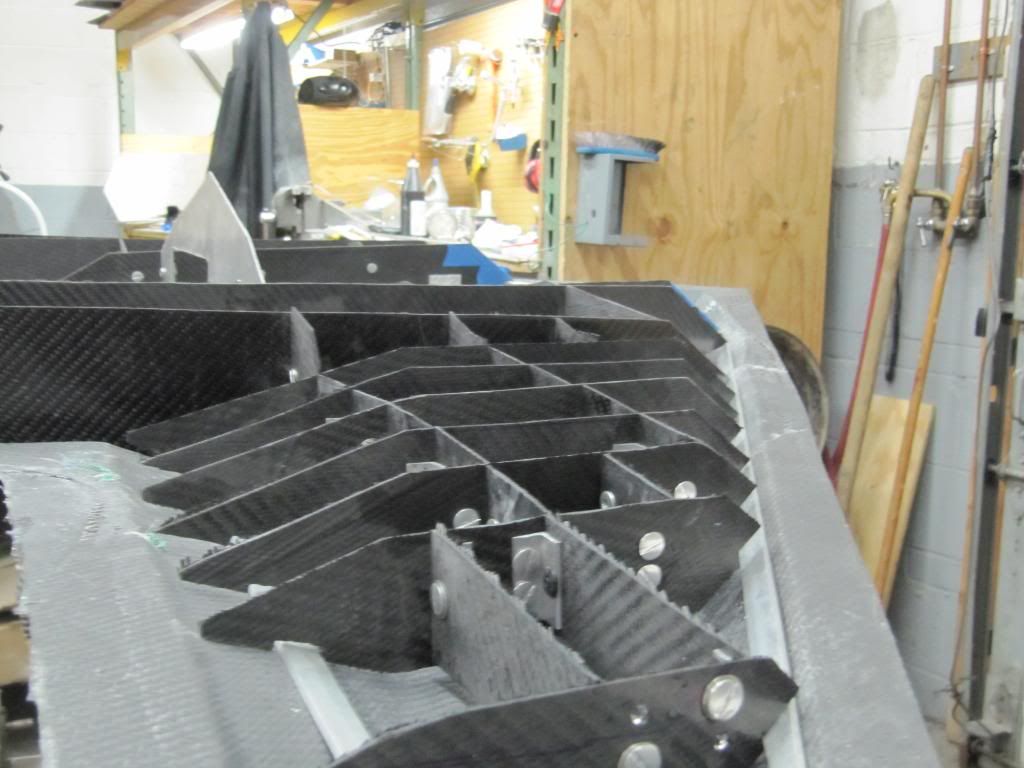
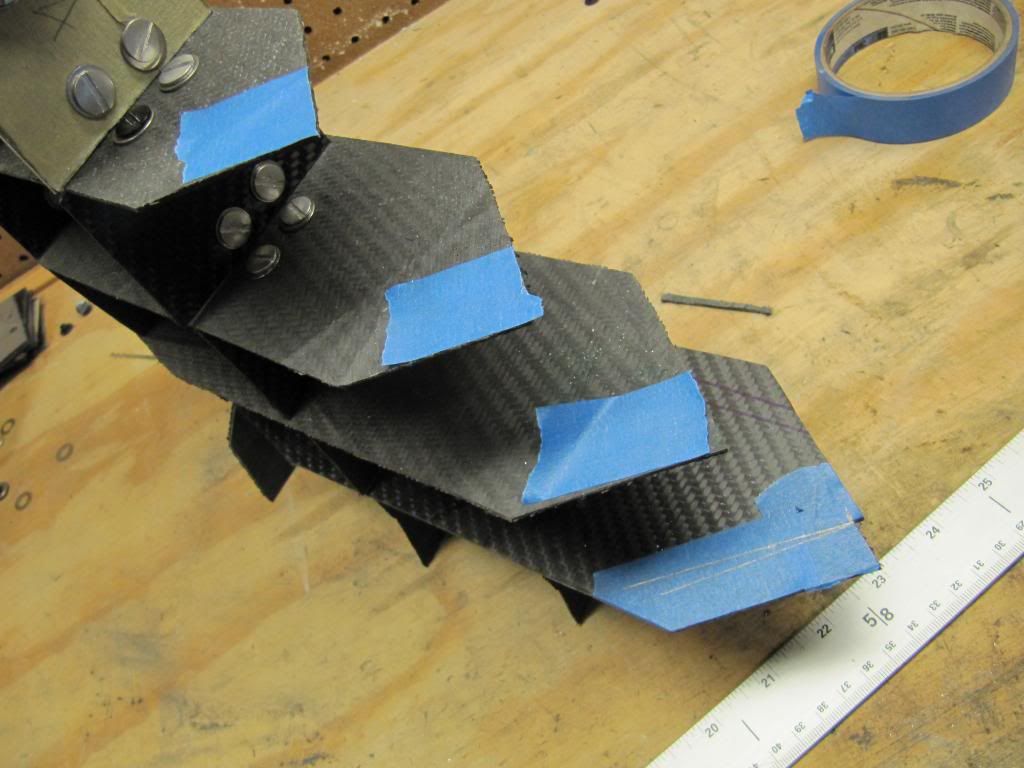
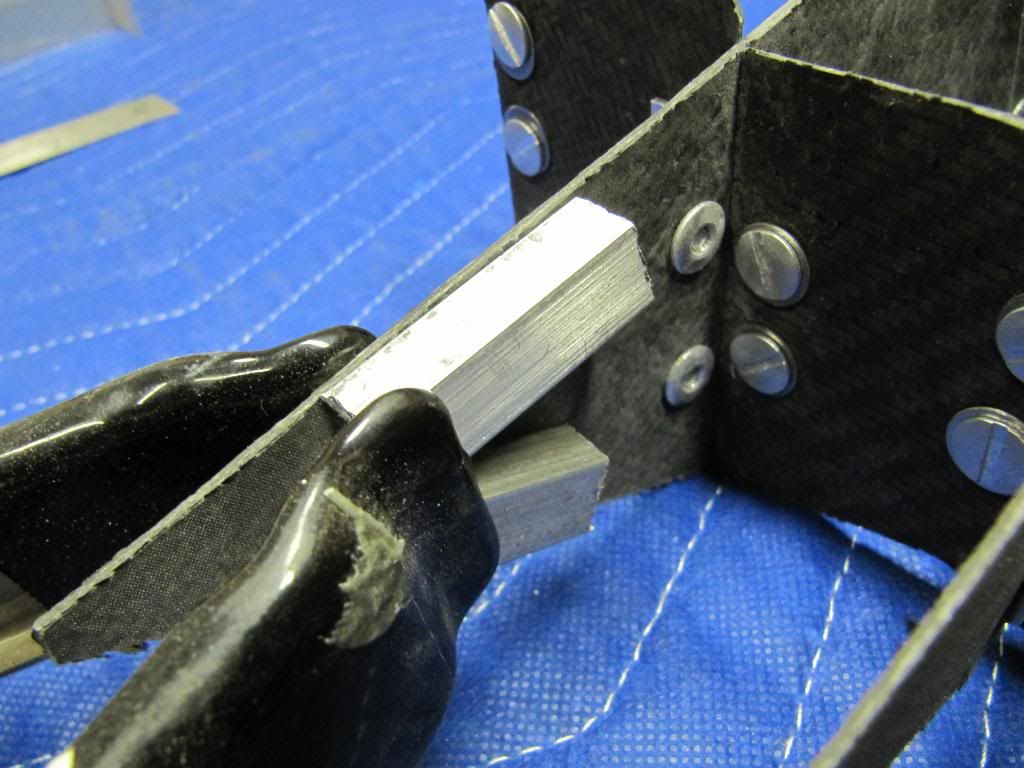
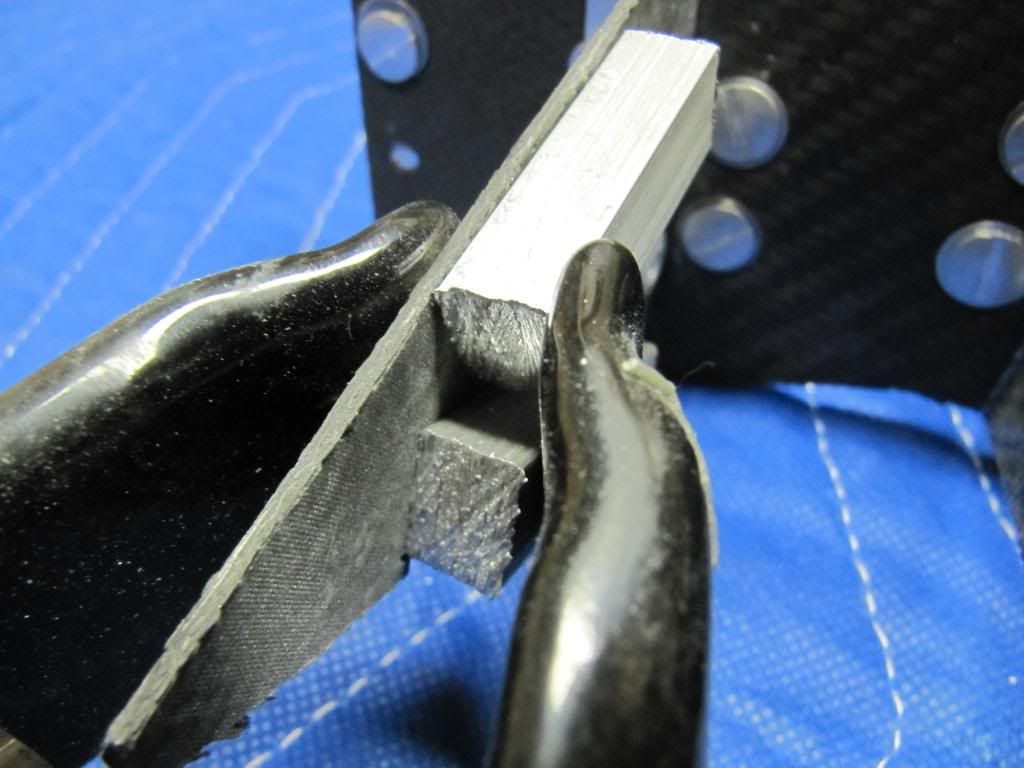
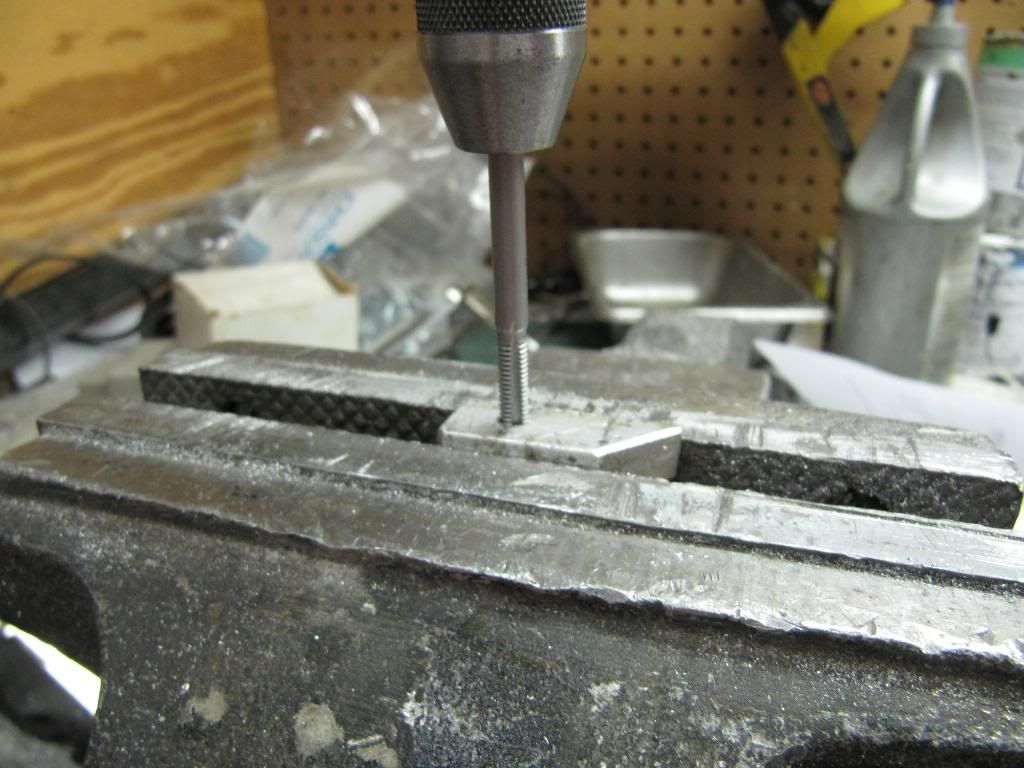
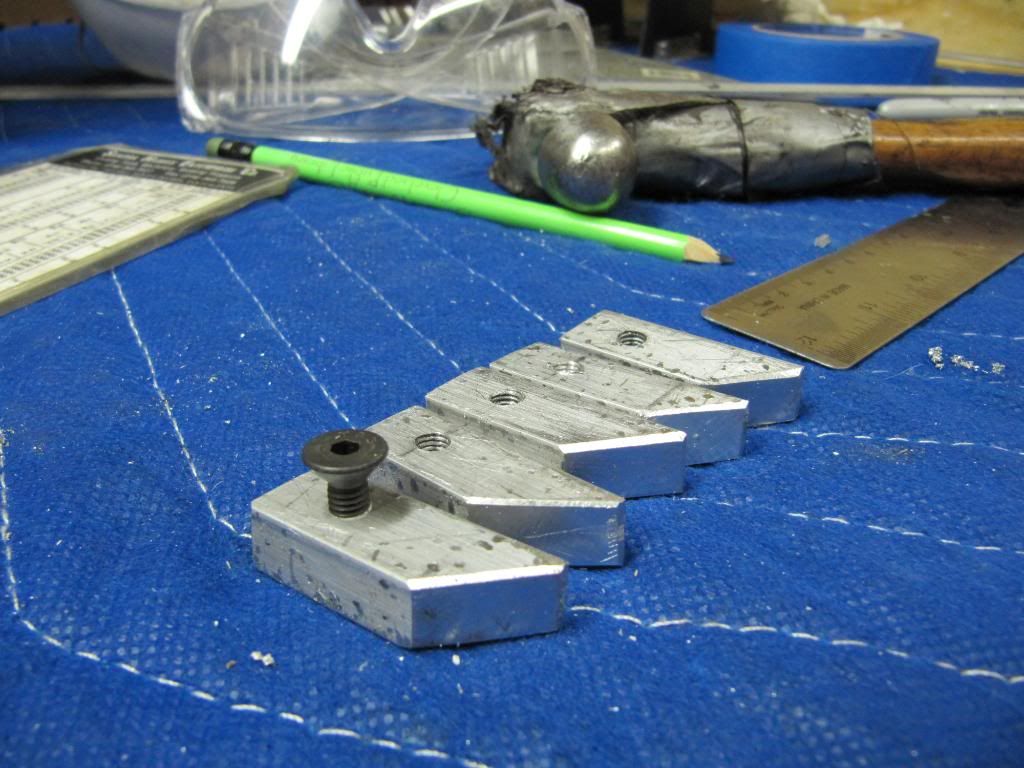
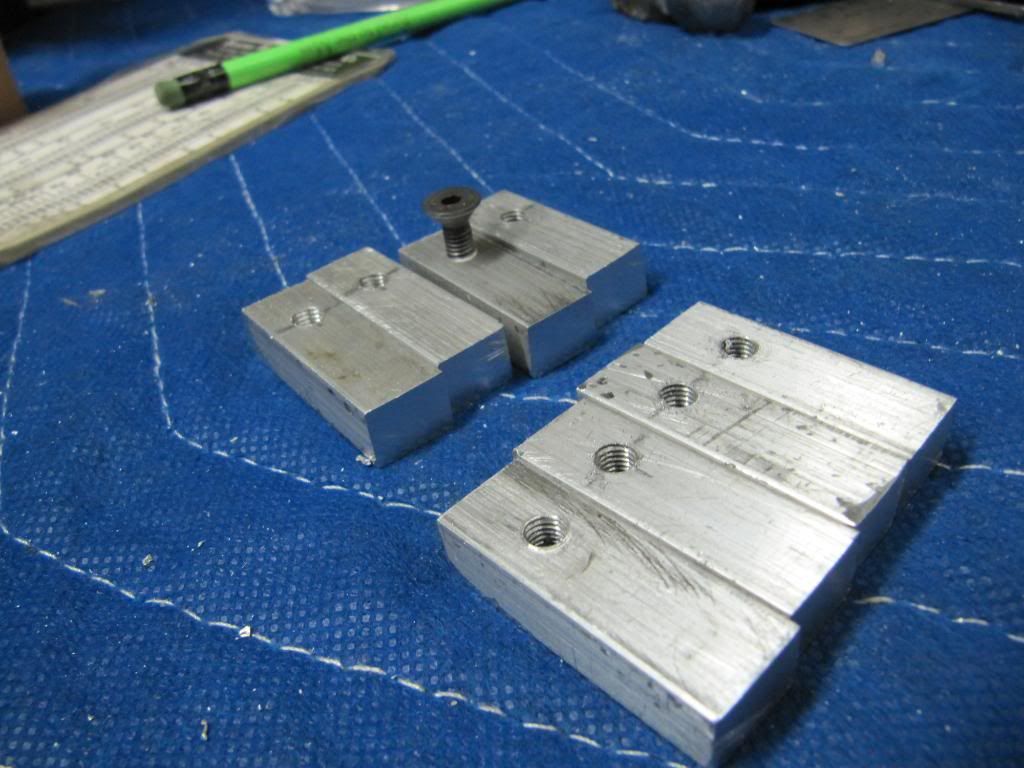
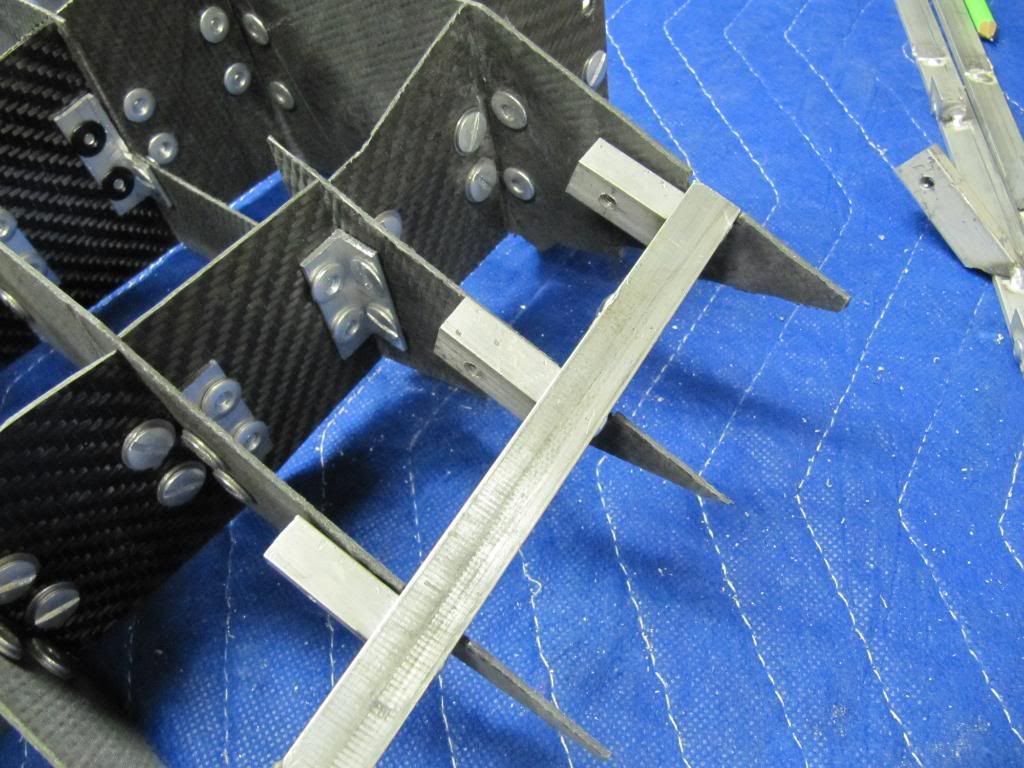
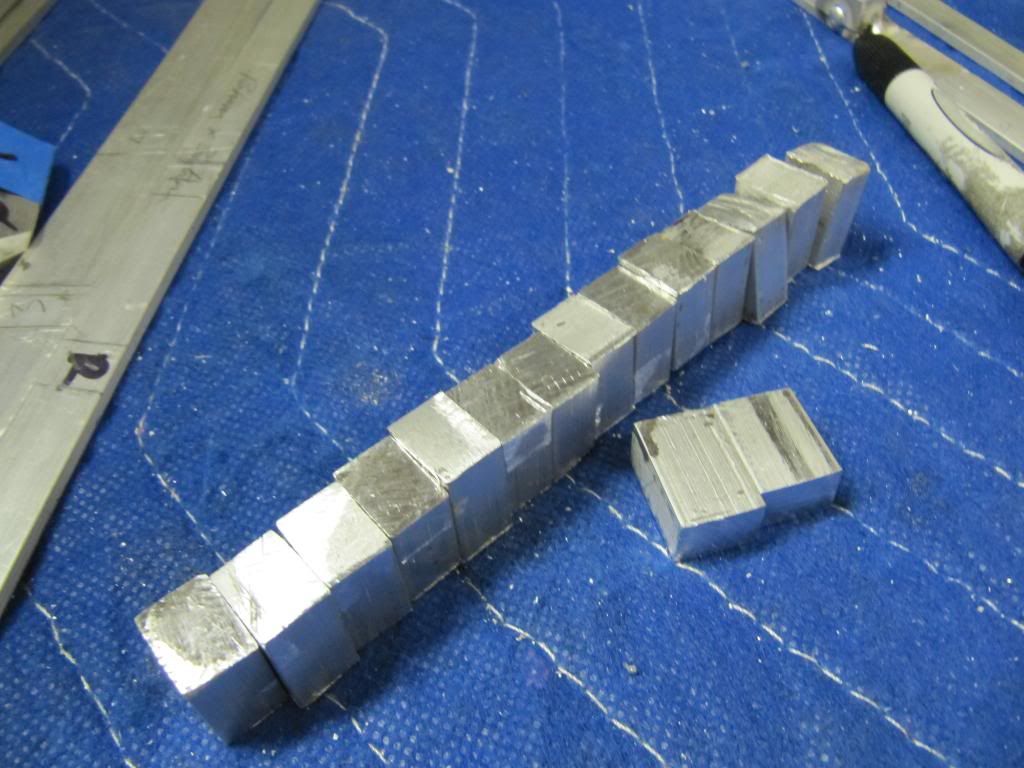
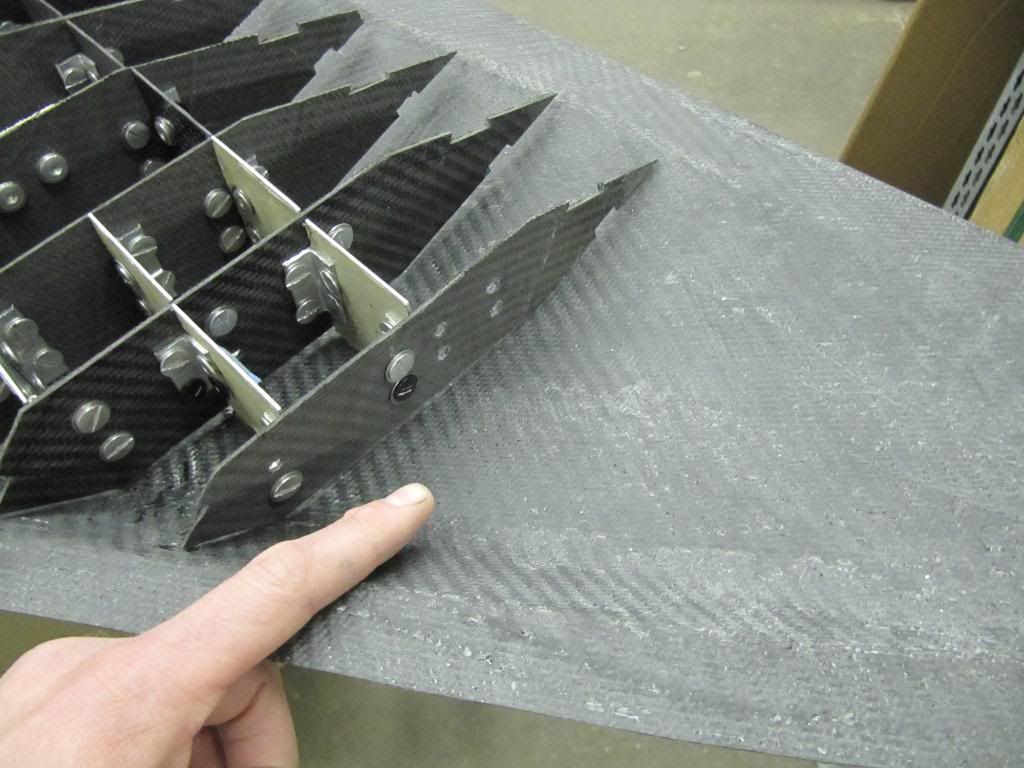
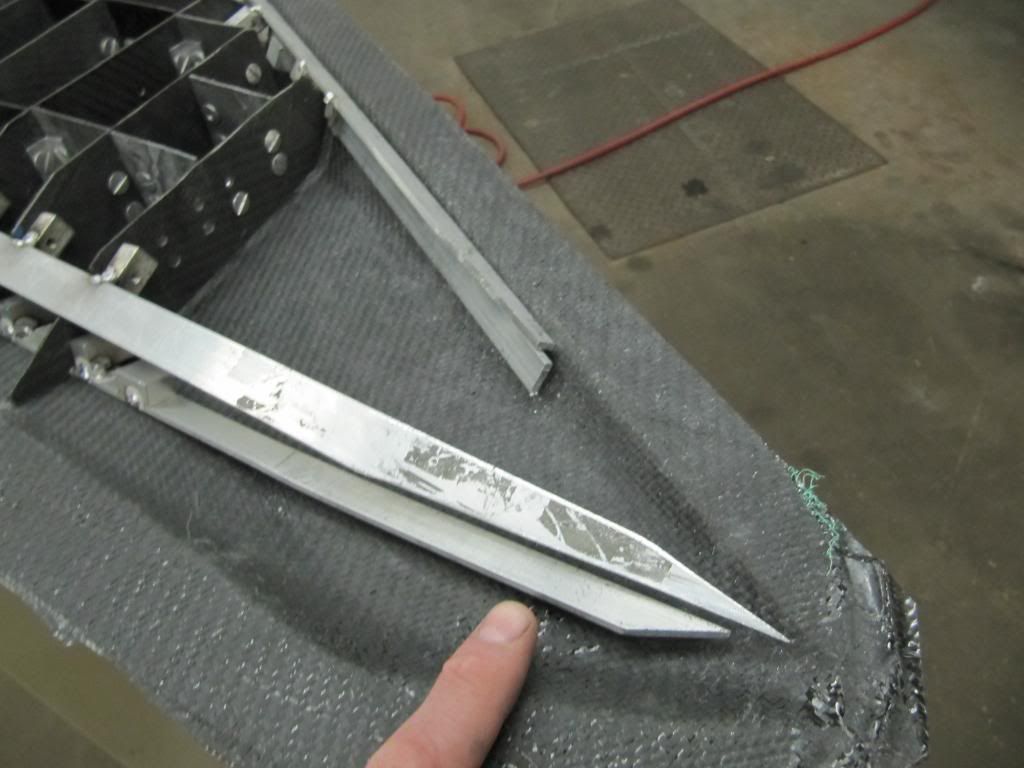
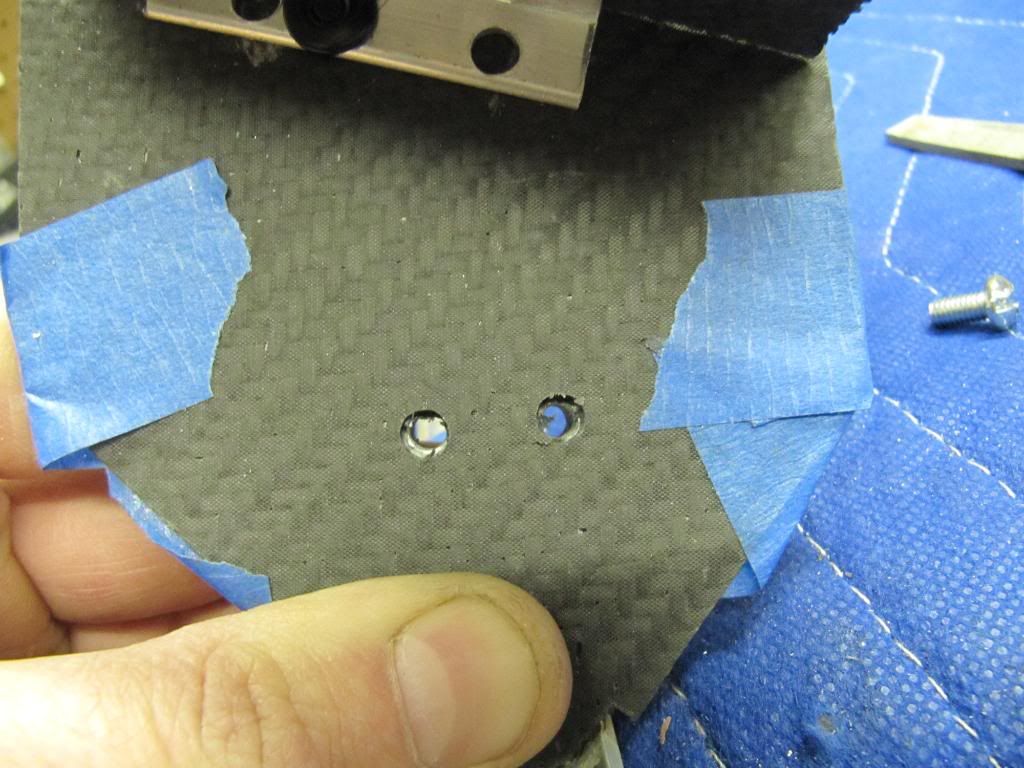
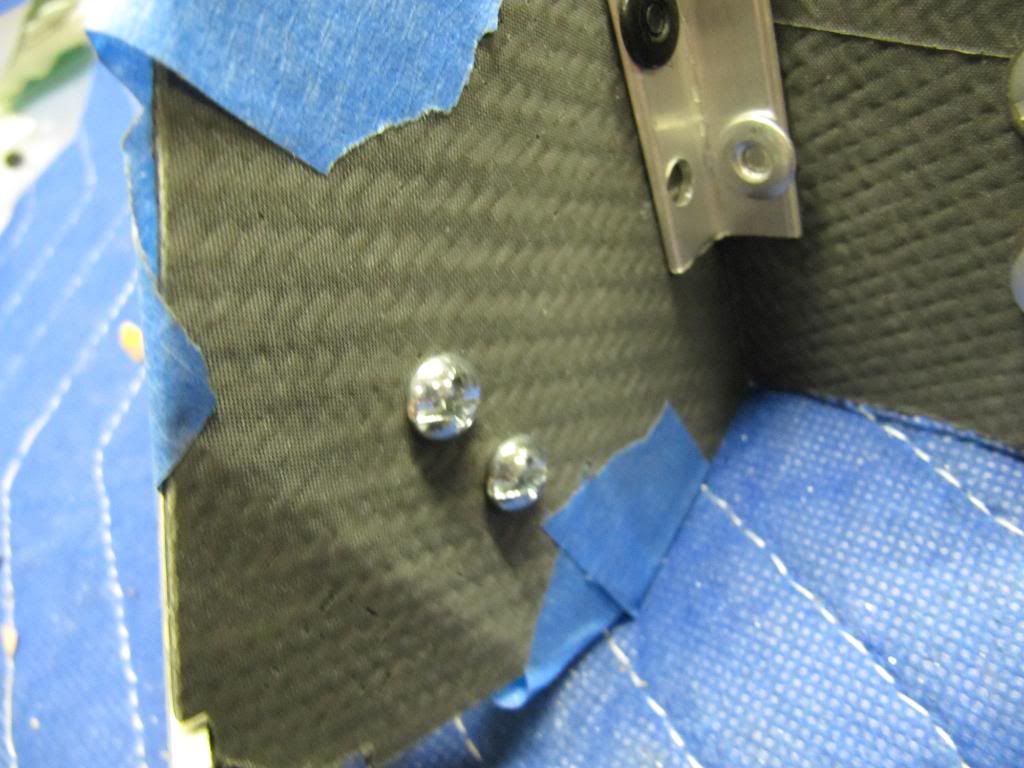
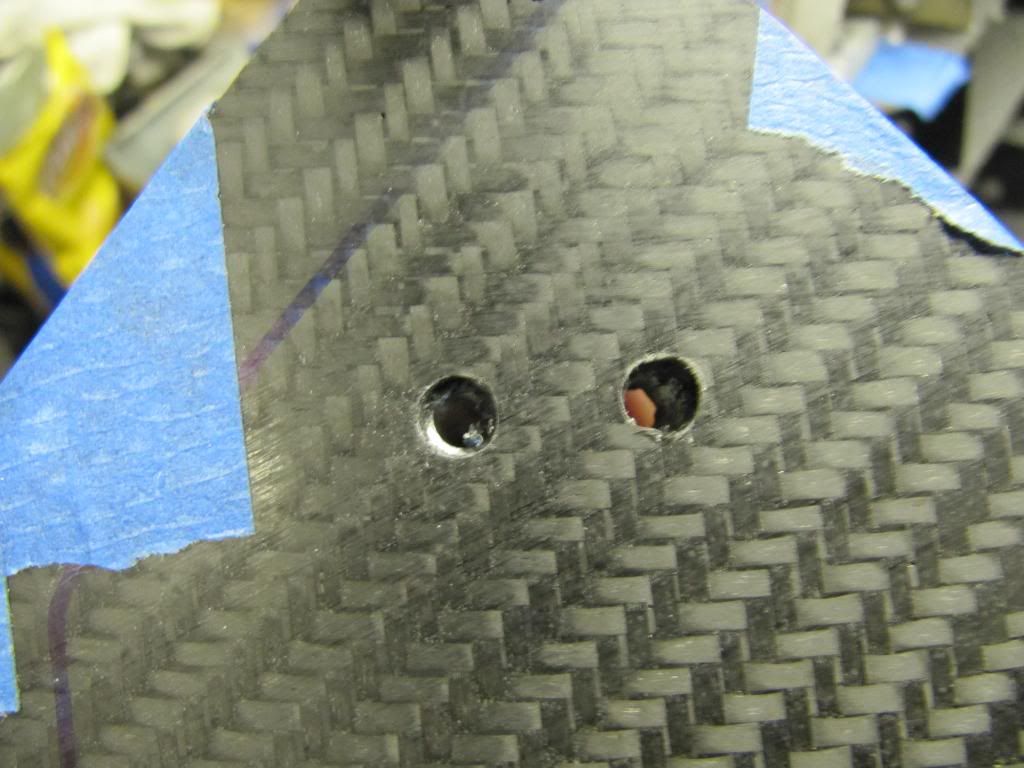
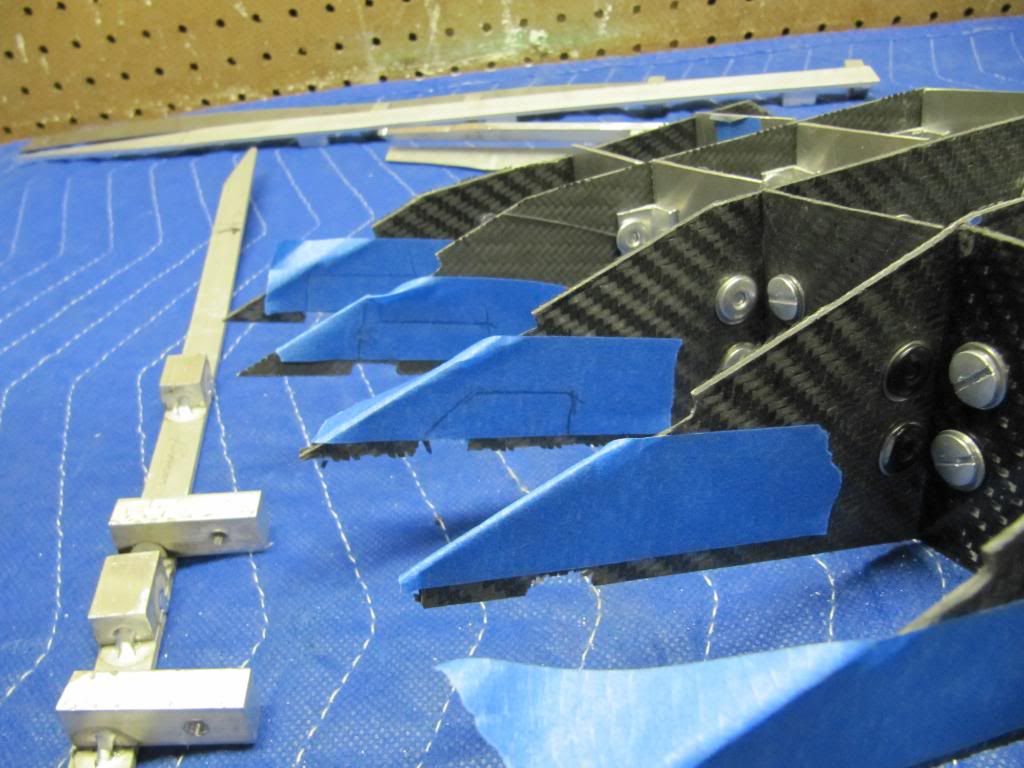
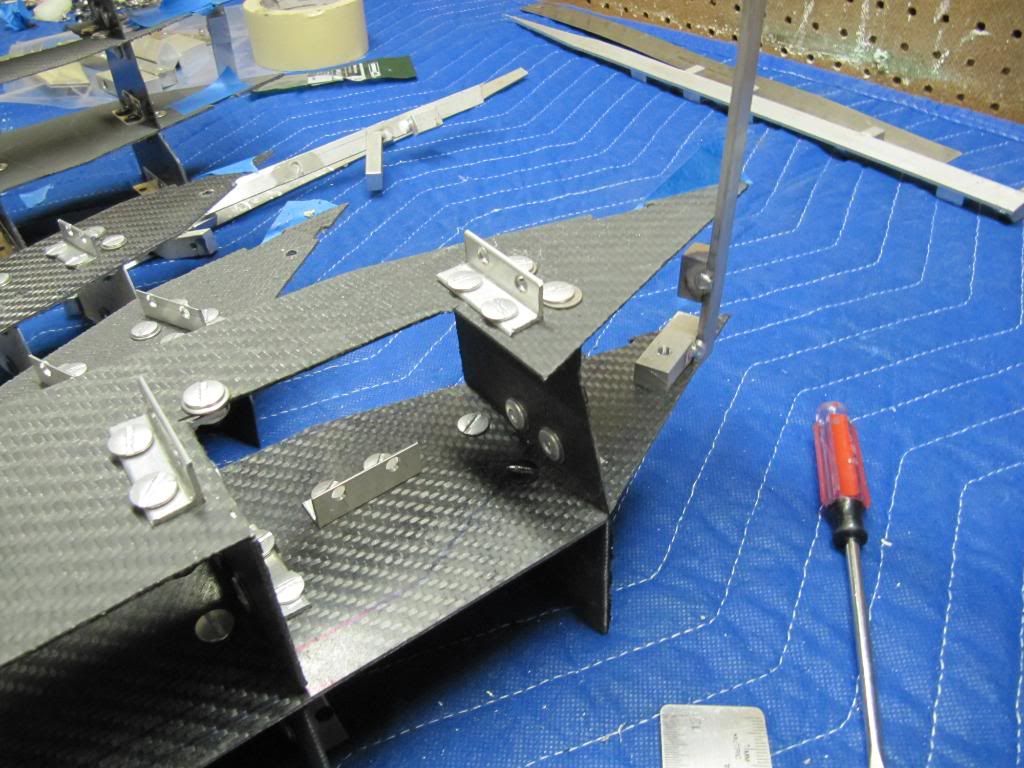
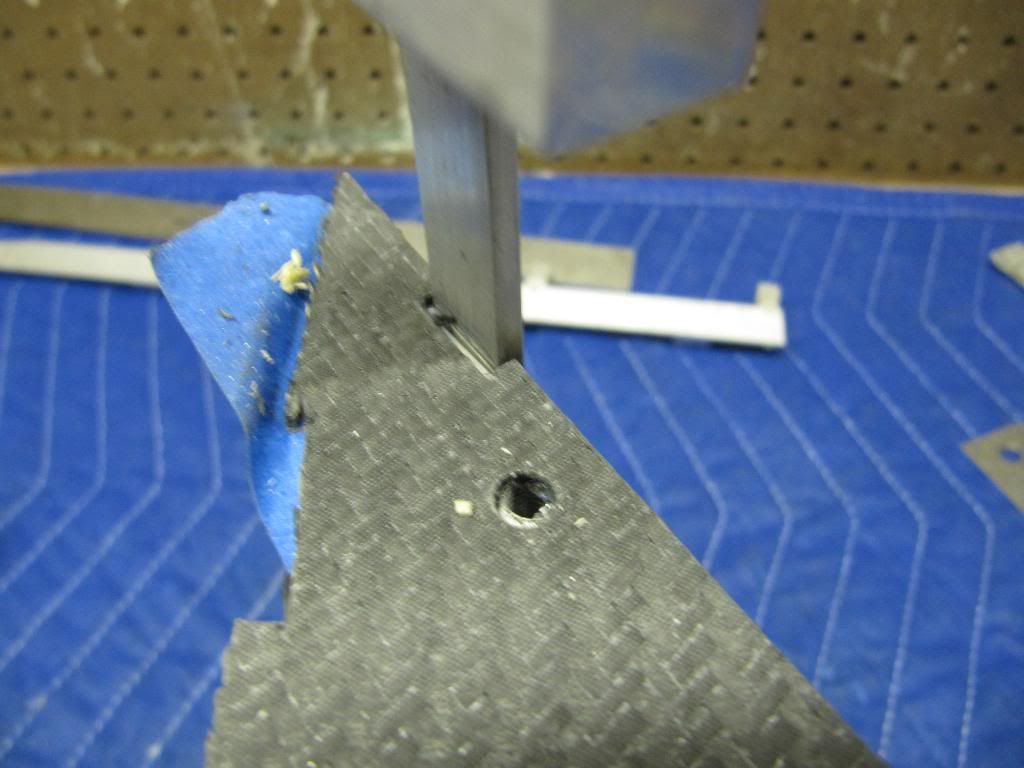
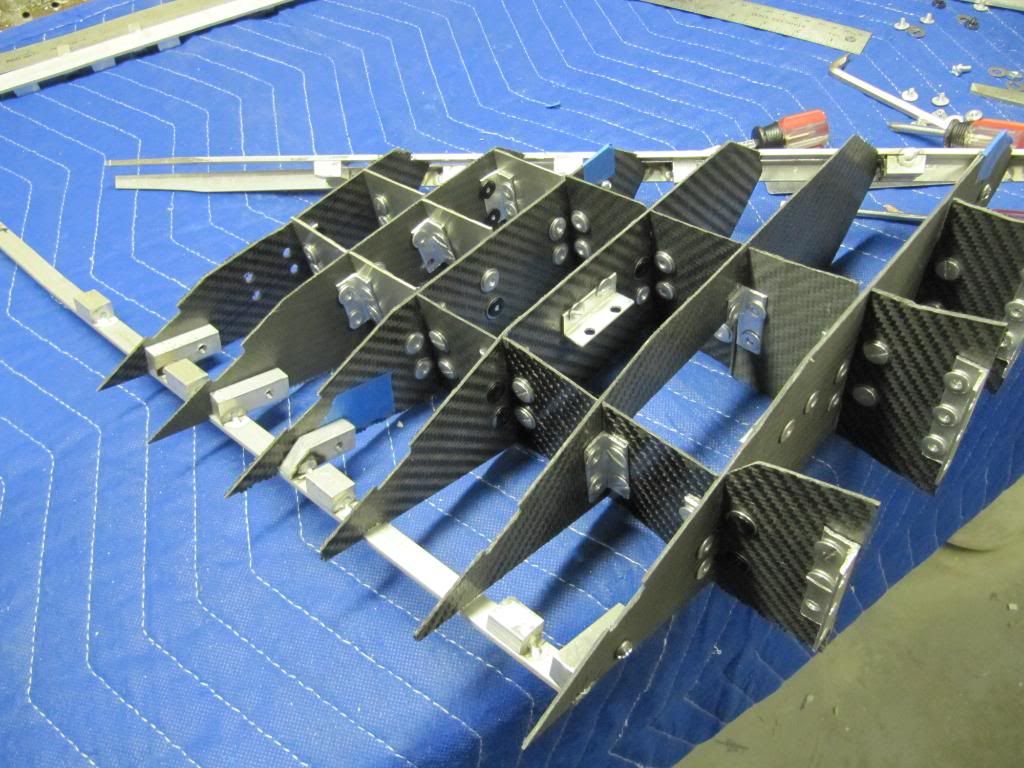
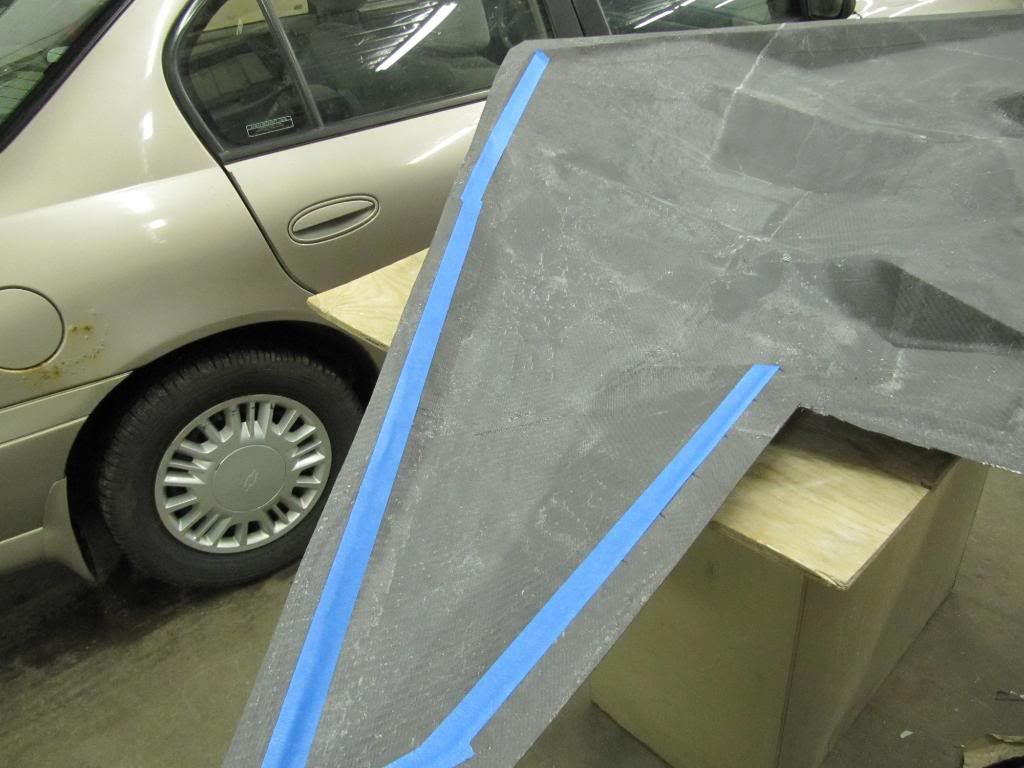
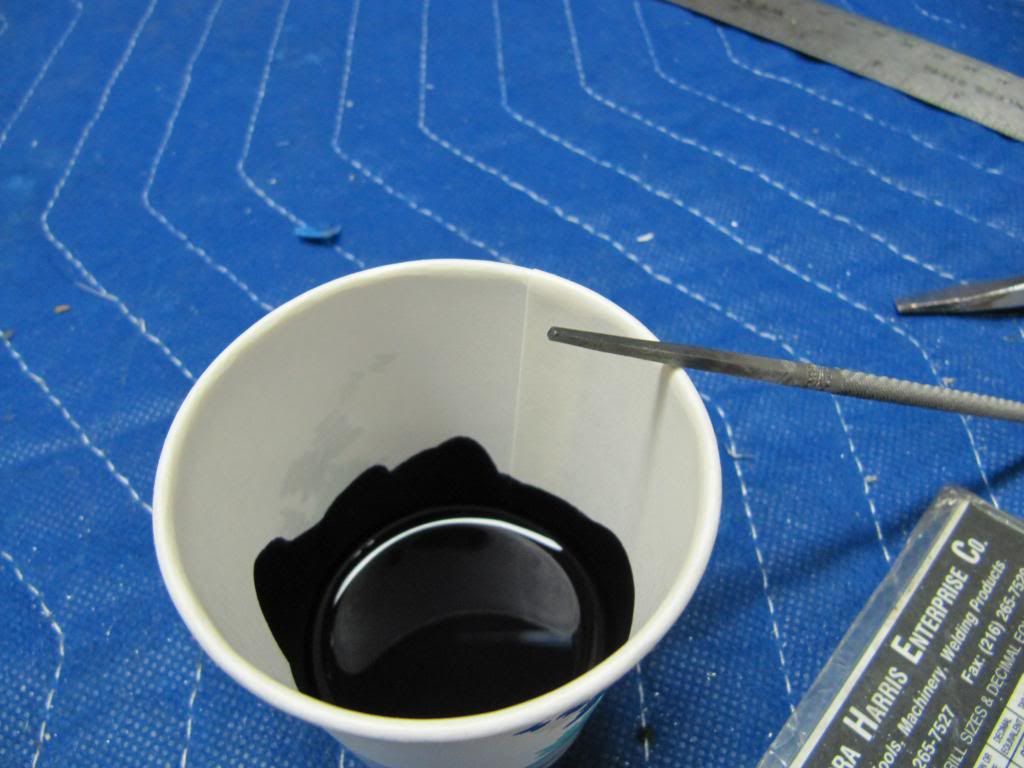
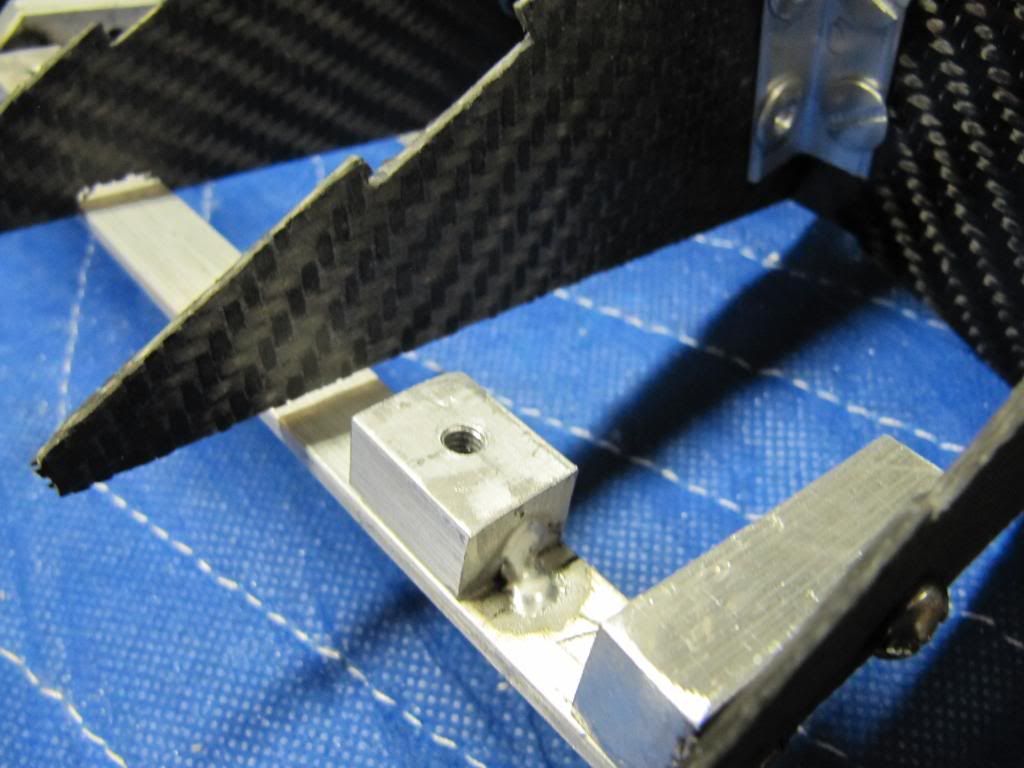
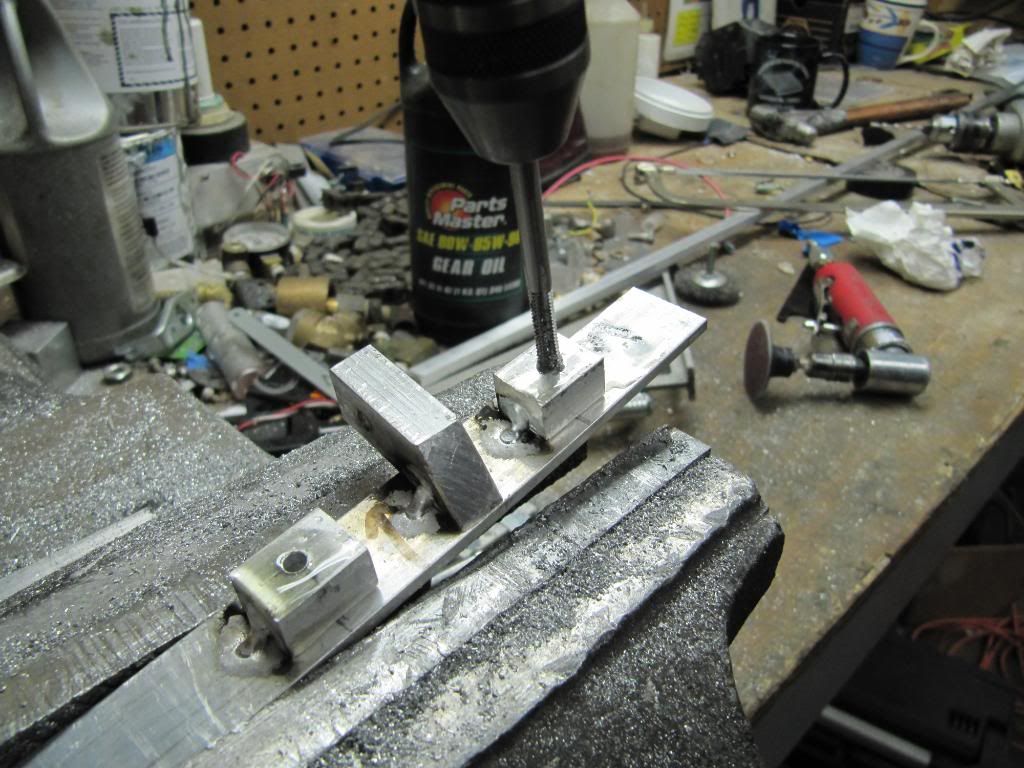
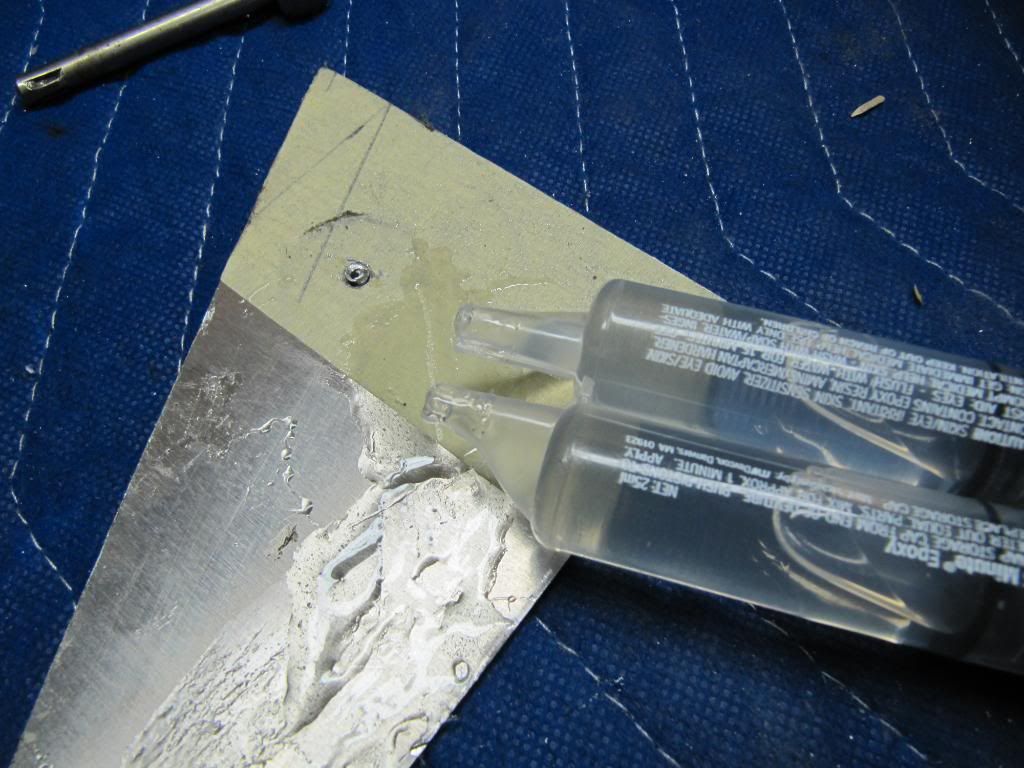
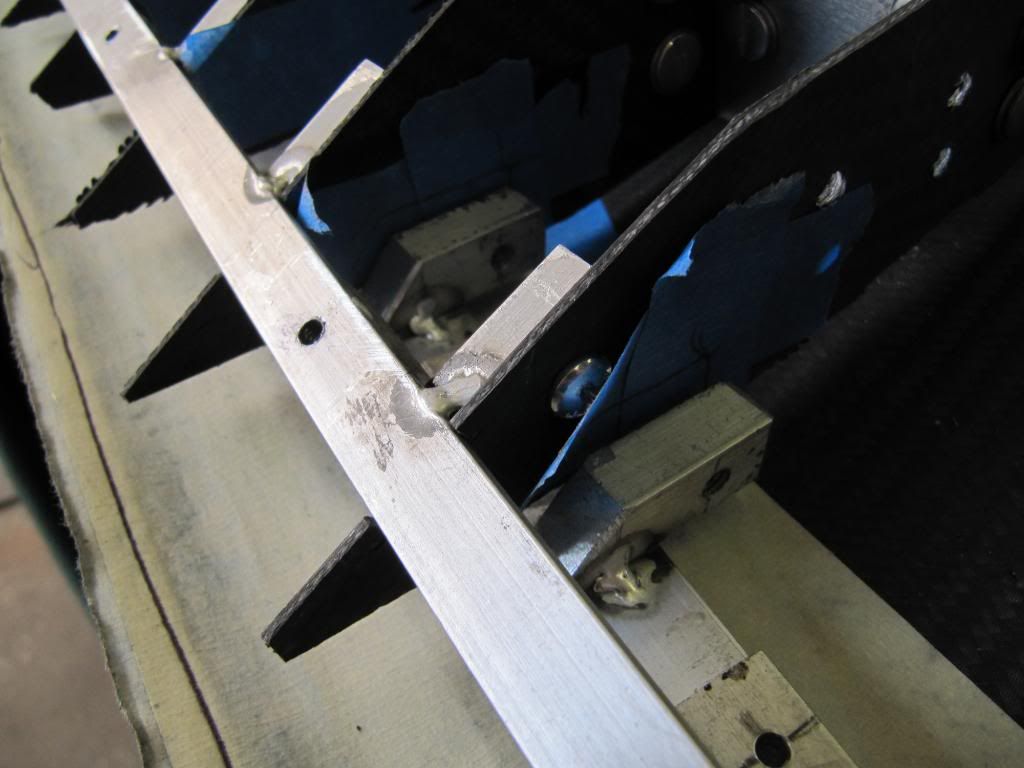
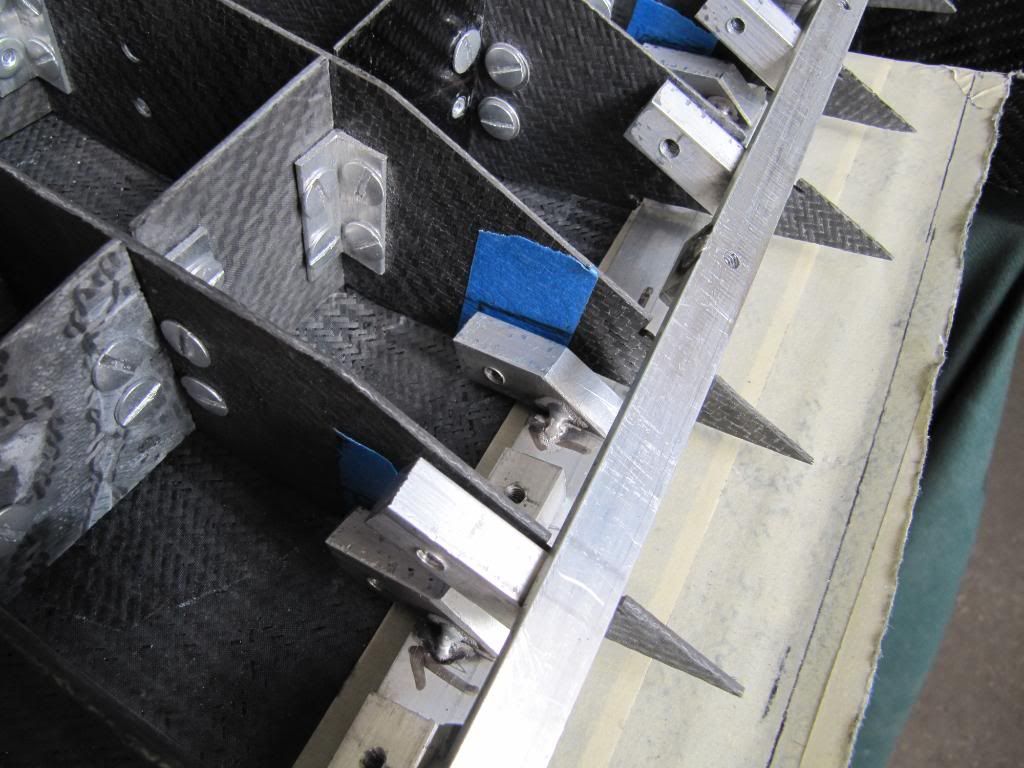
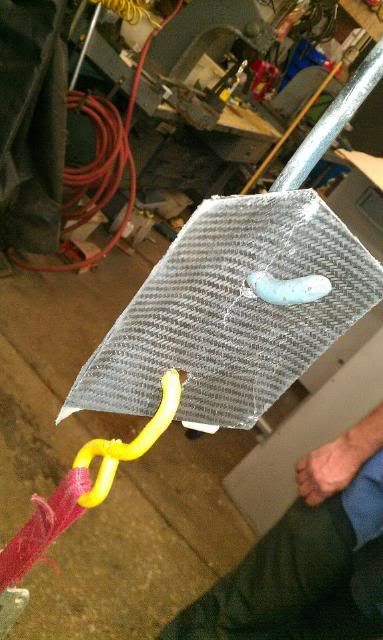
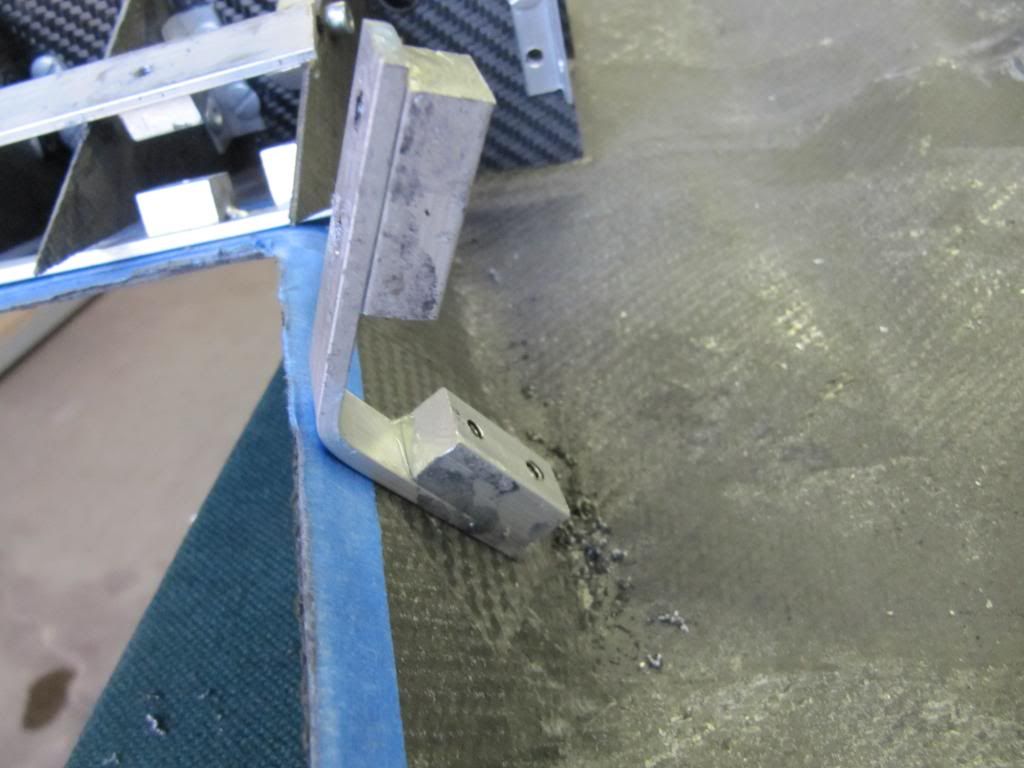
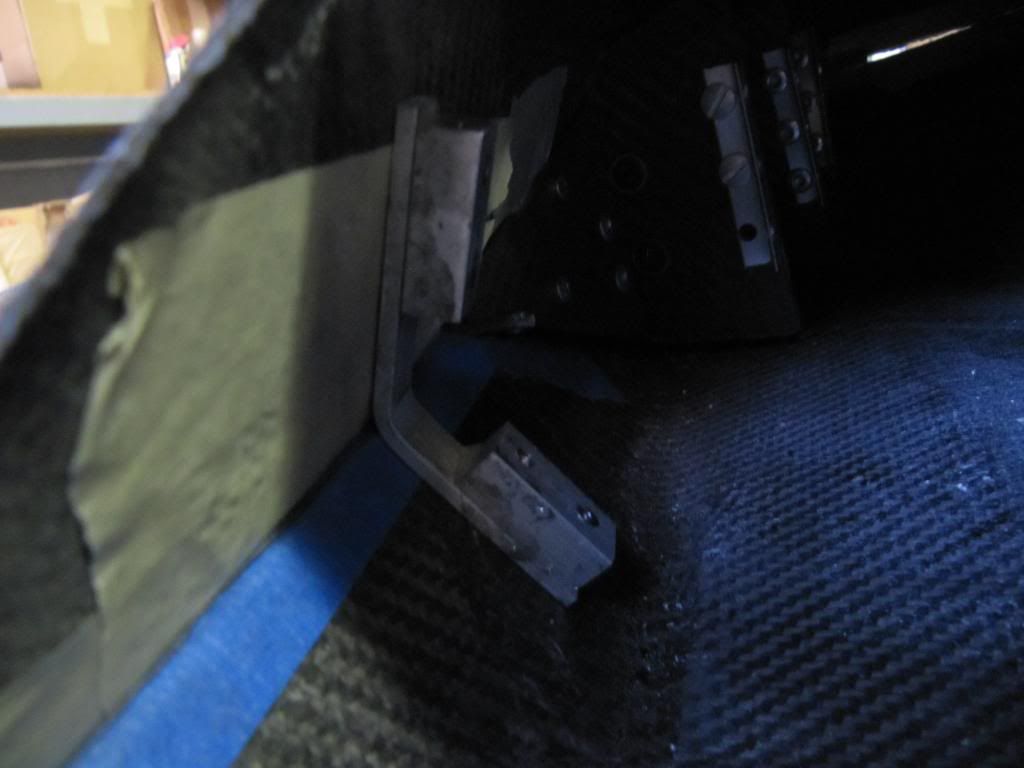
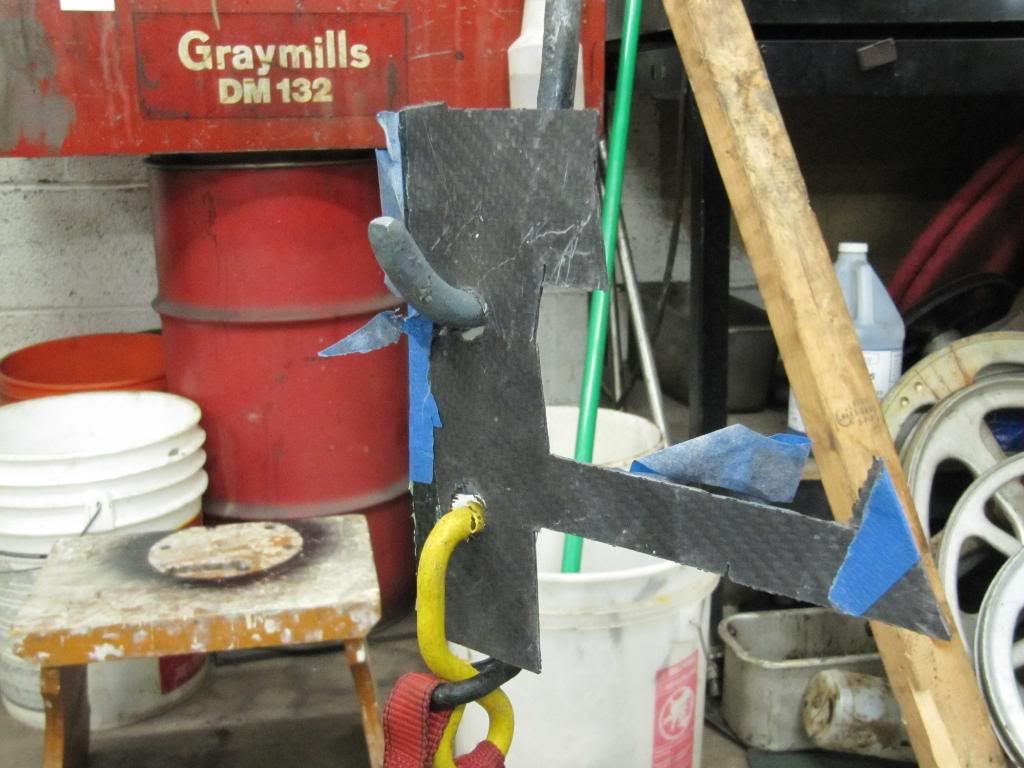
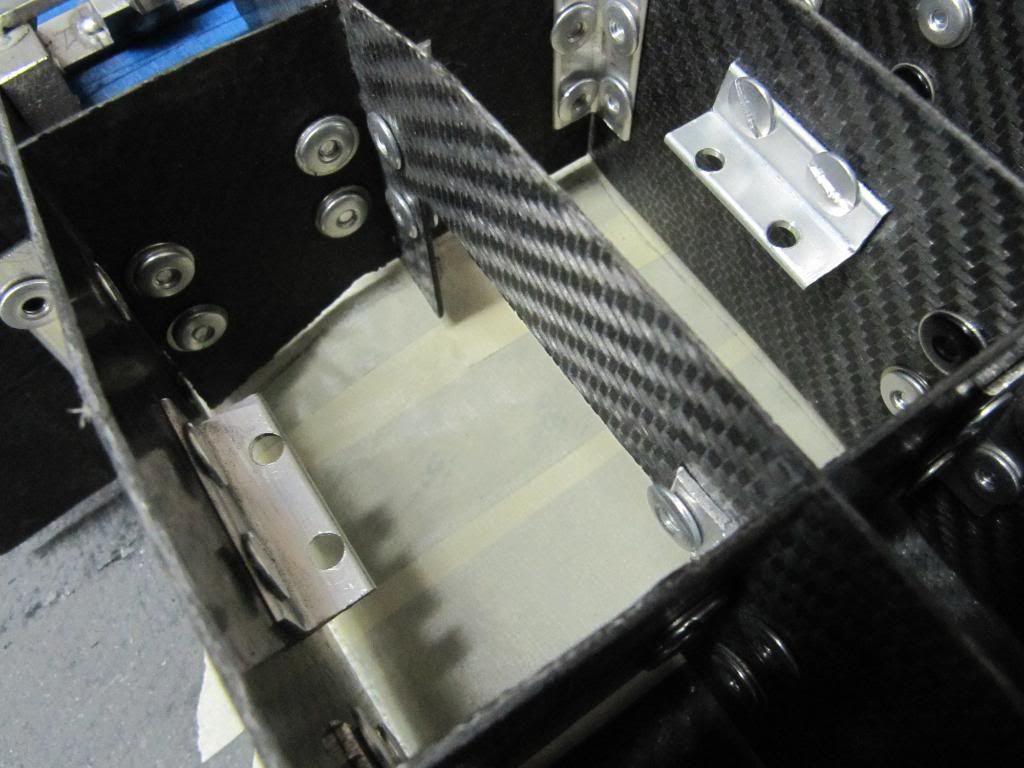
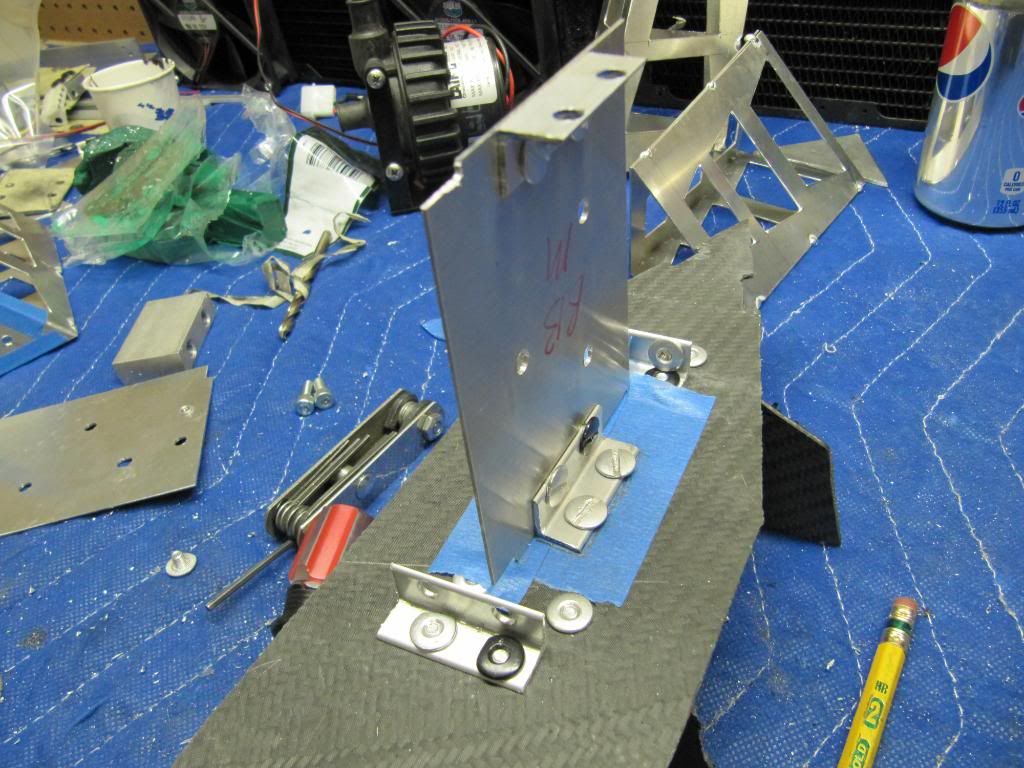
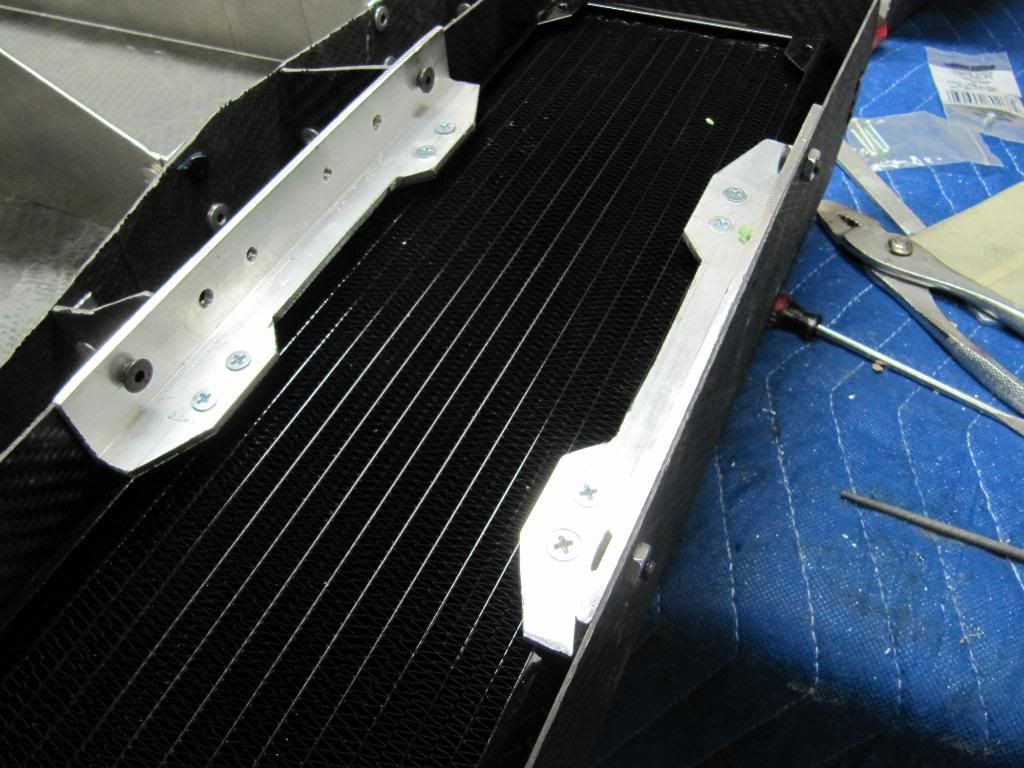
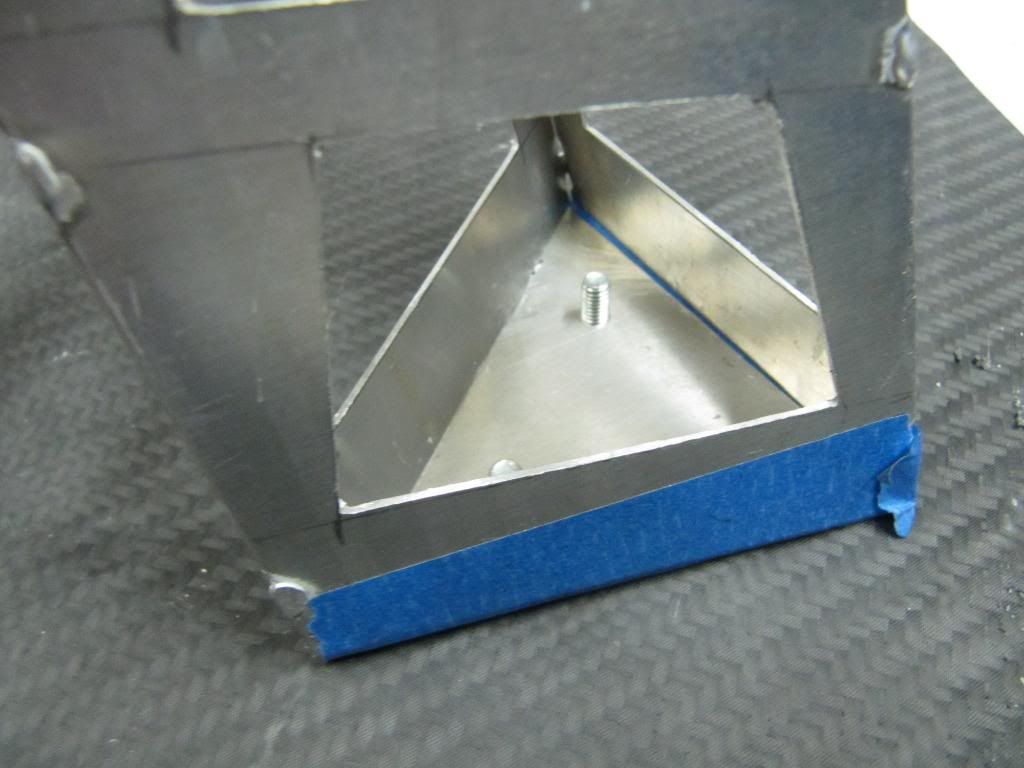
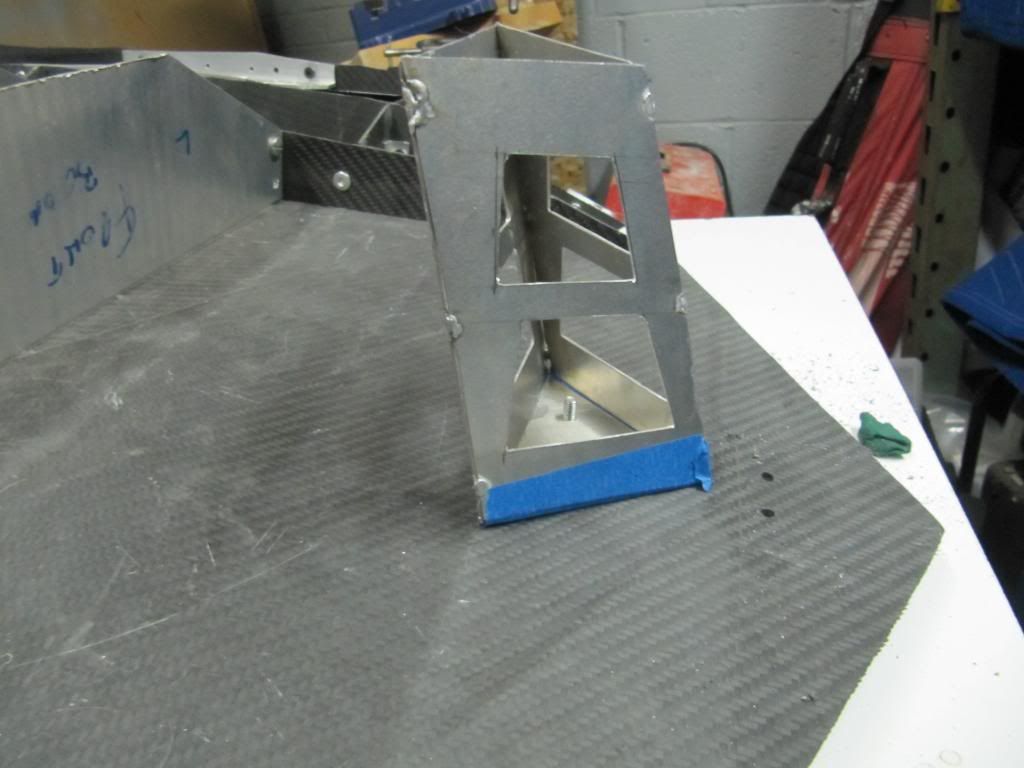
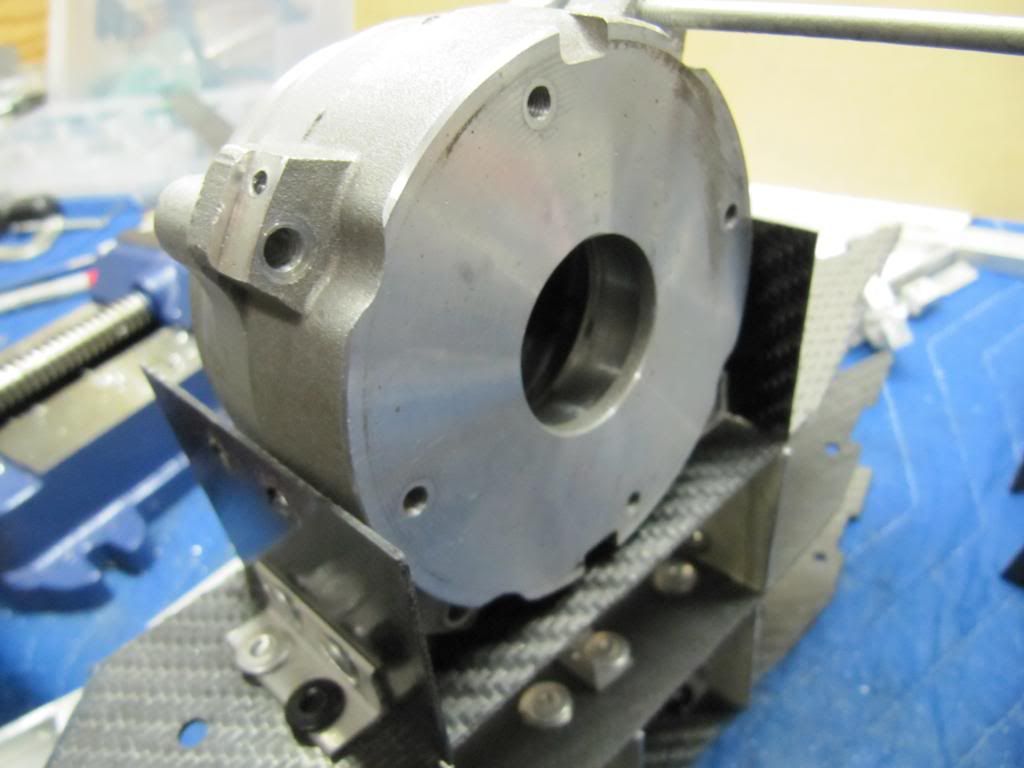
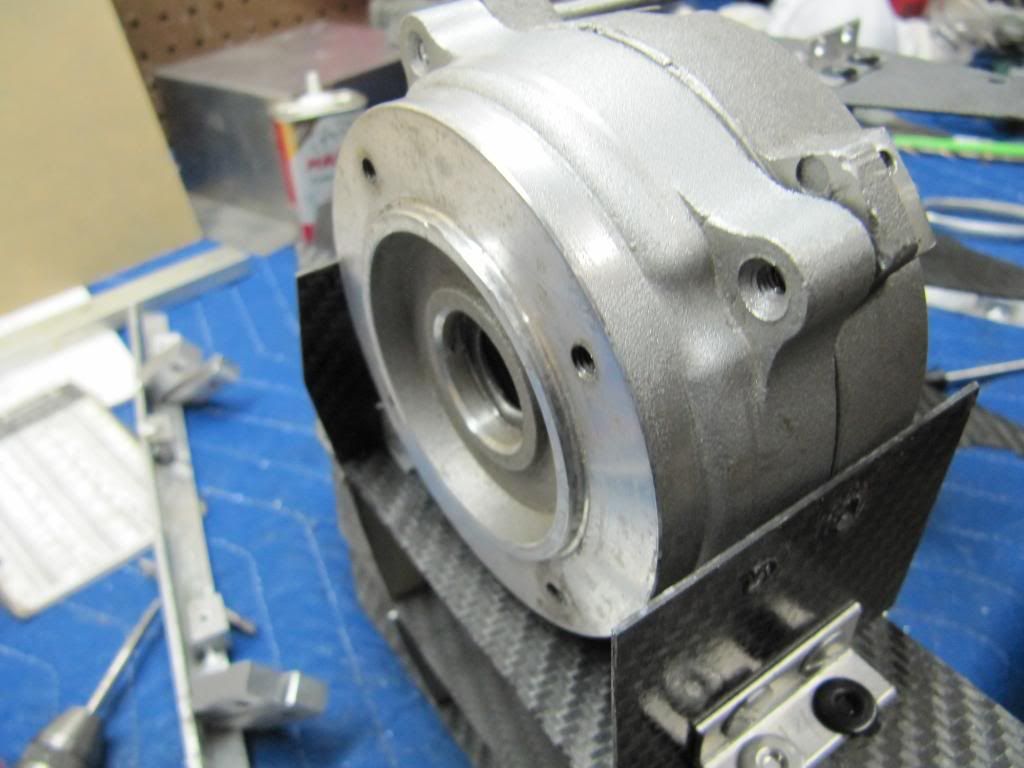
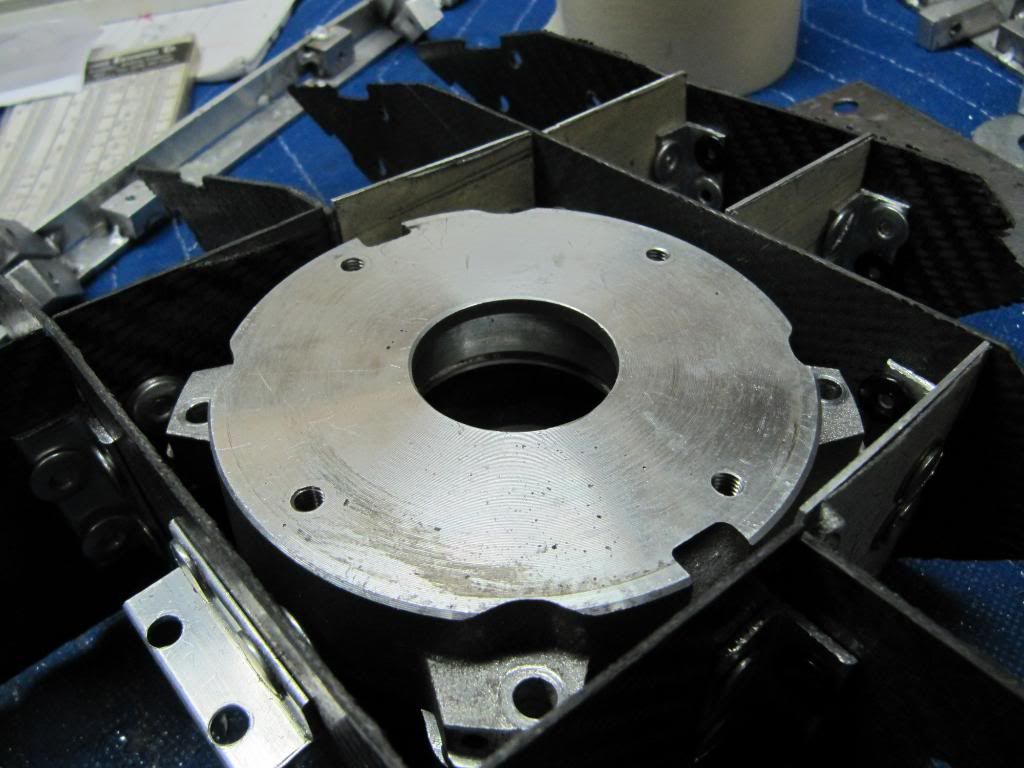
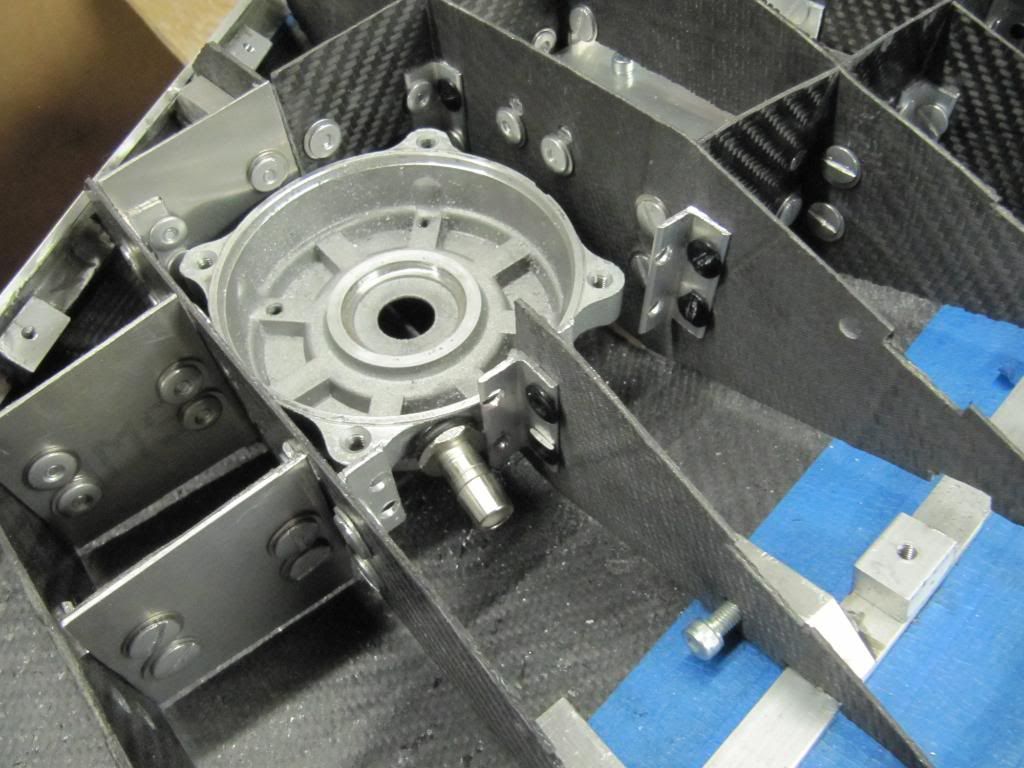
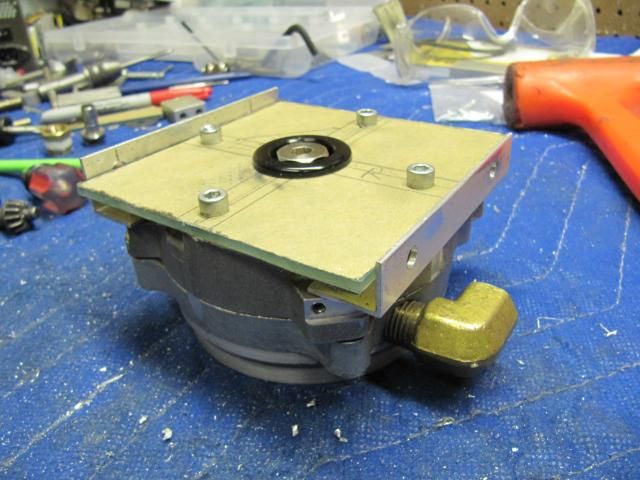
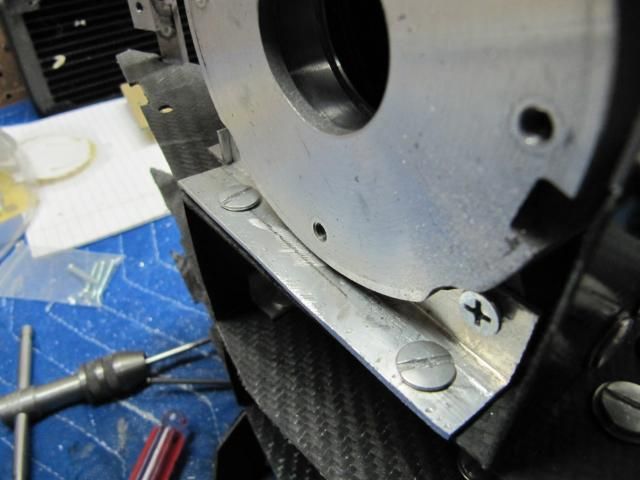
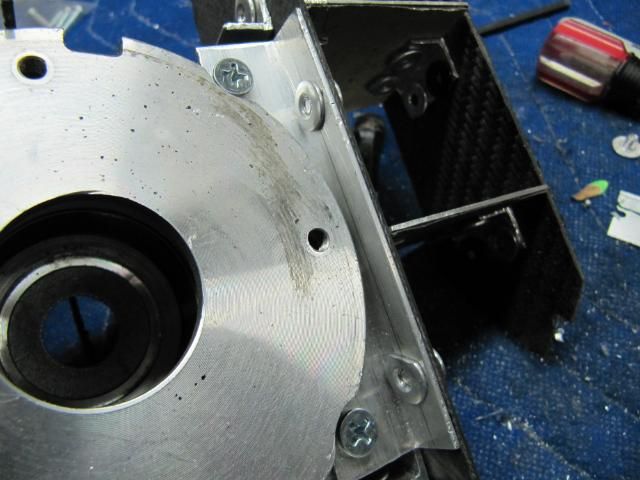
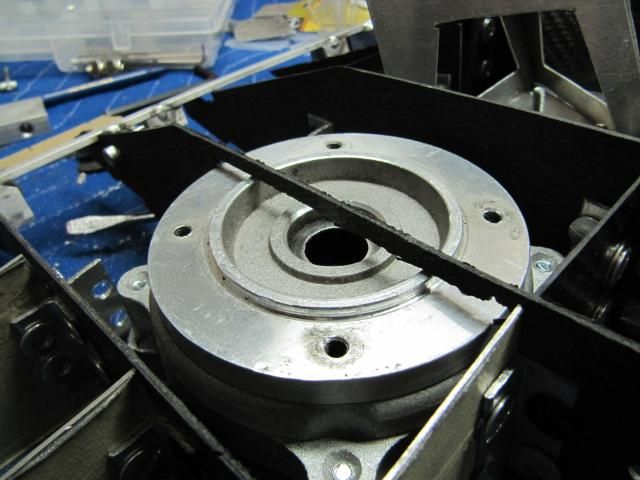
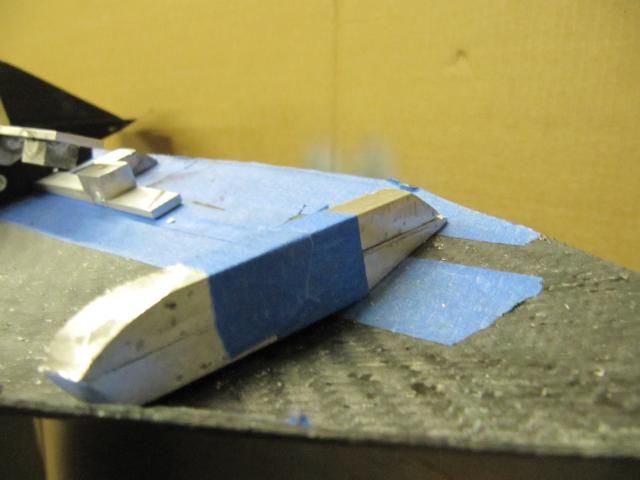
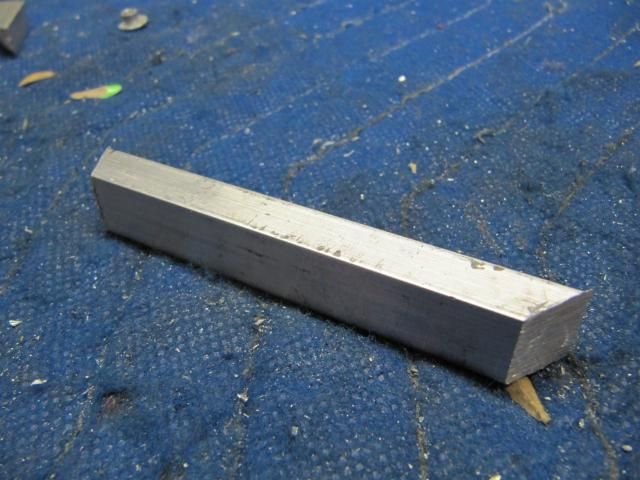
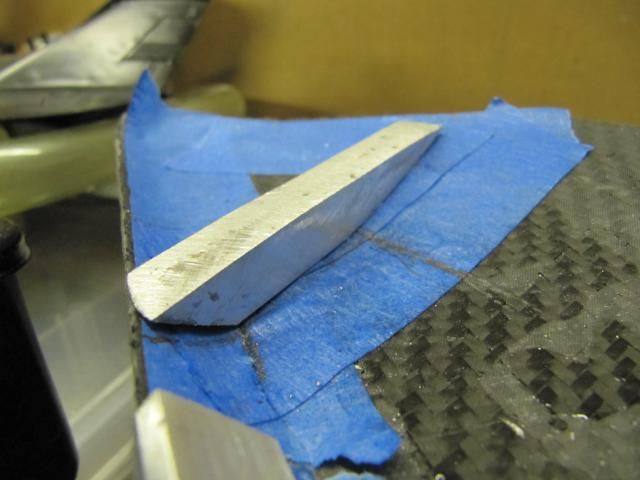
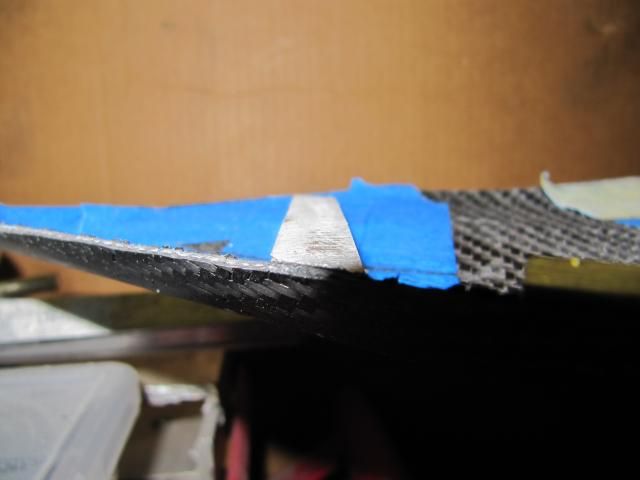
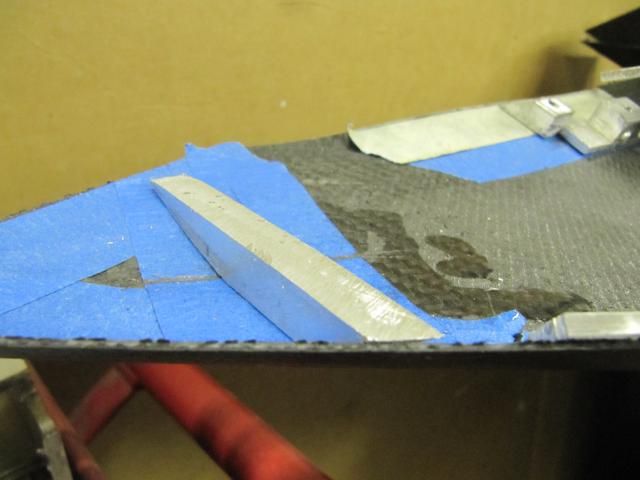
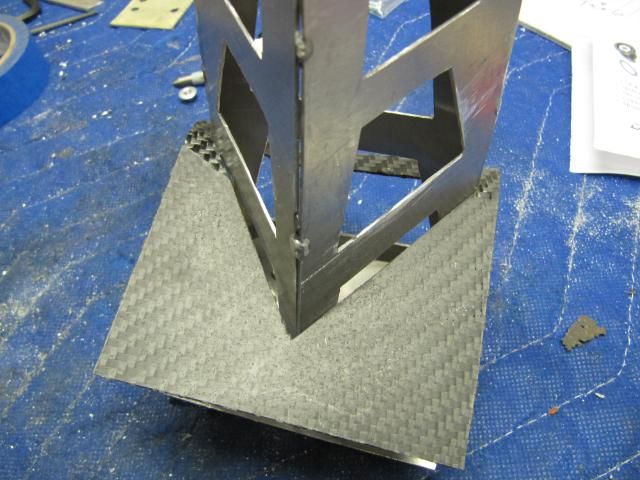
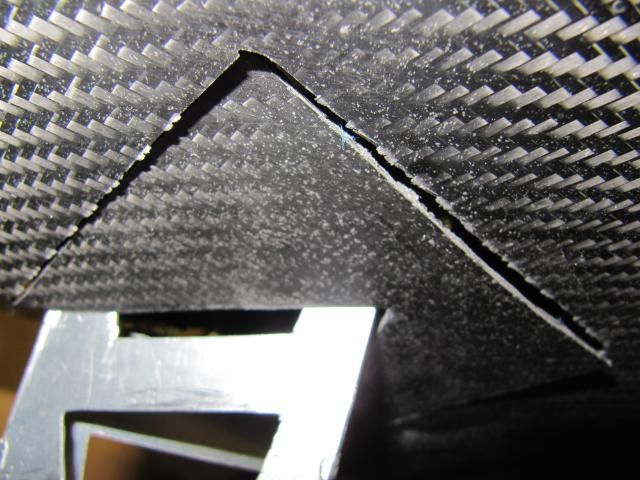
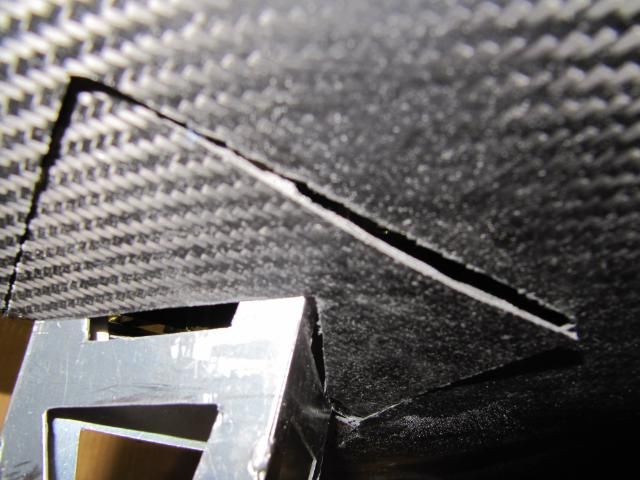
I was going to suggest a layer or 2 of clearcoat over the cf pieces..but I'm too late. One of my friends wraps auto interior and exterior pieces in CF so I know the amount of attention to detail this takes. Nice write up.

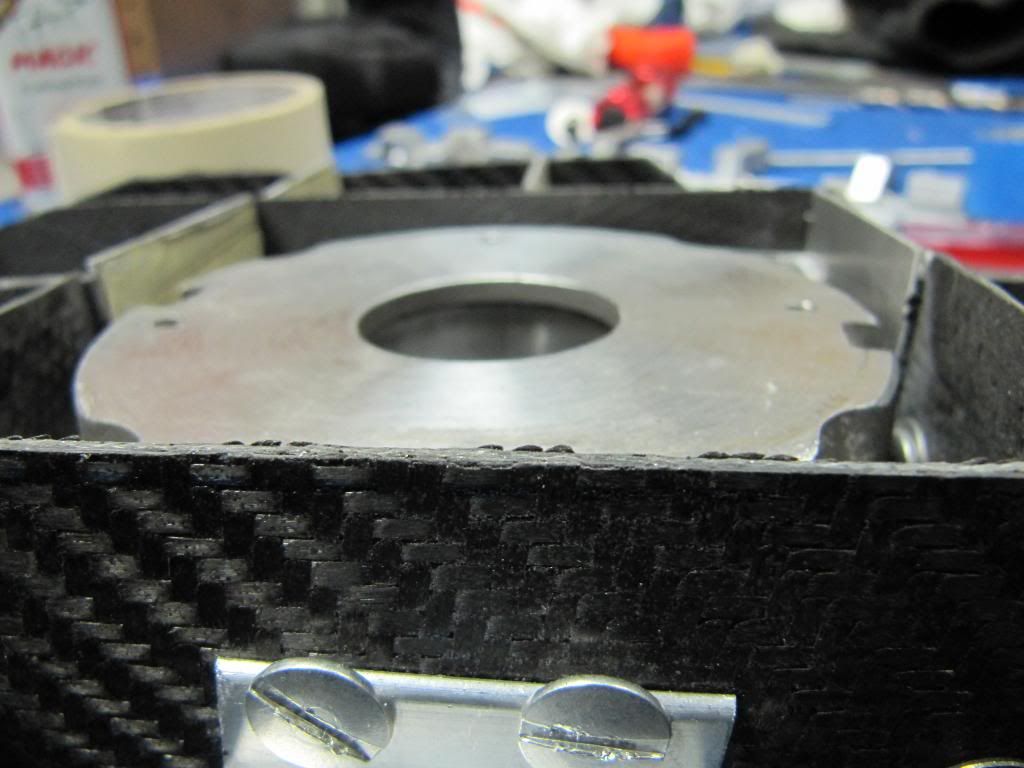
If you got some good advice on polishing CF, I would like to hear it. Thanks I try my best in my tutorial write ups. In my regular post, I just try and be myself. Thanks for the support.

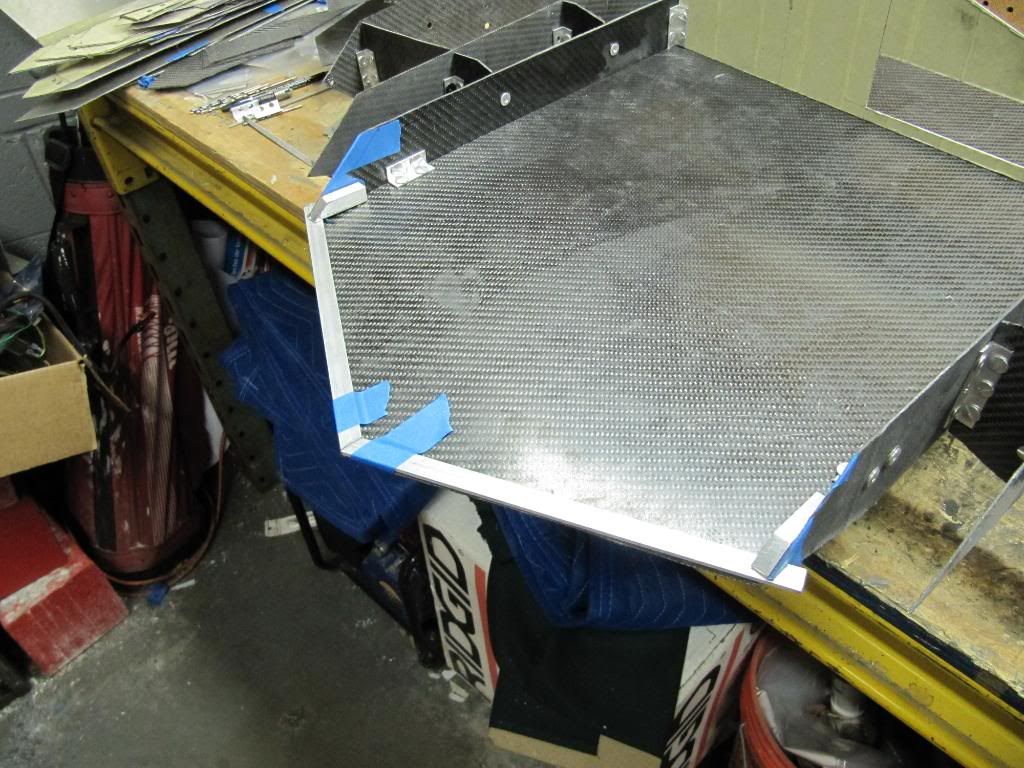
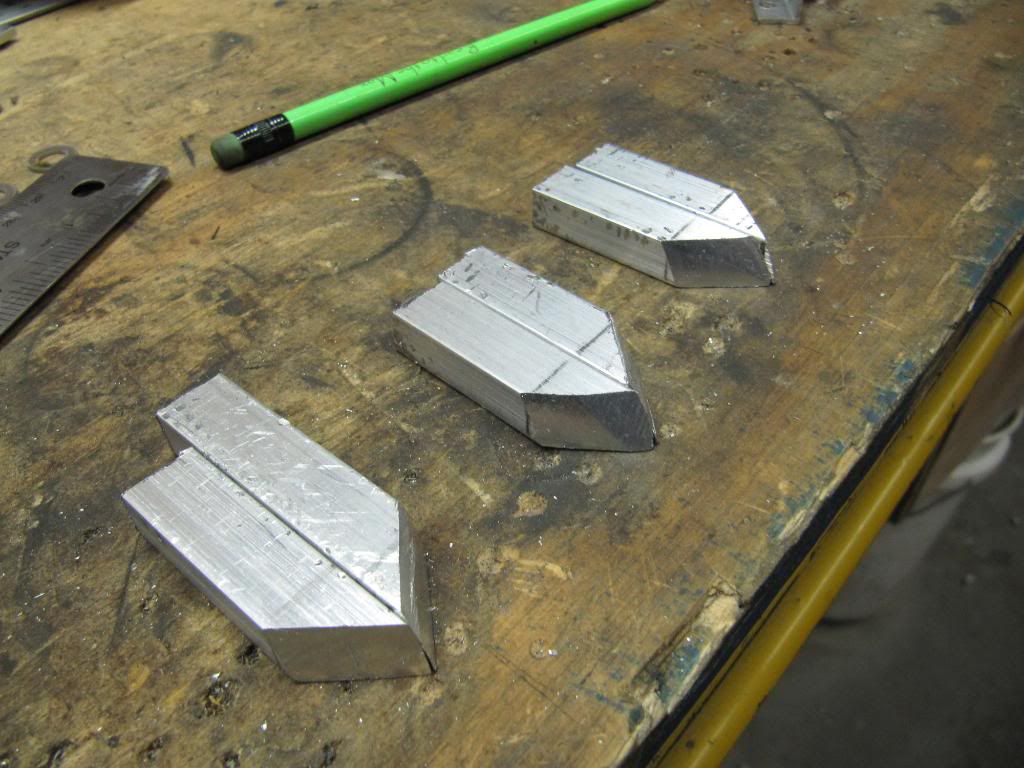
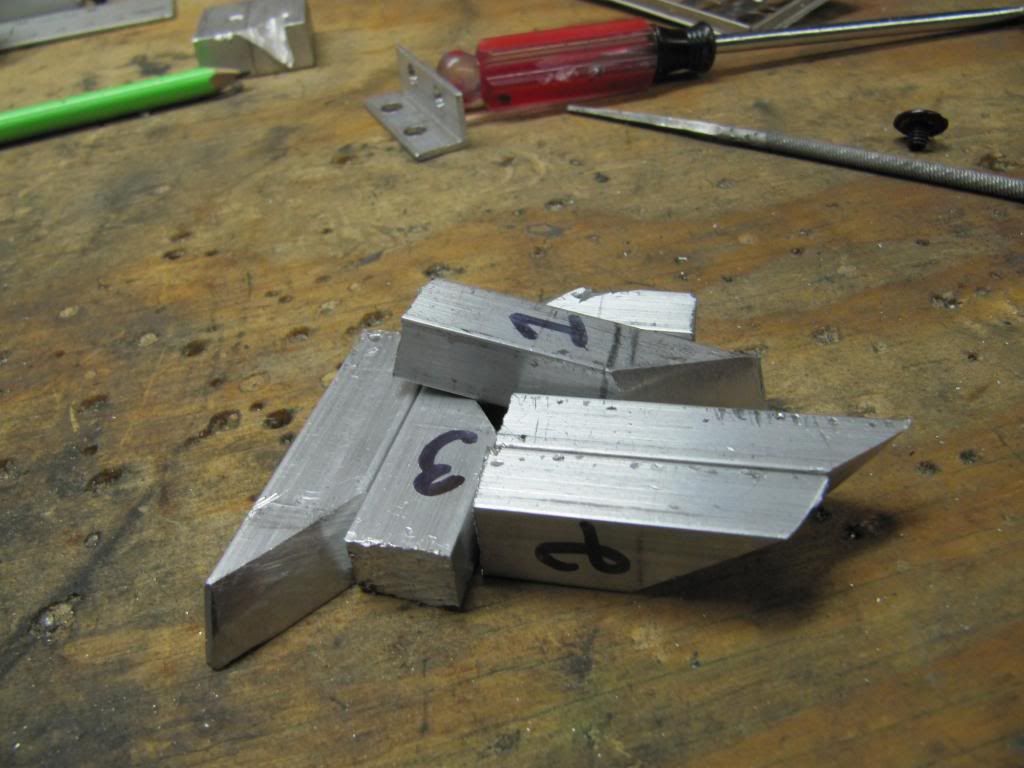
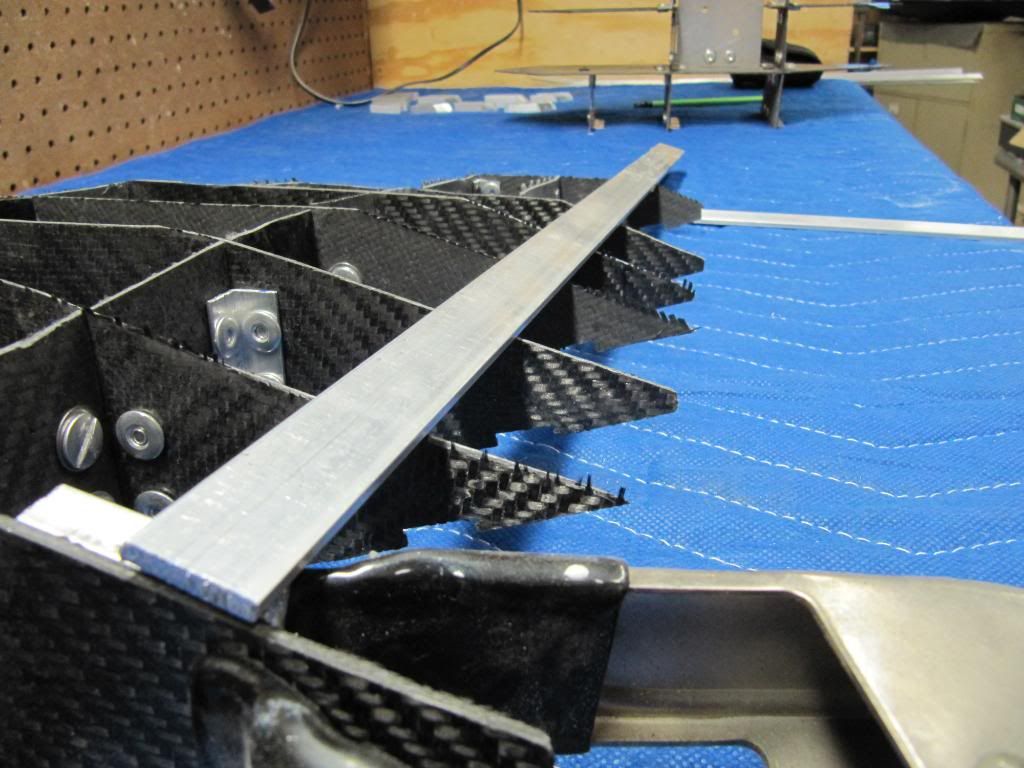
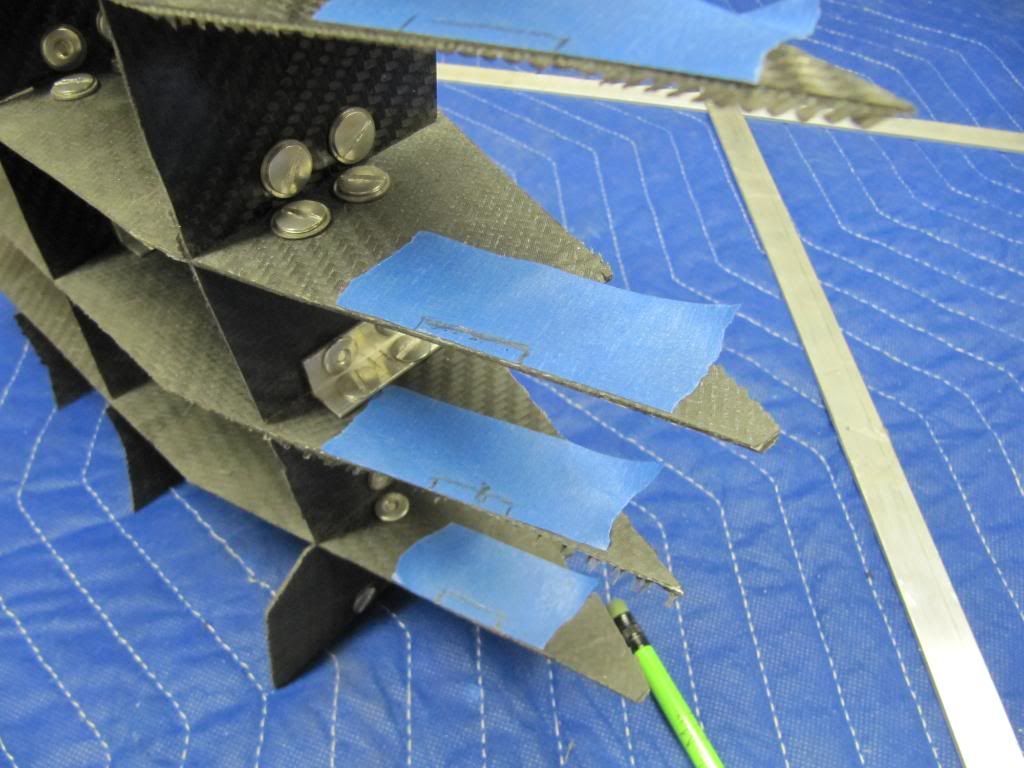
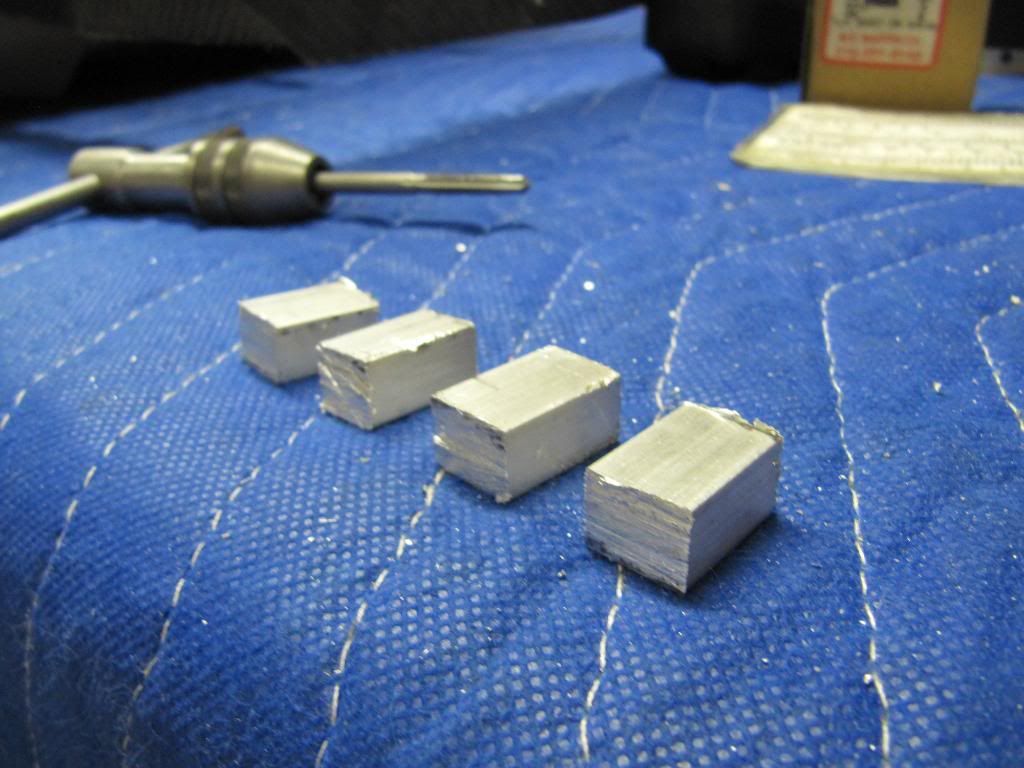
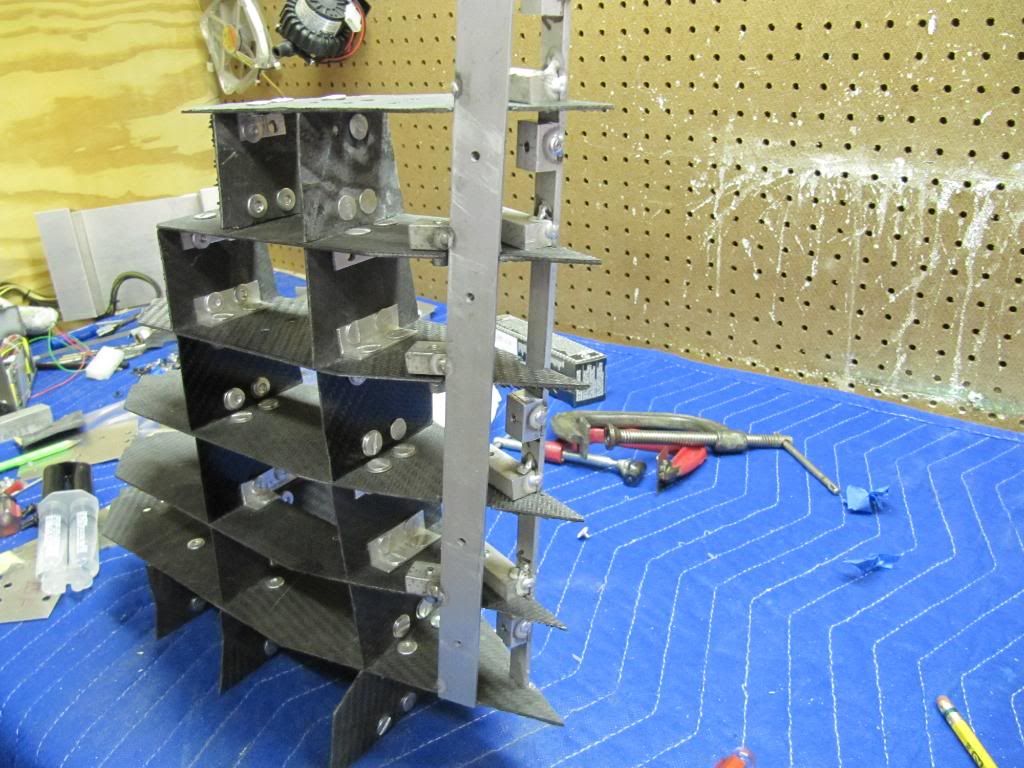
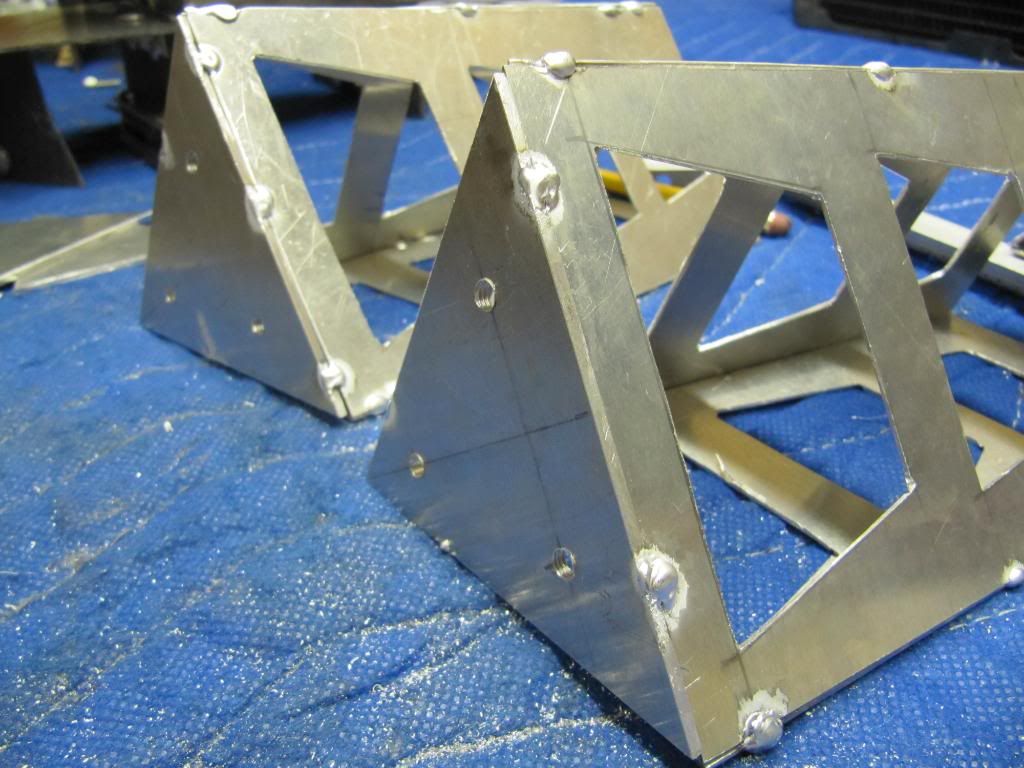
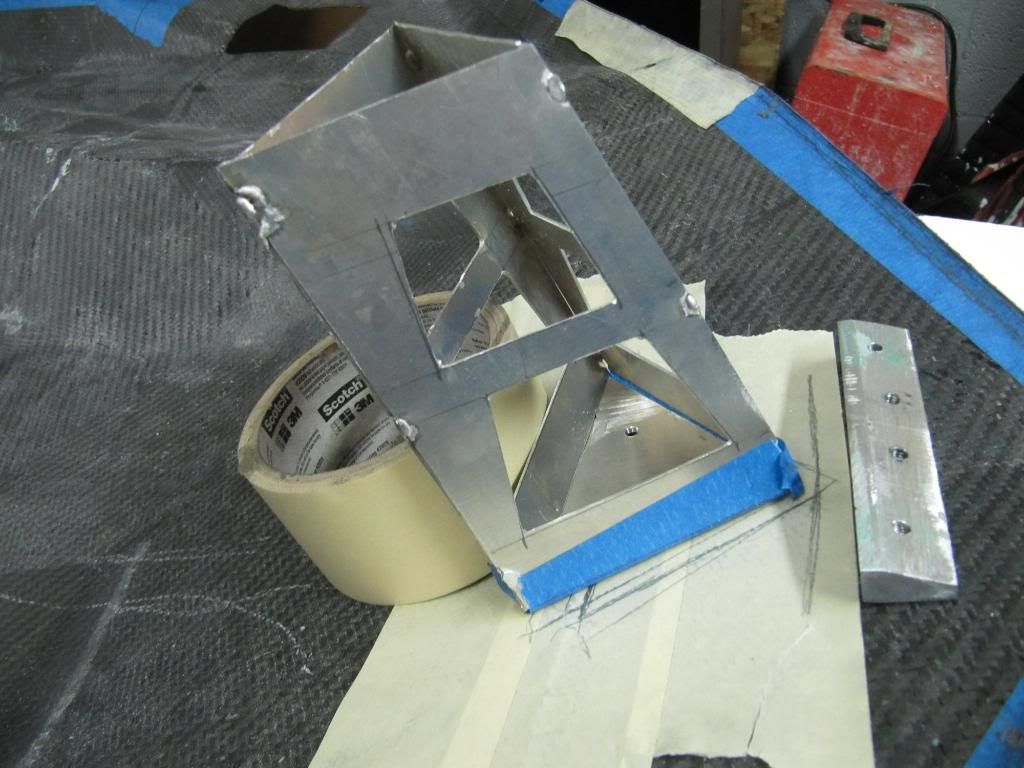
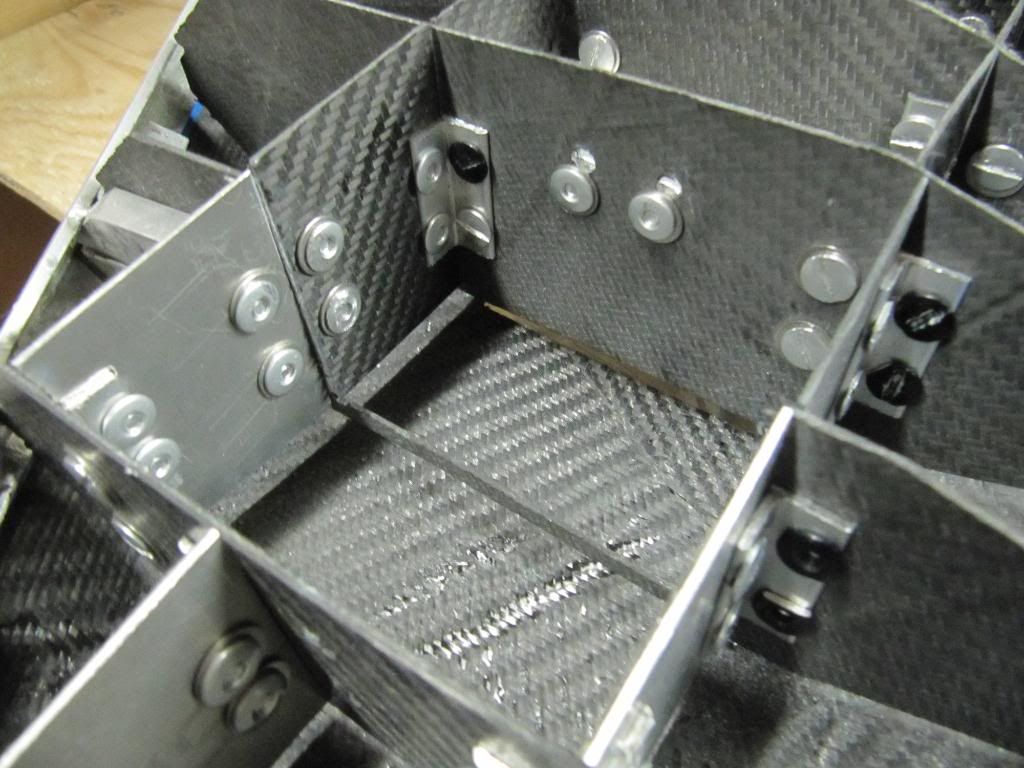
I want to see the finished product man!

Me and you both.
 
Hello. Time for the first weekend update. More and more bracketing....

IMG_3952.jpg


IMG_3932.jpg


IMG_3957.jpg


Stupid camera did not save all the pictures I took! Anywayz, I assembled the right hand wing structure and begun to make the bracket strips and blocks for it.

Numbered the right hand side brackets. Only three that will hold the bracket assembly to the frame. Smaller blocks will be cut and welded on so the cover has a block to bolt into.

IMG_3933.jpg


IMG_3934.jpg


The start of the rear bracket strip.

IMG_3935.jpg


IMG_3936.jpg


Did some measuring and cut out the 1.5" blocks that will be welded and than bolt the strip in place.

IMG_3955.jpg


IMG_3956.jpg


Notched out the frame pieces so once again the wing structure sits as flush as possible against the cover surface.

Also cut off the very back of the frames and did some sanding done along the top-side of the frame structures. This was done so that when the two covers are mated that they rest and close properly.

IMG_3943.jpg


I started work on pondering how to mount the center sections to the cover. Since the angle below and on top of the motherboard frame are extreme, I thought about laying down a piece of alum strip above

Here the strip can be bolted to the motherboard frame. Blocks can thus be welded on for mounting the cover to this strip. Also, this strips will act as an air barrier so that when I am traveling down the highway with SR-X on the roof the cover shouldn't fly off.

IMG_3944.jpg


IMG_3947.jpg


IMG_3948.jpg


IMG_3949.jpg


These blocks can either be positioned on the inside or outside of the motherboard frame. That is why there is extra strip on the other side of each frame. I just haven't made up my mind yet.

IMG_3958.jpg


Till tomorrow!
 
Hello. Had a crazy drinking night last night. Woke up with things a little blurry but manage to pull it together to go fabricate. Anywayz, weekend update part 2.

IMG_3960.jpg


IMG_3962.jpg


Now that the bottom brackets pieces are cut, I started working on the top brackets pieces. I also realized that I need more aluminium.

IMG_3963.jpg


IMG_3965.jpg


This is for the right side frame structure.

IMG_3967.jpg


IMG_3970.jpg


IMG_3969.jpg


IMG_3971.jpg


I had to re-cut the pieces I made yesterday because they were just not looking right. I also cut the blocks for the top bracket piece.

IMG_3972.jpg


The junk pile.
 
Hello.

I ran out of material this past weekend. I was going to order some more from McMasterCarr, though, I than sat back and thought about it. The reason was due to cost and time. I decided that it was better to just go to home depot and pick up a piece for the rear top bracket.

IMG_3973.jpg


3/4" x 1/8" x 3ft.

IMG_3974.jpg


IMG_3975.jpg


Took the bottom rear pieces and measured out the length. You can see the width difference here. What this will do to weight will be minimal after I get done drilling holes to reduce the weight.

IMG_3976.jpg


IMG_3977.jpg


I have to stagger step the mounting blocks so that they don't hit each other.

IMG_3978.jpg


IMG_3979.jpg


IMG_3980.jpg


IMG_3981.jpg


The cutting in of the bracket strip into the frame pieces.

IMG_3982.jpg


IMG_3983.jpg


IMG_3984.jpg


The mounting blocks had to be notched on one side so that they would properly fit. This is more of an appearance and style doing for the case.

IMG_3986.jpg


IMG_3986.jpg


Pictures of one of the bracket strips in place.

IMG_3987.jpg


IMG_3988.jpg


Cut out some more mounting blocks and filed down the other mounting blocks to clean them up before welding. Which is up next.
 
Update:

IMG_3989.jpg


To drill all the block, I wanted to make sure I was being as precise as possible, so I went out and bought a bench vise. This thing is sweet!:dremel:

IMG_3990.jpg


Before I could begin welding the blocks to the alum. strips, they have to be drilled and taped. The blocks that will actually hold the cover on wont be drilled till later due to mounting position. These other blocks would make it hard if not impossible to drill after welding.

IMG_3991.jpg


IMG_3993.jpg


IMG_3994.jpg


I measured 10mm over and 5mm up and marked and than drilled and taped. Than repeat sequence till done:dremel:

IMG_3995.jpg


IMG_3996.jpg


First set

IMG_3997.jpg


IMG_3999.jpg


Lastly, I started to cut the smaller mounting blocks. These once again will be drilled later.
 
Edit: woah, I'm way off track here, don't mind me xD


Great build you have going, I absolutely love planes. You should have done a model of the SR-71 blackbird, I think that is one of the most awesome planes ever made ;)
 
Last edited:
Update:

Got the first of the brackets welded today.

IMG_4000.jpg


IMG_4001.jpg


I thought about using some sort of epoxy adhesive, though, I really need a secure fit because I don't want my covers flying off at 80mph on the highway.

IMG_4002.jpg


IMG_4003.jpg


IMG_4004.jpg


Due to the constant weight issue on my mind, I will definitely be going back and trying to reduce the weight on these brackets as much as I can without comprising strength.

IMG_4006.jpg


IMG_4007.jpg


Cut out some more mounting blocks to be welded.

IMG_4008.jpg


IMG_4009.jpg


The front bracket pieces turned out not so well. I had to break some pieces off and the blocks will have to be re-welded. The angles or welding process just couldn't bring the pieces with a standard that I was happy with.

Until Tomorrow:dremel:
 
Edit: woah, I'm way off track here, don't mind me xD


Great build you have going, I absolutely love planes. You should have done a model of the SR-71 blackbird, I think that is one of the most awesome planes ever made ;)

Glad you like the SR-71! Go touch it in NYC! I don't want to replicate something, I want to INVENT something. Thanks for the support.

wow looks great! cant wait to see finished product.

Thanks
 
Hello. Time for weekend update.

IMG_4010.jpg


I took out the last frame piece and supporting bulkheads. I thought that I would need this structure for support though, I am finding that it is just becoming a problem more on the mounting side. The end of the wings will accommodate something, I just haven't totally designed it out yet.

IMG_4013.jpg


Had to make some modification to these pieces and cut some length off due to clearance issues that would arise down the road. These pieces will still be used in some way to help mount the covers on the very edge of the wings.

IMG_4014.jpg


IMG_4015.jpg


IMG_4016.jpg


IMG_4017.jpg


IMG_4018.jpg


I want to give epoxy a try. I haven't had much success with JB weld when doing Aelro. I was hesitant to say the least. I couldn't get the alum. welded so I thought lets experiment. I sanded the alum and mixed up the epoxy and let it dry. So far it seems to be pretty strong epoxy. If it can withstand drilling than excellent.

IMG_4019.jpg


IMG_4019.jpg


Before I can move an further I have to mount the brackets to the frame pieces. From there I will mount the frame to the covers. Here I aligned, traced, measured, than drilled.

IMG_4021.jpg


IMG_4022.jpg


Looks good.

IMG_4023.jpg


modderific

IMG_4024.jpg


IMG_4025.jpg


IMG_4028.jpg


IMG_4029.jpg


Sorry for the jump in pictures. I thought I captured more, ugh. The front mountings turned out excellent. Was able to get the holes drilled and lined up correctly. Good tight fit on the pieces too all around.

IMG_4031.jpg


IMG_4033.jpg


Here I had to make sure the bracket was flat on the cover and than I traced the brackets onto the frames. From there I measured for the holes and drilled than mounted.

IMG_4030.jpg


IMG_4034.jpg


I had to mask off to cut some of the angle off. I than was going to finish mounting this piece to the frame, though, stopped due to assembly procedure. First I have to the mount the frame to the bottom cover, than cut off the excess flange and from there I can figure out totally my top bracketing. That is just the short version of the story....

until tomorrow.
 
Hello.

The first part of my update regards the finishing of the bracketing before the mounting begins. That is the second part of my update.

If you missed it, I did change the title name of my project by inserting an lonely S before SR. This title is an acronym which stands for something. That will be revealed at the end of the build.

IMG_4035.jpg


I taped off and marked. Than drilled and started to re-assemble to make sure the structure goes back together properly.

IMG_4036.jpg


IMG_4038.jpg


IMG_4039.jpg


Starting to take shape. I also found it was easier assembling the wing structure this way.

IMG_4040.jpg


Lastly, all together! Good Fit of all the parts:dremel:

Mounting

I view this as one of the toughest parts of the project. Why? Because mistakes in hole location cannot be MADE. There is no going back or just covering over. Time and patience must be taken.

IMG_4041.jpg


I masked off the general area the frame will sit inside, so I can get a nice pencil line to follow.

IMG_4042.jpg


I than drilled and taped with mounting block hole.

IMG_4051.jpg


IMG_4044.jpg


IMG_4048.jpg


Trick here! I got my hand on some ink and a pointy end of a file to mark the location.

IMG_4045.jpg


IMG_4046.jpg


Now I know where to drill! :dremel: Simple but great.

IMG_4049.jpg


Mounted! I still have to countersink this!

IMG_4052.jpg


IMG_4053.jpg


IMG_4055.jpg


IMG_4056.jpg


Work on some of the rear bracket mountings, getting ready for mounting!

Until Tomorrow.
 
Hello. It is St. Patricks Day here in the US. Instead of going to the parade, I decided to push on with my carbon fiber build. Lot still has to been done.

This past week I did relatively finish with mounting the covers to the frame and cutting the flanges for the most part off. YOU WILL NOT see pictures of this until the end of the build. That I mean as the BUILD as a whole.

Onto more and more bracketing work...

IMG_4057.jpg


IMG_4058.jpg


IMG_4059.jpg


I started polishing the frames pieces. I used 220 grit sandpaper to achieve this finish. I will probably go over it again before the end of the build.

IMG_4062.jpg


IMG_4060.jpg


IMG_4061.jpg


I took a step back and decided that I really could glue the the Front bracketing pieces together to get a tighter fit. So I broke out the Devon Epoxy and began the adhesion.

IMG_4035.jpg


In the mean time, I needed to fit the rear mounting bracket to the frame.

IMG_4036.jpg


IMG_4038.jpg


IMG_4039.jpg


IMG_4040.jpg


Assembled.

IMG_4041.jpg


IMG_4042.jpg


IMG_4044.jpg


IMG_4045.jpg


IMG_4046.jpg


IMG_4051.jpg


IMG_4048.jpg


IMG_4053.jpg


IMG_4055.jpg


IMG_4053.jpg


IMG_4049.jpg


This series show the steps taken to mount the bottom rear bracket to the cover.
 
IMG_4063.jpg


I went out and bought some 10-32 hardware for the frame pieces.

Next up is the top mounting brackets.

IMG_4066.jpg


IMG_4064.jpg


IMG_4065.jpg


IMG_4067.jpg


IMG_4068.jpg


IMG_4069.jpg


This concludes the mounting of the top brackets.

IMG_4072.jpg


IMG_4090.jpg


I started to cut away at the exhaust ports. I need to make bracket that go beside these ports.

IMG_4073.jpg


IMG_4075.jpg


IMG_4076.jpg


IMG_4077.jpg


IMG_4078.jpg


IMG_4079.jpg


IMG_4081.jpg


IMG_4084.jpg


IMG_4083.jpg


IMG_4085.jpg


IMG_4087.jpg


IMG_4088.jpg


IMG_4089.jpg


The bracket for the lower motherboard tray. This will keep the middle section from ripping off at 80 mph on highway:)

Until Tomorrow.
 
Lets get right to it!:dremel:

IMG_4091.jpg


Yesterday I completed the bottom bracket for the motherboard section in the front. Today, I did the rear bracket.

IMG_4092.jpg


IMG_4093.jpg


Filed the bracket to make the finish look good after cutting.

IMG_4095.jpg


IMG_4096.jpg


IMG_4097.jpg


Drilled and taped.

IMG_4098.jpg


Set the position and drill the holes for mounting.

IMG_4099.jpg


Done.

IMG_4100.jpg


IMG_4101.jpg


After mounting the rear bracket, I finished cutting out the exhaust ports for the top cover. I needed to do this so I can accurately position the rear part of the two covers in these sections to build brackets for mounting the two together.

IMG_4102.jpg


IMG_4103.jpg


IMG_4104.jpg


After some basic alignment with the covers, I did some geometry to figure out the angle needed for a bracket and begun constructing a bracket.

This week will mainly be filled with constructing further brackets than the construction should move more onto the inside with the res. and mounting of the hardware. At least that is the plan for now.

Have a good weekend.
 
very nice updates!

Thanks!

could you explain what this is?

Its an airframe. I wanted to grasp how the B-2 was assembled, because there are no pics or video's. I added my own little twist in design though. I do believe this to be flight worthy too, although, elevators would have to modified in. No big deal there.

I also worked out an de-icing system for the intake if it was to become flight worthy as a design on day.
 
Hello.

Time for some Carbon Fiber strength testing! The first piece is from the top cover and the second piece is from the interior frame section.

These greatest thing about Carbon Fiber is its ability to carry a vertical load.

cf2.jpg


Drilled some holes and attached some hooks

cf1.jpg


That motor is about 100 lbs.

cf3.jpg


Motor plus Jimmy equal success until it breaks about 1 minute later. Time for the second piece

cf4.jpg


This piece is about .050 thick only. 4 layer of CF and 2 layer of fiberglass

cf5.jpg


More Jimmy weight

cf6.jpg


I tried two motors and success. No breakage at all. Will apply more weight till breakage...stay tune on this one.

Anywayz....getting back to building.

These brackets are the best design in the end. They are small and lightweight. I thought of different brackets though, it was weight prohibitive. Just for those of you wondering

IMG_4105.jpg


Took out the interior frame so I could mount and align properly these mounting brackets.

IMG_4107.jpg


IMG_4106.jpg


I actually mounted the one of the right side here first than put the top cover back on with bolts to make sure alignment was good all around. IF you DONT do this your hole align could be off. When doing covers like I do, you have to take your time with every bracket or you will screw up material and waste it.

IMG_4108.jpg


IMG_4110.jpg


IMG_4109.jpg


Mounted top and bottom. After completely mounting the right with the top cover, I went back and marked the location holes for the other bracket on the top cover.

IMG_4111.jpg


Moved over to the Left side exhaust port here.

IMG_4113.jpg


IMG_4112.jpg


Now I just have to finish the other bracket.

I stopped because I have to take these brackets back off and get them Welded. The epoxy is not holding for these brackets.

As Always, Mod On!:dremel:
 
Hello.

More Strength Testing of Carbon Fiber

IMG_4114.jpg


3 motors this time. Thats about 400 pounds

IMG_4115.jpg


IMG_4116.jpg


Totally Awesome! I know how strength of my carbon fiber now!:clap:

Bracketing Cont'd

IMG_4120.jpg


IMG_4121.jpg
'

These blocks went directly in front of the radiator sections. The bottom cover here needed some pulling inward.

IMG_4122.jpg


IMG_4123.jpg


These blocks will be used for mounting the motherboard section to the bottom cover, though, I have to take apart the internal frame to drill the holes, so this is on hold for the moment.

Case Feet

IMG_4124.jpg


What Design....What Design....:wallbash::dremel:

IMG_4125.jpg


I decided for the rectangular'ish design. It will provide better airflow when on the freeway and also I think it fits the style of the case.

IMG_4126.jpg


IMG_4127.jpg


IMG_4128.jpg


I was working against the clock today on these, because I wanted to get them welded. The fabrication though turned out very good.

IMG_4131.jpg


IMG_4132.jpg


IMG_4134.jpg


Welded!

IMG_4135.jpg


IMG_4136.jpg


Mounting time. I will not be mounting the front till the left and right are mounted correctly first.

IMG_4137.jpg


I taped on this top. I did not get these welded on yet. That will be later this week.

IMG_4138.jpg


Taped and traced for the hole to be cut for the Feet.

IMG_4139.jpg


IMG_4141.jpg


Had to go back and fit the support structure on the one side. When I was initially assembling I forgot how it went together:nono: I figured it out and now to install. I waited to due this task because I had to take the frame apart again.

IMG_4142.jpg


IMG_4143.jpg


In the middle of trying to mount the feet, I had a near meltdown cause my bench was all cluttered up with hardware. Broke out the organizer. :thumb:

IMG_4144.jpg


Traced the other cut foot hole

IMG_4145.jpg


IMG_4146.jpg


IMG_4147.jpg


Cut the holes for the feet. I will be customing these cut out pieces for the case feet. That is later in the build though

IMG_4148.jpg


Re-mounted the Radiators in the frame so I can see how the whole lower part of the case is fitting together with the feet.

IMG_4149.jpg


IMG_4150.jpg


IMG_4151.jpg


Hope your enjoying the build

Until Tomorrow.
 
Update:

IMG_4154.jpg


Got the tops to the left and right feet welded on today. Moving on next to the front foot.

IMG_4157.jpg


IMG_4158.jpg


This was the tricky part. I had no real way of telling exactly where the foot was going to poke through. I decided to make the cut out the same length and width as the left and right feet. If these box cut-outs work than it should work here.

IMG_4161.jpg


IMG_4159.jpg


IMG_4160.jpg


Cut and mounted. Time to see how it fits

IMG_4162.jpg


Excellent

IMG_4165.jpg


I started to make a list of the small projects needing completed. I'm starting to transition to the interior parts of the case. I need to frame a basic list so I can stay on task.

IMG_4164.jpg


I need to come up with a Res. and fast!
 
Update:

IMG_4171.jpg

'
Cut some blocks out for the bottom of the feet. Bolts that will be screwed into these will mount SSR-X onto my truck.

IMG_4172.jpg


IMG_4181.jpg


IMG_4182.jpg


I got the bottom of the feet welded today.

This completes most of the feet work. I will have to come back and polish up the feet. That will include more filing and sanding obviously to make them look presentable.

Custom Reservoir

I'm really constrained with room where I want to put my res. in the wing. I got a space that is 60mmx60mmx60mm for the most part. That is what I call workable room. I scoured the internet from a res. that was already made and the options I just did not like.

Time to Invent:clap::dremel:

After weeks and weeks of thought, followed by CAD work, I stumbled upon a great idea for res.

IMG_4173.jpg


I ripped apart an old motor long time ago, but kept the casing because I knew I would use it one day. Today is the day.

IMG_4174.jpg


All I want is the end pieces to make my res.

IMG_4175.jpg


IMG_4176.jpg


This looks totally awesome! :dremel: The great part is that it is extremely small, but I also can take it apart. Now for the inside.

IMG_4177.jpg


The two flanges where the bearing use to press into, one of them has to be lathed down for proper water flow and fill.

IMG_4178.jpg


IMG_4179.jpg


IMG_4180.jpg


I lathed it down. Than I stopped to see how it looked. I'm still contemplating what this res will totally look like....sooo...I gotta keep modding here.

That is it for today, tomorrow, I gotta search for gasket for this res and do more design work.

Until than:dremel:
 
Hello. Update:

Concerning the reservoir...in most airframes the fuel is pumped into the entire wing. Well you all know that this is not going to happen. I thought about making a large acrylic reservoir to sit in the wing, though, the bigger the more weight and a chance I would have to counter-weight the other side of the wing to keep SSR-X from tipping onto one-side.

I believe that this design is unique and fits with the overall theme of the case build!

IMG_4183.jpg


Drove to Microcenter last night and bought a fillport and a couple 3/8" fitting for the reservoir.

IMG_4184.jpg


IMG_4185.jpg


This is what I was thinking about doing with the fillport and the clearance would be perfect, though, I had to discard because of possible mounting problems.

IMG_4186.jpg


The bottom of the res. in the location of where it is going to be placed. I have 4" x 4" space. That is like 80mm x 80mm.

IMG_4187.jpg


IMG_4188.jpg


IMG_4189.jpg


First demonstration of the tightness of the fit and clearance. This is why I had to stay with such an extremely small but unique shape reservoir.

A missing section of one the frames is missing that needs to be cut out.

IMG_4191.jpg


This section of the frame has to be cut out so the reservoir will sit down into the wing.

IMG_4192.jpg


I left a thin section to carry the horizontal load. I didn't want to entire cut out this section because it will mess up hole alignment of the brackets.

IMG_4193.jpg


IMG_4194.jpg


IMG_4195.jpg


What the reservoir will look somewhat like sitting in its location. The acrylic piece is there because a piece will be made to mount the reservoir in place with a the fillport being drilled through it. That should be done tomorrow.

The clearance are extremely tight:duh::dremel:. I knew it was going to be this way with an design for the reservoir.

IMG_4196.jpg


Lastly, a view of the location with the reservoir.
 
These are the types of builds which fuel my love for [H]. Thanks for keeping us updated and good luck.
 
Weekend update:

IMG_4197.jpg


Stopped by home depot and bought this rubber seal that will be used to seal the two halves of the radiator together.

IMG_4198.jpg


Also bought some hardware. 10-32.

IMG_4199.jpg


IMG_4200.jpg


IMG_4201.jpg


Since I don't have any room, I really had to think about how to mount the reservoir. This was the best I could come up with that would be functional.

These screw heads will be replaced with socket heads

IMG_4202.jpg


IMG_4203.jpg


IMG_4204.jpg


IMG_4205.jpg


Measuring for the blue acrylic that will bolt on top with the fillport

IMG_4206.jpg


IMG_4207.jpg


Did some measuring and drilling for the fillport and bolt holes.

IMG_4208.jpg


IMG_4209.jpg


IMG_4210.jpg


With the fillport installed

IMG_4213.jpg


Without the fillport but the socket heads

IMG_4214.jpg


IMG_4215.jpg


Drilled some more holes for mounting the brackets to the frame, though, just not yet, cause the wing structure has to come out and be dis-assembled again to drill the holes.

IMG_4216.jpg


Locating and Drilling for the outlet nozzle on the res.

IMG_4217.jpg


IMG_4219.jpg


IMG_4220.jpg


IMG_4221.jpg


I will be using BitsPower fittings. So this is just temporary.

Though this reservoir looks totally rad! Until Tomorrow.
 
Update: I fixed the Photobucket bandwidth problem by upgrading to Pro! :wallbash:

IMG_4222.jpg


Drilled the hole for inlet into the reservoir

IMG_4223.jpg


Taped and screwed in fitting for test fit.

IMG_4224.jpg


IMG_4225.jpg


IMG_4226.jpg


reassembled the reservoir before beginning to drill for the mounts

IMG_4229.jpg


Took out the right internal wing structure and did some dis-assembling so I could drill these holes.

IMG_4230.jpg


Other side of mounting

IMG_4231-1.jpg


Flipped over the wing structure to show how the bottom of the reservoir looks in the wing structure.

IMG_4228.jpg


Lastly, I cut this block out because this will act as a bracket to bring the two covers together at the end. Trying to keep the brackets simple and lightweight. Still thinking on this one though.
 
looking great! It looks like the end of the tunnel is fast approaching and I can't wait to see the finished product
 
Do you work at area 51? Because you totally stole this technology from aliens. :) Great job!
 
Hello. It's been a few days of craziness...I need to get back into being motivated cause with all the craziness I just couldn't build, ugh! :nono:

IMG_4232.jpg


IMG_4233.jpg


I needed to make a bracket(s) to make the wing ends properly come together.

Here is one for the right side. I will show you I did this on the left side.

IMG_4234.jpg


Started with a piece of bar stock. Cut to about 90mm and cut the ends of accordingly

IMG_4235.jpg


IMG_4236.jpg


Made some measurements and began to grind down the alum bar to fit to the contour of the cover

IMG_4237.jpg


IMG_4238.jpg


Grind down properly so the bracket would be horizontal.

IMG_4239.jpg


IMG_4240.jpg


Now to the top bracket. Cut and did some more measurements

IMG_4241.jpg


IMG_4242.jpg


More grinding

IMG_4243.jpg


Aahh, done! I used to modeling clay to hold the bracket temporary while I put the top cover on to check and see for proper fit.

These brackets will be welded together, drilled for mounting and re-cut if possible to reduce weight.

IMG_4244.jpg


Awhile back, I told you all, that I was going to make covers for the feet of the case. Well the time has come to make those covers. These will be mounted to the cover when SSR-X is USED for transport. They will come off when SSR is being displayed.

IMG_4245.jpg


I had to do some unique measuring to find out the proper hole size so the cover will slide onto the feet.

IMG_4251.jpg


Cut!

IMG_4247.jpg


IMG_4246.jpg


Test fit. Looking good

IMG_4248.jpg


IMG_4249.jpg


IMG_4250.jpg


uuummm, yup looks good so far:dremel: Mod On!
 
Back
Top