MapleSyrupMods
Bring on Titan X Volta
- Joined
- Oct 3, 2002
- Messages
- 1,224
Project Metallic Sky
Personal Introduction
Hello Everyone! I'd like to start off by introducing myself. My name is Nathan, better known on Instagram as @MapleSyrupMods and I'm a PC Builder based out of Canada. I've been building PCs for the last 17 years, but only recently started documenting them in the last few. Well I am new to posting here, I am not new to these forums. I have been browsing them for years but never been one to post.
Now that that's out of the way, lets get on to why your viewing this thread.
Build Introduction
For this build, I have chosen to go with a royal blue/silver colour theme. The idea behind these colours is to create a very clean(ocd, p0pe level), simplistic and high end look. The modifications to the chassis will be very subtle. From this, I have chosen to go with the following parts; But first, I would like to thank the companies that have sponsored me and entrusted to build something that they can be proud to say the represented.
For this build, I have chosen to go with a royal blue/silver colour theme. The idea behind these colours is to create a very clean(ocd, p0pe level), simplistic and high end look. The modifications to the chassis will be very subtle. From this, I have chosen to go with the following parts; But first, I would like to thank the companies that have sponsored me and entrusted to build something that they can be proud to say the represented.
Sponsors
AMD
Hyper X
Main Frame Customs
Main Frame Customs
Hardware
Case - Phanteks Enthoo Evolv ATX Glass - Galaxy Silver
Power Supply - Corsair AX860i
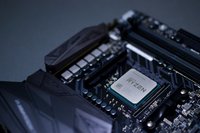
CPU - AMD Ryzen 1700X
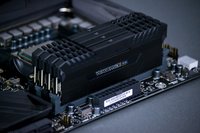
RAM - 32GB Corsair Vengeance RGB LED DDR4 3000Mhz
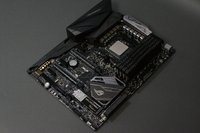
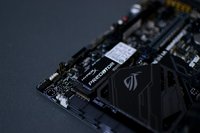
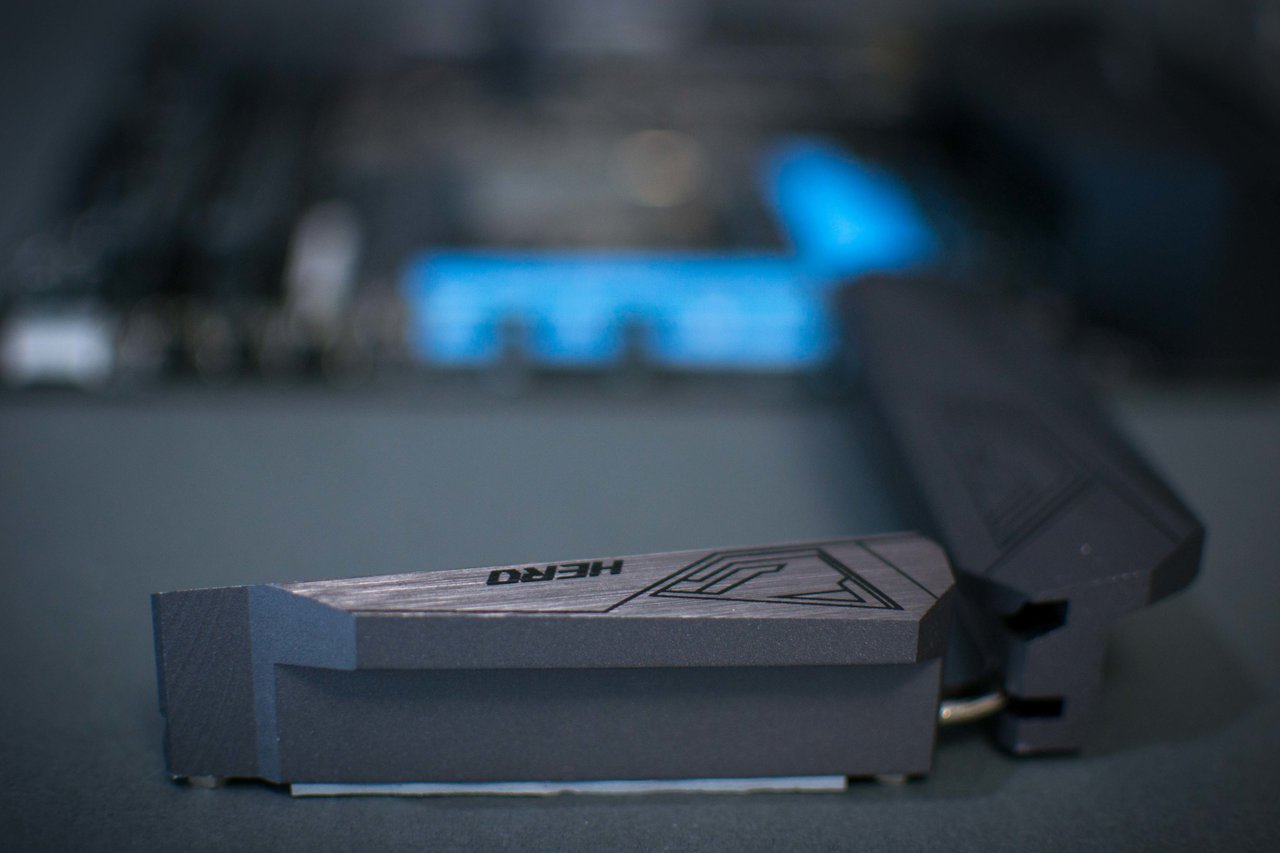
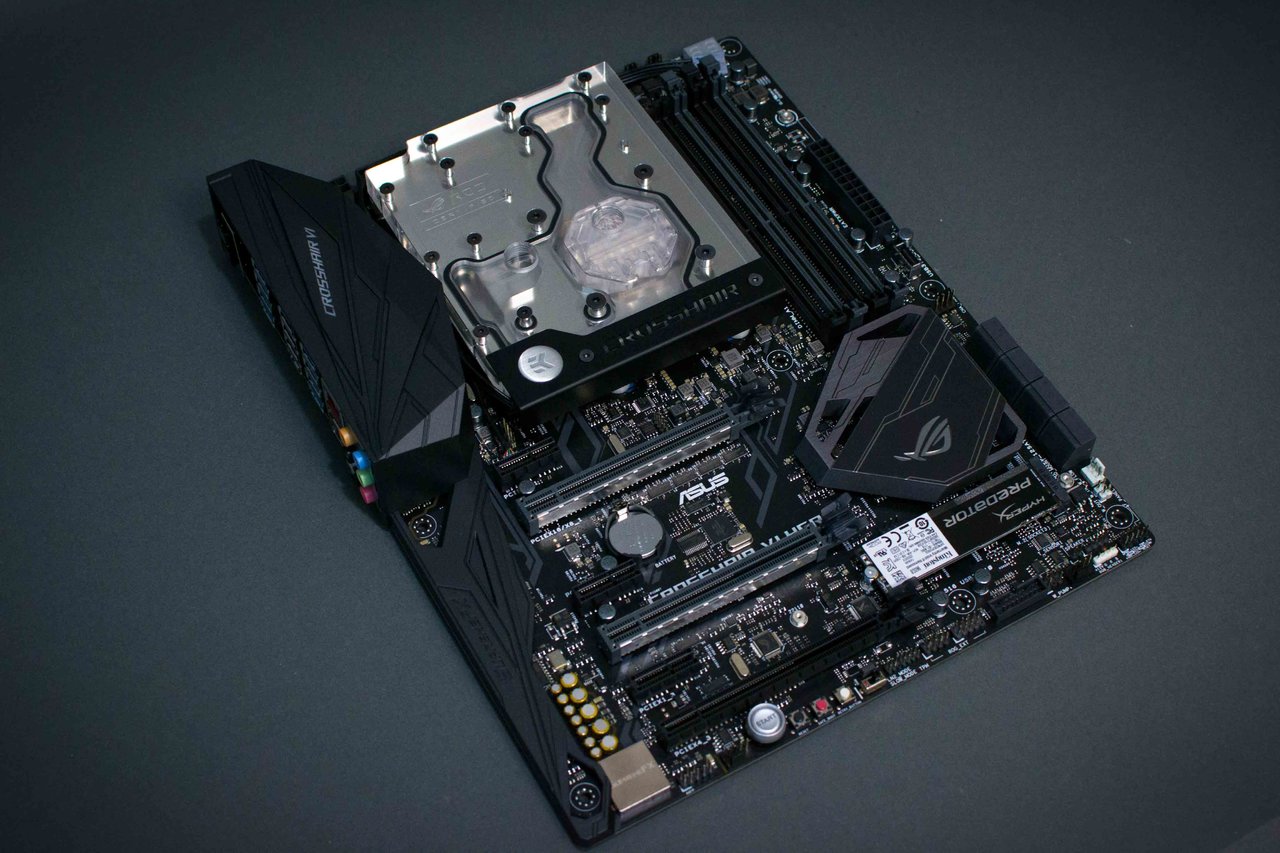
Motherboard - Asus Crosshair Hero VI
Hard Drive - (2) Hyper X Predator 960GB M.2 drives
Graphics Card: NVIDIA GeForce GTX 1080Ti
Watercooling:
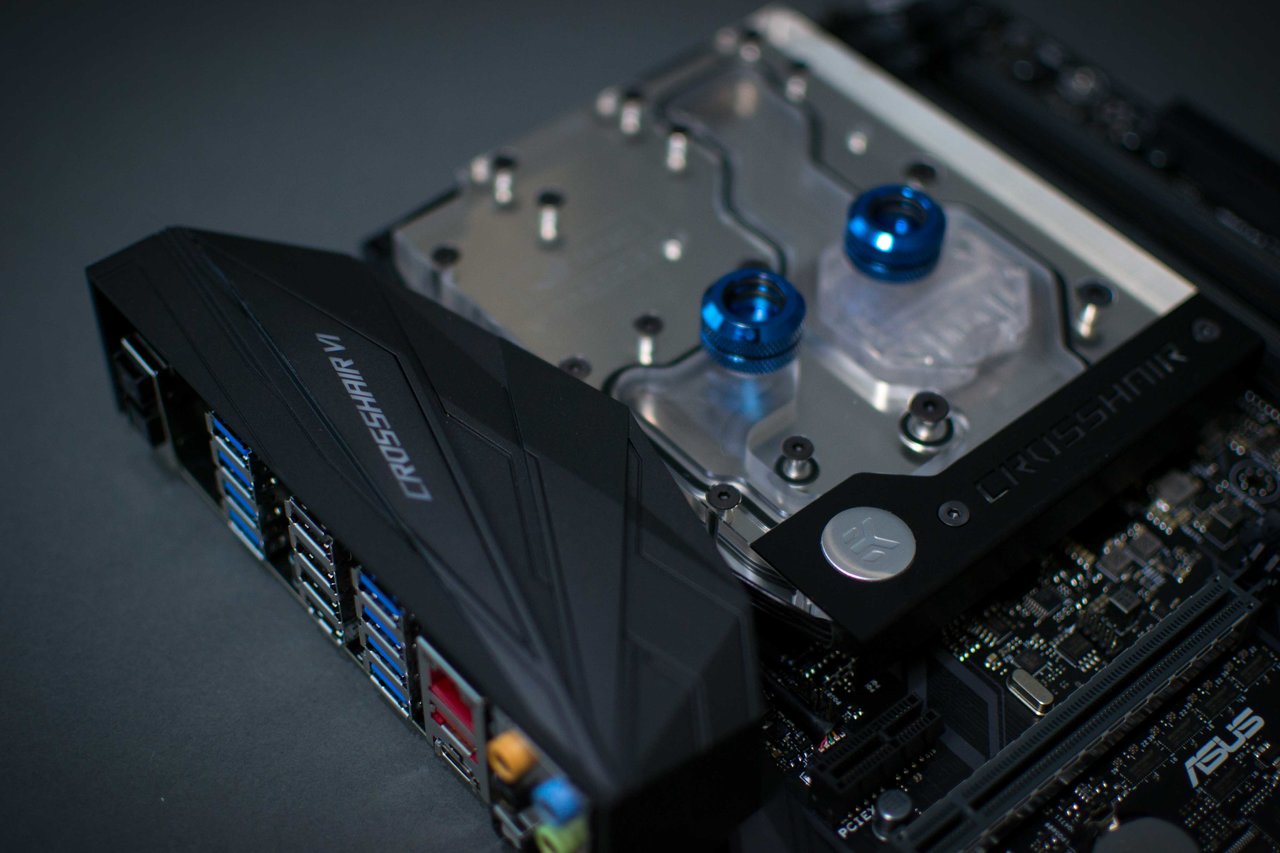
Fittings - Bitspower 12mm in Royal Blue
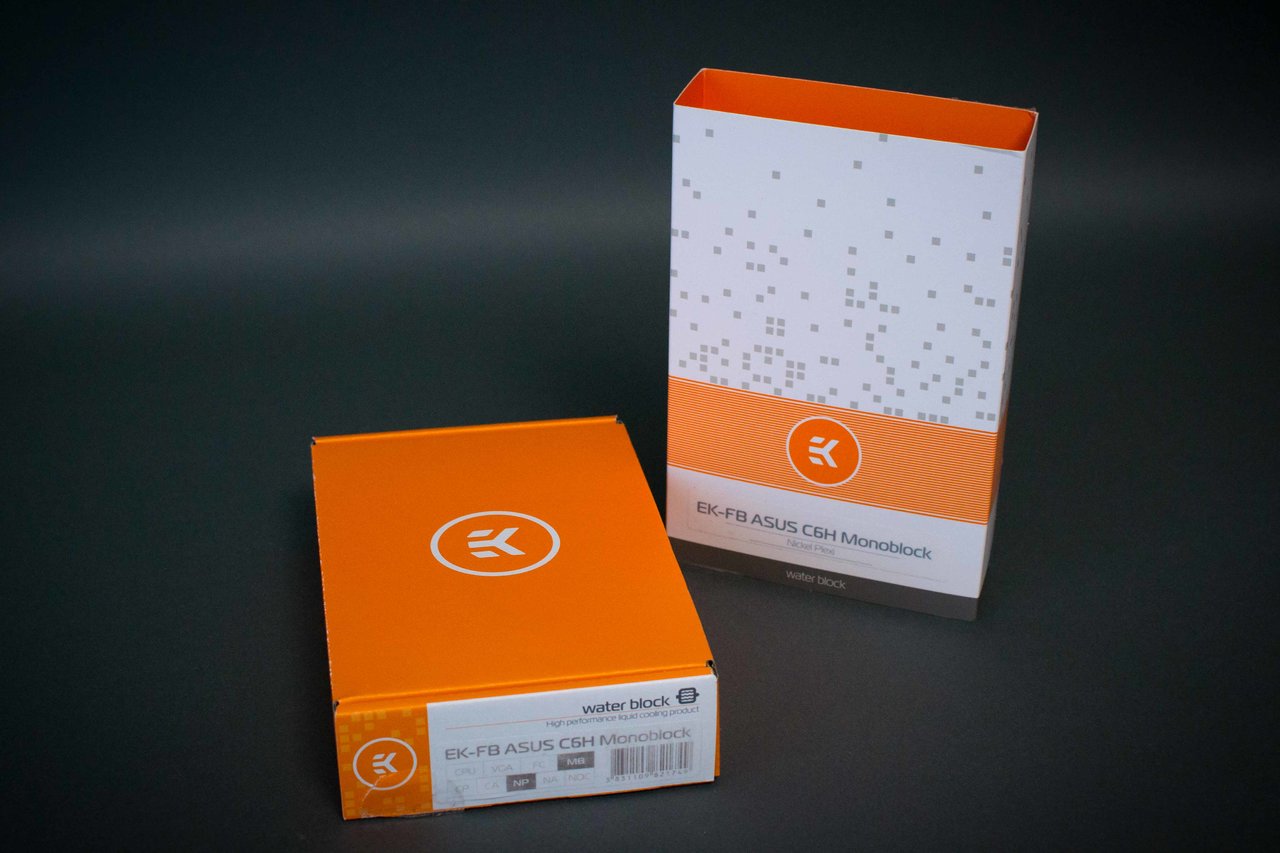
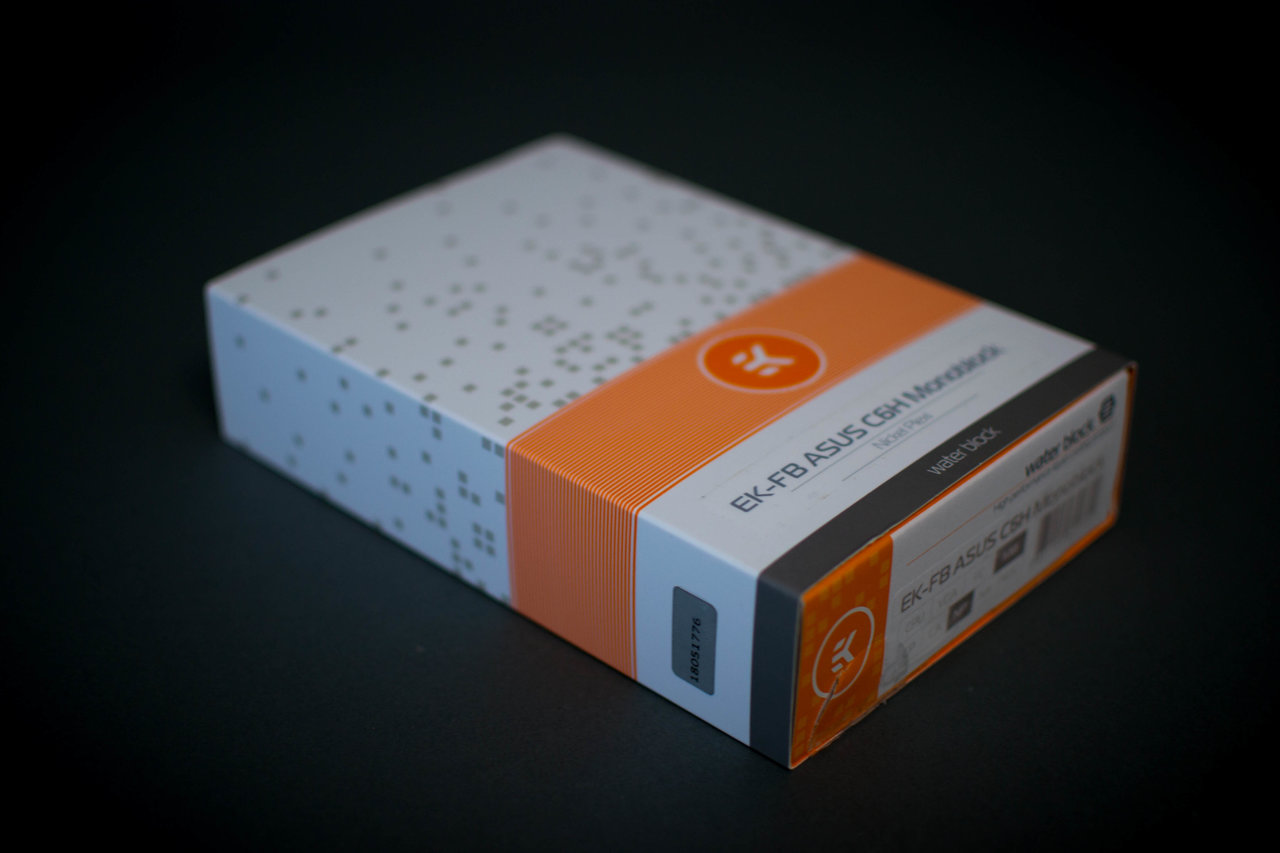
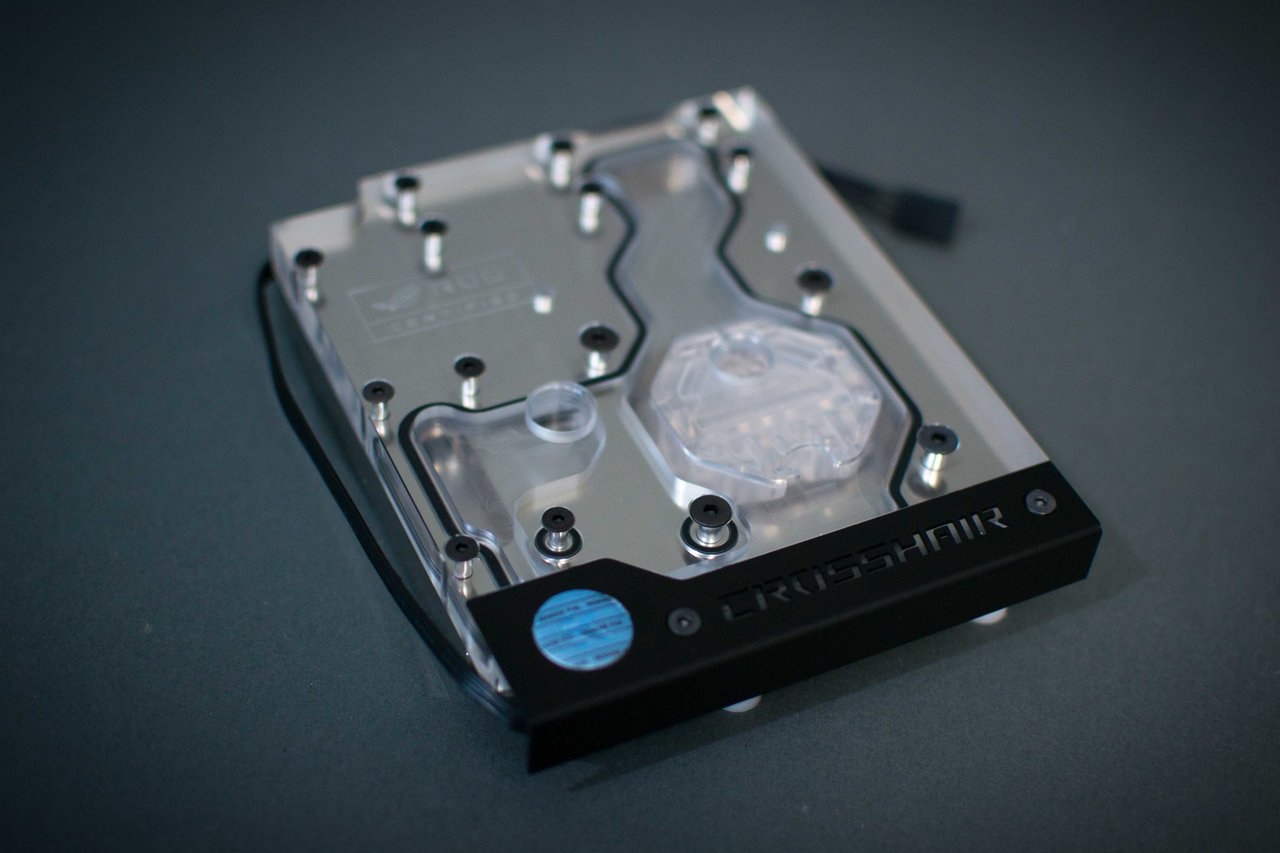
Waterblocks - EKWB Crosshair Hero VI X370 Monoblock
Radiators - EKWB SE 360 & 240
Pump - Laing D5 with Bitspower Royal Blue MOD kit
Pump Top - Bitspower
Reservoir - Bitspower Acrylic 150mm
Tubing - 12mm copper chrome plated hard tube
Fluid: Mayhems Pastel Grey
Begin:
The build on the front and back side of the case will look very minimalistic. I have used Hans Peder Sahl(p0Pe) as an inspiration for this build and he has graciously assisted me with some ideas which you may see some resemblance. He is a master of clean looks and a man after my own heart. The cable management is where it will really stand out. I have always enjoyed making custom cables for my builds and have a pet peeve for extra unneeded cable.
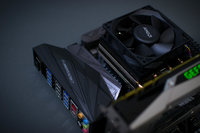
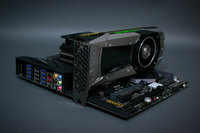
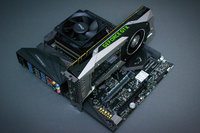
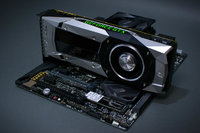
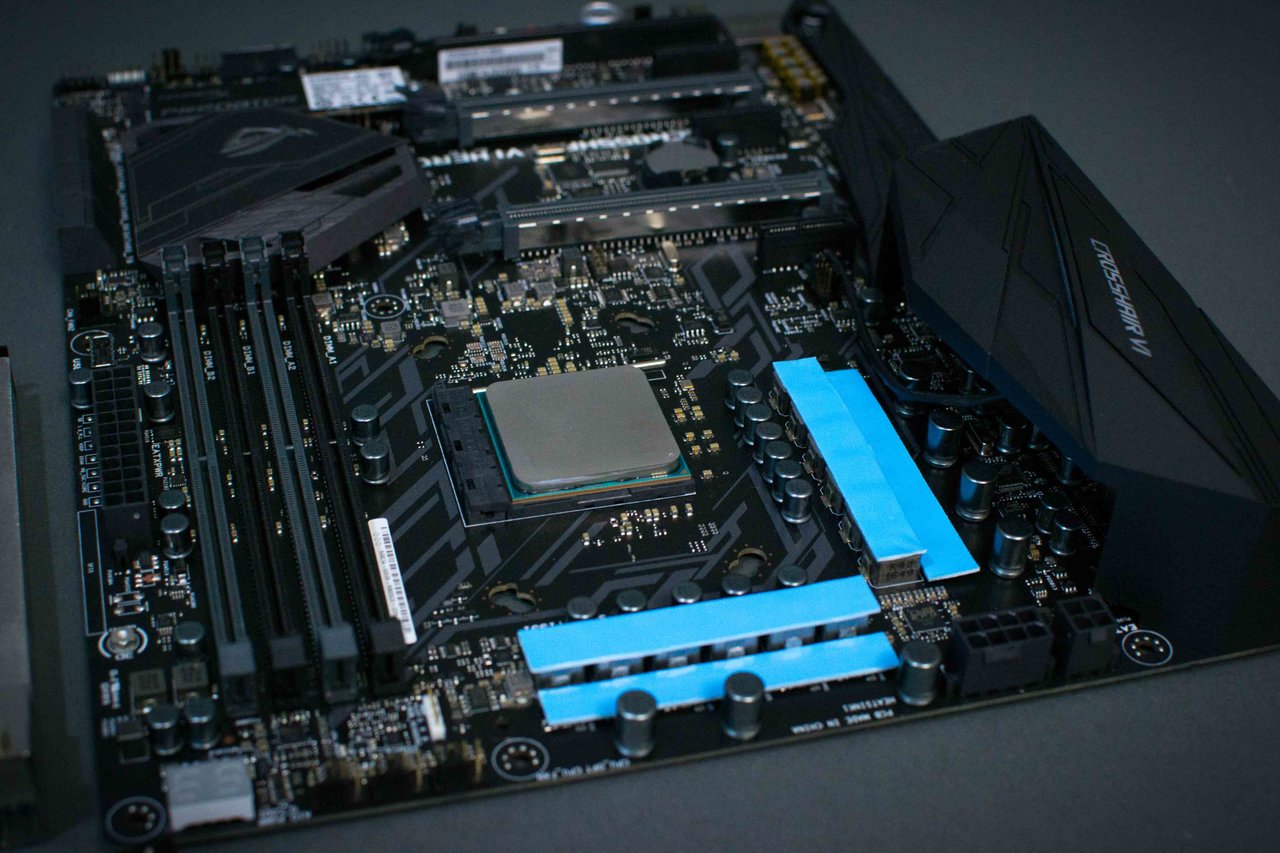
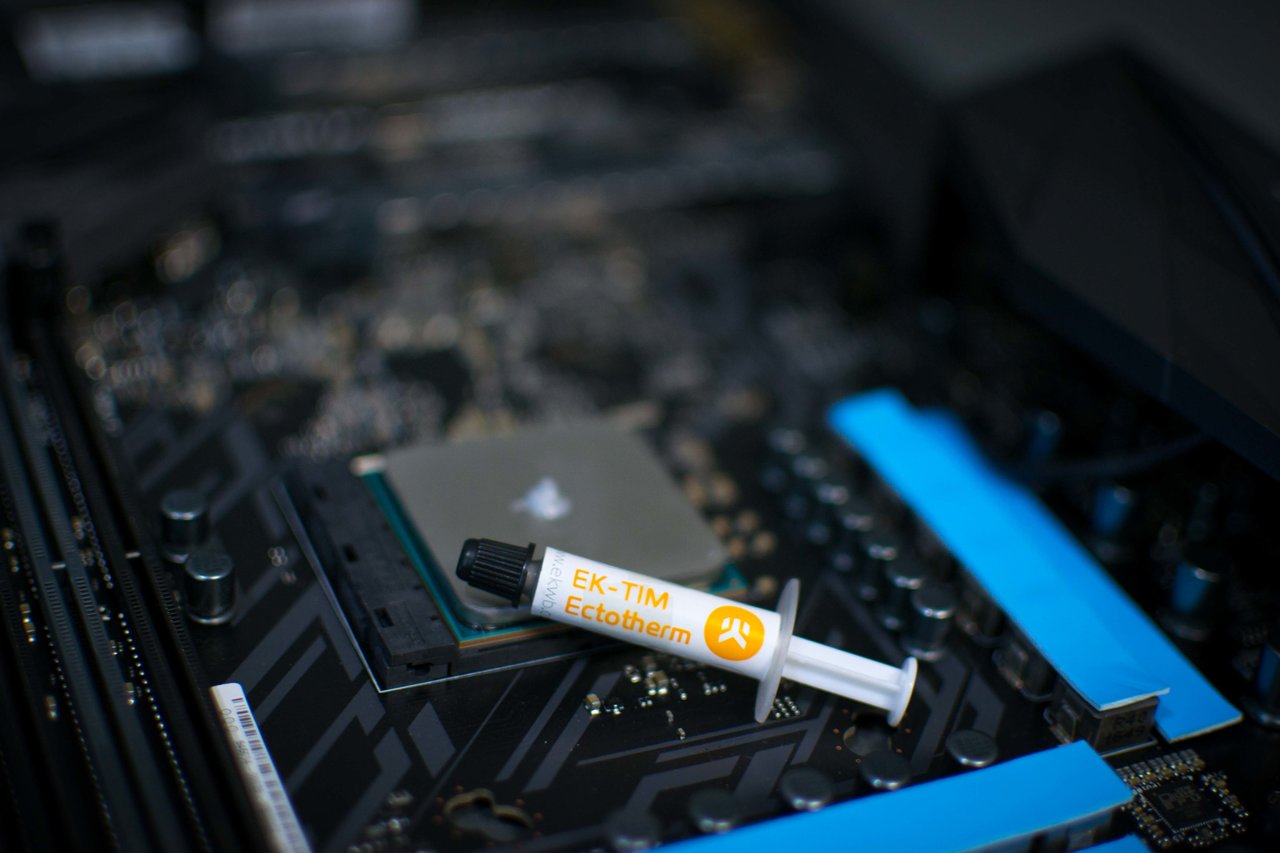
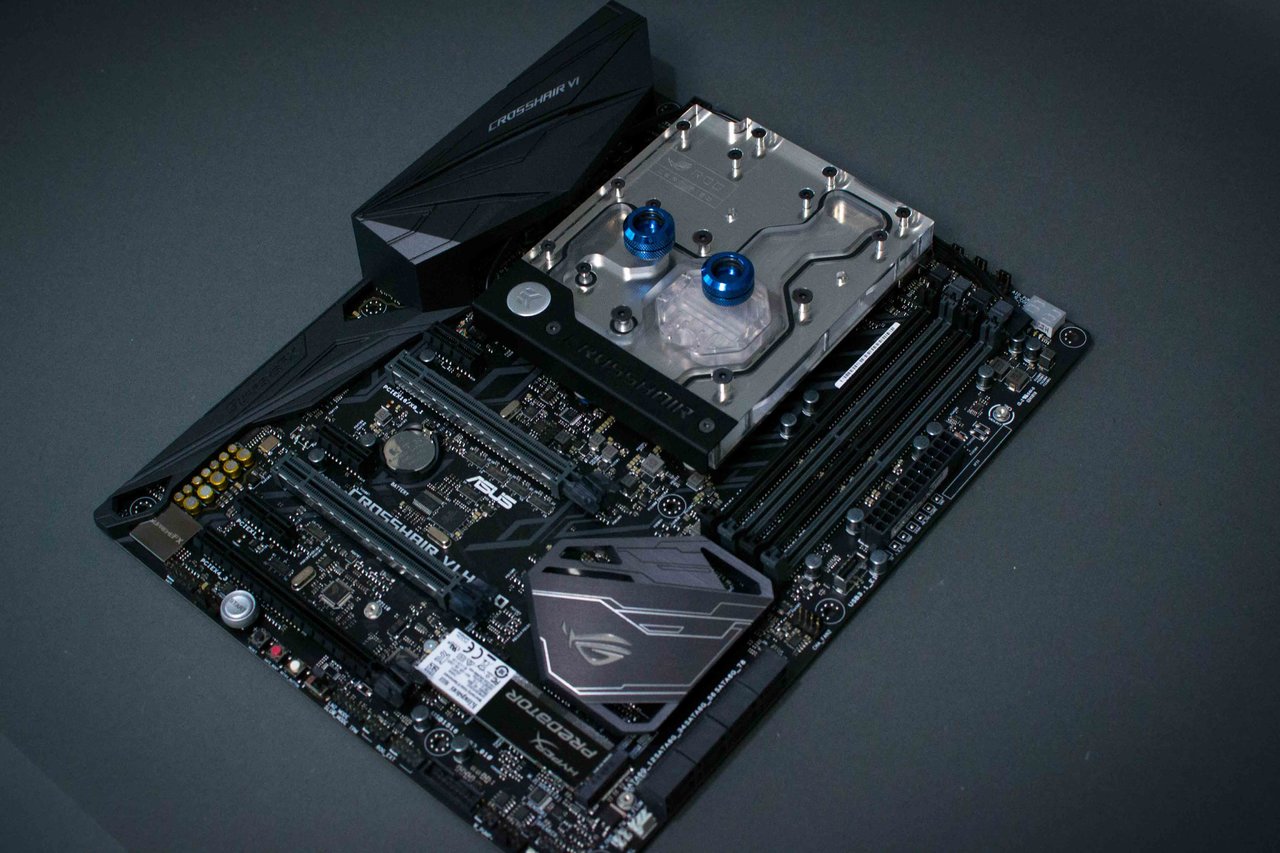
I will forego your typical stock box photos as anyone reading this build thread has already seen what they look like. Let's skip to the pictures where I have assembled them onto the motherboard for validation.
![[H]ard|Forum](/styles/hardforum/xenforo/logo_dark.png)
