![[H]ard|Forum](/styles/hardforum/xenforo/logo_dark.png)
Well I orginally posted this into my Feeding Frenzy project log, but decided that others might like to know how I did this so here is the mod.
So what bugs most people about a PSU? One size wiring loom does not fit all, right? The loom is either too long or too short and usually looks half-assed to boot IMHO. So today I have decided to fix my HD power wiring so I get a nice looking extremely clean install. After all, I want it my way.
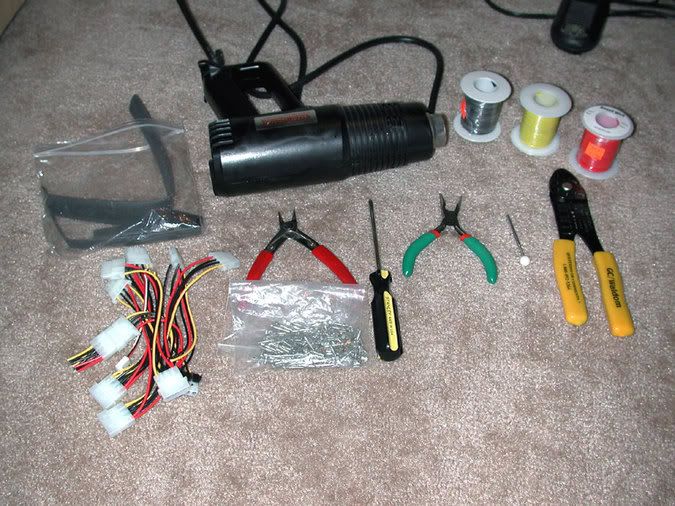
So the first thing to do is to gather up all the tools you will probably need. So what do we got here? heat shrink; heat shrink gun; red, yellow, and black wire; extra power assemblies, wire cutters; molex female pins; needle nose pliers; phillips screwdriver; molex pin remover tool; and a molex crimping tool. (sleeving not present)
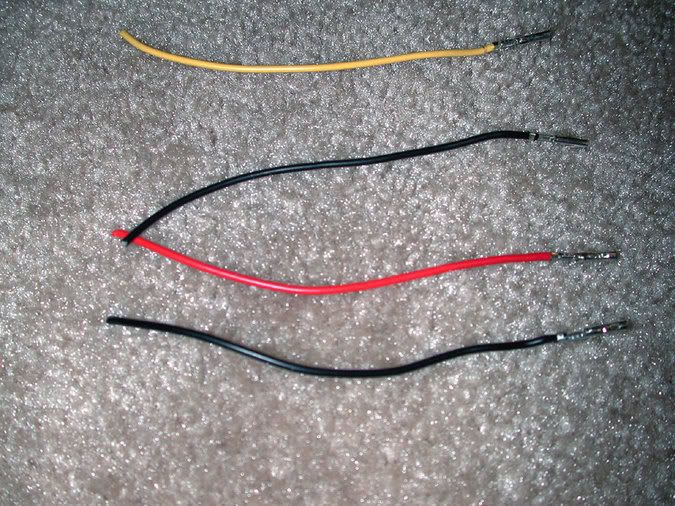
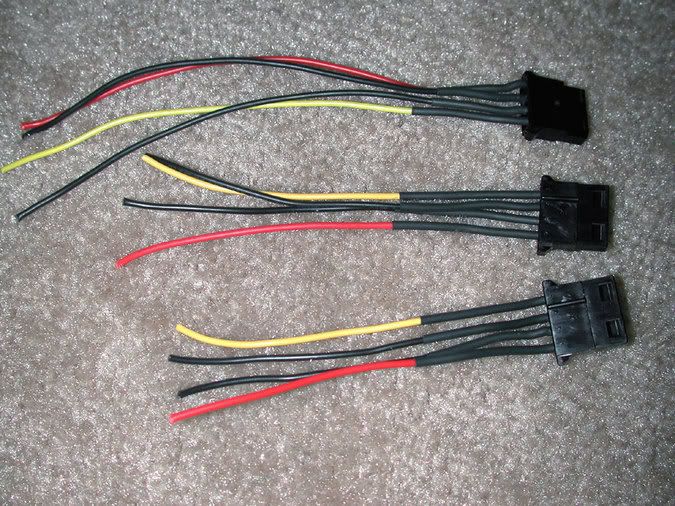
So the first thing you have to do is either decide if you want to make the wires up from scratch or use some of those old molex extensions you got hanging around. I did a combination of both if the wires I salvaged weren't up to my specs. It helps to look over the metal pins with a Optivisor to make sure they aren't damaged before you procede. Here are the ones I harvested and made up for one 4 pin molex.
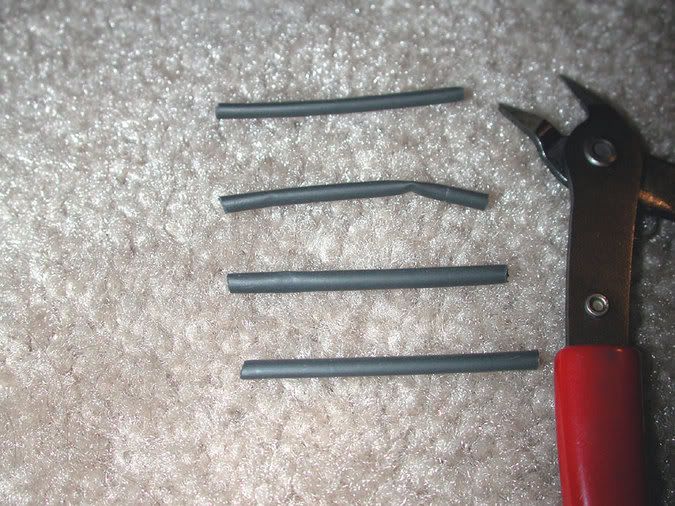
The first thing you will want to do is to get out the heatshrink tubing and put about 2" on each wire and shrink it down.
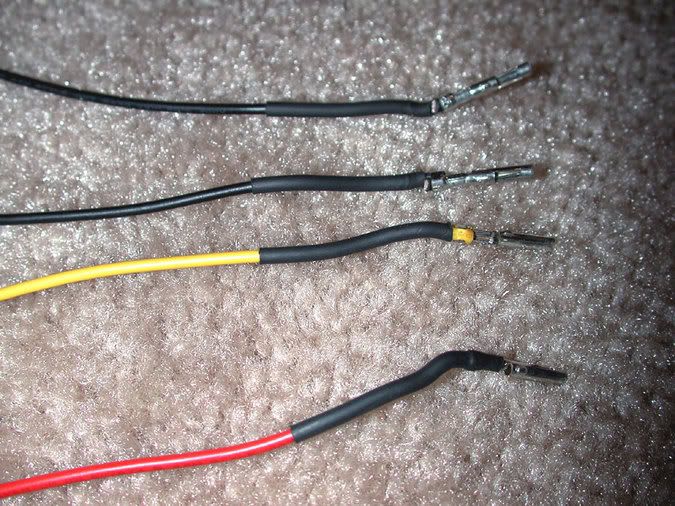
Then you attach the pins to the molex connector. If you don't know how to do this you can usually get the right info from the manufacturer of your PSU as to what color goes where. Since I was making up a cable for three hard drives I made three of these complete sub-assemblies. As you have probably noticed they are three different lengths. The longest one should be about 6" long, the second about 5", and the third one should be about 4" long for my finished cable. If you have wider separation of drives then you may need to fudge a bit on the sizes.
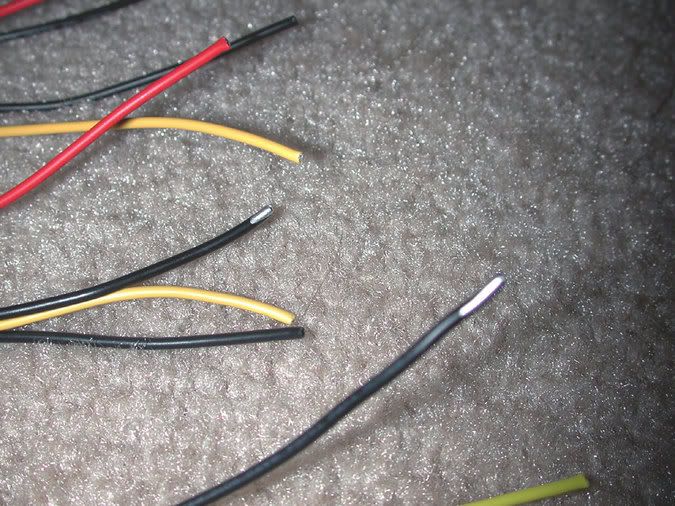
The next thing to do is to mark the black wires so you can identify them later on in the mod. What I did was to use a silver color Dykem Mark & Code pen and marked each black wire that was next to the red wire. This is important so don't forget to do it! (note: it really isn't important as all black wires go to the same place on the PSU circuit board, but it just pays to be methodical in your madness).
Now you need to cut off a piece of sleeving about 12" long or so. Cut each end with a hot tool of your choice so the ends don't fray why you are working on the cable assembly. Take your cut off piece and slide it down the longest wire assembly you have. Please pick a sleeve size much bigger than you would normally use for your power cables as you are going to have a total of twelve (12) wires in this assembly eventually. If you use to small of a sleeve size it will not look good unless you like to see colored wire through the sleeving.
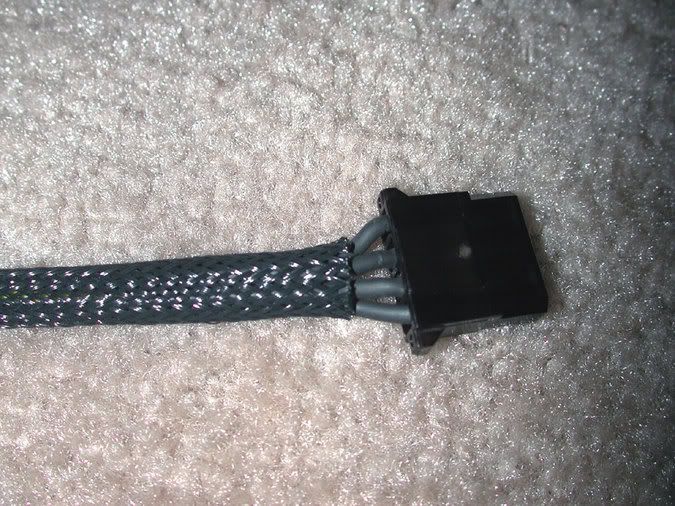
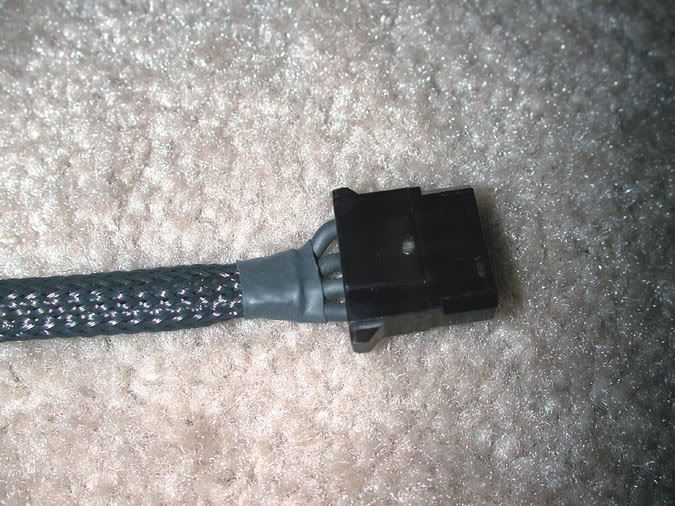
The next thing I did was to put a small piece of heatshrink near the plastic molex connector so the sleeving would not move.
Okay now the fun starts. What you need to do is to put the completed assembly in the top mounted drive. Then you need to guesstimate where the next cable assembly will get inserted into the sheathing. I did this by taking the second connector assembly and plugged it into the HD below the top one. Then you can easily see where you will want the assembly to go. Once you decide where it will go you take the phillips screwdriver and open a small hole in the side of the sheathing. It helps if you gather up a bit of sheathing so it is looser where you want to insert the screwdriver.
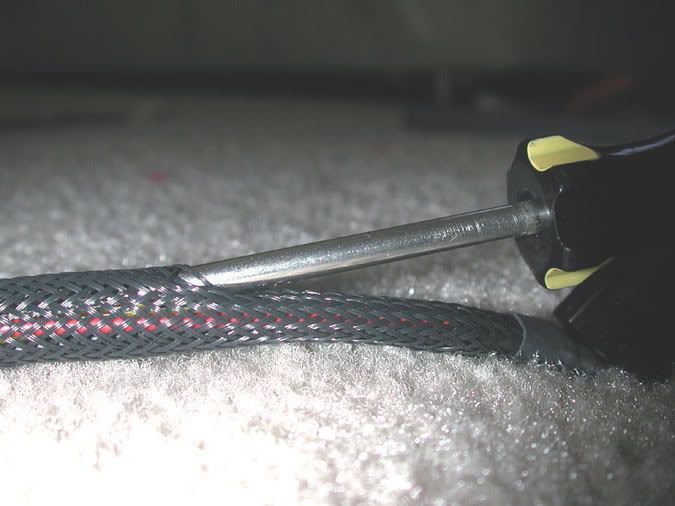
At this point in the mod you should get something that looks kind of like this.
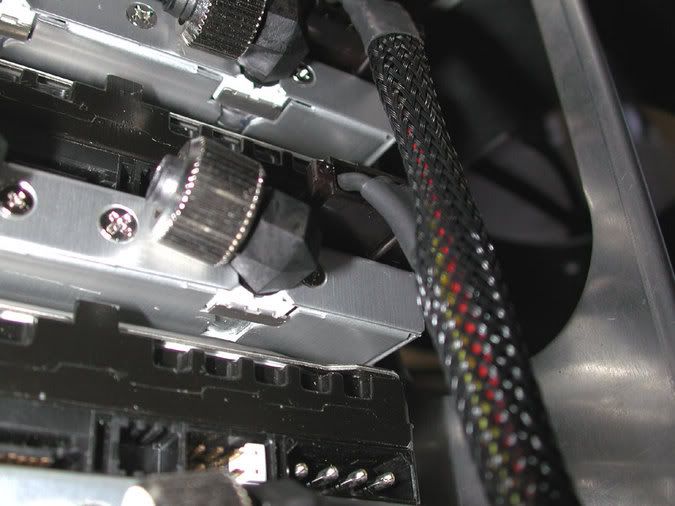
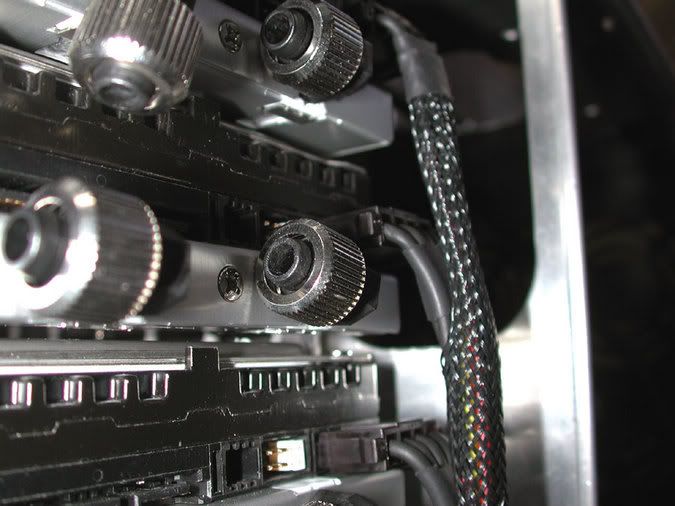
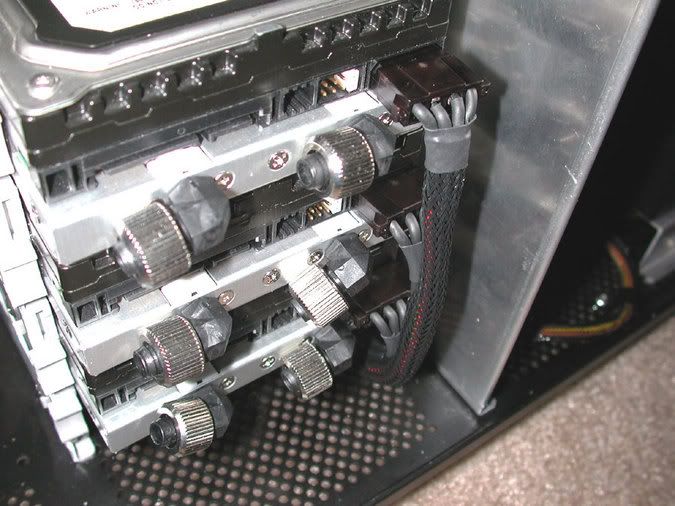
The completed mod will look like the following two pics.
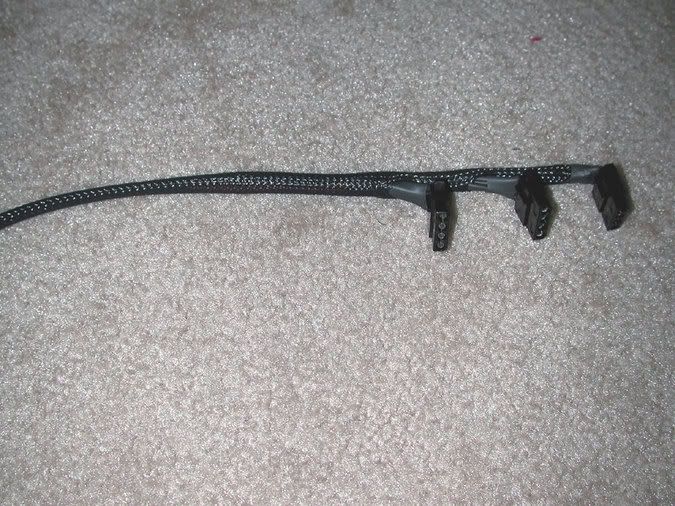
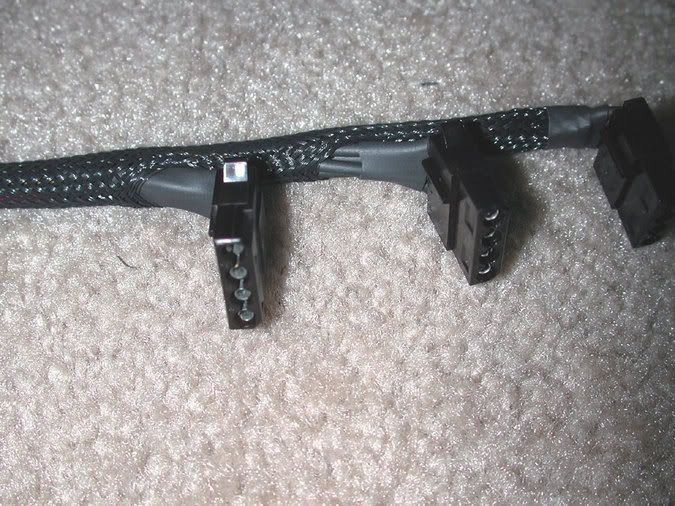
And of course what you get out of all this is a power cable your way.
Tomorrow I will solder up all these wires so that the one set of cables coming off the PSU will attach to my HD cable assembly.
So what bugs most people about a PSU? One size wiring loom does not fit all, right? The loom is either too long or too short and usually looks half-assed to boot IMHO. So today I have decided to fix my HD power wiring so I get a nice looking extremely clean install. After all, I want it my way.
So the first thing to do is to gather up all the tools you will probably need. So what do we got here? heat shrink; heat shrink gun; red, yellow, and black wire; extra power assemblies, wire cutters; molex female pins; needle nose pliers; phillips screwdriver; molex pin remover tool; and a molex crimping tool. (sleeving not present)
So the first thing you have to do is either decide if you want to make the wires up from scratch or use some of those old molex extensions you got hanging around. I did a combination of both if the wires I salvaged weren't up to my specs. It helps to look over the metal pins with a Optivisor to make sure they aren't damaged before you procede. Here are the ones I harvested and made up for one 4 pin molex.
The first thing you will want to do is to get out the heatshrink tubing and put about 2" on each wire and shrink it down.
Then you attach the pins to the molex connector. If you don't know how to do this you can usually get the right info from the manufacturer of your PSU as to what color goes where. Since I was making up a cable for three hard drives I made three of these complete sub-assemblies. As you have probably noticed they are three different lengths. The longest one should be about 6" long, the second about 5", and the third one should be about 4" long for my finished cable. If you have wider separation of drives then you may need to fudge a bit on the sizes.
The next thing to do is to mark the black wires so you can identify them later on in the mod. What I did was to use a silver color Dykem Mark & Code pen and marked each black wire that was next to the red wire. This is important so don't forget to do it! (note: it really isn't important as all black wires go to the same place on the PSU circuit board, but it just pays to be methodical in your madness).
Now you need to cut off a piece of sleeving about 12" long or so. Cut each end with a hot tool of your choice so the ends don't fray why you are working on the cable assembly. Take your cut off piece and slide it down the longest wire assembly you have. Please pick a sleeve size much bigger than you would normally use for your power cables as you are going to have a total of twelve (12) wires in this assembly eventually. If you use to small of a sleeve size it will not look good unless you like to see colored wire through the sleeving.
The next thing I did was to put a small piece of heatshrink near the plastic molex connector so the sleeving would not move.
Okay now the fun starts. What you need to do is to put the completed assembly in the top mounted drive. Then you need to guesstimate where the next cable assembly will get inserted into the sheathing. I did this by taking the second connector assembly and plugged it into the HD below the top one. Then you can easily see where you will want the assembly to go. Once you decide where it will go you take the phillips screwdriver and open a small hole in the side of the sheathing. It helps if you gather up a bit of sheathing so it is looser where you want to insert the screwdriver.
At this point in the mod you should get something that looks kind of like this.
The completed mod will look like the following two pics.
And of course what you get out of all this is a power cable your way.
Tomorrow I will solder up all these wires so that the one set of cables coming off the PSU will attach to my HD cable assembly.

