crippledlemming
Limp Gawd
- Joined
- Oct 7, 2009
- Messages
- 166
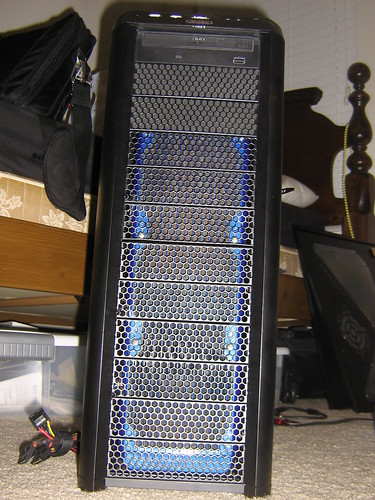
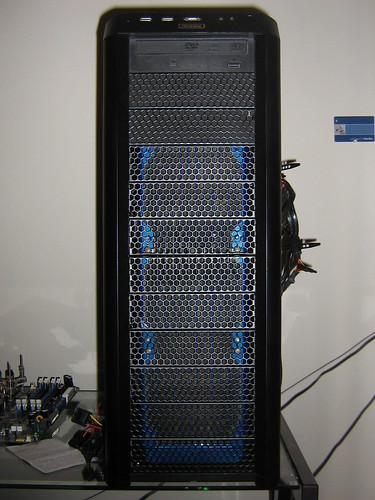
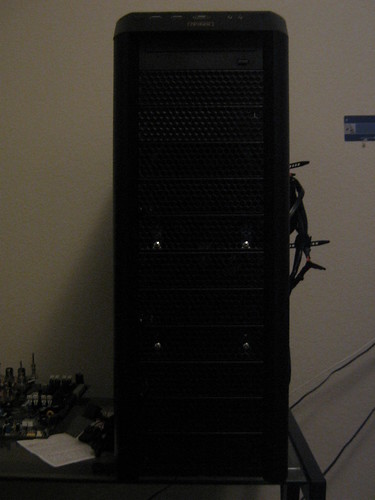
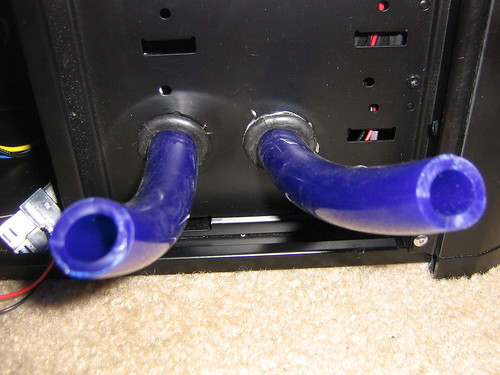
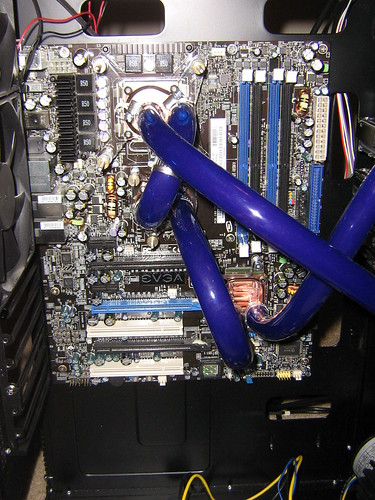
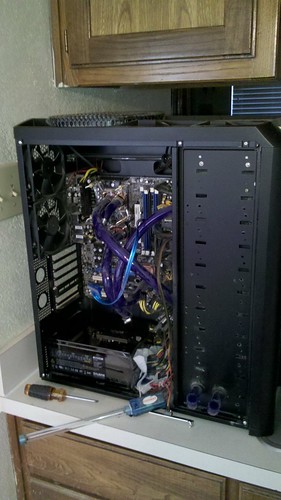
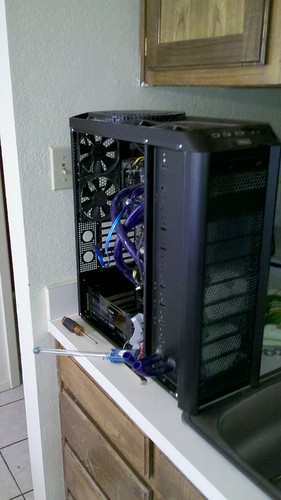
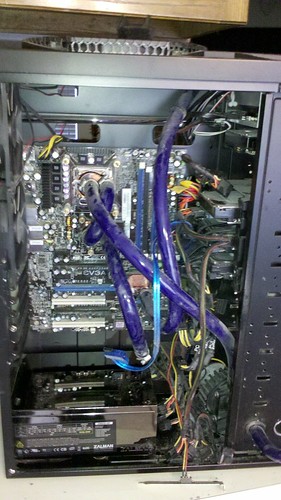
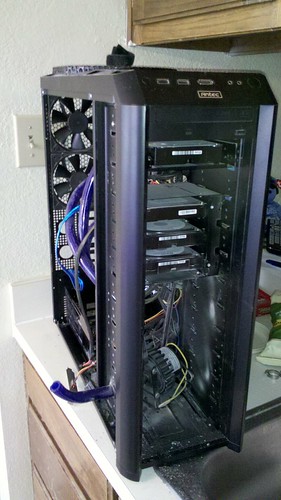
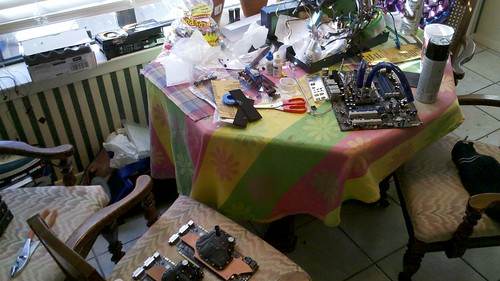
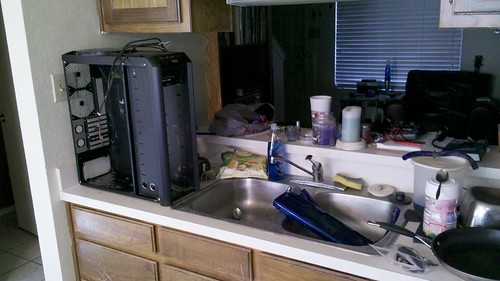
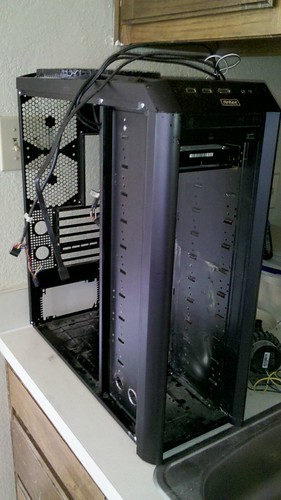
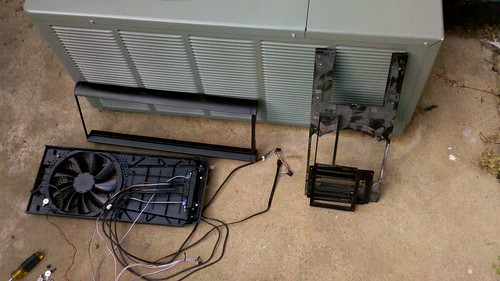
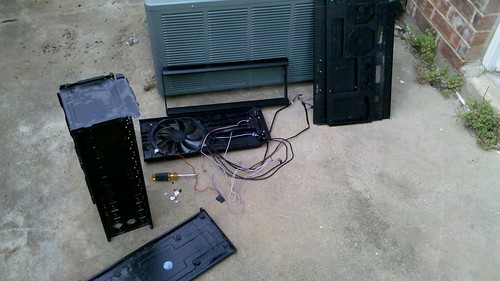
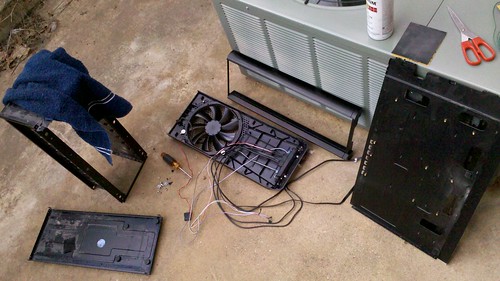
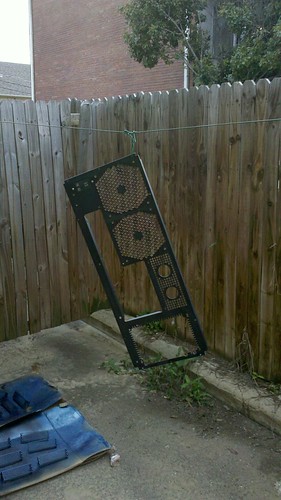
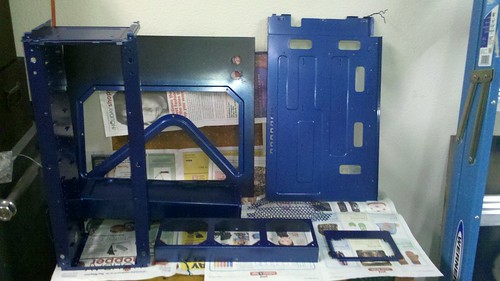
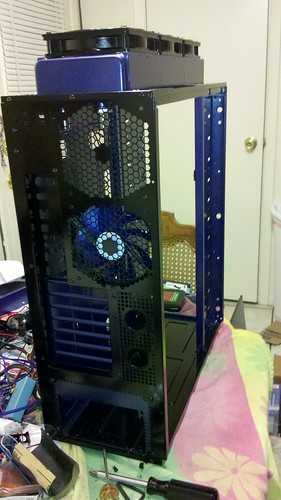
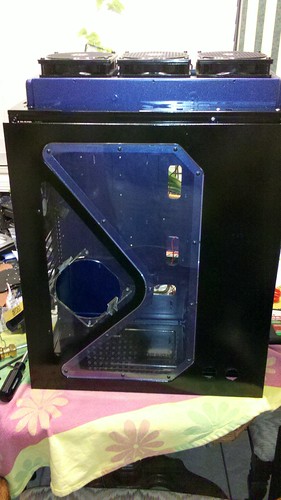
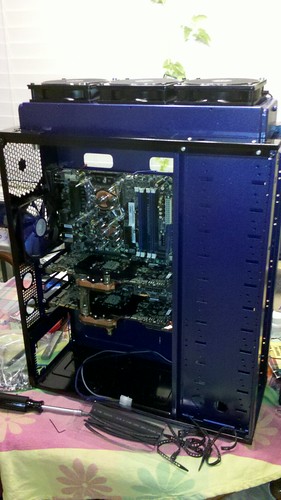
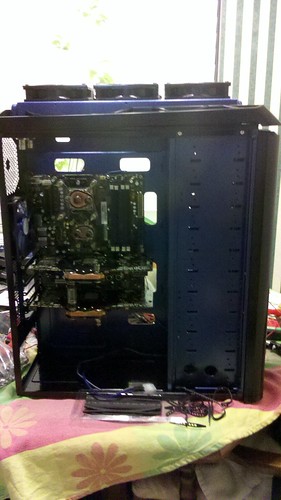
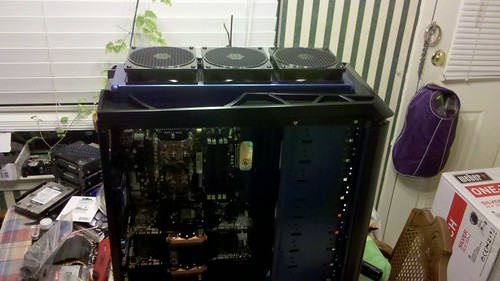
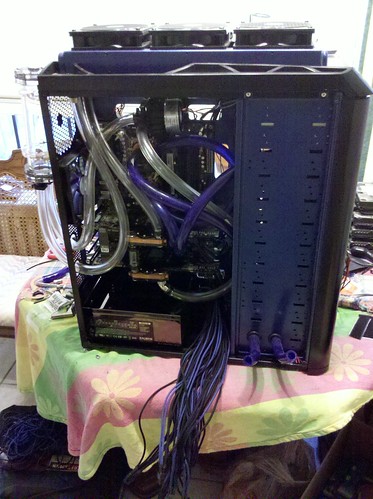
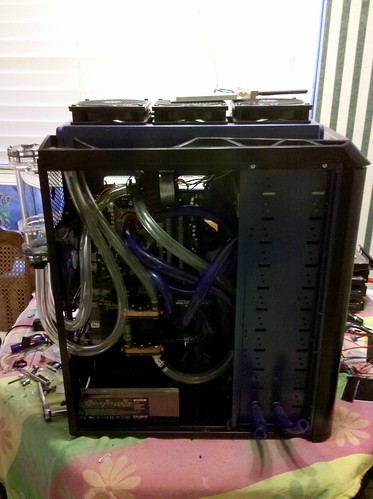
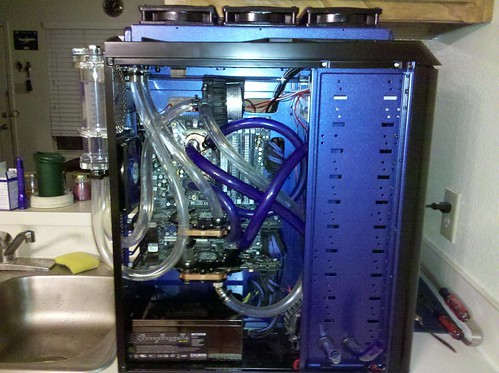
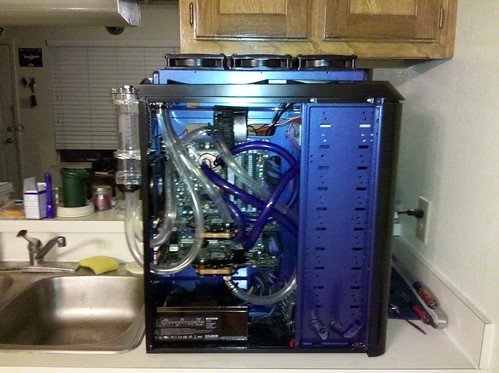
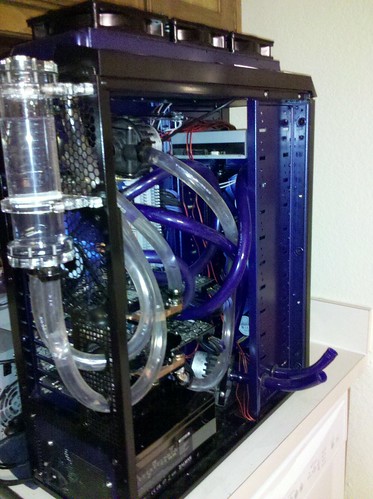
this is a worklog of some mods that I have done to my Antec 1200 chassis, along with the second round of mods that I am doing to it.
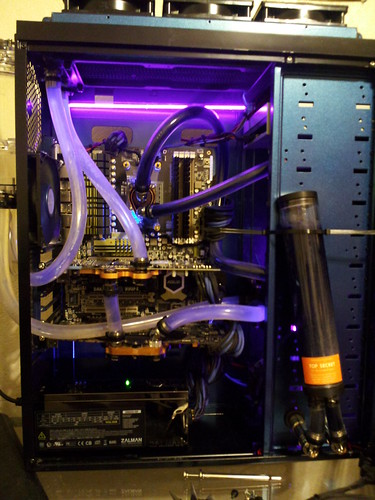
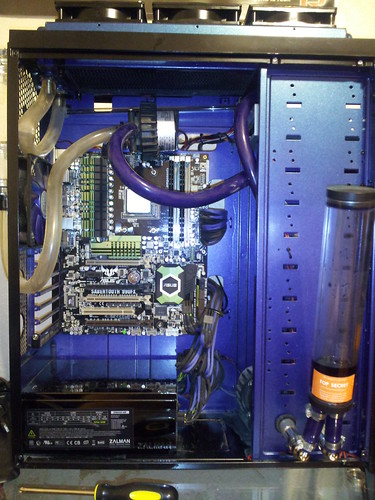
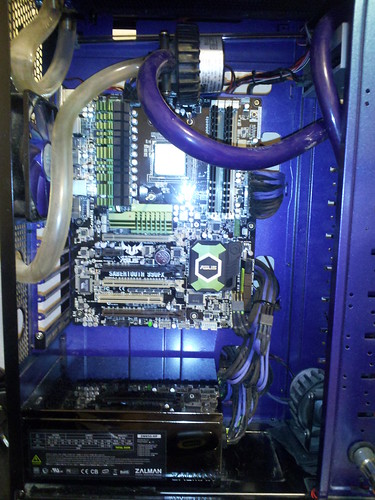
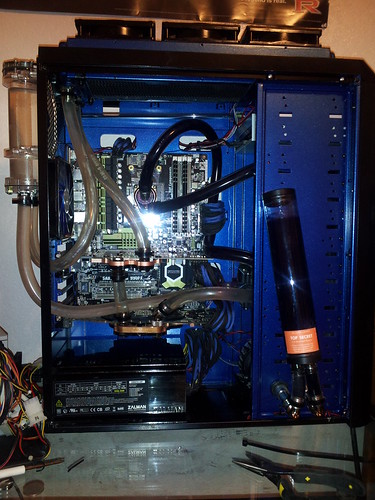
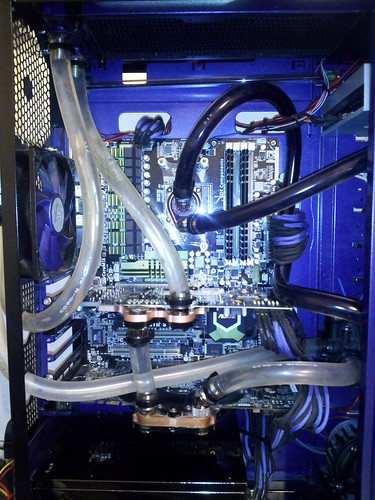
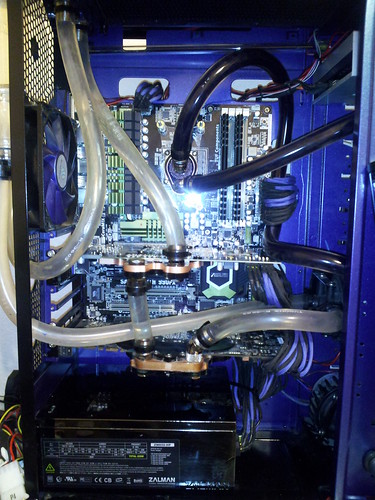
Pix:

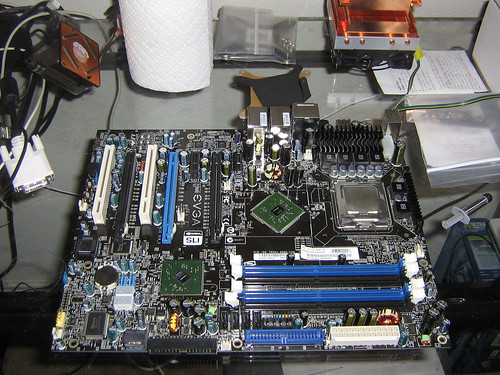
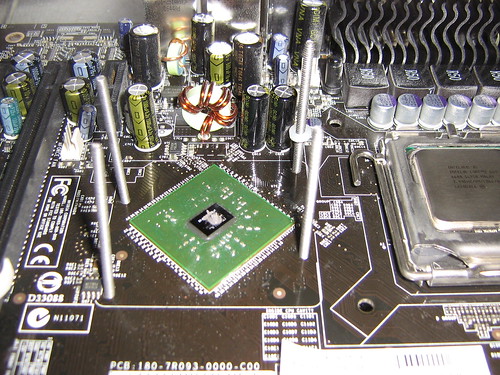
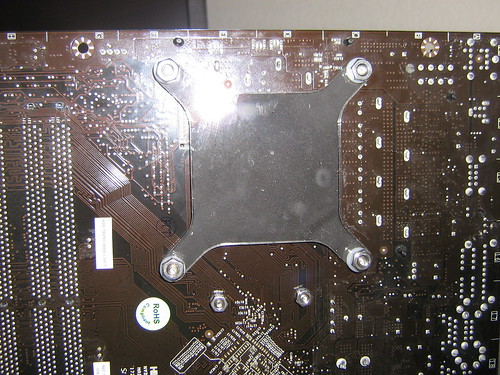


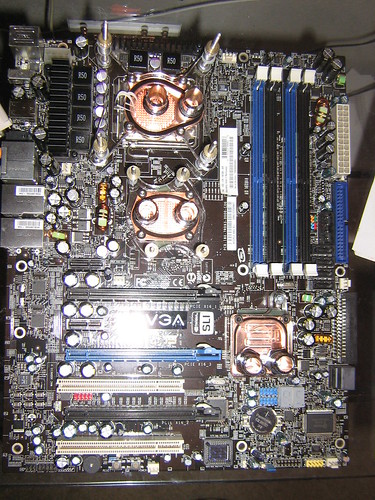


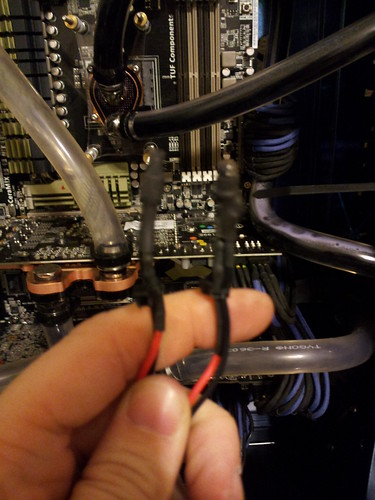
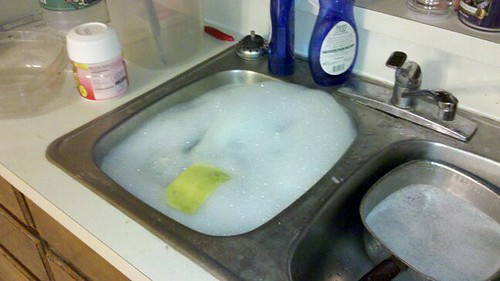
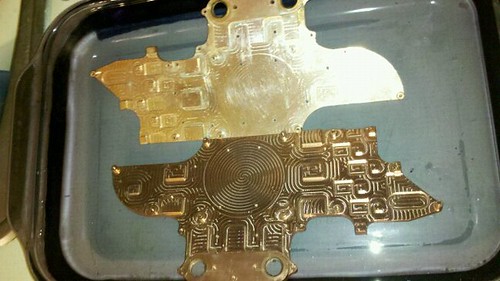
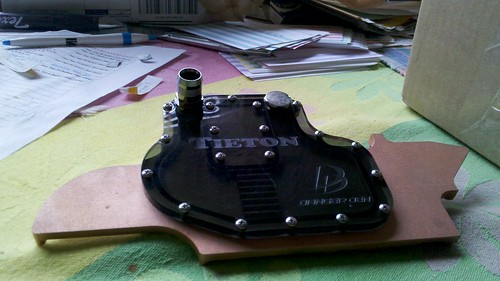
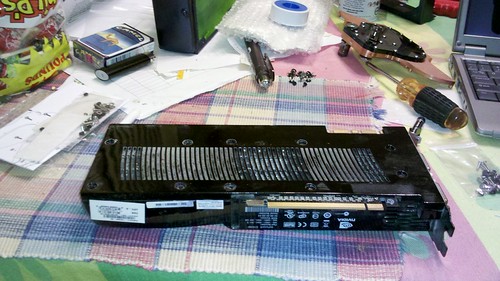
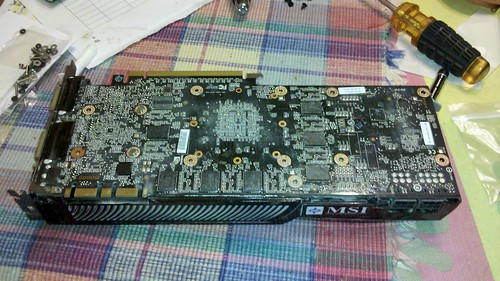
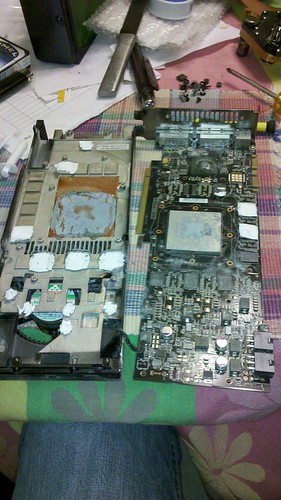
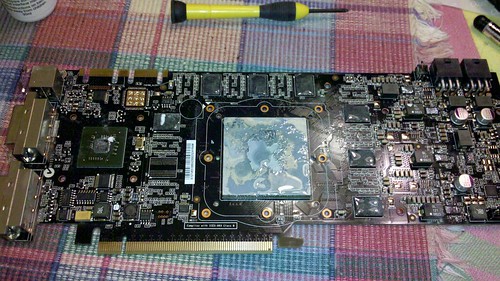
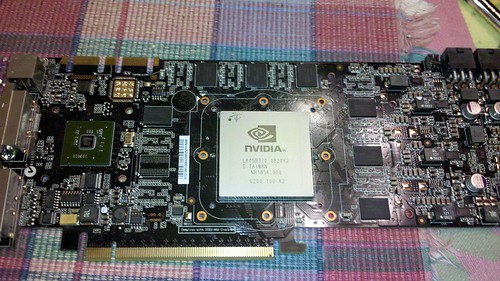
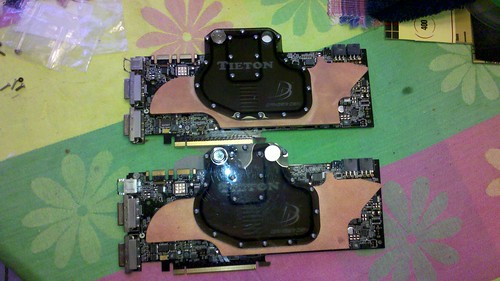
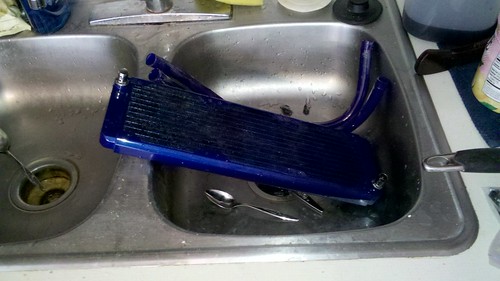
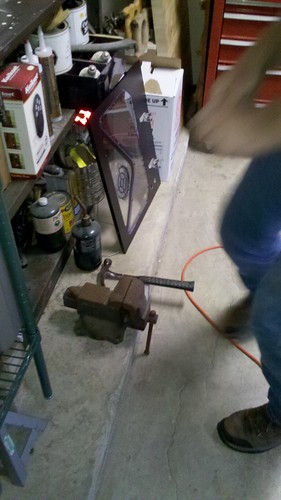
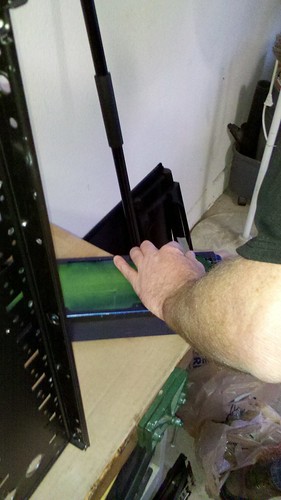
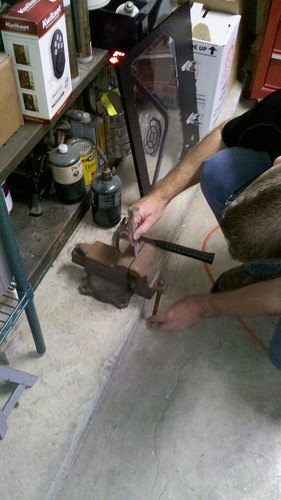
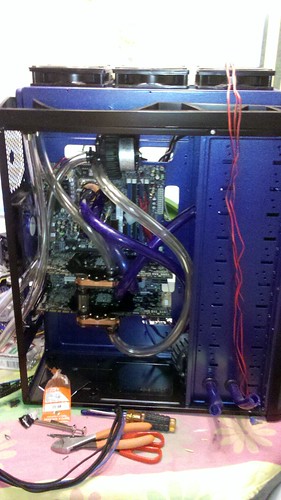
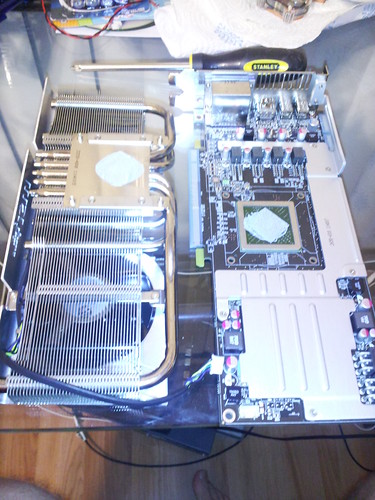
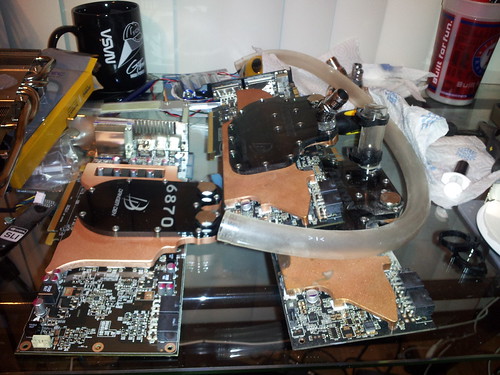
Next round of modding is off, unfortunately not too much to see here except for prepping the used waterblocks for my GPUs. When the original owner sent them to me he just pulled them from his loop and unfortunately did not dry them completely, so by the time they arrived from canada, they had corrosion on them in the waterpath. After doing some research online I decided to dip them in a solution of distilled corn vinegar/salt for a few hours, and since I had them apart I decided to clean the acrylic tops while I was at it.
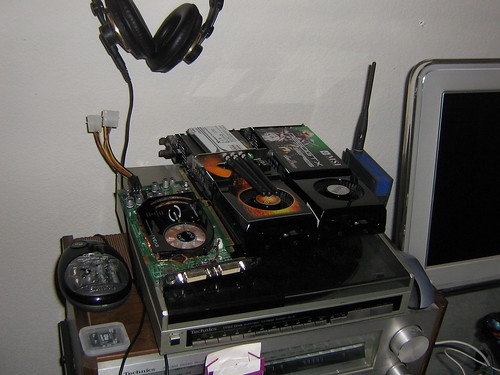
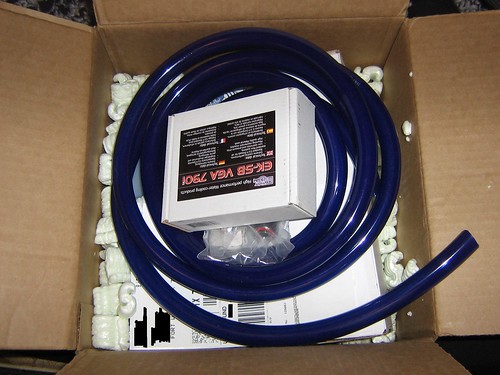
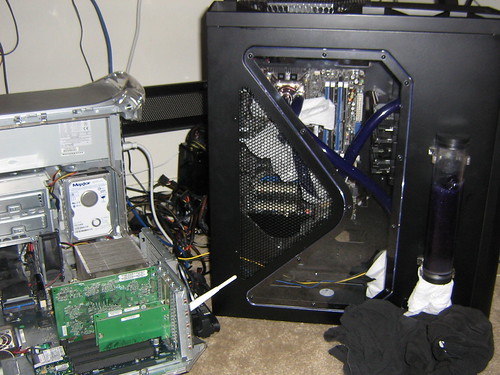
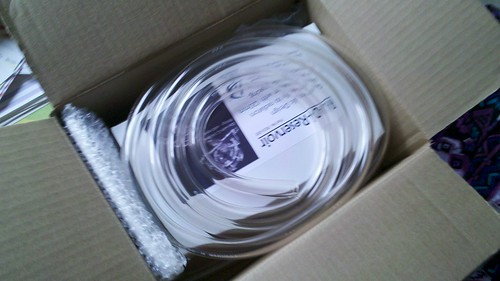
A new shipment from DD:
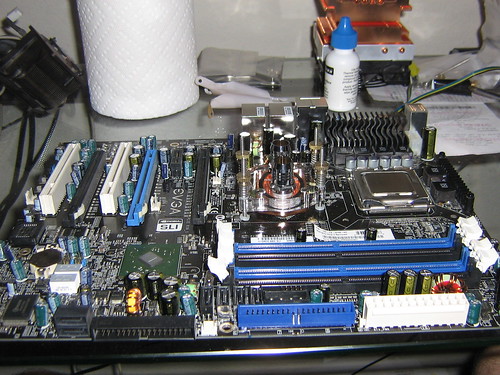
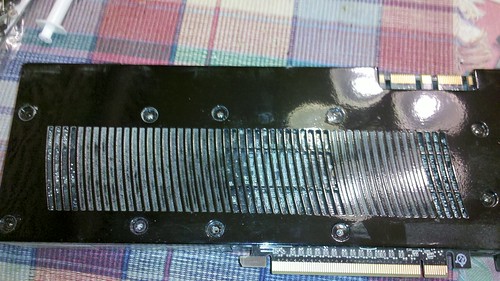
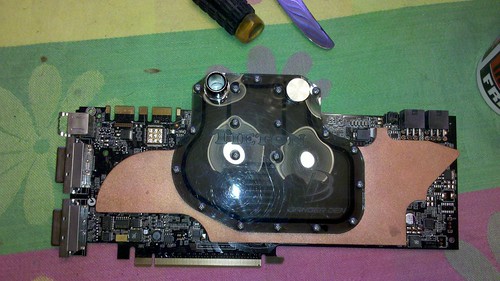
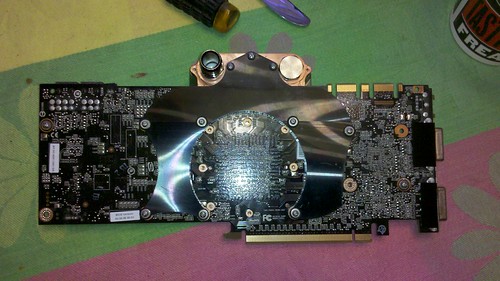
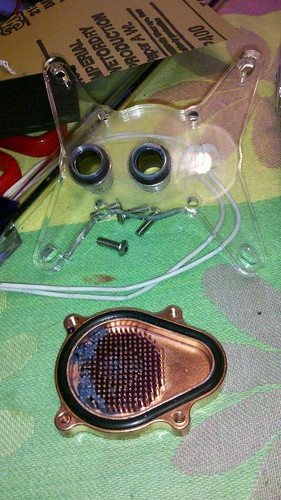
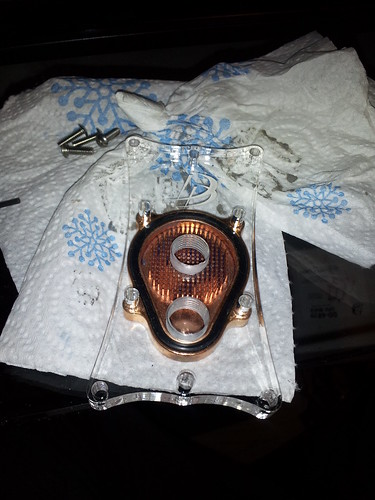
a picture of the re-assembled waterblock, all clean and shiny!
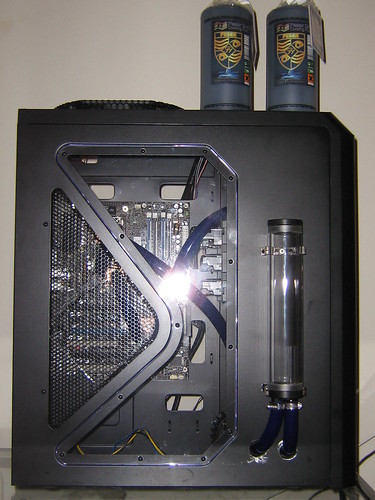
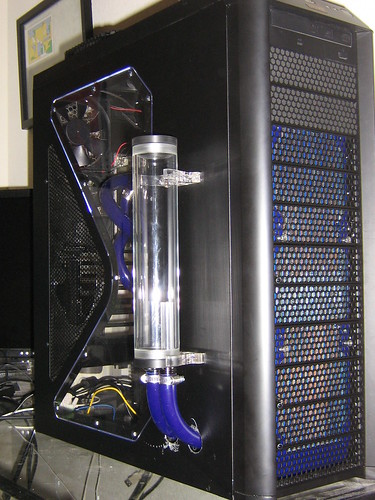
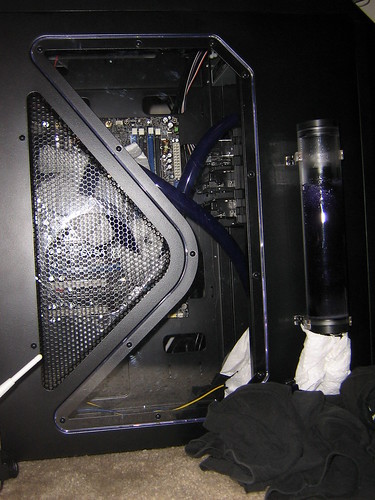
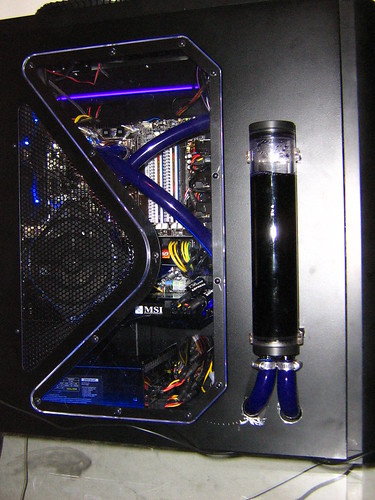
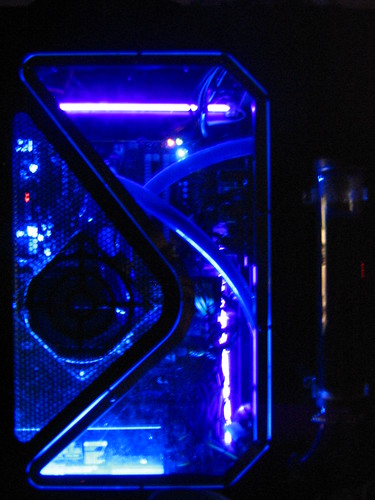
and one of the new res!

I am really impressed with the build quality of DD's res, it seems to be a solid contender for cylindrical reservoirs everywhere. I am really digging the industrial look of it, the pictures on DD's website did not do it justice. If the res came in a greater size, I may have been swayed to change out my other res to match this one. I am hoping to get some work in on this this weekend, but alas I still need paint and some misc supplies to begin... My old dremel died and I am having a hard time convincing myself to buy another. Any suggestions on a dremel?
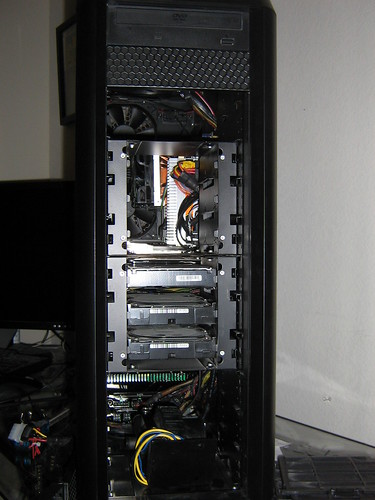
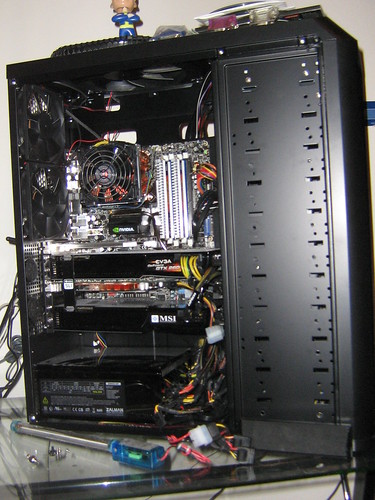
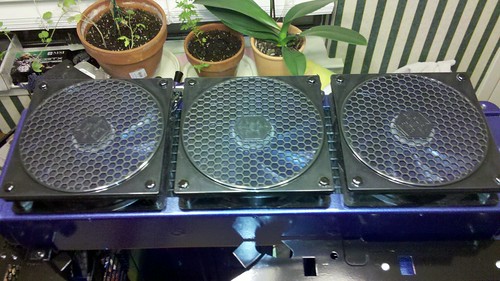
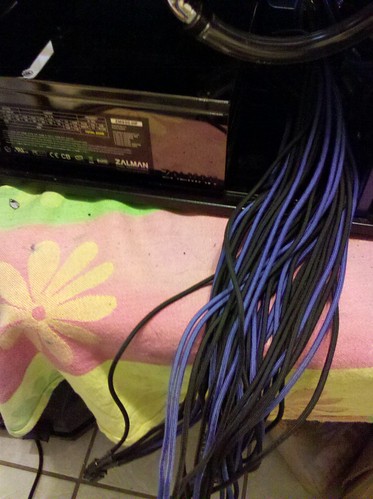
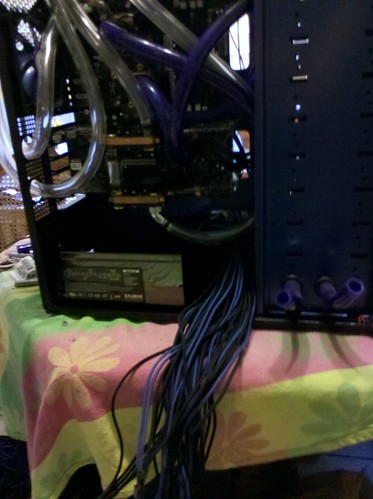
The last shipment came in today:
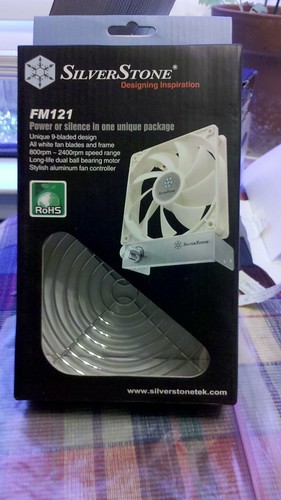
but the fans being white, that will never do!
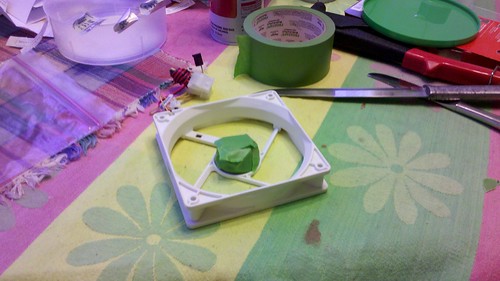

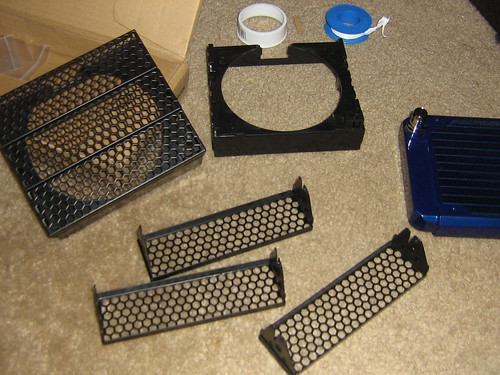
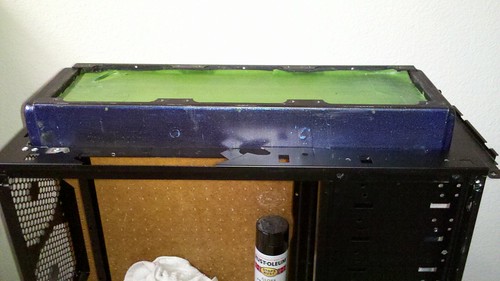
painting time!
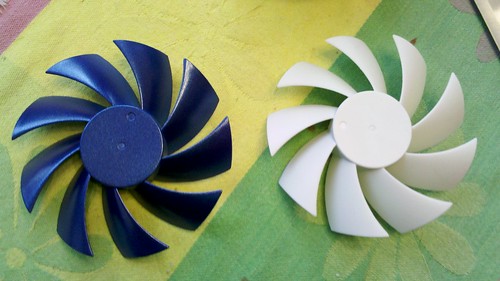
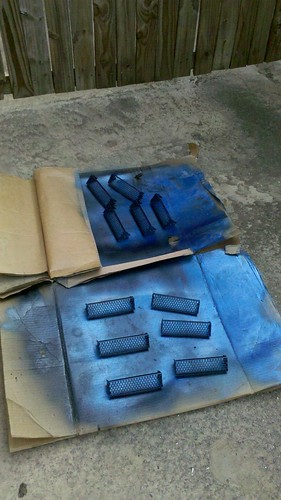
before and after:
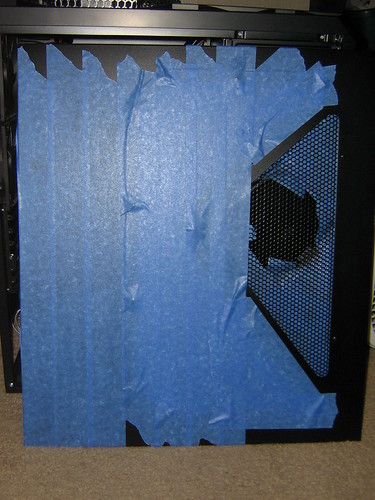
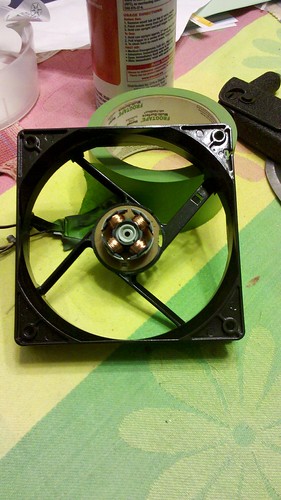
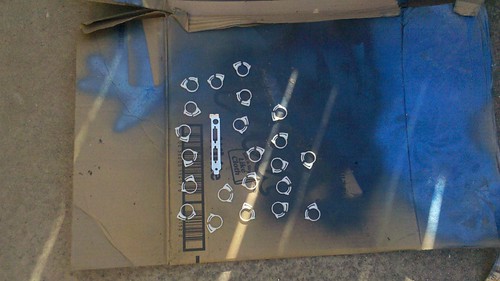
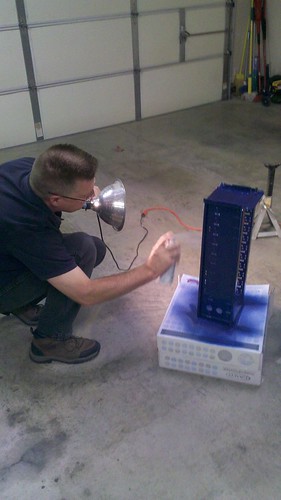
and the fan frame unmasked:
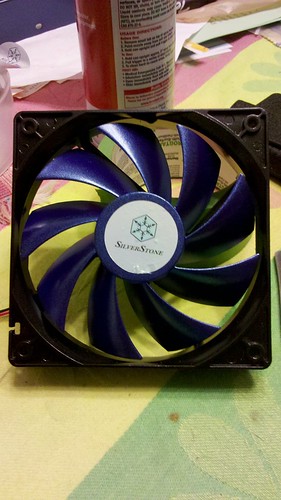
and the finished fan:
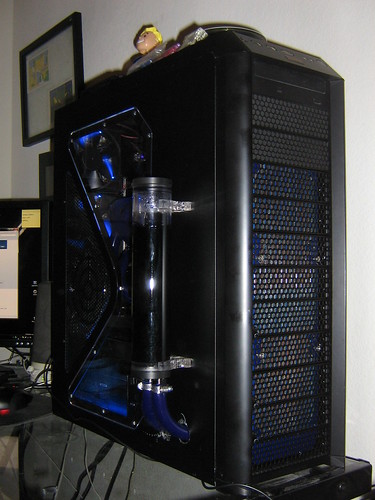
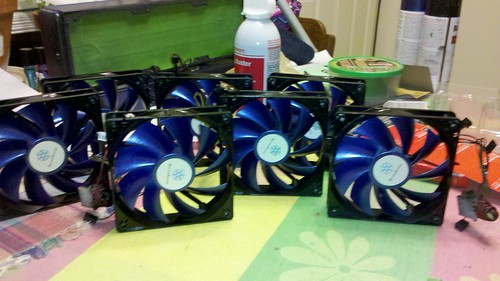
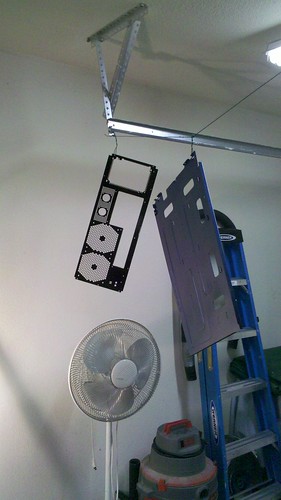
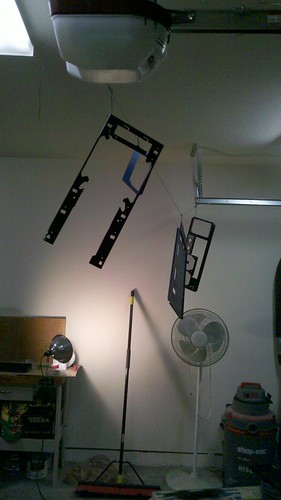
and the finished fans:
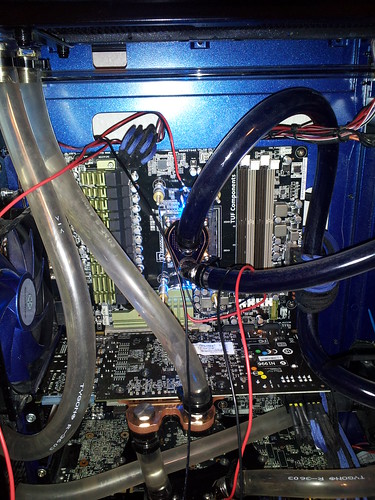
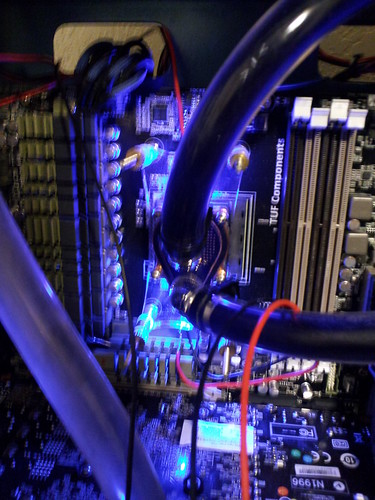
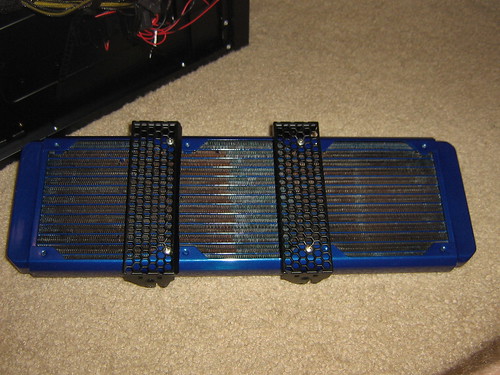
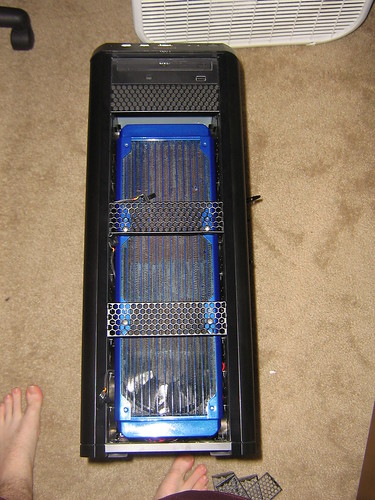
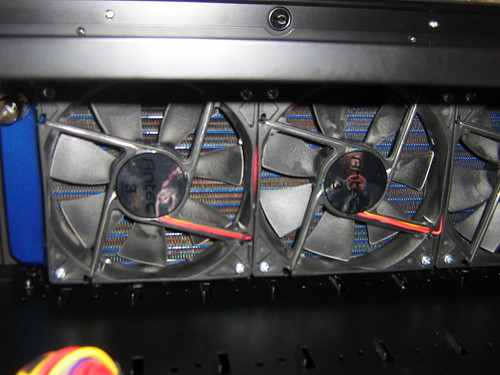
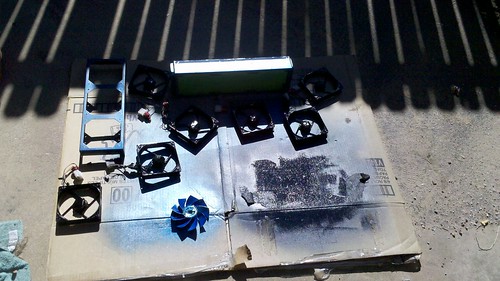
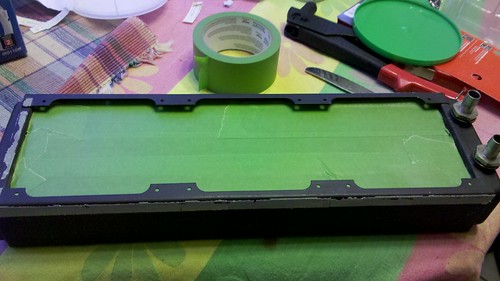
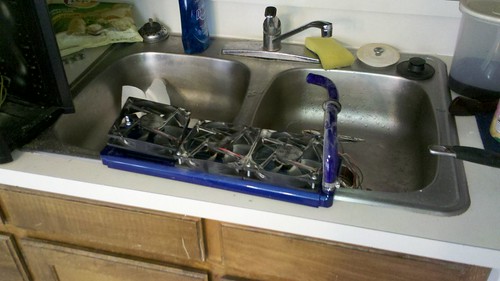
up next the second rad, some teasers:

Pix:
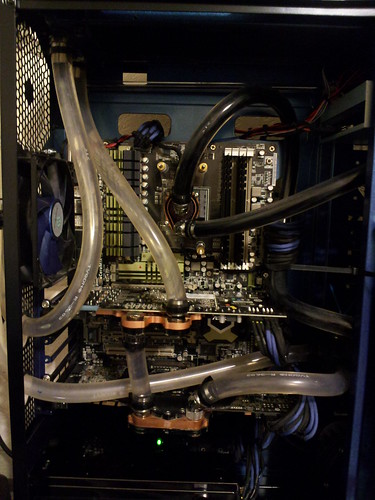
Next round of modding is off, unfortunately not too much to see here except for prepping the used waterblocks for my GPUs. When the original owner sent them to me he just pulled them from his loop and unfortunately did not dry them completely, so by the time they arrived from canada, they had corrosion on them in the waterpath. After doing some research online I decided to dip them in a solution of distilled corn vinegar/salt for a few hours, and since I had them apart I decided to clean the acrylic tops while I was at it.
A new shipment from DD:
a picture of the re-assembled waterblock, all clean and shiny!
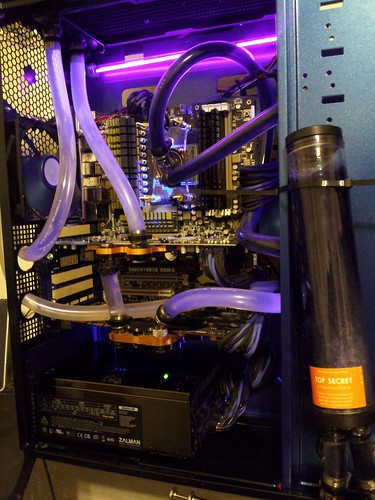
and one of the new res!
I am really impressed with the build quality of DD's res, it seems to be a solid contender for cylindrical reservoirs everywhere. I am really digging the industrial look of it, the pictures on DD's website did not do it justice. If the res came in a greater size, I may have been swayed to change out my other res to match this one. I am hoping to get some work in on this this weekend, but alas I still need paint and some misc supplies to begin... My old dremel died and I am having a hard time convincing myself to buy another. Any suggestions on a dremel?
The last shipment came in today:
but the fans being white, that will never do!
painting time!
before and after:
and the fan frame unmasked:
and the finished fan:
and the finished fans:
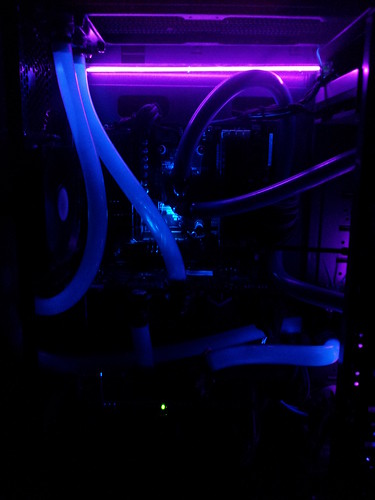
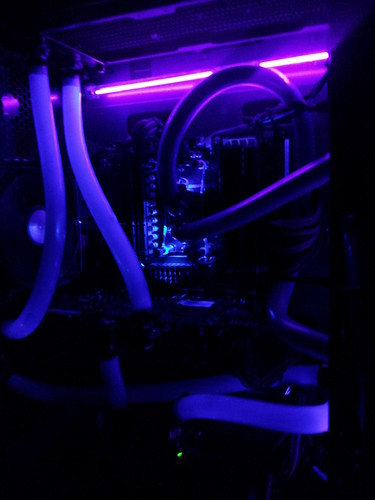
up next the second rad, some teasers:


")