Alonso_Bistro
n00b
- Joined
- Apr 21, 2004
- Messages
- 63

Hi all , happy to post here again

Pix clickable....
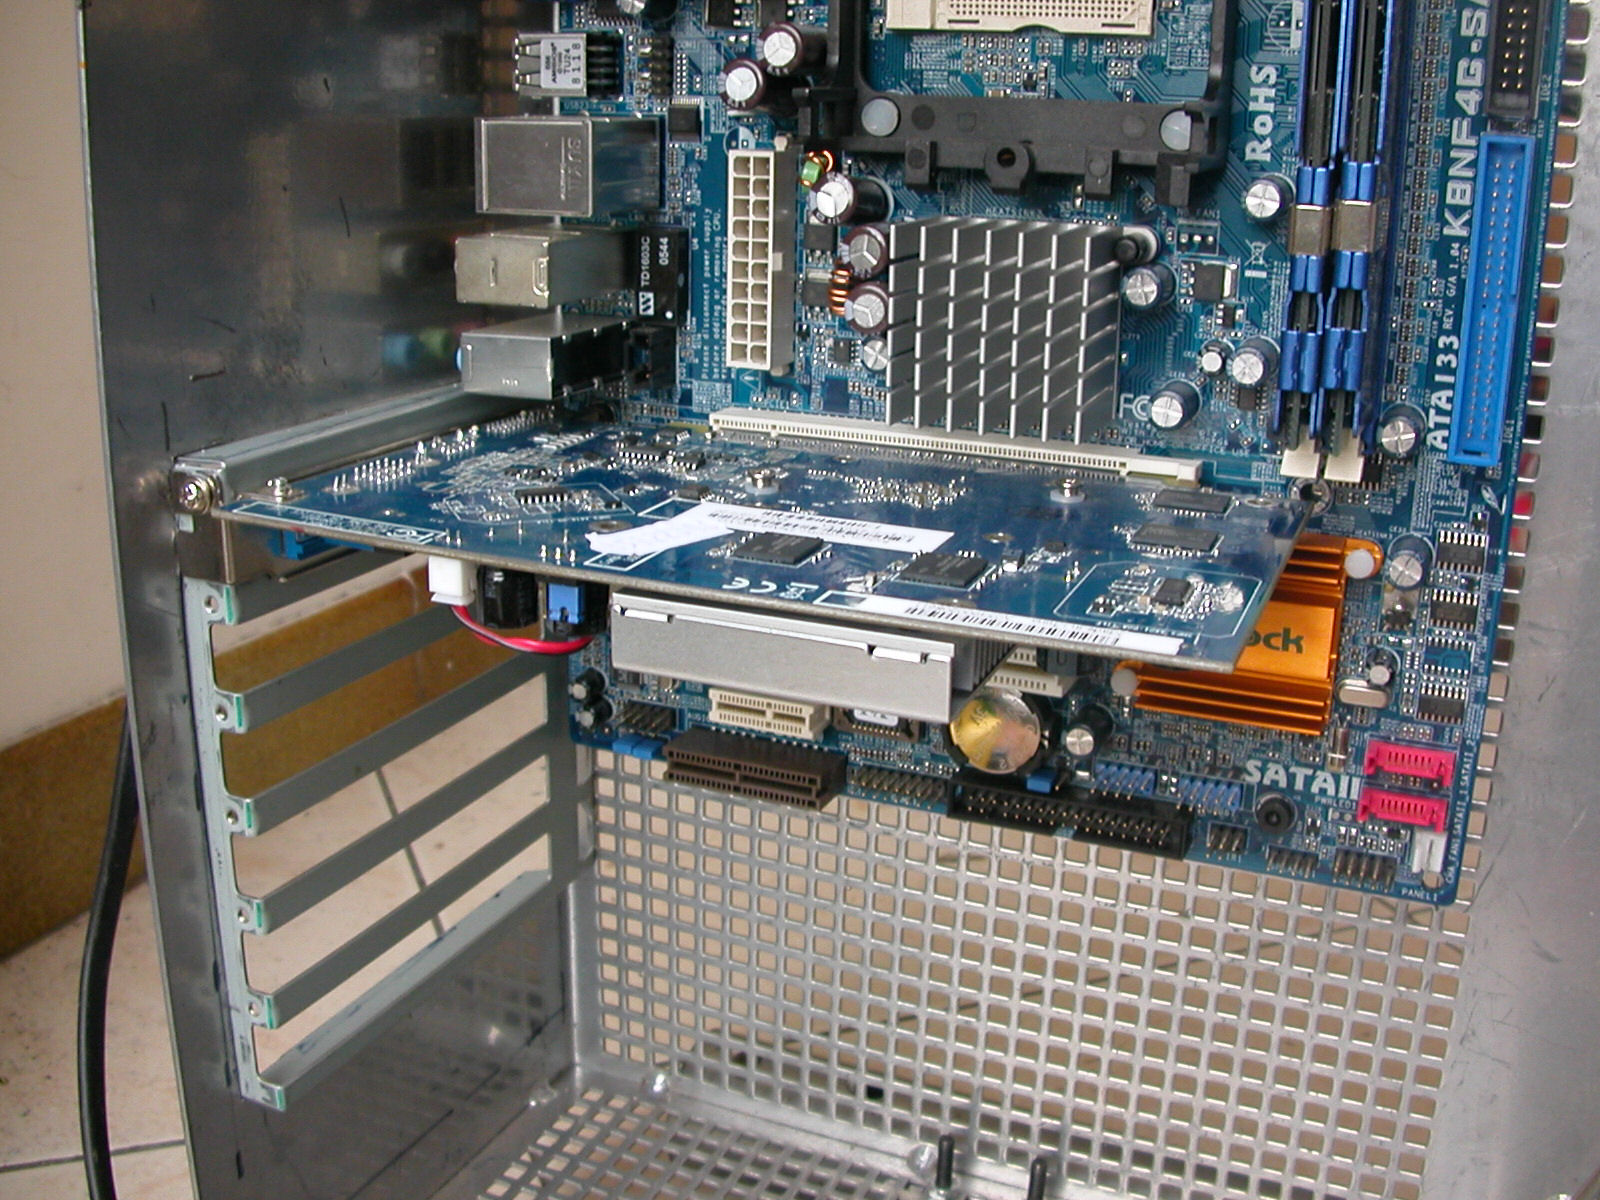
[Le setup]
Mobo: Asrock K8NF4G
CPU: AMD 64 3200+ socket 754
Ram: CRUCIAL Ballistix Tracer PC4000 2x1 giga
Vidéo: ATI X1600pro PCI-E
HDD: Barracuda 120 gigas
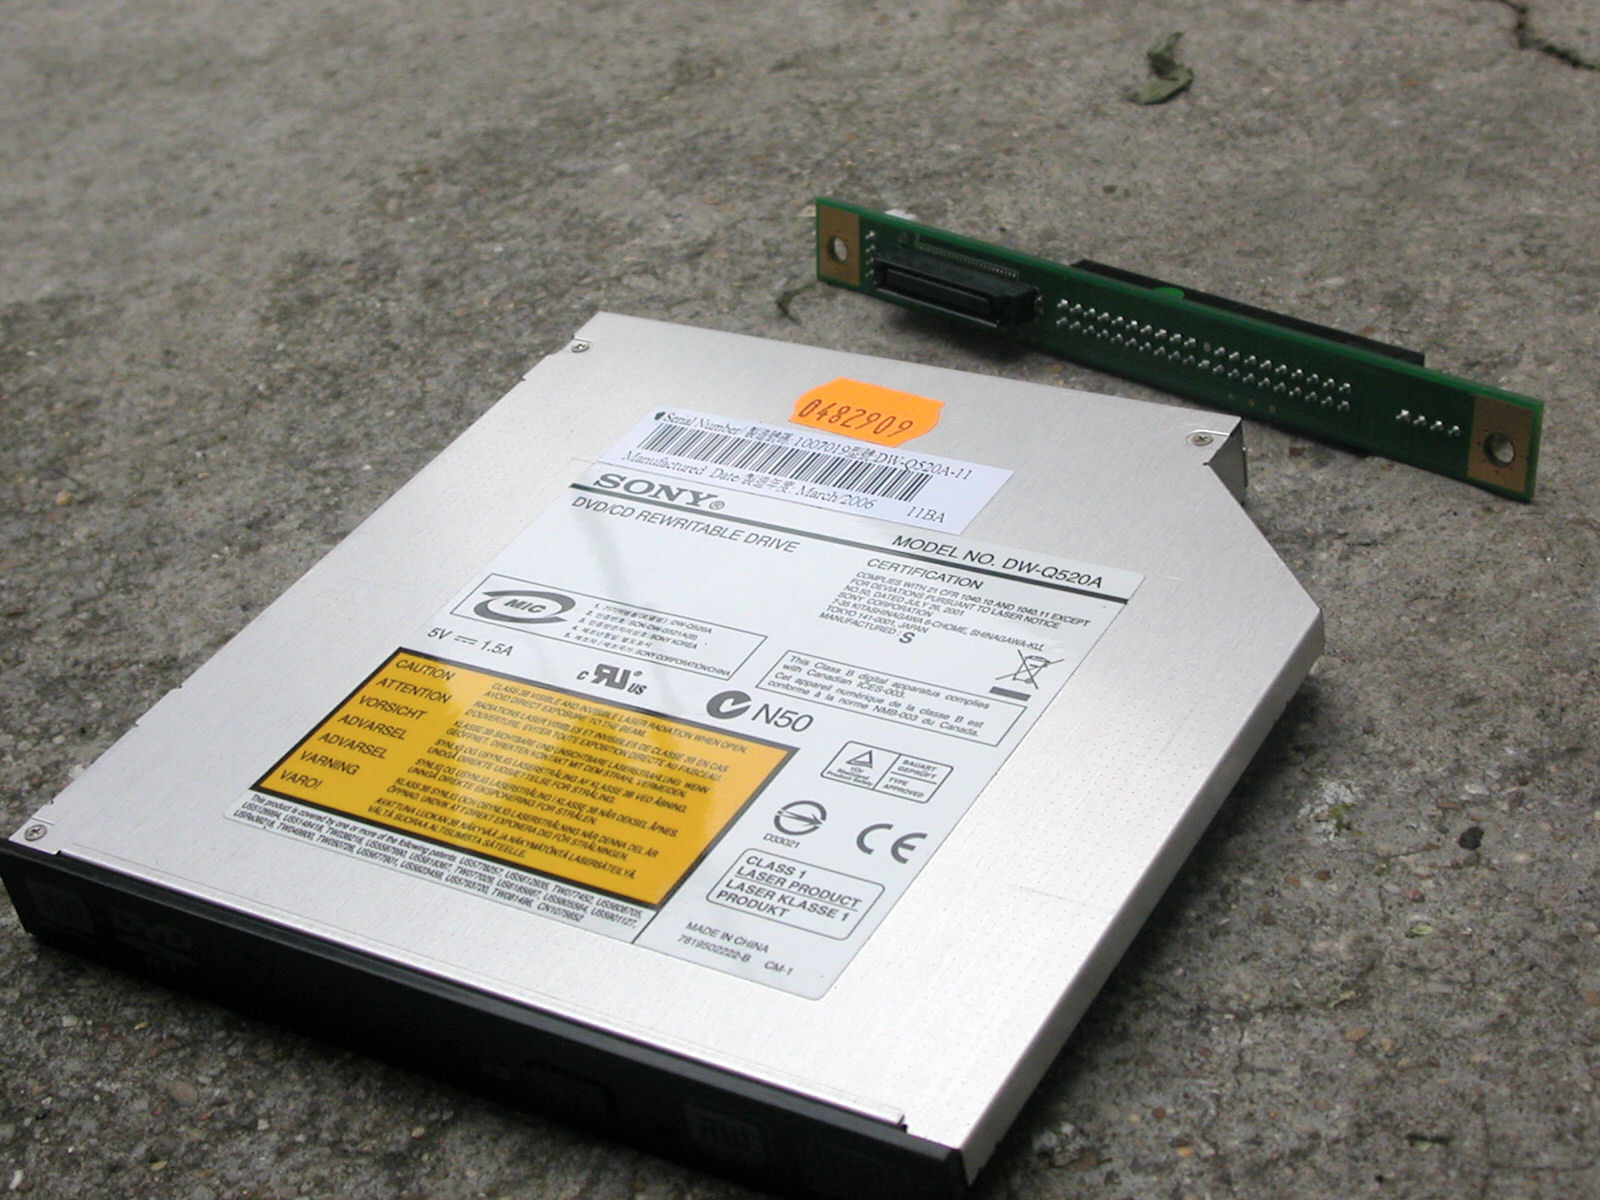
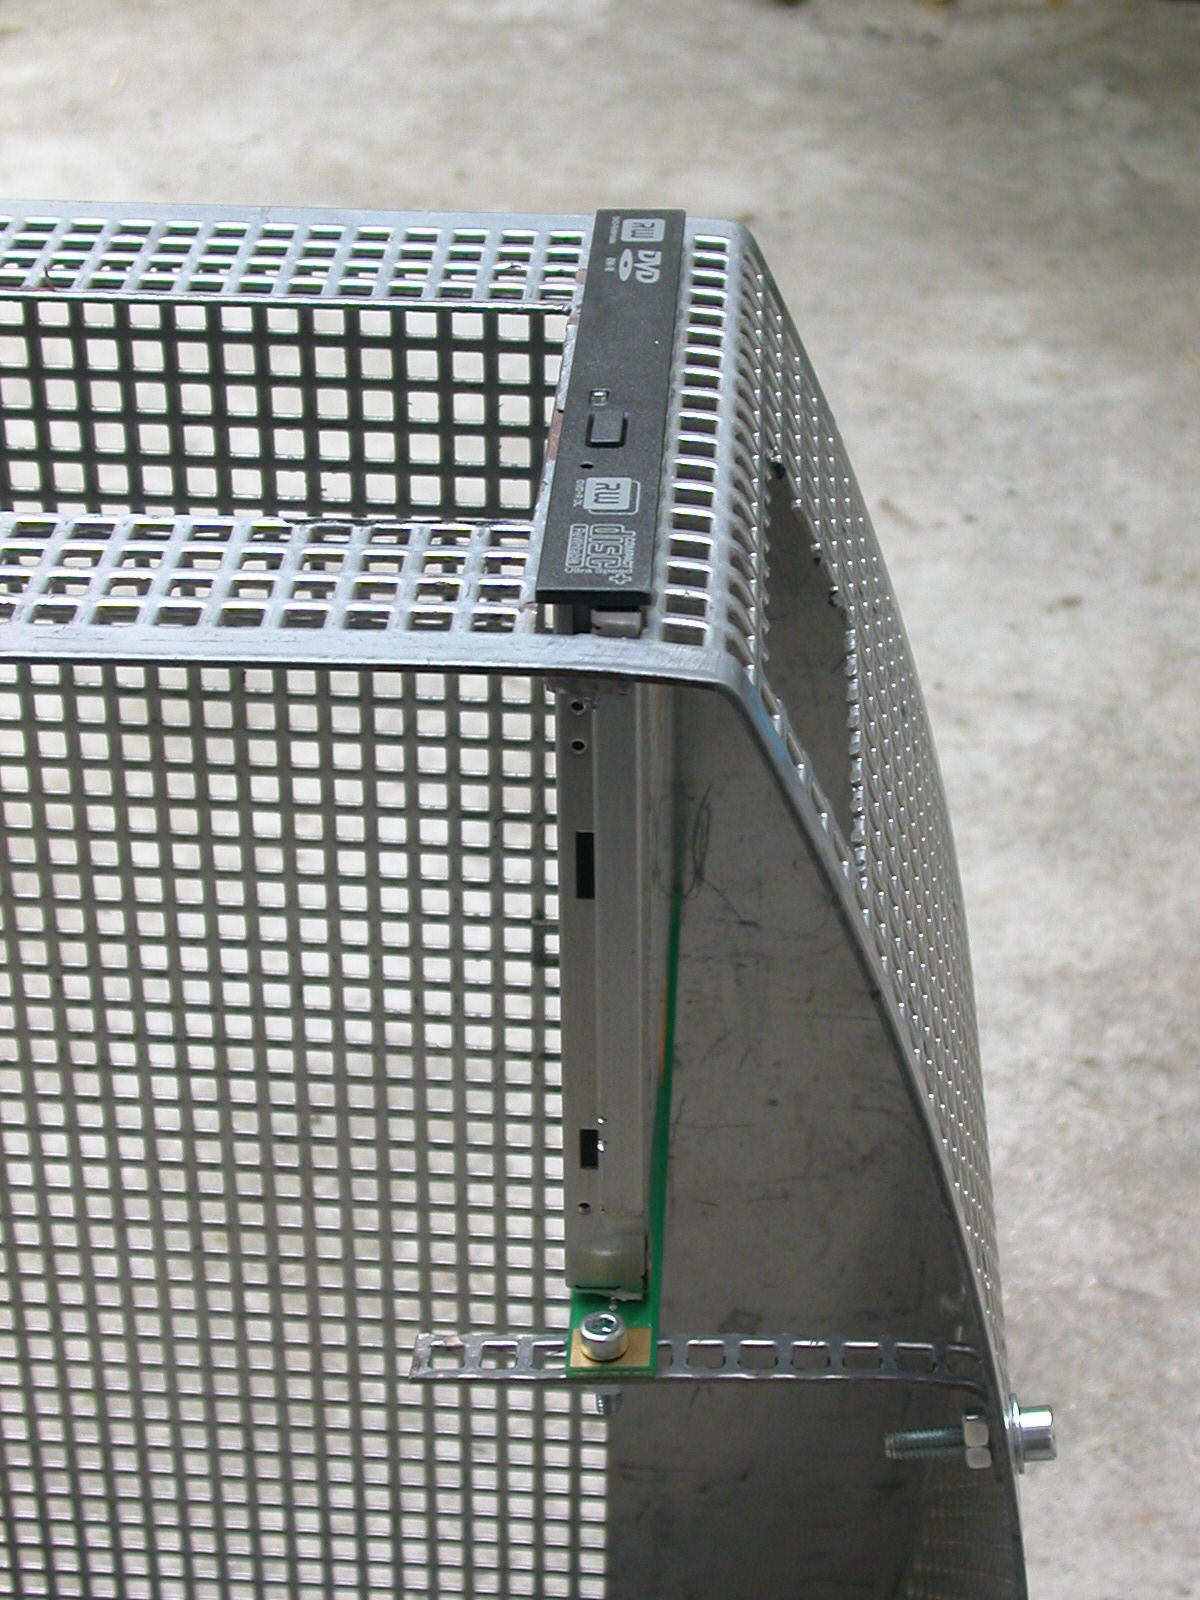
DVD RW SONY dw-Q520a - slim
The PSU will come soon, i'll use a shuttle one.
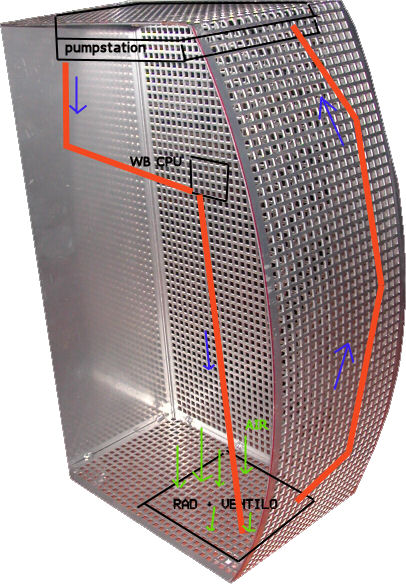
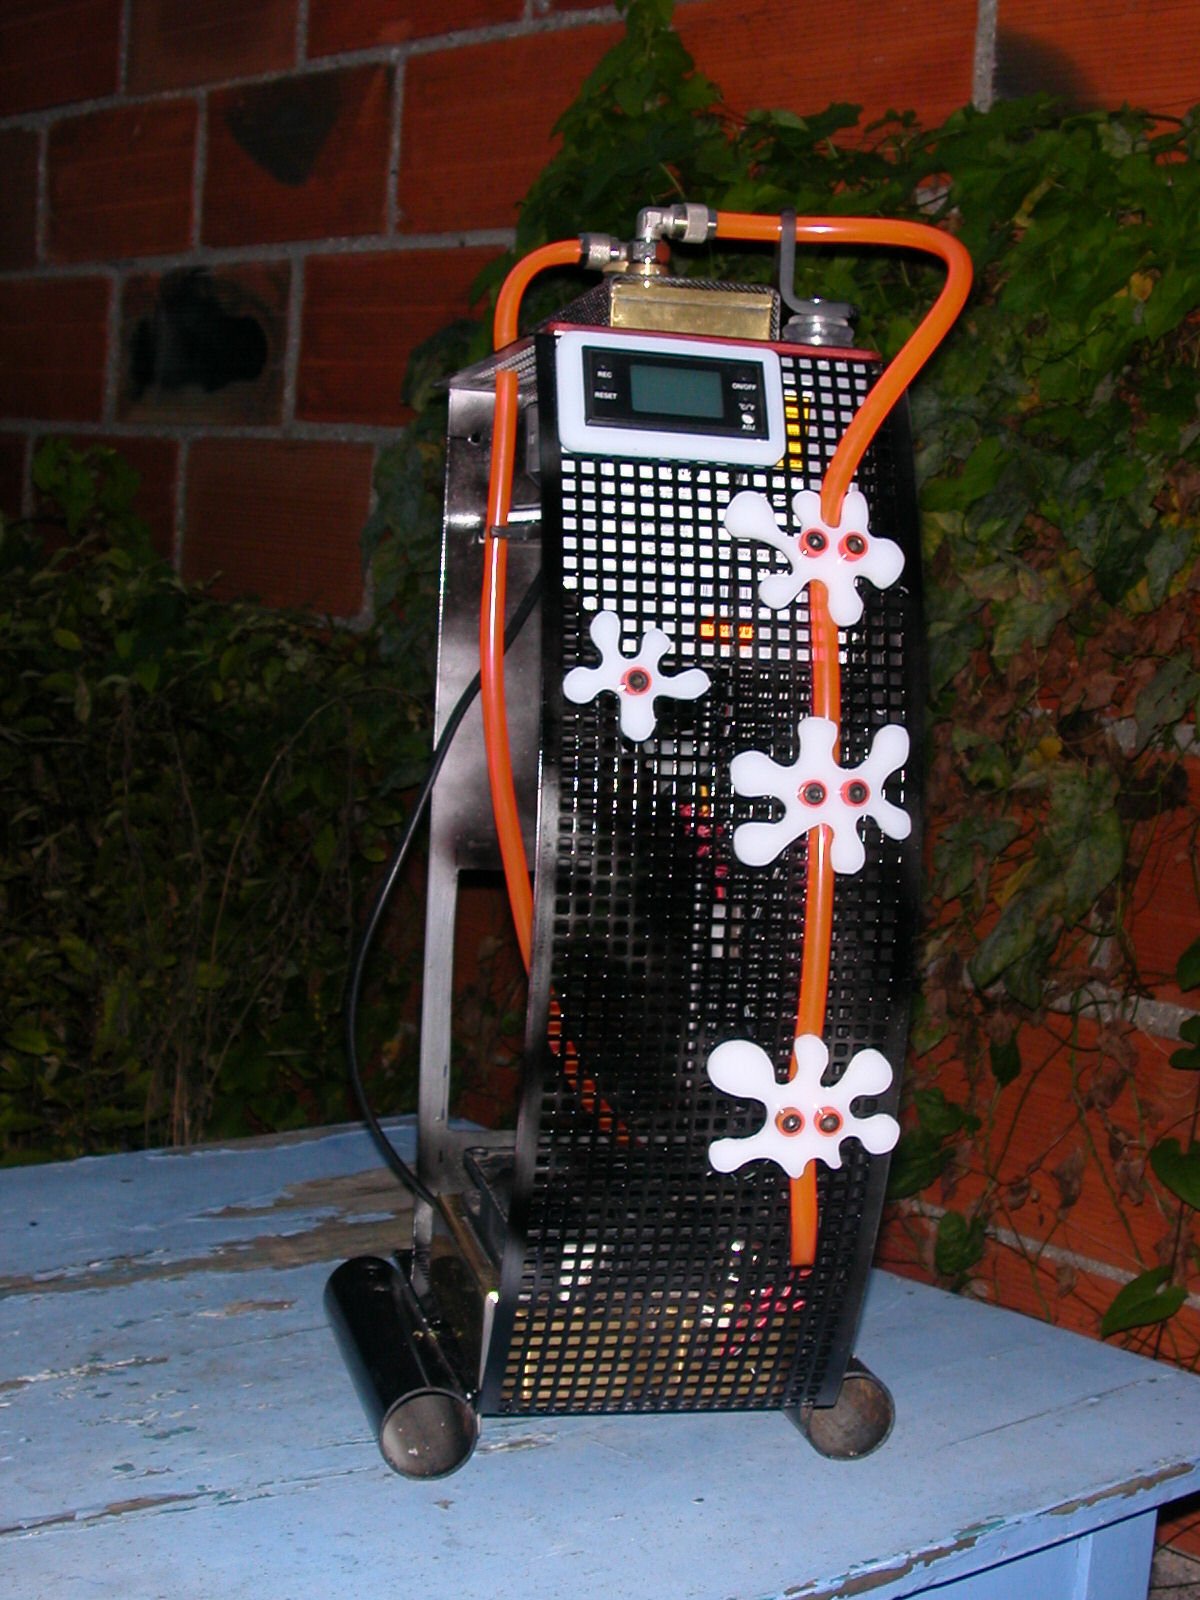
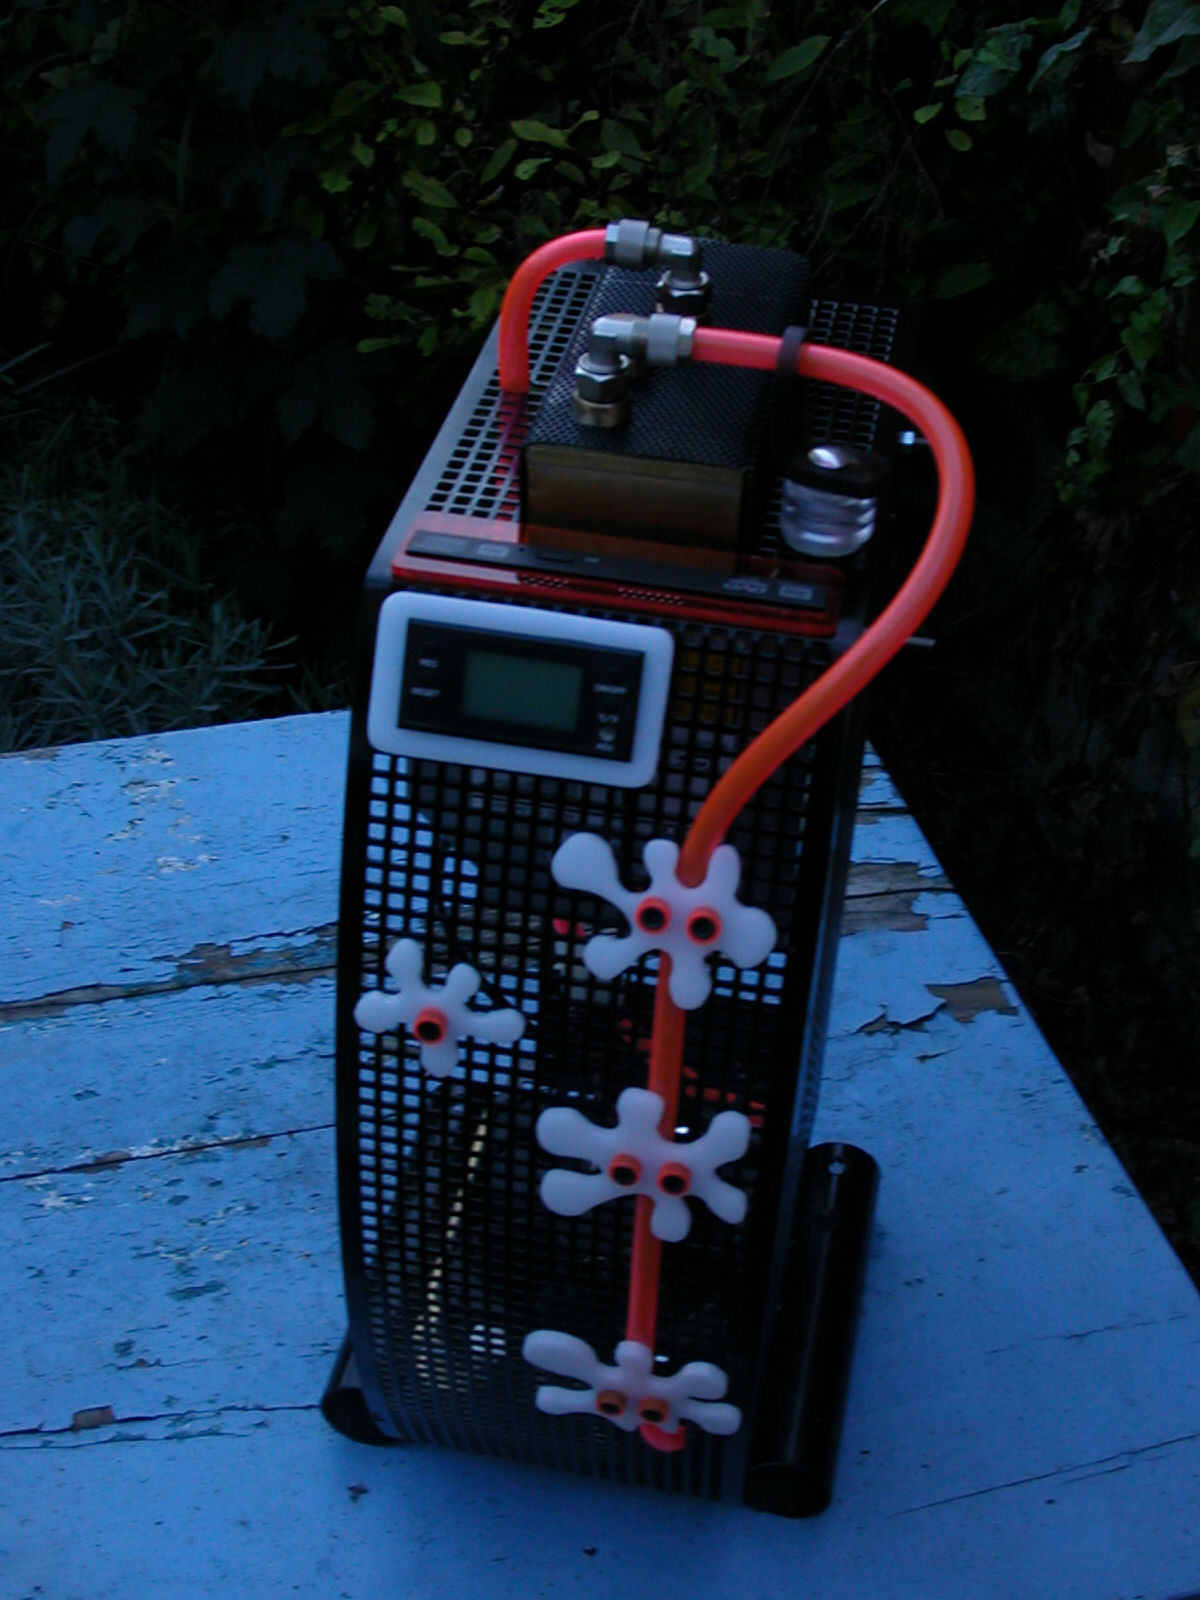
[Watercooling]
Pumpstation 1A-COOLING
Waterblock CPU: XX-Flow Innovatek
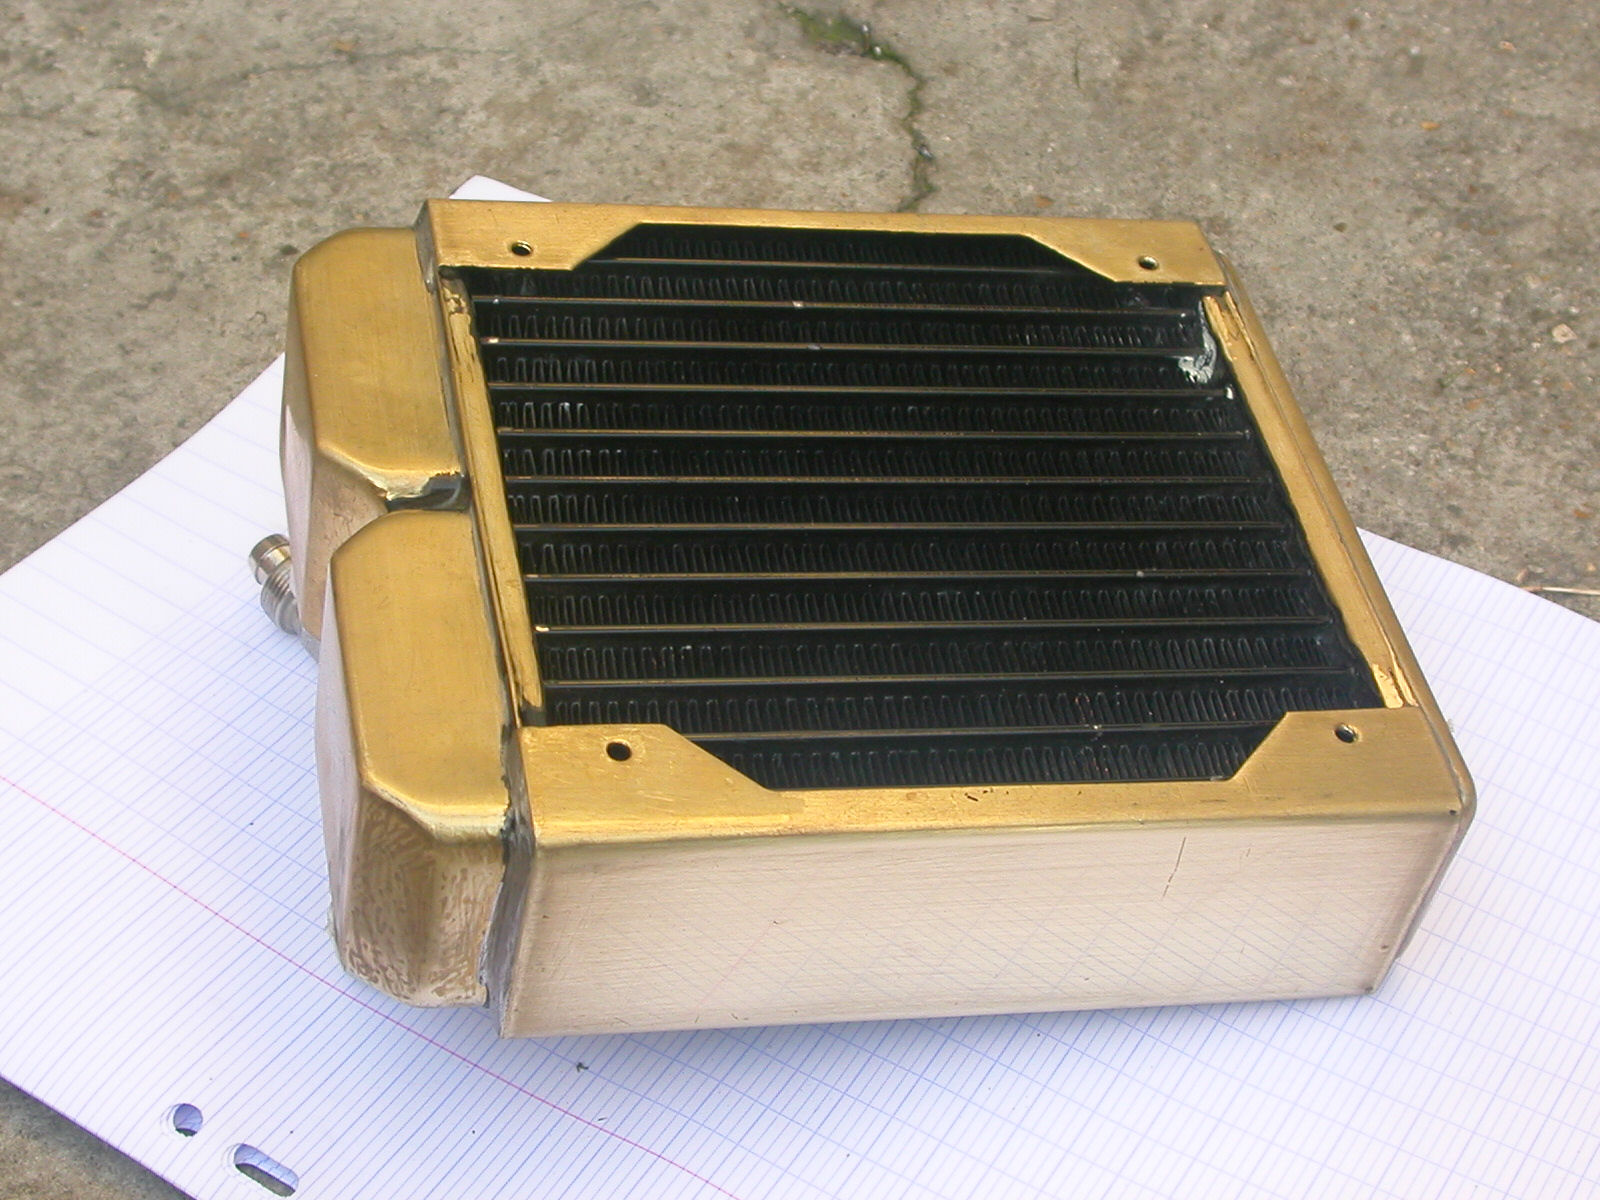
radiator: Bix
Fan: for the next up
Tubing: Innovatek orange fluo (thanks Osiris)
The pumstation and the rad were in ghettho status
After a p12::fred00 sanding they looks better. They 'll be
black painted.


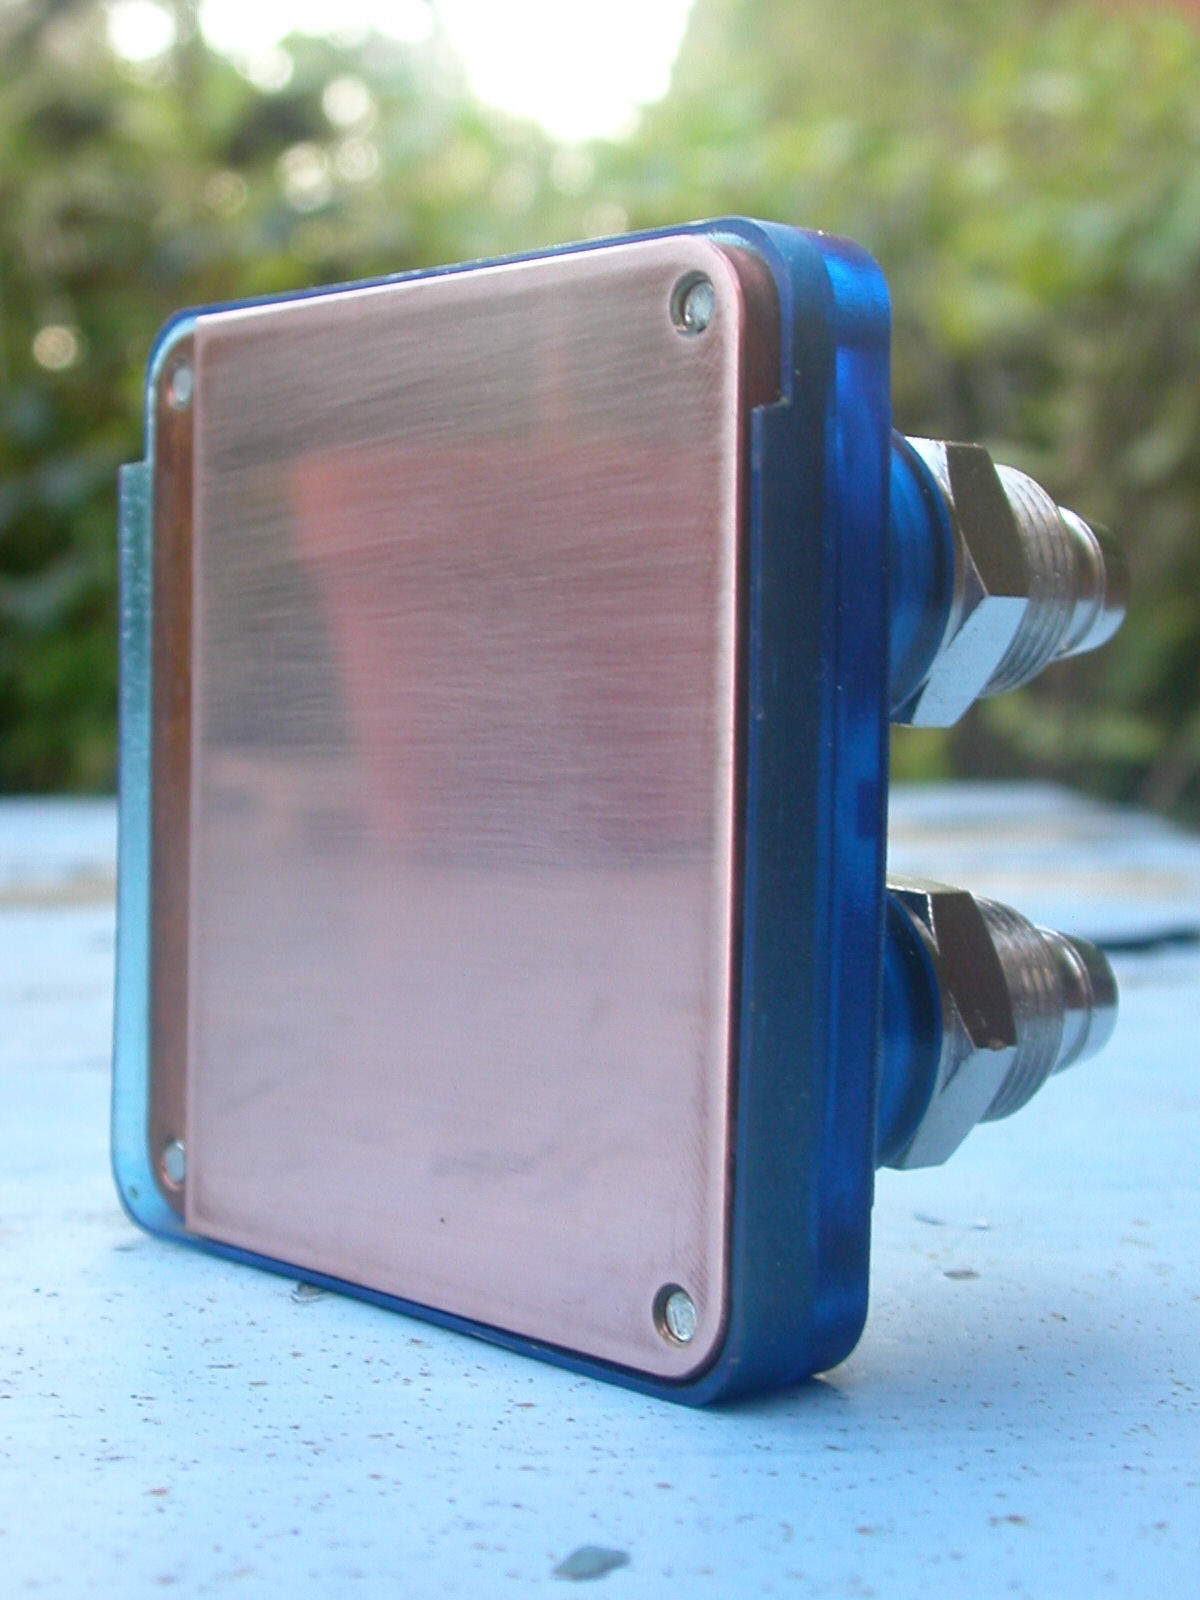
The waterblock need more sanding, he look good now.
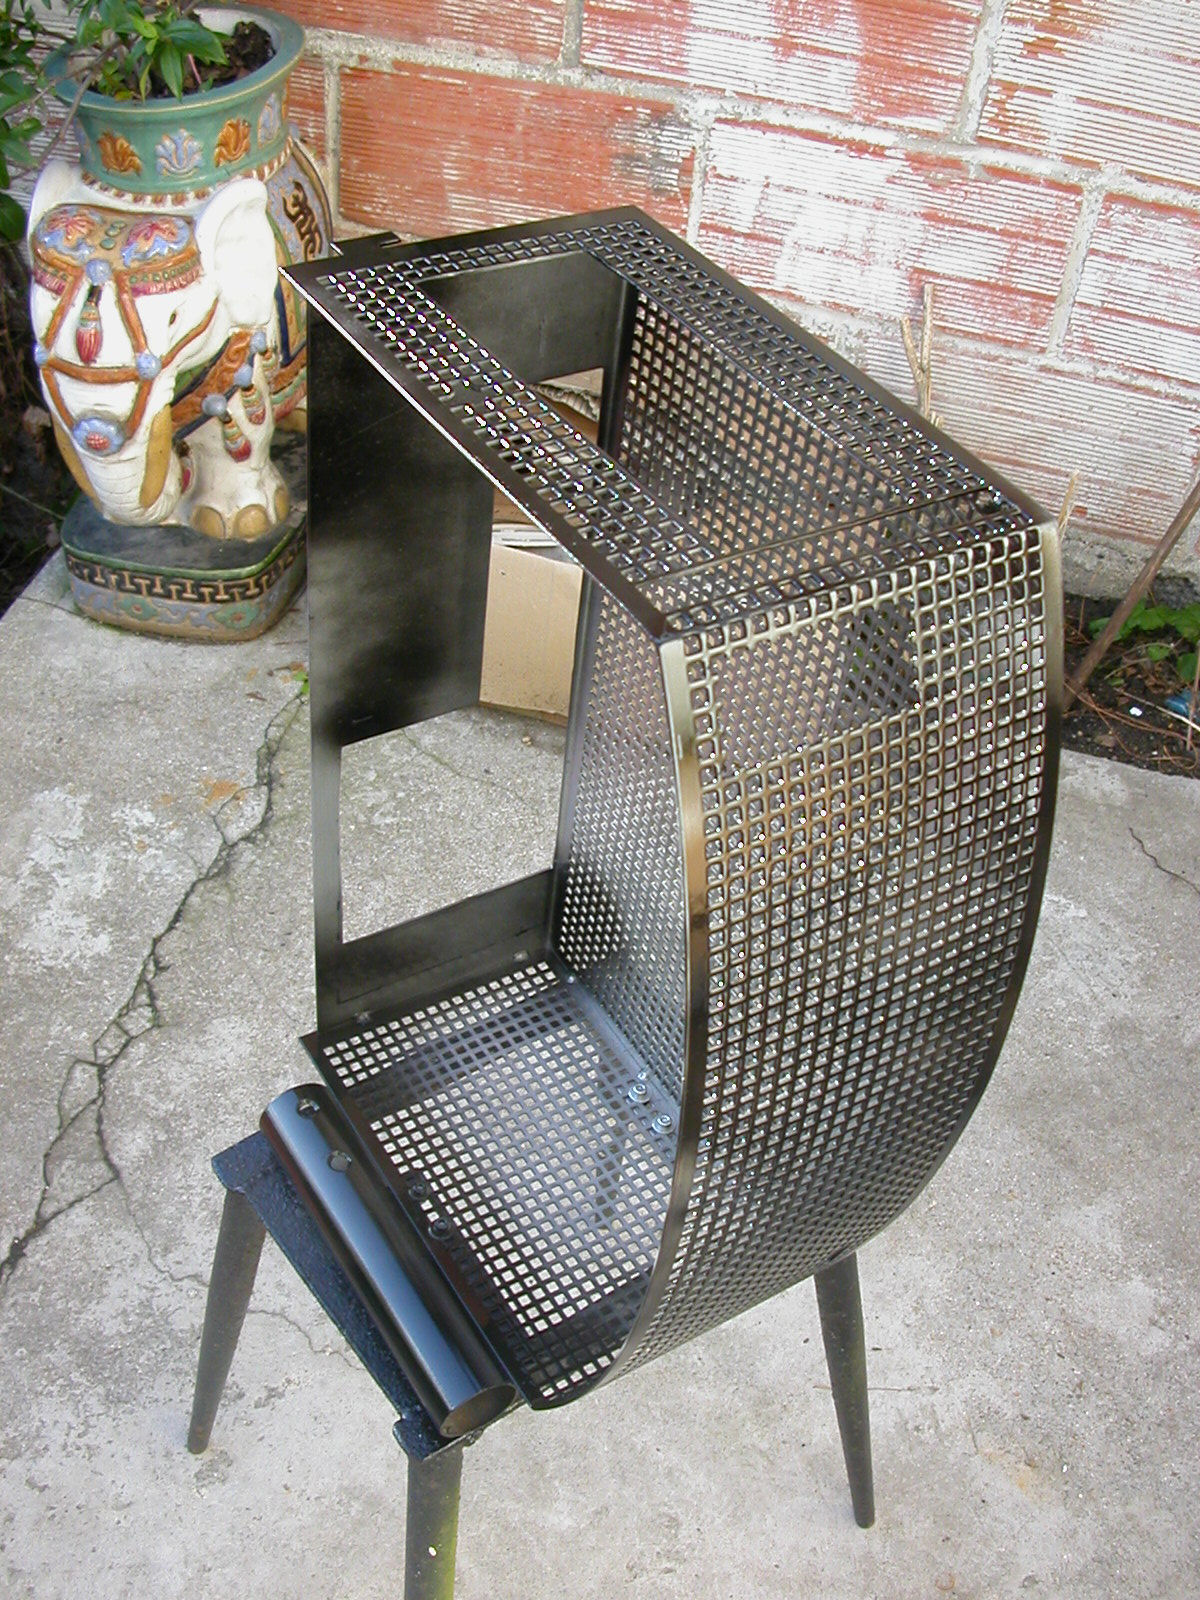
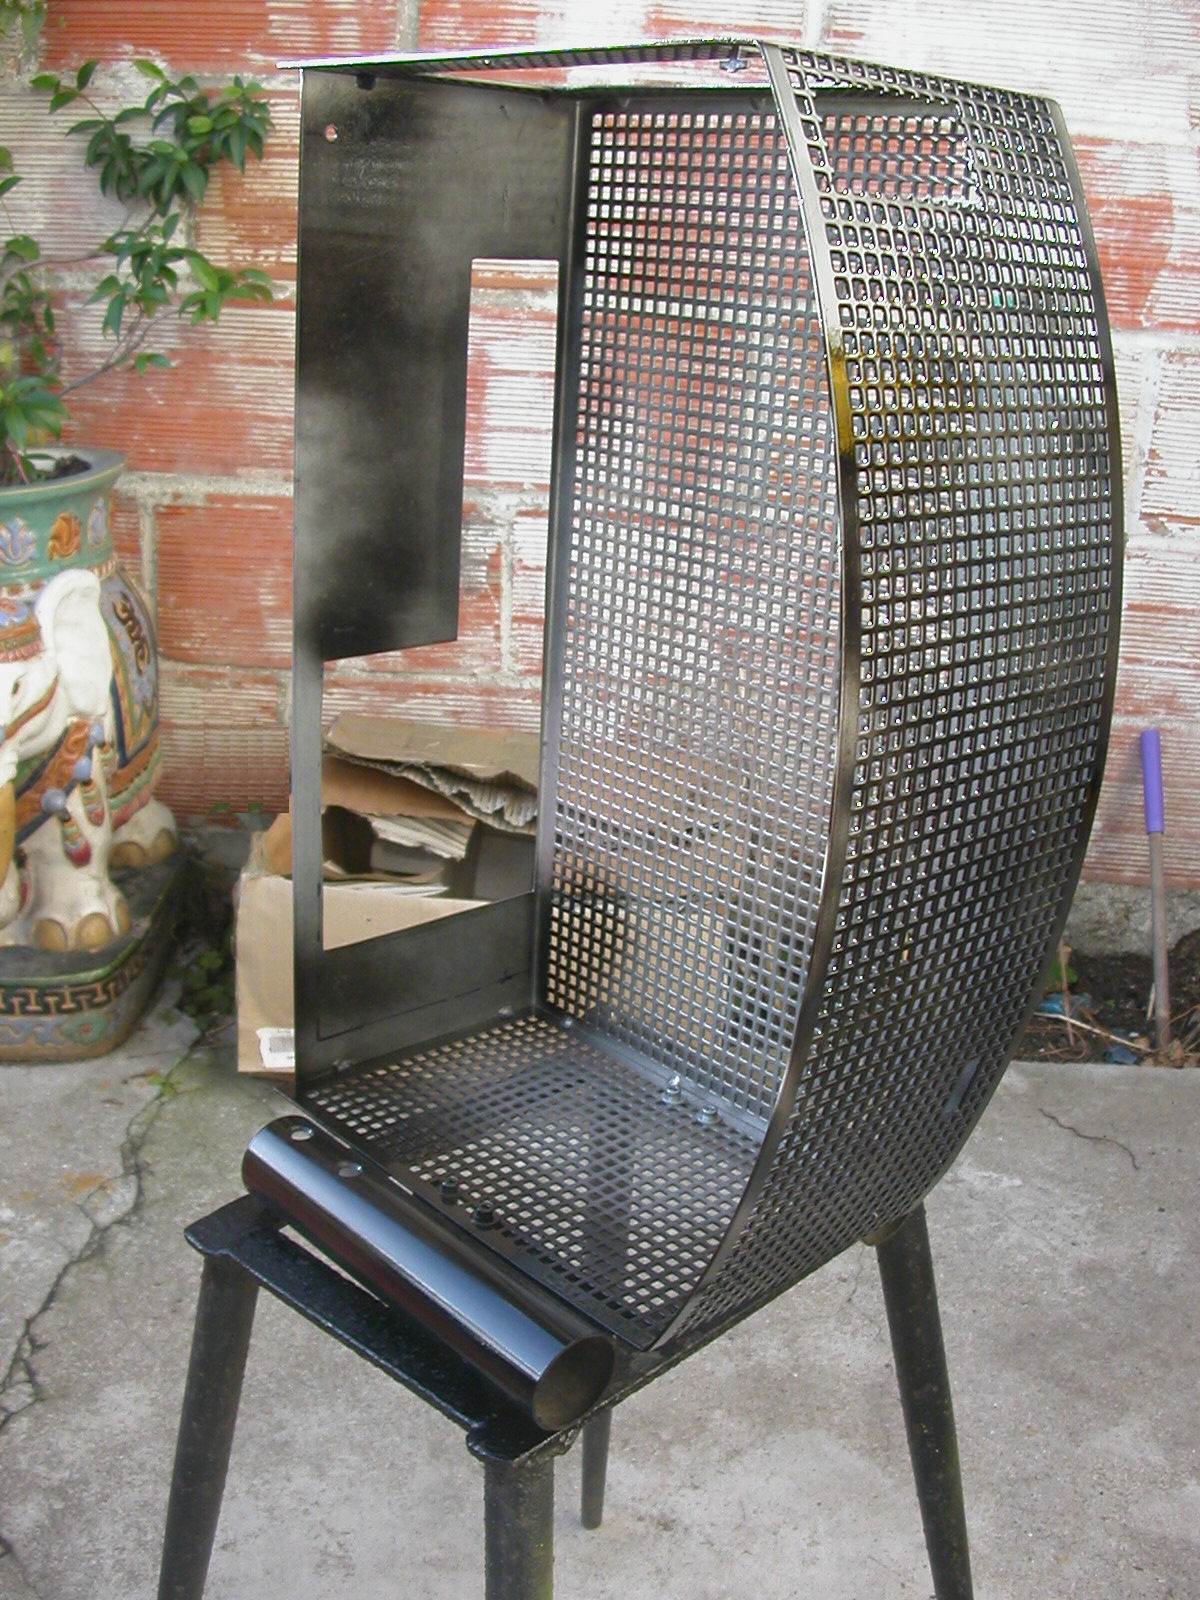
The start object is the same than in my previous mod ("40")

mod "40"
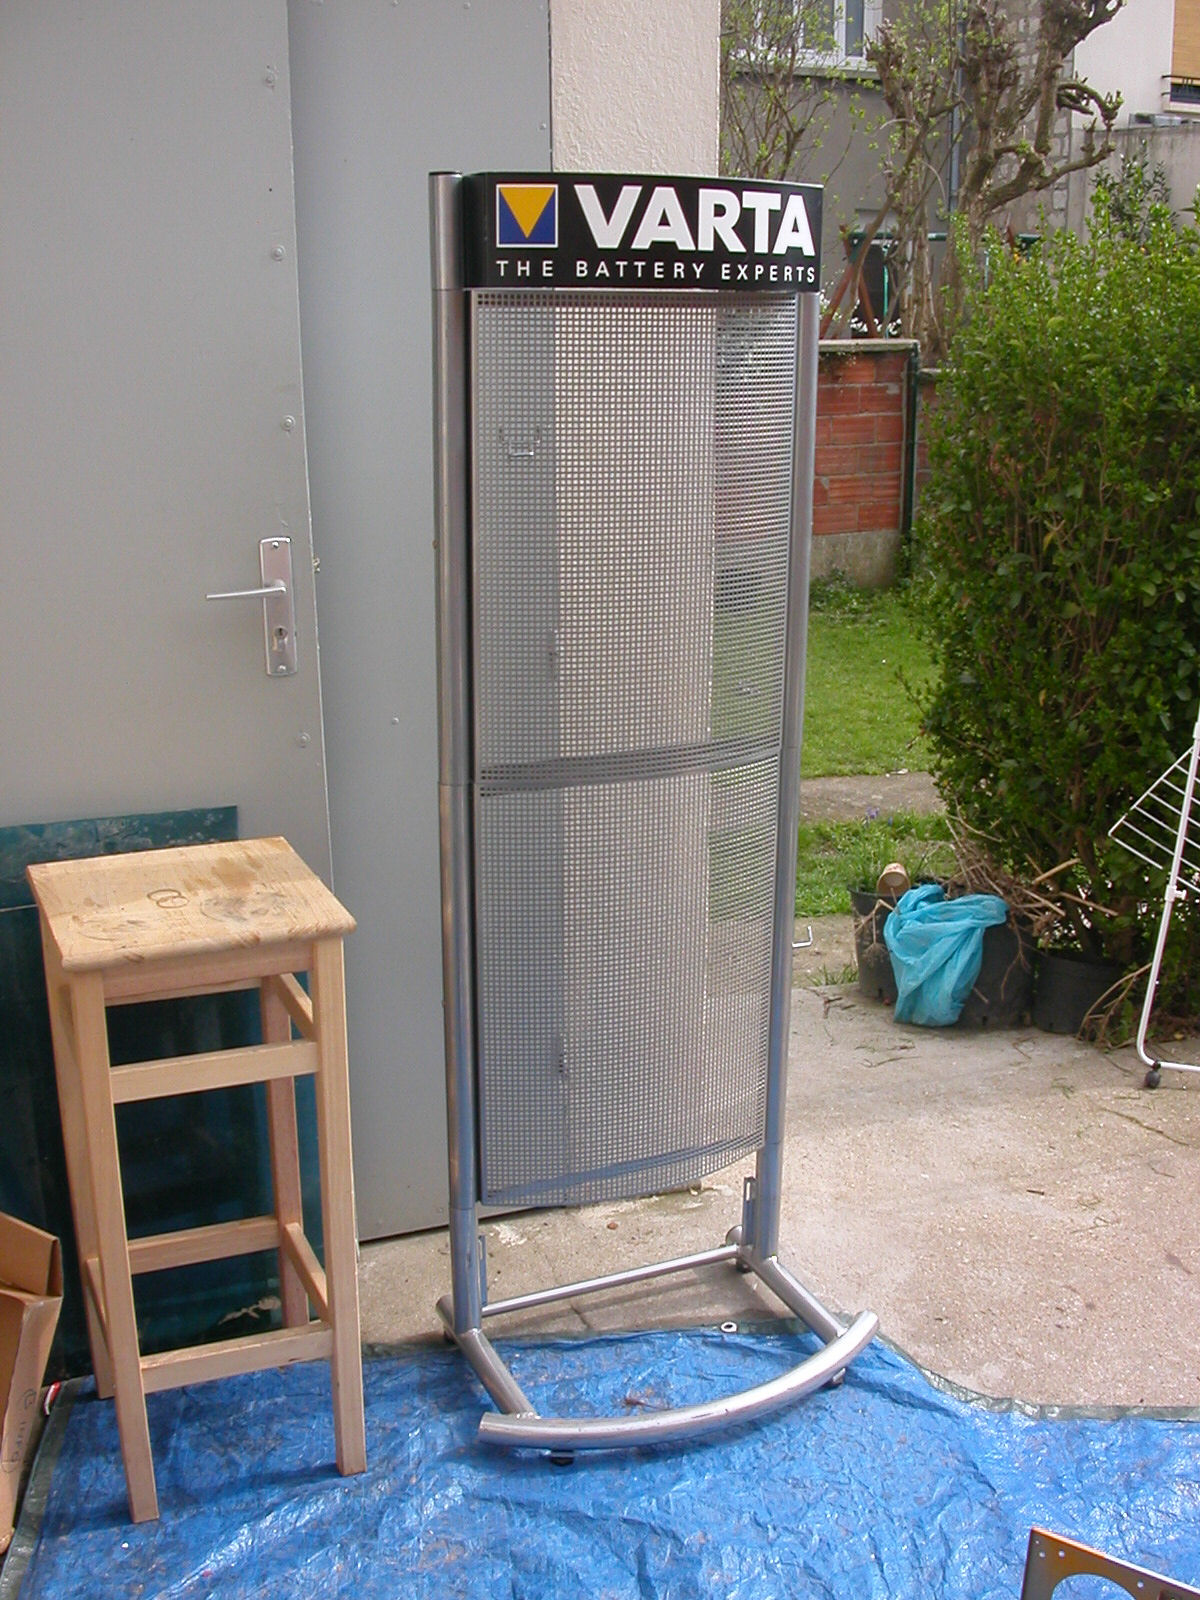
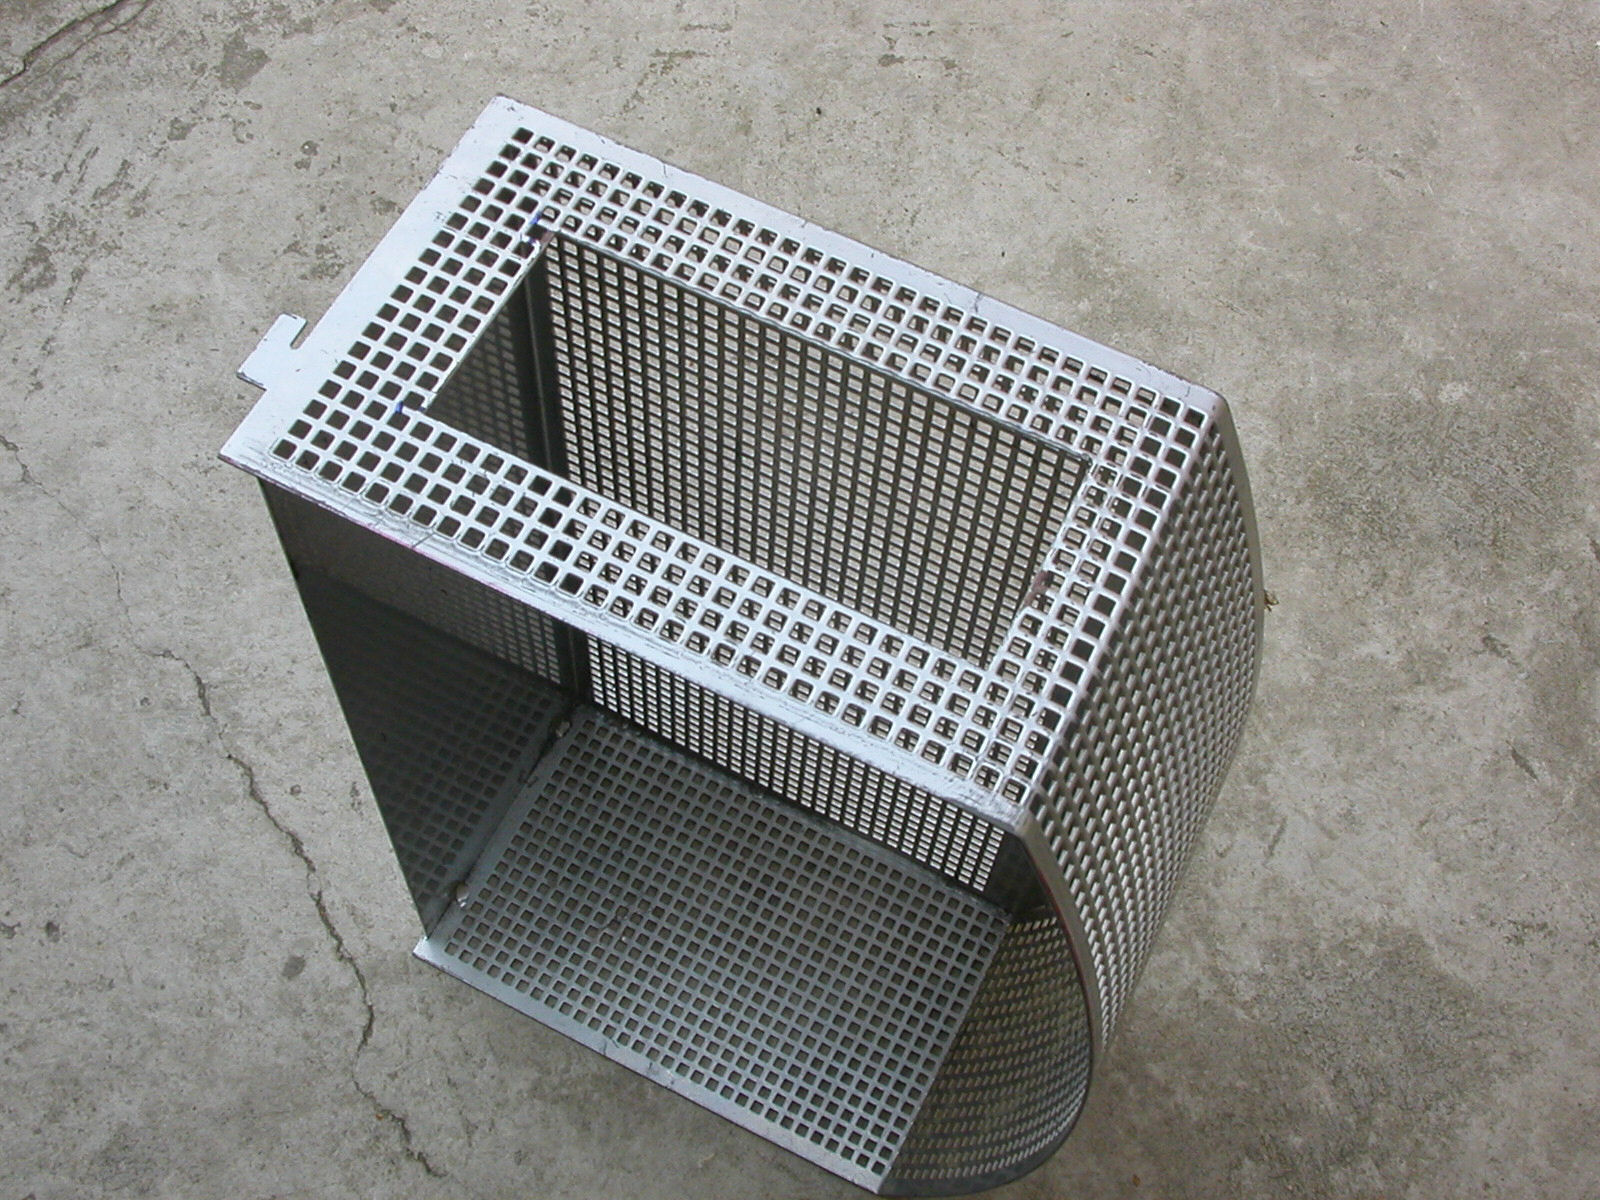
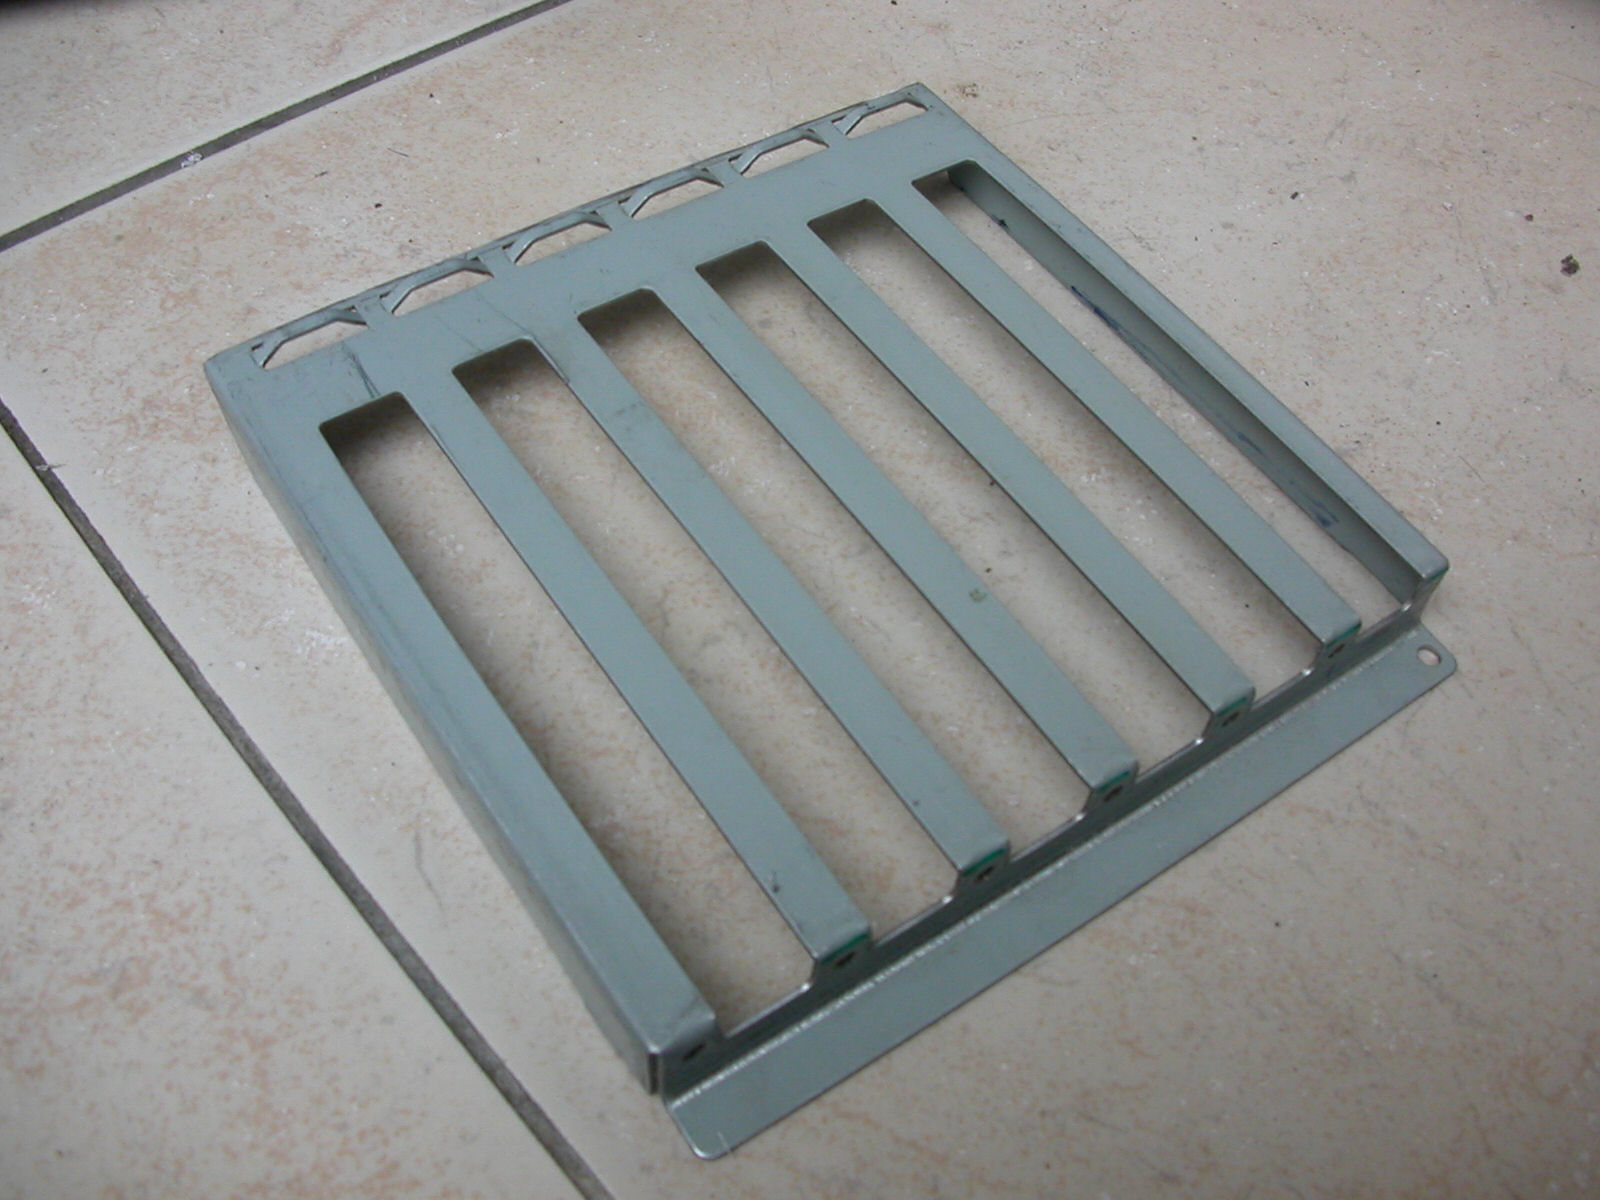
The rack display VARTA, the box (next pic) is steady on the
bottom

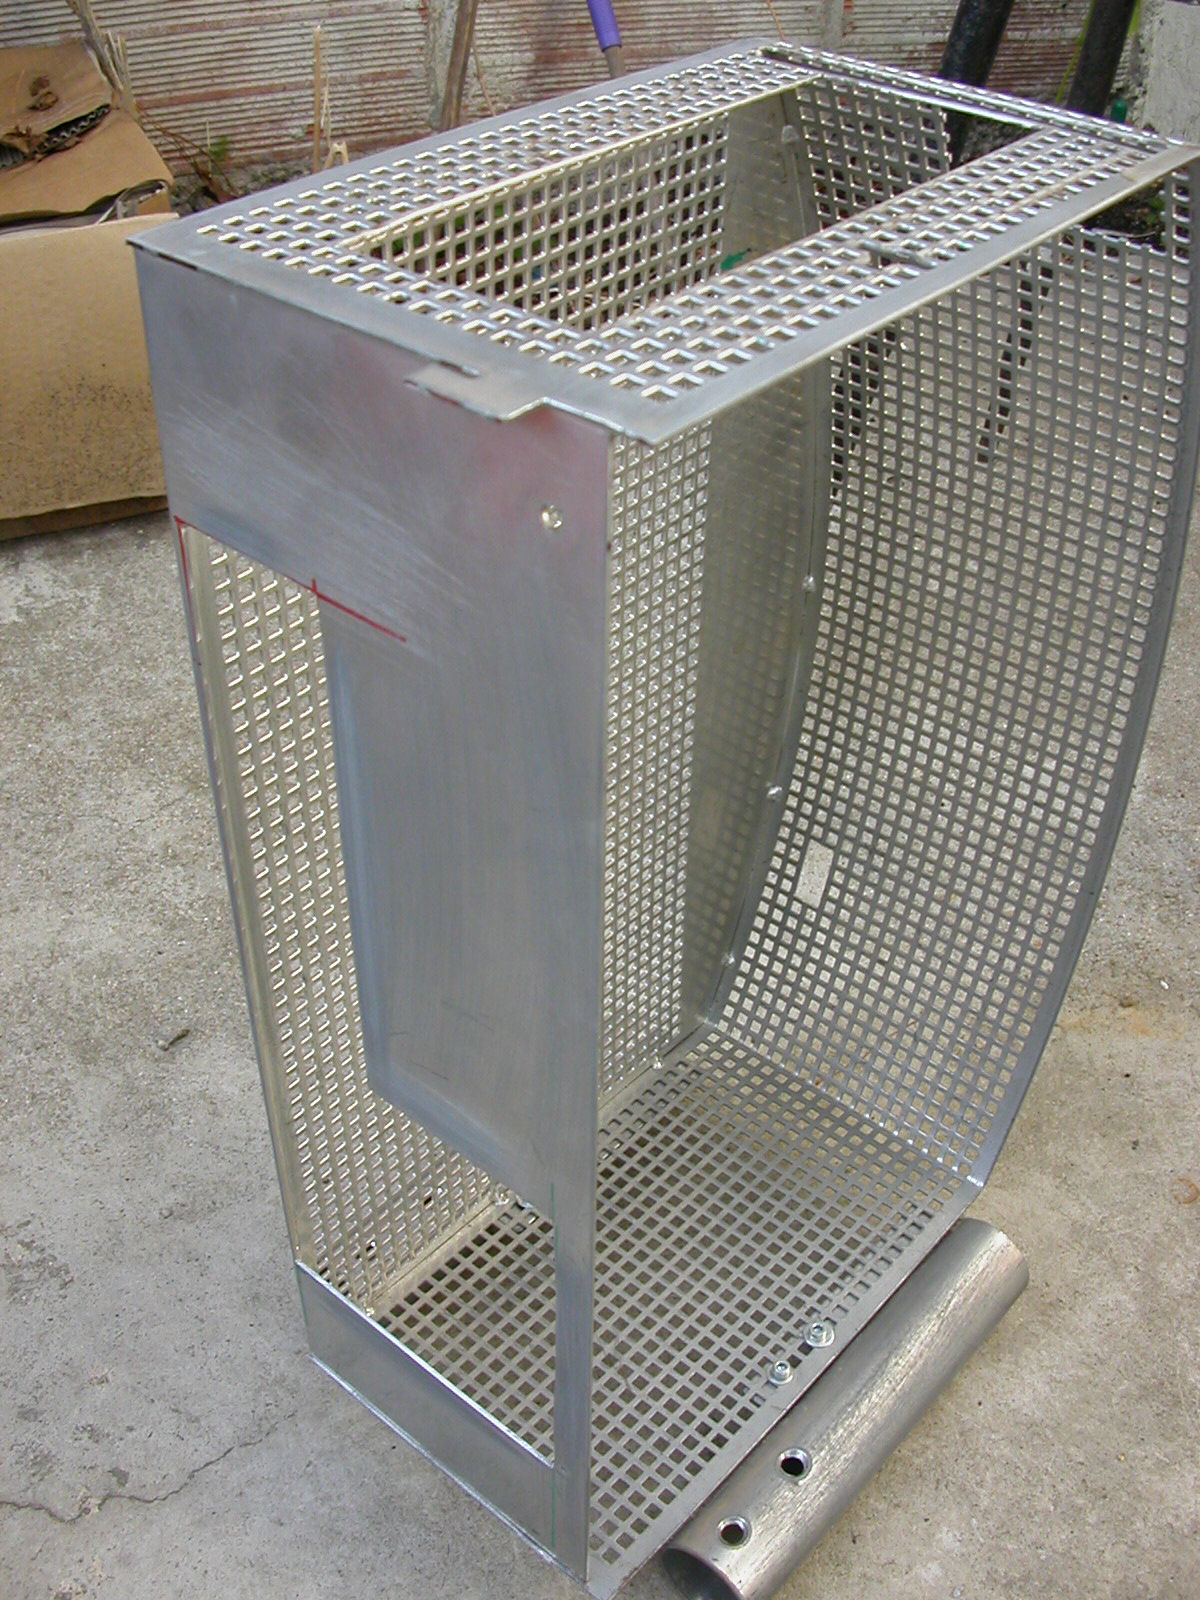
I'm planning on making something different but in the same spirit.
This time the baby will be watercooled. Not an easy thing to do regarding
the mensurations of the box.
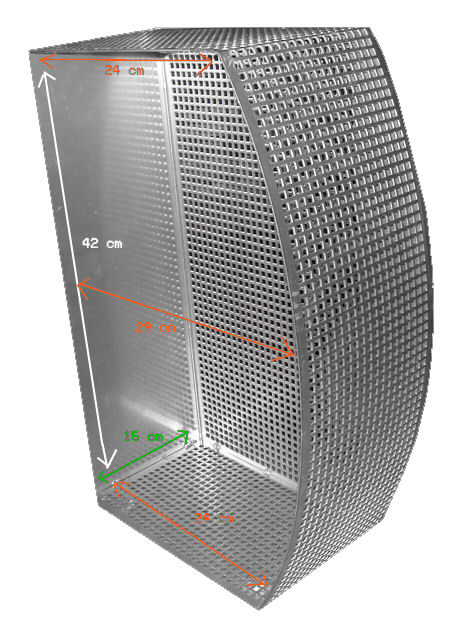
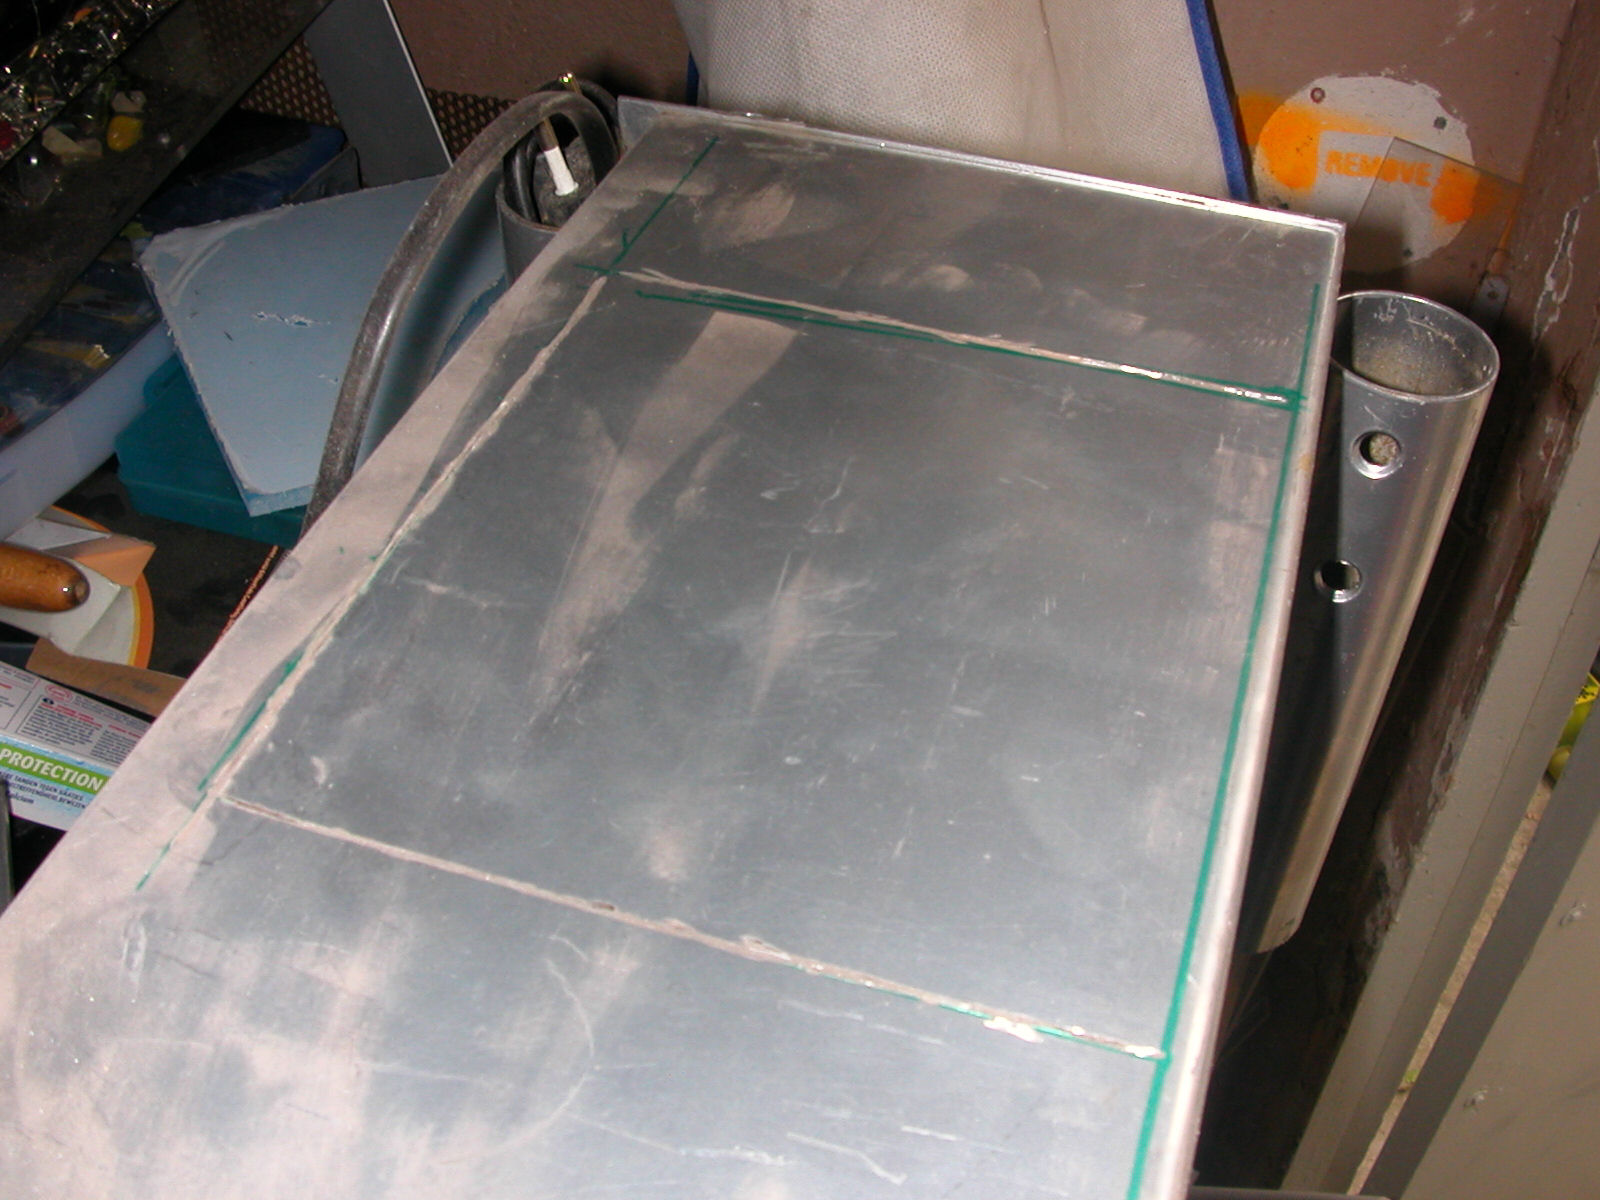
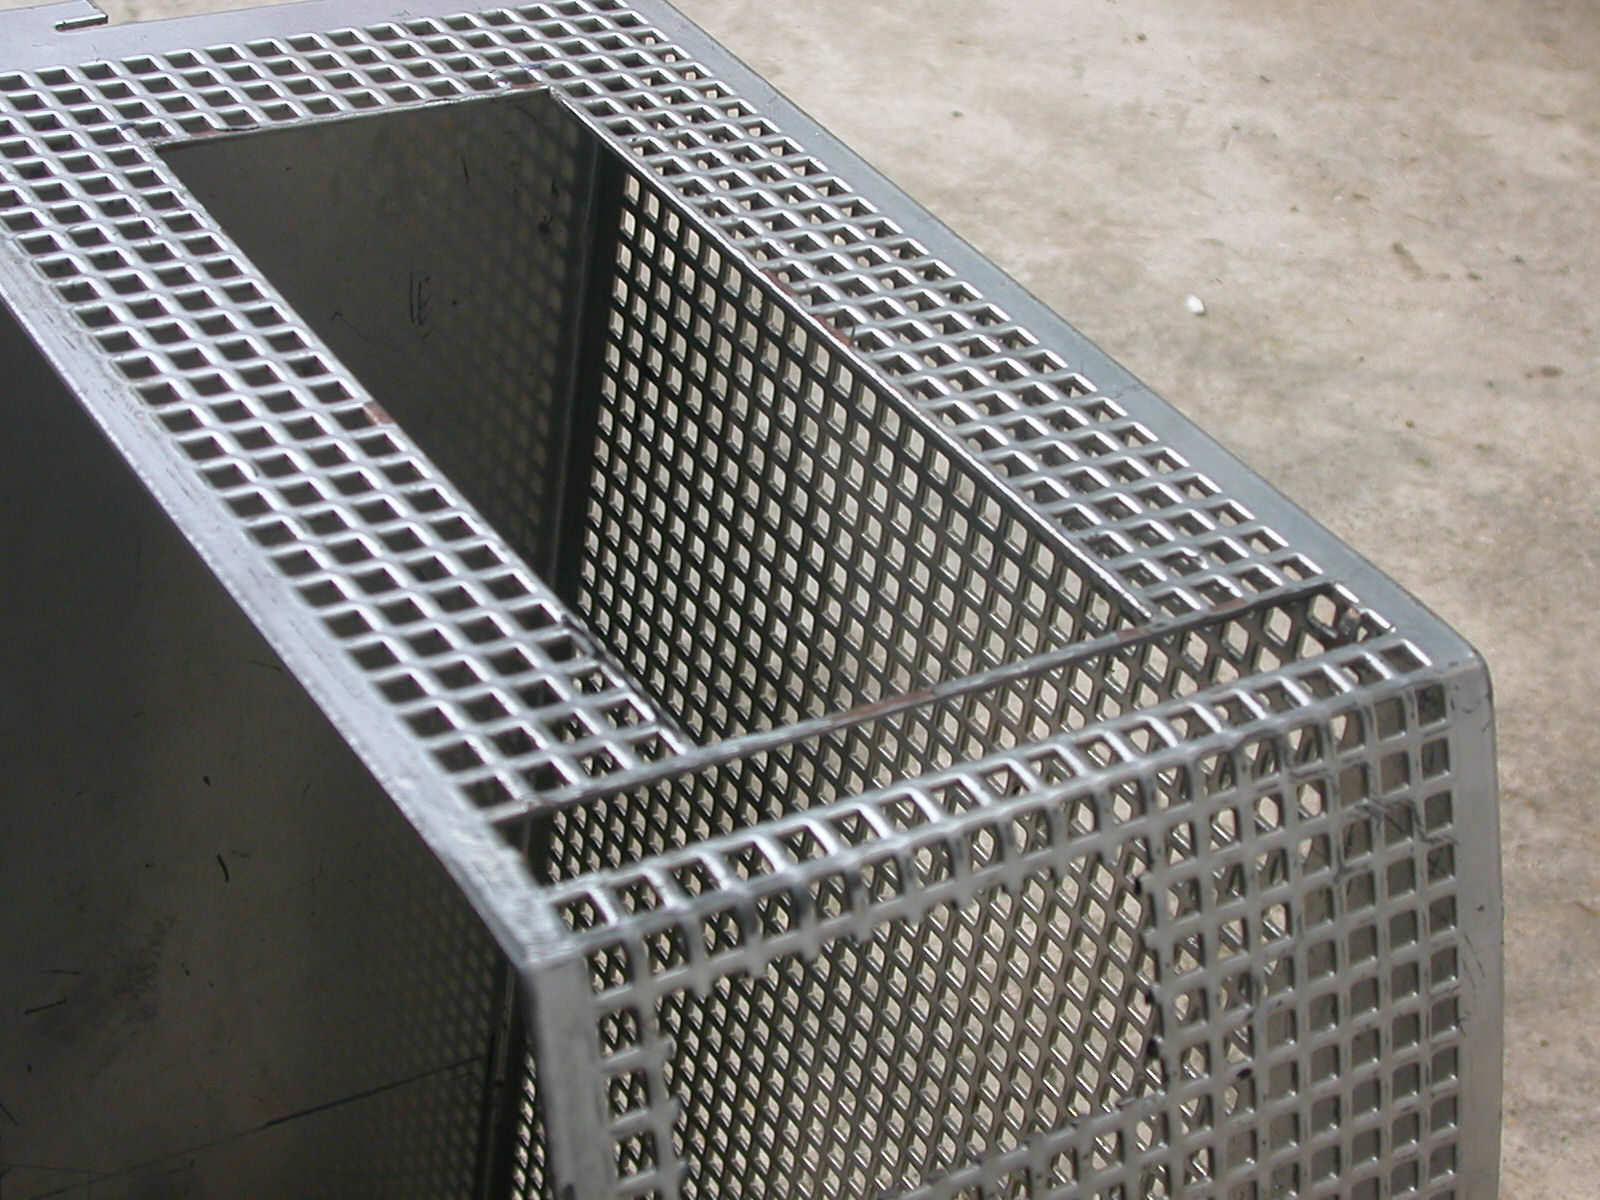
[size of the box]
height : 42 cm
width (top and bottom): 24 cm
width (middle) : 29 cm
depth : 15 cm (nearly a CD DRIVE)