First off, I'd like to thank all of you that have contributed ideas and given feedback regarding the purchasing of an aquarium pump for this project.
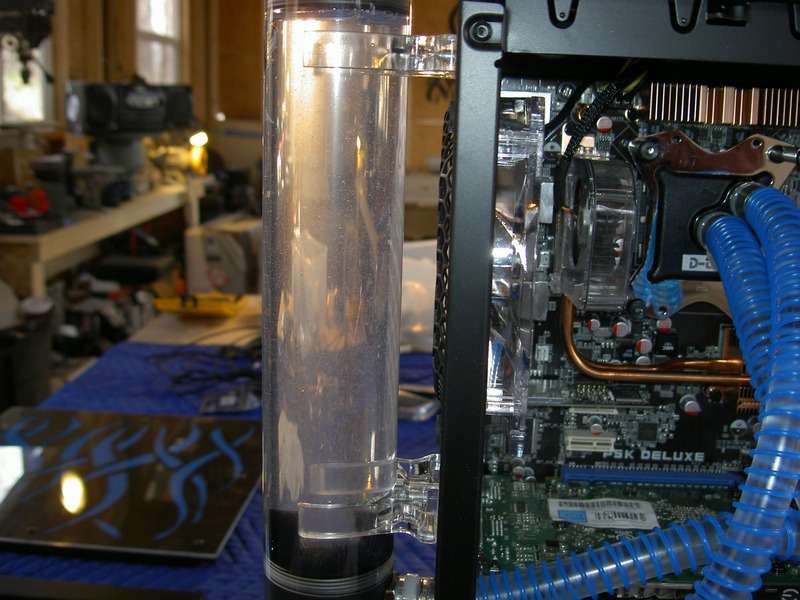
I'm planning this to be an external RAD Box for cooling 1-3 Loops at the same time.
I'm having 2 - 77' Bonneville Heatercores manufactured for me by a handyman that came recommended by CyberDruid over at OCN. That should take care of the cooling needs pretty well & if not, I've got an MCR320 to mount in the front if need be.
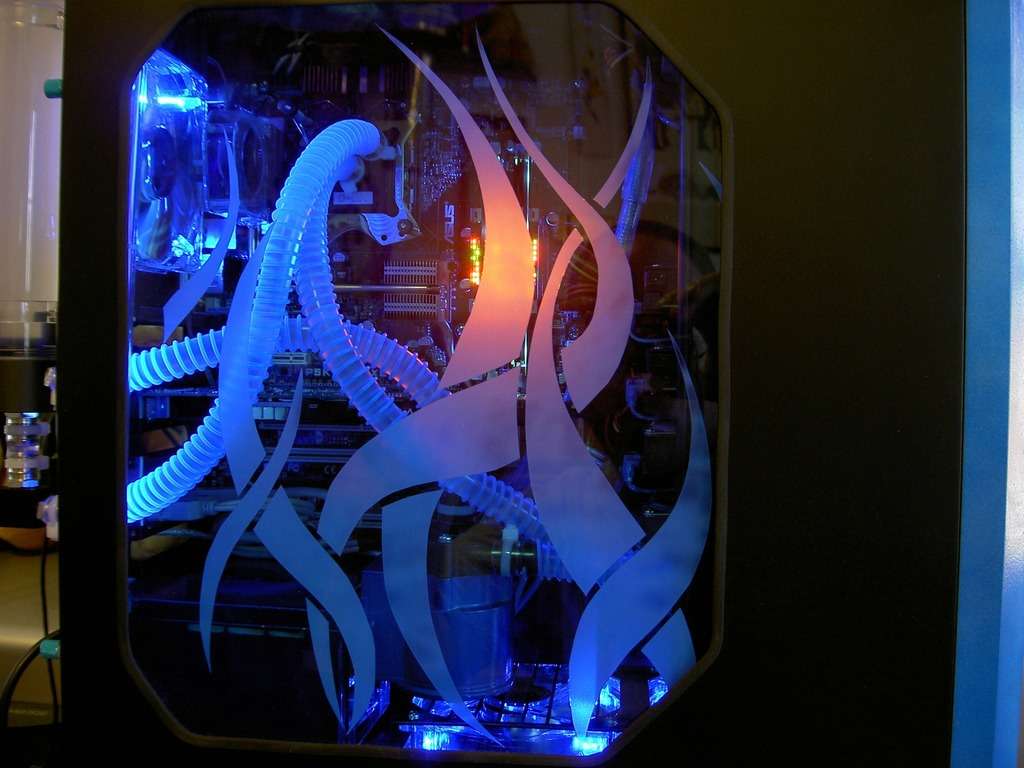
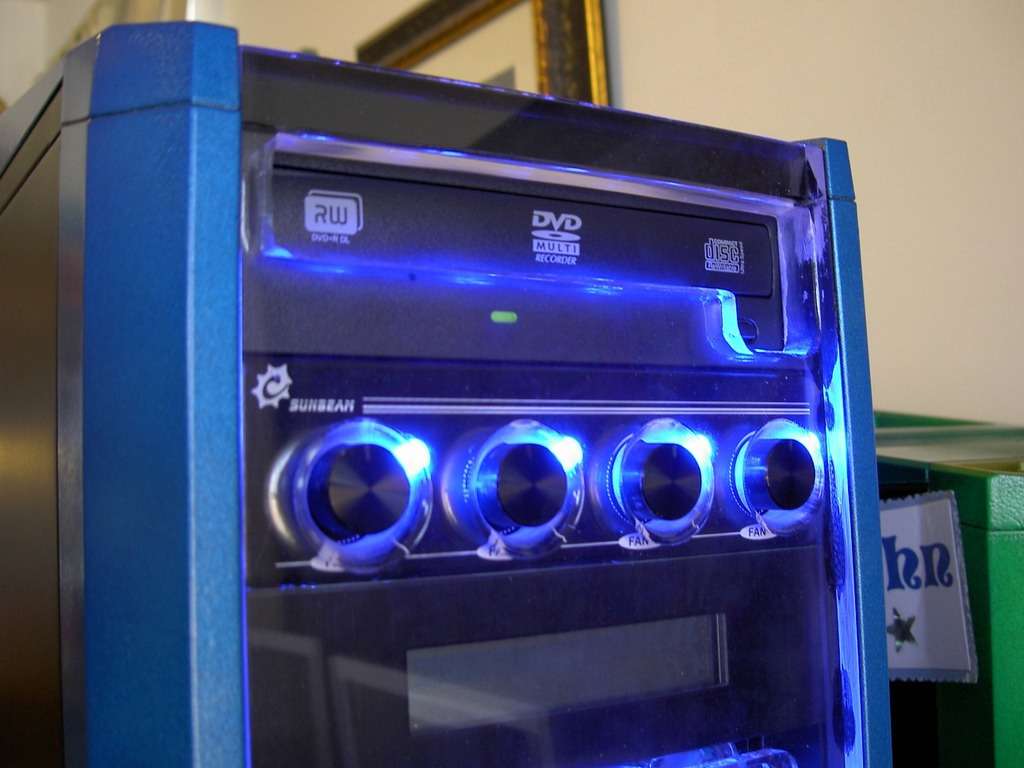
I purchased the case from another member @ OCN in their FS section & very happy that I did. Here's some shots of it:
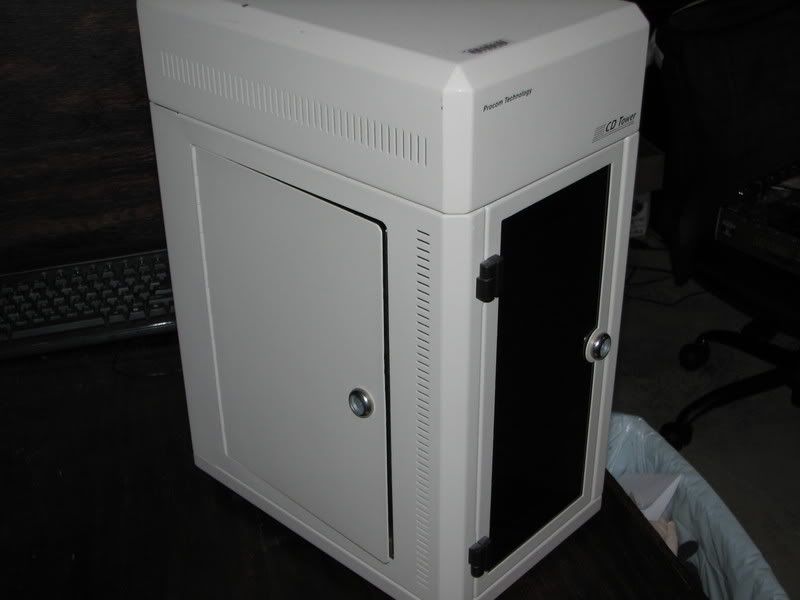
Here's what I received:


Time to get to work a little you think?:
Before:


After:

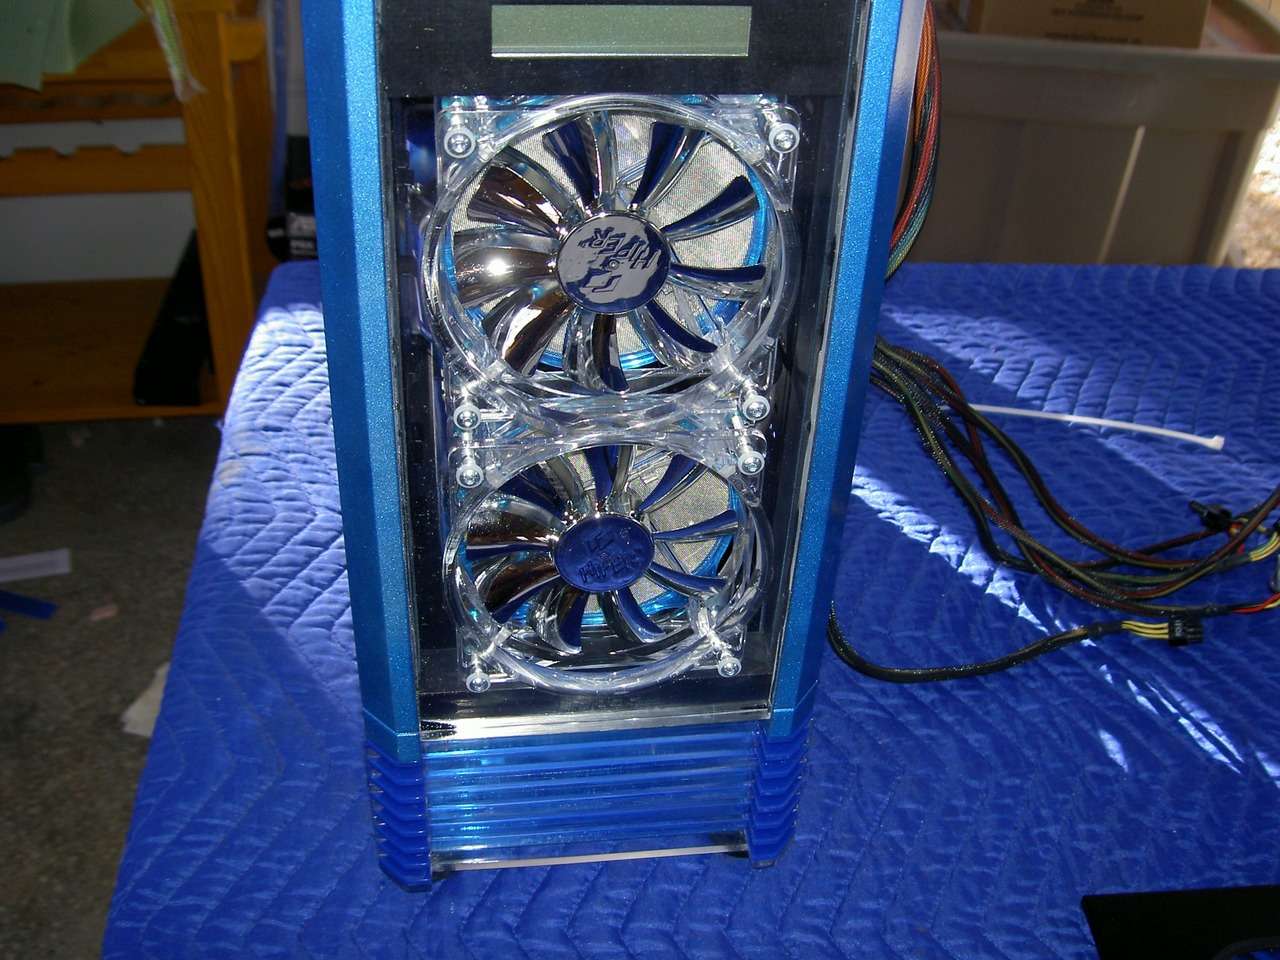
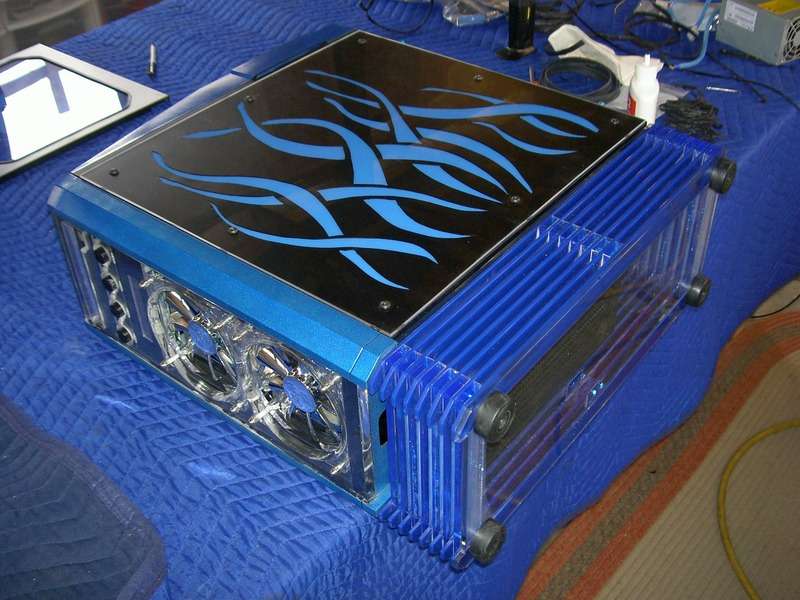
Now to show you the beast before I get to work stripping/sanding & cutting:
Bottom; had to remove the feet to get at the retainer screws for the drive bay.


A little prying to get it out, but I was able to fix the bend I made in the case :O .. they must have wrapped this steel case around the drive bay before final assembly. There was also a solid metal piece that was mounted just above the drive bay for rigidity.

Here's the unit as I wanted it:


Thought I'd just document some of the measurements in case I had to refer to them again


And finally, I need to decide what to do with the Heater Cores as far as mounting. The doors are going by-bye as there's no reason to keep them.
Vertical:

or Horizontal (room for both on one side?):

The PSU:

Well, that's it for now, tomorrow it's sanding it down, then thinking if it'd be worth it to do some body filler.
........................................................................
Day 2:
Indignity likes chemicals
I picked up some goodies on the way into work today:

Instead of the old tried & true method of elbow grease, I got some citrus stripper, which I've used before for different applications. It worked a charm every time I used it & has a nice Orange smell to it.
I applied a coat to all three pieces at around 7:45am this morning & then proceeded to bag them up so the stripper wouldn't dry out.:


At 5:00pm, it was time to check it out. I opened one bag & proceeded to use a scraper to remove the paint. Well, I must say, I was pretty satisfied & this is going to save a bunch of time. It still took a little bit of effort with the scraper, so I'll leave it sit overnite. I'll still go over the pieces with steel wool & acetone before hitting it with the primer in the first picture. Before I do the primer, I do have to think about doing some body filler, which might make things look better in the end.


................................................................
Day 3:
Well, been a little setback today as my Grandmother passed. I'd been handling her affairs for a little over 3 months and she was in Hospice for the past 2.
RIP GrandMa !!! We'll miss you!!
I'm planning this to be an external RAD Box for cooling 1-3 Loops at the same time.
I'm having 2 - 77' Bonneville Heatercores manufactured for me by a handyman that came recommended by CyberDruid over at OCN. That should take care of the cooling needs pretty well & if not, I've got an MCR320 to mount in the front if need be.
I purchased the case from another member @ OCN in their FS section & very happy that I did. Here's some shots of it:
Here's what I received:
Time to get to work a little you think?:
Before:
After:
Now to show you the beast before I get to work stripping/sanding & cutting:
Bottom; had to remove the feet to get at the retainer screws for the drive bay.
A little prying to get it out, but I was able to fix the bend I made in the case :O .. they must have wrapped this steel case around the drive bay before final assembly. There was also a solid metal piece that was mounted just above the drive bay for rigidity.
Here's the unit as I wanted it
:
Thought I'd just document some of the measurements in case I had to refer to them again
And finally, I need to decide what to do with the Heater Cores as far as mounting. The doors are going by-bye as there's no reason to keep them.
Vertical:
or Horizontal (room for both on one side?):
The PSU:
Well, that's it for now, tomorrow it's sanding it down, then thinking if it'd be worth it to do some body filler.
........................................................................
Day 2:
Indignity likes chemicals
I picked up some goodies on the way into work today:
Instead of the old tried & true method of elbow grease, I got some citrus stripper, which I've used before for different applications. It worked a charm every time I used it & has a nice Orange smell to it.
I applied a coat to all three pieces at around 7:45am this morning & then proceeded to bag them up so the stripper wouldn't dry out.:
At 5:00pm, it was time to check it out. I opened one bag & proceeded to use a scraper to remove the paint. Well, I must say, I was pretty satisfied & this is going to save a bunch of time. It still took a little bit of effort with the scraper, so I'll leave it sit overnite. I'll still go over the pieces with steel wool & acetone before hitting it with the primer in the first picture. Before I do the primer, I do have to think about doing some body filler, which might make things look better in the end.
................................................................
Day 3:
Well, been a little setback today as my Grandmother passed. I'd been handling her affairs for a little over 3 months and she was in Hospice for the past 2.
RIP GrandMa !!! We'll miss you!!