Hey there guys, I've been working on this case for a while now, started around Febuary, but then took a few months off due to school/sports, but now I'm back in full swing, and things are looking up.
I'm sure a lot of you, like myself, love the UFO cases, but just have not gotten around to buying one, or its too expensive. I found myself with this predicament as well. So I decided to build one !
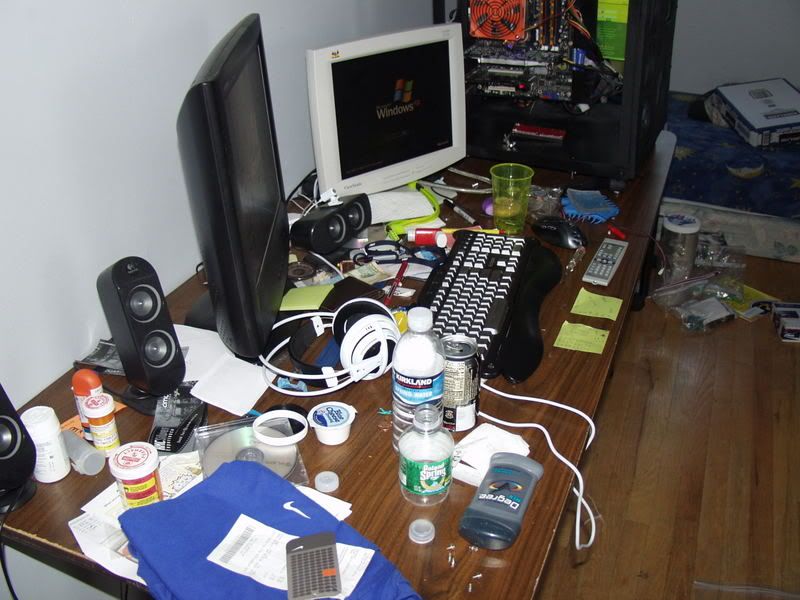
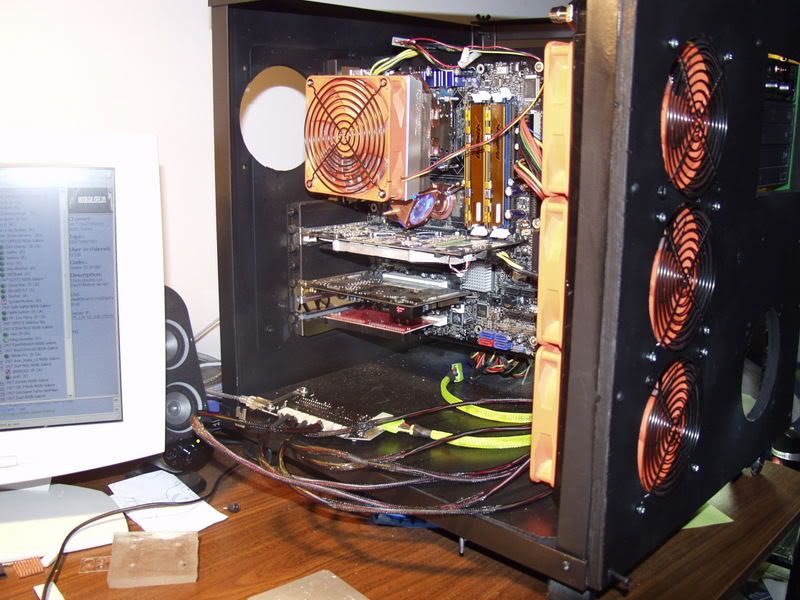
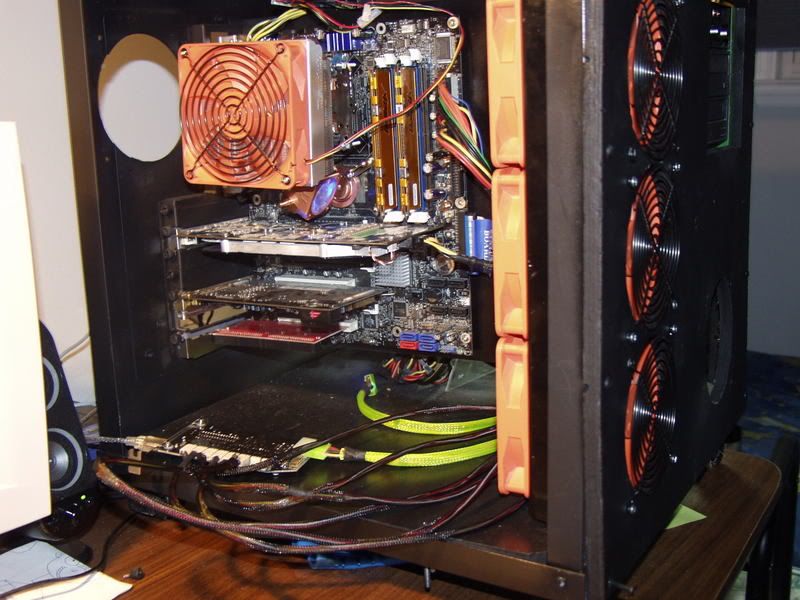
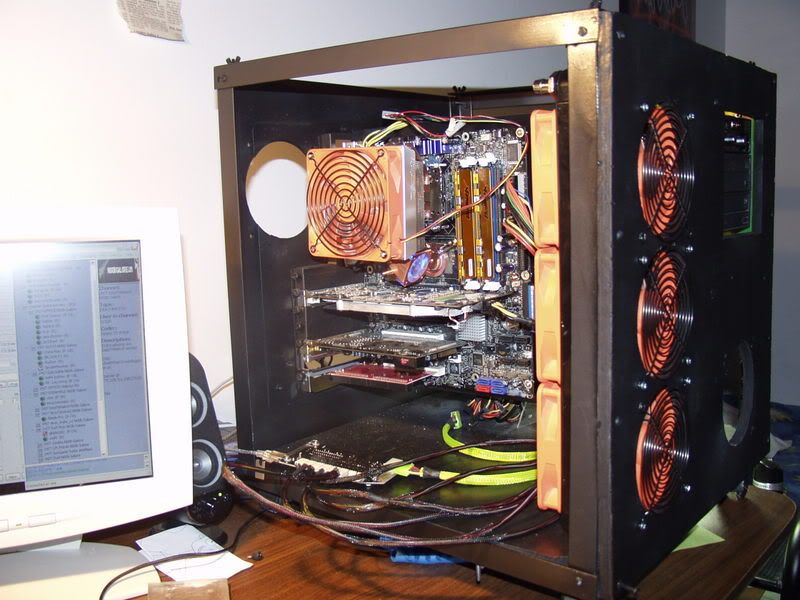
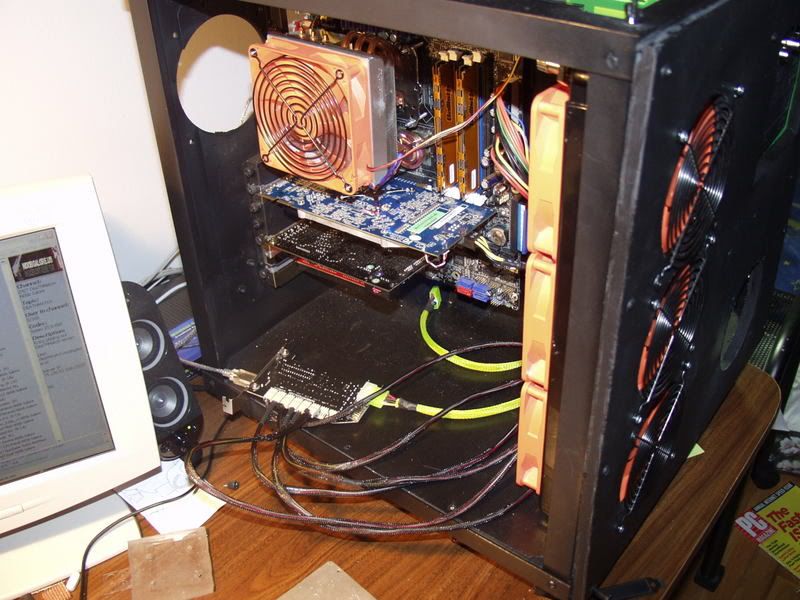
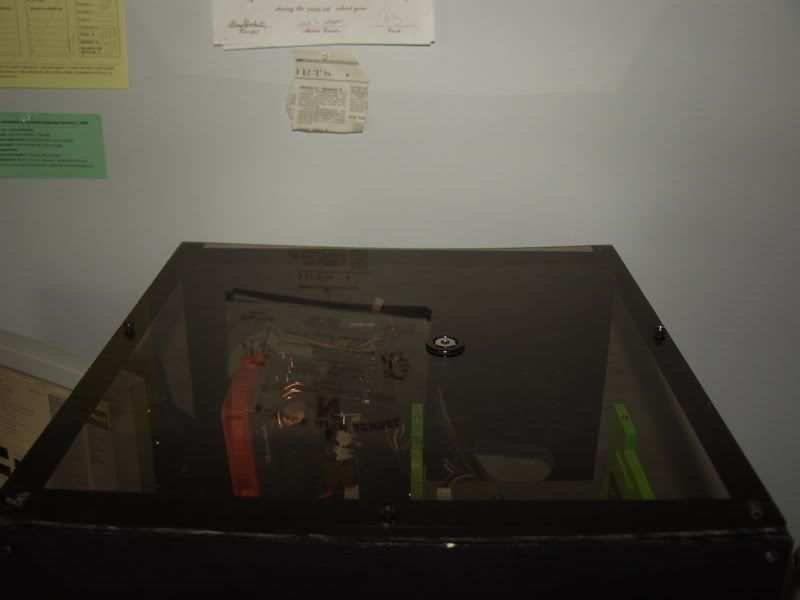
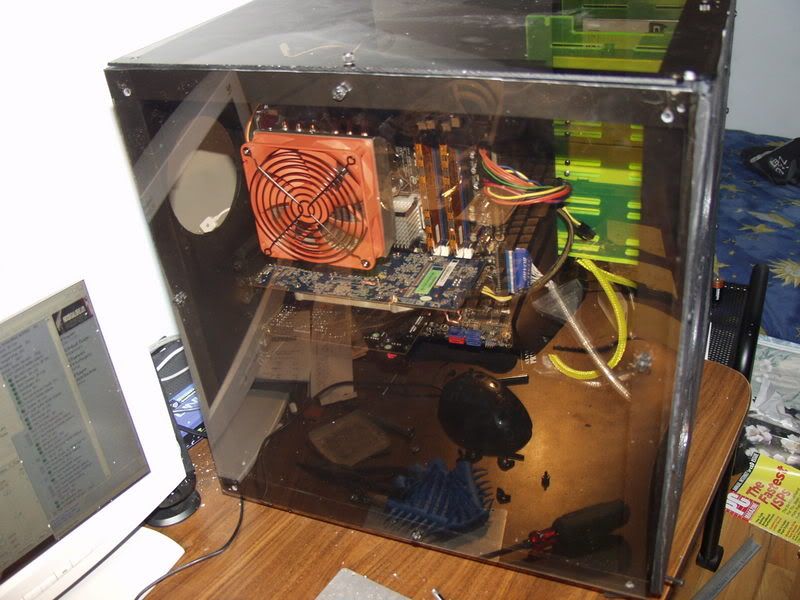
I made my first case over the summer, shown here:
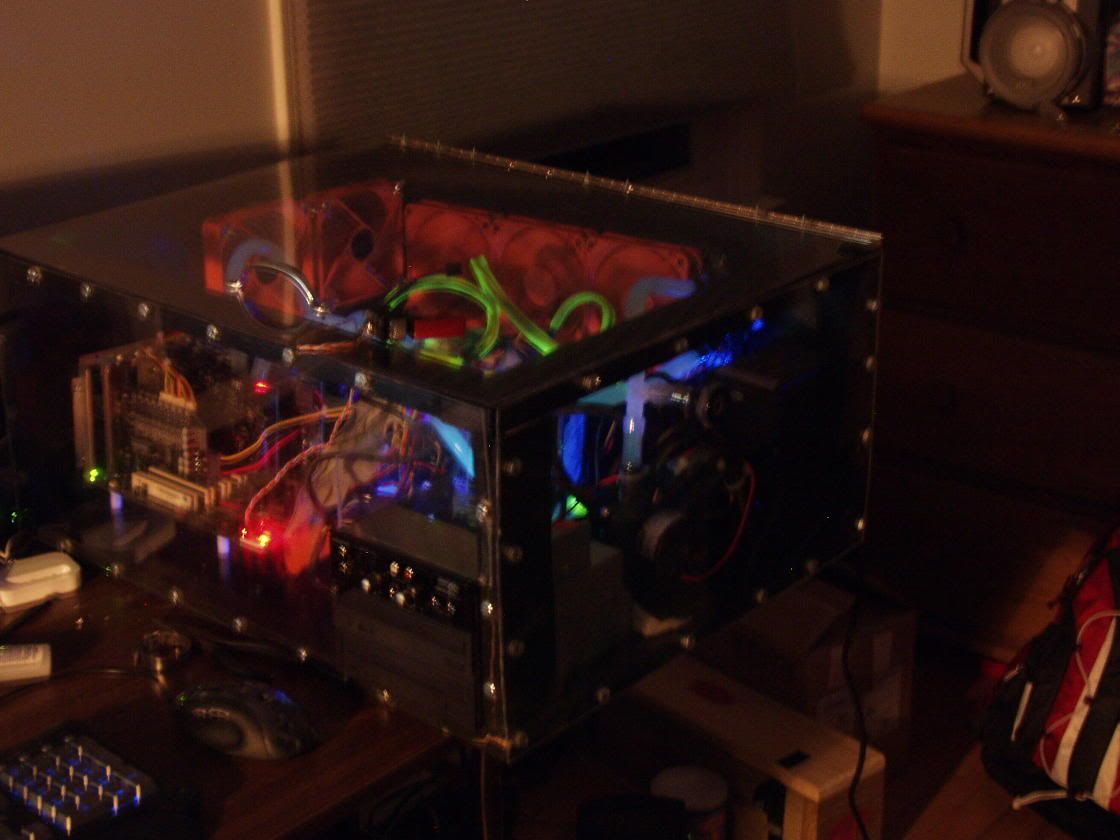
While its not great, it opened me up to the world of modding.
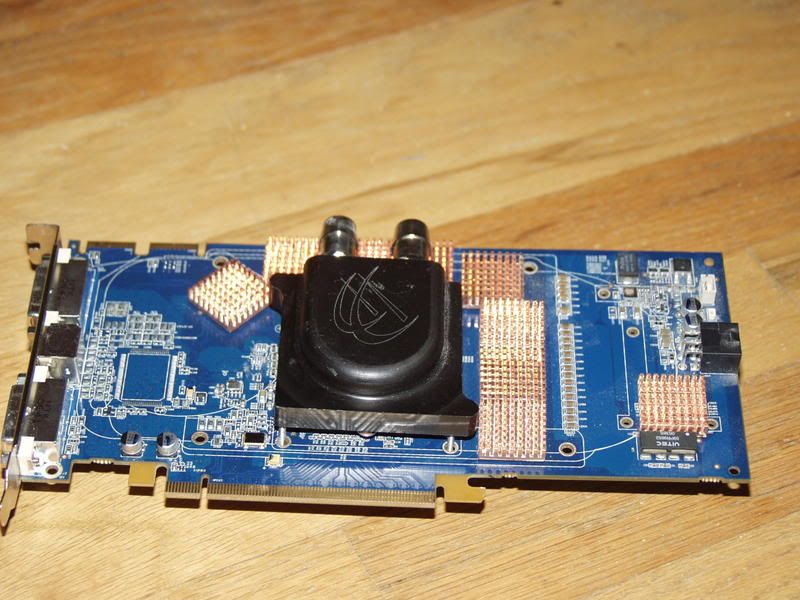
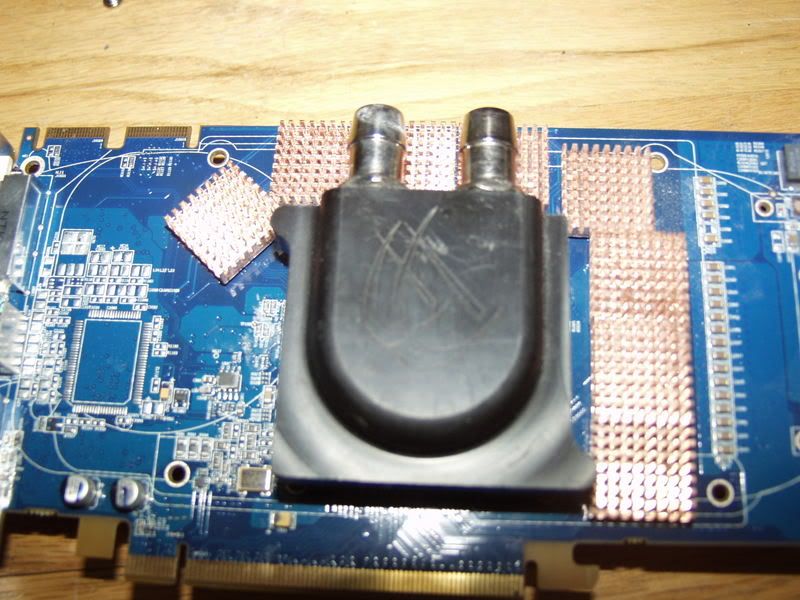
I'm planning on replacing my current loop, minus my gpu block. Here's a list of the hardware I'm going to pick up.
1x Aluminum Sheet 18 x 18x 0.125
14x Aluminum L-profiles 18 x 18 x 0.125
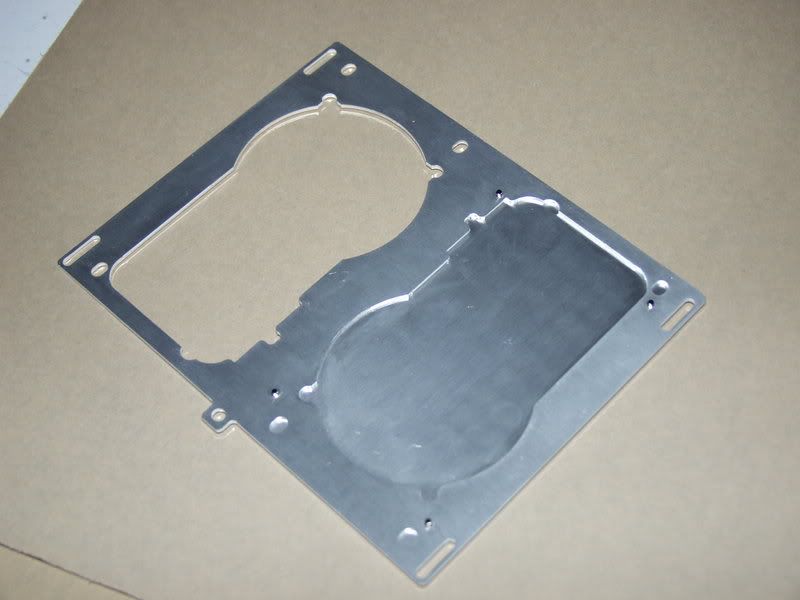
1x Lian Li Replacement Removable Motherboard Tray
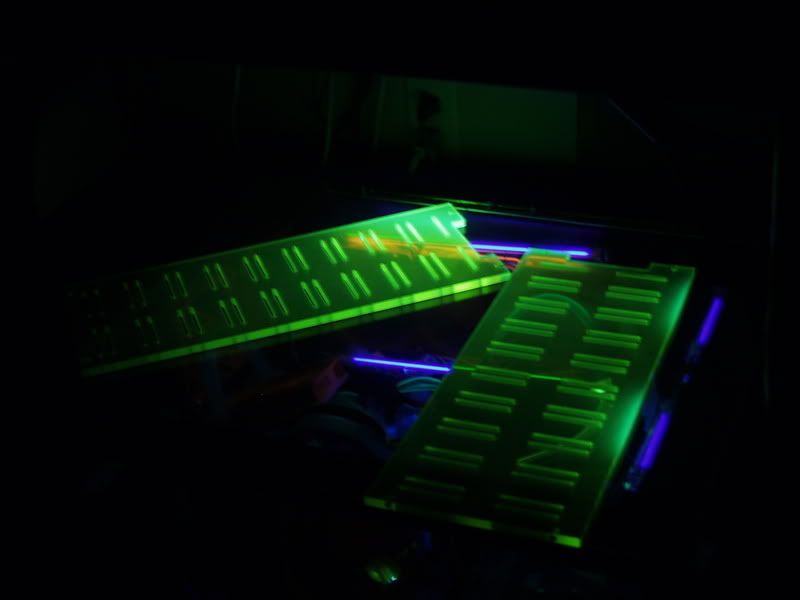
1x A.C. Ryan Constructx BayColumn510 UV Green
4x A.C. Ryan AcrylPanel 3mm Black
2x Startech 2.54mm Standard Jumper Caps
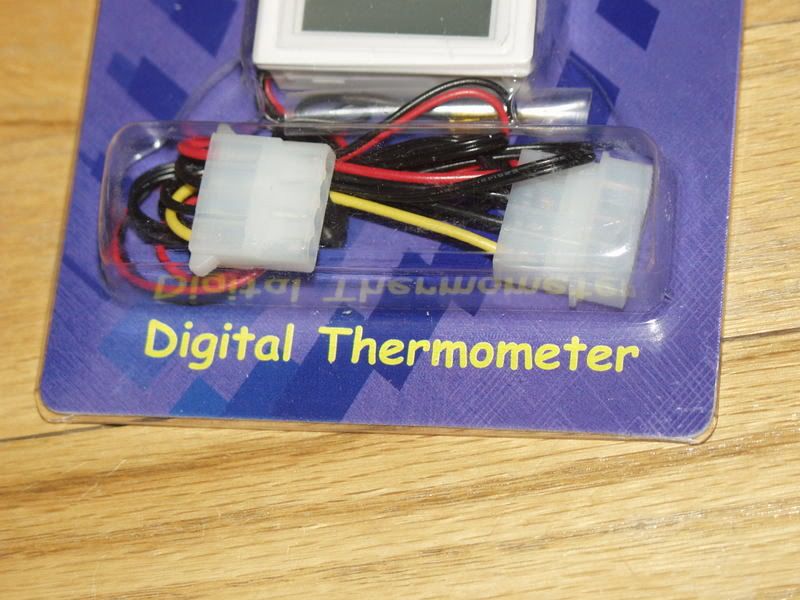
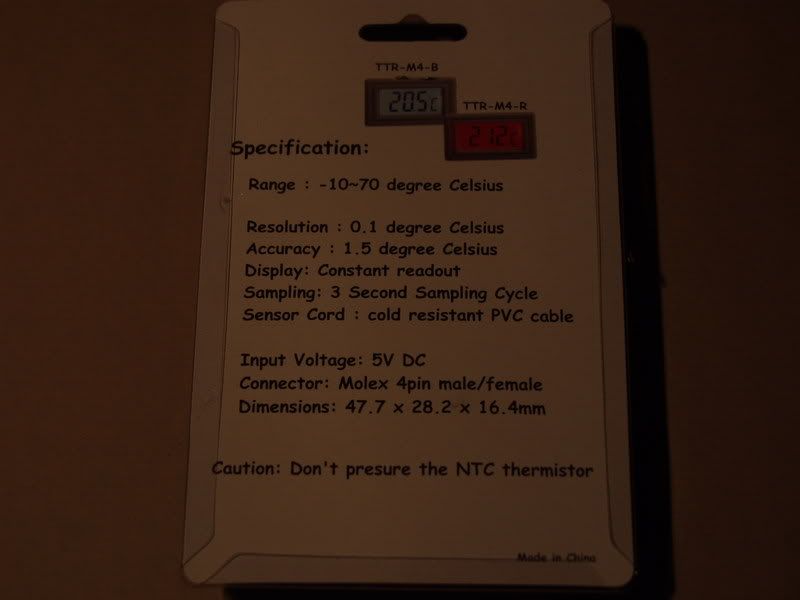
1x Digital Thermometer with Blue LED Back Light
1x Lian Li Dual PSU Bracket
4x Startech 2mm SCSI Drive Jumper Caps
Water Cooling - Petra'sTech
1x Gell Stuff
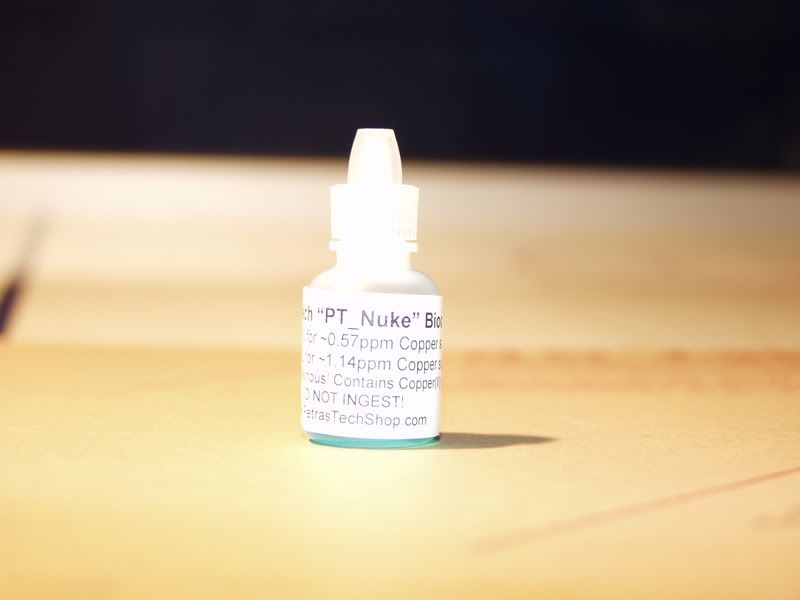
1x PT Nuke
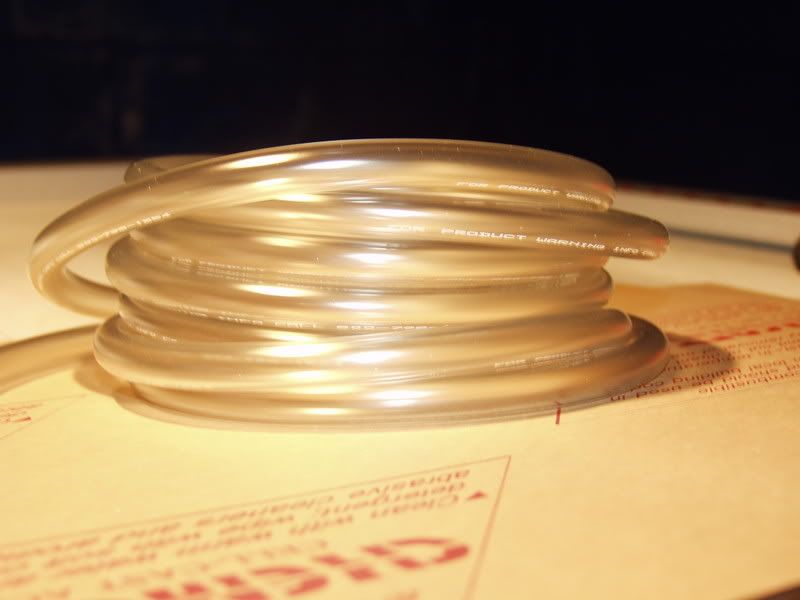
10x Masterkleer 7/16
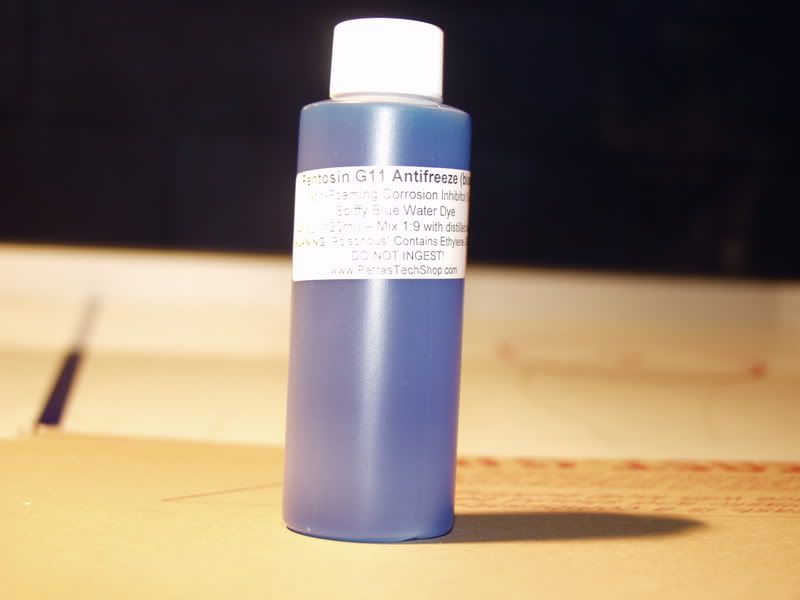
1x Pentosin
1x Swiftech MCR-320
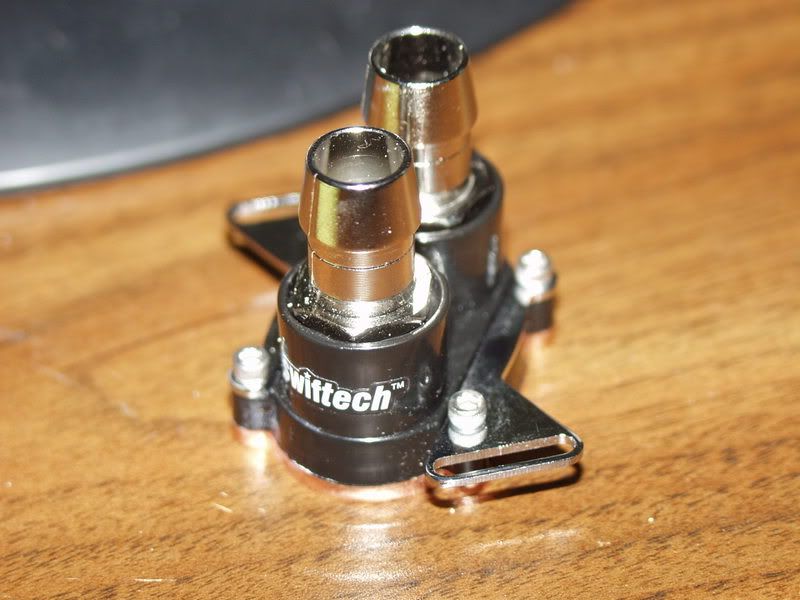
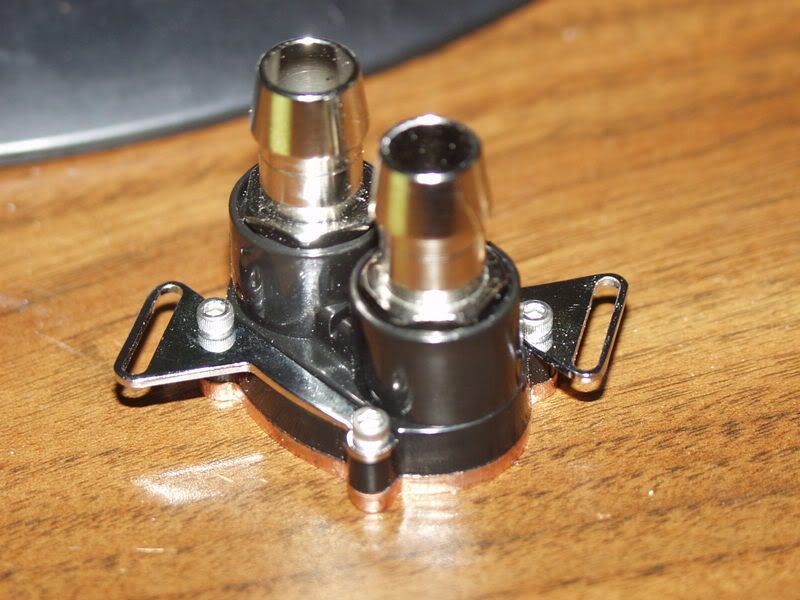
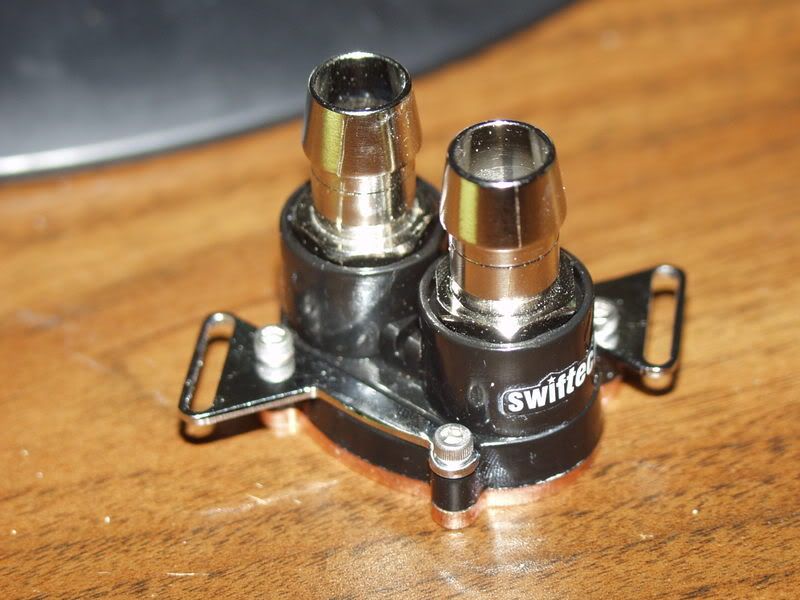
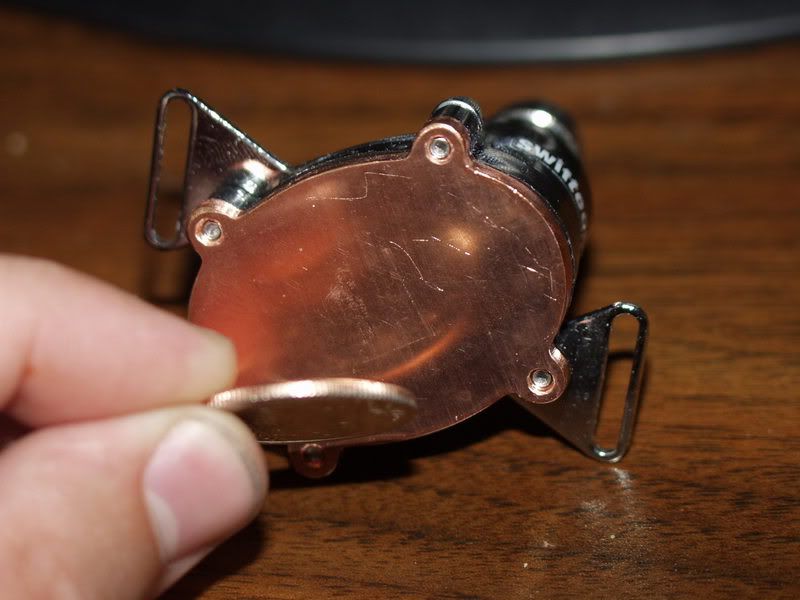
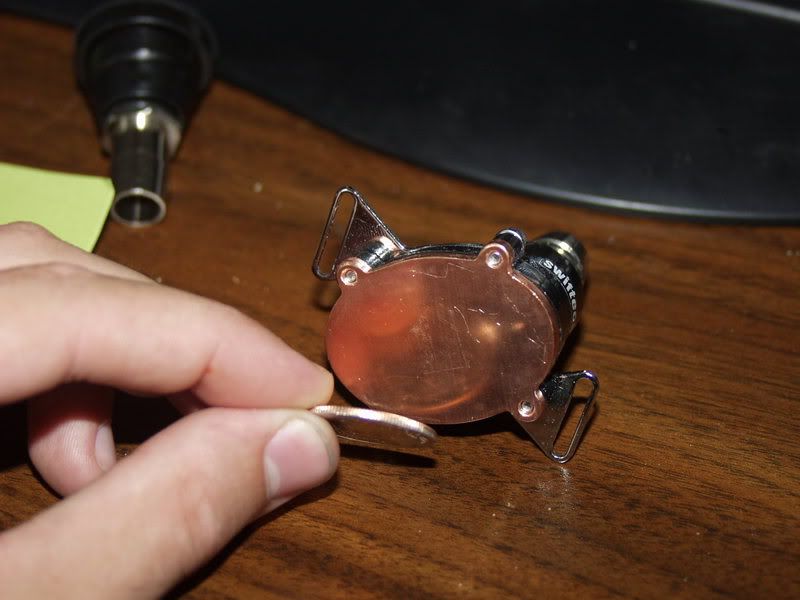
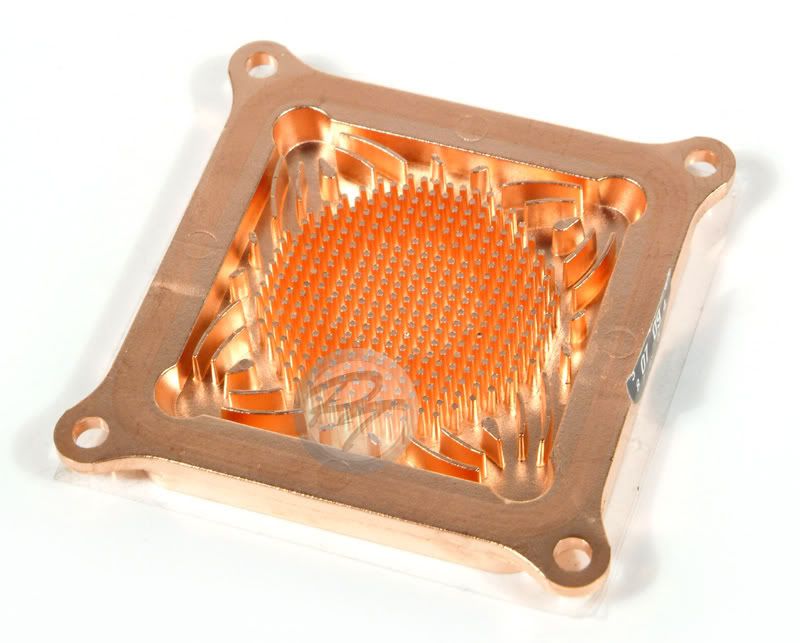
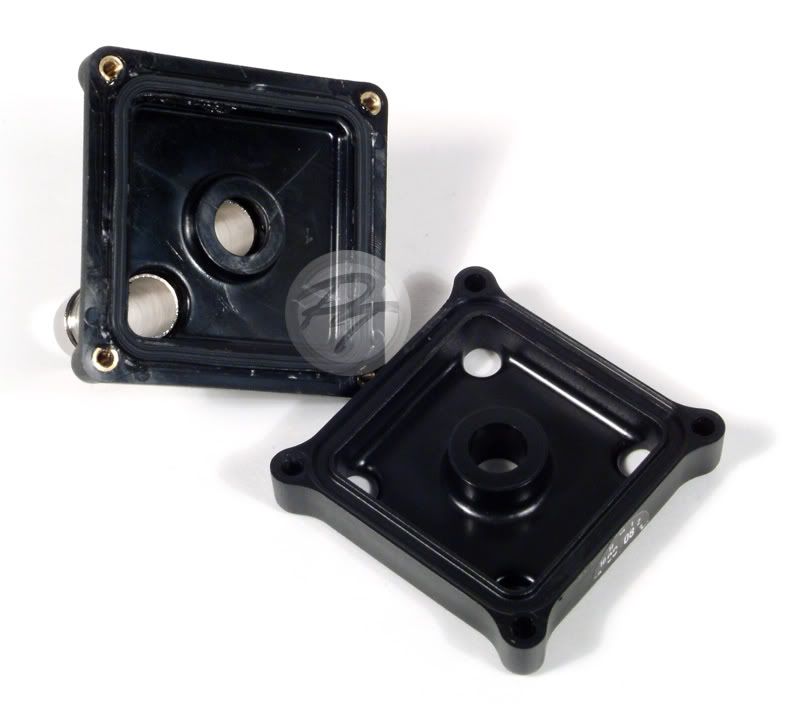
1x D-Tek Fusion
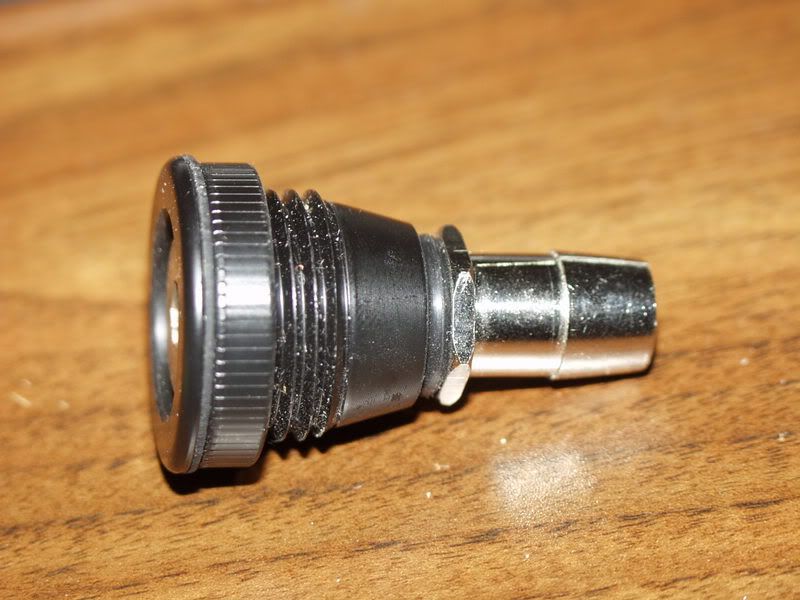
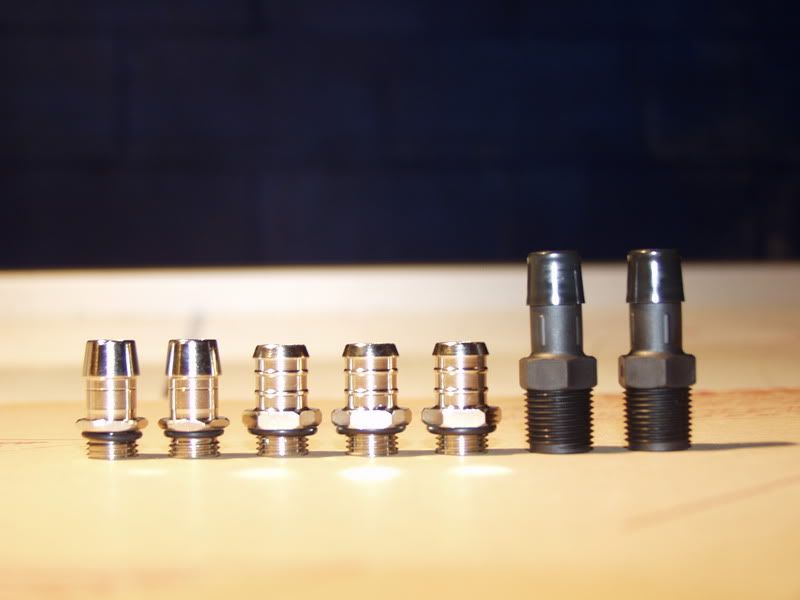
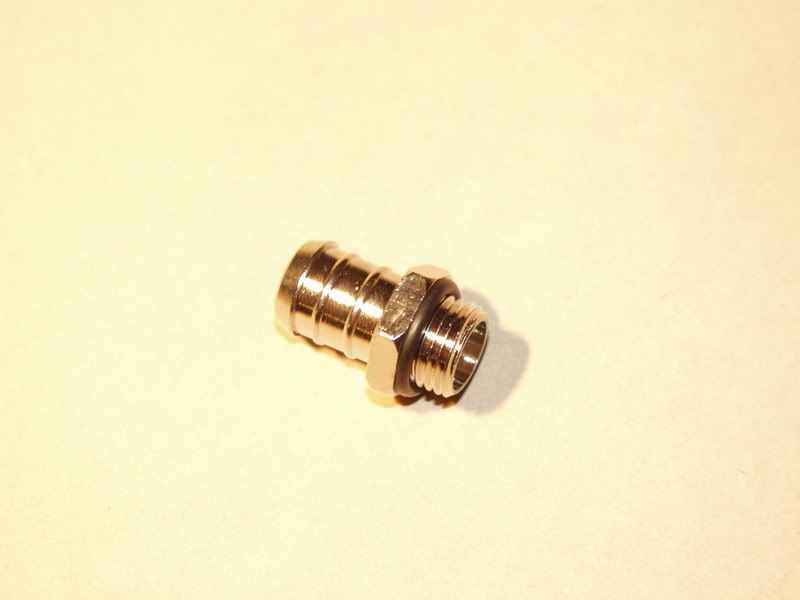
4x Ek Barbs
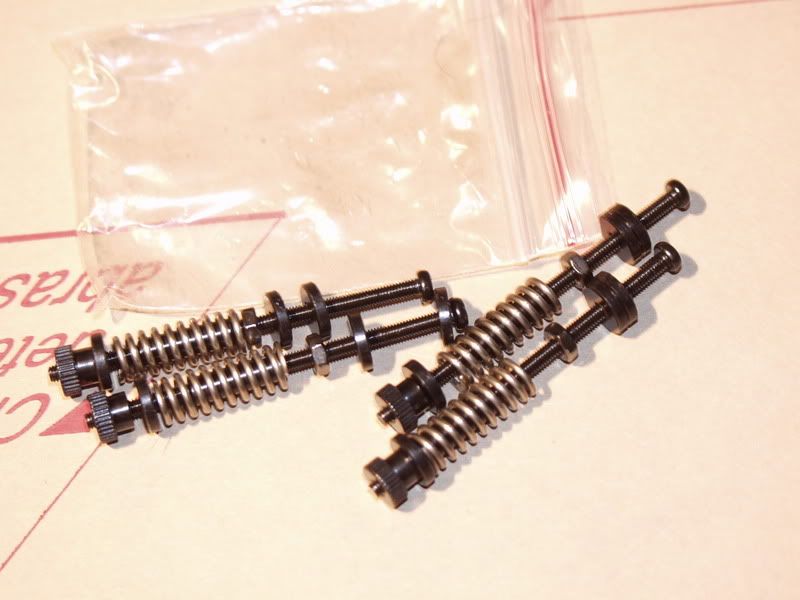
1x Computer Screw Kit
I have not ordered the wc stuff yet, paypal transfer will clear the 15th, so I'll order that night. So if you have any suggestions, they're more than welcome.
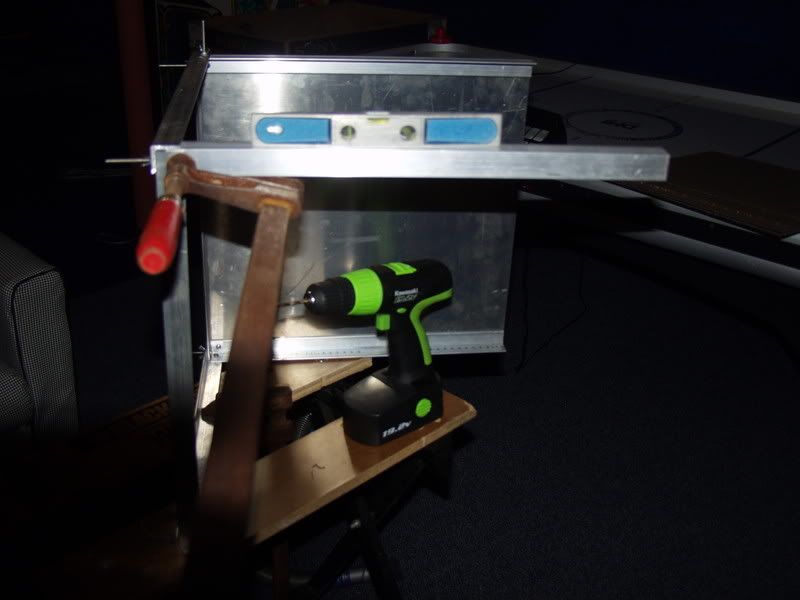
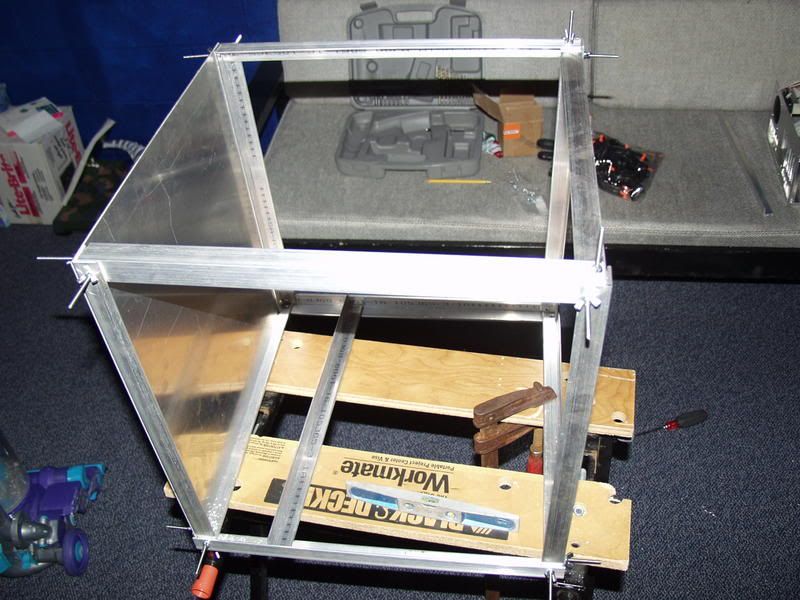
I started construction today, so here are some pics so far.
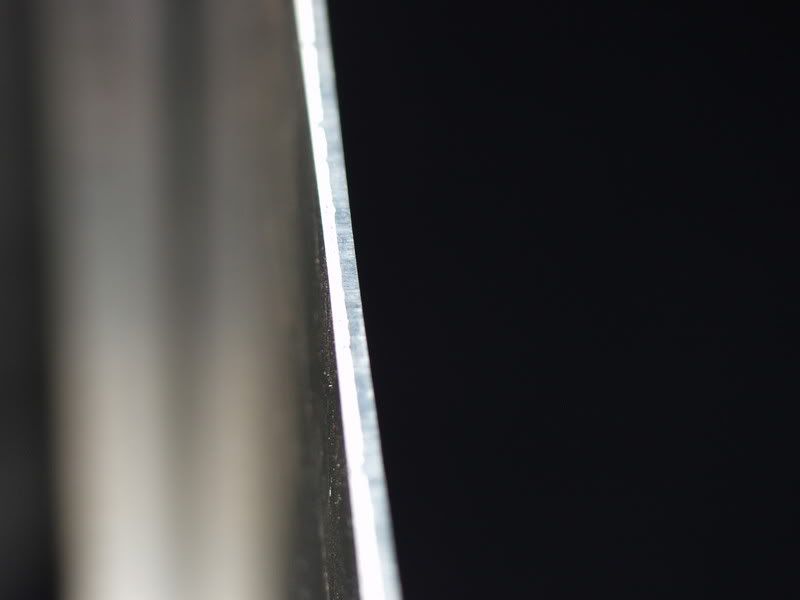
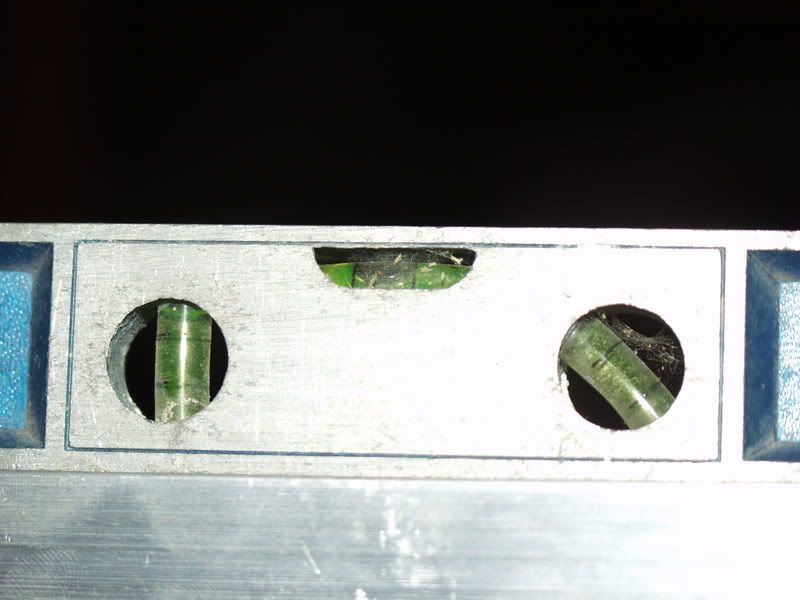
.125=3.175mm- thick
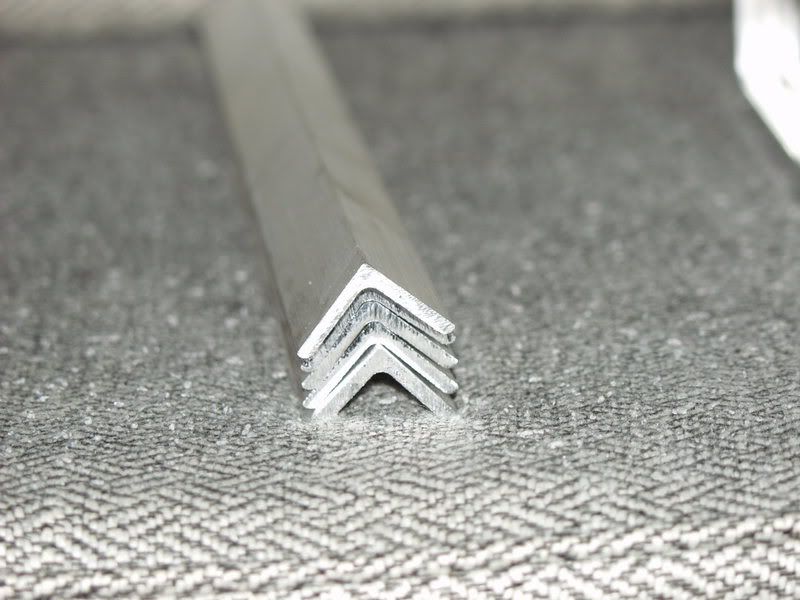
Same with the alu sheet
looks good!
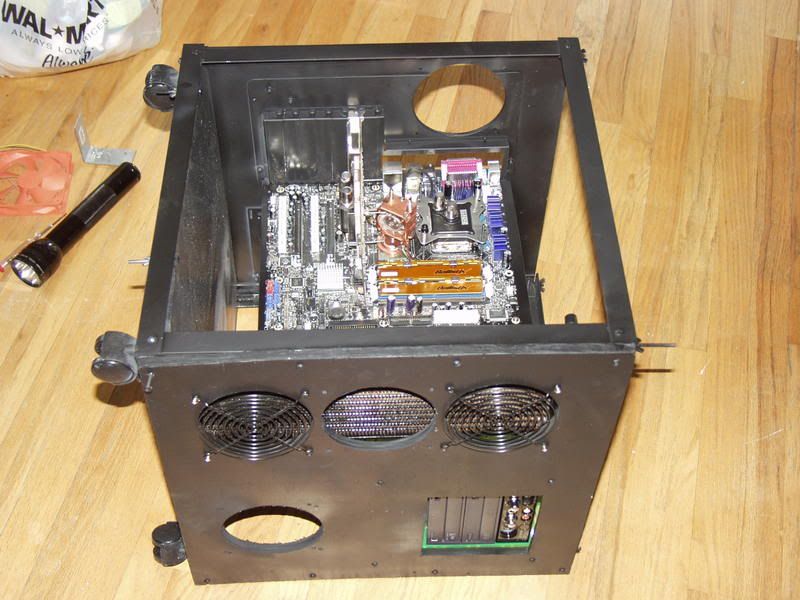
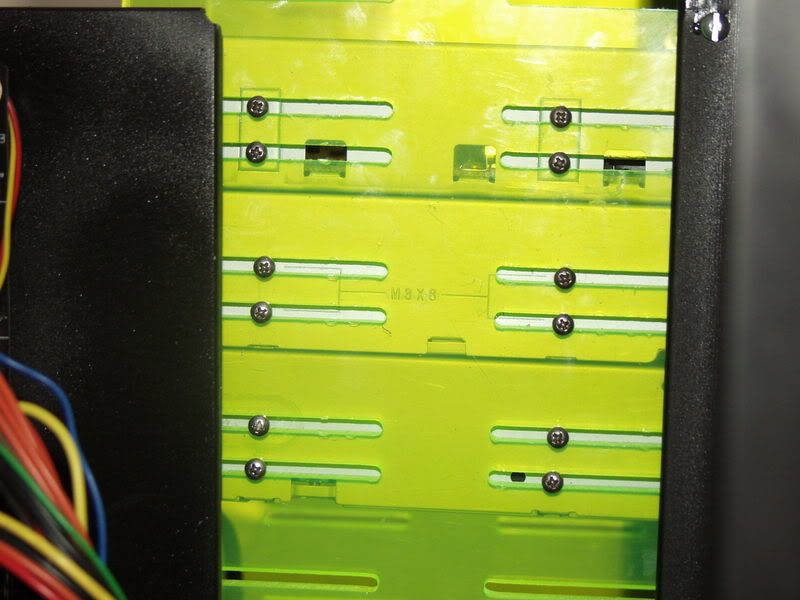
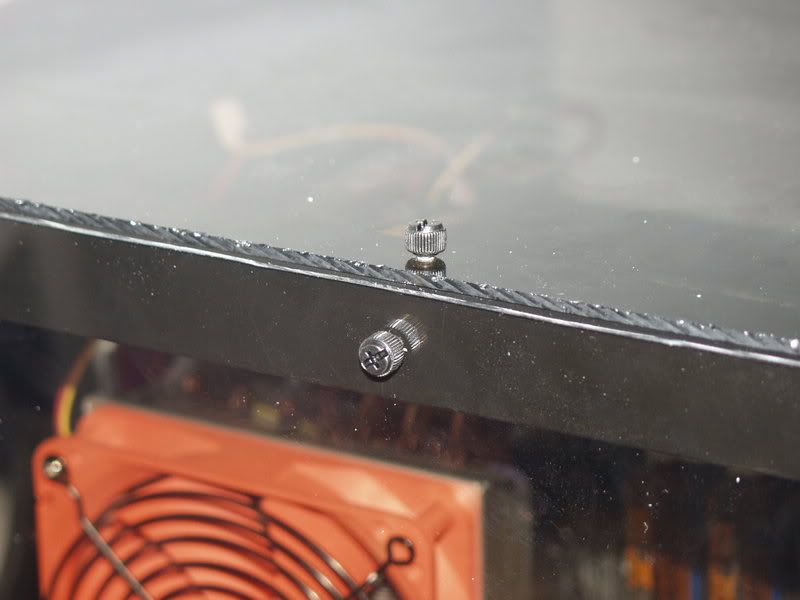
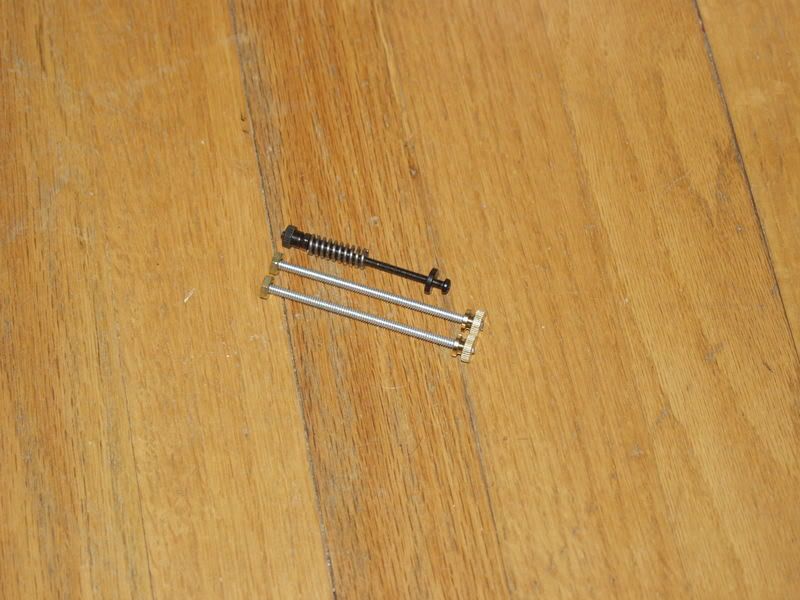
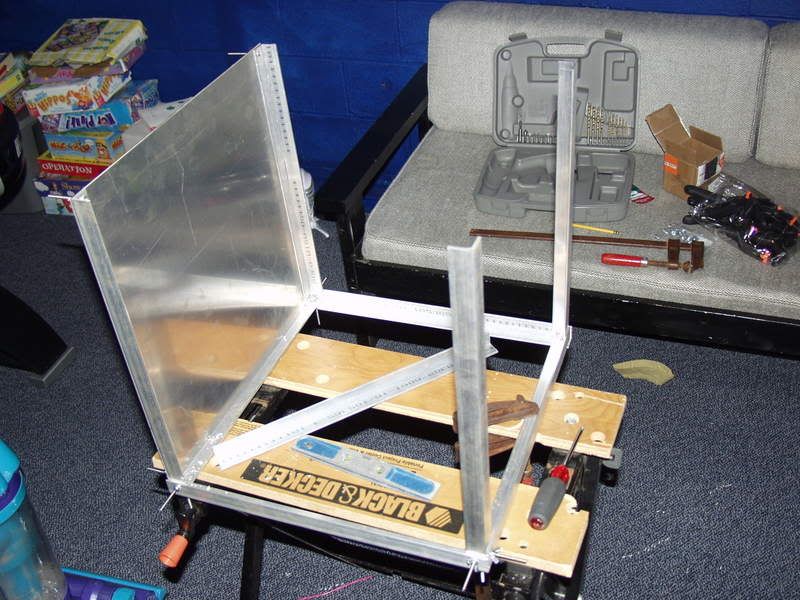
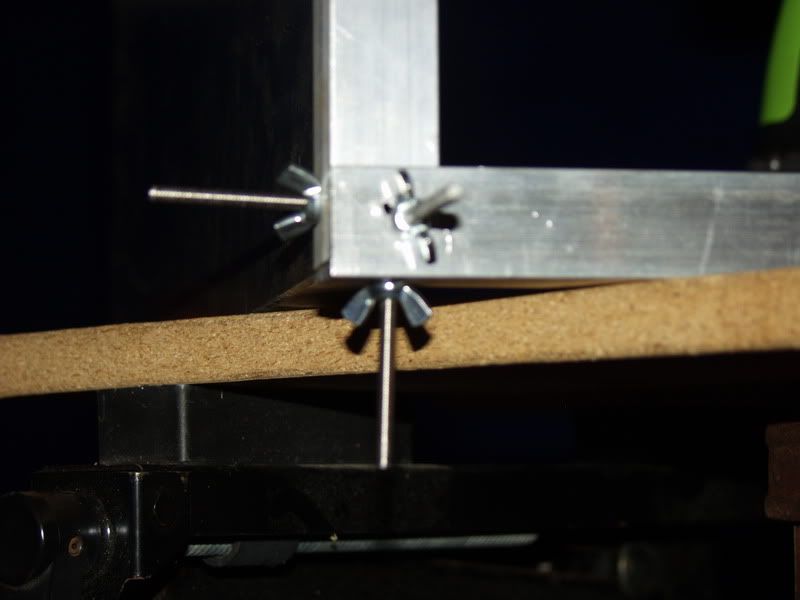
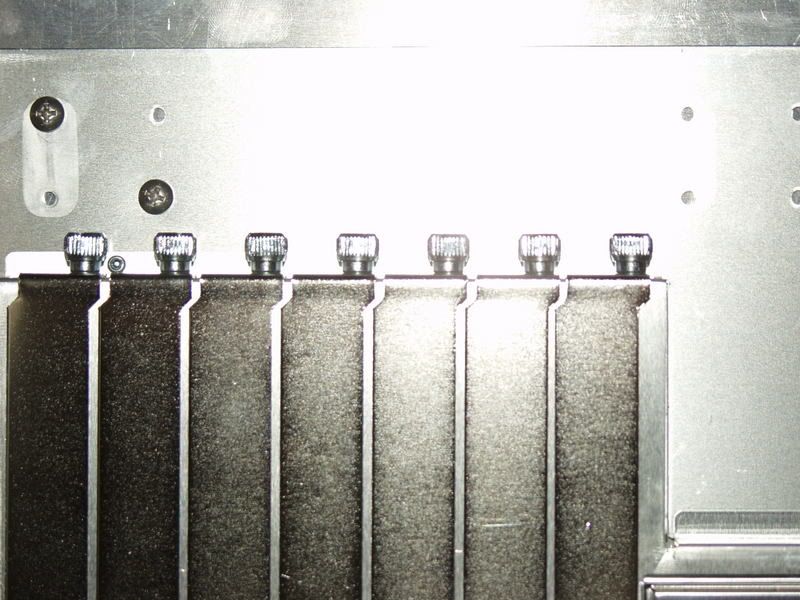
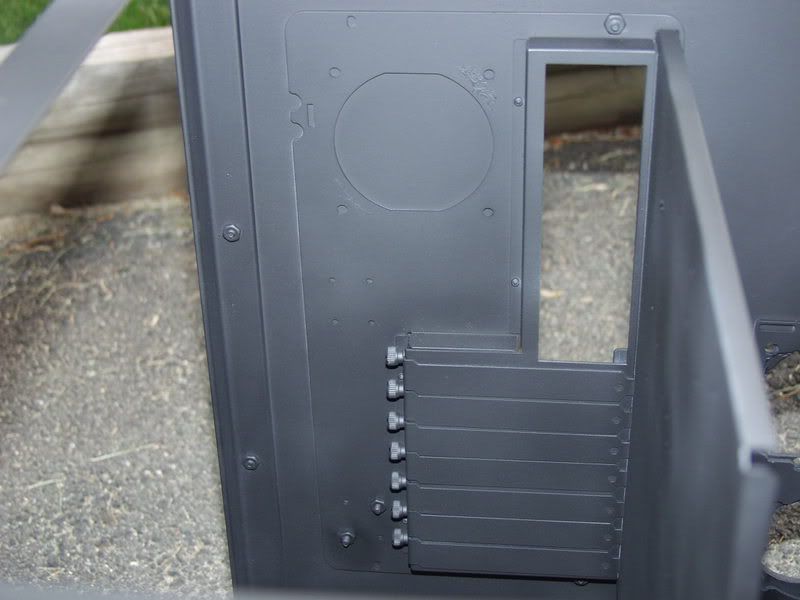
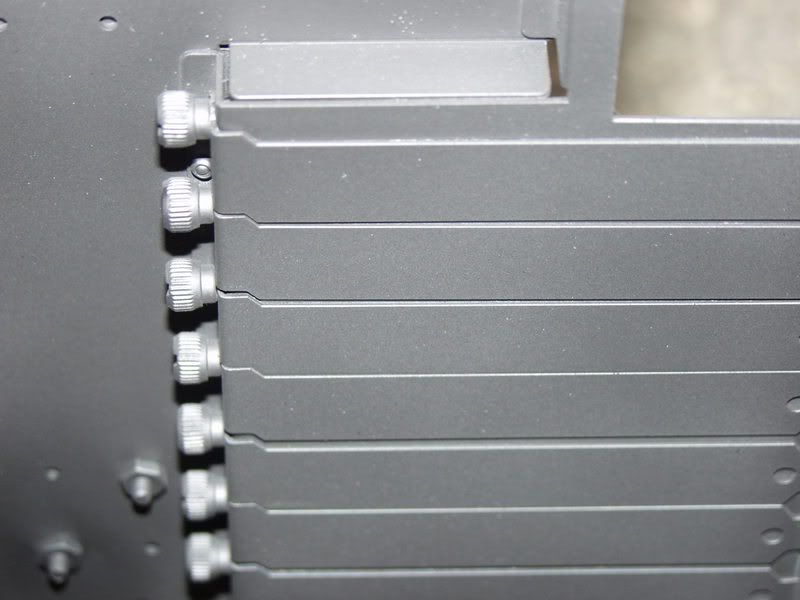
Temporary screws to hold everything in place before I get shorter ones. Wing nuts don't hold everything together tight enough, so I'll those will just some regular nuts. The new bolts will also be countersunk, with the nuts on the inside, for a more cosmetically pleasing look.
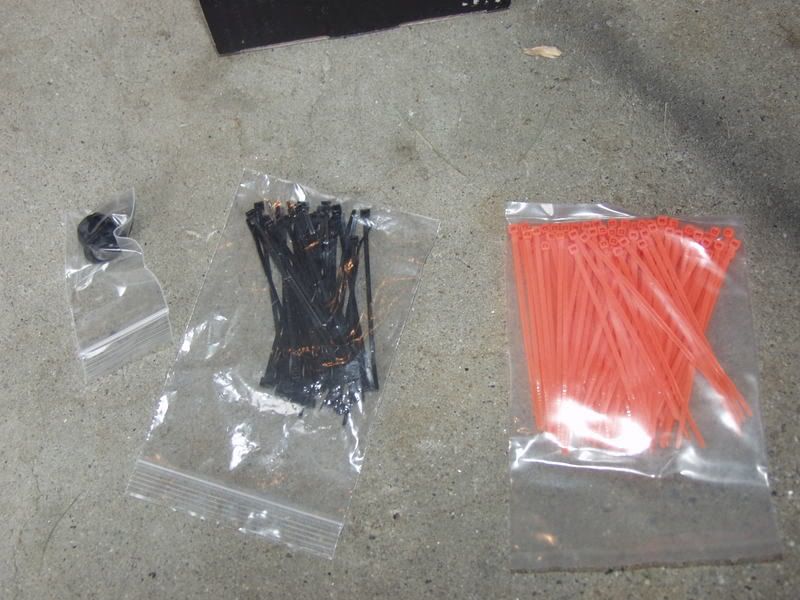
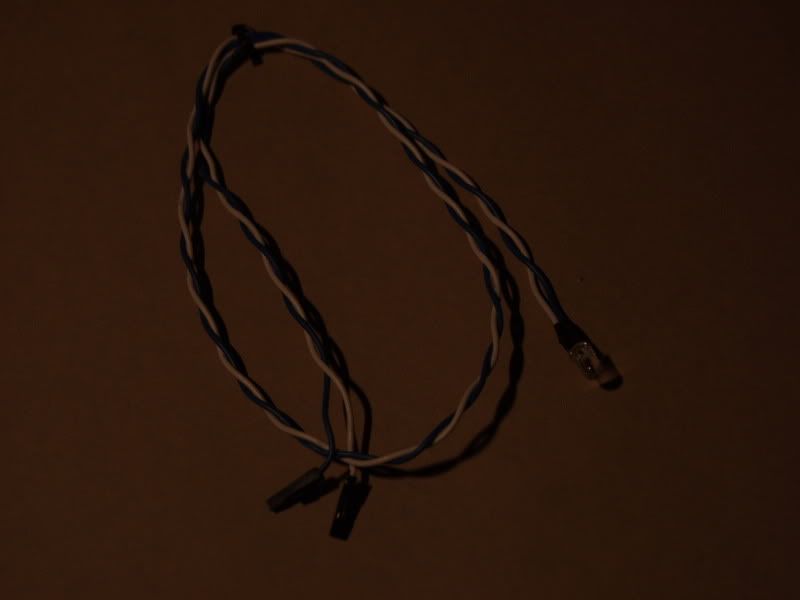
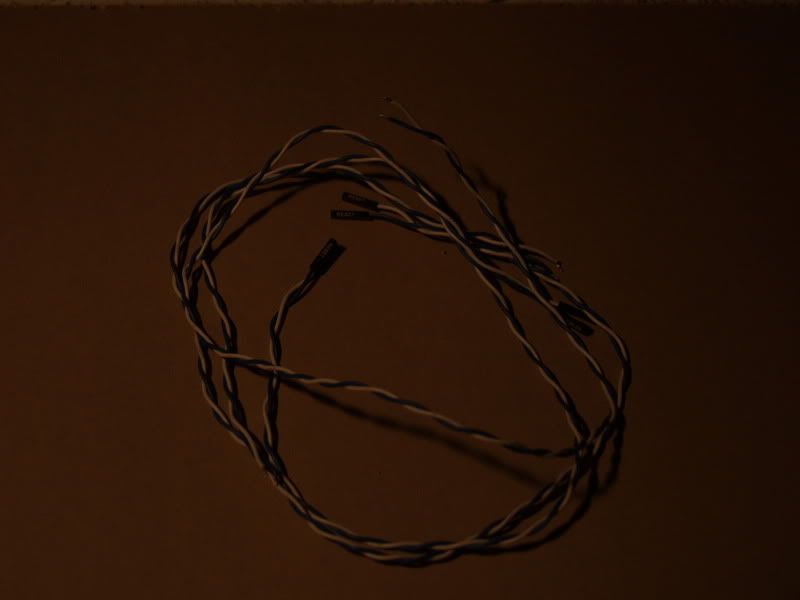
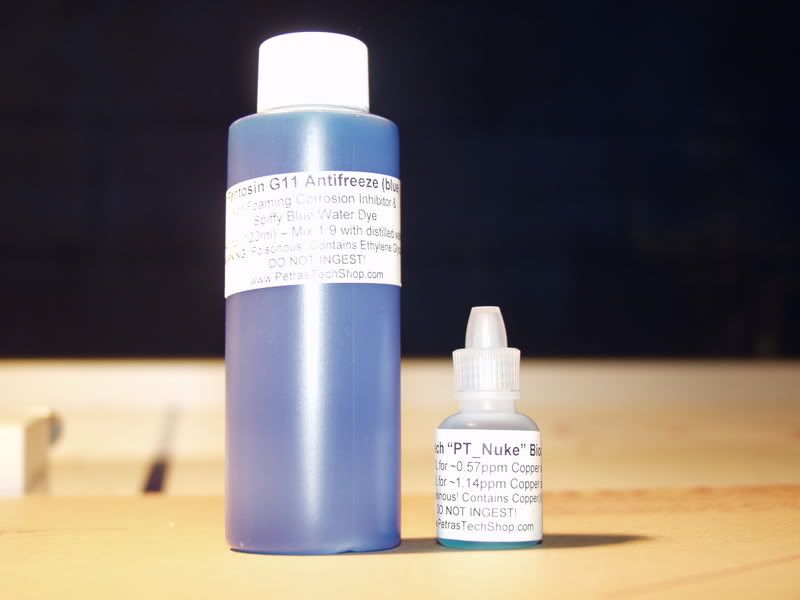
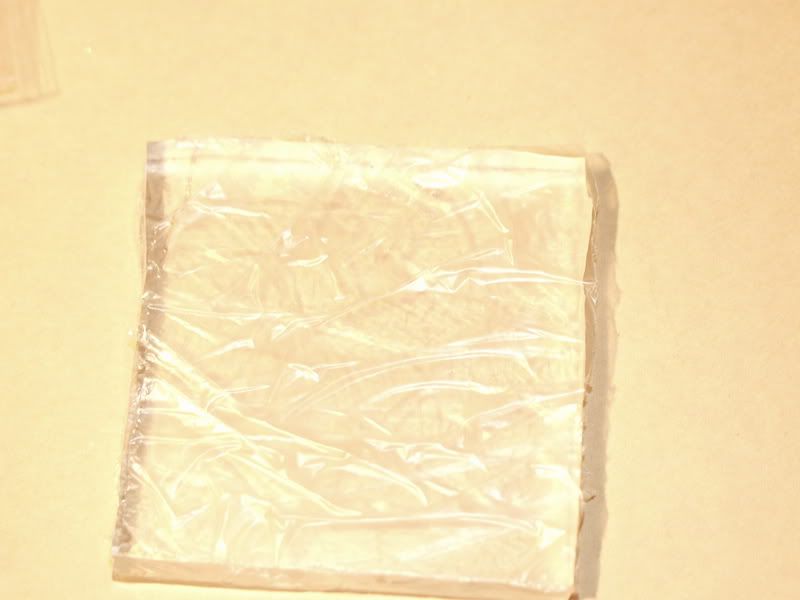
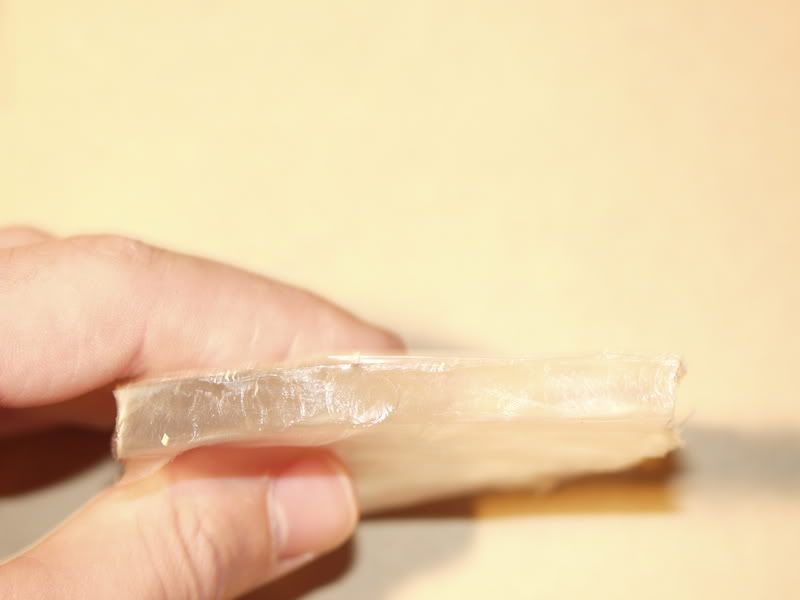
Here's some accessory pics:
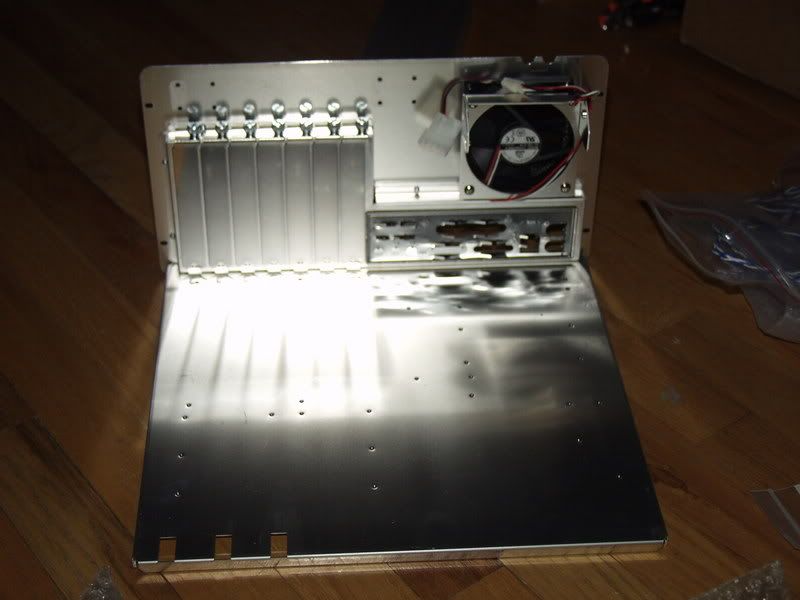
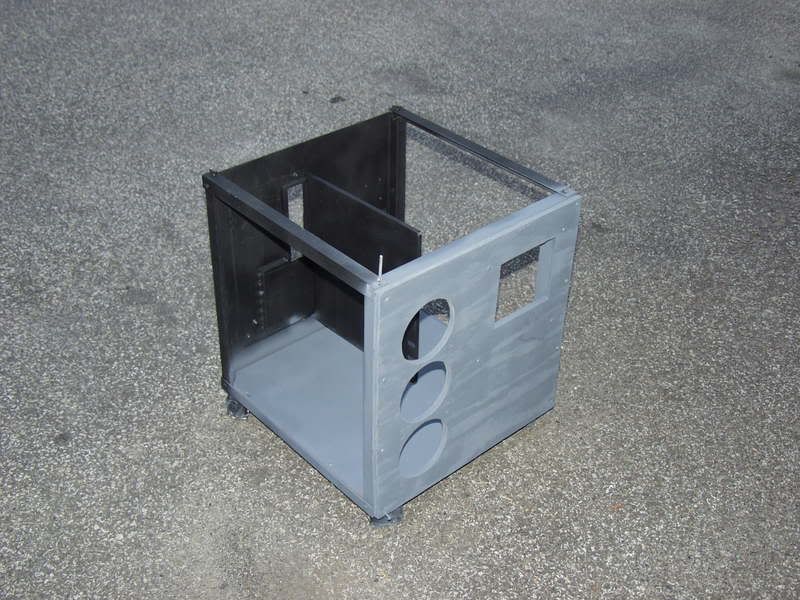
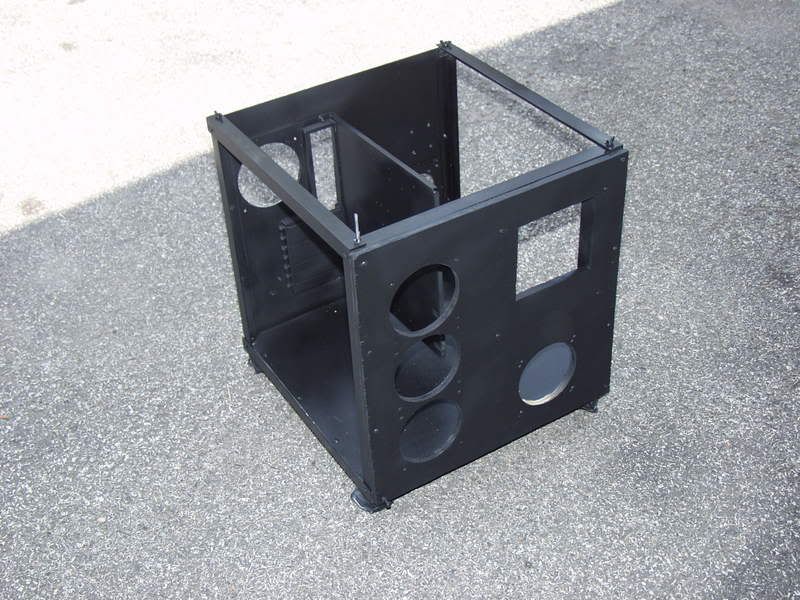
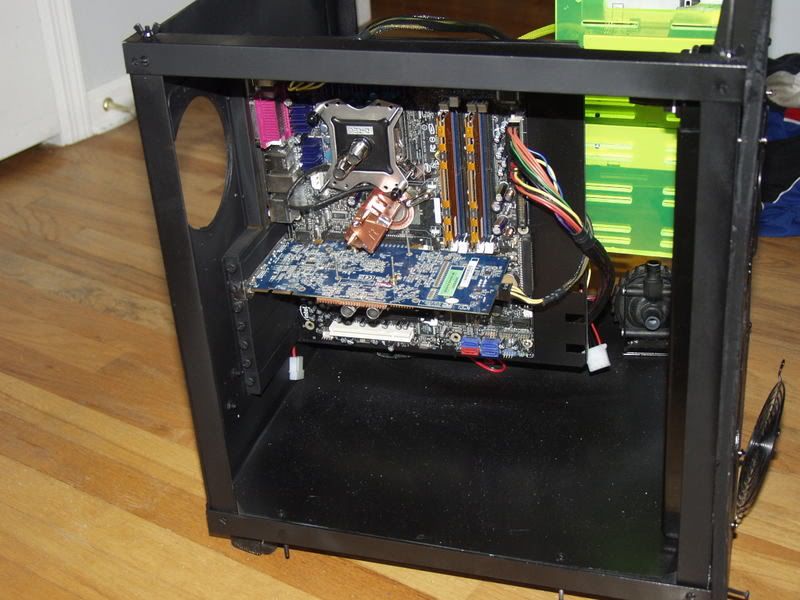
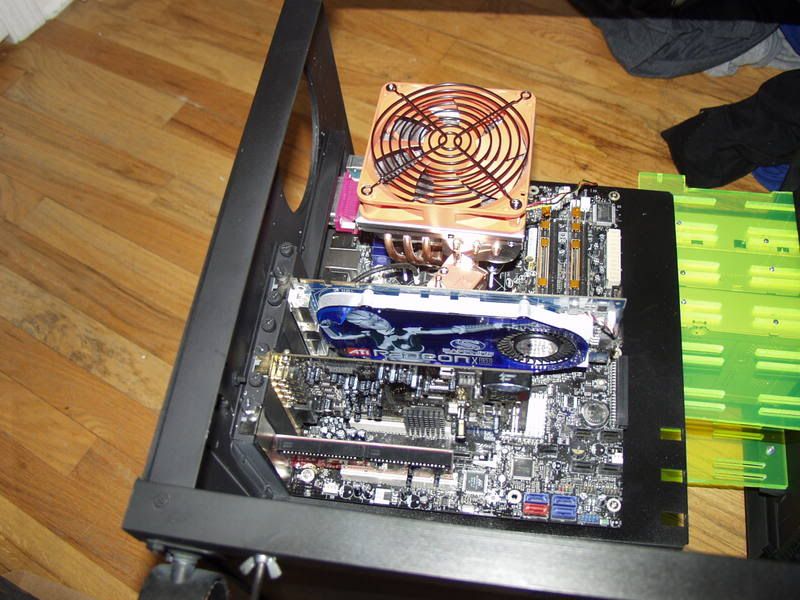
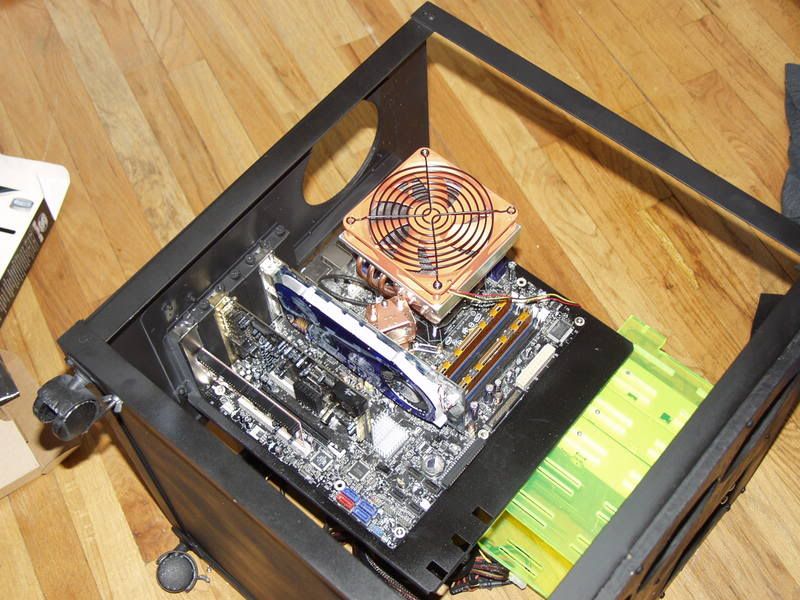
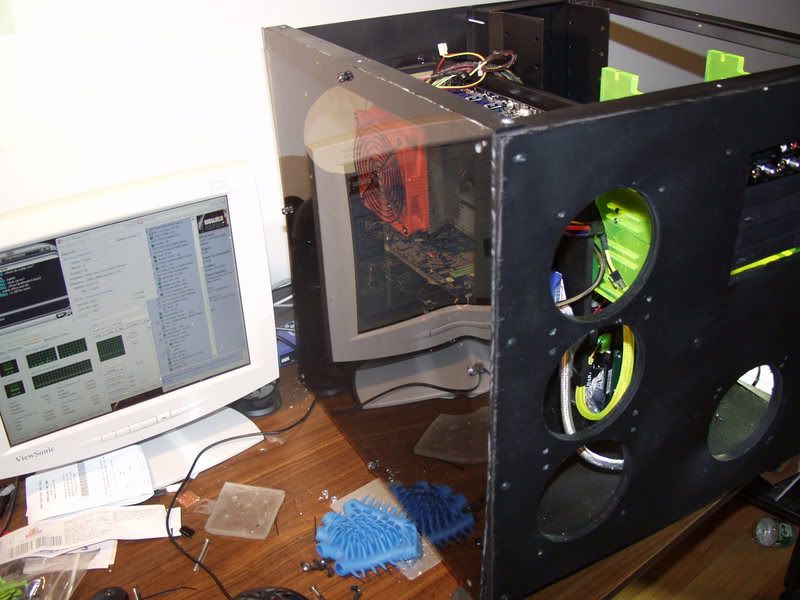
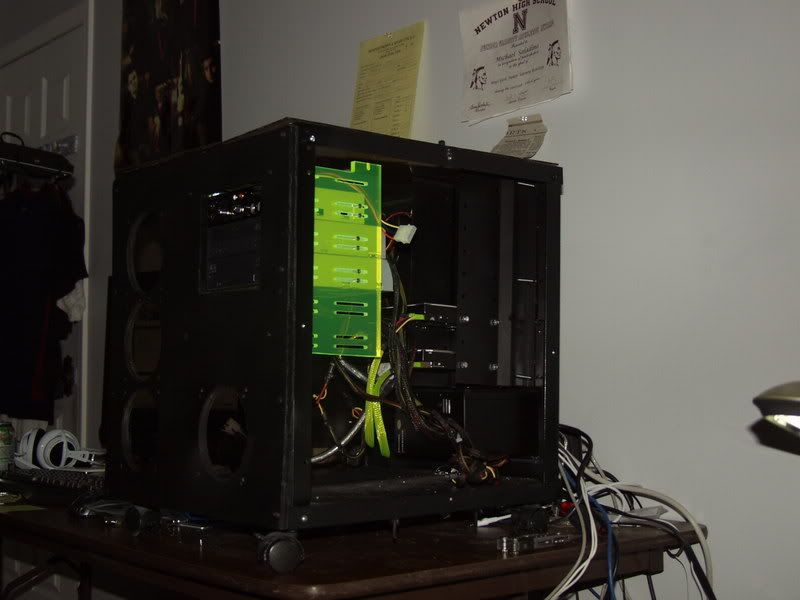
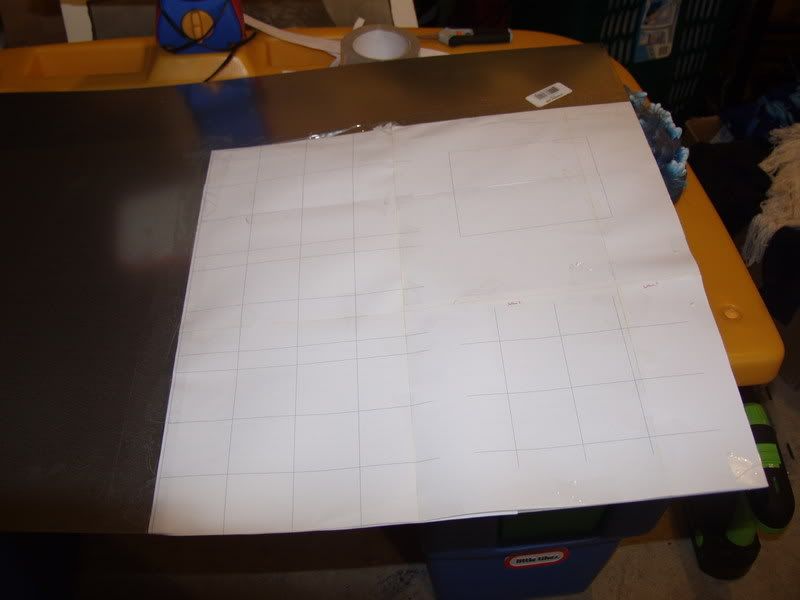
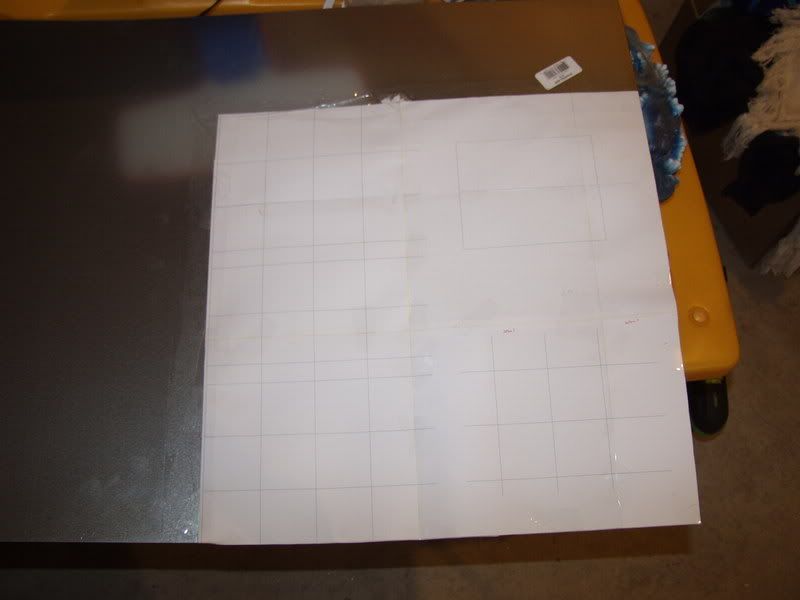
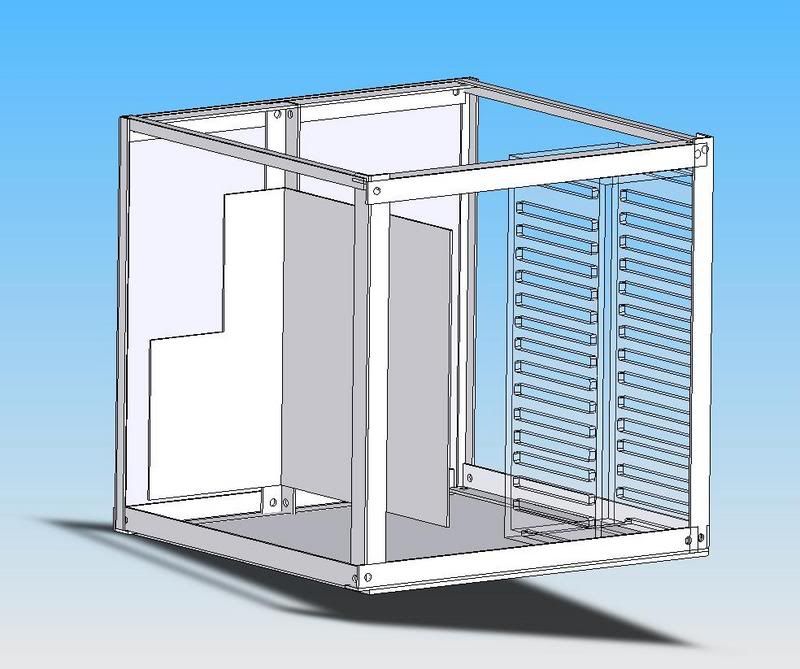
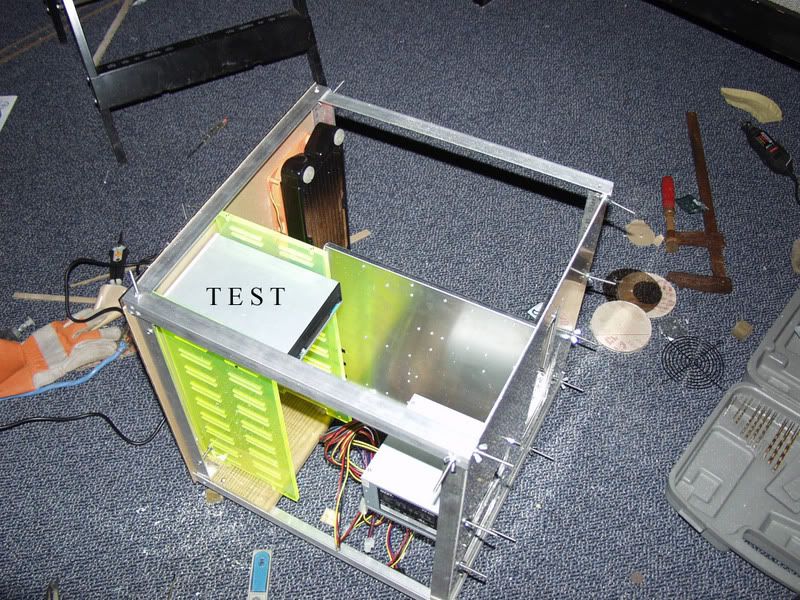
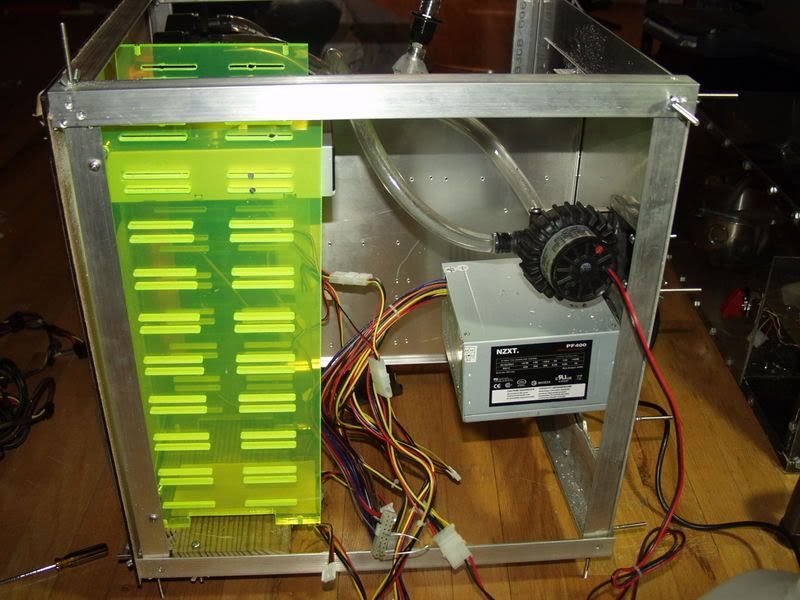
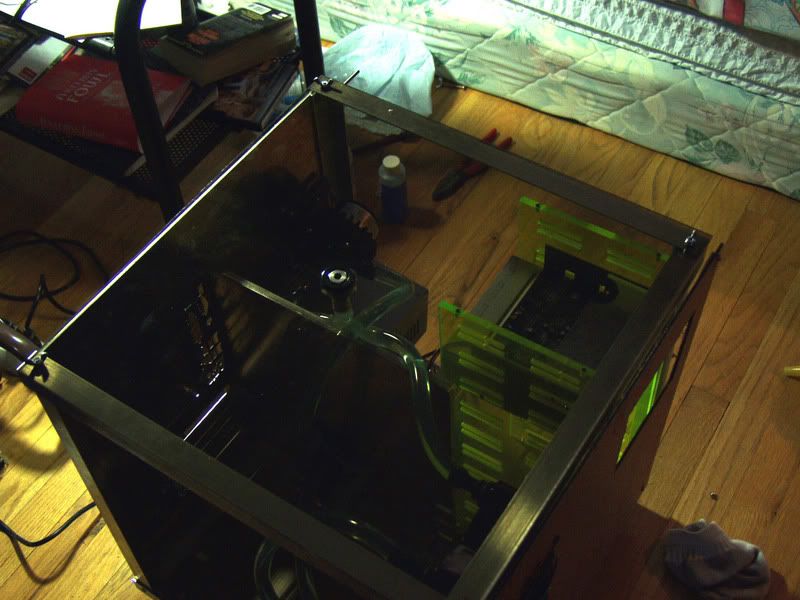
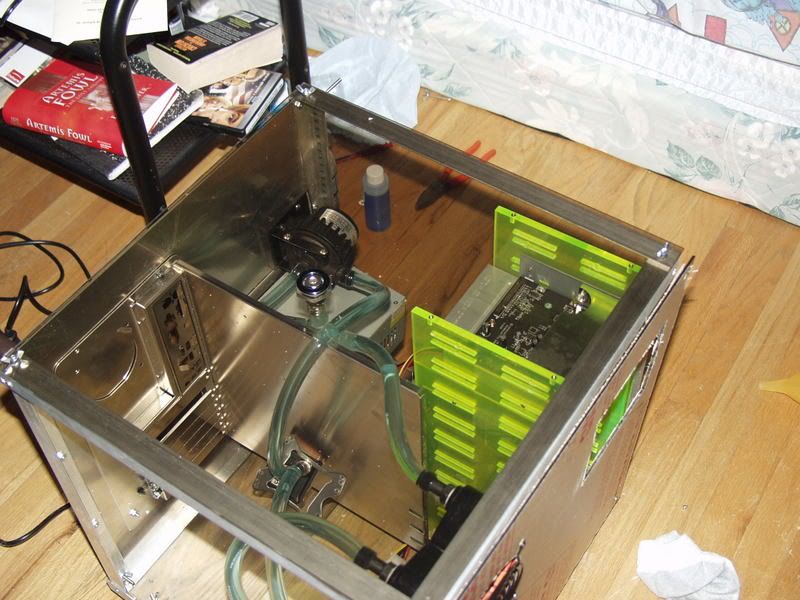
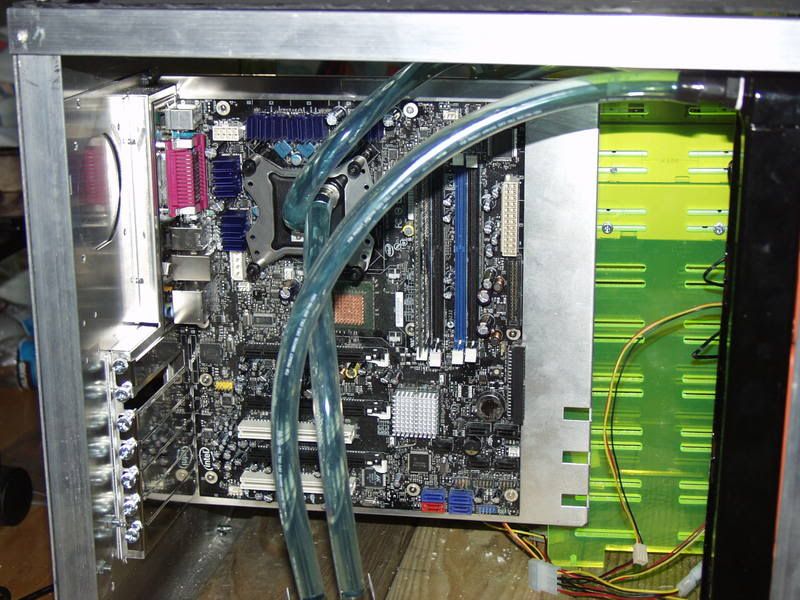
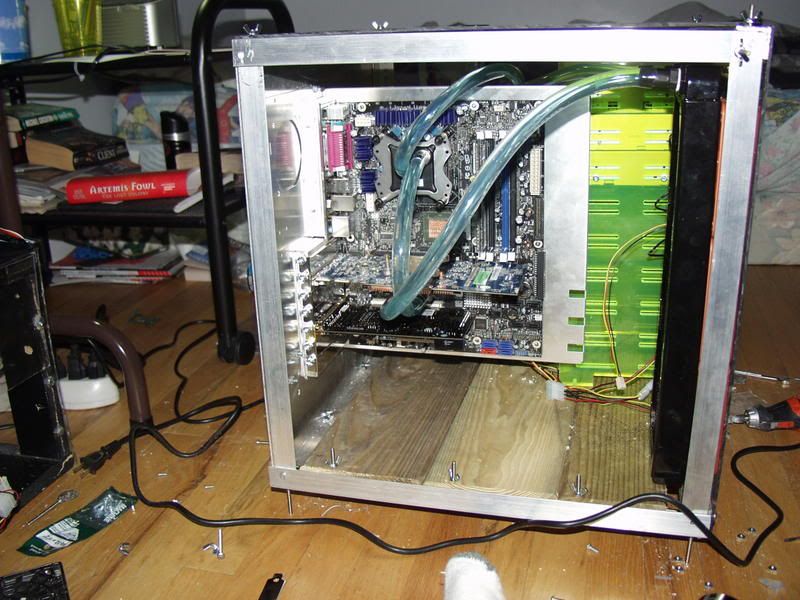
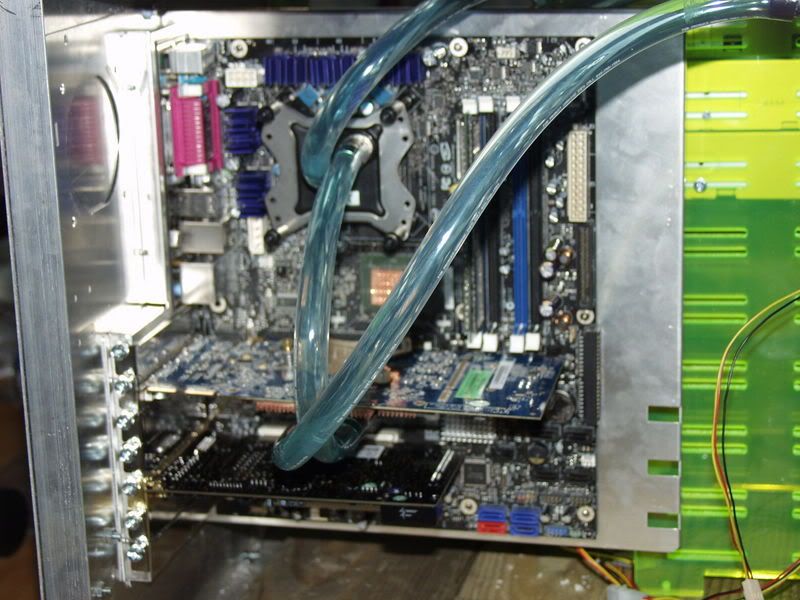
Here's just a basic overview of what the inside will look like, minus the outside plexi, radiator, fan grills, psu... etc. Just an idea.
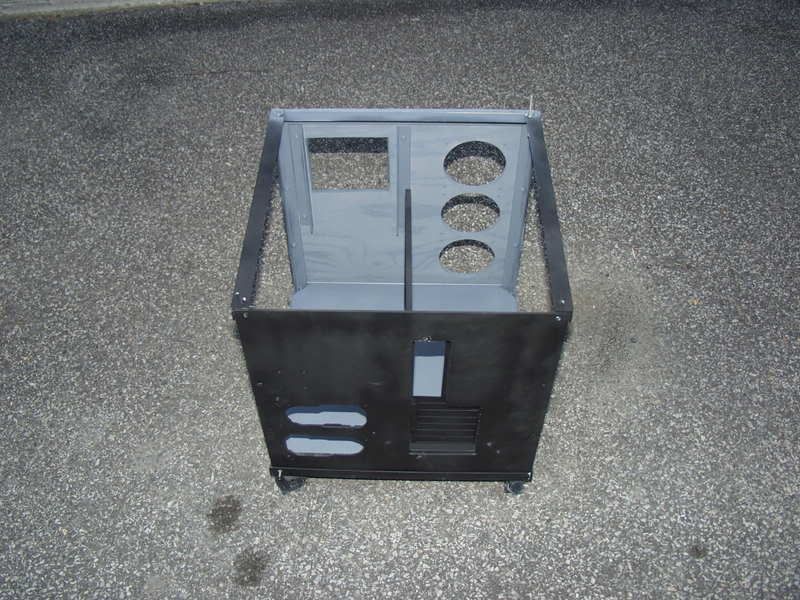
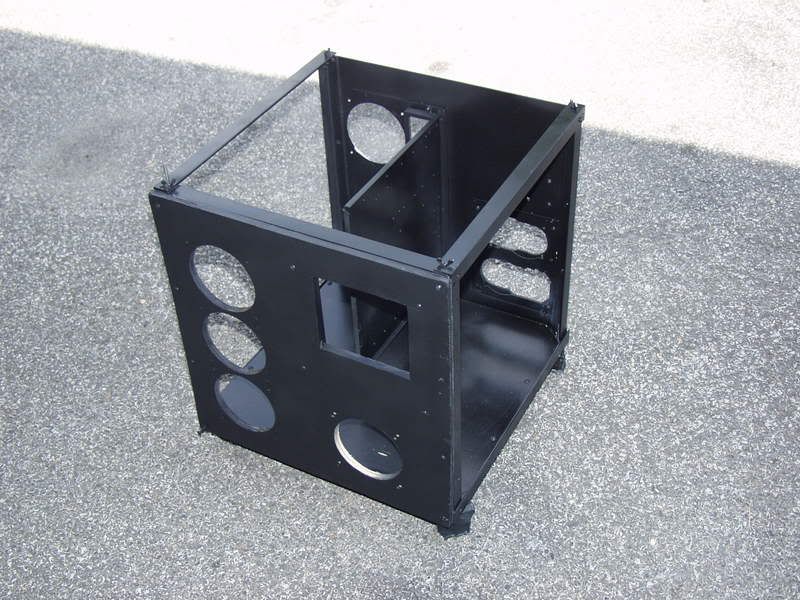
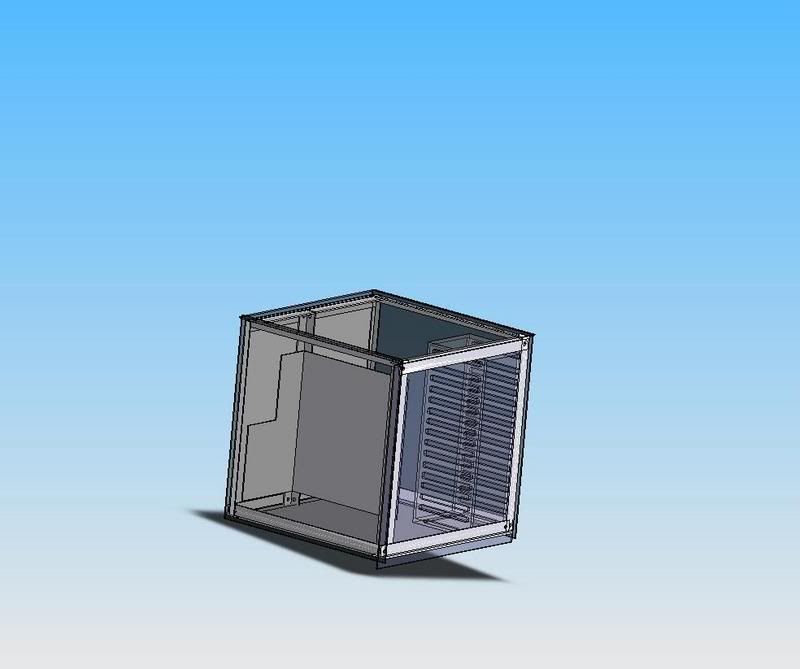
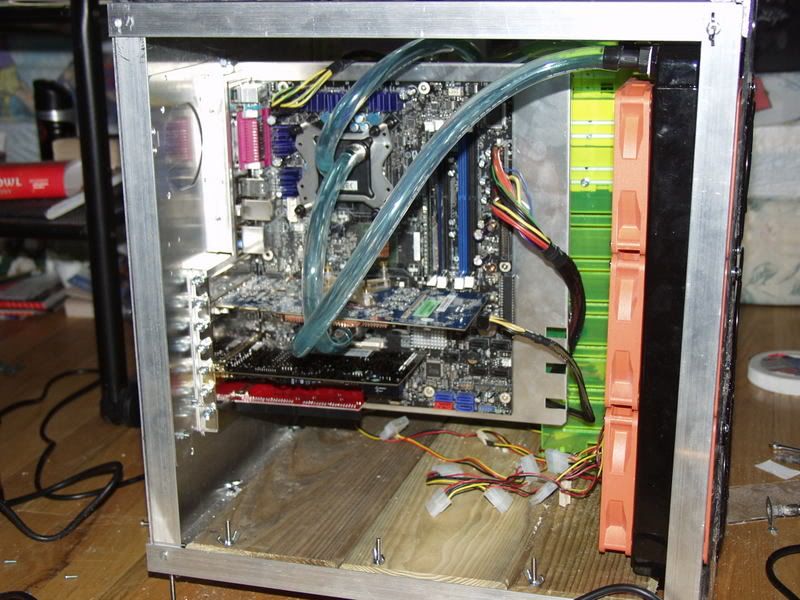
Here's an idea of what the black plexi will look like:
Update: Ordered wc parts, should be here saturday or monday. No pics for the moment, still working out spacing for psu and wc stuff behind the mobo tray.

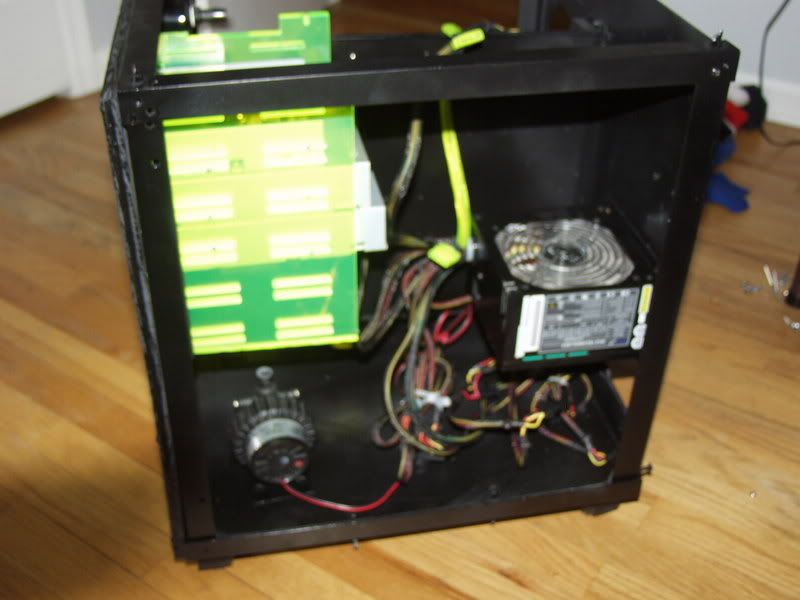
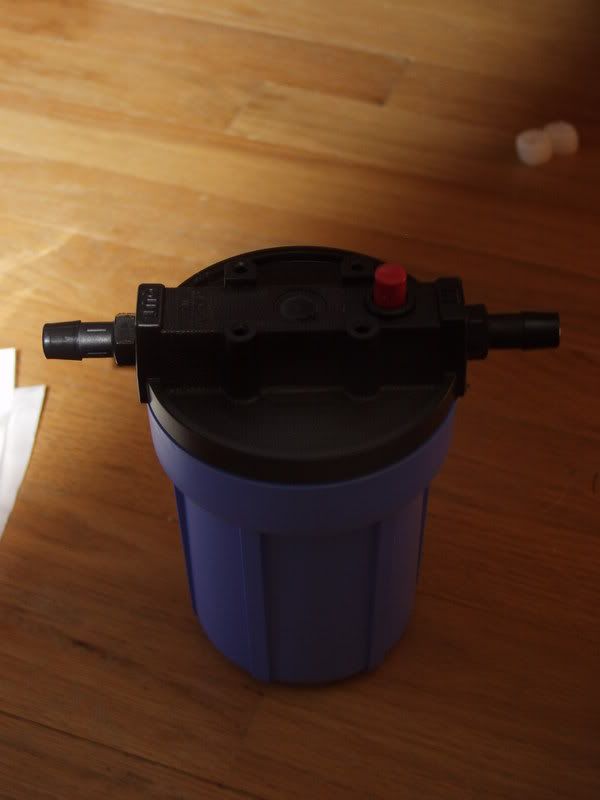
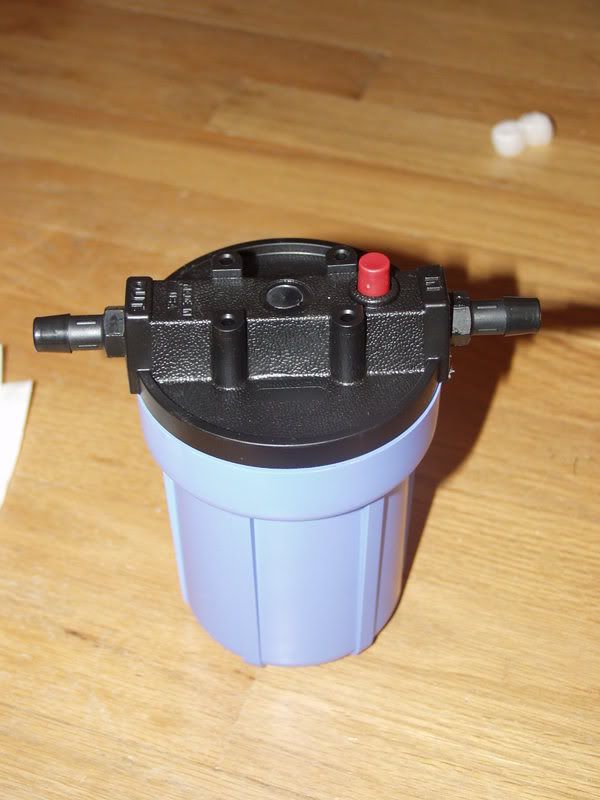
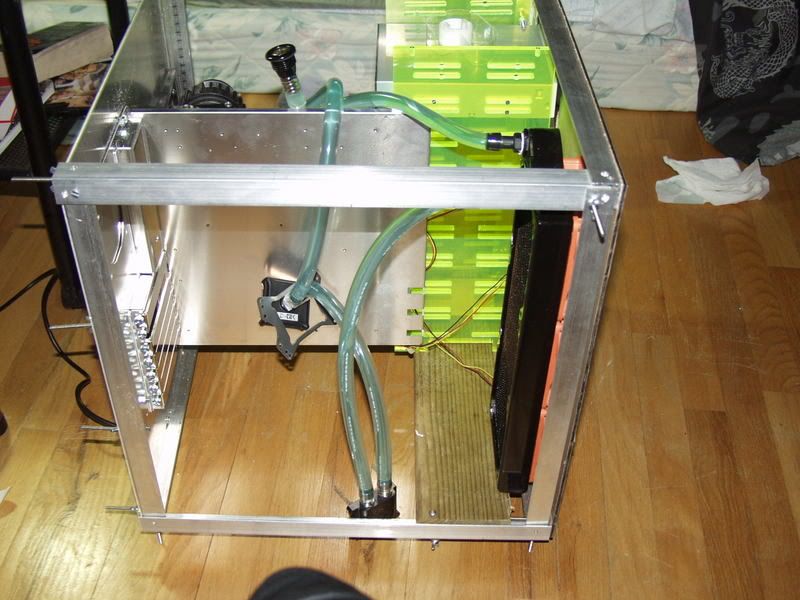
I can't seem to find a place for the pump, but I was thinking something like this.
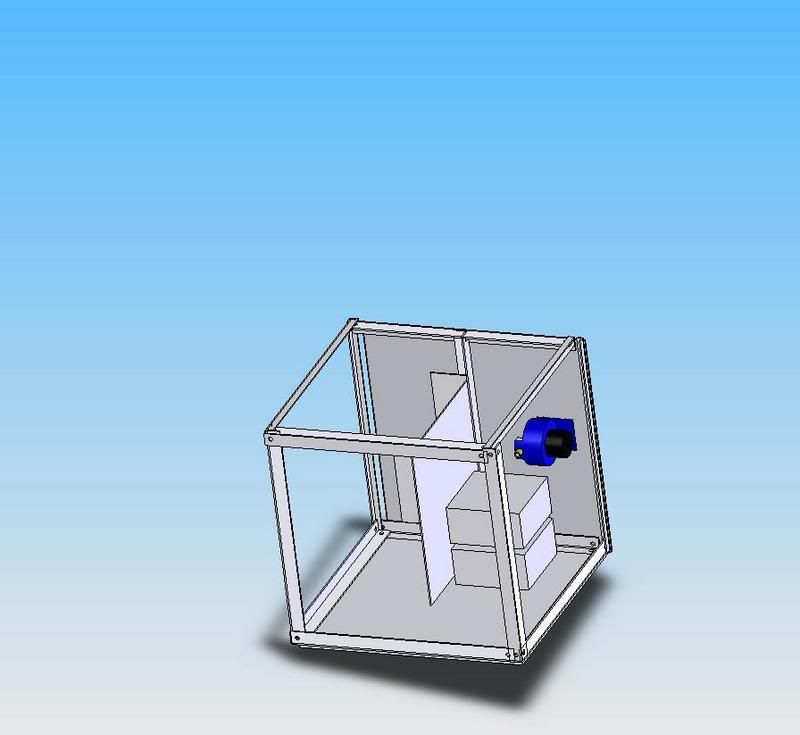
I would move it over to the right side far enough to give to tubing some slack not to kink as well, as the radiator will be upfront, on the left side. I just thinking about putting it on the back wall because that should dampen most vibrations, 3.175mm thick alu + ptech gel stuff.
Any suggestions?
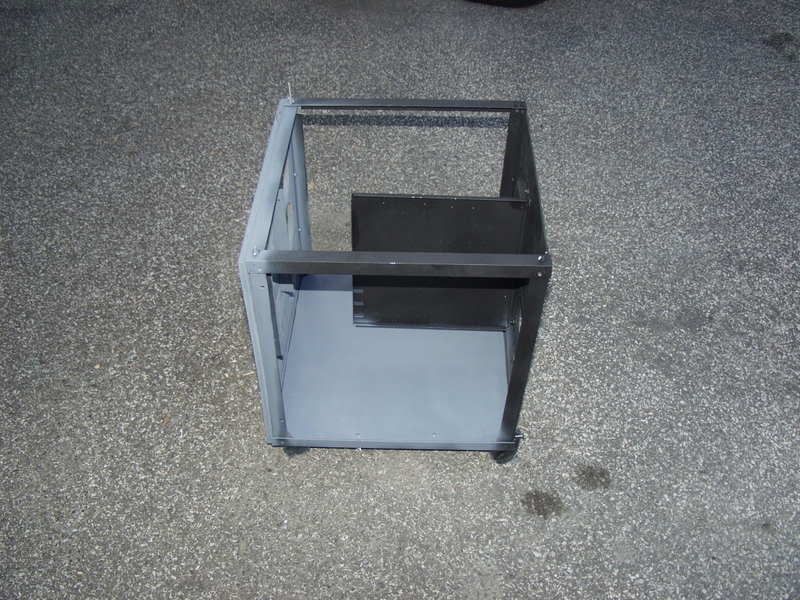
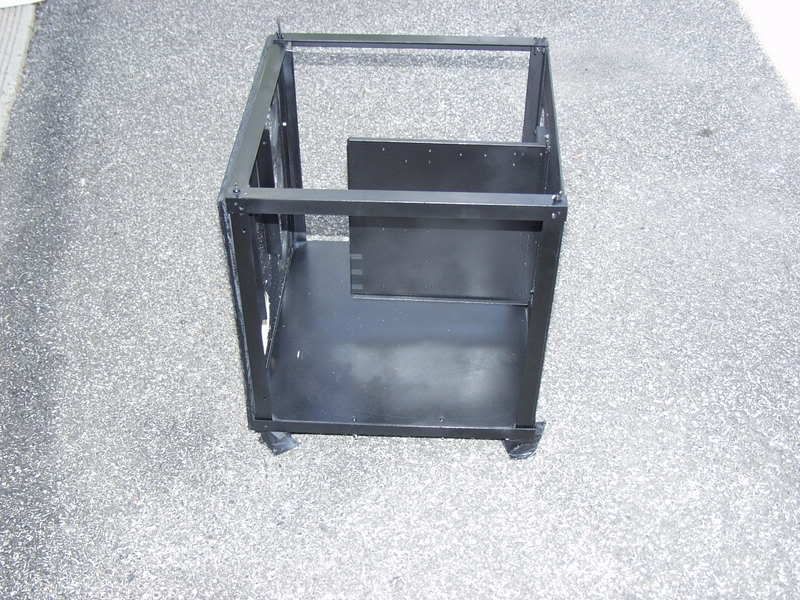
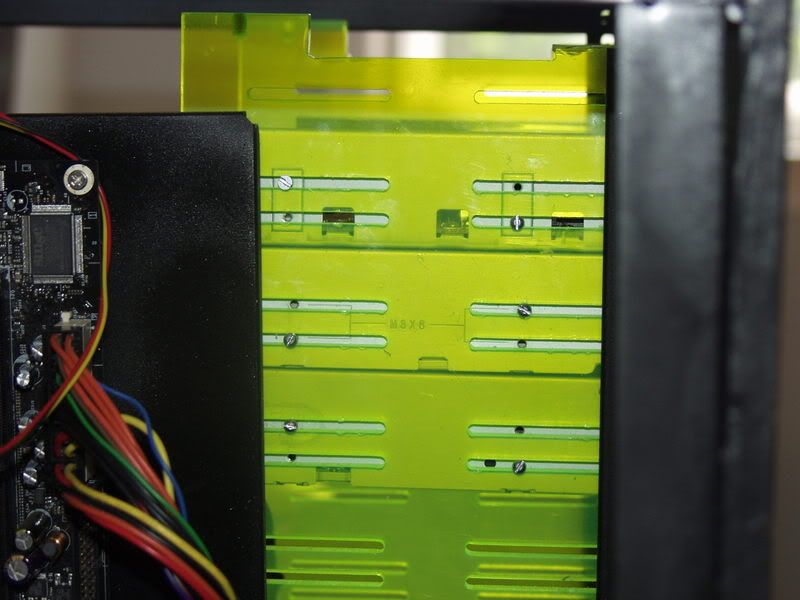
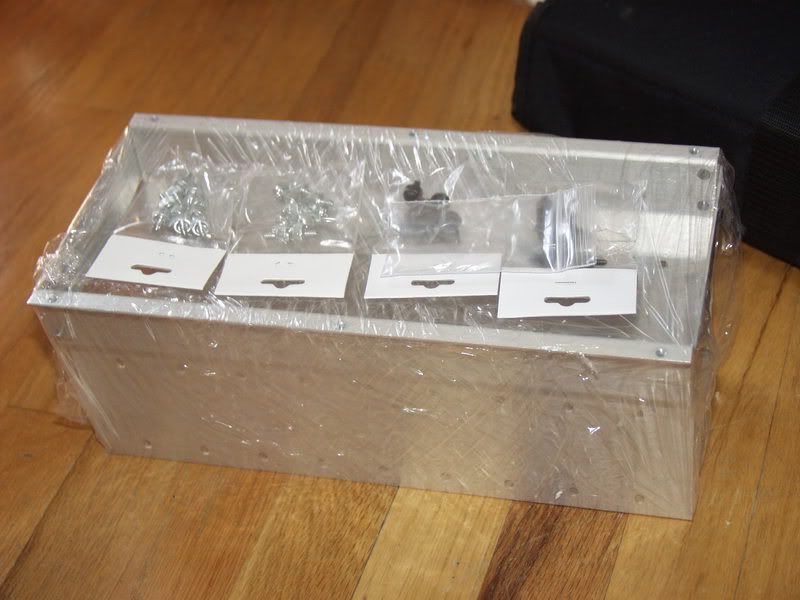
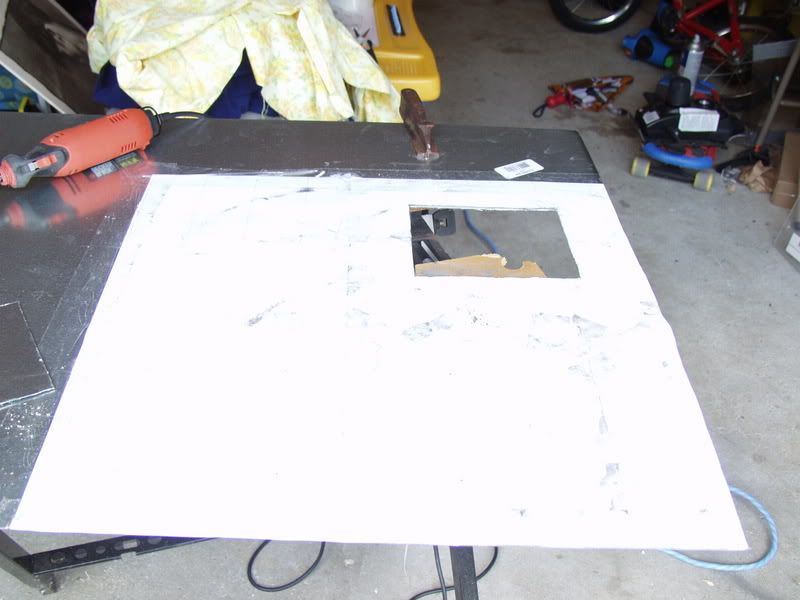
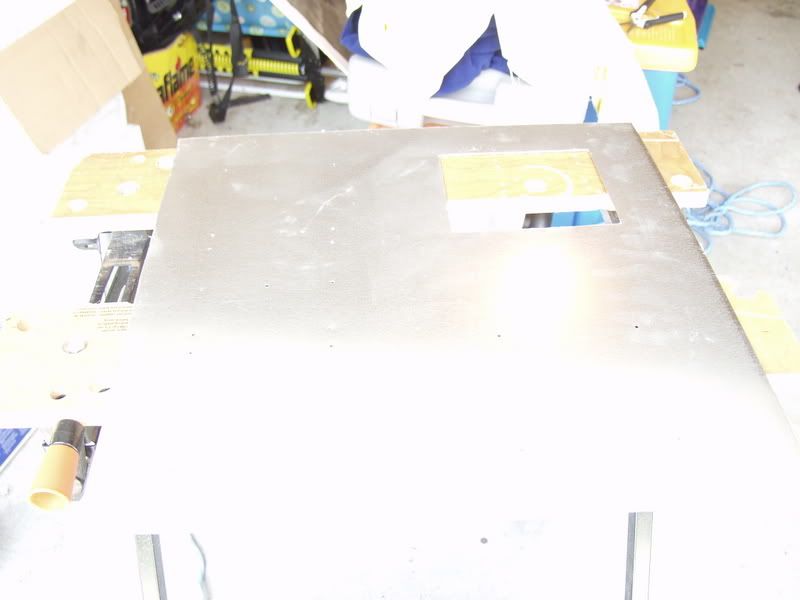
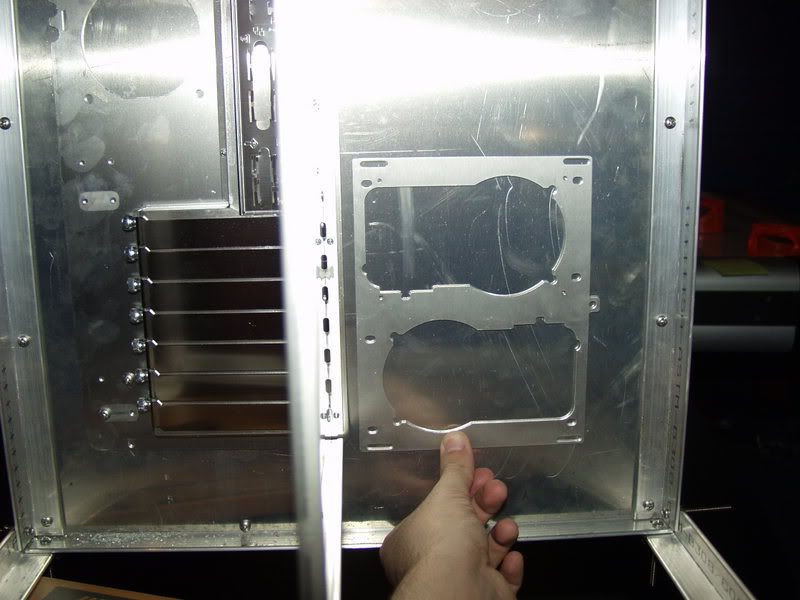
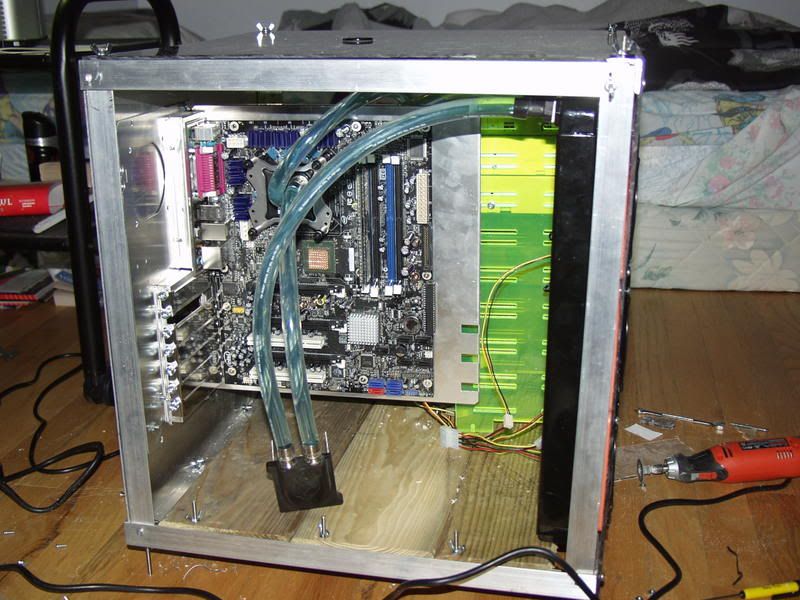
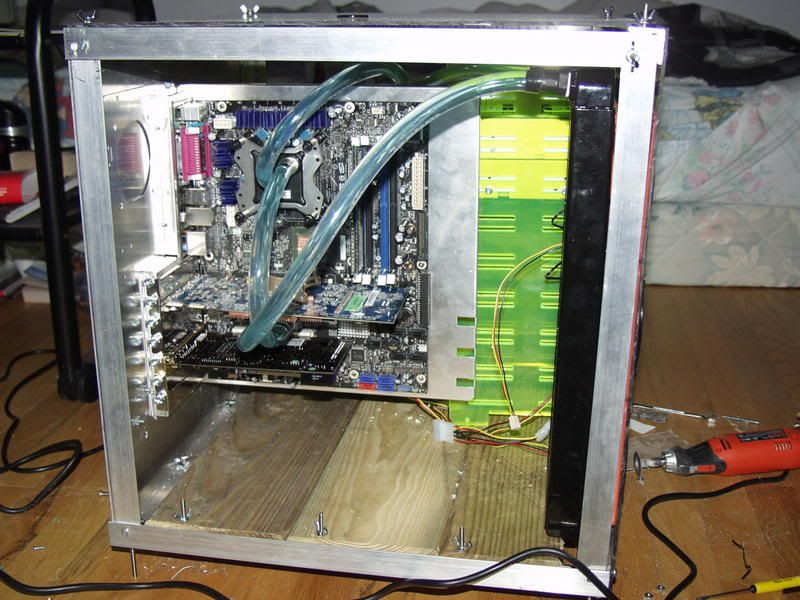
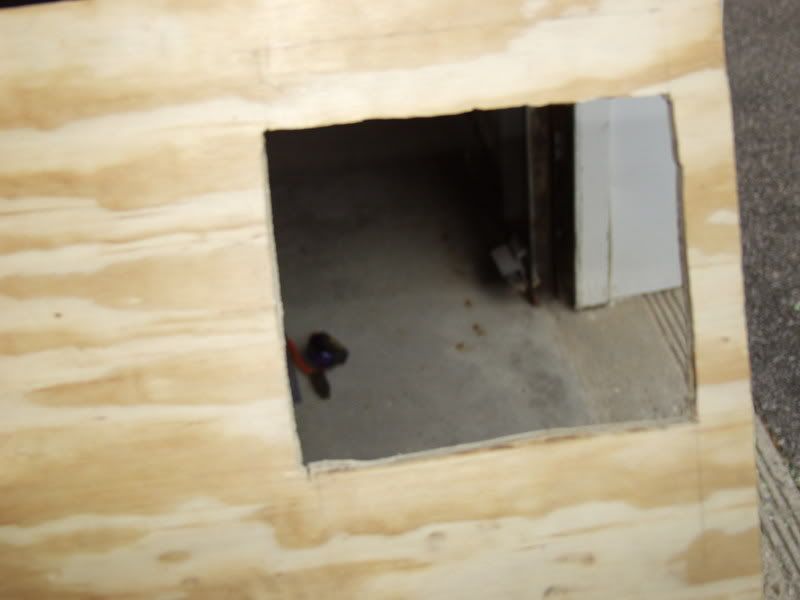
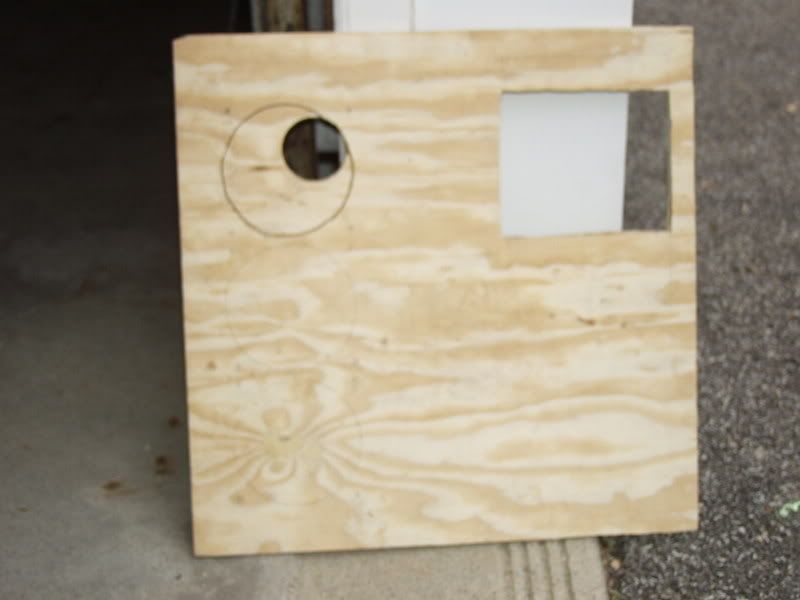
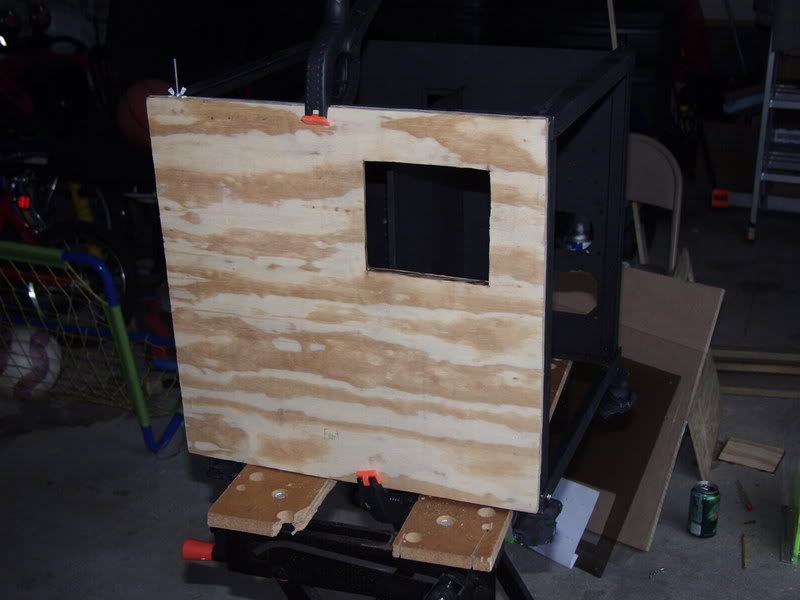
Little update: Hooked up the mobo tray. Over the weekend Ill get out the dremel and chop me a psu hole.

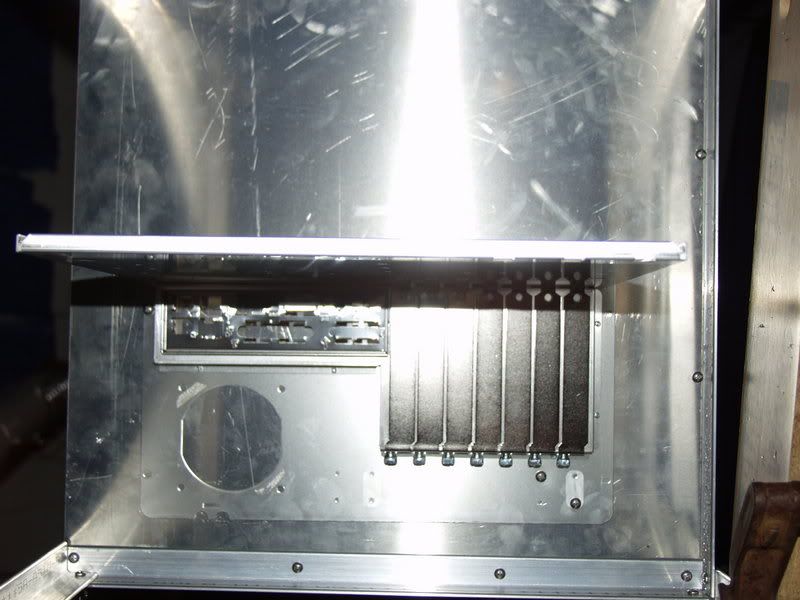

Most likely where the psu bracket will go.
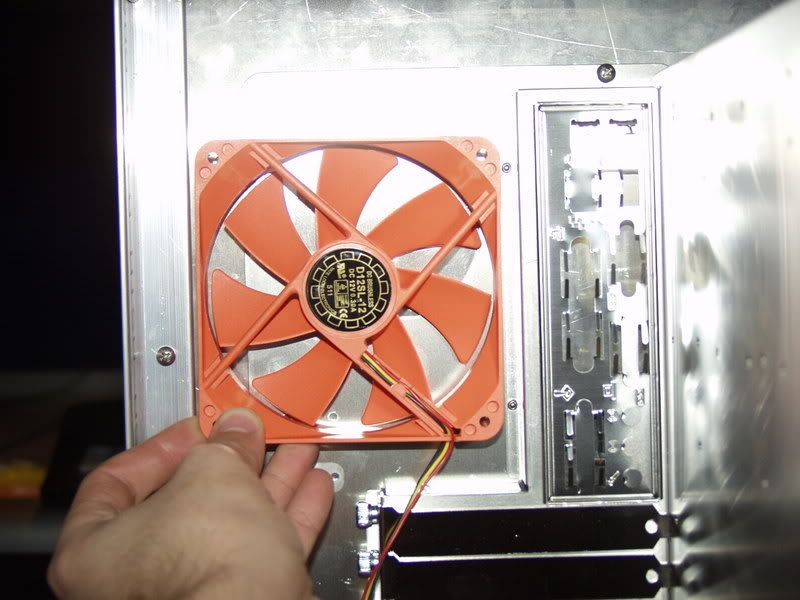
And look, room for a fan!
Well, I decided to post a few pictures before I go off to work for the day. Enjoy!
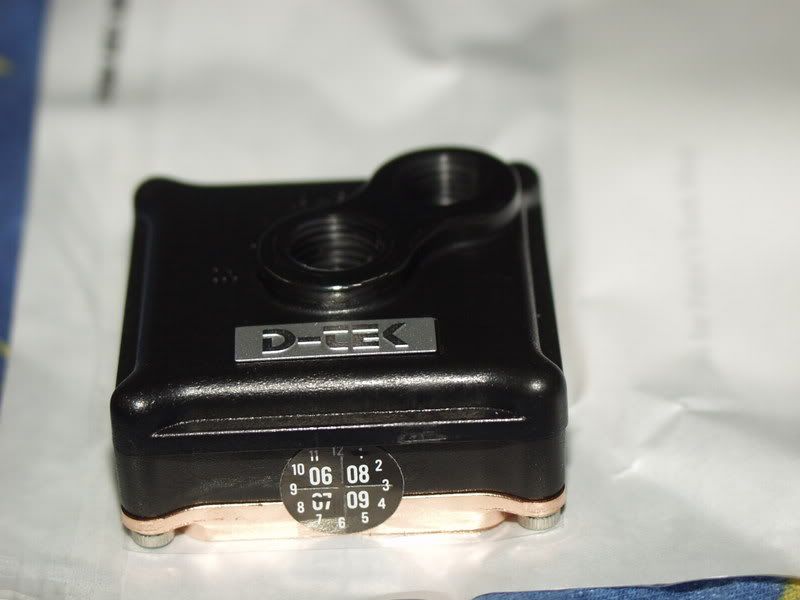
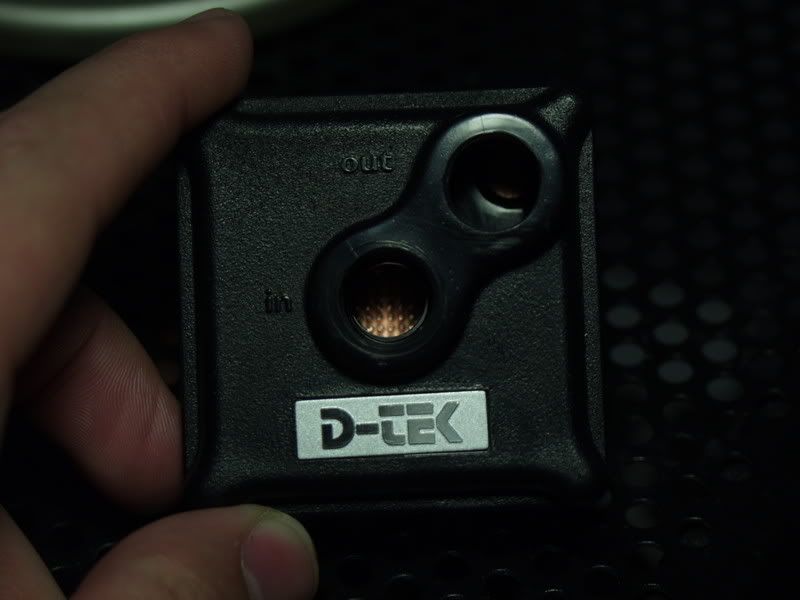
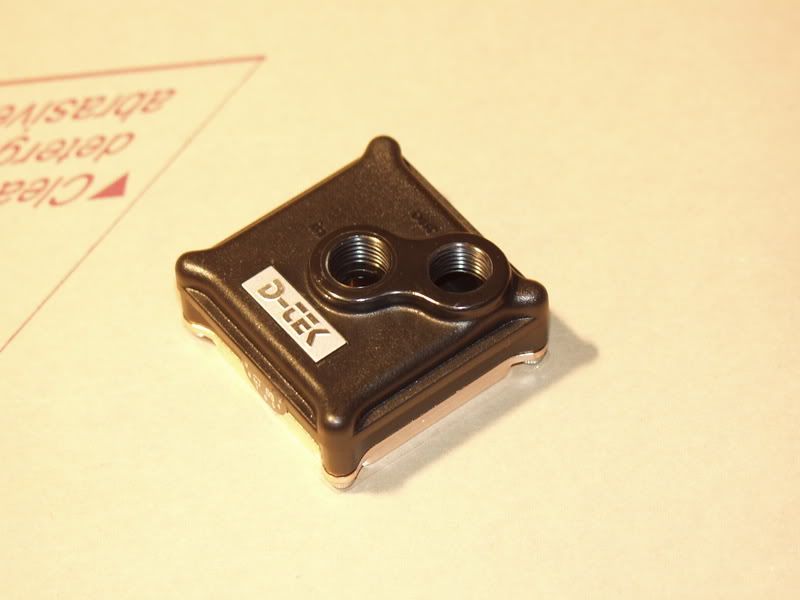
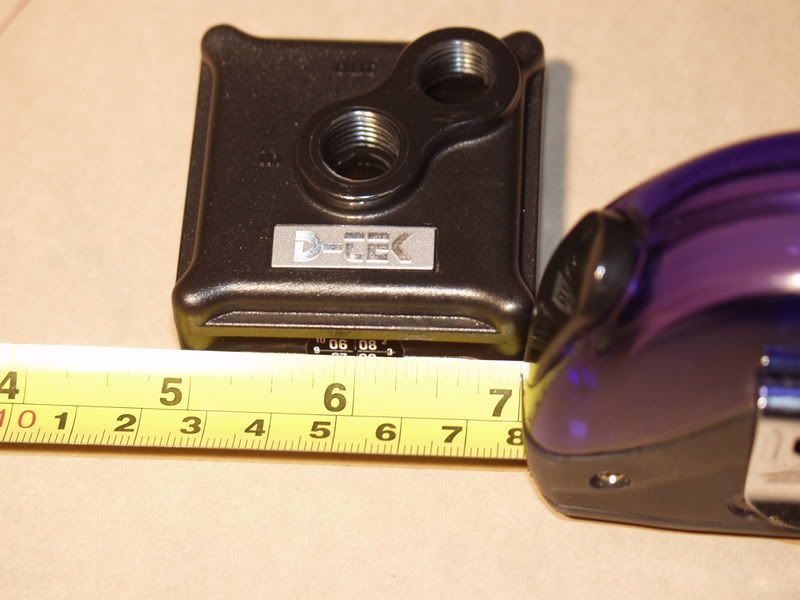
So tiny!
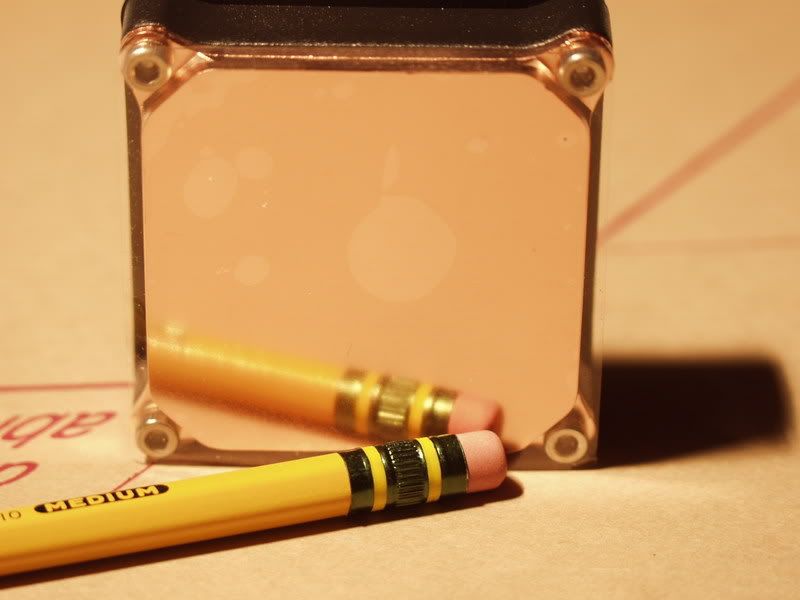
Inside courtesy of petrastechshop.com
15ft.
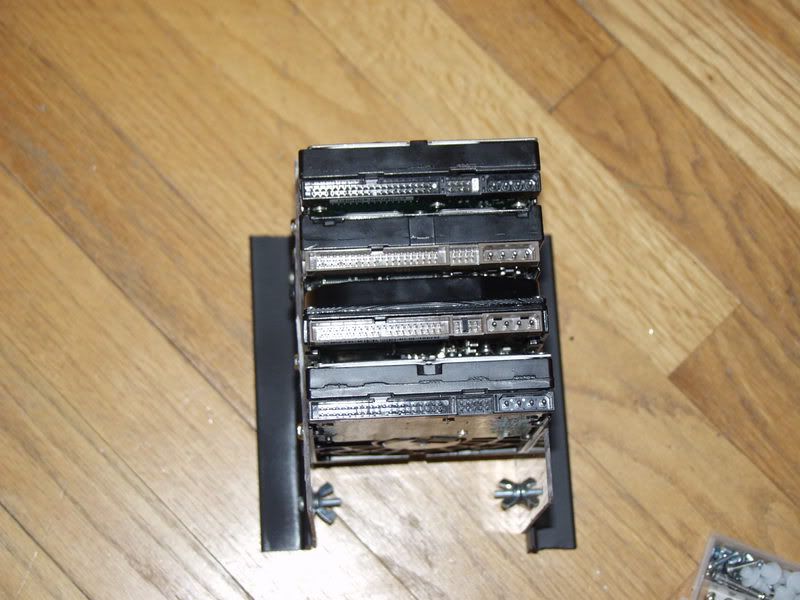
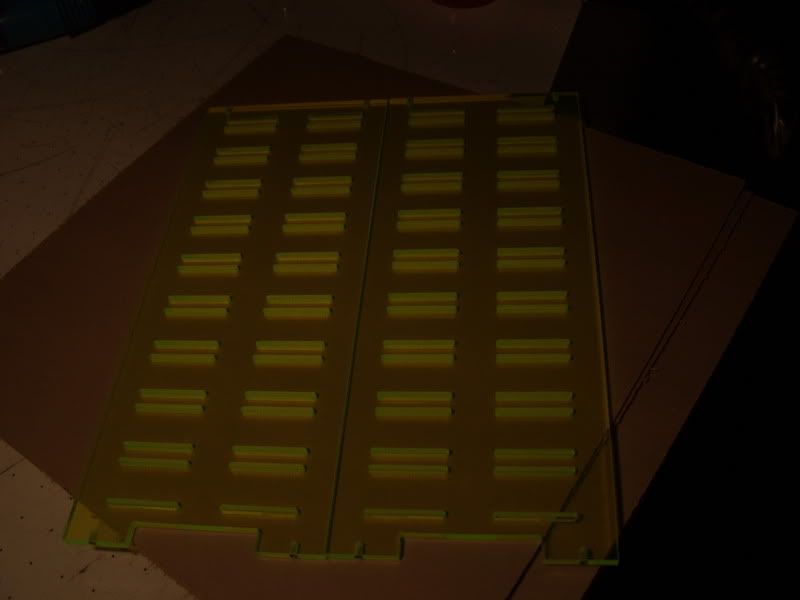
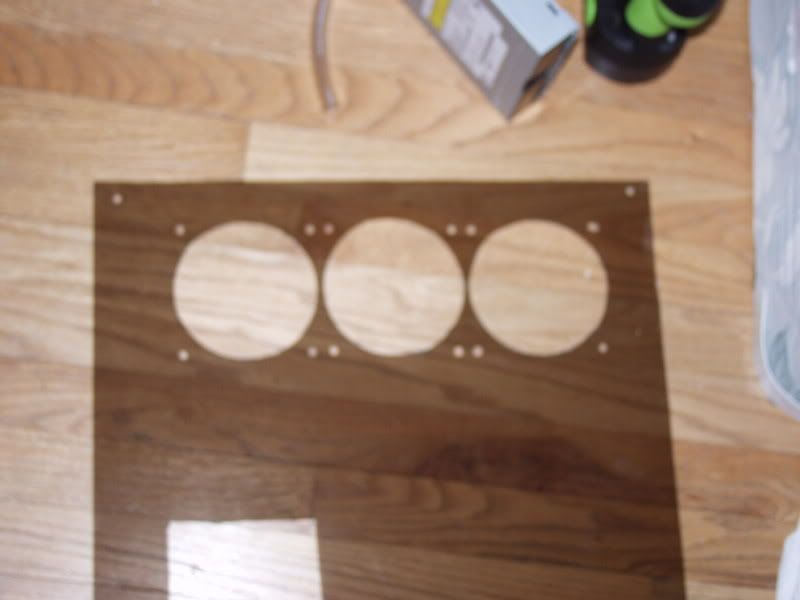
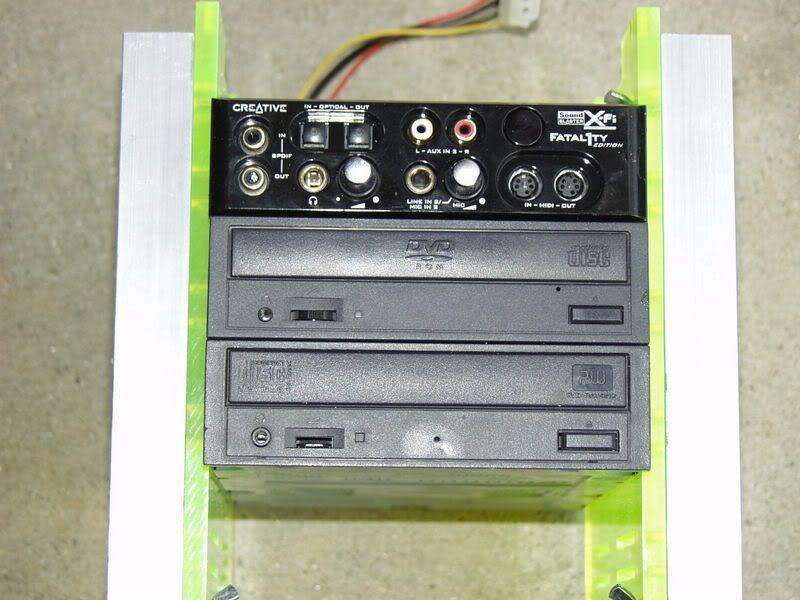
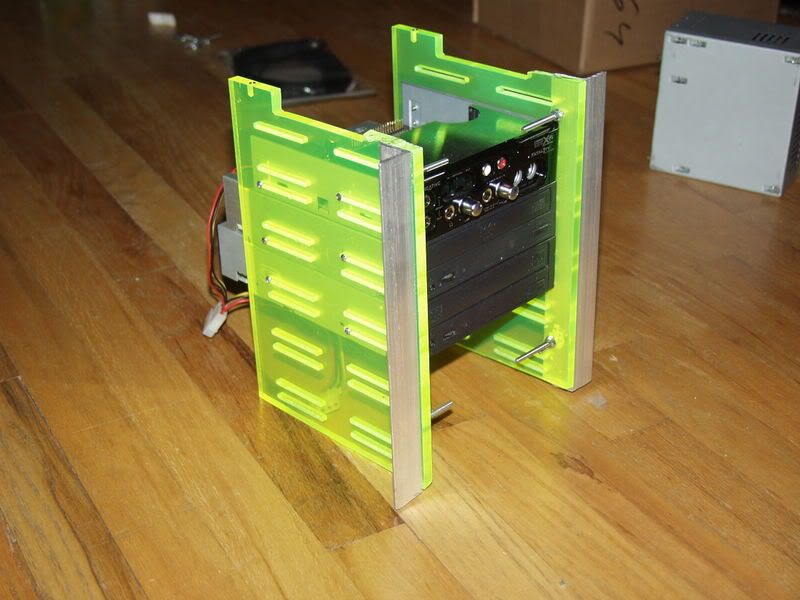
And an idea of what the cd drive holder looks like.
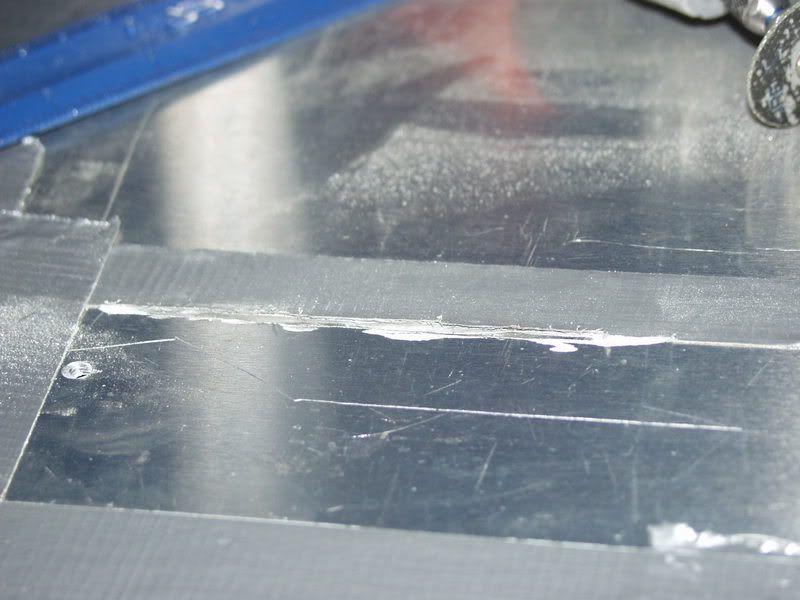
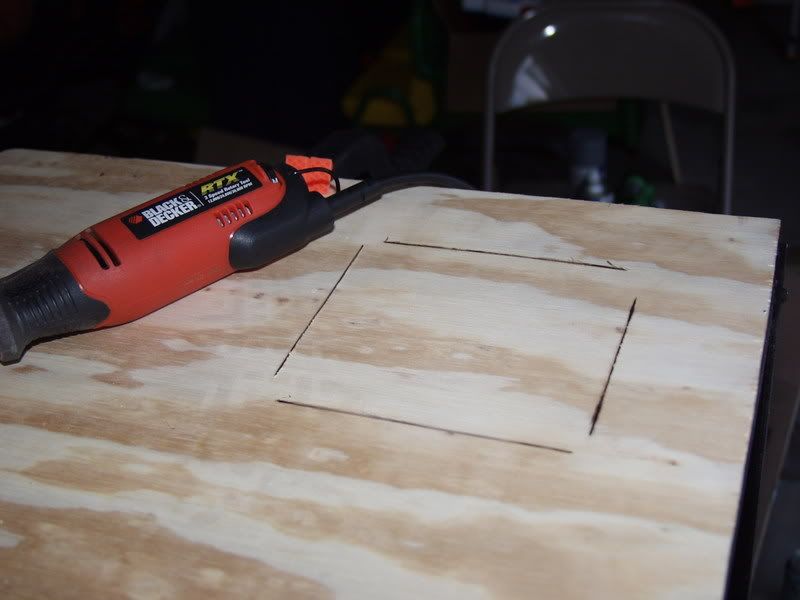
Update: I hit a few bumps. The dremel discs I had were the skinny fiber ones, that broke off in a few minutes. It took 7 to do a line a few inches long.
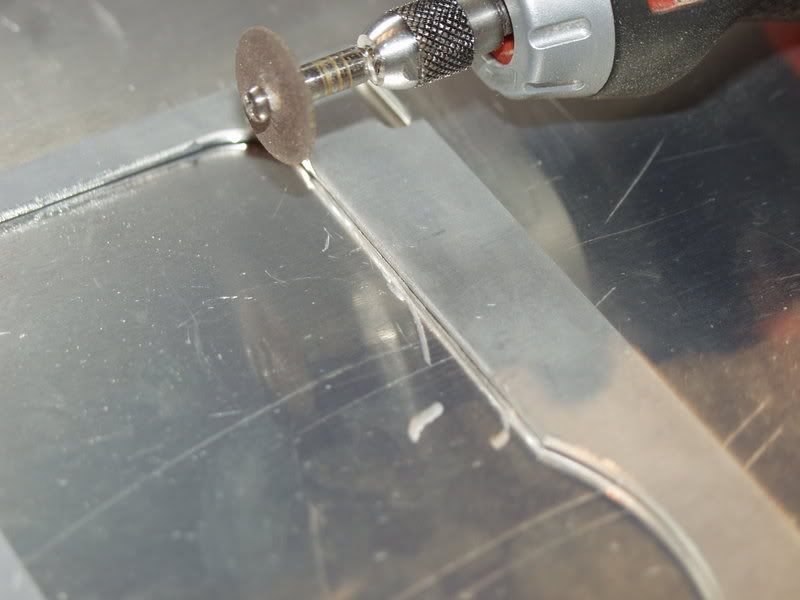
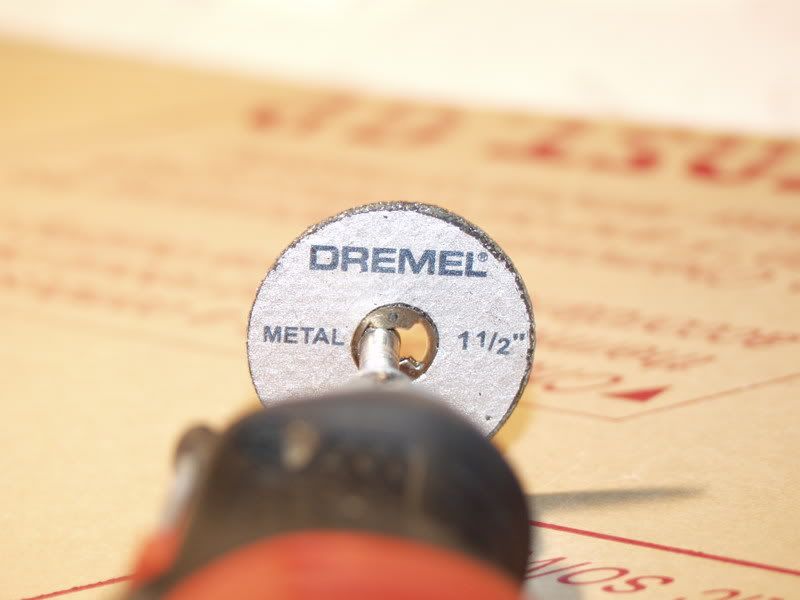
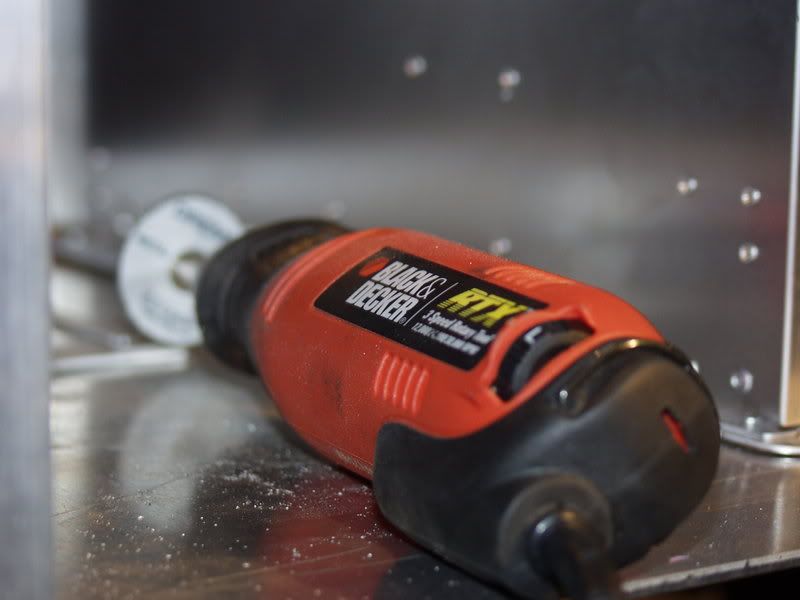
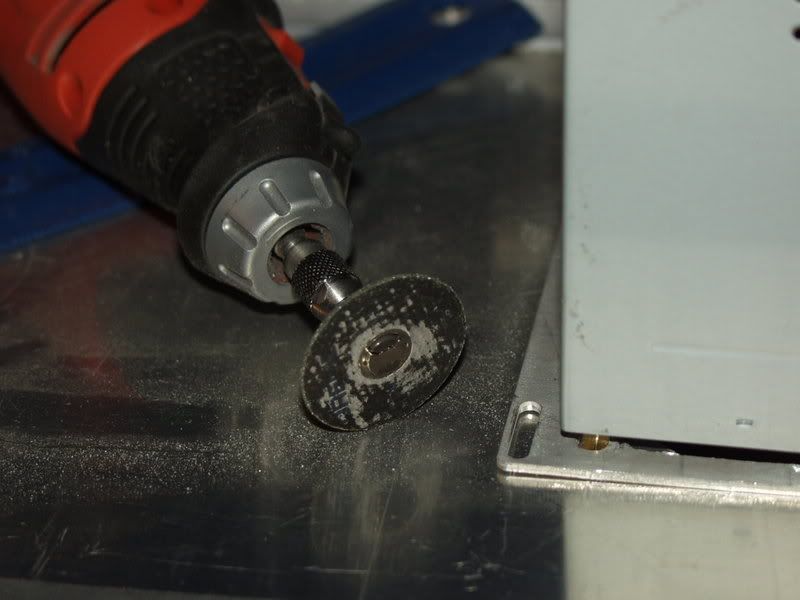
So it took me some time to get to home depot, but I finally got there today and got some work done. I picked up these cutting discs for metal, and they things work great, I haven't even used half of one up yet.
Thing is, I forgot the attachment for them, so I've been using the attachment for regular cutting discs, so there must not be enough leverage, because my dremel starts smoking after a while.. Back to home depot I guess..
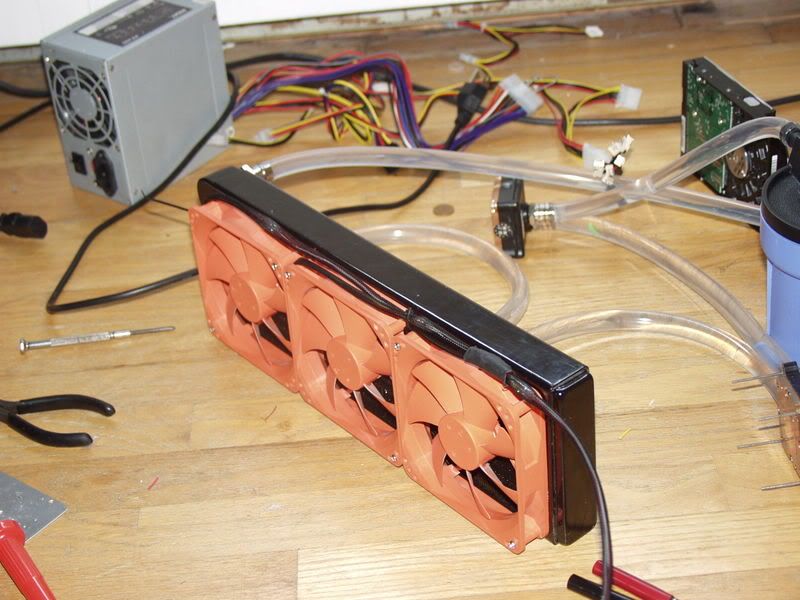
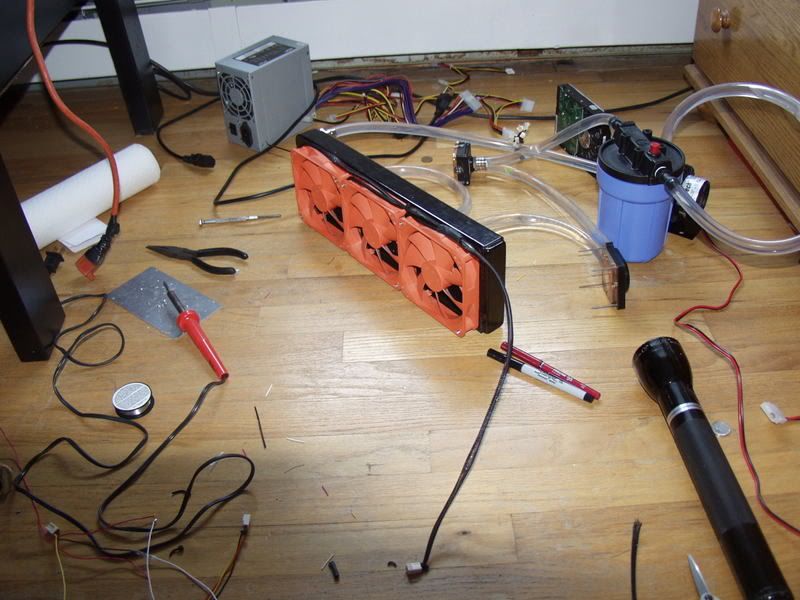
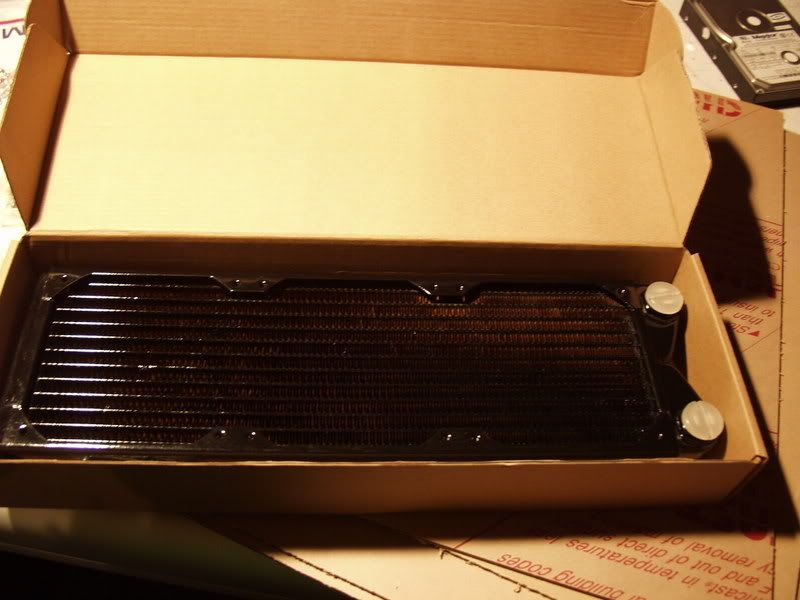
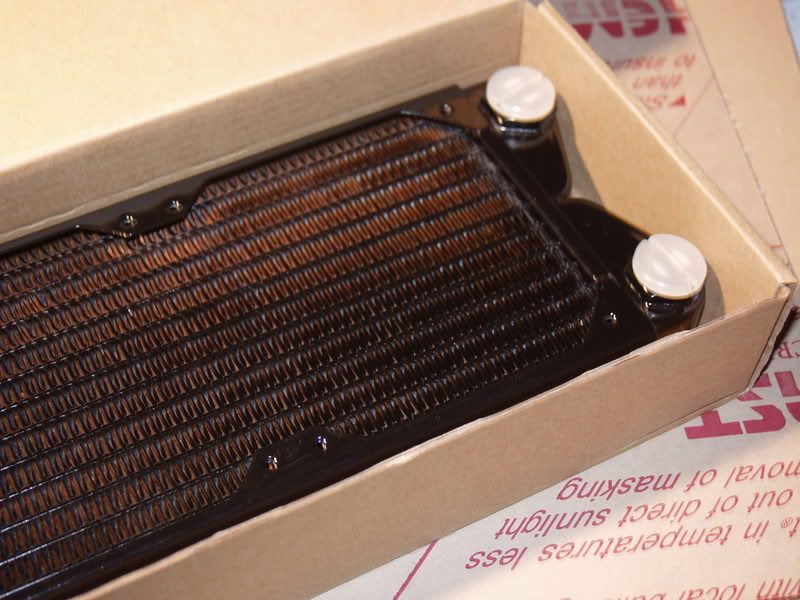
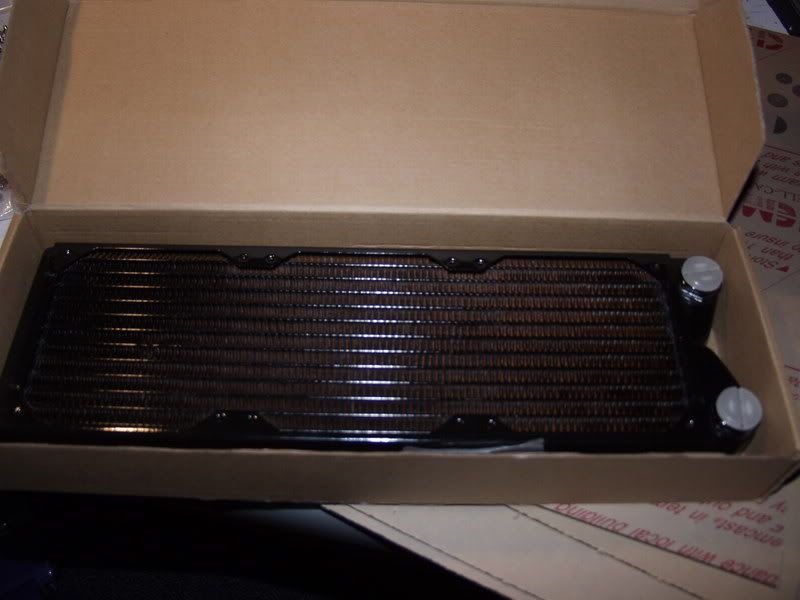
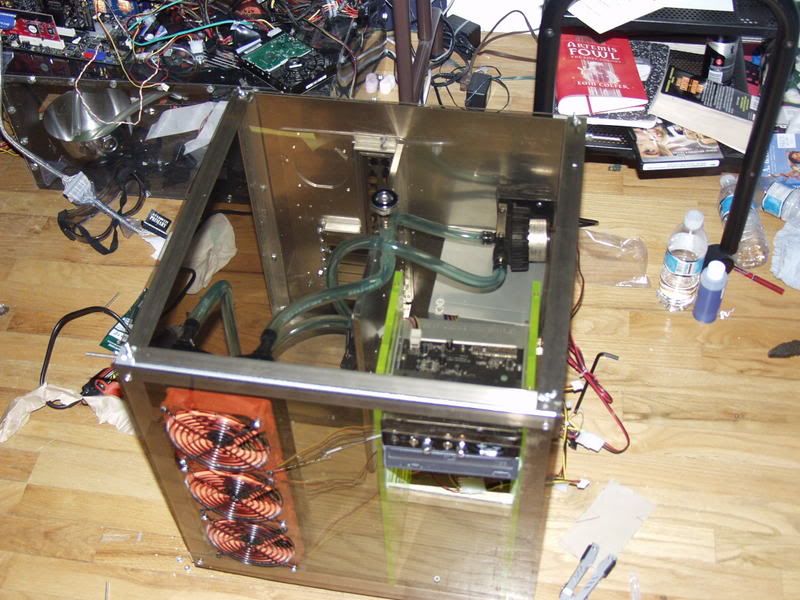
My rad finally came from performance-pcs today, swiftech mcr-320, and it's damn sexy. It is in every way possible better than the BIPIII.
Here are some pics:
Me trying to use the little fiber discs.
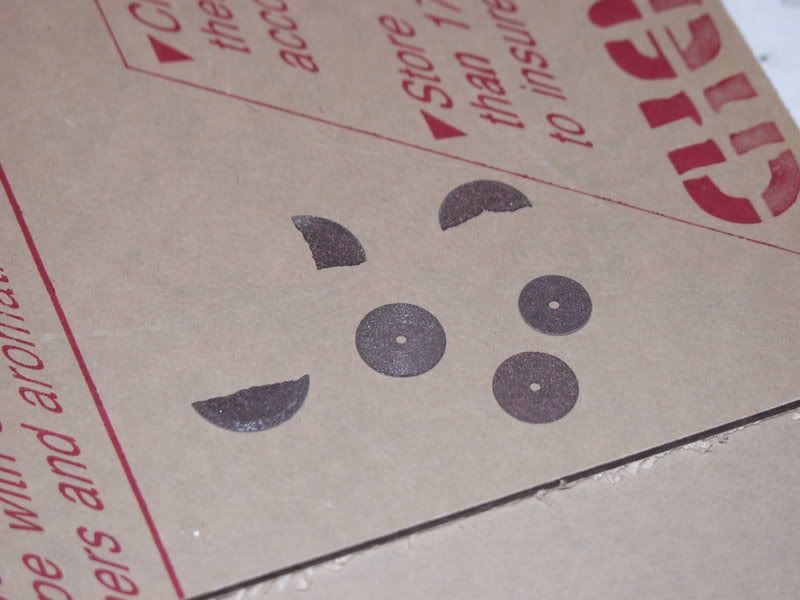
New discs
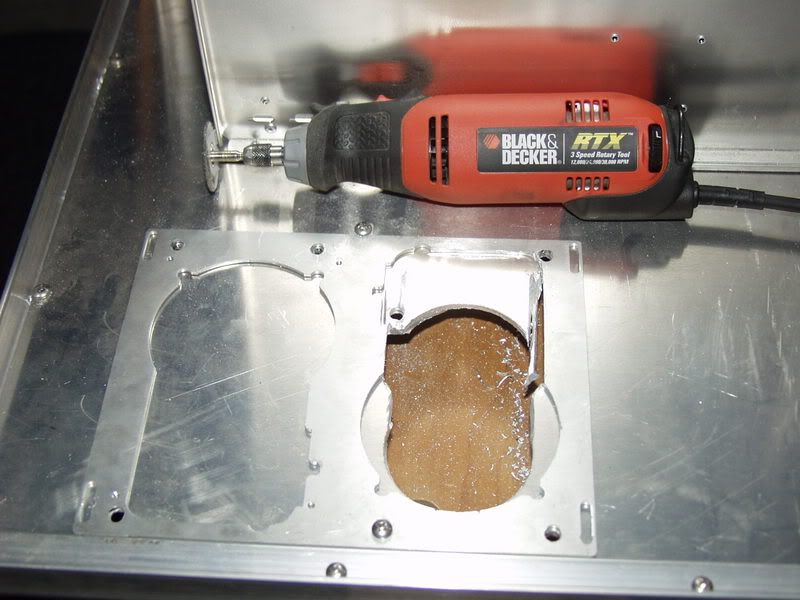
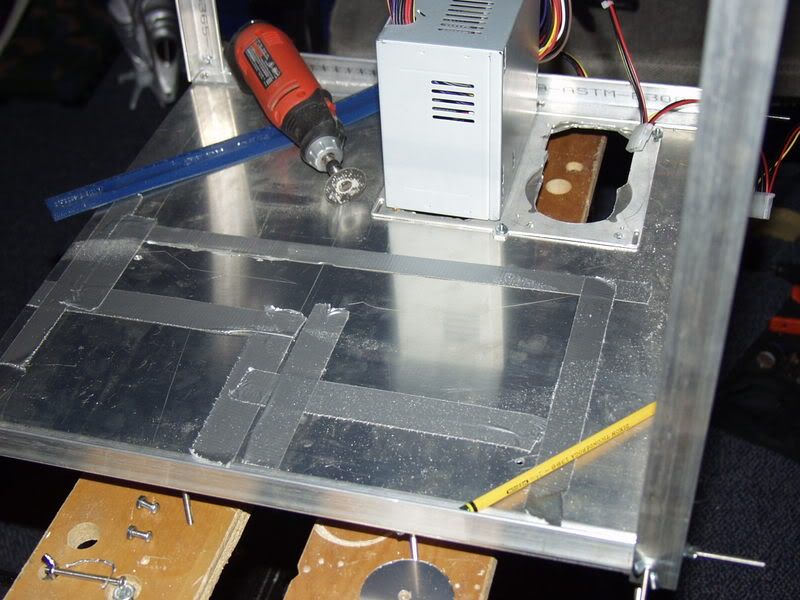
Not done yet, as you can see, but you get the idea of what I'm doing.
Man its been a while since I've posted. Sorry for the delay guys.
Unfortunately my dremel broke last night, so ill replace that within the next few days, I just won't be able to finish cutting out the stencil for my mobo tray, or the acrylic.. Things seem to break when I need them most... story of my life.
Anyway, here are some pics of the progress.
Once again its been a while since I've posted... baseball is now capitalizing my time, leaving me little, if any, time to myself.
I did get some work done yesterday !! This dremel was like a job and a half though... took me forever.
Got some more stuff done today!
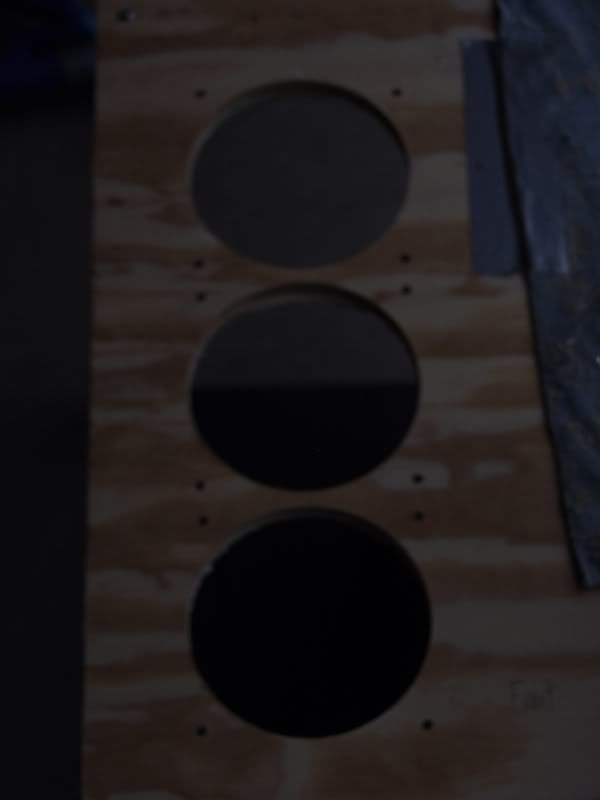
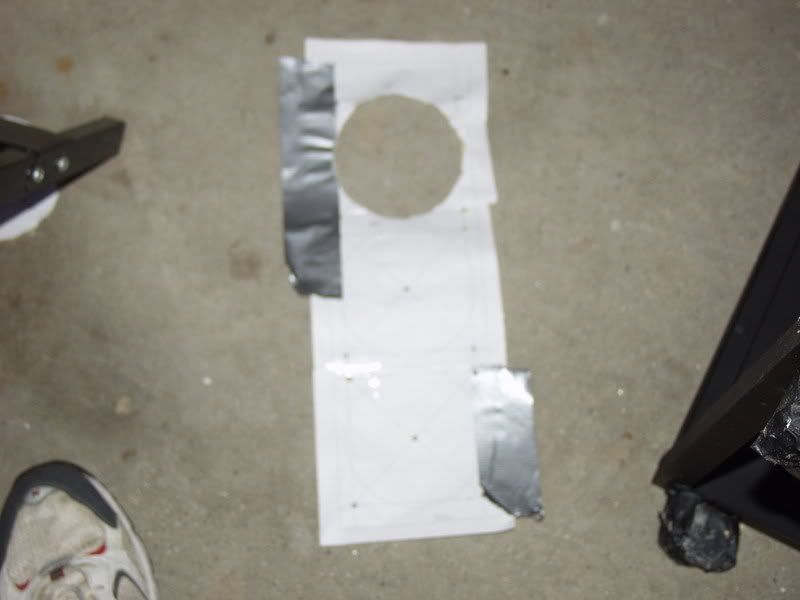
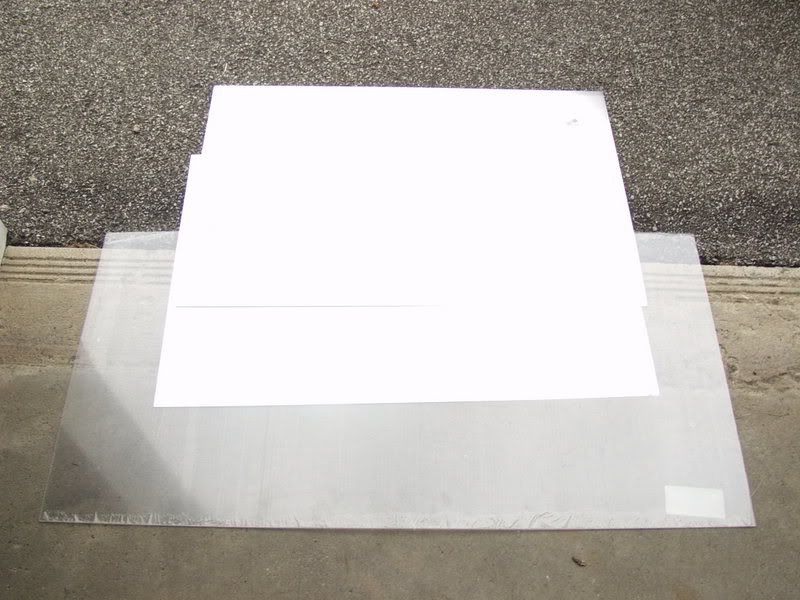
Cut the front plexi sheet to the appropriate size, made a template for my rad out of paper... which suprisingly worked... and drilled the holes for my rad, which will hold 6 fans.
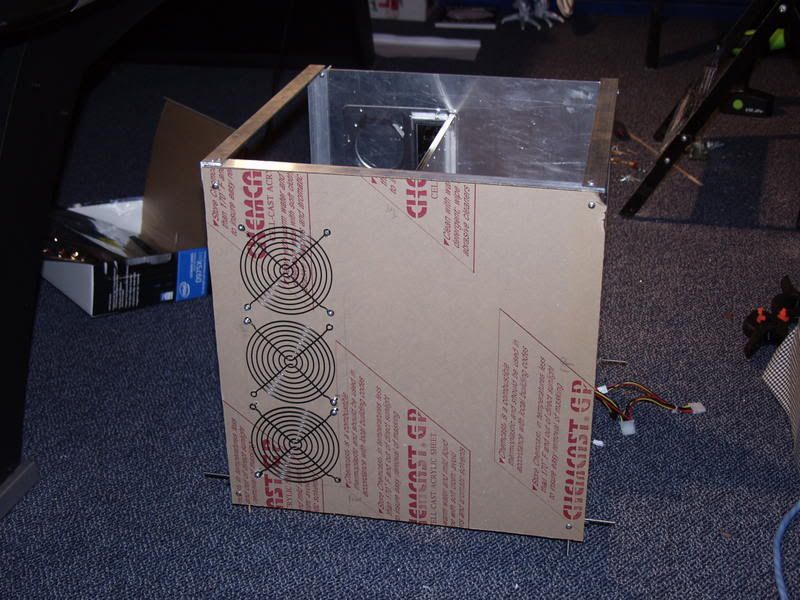
Sidenote: that cardboard looking sheet you see my fan grills screwed to is the semi-transparent black plexi. It just has a think covering over it that can be used to draw on, etc to prep for cutting.
My case is starting to take shape !
Well, found some time last night to get some stuff done.
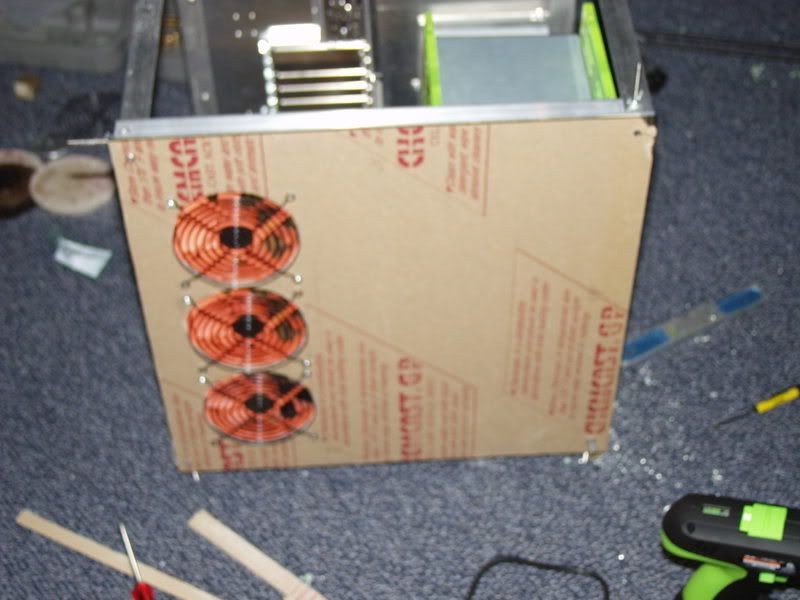
P.S. I did the fan holes by hand using a dremel. It wasn't as hard as I expected, but would I do it again? H**L NO! Takes forever!
Anyway, enjoy the pics.
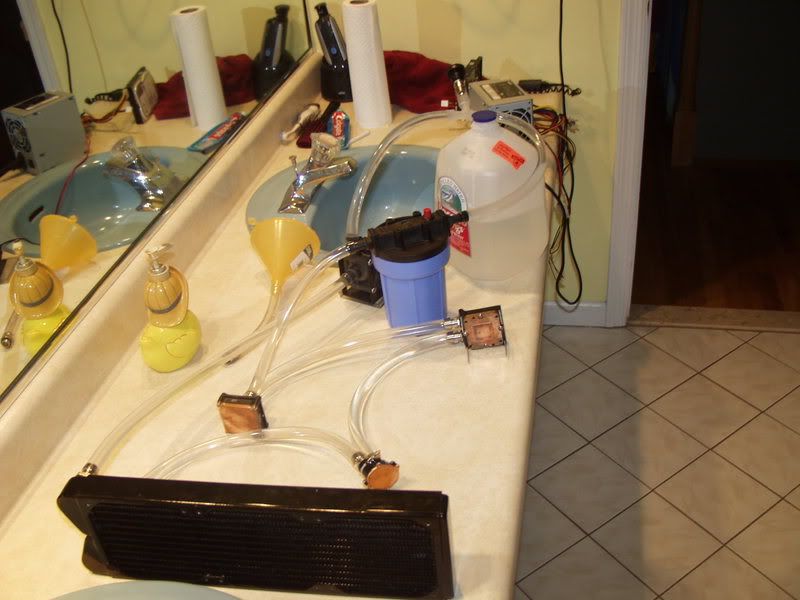
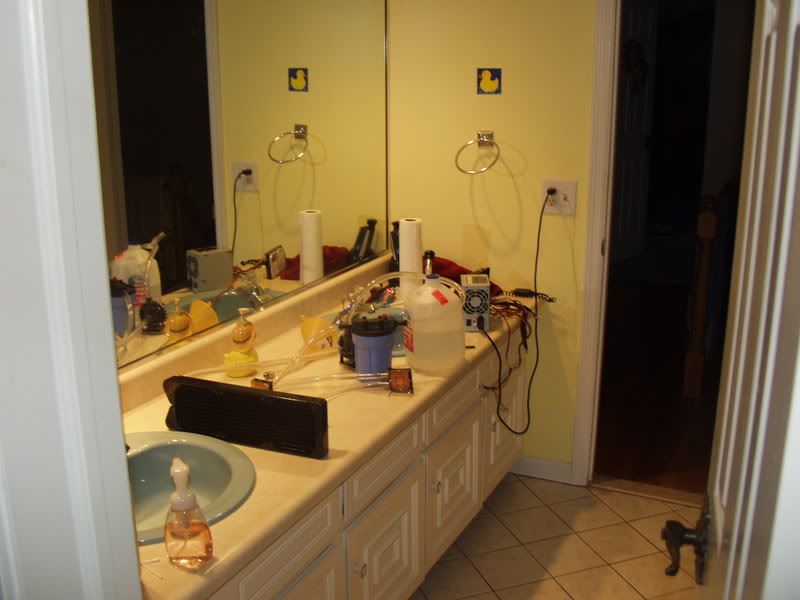
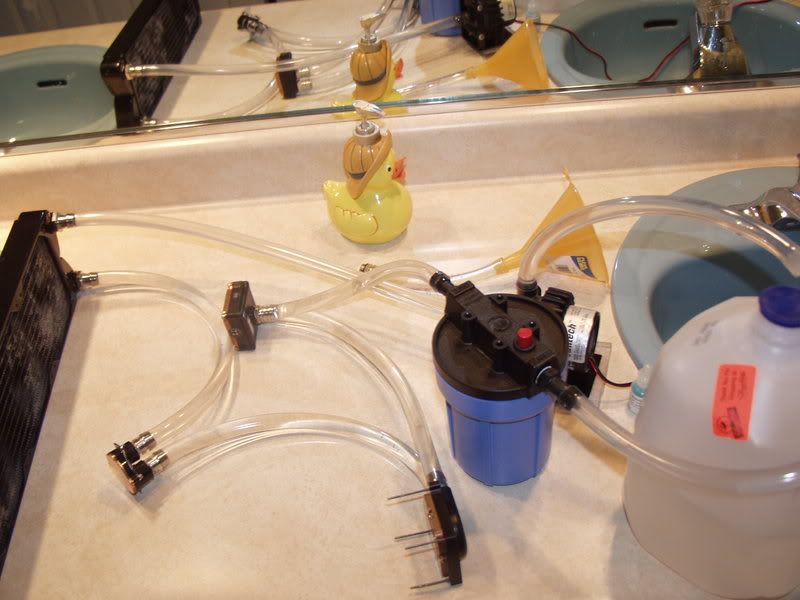
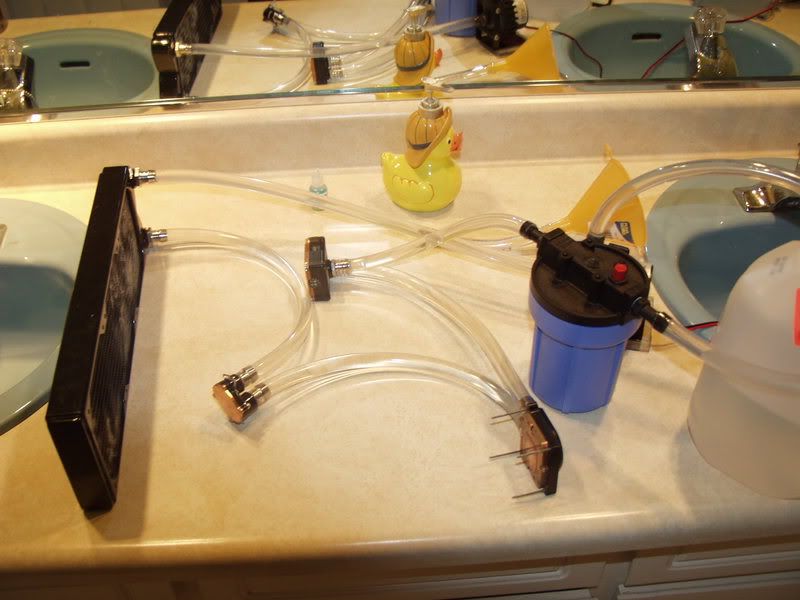
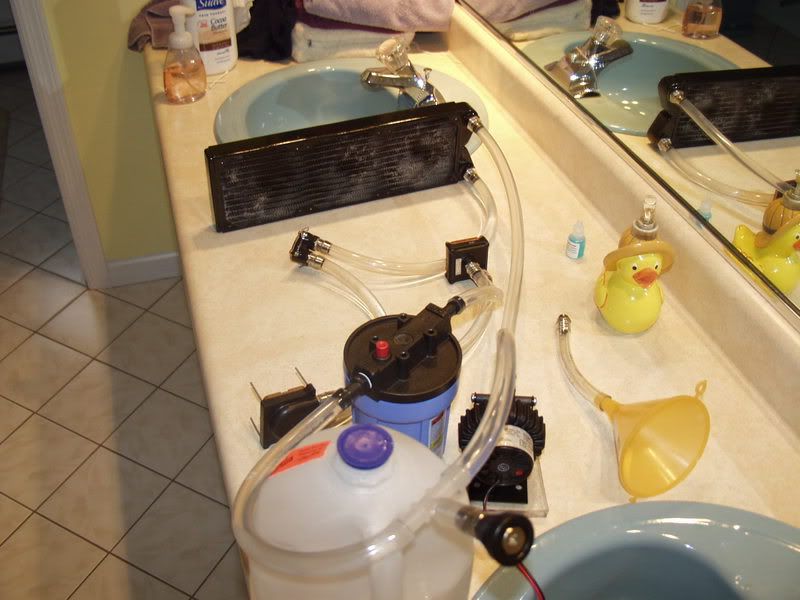
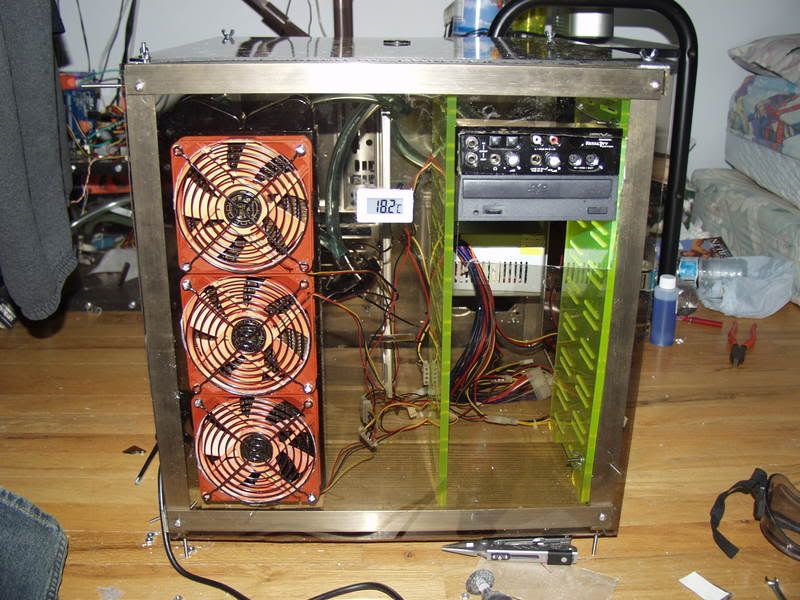
Leak testing now
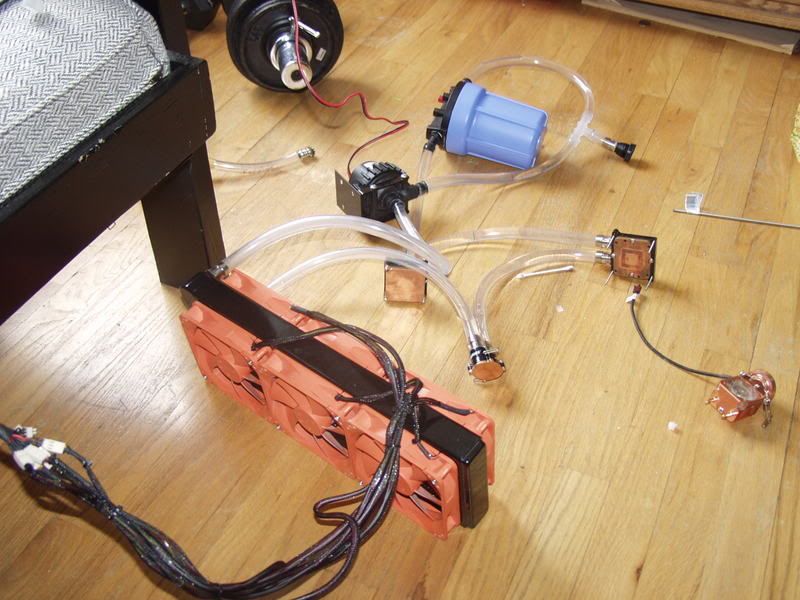
My temp setup:
Added a nice blue hue from some pentosin.
Got more done today! I'm on a roll!
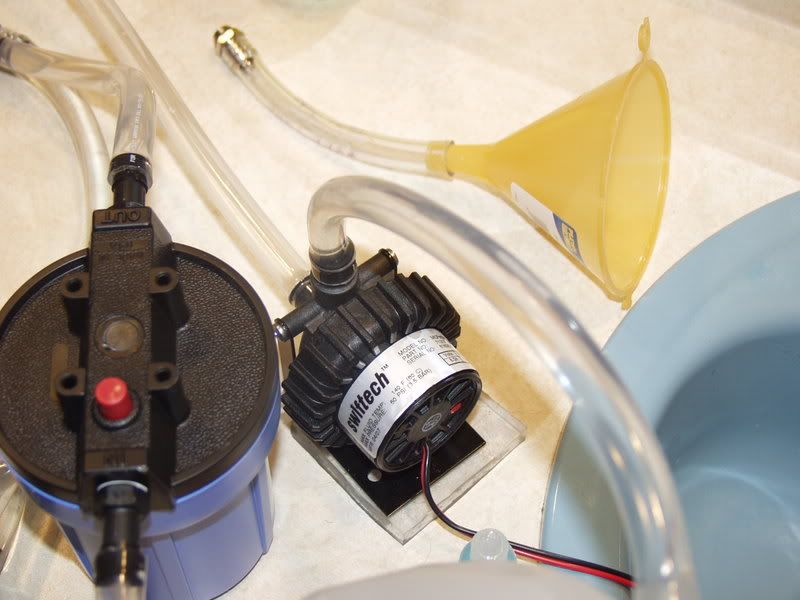
Before I show the pics, I just want to say that this gel stuff from petras tech works amazingly well, my pump vibrates no more, and its a D5!
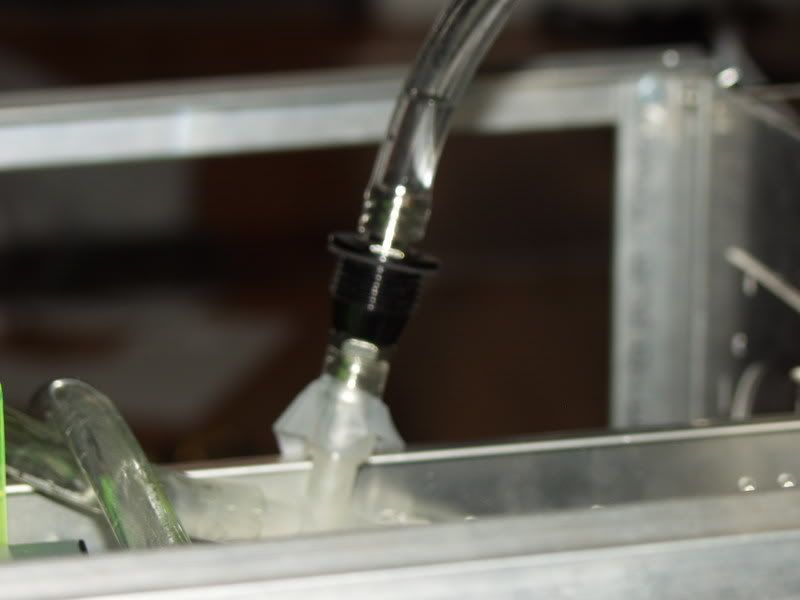
Installed the fillport
Another shot
Here are the holes I cut by hand with my dremel
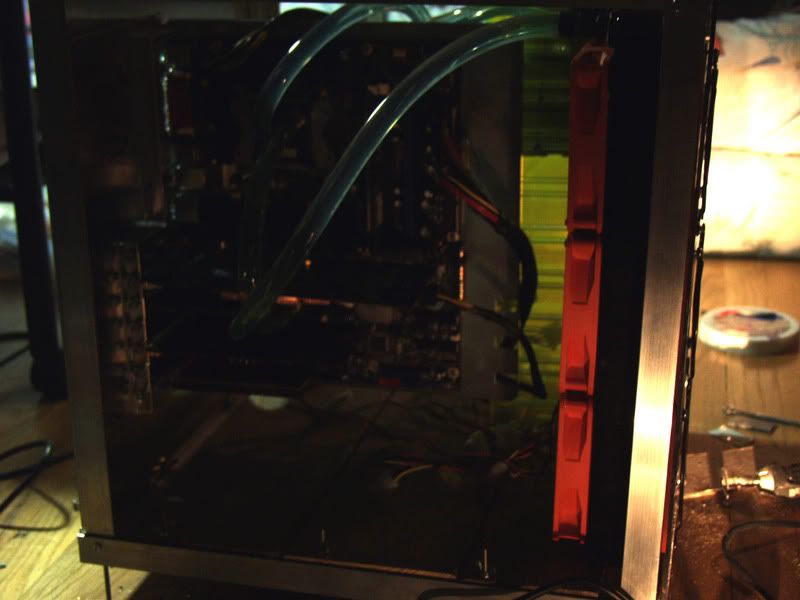
Stayed up all night.. finished transferring all the components into my case, besides cable management and adding come cathodes, putting some flooring, and cleaning up the cd drive cut-out, the inside is done!
And it booted up!
Initial test show temps dropped 10c @ idle to idle at 18-19c, load temp dropped 15-23c to load at 37c!
P.S. The temp readout on the front of the case is reading inside case temp.
Will post more pics tonight, for now, I need sleep!
Well thanks to Lurid, I now have wheels to use with my case.

They have breaks as well!
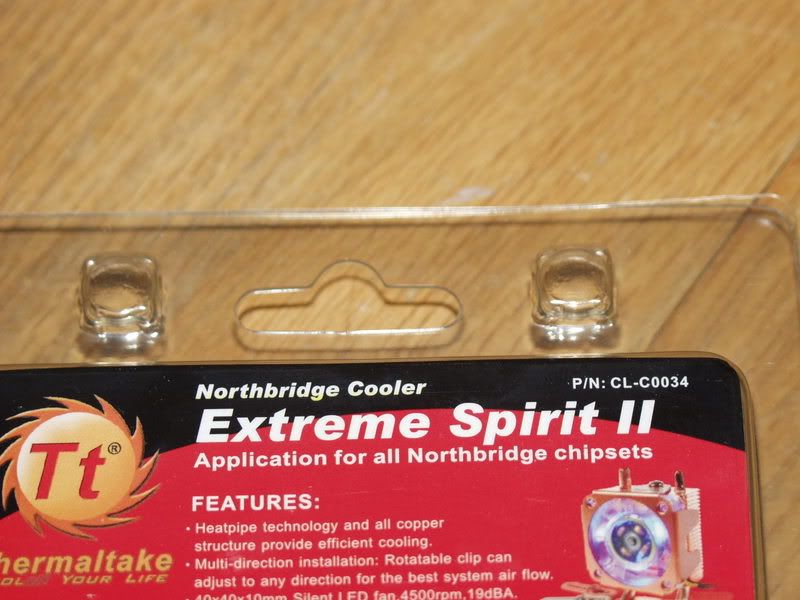
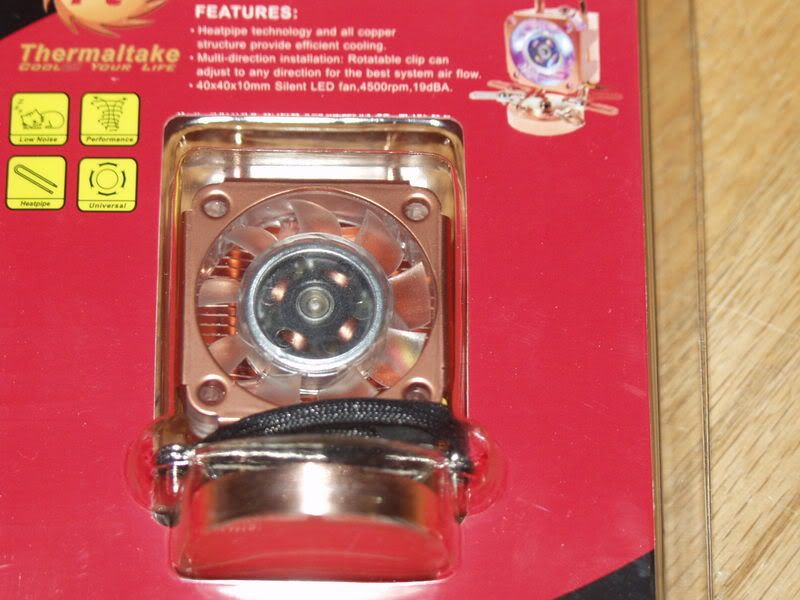
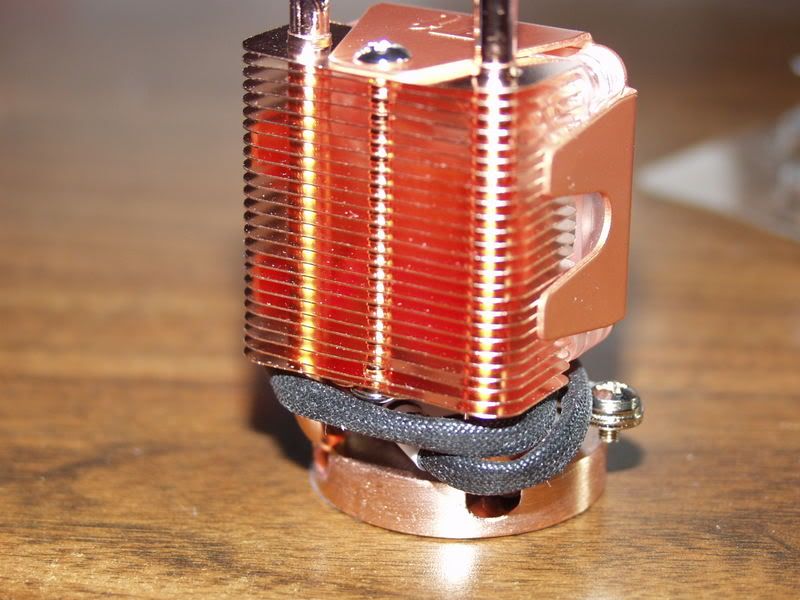
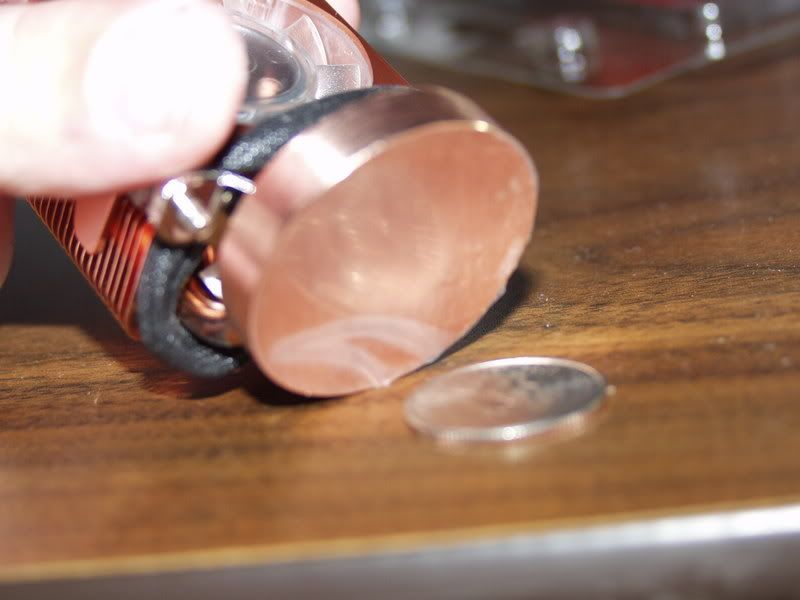
- I also ordered a few things, like a new chipset heatsink.

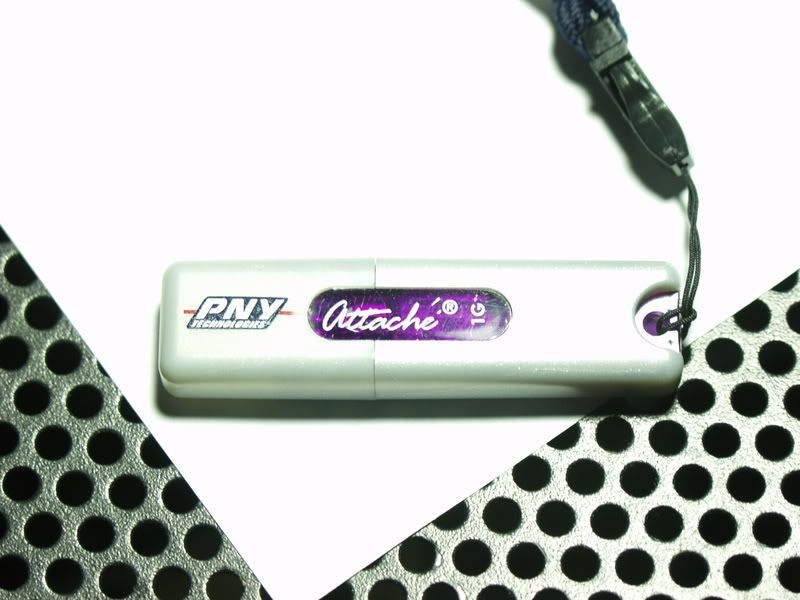
And a new thumb drive.
And some Arctic Cooling MX-1 is on the way from axiontech, should be here within a few days, then I will put these new parts to the test.
~Vice
Baseball season ends tomorrow (varsity jacket on the way!), so I'll have more time to do some more things with my case.
Here's a little preview of things to come:
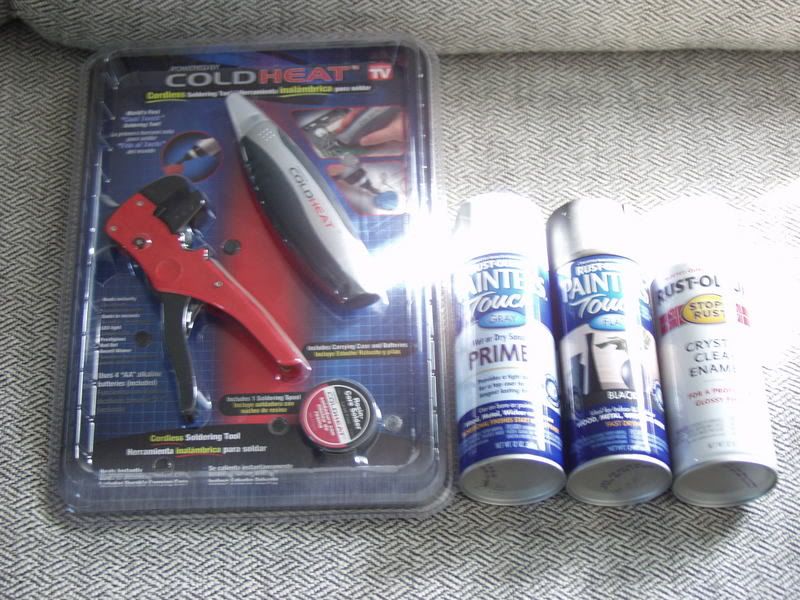
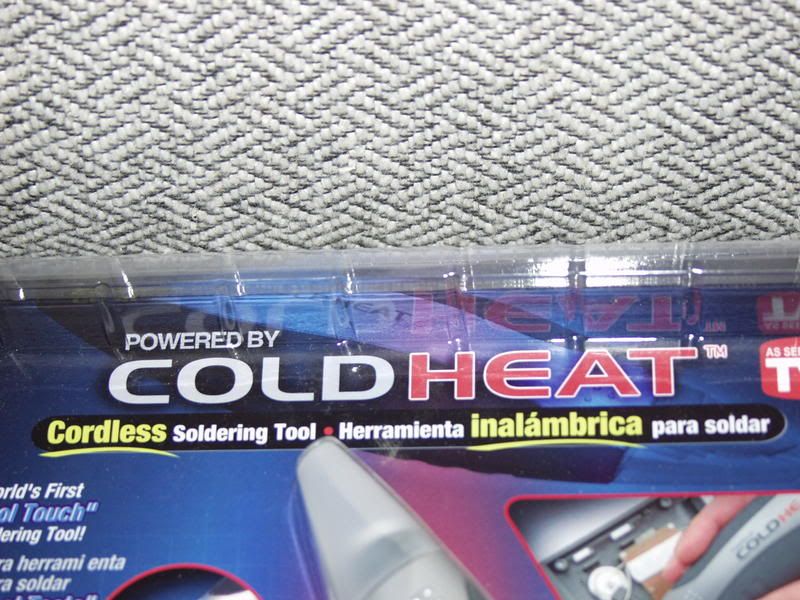
Going to try out this Cold-Heat soldering iron. Heart mixed reviews so I'm going to be keeping the receipt just in case
Some nice sleeving, along with some heatshrink will be coming towards the end of the week.
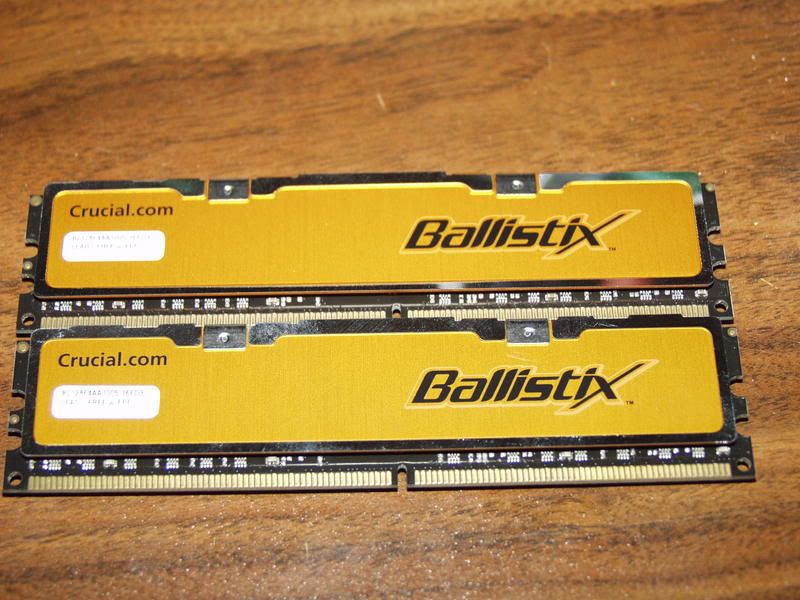
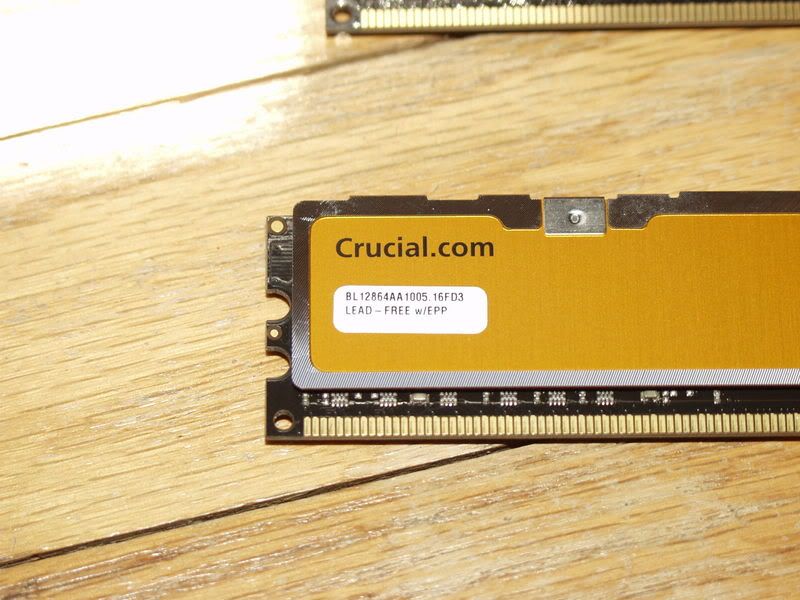
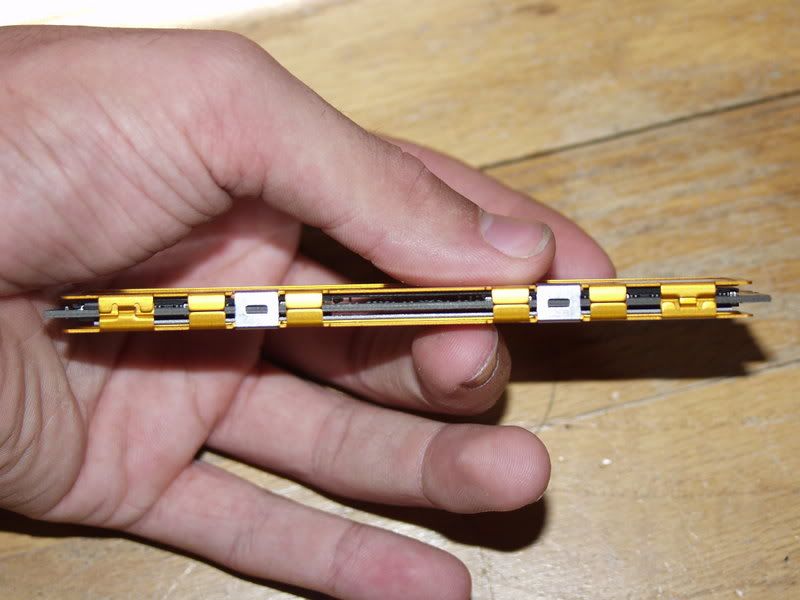
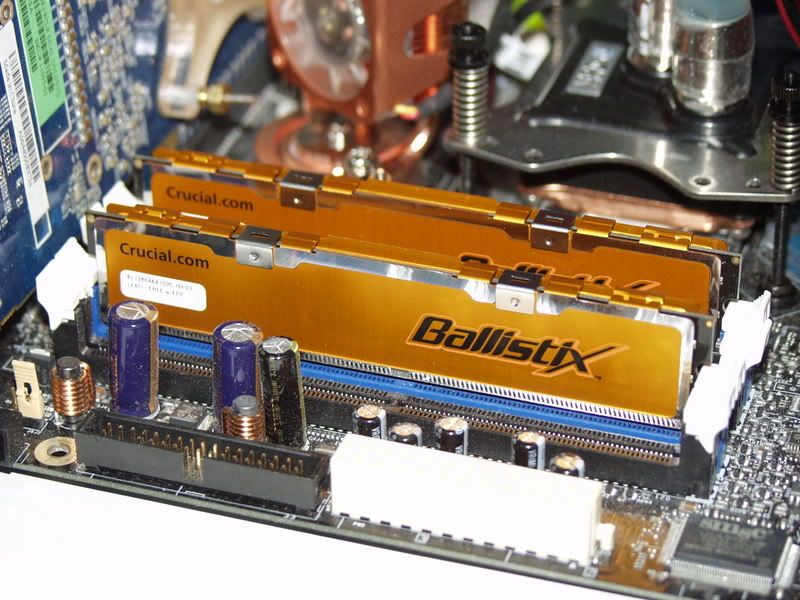
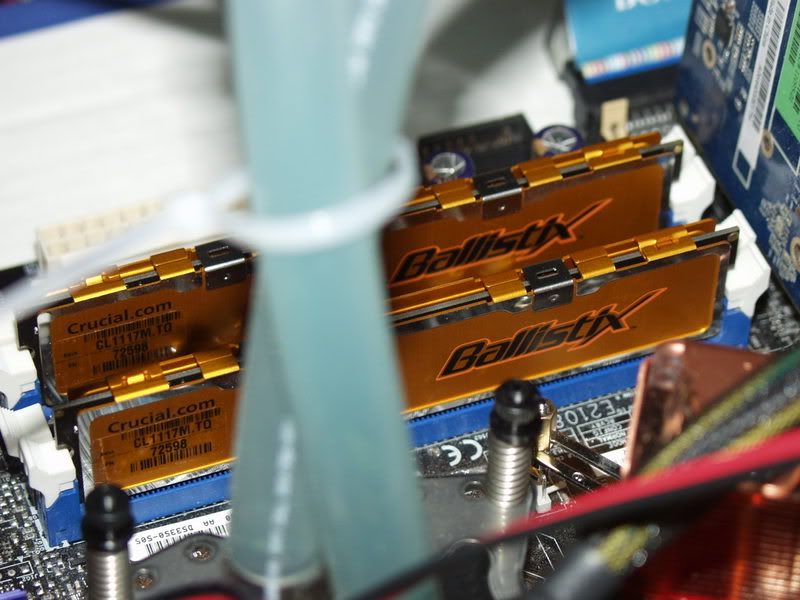
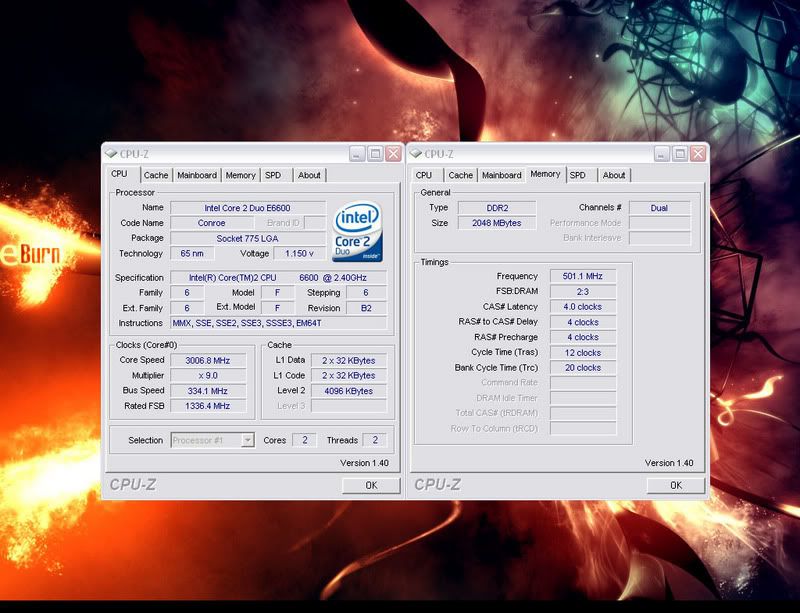
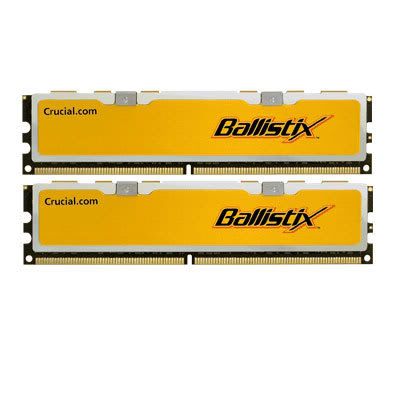
And some nice new ddr2-1000 ram !
I will be ordering everything on Wednesday, so I should be getting everything by Friday or Monday, but I should start painting this week. We have a 5-day break coming up (Fri-Tues) so I should get a lot finished.
I'll just have this, work, and school for a while so hopefully I can get more done.
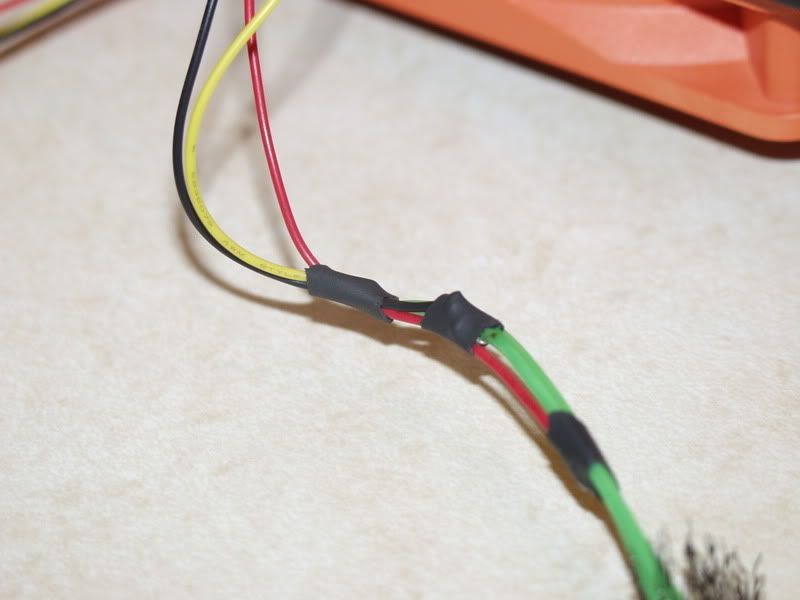
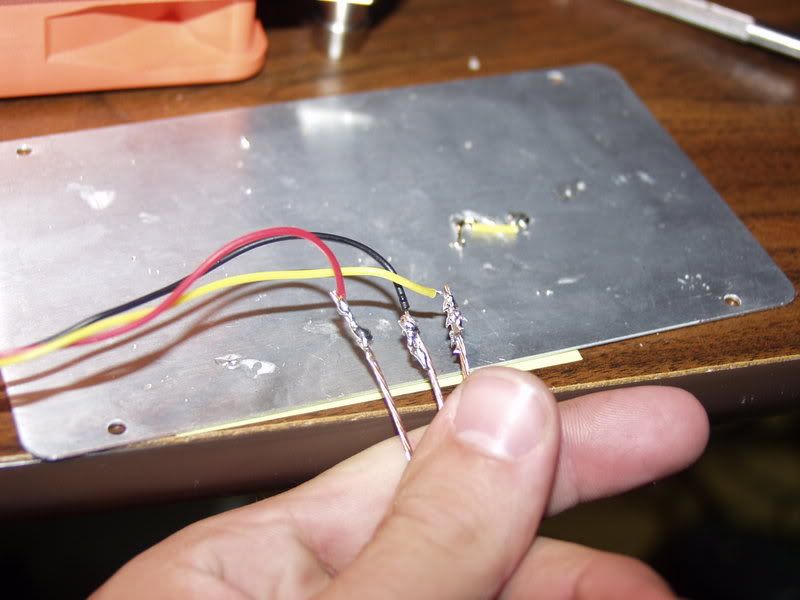
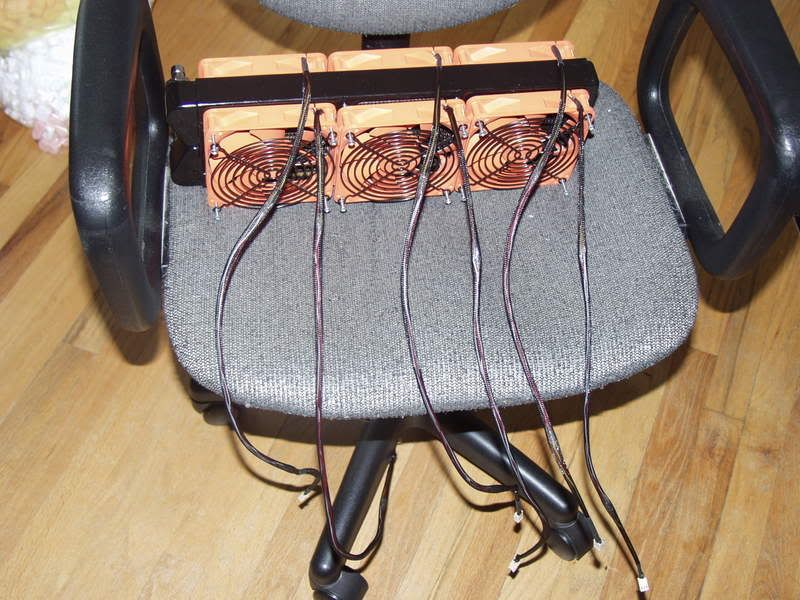
With the help of a friend with a similar project, I learned how to do this:
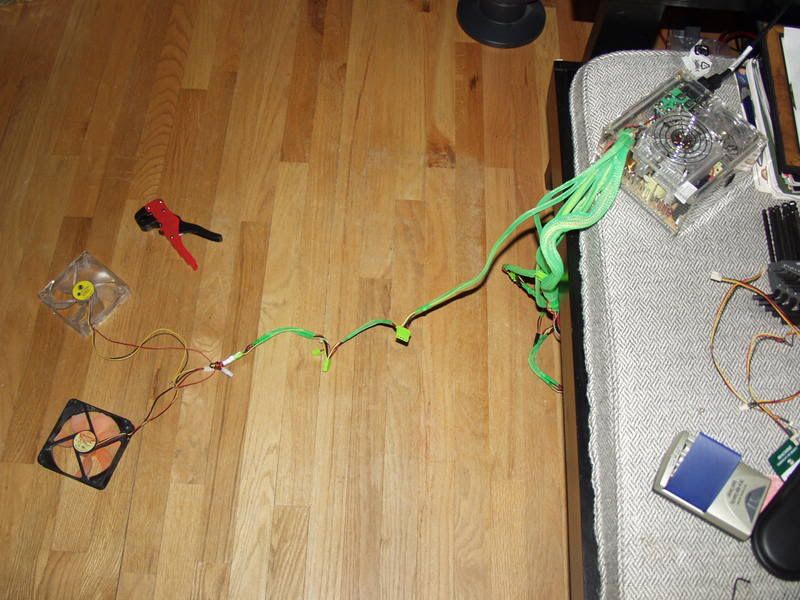
Combined the two fans to one molex-gave me the ability to lose the other four molex connectors to give it a cleaner look-freed up a lot of space. Heatshrink and spiral wrap will follow , these were just test fans.
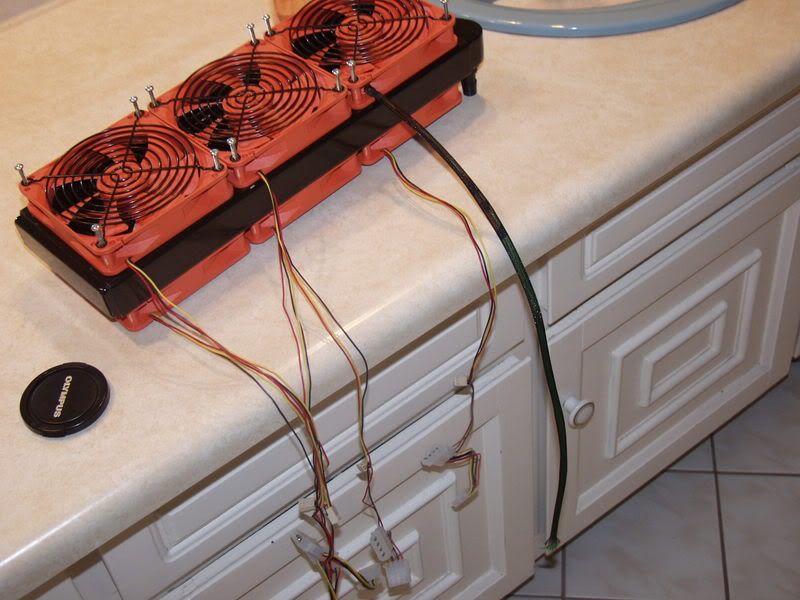
A hint of wire management to come.
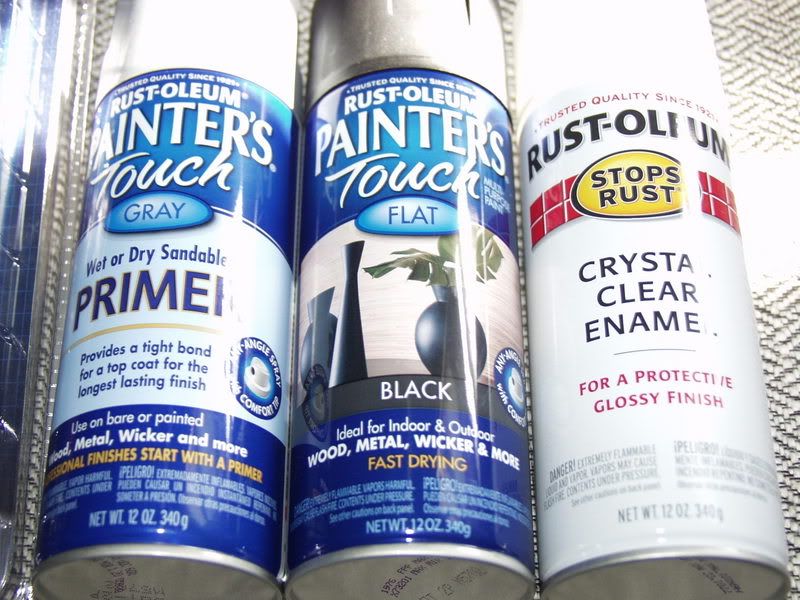
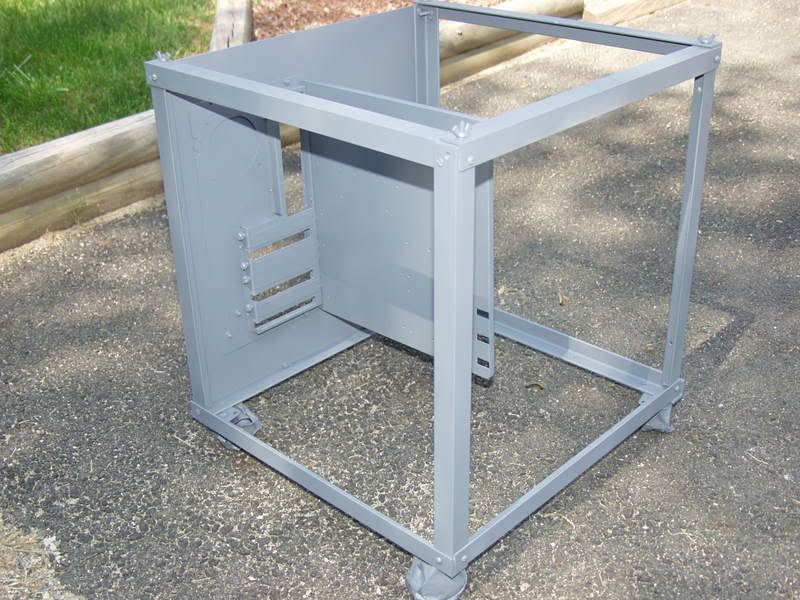
Did the priming this morning- came out great. I'm going to let it dry for 24hrs, so I'll start painting in the morning.
Today I plan on working on the fans since my sleeving and stuff should come this afternoon.
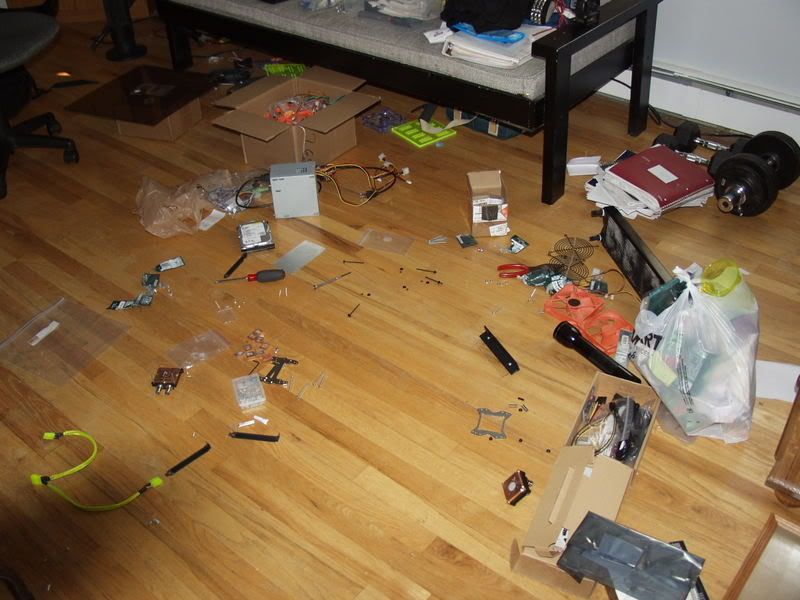
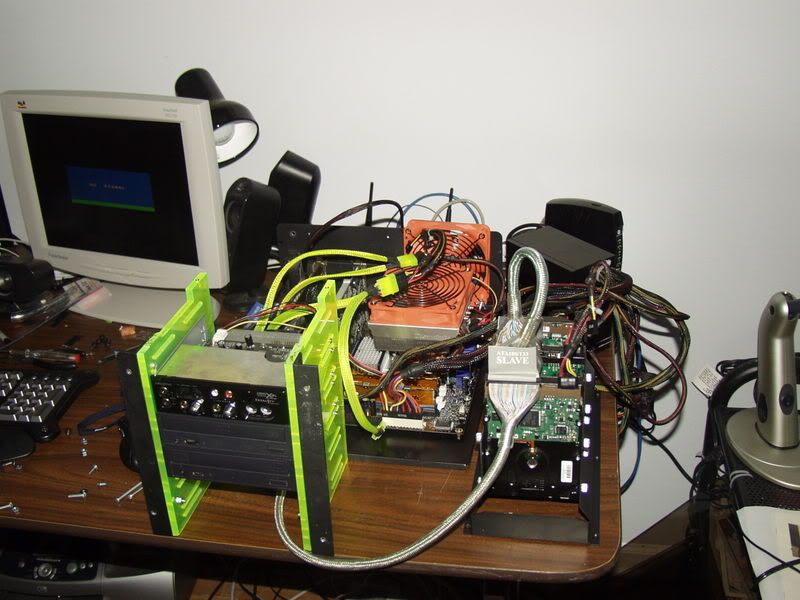
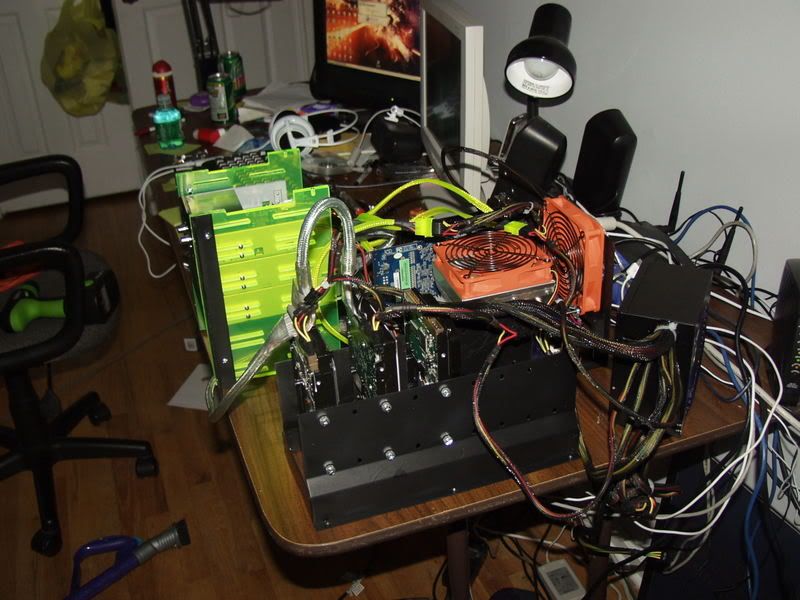
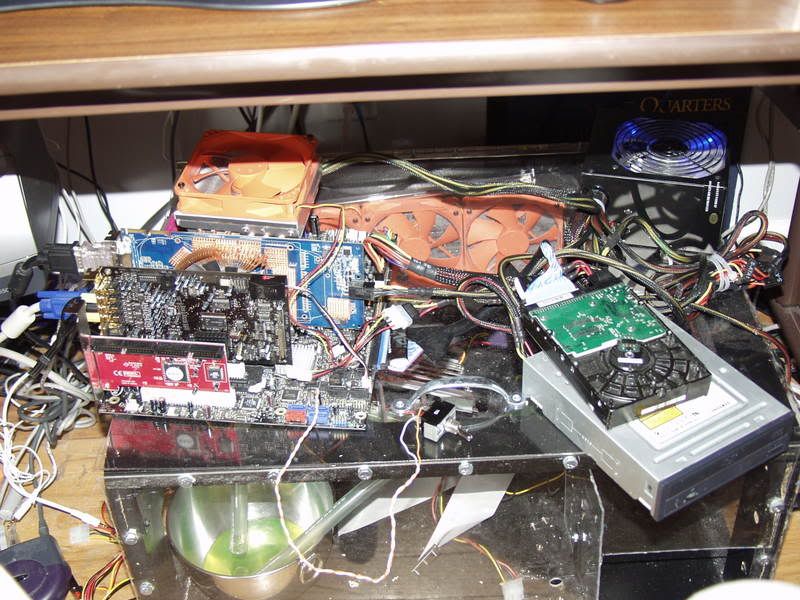
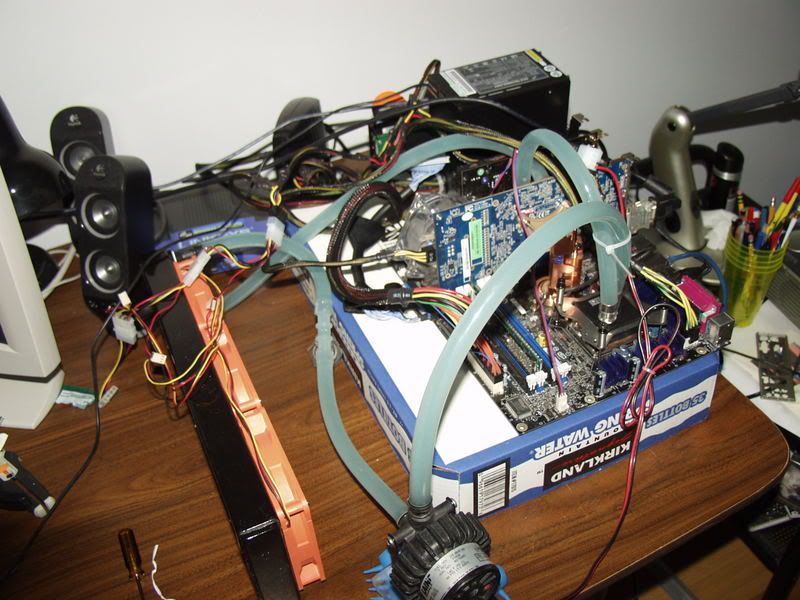
And my setup outta the case:
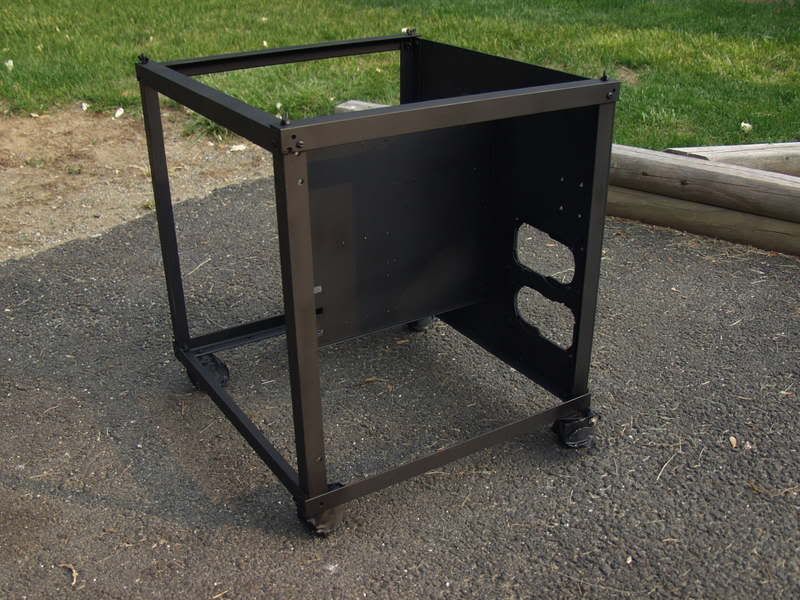
First coat is done, its hard to show on the camera, but the color is flat black.
Got a lot done today, so much so, I actually feel "completed" for the day.
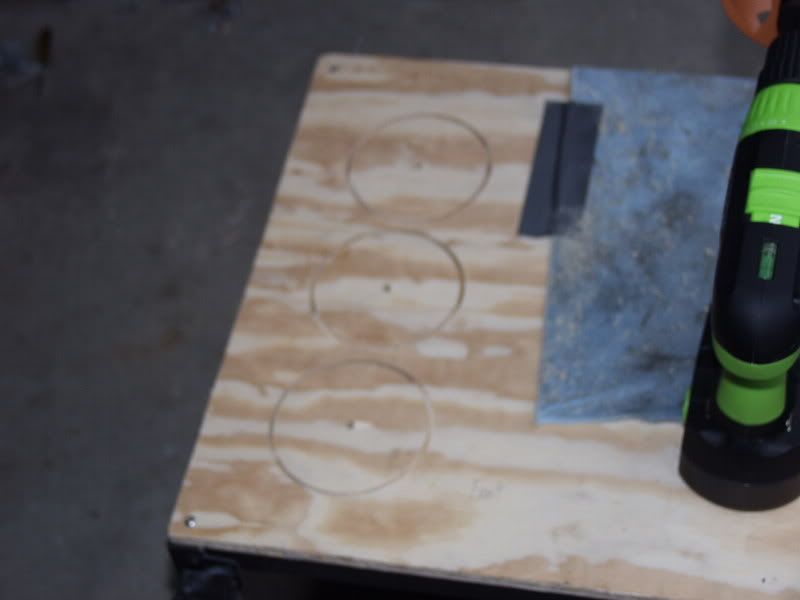
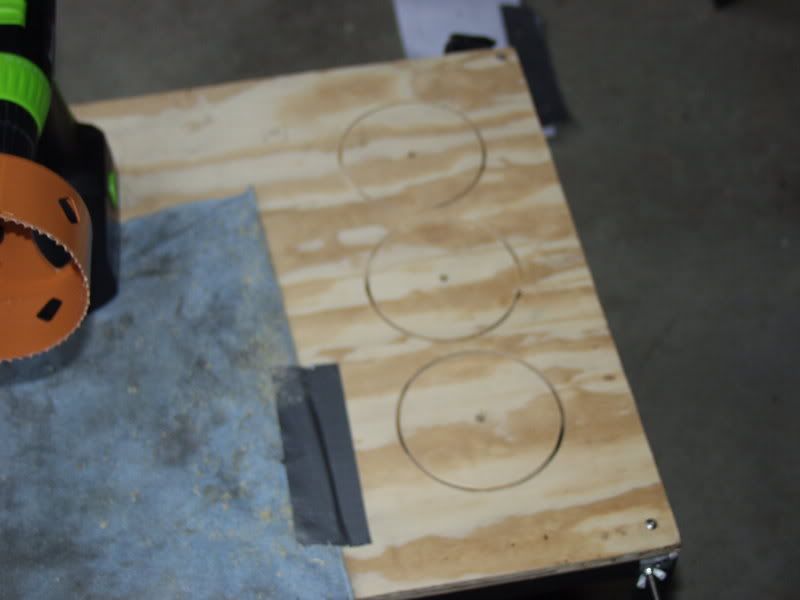
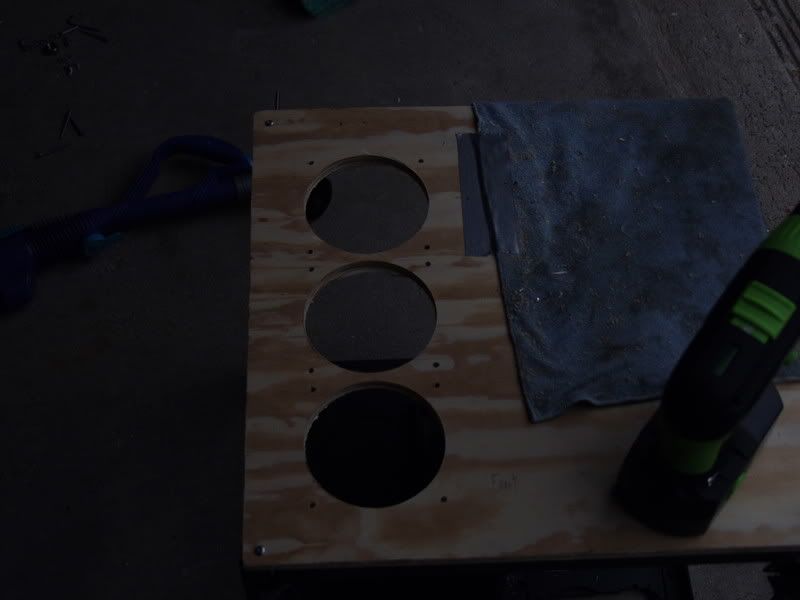
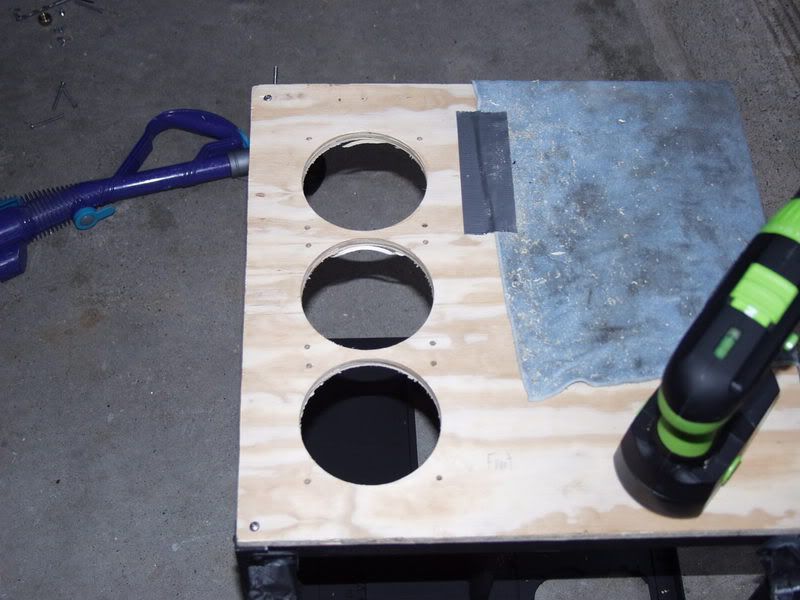
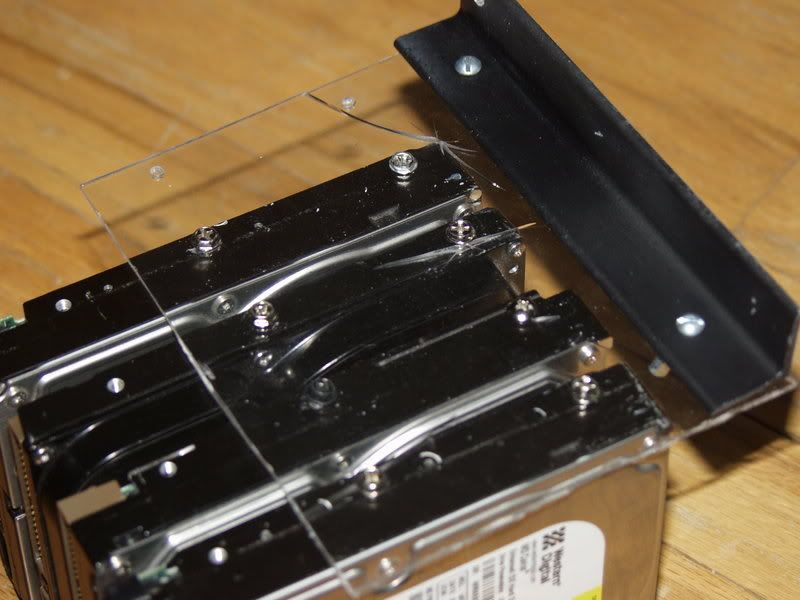
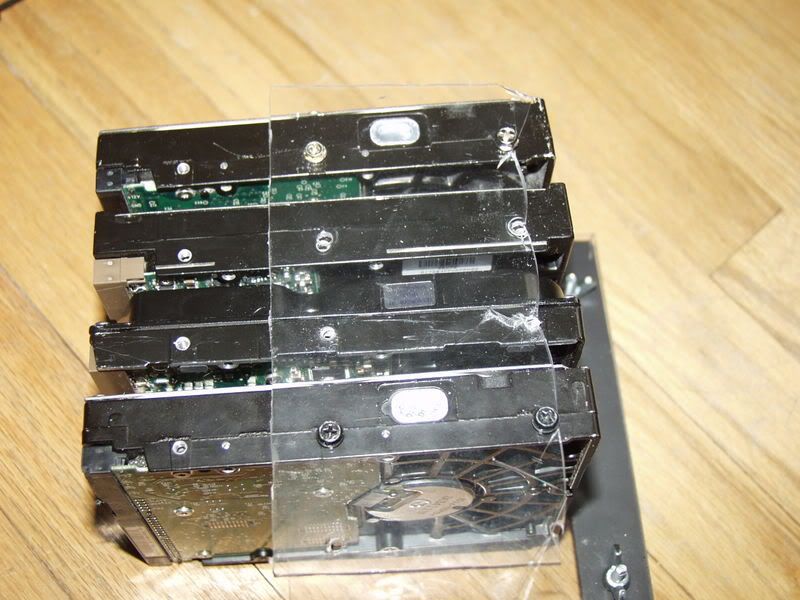
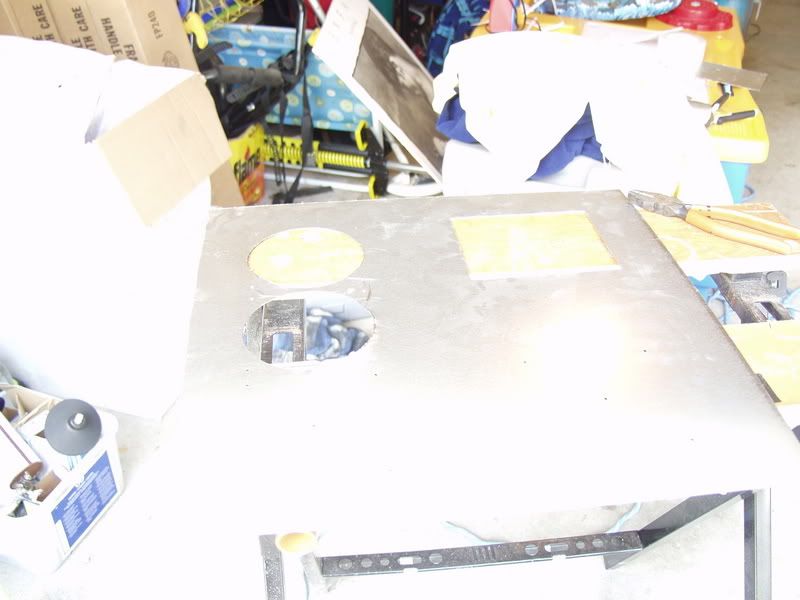
I made a new cd drive mount, hd mount will come tomorrow. I also redid the front panel for my case. I started one yesterday, but it came out crappy and my measurements were off.. it was fixable, but I've worked too hard for this case to come out sh*tty, so I completely redid it. The cut for the cd drives is much cleaner now. I will head over to home depot tomorrow to grab a hole saw for the fans, the wood is too thick to use my dremel with any sense of accuracy. Wiring should come Wednesday, and another switch and some zip ties by weeks end.
Pics:
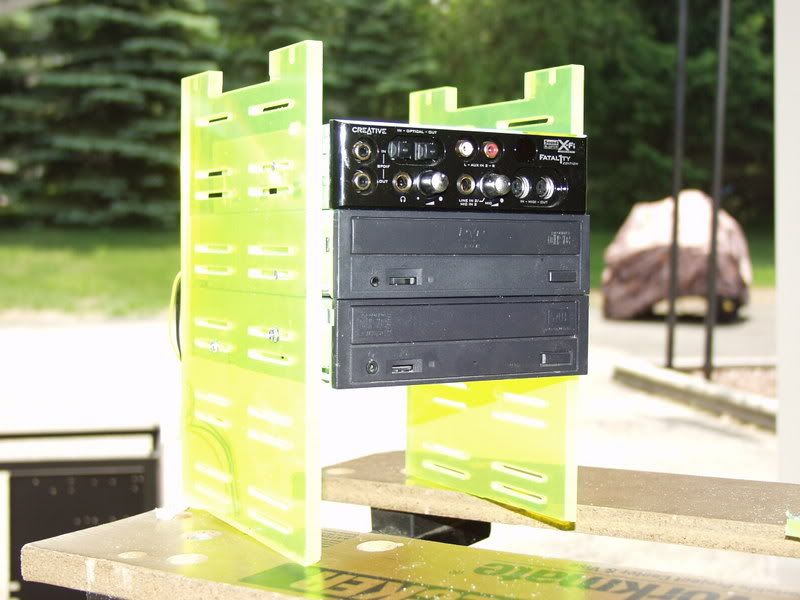
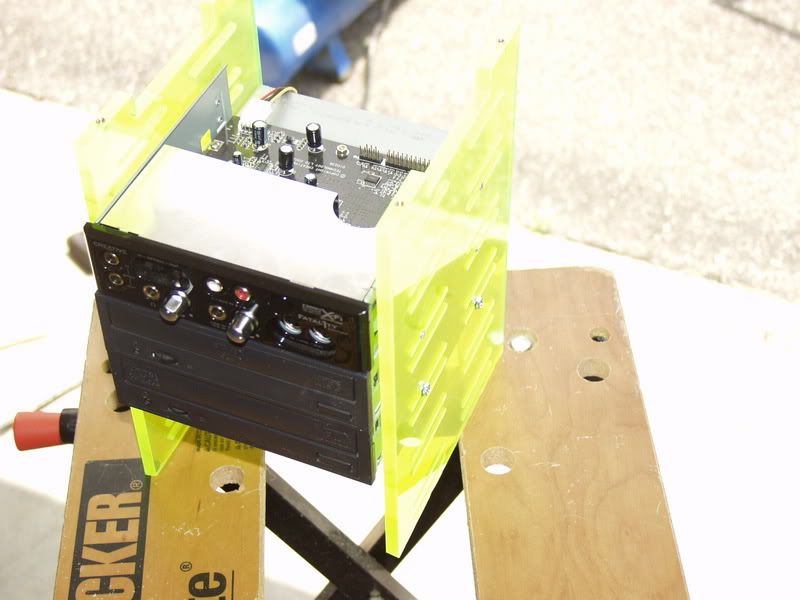
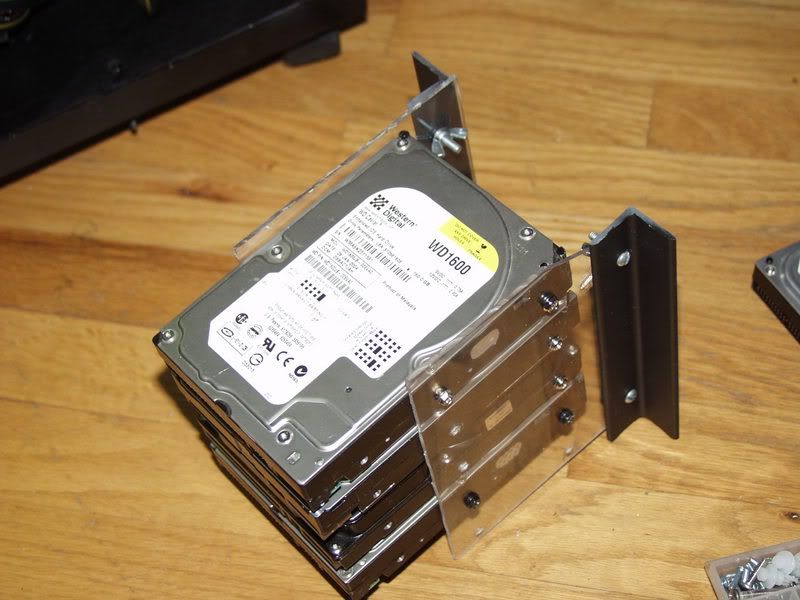
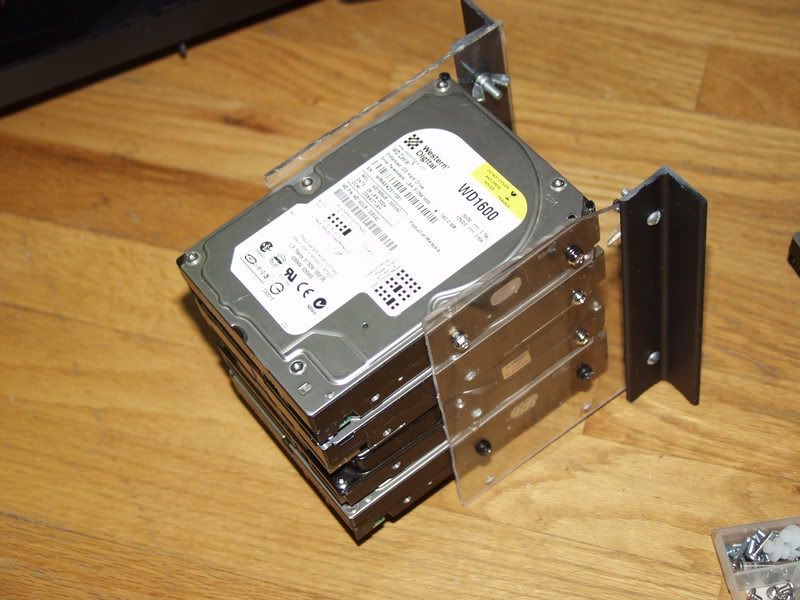
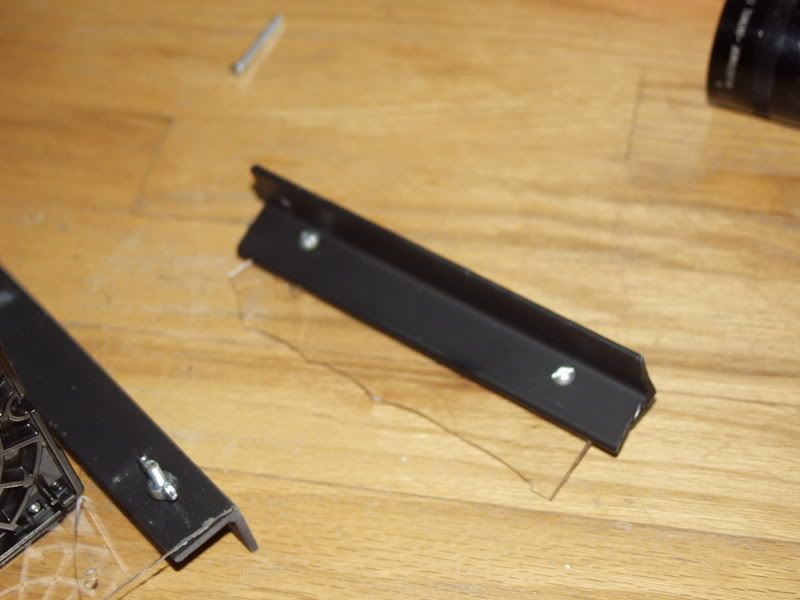
The metal brackets will be painted black tomorrow.. silver and neon-green don't go too well
Those longs bolts will be replace with shorter ones, just using them to hold the brackets in place for now.
First go at front panel:
As you can see, the cut is not very neat.
Embarrassing..
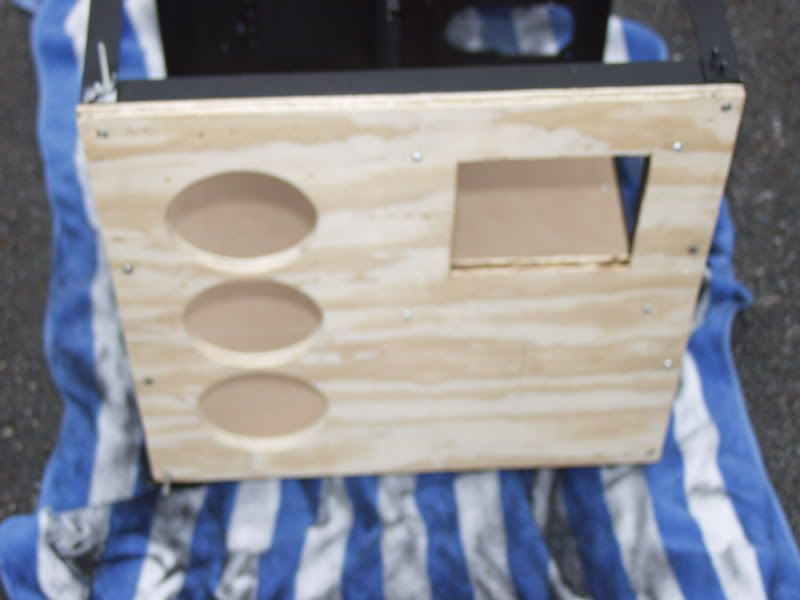
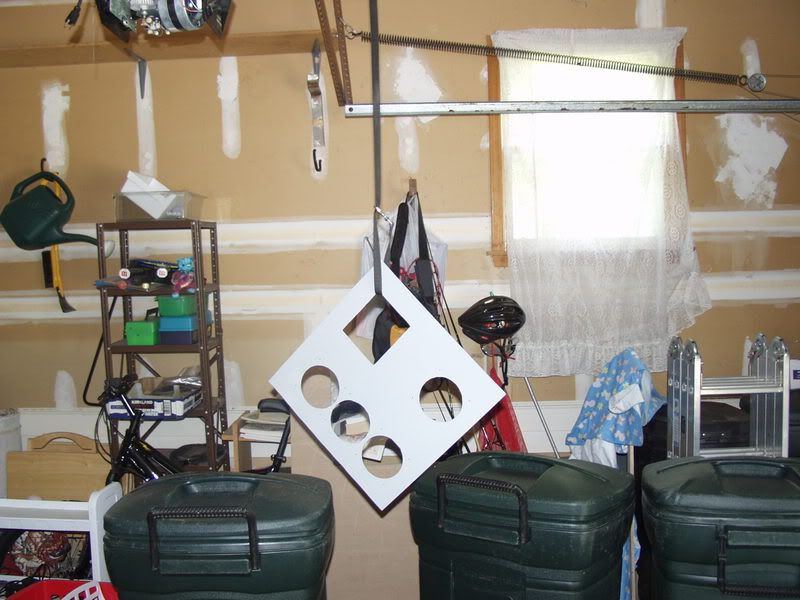
Redid it, took about 3hrs.

Cut is much better, wouldn't you say?
More to come tomorrow.
P.S. New ram comes tomorrow, woot!
I'm sure a lot of you, like myself, love the UFO cases, but just have not gotten around to buying one, or its too expensive. I found myself with this predicament as well. So I decided to build one !
I made my first case over the summer, shown here:
While its not great, it opened me up to the world of modding.
I'm planning on replacing my current loop, minus my gpu block. Here's a list of the hardware I'm going to pick up.
1x Aluminum Sheet 18 x 18x 0.125
14x Aluminum L-profiles 18 x 18 x 0.125
1x Lian Li Replacement Removable Motherboard Tray
1x A.C. Ryan Constructx BayColumn510 UV Green
4x A.C. Ryan AcrylPanel 3mm Black
2x Startech 2.54mm Standard Jumper Caps
1x Digital Thermometer with Blue LED Back Light
1x Lian Li Dual PSU Bracket
4x Startech 2mm SCSI Drive Jumper Caps
Water Cooling - Petra'sTech
1x Gell Stuff
1x PT Nuke
10x Masterkleer 7/16
1x Pentosin
1x Swiftech MCR-320
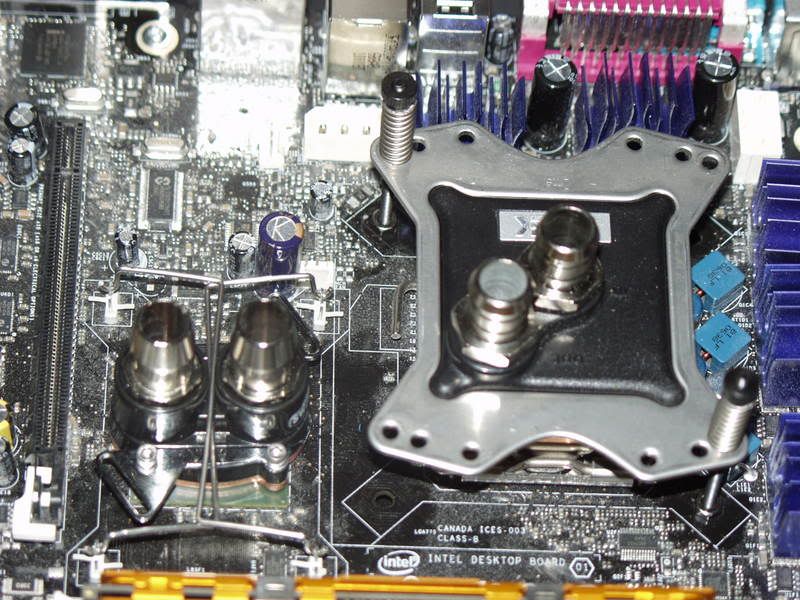
1x D-Tek Fusion
4x Ek Barbs
1x Computer Screw Kit
I have not ordered the wc stuff yet, paypal transfer will clear the 15th, so I'll order that night. So if you have any suggestions, they're more than welcome.
I started construction today, so here are some pics so far.
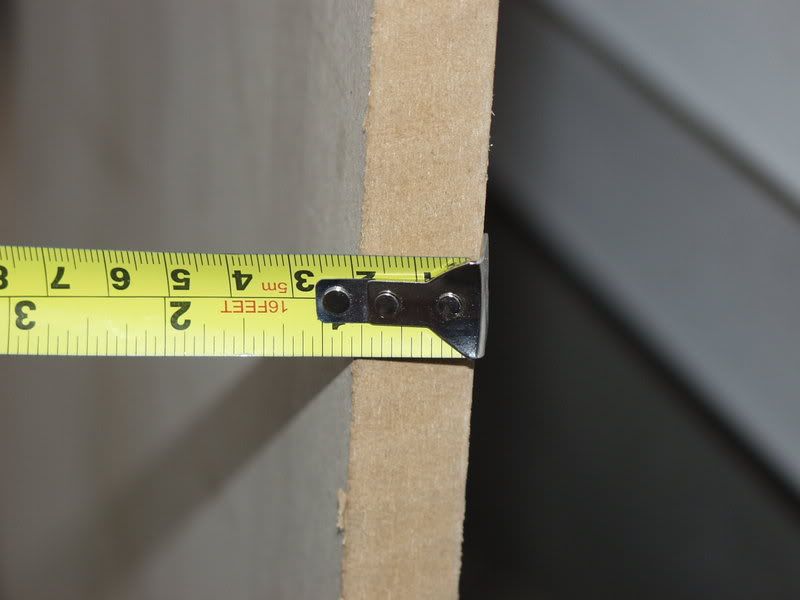
.125=3.175mm- thick
Same with the alu sheet
looks good!
Temporary screws to hold everything in place before I get shorter ones. Wing nuts don't hold everything together tight enough, so I'll those will just some regular nuts. The new bolts will also be countersunk, with the nuts on the inside, for a more cosmetically pleasing look.
Here's some accessory pics:
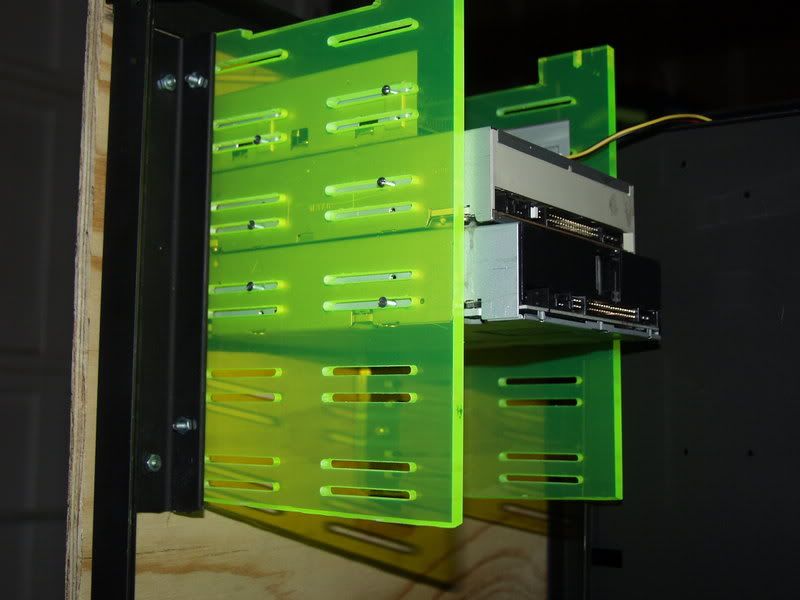
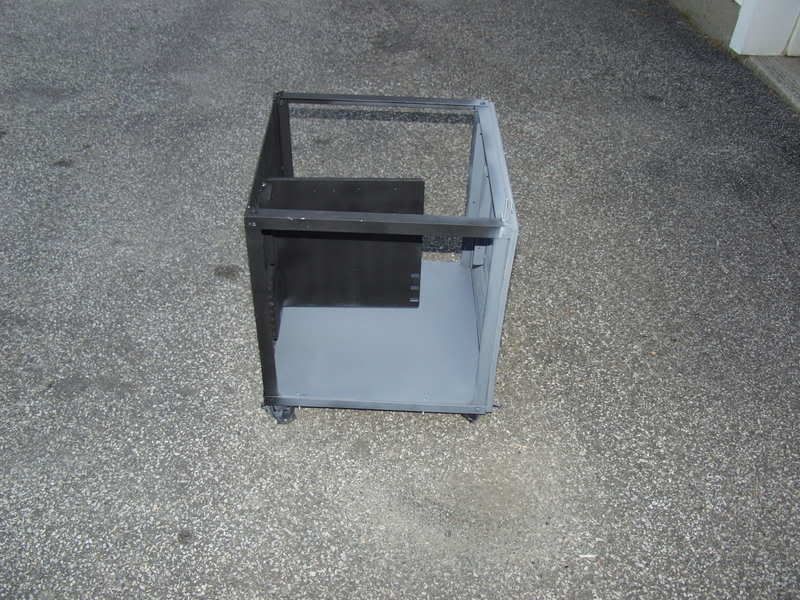
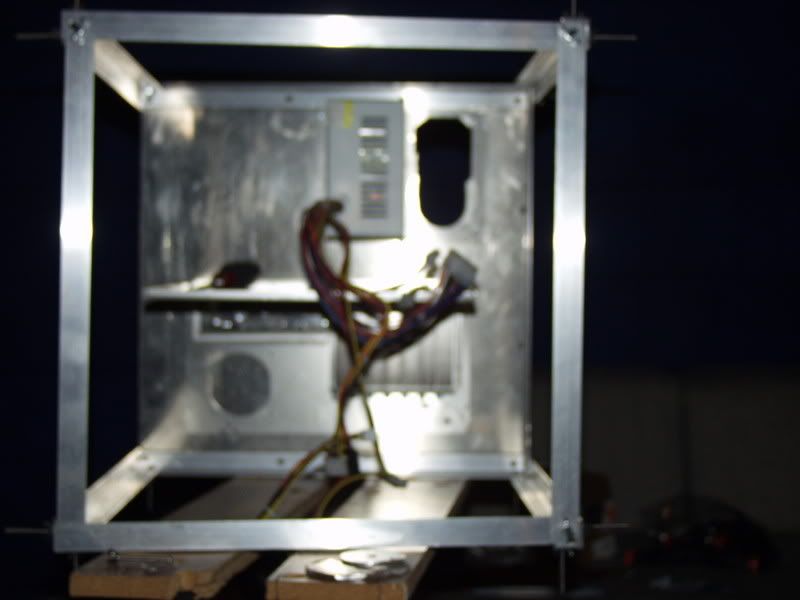
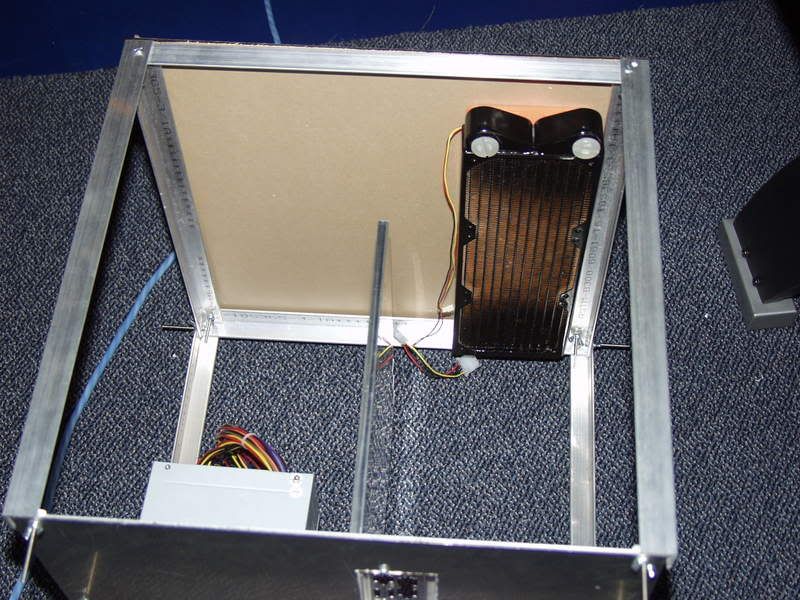
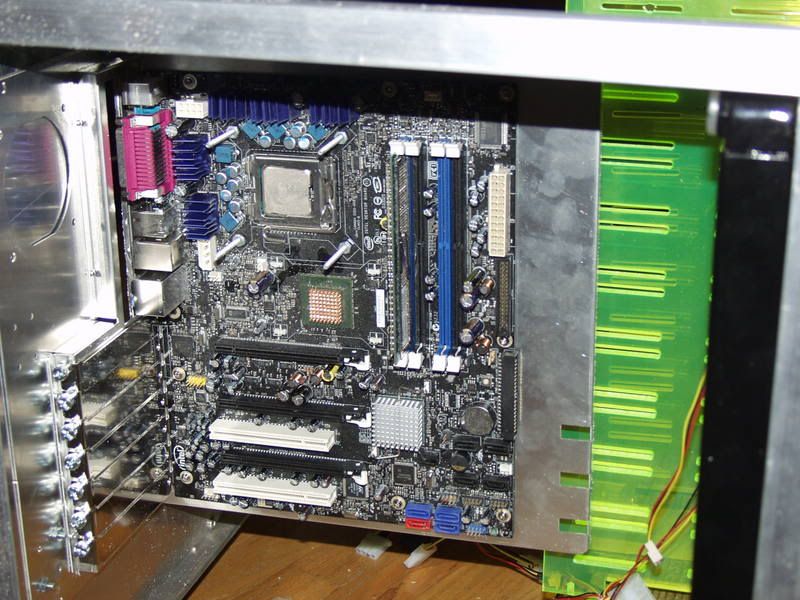
Here's just a basic overview of what the inside will look like, minus the outside plexi, radiator, fan grills, psu... etc. Just an idea.
Here's an idea of what the black plexi will look like:
Update: Ordered wc parts, should be here saturday or monday. No pics for the moment, still working out spacing for psu and wc stuff behind the mobo tray.
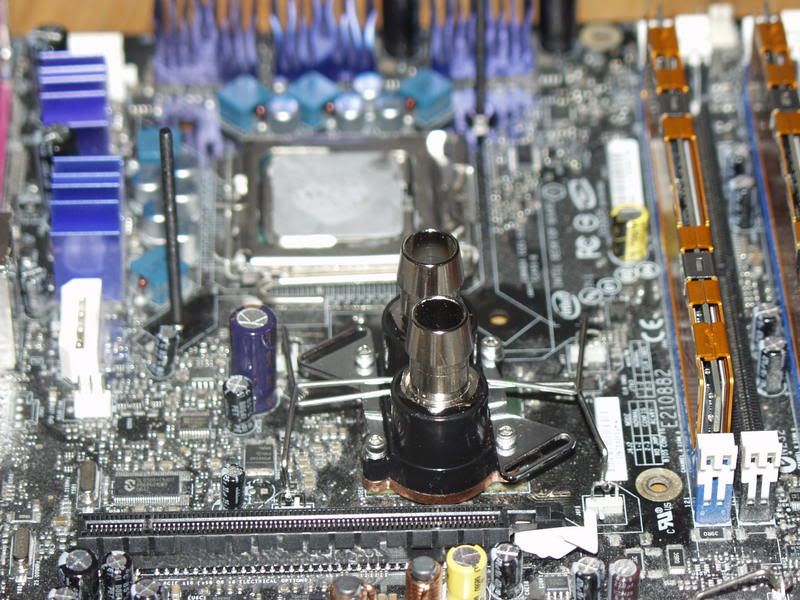
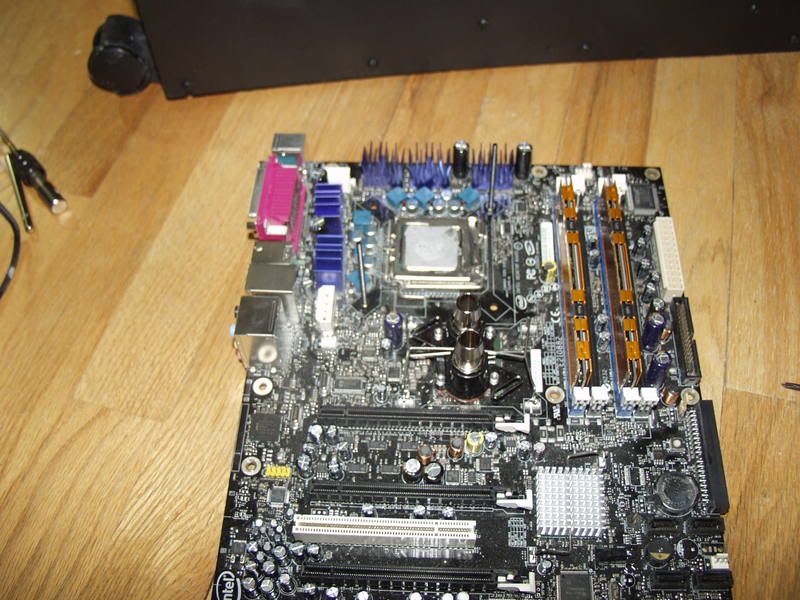
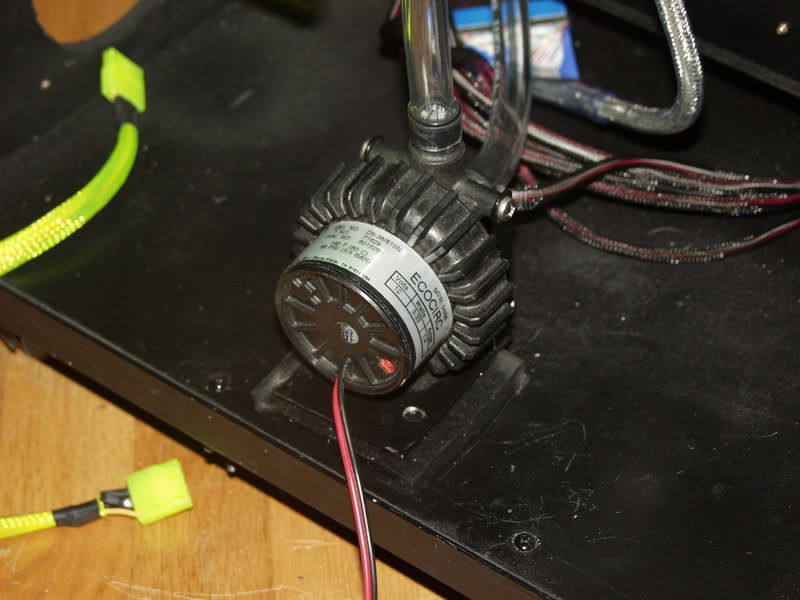
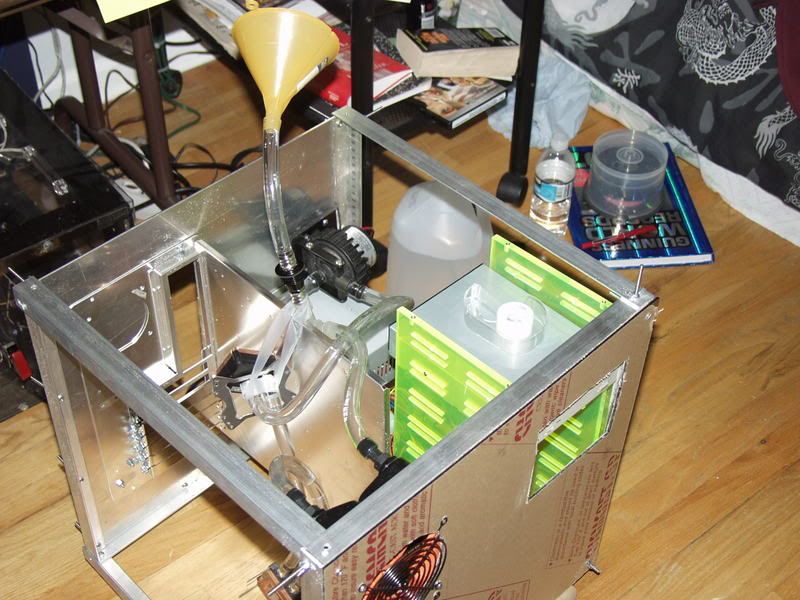
I can't seem to find a place for the pump, but I was thinking something like this.
I would move it over to the right side far enough to give to tubing some slack not to kink as well, as the radiator will be upfront, on the left side. I just thinking about putting it on the back wall because that should dampen most vibrations, 3.175mm thick alu + ptech gel stuff.
Any suggestions?
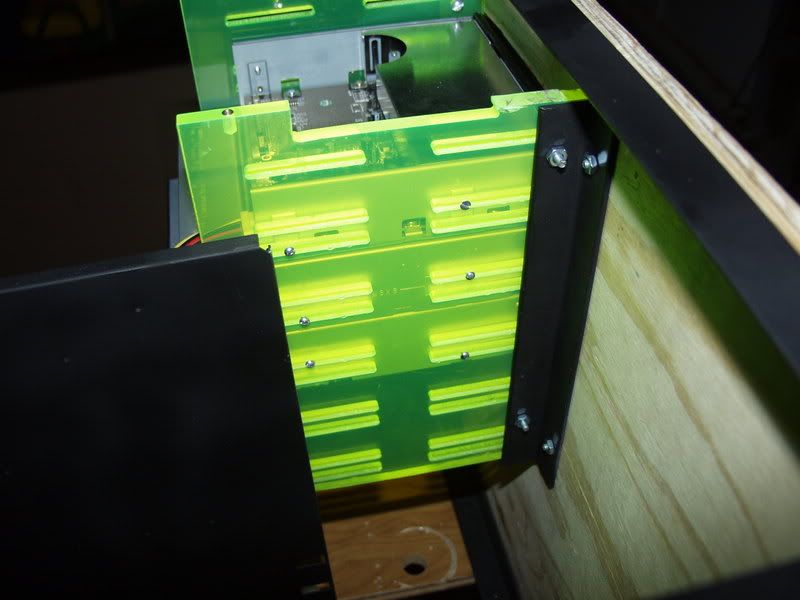
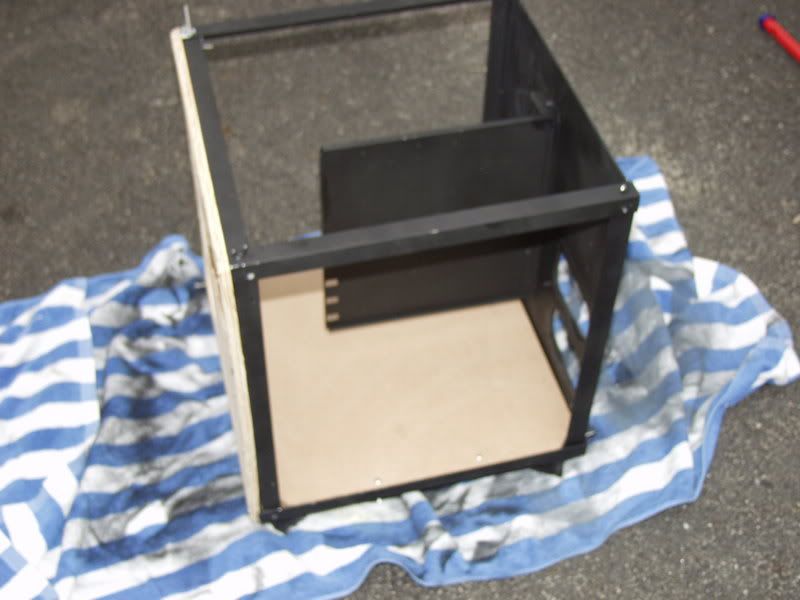
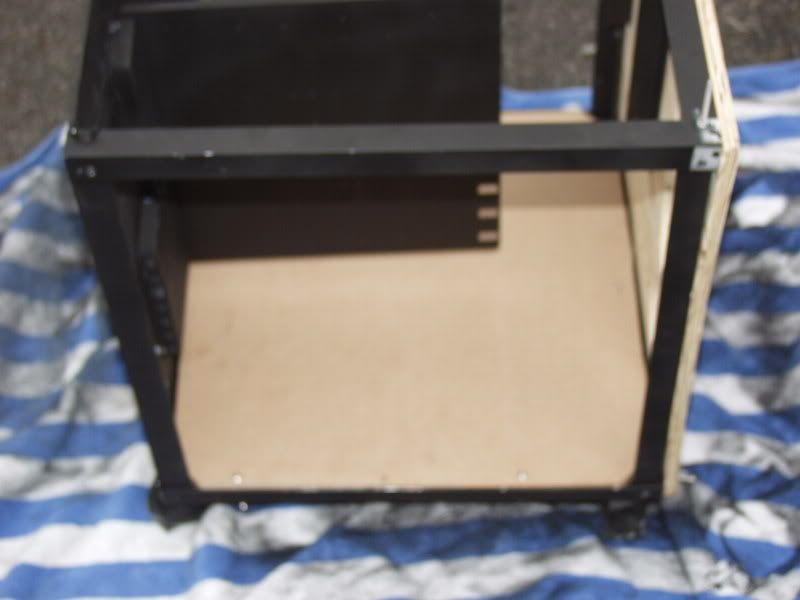
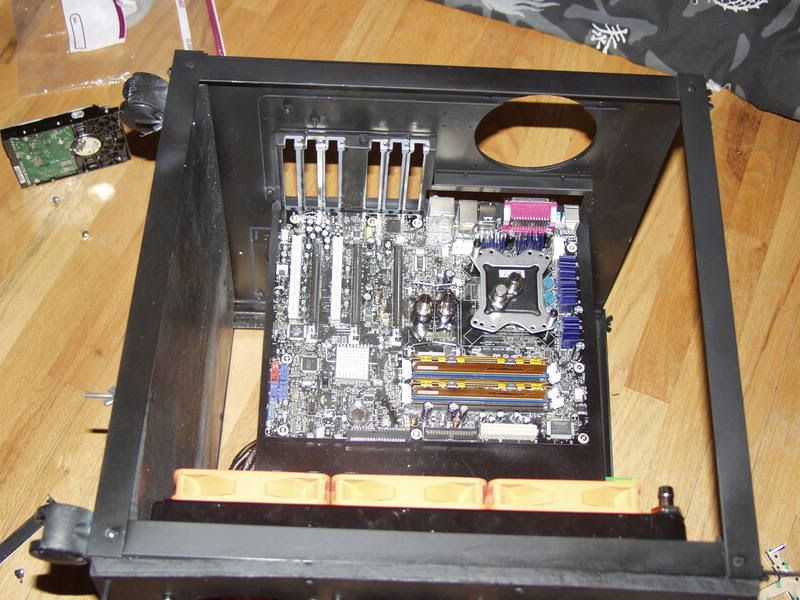
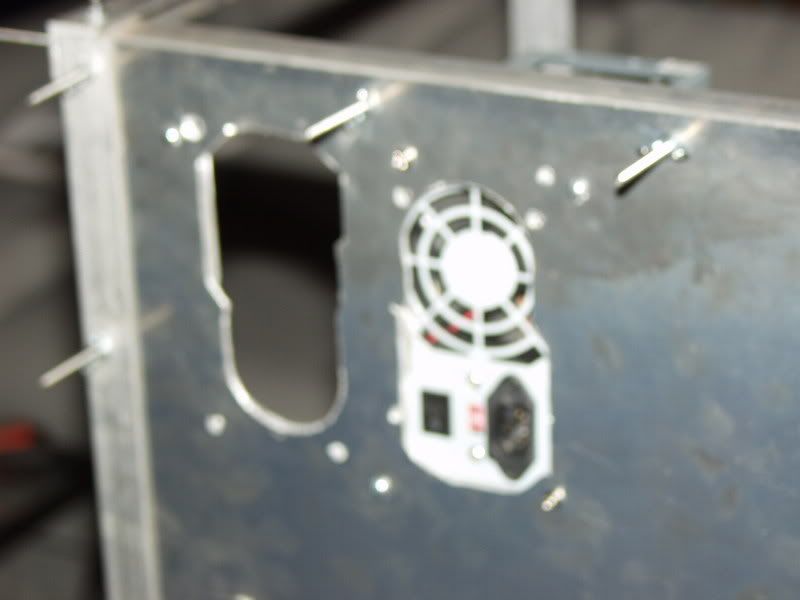
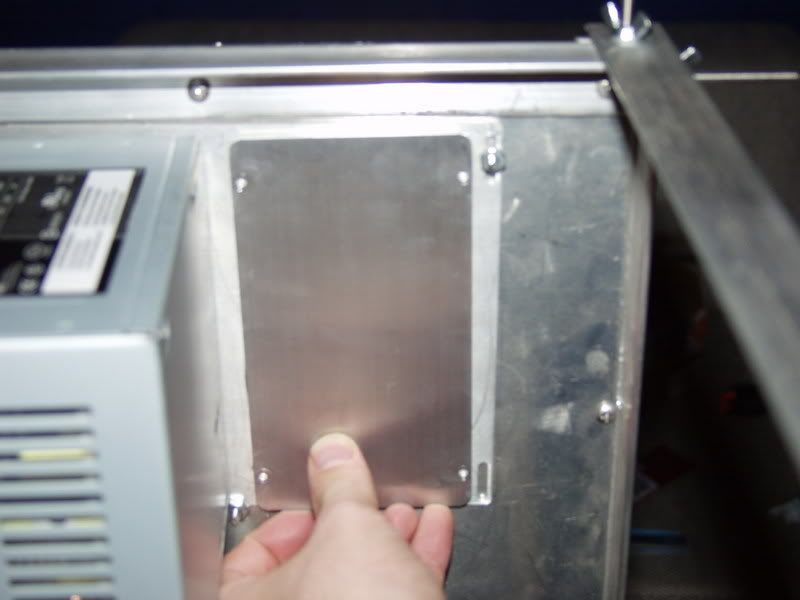
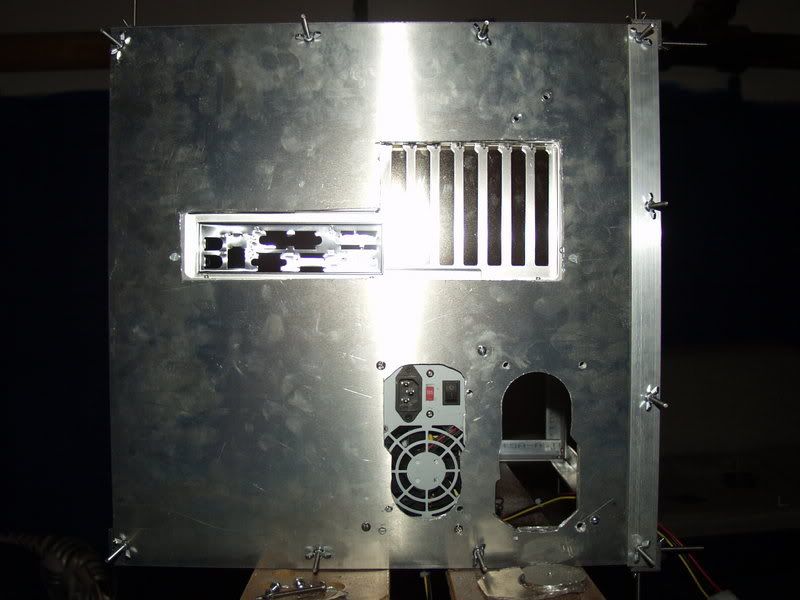
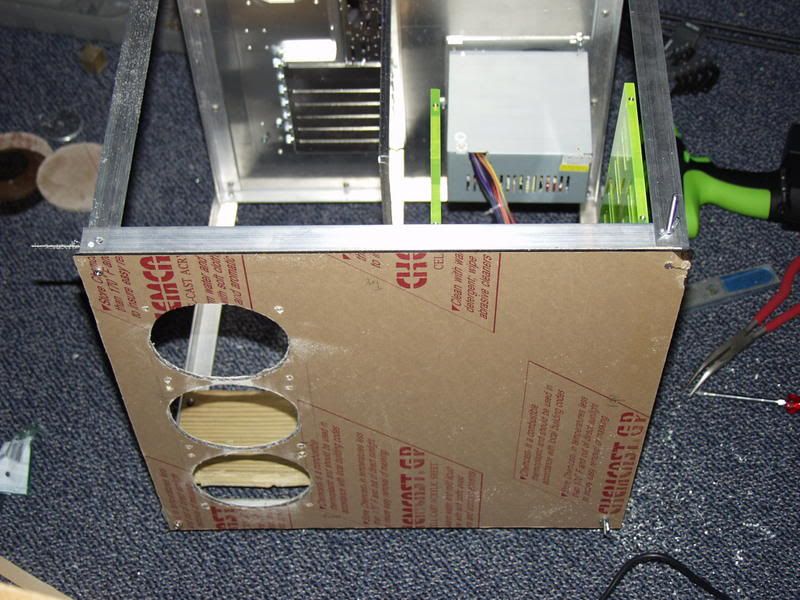
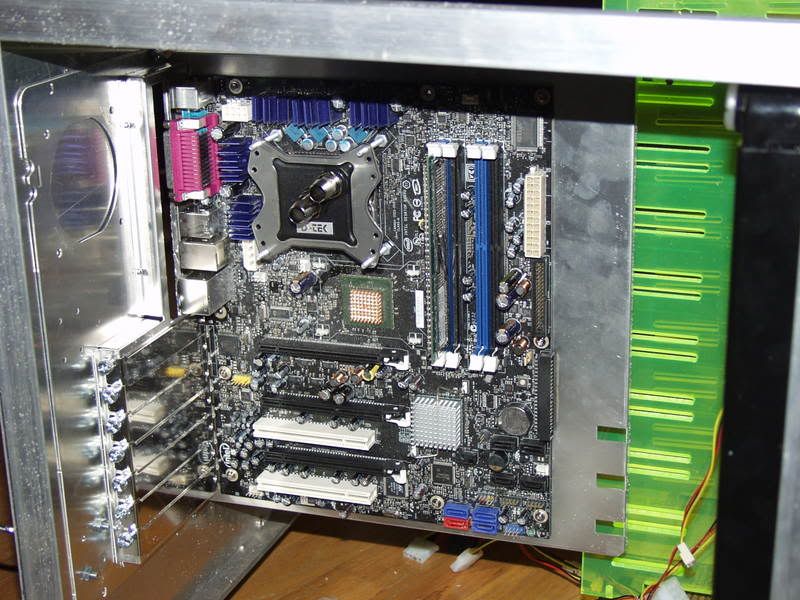
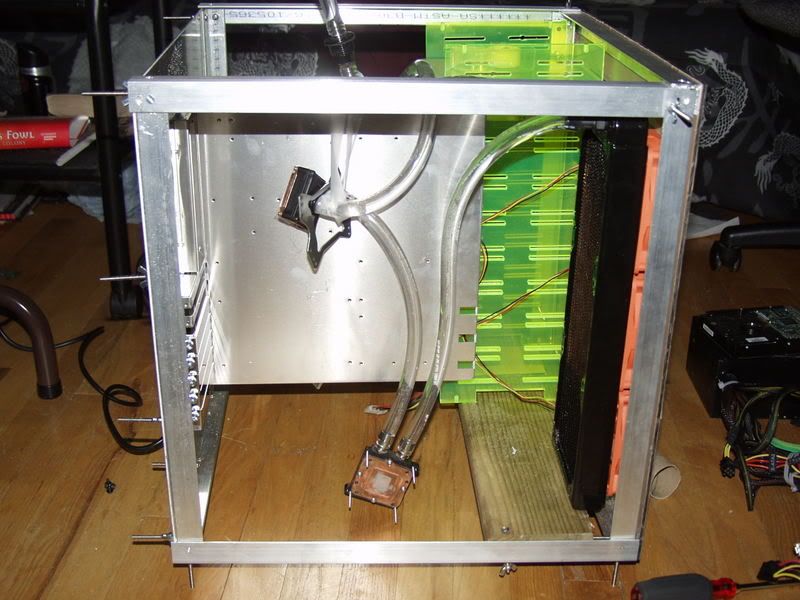
Little update: Hooked up the mobo tray. Over the weekend Ill get out the dremel and chop me a psu hole.
Most likely where the psu bracket will go.
And look, room for a fan!
Well, I decided to post a few pictures before I go off to work for the day. Enjoy!
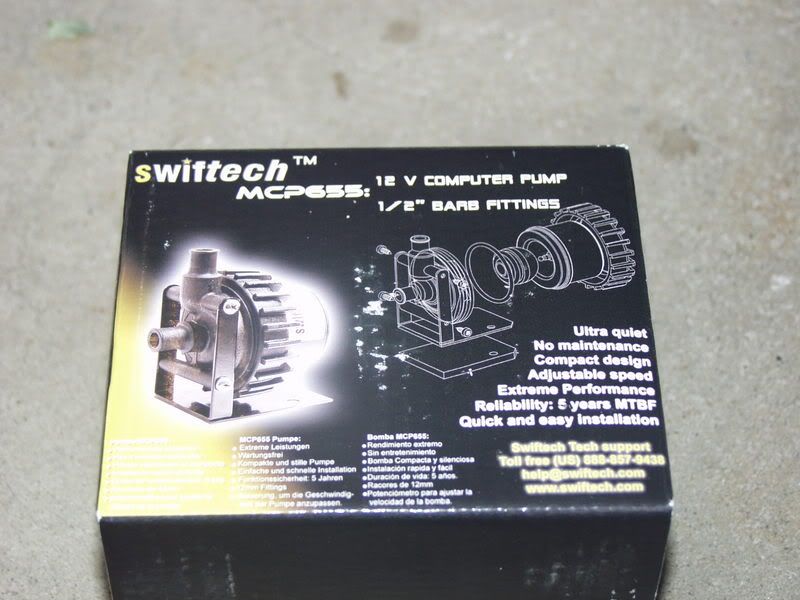
So tiny!
Inside courtesy of petrastechshop.com
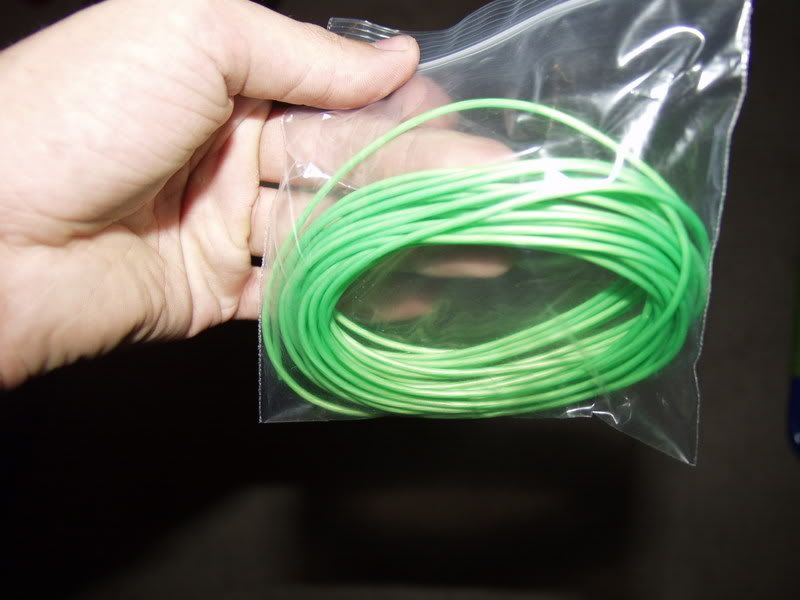
15ft.
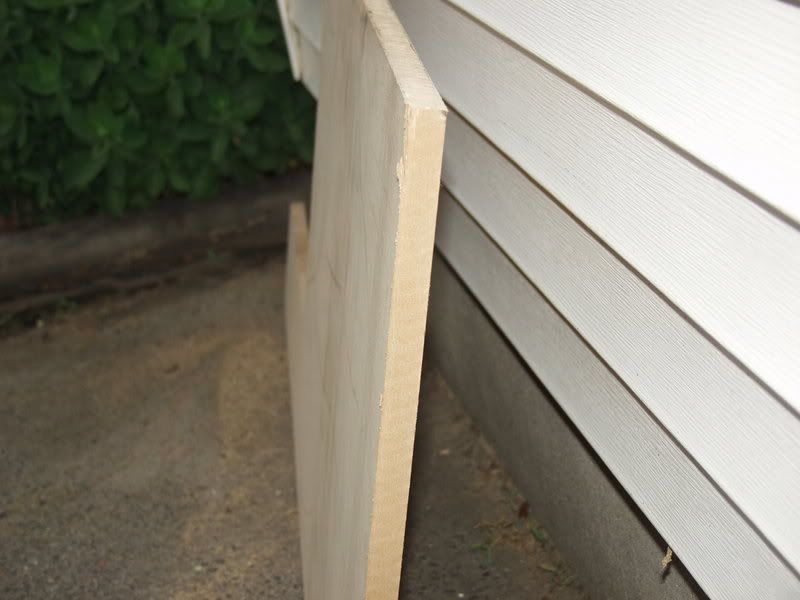
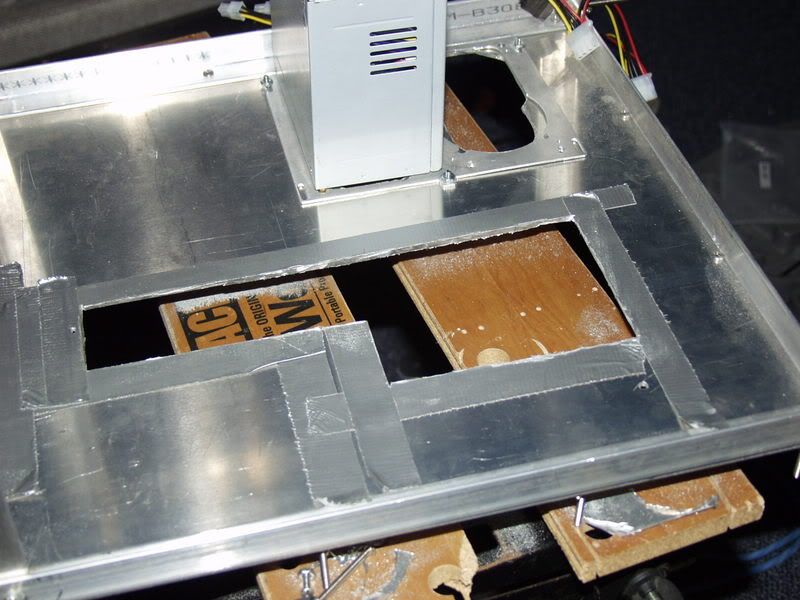
And an idea of what the cd drive holder looks like.
Update: I hit a few bumps. The dremel discs I had were the skinny fiber ones, that broke off in a few minutes. It took 7 to do a line a few inches long.
So it took me some time to get to home depot, but I finally got there today and got some work done. I picked up these cutting discs for metal, and they things work great, I haven't even used half of one up yet.
Thing is, I forgot the attachment for them, so I've been using the attachment for regular cutting discs, so there must not be enough leverage, because my dremel starts smoking after a while.. Back to home depot I guess..
My rad finally came from performance-pcs today, swiftech mcr-320, and it's damn sexy. It is in every way possible better than the BIPIII.
Here are some pics:
Me trying to use the little fiber discs.
New discs
Not done yet, as you can see, but you get the idea of what I'm doing.
Man its been a while since I've posted. Sorry for the delay guys.
Unfortunately my dremel broke last night, so ill replace that within the next few days, I just won't be able to finish cutting out the stencil for my mobo tray, or the acrylic.. Things seem to break when I need them most... story of my life.
Anyway, here are some pics of the progress.
Once again its been a while since I've posted... baseball is now capitalizing my time, leaving me little, if any, time to myself.
I did get some work done yesterday !! This dremel was like a job and a half though... took me forever.
Got some more stuff done today!
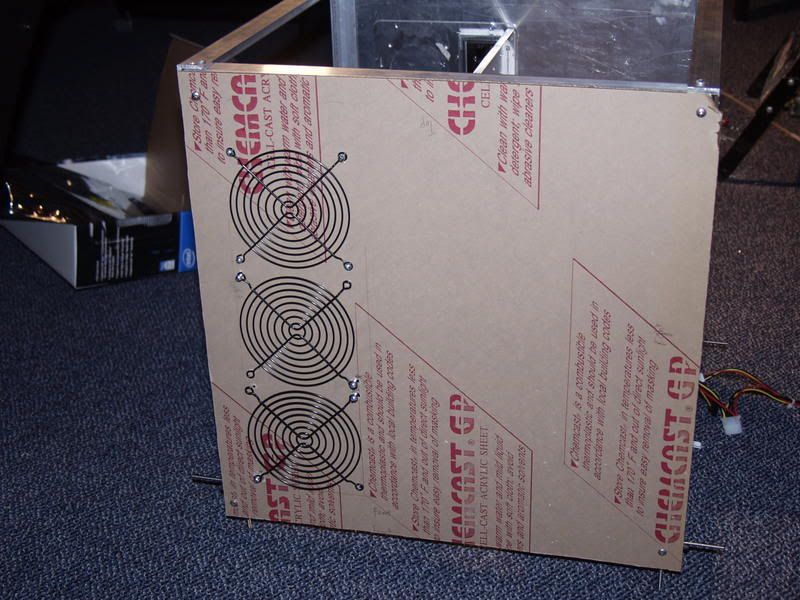
Cut the front plexi sheet to the appropriate size, made a template for my rad out of paper... which suprisingly worked... and drilled the holes for my rad, which will hold 6 fans.
Sidenote: that cardboard looking sheet you see my fan grills screwed to is the semi-transparent black plexi. It just has a think covering over it that can be used to draw on, etc to prep for cutting.
My case is starting to take shape !
Well, found some time last night to get some stuff done.
P.S. I did the fan holes by hand using a dremel. It wasn't as hard as I expected, but would I do it again? H**L NO! Takes forever!
Anyway, enjoy the pics.
Leak testing now
My temp setup:
Added a nice blue hue from some pentosin.
Got more done today! I'm on a roll!
Before I show the pics, I just want to say that this gel stuff from petras tech works amazingly well, my pump vibrates no more, and its a D5!
Installed the fillport
Another shot
Here are the holes I cut by hand with my dremel
Stayed up all night.. finished transferring all the components into my case, besides cable management and adding come cathodes, putting some flooring, and cleaning up the cd drive cut-out, the inside is done!
And it booted up!
Initial test show temps dropped 10c @ idle to idle at 18-19c, load temp dropped 15-23c to load at 37c!
P.S. The temp readout on the front of the case is reading inside case temp.
Will post more pics tonight, for now, I need sleep!
Well thanks to Lurid, I now have wheels to use with my case.
They have breaks as well!
- I also ordered a few things, like a new chipset heatsink.
And a new thumb drive.
And some Arctic Cooling MX-1 is on the way from axiontech, should be here within a few days, then I will put these new parts to the test.
~Vice
Baseball season ends tomorrow (varsity jacket on the way!), so I'll have more time to do some more things with my case.
Here's a little preview of things to come:
Going to try out this Cold-Heat soldering iron. Heart mixed reviews so I'm going to be keeping the receipt just in case
Some nice sleeving, along with some heatshrink will be coming towards the end of the week.
And some nice new ddr2-1000 ram !
I will be ordering everything on Wednesday, so I should be getting everything by Friday or Monday, but I should start painting this week. We have a 5-day break coming up (Fri-Tues) so I should get a lot finished.
I'll just have this, work, and school for a while so hopefully I can get more done.
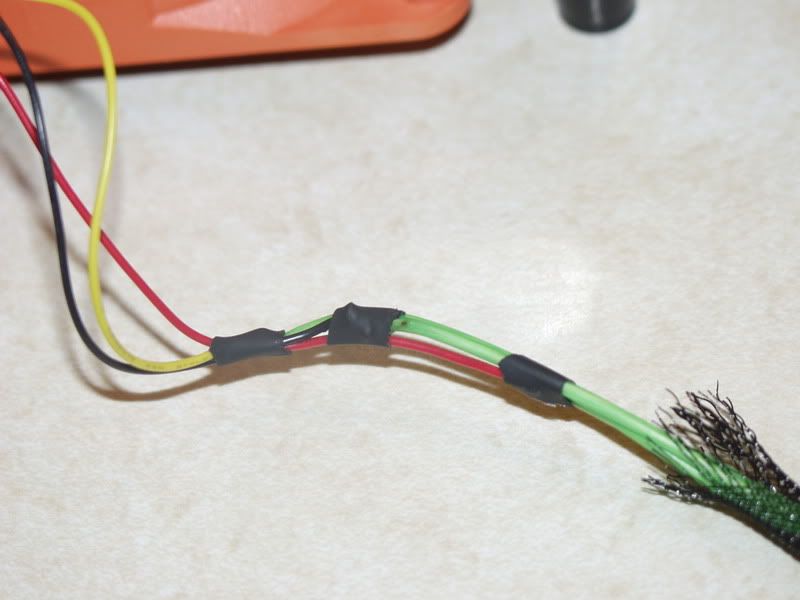
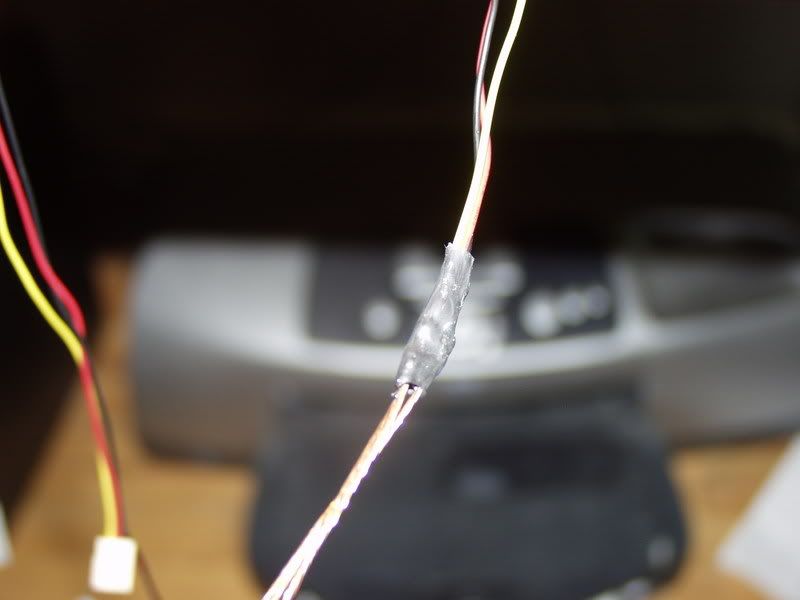
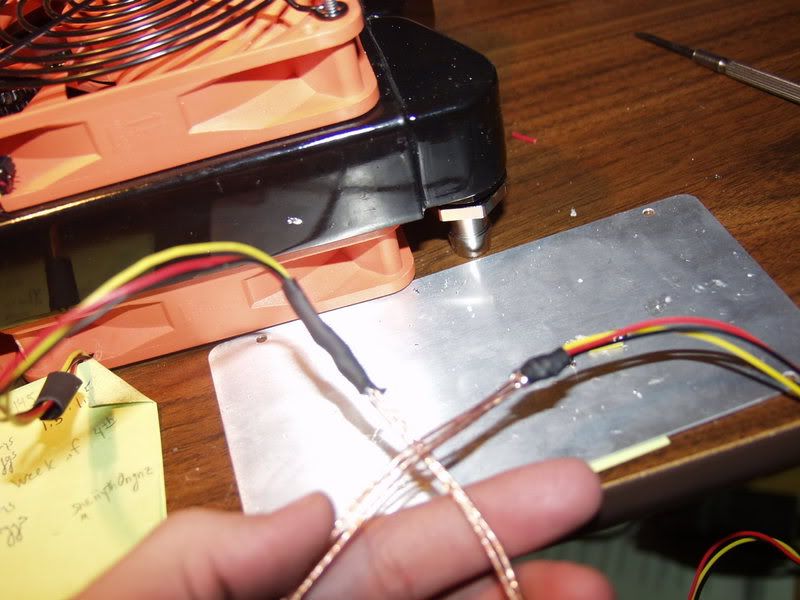
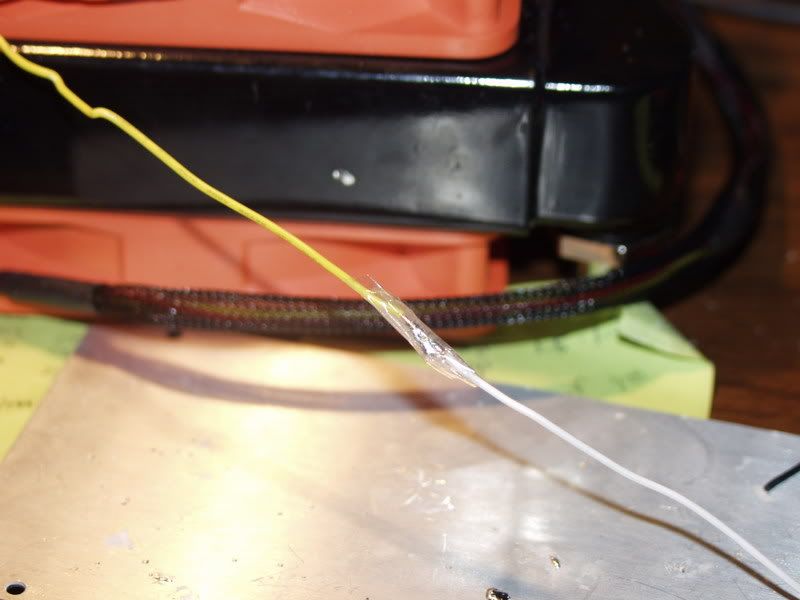
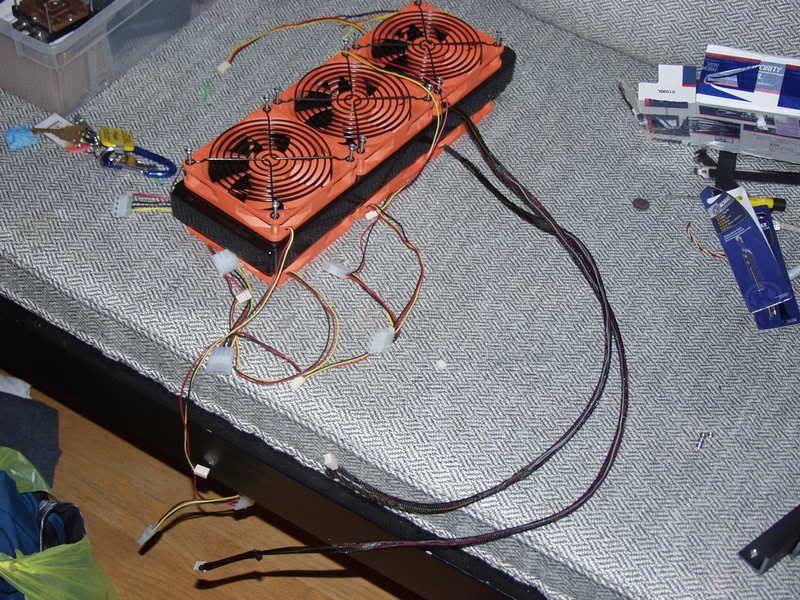
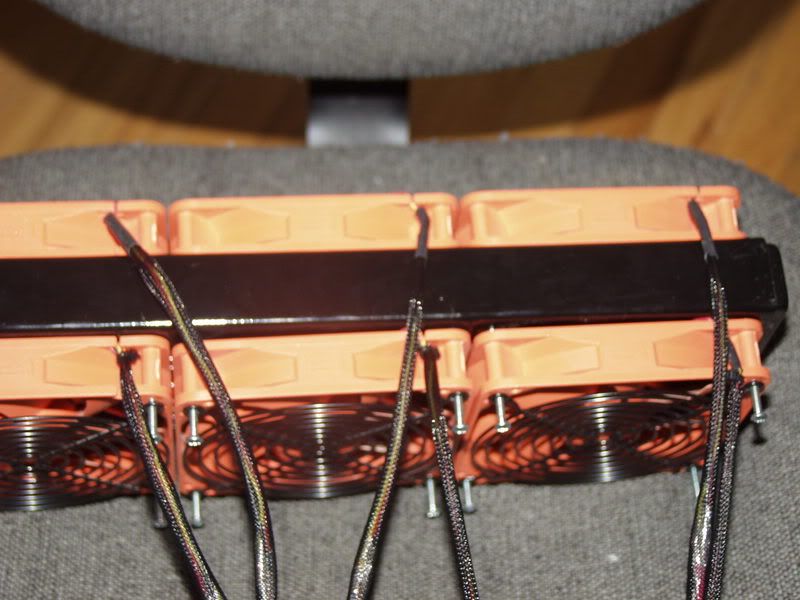
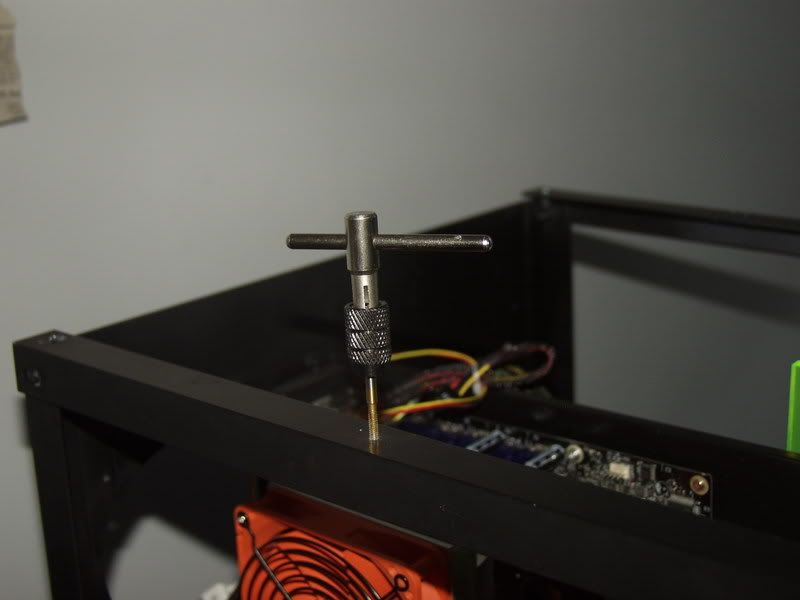
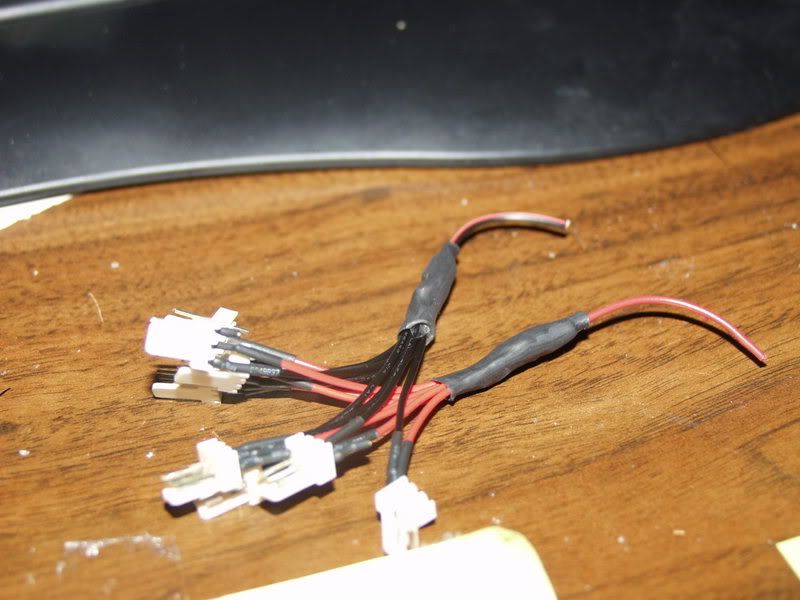
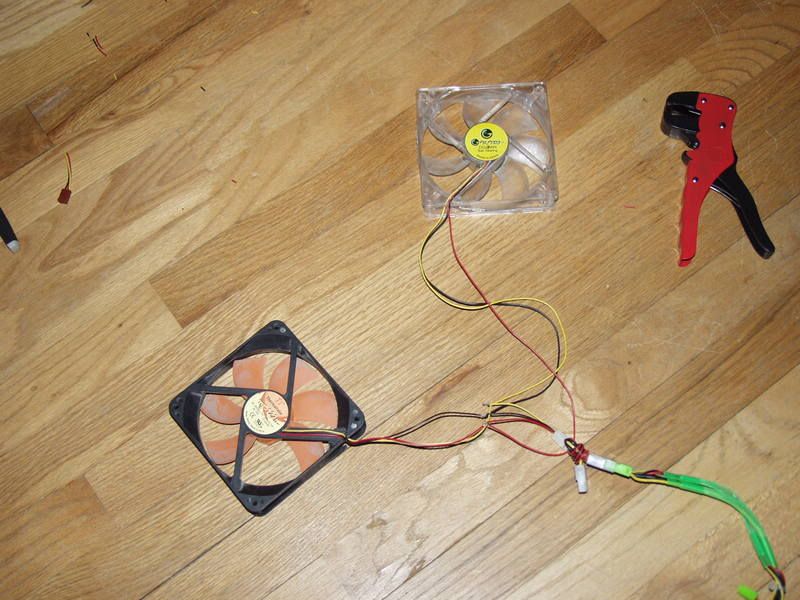
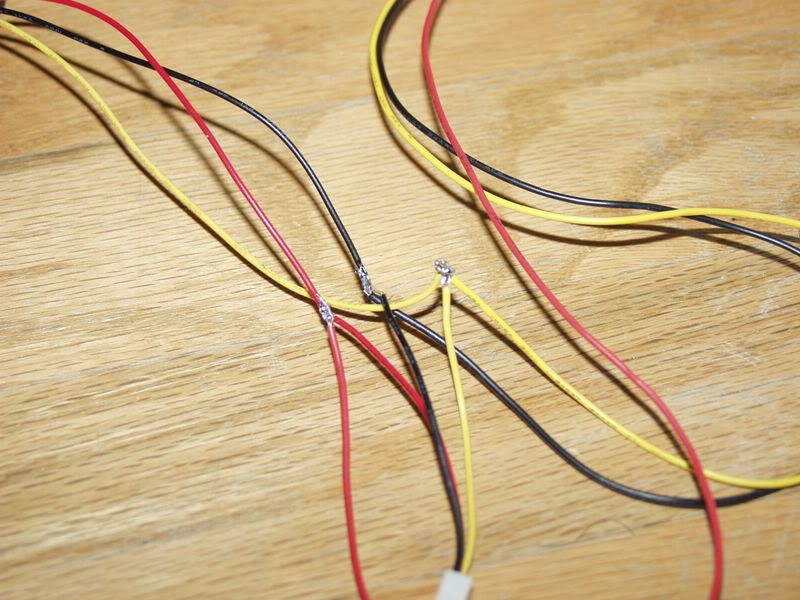
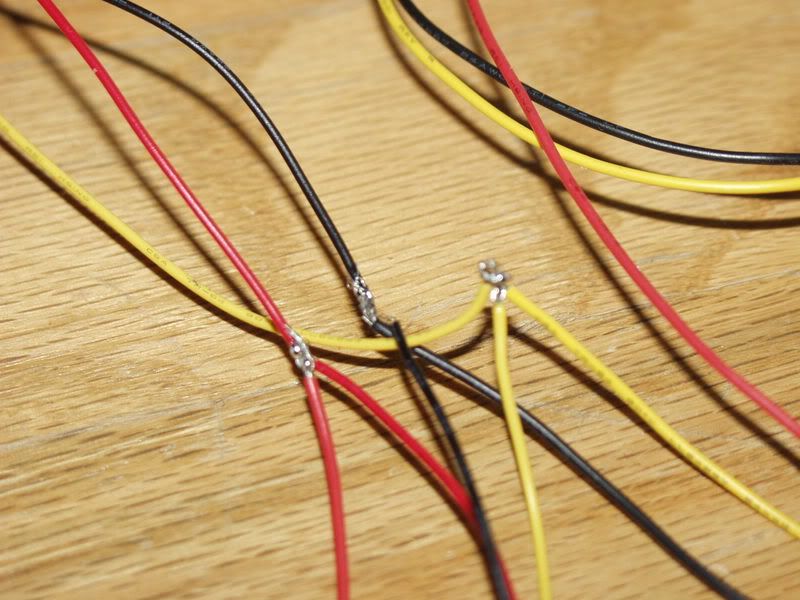
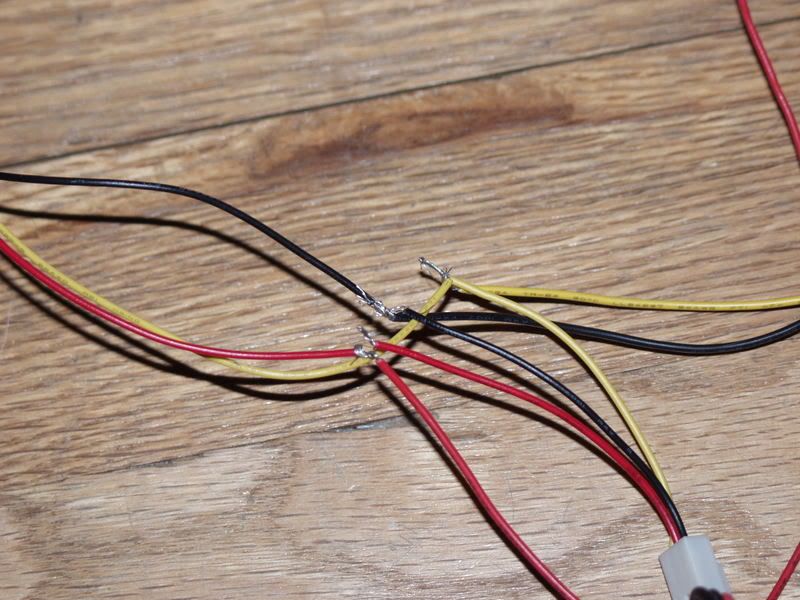
With the help of a friend with a similar project, I learned how to do this:
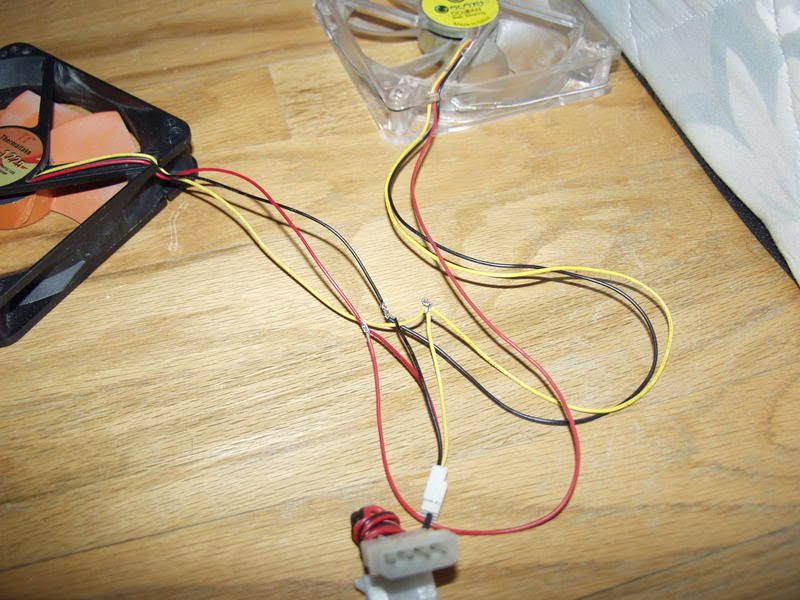
Combined the two fans to one molex-gave me the ability to lose the other four molex connectors to give it a cleaner look-freed up a lot of space. Heatshrink and spiral wrap will follow , these were just test fans.
A hint of wire management to come.
Did the priming this morning- came out great. I'm going to let it dry for 24hrs, so I'll start painting in the morning.
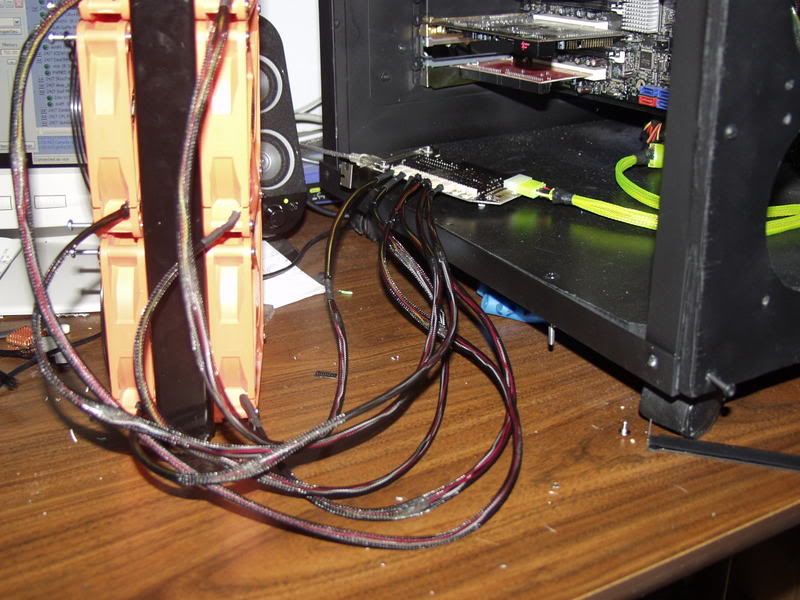
Today I plan on working on the fans since my sleeving and stuff should come this afternoon.
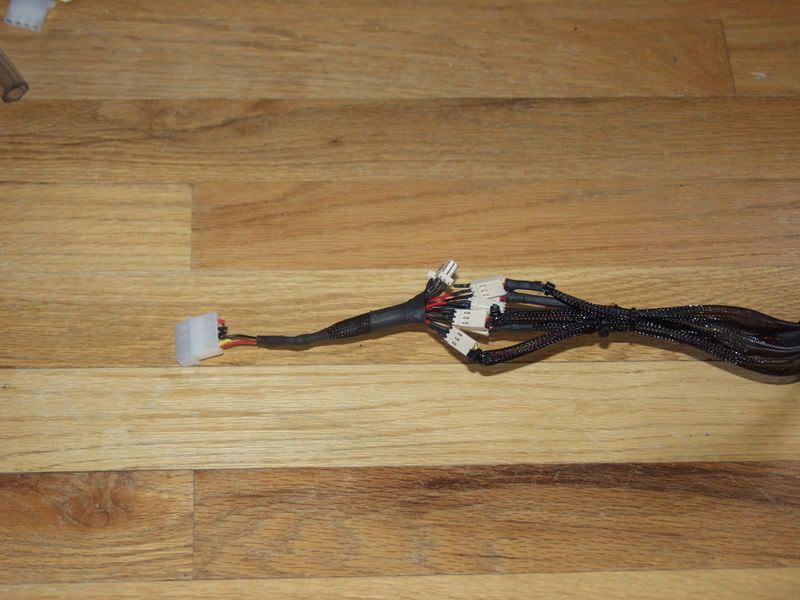
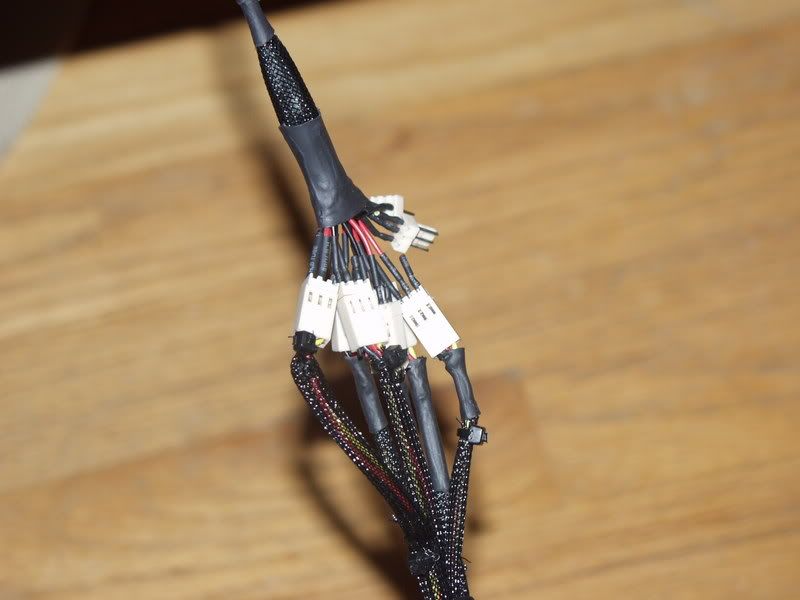
And my setup outta the case:
First coat is done, its hard to show on the camera, but the color is flat black.
Got a lot done today, so much so, I actually feel "completed" for the day.
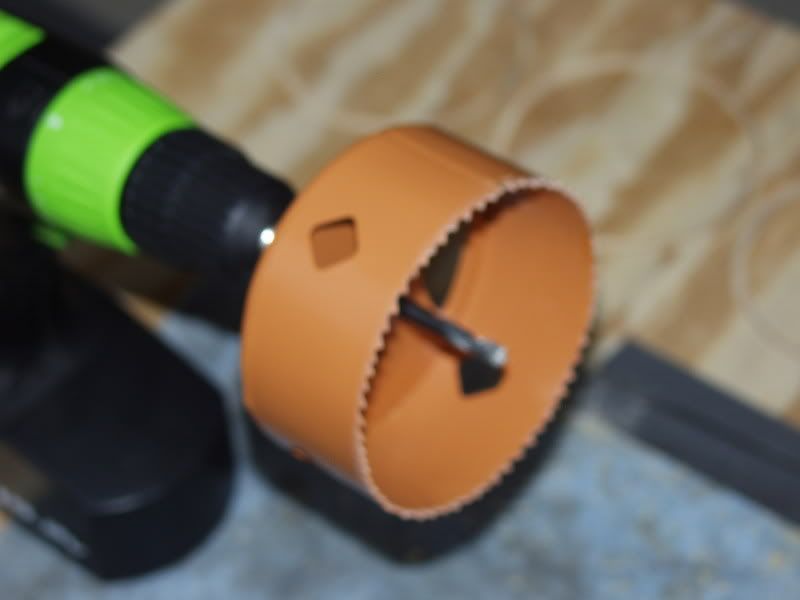
I made a new cd drive mount, hd mount will come tomorrow. I also redid the front panel for my case. I started one yesterday, but it came out crappy and my measurements were off.. it was fixable, but I've worked too hard for this case to come out sh*tty, so I completely redid it. The cut for the cd drives is much cleaner now. I will head over to home depot tomorrow to grab a hole saw for the fans, the wood is too thick to use my dremel with any sense of accuracy. Wiring should come Wednesday, and another switch and some zip ties by weeks end.
Pics:
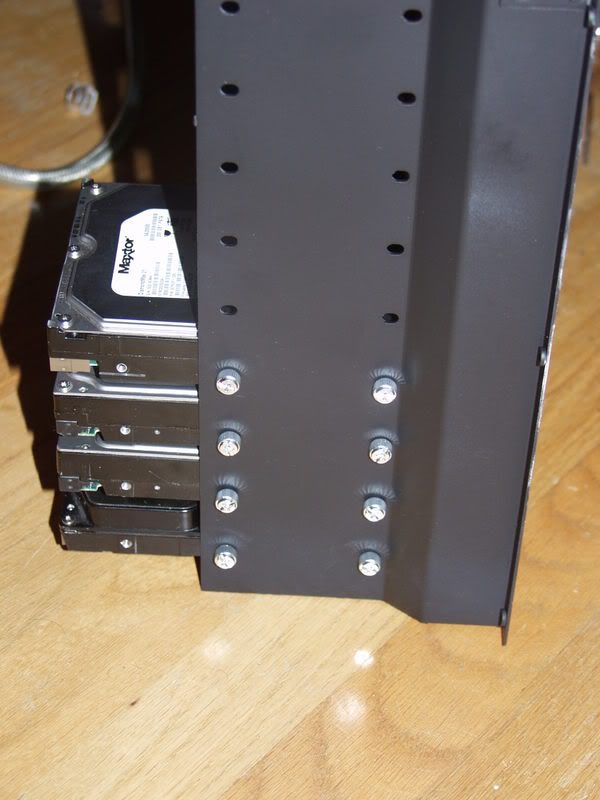
The metal brackets will be painted black tomorrow.. silver and neon-green don't go too well
Those longs bolts will be replace with shorter ones, just using them to hold the brackets in place for now.
First go at front panel:
As you can see, the cut is not very neat.
Embarrassing..
Redid it, took about 3hrs.
Cut is much better, wouldn't you say?
More to come tomorrow.
P.S. New ram comes tomorrow, woot!