Hello guys and gals.
I'm sure a lot of you, like myself, love the UFO cases, but just have not gotten around to buying one, or its too expensive. I found myself with this predicament as well. So I decided to build one !
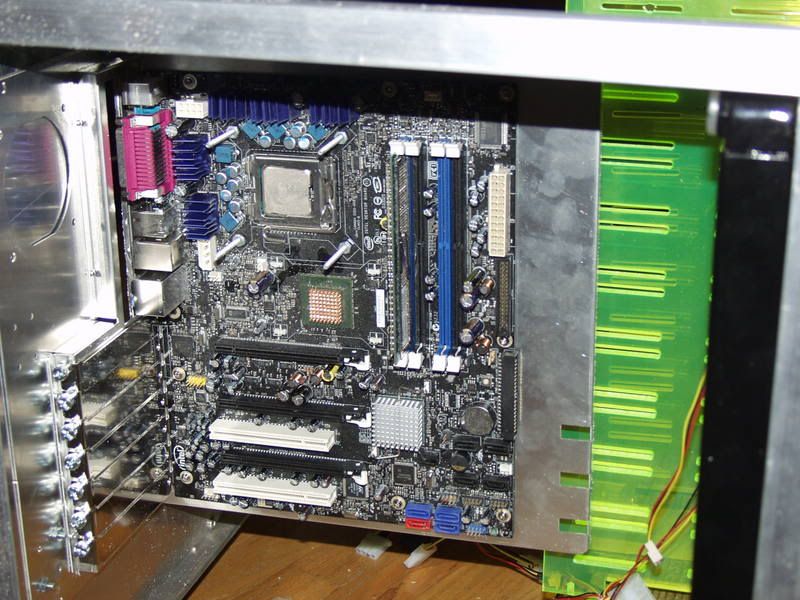
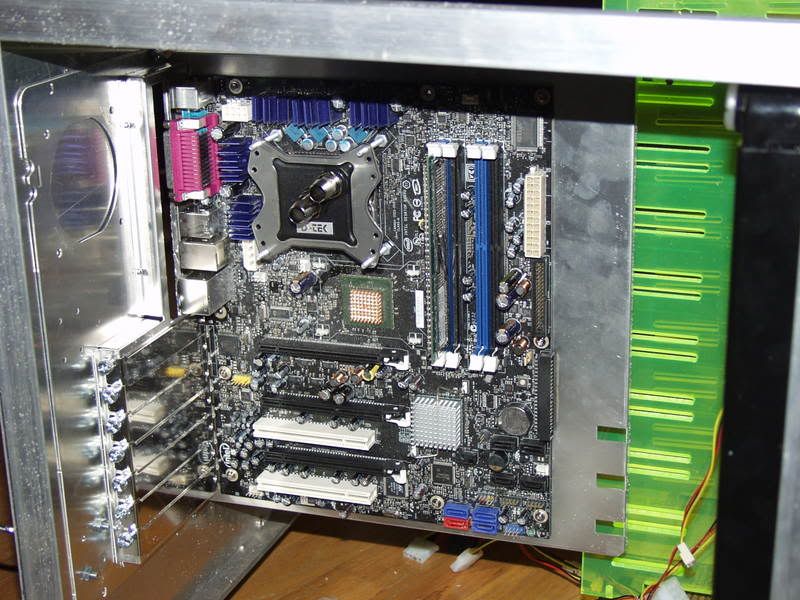
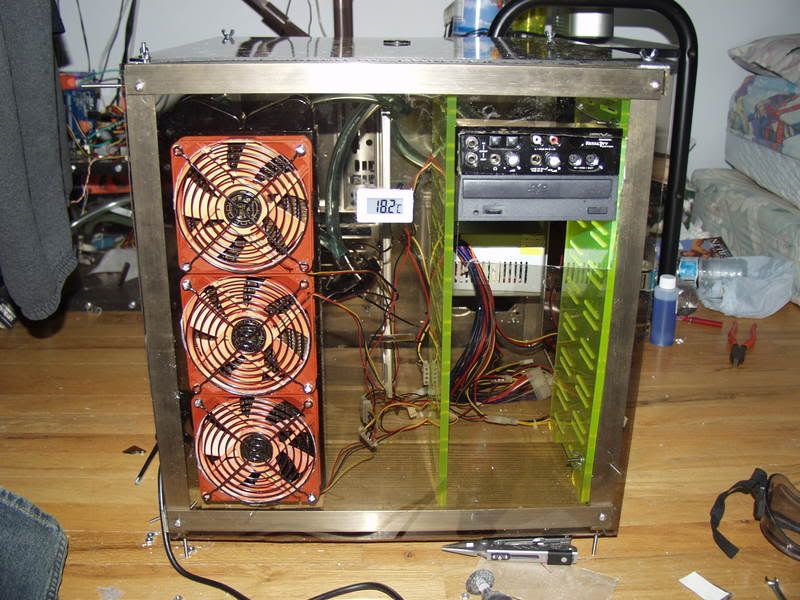
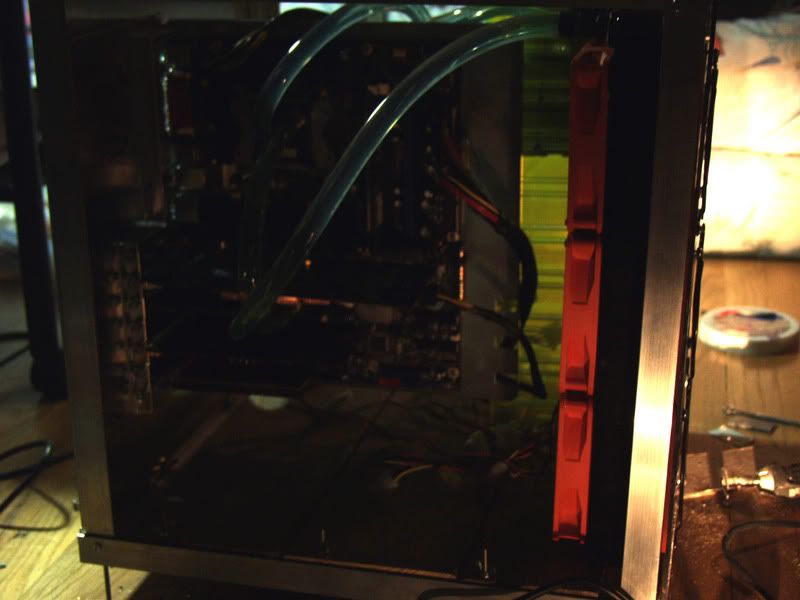
I made my first case over the summer, shown here:
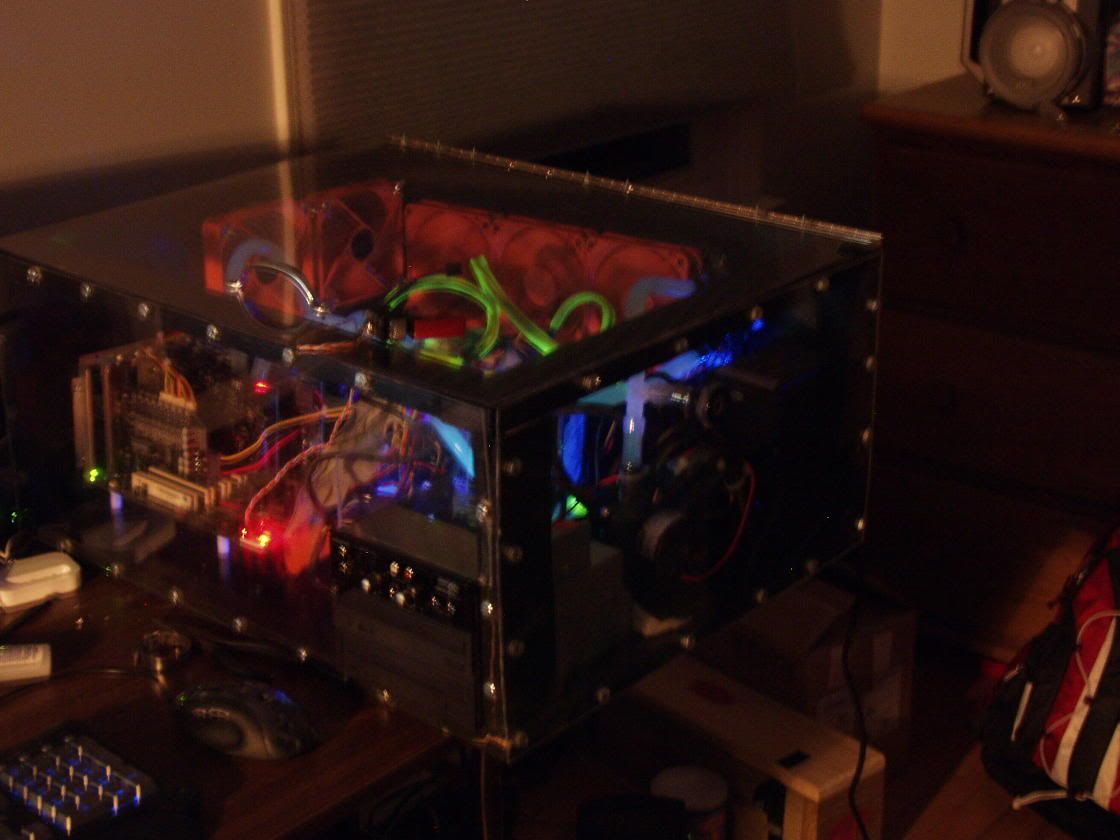
While its not great, it opened me up to the world of modding.
I'm planning on replacing my current loop, minus my gpu block. Here's a list of the hardware I'm going to pick up.
1x Aluminum Sheet 18 x 18x 0.125
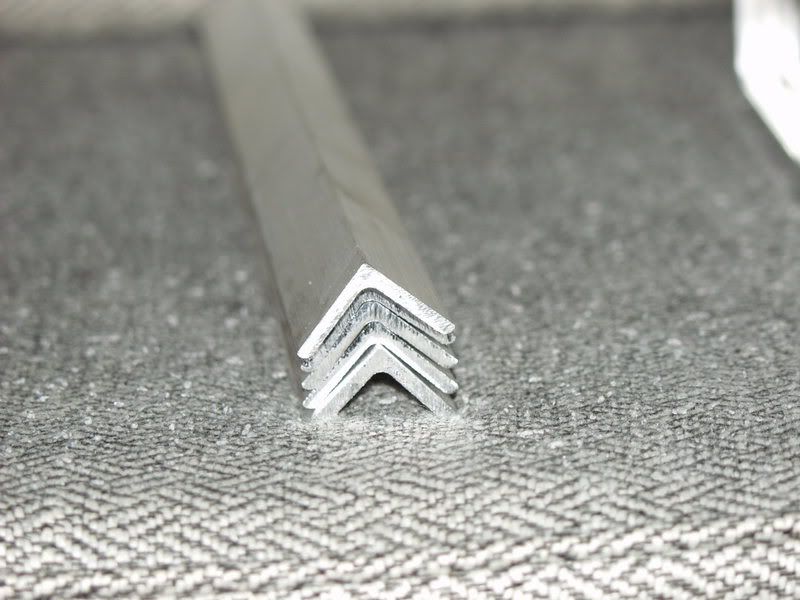
14x Aluminum L-profiles 18 x 18 x 0.125
1x Lian Li Replacement Removable Motherboard Tray
1x A.C. Ryan Constructx BayColumn510 UV Green
4x A.C. Ryan AcrylPanel 3mm Black
2x Startech 2.54mm Standard Jumper Caps
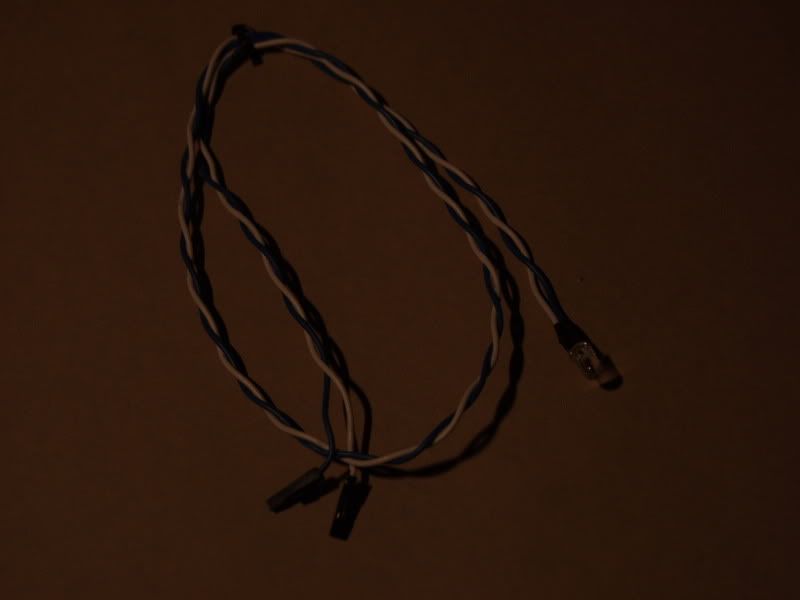
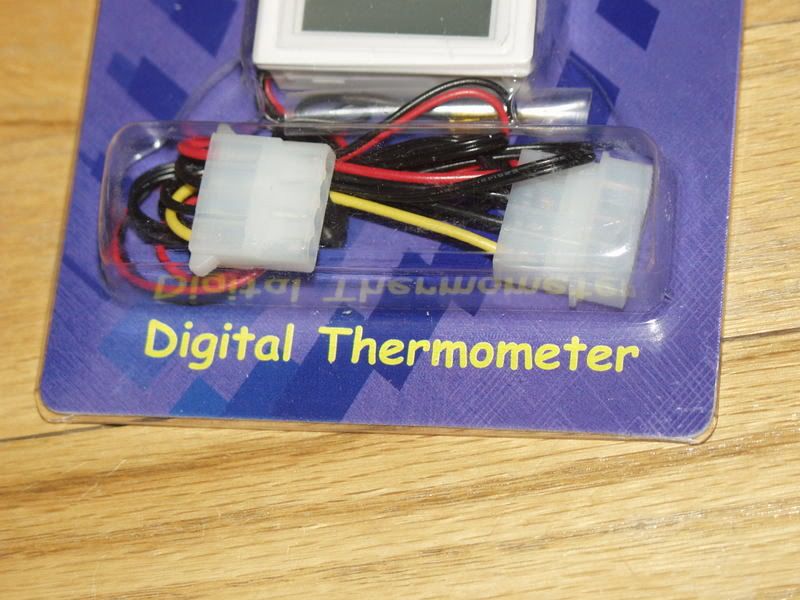
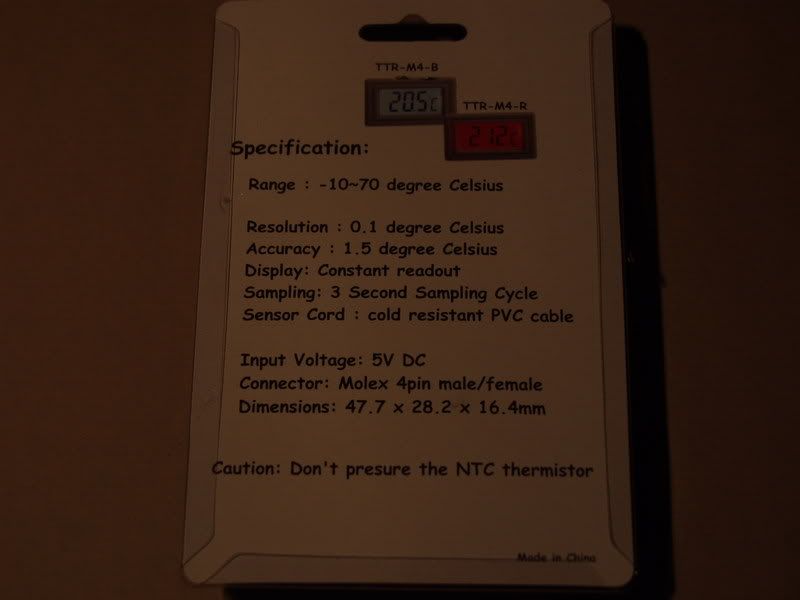
1x Digital Thermometer with Blue LED Back Light
1x Lian Li Dual PSU Bracket
4x Startech 2mm SCSI Drive Jumper Caps
Water Cooling - Petra'sTech
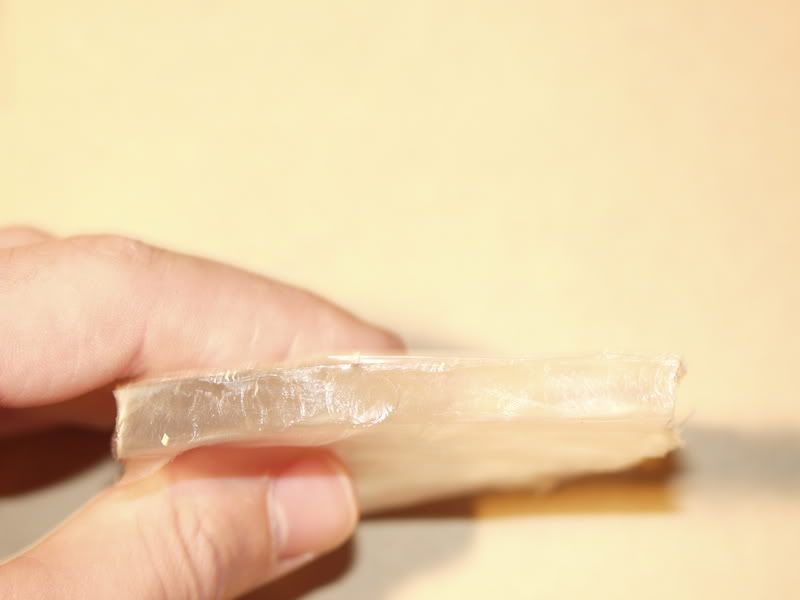
1x Gell Stuff
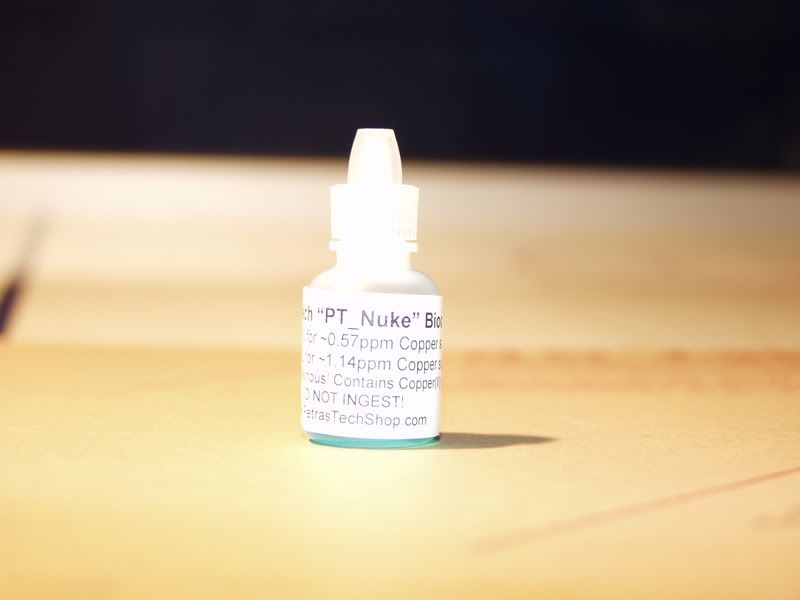
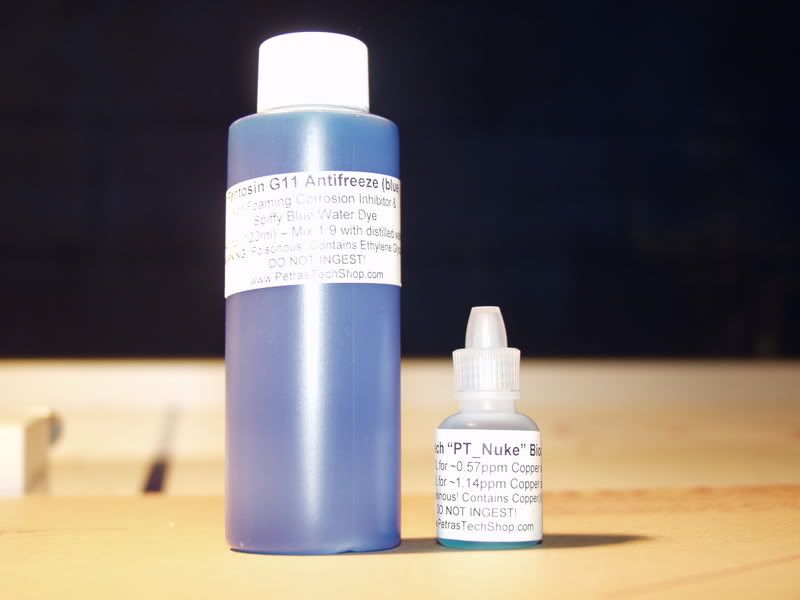
1x PT Nuke
10x Masterkleer 7/16
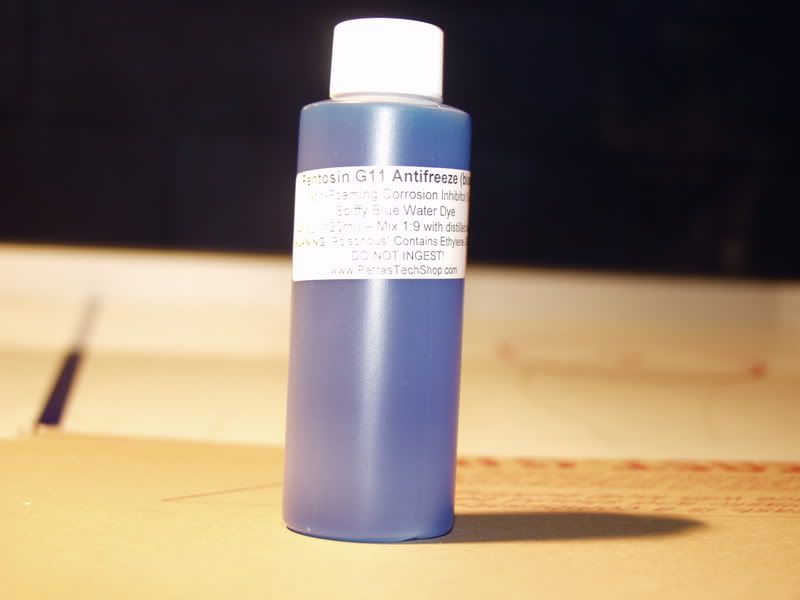
1x Pentosin
1x Swiftech MCR-320
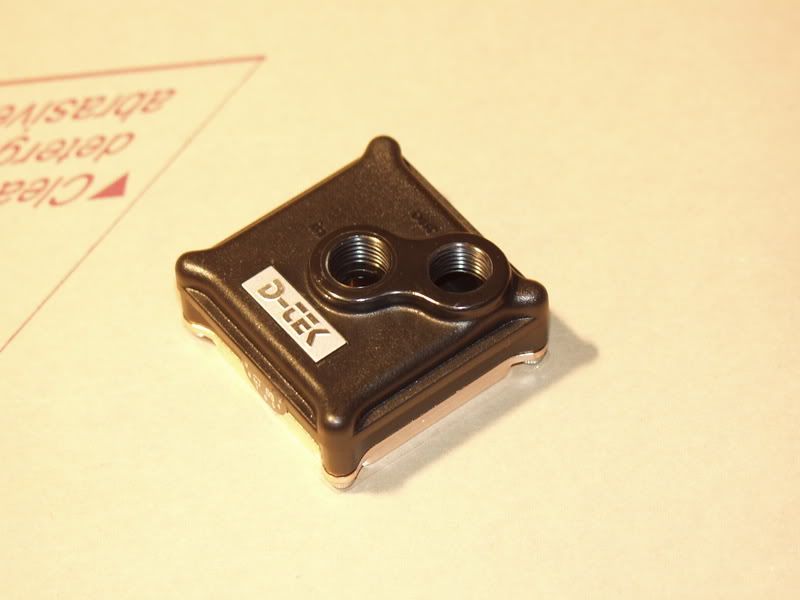
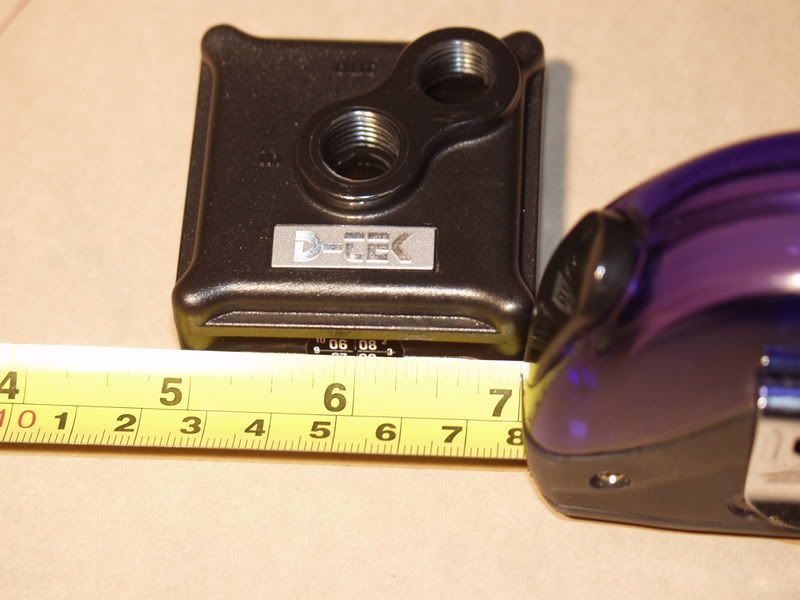
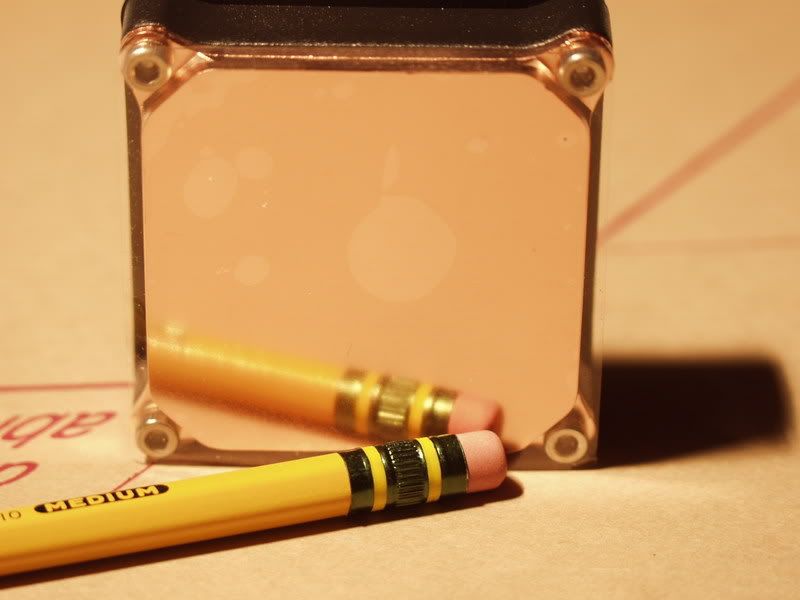
1x D-Tek Fusion
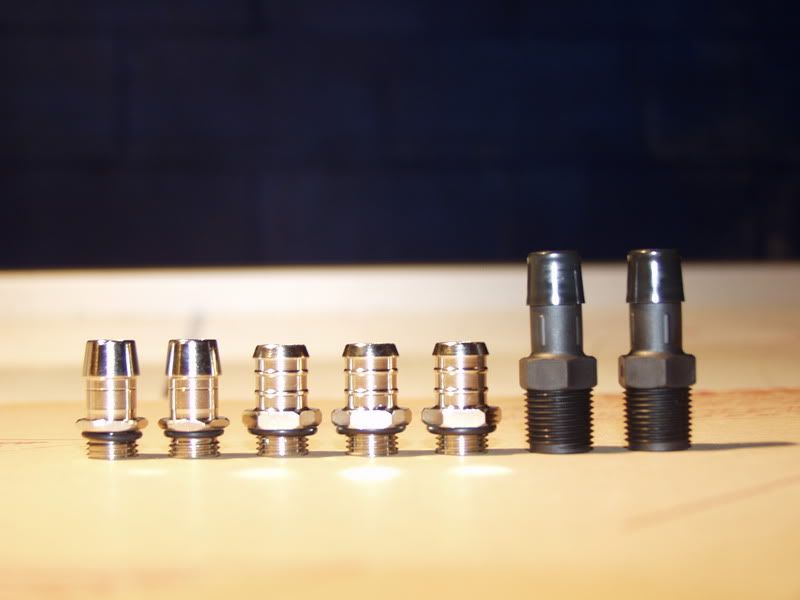
4x Ek Barbs
1x Computer Screw Kit
I have not ordered the wc stuff yet, paypal transfer will clear the 15th, so I'll order that night. So if you have any suggestions, they're more than welcome.
I started construction today, so here are some pics so far.
.125=3.175mm- thick
Same with the alu sheet
looks good!
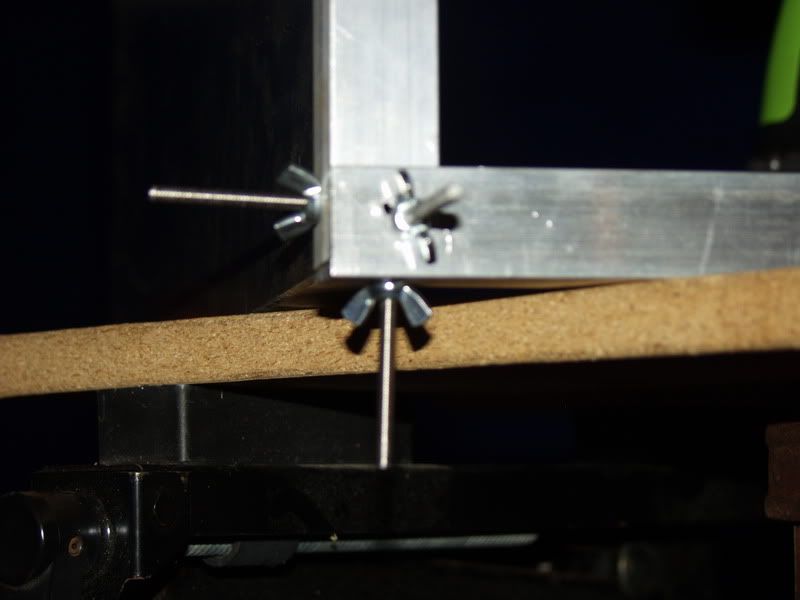
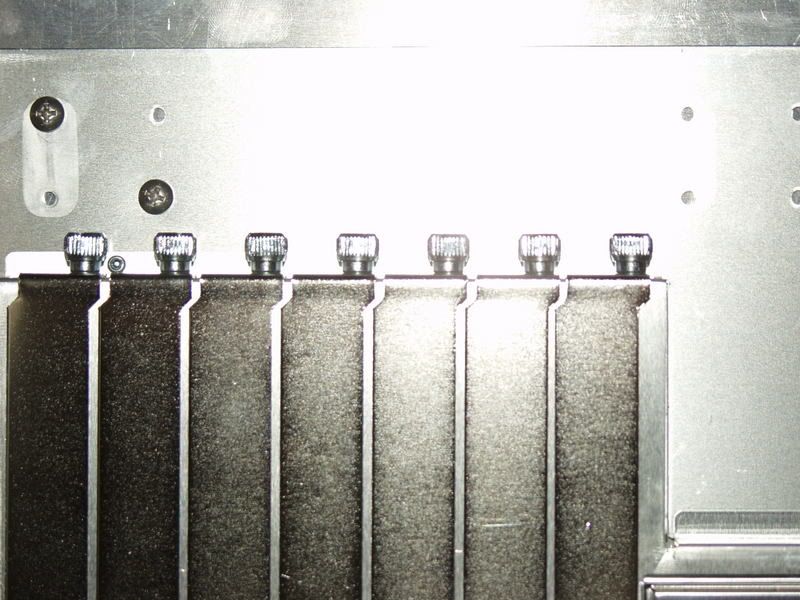
Temporary screws to hold everything in place before I get shorter ones. Wing nuts don't hold everything together tight enough, so I'll those will just some regular nuts. The new bolts will also be countersunk, with the nuts on the inside, for a more cosmetically pleasing look.
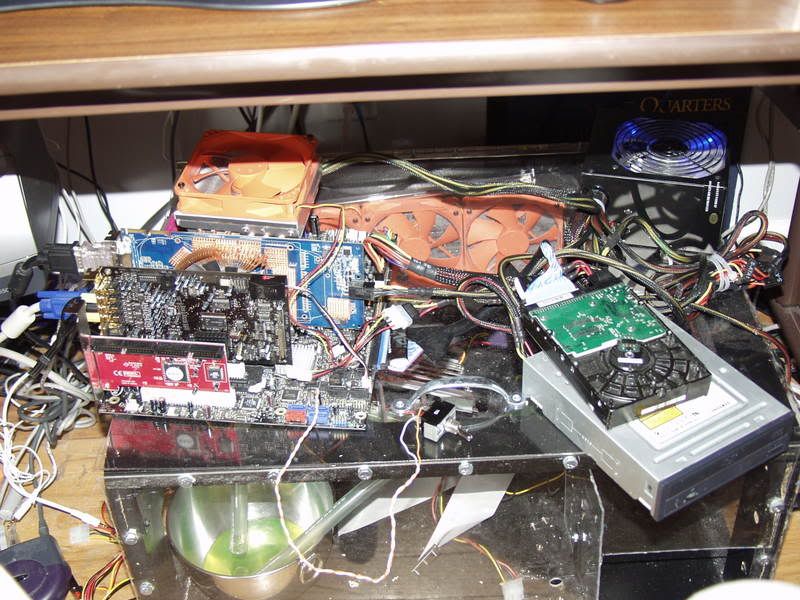
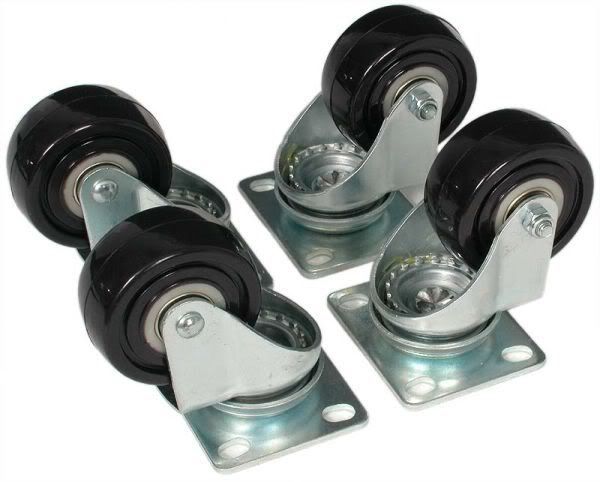
Here's some accessory pics:
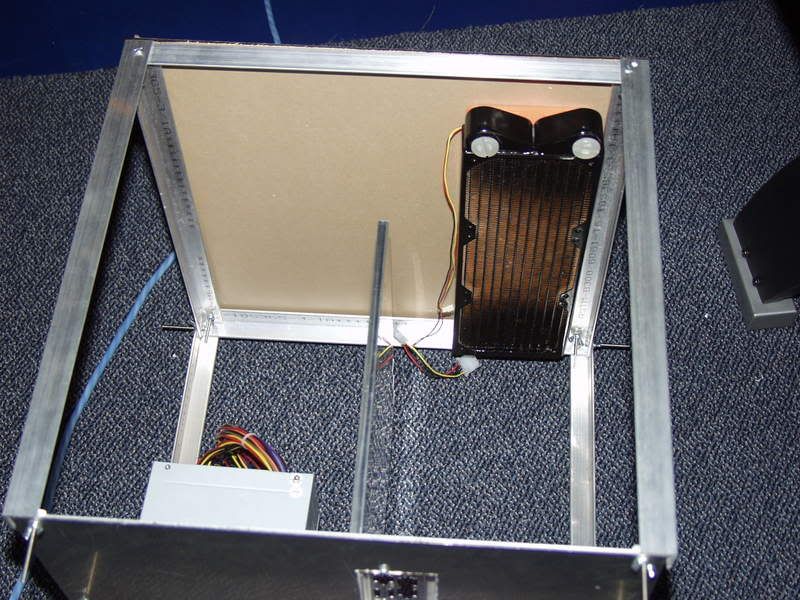
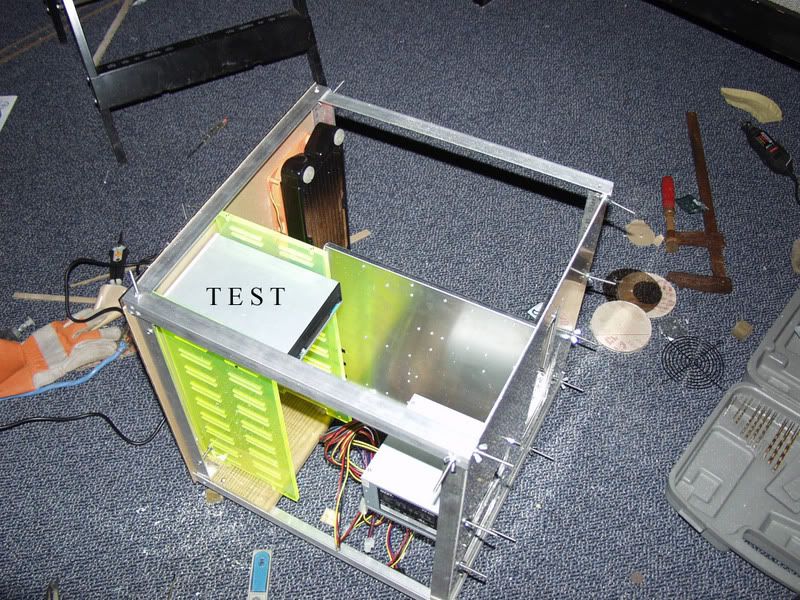
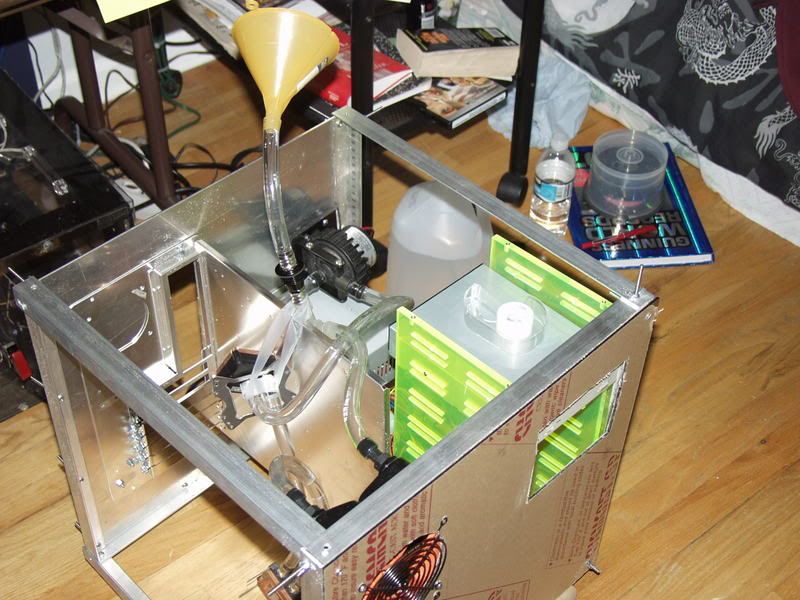
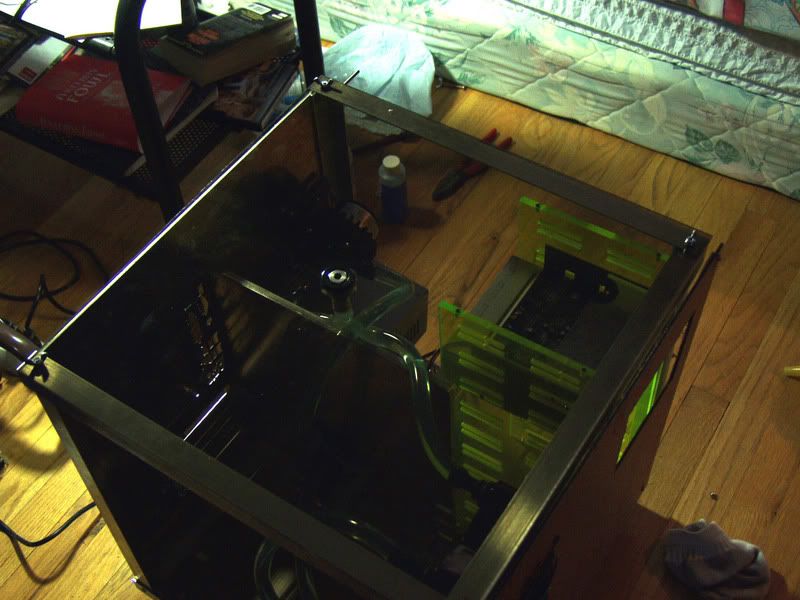
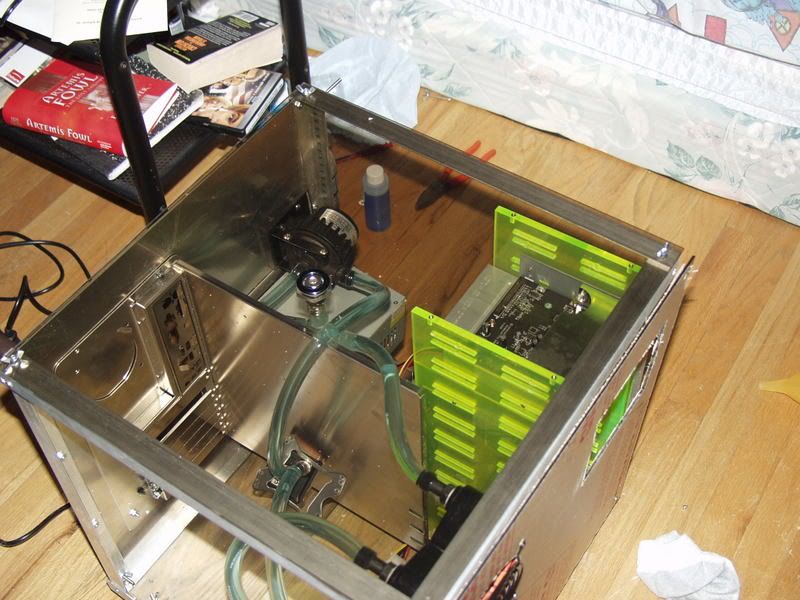
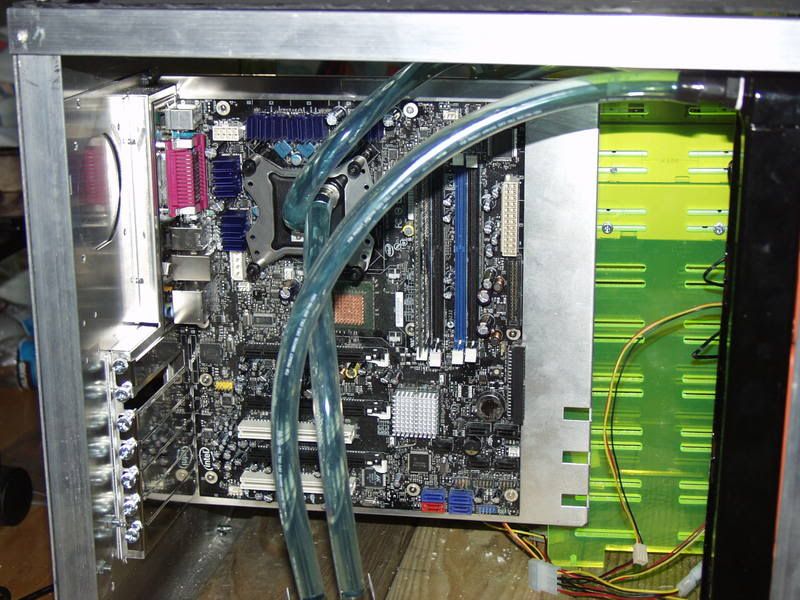
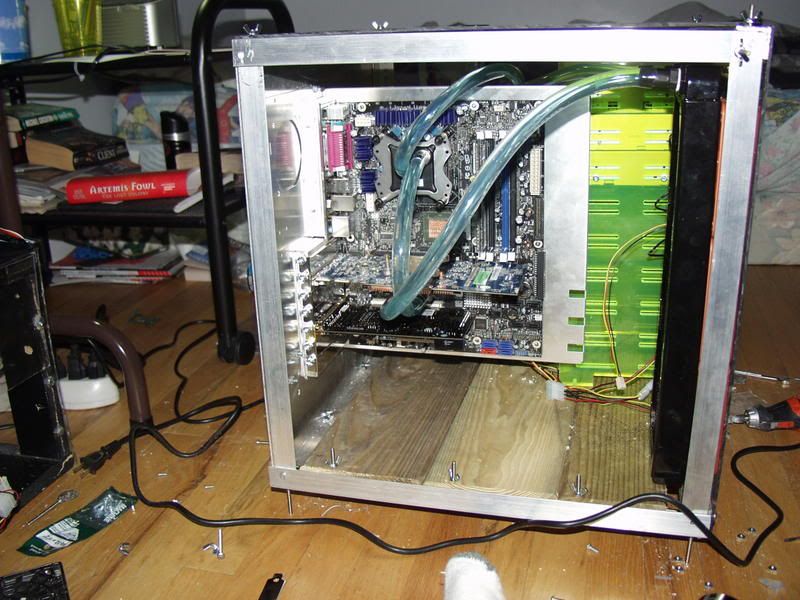
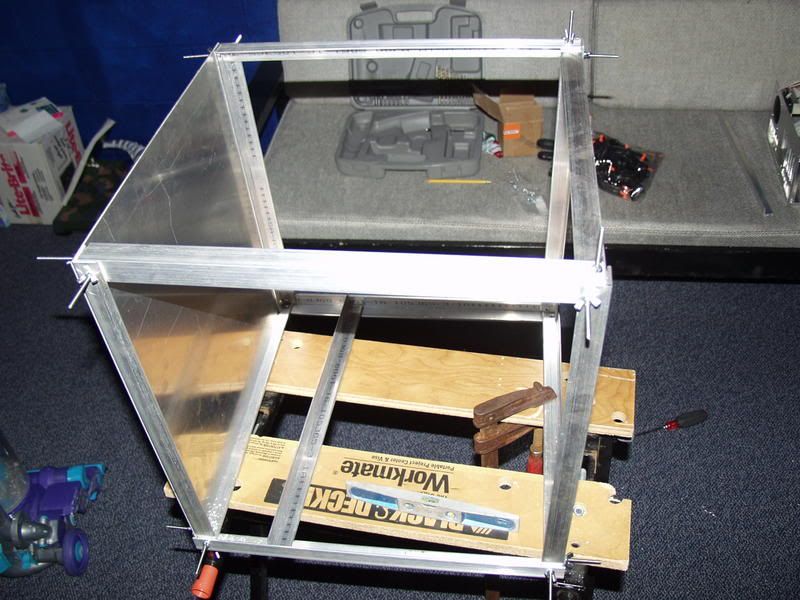
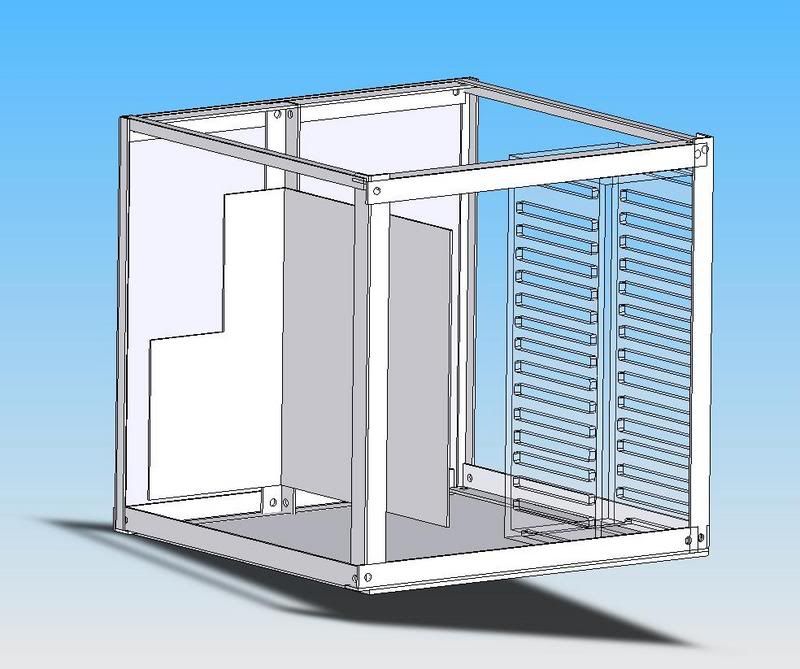
Here's just a basic overview of what the inside will look like, minus the outside plexi, radiator, fan grills, psu... etc. Just an idea.
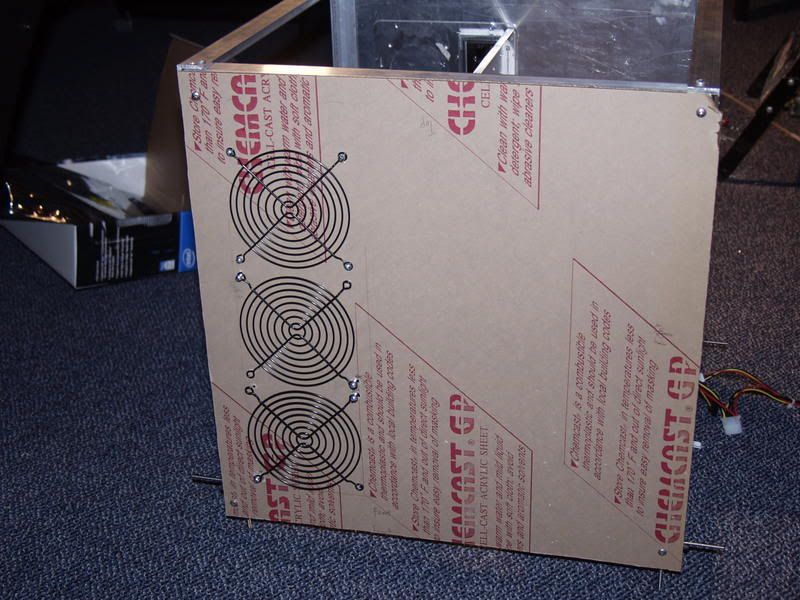
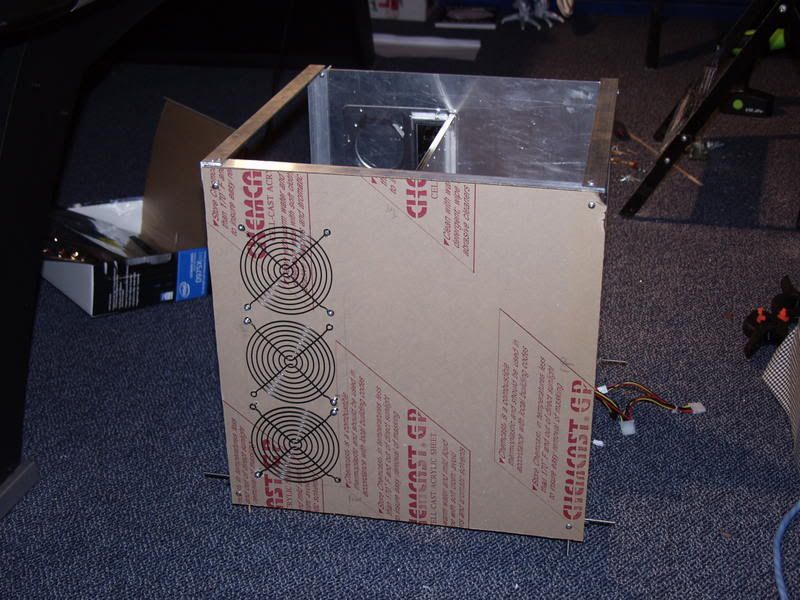
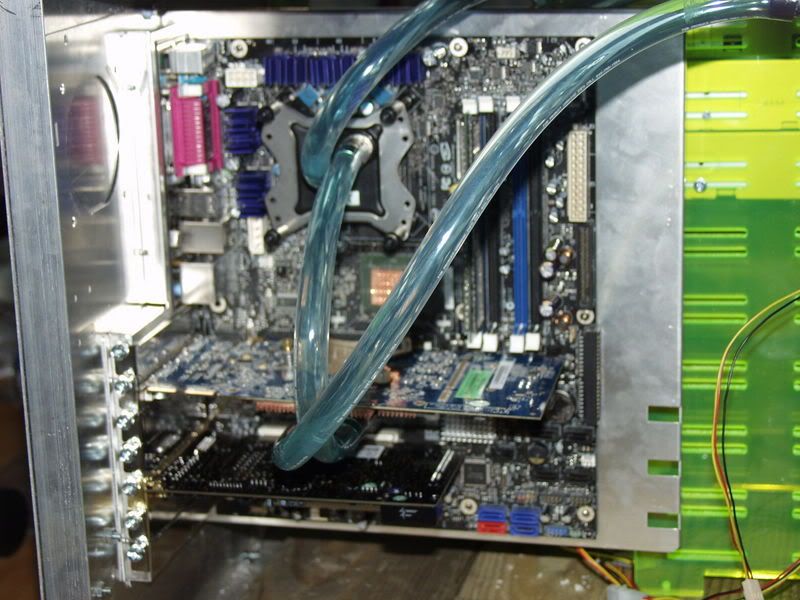
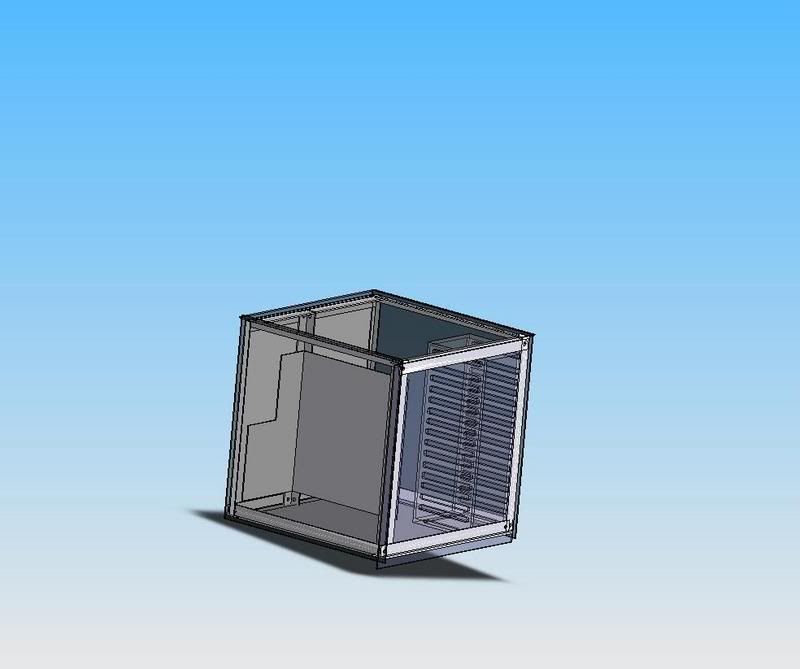
Here's an idea of what the black plexi will look like:
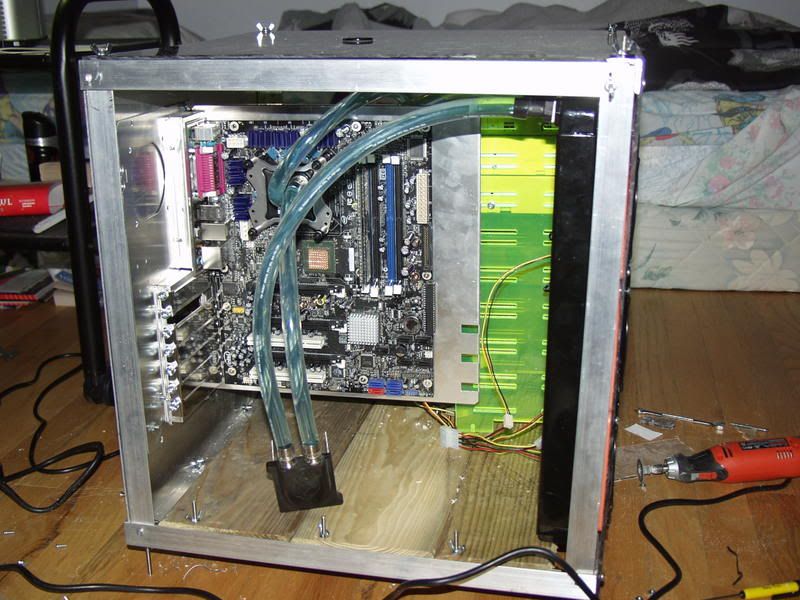
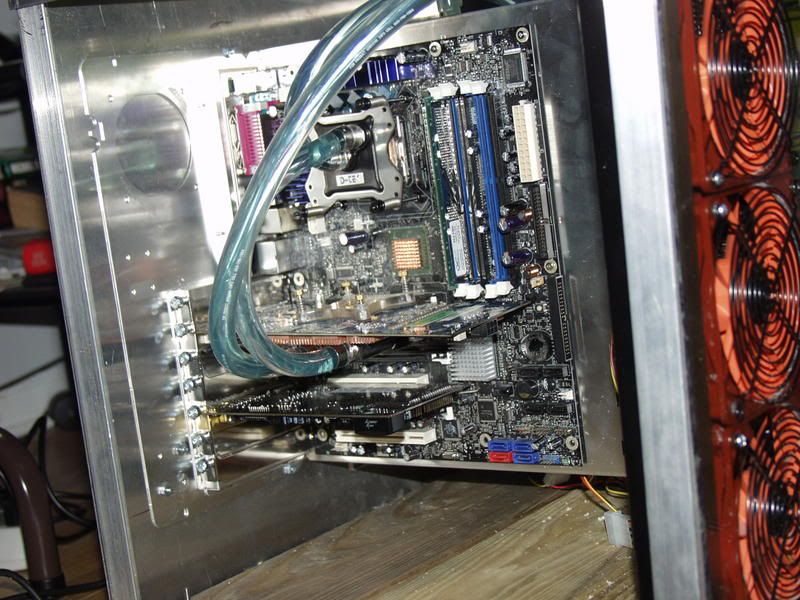
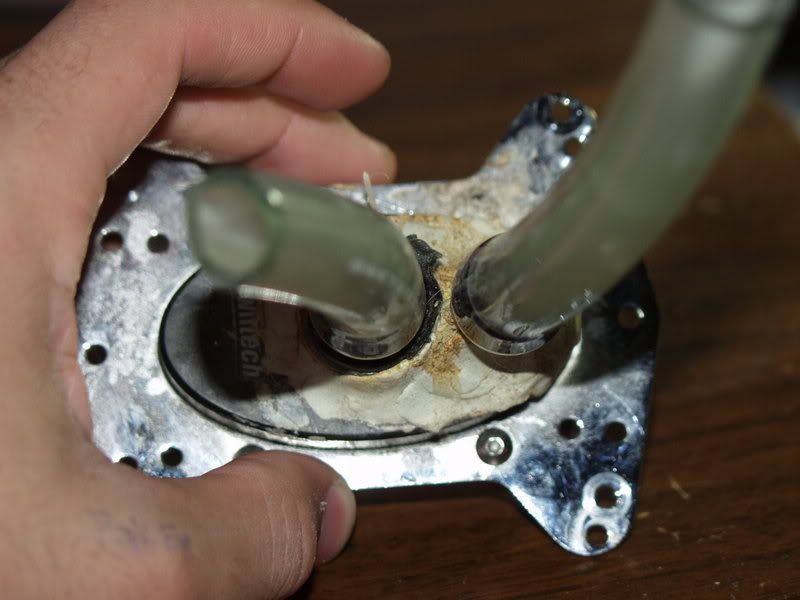
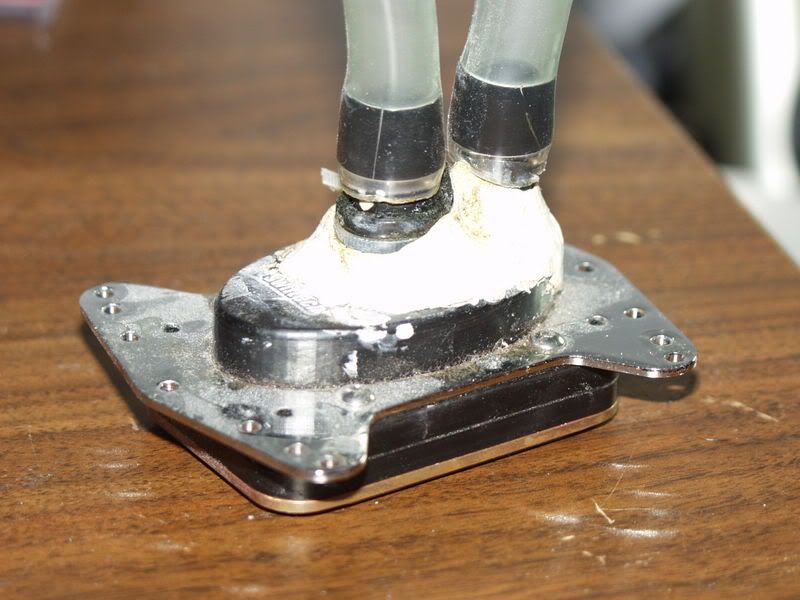
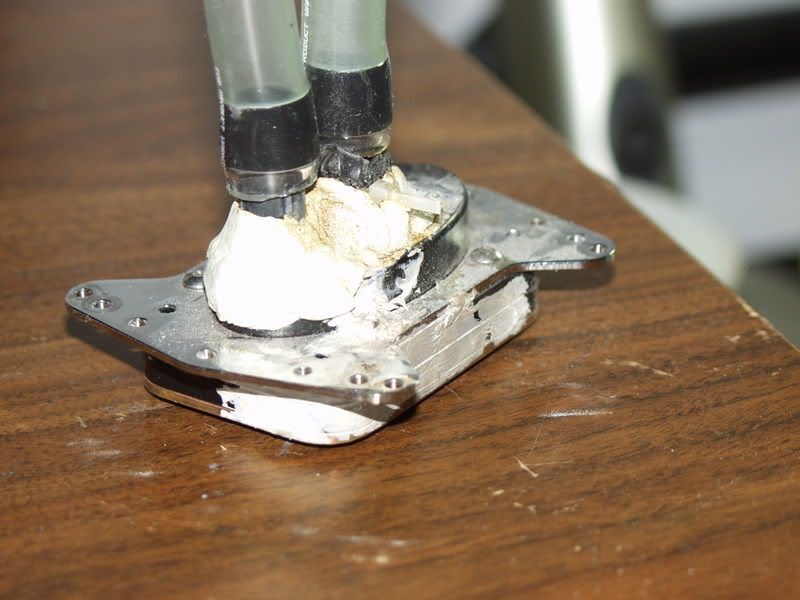
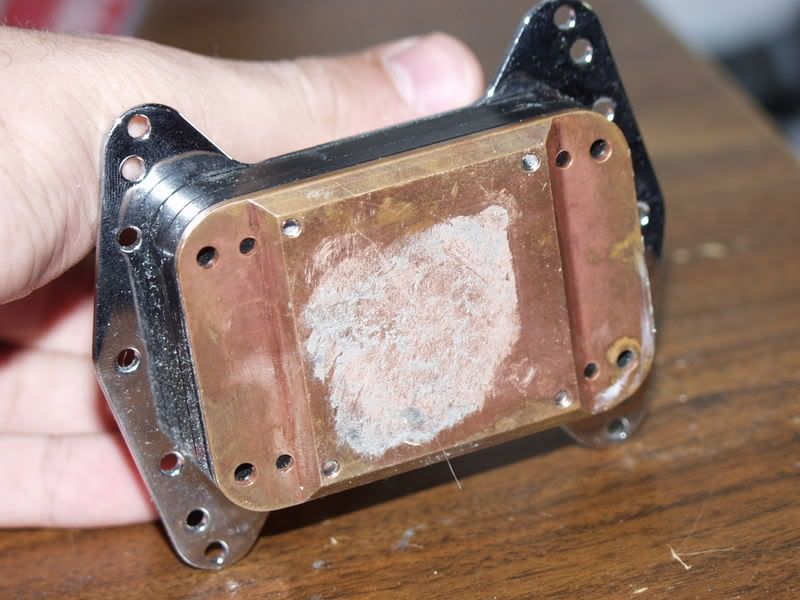
I can't seem to find a place for the pump, but I was thinking something like this.
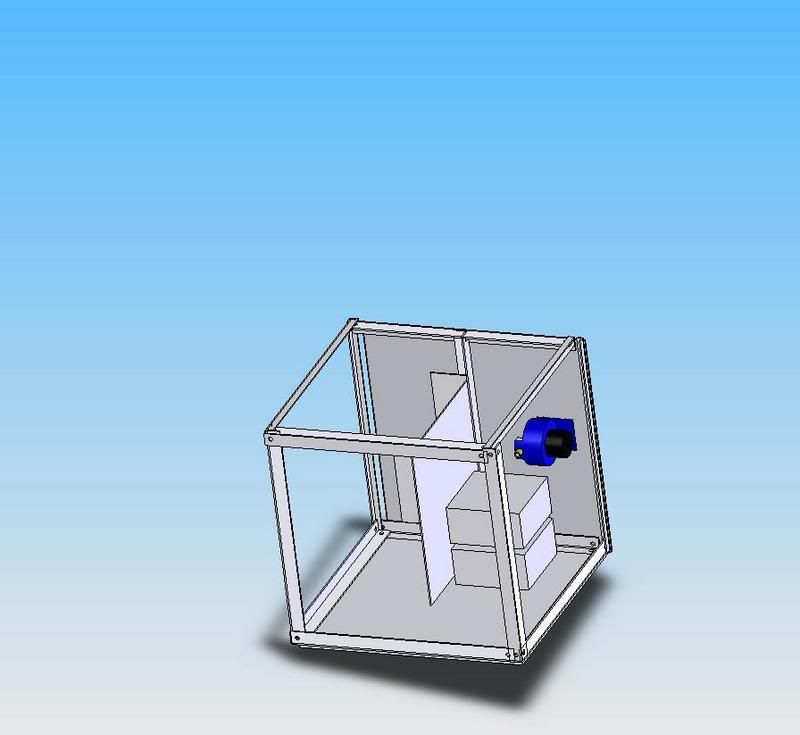
I would move it over to the right side far enough to give to tubing some slack not to kink as well. I just thinking about putting it on the back wall because that should dampen most vibrations, 3.175mm thick alu + ptech gel stuff.
Any suggestions?
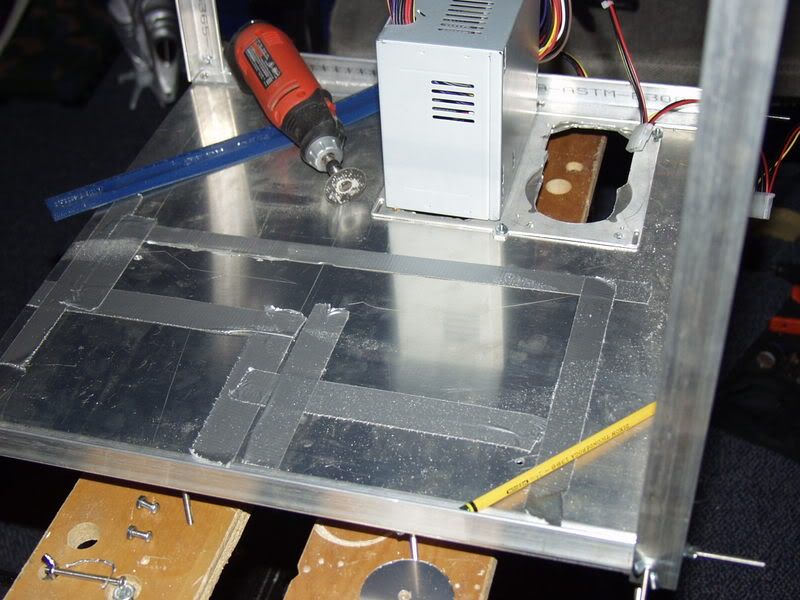
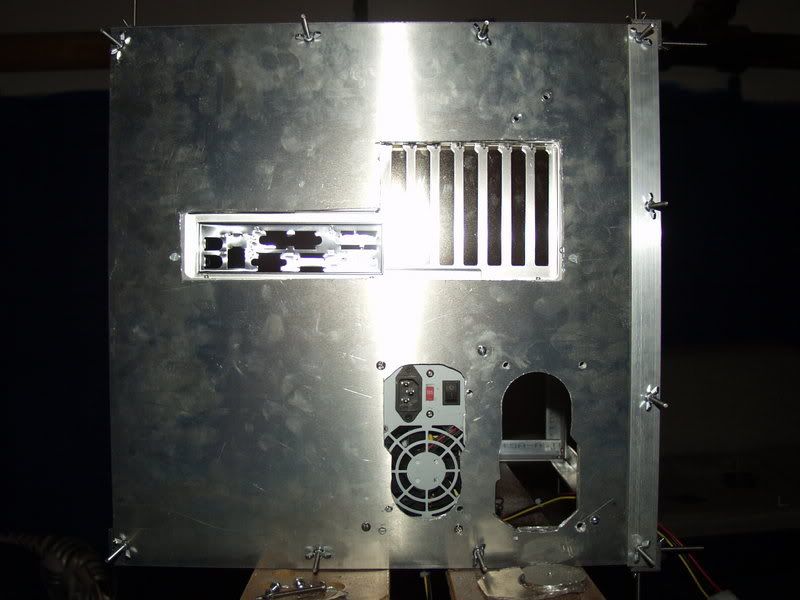
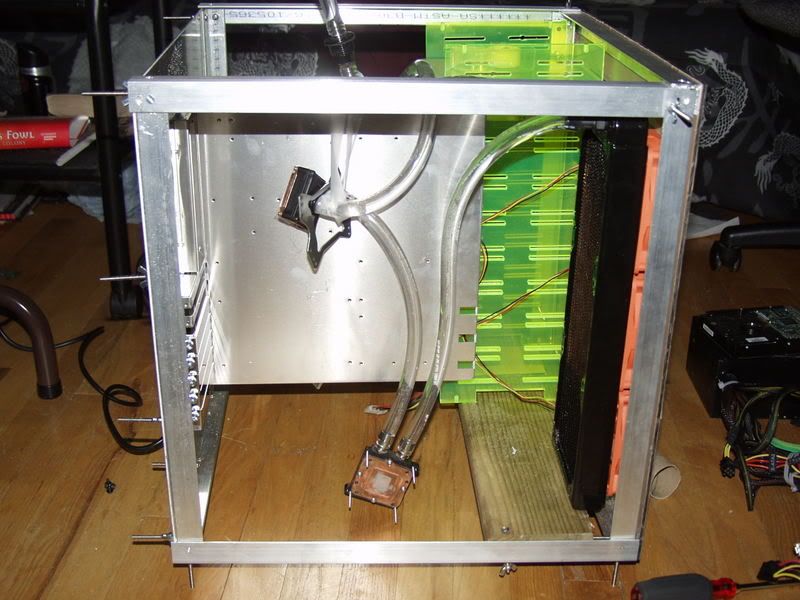
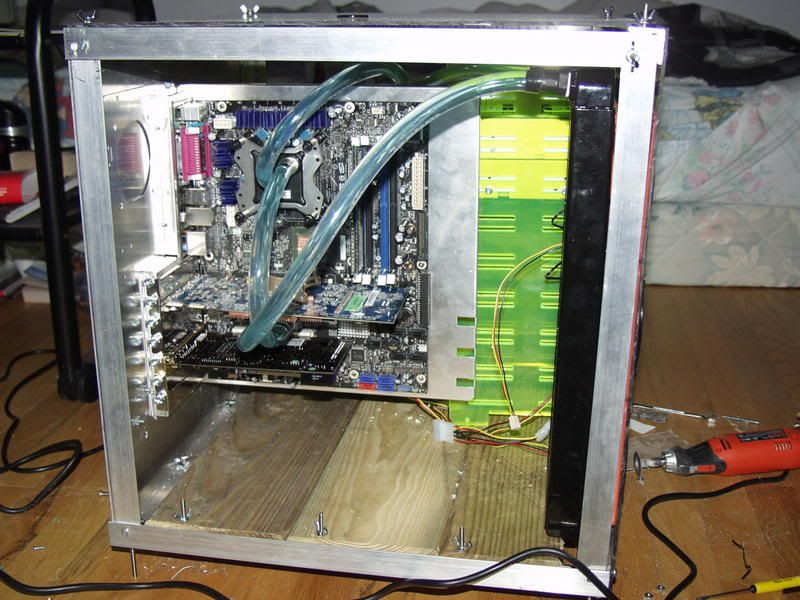
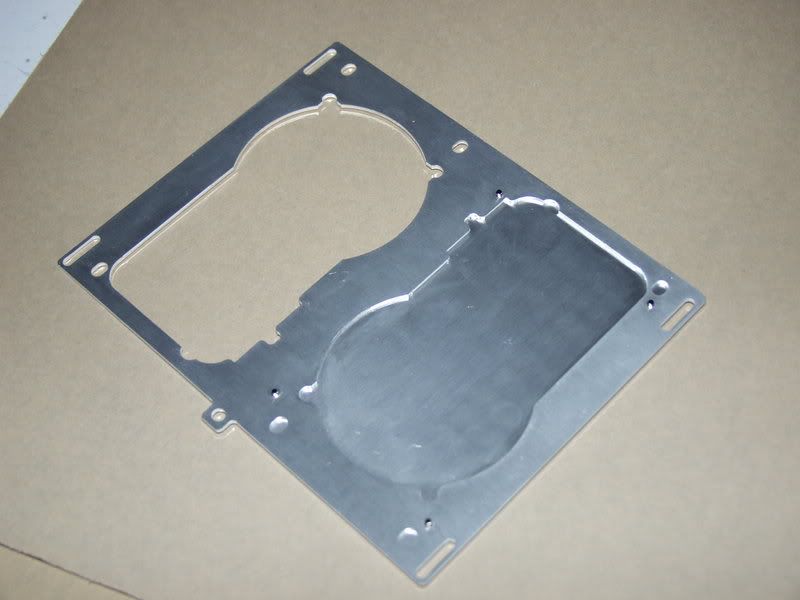
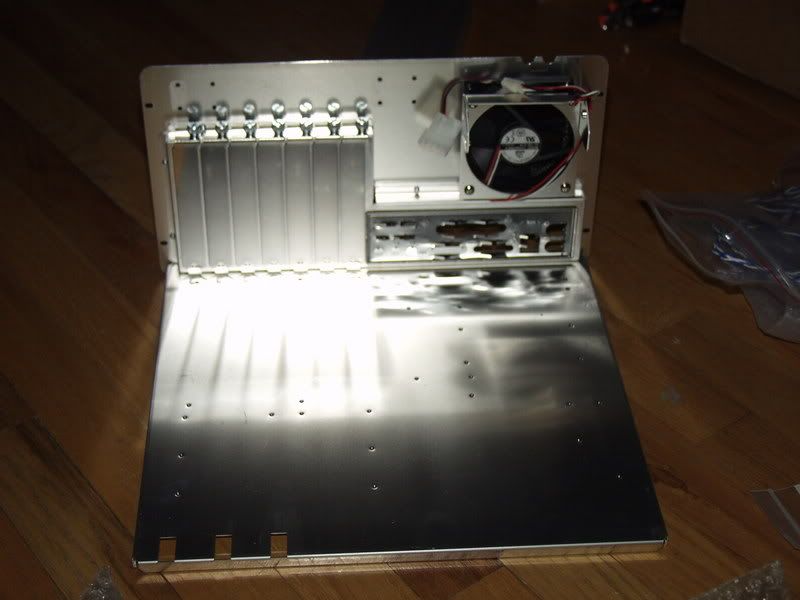
Hooked up the mobo tray. Over the weekend Ill get out the dremel and chop me a psu hole.

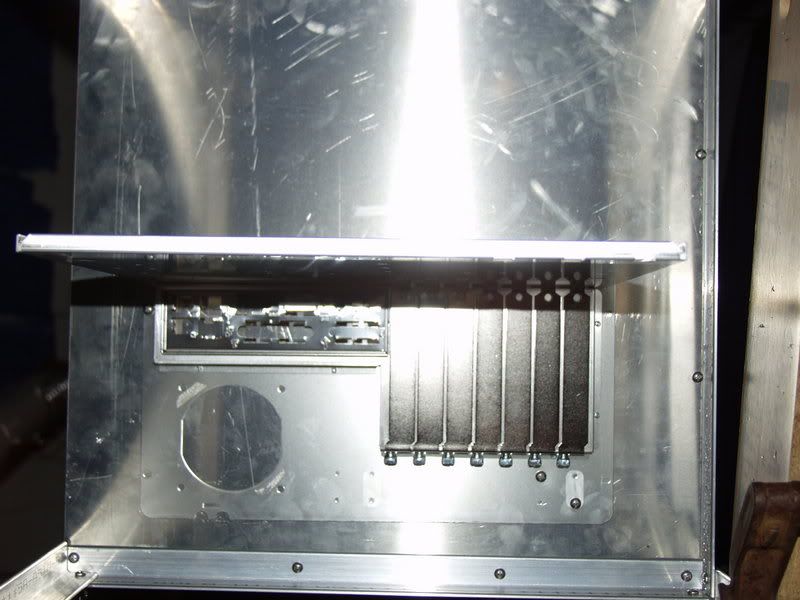

Most likely where the psu bracket will go.
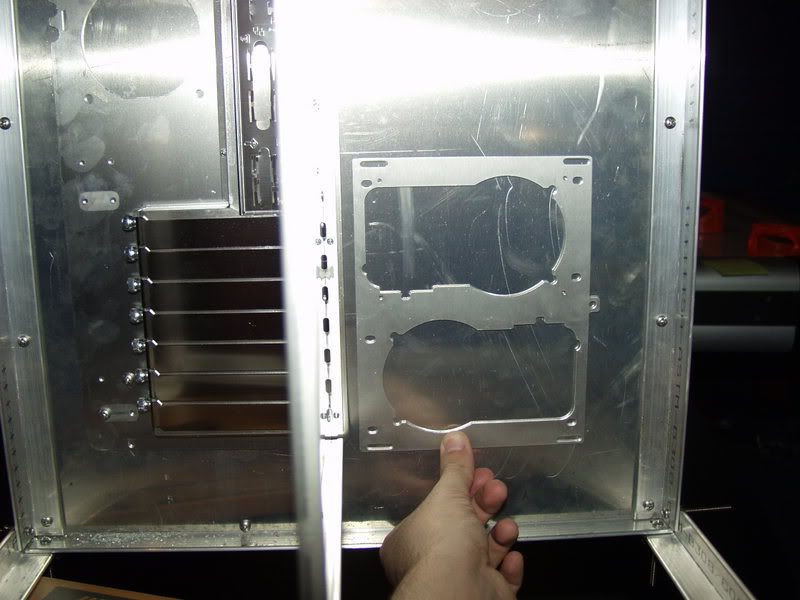
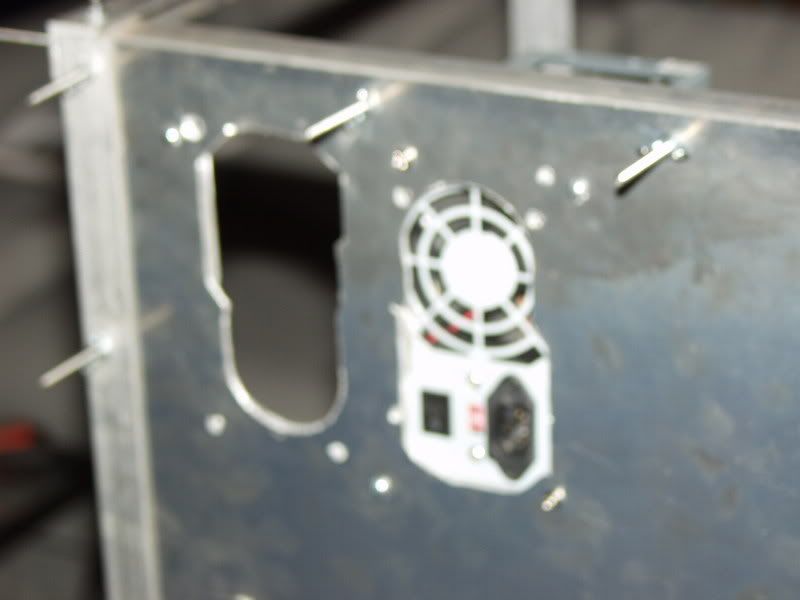
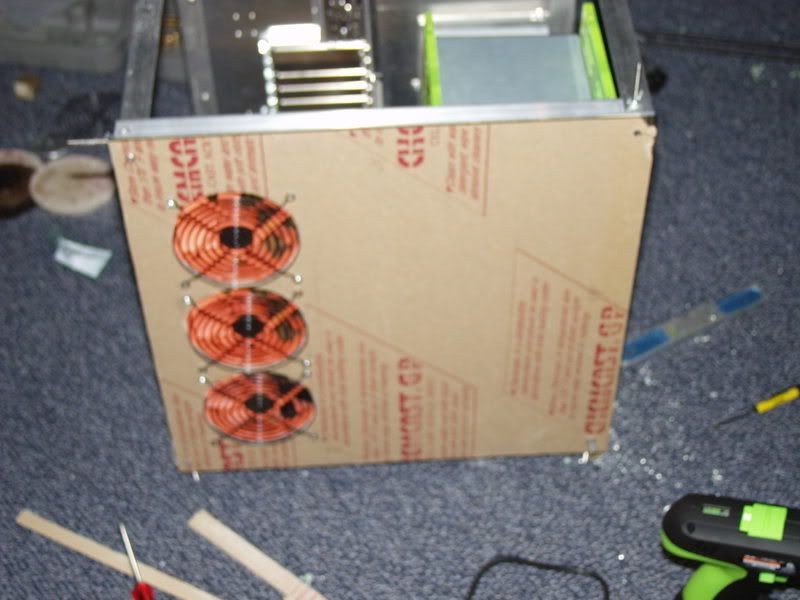
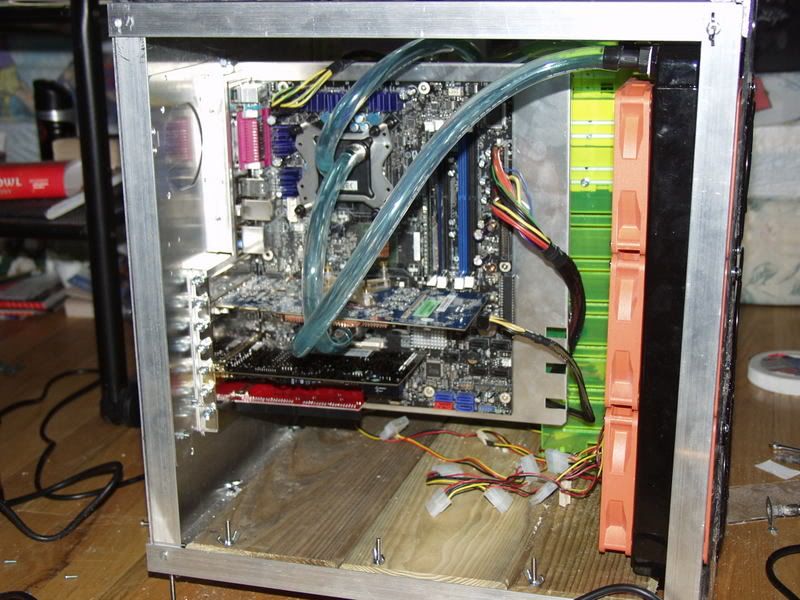
And look, room for a fan!
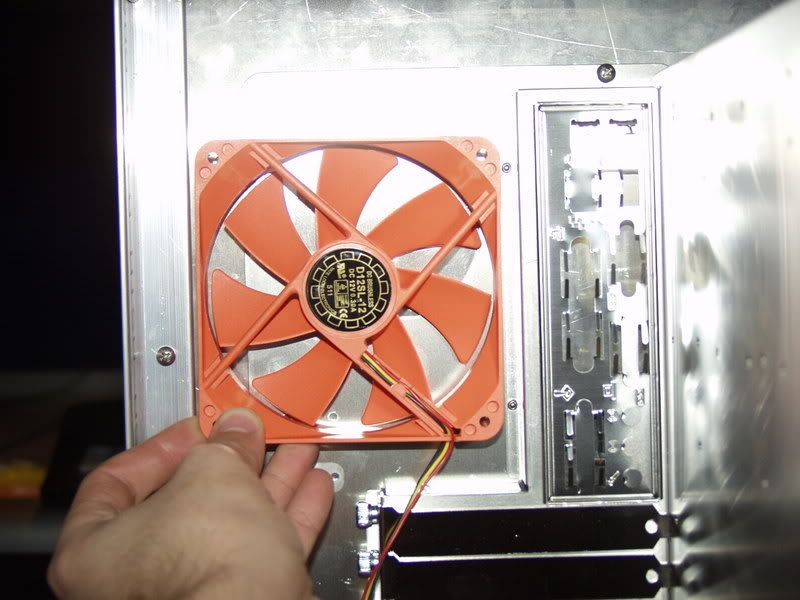
Well, I decided to post a few pictures before I go off to work for the day. Enjoy!
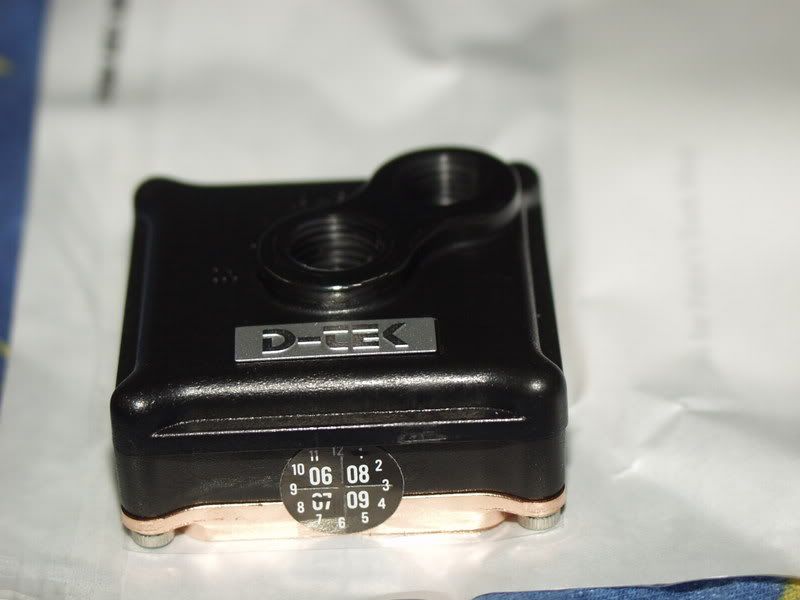
So tiny!
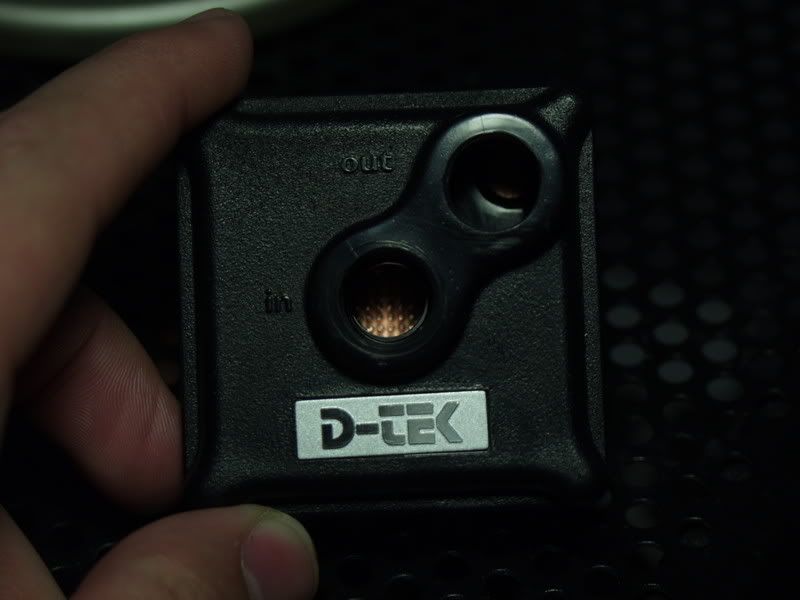
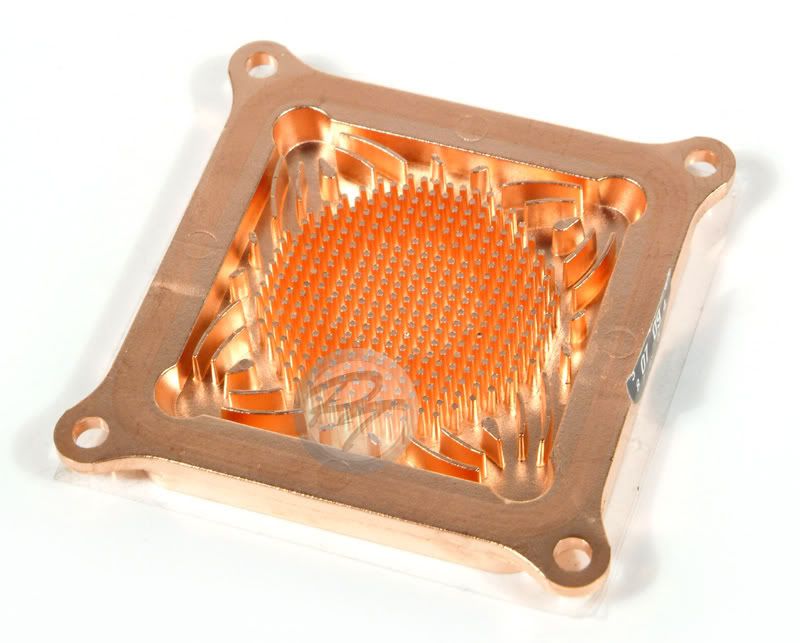
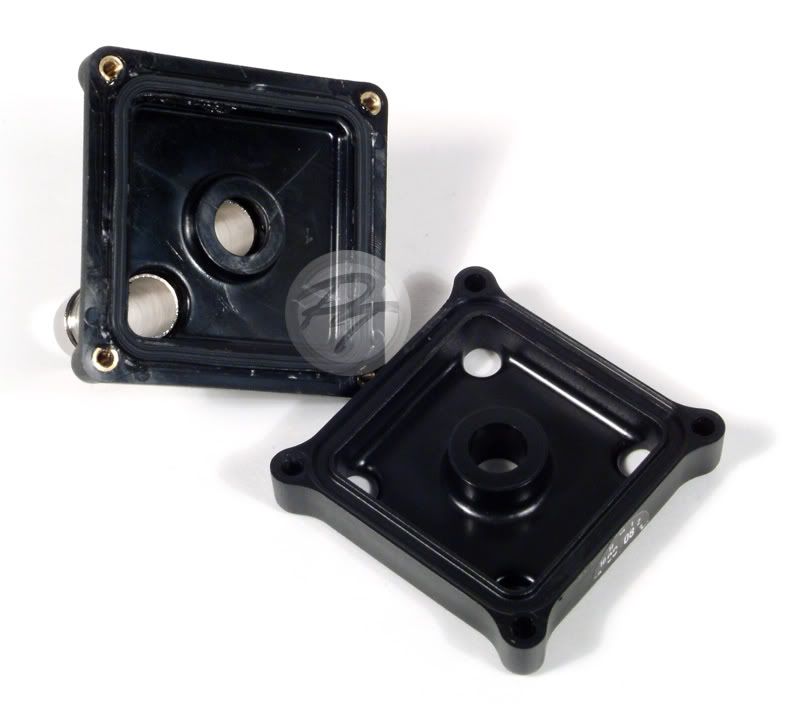
Inside courtesy of petrastechshop.com
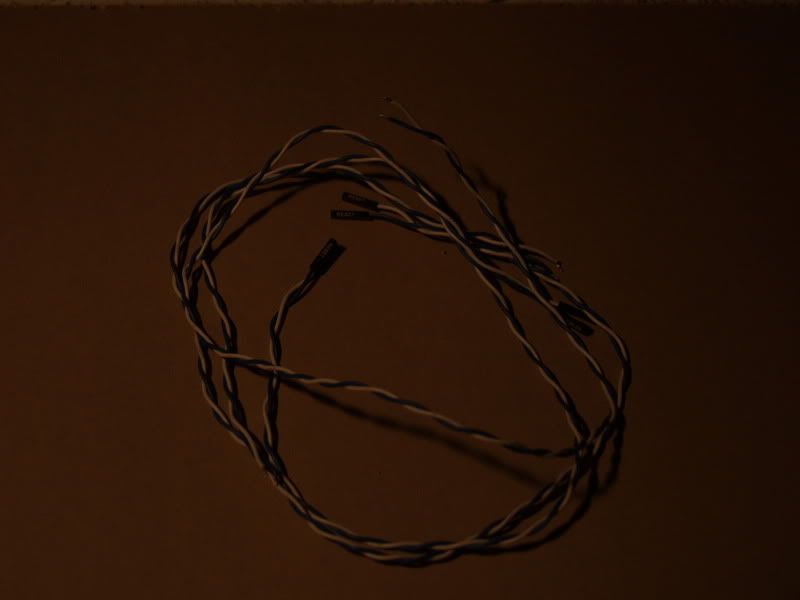
15ft.
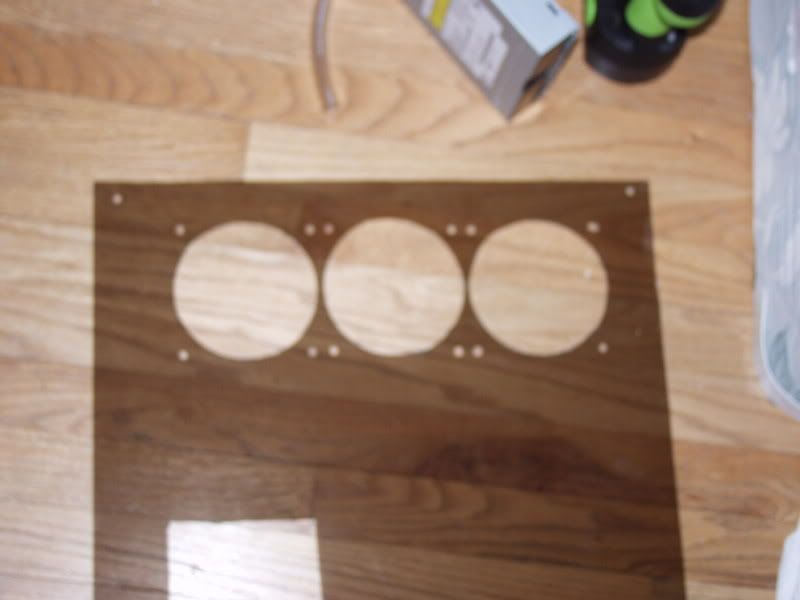
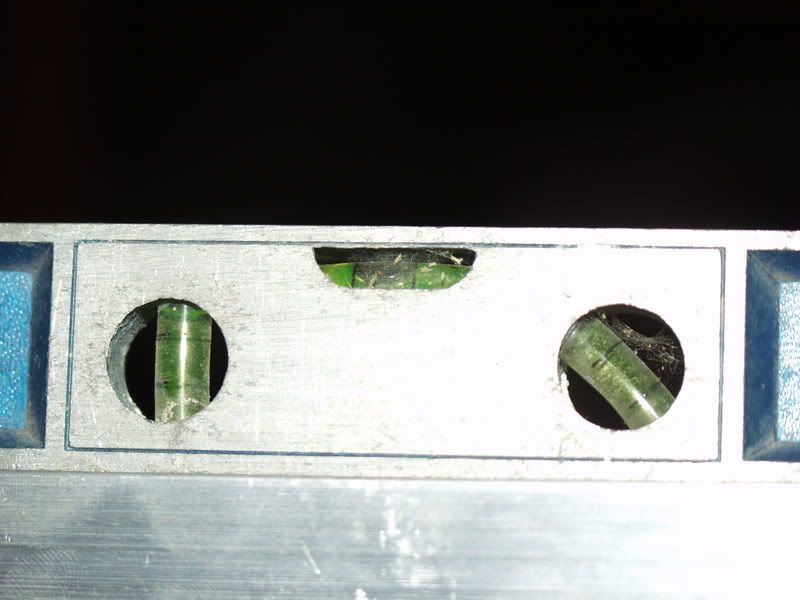
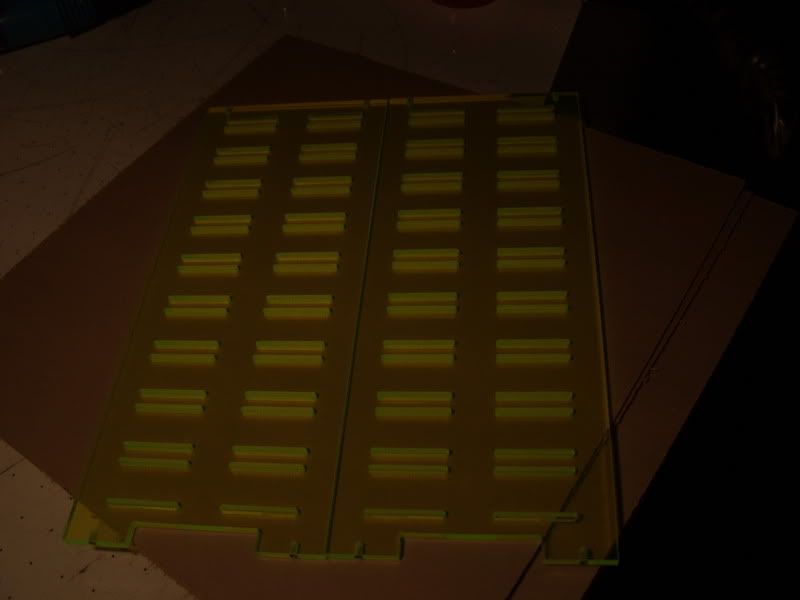
And an idea of what the cd drive holder looks like.
Negative.
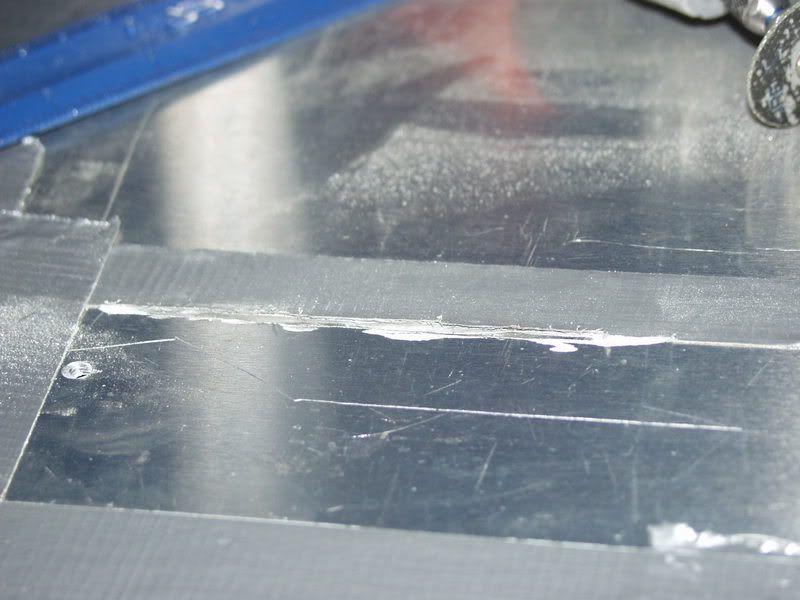
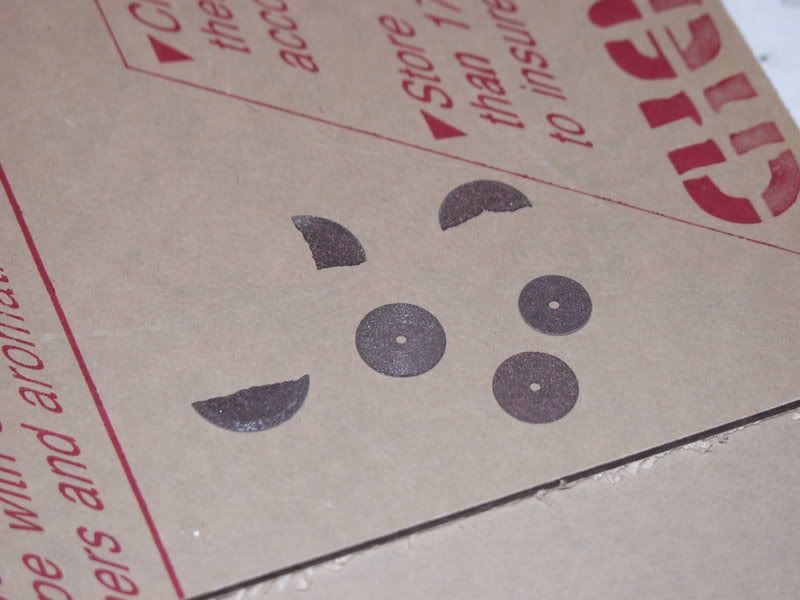
Update: I hit a few bumps. The dremel discs I had were the skinny fiber ones, that broke off in a few minutes. It took 7 to do a line a few inches long.
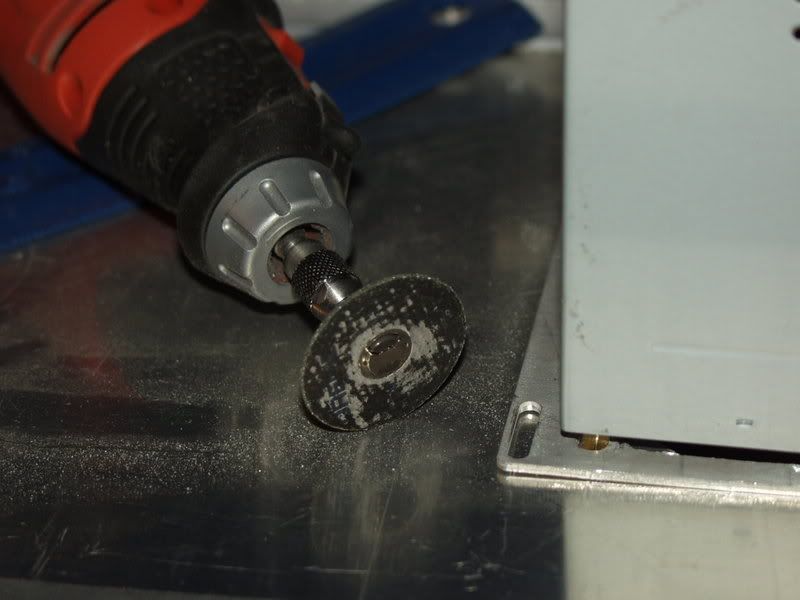
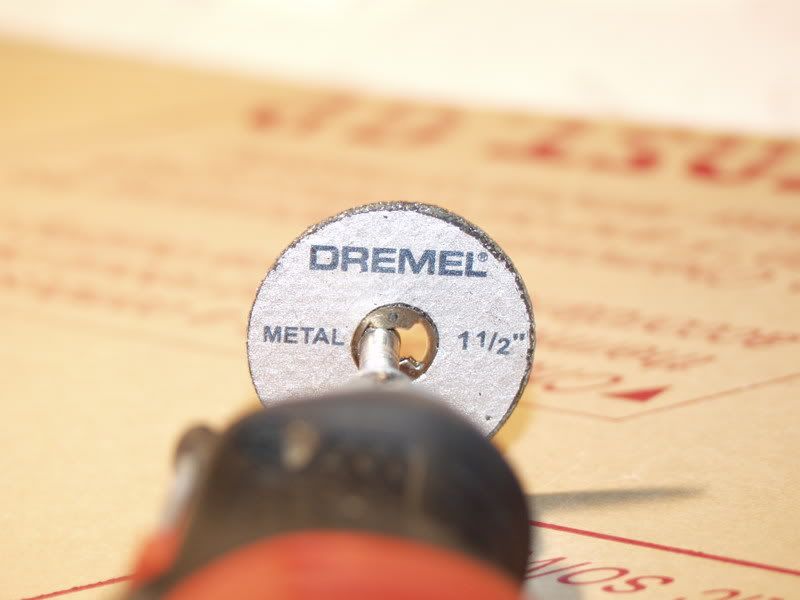
So it took me some time to get to home depot, but I finally got there today and got some work done. I picked up these cutting discs for metal, and they things work great, I haven't even used half of one up yet.
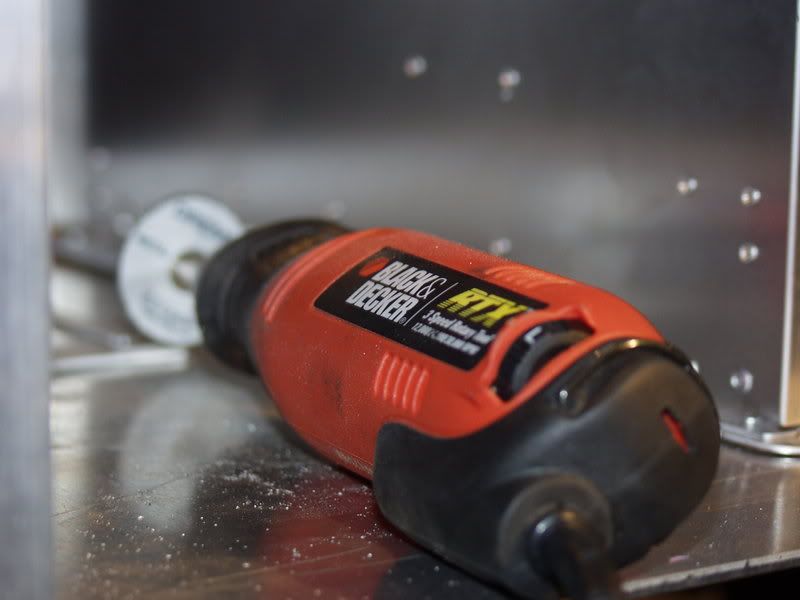
Thing is, I forgot the attachment for them, so I've been using the attachment for regular cutting discs, so there must not be enough leverage, because my dremel starts smoking after a while.. Back to home depot I guess..
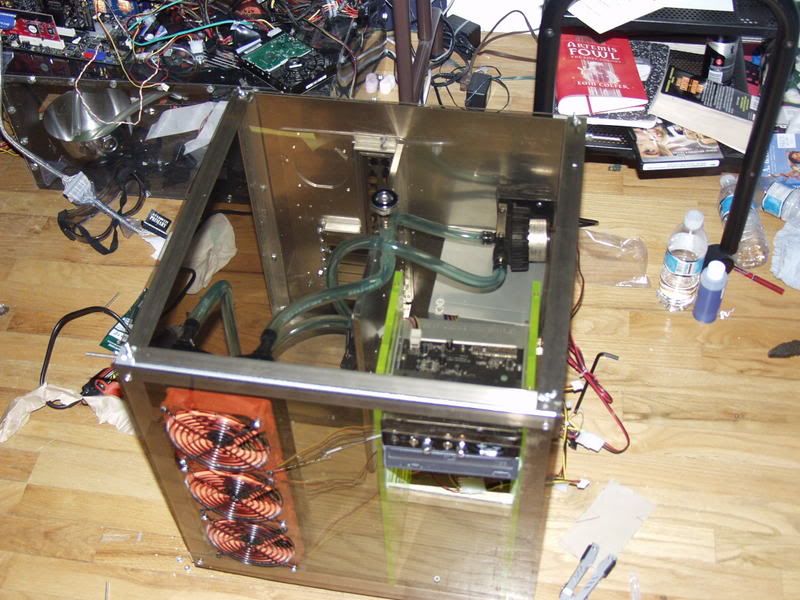
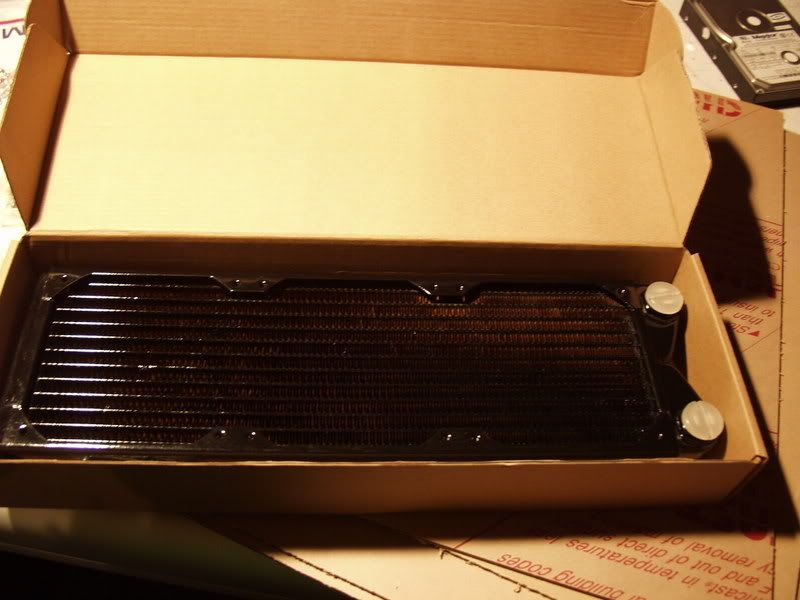
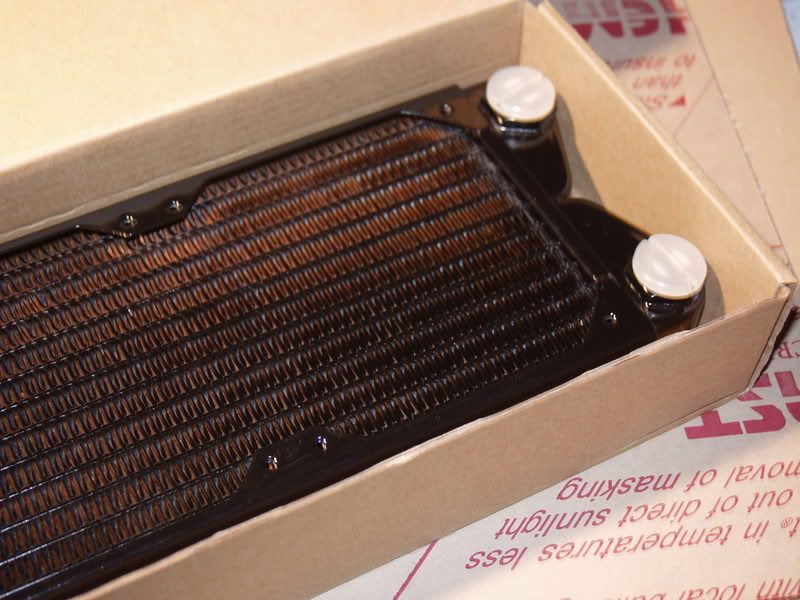
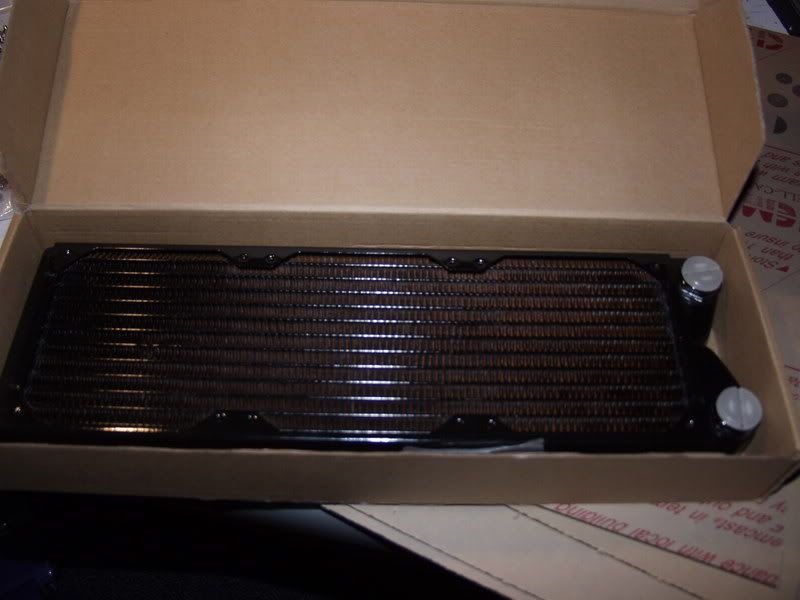
My rad finally came from performance-pcs today, swiftech mcr-320, and it's damn sexy. It is in every way possible better than the BIPIII.
Here are some pics:
Me trying to use the little fiber discs.
New discs
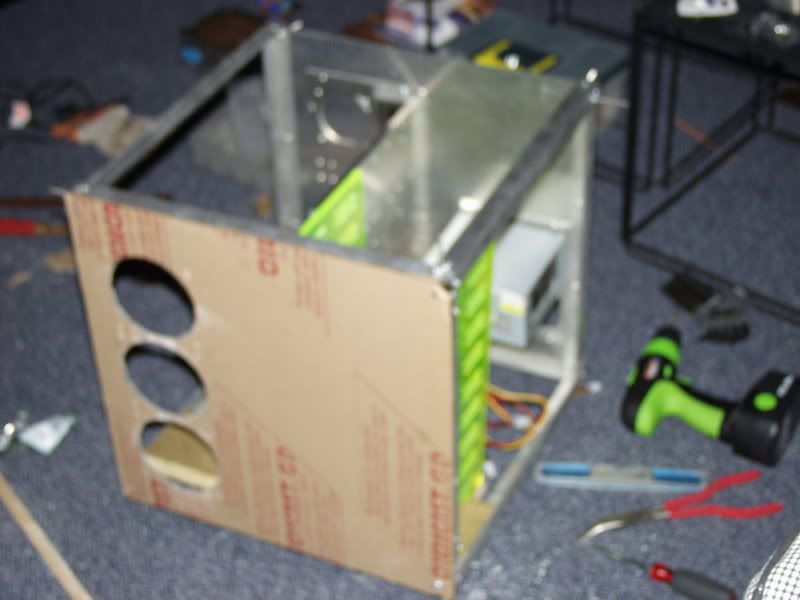
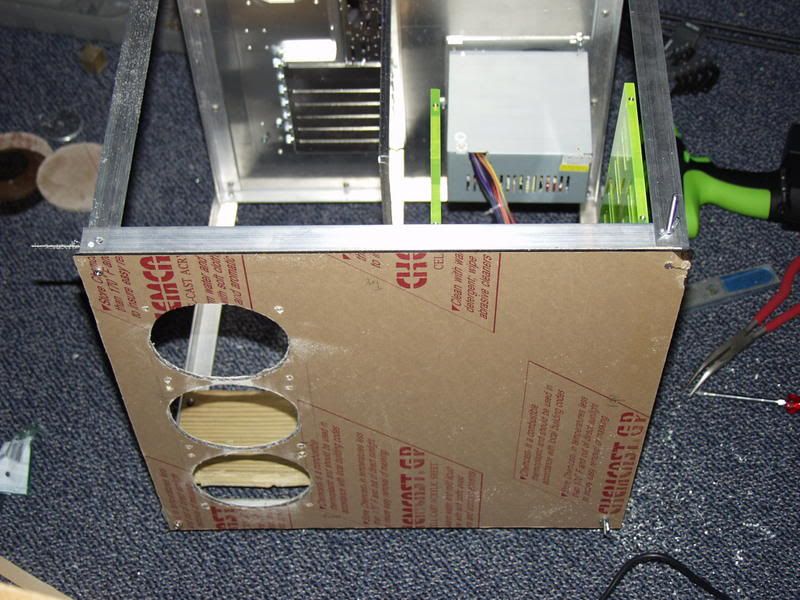
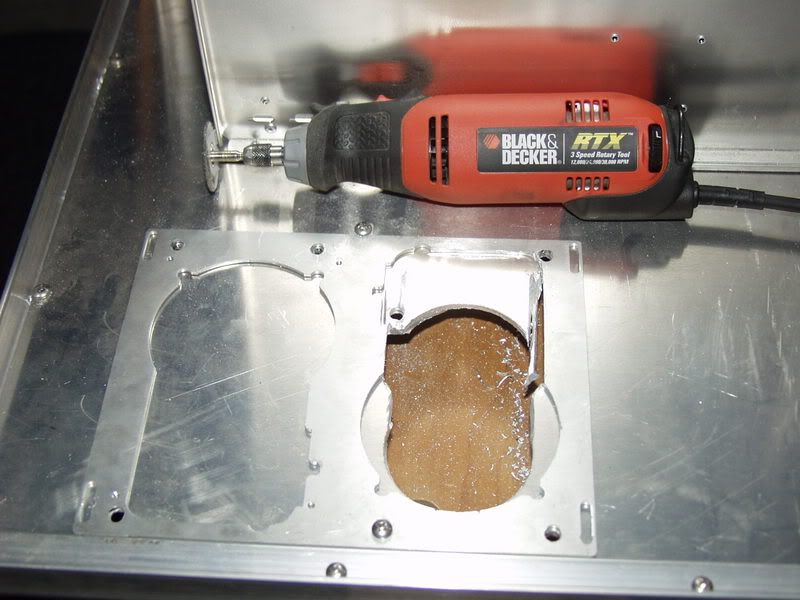
Not done yet, as you can see, but you get the idea of what I'm doing.
I'm sure a lot of you, like myself, love the UFO cases, but just have not gotten around to buying one, or its too expensive. I found myself with this predicament as well. So I decided to build one !
I made my first case over the summer, shown here:
While its not great, it opened me up to the world of modding.
I'm planning on replacing my current loop, minus my gpu block. Here's a list of the hardware I'm going to pick up.
1x Aluminum Sheet 18 x 18x 0.125
14x Aluminum L-profiles 18 x 18 x 0.125
1x Lian Li Replacement Removable Motherboard Tray
1x A.C. Ryan Constructx BayColumn510 UV Green
4x A.C. Ryan AcrylPanel 3mm Black
2x Startech 2.54mm Standard Jumper Caps
1x Digital Thermometer with Blue LED Back Light
1x Lian Li Dual PSU Bracket
4x Startech 2mm SCSI Drive Jumper Caps
Water Cooling - Petra'sTech
1x Gell Stuff
1x PT Nuke
10x Masterkleer 7/16
1x Pentosin
1x Swiftech MCR-320
1x D-Tek Fusion
4x Ek Barbs
1x Computer Screw Kit
I have not ordered the wc stuff yet, paypal transfer will clear the 15th, so I'll order that night. So if you have any suggestions, they're more than welcome.
I started construction today, so here are some pics so far.
.125=3.175mm- thick
Same with the alu sheet
looks good!
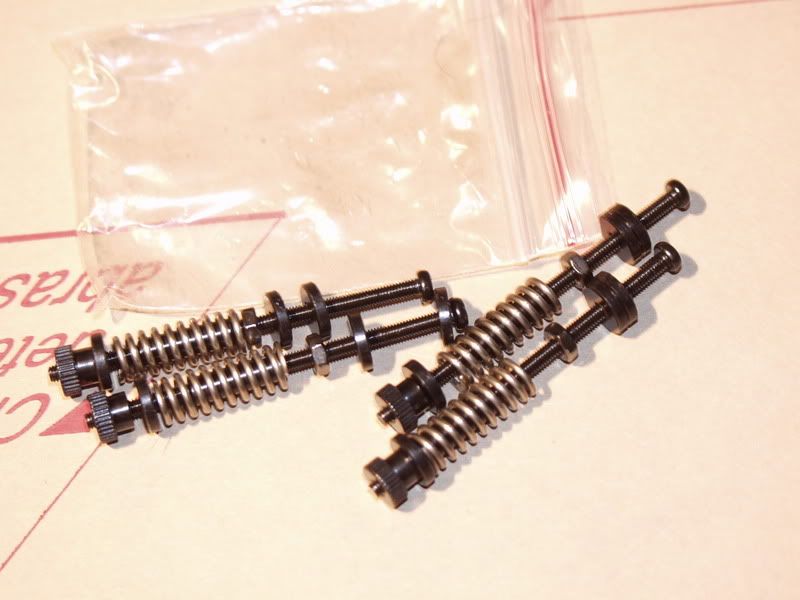
Temporary screws to hold everything in place before I get shorter ones. Wing nuts don't hold everything together tight enough, so I'll those will just some regular nuts. The new bolts will also be countersunk, with the nuts on the inside, for a more cosmetically pleasing look.
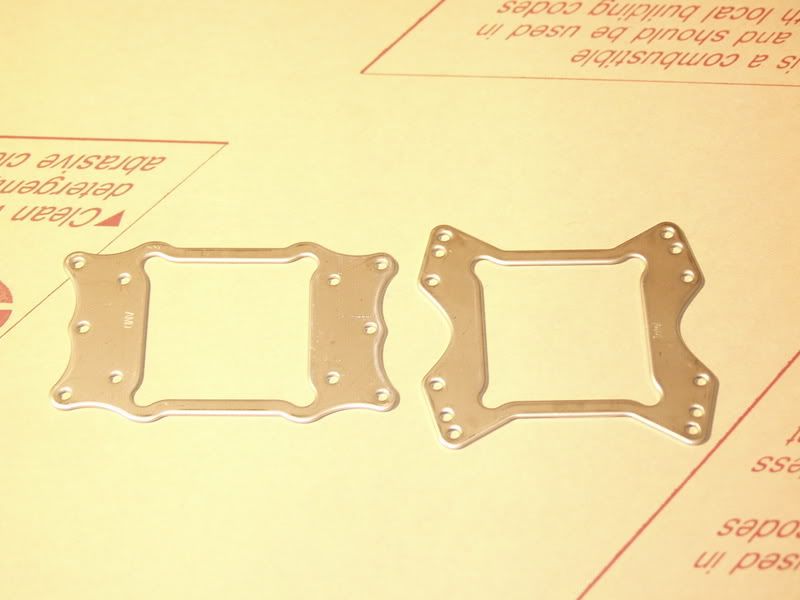
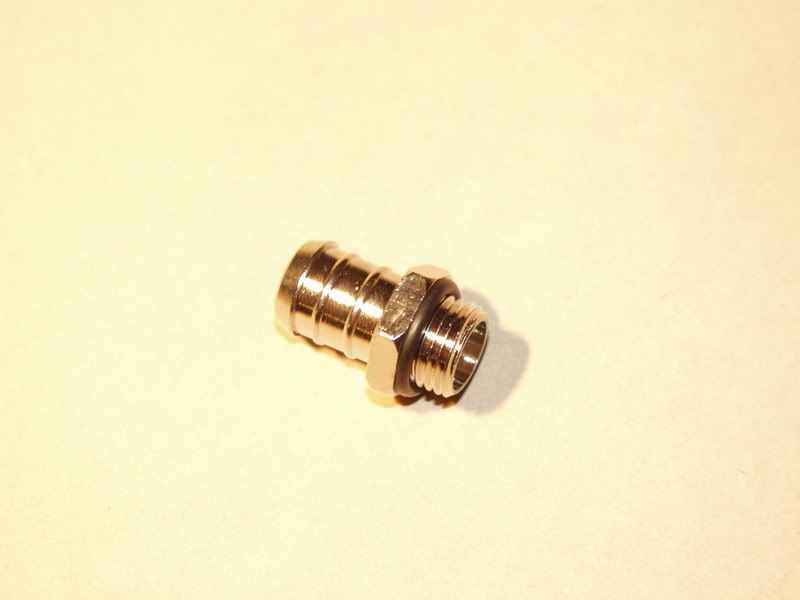
Here's some accessory pics:
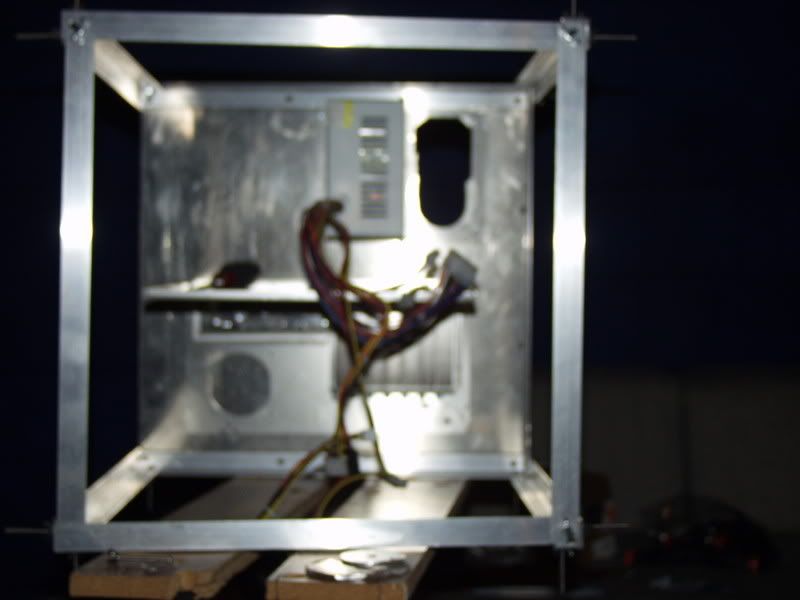
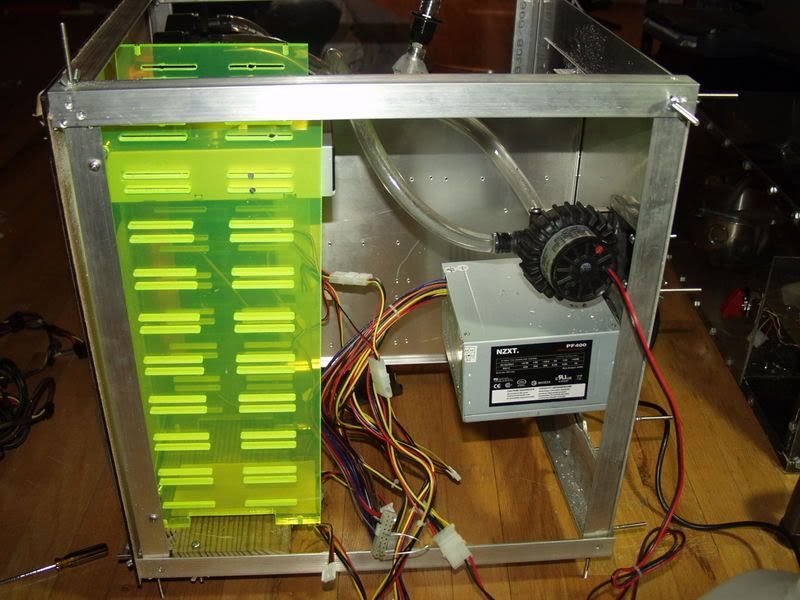
Here's just a basic overview of what the inside will look like, minus the outside plexi, radiator, fan grills, psu... etc. Just an idea.
Here's an idea of what the black plexi will look like:
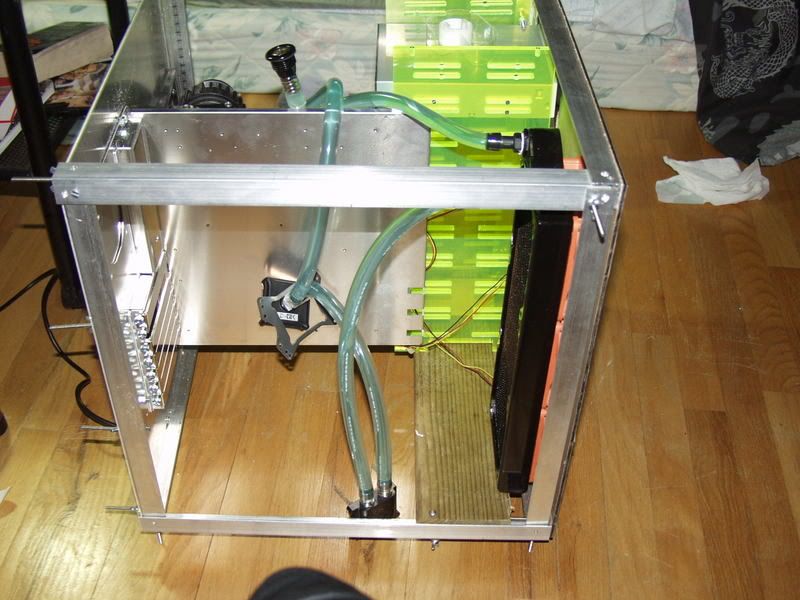
I can't seem to find a place for the pump, but I was thinking something like this.
I would move it over to the right side far enough to give to tubing some slack not to kink as well. I just thinking about putting it on the back wall because that should dampen most vibrations, 3.175mm thick alu + ptech gel stuff.
Any suggestions?
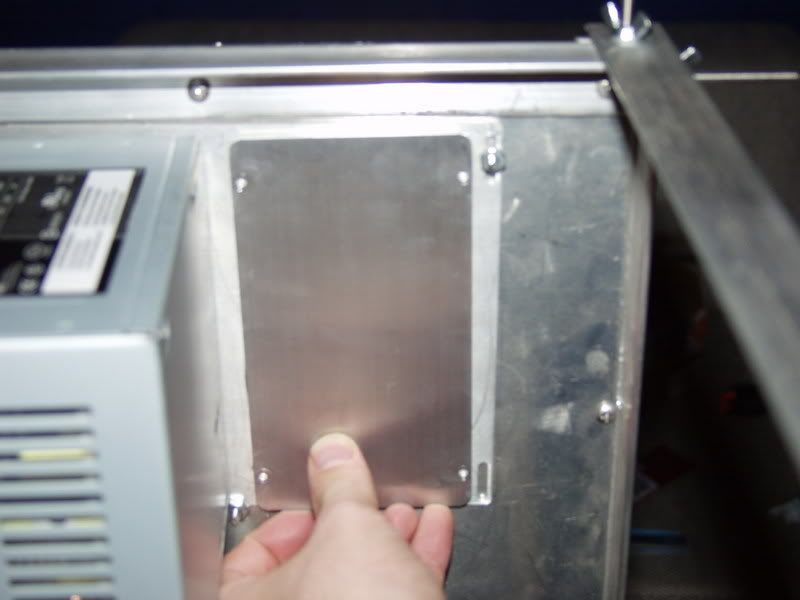
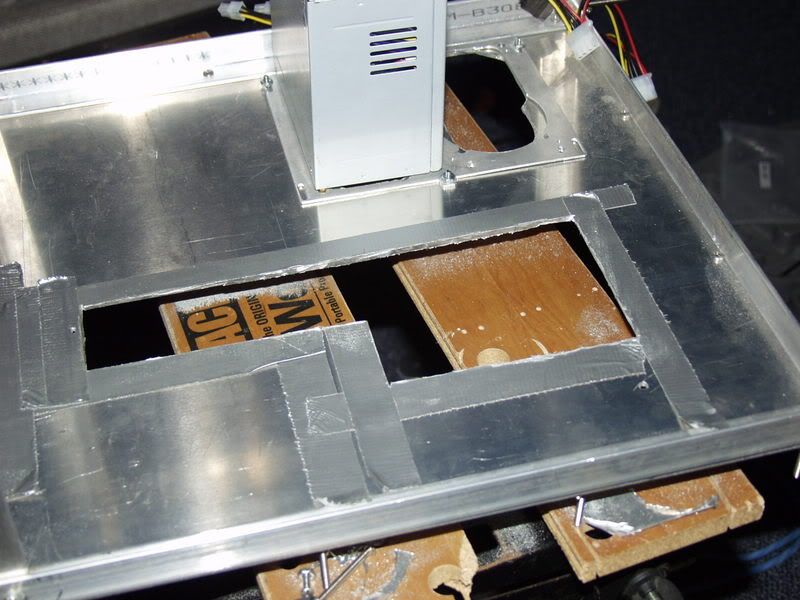
Hooked up the mobo tray. Over the weekend Ill get out the dremel and chop me a psu hole.
Most likely where the psu bracket will go.
And look, room for a fan!
Well, I decided to post a few pictures before I go off to work for the day. Enjoy!
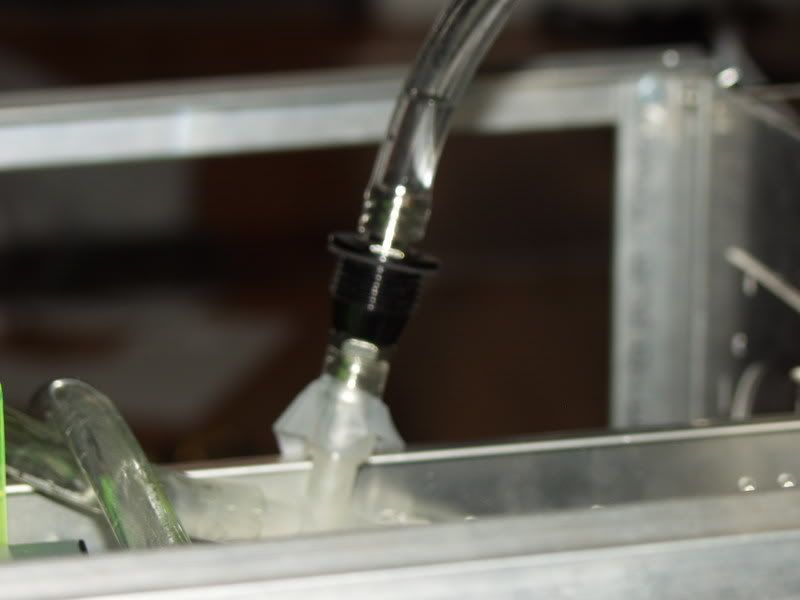
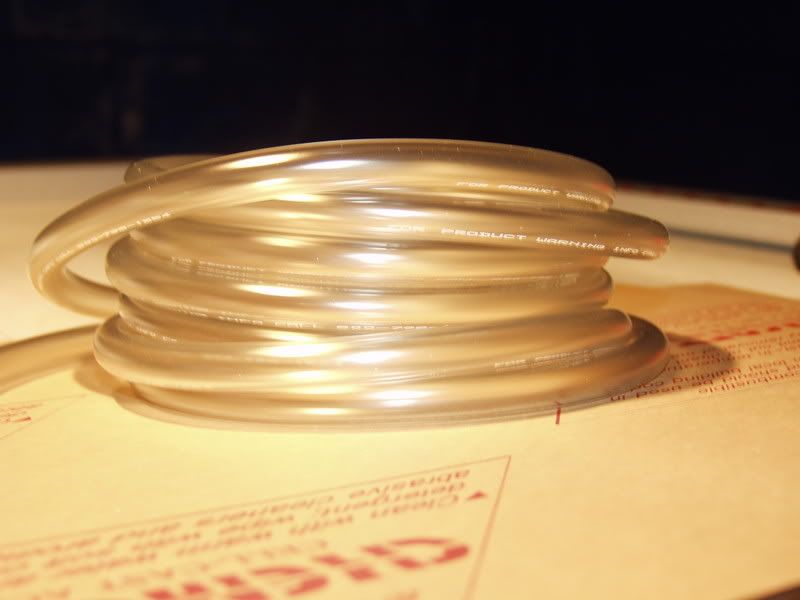
So tiny!
Inside courtesy of petrastechshop.com
15ft.
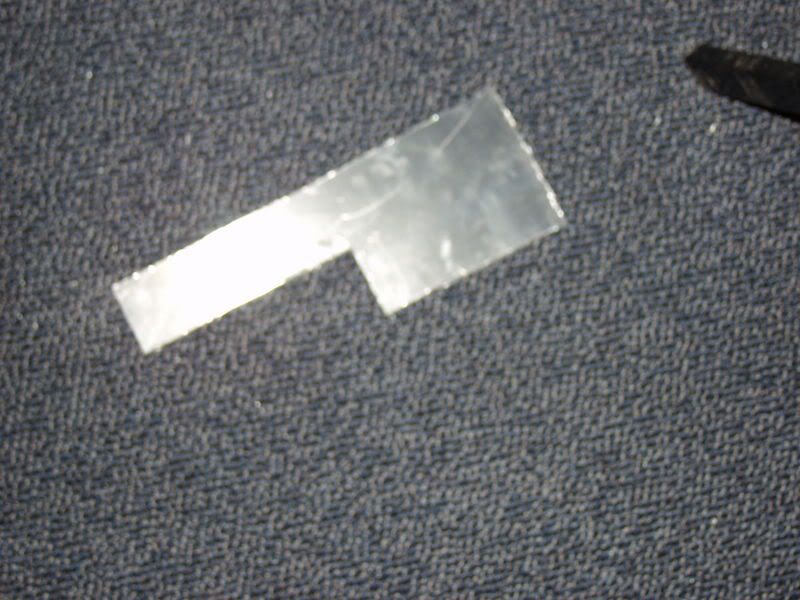
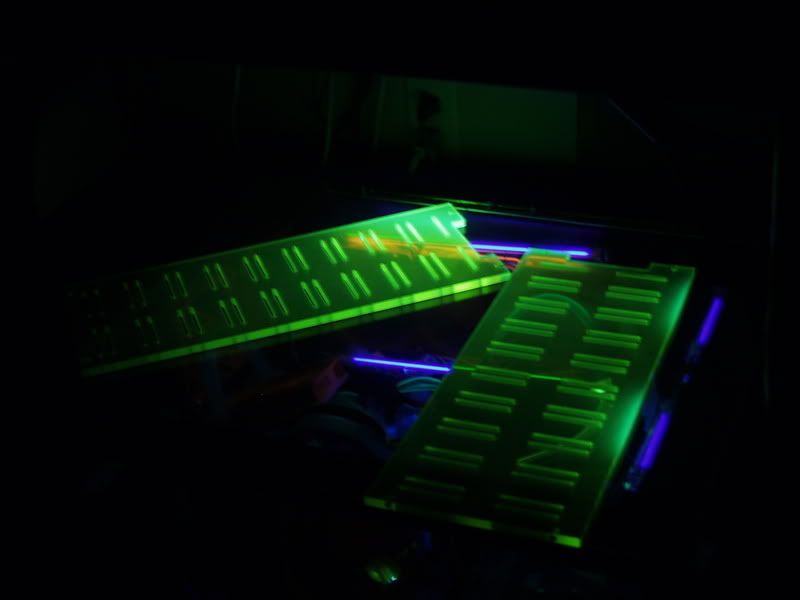
And an idea of what the cd drive holder looks like.
Negative.
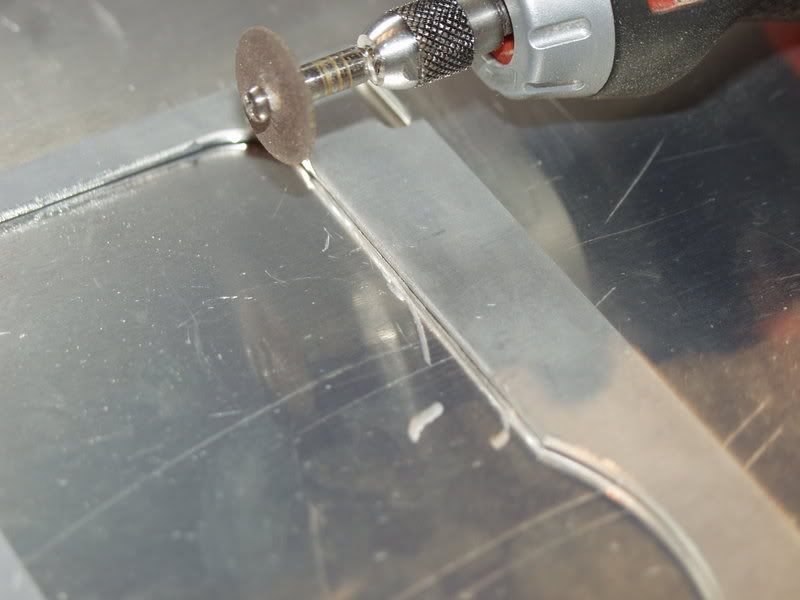
Update: I hit a few bumps. The dremel discs I had were the skinny fiber ones, that broke off in a few minutes. It took 7 to do a line a few inches long.
So it took me some time to get to home depot, but I finally got there today and got some work done. I picked up these cutting discs for metal, and they things work great, I haven't even used half of one up yet.
Thing is, I forgot the attachment for them, so I've been using the attachment for regular cutting discs, so there must not be enough leverage, because my dremel starts smoking after a while.. Back to home depot I guess..
My rad finally came from performance-pcs today, swiftech mcr-320, and it's damn sexy. It is in every way possible better than the BIPIII.
Here are some pics:
Me trying to use the little fiber discs.
New discs
Not done yet, as you can see, but you get the idea of what I'm doing.