![[H]ard|Forum](/styles/hardforum/xenforo/logo_dark.png)
I'll start off by saying I'm probably the only person here on [H] with this case... 
At first I'll honestly say I didn't like it, but after spending about a day with a dremel/cutoff wheel, a whole saw, drill, some paint and a rivet tool, she turned out to be awesome. This was my first attempt at doing anything like this, and at first was a little scarey/intimidating as you pretty much watch your self hack up a computer case.
Instead of boring you with the long story, enjoy the pictures:
Started like this...I'm embaressed to even post this:

Then went to this:

Here we begin another stage....
To start, I cut the front fan grills (2 of them) due to the turbulence sound/ restrictive airflow.
Before:

After:

Then I began to dismantel the case, by drilling out the rivets. Pictured below is about 75% of the rivet heads drilled out:

After all said rivets removed:

After a light scuff with a soft foam sanding block and wiped down with denatured alcohol:

Went with a Satin black finish that I used on my white Harnen & Karden speakers a while back and still look beautiful to this day. Here is it being pieced back together:

I seriously was so sad once all the rivets were done...they are so fun to "pop"

All back together. (You see a small hole in the upper left hand corner, that was cut out using a 3/4 holesaw for the 8Pin MOBO connector as well as a place to run the exhaust fan wires):
 ]
]
Working on the cable management:

What I'm really loving about this case is there are 2 sets of fan filters for the front bezel. I have a golden retreiver puppy that is still sheading from the 90º weather we've had here and I live near an equestrian stable, so the dust is awful.
Shes back!


Some nighties:

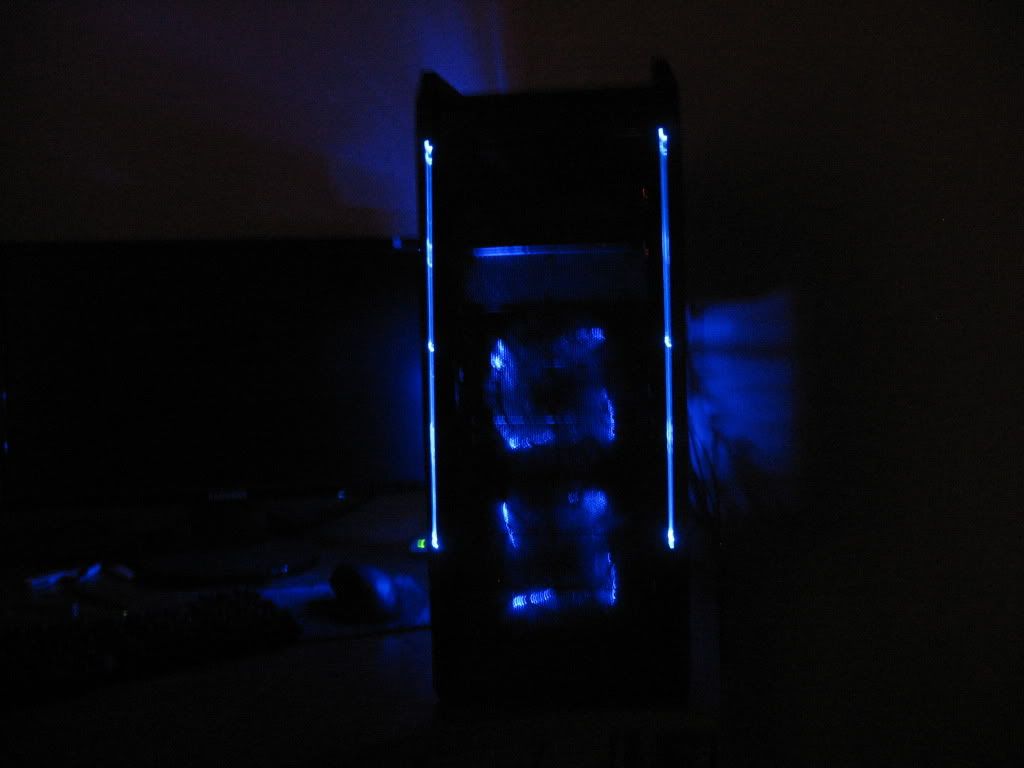

I cannot remember the paint type I used, but it was bought from Lowe's. I'll snag a picture of it if I get a chance. For now the case is where I want it, in terms of what I was trying to get out of it. Honestly, I don't really look inside the case to justify it being black, but I figured since it was going under the knife, "hell, lets just paint it!", just so I can say I did.
Thats all for now, thanks for looking.
At first I'll honestly say I didn't like it, but after spending about a day with a dremel/cutoff wheel, a whole saw, drill, some paint and a rivet tool, she turned out to be awesome. This was my first attempt at doing anything like this, and at first was a little scarey/intimidating as you pretty much watch your self hack up a computer case.
Instead of boring you with the long story, enjoy the pictures:
Started like this...I'm embaressed to even post this:
Then went to this:
Here we begin another stage....
To start, I cut the front fan grills (2 of them) due to the turbulence sound/ restrictive airflow.
Before:
After:
Then I began to dismantel the case, by drilling out the rivets. Pictured below is about 75% of the rivet heads drilled out:
After all said rivets removed:
After a light scuff with a soft foam sanding block and wiped down with denatured alcohol:
Went with a Satin black finish that I used on my white Harnen & Karden speakers a while back and still look beautiful to this day. Here is it being pieced back together:
I seriously was so sad once all the rivets were done...they are so fun to "pop"
All back together. (You see a small hole in the upper left hand corner, that was cut out using a 3/4 holesaw for the 8Pin MOBO connector as well as a place to run the exhaust fan wires):
Working on the cable management:
What I'm really loving about this case is there are 2 sets of fan filters for the front bezel. I have a golden retreiver puppy that is still sheading from the 90º weather we've had here and I live near an equestrian stable, so the dust is awful.
Shes back!
Some nighties:
I cannot remember the paint type I used, but it was bought from Lowe's. I'll snag a picture of it if I get a chance. For now the case is where I want it, in terms of what I was trying to get out of it. Honestly, I don't really look inside the case to justify it being black, but I figured since it was going under the knife, "hell, lets just paint it!", just so I can say I did.
Thats all for now, thanks for looking.
Last edited:


