guitarslingerchris
Supreme [H]ardness
- Joined
- Oct 29, 2004
- Messages
- 7,379
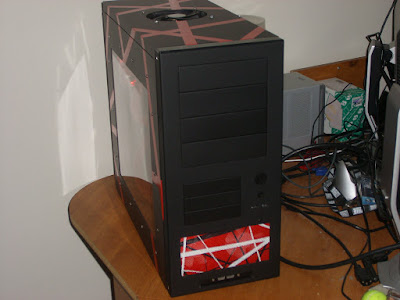
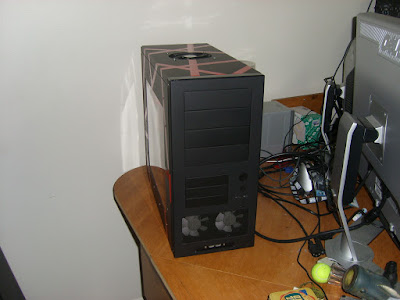
Ok, so I've been meaning to build this case for about 4 years now, and over time the design has evolved. What hasn't changed was that it would be built around a Lian-Li PC-71 chassis and made to suit my tastes and be totally badass in a subtle way.
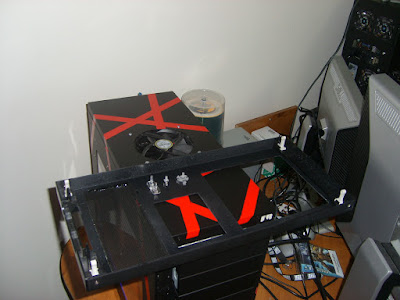
Being the person I am, I regrettably forgot to carry my camera around during the intial stages of the build, which was mostly deconstruction anyways, but starting now I will try to document it as well as possible.

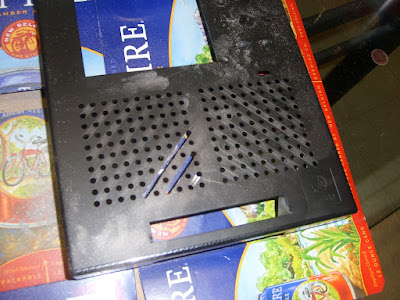
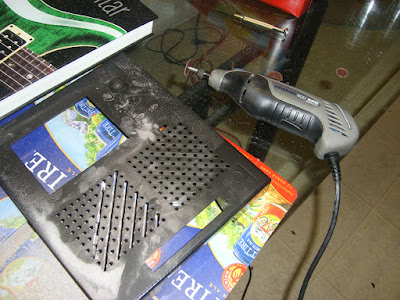
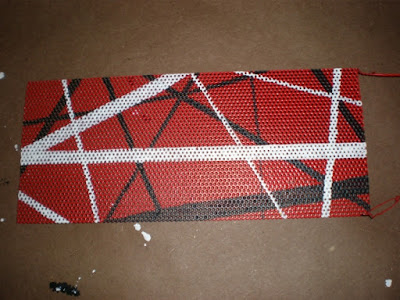
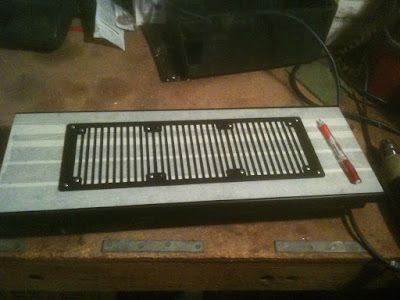
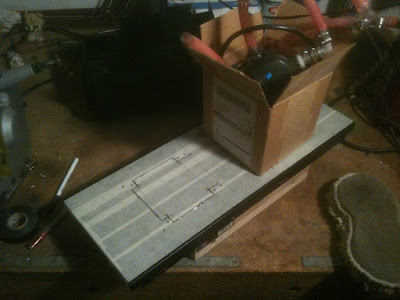
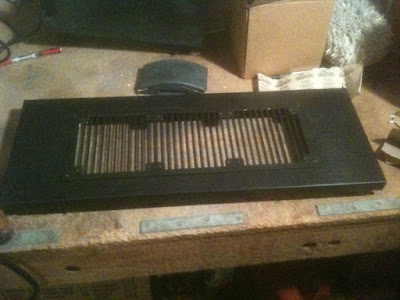
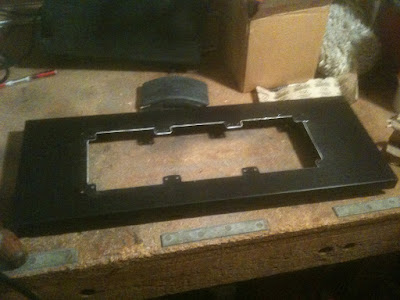
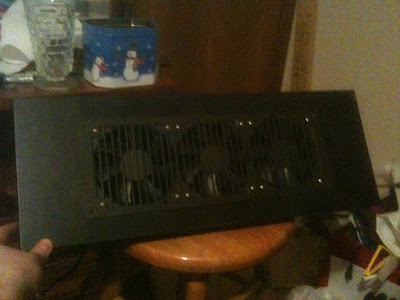
This is where I am after my first try with Bondo ever. The idea was to fill in all of the stock vent holes for the dual 80mm fans in the front as well as the LED cutouts and fan controller switch cutout and logo and sand it all perfectly smooth. As you can also see in the picture I dremeled myself new vents for the front fans to draw from. I picked up some modder's mesh off FrozenCPU to use as grills on both sides of the front panel.
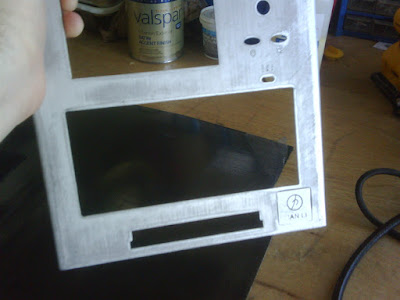
In a little bit I can get to sanding down the excess bondo and upload pics of the new and improved front panel that's ready for paint.
Hopefully my next post will have some more visual content, I should get the frame and other components back from Powder Coating Specialties on Monday or Tuesday, and if all goes well I can send some of my outer panels to paint this coming week as well.
Build specs:
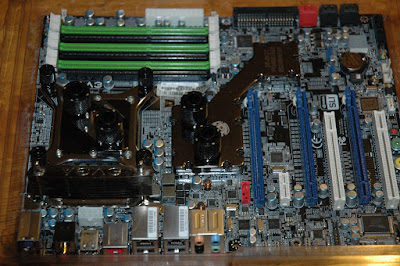
Intel Core i7 920
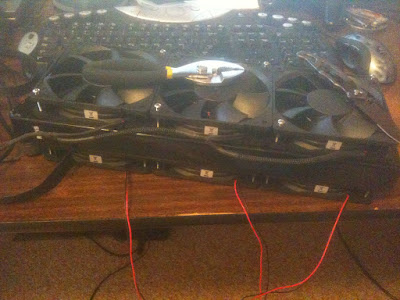
2x eVGA GTX 285 SLI
Corsair Dominator DDR3 PC12800 @ 8-8-8-24
CoolerMaster 1100w UCP Ultimate PSU
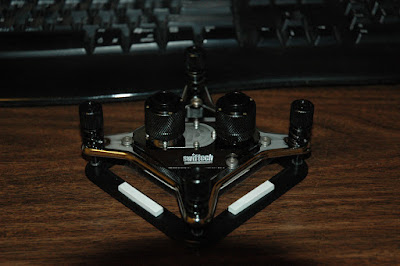
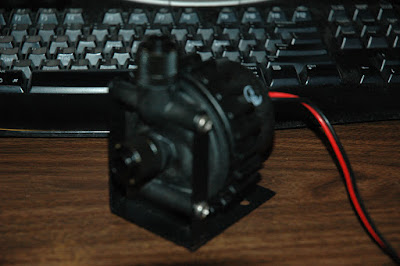
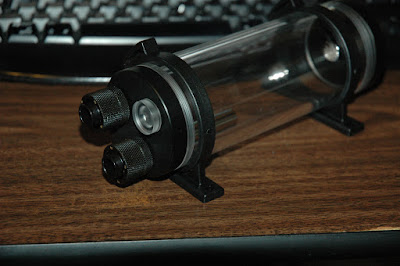
The rig will be watercooled, but components on that are not set in stone yet. So far we're looking at:
Swiftech Apogee GTZ cpu block
2x eVGA Hydro Copper gpu blocks
Bitspower Black Freezer chipset block
3x120mm radiator mounted from the top panel or 2x120mm radiator mounted behind the front panel
Being the person I am, I regrettably forgot to carry my camera around during the intial stages of the build, which was mostly deconstruction anyways, but starting now I will try to document it as well as possible.

This is where I am after my first try with Bondo ever. The idea was to fill in all of the stock vent holes for the dual 80mm fans in the front as well as the LED cutouts and fan controller switch cutout and logo and sand it all perfectly smooth. As you can also see in the picture I dremeled myself new vents for the front fans to draw from. I picked up some modder's mesh off FrozenCPU to use as grills on both sides of the front panel.
In a little bit I can get to sanding down the excess bondo and upload pics of the new and improved front panel that's ready for paint.
Hopefully my next post will have some more visual content, I should get the frame and other components back from Powder Coating Specialties on Monday or Tuesday, and if all goes well I can send some of my outer panels to paint this coming week as well.
Build specs:
Intel Core i7 920
2x eVGA GTX 285 SLI
Corsair Dominator DDR3 PC12800 @ 8-8-8-24
CoolerMaster 1100w UCP Ultimate PSU
The rig will be watercooled, but components on that are not set in stone yet. So far we're looking at:
Swiftech Apogee GTZ cpu block
2x eVGA Hydro Copper gpu blocks
Bitspower Black Freezer chipset block
3x120mm radiator mounted from the top panel or 2x120mm radiator mounted behind the front panel