• Some users have recently had their accounts hijacked. It seems that the now defunct EVGA forums might have compromised your password there and seems many are using the same PW here. We would suggest you UPDATE YOUR PASSWORD and TURN ON 2FA for your account here to further secure it. None of the compromised accounts had 2FA turned on.
    Once you have enabled 2FA, your account will be updated soon to show a badge, letting other members know that you use 2FA to protect your account. This should be beneficial for everyone that uses FSFT.

Project: Small Moderately Audible HTPC

Joined
Sep 17, 2006
Messages
31
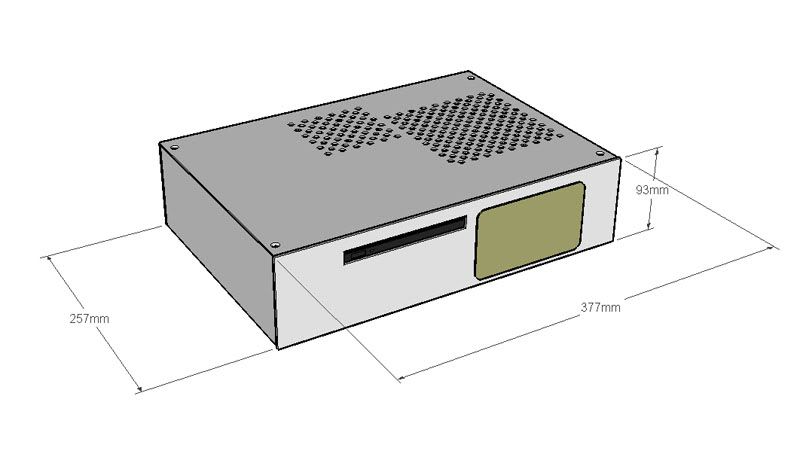
Caseoverview.jpg


Hey all.
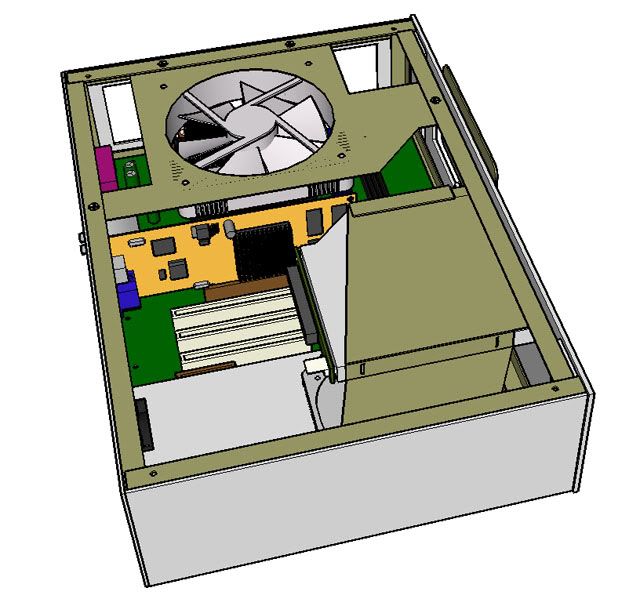
The idea here is a all aluminium HTPC based on laptop drives, mATX motherboard and a shuttle PSU.
HTPCinternalLayout.jpg

The panels will be 2mm aluminium araldited and riveted to a frame made from 12mmx12mmx1.4mm L rail aluminium.
In terms of hardware im looking at a athlon XP/P4 underclocked with one 120mm fan over the headsink exhausting air out of the top of the case.

Drive Cage
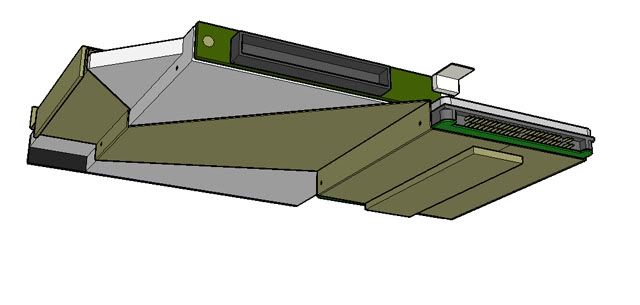
The laptop HDD and DVD drive will be mounted in a frame made from .5mm sheet aluminium joined with araldite, 3mmx30mm flatbar aluminium and 12mmx12mmx1.4mm L rail aluminium (same as the frame).
drivemountview.jpg

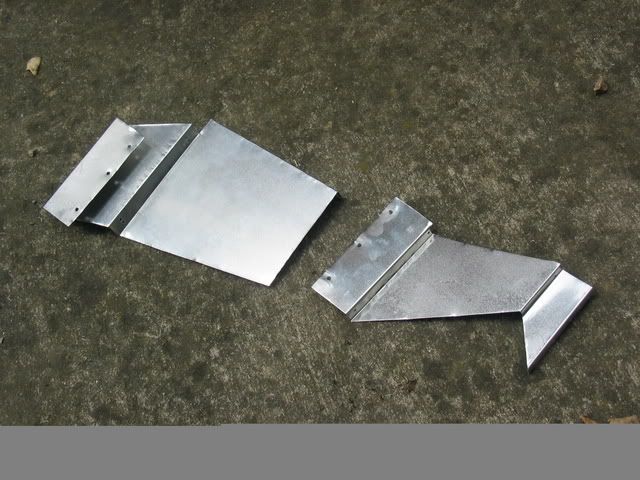
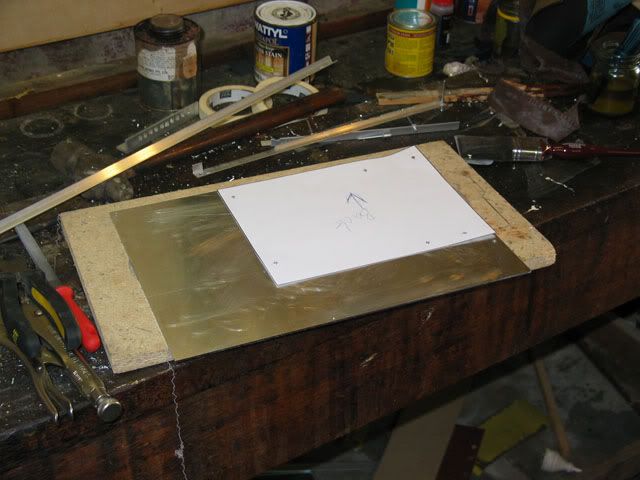
I printed a template from sketchup and glued it using spray adheasive onto .5mm aluminium. Then cut it out using a jigsaw and tinsnips.
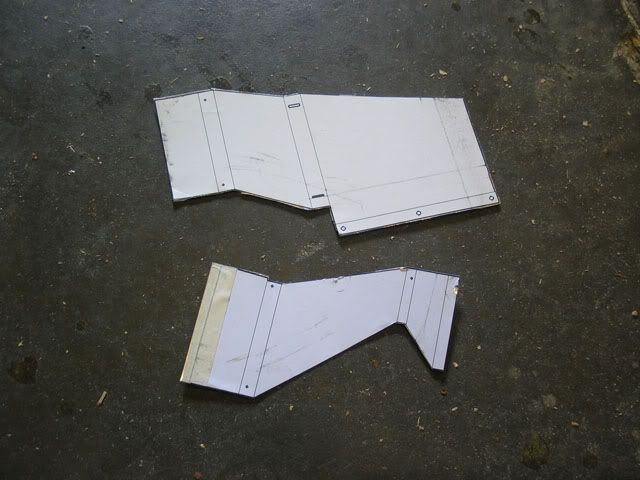
htpc002.jpg

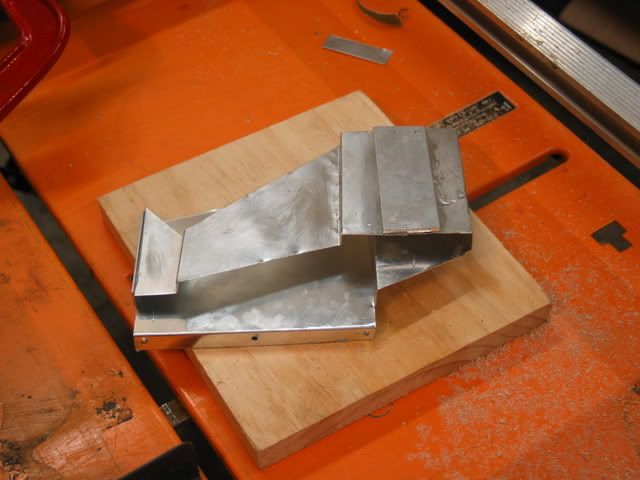
Next I bent the sheet aluminium in a benchvice.
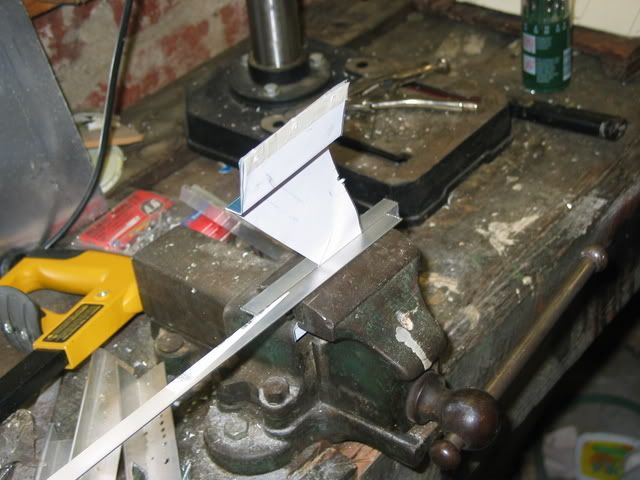
htpc003.jpg

htpc005.jpg

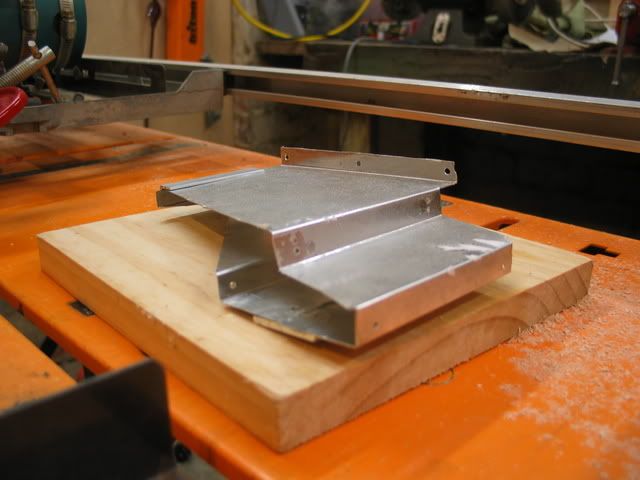
htpc009.jpg

htpc008.jpg


htpc014.jpg

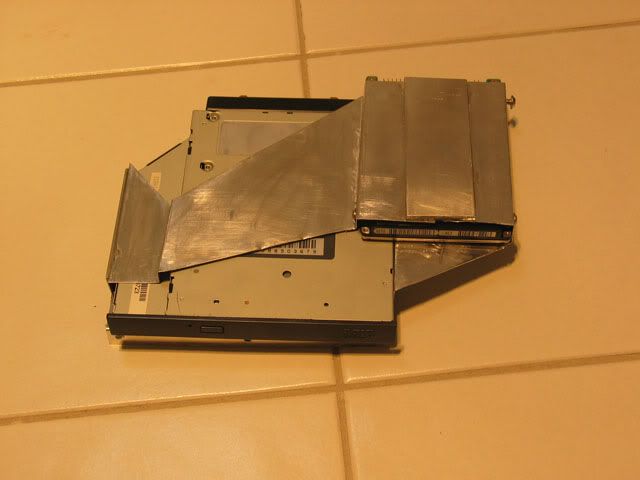
Once the glue dried on the drive mount I cleaned all the excess glue up with 600wet&dry sandpaper then test fitted the drives.

Exhaust Fan Mount
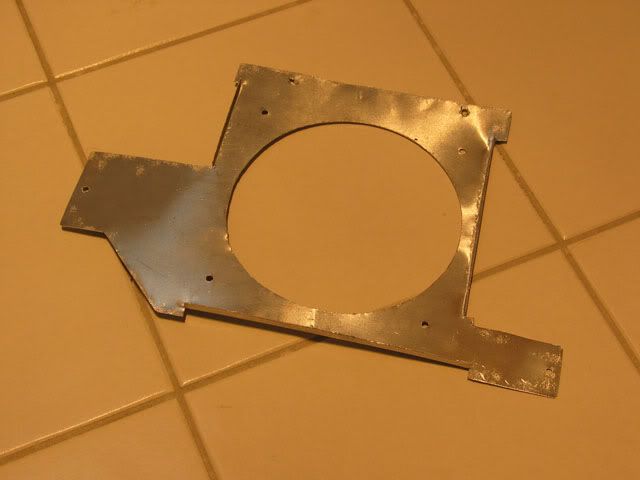
htpc016.jpg

The Exhaust fan mount is made from the same .5mm aluminium as the drive mounts. It was cut using a sketchup template the same as before. At first the aluminium was very weak so I've bent 5mm sections of the edge to give enough strength to support the weight of the fan.
 
holy shnikey's!!!111 that minITX is dinky but very capable! Dual video and Lan! crap thats awesome!
 
And it has issues: http://www.techreport.com/reviews/2006q4/albatron-ki51pv/index.x?pg=1

But at that size it's very capable. They're releasing an AM2 version which I hope they fixed the issues that the s754 board has.

Yea I read that review after I looked at the board on newegg... its got issues but not that bad for itty bitty. If the AM2 version is a little cheaper and has a couple other cool features that are missing from the 754 one i'm so in... You think they could fit wireless on that thing? or maybe a header to connect to a bracket for it would be sweet. PC in a Triple DVD case anyone? Good luck on this project OP!
 
If they add in a Mini PCIe slot on the bottom you could pick up one of those tiny cards for it, other then that you could go with a USB stick and an internal USB adapter or something. Or the Wifi card that Shuttle makes for it's XPC systems.
 
Yea that would be an easy way to do it but for $300 bux it should have wireless built on... hell for 300 it better L.S.F.
 
Much much more affordable... Kinda a funky layout and no PS2 mouse and keyboard!!! lolz thats still pretty nice plenty of USB ports... where is the "1 x PCI Express x1 Minicard Slot" on there? I see the PCIe x16 port... is that what newegg is talking about even though they list 'em separately? Ahhhh well still sweet like honey meat! :D
 
Base panel/frame

motherboardcrosssection.jpg

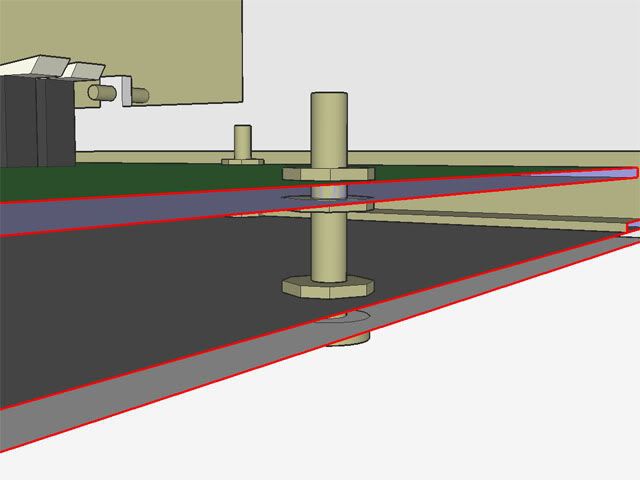
The motherboard will be mounted on screws though the bottom of the case. This allows the motherboard height to be adjusted to get the best fit with other components.

htpc0166.jpg

The mounting holes are drilled from a sketchup template.

htpc019.jpg

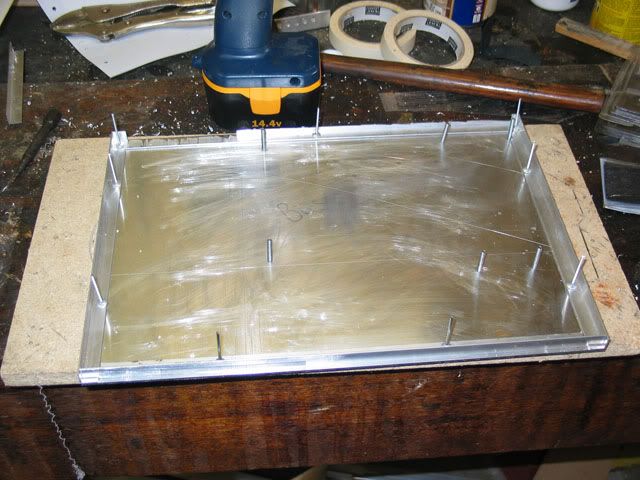
The frame is then cut to fit the panel and attached with araldite and rivets.

Side Panel

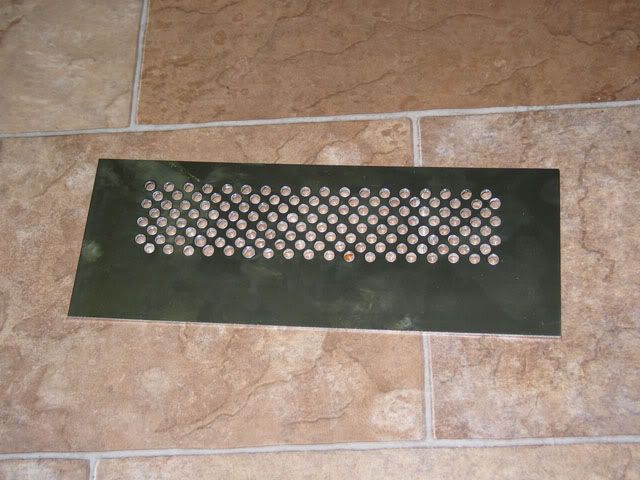
sidevent.jpg

htpc167.jpg

The side panel is first sandwiched between two pieces of 3mm MDF and clamped, next the template printed form sketchup is overlayed on the MDF. I think drilled 1/8 pilot holes then finally 5.5mm vent holes.

Backpanel

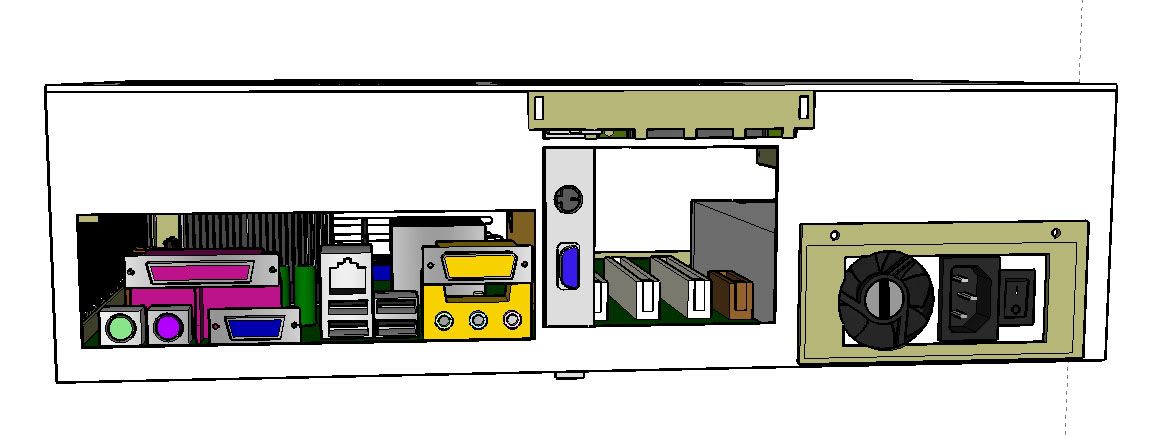
backplate.jpg

The expansion cards are designed to be kinda tool less. The top of the card bracket sits in a slot about the cardports, it is then held in place by a piece of 20x3 flat bar alu with notches cut out of it.

htpc022.jpg

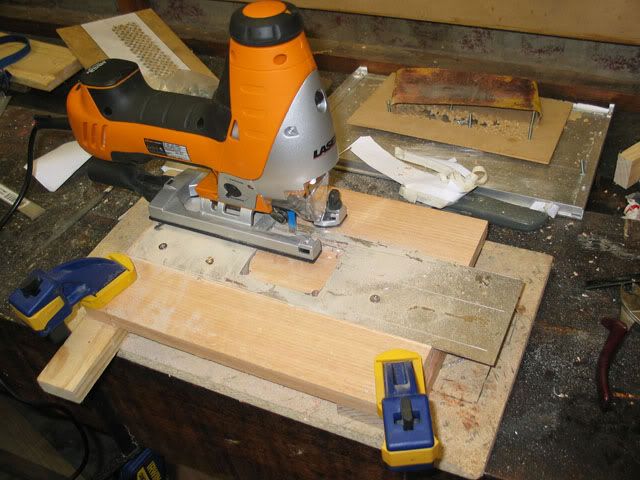
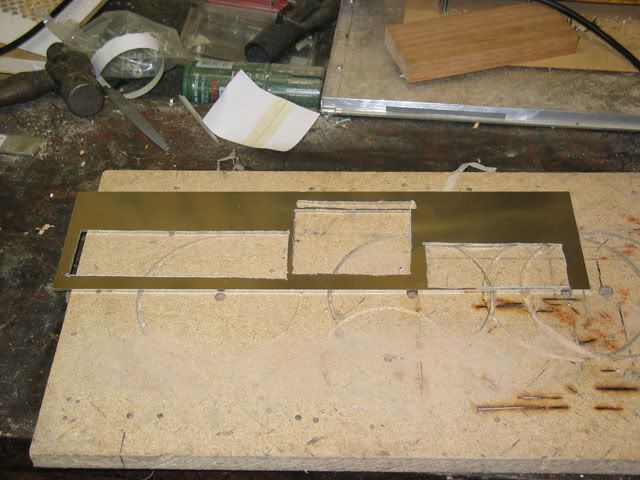
I copied out a template then scored it into the metal with a knife. Then cut out each piece with a jigsaw.

htpc023.jpg

The cuts were straightish but will require a bit more filing when i put it all together.
 
I like how you made that vent plate--it looks very, very nice, especially since you did it by hand instead of a CNC machine.
 
If you're going Athlon XP then an XP-M would be better in terms of running cooler & behaving better when underclocked - you should be able to pick one up quite cheaply second-hand.

Oh & make sure you avoid the original 200/220Watt Shuttle PSUs - they're not at all quiet. The 250W SilenX are a fair bit quieter if still not as quiet as a good 80/120/130mm ATX box. I haven't been within earshot of the newer 300W units, but that would be overkill & a waste of money for the spec your building.
 
If you're going Athlon XP then an XP-M would be better in terms of running cooler & behaving better when underclocked - you should be able to pick one up quite cheaply second-hand.

Oh & make sure you avoid the original 200/220Watt Shuttle PSUs - they're not at all quiet. The 250W SilenX are a fair bit quieter if still not as quiet as a good 80/120/130mm ATX box. I haven't been within earshot of the newer 300W units, but that would be overkill & a waste of money for the spec your building.


Yeah i was looking for a 250watt silenX but i havent got anything yet. I'm out of money for hardware for the time being so I'll have to wait until i can afford it before I got looking for specific hardware. Athlon XP was just a suggestion when i started the project.
 
Side Panel

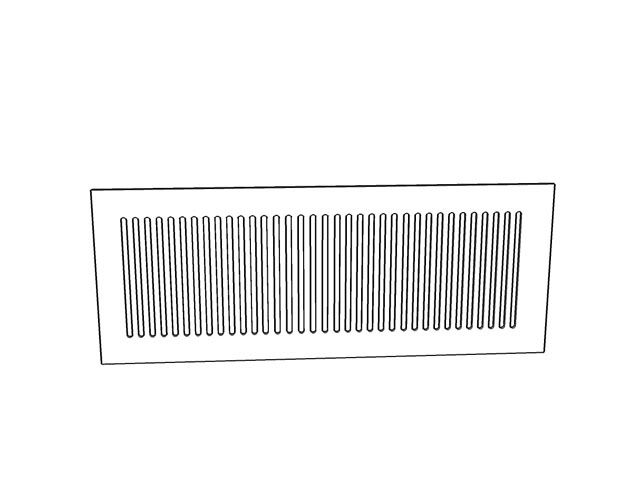
originalventdesign.jpg

The original plan was to make a vent using a series of slots cut using a drill press and jigsaw.

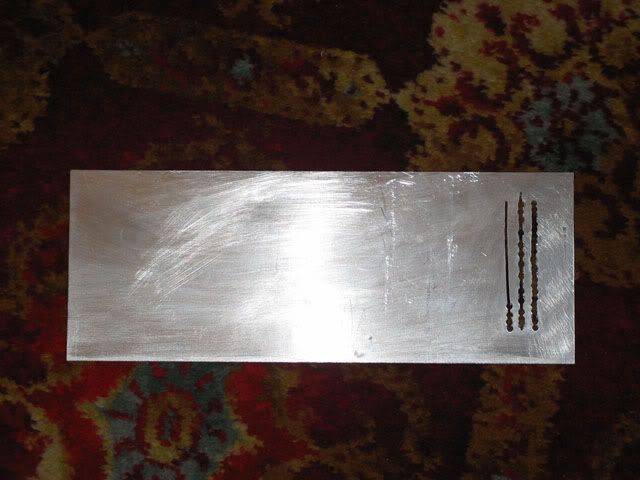
htpc168.jpg

Well that didn't work to well. I couldnt get straight slots using a template.

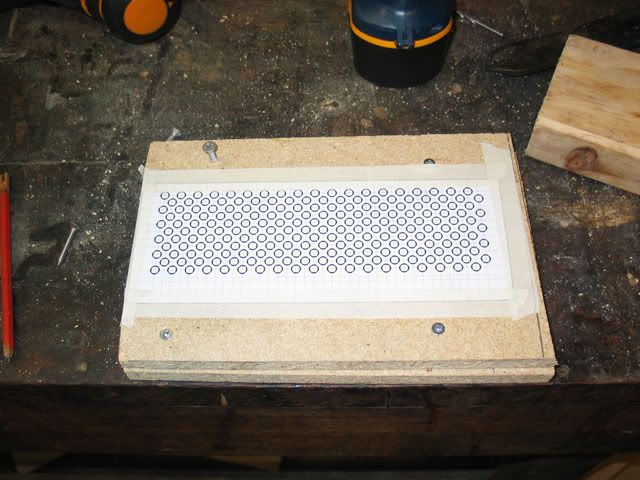
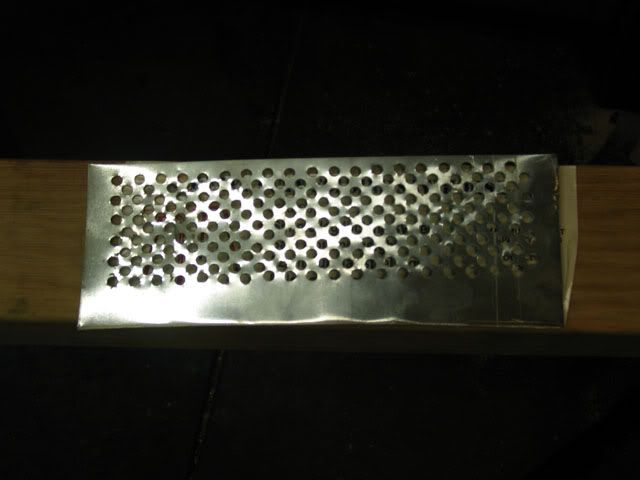
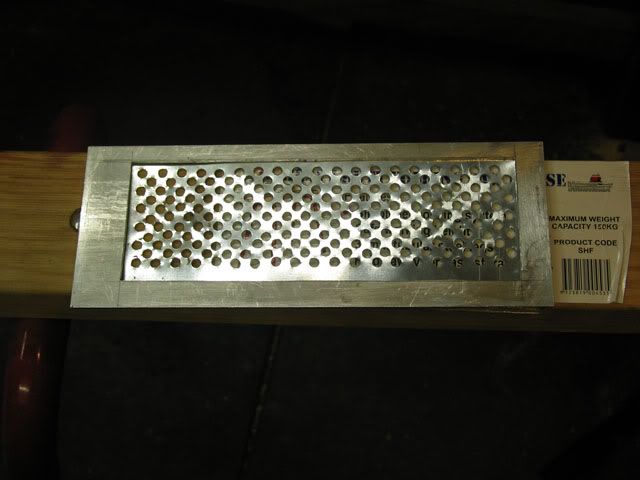
To correct this I cut a piece of .5mm aluminium sheet, clamped it between two 19mm chipboard pieces then overlayed a sketchup template.
htpc169.jpg


htpc170.jpg

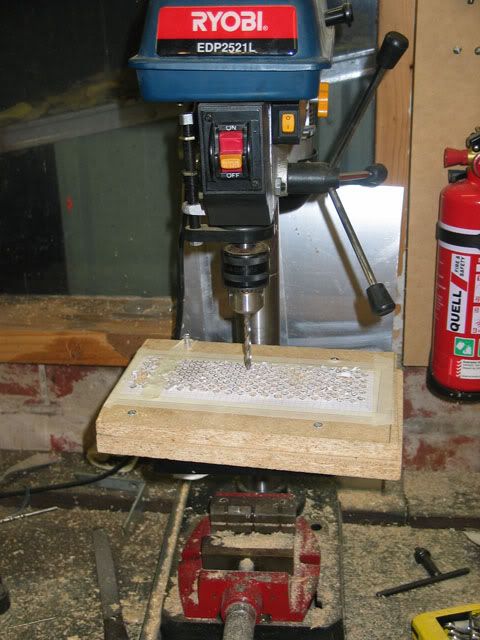
I then used a drill press to drill 5/13 pilot holes then 5.5mm vent holes.

htpc171.jpg


htpc172.jpg

Original 2mm panel cut to fit.(still needs to be glued)
 
Back
Top