• Some users have recently had their accounts hijacked. It seems that the now defunct EVGA forums might have compromised your password there and seems many are using the same PW here. We would suggest you UPDATE YOUR PASSWORD and TURN ON 2FA for your account here to further secure it. None of the compromised accounts had 2FA turned on.
    Once you have enabled 2FA, your account will be updated soon to show a badge, letting other members know that you use 2FA to protect your account. This should be beneficial for everyone that uses FSFT.

Project : Redemption

craigr1982

Limp Gawd
Joined
Jun 26, 2006
Messages
133
Named in part after The Shawshank Redemption film which is an awesome film.

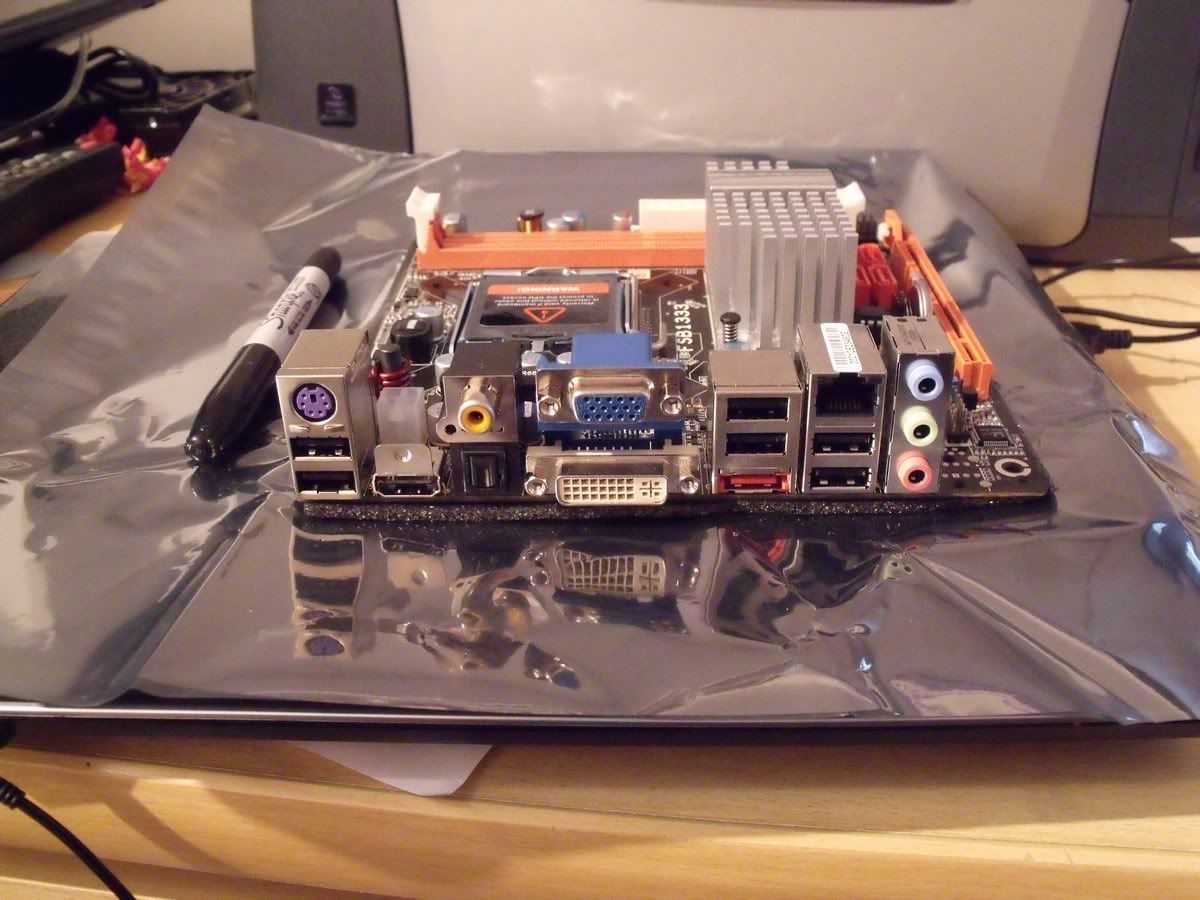
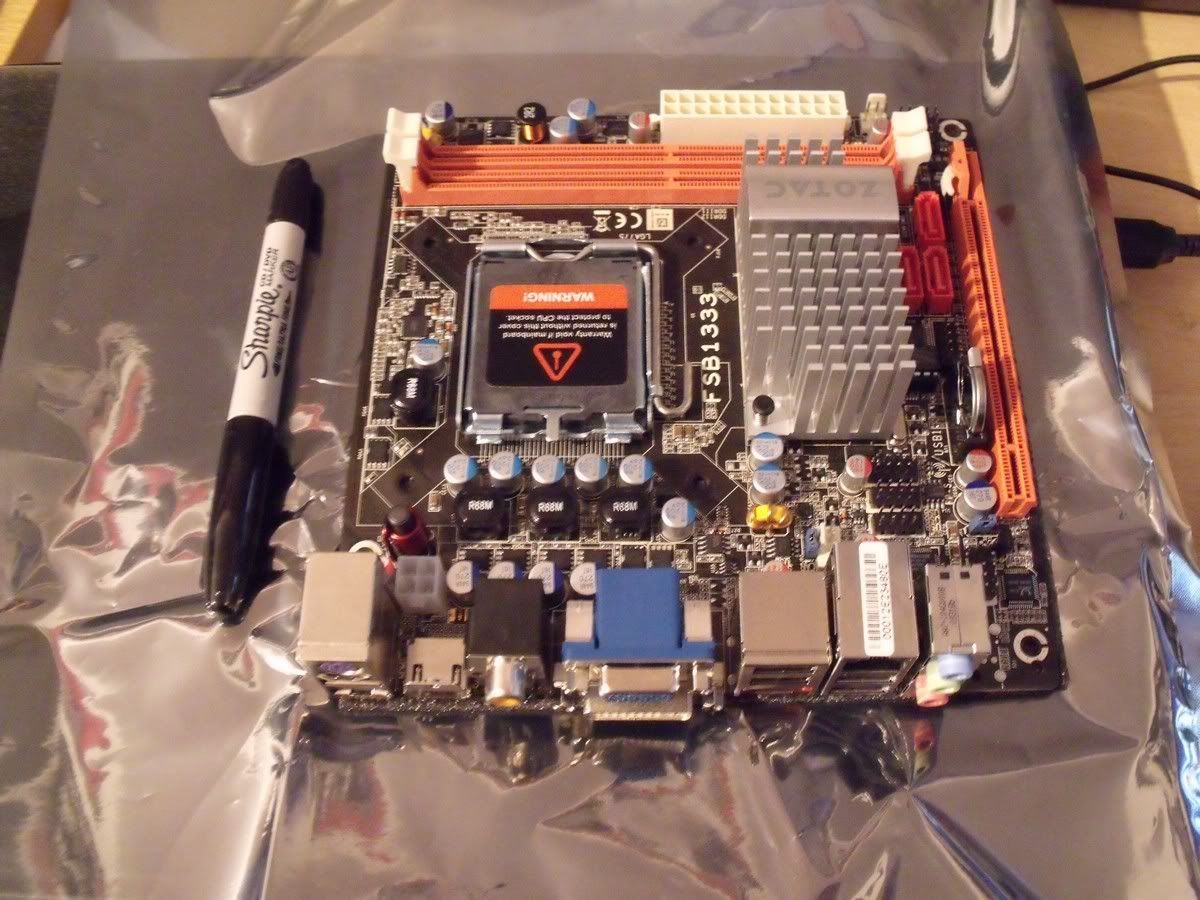
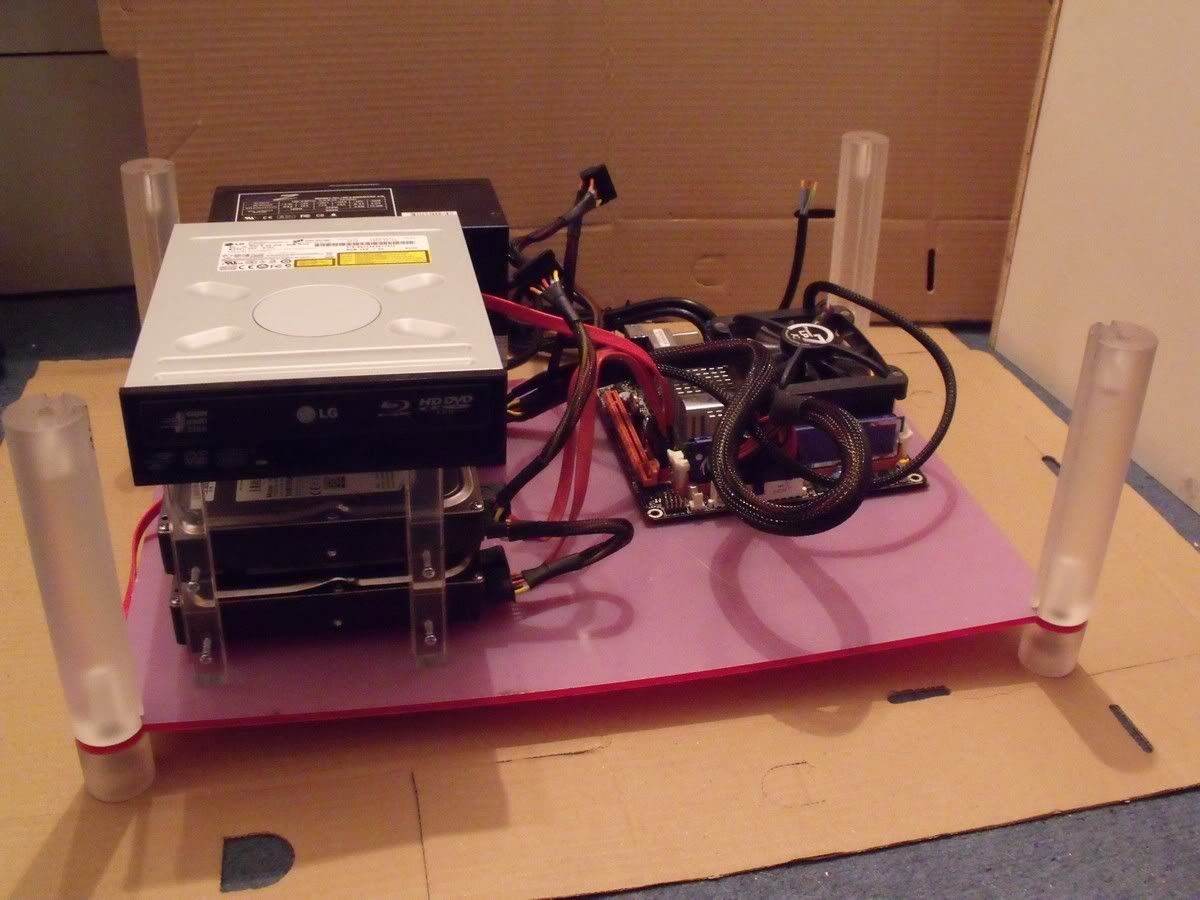
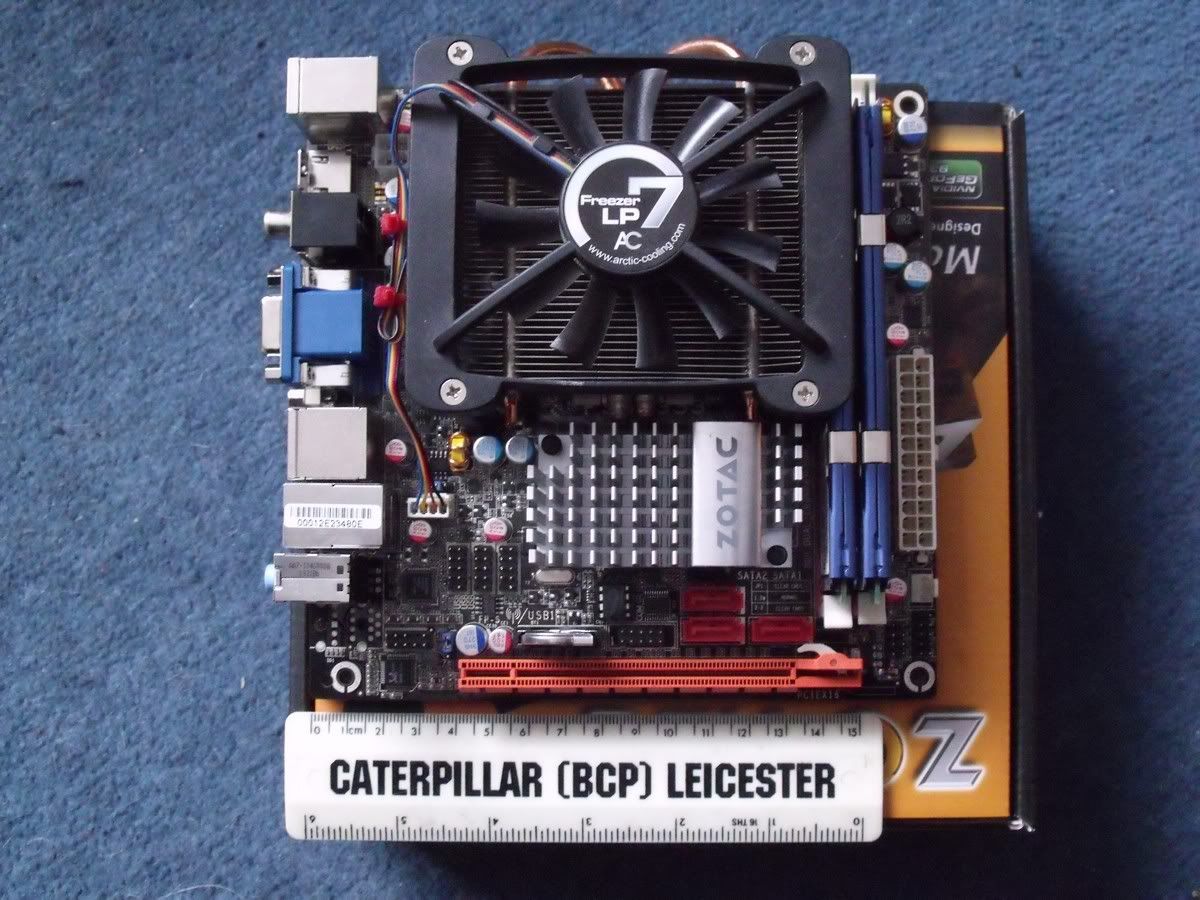
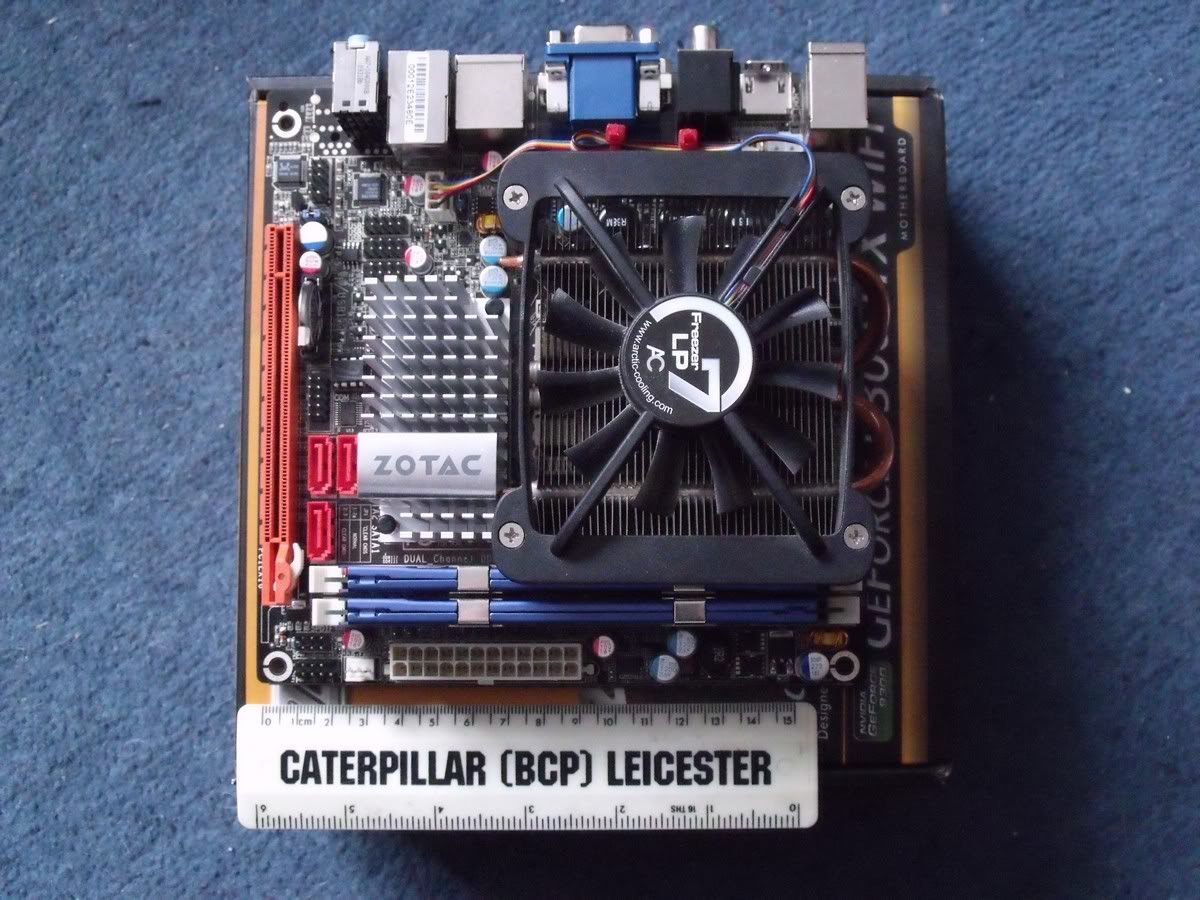
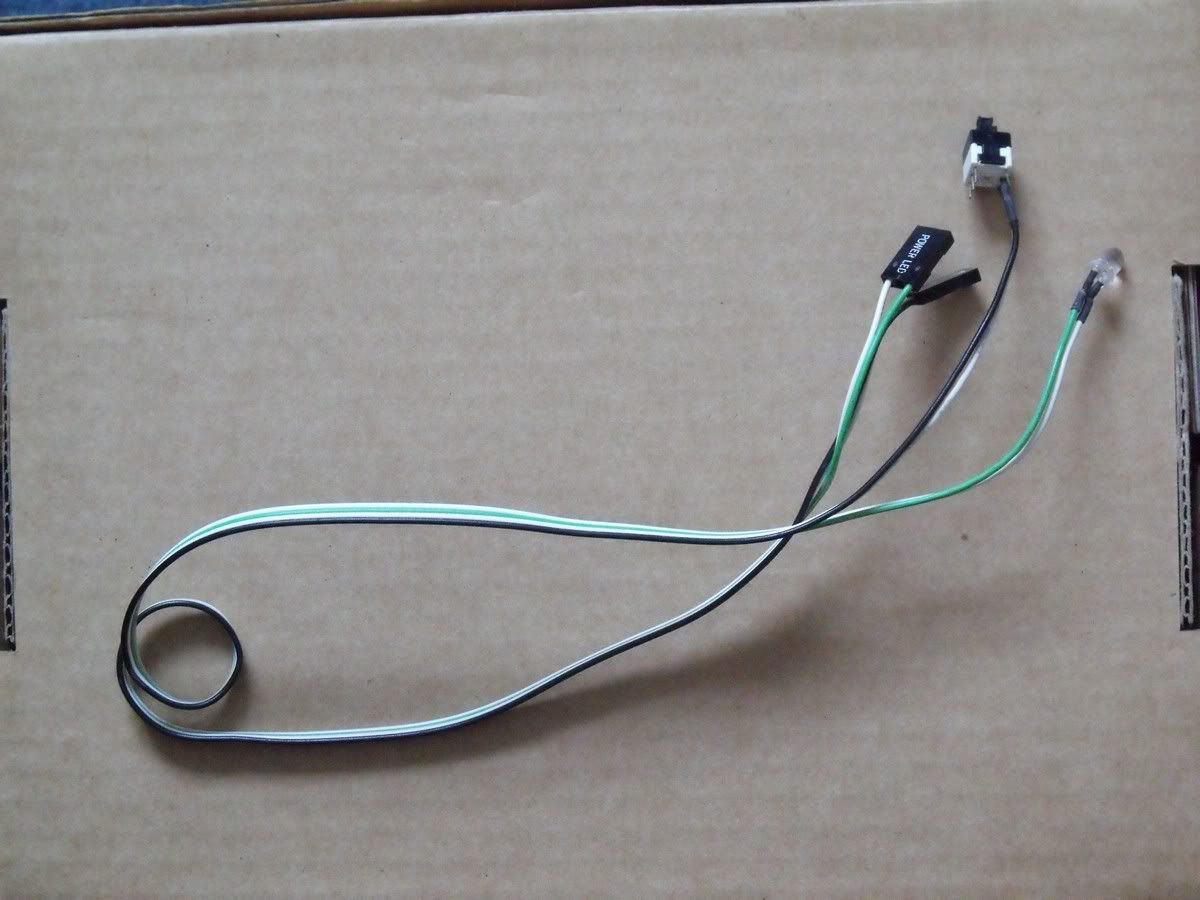
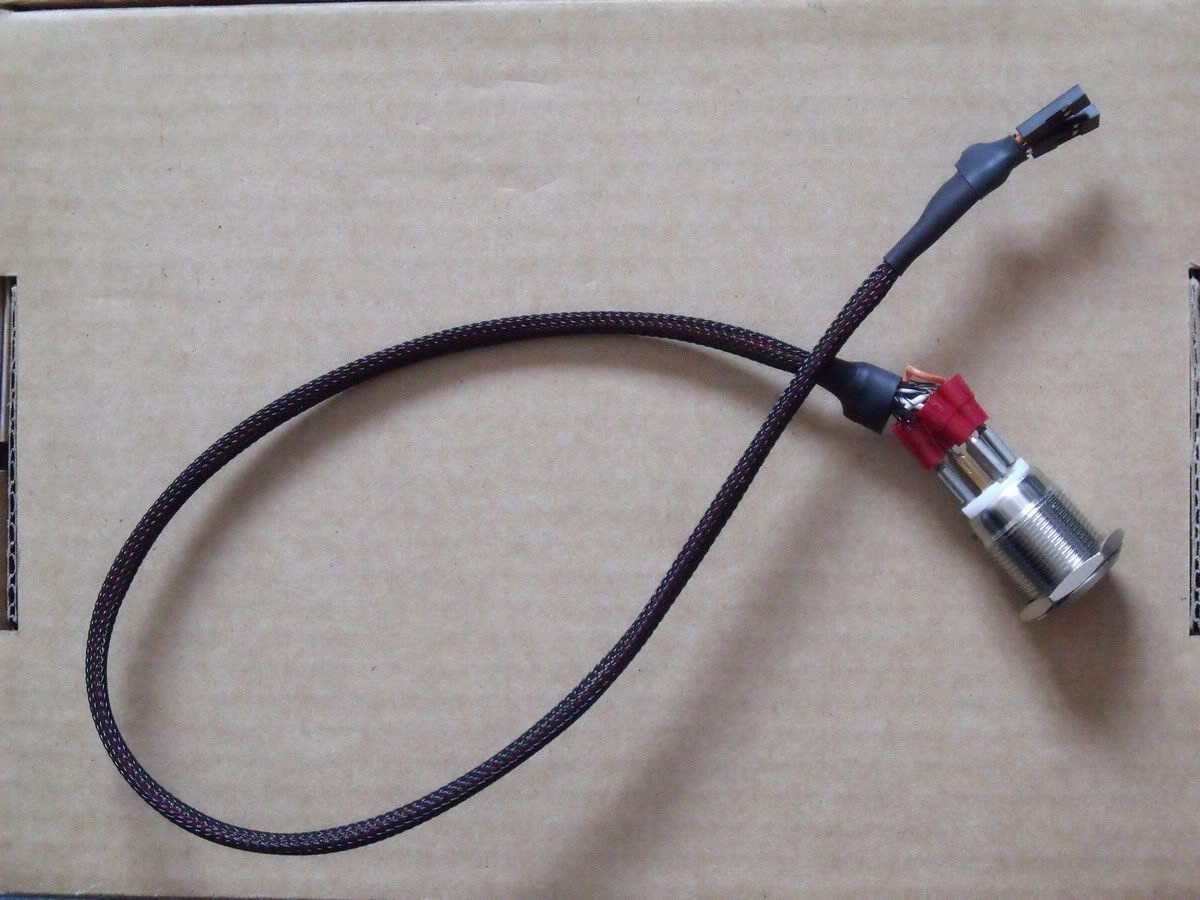
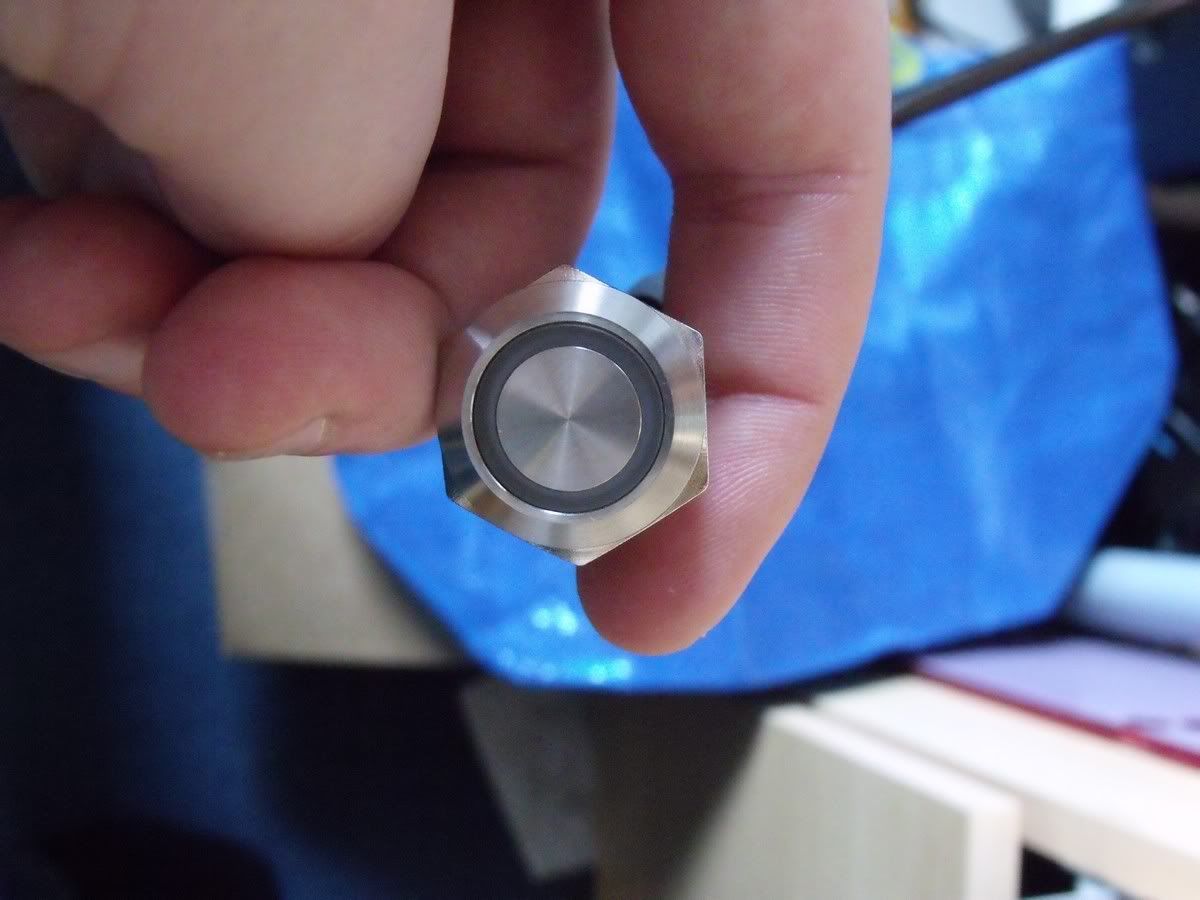
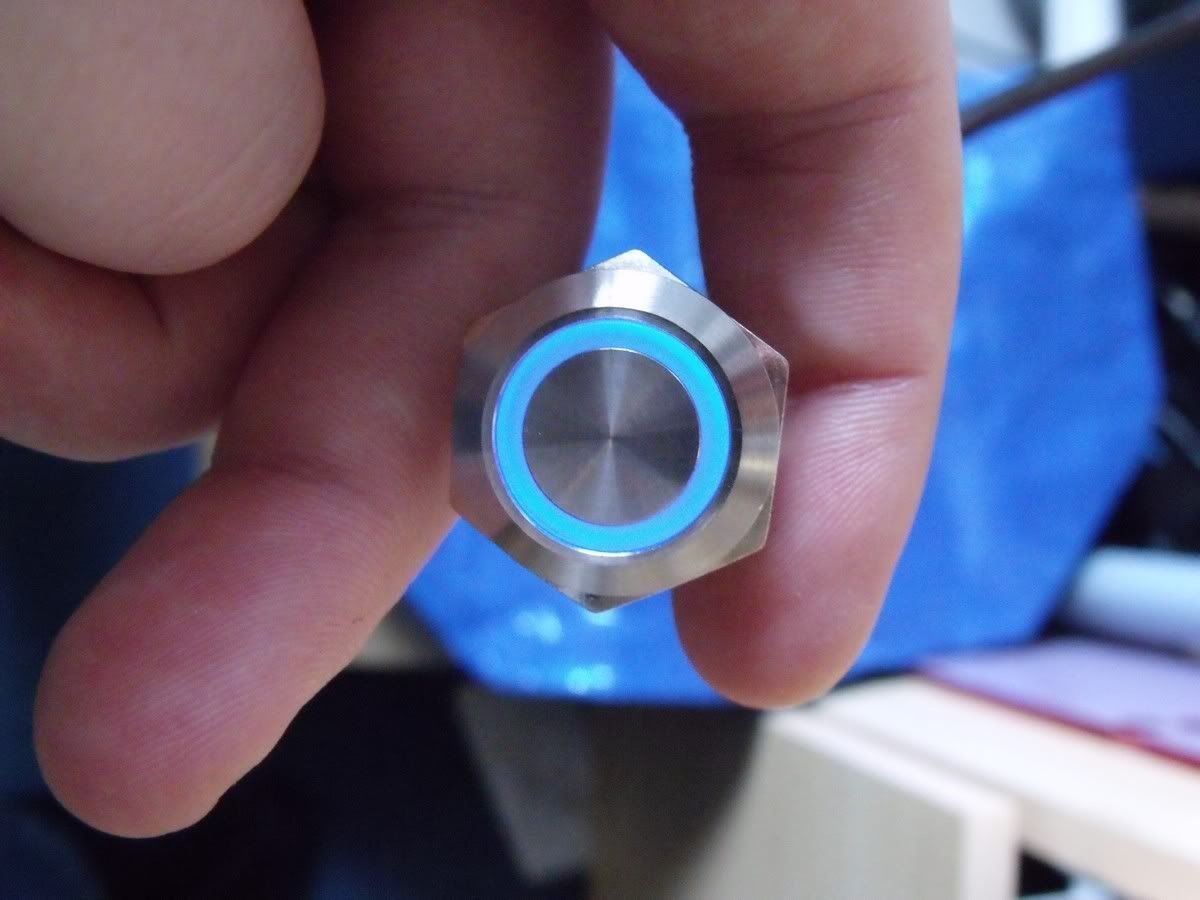
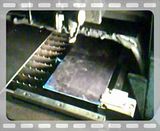
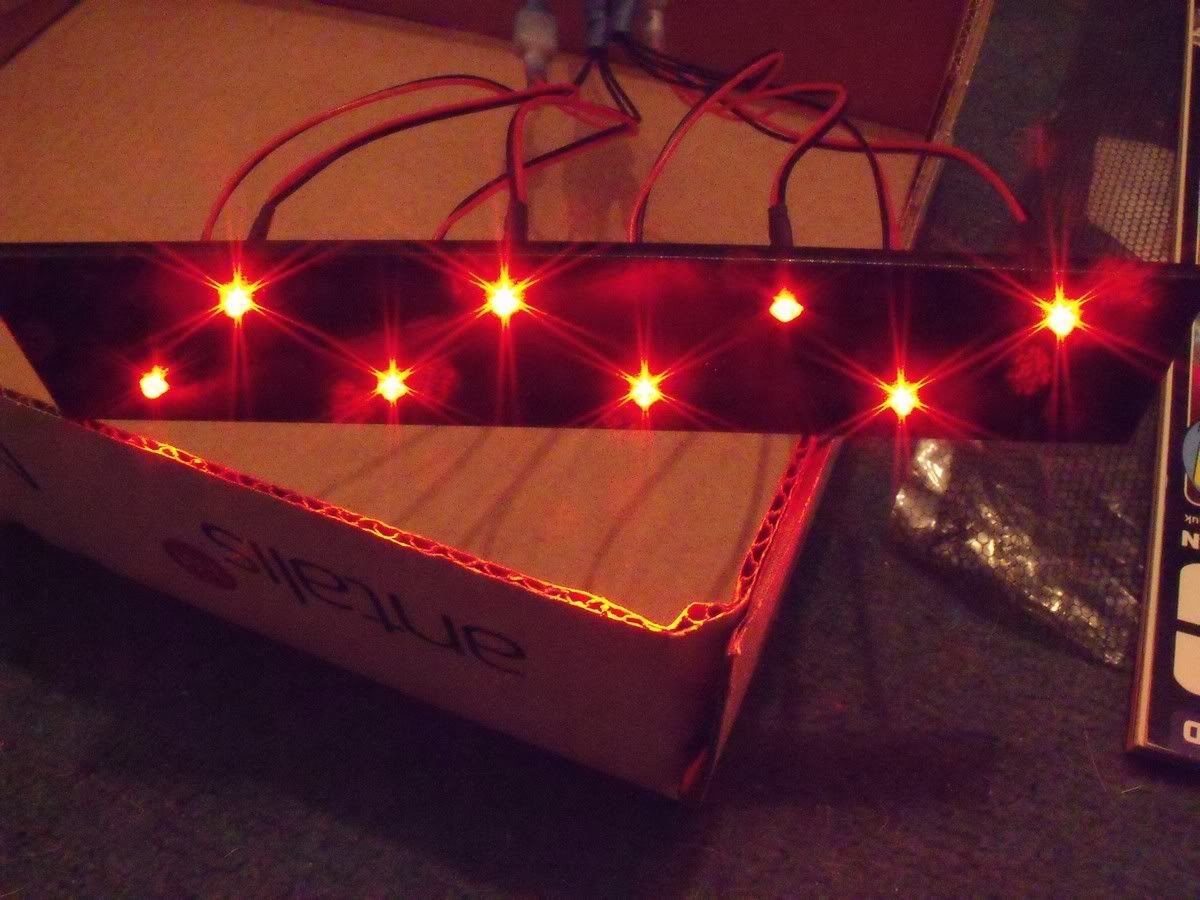
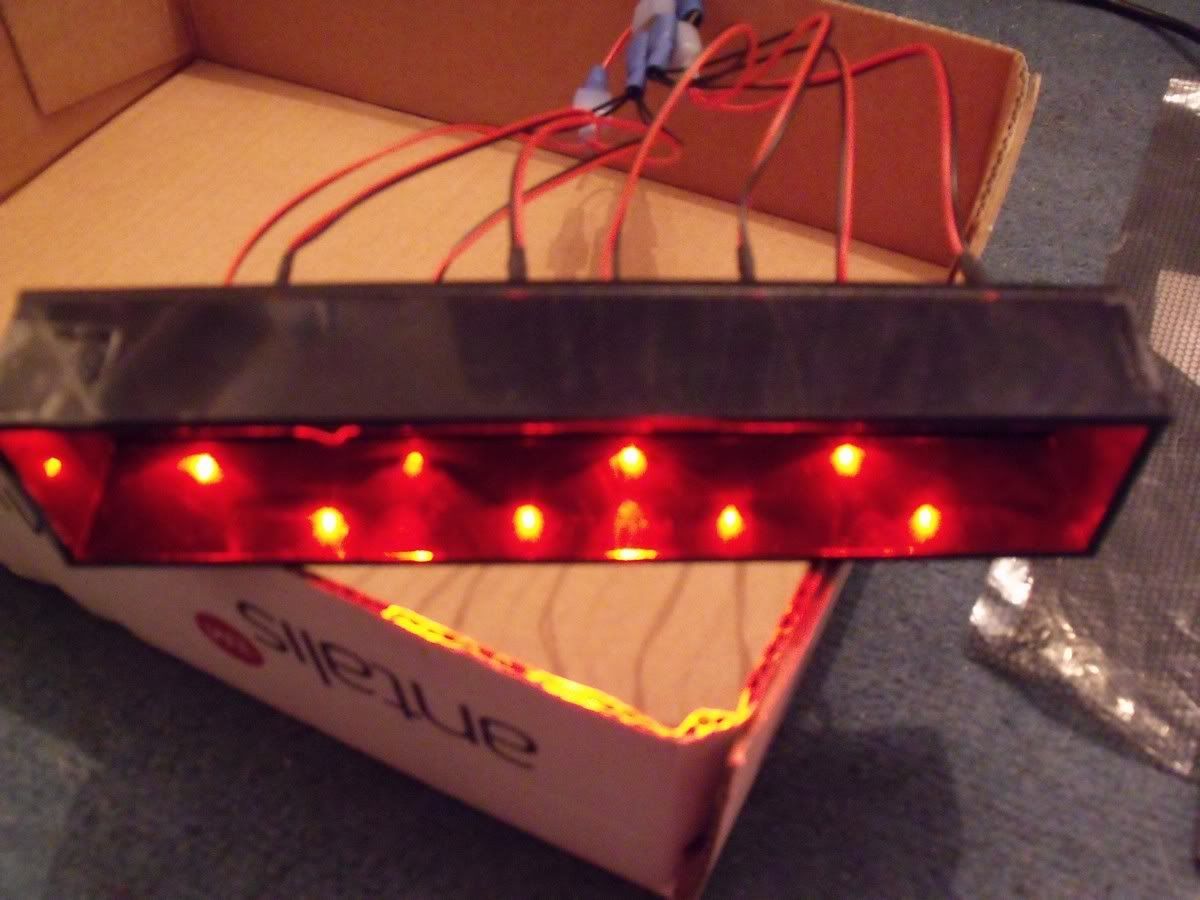
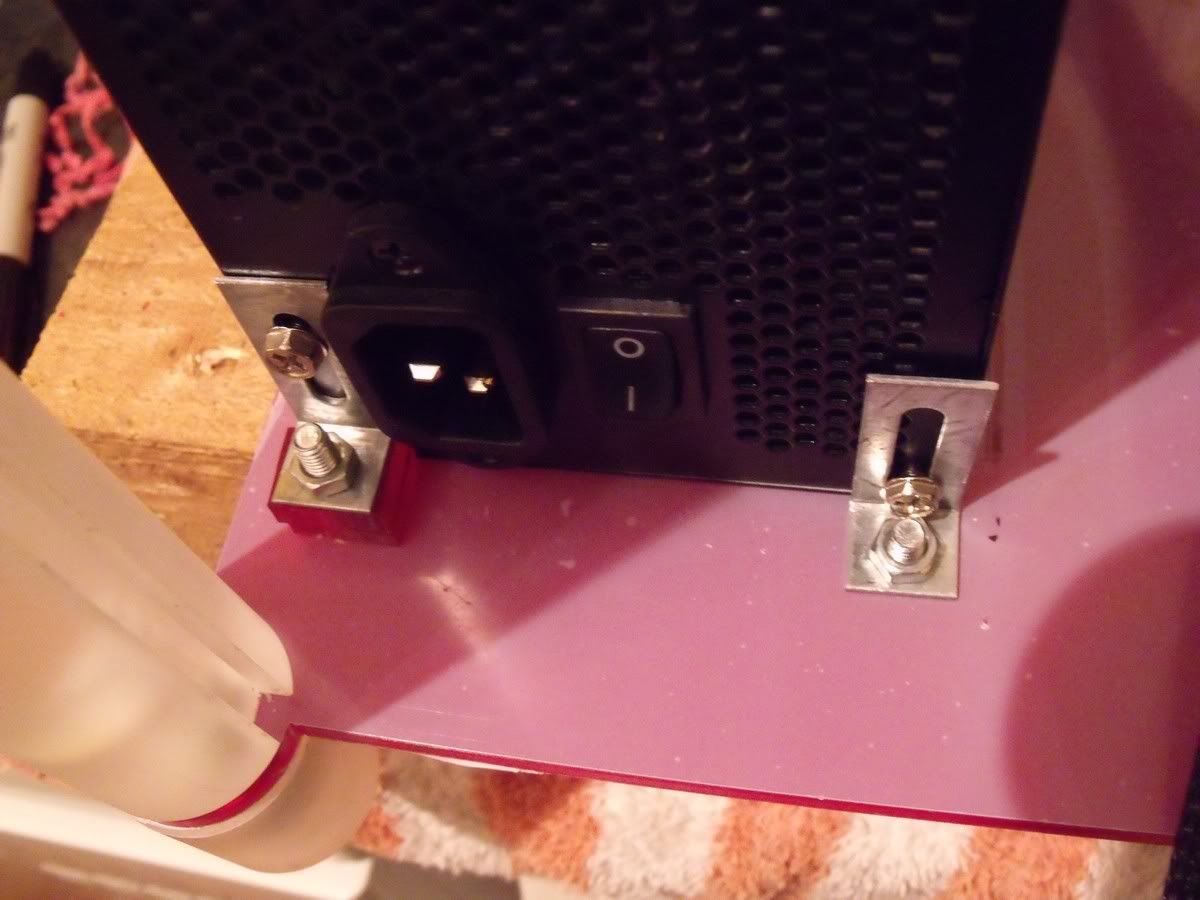
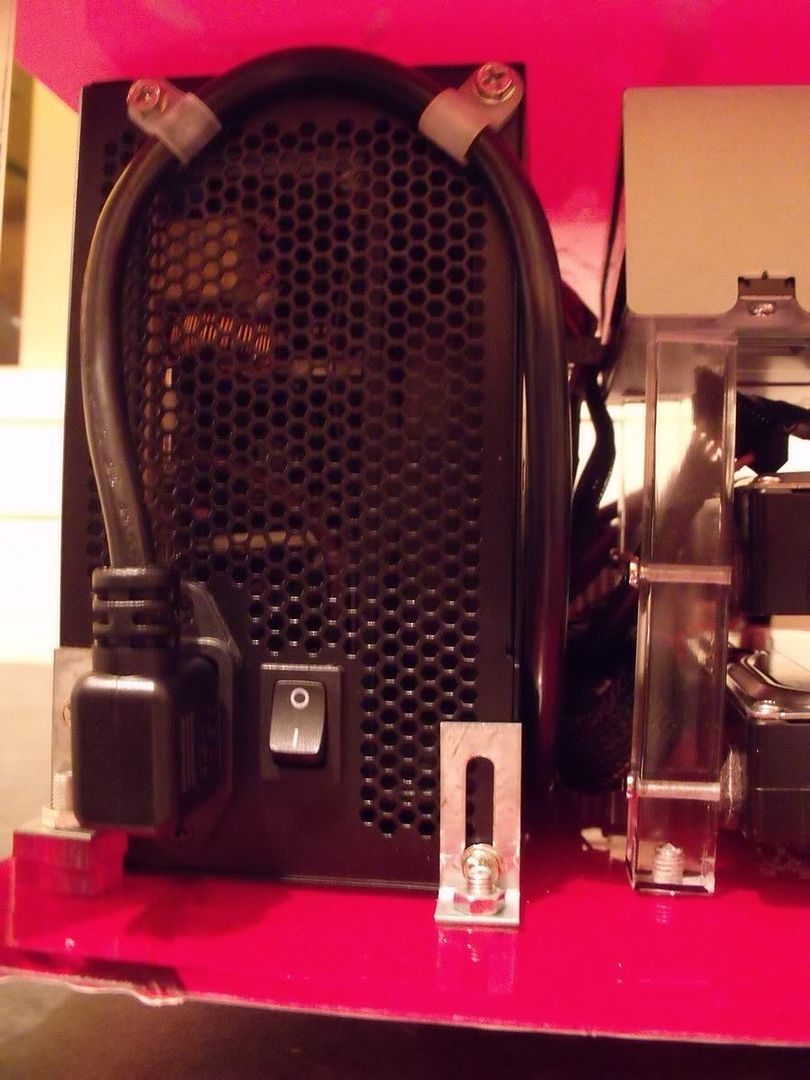
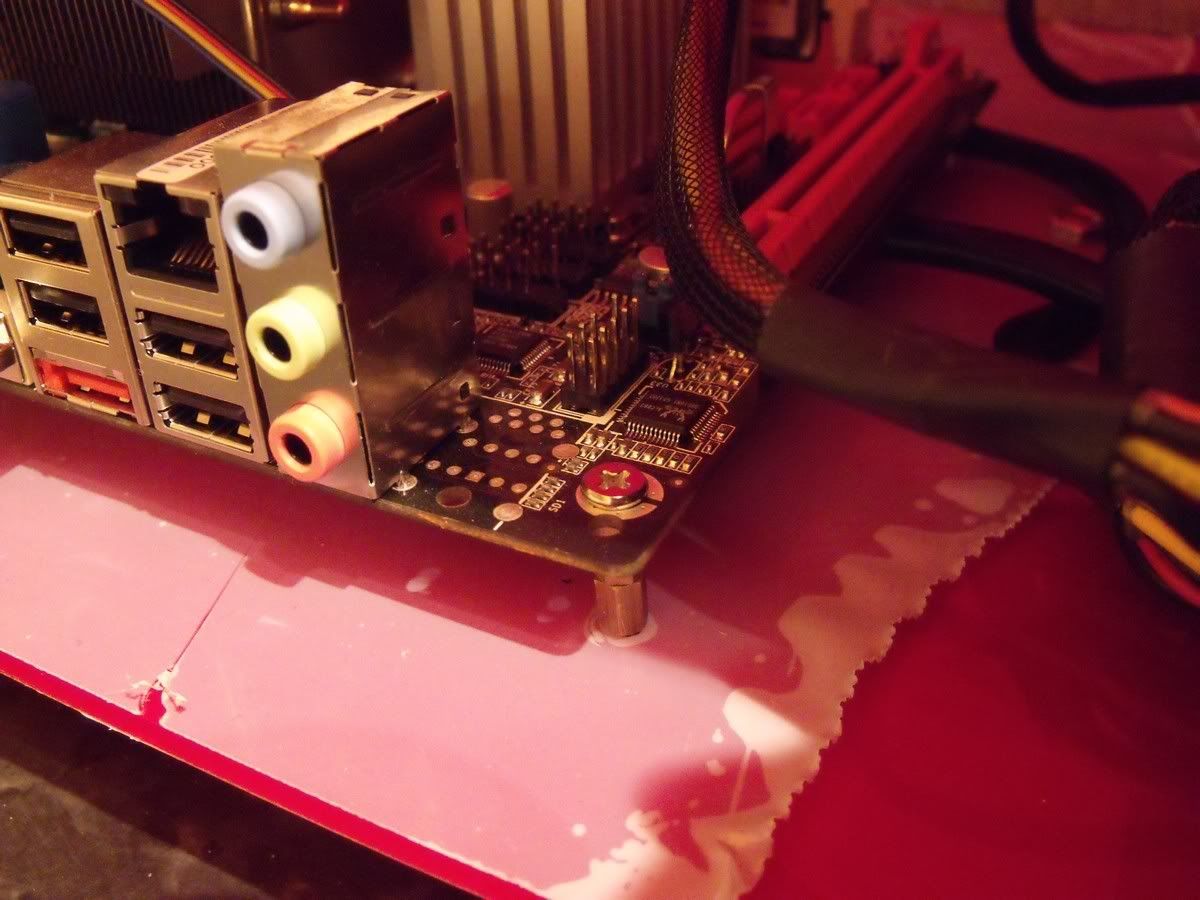
I've got a new PC which I'll be using as a Media Player / Blu-Ray Player which hooks up to my 32" LCD TV.

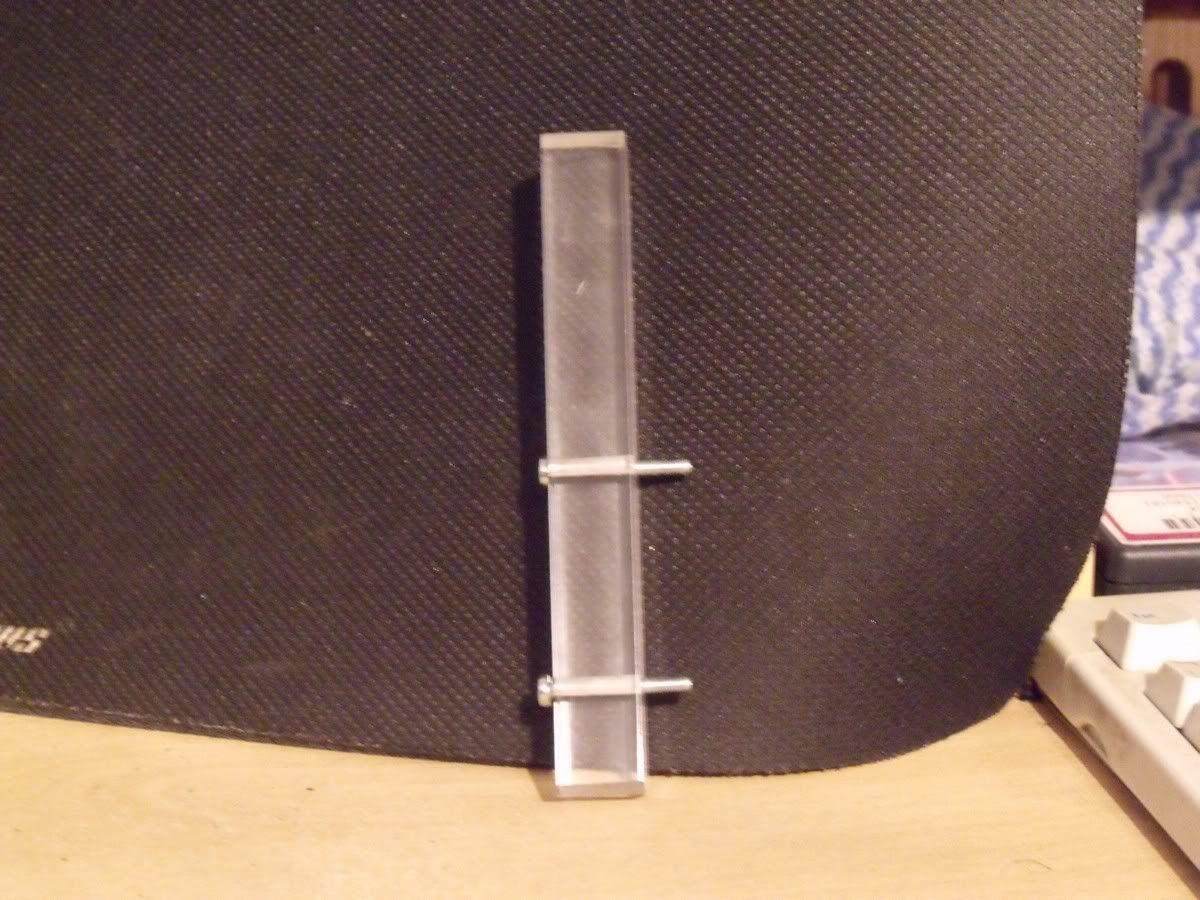
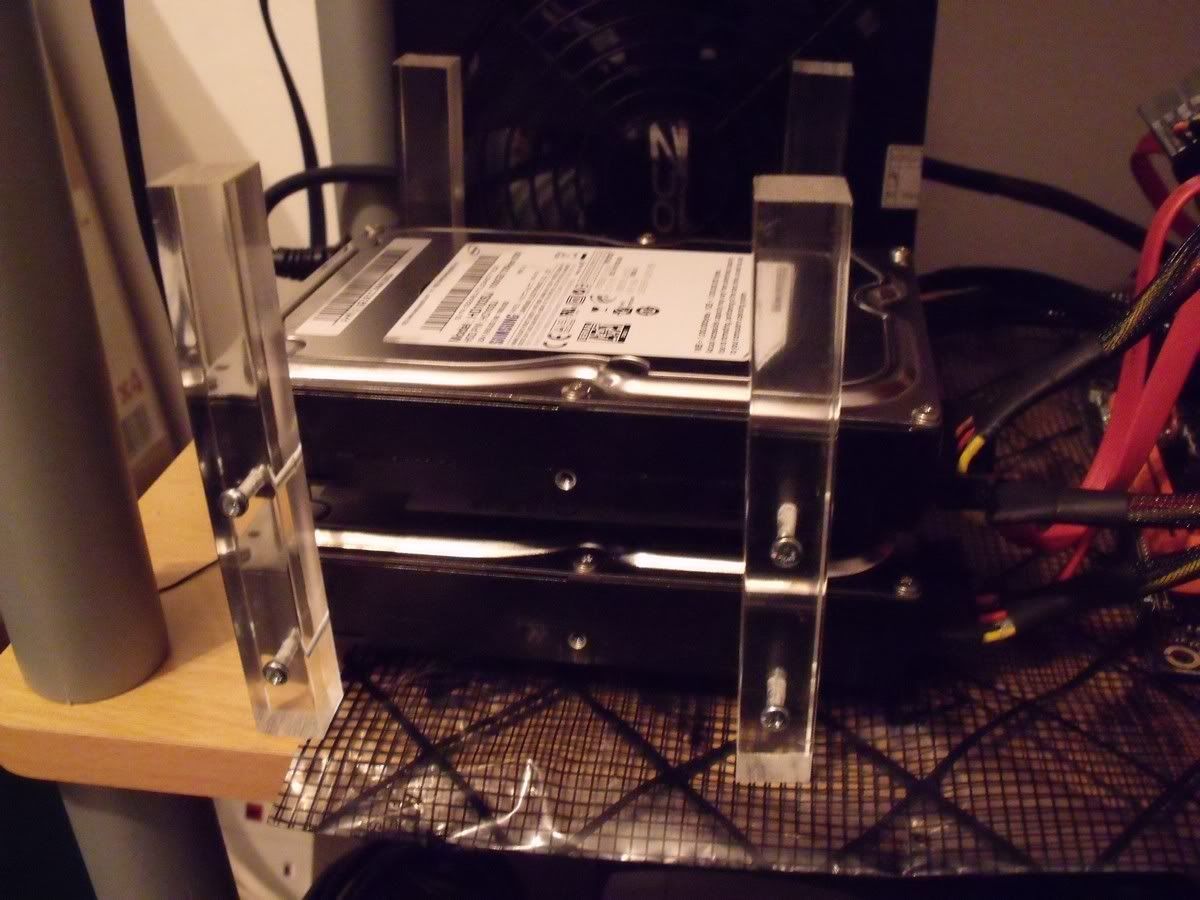
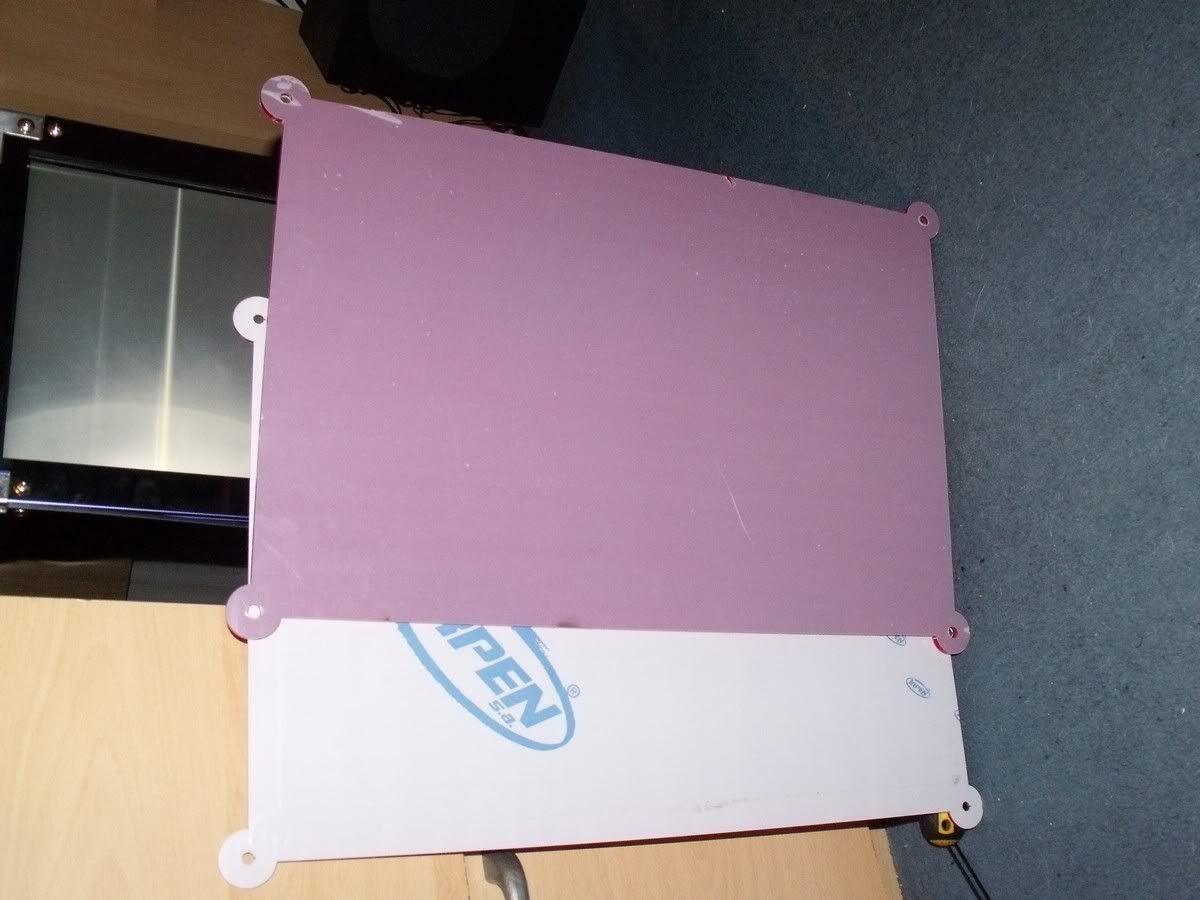
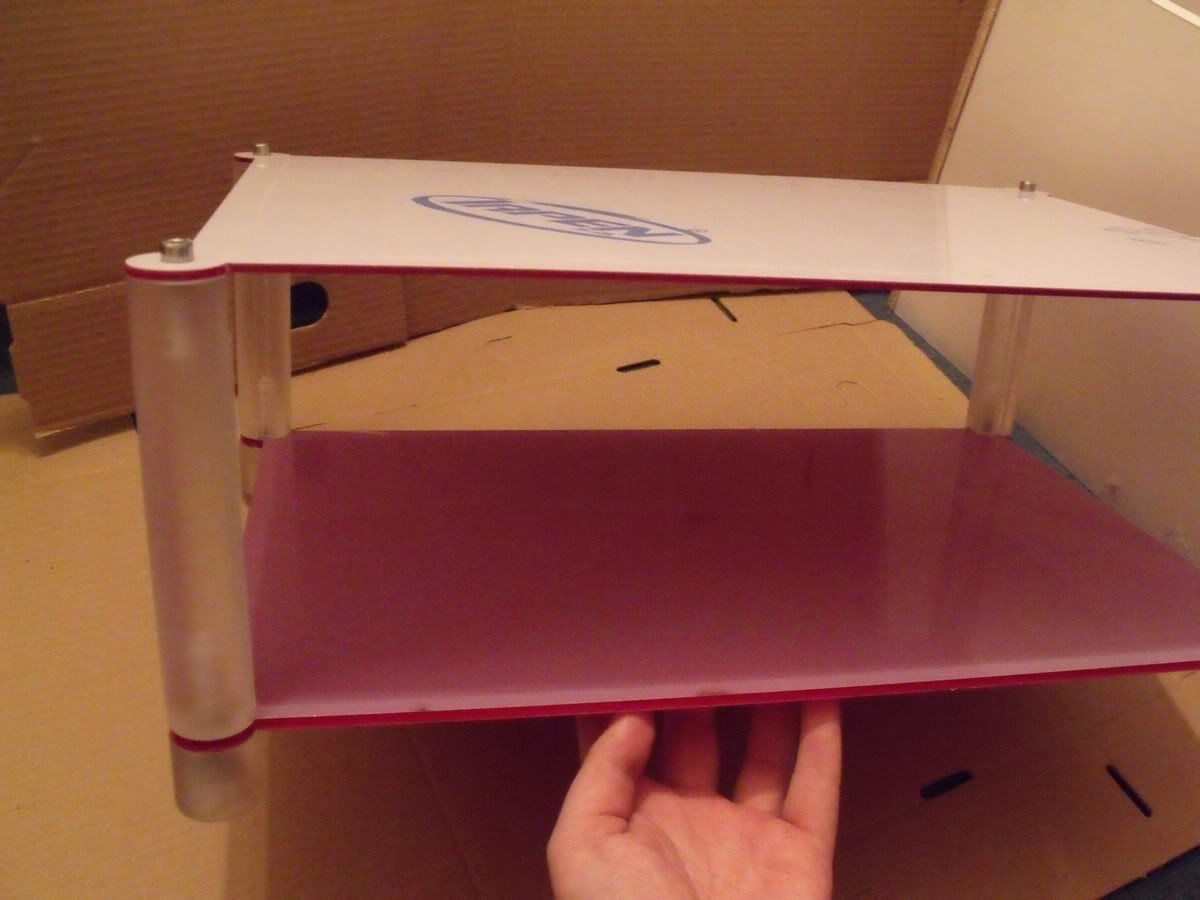
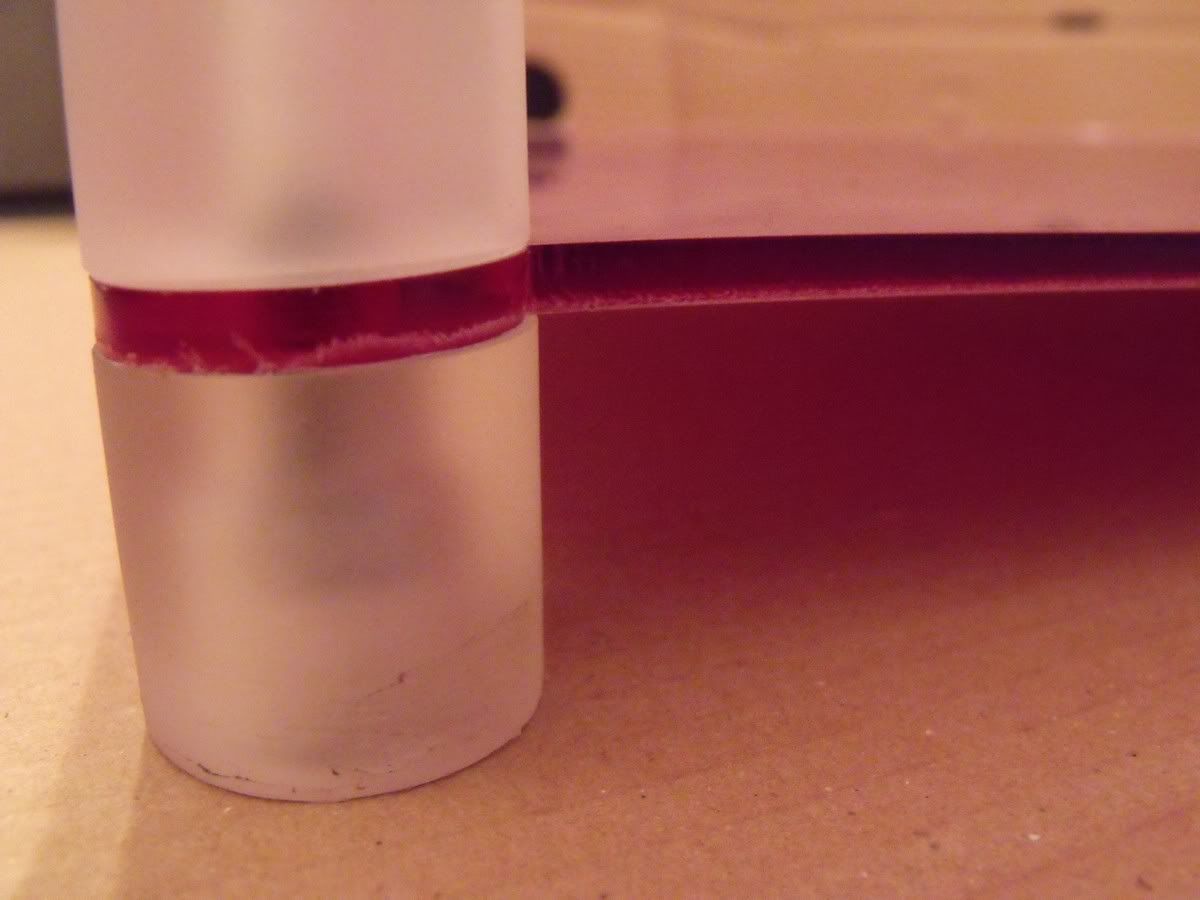
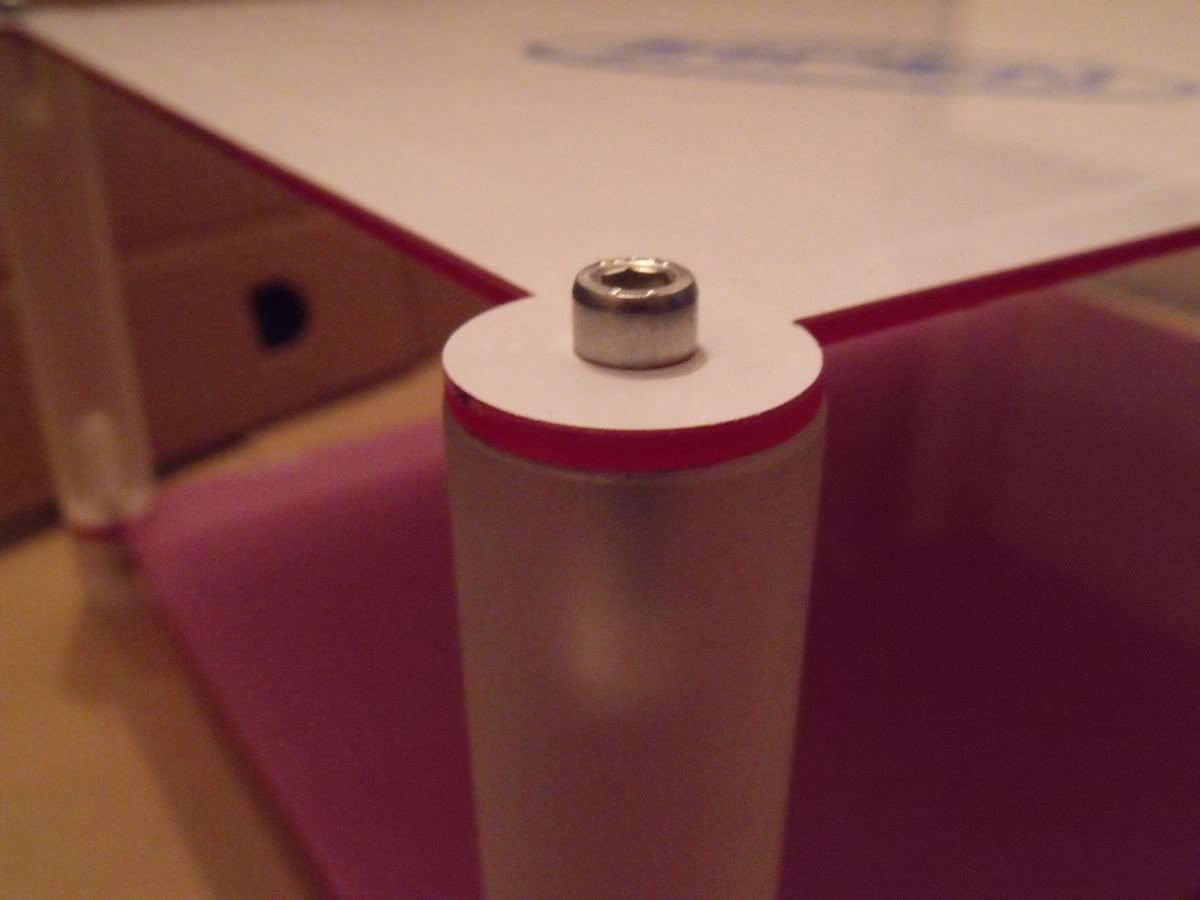
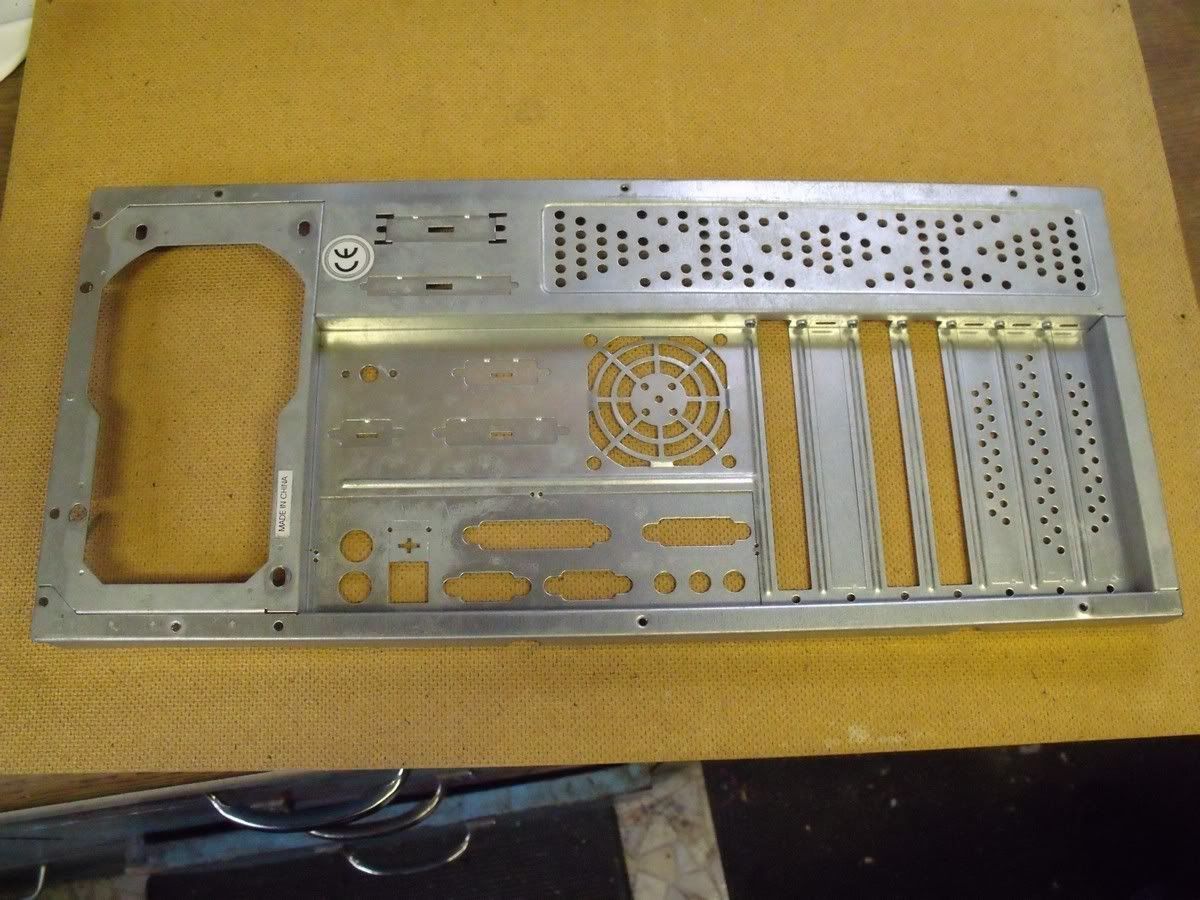
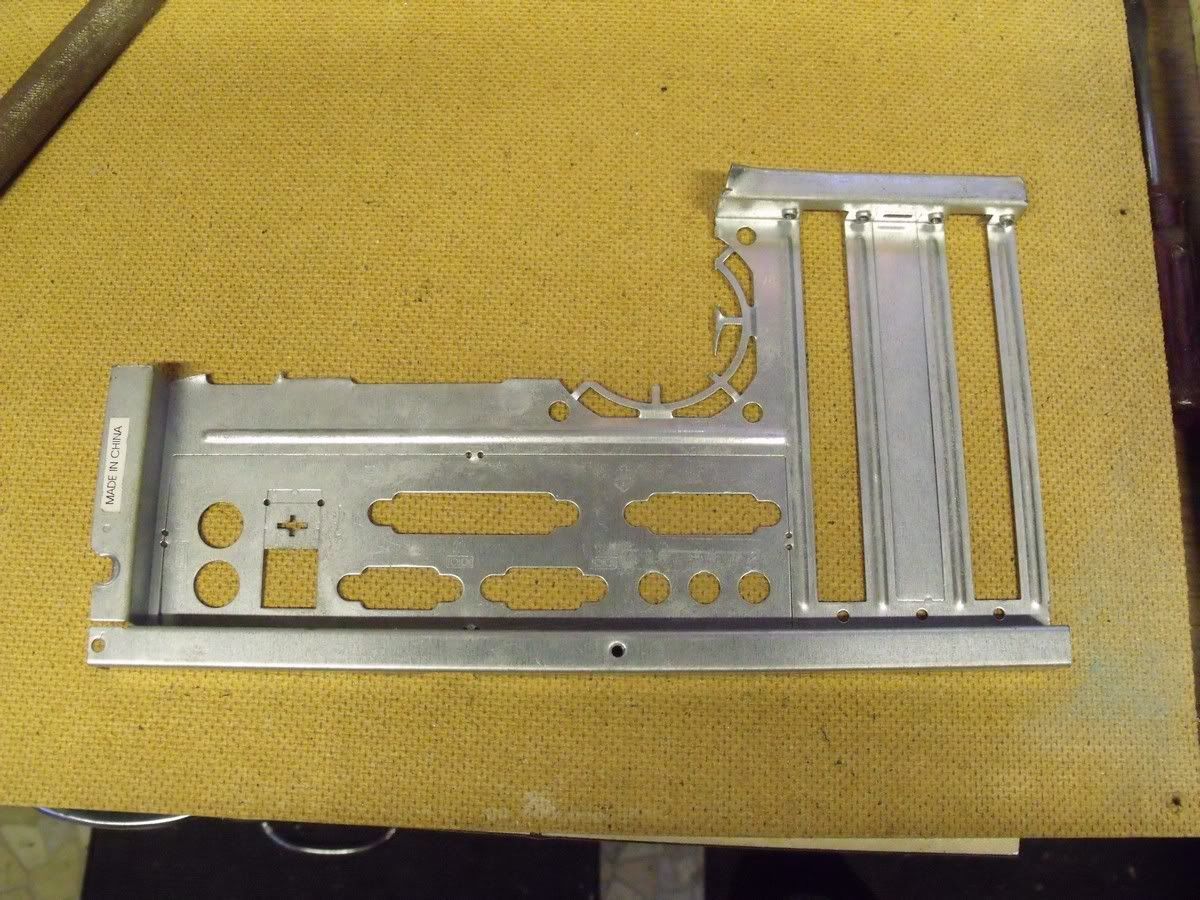
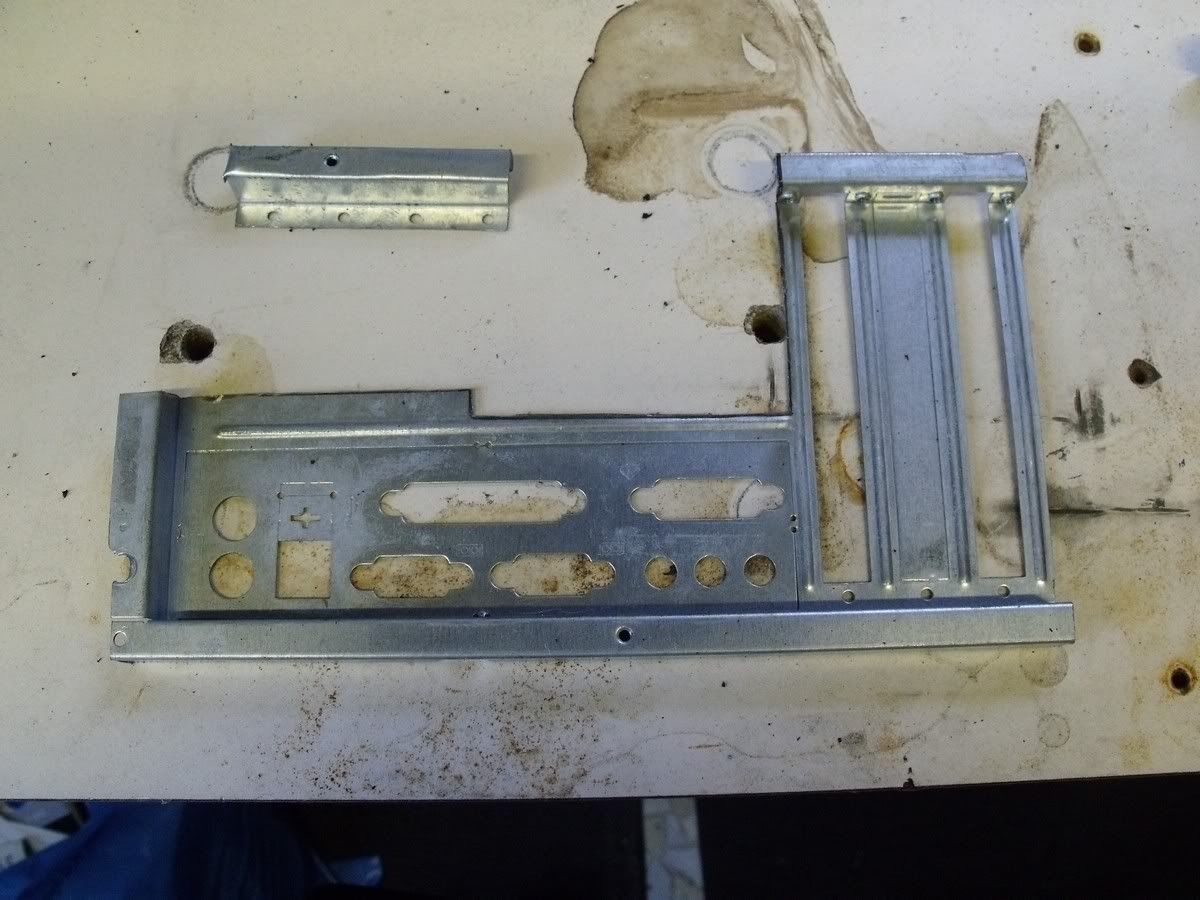
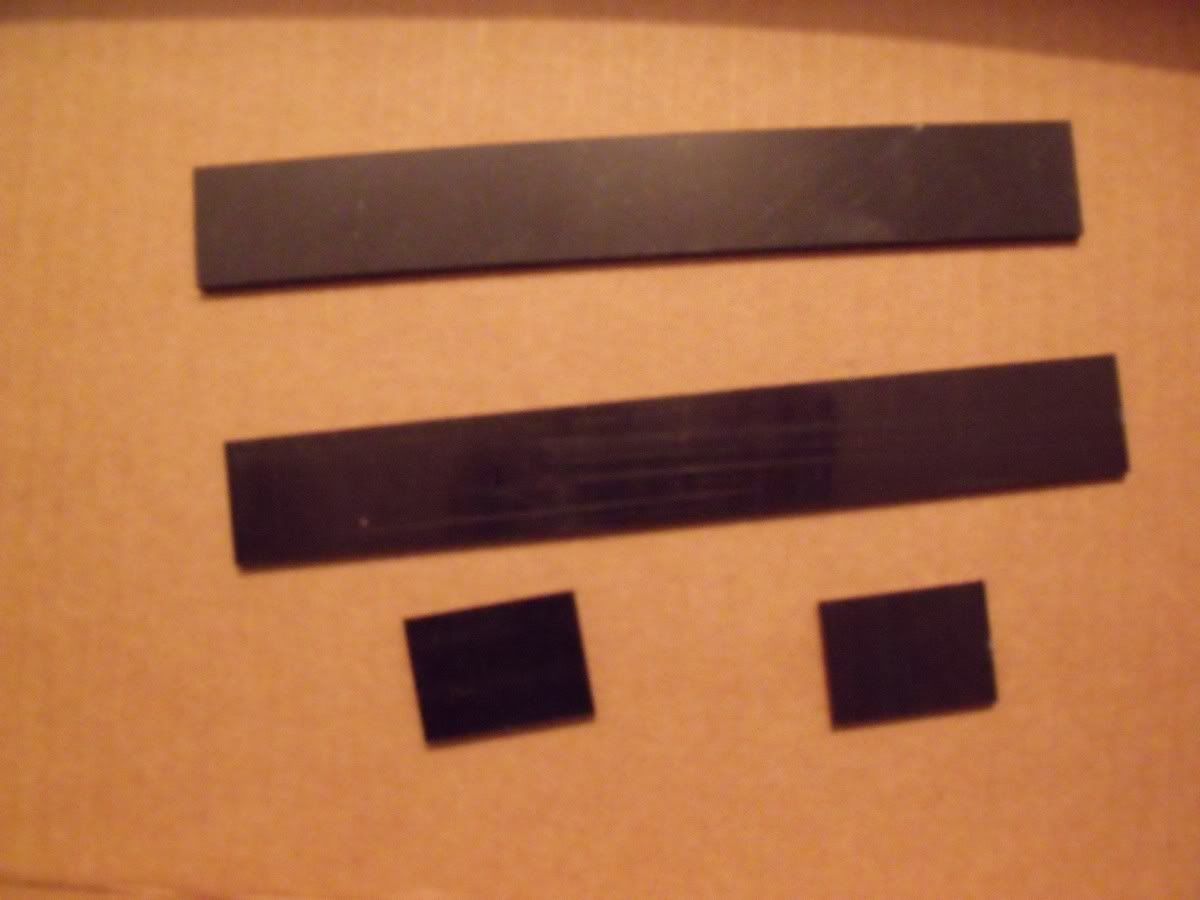
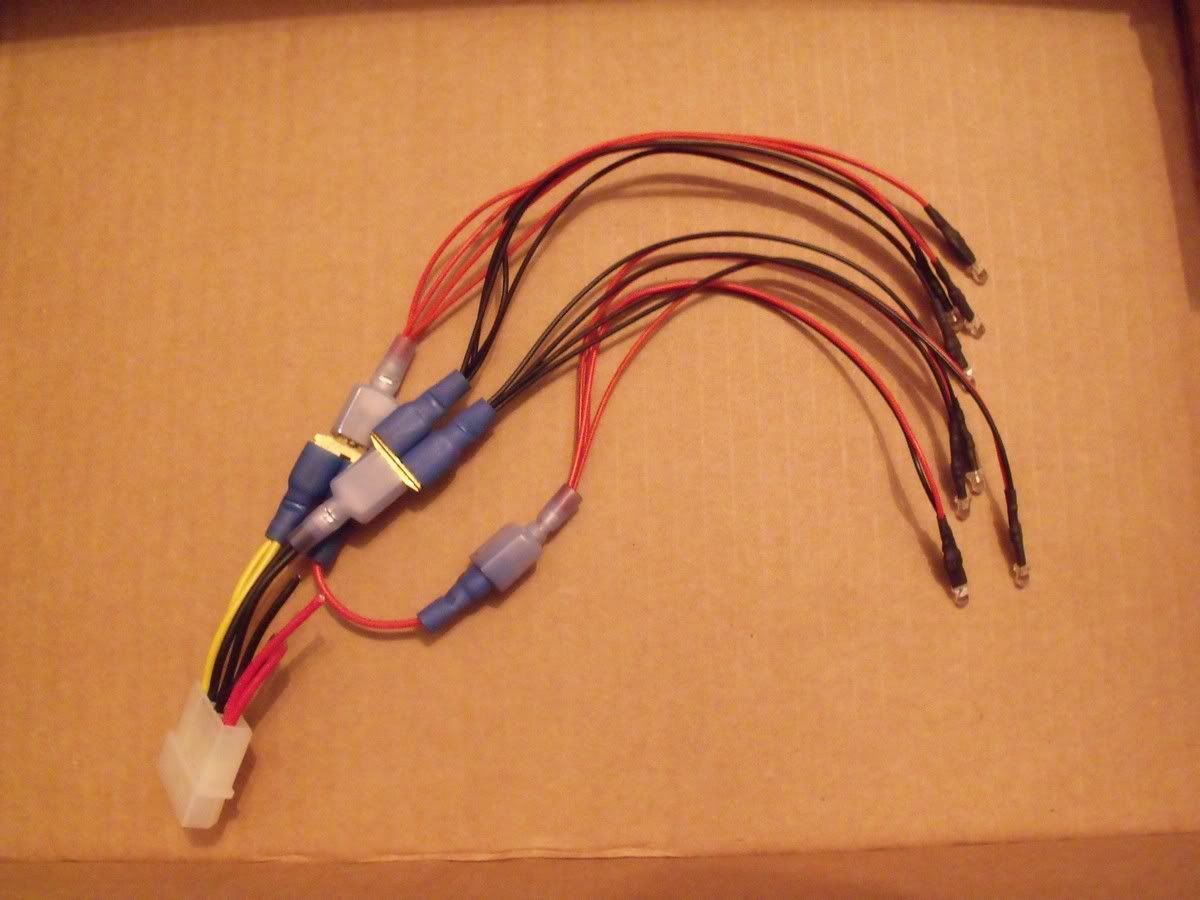
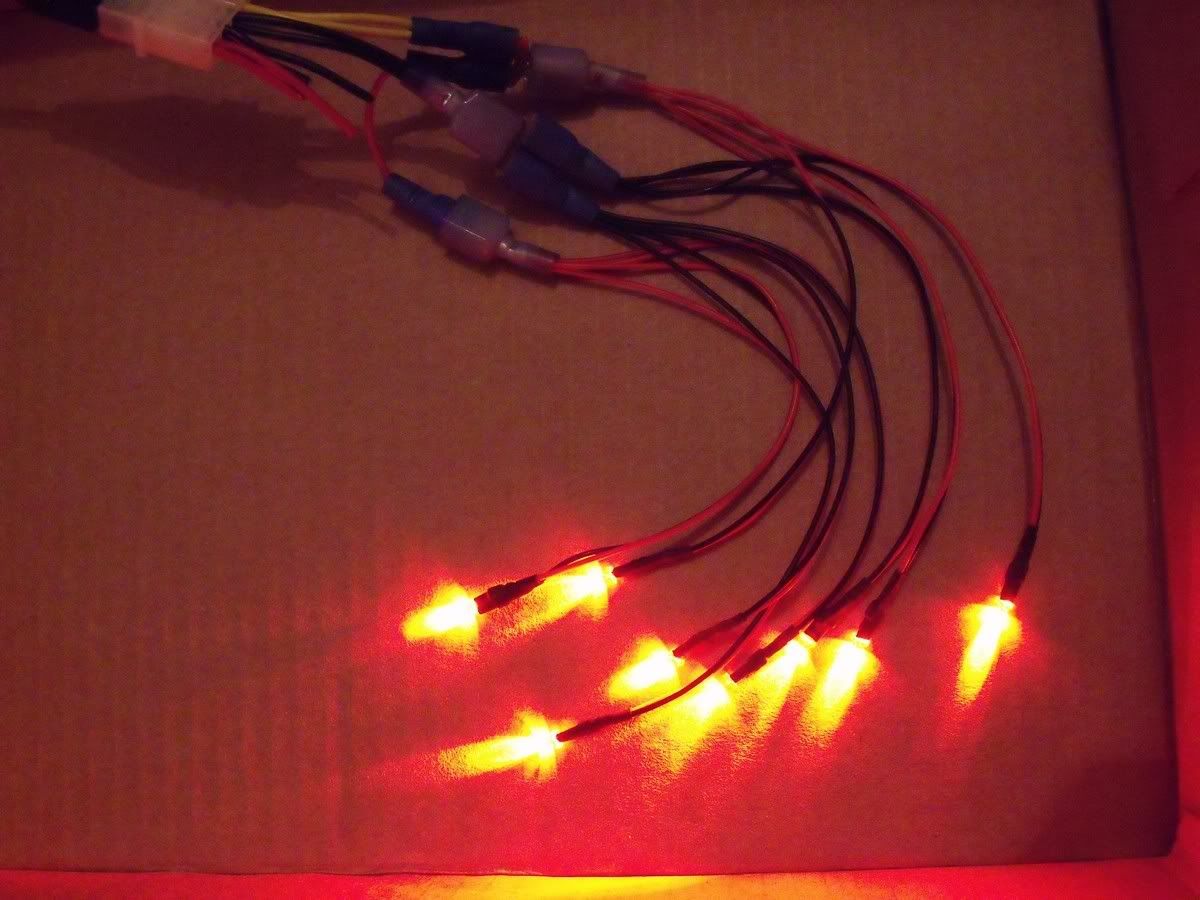
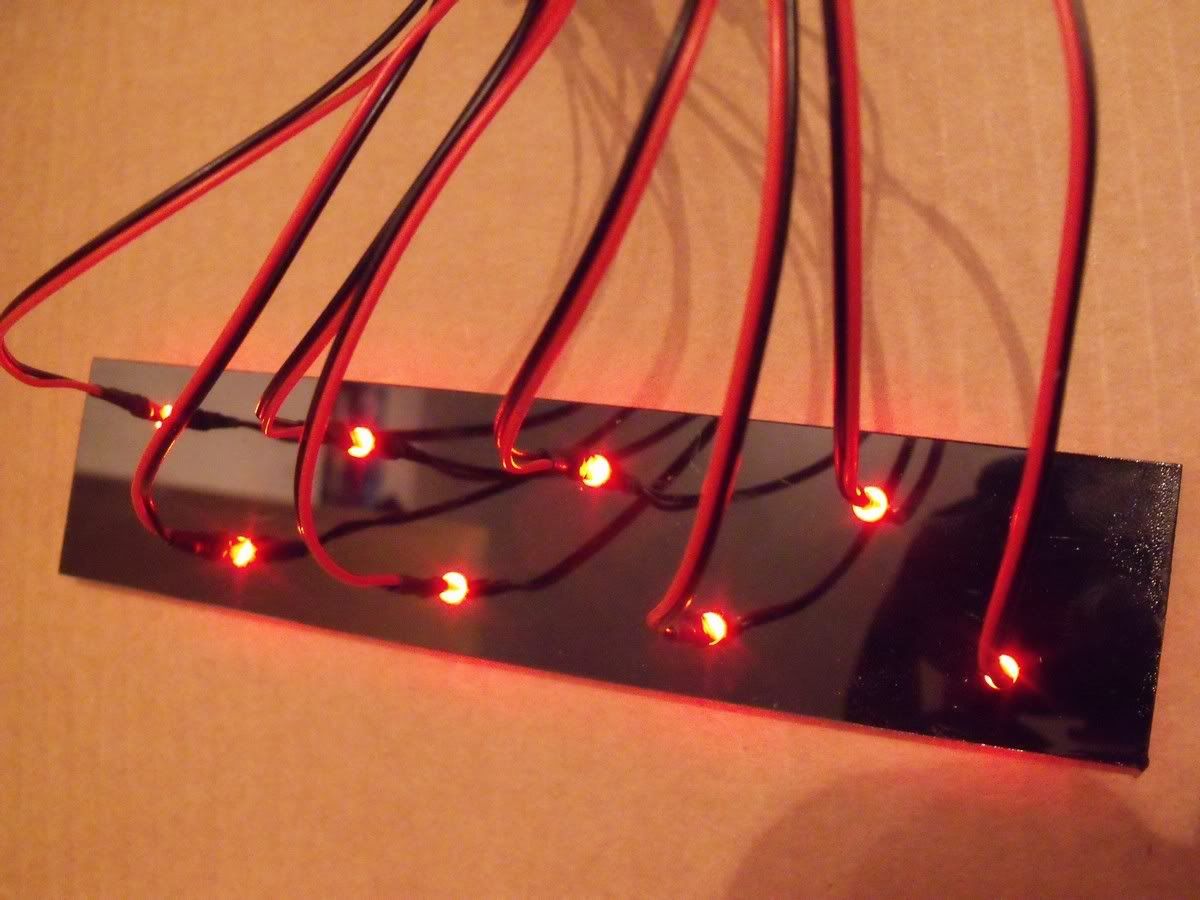
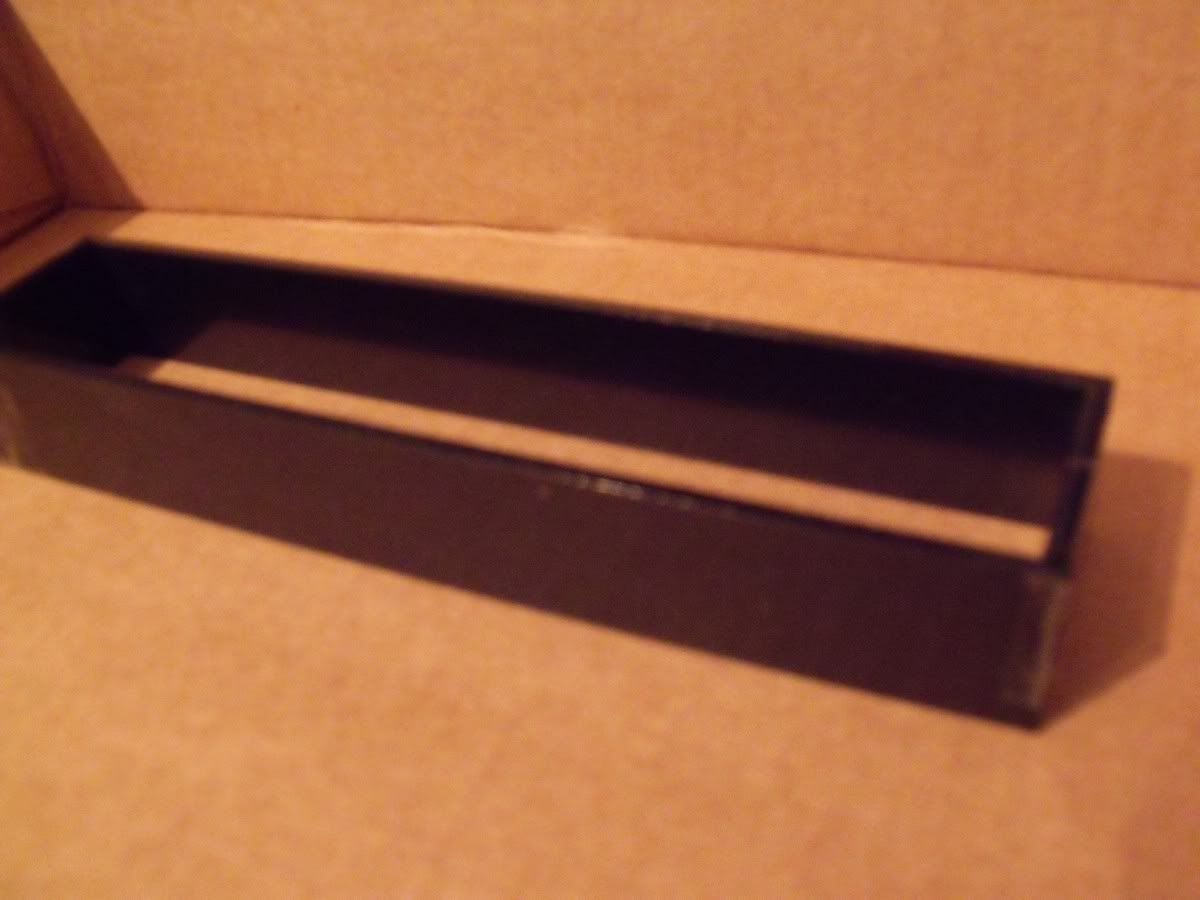
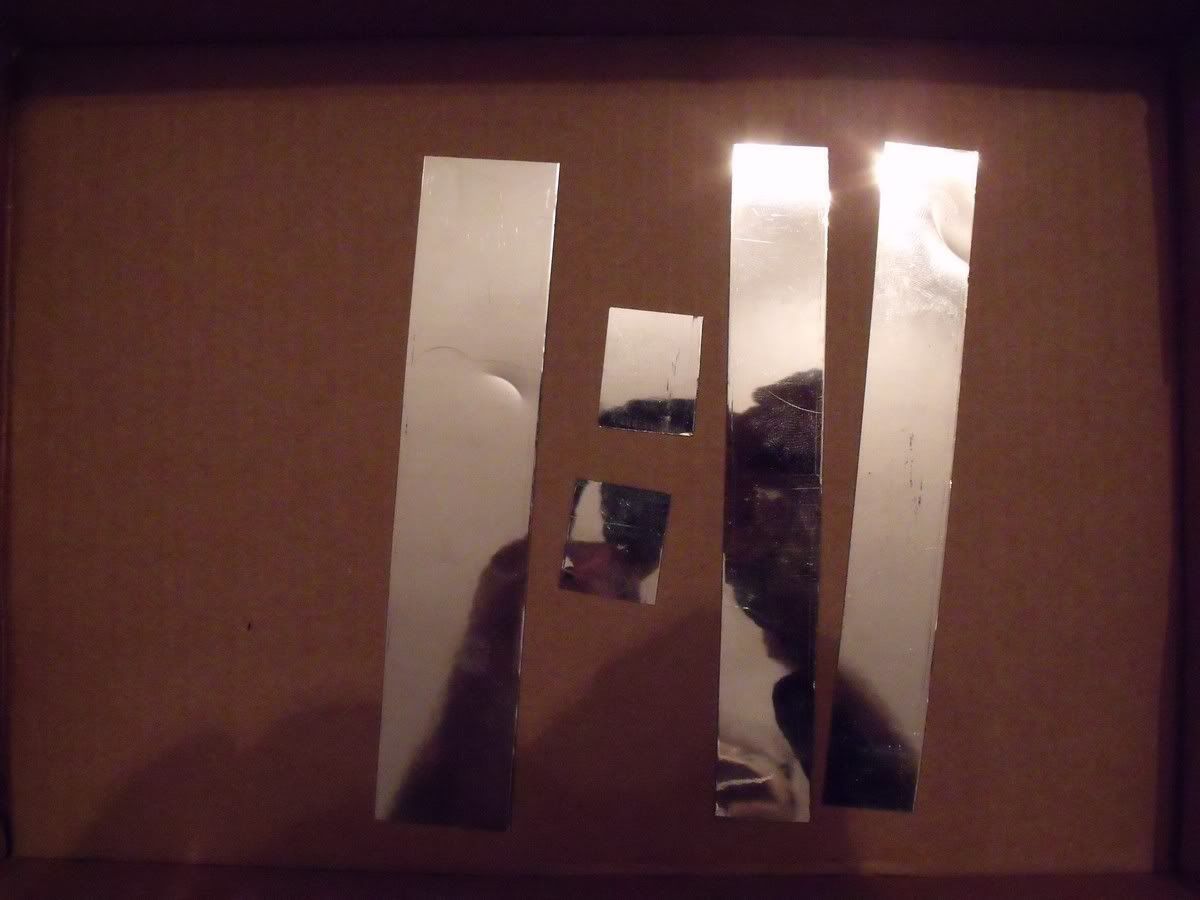
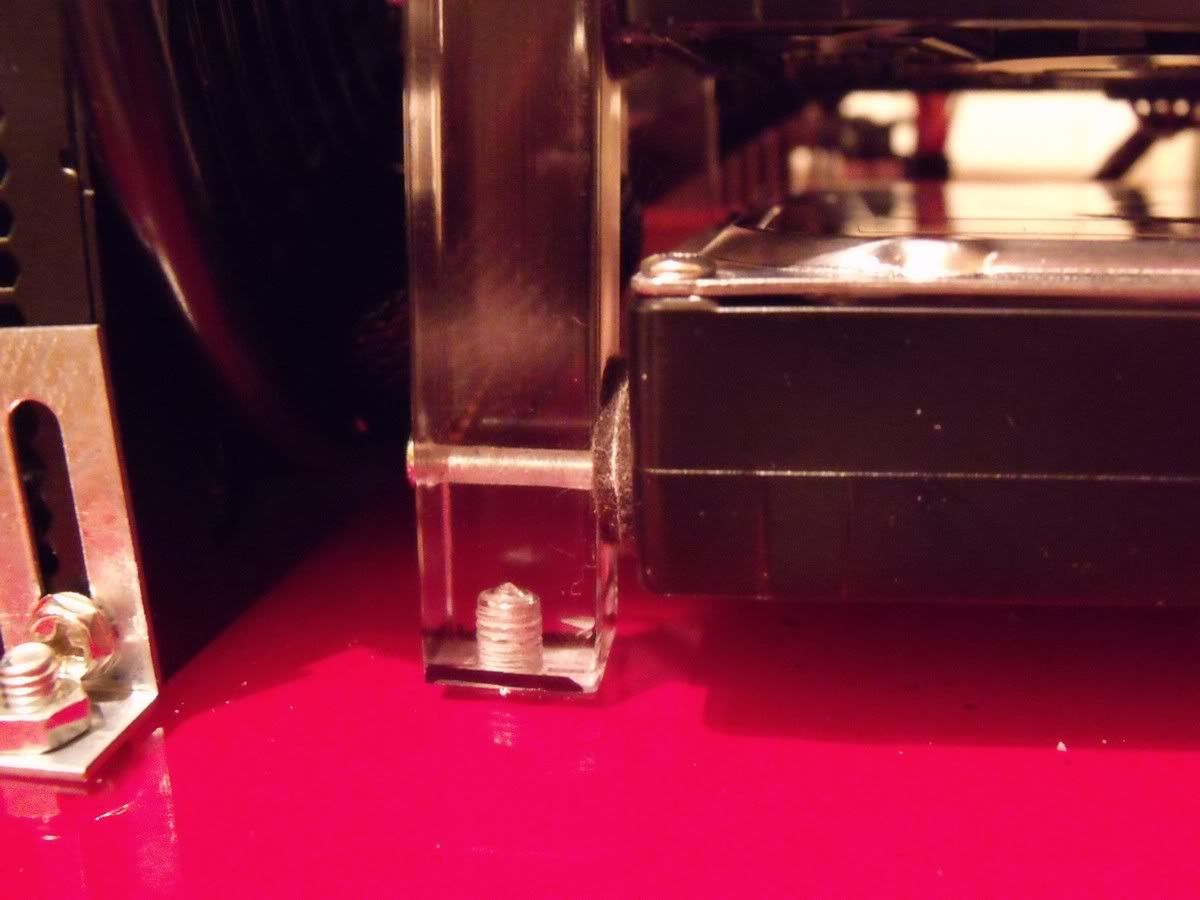
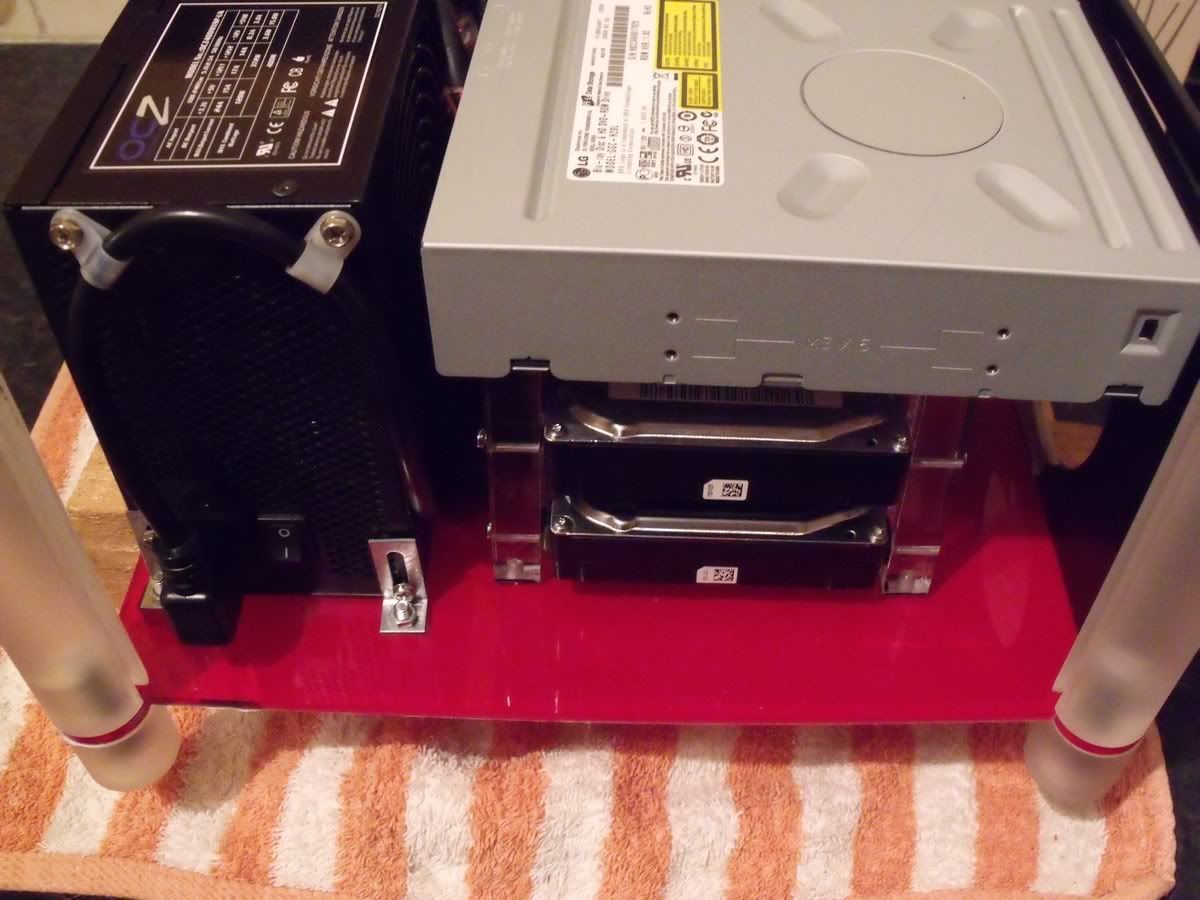
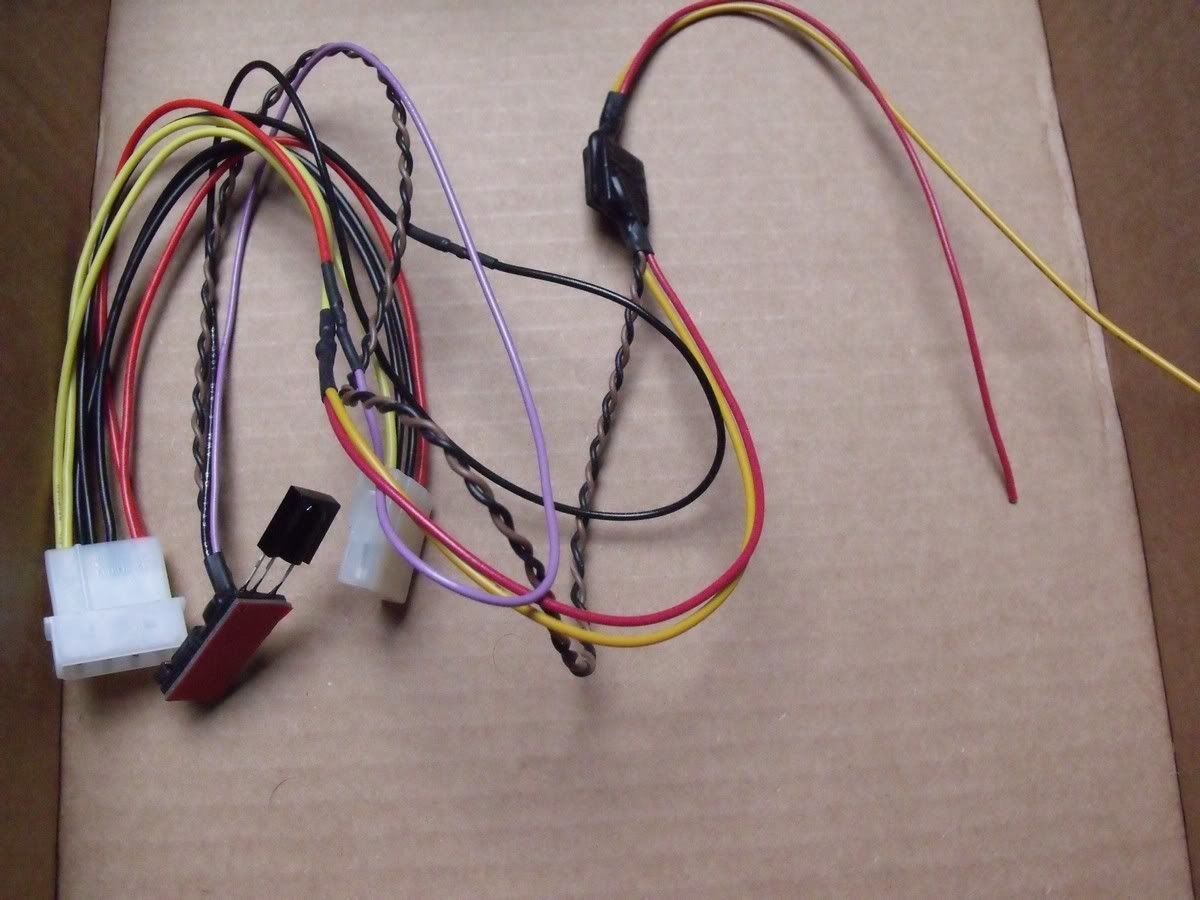
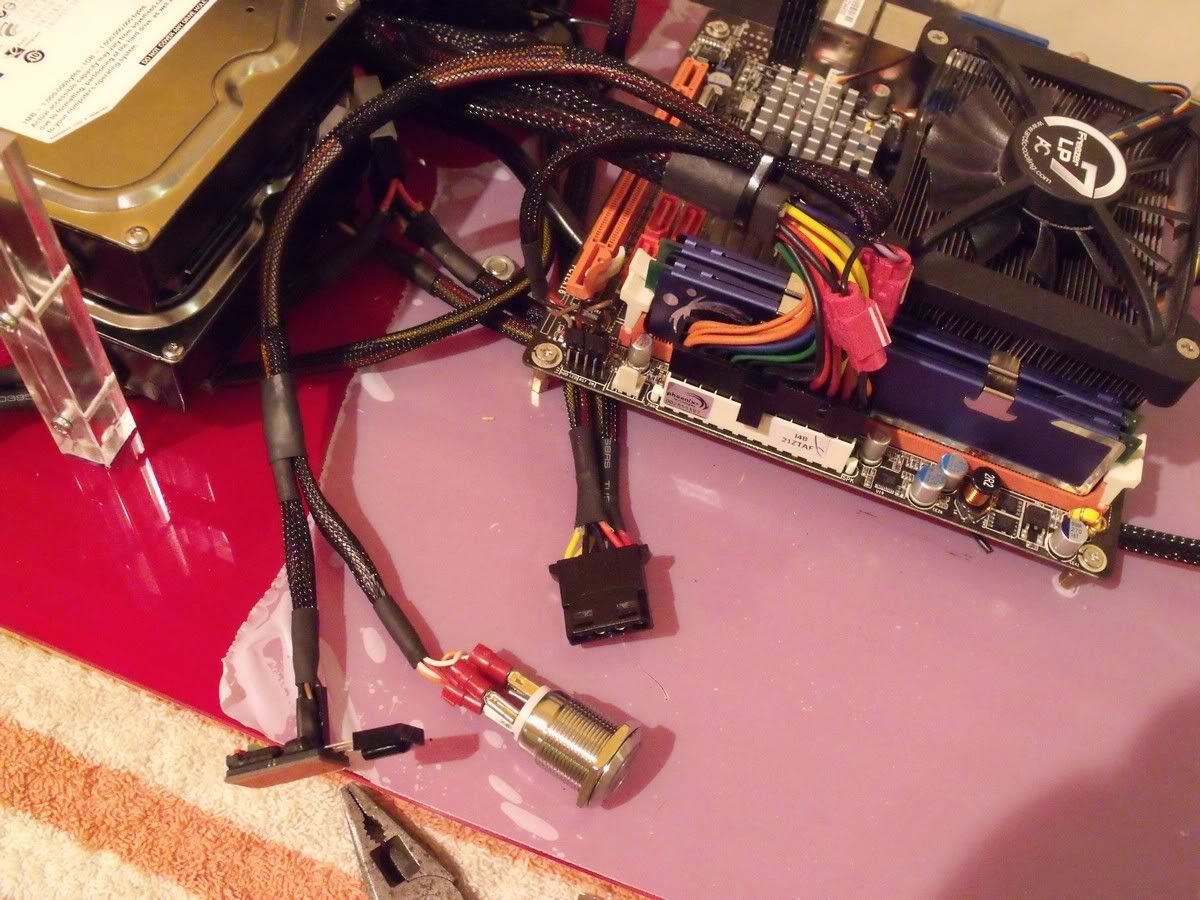
At the moment it's caseless (less than ideal) so I'll be building one from scratch.

redemption-front.jpg


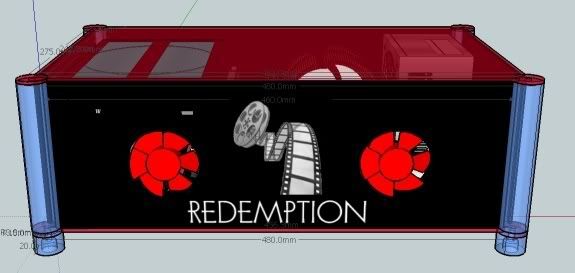
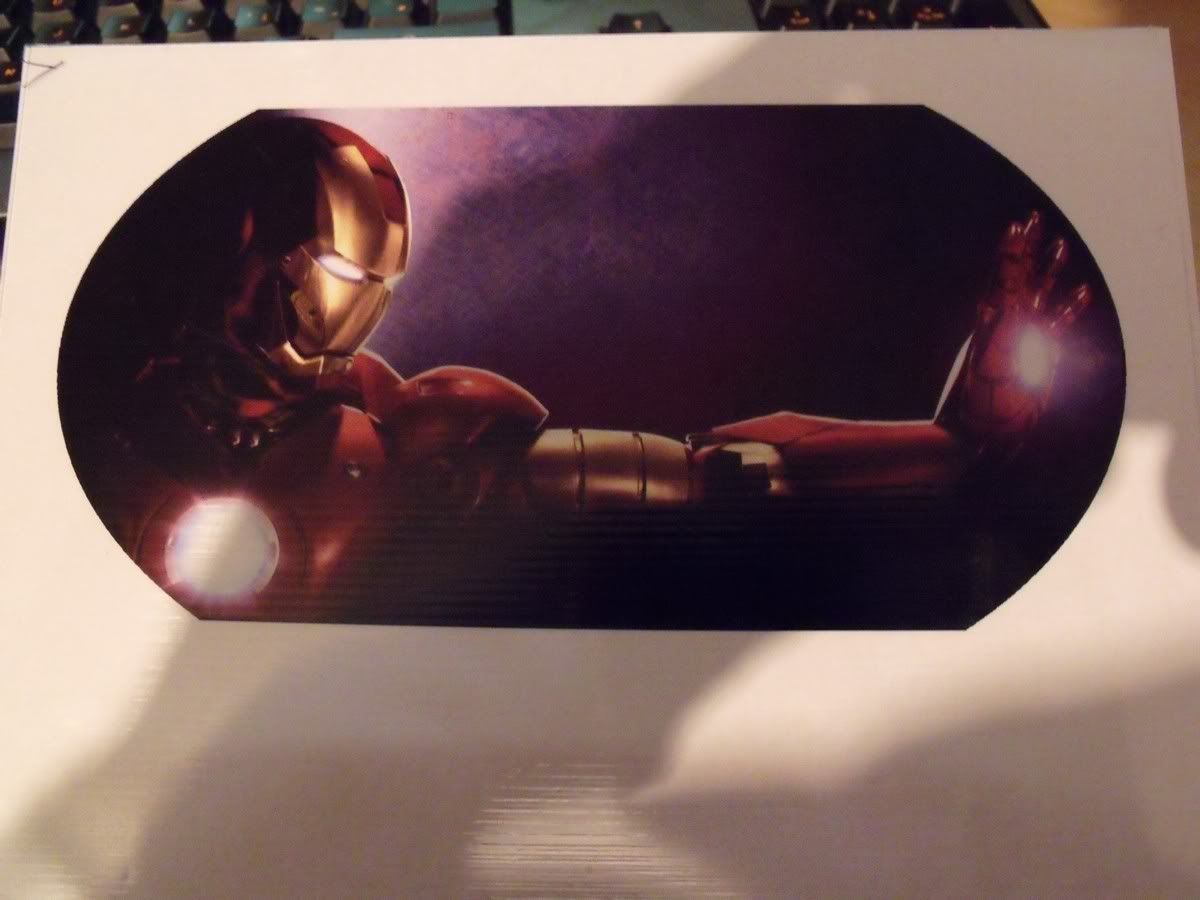
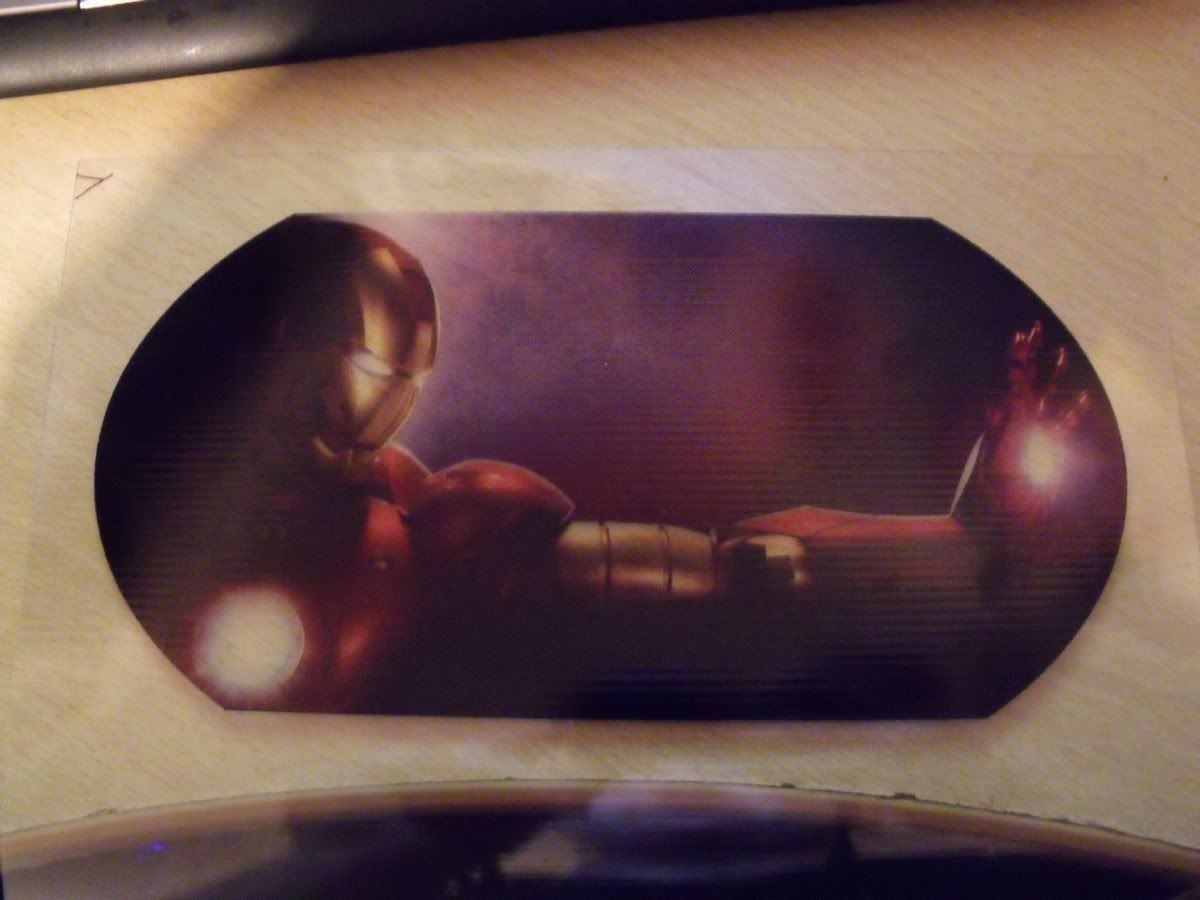
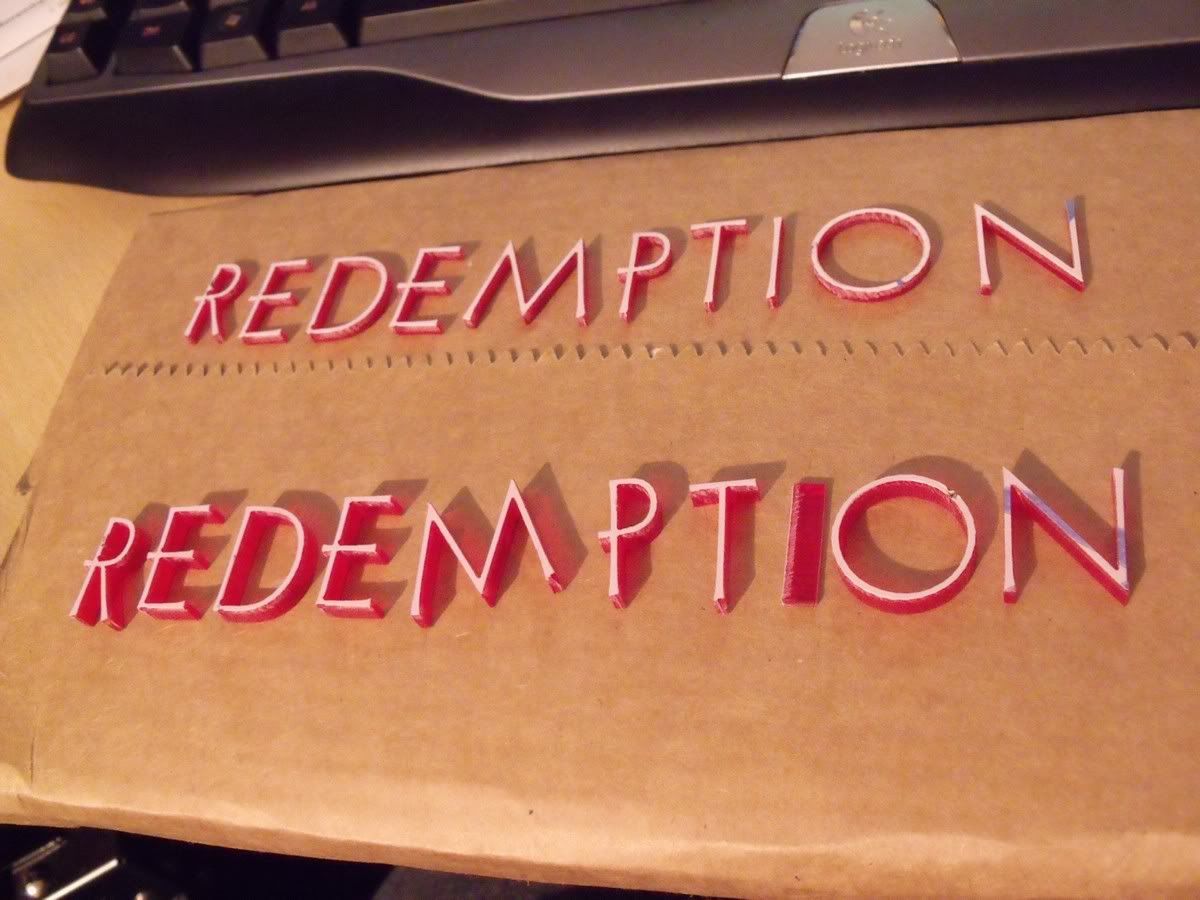
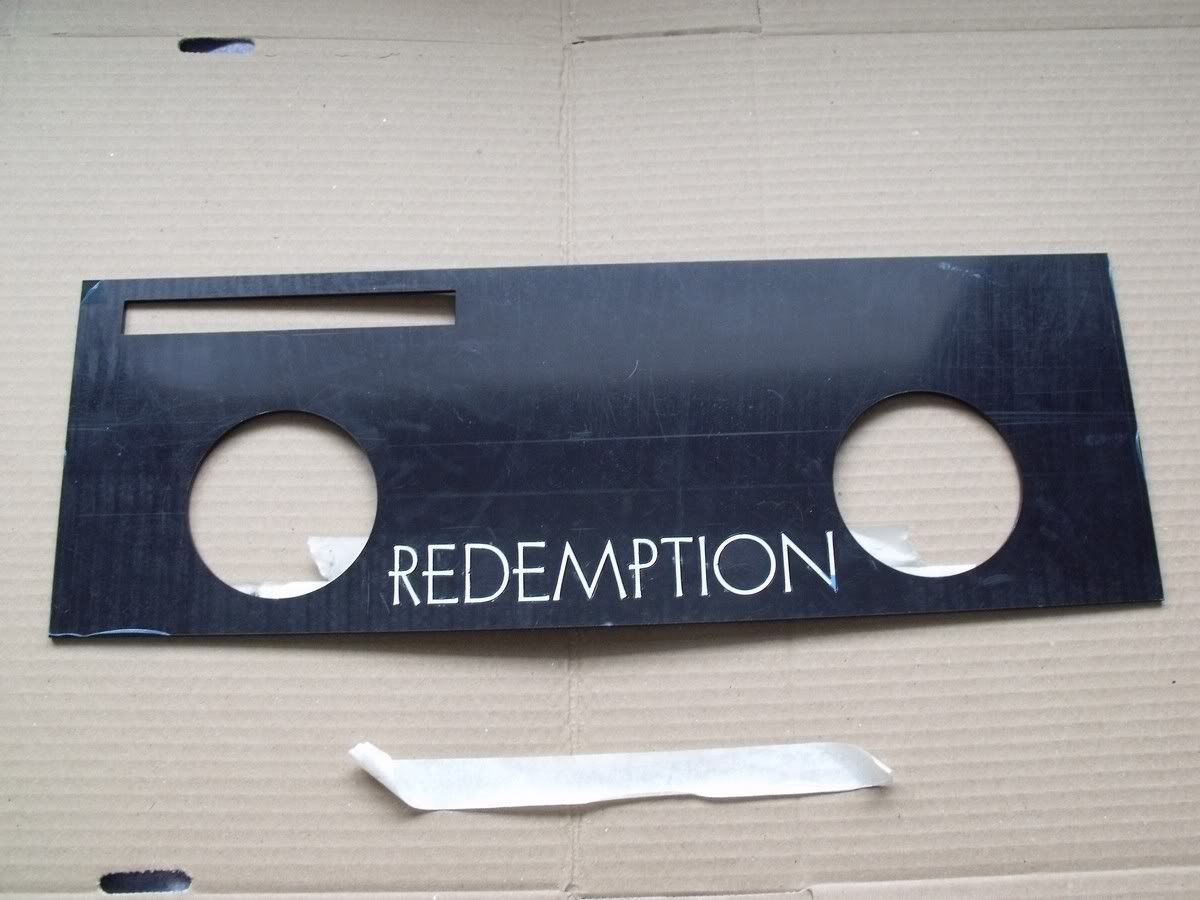
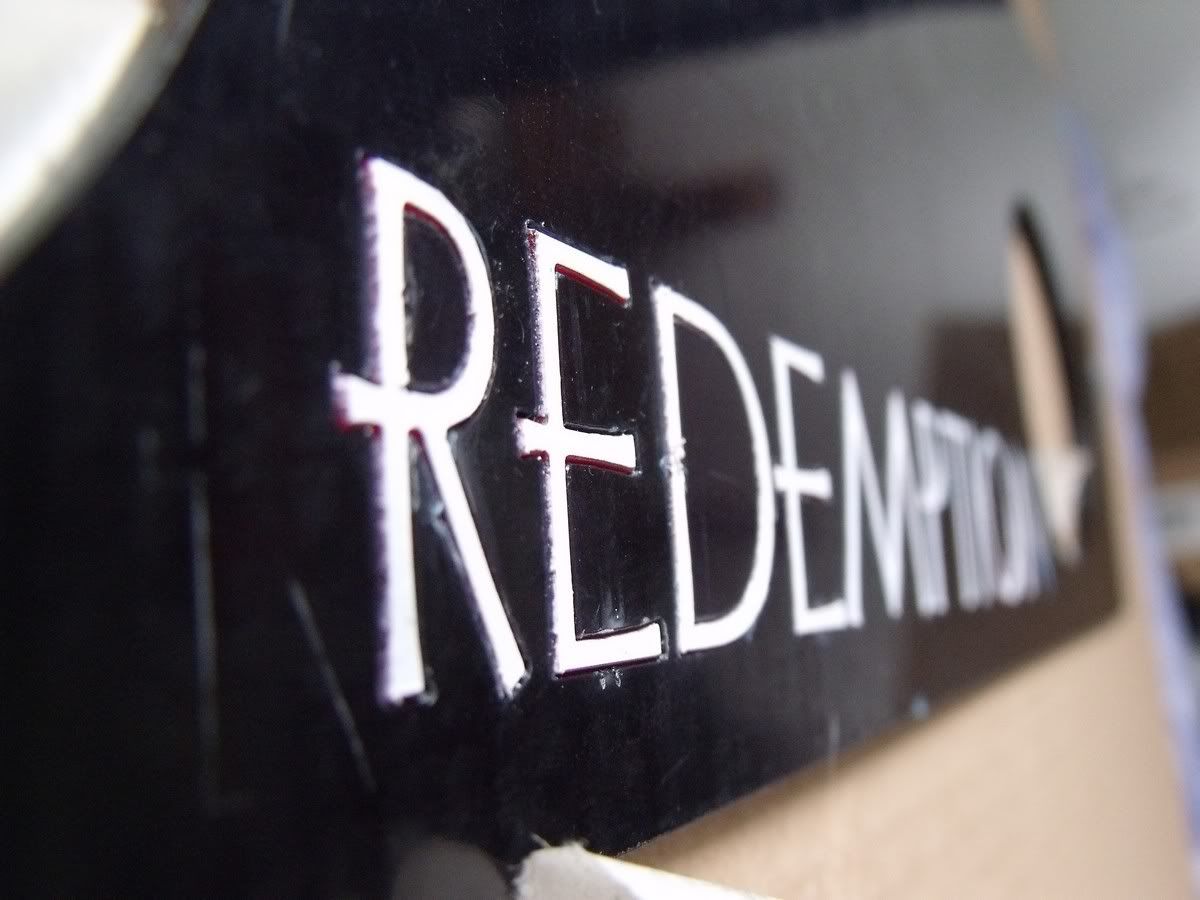
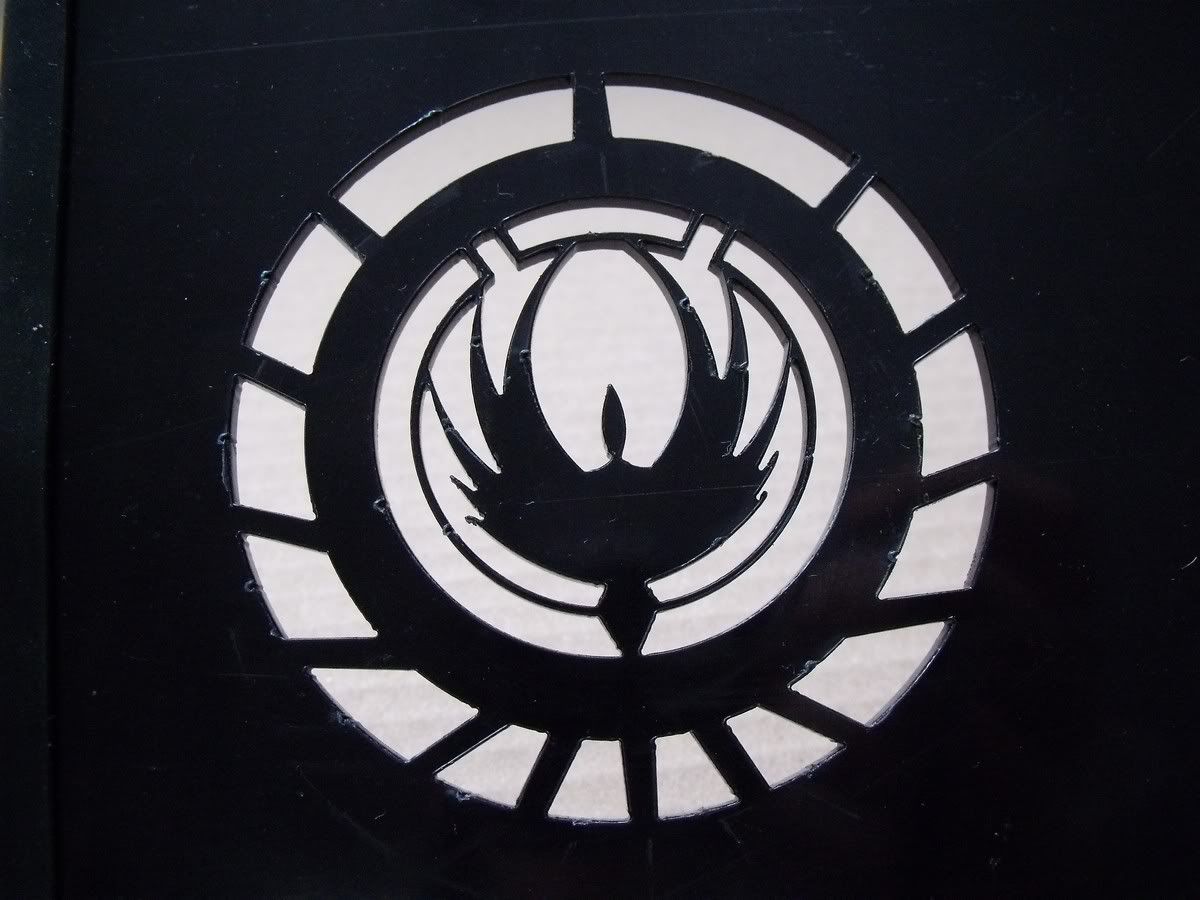
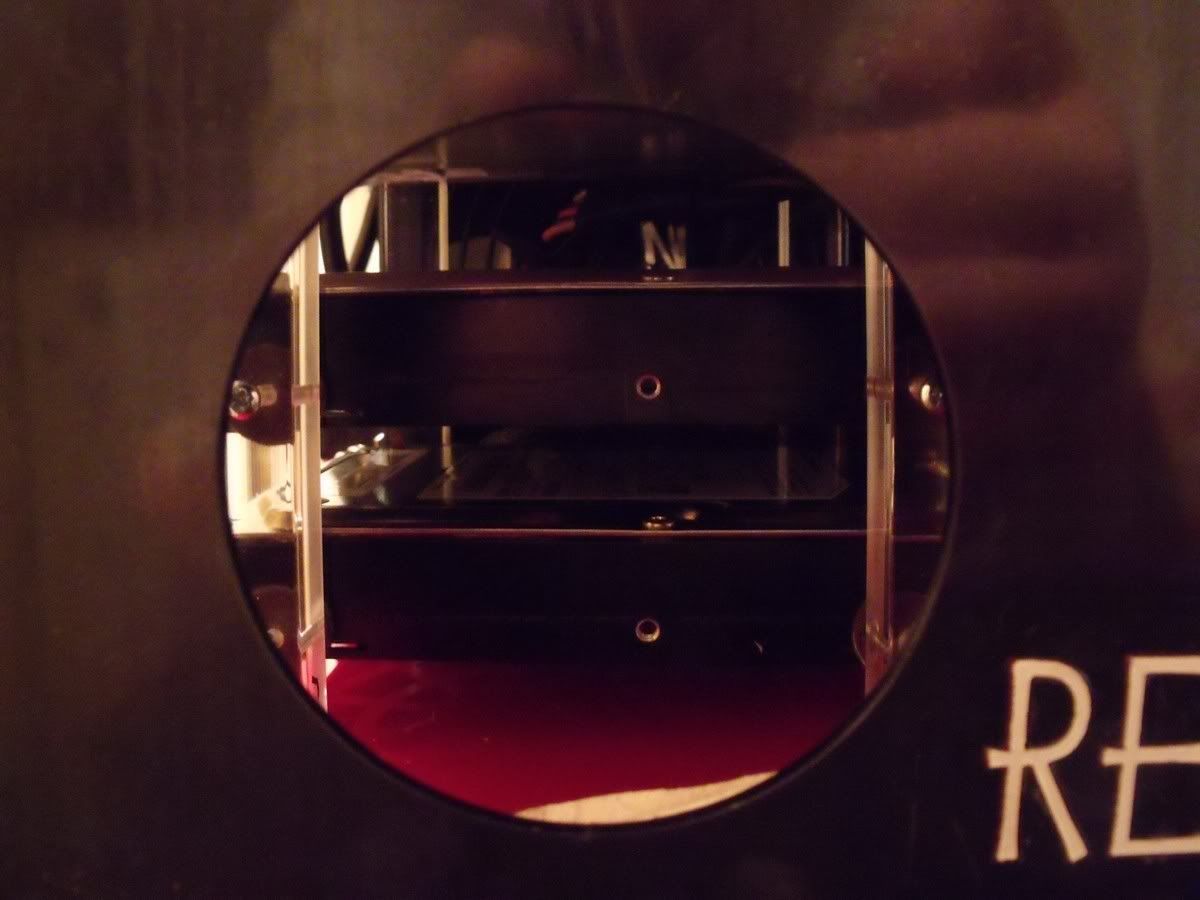
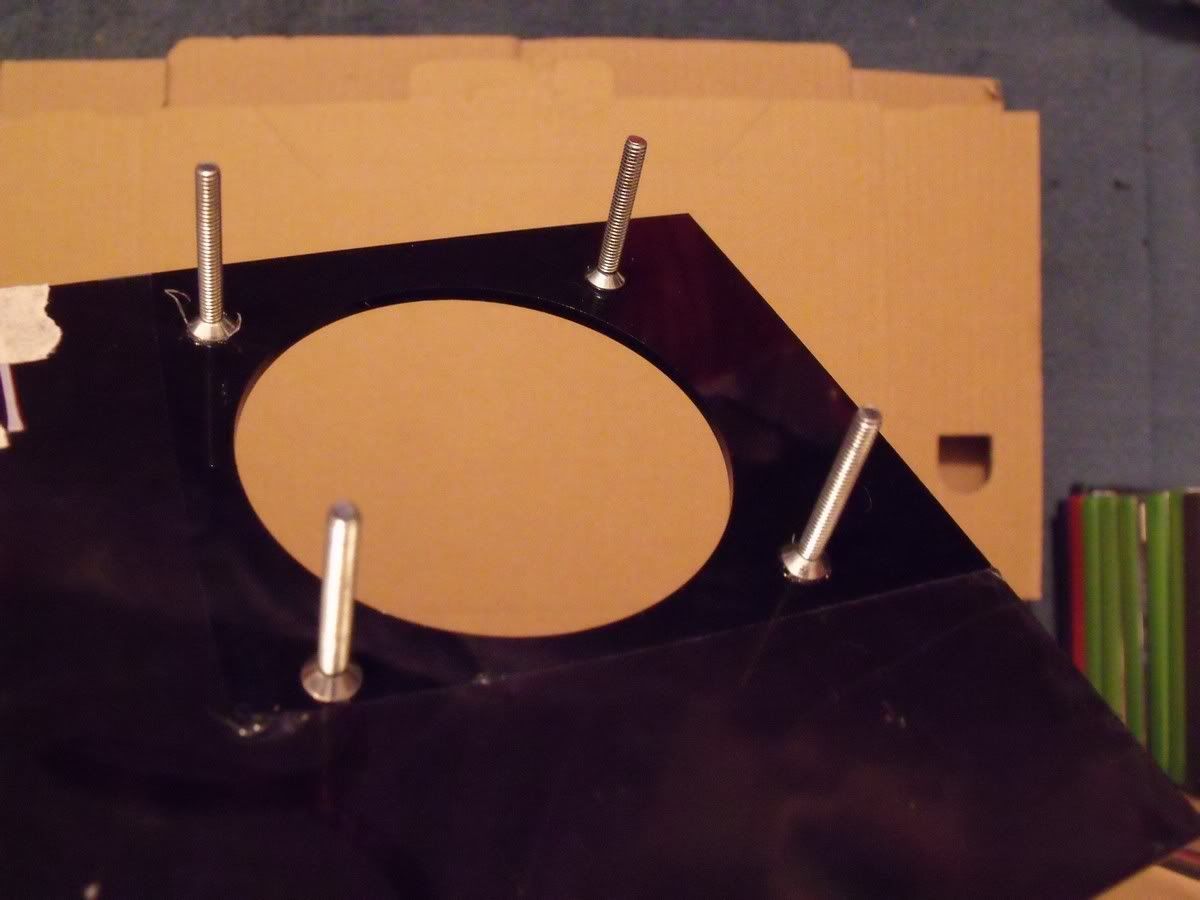
Title will be laser etched pictures will be either laser etched ,stickers or something else and will include other films / characters like WALL-E and the Batman logo, also possibly an Alien or Predator shot.

Stickers would be easier for a maintenance point of view and easier to change but may not look quite as good after a time. Whereas etching would look awesome but it would have to be a film I would always love.
 
Last edited:
Could be very nice when finished. I like your projects, so im subb'd
 
Cheers freaky :)

So I got my Perspex Rods back from the machine shop today.


Large pics so I had them as thumbnails instead. They look swish and I'm looking forward to putting it all together.
 
Last edited:
You could make the sides out of clear and set them up to act as photo frames so you could change the pictures as you liked. This way could make it possible to print the images you want on a transparency and back-light them for a more in depth feel. OR you could set it back a bit and put in some light on the sides to illuminate it like a movie poster.:D Just some food for thought good luck.
 
ocmooz - I'm still working on how to get the images sorted so I'll keep it in mind cheers :)

Figured it was about time I put some specs down for this build

Specs -
Asus P5N7A-VM (with onboard 9300 HDMI)
Intel Q9450
4Gb G.Skill 6400
LG Bluray Drive
OCZ ModXstream 400W
1Tb Samsung (nearly full already)

Windows 7 Home
 
Spent a little bit of time on it today.

In the garage with the wind howling, not that I could hear it as I was listening to Dragonforce on my Ipod.
:cool:

Anyway I had some rod left over for the feet of the case, so today's task was to get them sorted.

First a case of cutting the rod into sections of 3cm


Had to go slow but found that spraying WD40 on the blade every so often made it a lot easier and they were done. Still had to sand the ends down a little. Can you tell which I've done?


Then all I had to do was drill a hole through the centre. Oh god if it was only that simple. Out came the pillar drill look-a-like.


Getting things centred is a nightmare when you don't have the proper tools to do the job. I made up a rig to hold the rod sections in place and so it should have just been as simple as lowering the drill...Except it wasn't. :(

I've ruined a couple (good job I have more rod spare), as they were just off centre by a fly's todger so things didn't line up correctly.

Finally I got one completed, another nearly done and a third ready to drill. Guess I need to cut another one.


I also bought some of this from *cough* B&Q which I plan to use later.


Hopefully I can get some more done during the week.
 
Last edited:
Figured this was due an update. I been busy the last few days with Monolith so this has been put on the back burner a little.

However...

I've ordered the perspex sheeting, thats due any day now :)

I've got an easier (and cheaper) way of putting images on the panels, although they won't be etched I'm hoping it will still look the mutts nuts. (cheers woody ;))

I've picked up some rubber channelling which will be used as anti-vibration for the panels.

I'm still looking for more film suggestions that I can put on the case.
 
how bout some timeless classics like back to the future or ghostbusters?
 
Have you considered using the lcd from a digital photo frame to display movie images? Might make a cool movie screenshot slideshow. It also allows you to change the image easily as your tastes change.

I have always loved this idea, but have yet to see anyone implement it.
 
ekuest - Oh yeah, I'll look into Back To The Future. Nice one. :D

Trigeminal - That didn't even cross my mind. I'll see what I can find although I don't want it too distracting as hopefully I'll be watchin the TV it's plugged into. :D

oooh another update :) :)

BTW - All my images are now linkies as they can be large and stretch the forum something wicked.


My perspex arrived today, took a few shots of it (yeah you've probably all seen perspex before, but I'm going to show you anyway)


Its a nice Red Tint which I got from International Displays otherwise known as Plastic Online at Ebay

I've also got a sheet of Gloss Black (identical to Monolith), heres an off cut


Heres that Runner Channelling I was on about earlier too.


As you can see the plan is to have it fit onto the side panels and then I can slide them in and out of the Corners sections easily. It'll also help stop vibrations in the panels.


Here's an image I'm toying with currently. I've printed it out onto a Clear Vinyl Sticker which I can then stick onto the case.

Sorry for these last few pics, its very hard to get a good picture of a transparent, glossy surface.

White Background


No Background


I'm planning on using the Chest Piece as a power button so it'll glow a little too.

Keep your ideas coming folks :)
 
Last edited:
Looks like a solid project. I'm not a huge fan of the exposed fans in the front, but that's just a matter of preference.
 
I'll probably leave them like that, Monolith has been like that for years, the only difficulty is mounting the fans to the case.

If i had grills on them it would be a easy bolt through both, but without I have to resort to other methods. Glue / Tie Wraps or A N Other method.
 
Quick update

Did some painting over the weekend. Couple of coats of frosting.


I think it still needs a couple more coats to get the desired effect.

Hope to spend some time on it again tomoro.
 
Last edited:
After a couple of coats of Frosting I have the desired effect for the perspex rod corners.


Also I got the feet finished with drilling countersunk holes for my socket headed bolts


Fit in nicely now.


and bolted together.


In other news....

I had to send my Mobo back a while ago (29th Oct) as it was a duffer. Finally got through to Aria chasing it up and they told me that it's a discontinued product and they gave me a refund. Thanks a lot. In the meantime I bought a new board from mini-itx.com which arrived today.

Zotac 9300 ITX - My god is this thing small..holy hell.


But its jam packed with stuff.

Rear Panel Connectors:
PS2 Keyboard, S/PDIF optical digital audio out, S/PDIF coaxial digital audio out, VGA, DVI-I; HDMI; 6x USB 2.0; eSATA; Realtek RTL8211CL Gigabit LAN; 3x 3.5mm audio connectors, Antenna Socket for WiFi.

Board connectors:
6x USB 2.0 connectors on 3x 9pin headers; 2x DDR2 667/800 DIMM sockets; 3x SATA 3GB/s ; PCI Express 2.0 x16 (supports Hybrid SLI); S/PDIF; 20pin ATX power connector and 4pin 12V power connector (both must be connected); BIOS jumper; Chassis intrusion; LGA 775 processor socket; Chassis Fan; CPU Fan; FPANEL.

I mean jezus, what more do ya need?!?

Looks like I'll have to either buy a smaller cooler or mod the current Arctic Freezer 7 Low Profile, it's a tight squeeze for sure. but I'll leave that for another update.
 
Last edited:
That board may be small, but its sexah! :)

This idea is gonna rock when its fully taken shape dude.
 
craigr1982 said:
Looks like I'll have to either buy a smaller cooler or mod the current Arctic Freezer 7 Low Profile, it's a tight squeeze for sure. but I'll leave that for another update.

Here is the problem. The board is very compact and the cooler is quite large. I've got the heatpipes touching the chipset cooler.


The real killer is that it overhangs my RAM slots.


Causing me to only be running 2gb instead of the 4gb I have reserved for it. Still I'm sure it can be fixed with a dremel :p

On to more exciting things now.

I've got my Red Tint perspex being cut in the next few days (all being well) which will include some "extra" work which I'm looking forward to seeing.

I've made my Hard drive mounts now too, basically 4 clear perspex square dowels.


I'm undecided whether to frost them or not, as they don't look too bad at the moment anyway. I'm sure someone will make a decision over the coming weeks. (either me or management :p)


I got some felt pads which I will be putting between the dowel and the drives to prevent vibrations. They are pretty thin but I'm sure they will do the job.


I need to work out how to join up some LED's to a molex connector (pretty straight forward I think), but then I would like to be able to dim or turn them off completely which I think might prove difficult. The only think I can see which might do it is an X10 controller which of course isnt compatible with the Logitech Harmony 555 Remote I'm looking at.

Any ideas on how to do it remotely?
 
Last edited:
Oooooooooooooh..DELIVERIES!!!

Perspex for the base all cut and ready to go.


Oh look a switch..A Vandal Switch even


Mounting the feet.


Building the corners up.


Added the top too. Startin to look like a box now...


Screwed together has a nice sandwich on the red perspex. Should look even better with the protective covering removed.


Topped off with a Socket Head. Should contrast nicely.


The award to roughest mockup ever goes to.............

Must be me then :)

Still need to drill various mounting holes for PSU, Mobo etc, and work out the cable management. I'm going to be using a Top Angle PSU lead to a socket so my power lead won't be coming out of the side panel and ruin the looks.

Last but not least. A quick teaser.
 
Last edited:
Cheers :)

The eagle-eyed among you may have noticed the bowing of the base panel :(

I'm a little miffed at that tbh as I was assured (by the perspex supplier) that the 5mm would be strong enough NOT to bow under the weight..Ho Hum life goes on.

I need to do another mockup (with items in the correct places rather than just casually thrown on) and check the issue. I'm tempted to place another foot in the centre of the panel. This would be a clear version of the feet so as not to draw attention to itself. Leaving the base as an elongated 5 spot on a die..except its a little big to be rolling :p

Time will tell I guess.
 
So I'm supposed to be resting after my operation but I've been bored so I sleeved my 3x 80mm fans.

btw all these images are clickable so I don't stretch the place :)


I've also hacked off the 3pin header plug which I won't be using. Not just because my mobo only has 2 fan connectors (with one being the CPU fan), but because I felt the urge to.


So now it's just molex powered which is fine by me especially as they are quiet fans anyway, if they were delta's it would be a whole different ballgame.

Here's a better picture of the mobo for size reference, apparently a pen isn't good enough :p


Also spent a bit of time butchering the heatsink so I could fit my 2nd stick of RAM in. It's not pretty but if it still cools fine then I'll tidy it up.
 
Damn it's been cold today...so I stayed indoors yet again.

Today's tasks were to hunt through my boxes (and boxes, and boxes, and boxes) of junk for things that were useful.

Some power switches and LED's


After a bit of time spent doing some rewiring and cable management and voila.
BETTER power switch with LED :p


Also found this little beauty. Obviously custom-made just for such an occasion, but not custom enough for me.


I'll be damned if I work outside in this cold today, but maybe I'll venture out in the next few days.

Oh and Happy New Year!!
 
HOLY HELL ITS COLD OUTSIDE!!

and yet I still managed to brave the elements (albeit for less an hour) for some modding.

First up, some quick hack and slash work on the back panel with my jigsaw.


Now that it's down to a more manageable size I did some tidying up with my Dremel Clone


Before Xmas I bought a new toy, a pillar drill :) Sure it's only a cheap one, but it's making my life easier already. How did I live without one?!?!


Now my backplate is sorted. I pop riveted a small section on top of the IO plate for added stability when it's attached to the perspex.


I plan on painting it black so that it doesn't stand out so much when it's inside the case, but all my paint states, paint at room temperature...what do they know :p

Next on my list of things to do is a lightbox of some sort.
 
Some cool stuff today.

Popped in to my local laser cutting co to pick up my black perspex, while I was there I took a couple of shots with my camera phone (hides).


As you can see it's a bit of a beast, here are some specs for those of you who are interested.

Max Machining Dimensions: 1250 x 2500 mm (49.21” x 94.43”)
Height of work table: 900 mm (35.43”)
Max Load capacity: 220 kg (485.1 lbs)
Table stroke of X-axis: 2630 mm (103.54”)
Table stroke of Y-axis: 1270 mm (50”)
Table stroke of Z-axis: 100 mm (3.94”)
Rapid feedrate: X, Y axes: 24 m/min (944.88 ipm)
Z axis: 20 m/min (787.4 ipm)
Max machining feedrate: 10 m/min (393.7 ipm)
Continuous rated output: 1000 W
Output adjustment range: 200 to 1000 W
Mazatrol L32B CNC 3 axis Controller

Approx weight:
8000 kg (17,640 lbs)
Approx dimensions:
2600 mm (102.36”) lr x 5555 mm (218.70”) fb x 2000 mm (78.74”) high

He also thought I might like to see it in action cutting out my last piece. So I video'd it (again with my camera phone sorry guys) :(


All my perspex is cut now, and I'll be taking photos of it tomorrow.

There is light at the end of the tunnel, and it isn't a train :)
 
That is a cool machine, thanks for the video. and +1 to the above, me want to see done! :D
 
hehe.

So here's a couple of shots to keep you guys occupied while I do some work :)

Front Piece


Close Up


Logo / Vent


Note : All the perspex still has it's protective covering on as I still have work to do.
 
Boy have I got an update or have I got an update....

I've admitted defeat with the bowing of the base panel from a few pages back so I've added another foot in the centre.

First up, an 8mm drill


Then a huge matha hubbard for my countersunk bolt.


Action shot :) How I love self timer and a gorilla-pod tripod.


I have decided not to frost it as it will never be seen, so it's as is now.

Now on to more illuminating matters. A lightbox.

I spent some time cutting some spare perspex the other day with the slitting disc on my dremel clone, much easier than using a jigsaw or my hacksaw. Today was the day to put it all together.

Need some holes for light to shine through.


Now I have quite a few holes :)


And some "other" pieces...can you guess what they are for?


Had a play at soldering too, I must admit I'm not very good, in fact I'm bloody awful but that didn't stop me.


8x LED's all wired up.


The big question on everybody's lips (well mine really). Do they work?
 
Last edited:
Update...continued

That'll be a yes then :)


I need to play with my camera settings some more as every picture I've taken of the Red LED's in place are off colour. Any ideas what settings I should use anyone? I have a Fuji S1500 camera.

Remember those pieces I showed you..did you work it out?


Yep, its a box full of light :)


Unfortunately not quite as much light as I hoped so I found some mirrored sheeting, more like mirror paper than anything else.


I also took delivery of this which will probably drive me insane programming it, but it's all part of the fun so they tell me :p
 
I also took delivery of this which will probably drive me insane programming it, but it's all part of the fun so they tell me :p

Harmony = most easily programed universal remote in history!

I have own/owned 3 different harmony remotes and they are all easy. You should have no problems with setting up that remote they are so easy, and keep your settings online incase you lose/break/replace the remote. As long as you have your model number and origonal remote the harmony is super easy, and may just require some minor tweaks to get everything working right.
 
Love it!!! Very nice indeed. The front piece is just as expected and the lights are sweet.
Please make Shawshank the first movie watched on this :p
 
nlancaster - The harmony was easy with the TV and Hifi, trying to configure it for Redemption however is proving a little difficult. Currently trying to convince the software that the PC has a DVD player, let alone a Blu-Ray drive. At the moment it thinks it can't play films which is most annoying. I'll be looking into it further over the next few days.

Rossi - I've got Shawshank on Blu-Ray still sealed for just such an occasion ;)


You ever had one of those days where you planned so much and it took so long?

Today I've been working in the kitchen mostly as it's too damn cold outside, made a hell of a mess, swarf and god knows what else everywhere but so what :p

Picked up a right angled Power Lead and a socket for my PSU, I'll be using this internally due to the placement of the PSU within the case, placing a socket on the rear of the case.

Drilled some holes into the base for the PSU mounts and got it attached. No bother :)


As you can see I've started on the cable management already :)

Then came the mounting of the Mobo, four pilot holes and then screwed some standoffs into the base. Had to double them up for the height tho.


Next up...the hard drive mounts. Now referred to as the hard drive non-mounts. GRRRRR.

The drives were attached to 4 perspex rods, two at each end as you can see in this old picture.


They were screwed in through some felt to aid in noise / vibration dampening. Unfortunately the threads on hard drives aren't up to much to begin with and now they are stripped, leaving nothing to hold on to. This meant that I couldn't build or attach the hard drives to the base as all the mounts (which should have been firm), were shaky and made measuring / drilling impossible.

So I had to move to plan B, which at the time didn't exist :(

I could've rebored the holes in the drives to a bigger size and use a bigger screw, but that would mean re-drilling all the perspex rods. Nuts to that...and there was the answer.

Rummaging around in my bit box I managed to find some nuts small enough to fit into the retaining holes, with a little persuasion in the form of a grinding wheel ;)

Now the mounts were back to being solid I was able to drill the holes in the base plate and continue.

As you can see I've tapped the perspex rods.


Drives are in place (although the Blu-Ray drive is currently only "resting" in place).


There will be plenty of airflow to the drives thanks to an 80mm fan (not shown) at the front and the PSU fan at the rear.


Now I'm sat with a glass of ouzo, chilling out. I think I deserve it, at least until tomorrow when I continue.
 
I use my harmony with my TV, and Media Center PC and it was easy to convince it to play Bluray and DVDs. But that may be because I am using a soundgraph Imon IR/VFD unit for my media center.
 
Well today has been a little annoying.

Pro's
* Last delivery for the build arrived. :D Some IR switches for lights and power. :D
* Sussed some of the Harmony settings out with the TV and Hi-Fi. :D
* Got the IR switch controlling the lights via the Harmony :D

Con's
* The glue holding my lightbox together is crap, leaving it in pieces. Most annoying :(
* My expert sleeving of the power switch needs to be ripped apart to be added into the IR power switch and then re-sleeved.. :(
* My soldering of the LED's has to be redone, for the IR switch :(
 
Ok, so lets see where I left off..Ah yes rubbish glue and lead's that arrived to mess up my wiring.

I've thrown away my glue (which has a date of 1990 on it :p , no wonder it doesn't work anymore), and using some Bostik Hard Plastic glue to rebuild the lightbox. Pointless taking another photo as you've seen it before. On to the good stuff.

A power switch with an IR receiver


And a mess of cabling which will allow remote control of my lights


Here you can see I've re-sleeved the Power Button with the IR Receiver, I've also spliced two leads onto my ATX connector which gives the IR Receiver power all the time.


Also took a photo of another toy in the garage, a little underpowered but it does the job.


I've been wondering for some time now how to mount the fans without spoiling the look of the front panel. Velcro, double sided tape and mud all came to mind but I've finally settled on this.


That's right, I've glued countersink screws to the panel which I can then bolt the fans on with.

Now all I need to do is countersink my fan mounts. That's made easier with this handy fellow.


All bolted on
 
Last edited:
Another mini-update

Painted the back IO Panel black and mounted it to the perspex, also using the same glue / screw method I've attached my rear fan.


Now you remember the PSU cabling I did, ever wonder where it went?


To a plug of course.


Now I hate cables, (not that you'd be able to tell by looking at the room I'm in at the moment) and there's nothing worse than a rogue cable spoiling the look of a mod.

Say "Hello rogue cable"


Say "Goodbye rogue cable :)"


I also have a sneak peek of my new entertainment centre :)

Isn't she great
 
Last edited:
Back
Top