sushiwarrior
Limp Gawd
- Joined
- Mar 17, 2010
- Messages
- 161

The name is inspired from a song on Gojira's album "The Way of All Flesh". The name represents the constant cycle of upgrading PC's in a way. The case that will be used is the NZXT Whisper, and the build will be focusing around silent air cooling and hopefully learning a bit about studio photography (on a slim budget). The end result will hopefully be MDPC-style results (Style, I don't expect to make MDPC!) on a very slim budget of under $75.The Ouroboros (Greek Οὐροβόρος or οὐρηβόρος, from οὐροβόρος ὄφις "tail-devouring snake", also spelled Uroboros in English pronounced /ʊˈɹɒbɔɹɔs/ or /ˌjʊəɹoʊˈbɒɹəs/), is an ancient symbol depicting a serpent or dragon swallowing its own tail and forming a circle.
The Ouroboros often represents self-reflexivity or cyclicality, especially in the sense of something constantly re-creating itself, the eternal return, and other things perceived as cycles that begin anew as soon as they end (See Phoenix). It can also represent the idea of primordial unity related to something existing in or persisting from the beginning with such force or qualities it cannot be extinguished. The ouroboros has been important in religious and mythological symbolism, but has also been frequently used in alchemical illustrations, where it symbolizes the circular nature of the alchemist's opus. It is also often associated with Gnosticism, and Hermeticism.
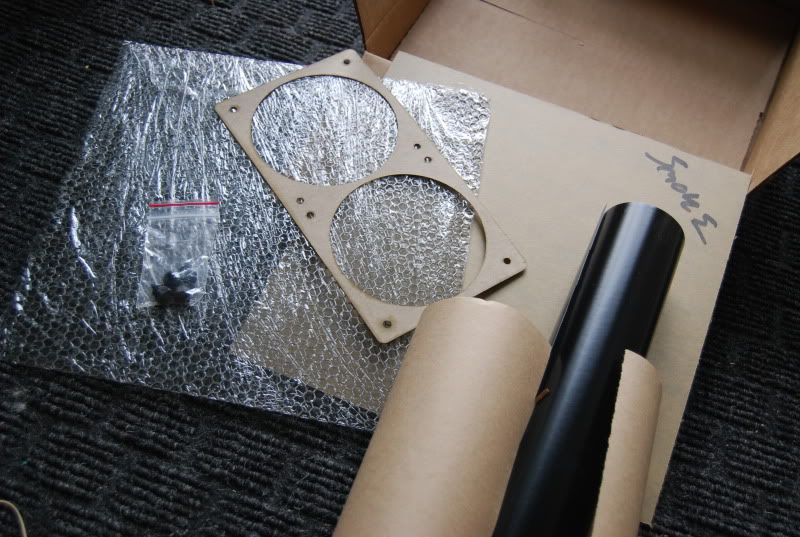
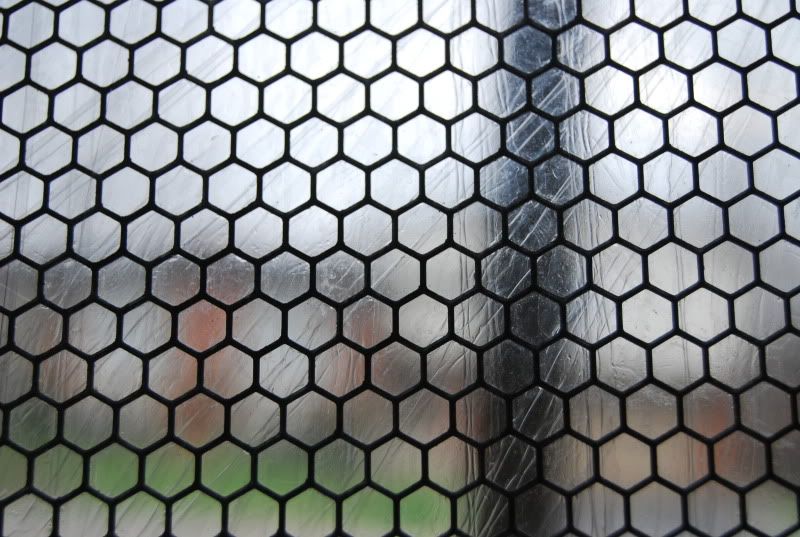
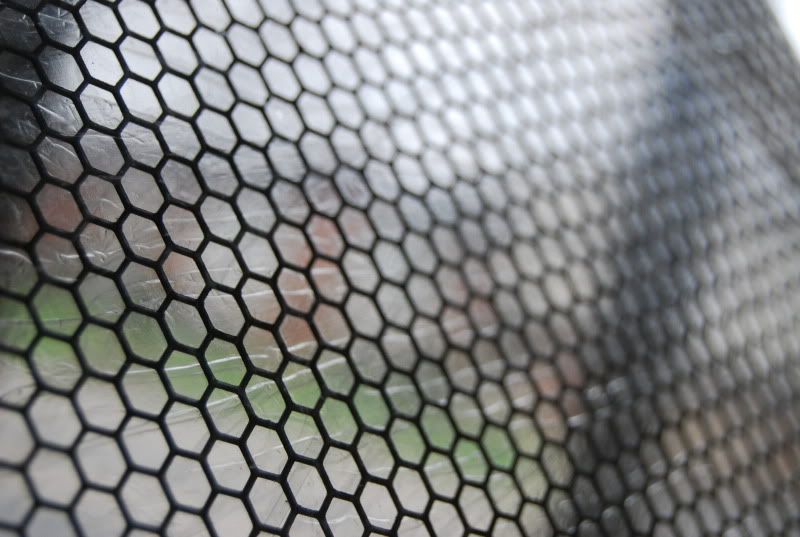
So, here is what the mod will eventually look like from the outside.

The main feature is a mirrored triangle with (possibly) some modders mesh on it, I haven't quite decided yet. I didn't want a side window because it lets a lot more sound out and I like the simplicity without it.
The interior will be (surprise) black and white. I like black and white designs because they are easy on the eyes yet still very high contrast. Bright green or blue lights are an eyesore.

As previously stated, this mod will be built around silence to my relatively low standards, yet I still want to maintain enough airflow for a hot CPU and a GPU that can fold 24/7. It doesn't help that this case has terrible cooling - there is only one 120mm fan for the entire top "compartment". The end plan in to add anywhere inbetween 2 and 4 120mm fans. These will be Yate Loon D12SL-12's and Gelid 120mm 1000RPM fans.
Now, what is powering this rig you may ask?
Intel E6850
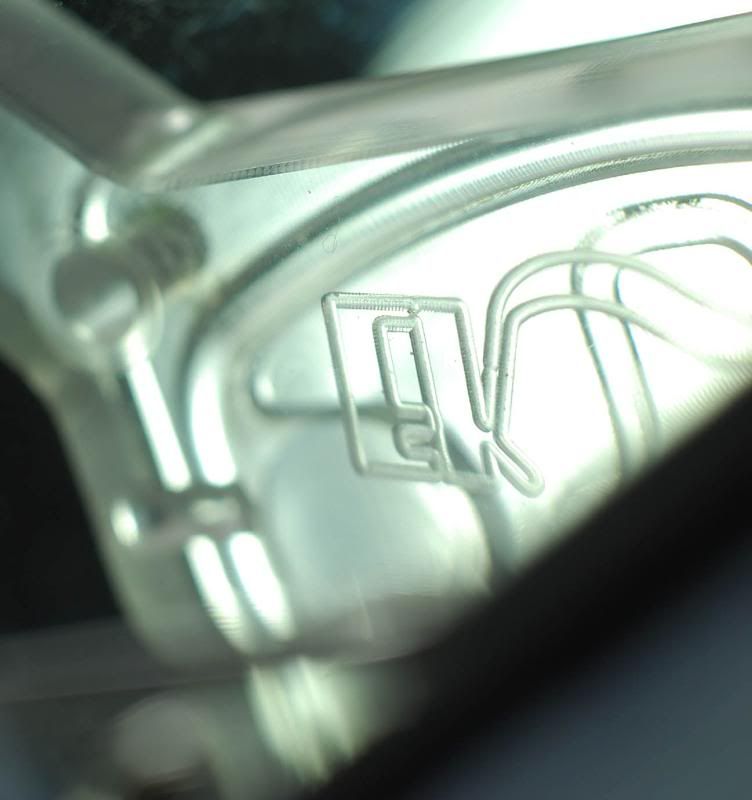
EVGA GTX260
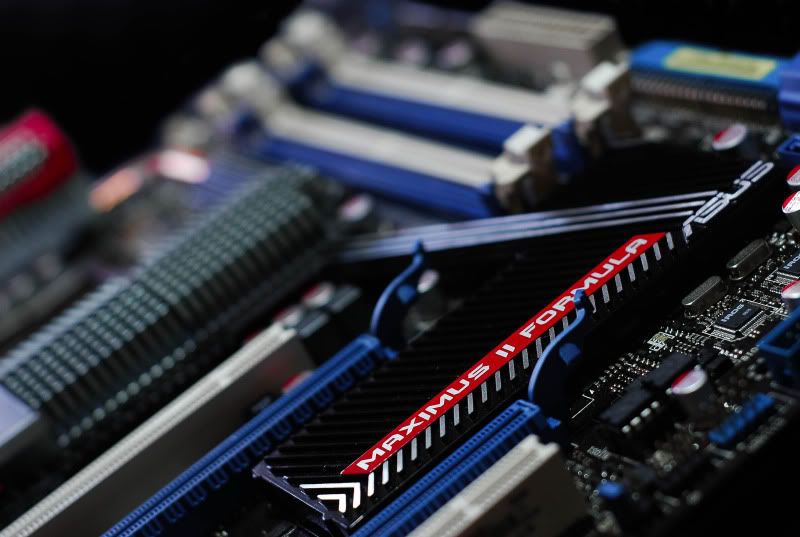
XFX 680i LT (looking for a sponsorship for a P45 or similar)
4GB Patriot DDR2-800
Corsair TX650 (yep, not a modular PSU. I can make this work! [maybe])
Seagate 7200.12 500GB
Asus Xonar DX sound card
Noctua NH-U12P
LG DVD drive
So, it won't be top of the line exactly. I'm fine with that because I like personality - not many people have E6850's. Potential upgrades would be a new motherboard with a predominately a black colour scheme. I'm looking for some potential sponsorships.
Oh, and finally a bit about me. I'm a high school student from Ontario, Canada with experience with computers and machinery (to some degree). Modding is a perfect match between my love for PCs and tools. I don't have much available to me at home - files, a dremel, sandpaper, pliers etc. but at school I have access to a milling machine and a small CNC milling machine (only good for acrylic really) as well as drill presses and bandsaws. My primary goal for this PC is silence for folding - I want to be able to fold 24/7 without much noise.
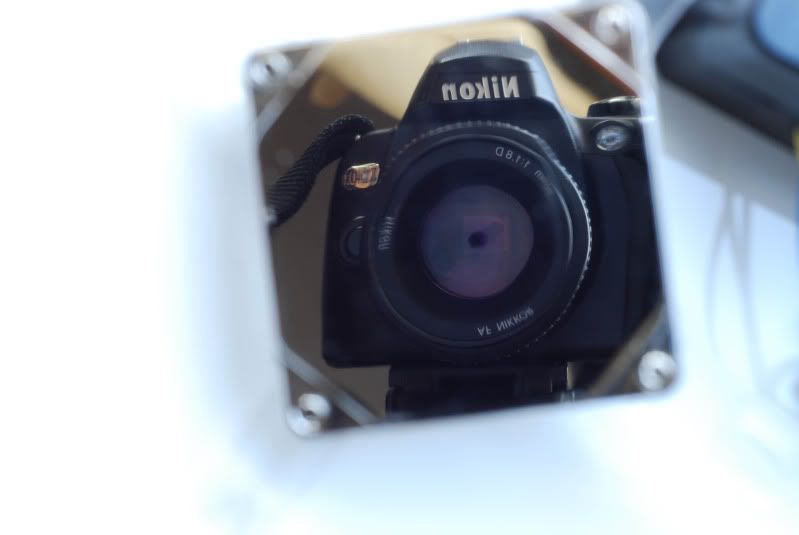
So, with that out of the way, let's take a look at the case.


Sadly, thanks to buying used, it does have a bit of cosmetic damage. There is a scratch on the front and on the left side panel. Nothing a bit of bondo and paint can't fix.
I lost most of the pictures from the start of the project due to a hard drive lighting on fire and my failure to back up anything so what you missed out on was the case being disassembled, some of it being painted, the rear fan grills being removed, a 120mm fan mounting in the midplate, and a hole for the 8-pin CPU connector. I also sleeved the 8-pin and 24-pin connectors, of which I only have the finished pictures of.

I decided on a black and white alternating checkerboard scheme because I haven't seen it done before yet it still looks great. Sadly, I cheaped out and went for Techflex so lots of colour shows through. The budget simply could not stretch for MDPC sleeving.

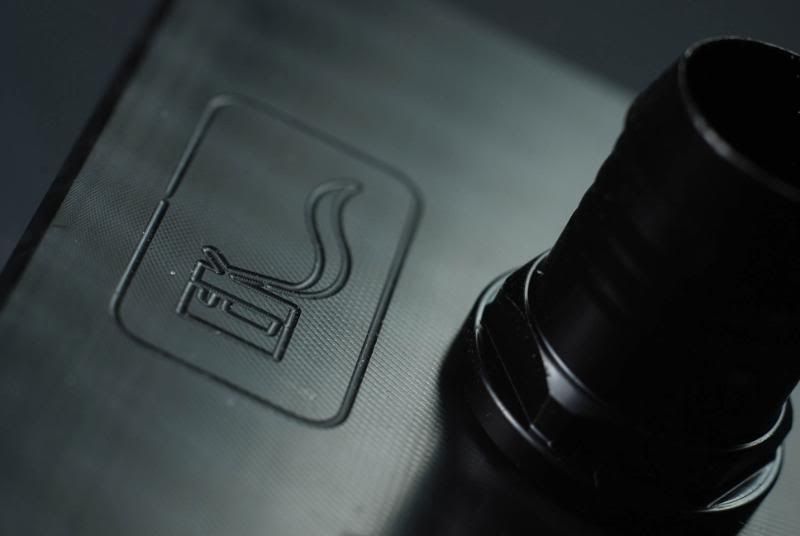
I removed the rear grills because any resistance, no matter how small, creates extra noise and turbulence. They will be edged with some self-adhesive grommet after painting. More on that switch plate later.
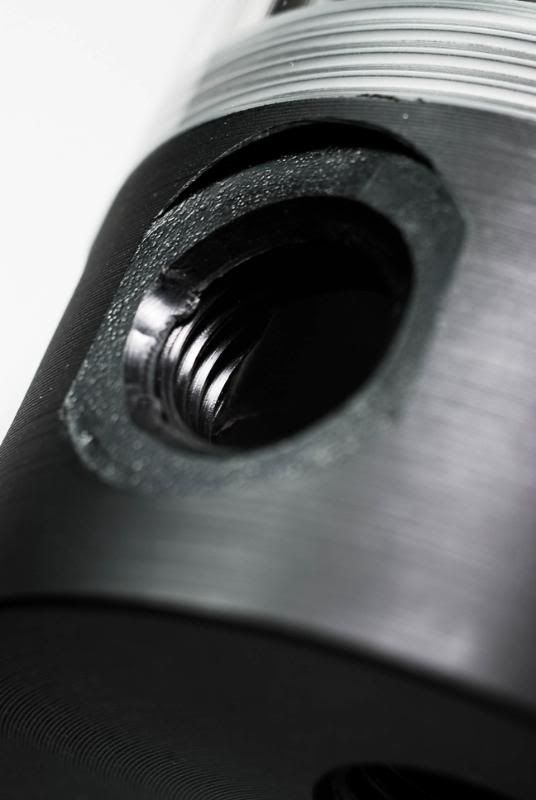
Next order of business, a 120mm fan in the divider plate. Whipped out the dremel and....

This midplate will be covered in PAX.mate acoustic foam (along with most of the rest of the case). I cut the fan hole large on purpose so the foam will make the opening that you see, as it's easier to make a clean hole on the foam.
I removed the HDD rack and one of the 2 "pods" - I only will be using 2 hard drives at most. The front bays block airflow enormously.
The other pod simply was in the way of the mid plate fan. The sole pod got a black paint job and the tray got white. This won't be a black with white accents build - it's black and white in equal measure.

Now, the rear 80mm fans. I will be keeping the stock ones as they are pretty quiet and will be absolutely silent (to me, slight hearing loss lol) once at 7v or 5v. I was considering sealing off the PSU partition so those 80mm fans just feed the PSU but I decided against it.
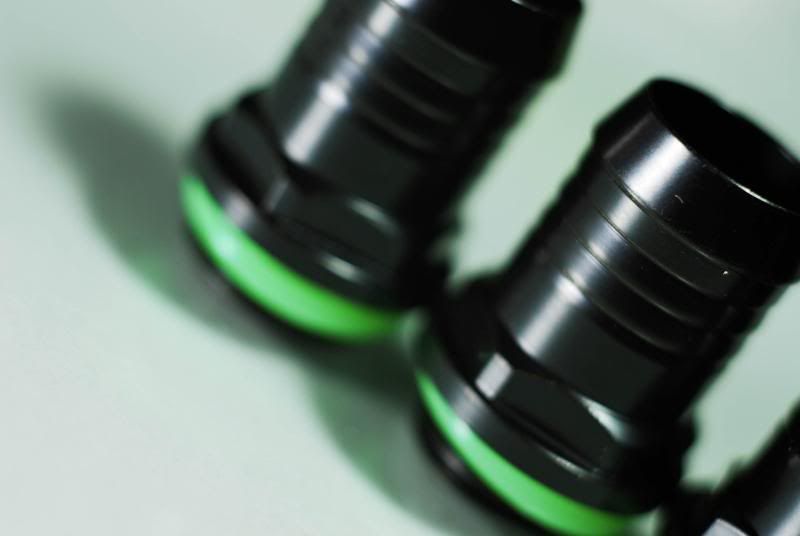
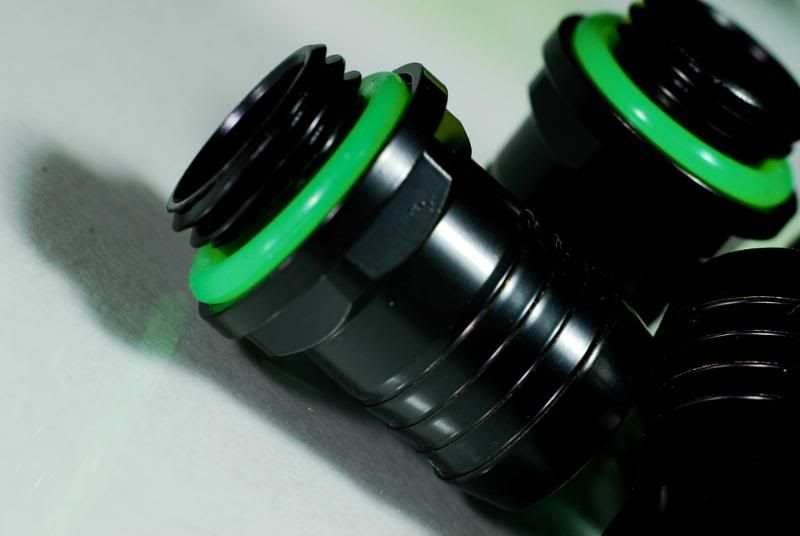
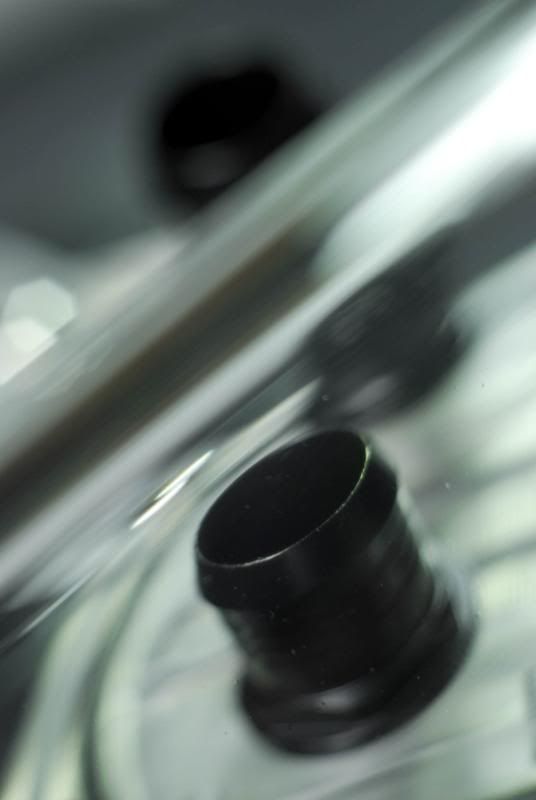
Now, the switchplate. I really, really wanted to have control over the lights and (maybe) sounds in this PC, and nothing looked sharper than these rocker switches from Performance-PCs.
1 switch for the front panel LED stick, 1 for the interior LEDs, 1 for secondary internal LEDs, and 1 for some sort of fan control. I looked all over the case for a good spot to put the 4 switches and considered in the front, on one of the drive bay covers. That could have caused issues with the door and would be annoying to access (opening and closing doors FTL). I finally decided on the grill on the back panel. It was pretty convenient and the perfect size. I had a piece of scrap smoked acrylic sitting around, and I couldn't think of a better piece to use. I started measuring up the space and realized I didn't even need to cut the scrap piece to size! I love it when life lets me be lazy. I have 4 switches so I marked out the internal diameter of the area where the grill is, and then spaced out all 4 holes evenly and marked it.

Holes marked out.

Piece goes here.

Ready to drill. After a lot of fussing to get the hole saw working, we were in business. First was 4 pre-drilled holes so nothing skips off course.

Then the holesaw itself....

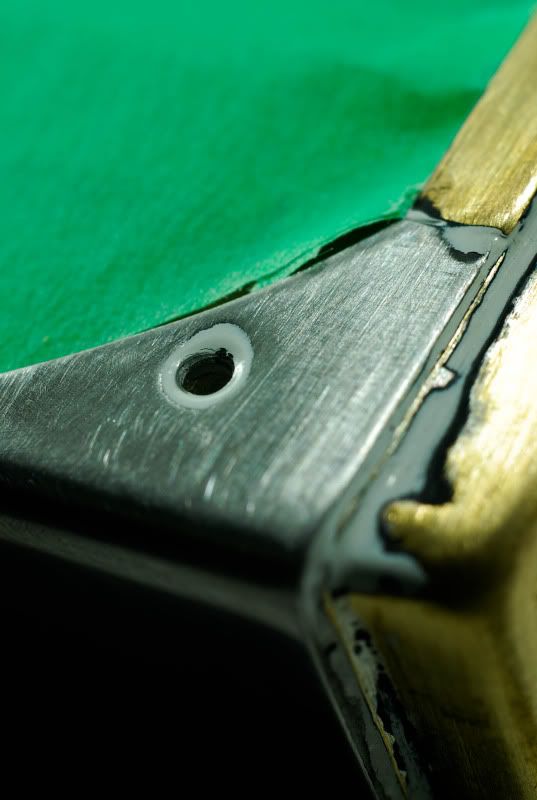
It looks great. Worked just as planned. It was ever so slightly too small for the switches to fit in comfortably so I had to file a bit before the switches fit in happily.

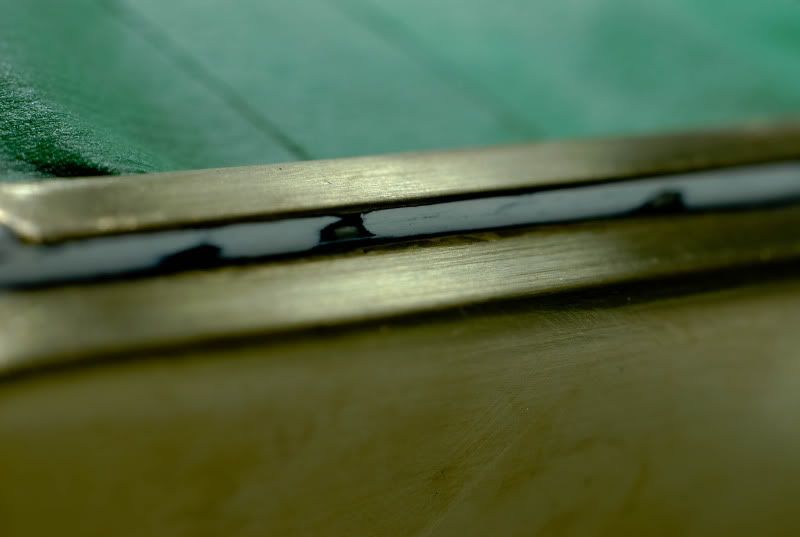
Now, a little sandpaper and polish for the edges (1500 grit followed by some green compound) and we have a nice, shiny new switchplate! I used some of the screws for 3.25 hard drives included with the case, which are black, and drilled 4 holes for those to fit through.


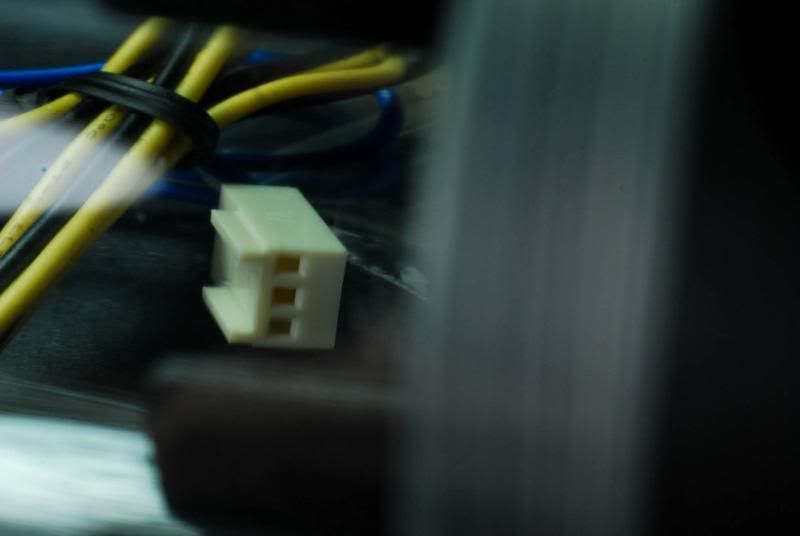
And as easy as that, it's done. The wiring still needs to happen (I haven't finalized what I want to control anyways) but that should be pretty quick and easy.
Now, the front triangle-dealy. I had some major issues with clearance - it was not a simple matter of just cutting it to size and slapping it in. There were a few major things blocking it
The bevel on the left side (the whole thing)
The mounts that the aluminum triangle mount onto.
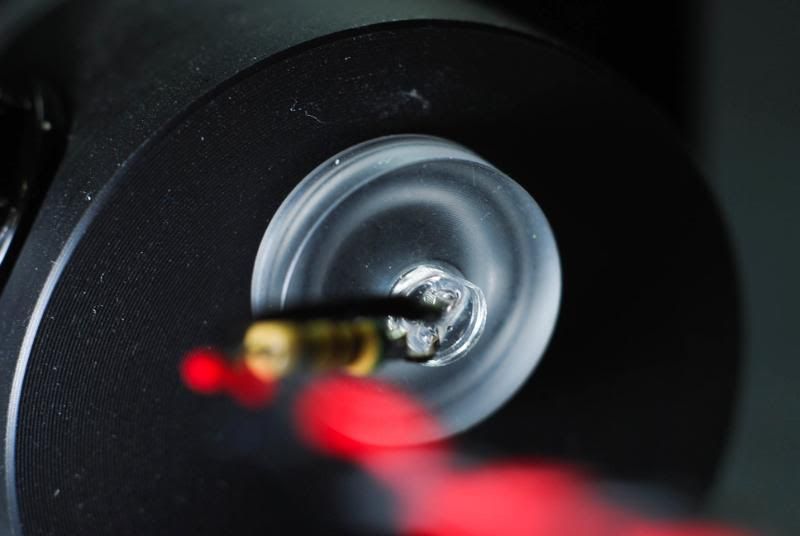
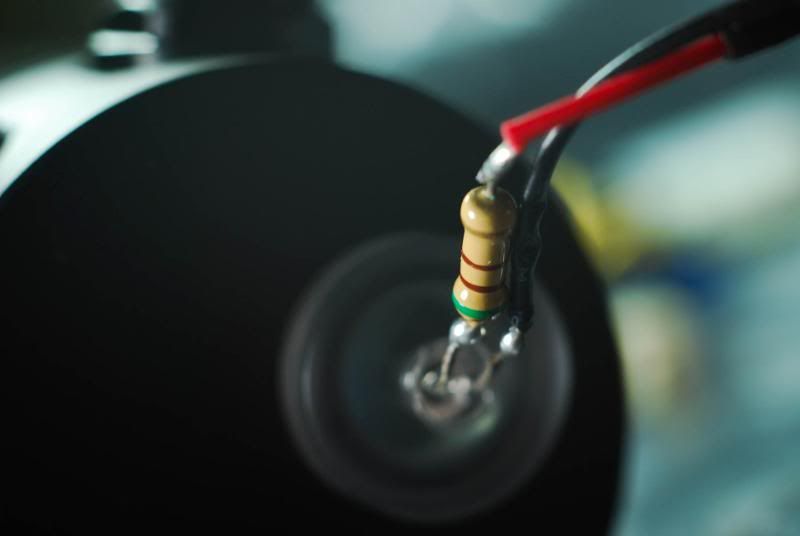
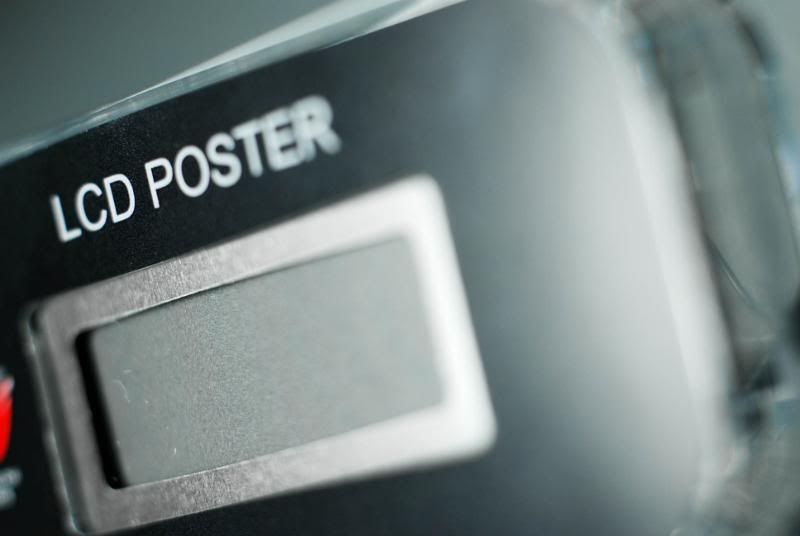
LED light on the front of the case (that comes stock)
Bevel on the right side of the case (only by a little bit, no biggy)
Power LED and switch-box, just the corner
And that was about it. So first (and most importantly) I had to remove the left side of the edge/bezel completely. First I cut a strip up the middle (not sure what I accomplished here, I must not have been thinking straight, maybe it was supposed to be for the LED strip. Either way, it was pointless


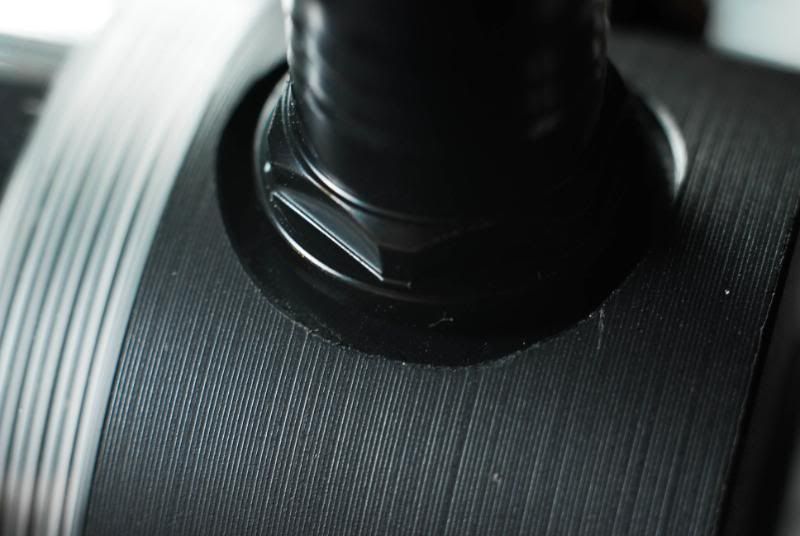
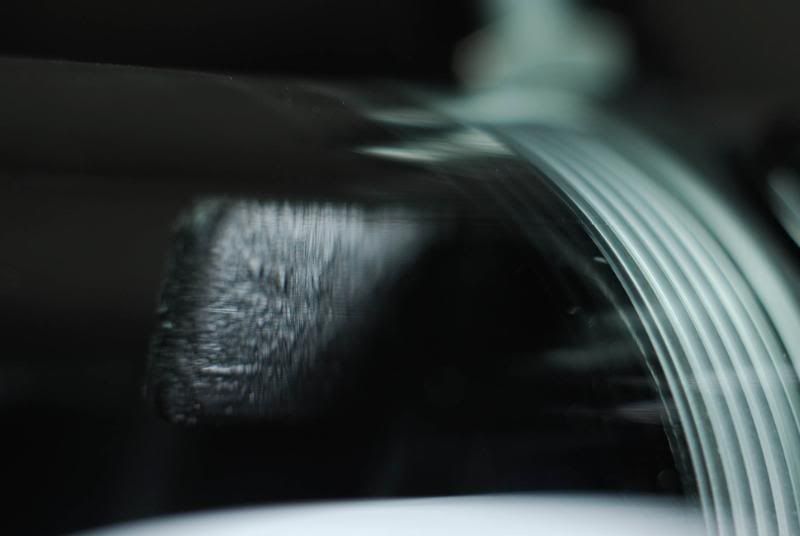
Now, with my mind in the right place and a bit of planning, I began to cut the bezel away until it was flush with the face of the panel. This required the use of a dremel w/cut off wheel initially (low speed, high speed = nasty smell and melted plastic goo all over the wheel).


After I finished that I filed it to a uniform edge (sorry, forgot to take finished pics) and moved on to the next task... painting the case!
A huge thanks goes out to Bill Own and MNPCTech

Last edited: