Morphes
Supreme [H]ardness
- Joined
- Jul 16, 2001
- Messages
- 4,336
lol tell me why i was just about to ask him how much the mod cost this guy? I am curious as well, i wouldve charged atleast $150 for the time and effort of this
Follow along with the video below to see how to install our site as a web app on your home screen.
Note: This feature may not be available in some browsers.
 so ... both ended up haveing to be remade go figure at the last two days let this serve as a leson just because your in a hurry doesn't mean you should rush shit that can't be...


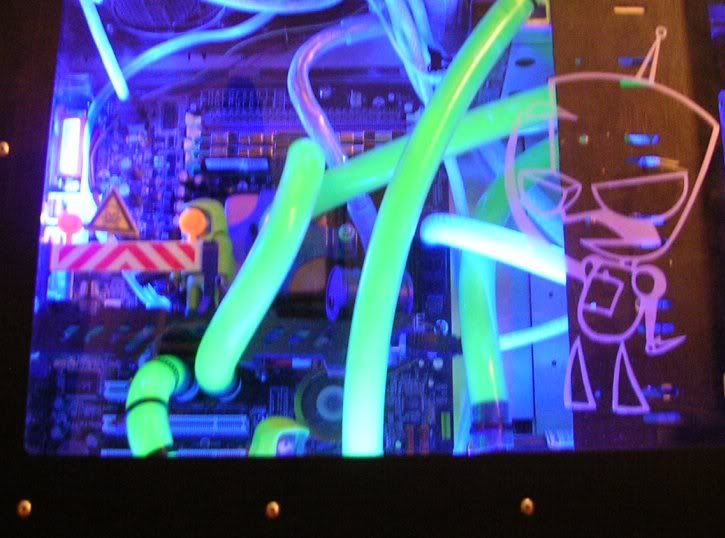
Time for a break for food... who can identify it... great meal time entertainment.


 (fellow pontiac driver)
compslckr said:maybe your next project should be washing and waxing your pontiac though
. naaa I dont have anything to use it on yet, need to start another mod soon...BlackCat said:the person that now owns it is a musicain and plans to use the computer for such and is a smoker so i thought it would be much easier in the middle of a song to pop the lighter in rather than searching for one.