NeilFarted
Gawd
- Joined
- Jun 14, 2004
- Messages
- 513
Ok, so i've been working on a gaming rig for the last year or so, and now that it's getting closer to being completed, i think i'll make one of these nifty worklogs that i love to look at.
Ok, so The idea is that i am modding my Antec 900 case with some simple ideas in mind:
color scheme: black exterior, white interior with blue led lighting.
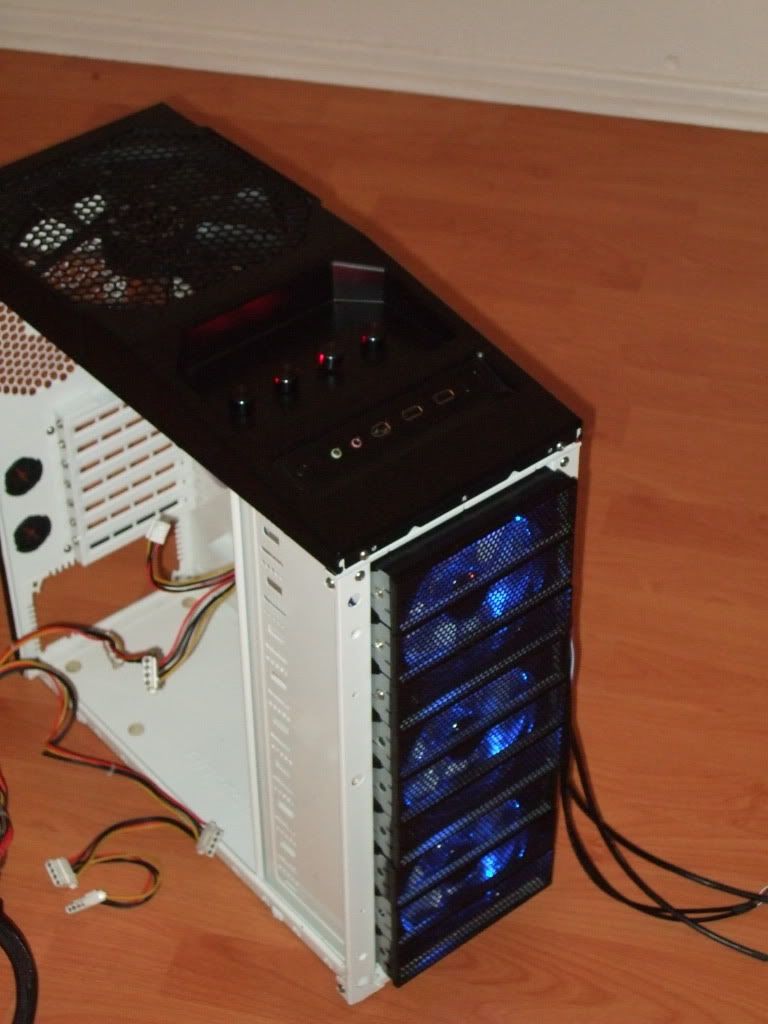
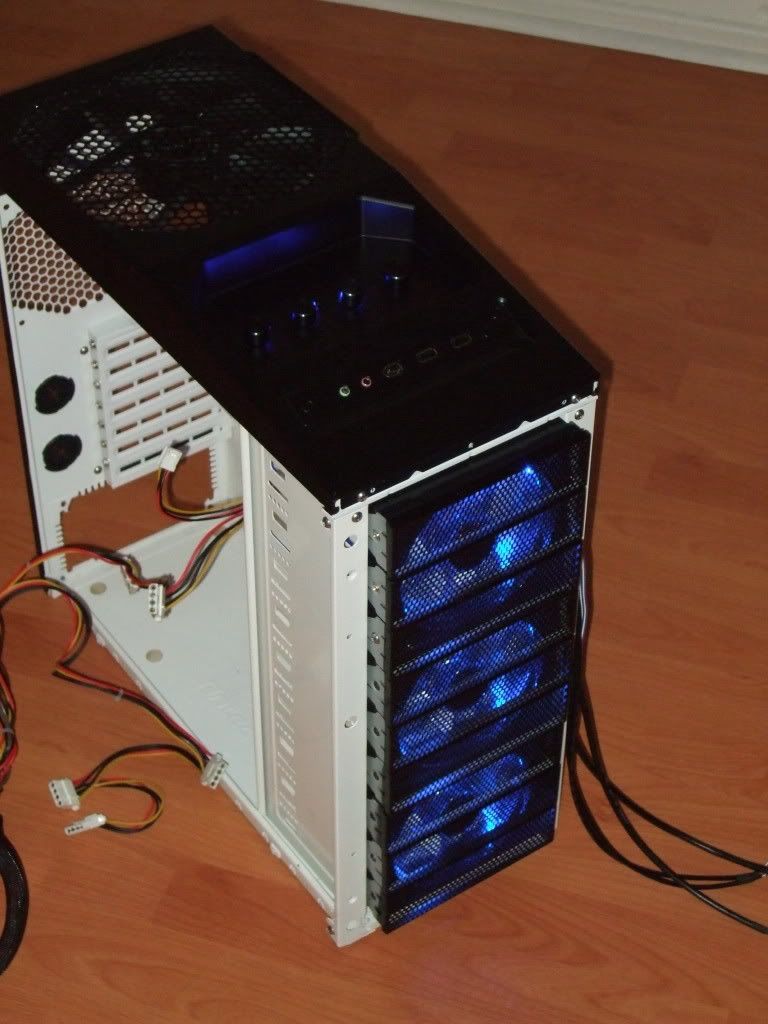
using all 3 120mm fans in the front of the case, which leads me to a slim slot dvd mod.
adding a fan controller where i can fit it
So what i have done so far:
The meat of the computer will be:
EVGA 750i FTW mobo
Q6600
4GB 1066 RAM
2x GTX 260 in SLI
I already have the mobo, the rest of the parts i will eventually be picking up.
So here are some pics!
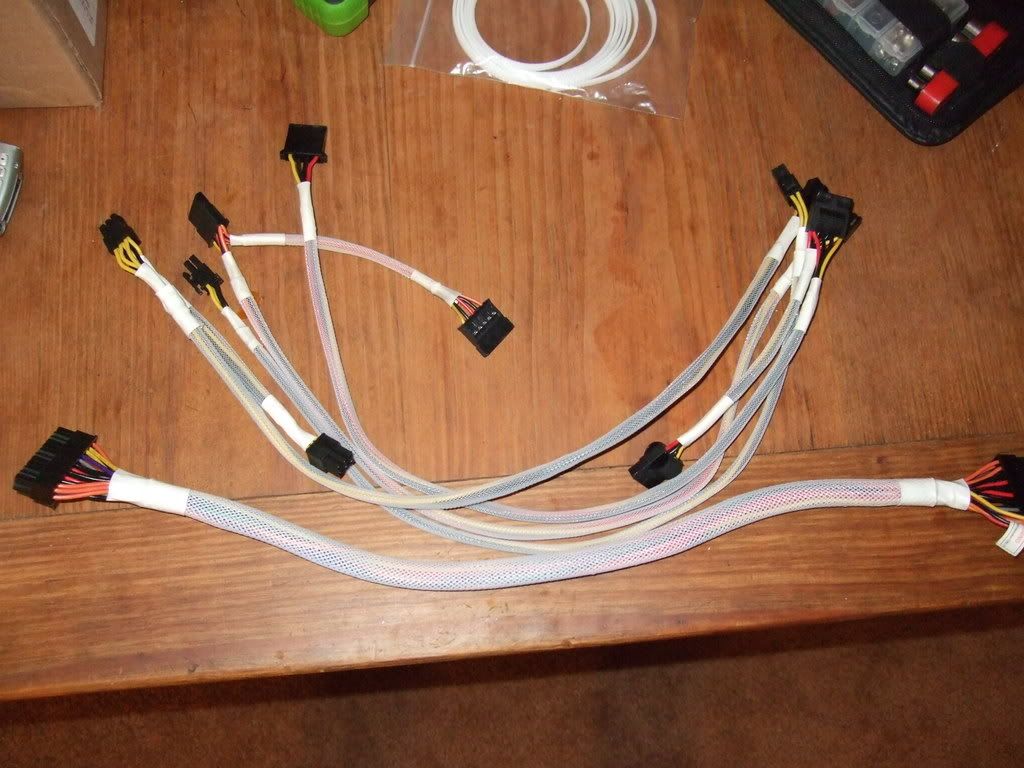
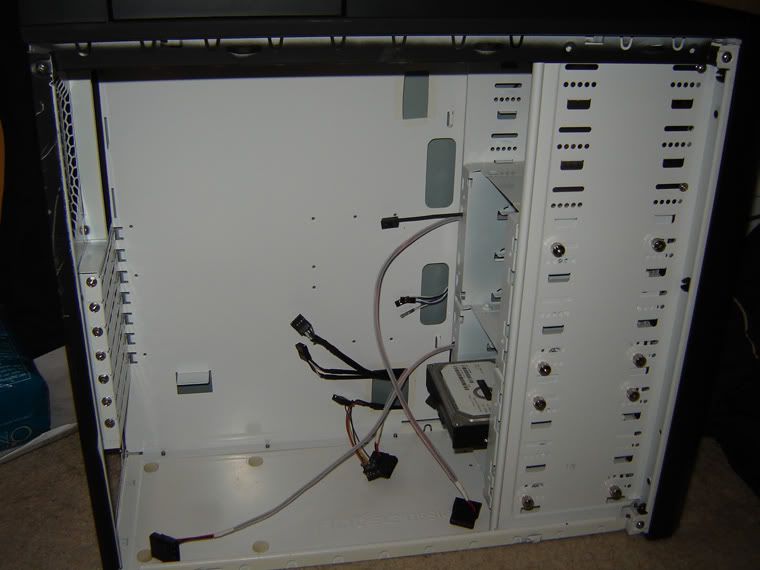
^Sleeving the PSU cables. Right now i have a Raidmax Volcano 600W that i will try to use for this build. I know it's not the greatest PSU, but i picked it up for cheap and it has a nice blue led fan... I'm actually kind of torn, because i'd much rather put a Corsair 620 or 750 HX in there, just for peace of mind, but i've already put so much work into the cables for the Raidmax, i dunno.

^This cable game me so much trouble lol. I had a horribly tough time removing the connector, i ended up ruining a lot of the pins, and had to get a crimper and a set of new pins.

^But the upside is i learned how to crimp, and i also learned how to use the pin removal tools properly!
To complete the first post, i'll talk a little about the slim slot dvd mod.
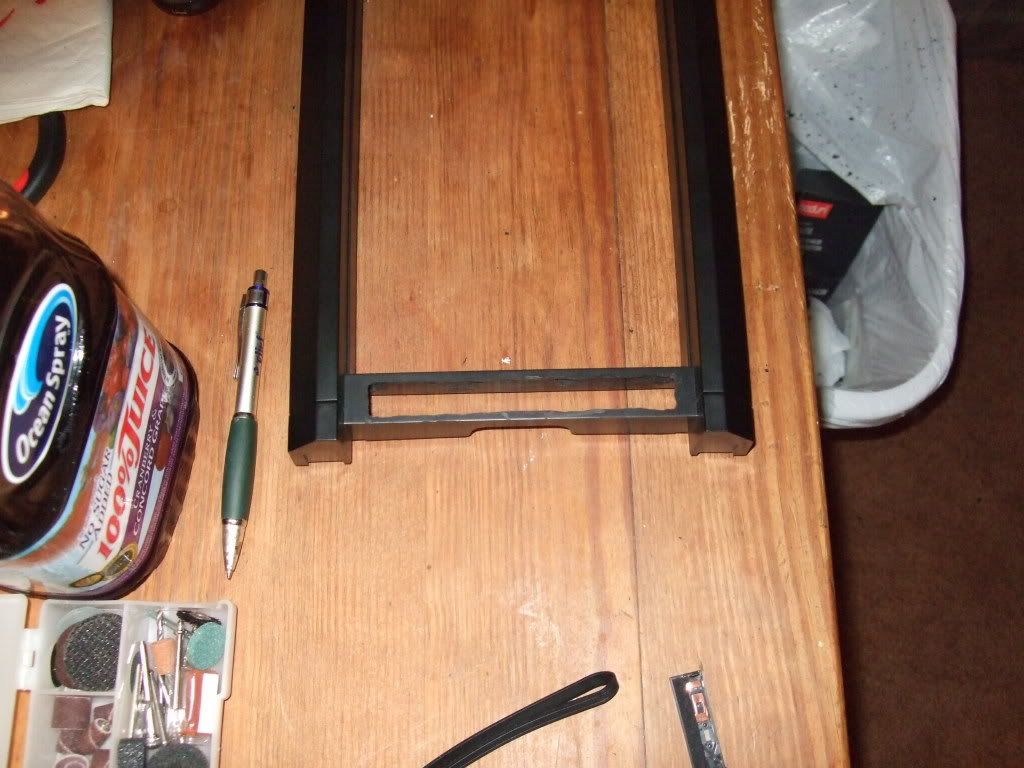
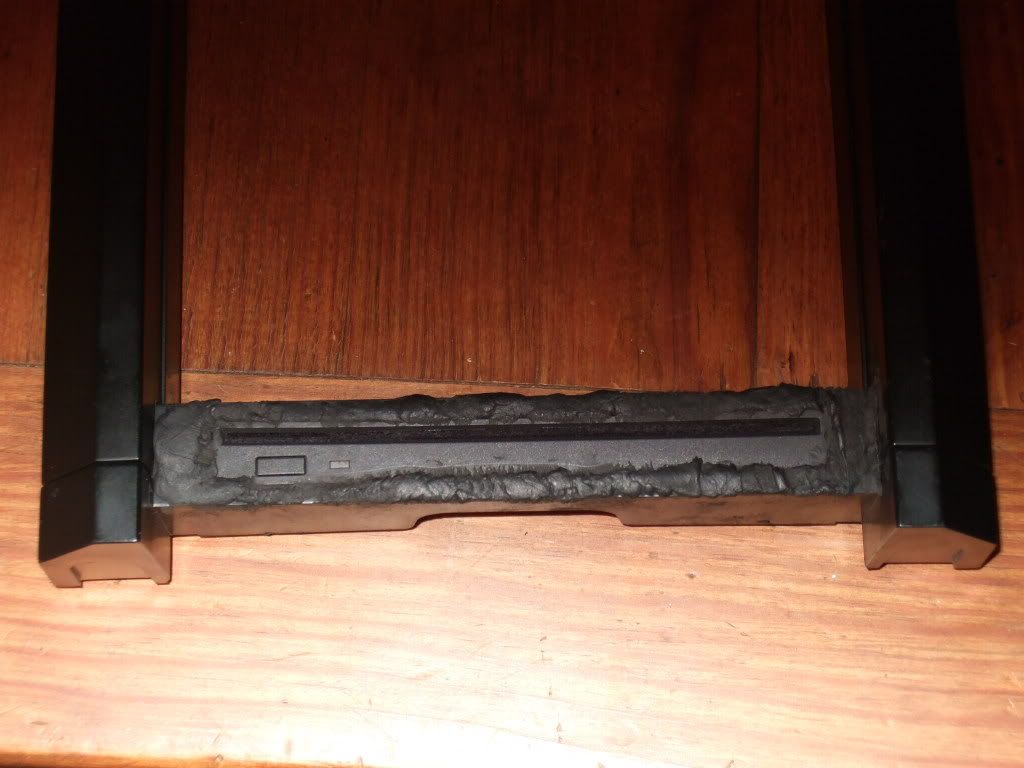
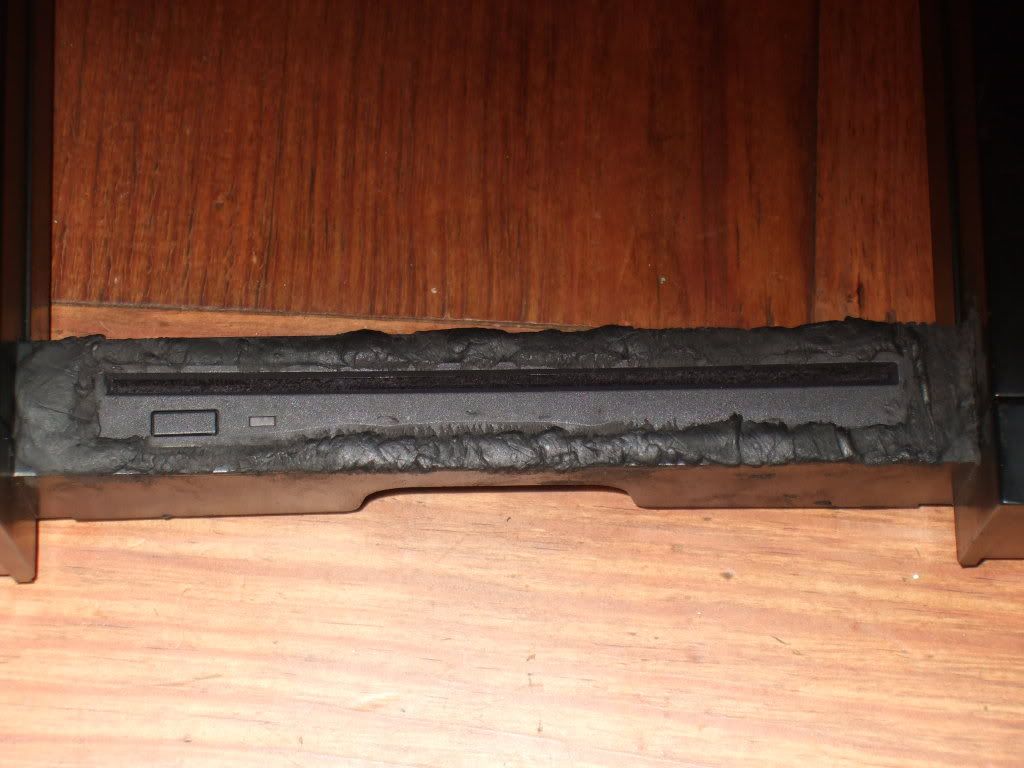
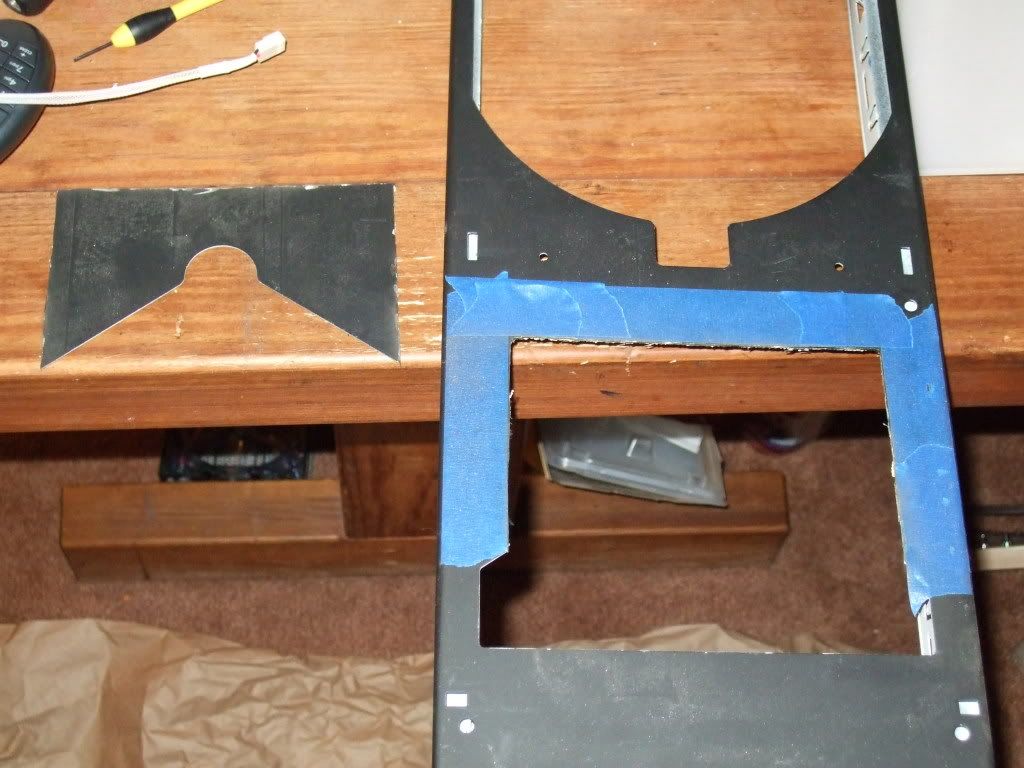
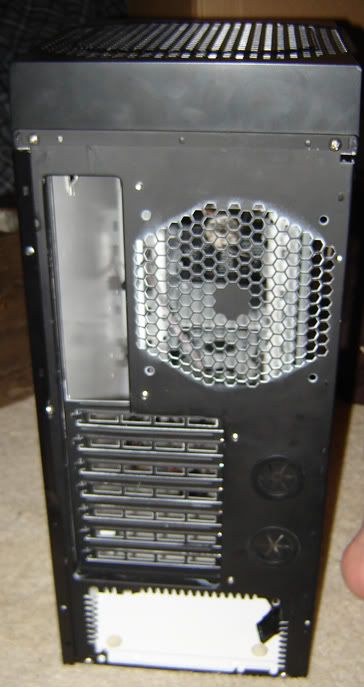
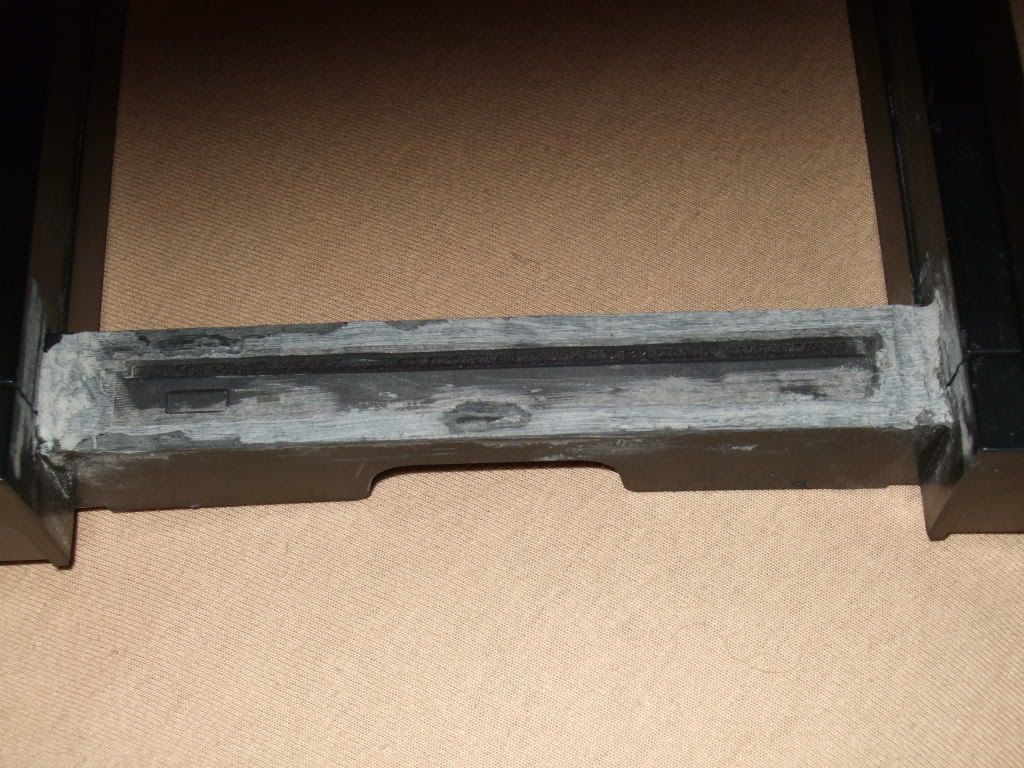
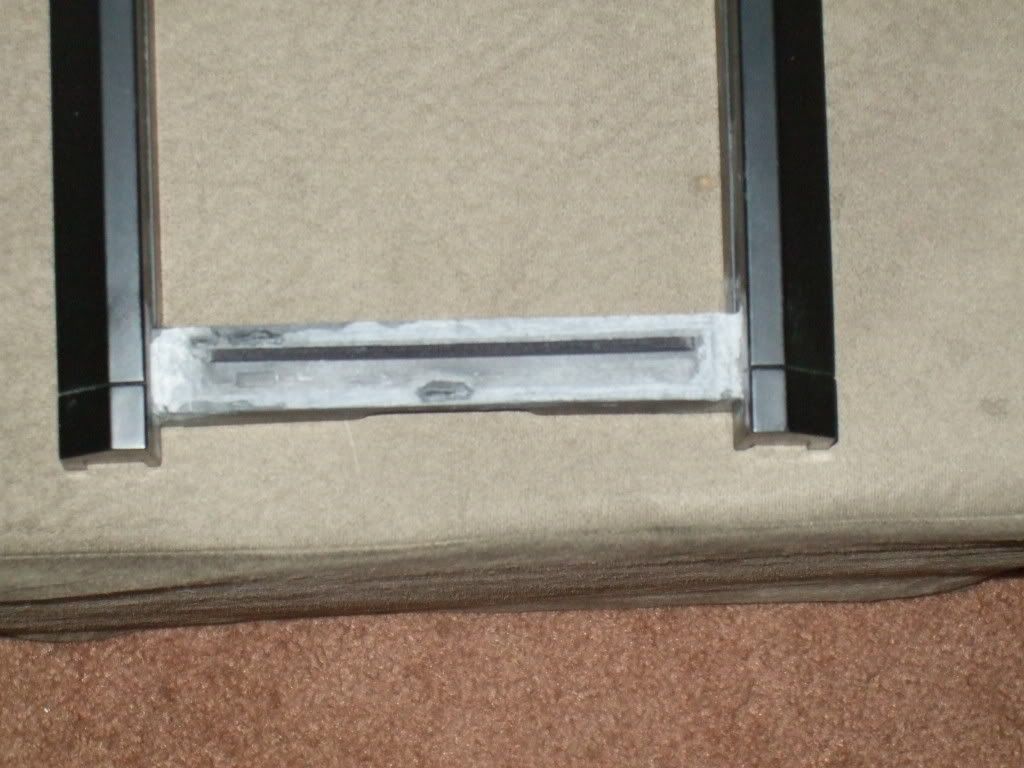
^First i cut out the area from the front bevel of the case. This was the point where i started to wish i lived in a house with a garage with some really nice tools instead of living in a 1bedroom apartment with a dremel.

^When it became apparent that i wasn't going to be able to make a perfect cut, i got some milliput black on ebay. Right now, i have used the milliput to affix the dvd bevel to the case bevel, and have sanded down roughly the front. I have some pictures of this, but i haven't uploaded them yet, so hopefully i'll put those up tomorrow with the fan controller mod.
I still need to finely sand the bevels and paint it to make it look nice.
Thanks for looking, and i'll try to put much more pictures in future updates!
Ok, so The idea is that i am modding my Antec 900 case with some simple ideas in mind:
color scheme: black exterior, white interior with blue led lighting.
using all 3 120mm fans in the front of the case, which leads me to a slim slot dvd mod.
adding a fan controller where i can fit it
So what i have done so far:
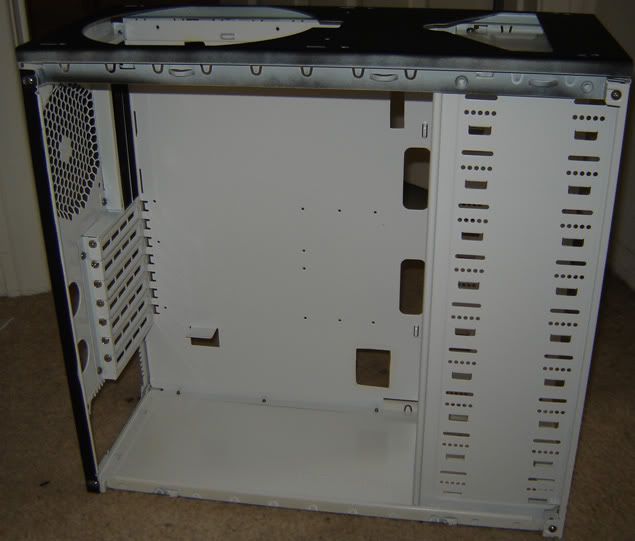
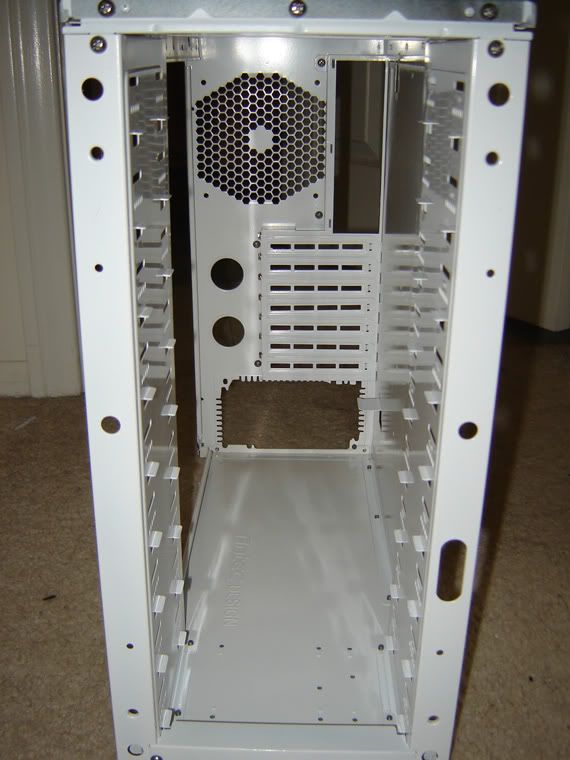
- Painted the interior gloss white. Sorry, i don't have any pics of the process. Thanks to the incredible thread by Arcygenical, i was able to do a decent job of painting the interior. I'll have more pics of the painted interior soon.
- Replaced all the Tri-cools with yate loons
- Started working on the slim slot dvd mod. More on this a little ways down.
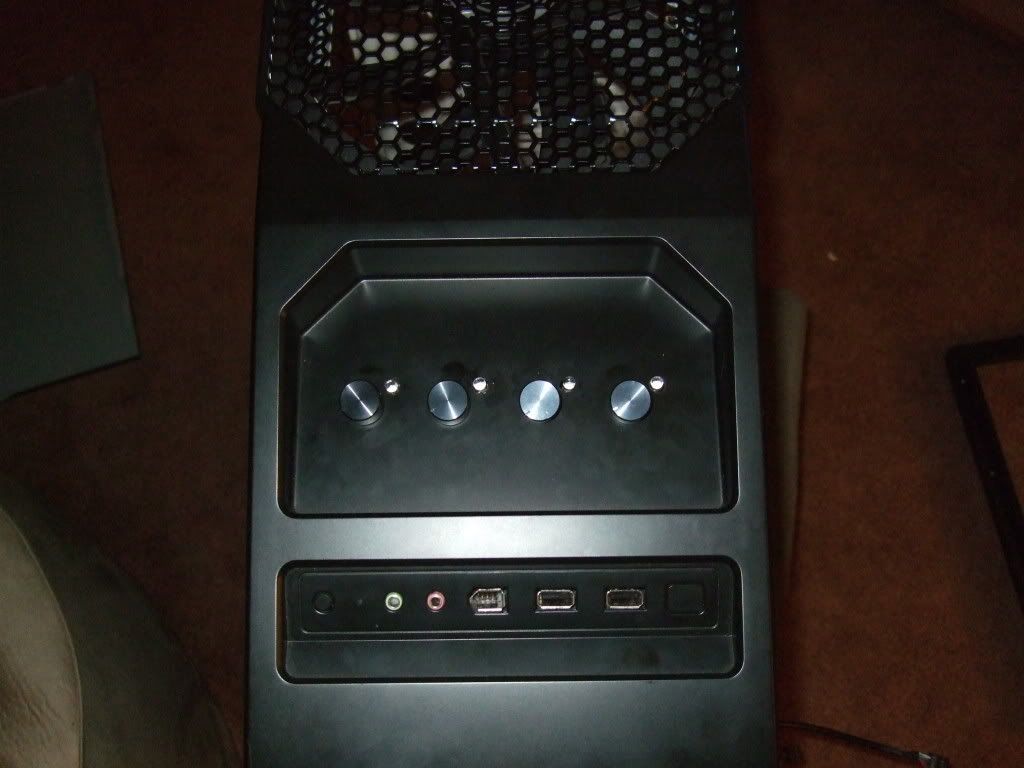
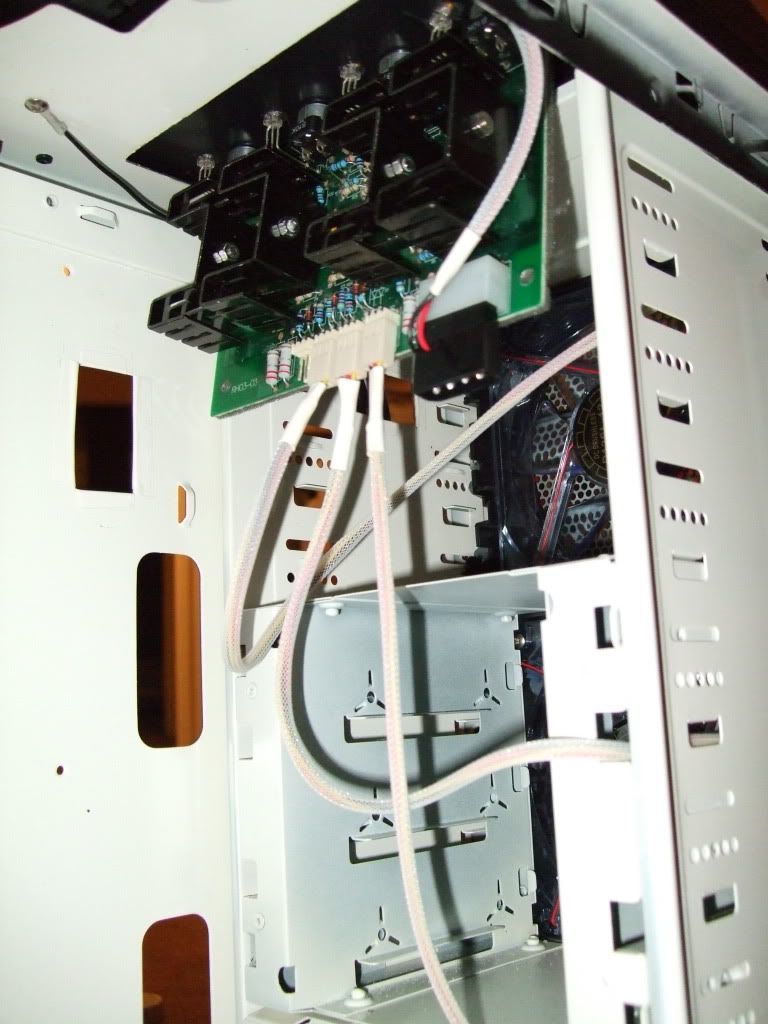
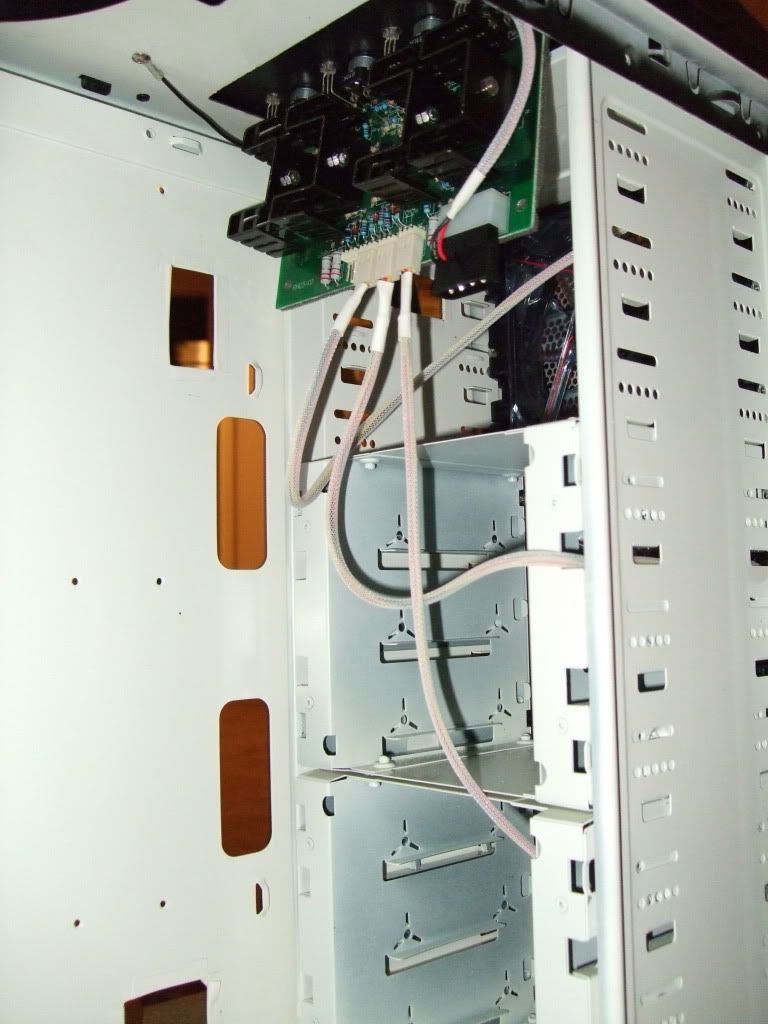
- installed a fan controller
- cable sleeving and wire management
The meat of the computer will be:
EVGA 750i FTW mobo
Q6600
4GB 1066 RAM
2x GTX 260 in SLI
I already have the mobo, the rest of the parts i will eventually be picking up.
So here are some pics!
^Sleeving the PSU cables. Right now i have a Raidmax Volcano 600W that i will try to use for this build. I know it's not the greatest PSU, but i picked it up for cheap and it has a nice blue led fan... I'm actually kind of torn, because i'd much rather put a Corsair 620 or 750 HX in there, just for peace of mind, but i've already put so much work into the cables for the Raidmax, i dunno.
^This cable game me so much trouble lol. I had a horribly tough time removing the connector, i ended up ruining a lot of the pins, and had to get a crimper and a set of new pins.
^But the upside is i learned how to crimp, and i also learned how to use the pin removal tools properly!
To complete the first post, i'll talk a little about the slim slot dvd mod.
^First i cut out the area from the front bevel of the case. This was the point where i started to wish i lived in a house with a garage with some really nice tools instead of living in a 1bedroom apartment with a dremel.
^When it became apparent that i wasn't going to be able to make a perfect cut, i got some milliput black on ebay. Right now, i have used the milliput to affix the dvd bevel to the case bevel, and have sanded down roughly the front. I have some pictures of this, but i haven't uploaded them yet, so hopefully i'll put those up tomorrow with the fan controller mod.
I still need to finely sand the bevels and paint it to make it look nice.
Thanks for looking, and i'll try to put much more pictures in future updates!