xivlia
Limp Gawd
- Joined
- May 18, 2011
- Messages
- 217
First of all. In NO WAY does this mod relate to the game "Mirror's Edge"
now that i got that out of the way! let me show you..or rather try to explain to you guys what im making!
i will be modifying the Core P5 case, covering it with a very thin mirror finish aluminium, all the EK blocks will have this mirror finish layed over it as well! and the watercooling tubes are mirrored too!
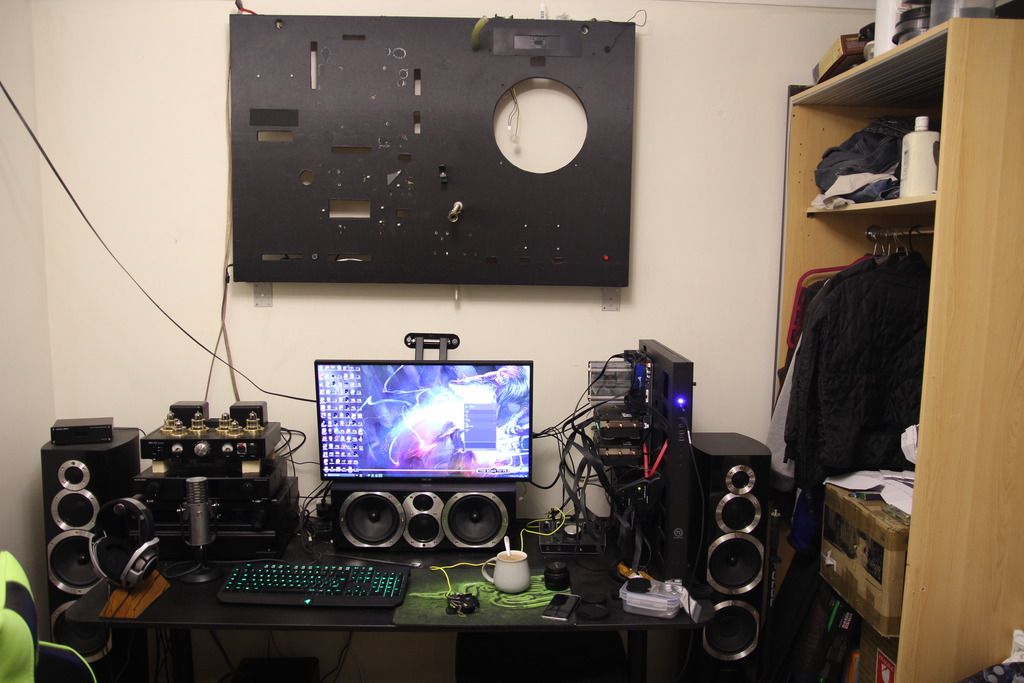
and this is my new PC! just bought the parts recently... have a look!
Also, i am not sponsored in any way, shape or form... everything in this build is bought by my own earned cash. Id like to get sponsored... but companies just refuse

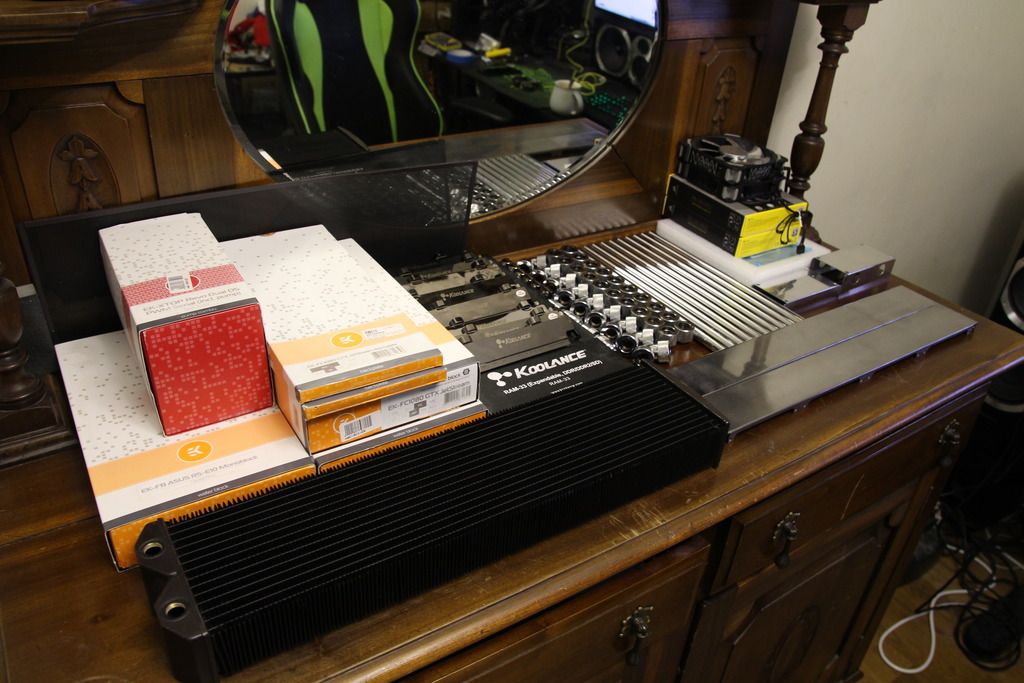
Component breakdown:
2x GTX 1080
Asus Rampage V Edition 10
Core i7 6850k
32gb G-Skill DDR4 3000Mhz
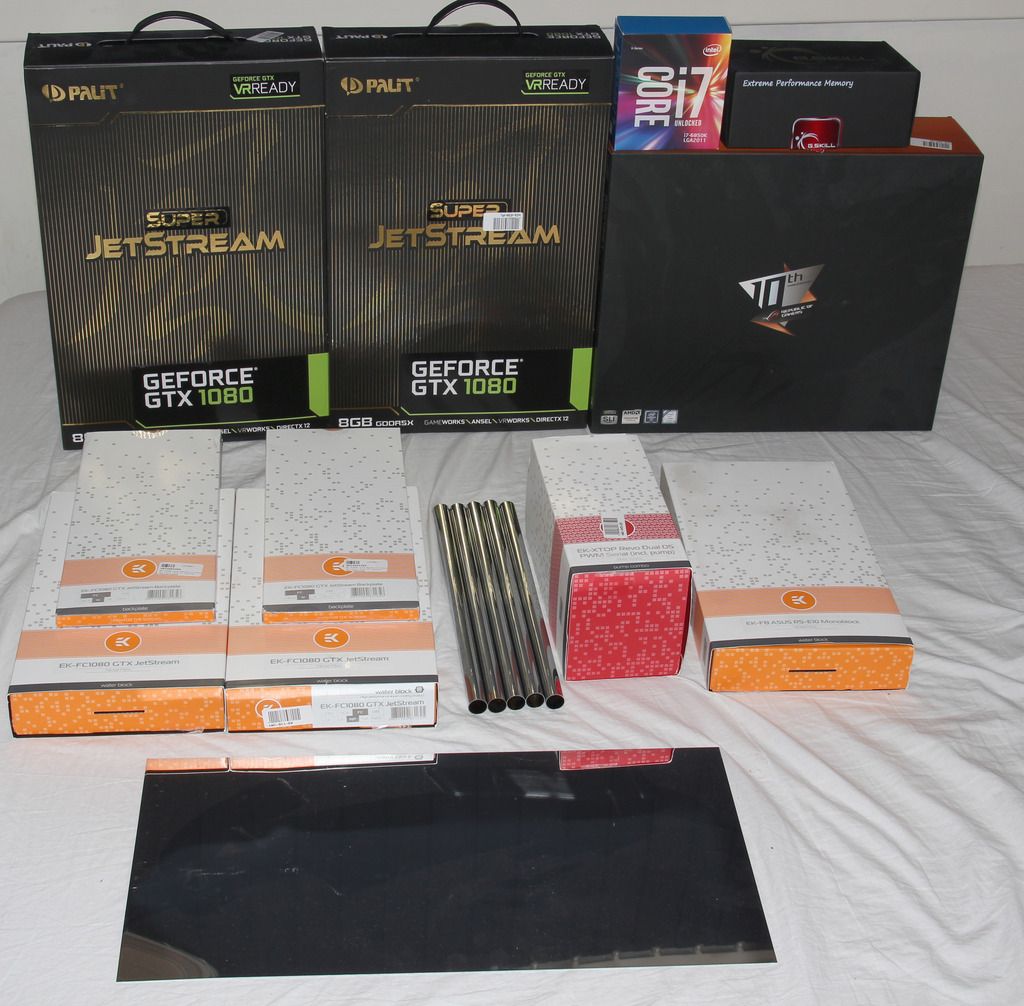
Mirror finished Aluminium to lay over the waterblocks!

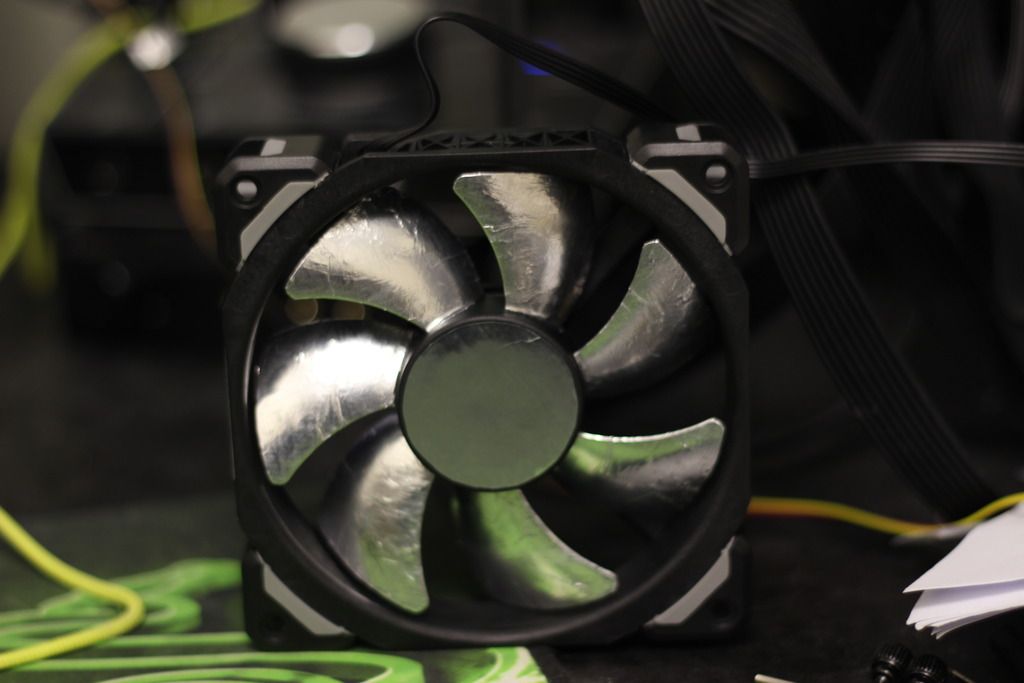
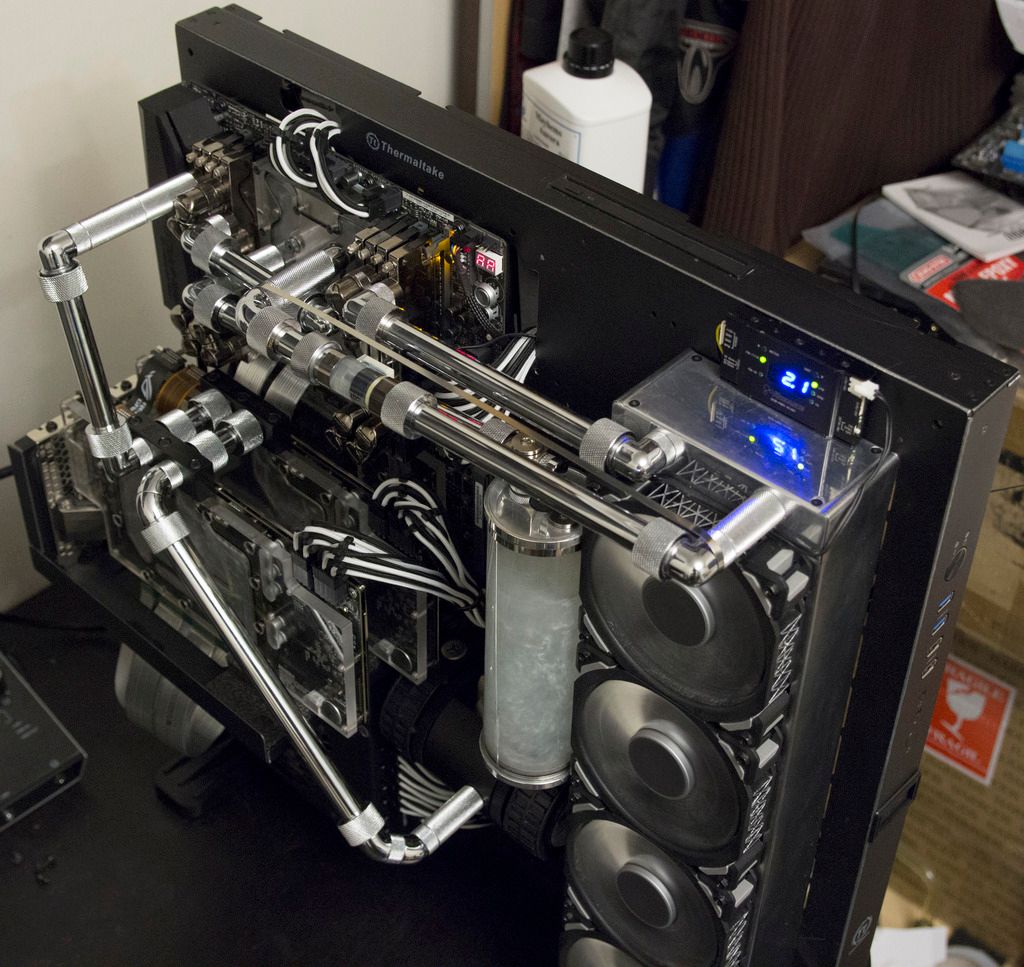
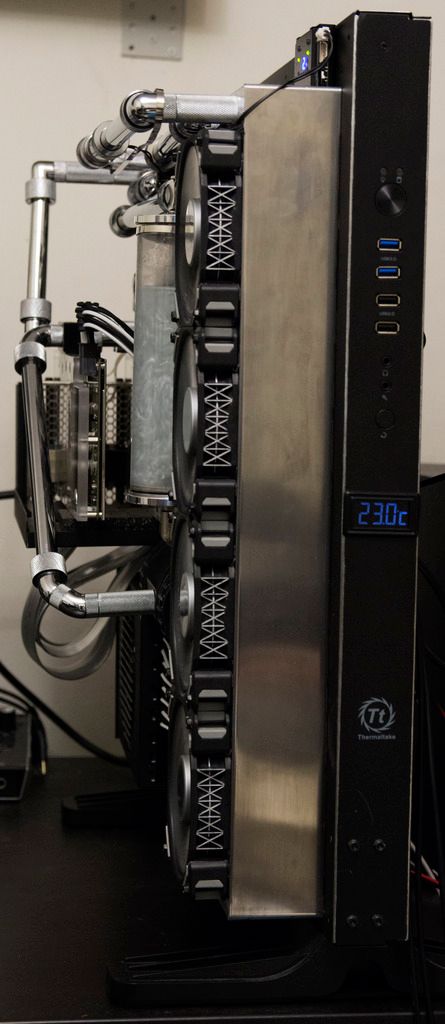
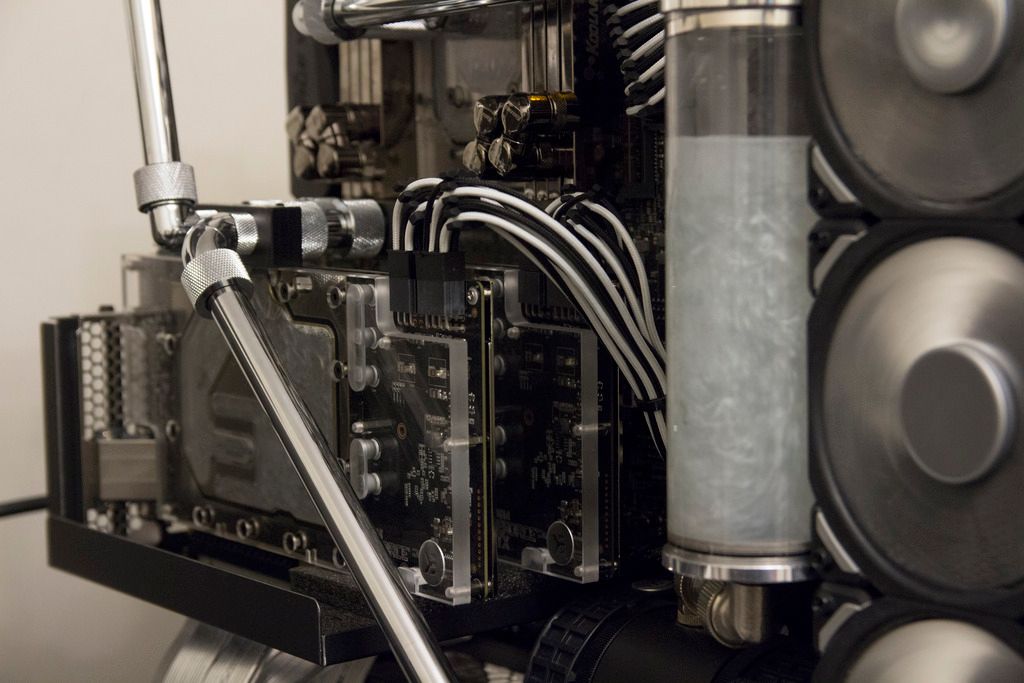
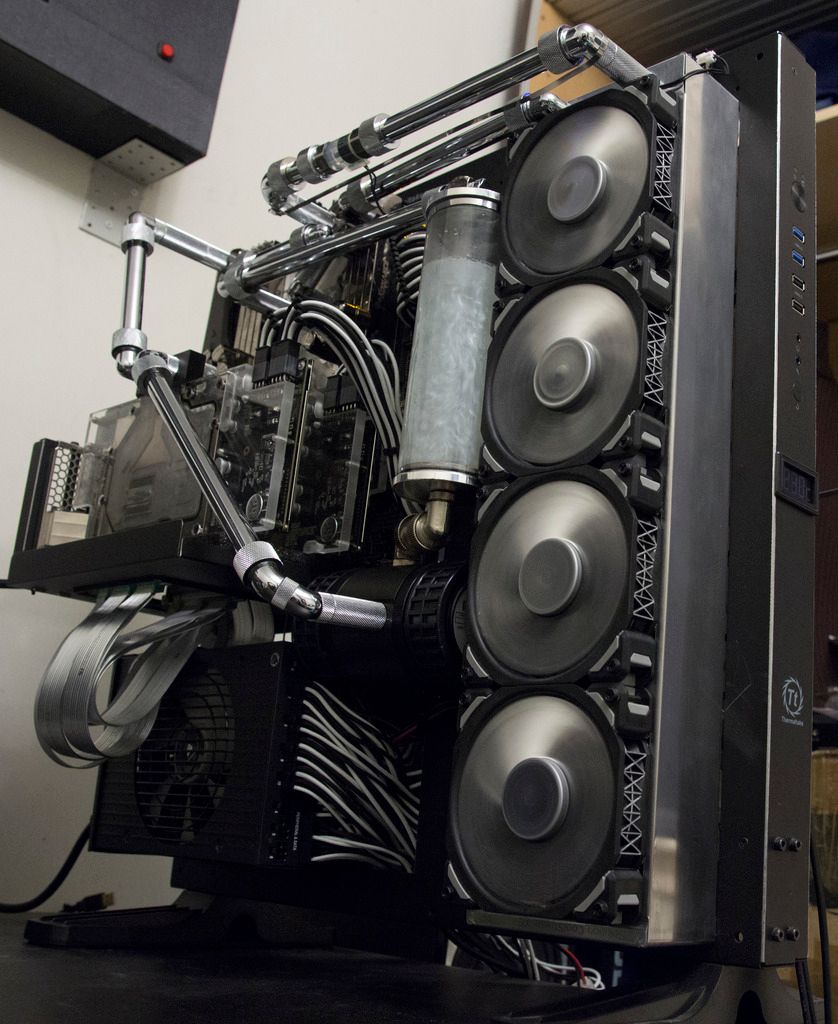
and this is it assembled with air cooling!
i know i know, its very VERY messy.. but it keeps me going good and gaming, so yeah!
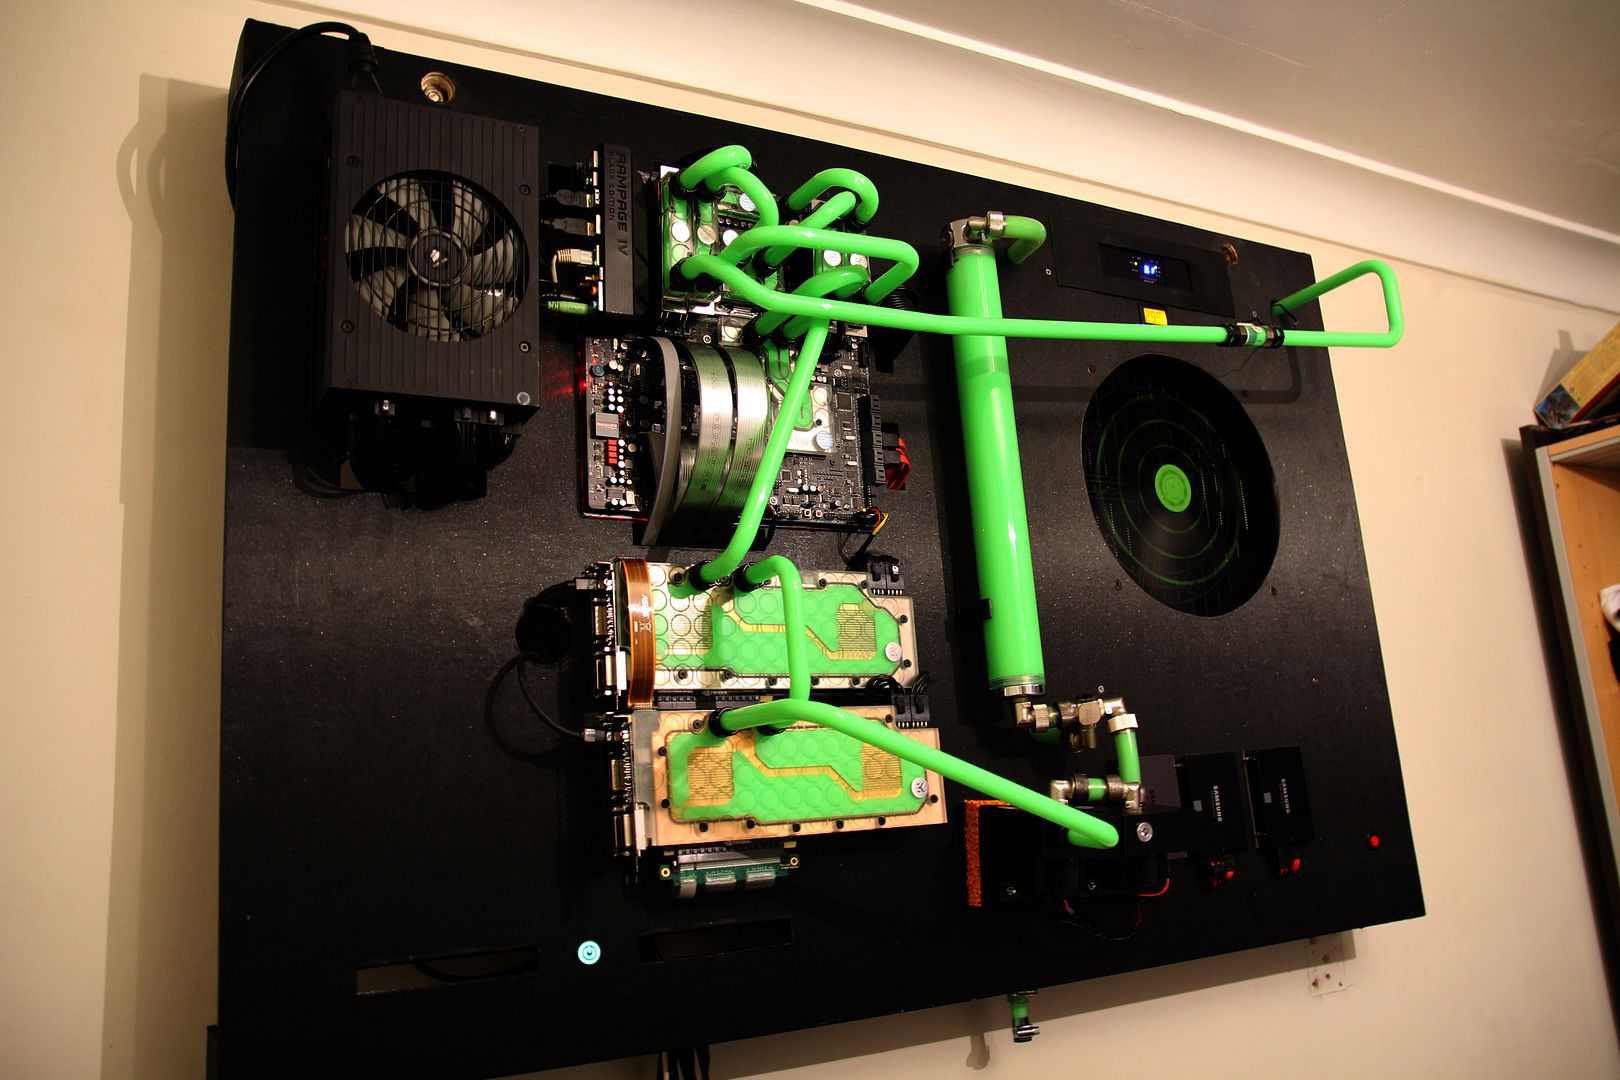
some of you may know me from my previous wall mounted build? (Project: F.R.A.M.E) well.. thats sold now, but the wallmount is still there! looks ugly and will be removed soon!
Link to prevoius build!
https://hardforum.com/threads/project-f-r-a-m-e.1871664/
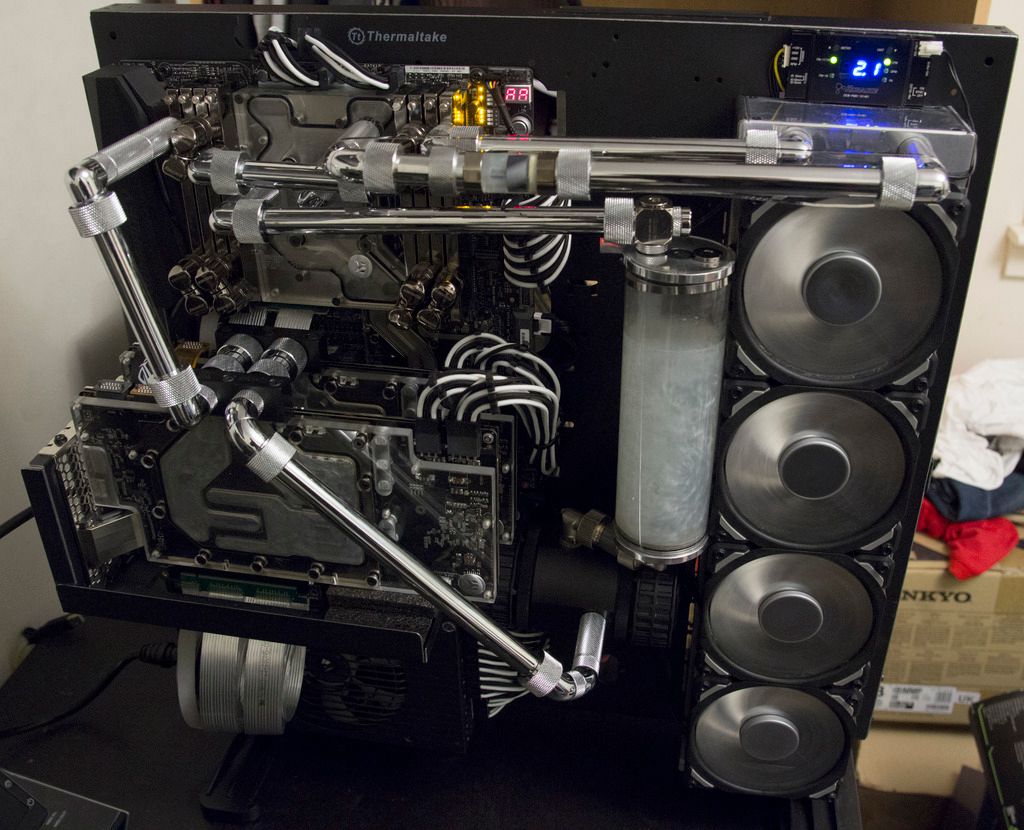
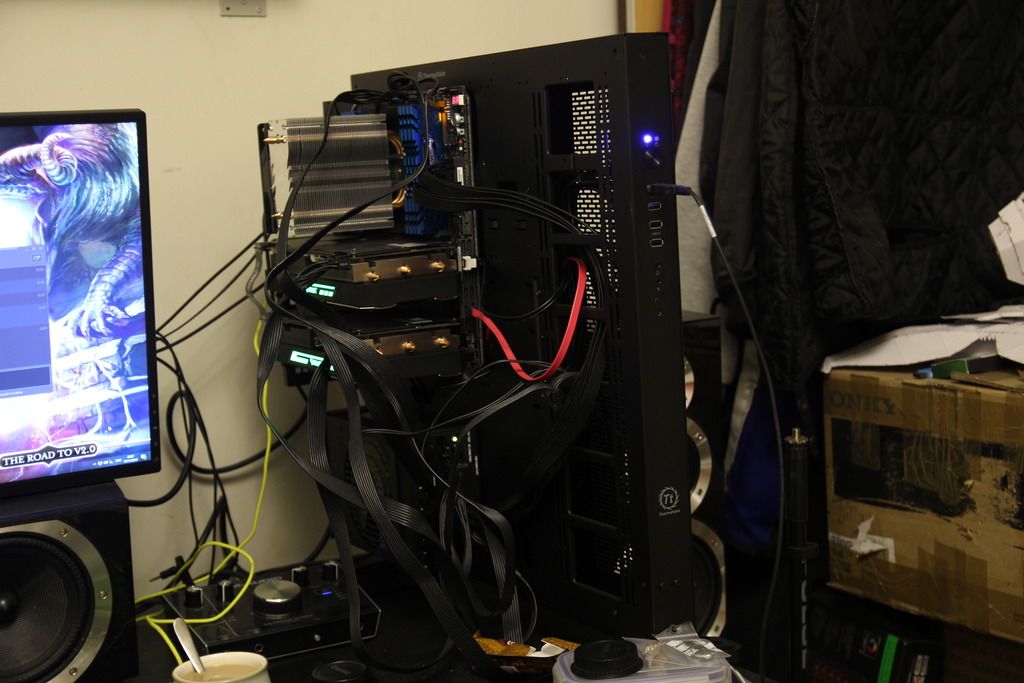
and now its...
holy damn! i didnt realise how messy it was until i looked back on the picture!
anyway... now that you have a slight idea.... let me show you what i have been working on....
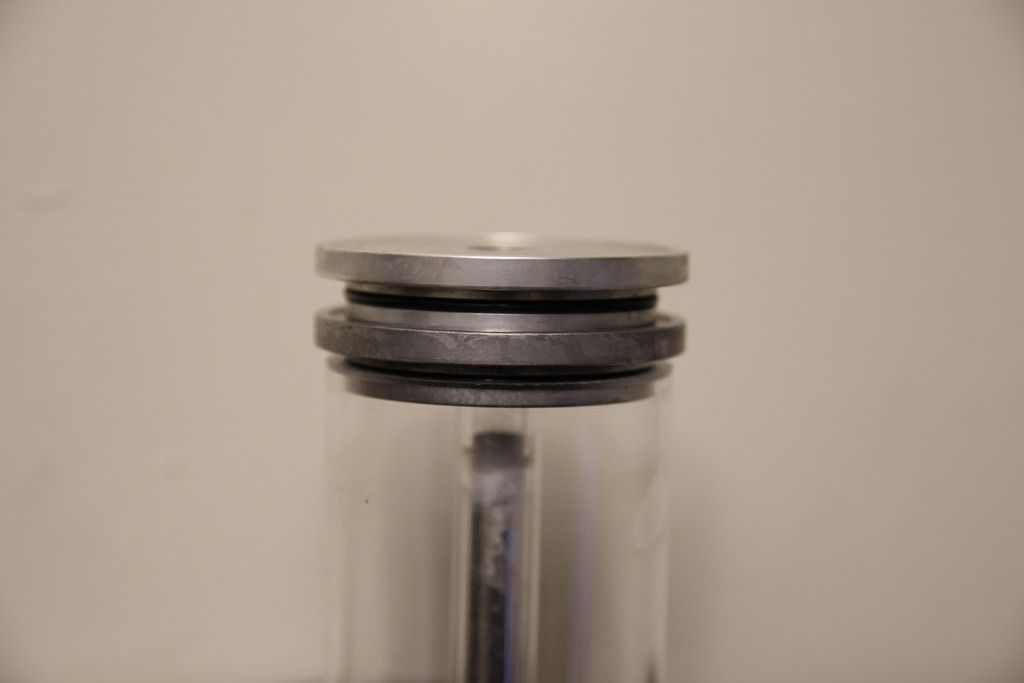
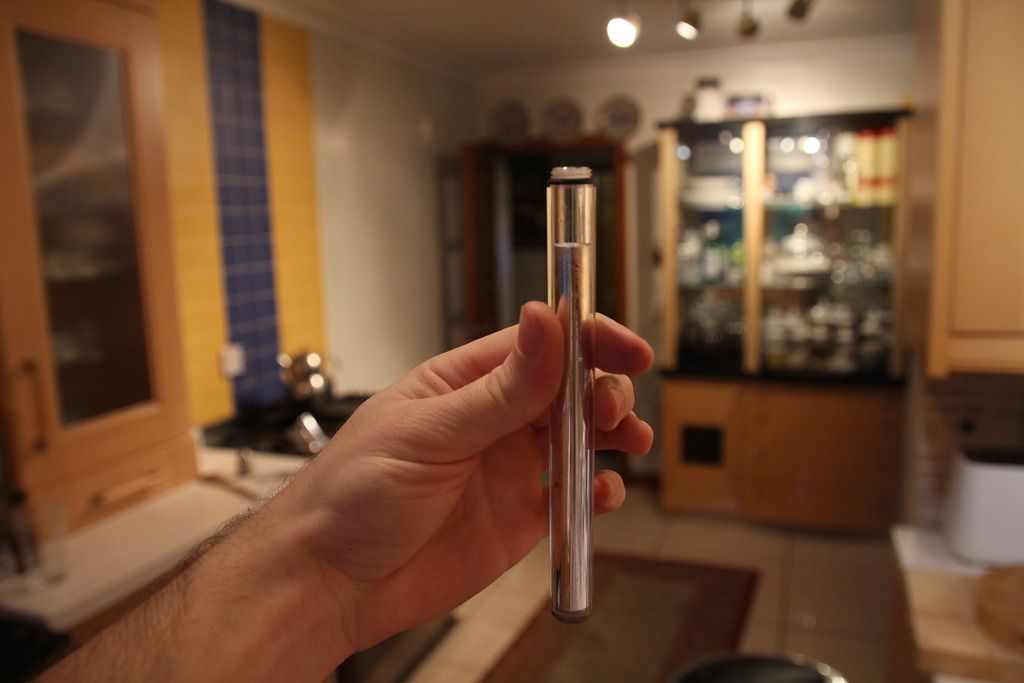
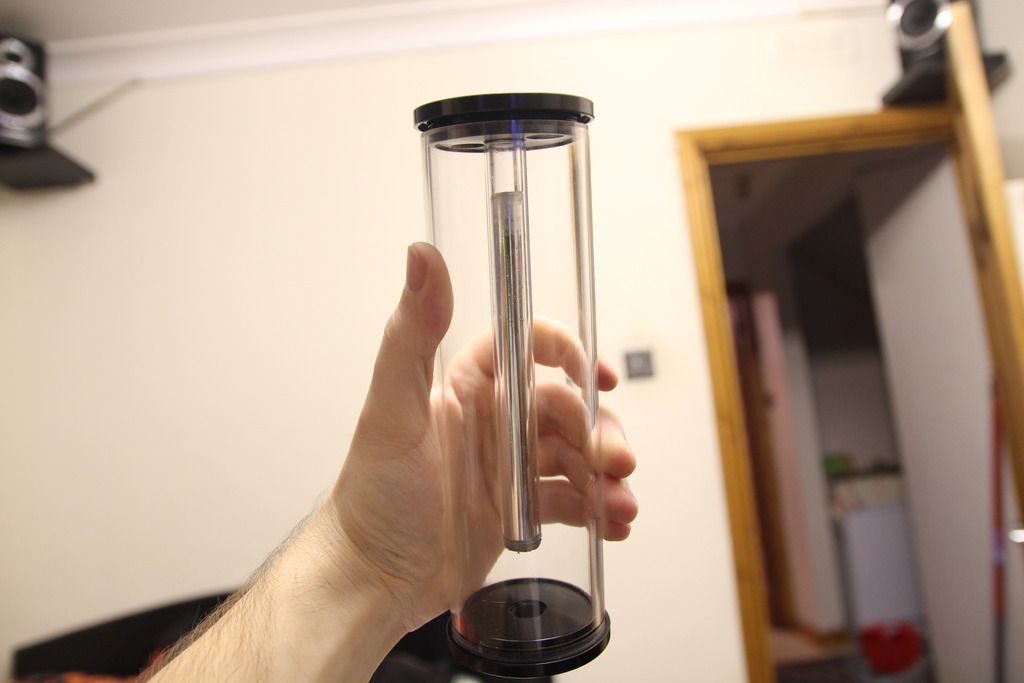
i wanted this build to be unique...very unique, so i found a cool reservoir named Raijintek RAI-r20, it has this little inner tube, and well... i decided im going to make some "Galinstan" a Gallium metal alloy which stays liquid at about 11 Degrees C.... it was either that... or Mercury, but Mercury is toxic as hell, and i dont wanna die... so this was the alternate option!
The materials i used to make this alloy was Gallium, Indium and Tin at a ratio of 69:21:10
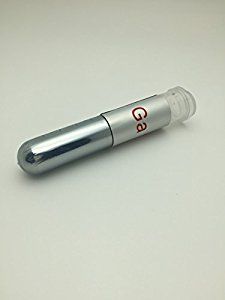
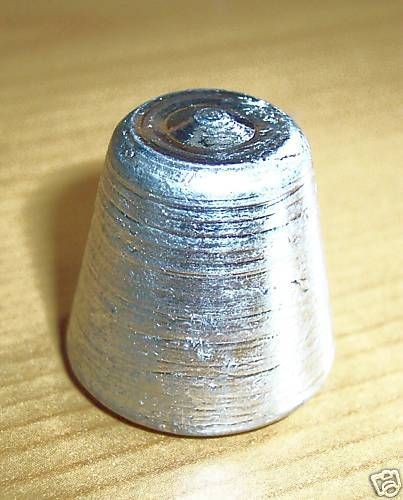
here is the pictures of the materials before amalgamation!
Gallium
Indium
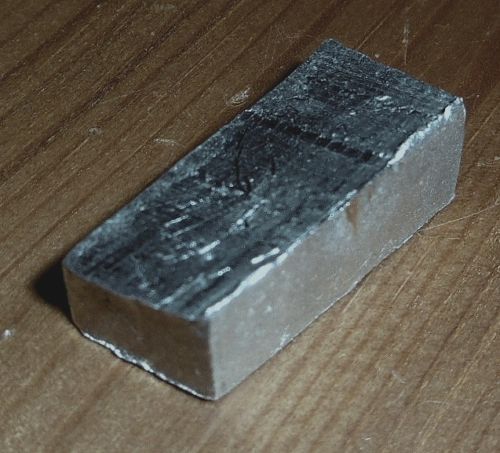
Tin
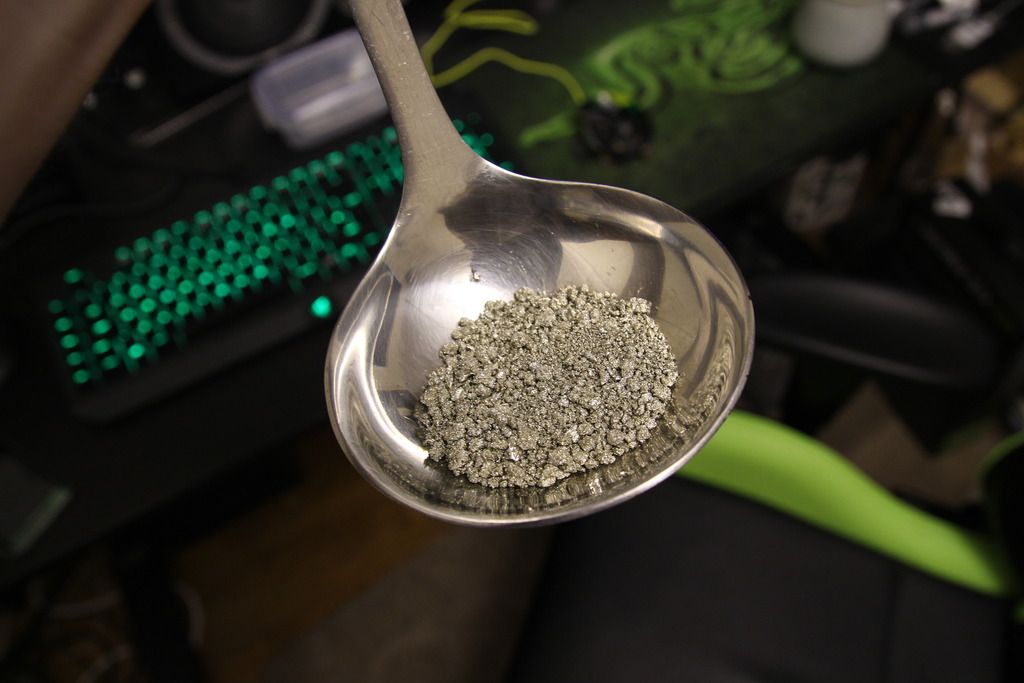
so, first i melted TIn inside a large metal spoon.... with a heat gun!!
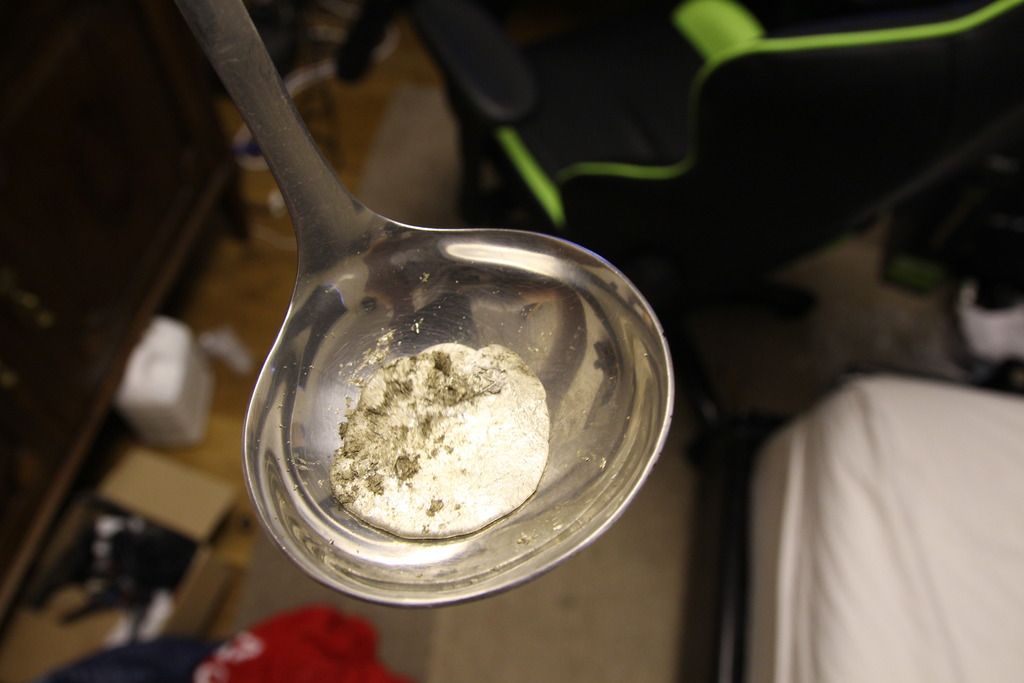
and once you stirr it while is molten and cooling down it turns into almost powder like!
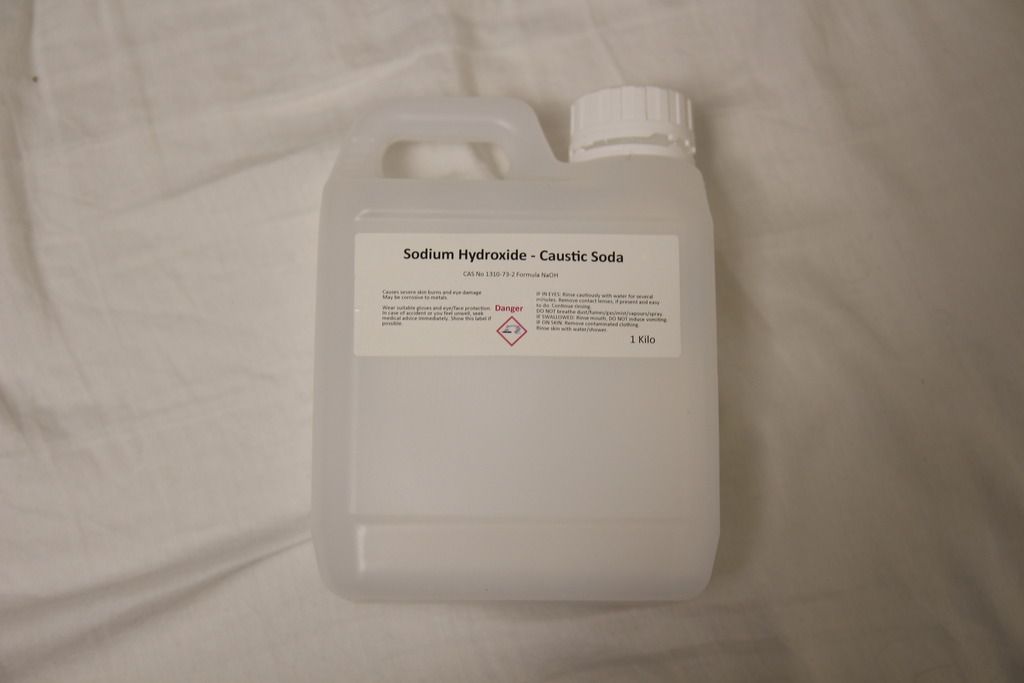
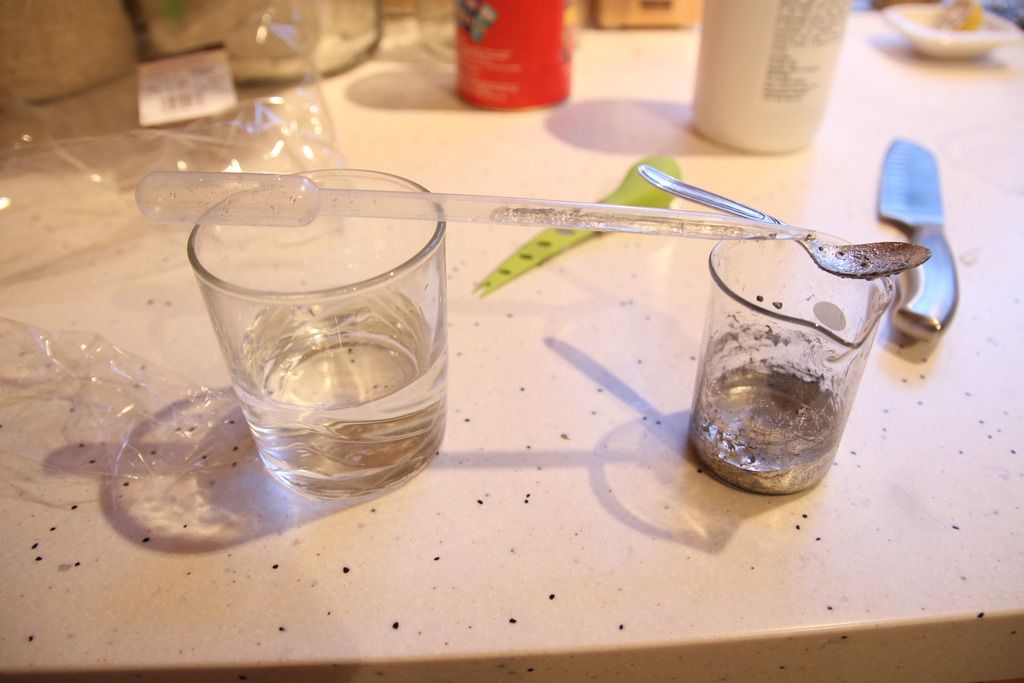
once i got this into powder form, i mixed everything inside a glass beaker and carried on heating it up untill everything amalgamated! oh an also i forgot to mention the Sulfuric Acid! i diluted some to ~2% and added 4 drops of it inside the micture, this keep the Galinstan from sticking onto surfaces.. because Galinstan loves to stick! this gives it a Mercury "like" look... ~2% Sulfuric acid on the left.
now i needed to somehow seal off the bottom end of this little inner tube that came with the reservoir! so.. i made a sealant from hot glue...
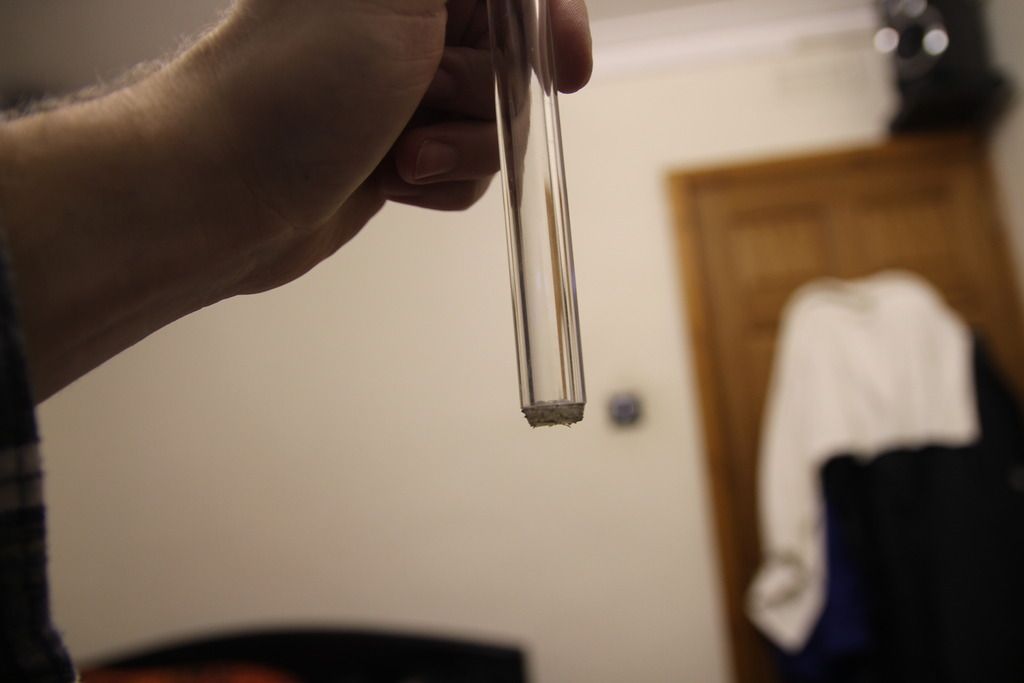
and filled her right up!!!
i have to say... it looks MUCH better in person.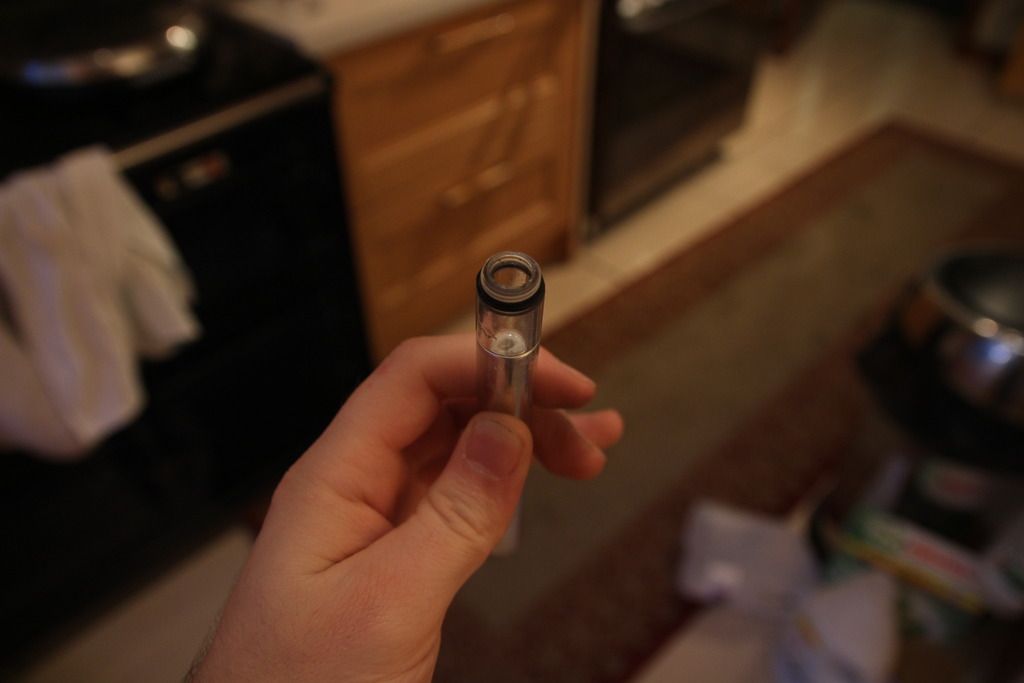
anyway... this is all for now! hope you like it! and comment!
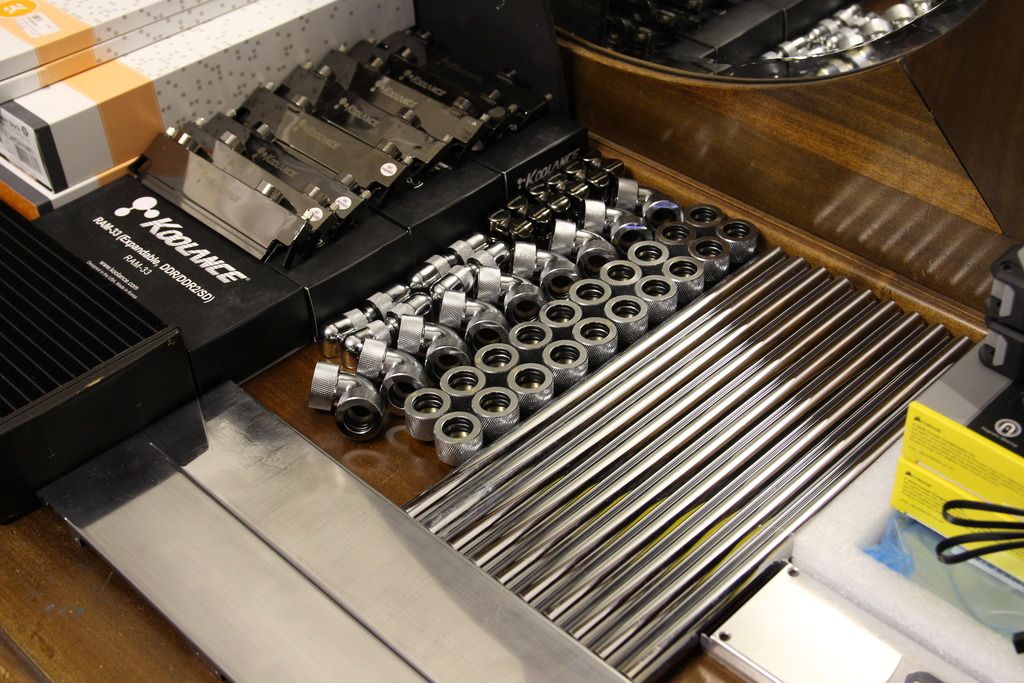
cant wait to share more! but unfortunatley i have ran out of money for this month! untill pay day so i can buy the tube connectors and the Koolance RAM-33 blocks!!!!
)))Ersan.
Last edited: