Here's a worklog for my first water cooled project.
Goals:
What Im starting with:
Heres the current computer. Boring case. Wife broke the door off. To fix the door Ive decided to get a whole new case and water-cooling set up. Good excuse?

One factor is the design of the water cooled set-up is that the case will be inserted into the desk shelf, so I wont be able to see inside the case. And dragging the case out is a royal PITA. I dont want to drag it out to check the water level or top-off.
I have thought about cutting holes in the desk on the left side so I can see in the case. And probably will do this. But still dont want to pull out the case to check the water or top-off.
I typically build a new computer once every 3 years or so, but Ive never paid much attention to cable management. This time I will, even though I cant see in the case most of the time.
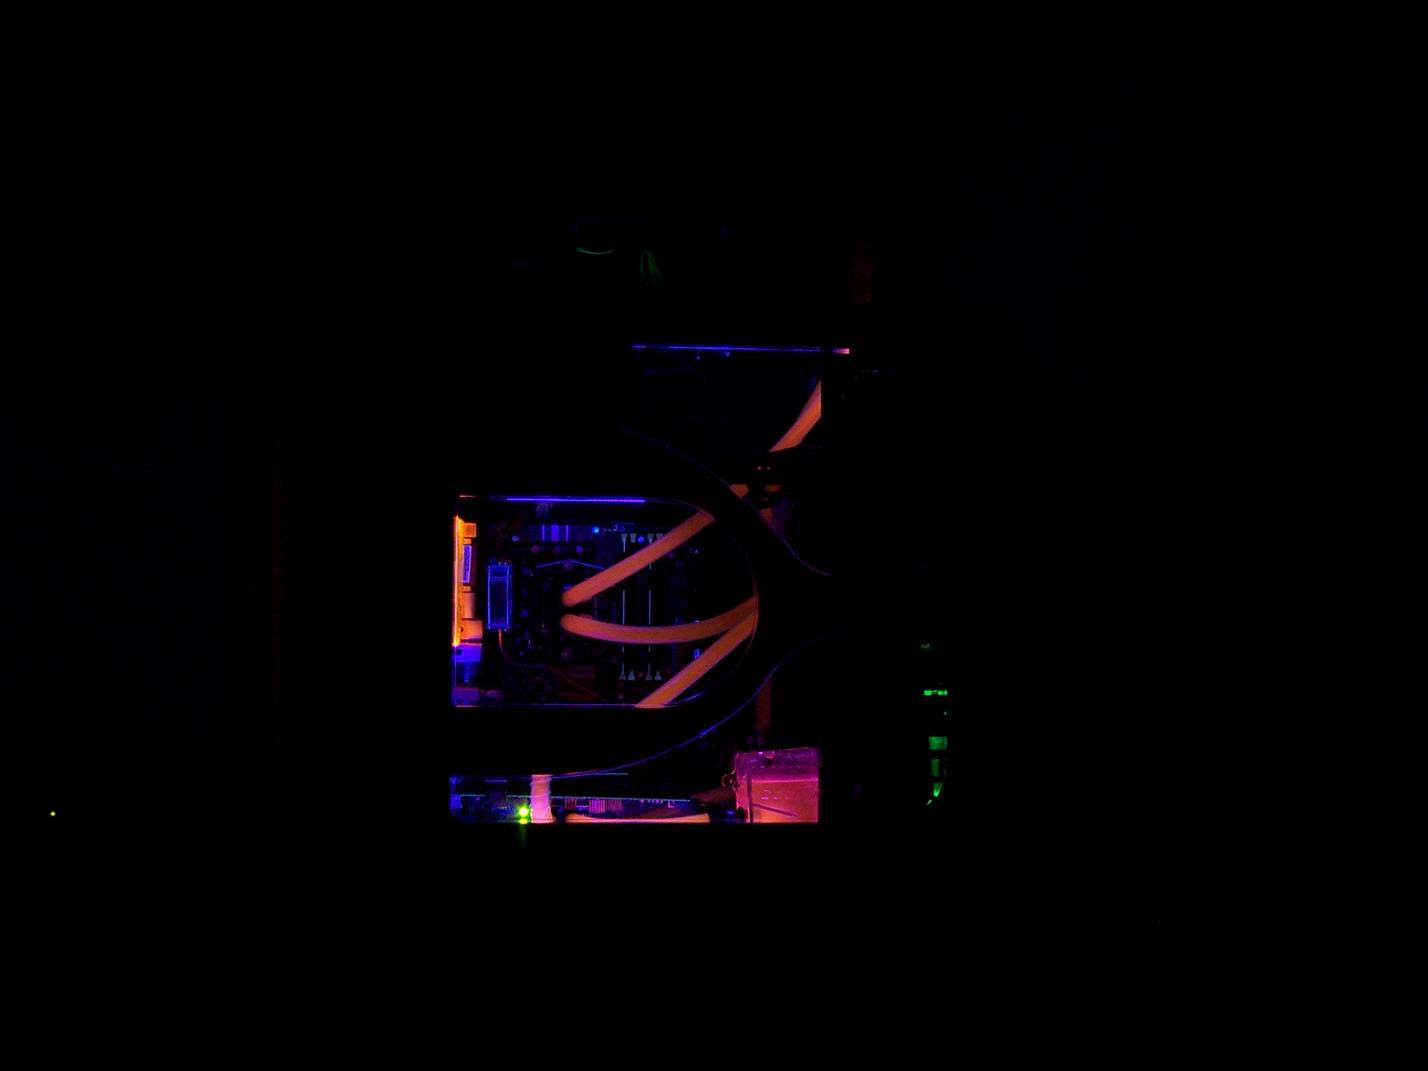
Heres the inside. What a rats nest!

Build-Up
New Case:
The Thermaltake Armor case was nearly a no-brainer. Great case for modding and water cooling. The entire front section can be opened up giving lots of possibilities. The case is a little deeper than most full towers, giving plenty of room in front of the motherboard. The CM Stacker is a good alternative.
Radiator:
The Armor LCS uses a 2x120 radiator up front. I decided to do the same thing but preferred to get my own WC parts. I chose the DangerDen Black Ice Extreme II. This radiator fits perfectly in the front of the case and still leaves 5 bays free.
Mounting the Radiator:
I decided I needed to be able to remove the radiator easily during the fill & bleed process to get all of the air out. I wanted it mounted without any hardware and wanted to be able to pull it out the front and re-install easily. I found by adding weatherstripping to each side, it would fit tight, but could be removed easily. The weatherstripping I used was closed-cell foam-rubber 3/8 tall by ¾ wide from Ace Hardware. I cut slits along the right side to accommodate horizontal metal tabs in the case.

And installed:

Fans:
This radiator likes high CFM fans to perform best. I chose to use the Thermaktake thunderblade fans (2000 RPM, 78 CFM) and mount for in a push-pull arrangement. Found 4 very cheap fans which were gutted and used as shrouds. This was cheaper than buying shrouds, and easier than making them. So after the test fit, I installed 4 fans and 4 shrouds. This set-up moves a lot of air at full speed.

And the final fit and power test:


Fan Control:
All these fans need throttling and temp gauges to optimize the air flow. After installing the radiator, I tackled the fans and fan cable management. To control the fans I choose a Sunbeam RheoBus controller. This provides control from off to full on. I never found a fan controller with temperature monitors I liked.
So I choose separate thermal monitors.

I needed a controller that would handle at least 10 watts per channel since I wanted to combine the front two and rear two using 2 channels. The rear fans are on the other two channels. All cables are sleeved and routed to the right side behind the bays.
Prototyping
Whats wrong with this picture?

Being my first foray into water cooling, I decided to build the entire system in the case but without the motherboard or most other electronics. So I printed a full scale photo of the motherboard and taped it to a cardboard rectangle the right size. Then hot-melt glued cardboard VGA cards and mounted it into the case. Ill add the real parts once it is filled, bled and tested.
Thats it for Part 1.
Next time: Installing a reservoir so I can monitor the water level and top-off without removing the PC from the desk. I should also be looking at installing the thermal monitors and lighting controls. All the remaining parts should arrive this week so I can finish over the weekend - unless I change my mind again on something.
Cheers
-- Rev
Goals:
- Replace my dull and uninteresting PC case with the last chassis Ill ever buy. I wanted something large, configurable and mod-able.
- Water cool the CPU just for sport.
- Overclock an AMD Athlon X2 4200 (2.2 GHz) to 2.8 -3.0 GHz. This should tie me over for a year or so while the market shifts with new quad CPUs coming in.
- Do a decent job of cable management for once.
What Im starting with:
Heres the current computer. Boring case. Wife broke the door off. To fix the door Ive decided to get a whole new case and water-cooling set up. Good excuse?
One factor is the design of the water cooled set-up is that the case will be inserted into the desk shelf, so I wont be able to see inside the case. And dragging the case out is a royal PITA. I dont want to drag it out to check the water level or top-off.
I have thought about cutting holes in the desk on the left side so I can see in the case. And probably will do this. But still dont want to pull out the case to check the water or top-off.
I typically build a new computer once every 3 years or so, but Ive never paid much attention to cable management. This time I will, even though I cant see in the case most of the time.
Heres the inside. What a rats nest!
Build-Up
New Case:
The Thermaltake Armor case was nearly a no-brainer. Great case for modding and water cooling. The entire front section can be opened up giving lots of possibilities. The case is a little deeper than most full towers, giving plenty of room in front of the motherboard. The CM Stacker is a good alternative.
Radiator:
The Armor LCS uses a 2x120 radiator up front. I decided to do the same thing but preferred to get my own WC parts. I chose the DangerDen Black Ice Extreme II. This radiator fits perfectly in the front of the case and still leaves 5 bays free.
Mounting the Radiator:
I decided I needed to be able to remove the radiator easily during the fill & bleed process to get all of the air out. I wanted it mounted without any hardware and wanted to be able to pull it out the front and re-install easily. I found by adding weatherstripping to each side, it would fit tight, but could be removed easily. The weatherstripping I used was closed-cell foam-rubber 3/8 tall by ¾ wide from Ace Hardware. I cut slits along the right side to accommodate horizontal metal tabs in the case.
And installed:
Fans:
This radiator likes high CFM fans to perform best. I chose to use the Thermaktake thunderblade fans (2000 RPM, 78 CFM) and mount for in a push-pull arrangement. Found 4 very cheap fans which were gutted and used as shrouds. This was cheaper than buying shrouds, and easier than making them. So after the test fit, I installed 4 fans and 4 shrouds. This set-up moves a lot of air at full speed.
And the final fit and power test:
Fan Control:
All these fans need throttling and temp gauges to optimize the air flow. After installing the radiator, I tackled the fans and fan cable management. To control the fans I choose a Sunbeam RheoBus controller. This provides control from off to full on. I never found a fan controller with temperature monitors I liked.
So I choose separate thermal monitors.
I needed a controller that would handle at least 10 watts per channel since I wanted to combine the front two and rear two using 2 channels. The rear fans are on the other two channels. All cables are sleeved and routed to the right side behind the bays.
Prototyping
Whats wrong with this picture?
Being my first foray into water cooling, I decided to build the entire system in the case but without the motherboard or most other electronics. So I printed a full scale photo of the motherboard and taped it to a cardboard rectangle the right size. Then hot-melt glued cardboard VGA cards and mounted it into the case. Ill add the real parts once it is filled, bled and tested.
Thats it for Part 1.
Next time: Installing a reservoir so I can monitor the water level and top-off without removing the PC from the desk. I should also be looking at installing the thermal monitors and lighting controls. All the remaining parts should arrive this week so I can finish over the weekend - unless I change my mind again on something.
Cheers
-- Rev
 Why expend all the time and energy for something you never see and don't care about?