A little background on why this started. I had a simple water-cooled setup with a single 120mm RAD cooling my CPU loop only. I was doing great on overclocking an e6300 to around 3.6GHz at the max. Then, my PSU went & I had to go through the RMA process. In waiting, I purchased another one to get me up & running. Newegg just discounted the $$ of the PSU and I moved forward. Well, I knew that the replacement PSU wasn't going to allow me to OC w/o any problems. I had to get a new PSU that was a bit "future-proof", so what could I do. I also wanted to step up to an e6600, so I went & put it on the damned card  . I'm a little strapped for cash, but I had a really good CPU that I ended up trading for the Fortran 700W in my sig... Well, I put that all together, start my attempt to see how far I can take this CPU & whammo, my VGA goes..
During that whole mess, I learned that my single 120mm RAD with a 1500rpm fan wasn't going to be nearly enough to keep the CPU cool, so I had to do something. Then I started reading more & more. I had to come up with a different case, a larger RAD, a better block, ect.... I also was loving the various mod worklogs posted here. There are certainly some talented and creative individuals here! And here I am, ready to start on my first mod.
------------------------------------
My goals for the mod are:
The main components for this project are as follows:
Pics you say (sorry for the focus issue, next pics will be better)?
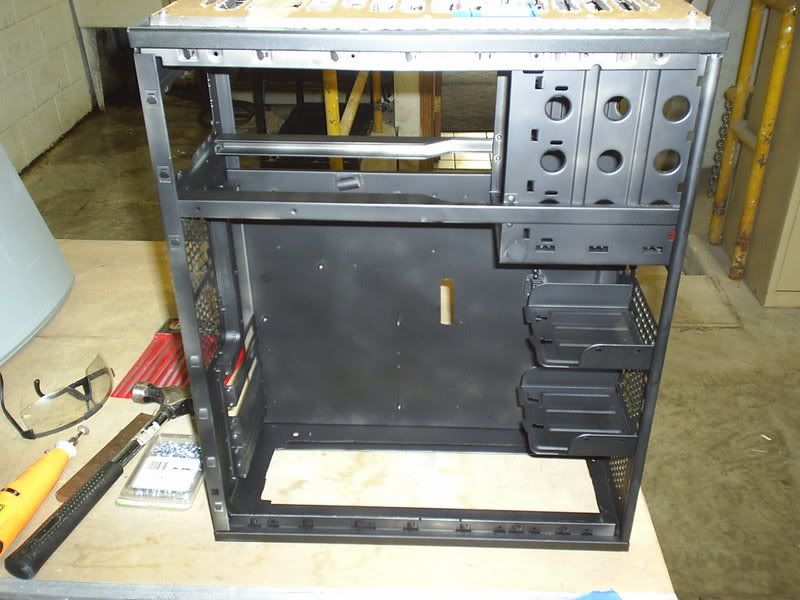
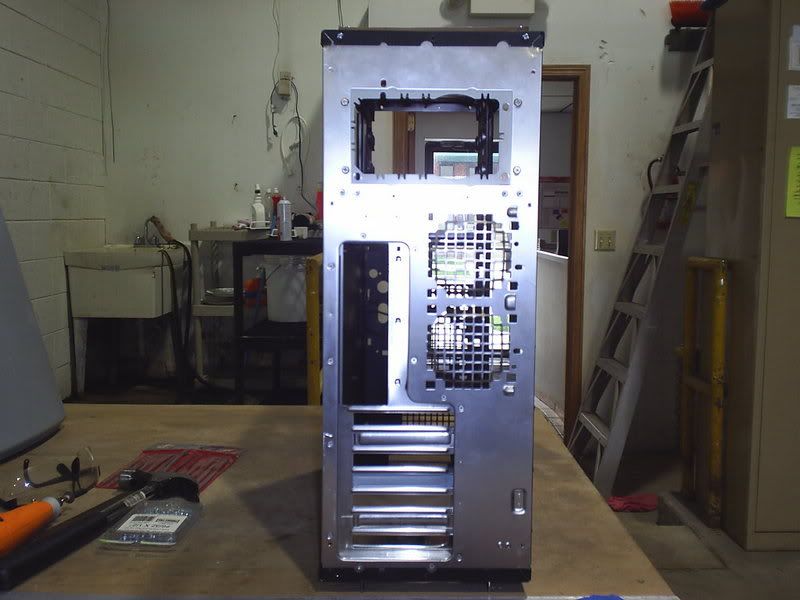
Case Side View
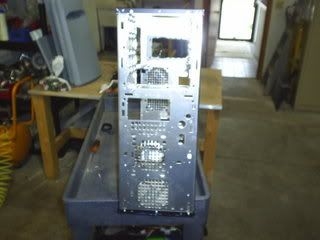
Case Rear View
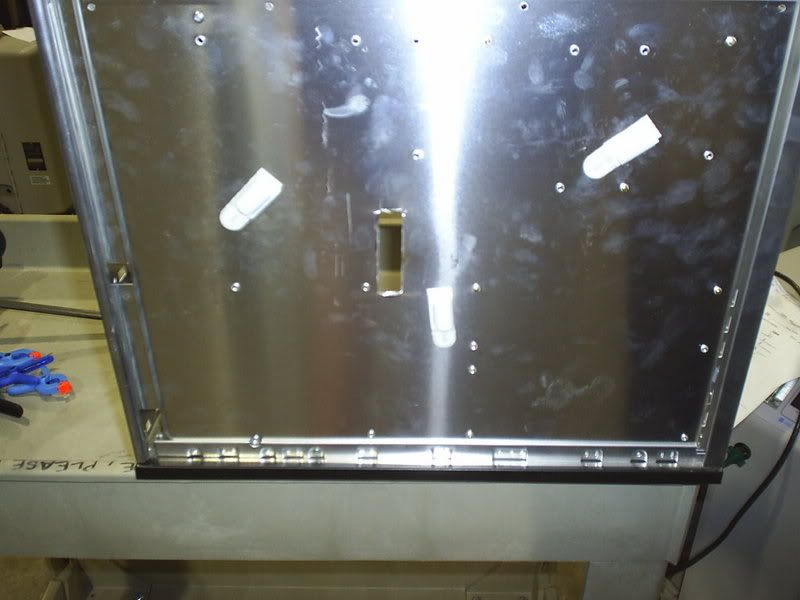
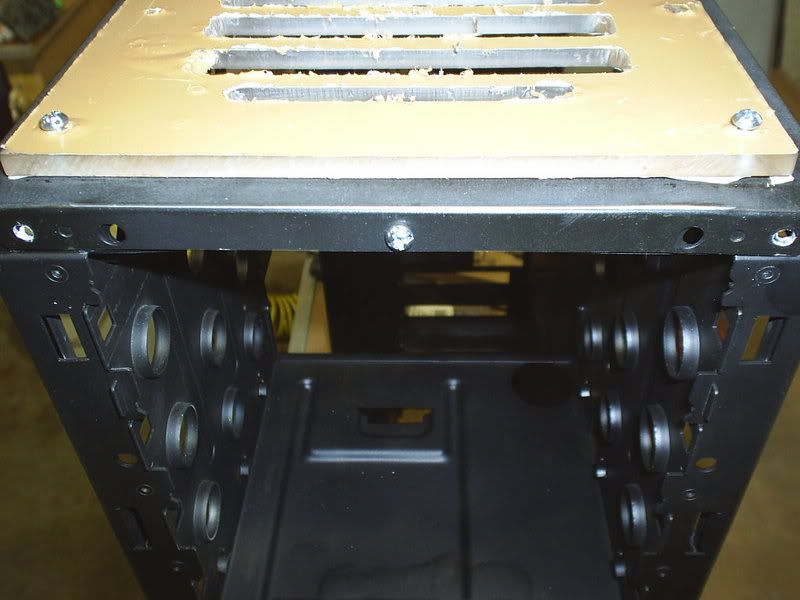
Case Top View
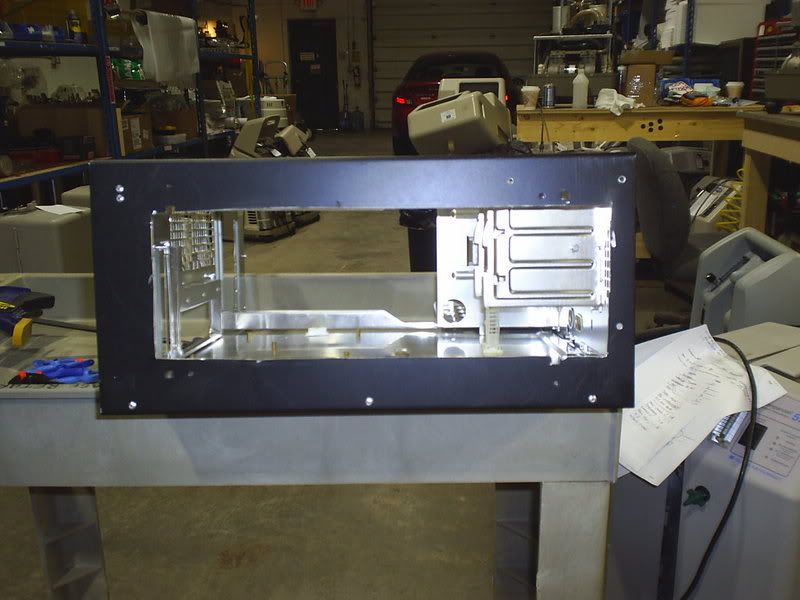
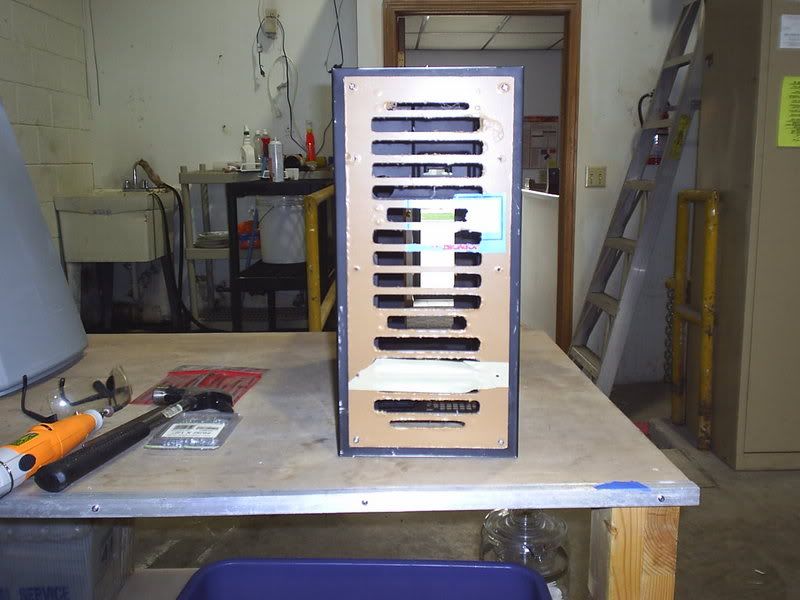
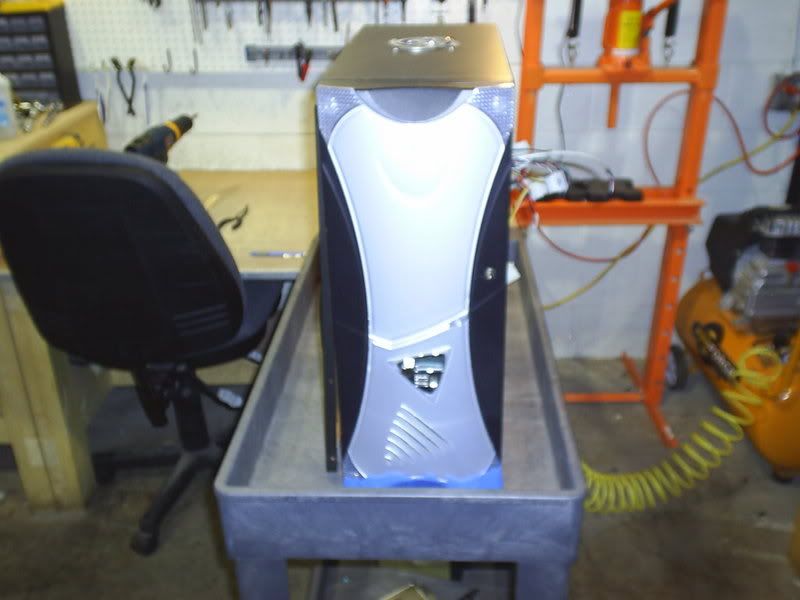
Case Front View (Take note of the USB Panel that I must get rid of)
Here:
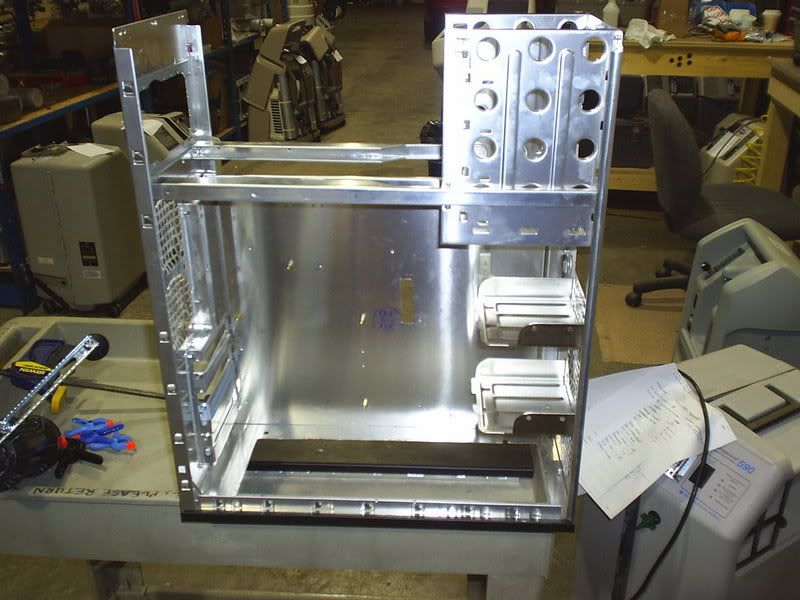
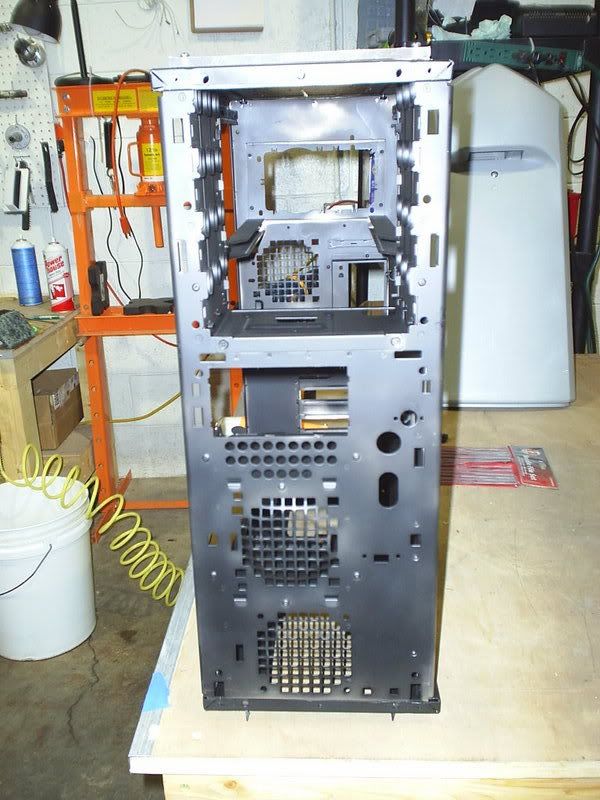
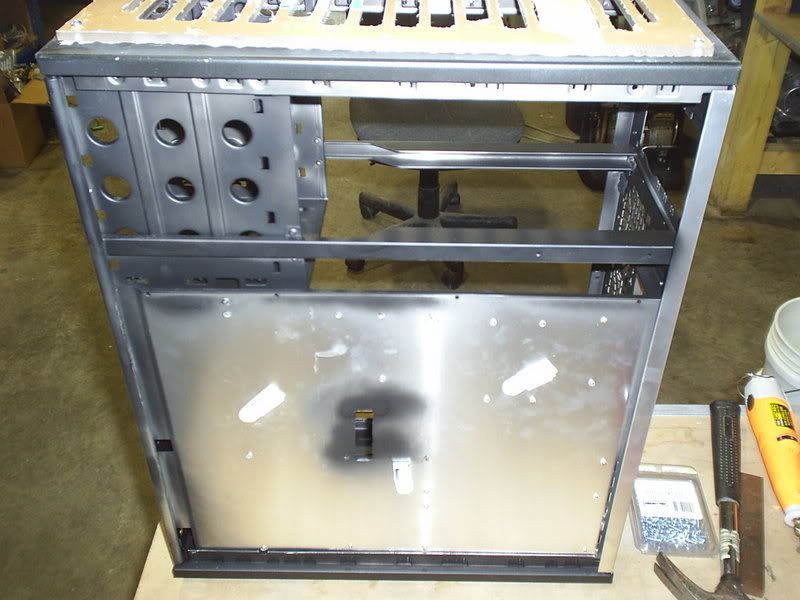
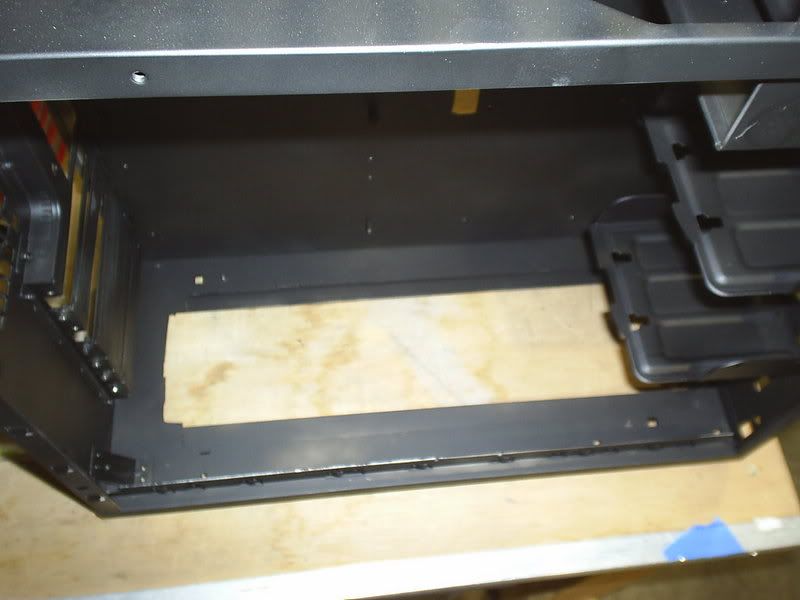
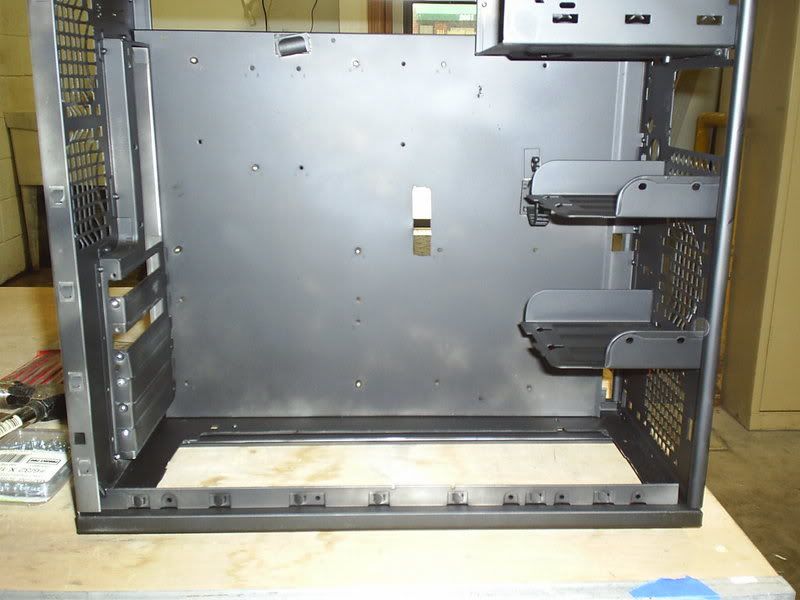
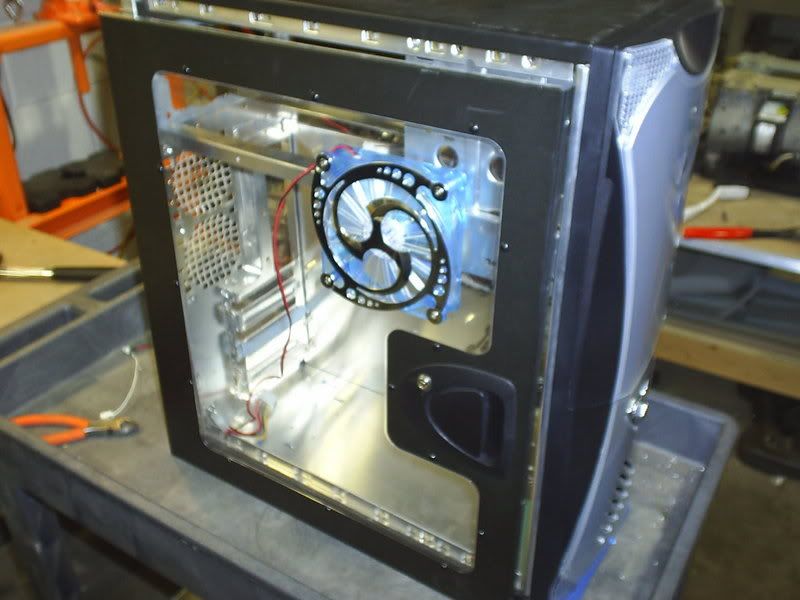
Case Front View Stripped
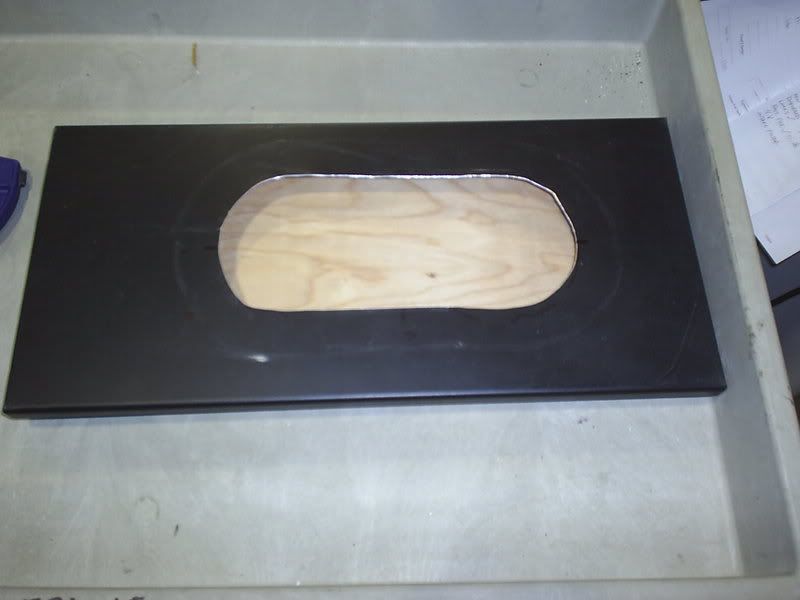
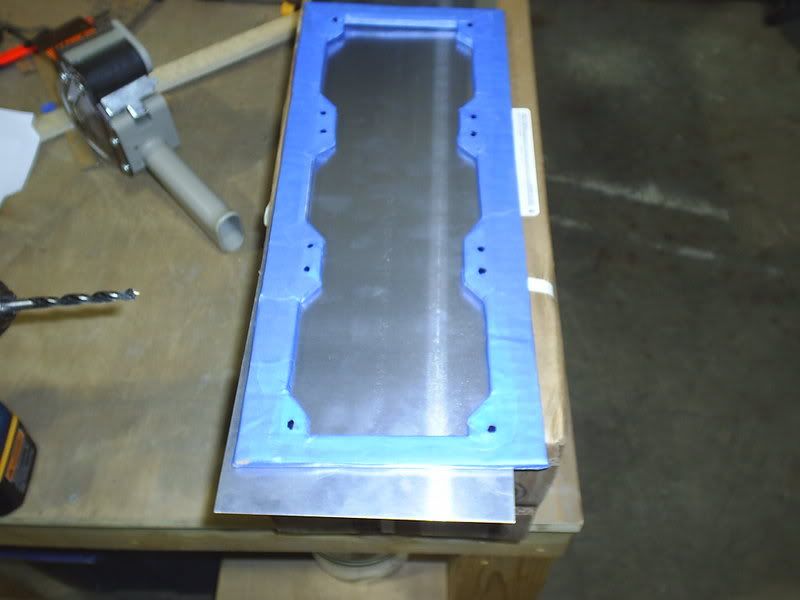
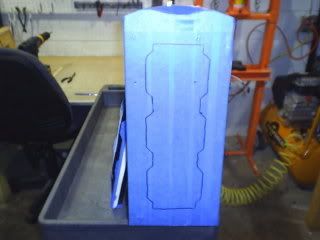
Bottom of Case being prepped for cutting
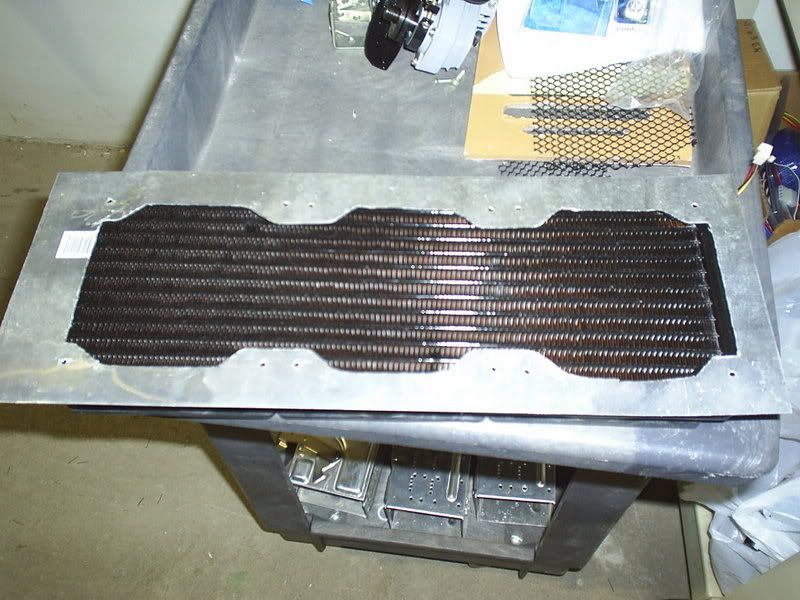
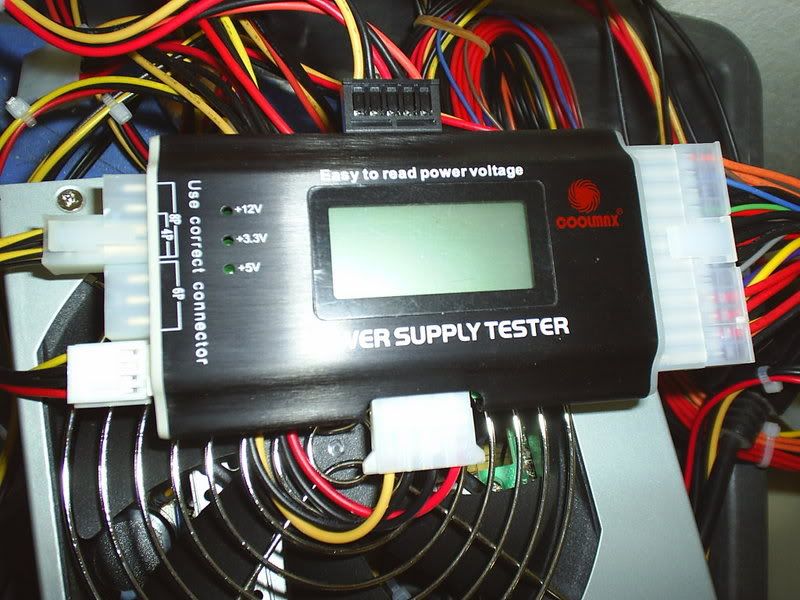
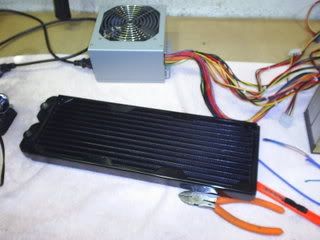
MCR-320 & Bench PSU
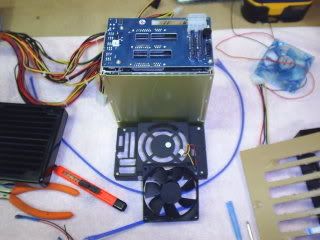
Hot-Swap SATA Enclosure taken apart to change out fan(on it's way)
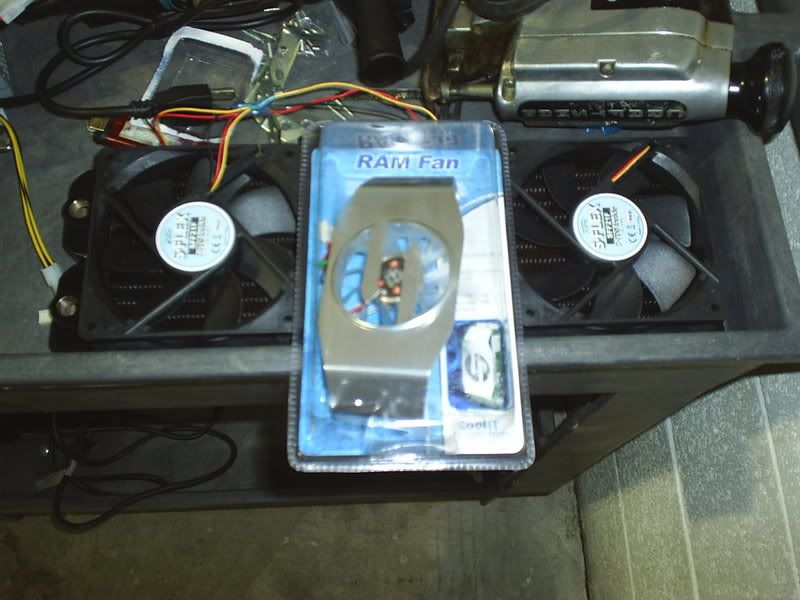
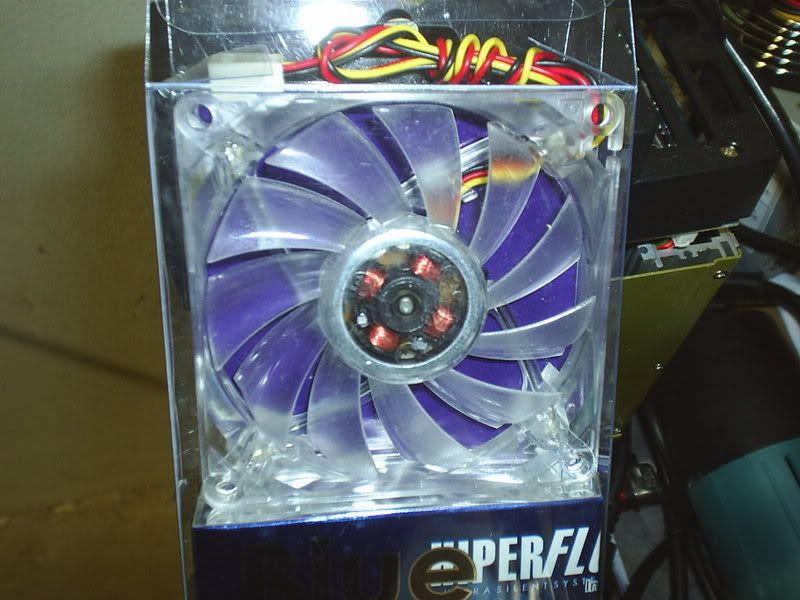
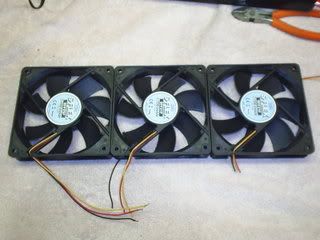
Starting to wire the S-Flex fans for the RAD
Okay, that's enough torturing you with the terrible image quality. Sorry about that!!!
~~~~~~~~~~~~~~~~~~~~~~~~~~~~~~~~~
I'm calling the project "Improvision" because I really need help with ideas from you folks. I'm just guessing right now, but I'll probably end up taking your ideas and improvising because of my lack of experience(and proper tools). I'm not expecting a show winner or anything like that. Frankly, I don't plan on painting it (maybe later). I just want the experience of doing this and learning lots!
Personally the way I'm feeling right now is that I want to just get the PC assembled & running and work on the asthetics over time.
As it stands now (pics will come) the top of the case is off of the frame with a rectangle opening cut in it for 2 fans. Mind you, it's horribly done as the 2 generic Dremel tools I own are incredibly inadequate for this job. Also, the nicely drawn out guide for the RAD opening is a big square opening as well. I got impatient & pulled out the cut-off attachment for my RotoZip.
I lack many proper tools, but I have the will to want to make this work! Any guidance/suggestions/assistance/do it for me would be very welcome
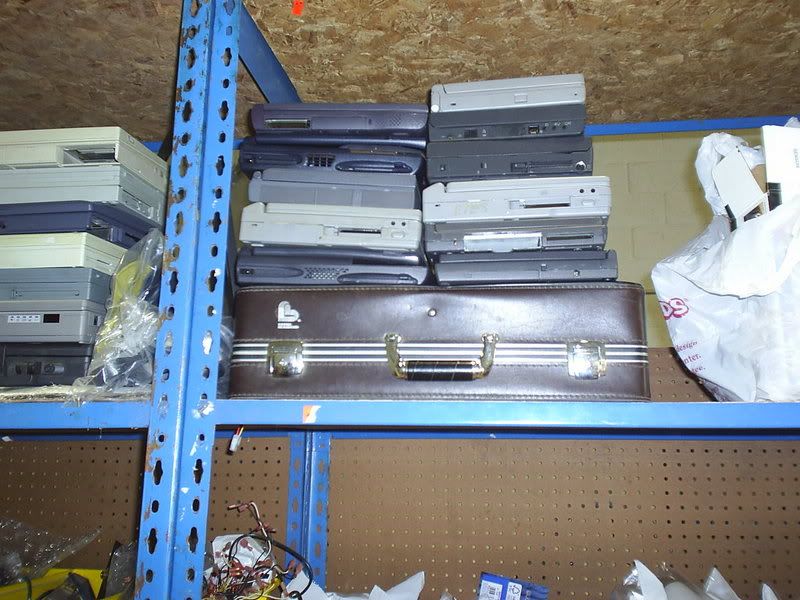
If all is said & down with the current case, I could also utilize the case that currently holds most of the parts mentioned and just start all over. I guess showing my hack-job on the current case would be best.
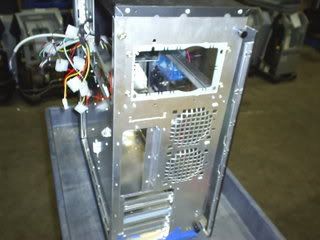
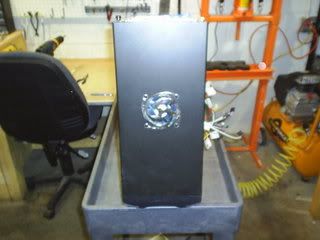
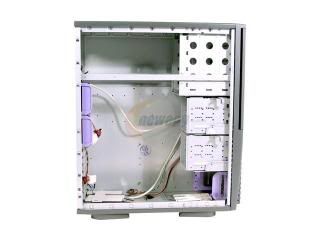
Existing Case:
. I'm a little strapped for cash, but I had a really good CPU that I ended up trading for the Fortran 700W in my sig... Well, I put that all together, start my attempt to see how far I can take this CPU & whammo, my VGA goes.. During that whole mess, I learned that my single 120mm RAD with a 1500rpm fan wasn't going to be nearly enough to keep the CPU cool, so I had to do something. Then I started reading more & more. I had to come up with a different case, a larger RAD, a better block, ect.... I also was loving the various mod worklogs posted here. There are certainly some talented and creative individuals here! And here I am, ready to start on my first mod.
------------------------------------
My goals for the mod are:
- Keep it simple! (I'm a newb without many tools)
- Effectively cool the components to handle 4GHz!!!!!!!!!!
- Keep the interior clean utilizing some of the various methods others have used in their logs (Arcygenical has been a huge inspiration & great teacher )
- Keep down costs by using what I have.
- Lastly, I would like to eventually be able to inspire another individual to do their own modding.
The main components for this project are as follows:
- Intel Core2Duo e6600
- ASUS P5N-E (650i)
- Patriot (2 x 1GB) DDR2 800
- FSP Group (Fortron) FX Series FX700-GLN-E 700W Power Supply
- APEVIA X-Navigator ATXA8NW-AL Case
- eVGA GeForce 7600GT 256MB GDDR3 PCIe
- 4 x Seagate Barracuda(7200.10) SATA Drives totalling 1.25TB
- AuzenTech XMYSTIQUE7.1 Sound Card
- Innovatek Eheim HPPS Plus 12V WaterPump
- Danger Den TDX CPU block w/flow changing thing-a-ma-bobs
- Swiftech MCR320-QP (3x120mm) Radiator
- Lite-On DVD-RW Drive
- 3 x Scythe S-FLEX SFF21F 120mm Fans for the RAD
- 4 x Rosewill RFA120L-W 120mm 4 White LEDs Fans for the case
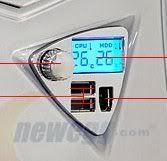
- I've got three possible Fan Controllers/Temp Monitors
- iStarUSA BPU-230SATA Hot-Swappable SATA HDD Enclosure (3 Drives)
- CoolIT SYSTEMS RAM FAN
- Thermaltake CL-C0034 For the Northbridge Chipset
- Old CPU Heatsink/Fan for the Southbridge Chipset
- 2 x Scythe TM02-WH KAMA THERMO Thermometer
- 2 x LOGISYS Computer CLK12BL 12" Cold Cathode kit
- LOGISYS Computer LT405BL Computers Blue LED Acrylic Case Feet
- Lots & lots of Heatshrink Tubing, Wire Loom & Sleeving material
- Some Laser Light thingys I bought from somewhere
- Bunch of bare LEDs of varying sizes with resistors
- Lots of AS5 & Ceramique
- ....... More when I can do inventory & take more pics
Pics you say (sorry for the focus issue, next pics will be better)?
Case Side View
Case Rear View
Case Top View
Case Front View (Take note of the USB Panel that I must get rid of)
Here:
Case Front View Stripped
Bottom of Case being prepped for cutting
MCR-320 & Bench PSU
Hot-Swap SATA Enclosure taken apart to change out fan(on it's way)
Starting to wire the S-Flex fans for the RAD
Okay, that's enough torturing you with the terrible image quality. Sorry about that!!!
~~~~~~~~~~~~~~~~~~~~~~~~~~~~~~~~~
I'm calling the project "Improvision" because I really need help with ideas from you folks. I'm just guessing right now, but I'll probably end up taking your ideas and improvising because of my lack of experience(and proper tools). I'm not expecting a show winner or anything like that. Frankly, I don't plan on painting it (maybe later). I just want the experience of doing this and learning lots!
Personally the way I'm feeling right now is that I want to just get the PC assembled & running and work on the asthetics over time.
As it stands now (pics will come) the top of the case is off of the frame with a rectangle opening cut in it for 2 fans. Mind you, it's horribly done as the 2 generic Dremel tools I own are incredibly inadequate for this job. Also, the nicely drawn out guide for the RAD opening is a big square opening as well. I got impatient & pulled out the cut-off attachment for my RotoZip.
I lack many proper tools, but I have the will to want to make this work! Any guidance/suggestions/assistance/do it for me would be very welcome
If all is said & down with the current case, I could also utilize the case that currently holds most of the parts mentioned and just start all over. I guess showing my hack-job on the current case would be best.
Existing Case: