Project: Iced Cube

michaLcoughliN

[H]ard|Gawd
Joined
Jan 13, 2007
Messages
1,163
I finally go started on my mod. I will hopefully be done this mod within the next 2 months.
But here are some pics to get you started.

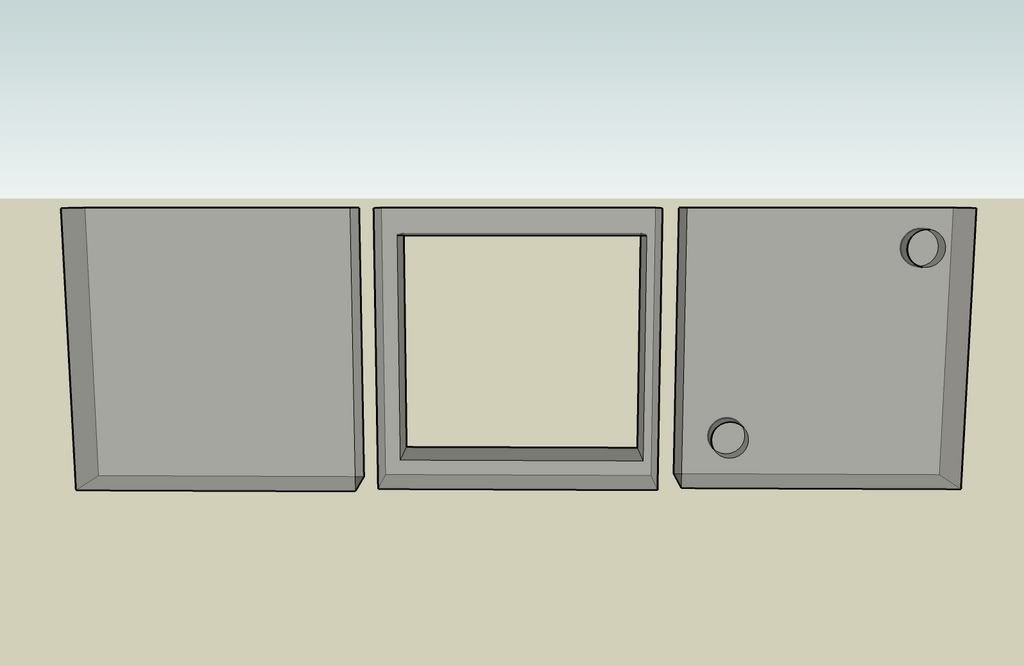
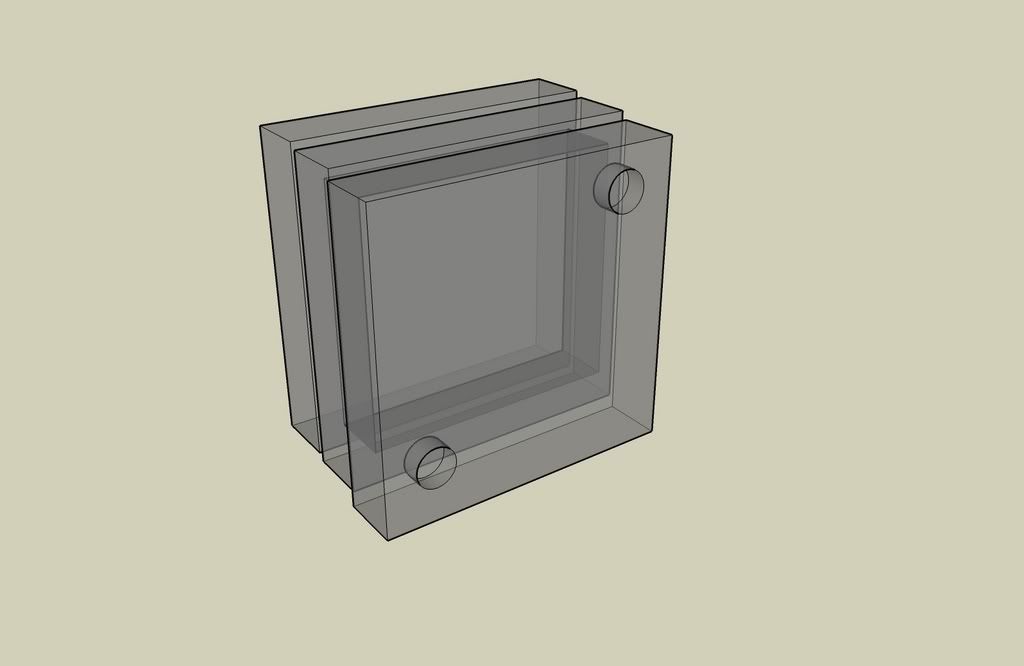
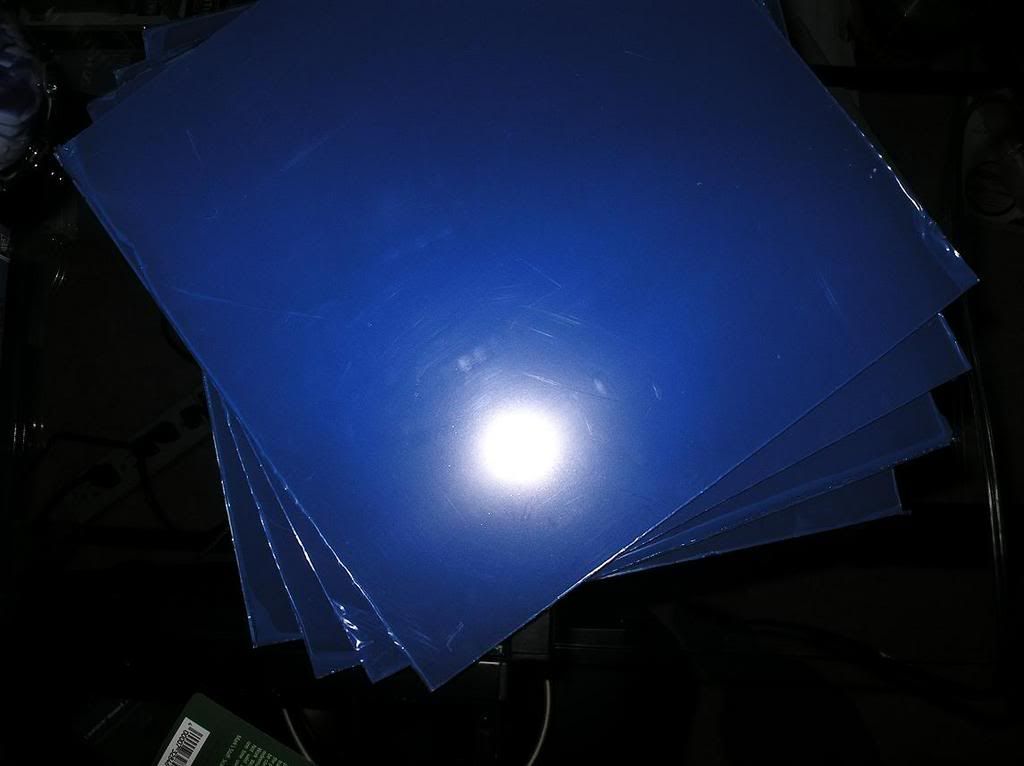
A basic cube design made from acrylic. making it 12x12 sheets by 1/4 thickness
Here are some pics.
The acrylic has been scored part 1
IMGP0799.jpg

making sure measurements are perfecto :)
IMGP0809.jpg

Part 2 making the acrylic into a 12x12 sheet.. scoring once more
IMGP0805.jpg

Now the 12x12 sheets x 8(sheets)
IMGP0812.jpg


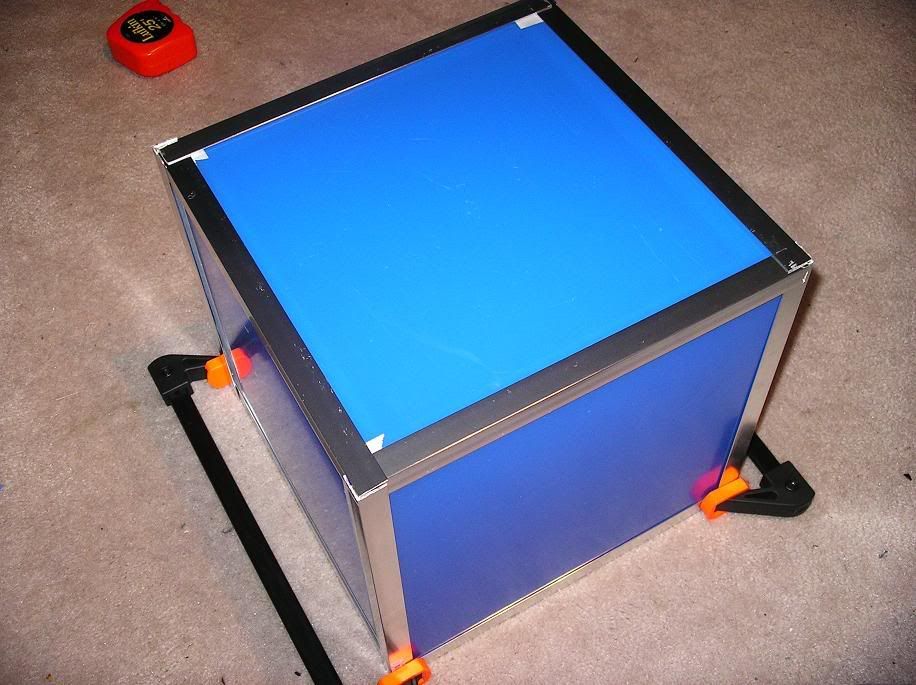
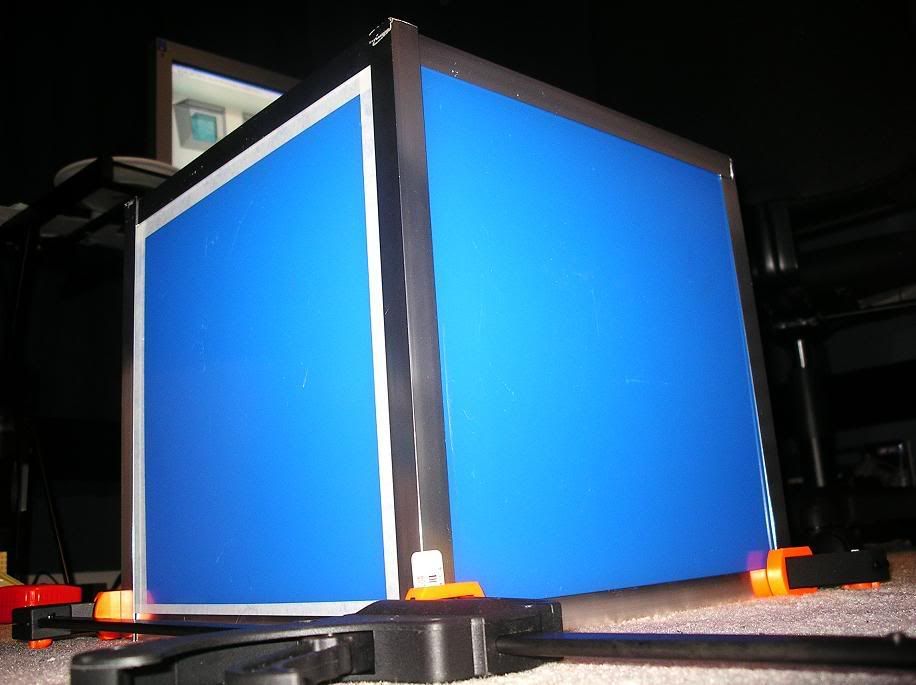
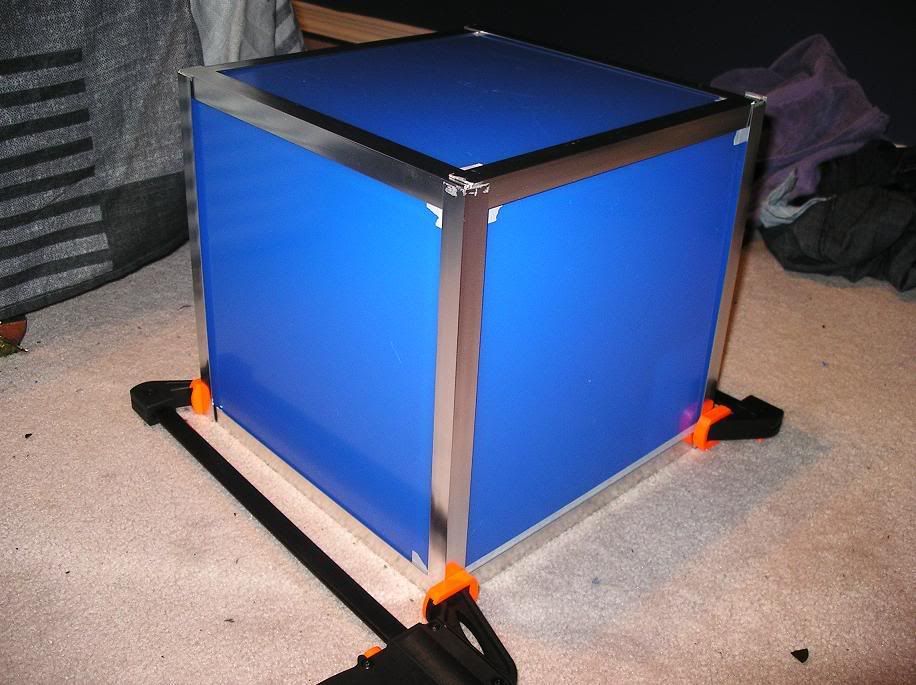
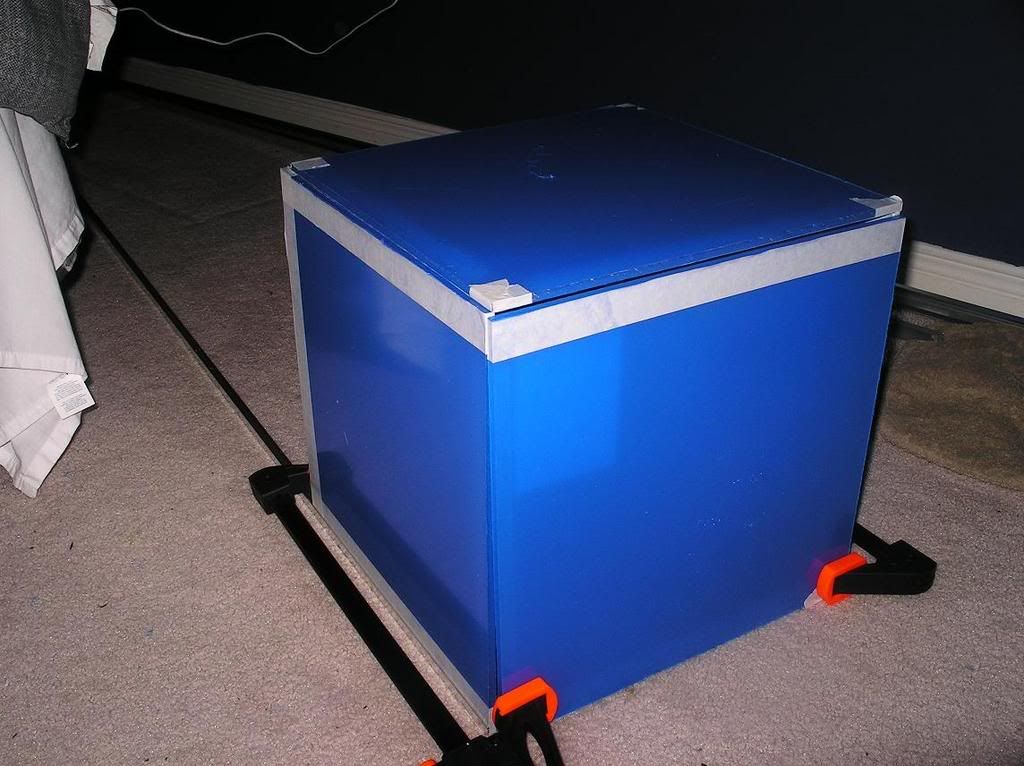
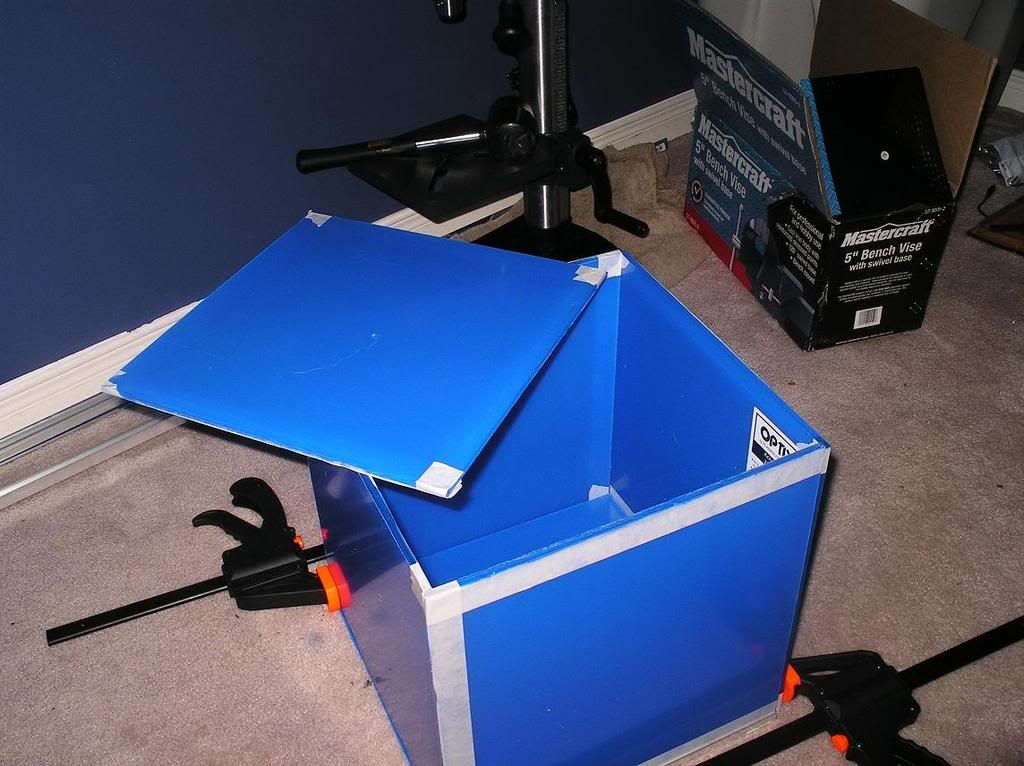
Just setting it up to see what it will look like
IMGP0817.jpg

IMGP0823.jpg

IMGP0821.jpg


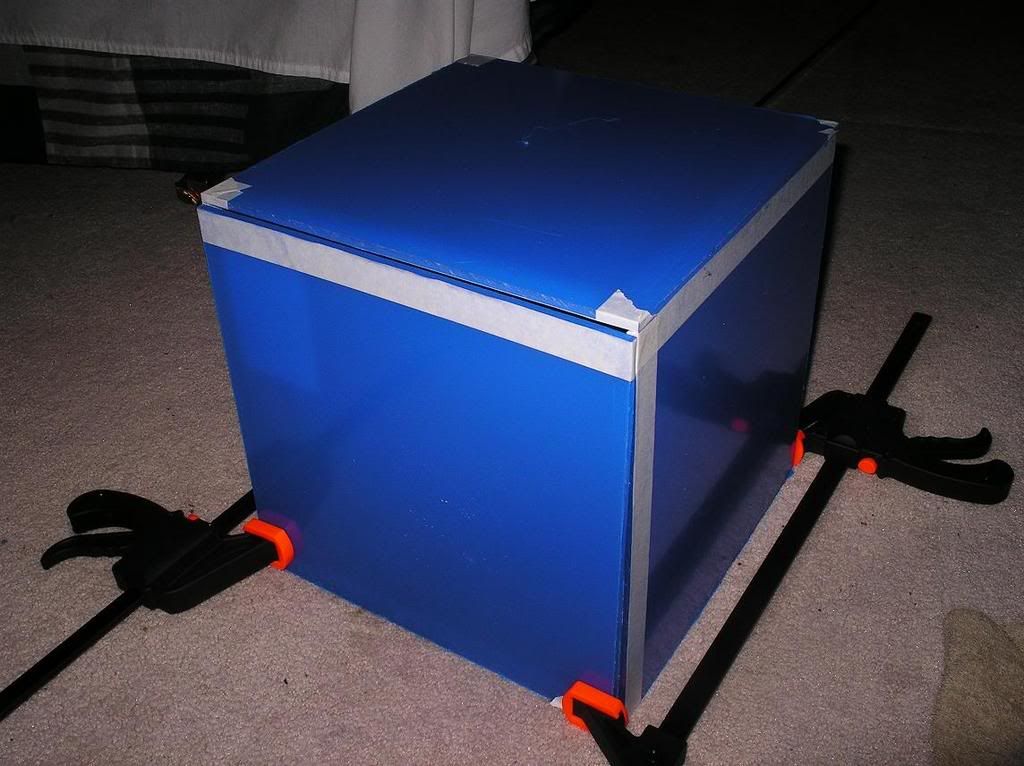
I will be using L brackets alongst the part where the plexi meets up. all way round. So home depot sells them in 8 ft pieces..had to cut and then sand down the rough edges with good old dremel + drum bit
IMGP0831.jpg

IMGP0829.jpg


A total of 12 pieces
IMGP0859.jpg

IMGP0860.jpg
Completed task..

That is all for now more to come later on :) Keep tuned [H] forum
 
Looks like it'll be a fun project, keep us updated.

And don't let anyone discourage you. It's a pretty ambitious project to build a case from scratch, I've yet to do so... but then I don't really have the time for it.

As long as you enjoy the process and are happy with the result, that's all that matters. Oh, and pics posted along the way for the rest of us. :)
 
Is the acrylic frosted? or is that just a protector on the acrylic. Considering you have just started, I am really curious to see how it will end out.

Is this thing going to be aircooled?
 
I hope Arcygenical because we are buddies over MSN.. ?? lol but

Anyways thanks for the imput guys. This is my First mod. And the blue is just the outter protection. Its 1/4 thick clear acrylic. Im doing this for fun, and hope it turns out well. Its only been 1 day that its been worked on and more to come.

I am probably going to be going to a watercooling setup. Hoping on upgrading current system with a P5B Deluxe motherboard, to replace my P5B-E and Buying a new PSU. The rest will stay the same until price drops on the 8800GTX's.

This is what I will be using for sleeving and watercooling
IMGP0696.jpg


NOTICE: This is Hydraulic hose. Rated for 1000 WP (water pressure) notice how its rubber insulated. ;) And Yes.. It is Braided steel on the outter shell :)
 
So my next step is making the Res.. its going to be something like this
AutoSave_ComputerCasedesign1.jpg


im using one of my side panels and using 3 sheets of plexiglass and using some good adhesive to bond them together. I will be using good old TAP set to make the holes for my fittings..

AutoSave_ComputerCasedesign2.jpg
 
hmm thats a very unquie idea, im looking forward to seeing what it turns out like, should be very nice.
 
Bwahaha. michaLcoughliN and I have been planning this mod over MSN for the last month or so.

It's lookin good, Im glad you chose to stick with the smaller form factor :)
 
Interesting... keep it going. I especially like threads with clear photographs. Although, you might want to make them a little smaller. I see you're using SketchUp to plan out your rez, smart.
 
I need a little help with some products here.

I need a good acrylic abhesive that will be fail proof with water. I dont want this to leak.

So does anyone know of any good acrylic epoxy ? thanks
 
what you are lookng for is Weld-On.

Weld-On 3 has the consistancy of water, it is great for joining 2 pieces with no gaps, dries pretty fast and will seep into joins.

weld-on 16 has the consistancy of maple syrup, dries much slower but if there is a slight gap (very slight) the weldon16 will help to fill and seal those gaps. you can also basicly make weld on 16 by mixing weld on 3 with some shavings of acylic. this is helpful for coloring...

there is also a 2 part weld on, i cant remember the number off the top of my head, but this is used for more major gaps, it actually forms acrylic into spaces and bonds the 2 pieces together. i wouldnt trust this for a water tight seal though...

EDIT: after looking at the diagram above, what you are looking for is weld on 3, i did something like this and it came out perfect using weld on 3 and the 'dip' method.
 
Hello all. Sorry for the delay on the case mod. Honestly, I've been tryin to get a hold of parts / ideas really. Hardware also has been a great trouble deciding what I']m going to use and so on.
The only updates I have for you now is my bracket's that I will be using to hold the case together. As soon as my Weldon4 arrives the Res will be in progress.
Here are some pics of what It looks like now.

IMGP1143.jpg
.
IMGP1140.jpg

IMGP1138.jpg


The next steps are Drilling and adding hardware to hold the case together. Then dis-assembly and then some cutting. :) after that the resevoir :) ohh la la :D
 
Are you planning on doing any more cuts on the L brackets?

Would look nice with some cuts so they fit together neatly rather than all the overlap.
Just curious.

Otherwise nice work so far.
 
Have you thought of what your going to do to make one of the sides removable for mobo access? I too am deciding on what to do on that front. Looking good. I also second the cuts on the L brackets.
 
Yes im defintaly wanting to do more cuts on the brackets. Im glad you guys gave that imput, I was debating on it. Orrrrr I was going to take it to work and have it Tig welded lol but thats too much trouble. Honestly. im using a chopsaw. and it cuts it like butter. Spend more of the time sanding them :p But yes. defintaly making more cuts :)

And :Arcygenical aka Roryyy lol. I know I change my mind so much. I might be doing a smaller cube inside ;) who knows . My mind changes too quickly, actually too many ideas.

Stay tuned. (waiting for weldon4 to arive)
 
Back
Top