• Some users have recently had their accounts hijacked. It seems that the now defunct EVGA forums might have compromised your password there and seems many are using the same PW here. We would suggest you UPDATE YOUR PASSWORD and TURN ON 2FA for your account here to further secure it. None of the compromised accounts had 2FA turned on.
    Once you have enabled 2FA, your account will be updated soon to show a badge, letting other members know that you use 2FA to protect your account. This should be beneficial for everyone that uses FSFT.

Project Gemini - Double HTPC build

Noblesoft

Limp Gawd
Joined
Mar 10, 2007
Messages
160
Hello everyone! :D

I wasn't going to bother with a build log on this, since it's going to be a relatively quick build... but I figured "aw, what the heck... might as well share in case anyone else is looking to do something similar..." I spent a reasonable amount of time figuring out all the parts I wanted to use, so maybe it will help someone else out down the line. ;)

Anyway, as the title indicates, this is an HTPC build... or rather... it's TWO HTPC builds! One for me, and one for a friend! There are a few goals for the project, namely:

1) Cool and quiet, because it will be in the living room.
2) Discrete and sleek. Modern looking, so that it will match other home audio equipment and such.
3) Powerful, and able to handle just about anything that can be thrown at it.

Beyond those three key items, each of the two "Gemini" systems will have it's own unique flavor to it:

One is more geared towards gaming, and more specifically emulation. My friend is a fan of the Super Nintendo era, and while he likes keeping all of his old systems around for nostalgia, they are starting to die on him. This system will serve as a replacement for all his legacy game systems, and maybe for a few game systems to come.

The other is more of a "true" HTPC, and will handle live TV, recording movies, etc.

I've already ordered all of the parts, and most of them are already here! :)
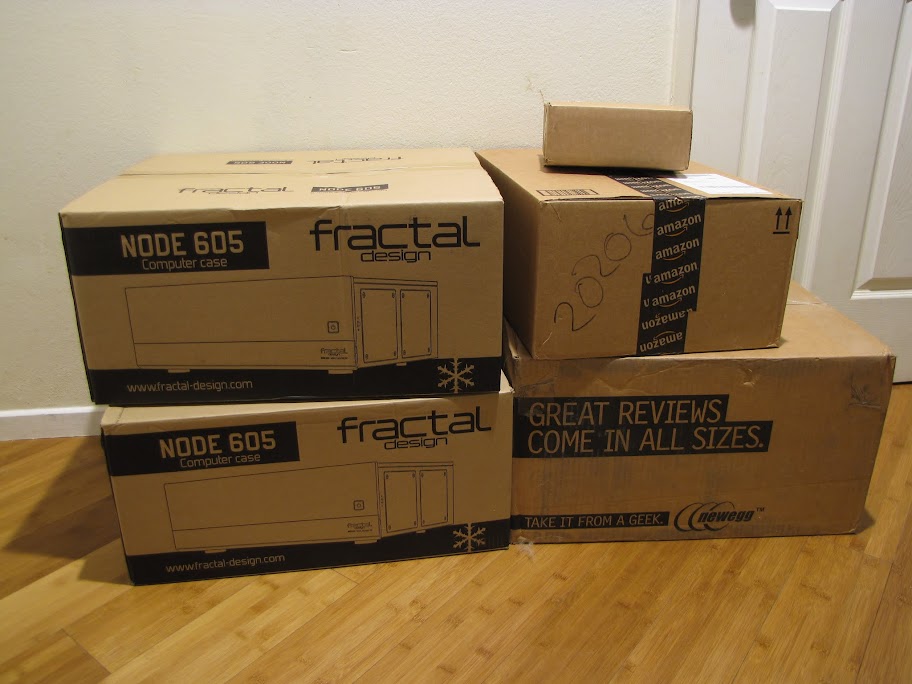
IMG_2833.JPG


The components for this system will be:

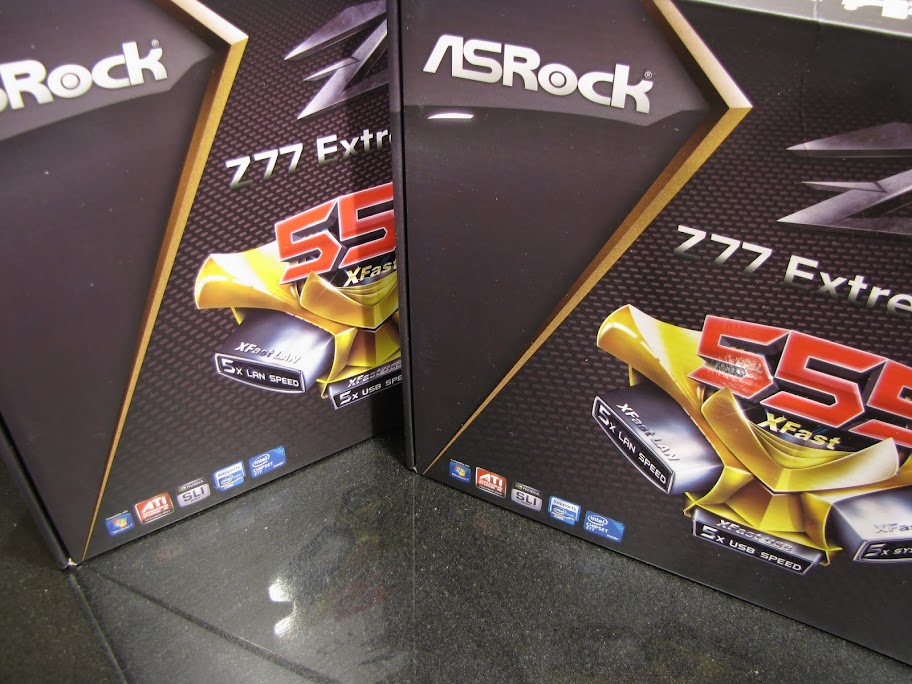
Motherboard: ASrock Z77 Extreme4-m
Processor: Intel Core i5 3570k
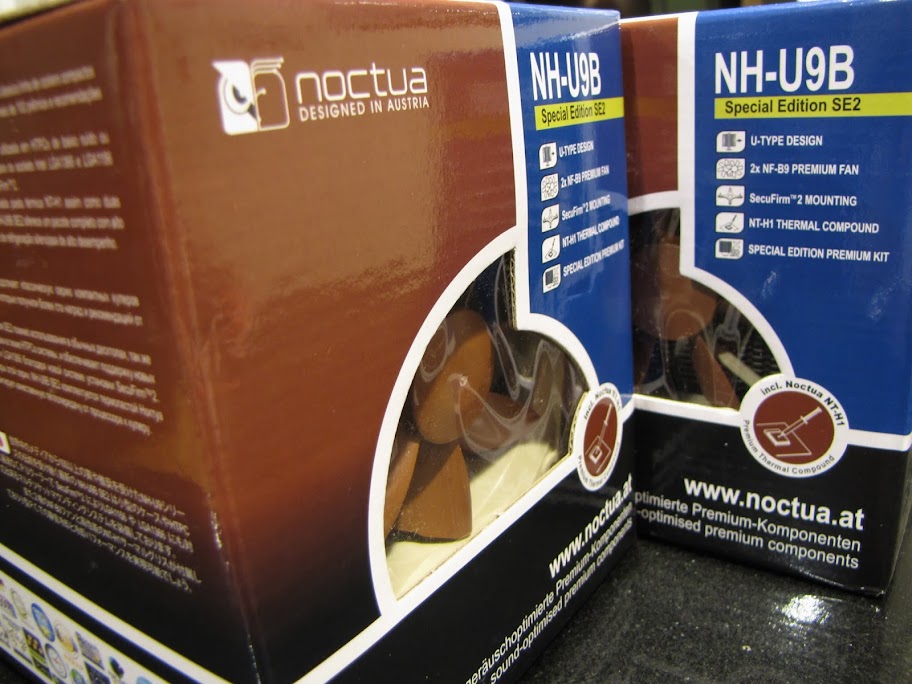
CPU Cooler: Noctua NH-U9B
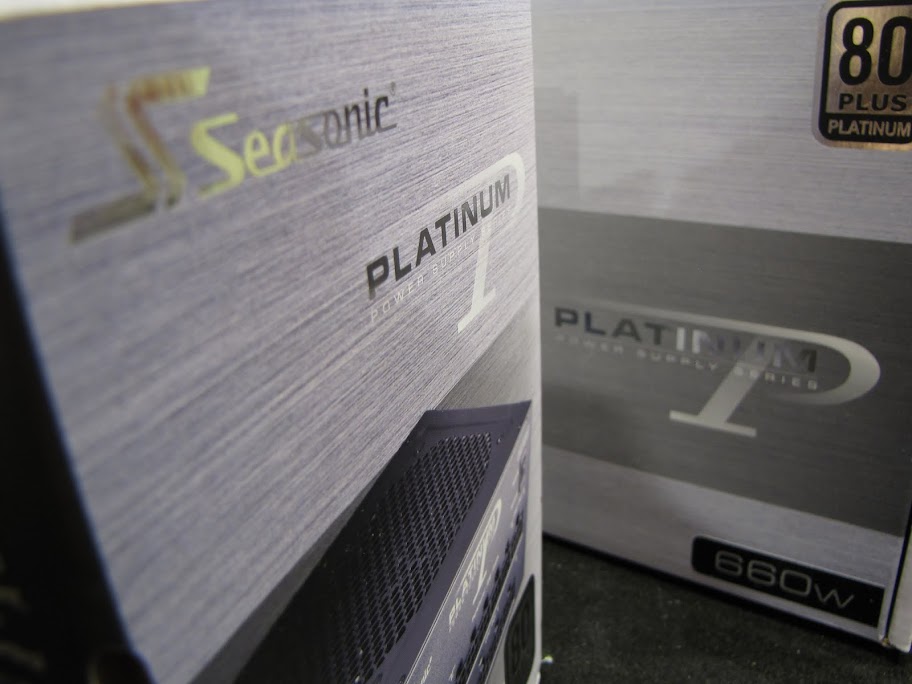
Power Supply: Seasonic SS-660XP
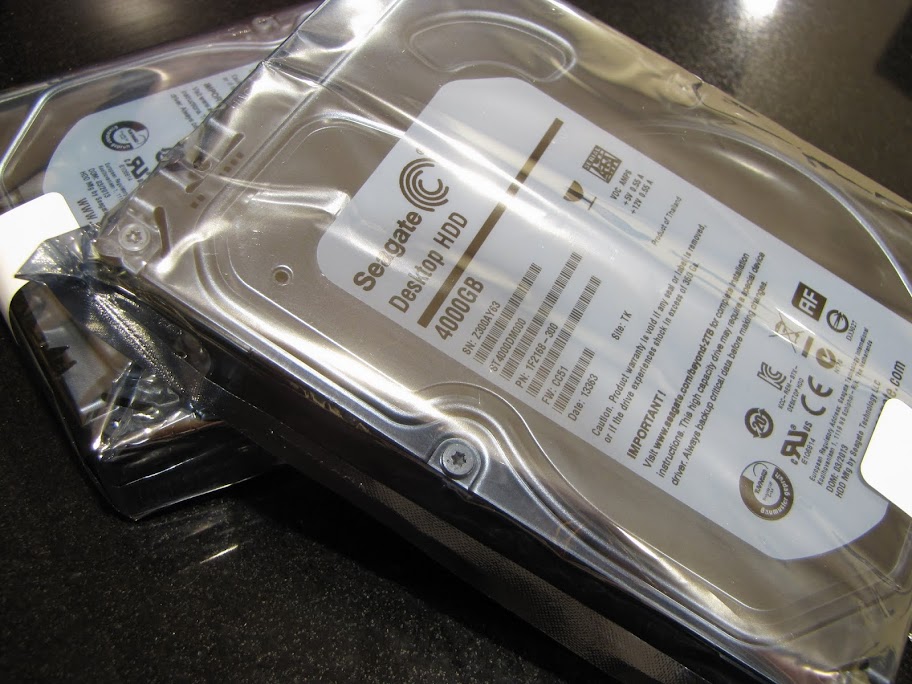
Hard Drives: Intel 520 series 240GB x2 (RAID 1) and Seagate 4TB x2 (RAID 1)
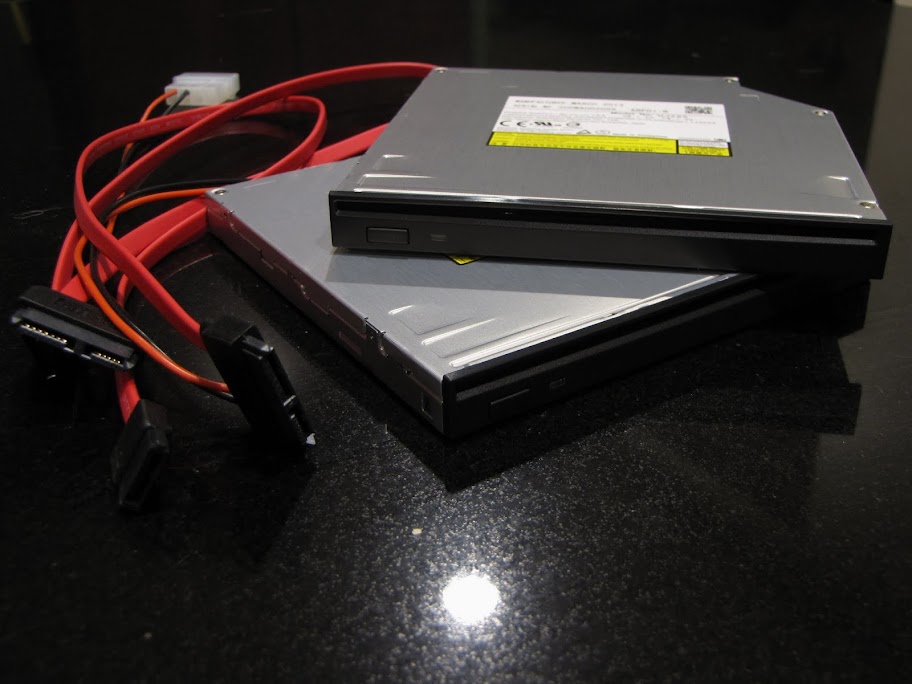
Optical: Panasonic Slot loading Blu-Ray Pan-UJ-265
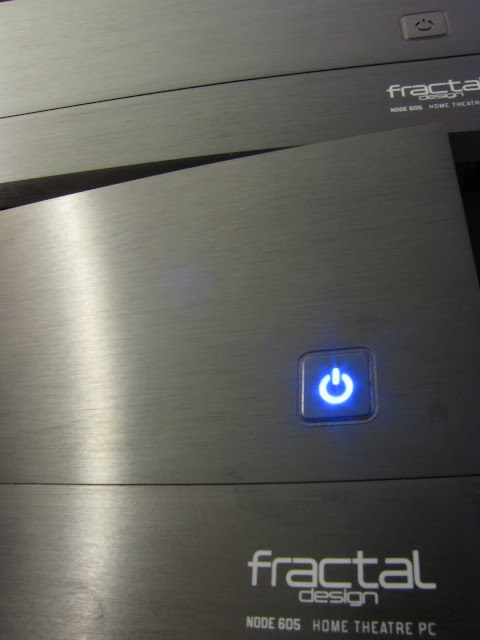
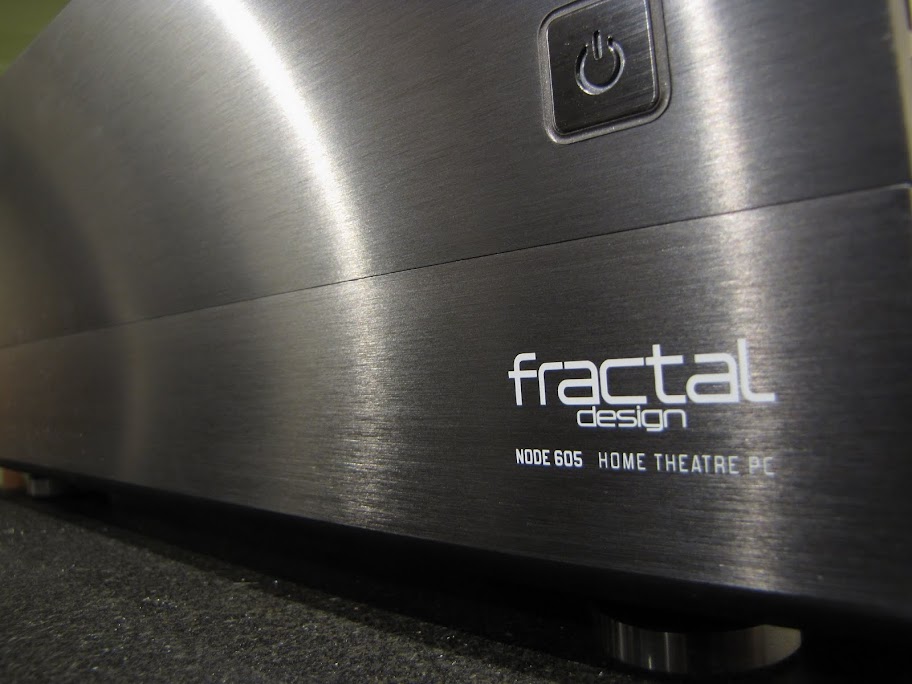
Case: Fractal Design Node 605
TV Card: Ceton InfiniTV4 with CableCARD
Controllers: Logitech Harmony and XBOX 360 for Windows

Finally, to get you started... here are some component pictures. Enjoy!
IMG_2837.JPG


IMG_2839.JPG


IMG_2845.JPG


IMG_2848.JPG


IMG_2854.JPG


IMG_2864.JPG


IMG_2867.JPG


IMG_2790.JPG
 
I like the look of those fractal cases. How many Hdds can you stuff in there?
 
I like the look of those fractal cases. How many Hdds can you stuff in there?

You can technically only mount four... but if you are creative, you can fit five or more. Each of the HDD "hangers" has holes for mounting either two 3.5" or two 2.5" drives... but if you put the 3.5" drives installed inside the hangers, and mount the 2.5" drives on the outside of each hanger... you might be able to get six.

There is also some room near the PSU where you could probably make some kind of HDD bracket and add another drive or two. I used a ghetto mod and taped an SSD to my PSU for a short while in this case... :rolleyes:
 
On to business... I completed the physical build of both boxes just earlier this evening... here's some shots of the components being installed:

DVD Drive

Boy was this a pain to install! :pActually, it wasn't that bad... but it sure could have been easier. The first time through was definitely a learning experience in order of operations for this case... the second time was pretty quick.

IMG_2869.JPG


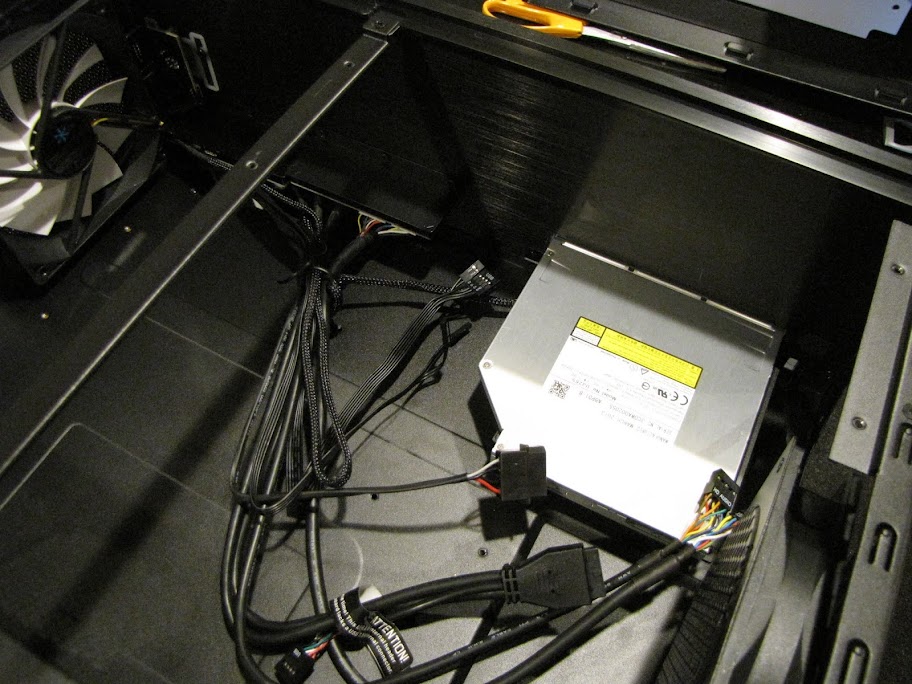
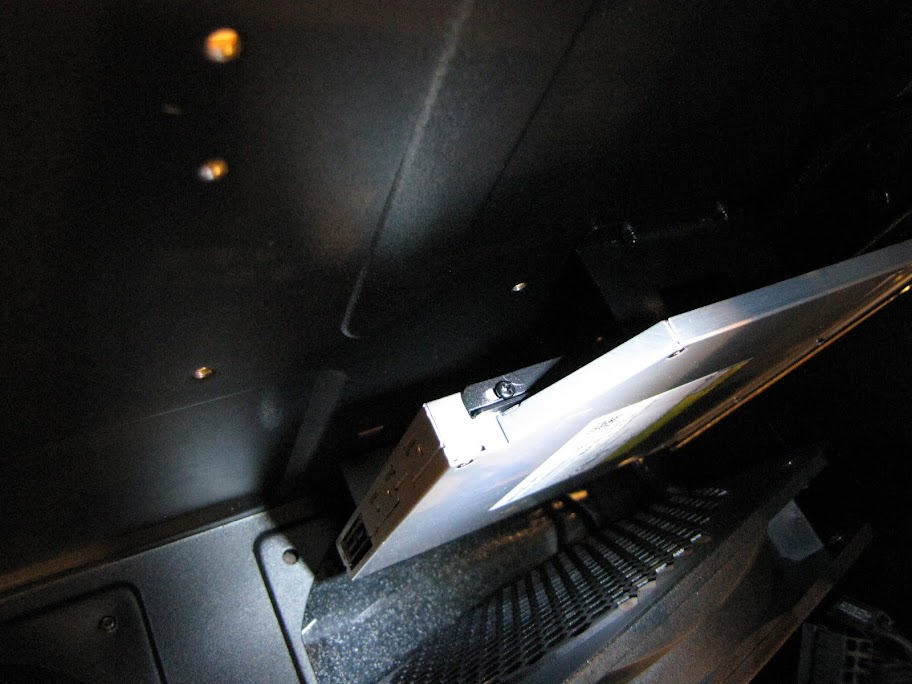
The case only supports a 'slim type' DVD drive, and only when using a mATX or smaller board... the case can fit a full ATX board, which is nice, but that cuts out the possibility for a drive. That said, you can always use a USB drive (which is what I do for all my other home computers...) but since this is going to be a HTPC and there is a high likelyhood for needing to play blu-ray movies and such, the drive was a must.

I went with a Slot-loading Blu-Ray drive from Panasonic, the UJ-265. This supported DVD read/write and Blu-Ray read/write, all in a slim-line slot loading package... as far as I can tell, it was the only drive out there that did all this. The only catch is that these drives are generally all slim-line sata connections as well, so you need a special adapter that converts slim-line to traditional sata. Anyway, enough babbling about the drive... more on installing it!

The Node 605 is a spacious case, but when it comes to installing this drive, it was a somewhat annoying undertaking. The case comes with some special mounting brackets for the drive, but does not really provide any instructions on how to attach them. After a little fidgeting I figured it out... but then realized that the mounting holes are not exact... you can adjust the drive back and forth:

IMG_2870.JPG


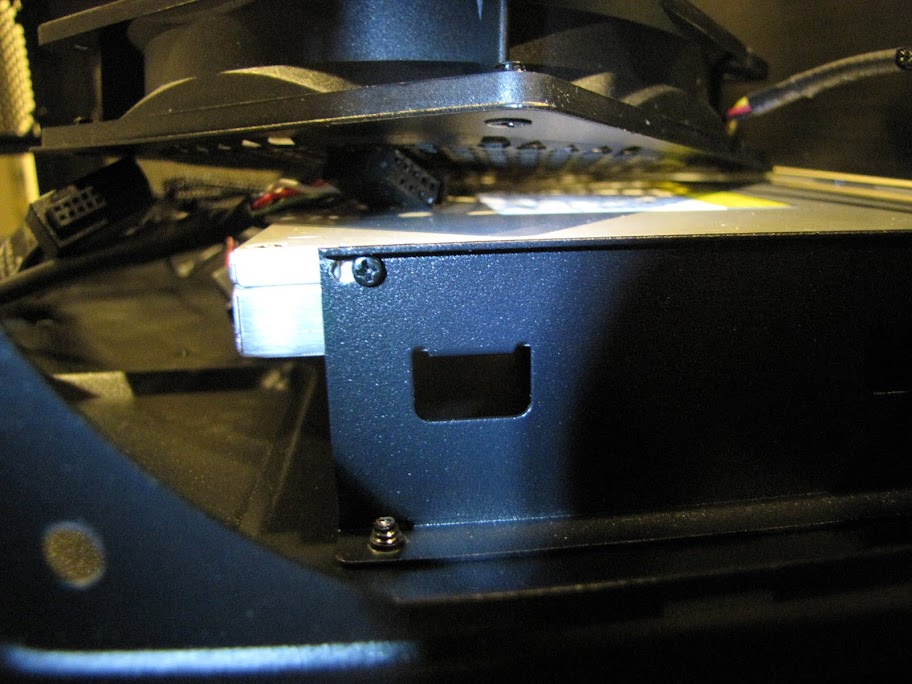
You can see in the above shot that for this drive I ended up pushing it all the way forward. This took some trial and error to get the mounting just right. The process I used to install the brackets was to first attach them to the DVD drive, then put the drive in the case and screw in the mounting screws from the bottom of the case while it was standing on it's side. After that, I adjusted the drive forward to the proper position so it was flush with the case, then tightened down the screws all the way.

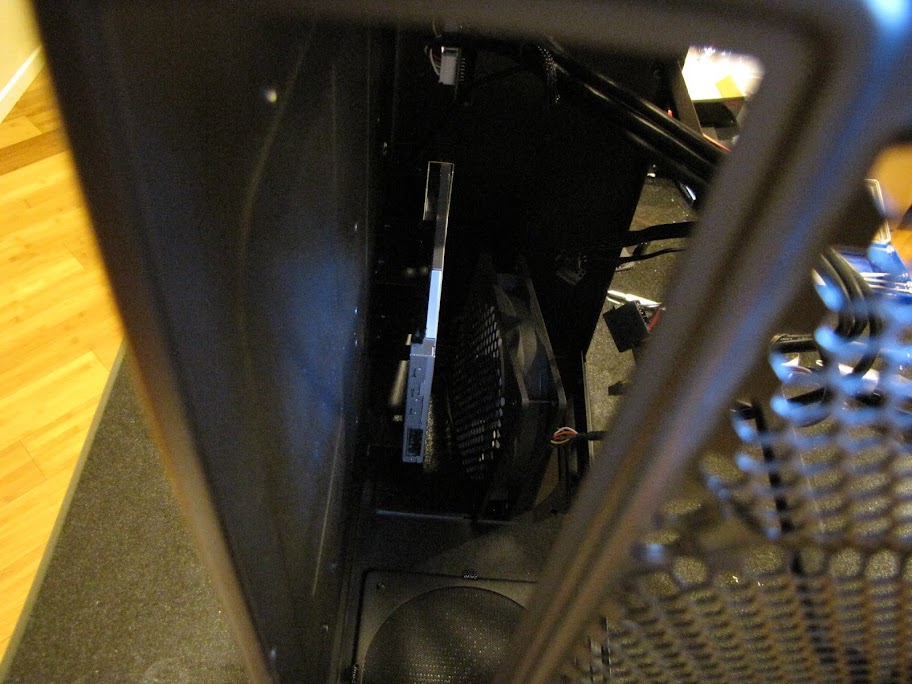
The screws on the left of the drive could only be tightened by removing the front left fan as mentioned before... and the screws on the right of the drive could only be tightened by putting the case up on its side, then using a precision screwdriver and careful aim:

IMG_2874.JPG


I ended up putting one hand through the top of the case, and one hand through the I/O bracket to get at these last two screws:

IMG_2875.JPG


Whew, finally done with that debacle.

Power Supply

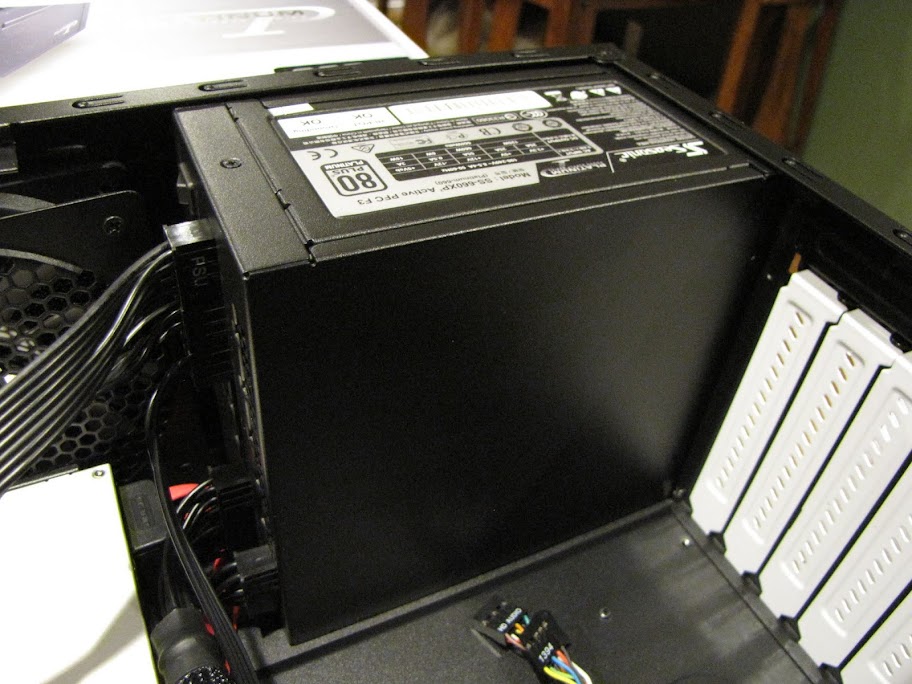
Fortunately, installation of the power supply was significantly easier. I went with a Seasonic SS-660XP after reading rave reviews about it all over the place. That, mixed with the high efficiency 'platinum' rating (which I am not really convinced means anything... but still...), means this should work great for a silent always-on HTPC.

IMG_2877.JPG


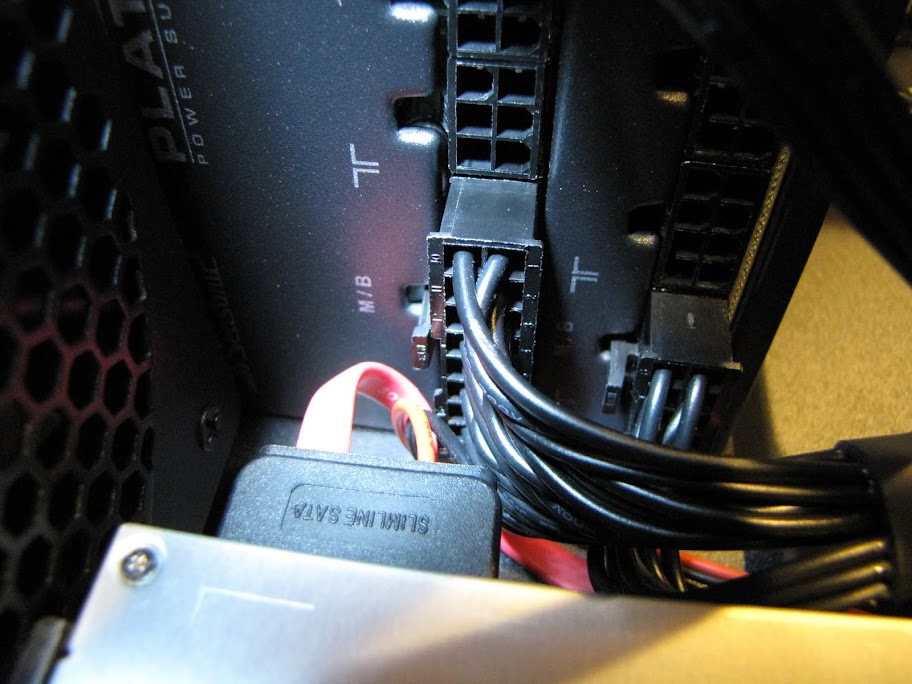
One nice thing is that the finish on this power supply matched the Node 605 perfectly. The other major reason I got this particular PSU, aside from the ratings, was that it was actually shorter than most other PSU's out there... only 6.3" long instead of the typical 7.1" you find these days with high end PSUs. This was a very fortunate choice on my part... as when put in with the optical drive, there was very little room to spare:

IMG_2879.JPG


I had a feeling it was going to be tight... but this was literally less than 5mm to spare. Phew! :eek:

Another nice feature about the Seasonic series is that they have three fan modes, automatically controlled by temperature... off, silent, and cooling mode. You can also specify via a rocker switch if you want to eliminate the 'off' mode... which is great for cases like this where the PSU is installed sideways, since the PSU generally won't be able to take advantage of the passive cooling from heat rising.

Motherboard
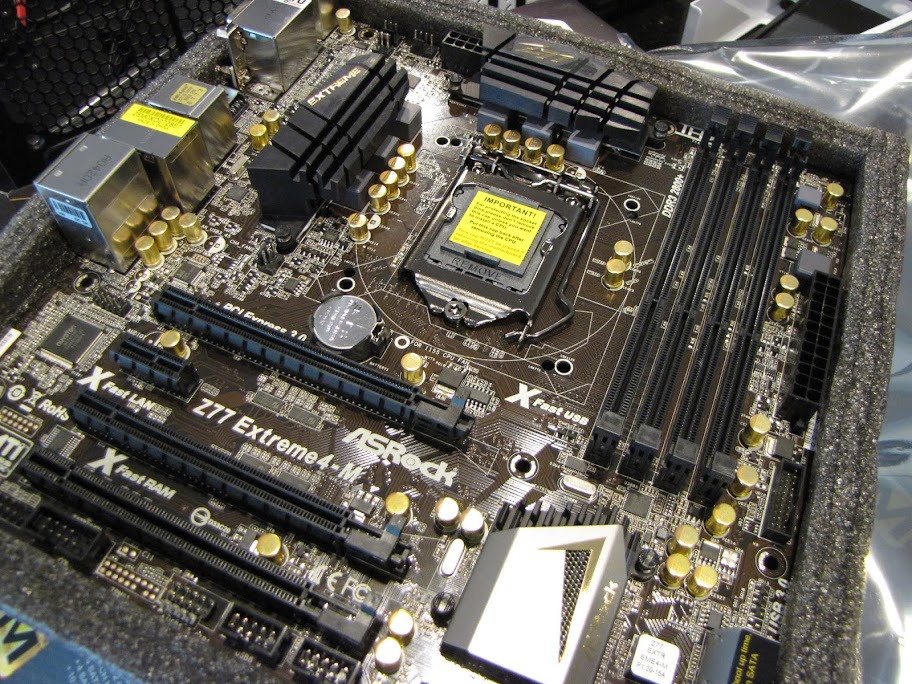
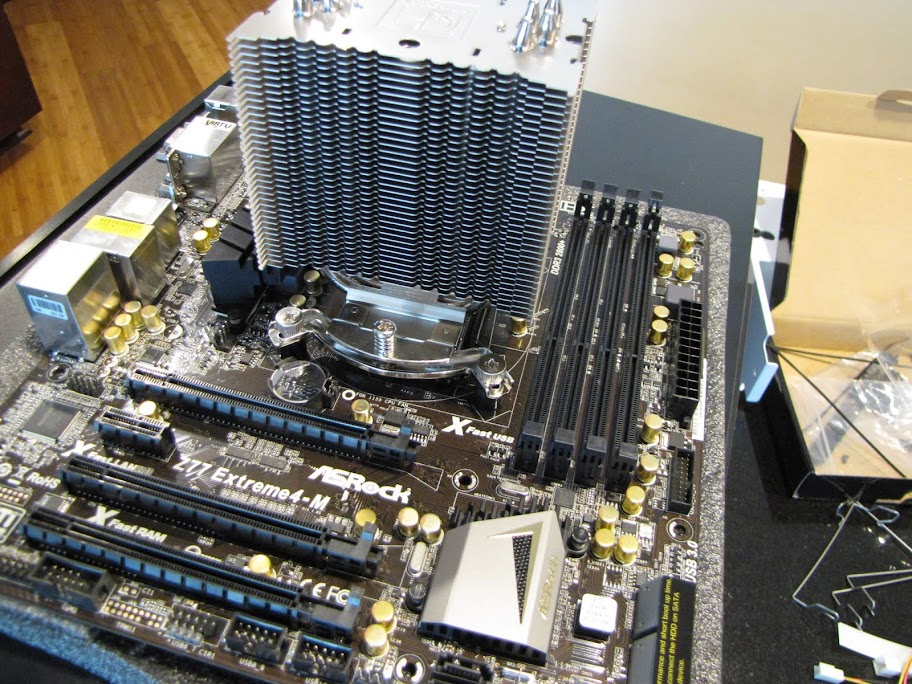
On to the motherboard! I hmmm'ed and hawed quite a bit over which board to go with for this build. I've long been a fan of EVGA, and their stinger looked awesome... but I was hesitant about only having one PCI-E slot available, should I decide to throw a graphics card into my HTPC down the road. I had also heard numerous complaints about performance issues with the board... so I decided to try a new vendor for once, step a little out of my comfort zone. The ASRock Z77 Extreme4-m board had been getting great reviews, and came recommended by several people. I ended up going with the Extreme rather than the Pro board as it was only an extra $20, and came with a few extra 'nice to have' features like higher quality capacitors and an upgraded audio codec.

IMG_2881.JPG


The aesthetics of the board aren't bad, though I wish they had a 'true black' PCB as opposed to this psuedo black (mostly brown) board. That said, the brownish color actually kinda works... looks like black/gold/leather when you look at it right. Very steam-punk ish.

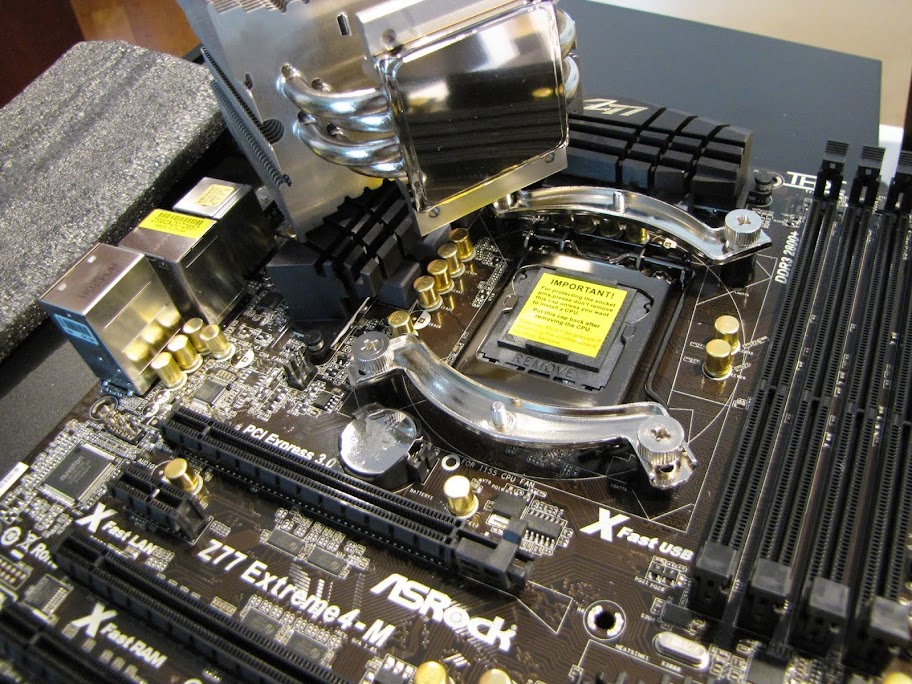
For the cooler, I opted for the Noctua NH-U9BSE2. I was originally going to get the NH-L12, but due to the layout of the fans on this case, I think having a cooler that passes air horizontally instead of vertically will perform better... that way, I can exhaust the air out the vent near the CPU. Finding a cooler that boasted strong cooling potential and yet still fit inside this Node 605 case was quite a challenge... I only had about 125mm to work with per the Fractal Design website... and this one was listed as 125mm. I was relieved to see that it would indeed fit with a few mm to spare... was concerned for a while as this unit is actually pretty tall:

IMG_2885.JPG


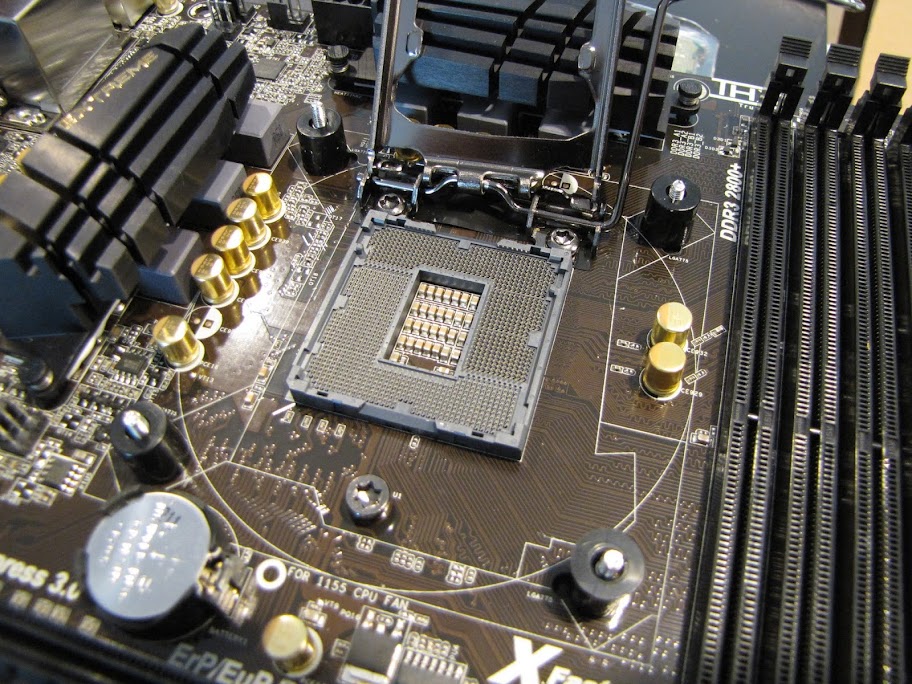
For the CPU, I went with an Intel 3750K. I plan on using integrated graphics by default, so the HD 4000 onboard graphics was a must. Having the extra power and flexibility of a K series ensures that I can overclock for a little more juice down the road if I really need it. Unlikely, but I always like having the option. ;)

IMG_2888.JPG


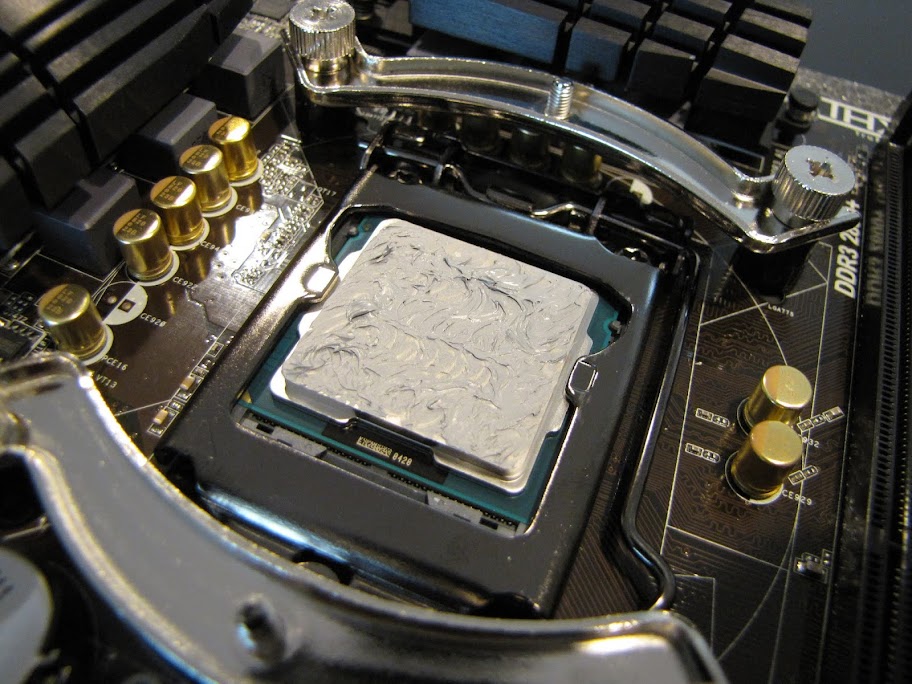
Here's a shot with the CPU installed, and thermal paste applied, ready for heat sink installation:

IMG_2890.JPG


I always prefer to apply thermal paste thinly and in a specific pattern that has done well for me in the past... swirling motion in rows, back and forth. Seems to get the best distribution without over-doing it, which maximizes cooling. These Ivy-Bridge CPU's have well known flaws with their TIM that cause them to run a little hot... so every little bit helps.

Here's the Noctua cooler finally installed:

IMG_2892.JPG


Hard Drives
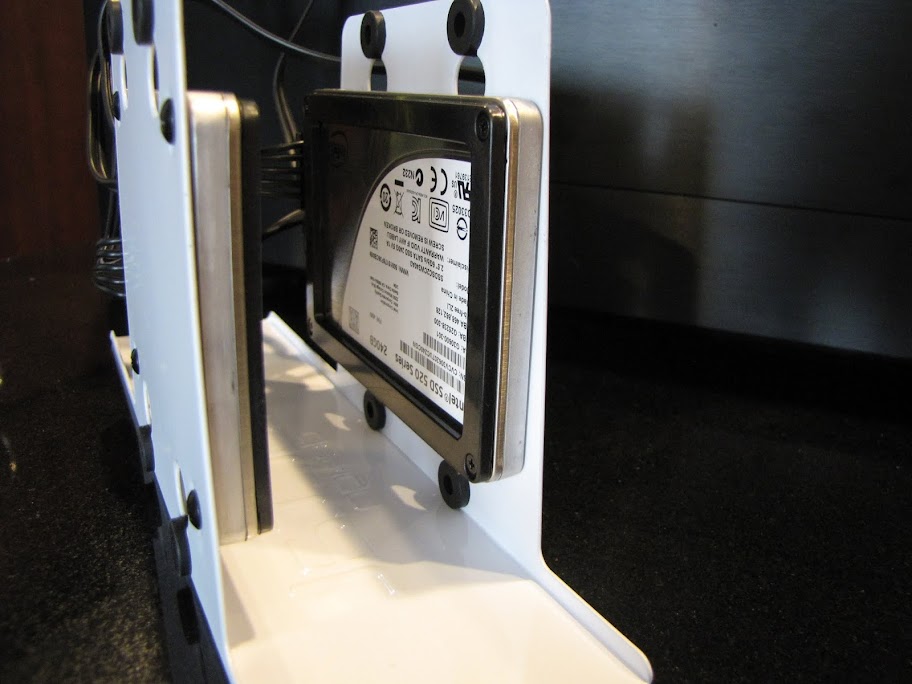
For the first system, the emulation rig, I opted for two Intel 520 series 250GB SSDs. These will go in a RAID 1 to ensure that nothing is lost, should one decide to fail. The Intel SSDs are known for their quality and reliability, but these are the new Sandybridge based units... and they have been known to have reliability issues in the past. Intel claims to have corrected these through their own custom firmware and extensive QA, but you can never be too safe when it comes to your data! :D

IMG_2896.JPG


That's all for now... next time, the software install and such! :D
 
And not long after starting, here are some wrap-up pictures for project Gemini!

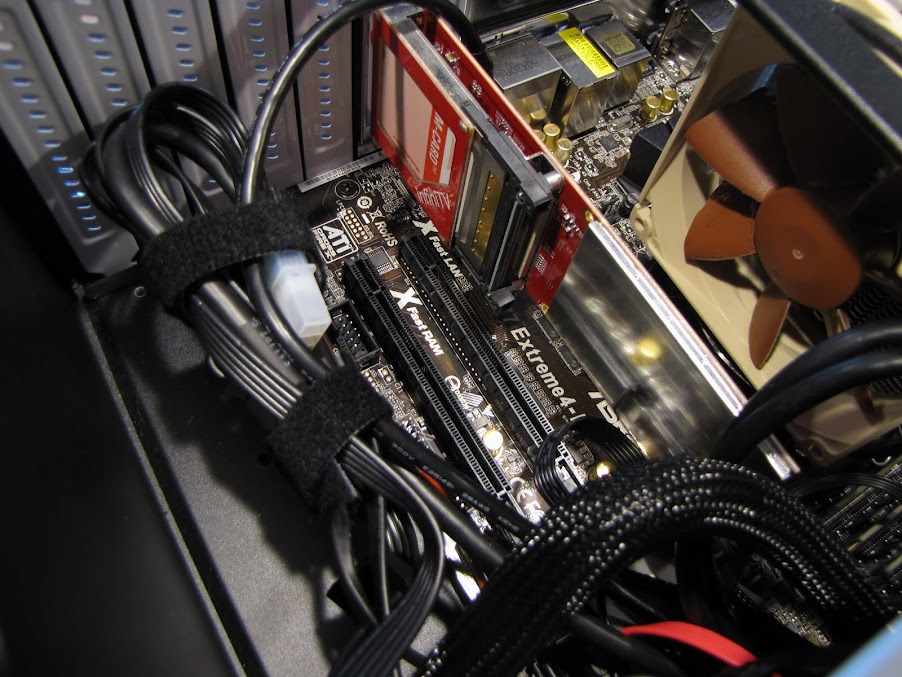
First of all, I spent a little time doing some simple cable management in the case. The Node 605 really has no space for cable management to speak of, but fortunately they at least included some Velcro cable wraps. I bound up the SATA/ATX power with one:

IMG_2904.JPG


And the SATA/misc power cables with another between the PSU and the Ceton card:

IMG_2905.JPG


This should at least allow for some good air flow, and keep anything from rattling or making contact.

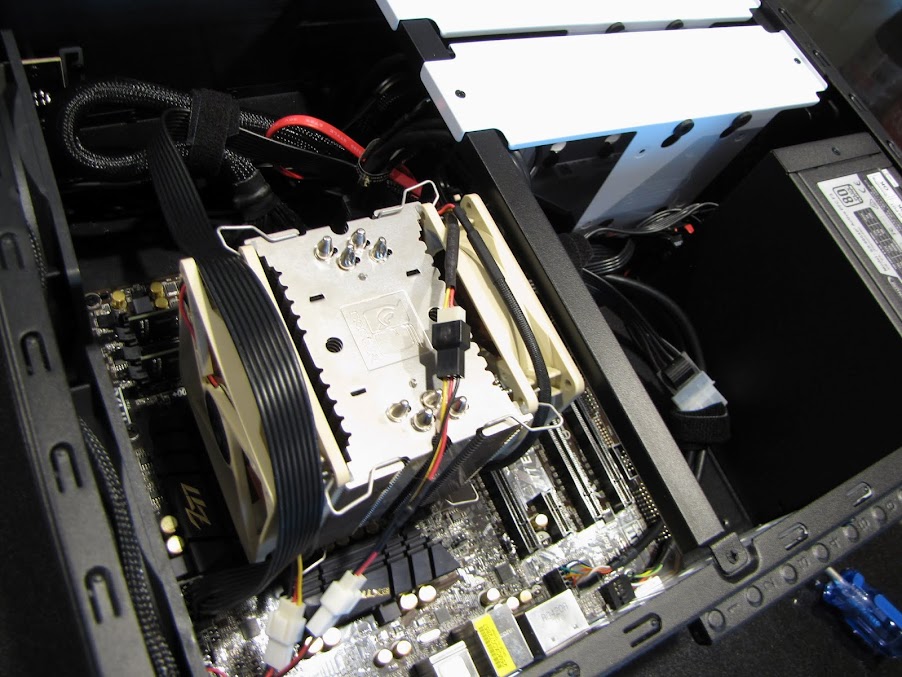
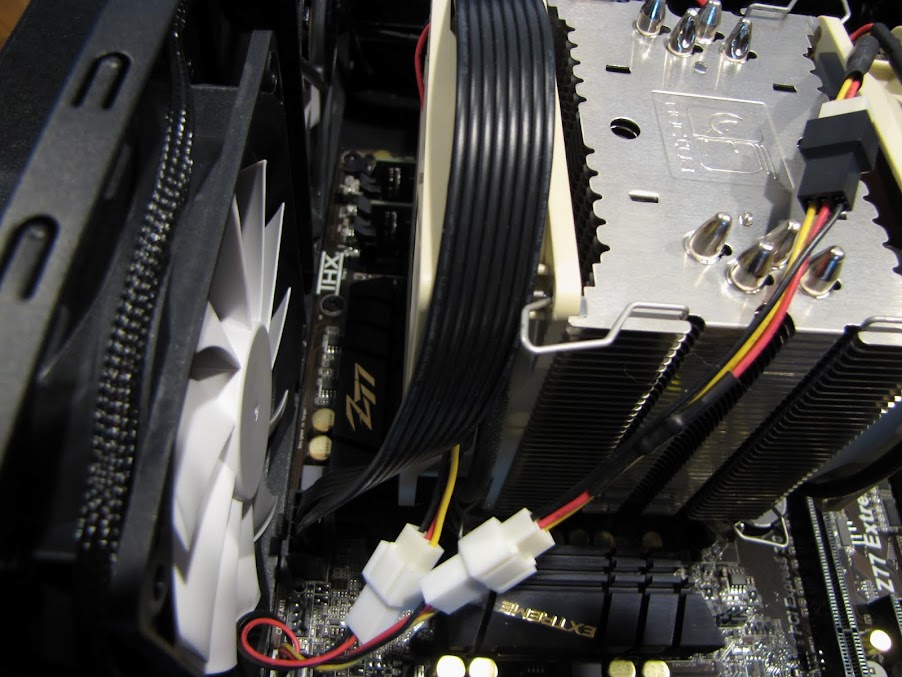
I also bound up the CPU fan cables by wrapping them around the Noctua fans along with the low noise adapters and the 8 pin CPU power:

IMG_2906.JPG


I went with the Low Noise Adapters as opposed to the Ultra Low Noise Adapters, as I found the L.N.A.'s to be essentially silent anyway.

I also replaced the cheapo blue LED case fan near the CPU with another fractal R2 fan, since I found them on sale and their CFM to Noise ratio was pretty damn good.

IMG_2907.JPG


All hardware building aside, a majority of this project was actually focused on the software/functionality side of things. The first system, as was previously mentioned, was to be my HTPC computer and would have the Ceton InfiniTV 4 card along with a pair of 4TB drives for a ton of DVR space. Adding to that, I also decided to make a DVD ripping station out of it that would allow me to rip and archive all my DVDs for safe keeping, so I could seal the physical ones up in a box and throw them in the garage. In case anyone is interested, I used the following pieces of software to get that done:

MakeMKV - for decryption
Handbrake - for compression to H264/mkv
Auto Rip n Compress - a great Windows Media Center plugin that will retrieve the DVD cover art, along with a description and details for each DVD you rip. It also allows 1-click automated ripping right from Windows Media Center. Super slick, and free! :)


The other system was to be a multiple emulator box, running everything from Colecovision and Atari 2600 up to Gamecube and PS2. I used a myriad of popular emulators, but found MAME, MESS, and UME to be the most powerful and flexible. A majority of my time was spent tweaking each individual emulator to work on a 1080p screen with four XBOX 360 wireless game controllers... no small task! I brought the whole package together with Maximus Arcade, which was an excellent and easy to use frontend that looked really clean. This system was delivered this past weekend to my friend, but not before making a copy of all said work for for myself! ;)


And with that, Project Gemini is officially done! Now back to the real work/fun, over on Project Prism! :D
 
Back
Top