DAE_JA_VOO
n00b
- Joined
- May 4, 2007
- Messages
- 25
ENDORPHIN
"en·dor·phin
–noun
any of a group of peptides occurring in the brain and other tissues of vertebrates, and resembling opiates, that react with the brain's opiate receptors to raise the pain threshold."
This mod will consist of two mods.
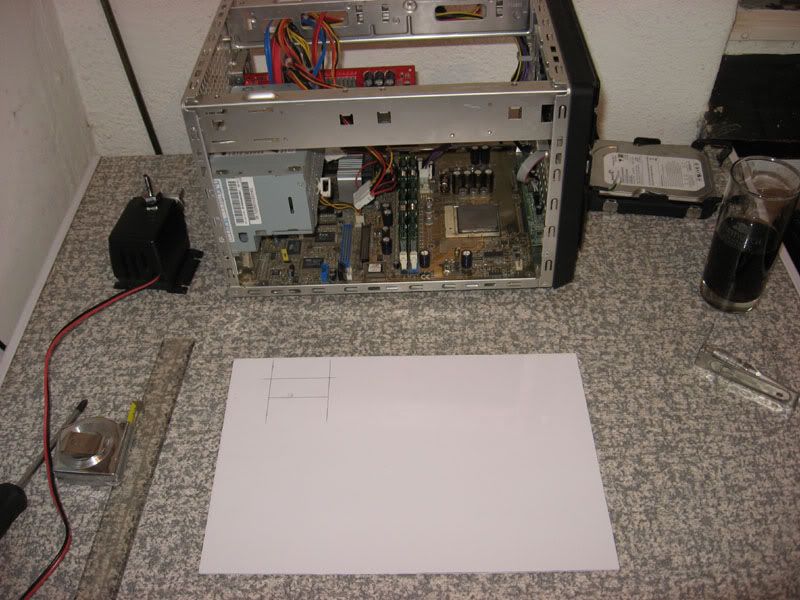
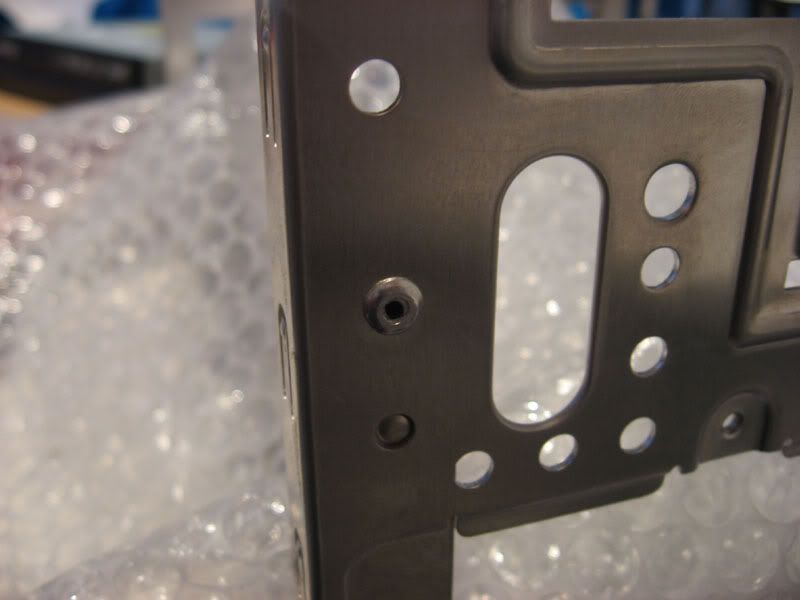
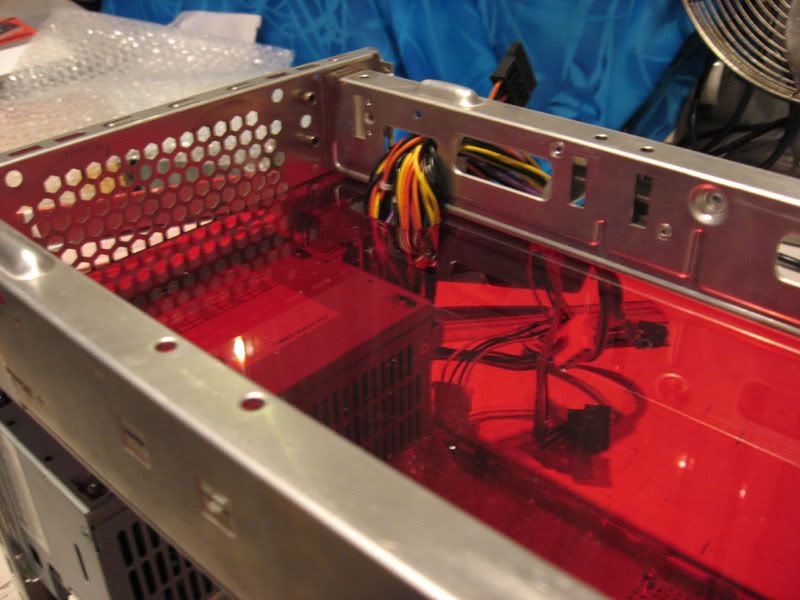
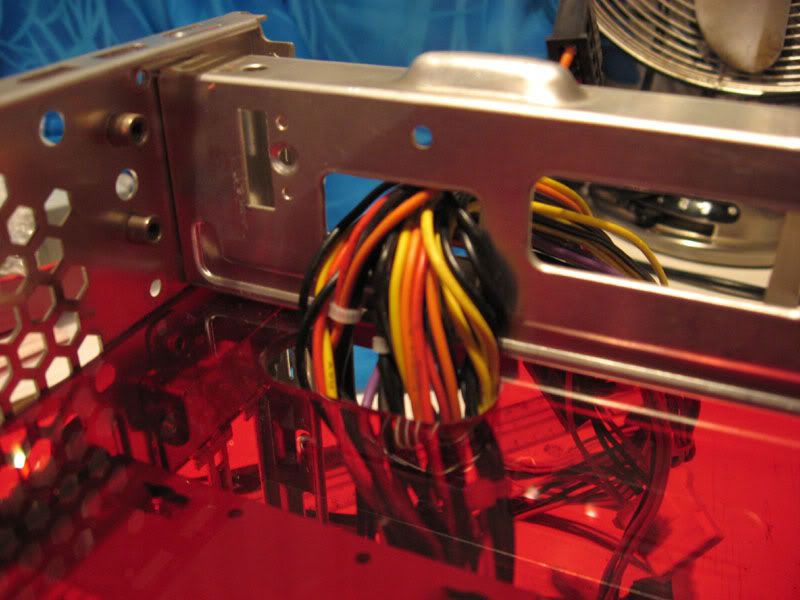
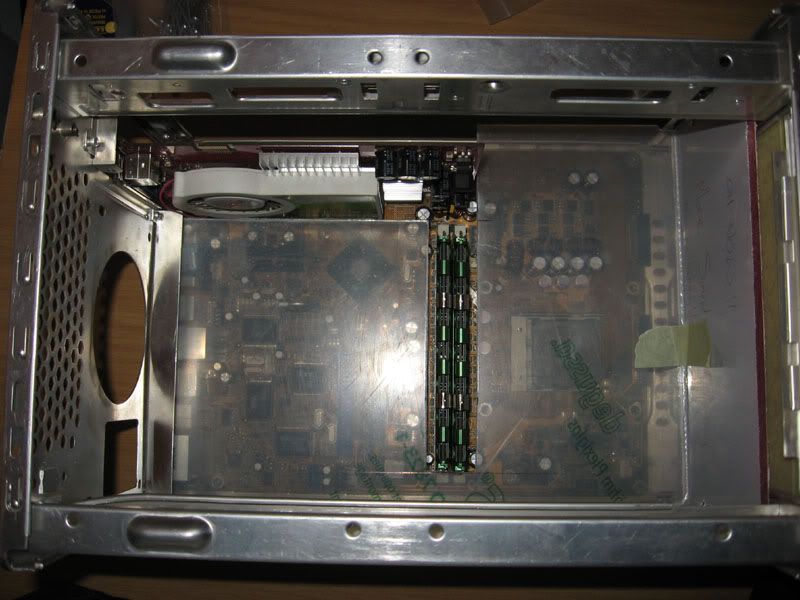
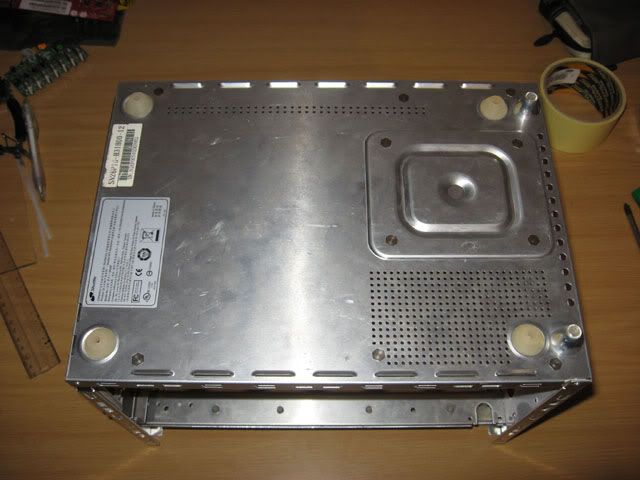
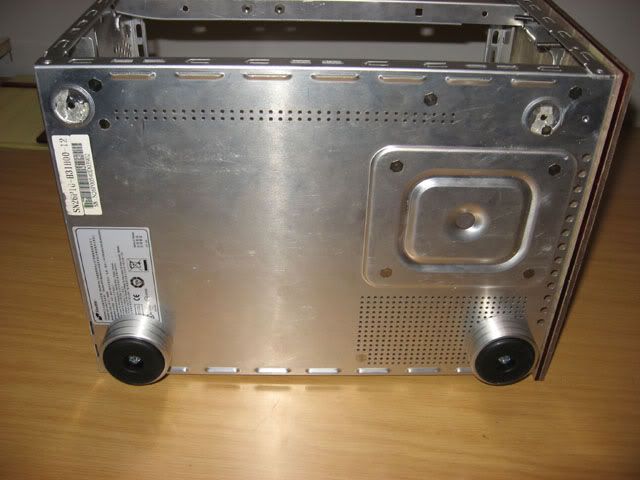
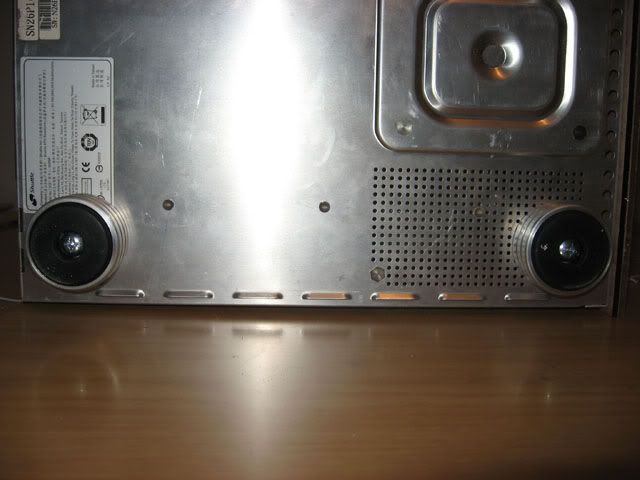
The case will be a Shuttle case:


That, my friends, is a Shuttle XPC SN26P. This is a MONSTER of a SFF PC.
Interested in the new platform? Well, the board is amazing.
-> It's a socket 939 based board, supporting regular A64, Athlon X2, and Athlon FX.
-> It's got an nVidia nForce 4 SLI chipset (yes, i said SLI).
-> It's got two DIMM slots, dual channel of course.
-> 7.1 channel on board audio
-> Gigabit LAN
-> FOUR SATA ports
-> And last, but certainly not least, it's got a frikken 350W PSU!! 350W! These Shuttle PSUs are so efficient. This PSU powered my FX60, both my 7800GTs, a DVD RW, and a HDD, and it was asking for more. I almost put a frikken 8800GTX in here. I have one lying here at my house, it's one of my friend's card, i wanted to run it so bad.
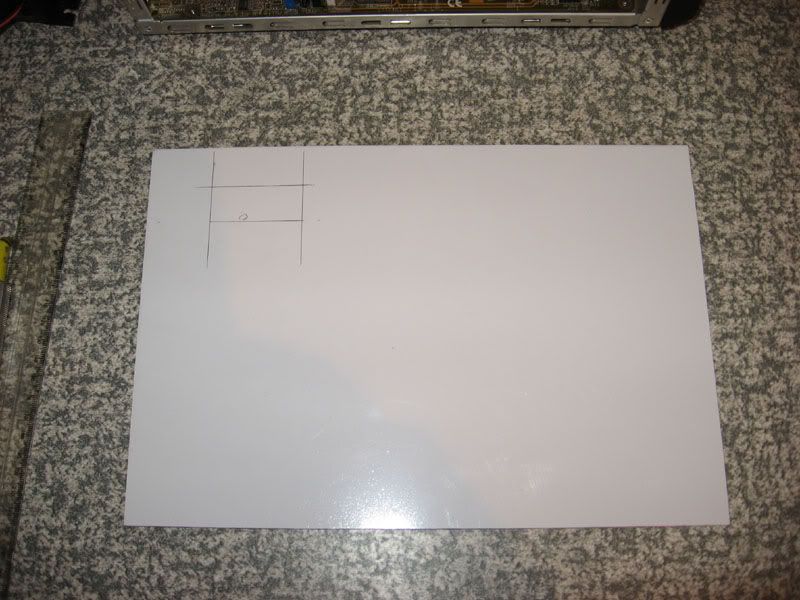
Here's a few plans that i have already:
"en·dor·phin
–noun
any of a group of peptides occurring in the brain and other tissues of vertebrates, and resembling opiates, that react with the brain's opiate receptors to raise the pain threshold."
This mod will consist of two mods.
The case will be a Shuttle case:
That, my friends, is a Shuttle XPC SN26P. This is a MONSTER of a SFF PC.
Interested in the new platform? Well, the board is amazing.
-> It's a socket 939 based board, supporting regular A64, Athlon X2, and Athlon FX.
-> It's got an nVidia nForce 4 SLI chipset (yes, i said SLI).
-> It's got two DIMM slots, dual channel of course.
-> 7.1 channel on board audio
-> Gigabit LAN
-> FOUR SATA ports
-> And last, but certainly not least, it's got a frikken 350W PSU!! 350W! These Shuttle PSUs are so efficient. This PSU powered my FX60, both my 7800GTs, a DVD RW, and a HDD, and it was asking for more. I almost put a frikken 8800GTX in here. I have one lying here at my house, it's one of my friend's card, i wanted to run it so bad.
Here's a few plans that i have already:
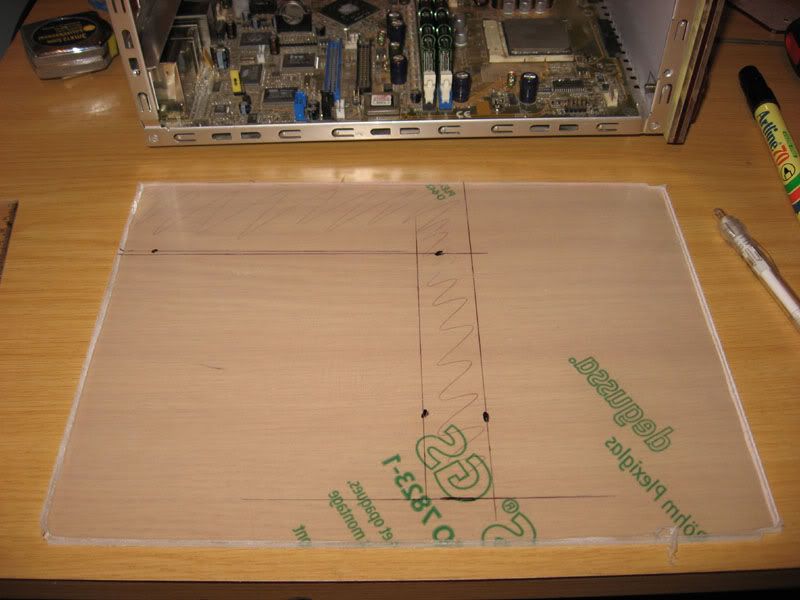
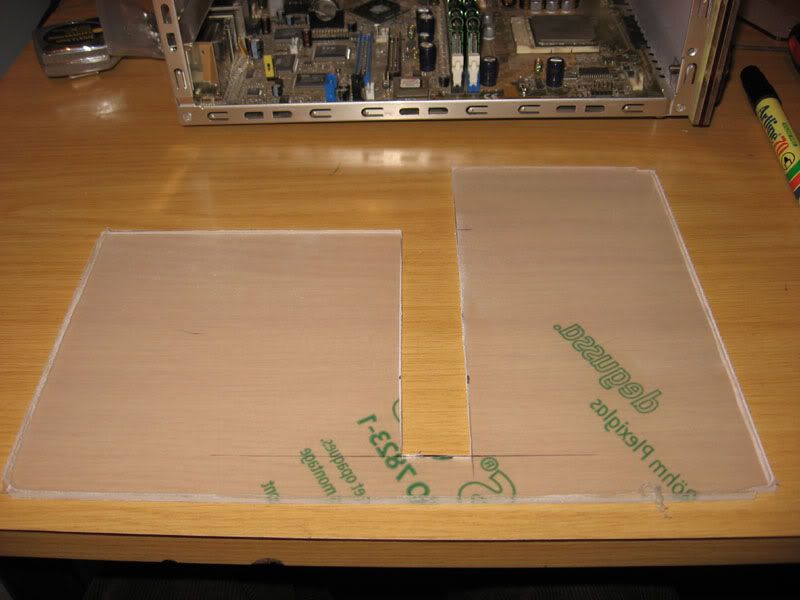
- Most of the hardware will be watercooled. The CPU, GPU, and Chipset will all be watercooled.. I have already obtained the watercooling components. I'll be using Koolance Blocks, a Coolwave pump, and a Swiftech Raddy.
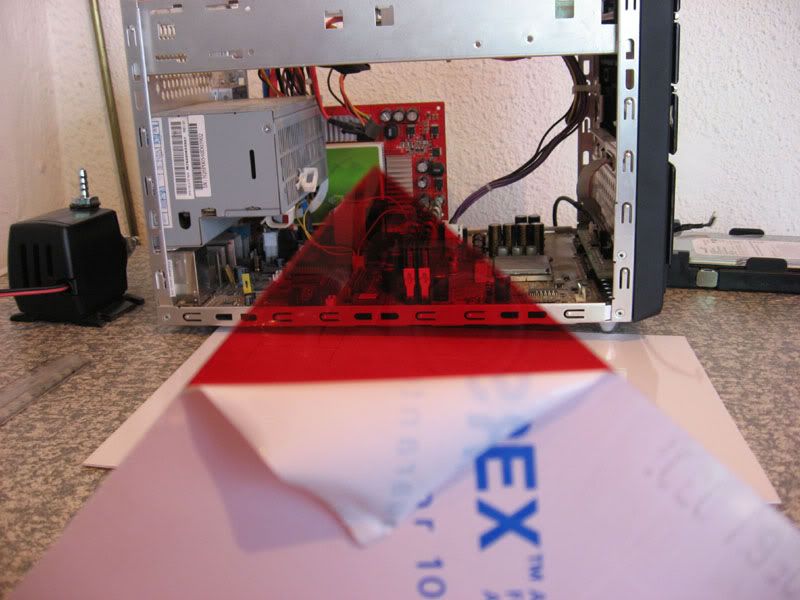
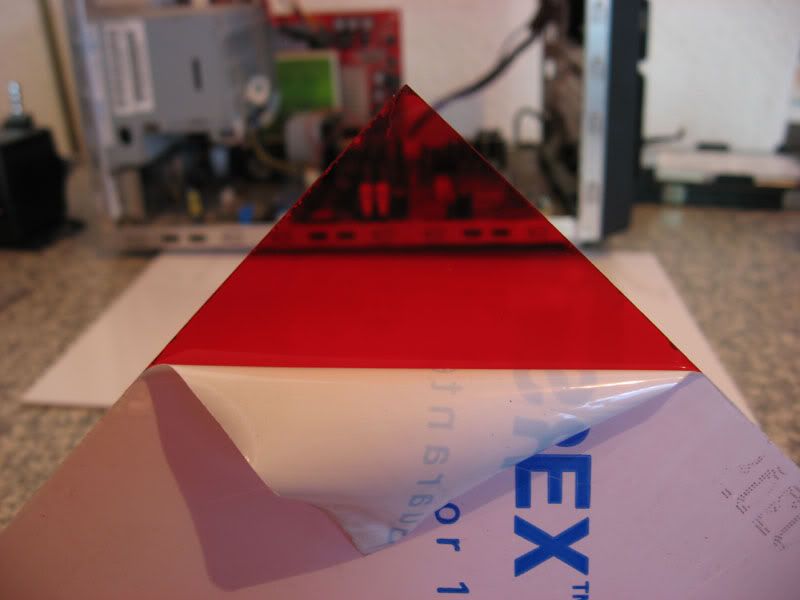
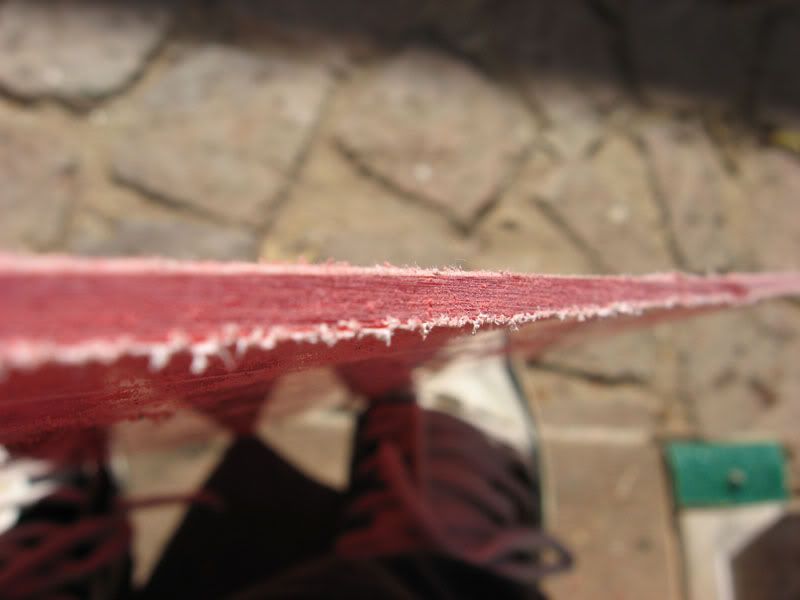
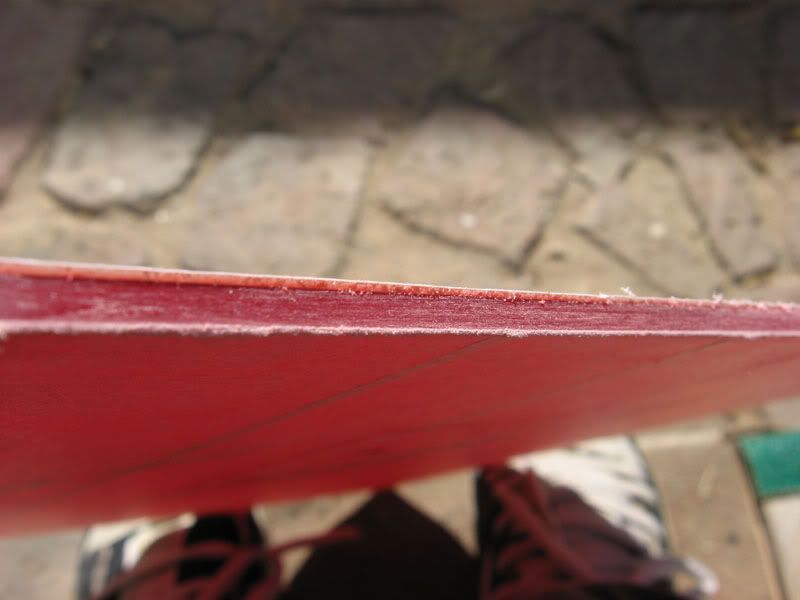
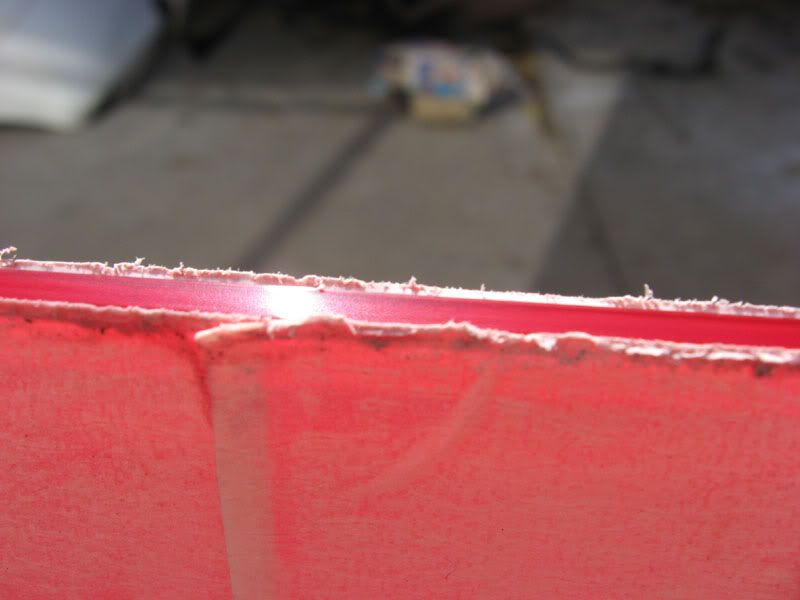
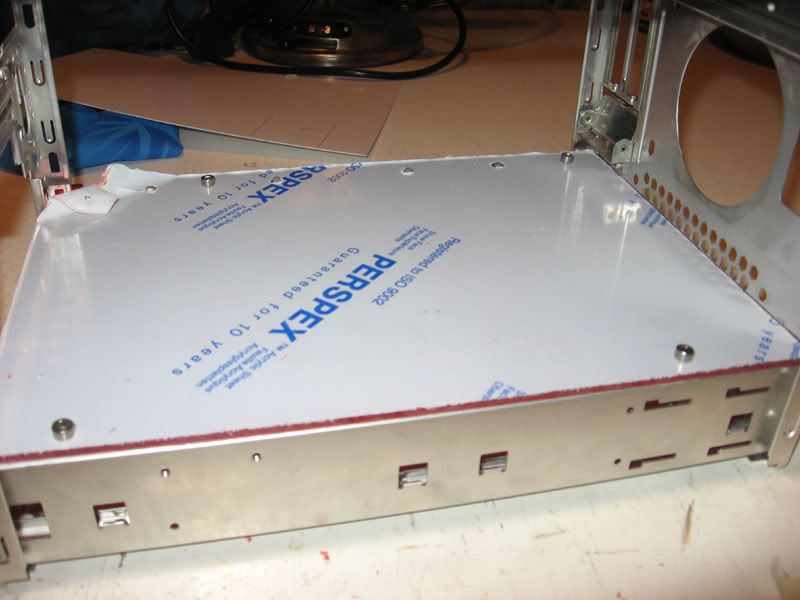
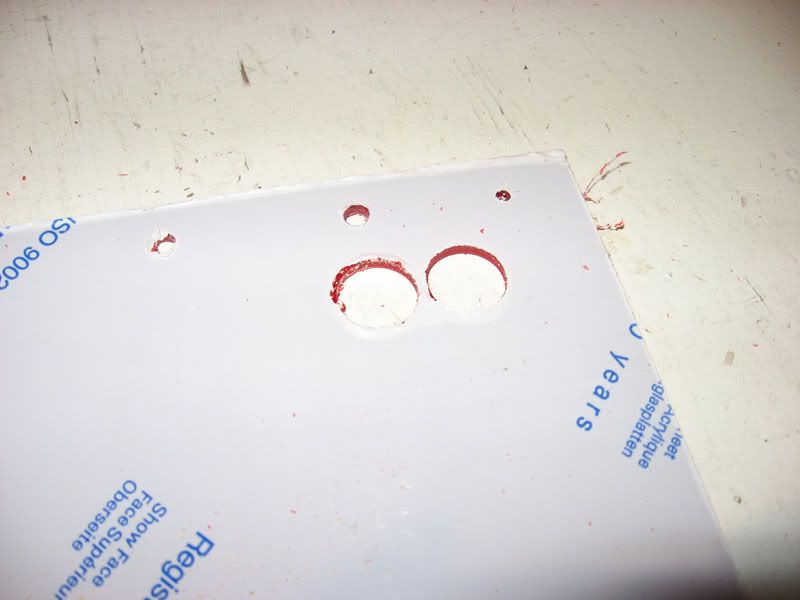
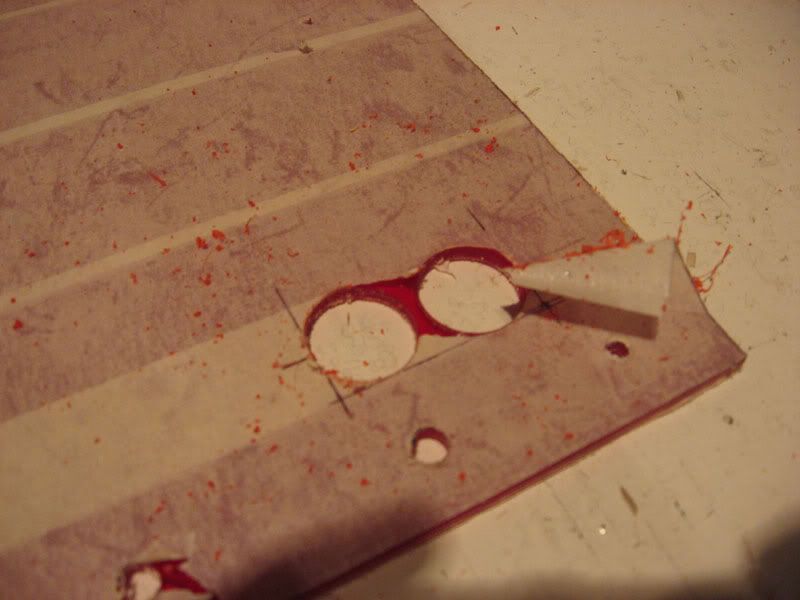
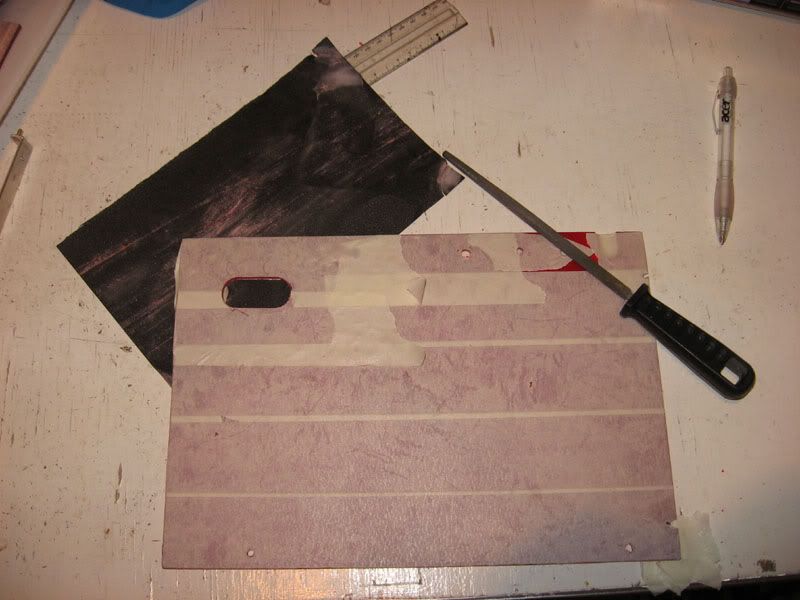
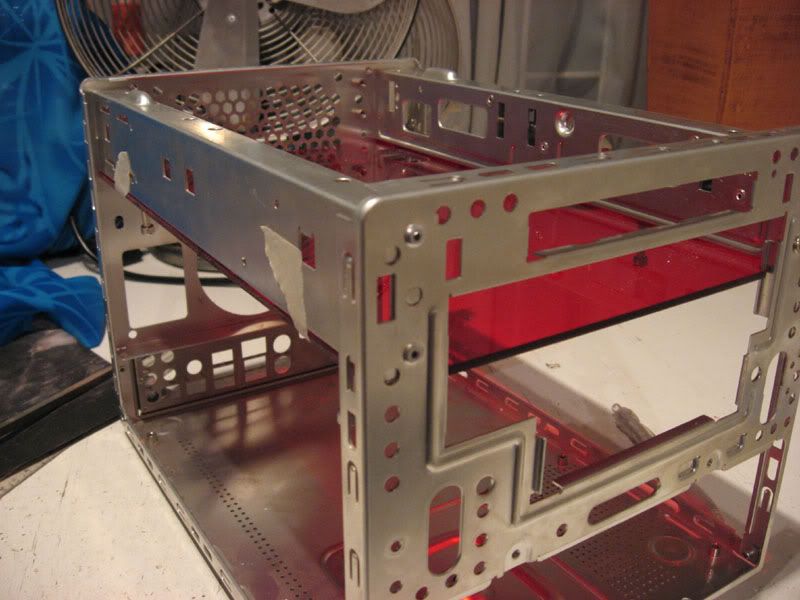
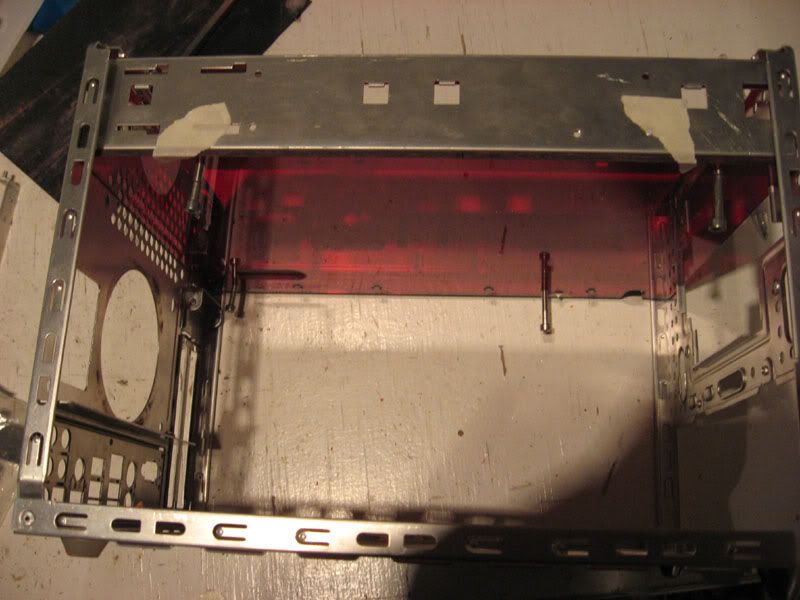
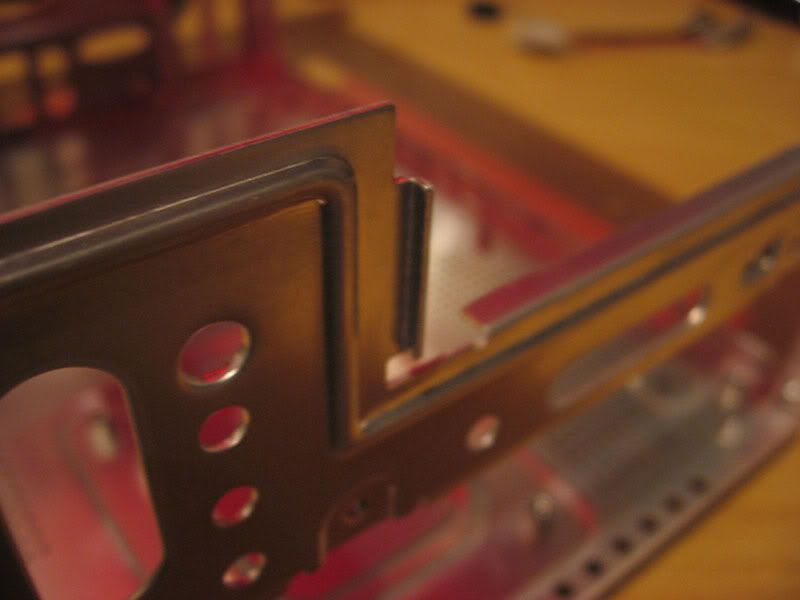
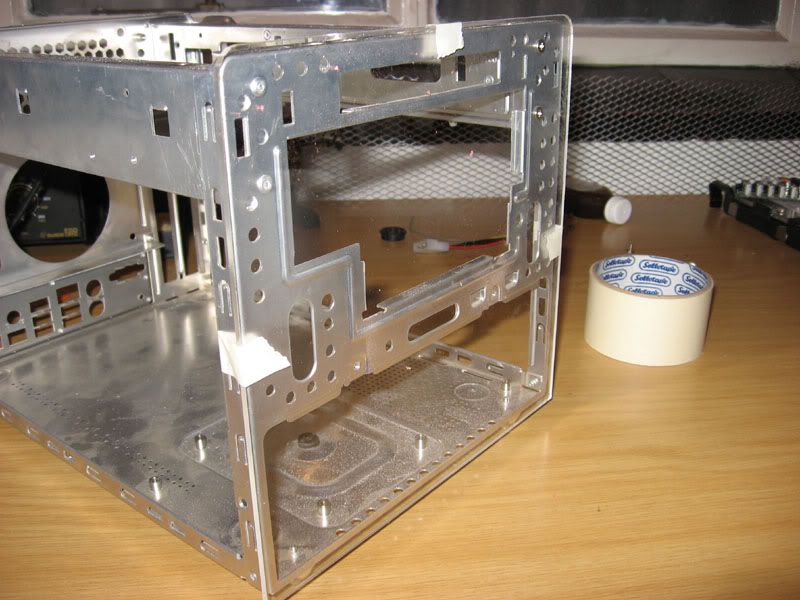
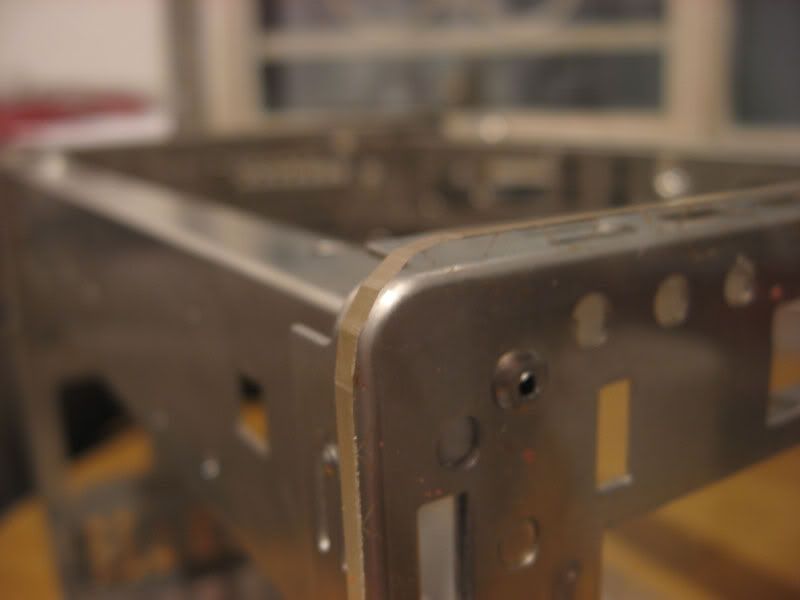
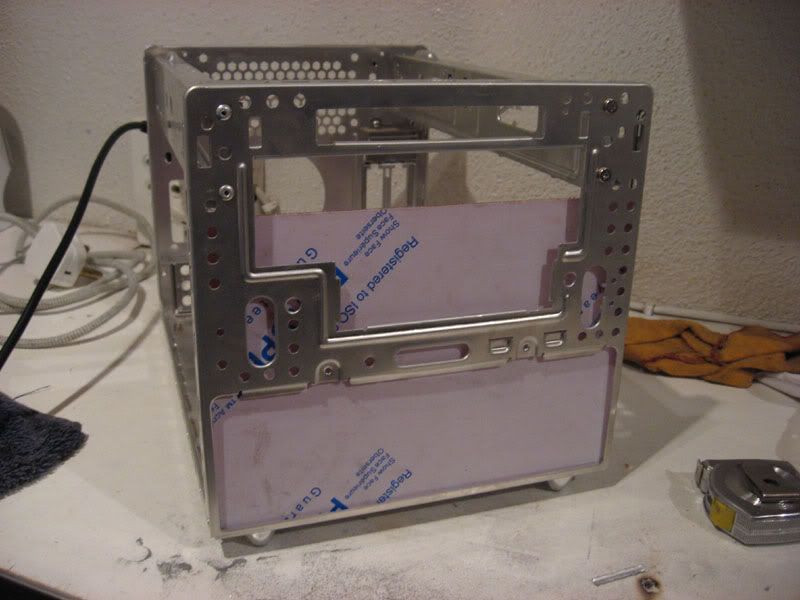
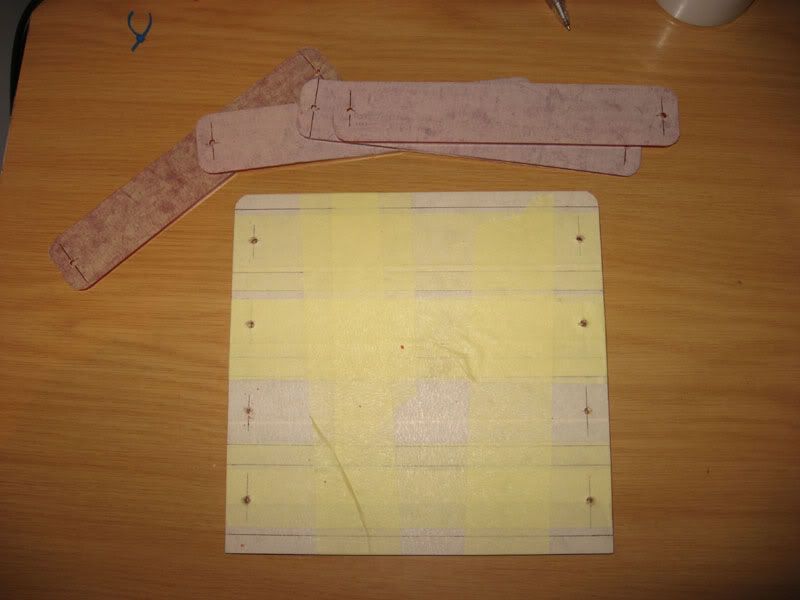
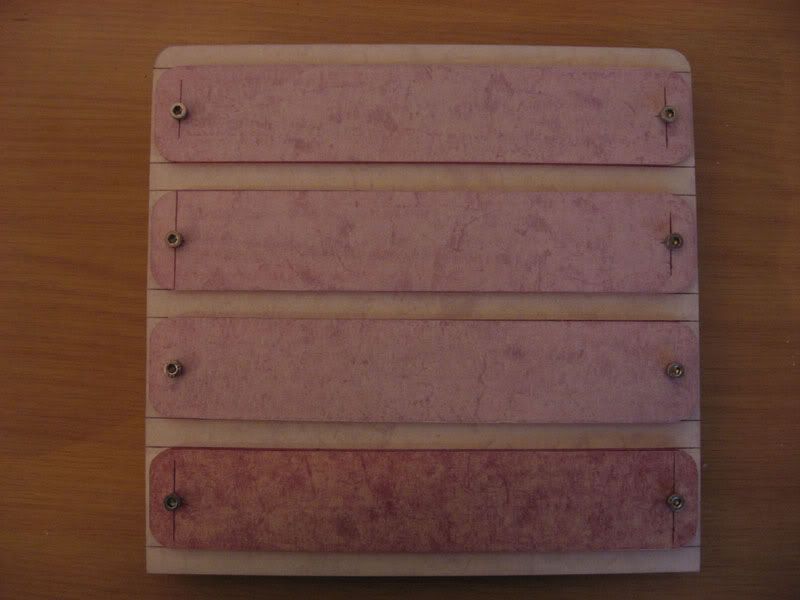
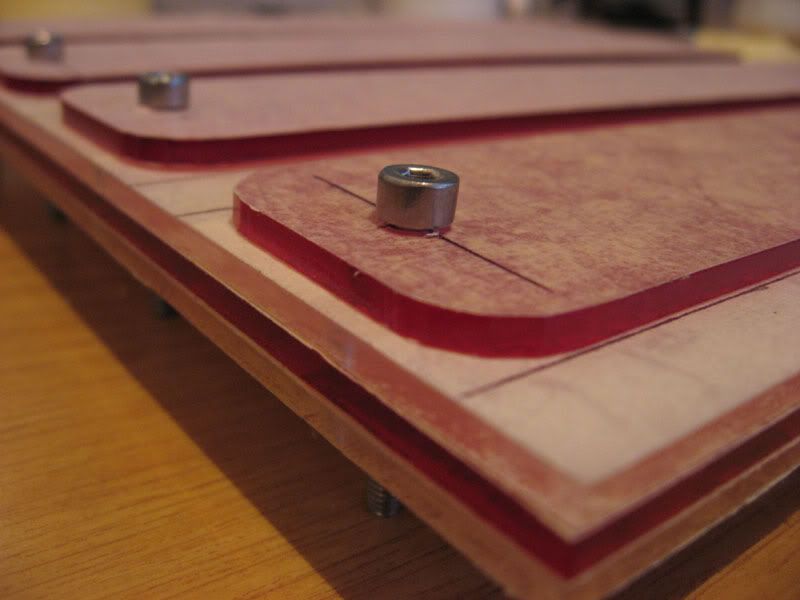
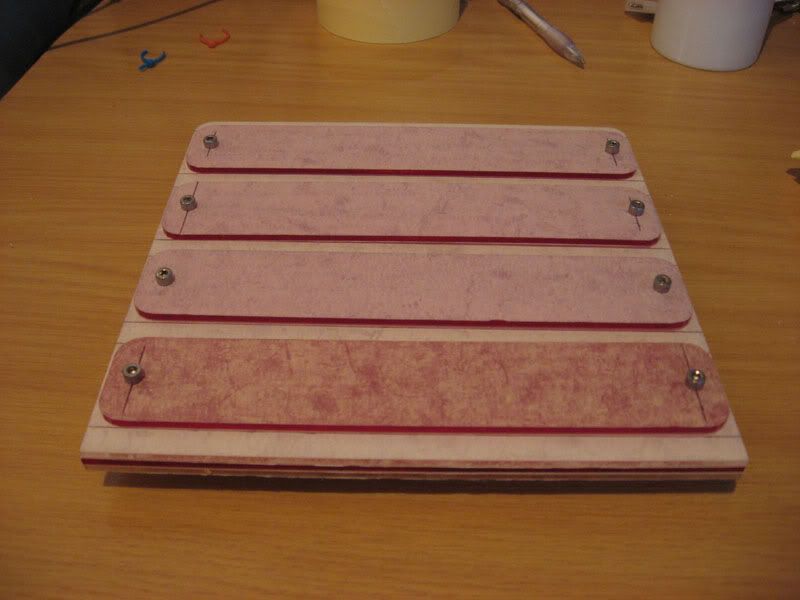
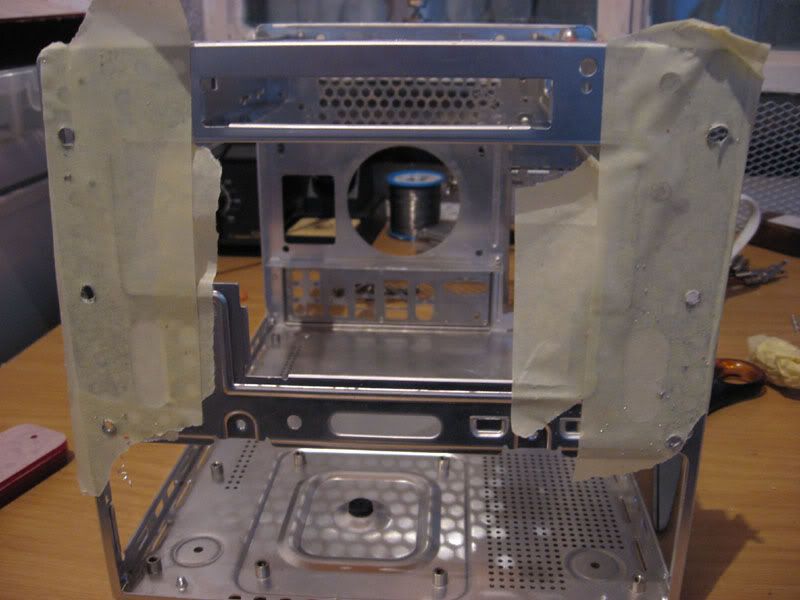
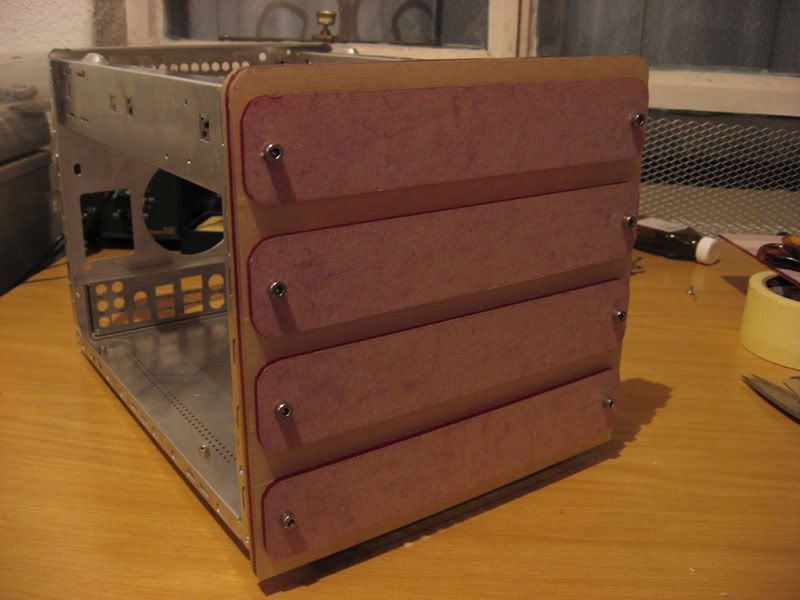
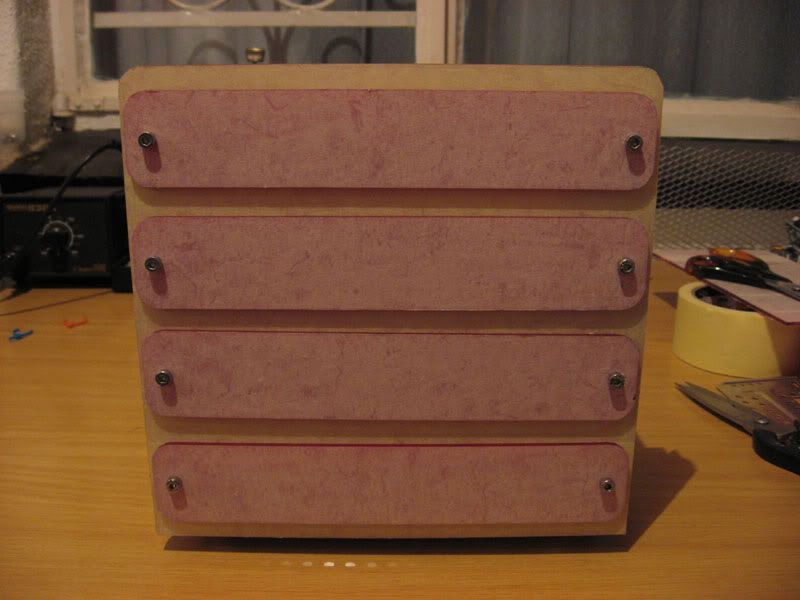
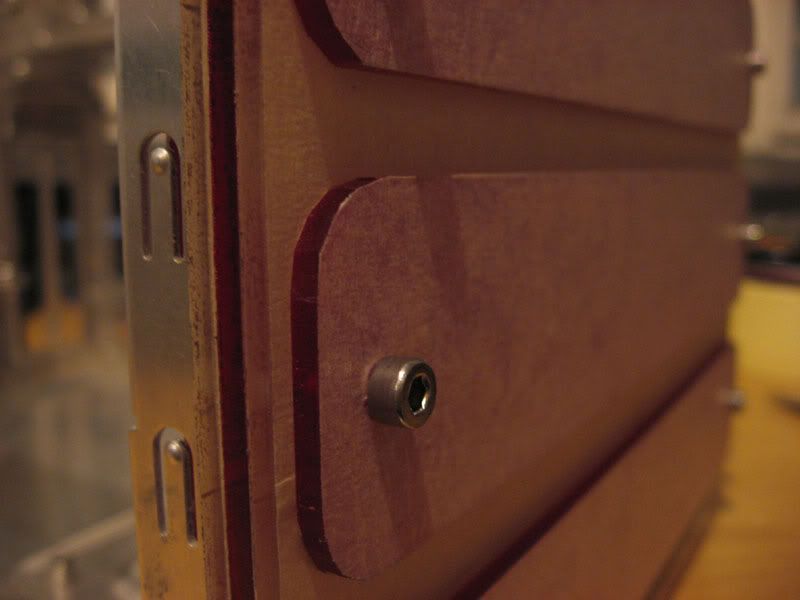
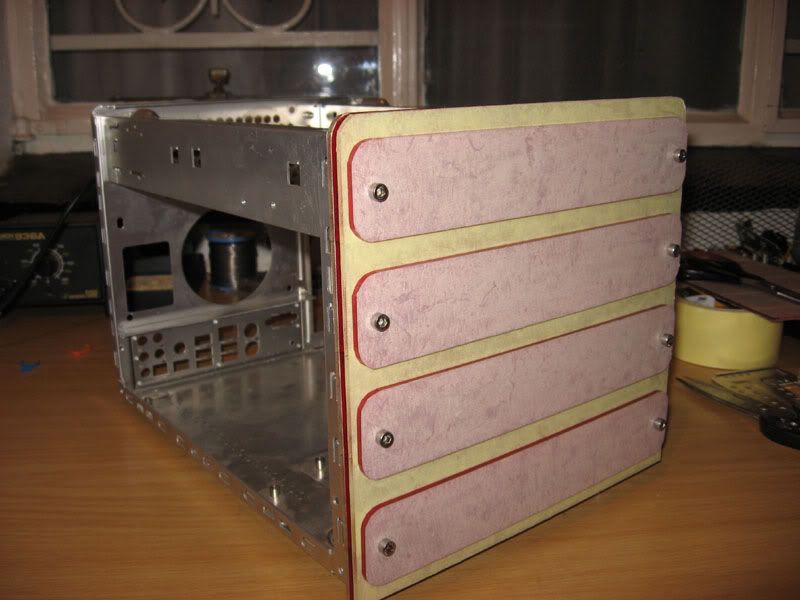
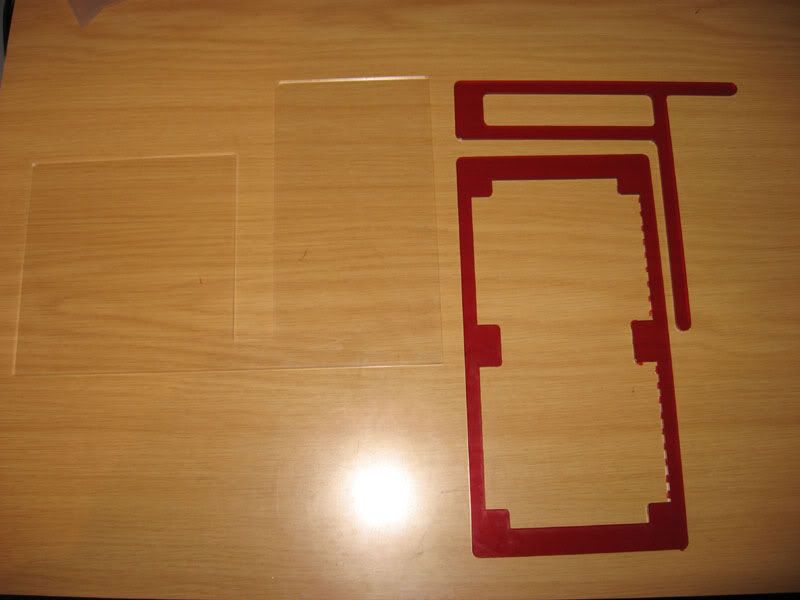
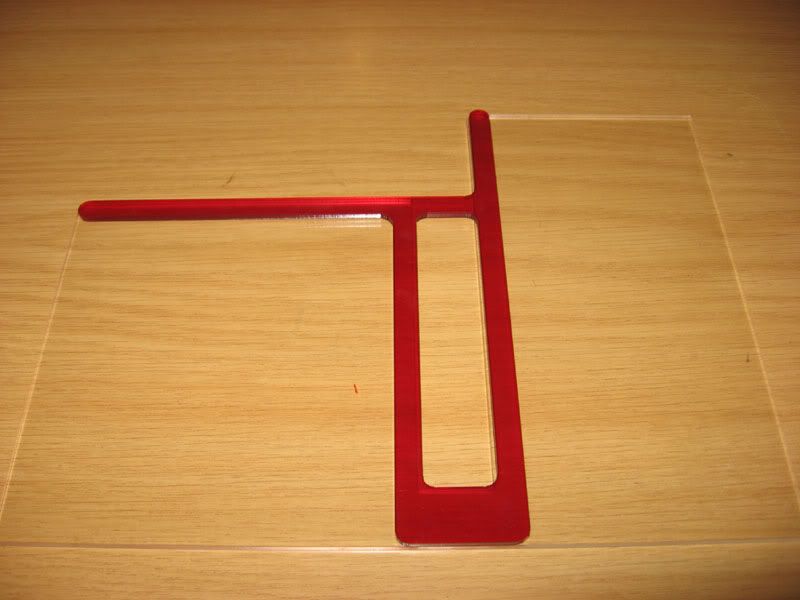
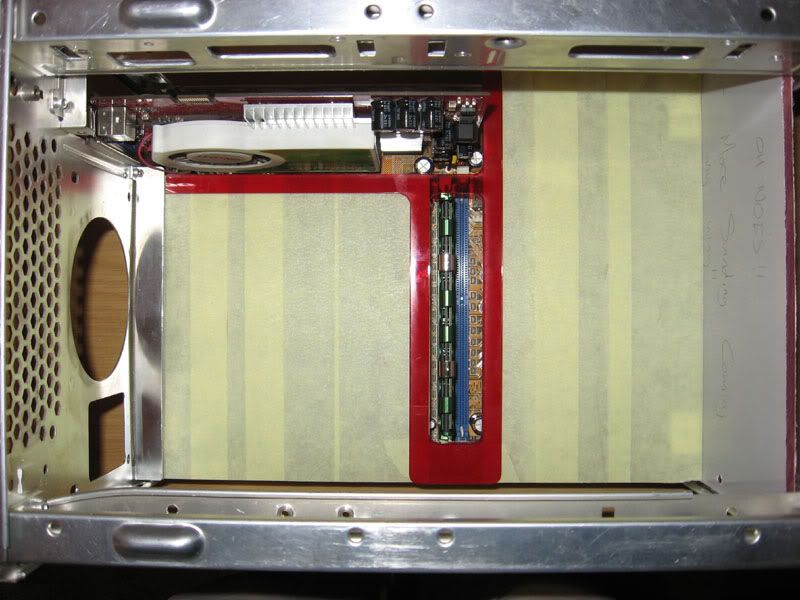
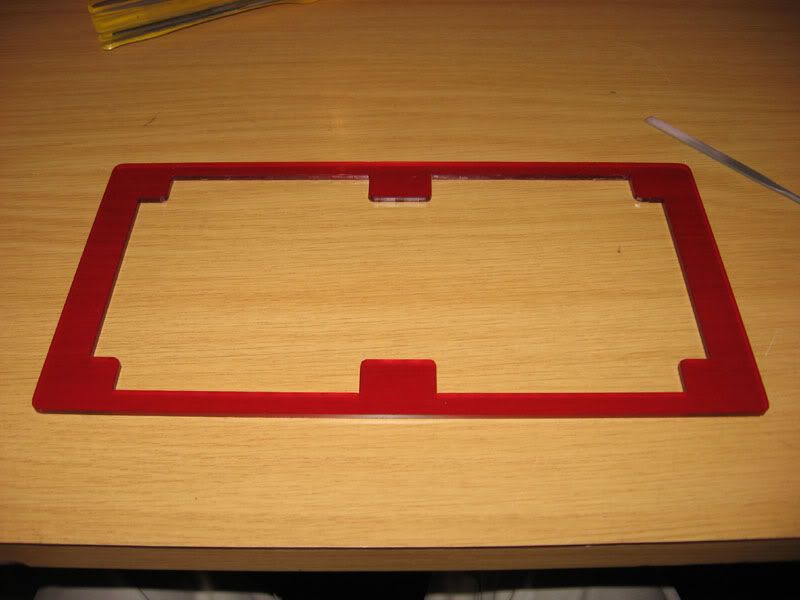
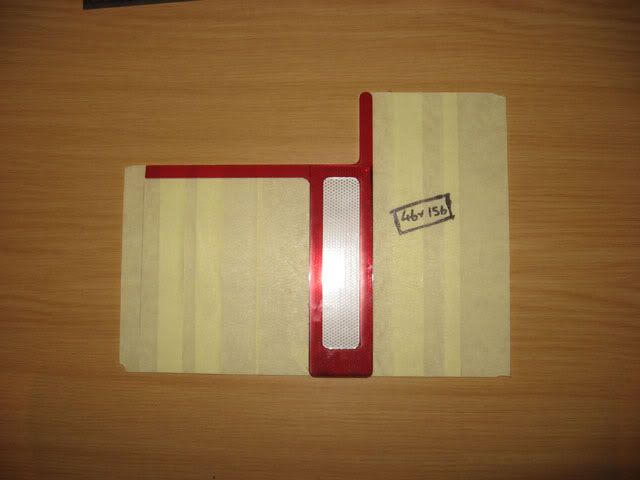
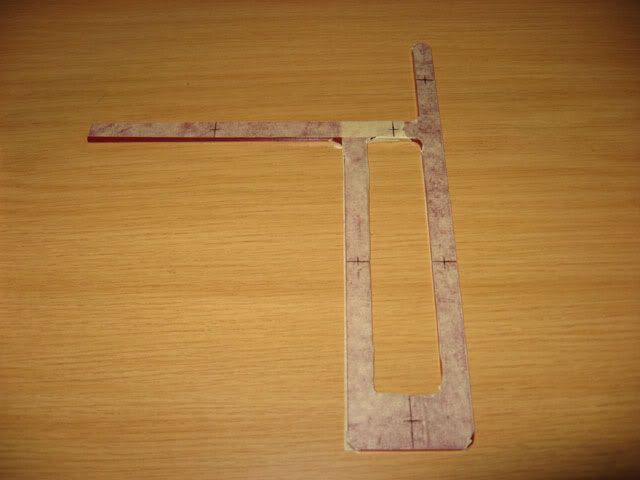
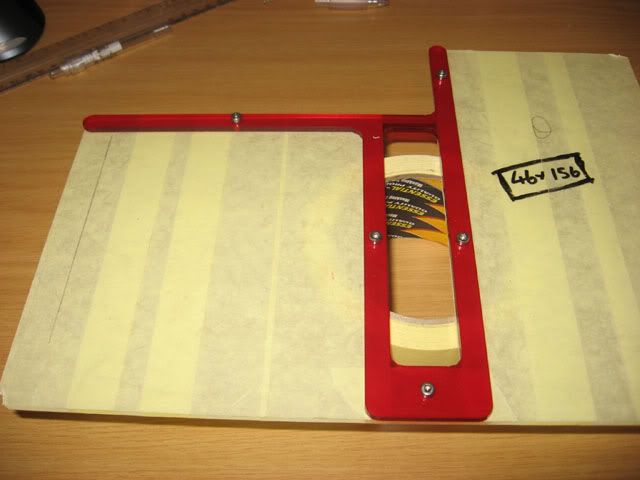
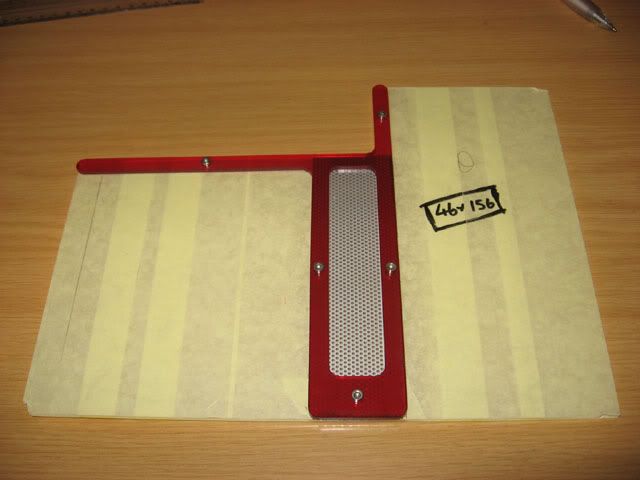
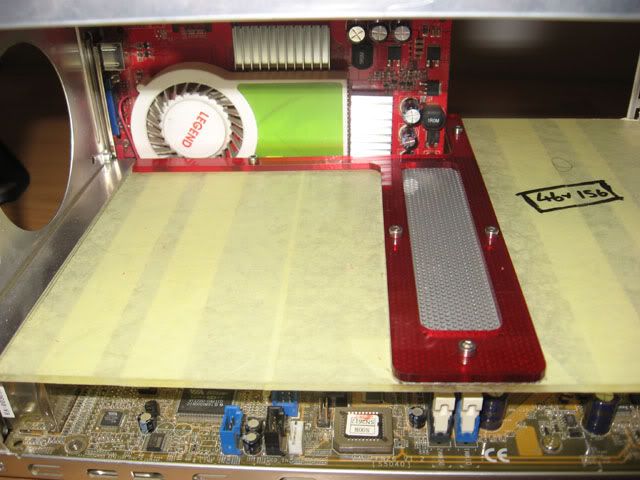
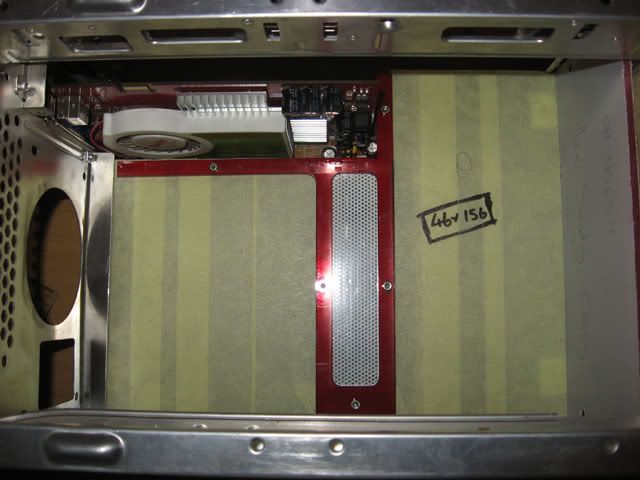
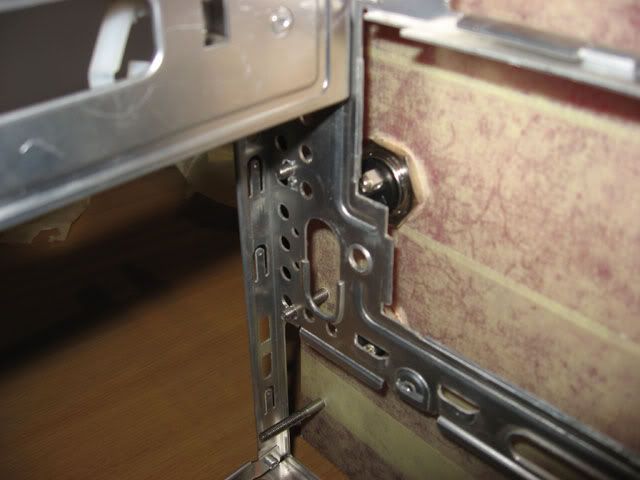
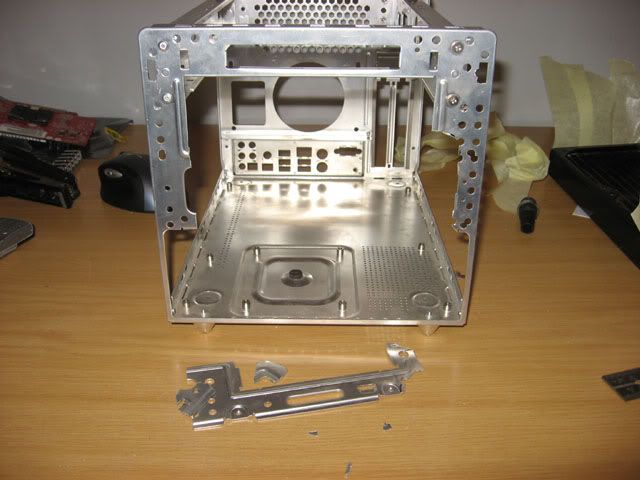
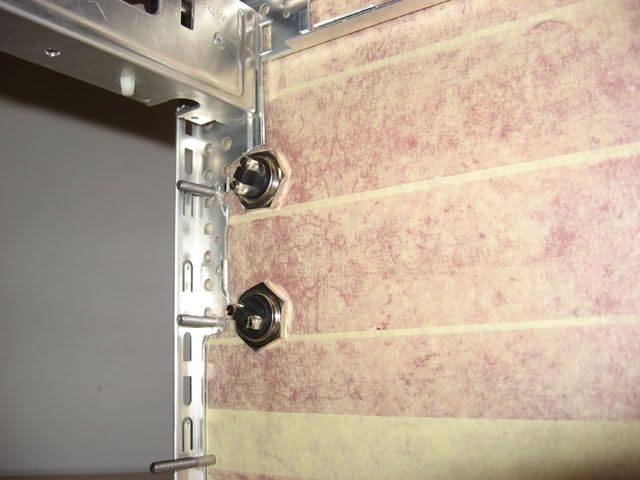
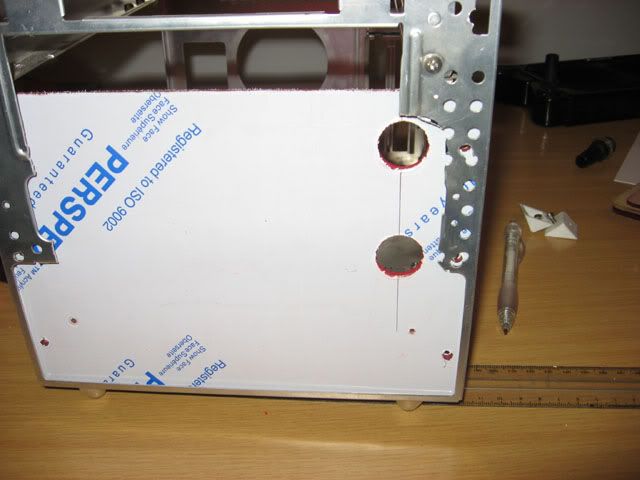
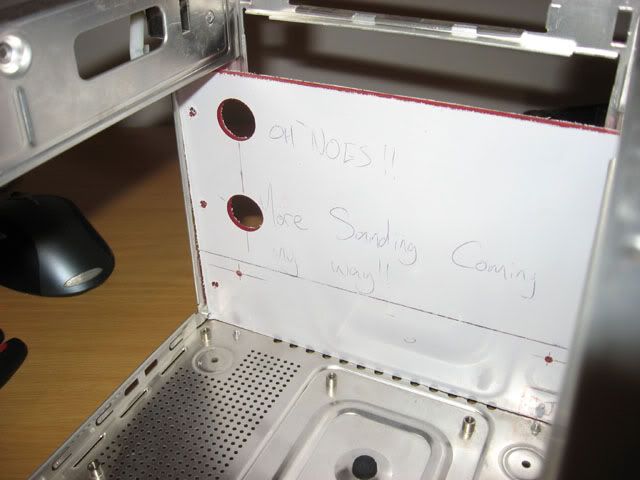
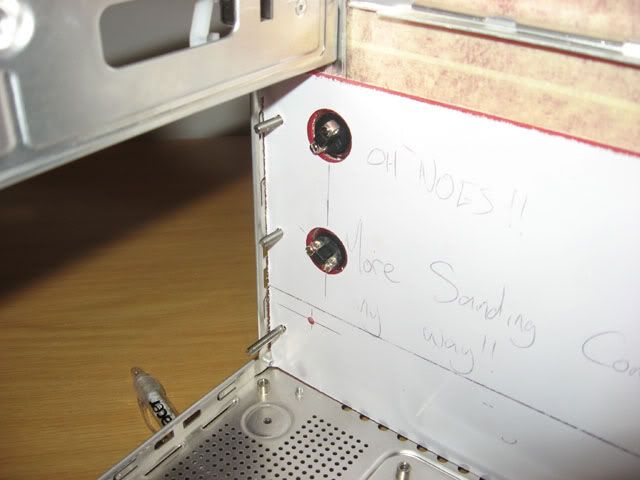
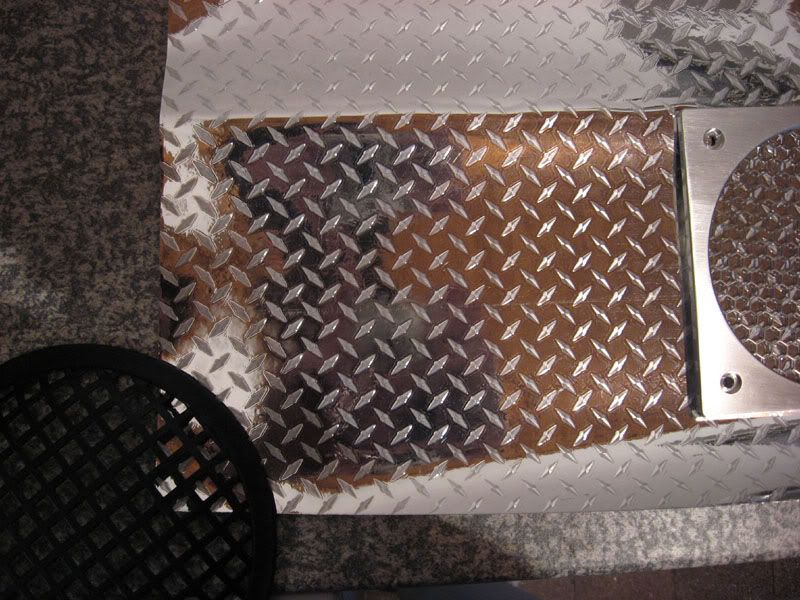
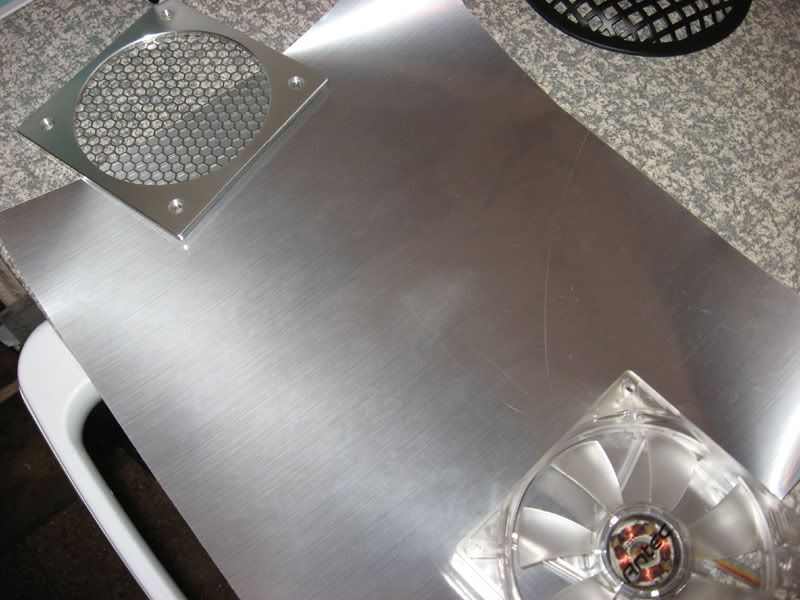
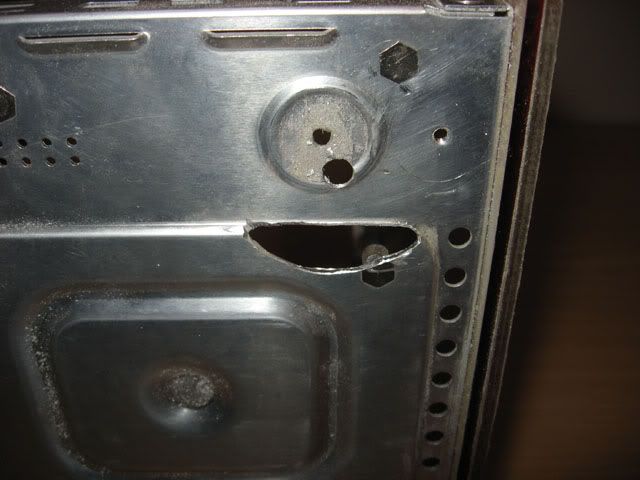
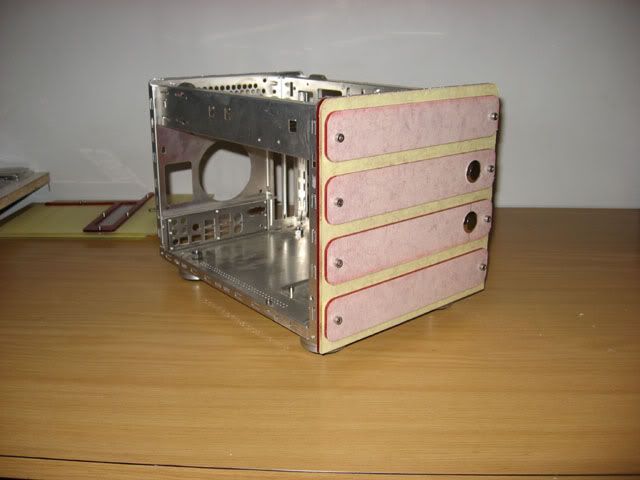
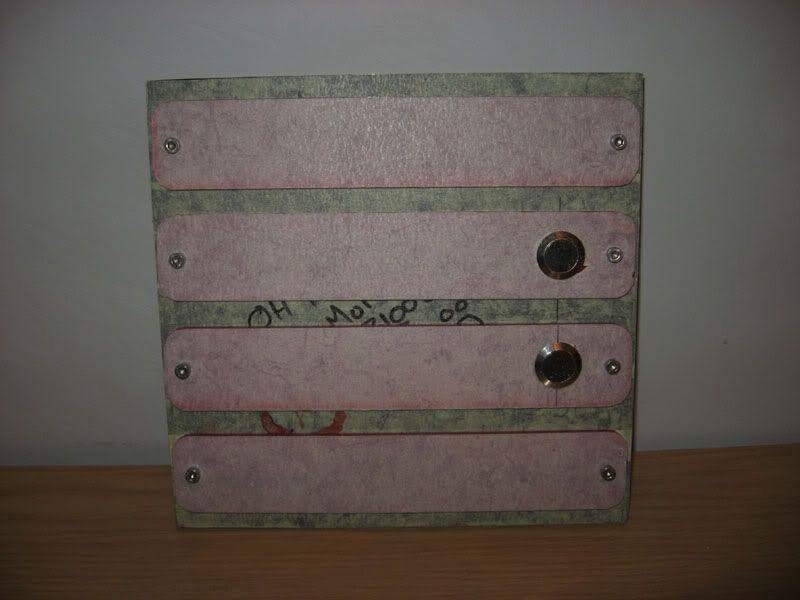
- The entire front Fascia will be removed and i'll make a new one.
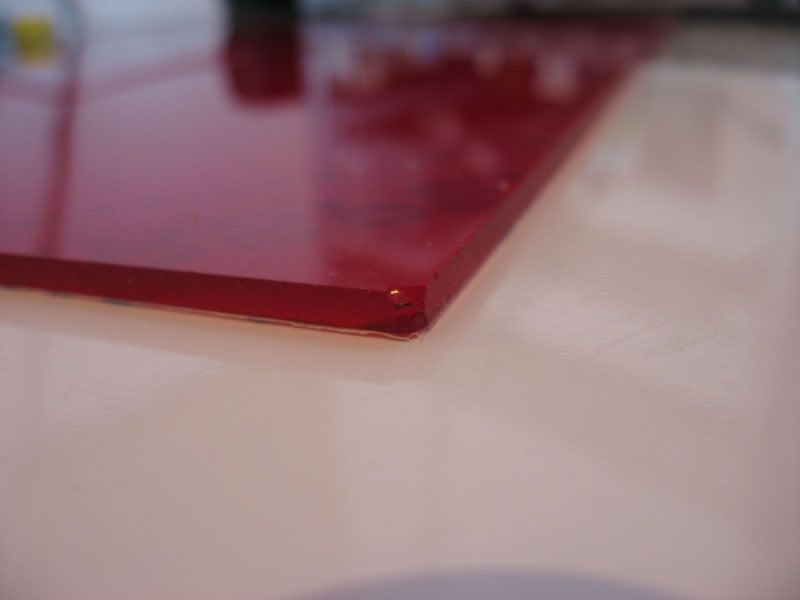
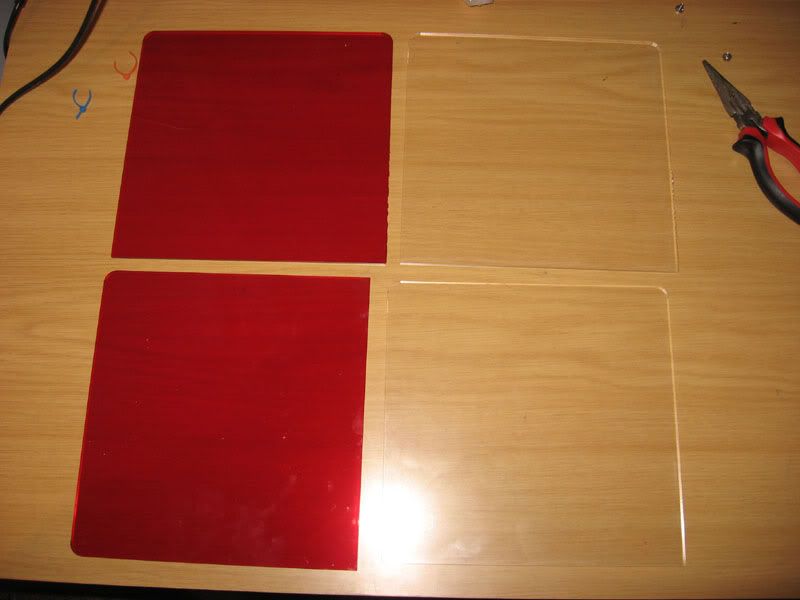
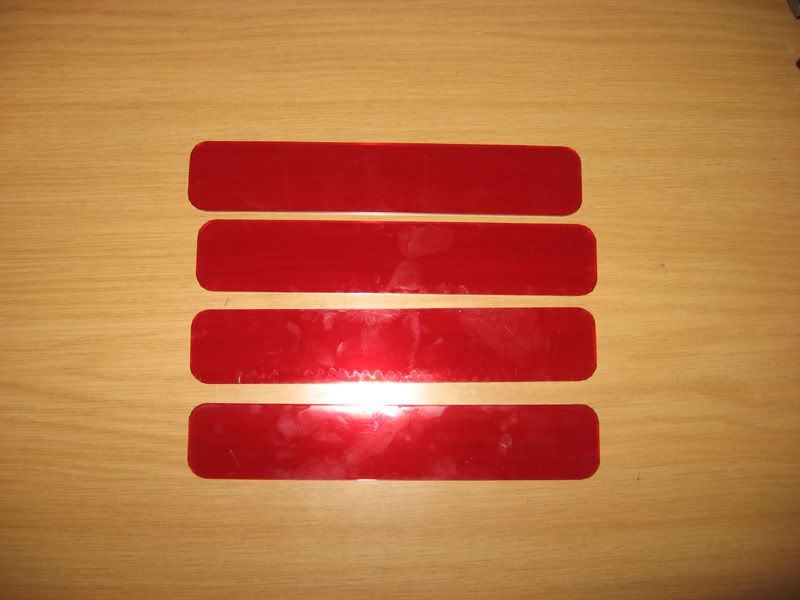
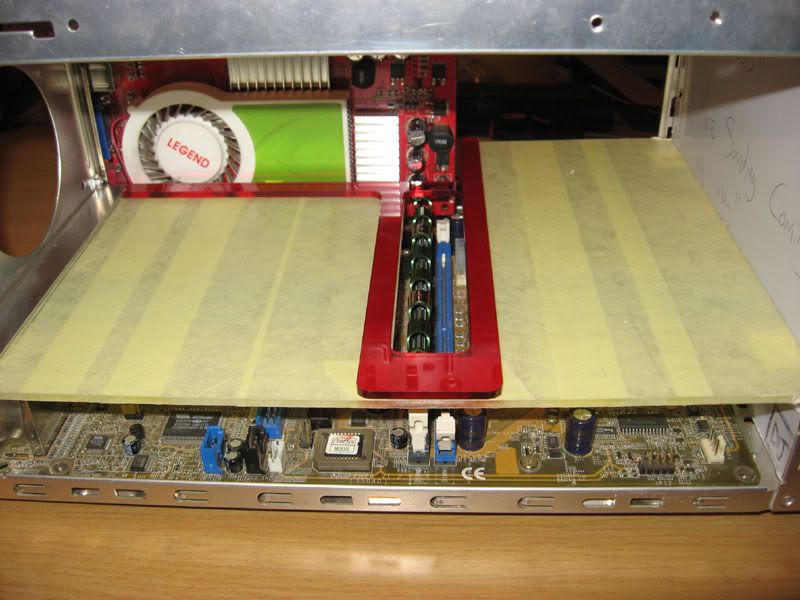
- The case will also obviously be getting a new paint job, colour will be a brilliant white with a red plexi trim and red water.
Now here's the part where this mod will differ slightly from other mods. For a number of reasons, this case will have NO optical drive inside the case. Mainly because this case is TINY and i have to fit a pump in here, but also because i hardly ever use an optical drive. So i have a plan that will allow me to use an optical drive with this machine anyway, and this plan is what the second mod is about:
Second Part of Endorphin
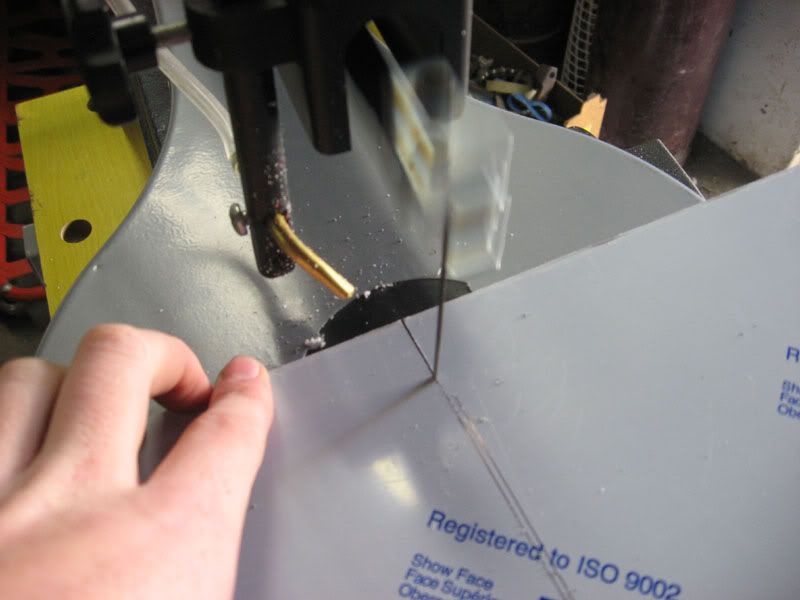
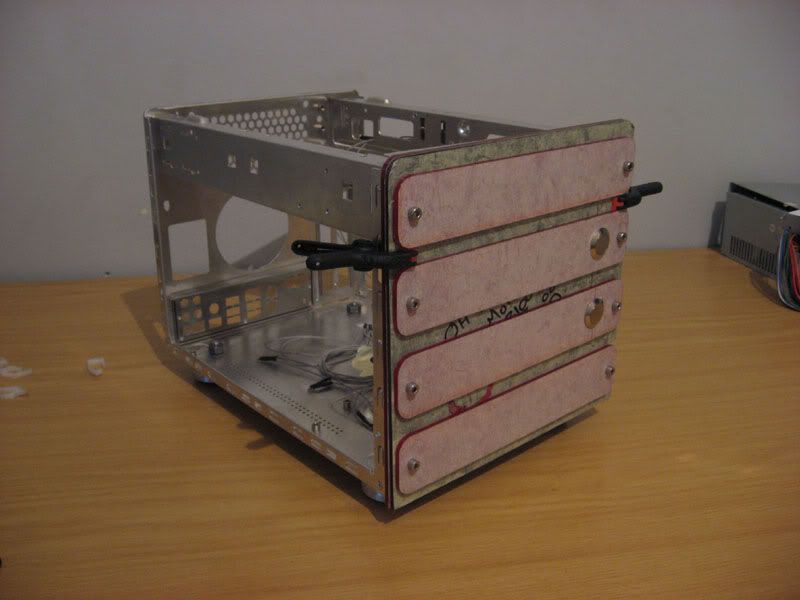
I need an external optical drive, but there's no way in HELL i'm gonna pay over 1K (ZAR) for one, so i'll MAKE one, but one with FAR more functionality than a regular external optical drive. This one will include a few added features.
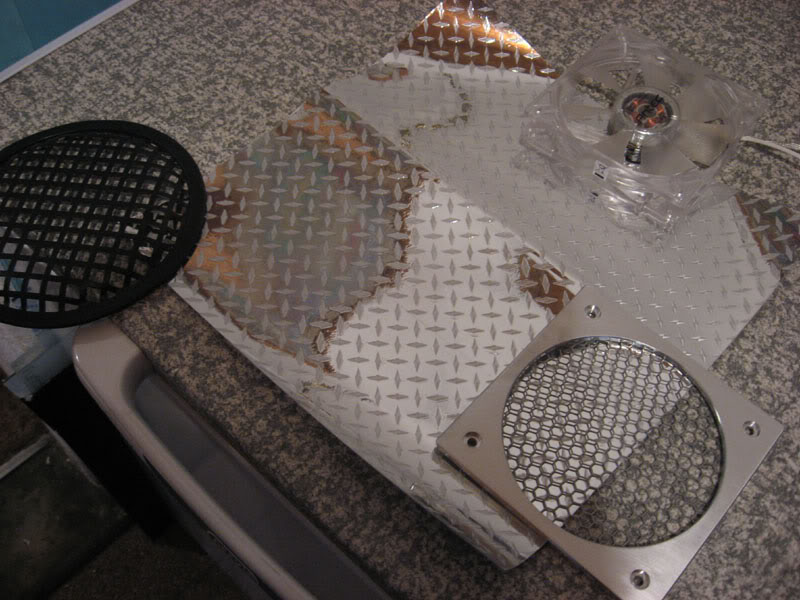
I'm going to build an external enclosure that will house a DVD writer, two hard disks for extra storage (a 160GB and a 120GB), a 120mm fan to cool the HDDs, and a USB hub. The Optical drive, USB hub, and HDDs will all eventually run from the enclosure through a SINGLE USB cable to the PC.
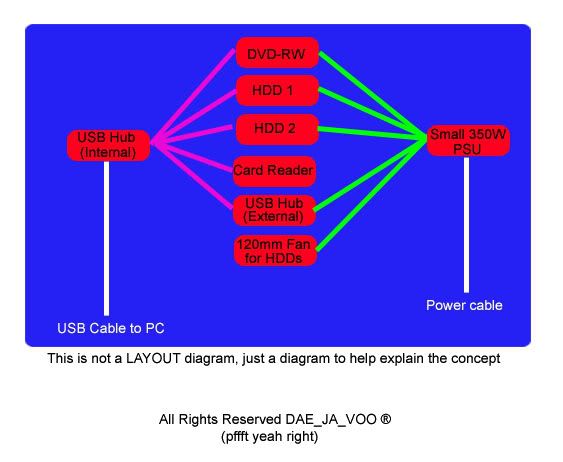
Now i need to explain in more detail how i plan on doing all of this. The optical drive and the two hard disks will be connected to a USB hub inside (lets call this HUB1) the enclosure via IDE to USB adapters. The external USB hub (we'll call it HUB 2) will ALSO be connected to this internal USB hub. This internal hub will be what connects to the PC. So if you plug in this USB hub, you'll connect the Optical drive, both HDDs, and the external USB hub to the PC.
So, now you're probably wondering how i plan on powering all of this huh? Well, i managed to get my hands on a pretty small 350W PSU. It was nice and small. Unfortunately it randomly died on me, so now i'm forced to use another PSU i have. Also just a generic PSU. Nothing more is necessary for a few HHDs. This PSU will come out of it's housing and i'll put the bare, to preserve space. This PSU will power everything in the enclosure - the DVD RW, both HDDs, the 120mm fan, and the USB hubs (yes, i'm gonna buy USB hubs that need 5V so that they can power hungry devices like my portable 20GB laptop HDD). This PSU will get power from a regular power cable.
Here's a diagram to help explain:
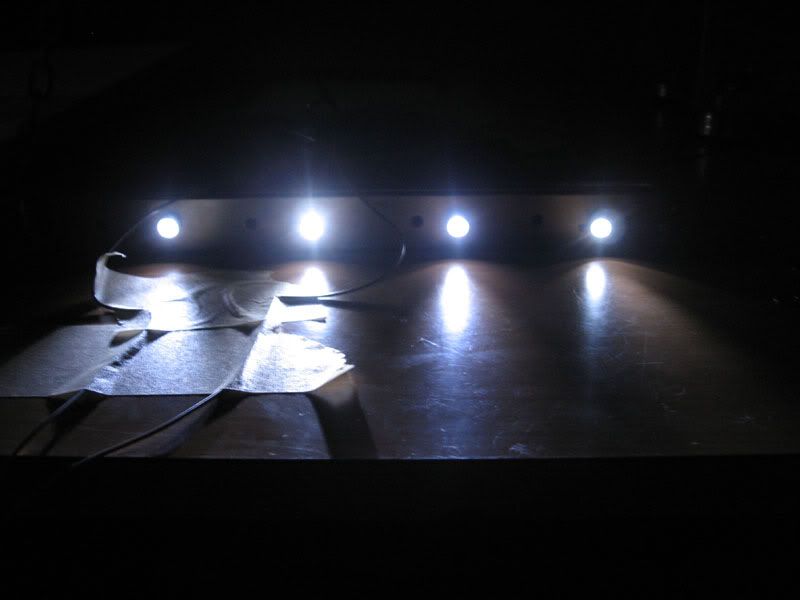
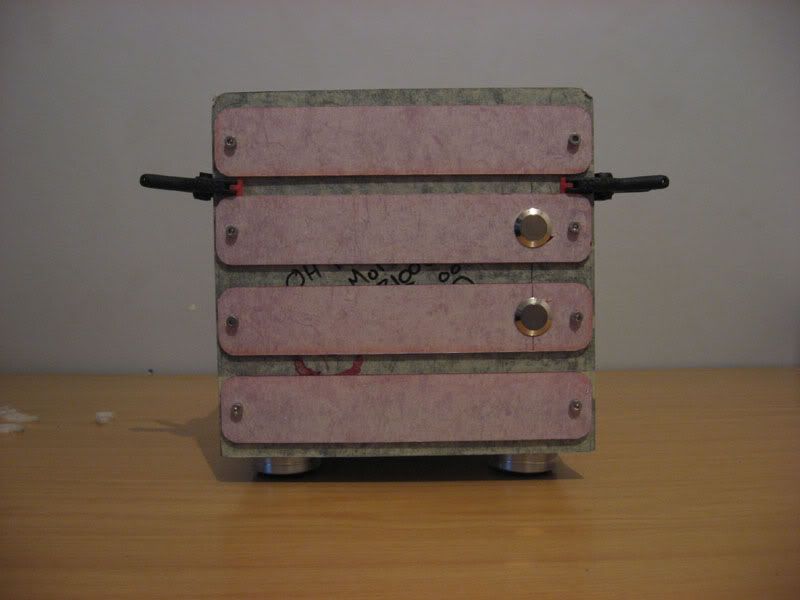
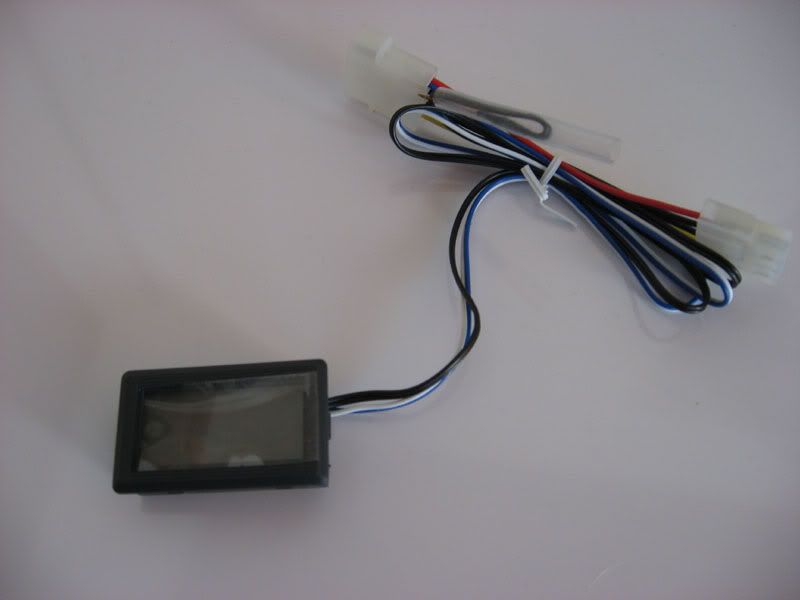
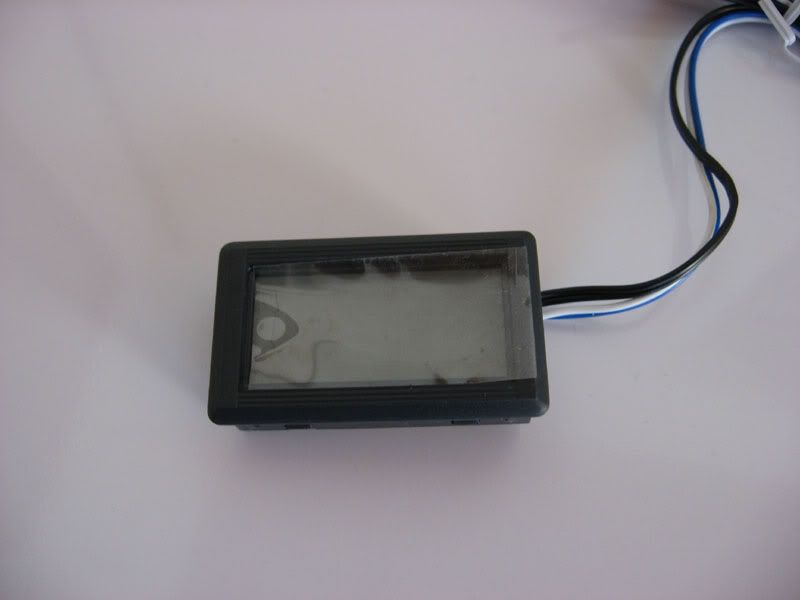
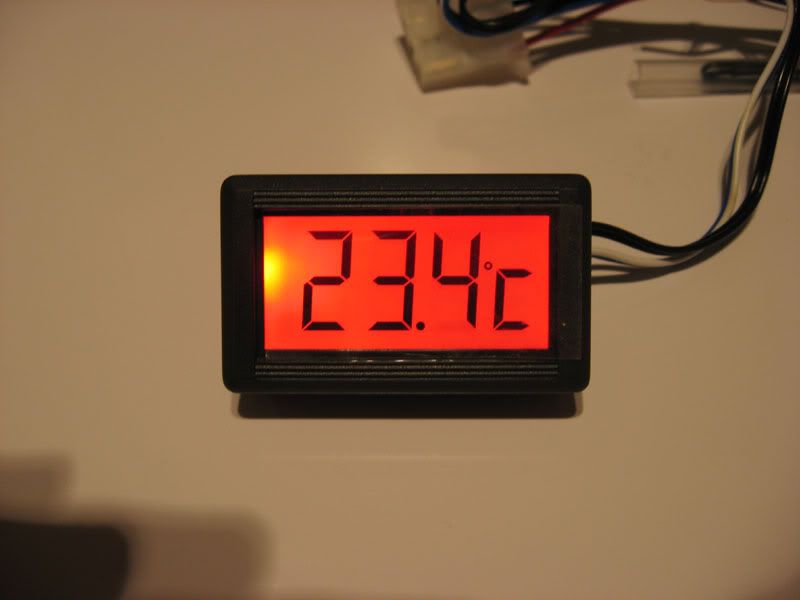
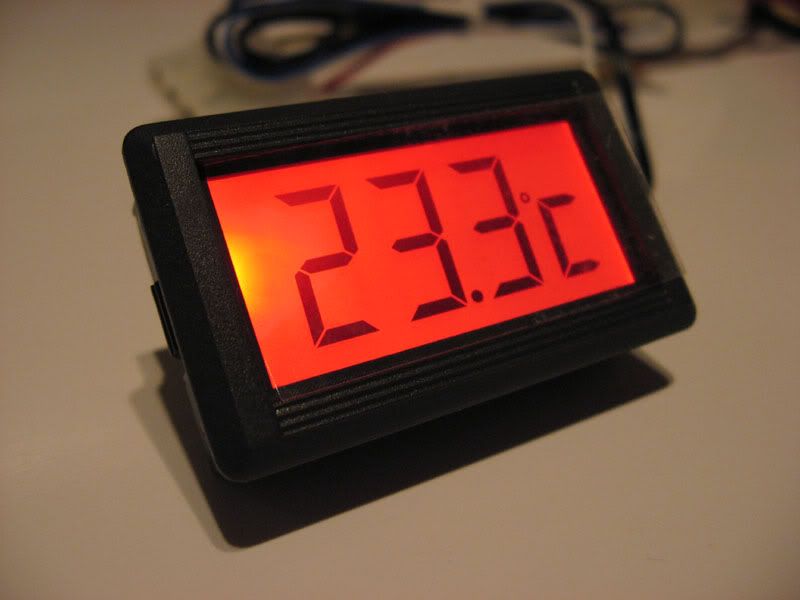
This enclosure will also have 2 LCD displays in front to display the temps of the two HDDs.
I'm thinking that i might add individual switches to all the devices within the enclosure so that i can power up only the ones i want to use.
Now the case mod and this external enclosure mod will run hand in hand, but the external enclosure wont necessarily always be in use, and i can plug it into another PC if need be.
Sponsor(s):
Prophecy:
Prophecy is an online store here in South Africa.
Prophecy
Big big thanks to Henk over at Prophecy for the goodies he sent me for this mod:
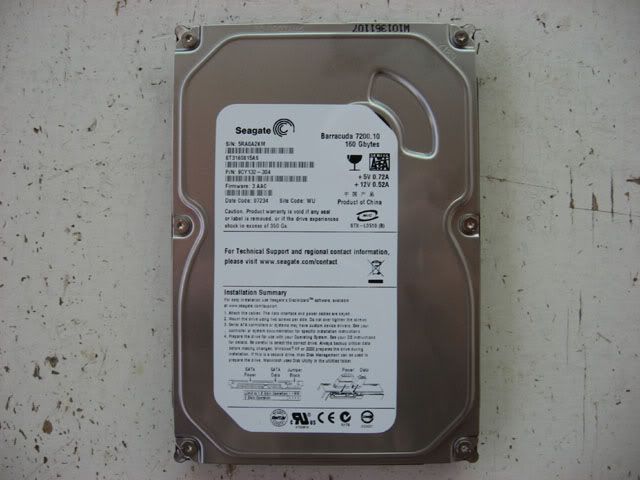
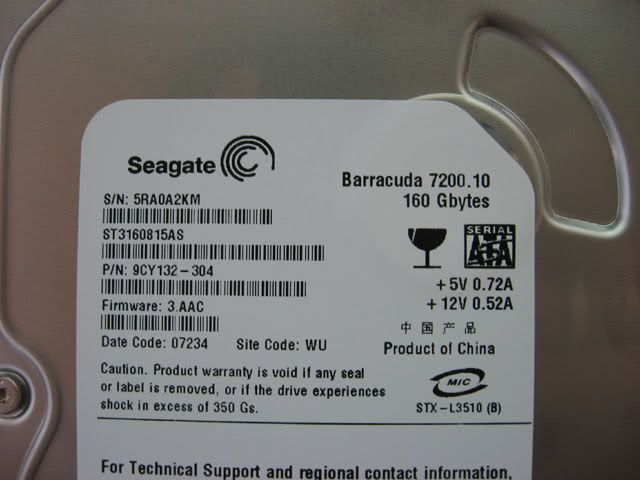
1: A SATA2 Hard disk. A 160GB Seagate SATA2 HDD.
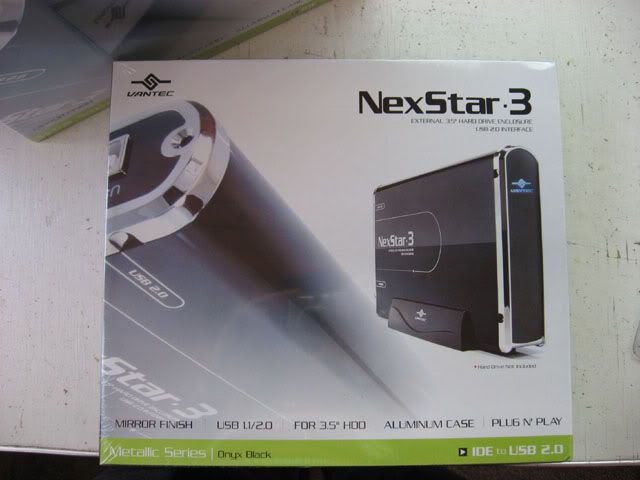
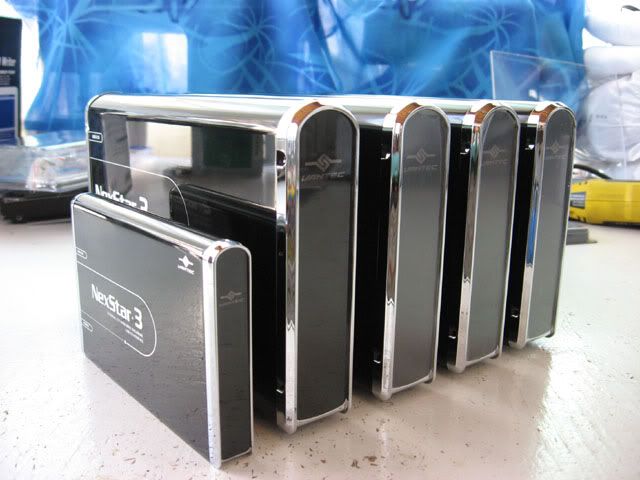
2: Three Vantec Nexstar 3 External Hard Disk Enclosures.
No no, not only one, but THREE:
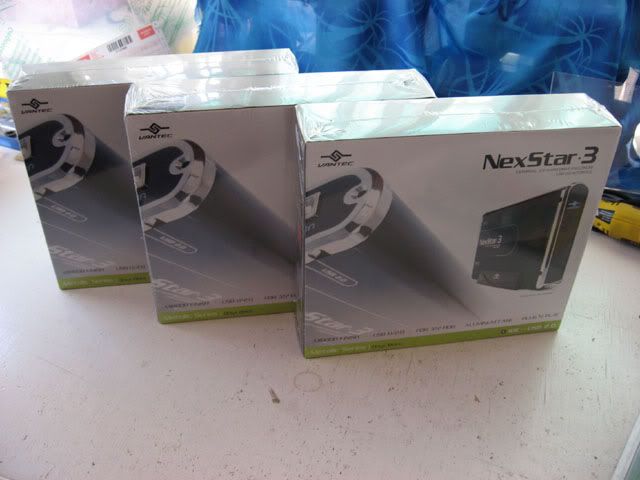
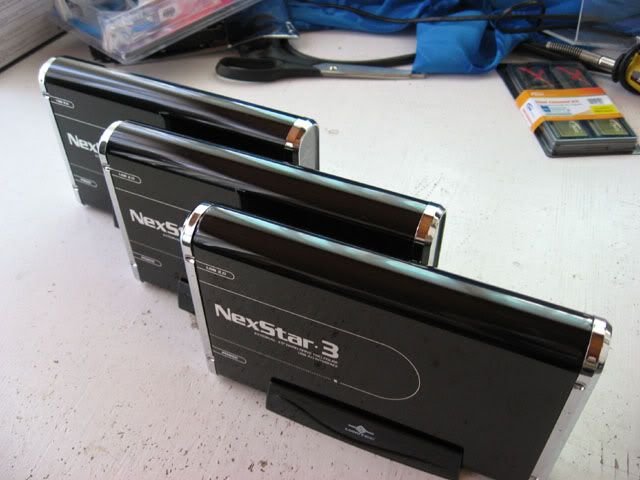
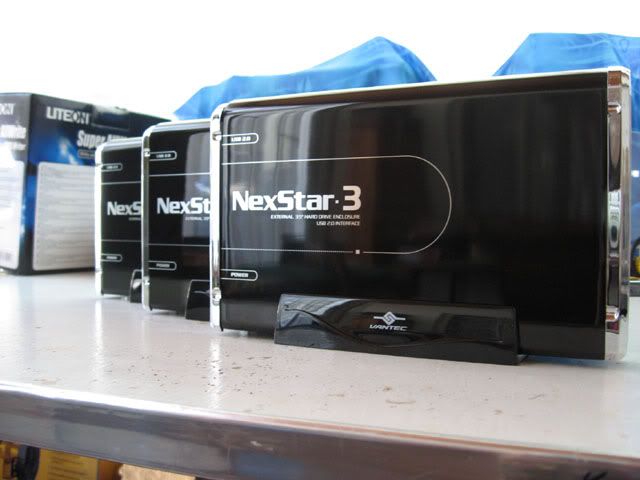
Here they are next to the one i had before this mod as well as my 2.5" one for my notebook HDD:
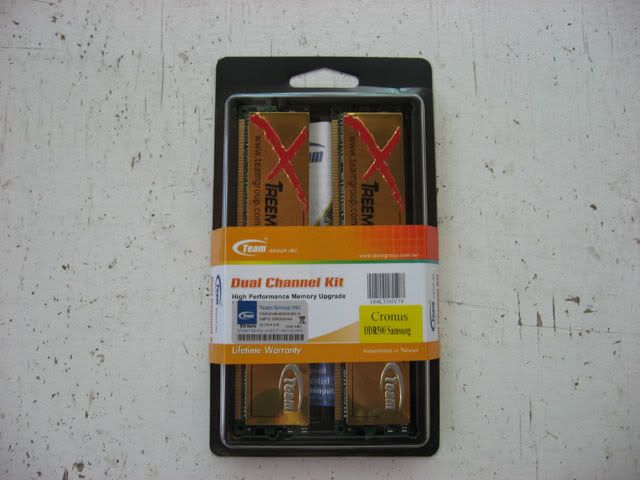
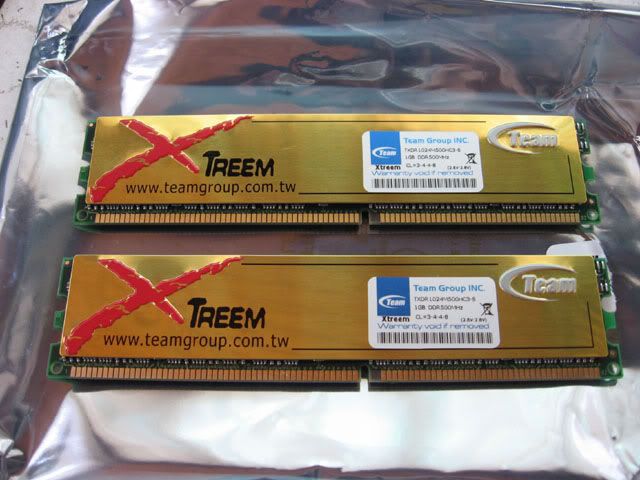
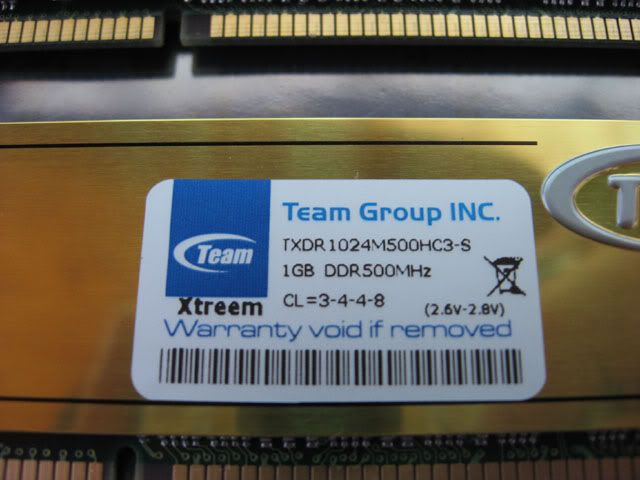
3: RAM. Team Xtreem Overclocking DDR 500MHz - 2GB (2x1GB Dual Channel)
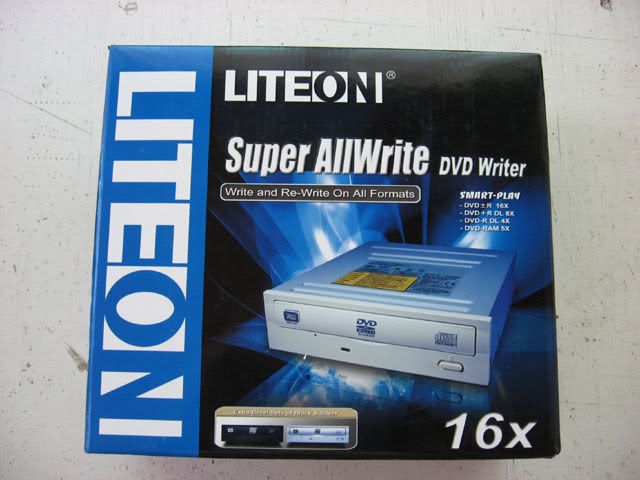
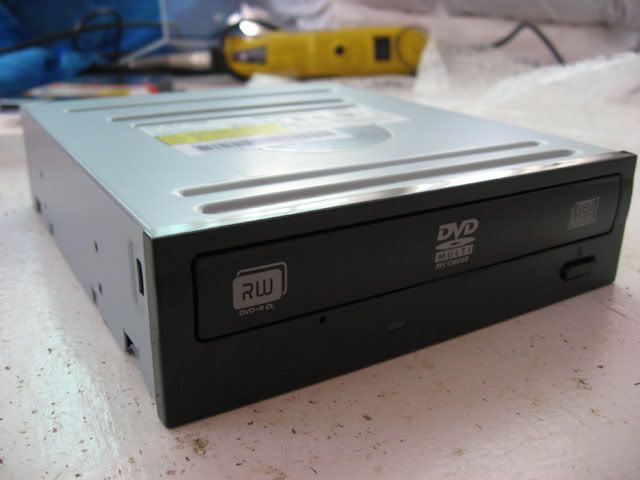
4: A Liteon DVD-RW (The LITEON® 16X DVD+R, 4X DVD+/-R DL to be specific).
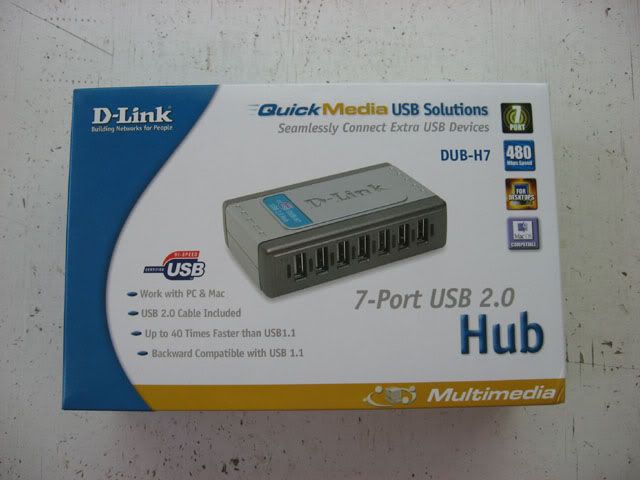
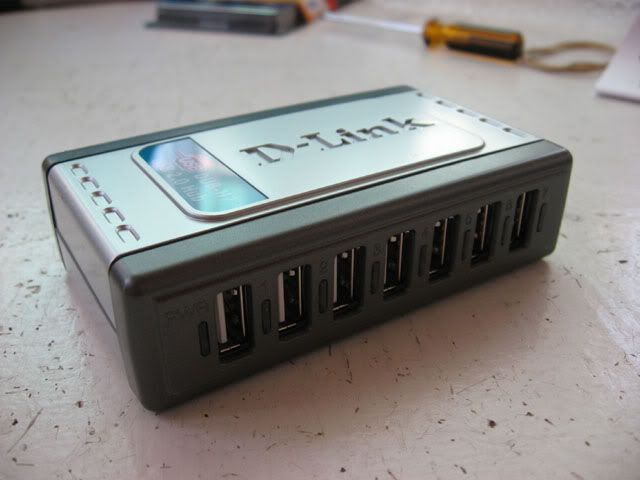
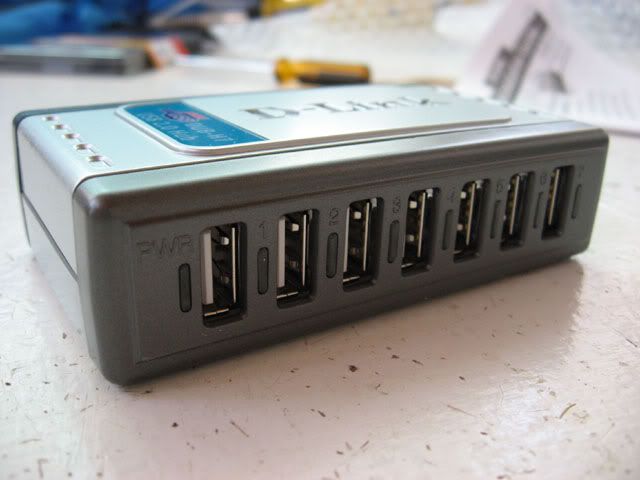
5: Two D-link DUB-H7 7port USB 2.0 hubs.
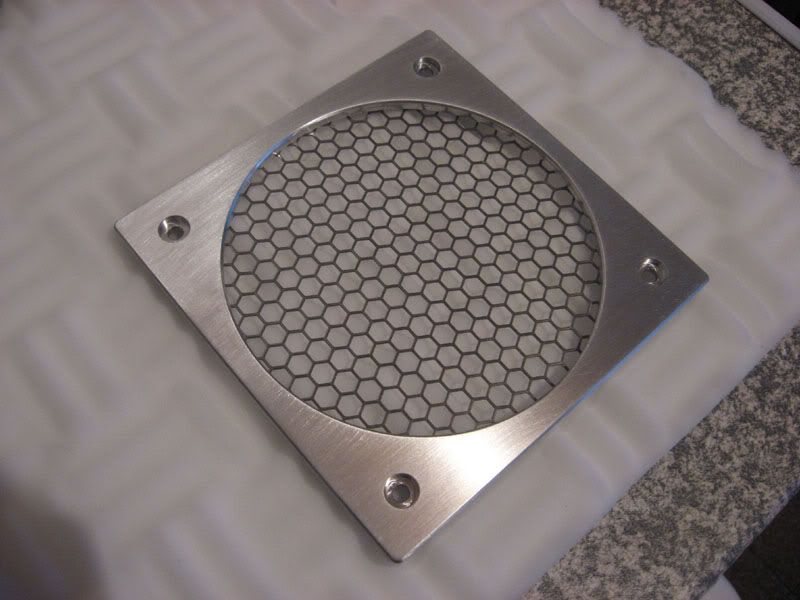
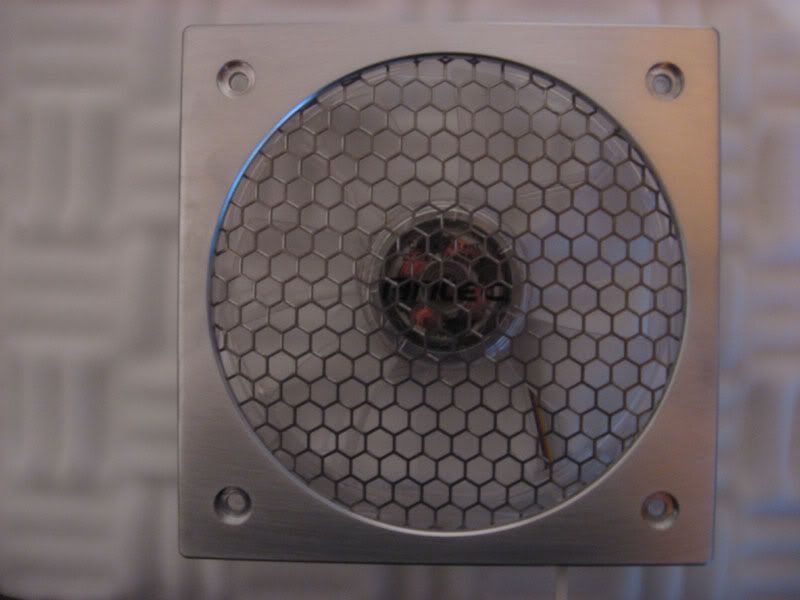
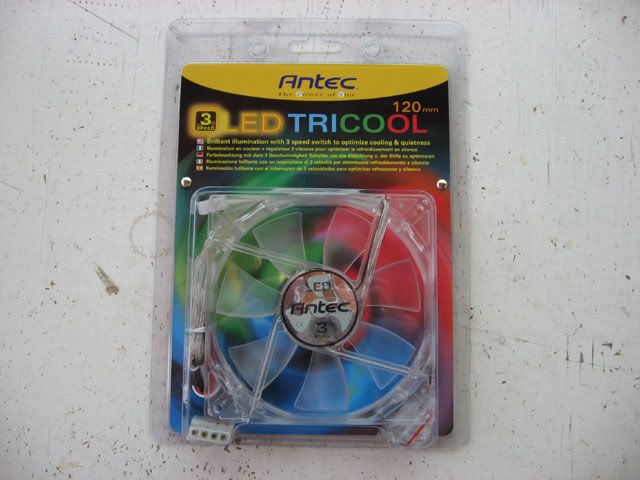
6: An Antec Tricool 120mm Fan.
As you can see, this is a pretty large amount of goodies, and i can't express how happy i am regarding this sponsor. Henk, Thanks again man!
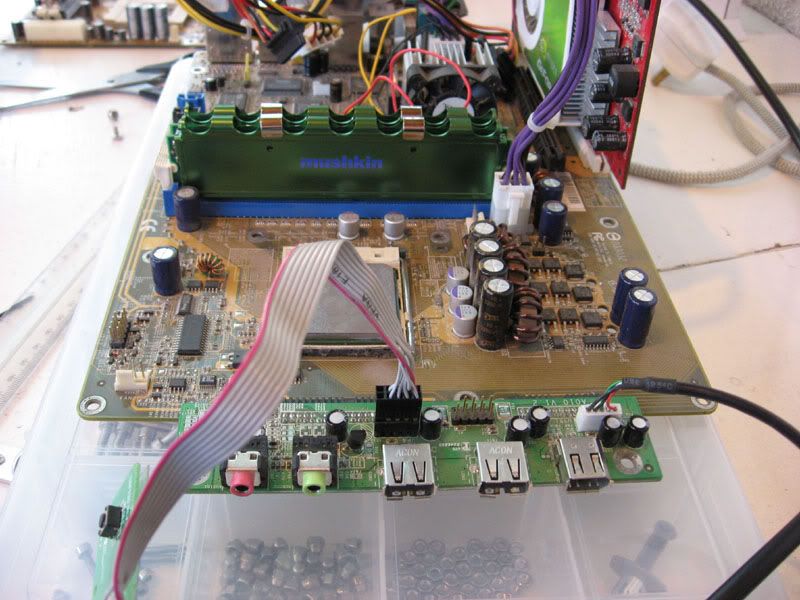
Unfortunately that Team RAM died on me. Thanksfully though, Prophecy sent me a nice kit of Musking RAM:

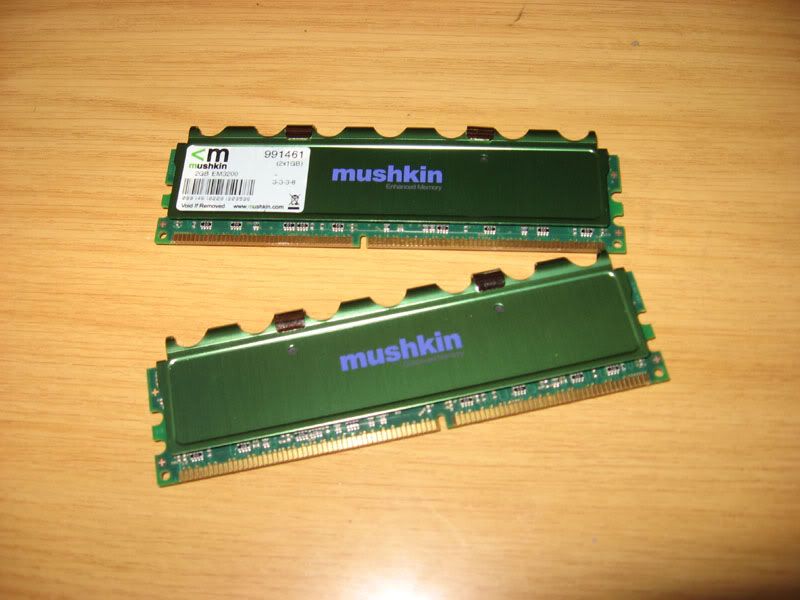
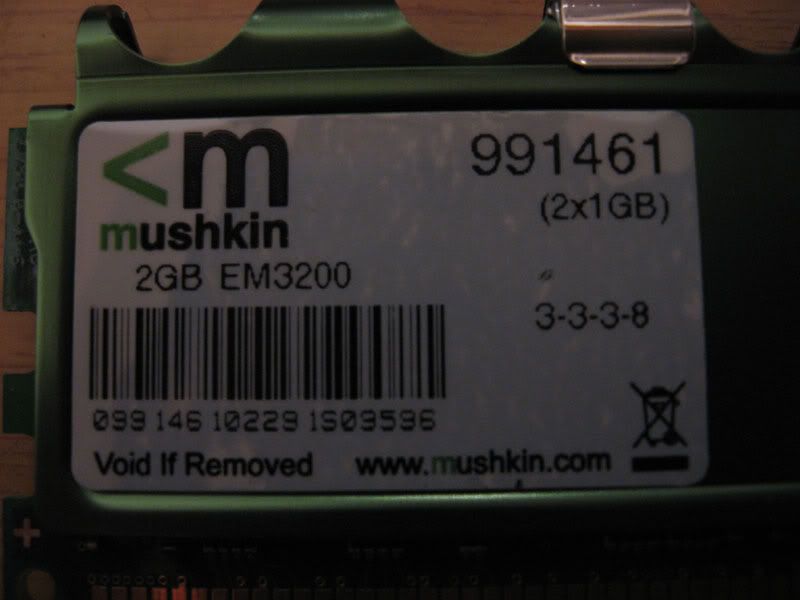
That's the EM3200 2GB kit.
Thanks Prophecy!
Okay, so let me explain what i need all of this stuff for:
1: The HDD. This HDD will go into the actual PC case. The HDD i have in there now is an IDE disk which will look HORRIBLE and potentially ruin this mod. I have other hard disks that will go in the external enclosure.
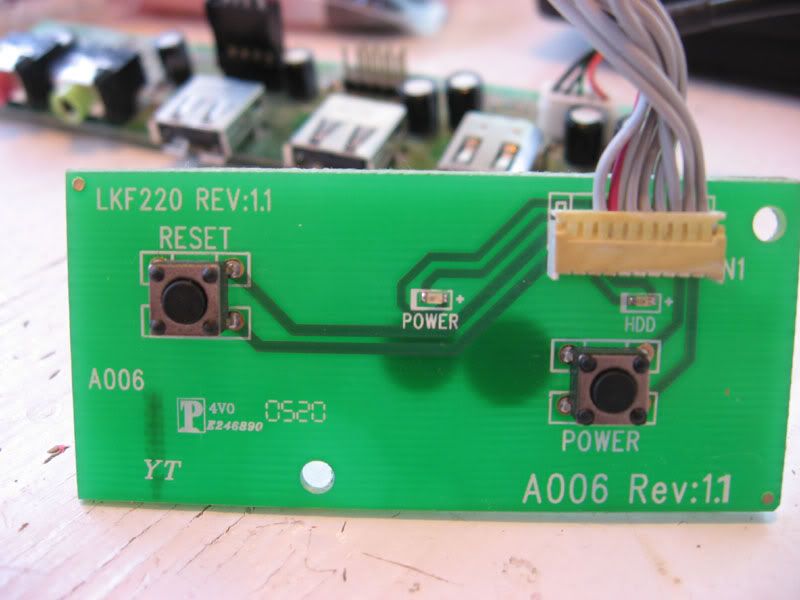
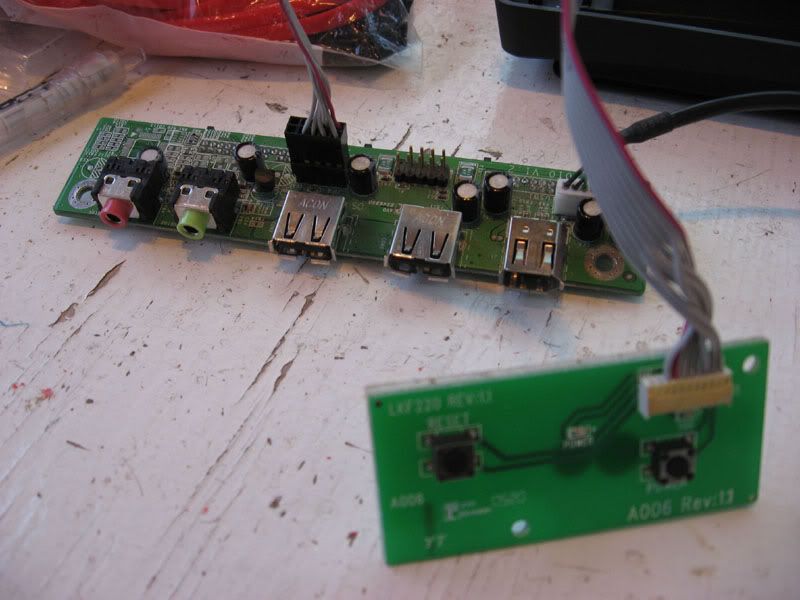
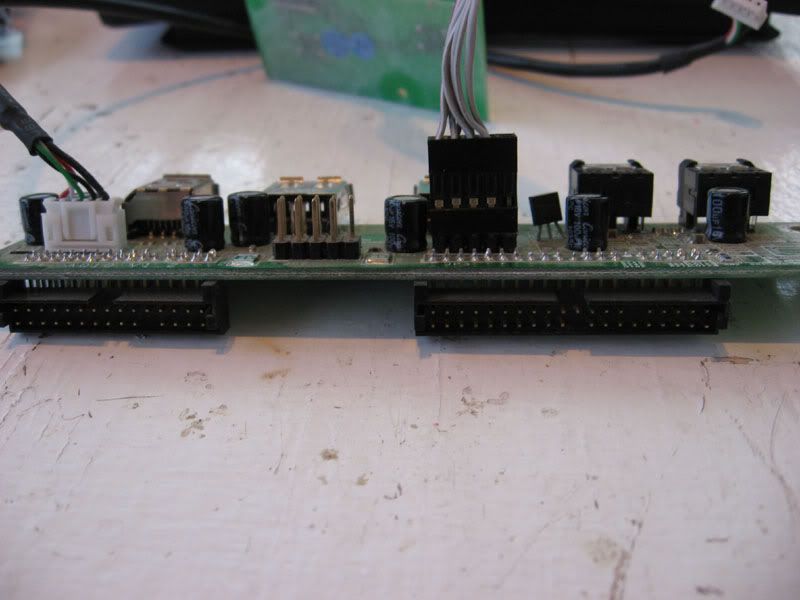
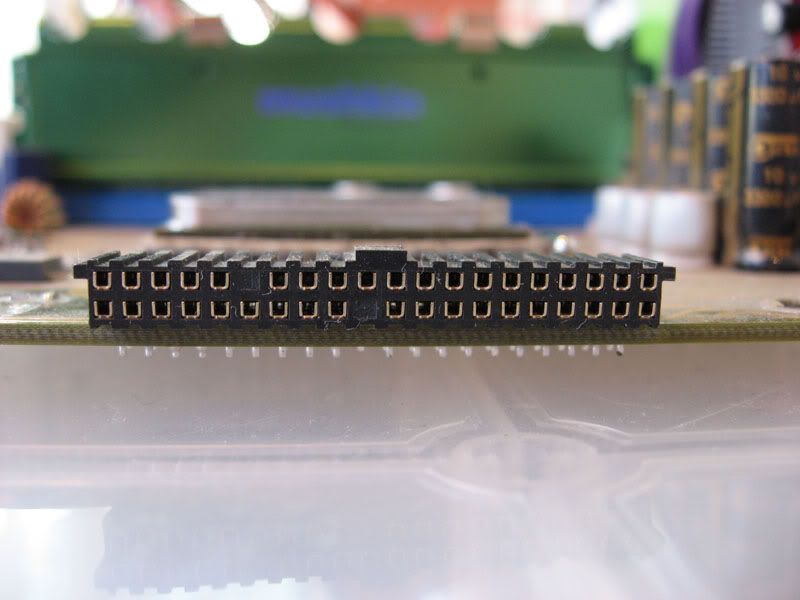
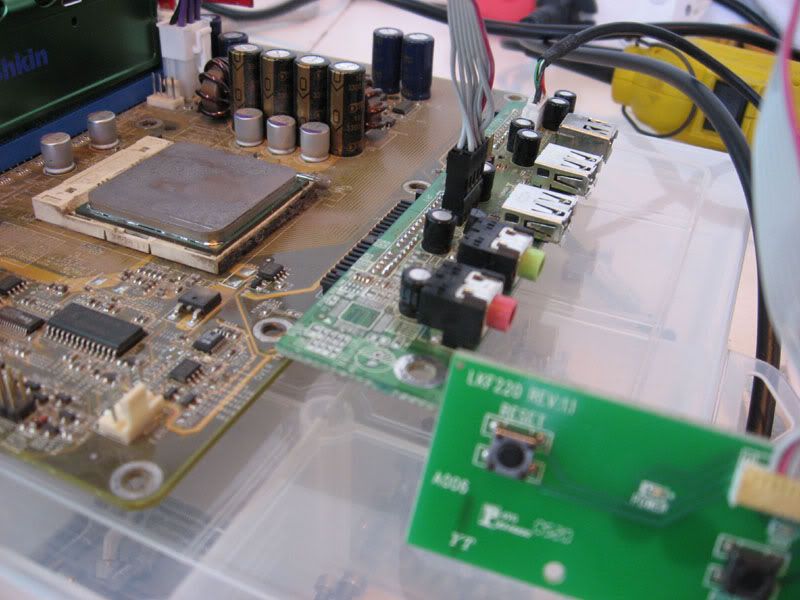
2: The three Vantec Enclosures. The enclosures will be pulled apart for the guts. I need the PCB that's inside them that converts IDE to USB. The three PCBs from the three enclosures will be used for the two HDDs and the Liteon DVD-RW that's going into the enclosure.
3: RAM. Well this will obviously go into the machine.
4: The DVD-RW. The DVD Writer will be going into the external enclosure.
5: Two D-Link hubs. This is a cool part. Both hubs will be going into the external enclosure, however, one will be internal, and the other will be external, but not completely external. Let me explain. The one hub will be available from the outside of the enclosure, just 7 ports for any devices or whatever. The second hub will be inside, and the two HDDs, the DVD-RW, the external hub will all be connected to it. The internal hub will then have it's cable running out of the enclosure to whichever PC i connect it to.
6: The Antec Tricool fan: Man i love Tricool fans. I have 4 of them in epiphany, great fans these. This one will be in the enclosure to cool the two HDDs.
So that's what all these goodies are for.
Just let me point out that, as far as i know, nobody has ever been sponsored for Case modding in South Africa. It seems that Prophecy has really got an interest in the SA enthusiast PC market and they're really trying to get modding in SA to a better standard. I'm most certainly not saying that they'll sponsor every second Joe, hell, maybe i'm the only person they'll ever sponsor, maybe i'm the first of MANY, but i'm sure that many more companies will follow in Prophecy's tracks and start making an effort to make modding a big thing in this country.
Next Sponsor:
IceVision
IceVision is also an online store here in SA.

A 250GB Seagate SATA2 HDD, a 120mm fan, and 512mb of Twinmos RAM:
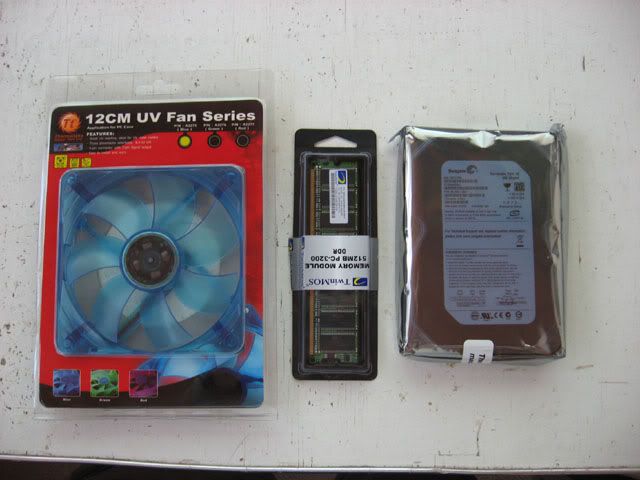
I told Mario from IceVision that Prophecy had already sent me RAM, GOOD RAM, but Mario sent me some RAM anyway. lol, i have no idea what i'm gonna do with it:

My nice new Seagate:
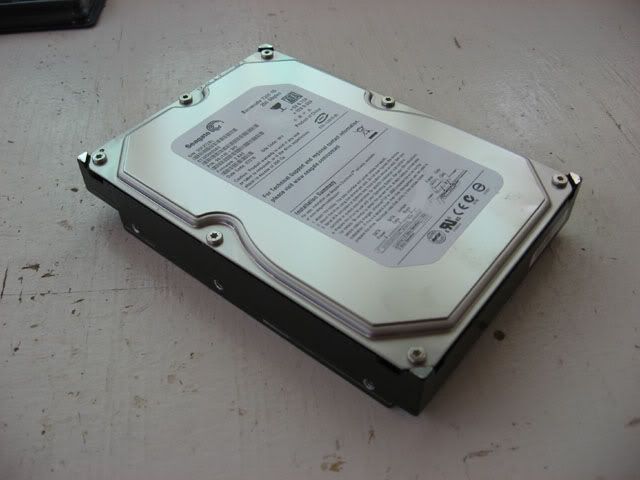
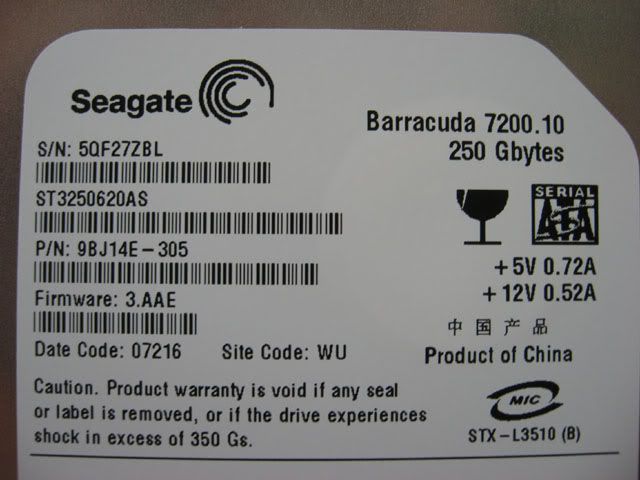
The 250GB from IceVision and the 160GB from Prophecy will go into the PC itself. The 160GB for the OS and the 250GB for storage.
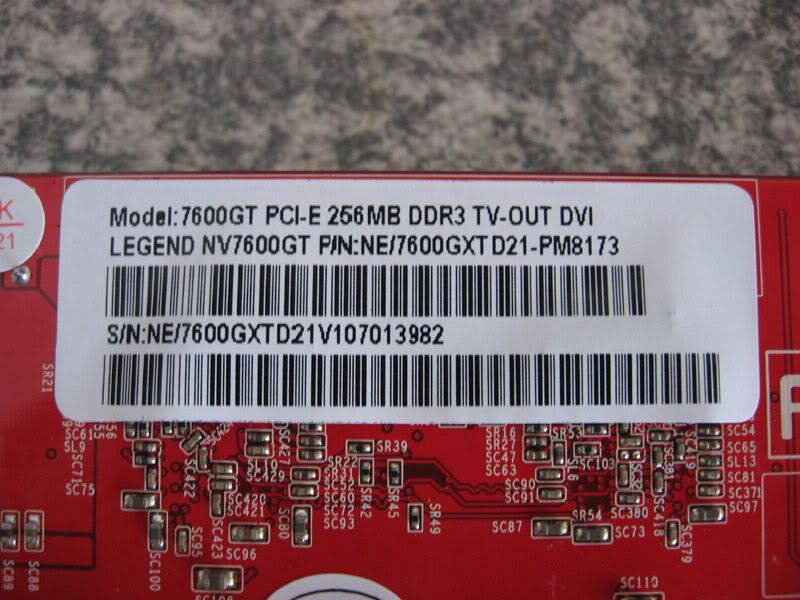
IceVision also offered to send me two Legend 7600GTs.
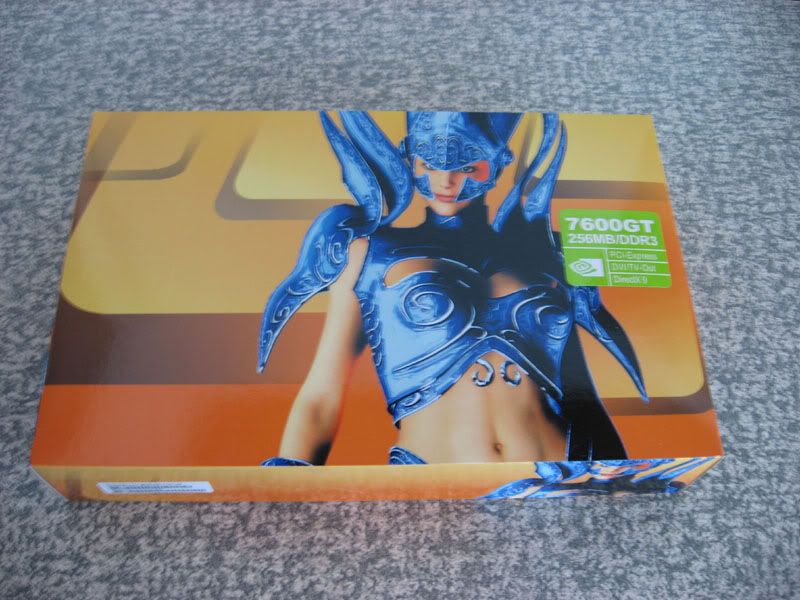

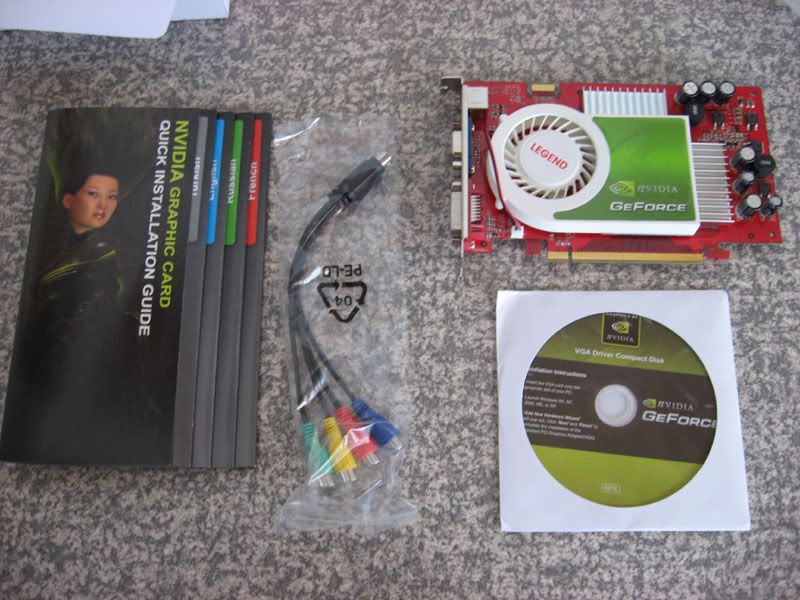
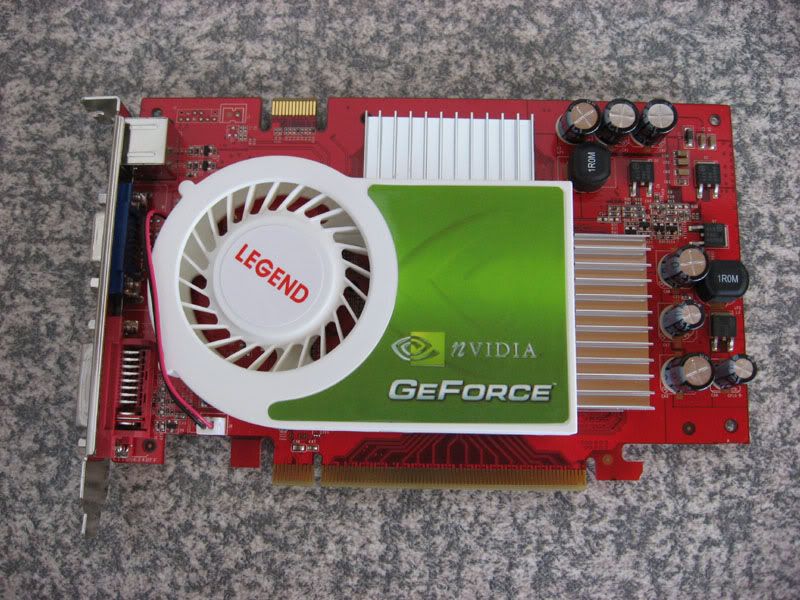
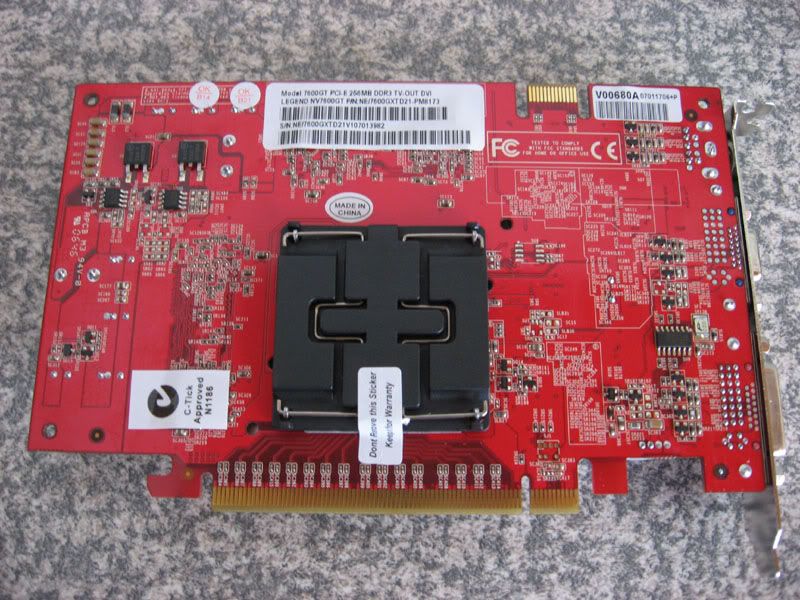
Lol, look at this one:
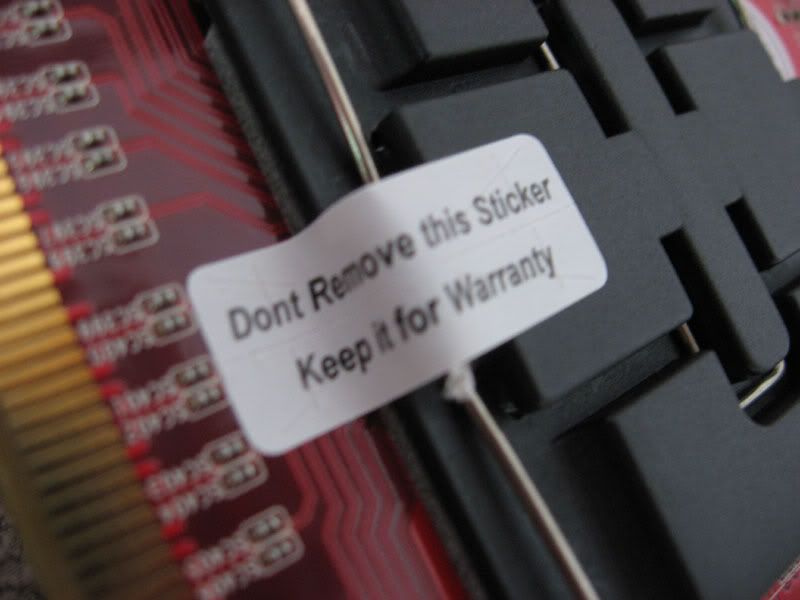
Very funny. That sticker will have to come off since i'll be watercooling these cards.
So now the specs of the PC are finalized:
Shuttle SN26P
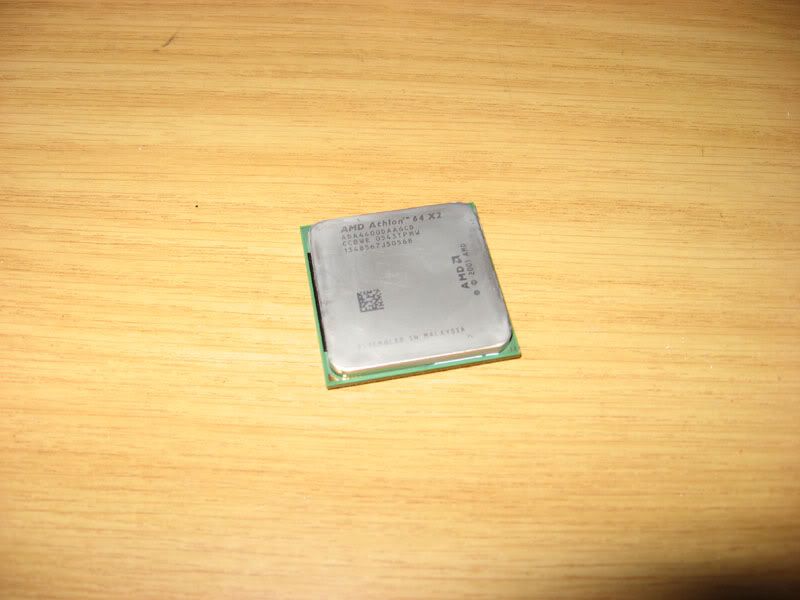
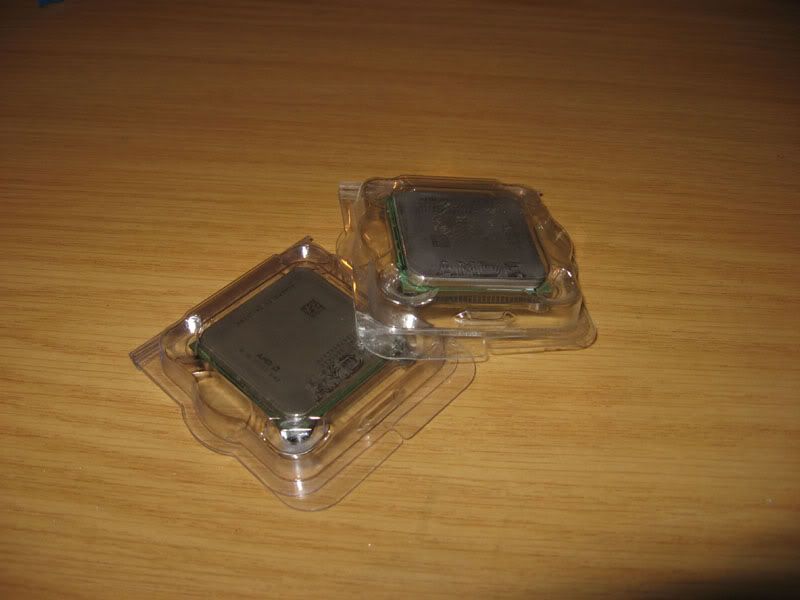
AMD Athlon 64 3500+ Venice
2x 1GB Team Extreme DDR500
2x Legend 7600GT SLI
1x Seagate 160GB SATA2
1x Seagate 250GB SATA2
Not too shabby
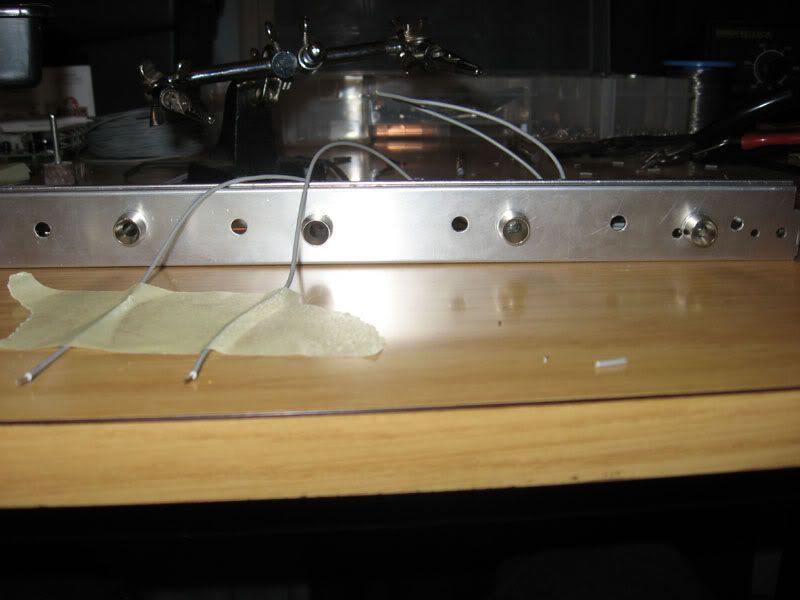
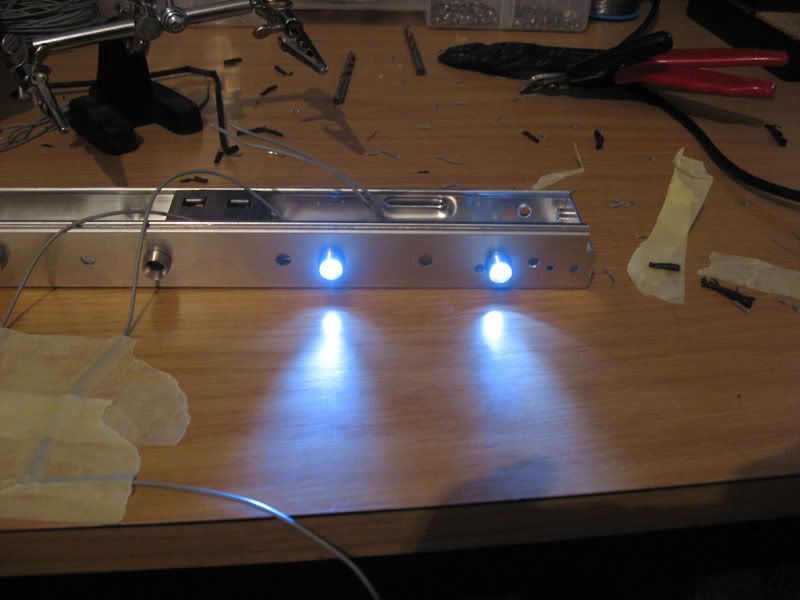
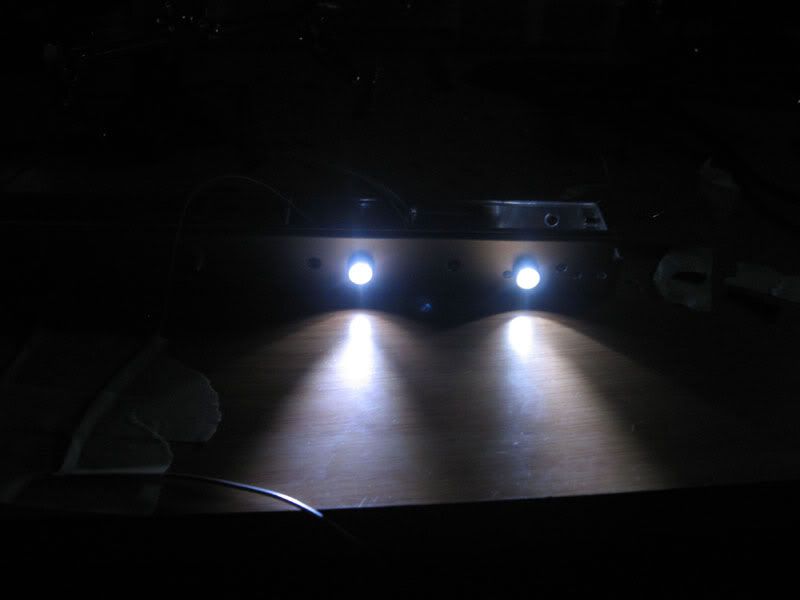
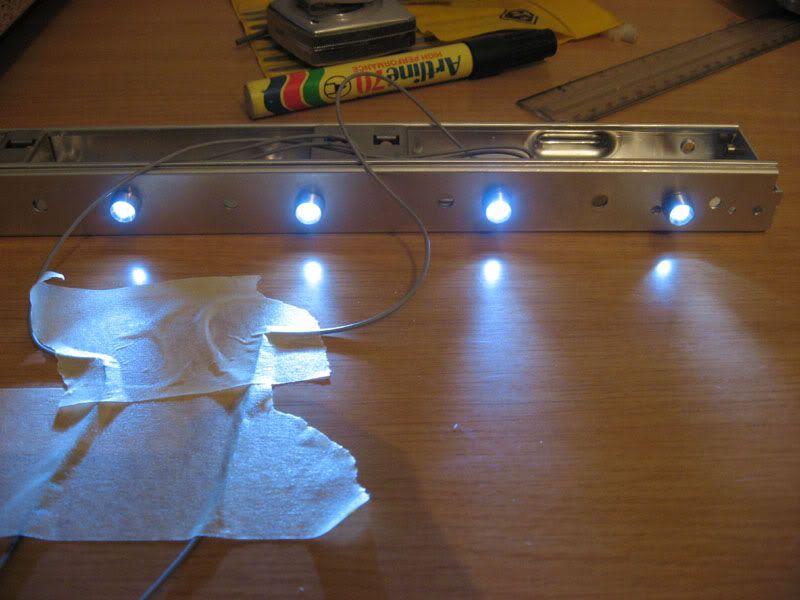
I ordered some little red LCDs for the external enclosure. They dont LOOK very red in the pics, but in real life they're very very red. Perfect
For reservoirs in the case, i'll be using two Cape Cool 10's:
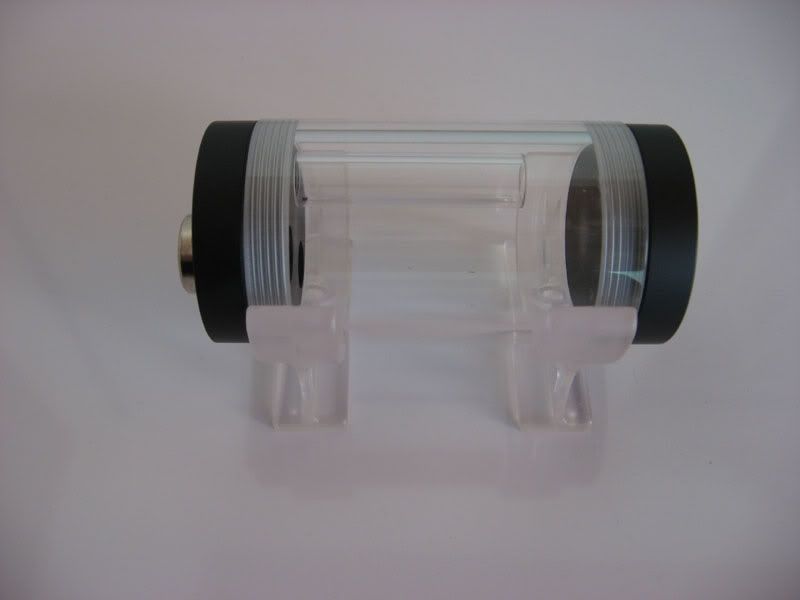
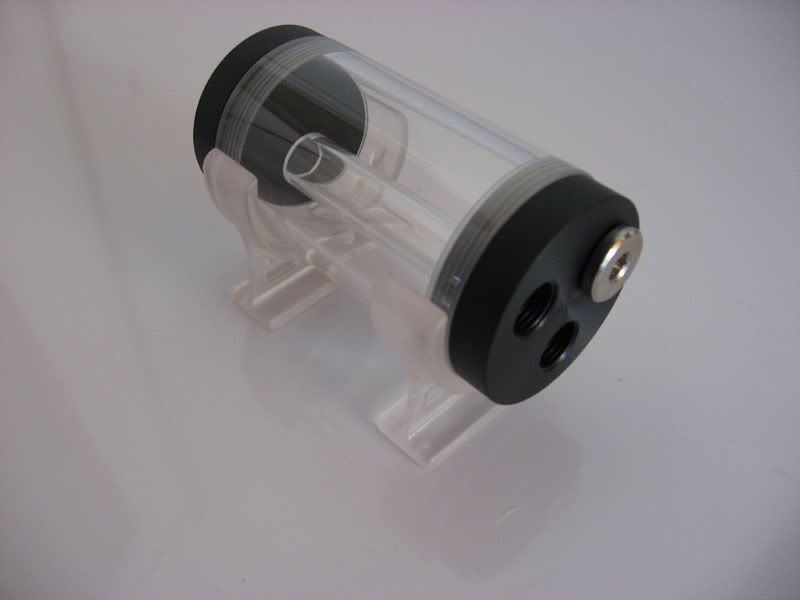
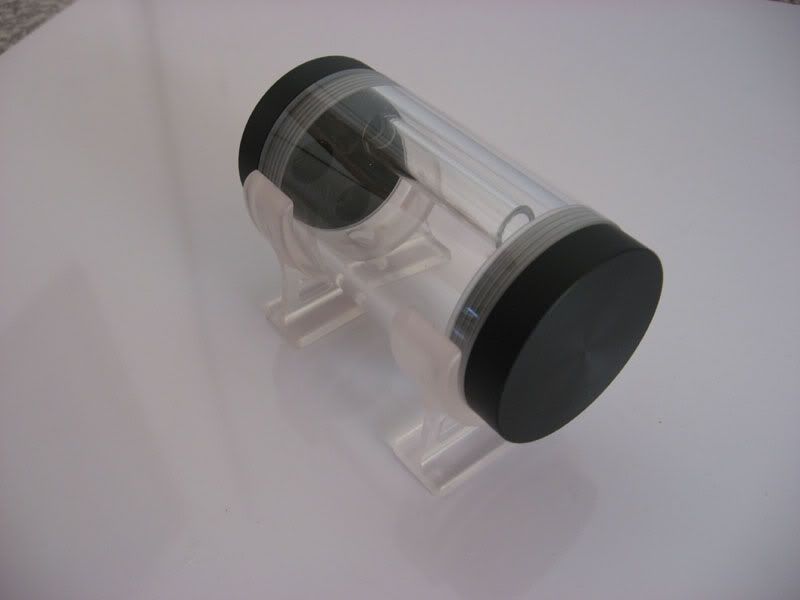
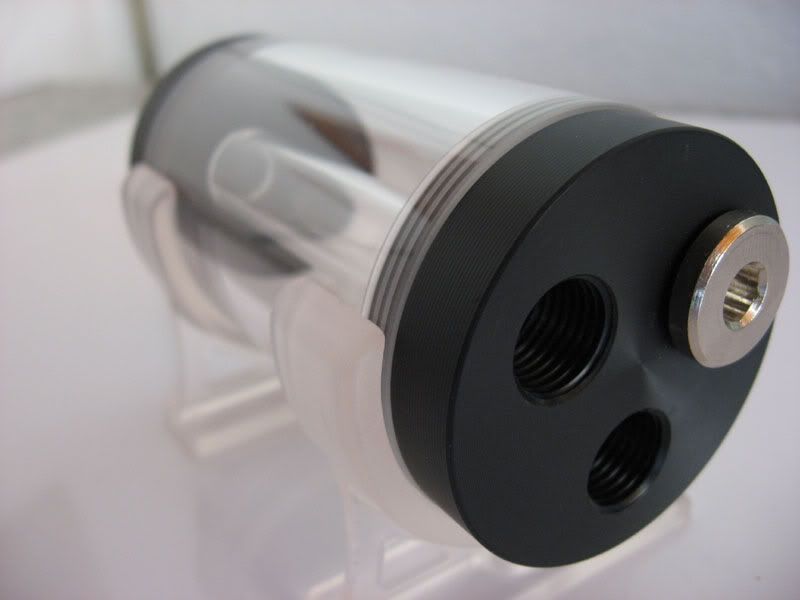
Compared to one of the Coolwave reservoirs that i have lying around here:
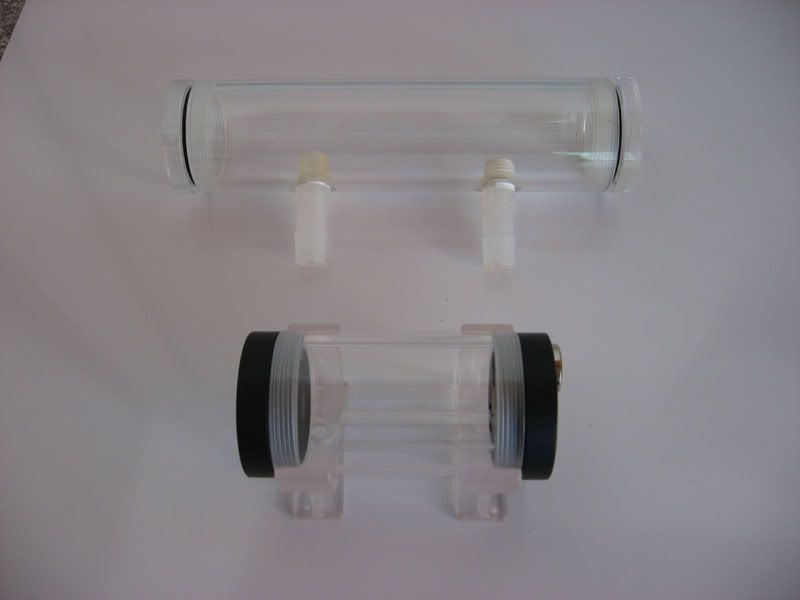
PERFECT
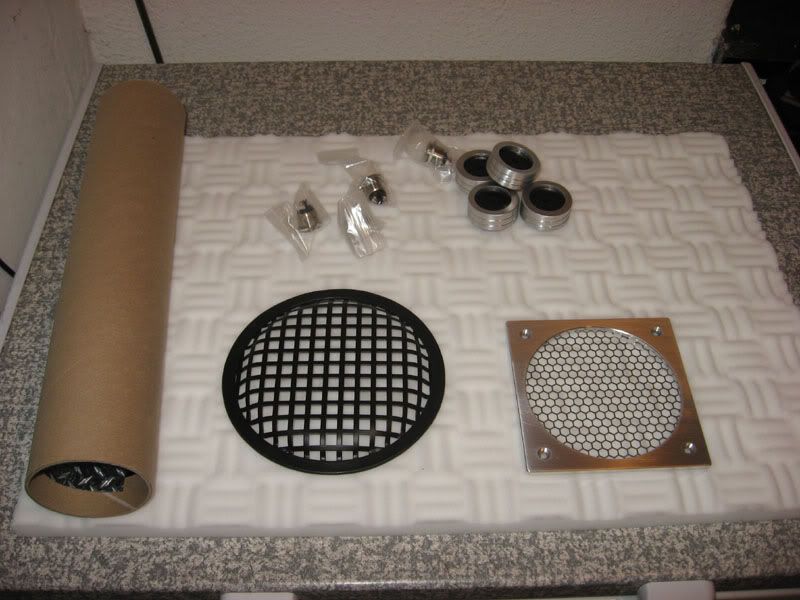
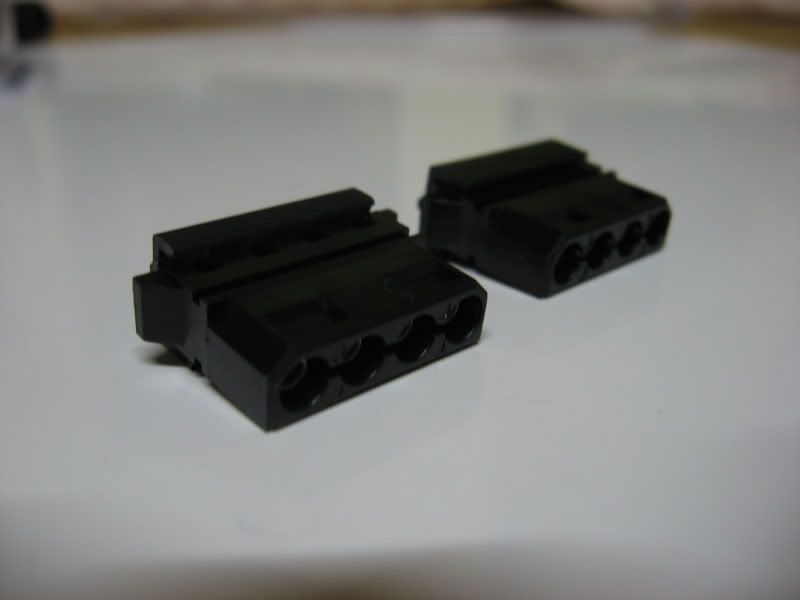
And the power connectors:
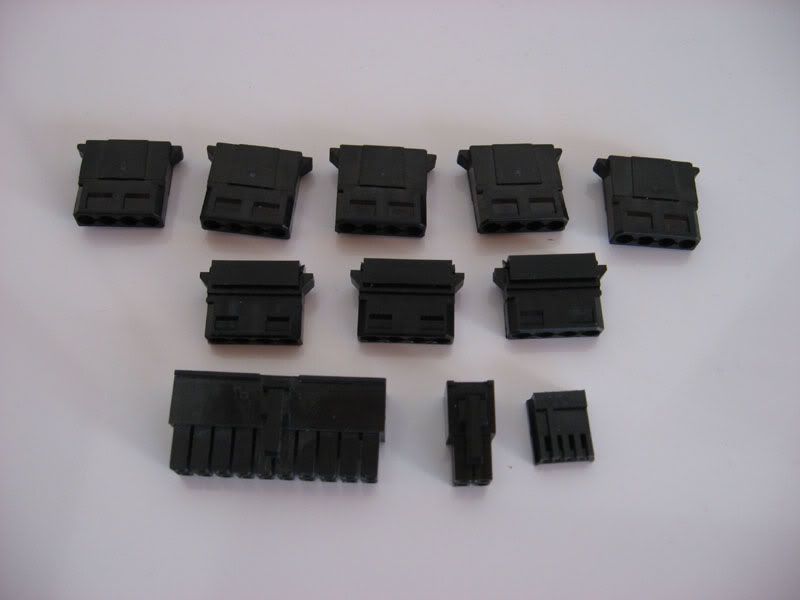
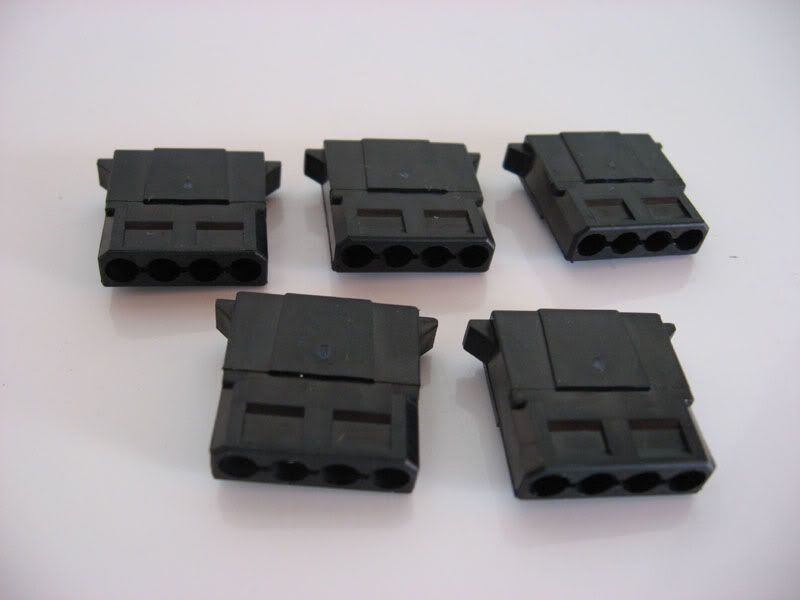
The regular molexes:
The ATX connectors:
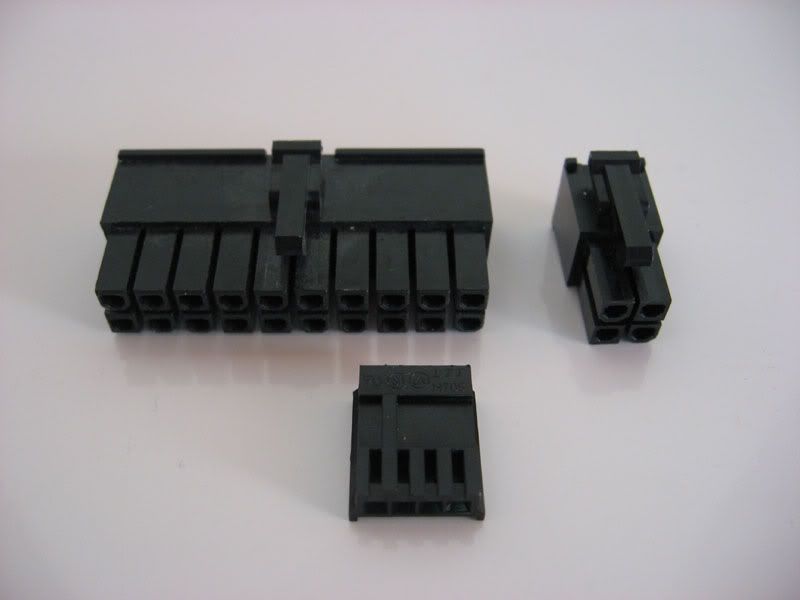
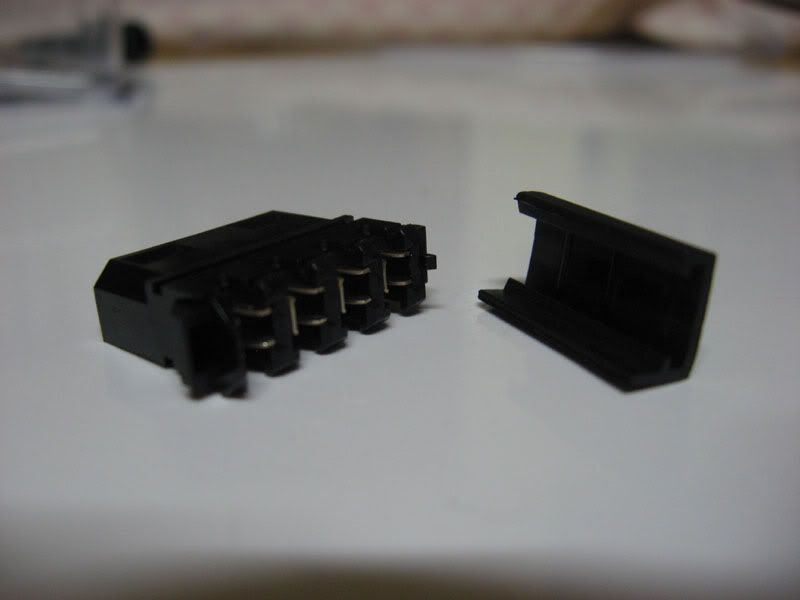
And these are the cool ones. Molexes that have caps, end caps:
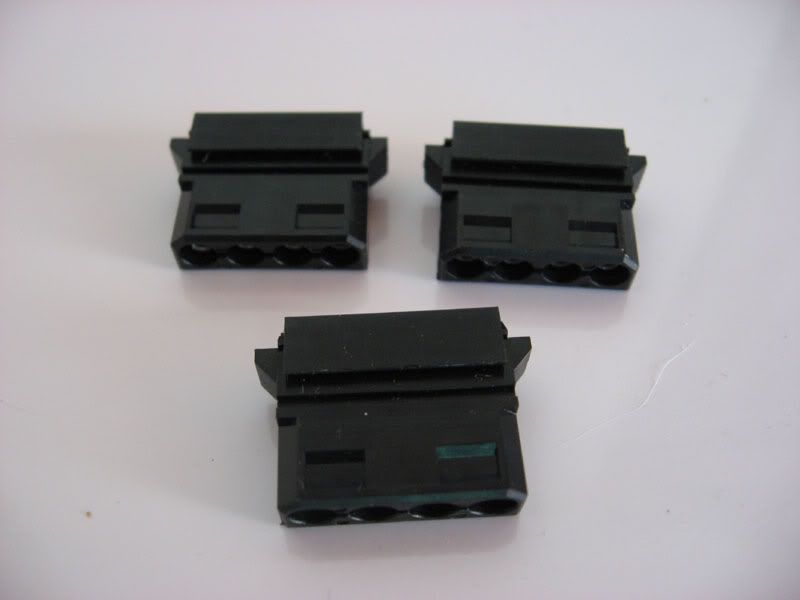
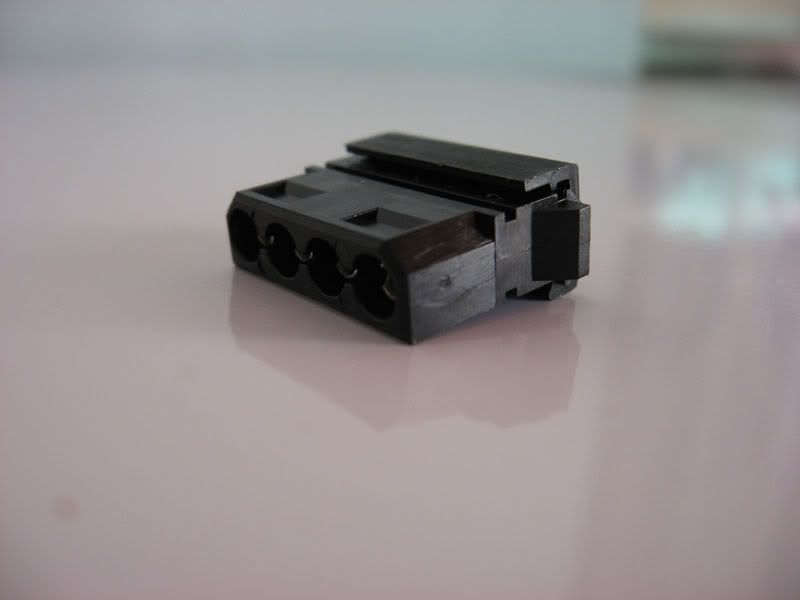
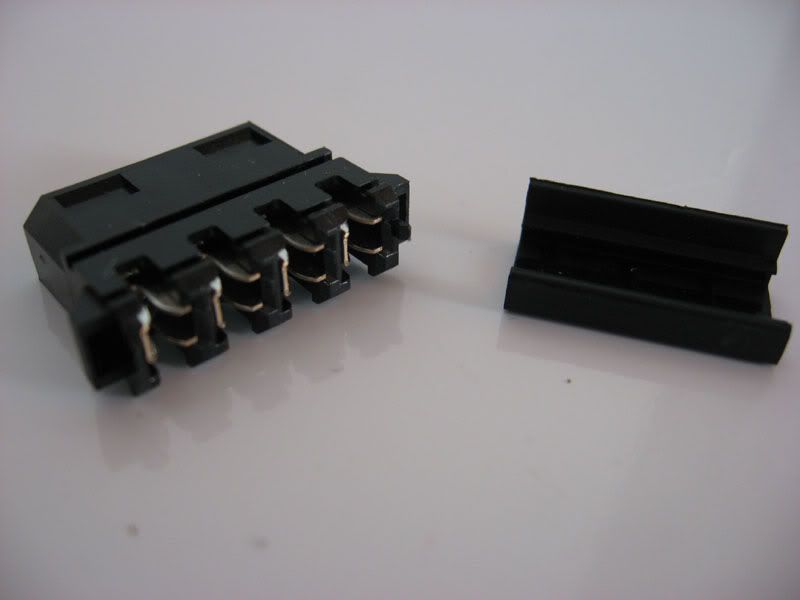
Very cool!
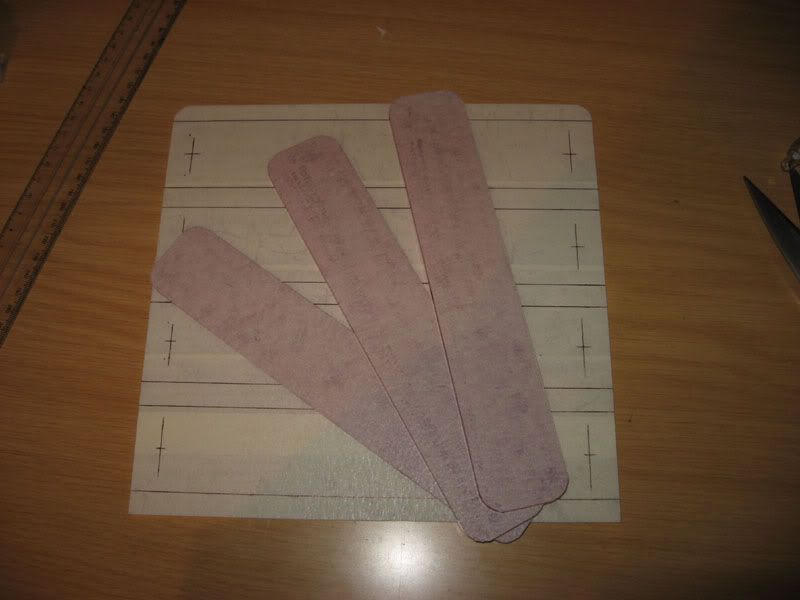
I also got a Vandal Resistant Switch from electronics123 to see if i like it:
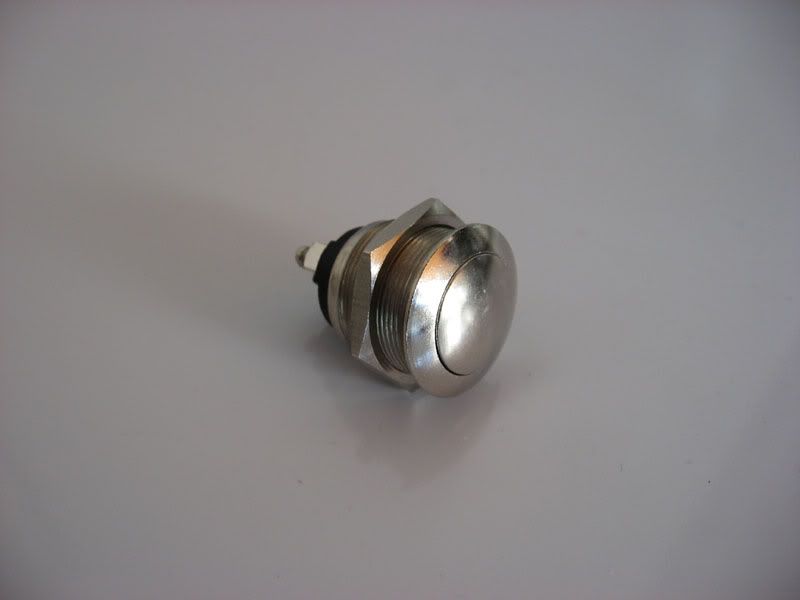
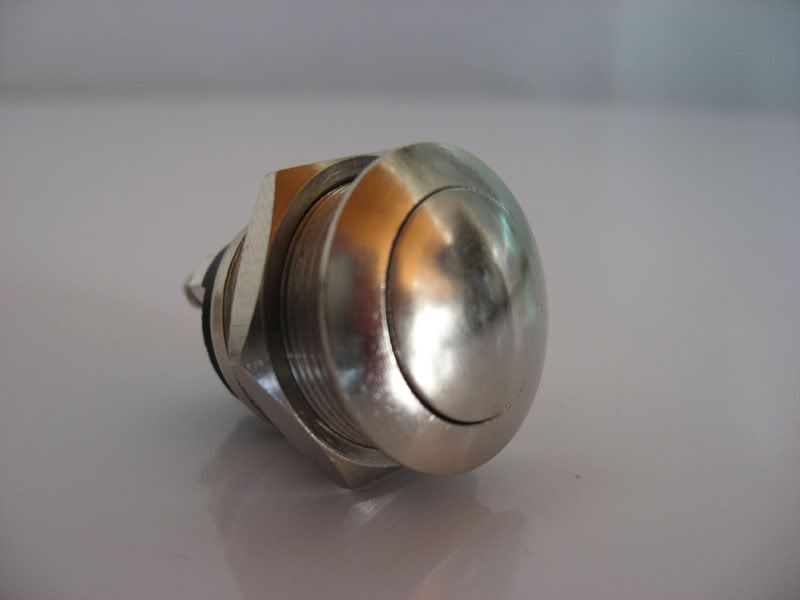
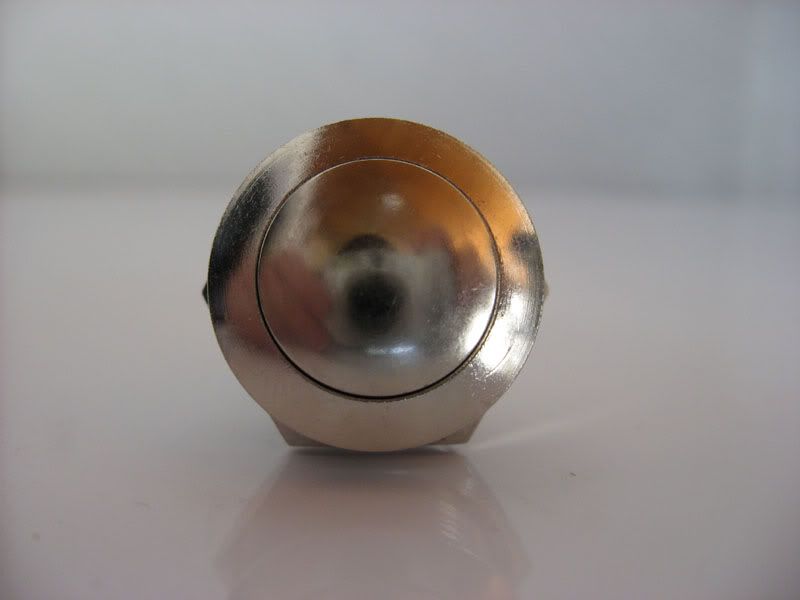
I think i like it.
It needs some polish, but otherwise it's cool.
Here's the radiator i got for the mod. It's a Swiftech dual 120mm raddy:
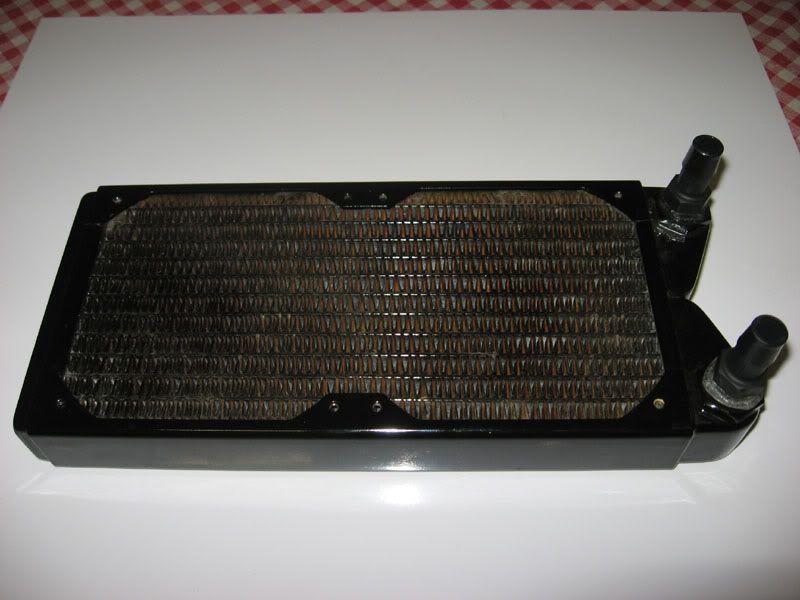
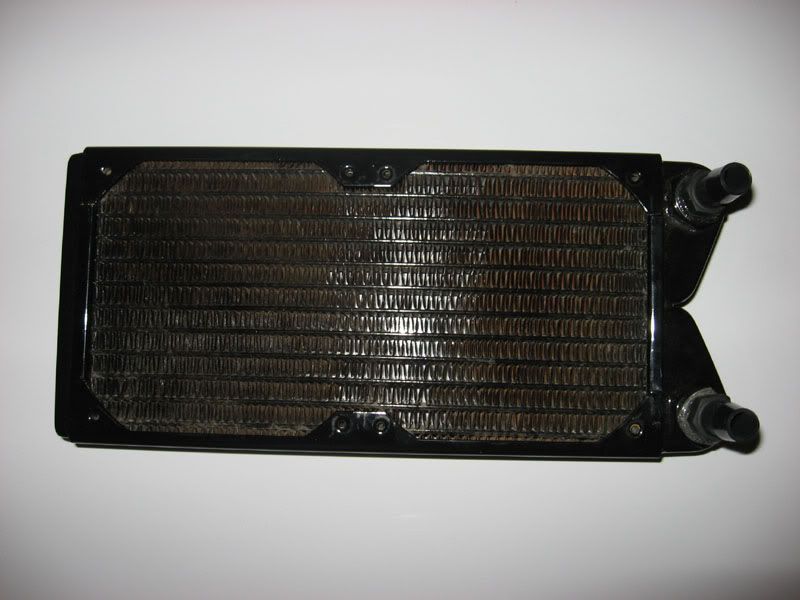
And here it is compared to the raddy i was planning on using. It's a Koolance singe 120mm raddy:
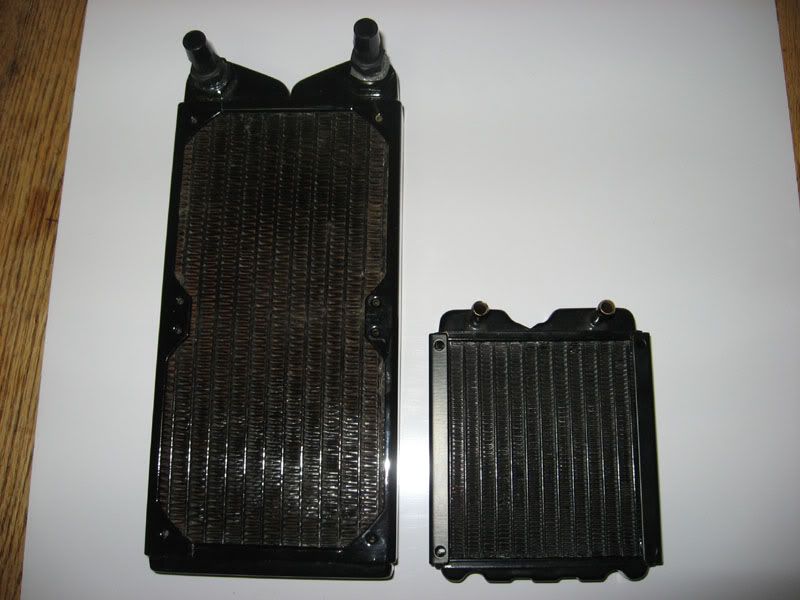
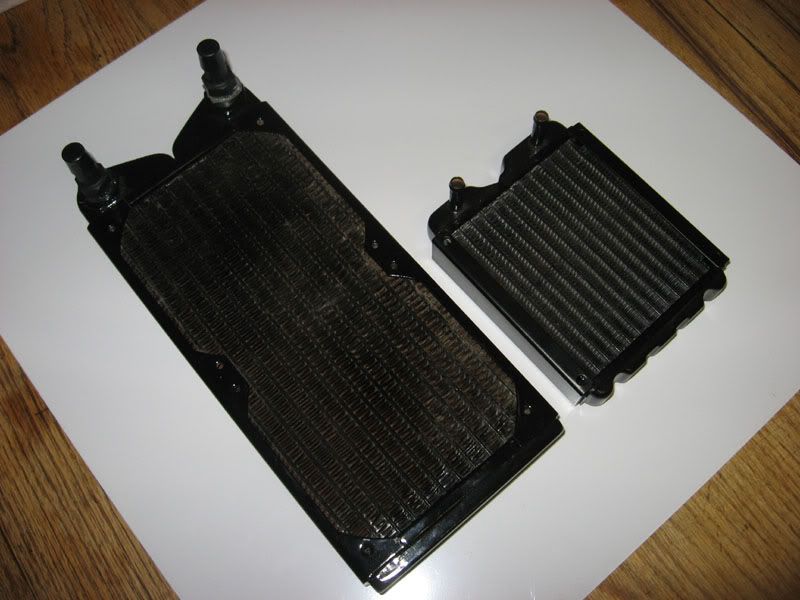
I decided to get a bigger raddy because i'll be using SLI, and i'll feel a bit more comfy with a dual 120mm raddy...
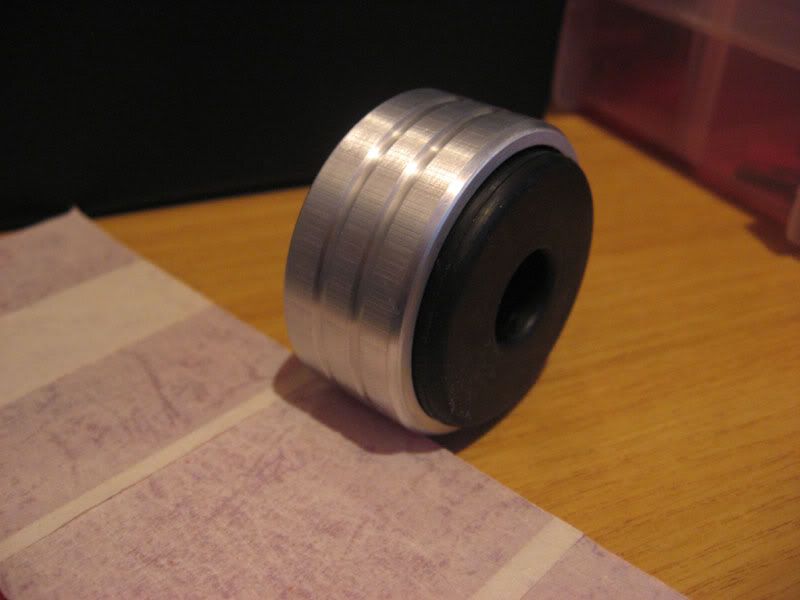
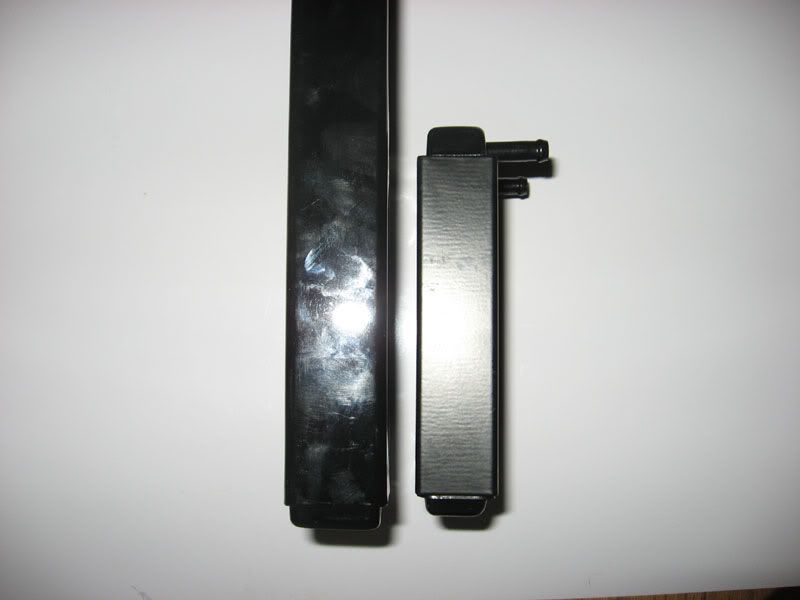
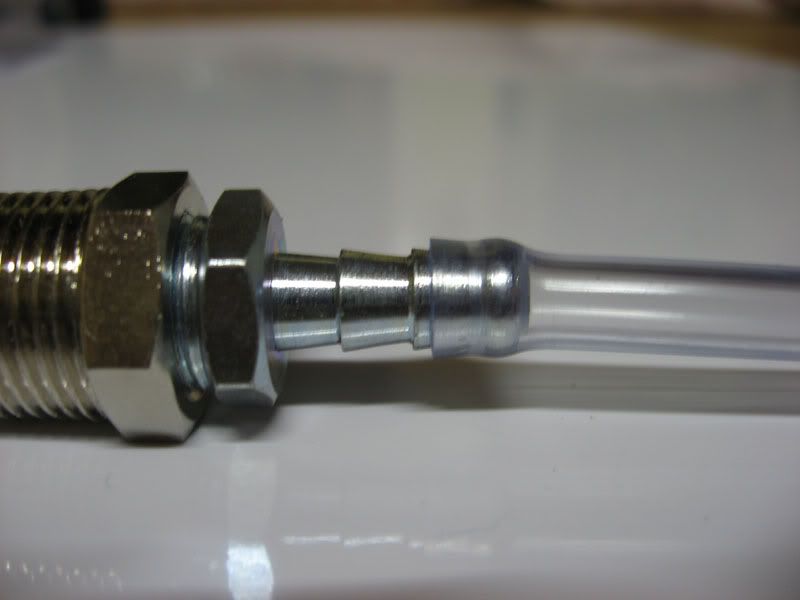
The next hurdle was barbs. The waterblocks that will be used throughout the mod are Koolance blocks, and therefore the tubing is small - 6mm. However, the barbs that i got with the raddy are 1/2" barbs:
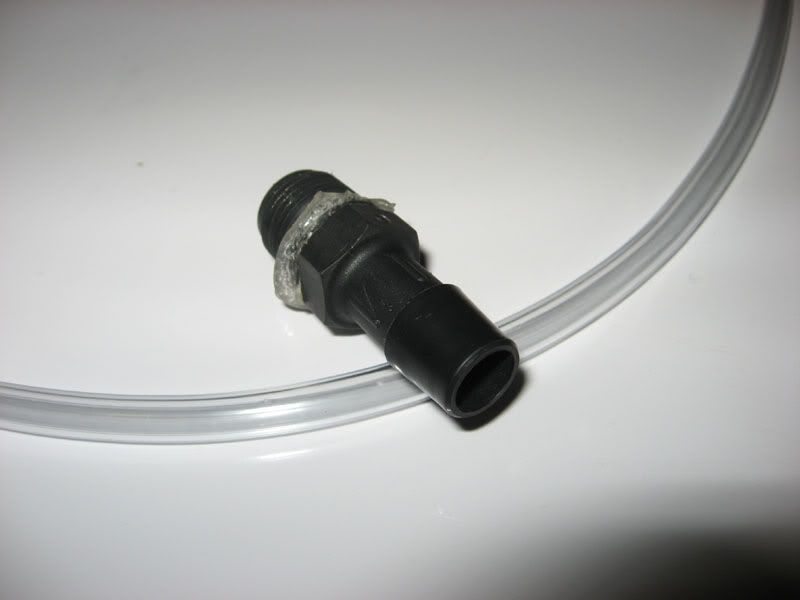
Compared to the tubing that will be used:
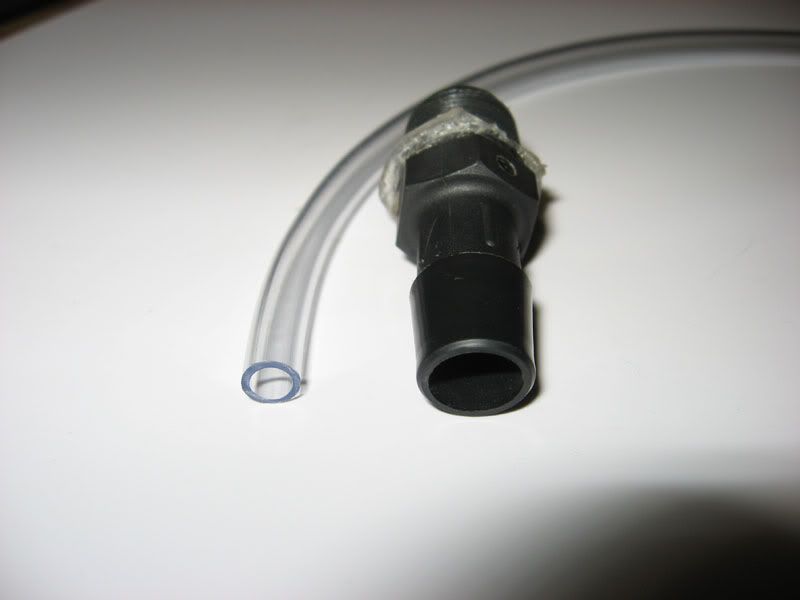
So i had to source new barbs. First thing that came to mind was Hydroline. They hook me up with all the barbs i need. If they don't have the barbs i need, they MAKE the barbs for me. In this case they quoted me something like R130 for the two barbs, which is a bit rough IMO. So i hit Builders' Warehouse. I was pleasantly surprised to find that i could compile my own barbs out of barbs that are meant for Air Compressors. For each barb i had to buy two parts:
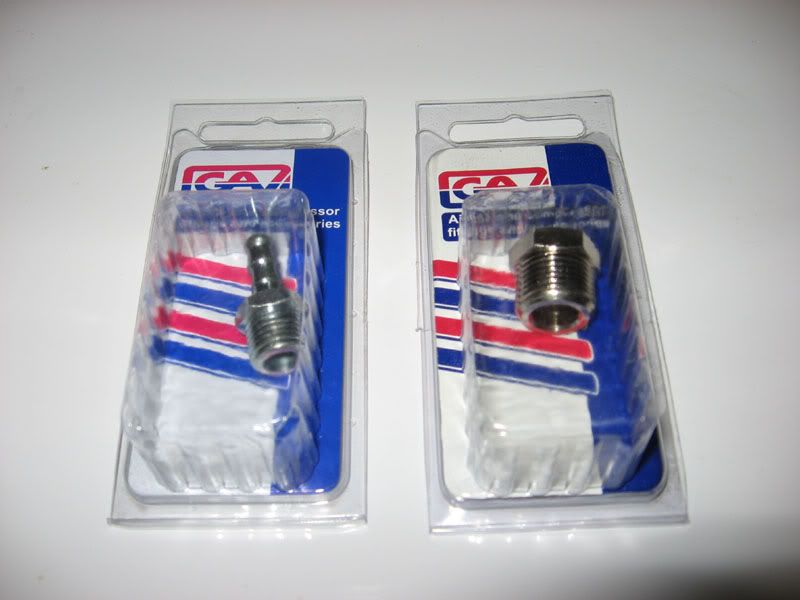

They fit into each other to make the perfect barb:
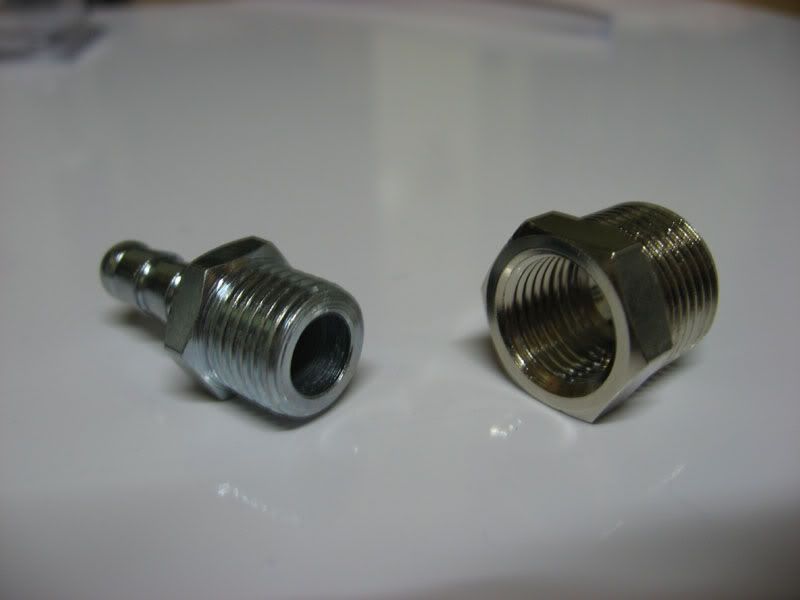
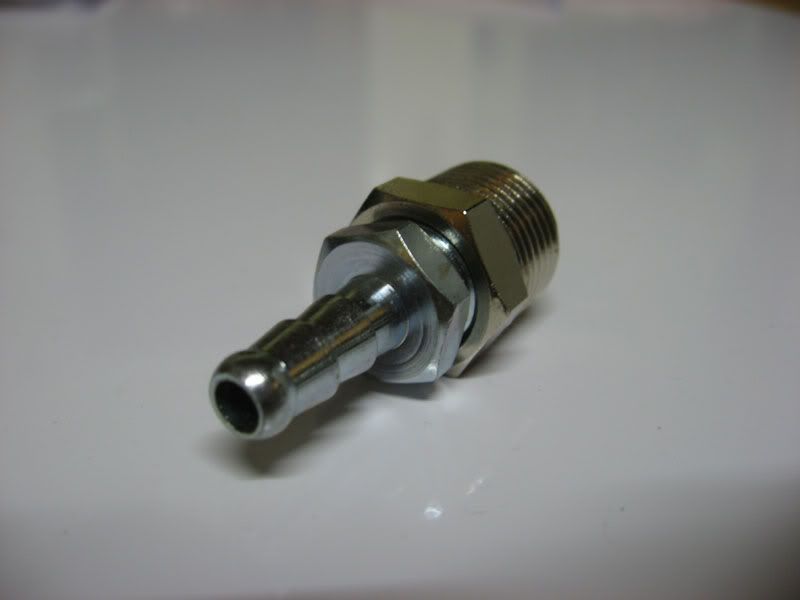

Perfect fit!
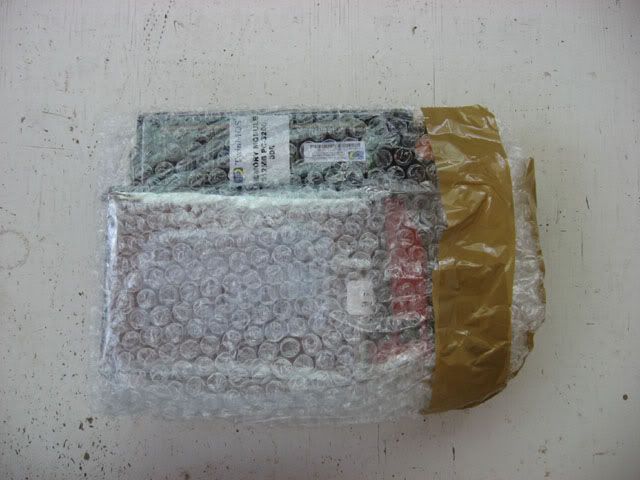
Another packet of goodies arrived tonight from the USA:
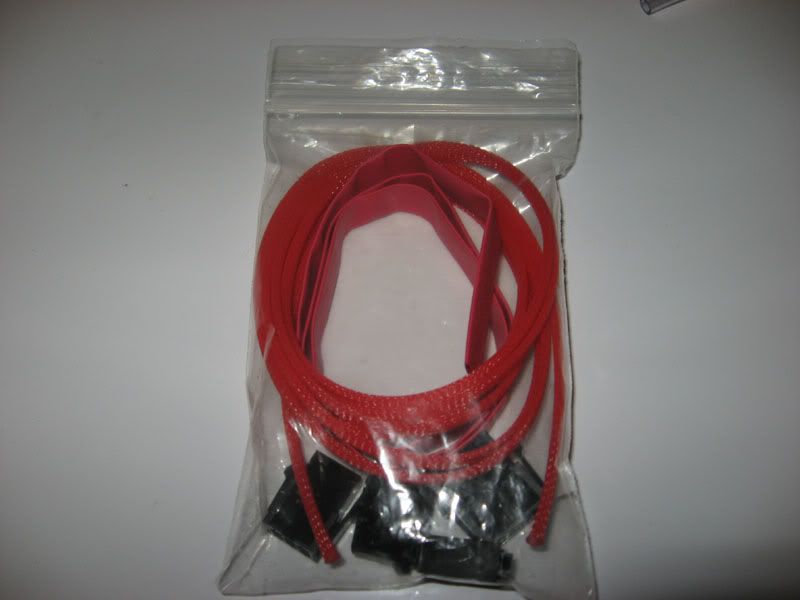
Some nice red cable sleeving:
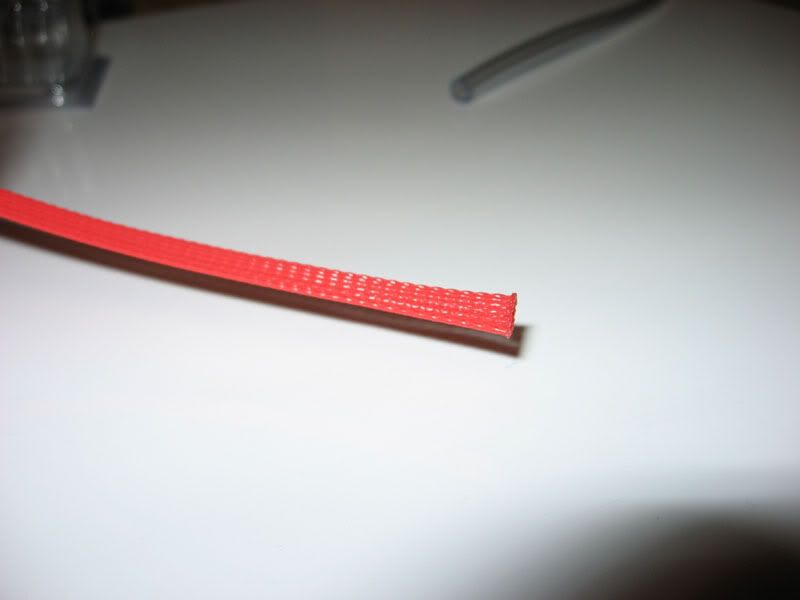

And some red heatshrink:
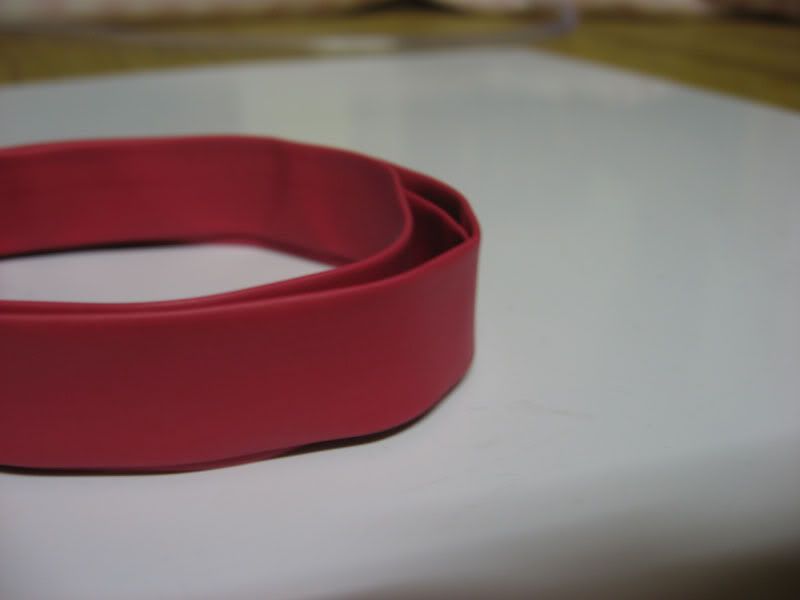

I don't know if i like the heatshrink though.... Also, it's too big for this sleeving, so i'll have to import some smaller heatshrink...
And then also some more connectors:
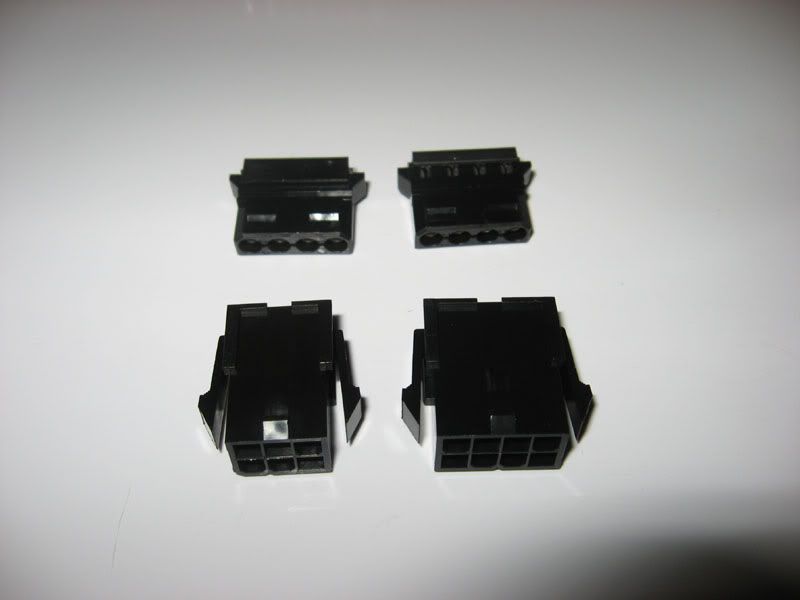
First two are just two more Molexes:
Man they're cool.
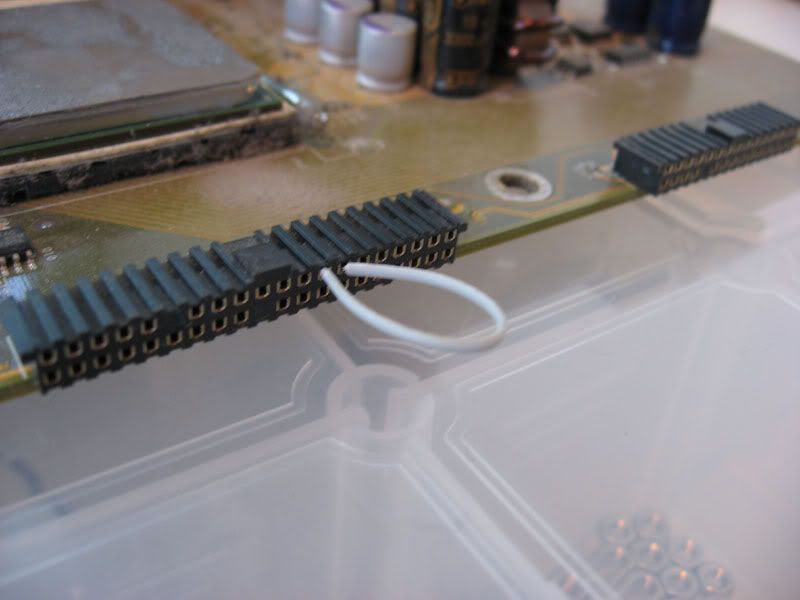
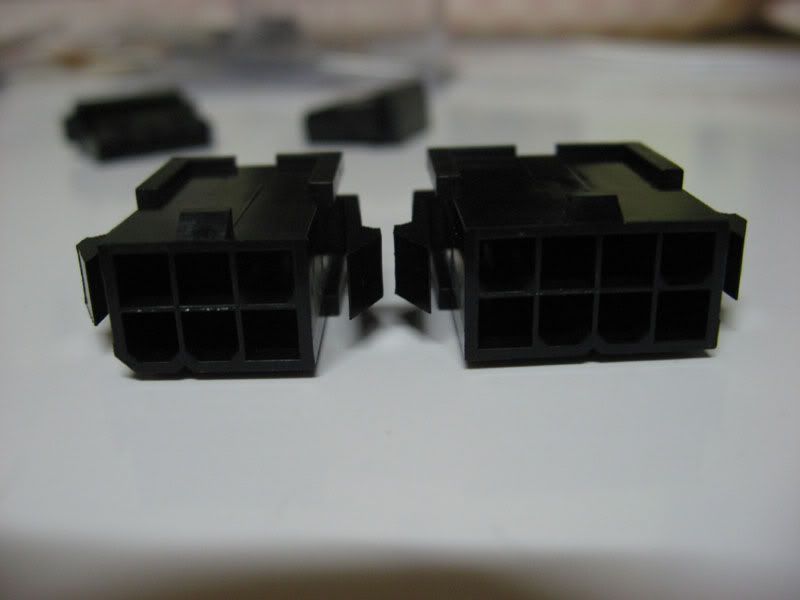
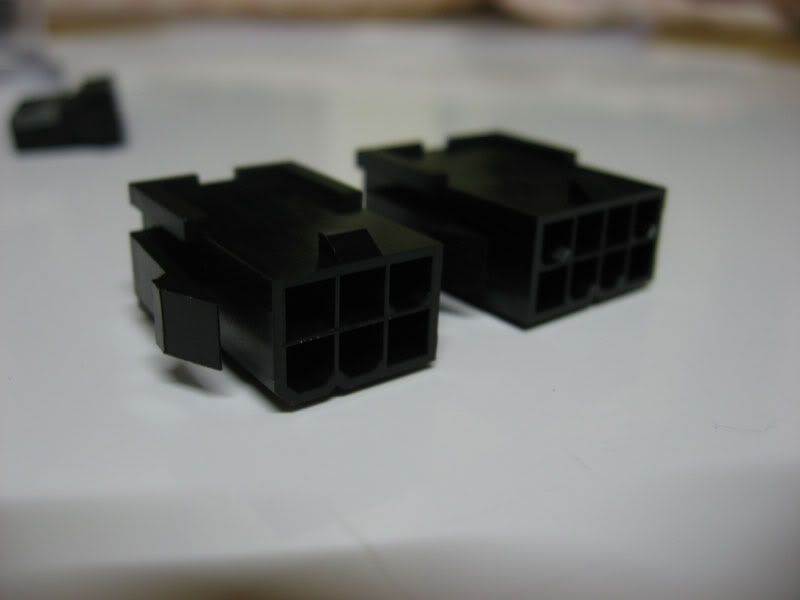
And the other two connectors are quite interesting actually. Motherboards generally have a 20 or 24 pin connector, but this Shuttle's motherboard is different. It has TWO connectors - a 6 pin, and an 8 pin. So i bought some new ones:
Just thought i would show you guys pics of the (basically) complete SketchUps. I didn't spend a lot of time on the rear tubing mounts because they'll be just like the mounts on top, and i'm REALLY just too lazy to model them...
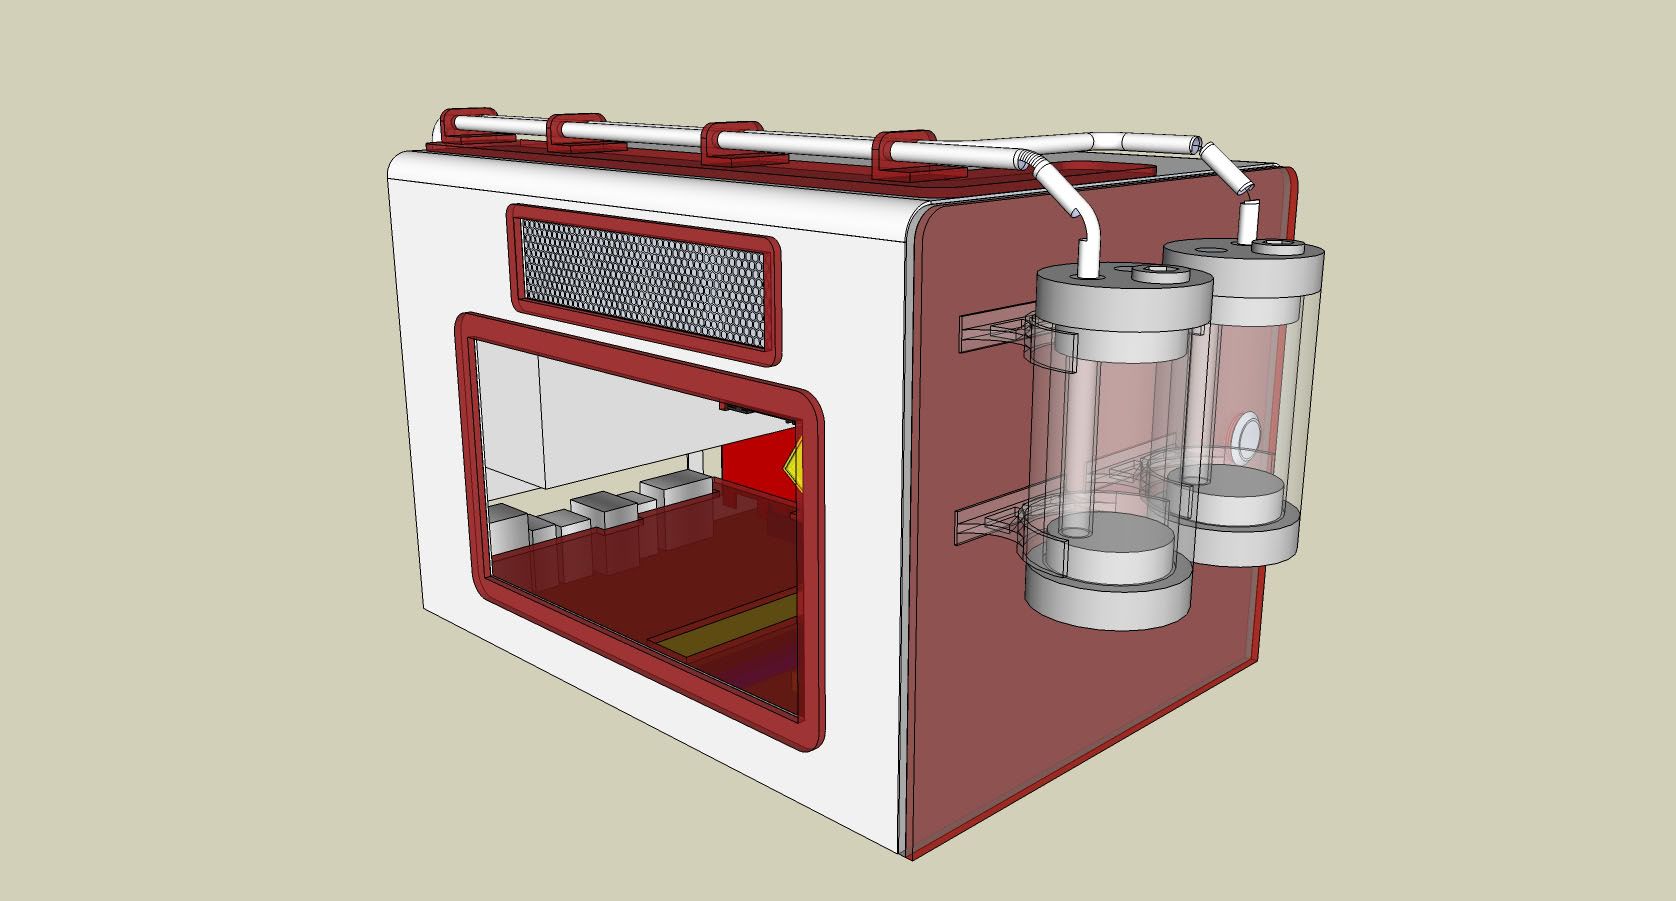
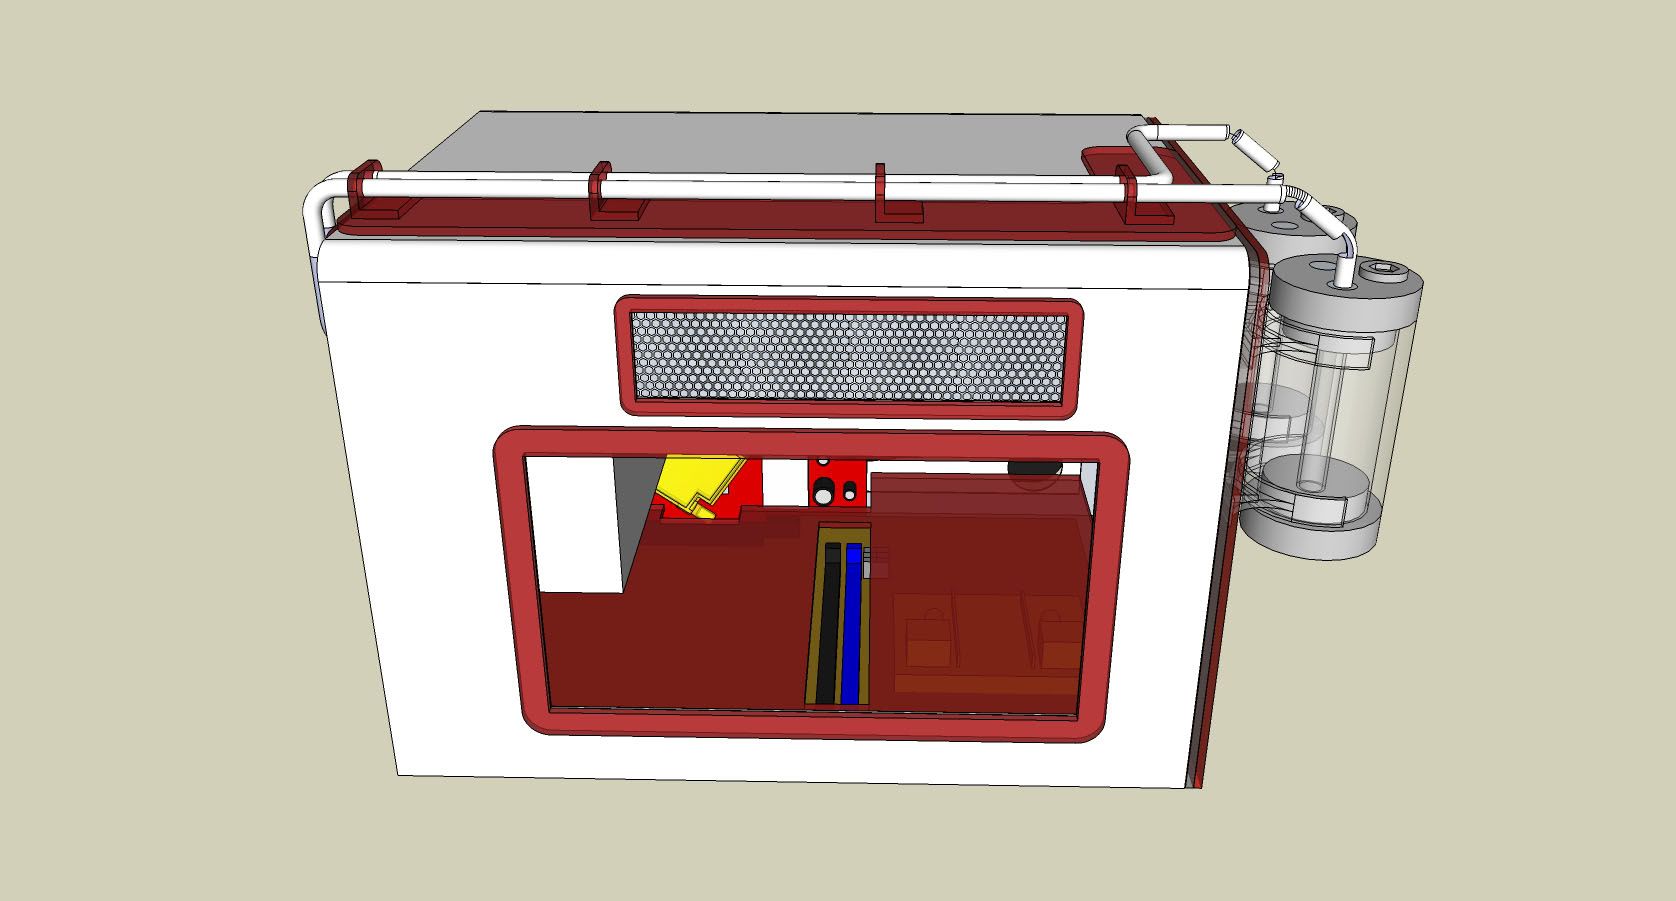
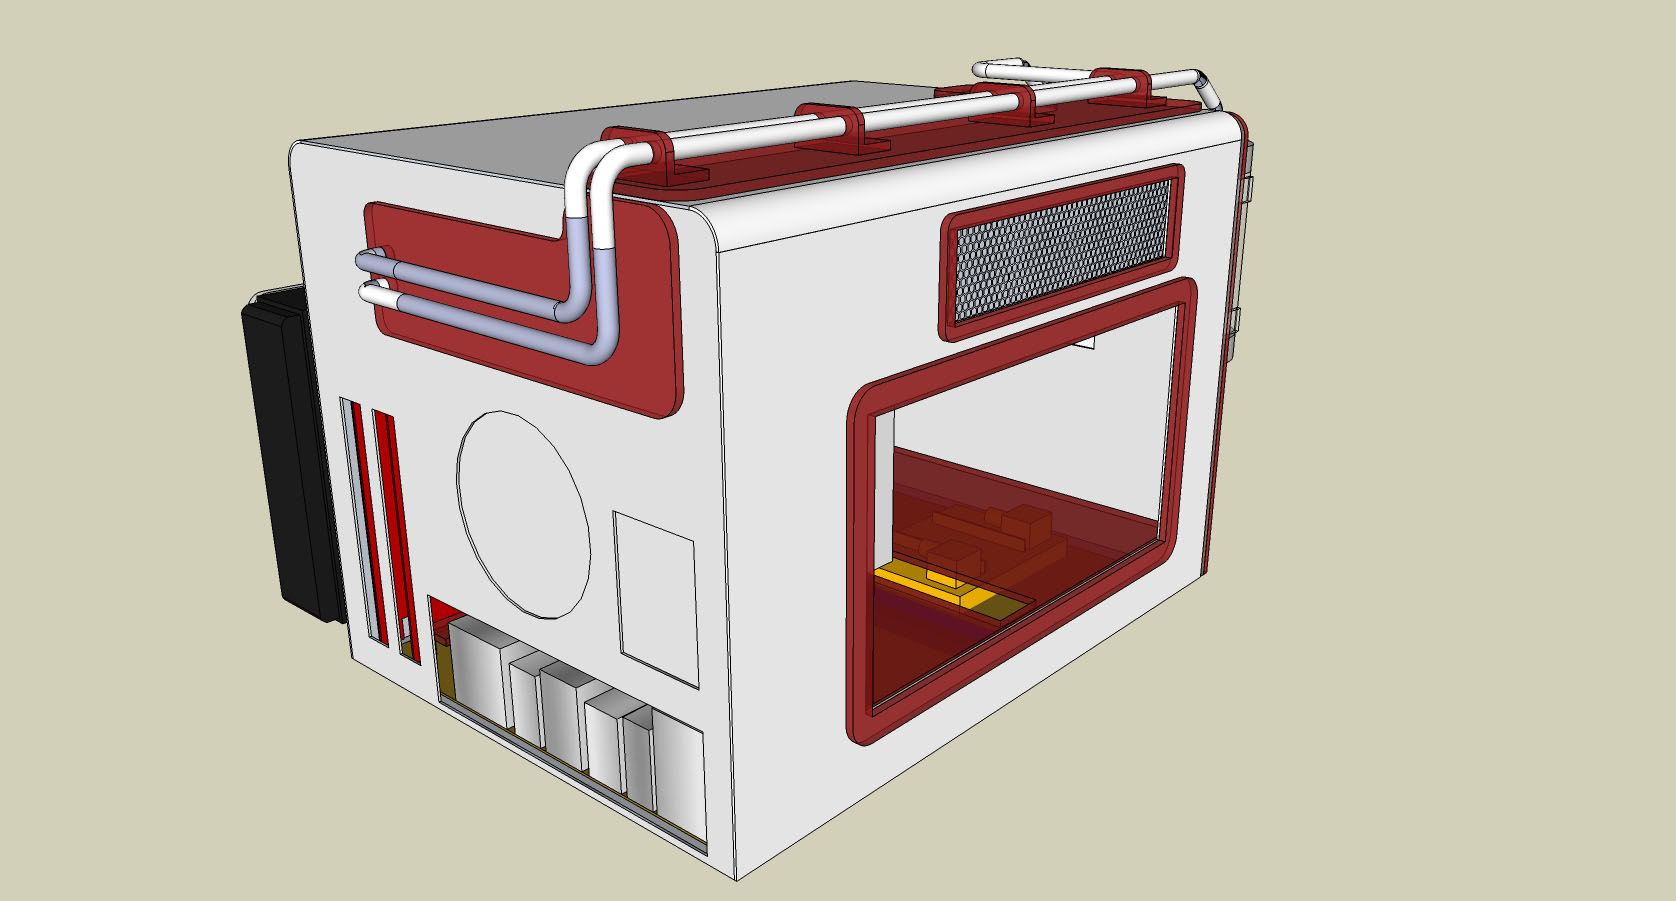
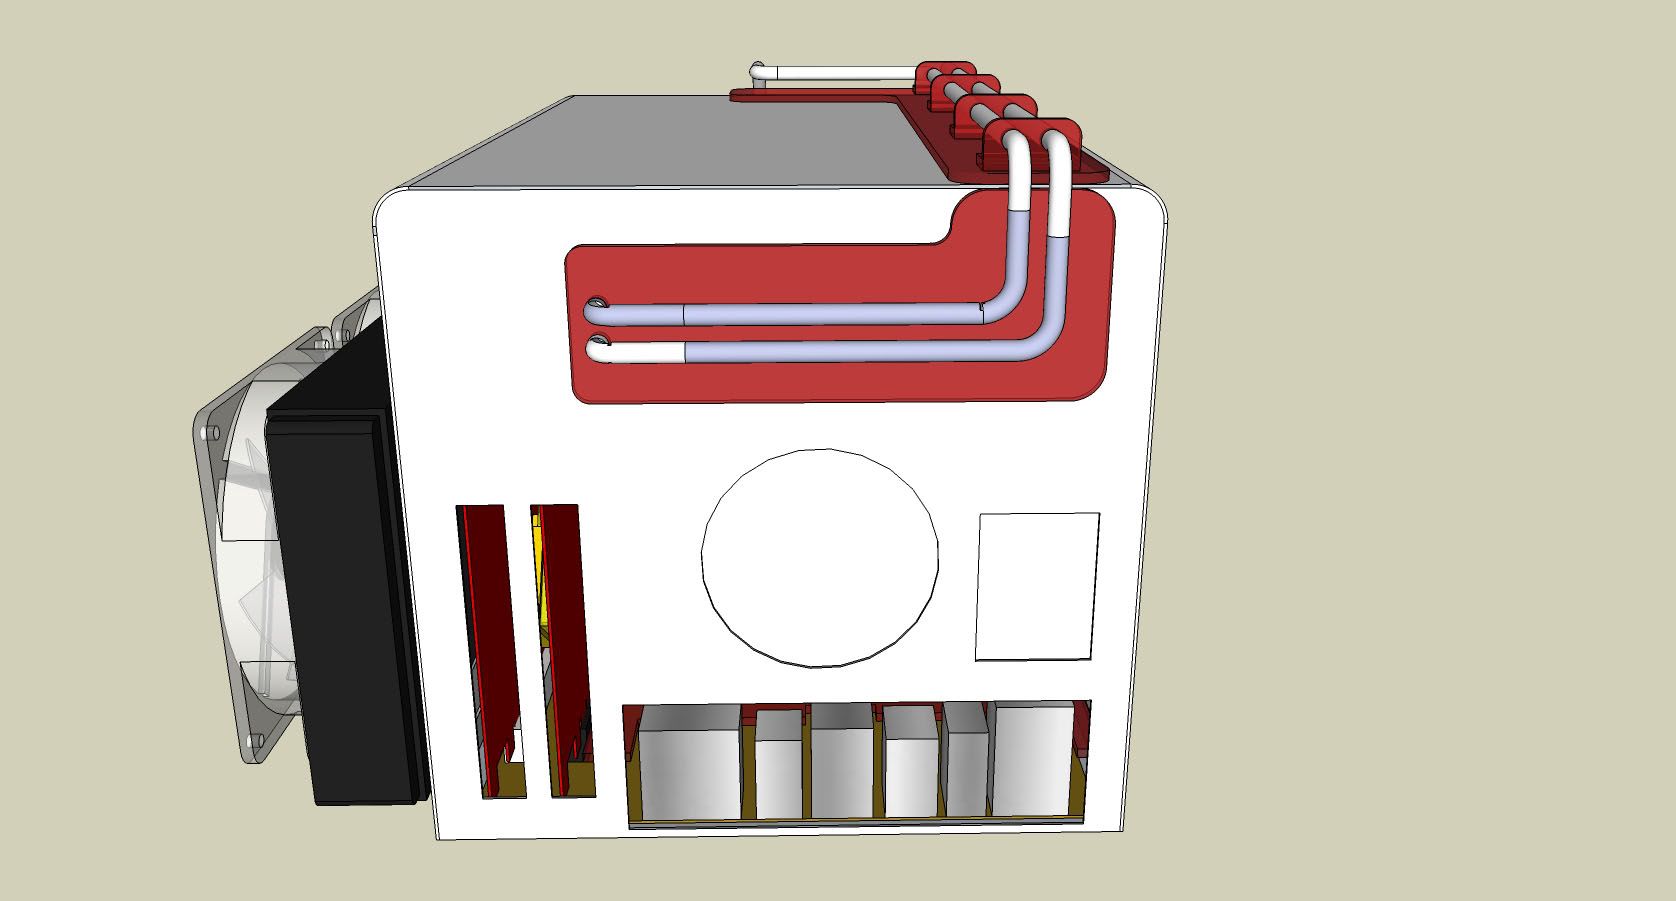
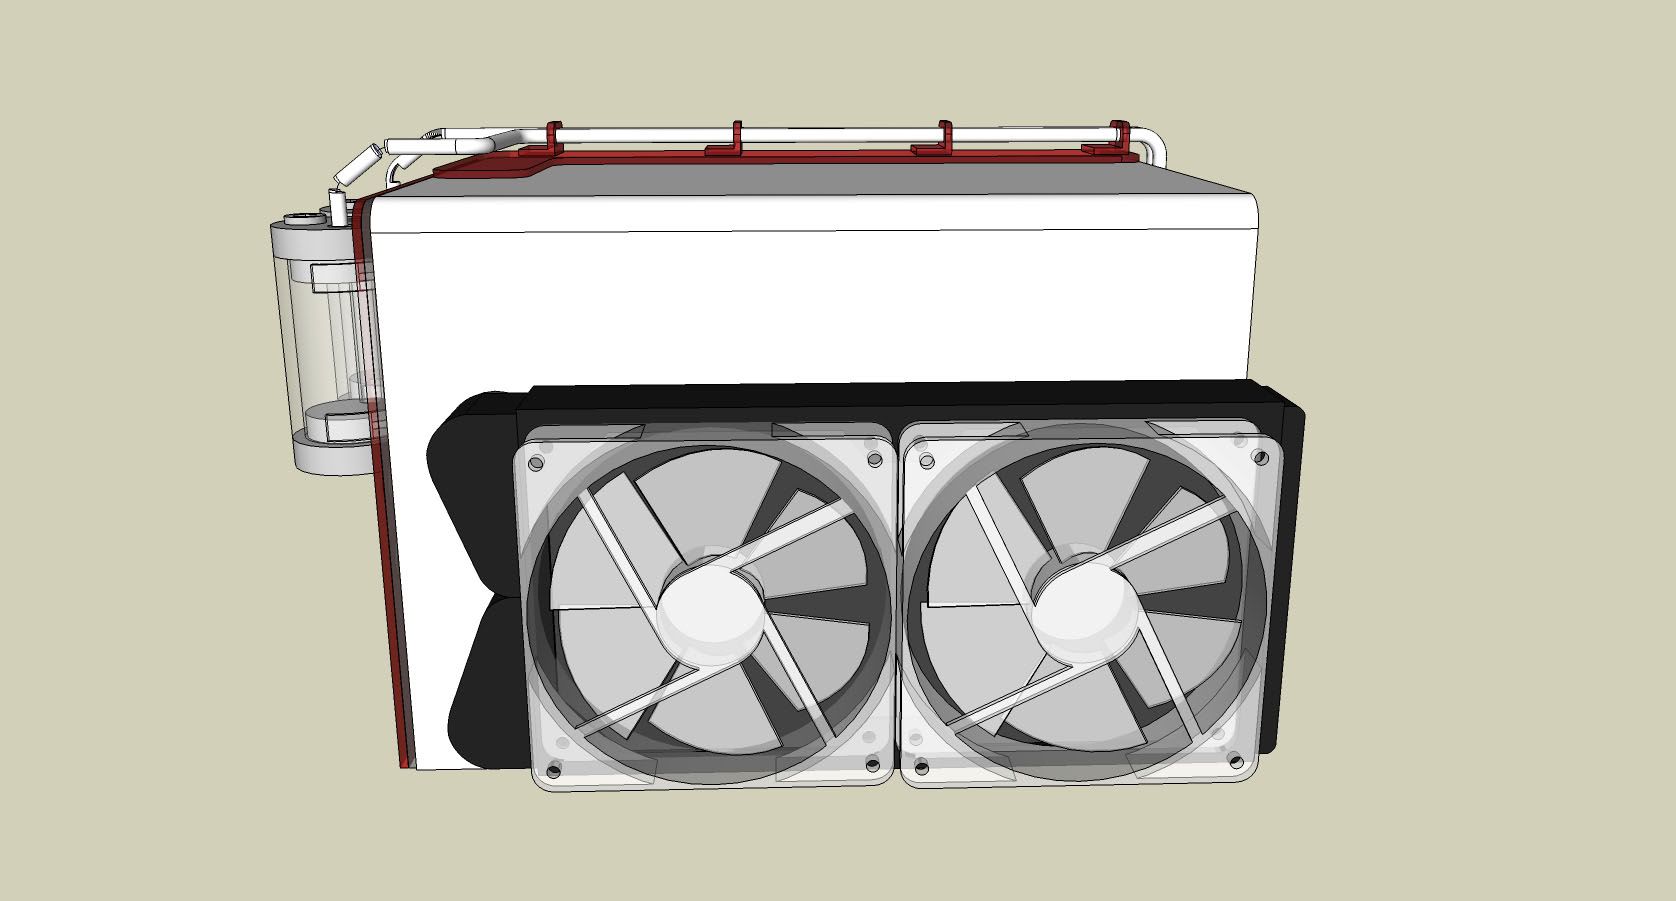
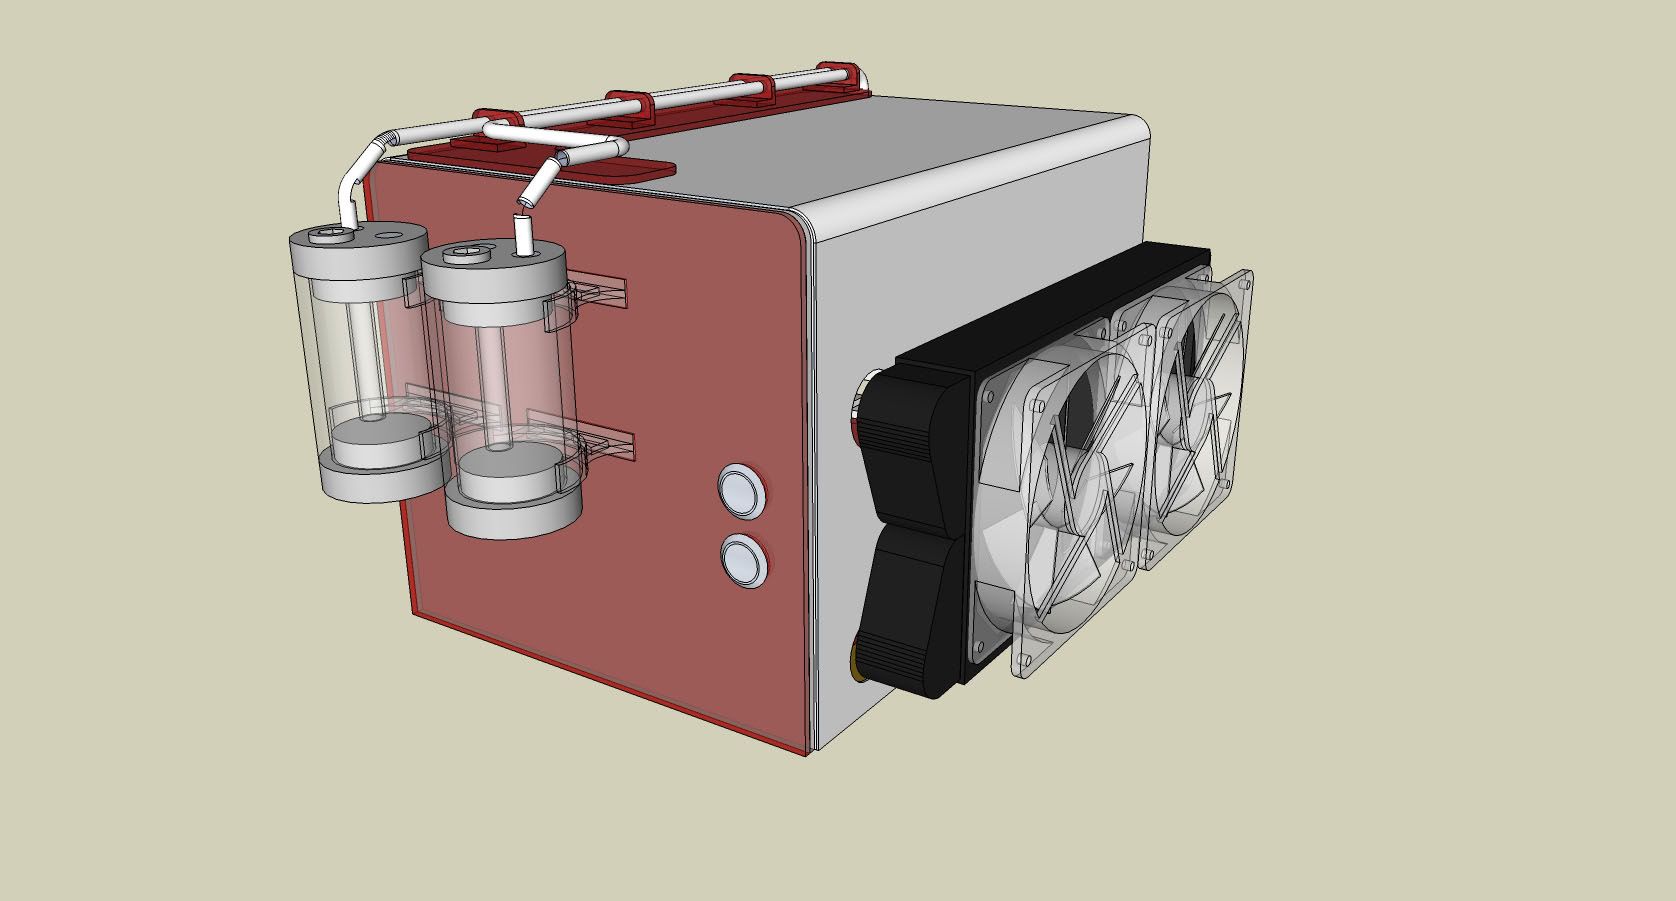
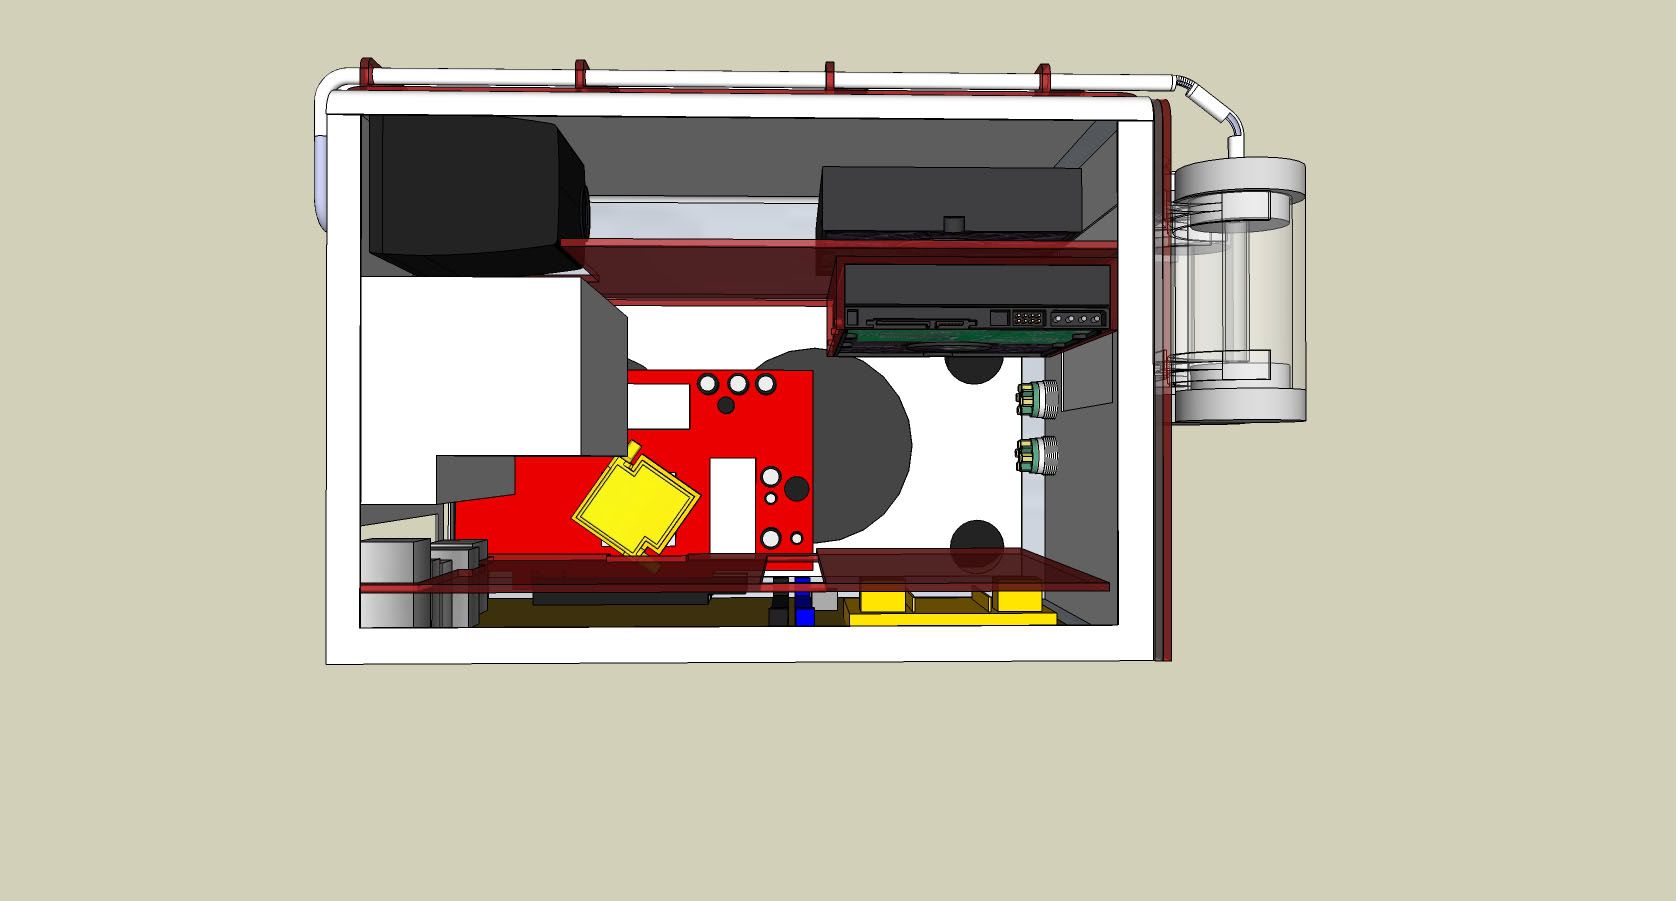
And i've basically finished the design for the external enclosure.
Here are the images, high res images under these ones. I suggest you have a look at the high res ones, much nicer
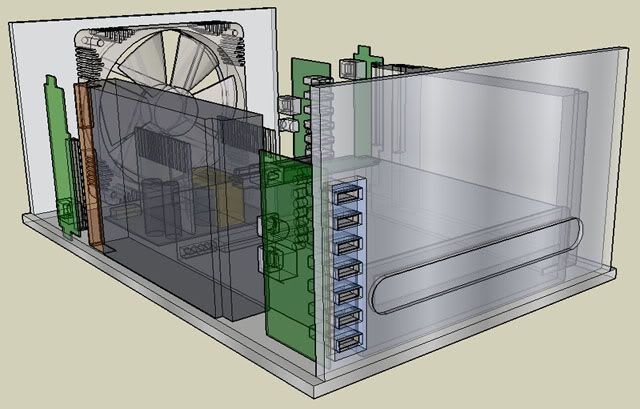
Full Res, 1680x1050
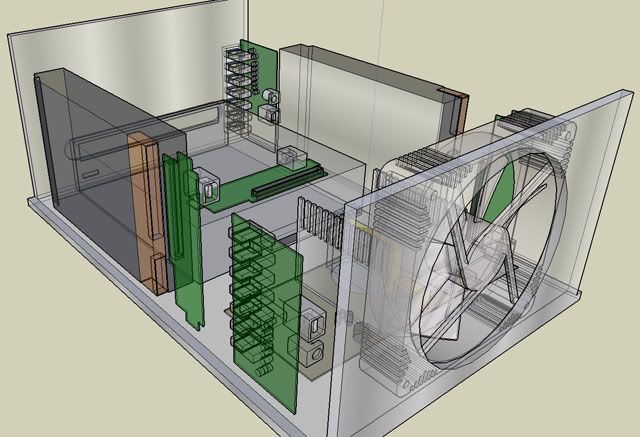
Full Res, 1680x1050
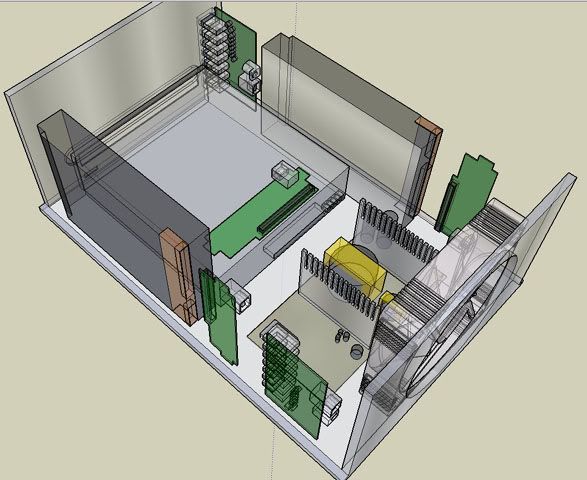
Full Res, 1680x1050
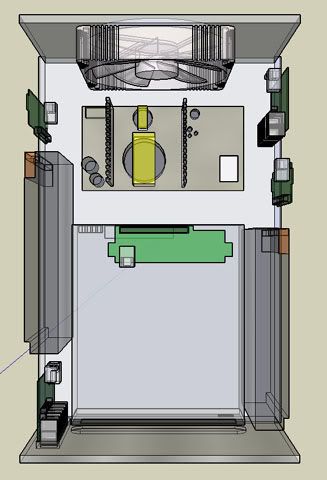
Full Res, 1680x1050
That's the basic idea for the final design.