guitarslingerchris
Supreme [H]ardness
- Joined
- Oct 29, 2004
- Messages
- 7,379
This build is one of impulse I suppose. The hardware was doing perfectly fine in my modified Lian Li PC-65 but I have been wanting a Corsair 800D ever since I saw them. I bought one and well, this just happened.
Specs:
Corsair 800D
Intel Core 2 Quad Q9450
Asus P5Q Pro
2x2gb Corsair Dominator 1066mhz @ 5-5-5-15
(2) ATI 4870 512mb
Creative X-Fi Xtreme Gamer
Enermax Galaxy DXX 1000w
150gb WD RaptorX
(2) 1tb WD Black
(4) 1tb WD Black RAID5 external box
(5) 1.5tb WD Green RAID5 external box
Swiftech Apogee GT
Swiftech MCW-30
Swiftech MCR320-QP
XSPC 5.25" Bay Res
PrimoChill LRT UV Blue 1/2" ID 3/4" OD Tubing
My current plan actually involves no serious modifications to the 800D which looks suspiciously like a penis in text form. The case supports a 3x120mm radiator stock which is fantastic and has a plethora of routing options for both wiring and tubing and really I won't need to cut a single thing to get everything I want out of this case.
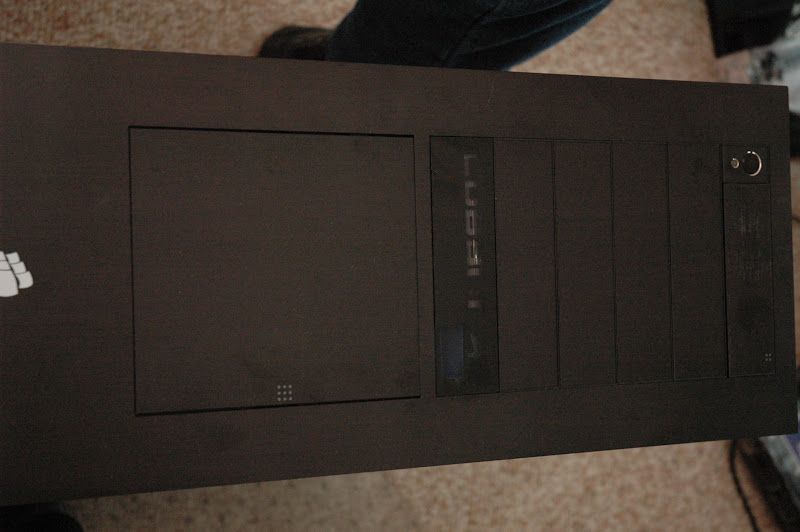
What will require modification however, is the 5.25" bay res I plan to use. What I plan to do with it is mount it in the usual location in a 5.25" bay but I am going to make a faceplate for it to cover up most of the light as I'm no longer a fan of a big block of water in the front of cases.

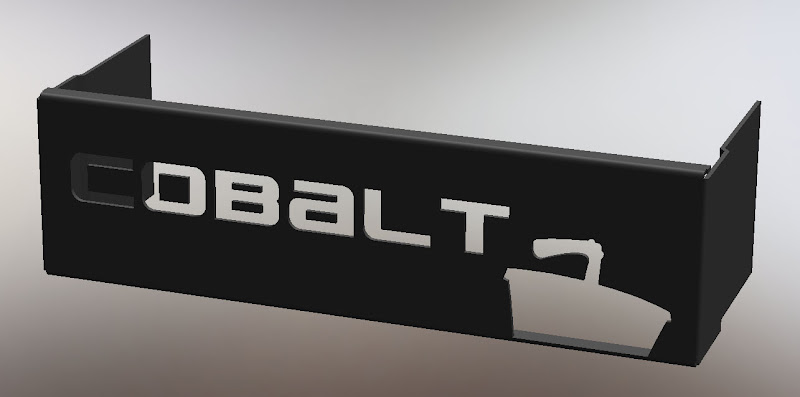
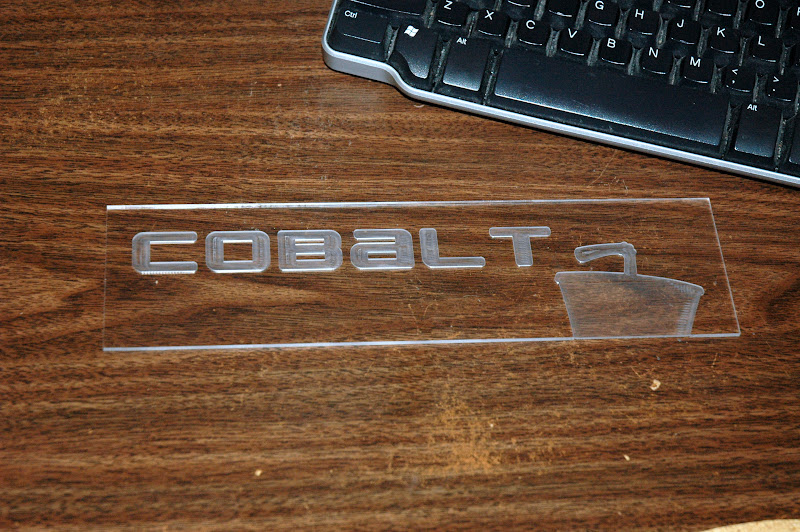
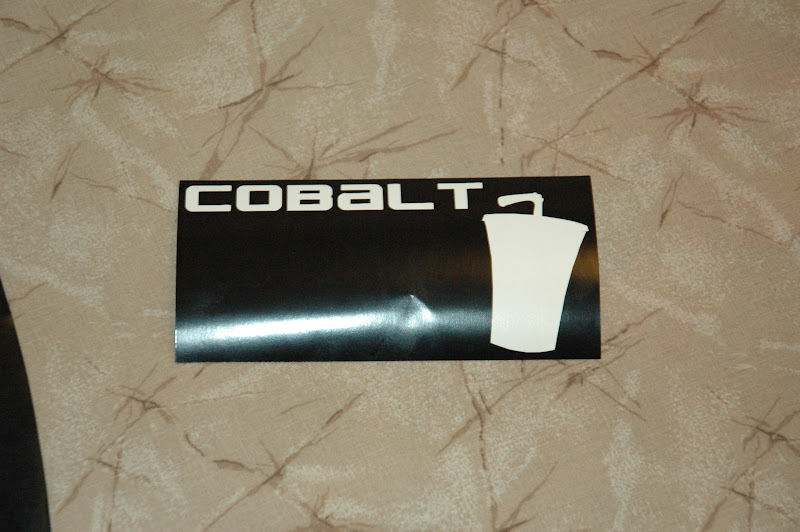
Here is what I've come up with so far for the faceplate. I'm going to have this cut out of something, perhaps black vinyl or black plexi. This one is pretty simple, a clean font and an outline of Master Shake. It's a running joke for several years with friends of mine that I am just like Master Shake so it seemed appropriate. The white background would actually be black and the black would be cut out to show the water/reservoir behind.

-----------------------------------------------------------------------------------------------------------
Well, I'm sure you'll all be happy to know that I completely skipped snapping pics of me just putting the computer together. Not any modding involved so I didn't feel the need. This case is absolutely phenomenal! The more I play with it the more I come to find little things that make my life easier.
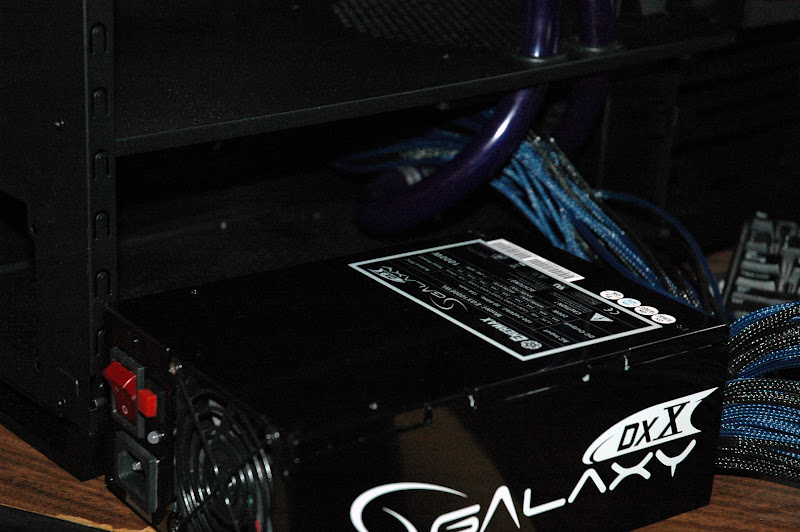
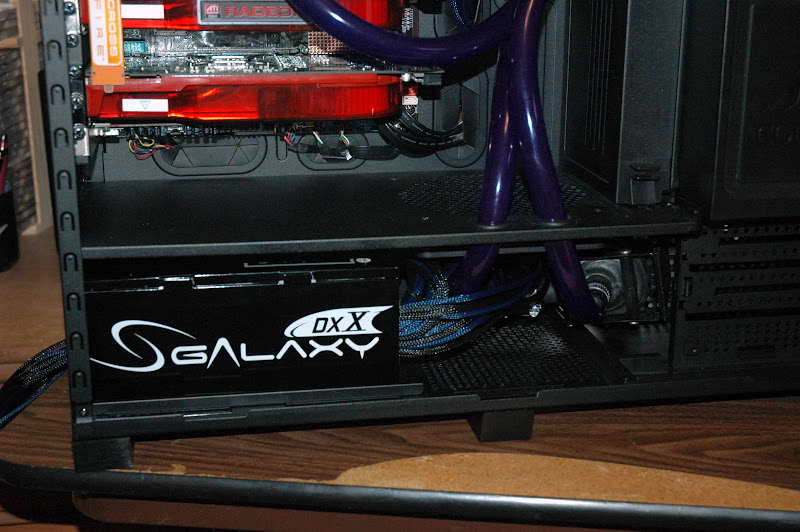
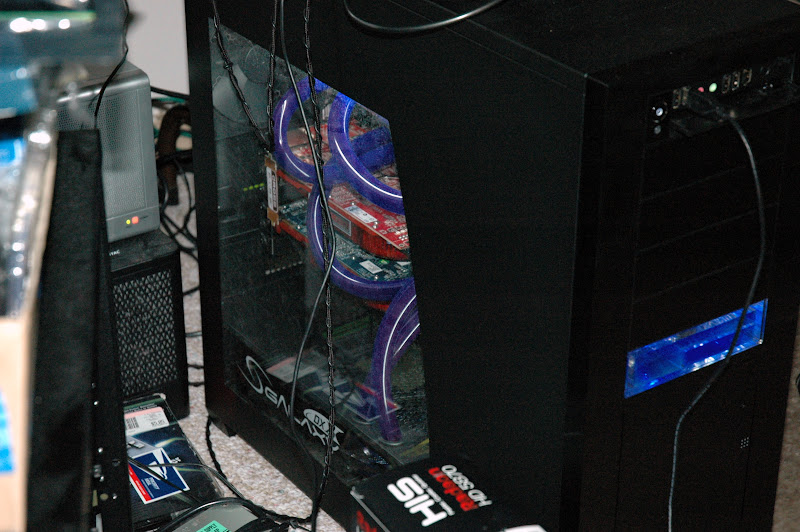
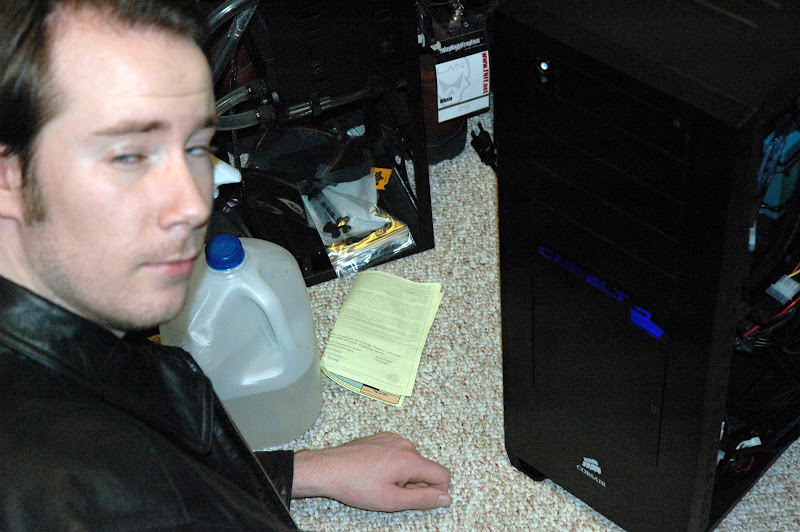
That said, I did have a little bit of a hard time deciding where and how to mount the pump. I couldn't mount it in the 5.25" bays because I would have had to mount it directly to the bay reservoir which would mean it couldn't slide out to be filled which would pose a problem. In the end I put the pump roughly where the designers had in mind although I got a little creative with it. You can also see my trusty old Enermax 600w beast there. He's getting replaced with a brand new Enermax Galaxy DXX 1000w as soon as my MDPC-X sleeving gets here from Germany and I get it all resleeved

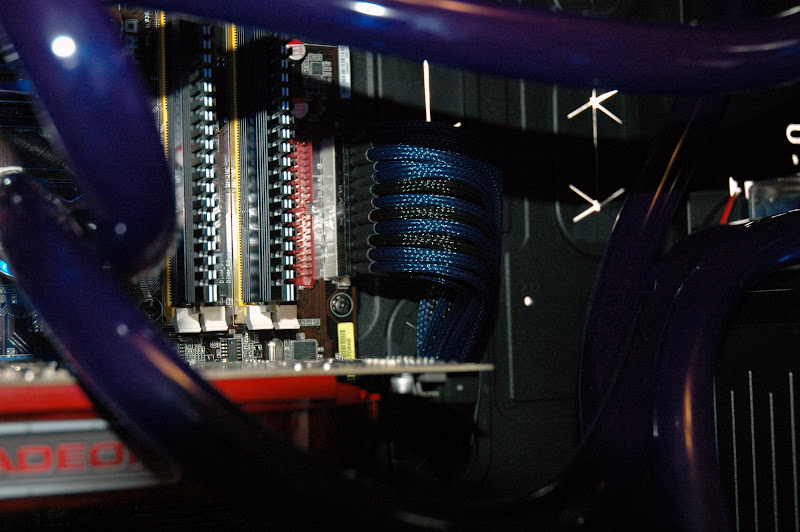
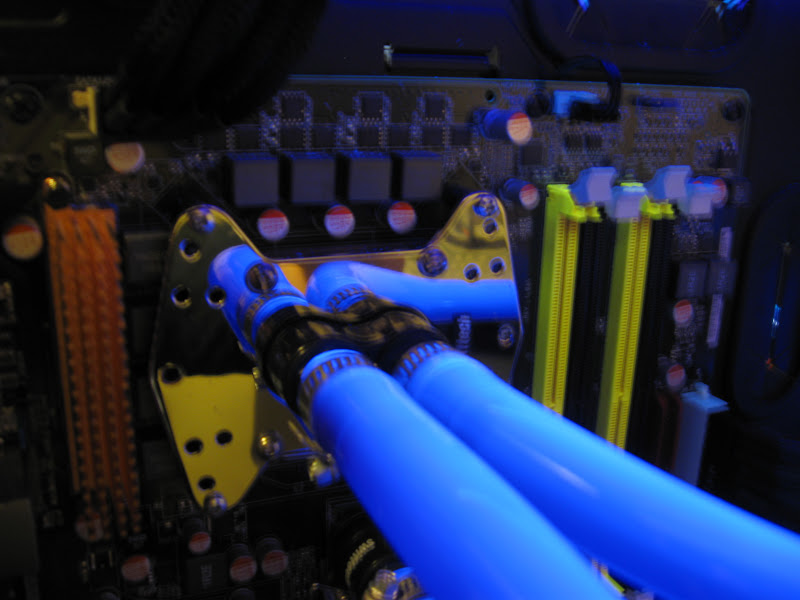
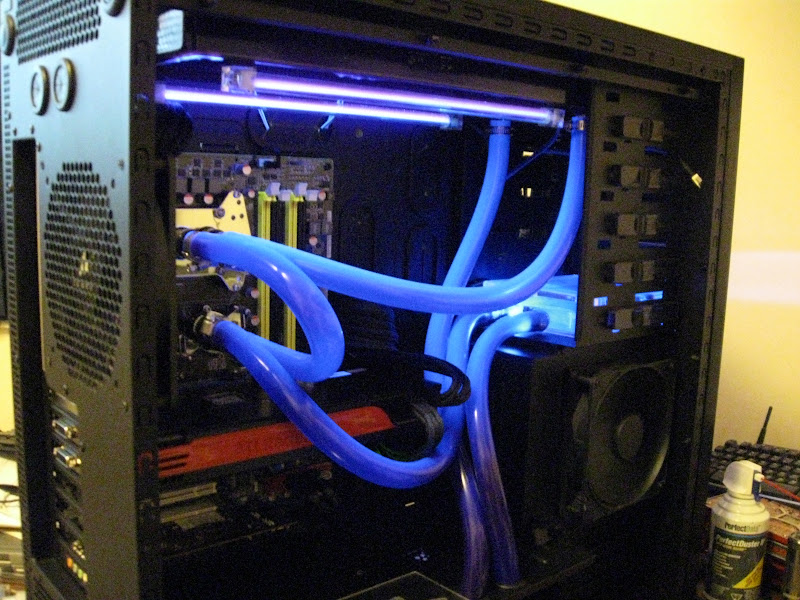
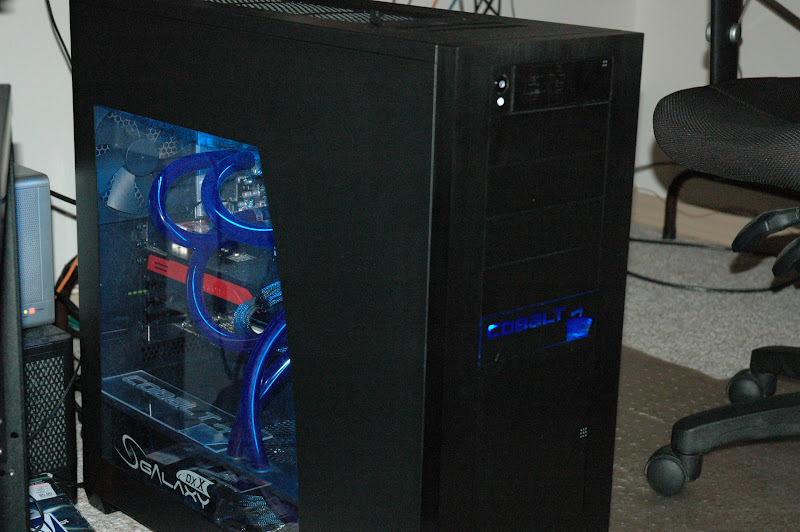
Here you can see the majority of the loop. Lots of extra tubing there to reach to and from the pump but it is worth it 100 times over having the pump under the reservoir when it comes time to fill and bleed the system.

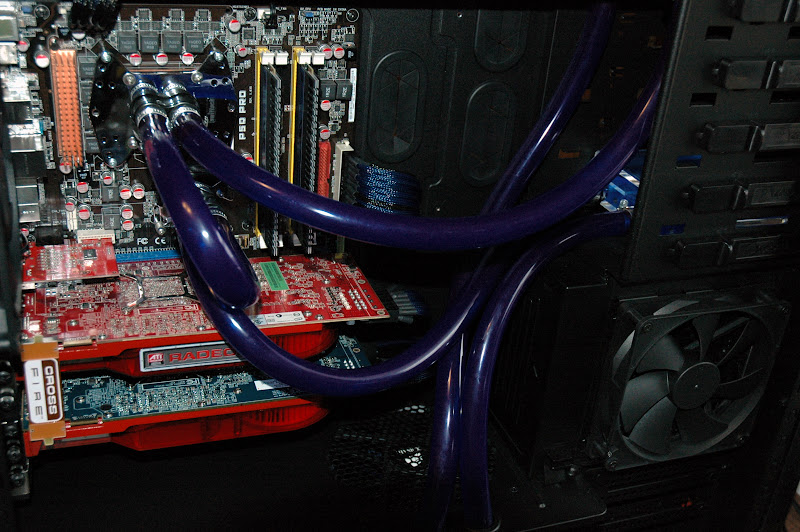
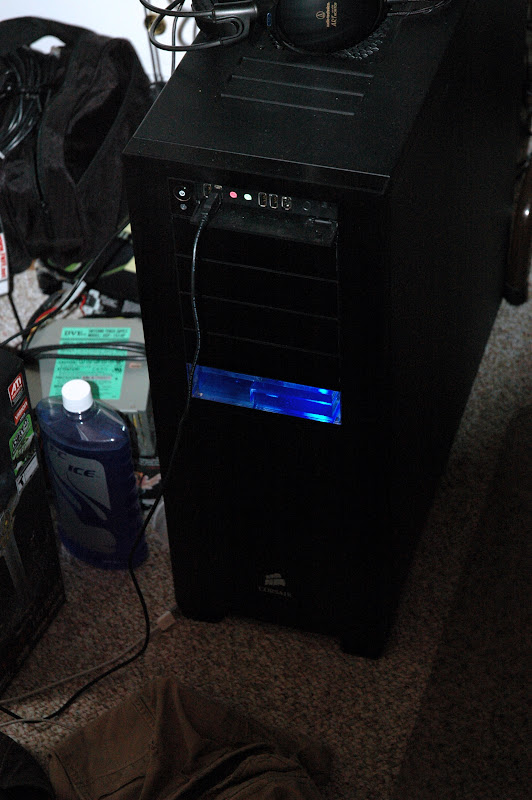
Here's a pulled back shot, I really loathe both the lighting in this house and my apathy towards learning how to actually use this Nikon D70 to take really good looking pics. You can barely see the bottom of the Swiftech MCR320-QP radiator at the top.

Other than the case, there wasn't much to this upgrade so far. A bigger radiator is probably not usually the upgrade that it was here, but it makes all the difference in the world with this machine. The 120mm single radiator I was using before just couldn't quite handle the output of the Q6600 and QX6700 I had previously when overclocked. The combination of moving to a 45nm Q9450 and tripling the cooling capacity has given me worlds of headroom.
What's left then?
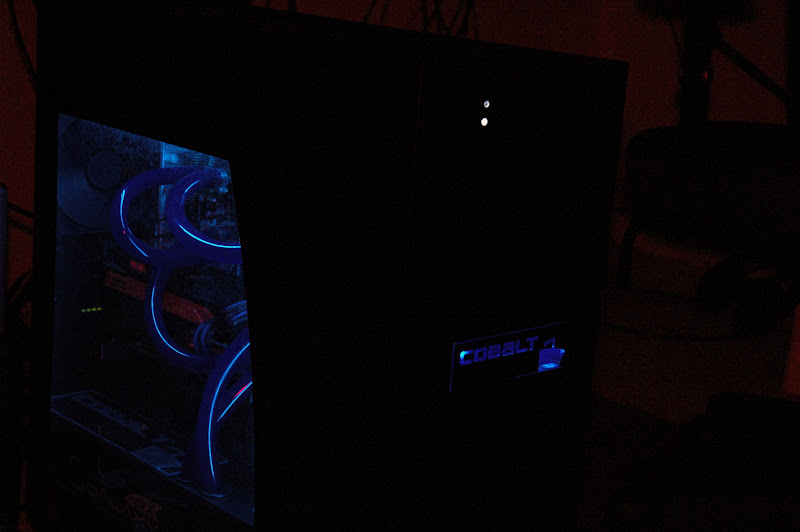
1. Lighting! I still have to install some UV Cathodes to make my tubes glow and install the LED for the bay reservoir. Whether or not the water gets dye or coolant remains to be seen.
2. Faceplates! Not only do I need to get the faceplate for the bay reservoir finalized and cut, but I also have to decide how I'm going to stealth the DVD drive into the front of the case. I'm seriously considering cutting a slot in a faceplate and getting a slot load drive, we will see.
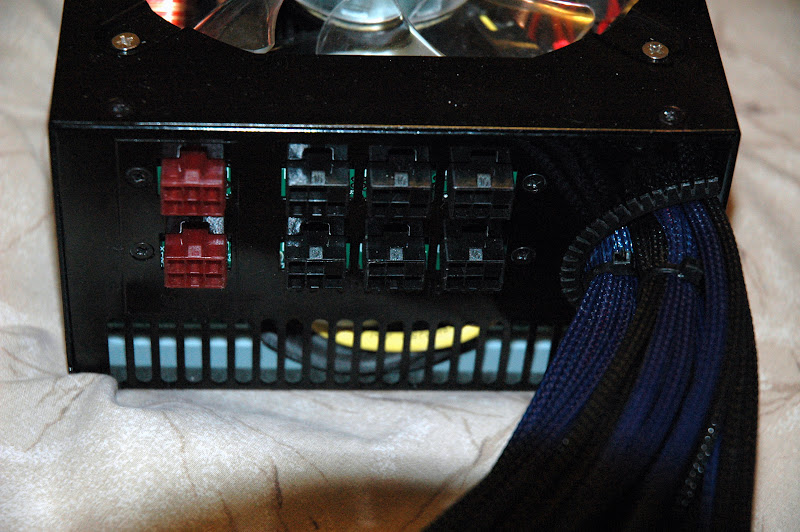
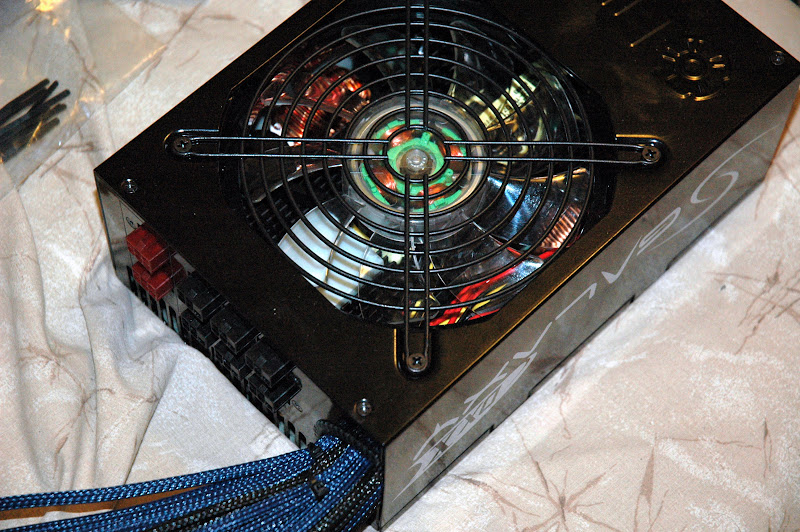
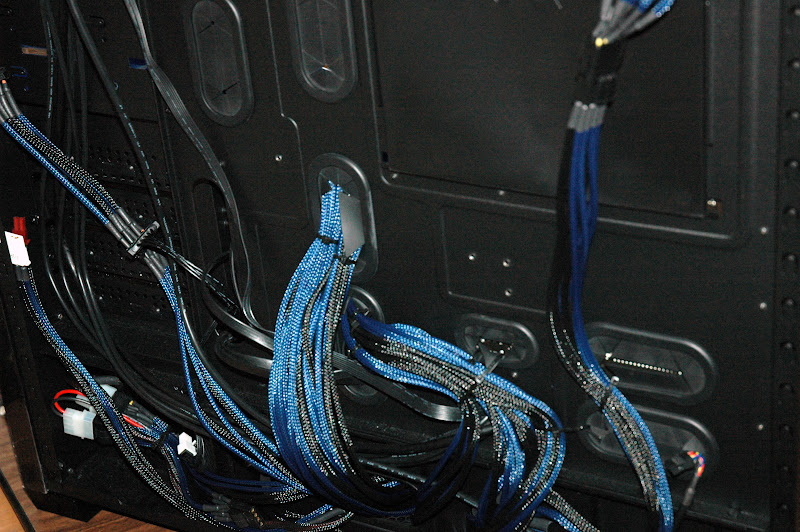
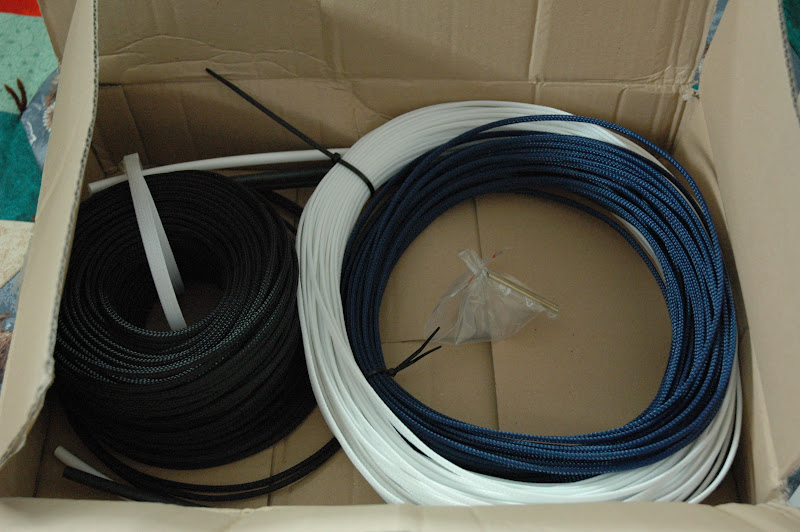
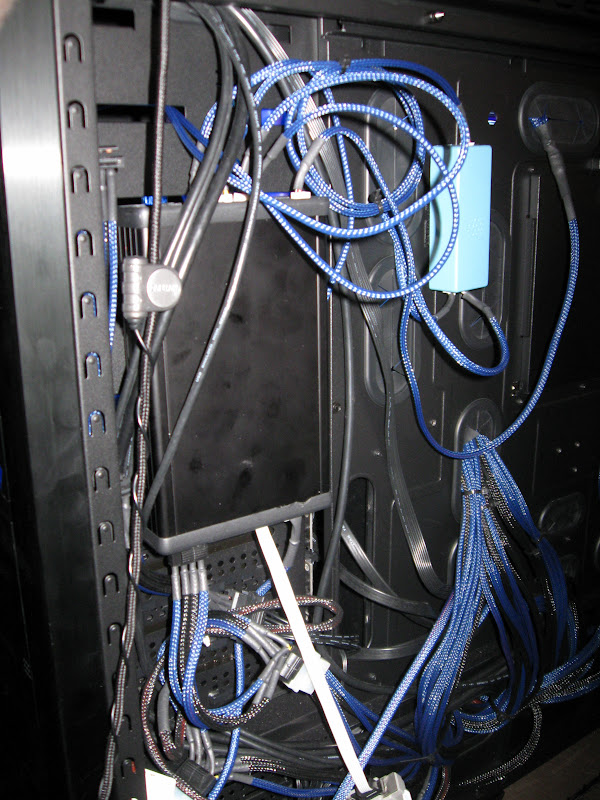
3. Sleeving! My new Enermax Galaxy DXX 1000w modular power supply is here but unfortunately the mass amounts of sleeving are not! Once that arrives I will get to work MurderMod style on all of the wiring in this case and that will hopefully give it a much more polished look.
I bought a good deal of both of these, I'm thinking Black for the Ground wires and Grand Bleu for everything else, all done with black heatshrink.


Specs:
Corsair 800D
Intel Core 2 Quad Q9450
Asus P5Q Pro
2x2gb Corsair Dominator 1066mhz @ 5-5-5-15
(2) ATI 4870 512mb
Creative X-Fi Xtreme Gamer
Enermax Galaxy DXX 1000w
150gb WD RaptorX
(2) 1tb WD Black
(4) 1tb WD Black RAID5 external box
(5) 1.5tb WD Green RAID5 external box
Swiftech Apogee GT
Swiftech MCW-30
Swiftech MCR320-QP
XSPC 5.25" Bay Res
PrimoChill LRT UV Blue 1/2" ID 3/4" OD Tubing
My current plan actually involves no serious modifications to the 800D which looks suspiciously like a penis in text form. The case supports a 3x120mm radiator stock which is fantastic and has a plethora of routing options for both wiring and tubing and really I won't need to cut a single thing to get everything I want out of this case.
What will require modification however, is the 5.25" bay res I plan to use. What I plan to do with it is mount it in the usual location in a 5.25" bay but I am going to make a faceplate for it to cover up most of the light as I'm no longer a fan of a big block of water in the front of cases.
Here is what I've come up with so far for the faceplate. I'm going to have this cut out of something, perhaps black vinyl or black plexi. This one is pretty simple, a clean font and an outline of Master Shake. It's a running joke for several years with friends of mine that I am just like Master Shake so it seemed appropriate. The white background would actually be black and the black would be cut out to show the water/reservoir behind.
-----------------------------------------------------------------------------------------------------------
Well, I'm sure you'll all be happy to know that I completely skipped snapping pics of me just putting the computer together. Not any modding involved so I didn't feel the need. This case is absolutely phenomenal! The more I play with it the more I come to find little things that make my life easier.
That said, I did have a little bit of a hard time deciding where and how to mount the pump. I couldn't mount it in the 5.25" bays because I would have had to mount it directly to the bay reservoir which would mean it couldn't slide out to be filled which would pose a problem. In the end I put the pump roughly where the designers had in mind although I got a little creative with it. You can also see my trusty old Enermax 600w beast there. He's getting replaced with a brand new Enermax Galaxy DXX 1000w as soon as my MDPC-X sleeving gets here from Germany and I get it all resleeved
Here you can see the majority of the loop. Lots of extra tubing there to reach to and from the pump but it is worth it 100 times over having the pump under the reservoir when it comes time to fill and bleed the system.
Here's a pulled back shot, I really loathe both the lighting in this house and my apathy towards learning how to actually use this Nikon D70 to take really good looking pics. You can barely see the bottom of the Swiftech MCR320-QP radiator at the top.
Other than the case, there wasn't much to this upgrade so far. A bigger radiator is probably not usually the upgrade that it was here, but it makes all the difference in the world with this machine. The 120mm single radiator I was using before just couldn't quite handle the output of the Q6600 and QX6700 I had previously when overclocked. The combination of moving to a 45nm Q9450 and tripling the cooling capacity has given me worlds of headroom.
What's left then?
1. Lighting! I still have to install some UV Cathodes to make my tubes glow and install the LED for the bay reservoir. Whether or not the water gets dye or coolant remains to be seen.
2. Faceplates! Not only do I need to get the faceplate for the bay reservoir finalized and cut, but I also have to decide how I'm going to stealth the DVD drive into the front of the case. I'm seriously considering cutting a slot in a faceplate and getting a slot load drive, we will see.
3. Sleeving! My new Enermax Galaxy DXX 1000w modular power supply is here but unfortunately the mass amounts of sleeving are not! Once that arrives I will get to work MurderMod style on all of the wiring in this case and that will hopefully give it a much more polished look.
I bought a good deal of both of these, I'm thinking Black for the Ground wires and Grand Bleu for everything else, all done with black heatshrink.
Last edited: