• Some users have recently had their accounts hijacked. It seems that the now defunct EVGA forums might have compromised your password there and seems many are using the same PW here. We would suggest you UPDATE YOUR PASSWORD and TURN ON 2FA for your account here to further secure it. None of the compromised accounts had 2FA turned on.
    Once you have enabled 2FA, your account will be updated soon to show a badge, letting other members know that you use 2FA to protect your account. This should be beneficial for everyone that uses FSFT.

Project: BitPac

Wejjy

n00b
Joined
Dec 19, 2011
Messages
62
Hi again guys, well some of you will be aware that my SR-2 desk build is nearing completion, so the next build begins...

Its an illness I think, we just can't help ourselves can we!

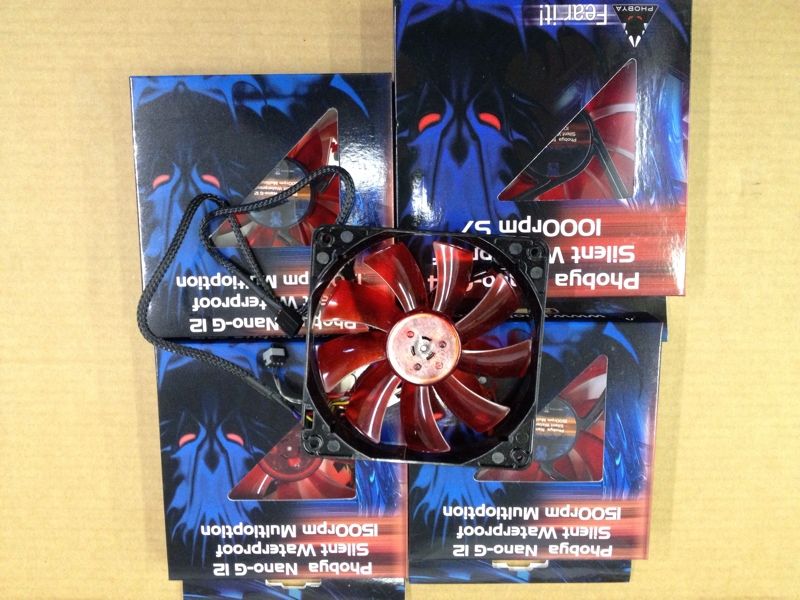
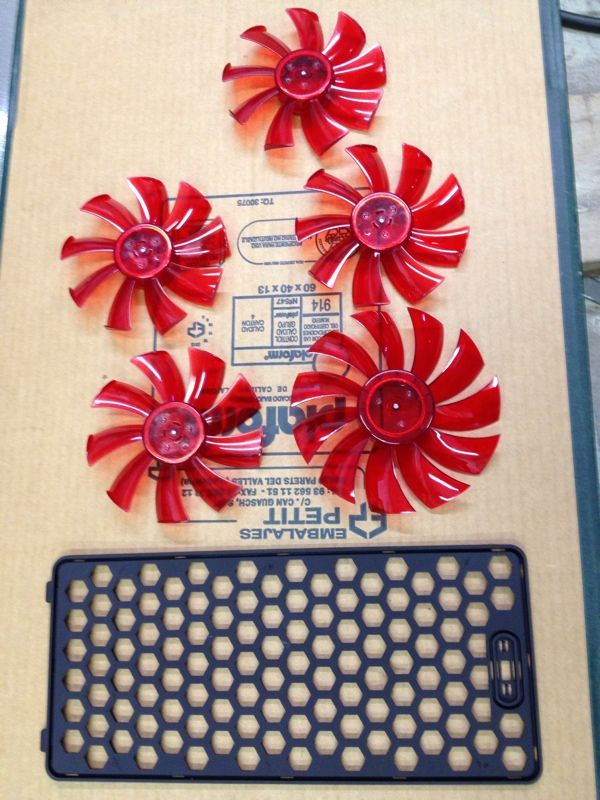
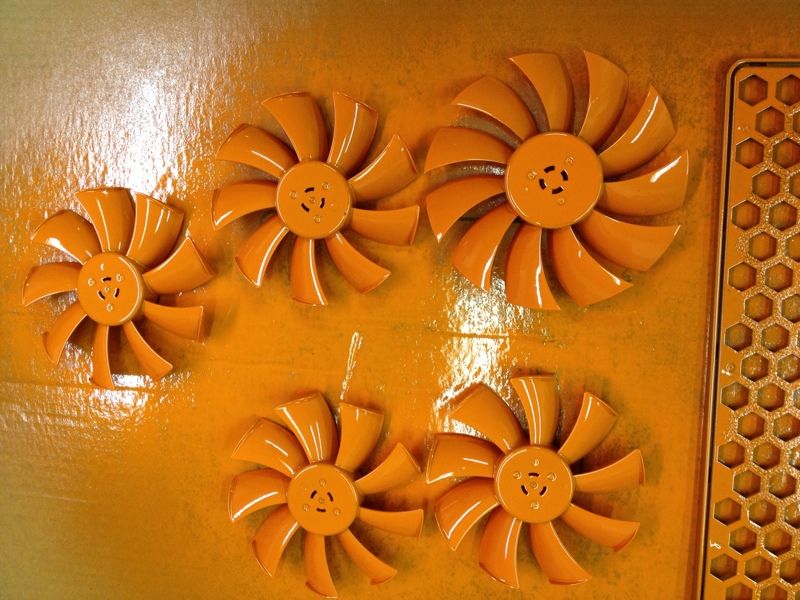
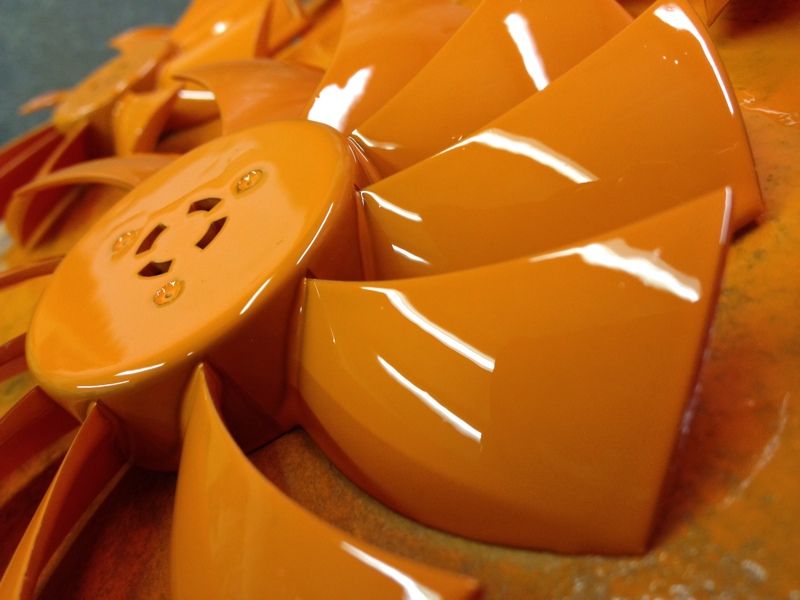
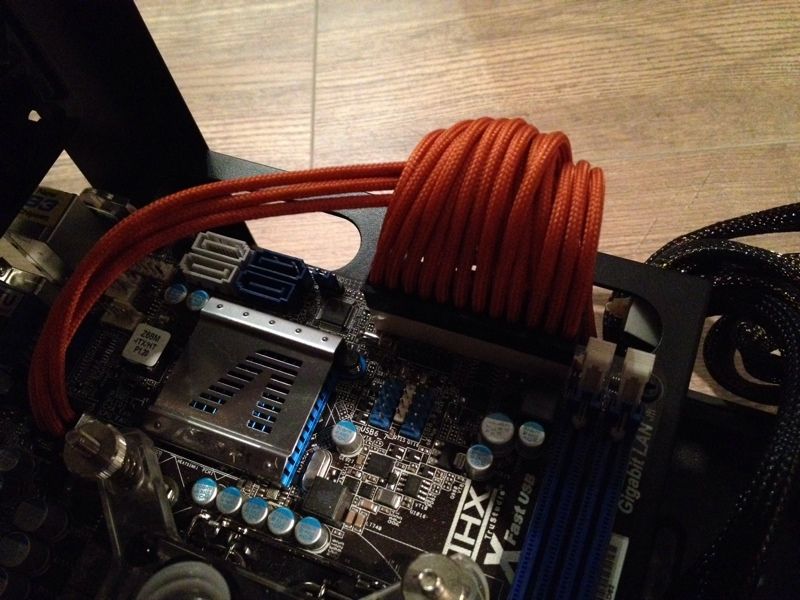
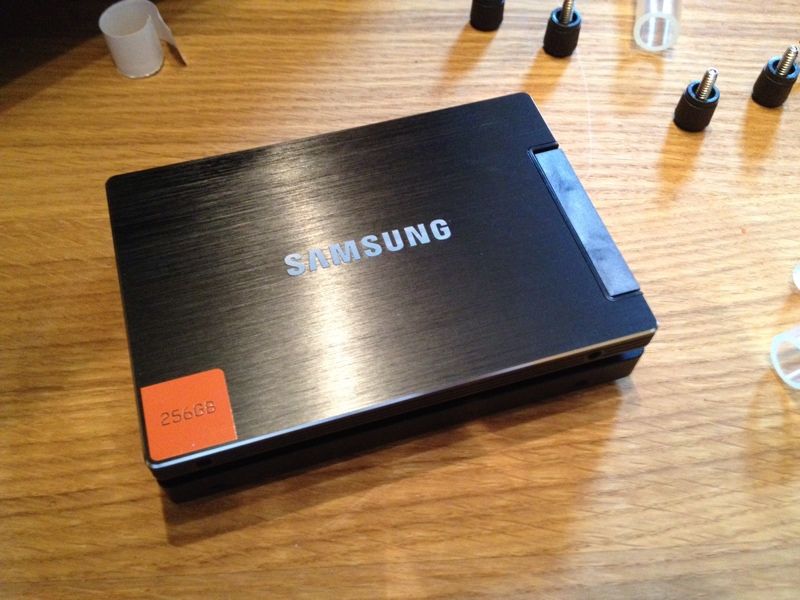
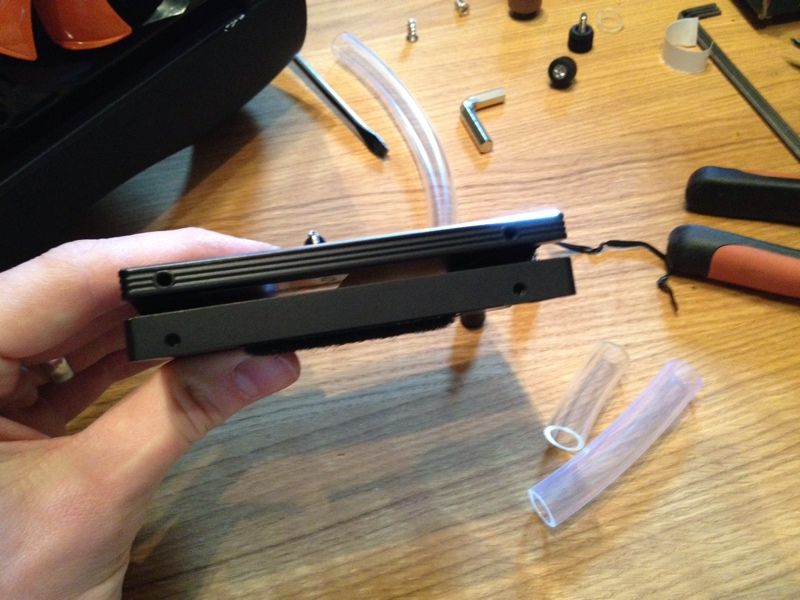
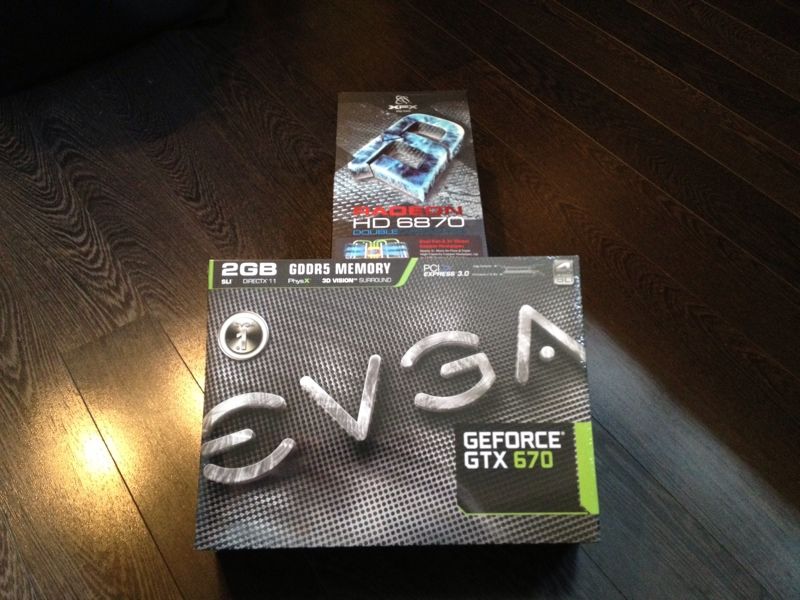
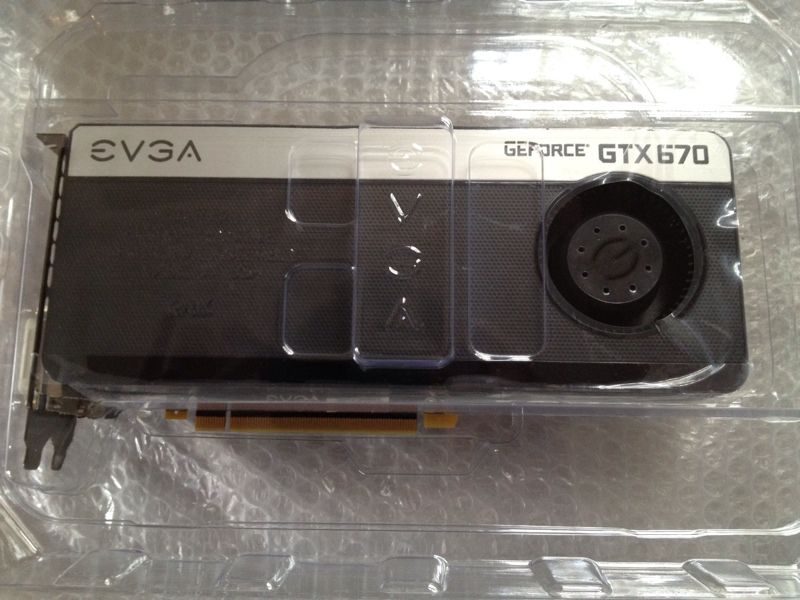
So, the project, well yes it is another Bitfenix Prodigy build, but hopefully something a little different to the others. I want to integrate overkill with the tiny size of the case, so Im going big with this one. No designs to spoil it, they're all stored safely on my drive so I can refer to them, Im afraid you guys will just have to follow along until the end. The only teaser will be these photos at the very start!

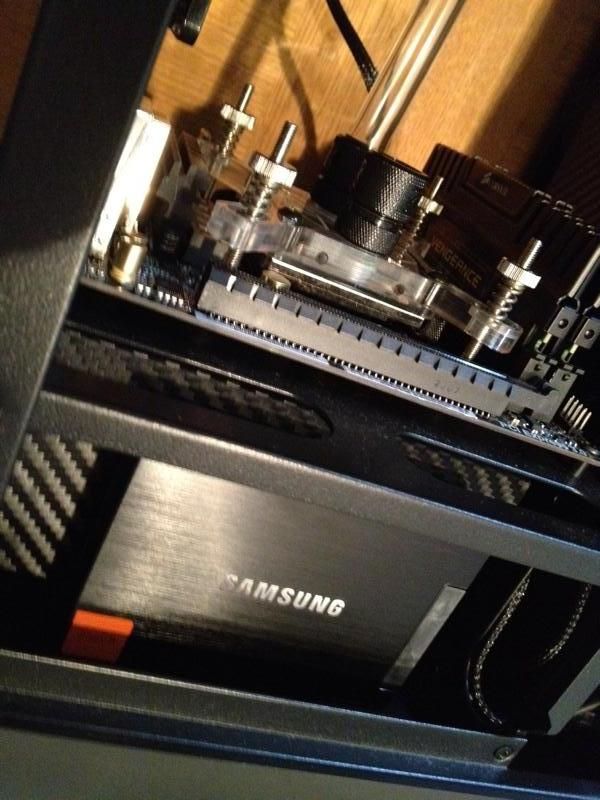
So I have the majority of the hardware already, all of the water-cooling gear is now in my possession, so tonight I made a start stripping the case down and trying to figure out which parts to keep and which to mod, and then which to get rid of all together!

Heres the strip down so far as Im sure you have all seen the case in its fully built state...

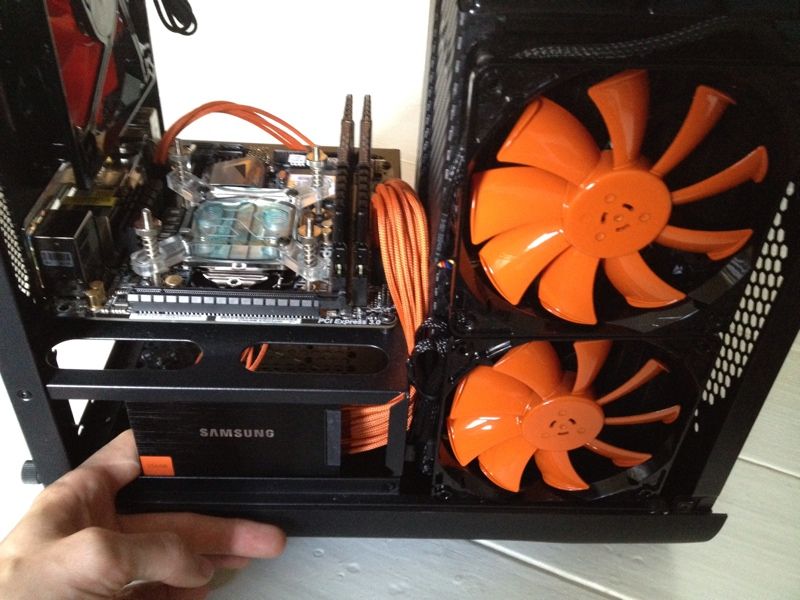
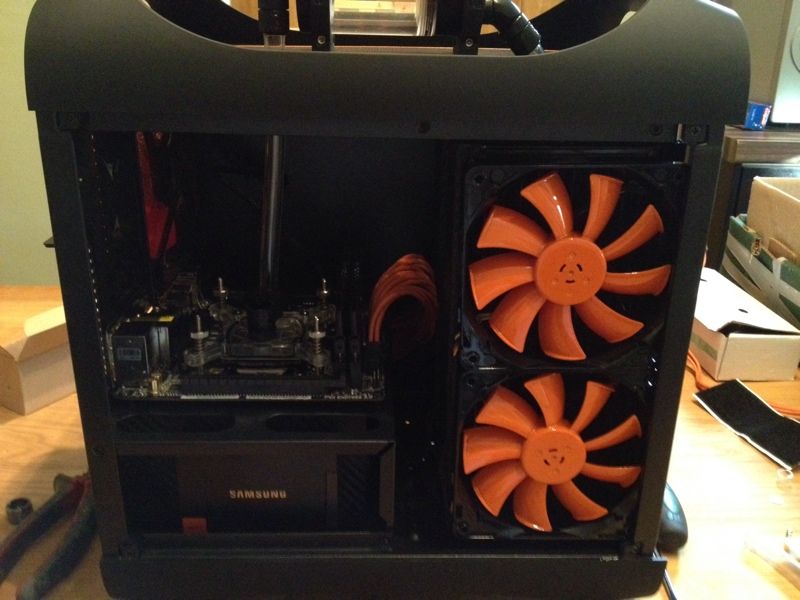
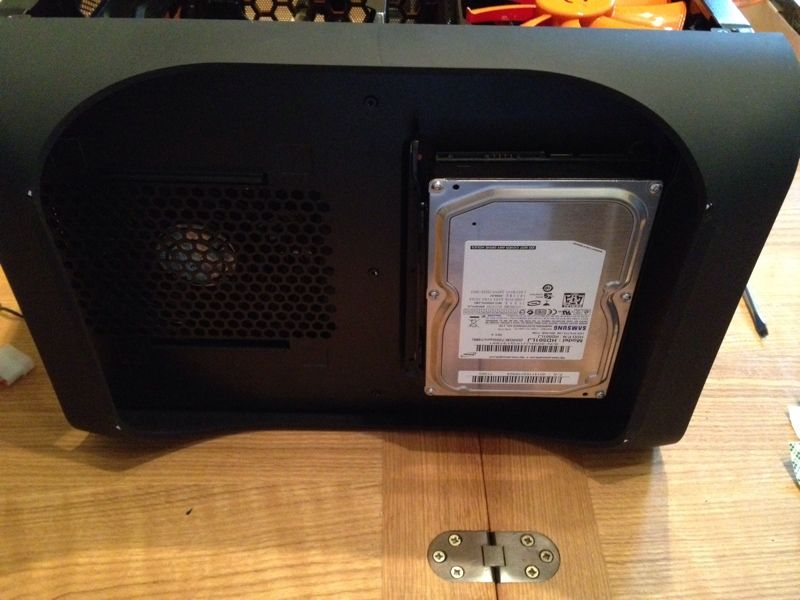
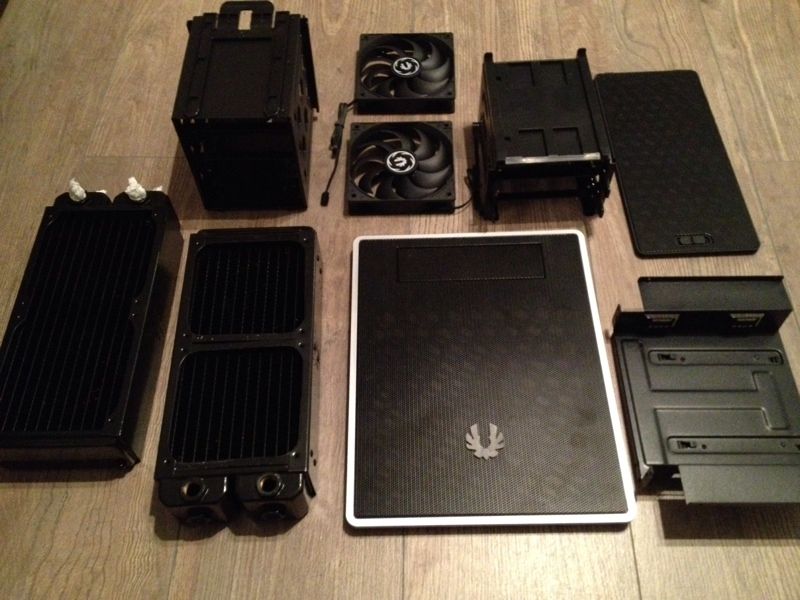
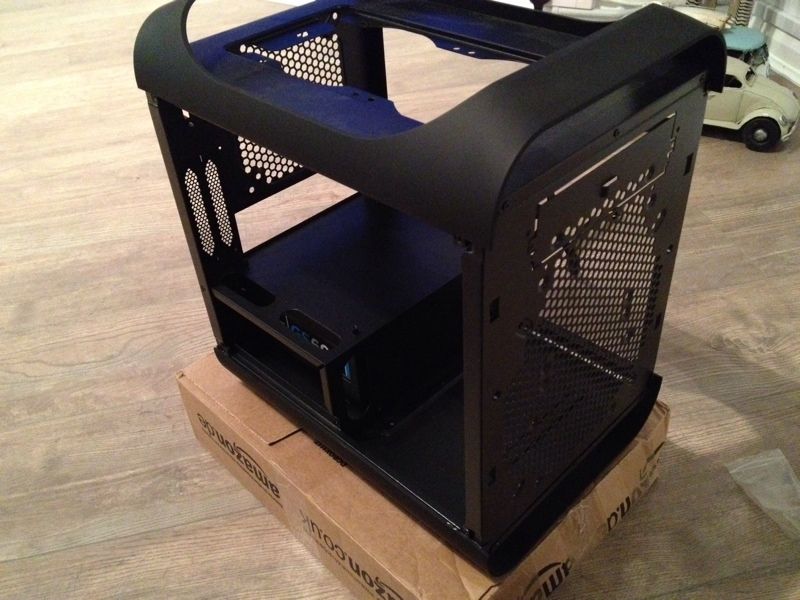
First of all stripped all the drive bays out including the DVD tray, all so easy to do, a credit to Bitfenix...

1D60594D-80B4-4DAA-BB75-EC954DC47EFB-127-0000001C0C2E4409.jpg


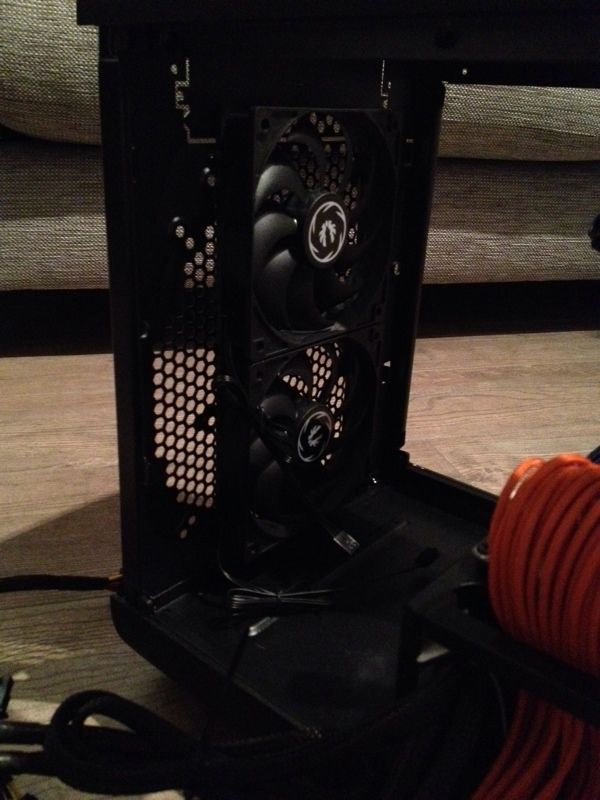
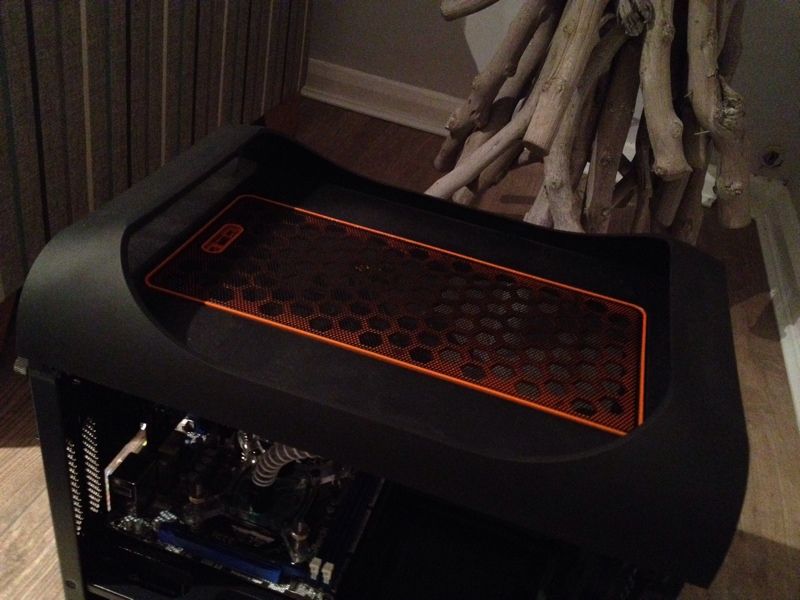
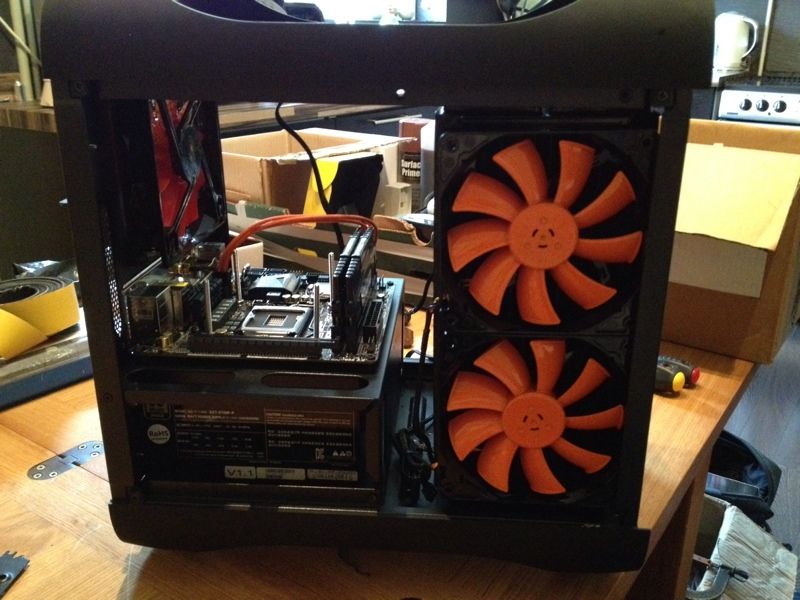
The stripped case, with the PSU installed in the bottom...

BF72CA52-23F2-4F4C-A385-B7CDE861E237-127-0000001C169E5B87.jpg


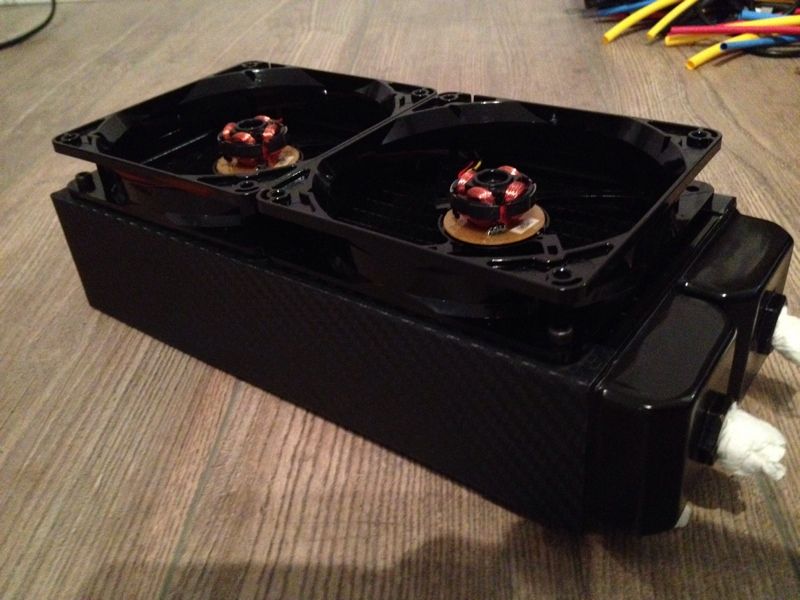
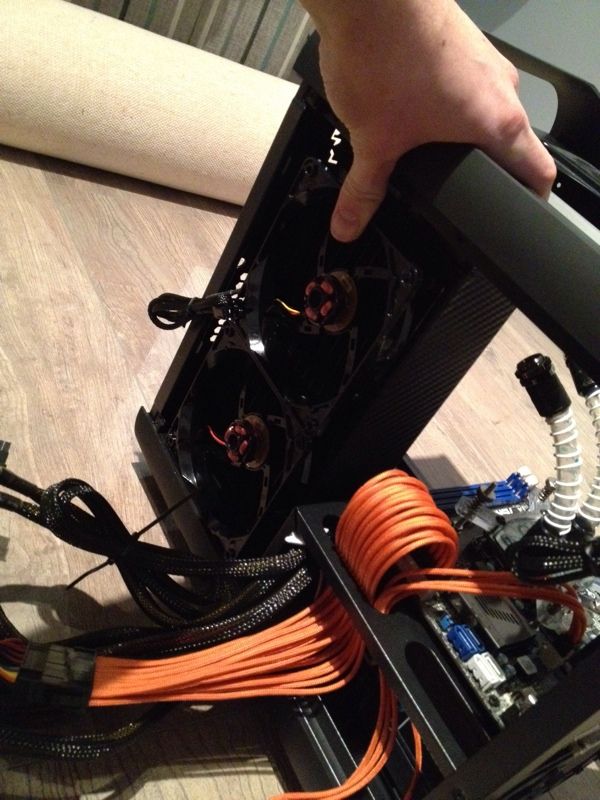
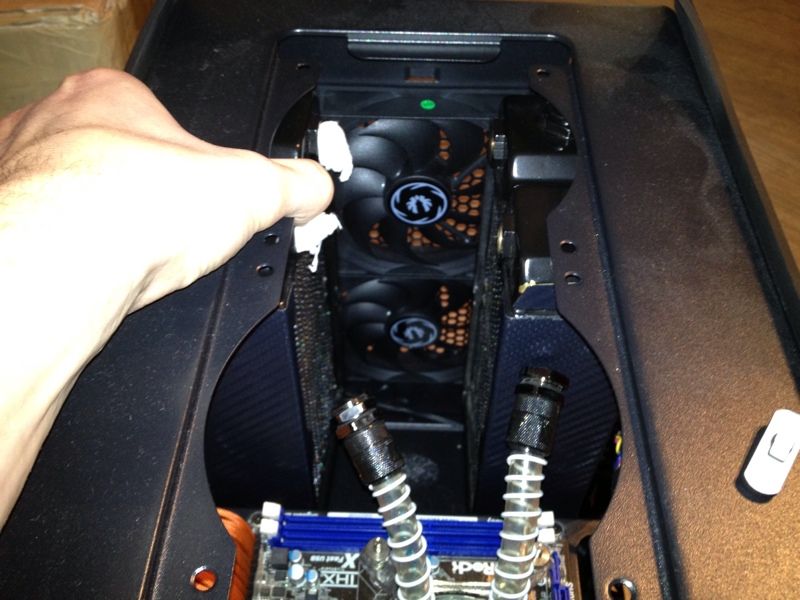
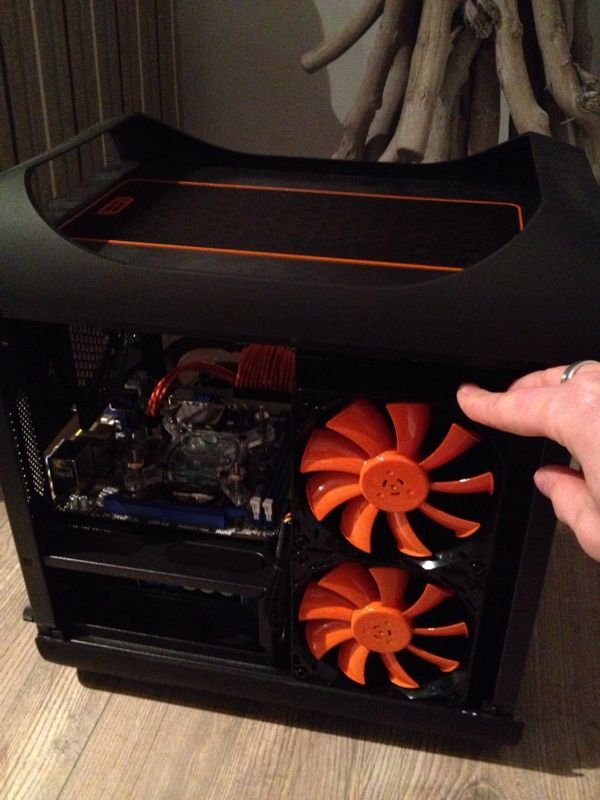
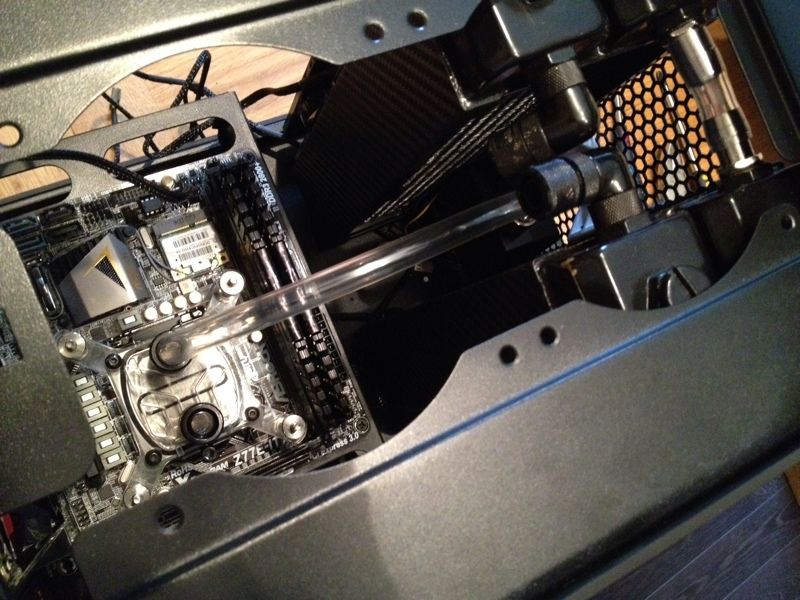
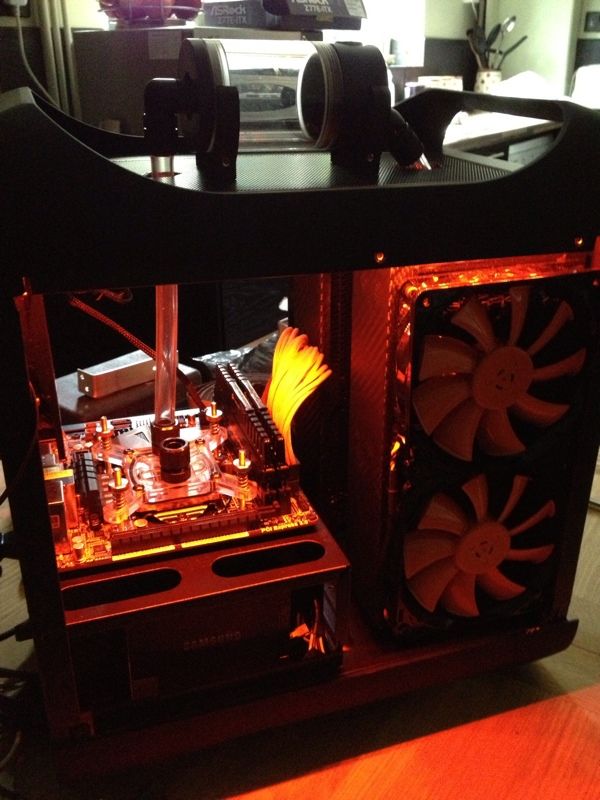
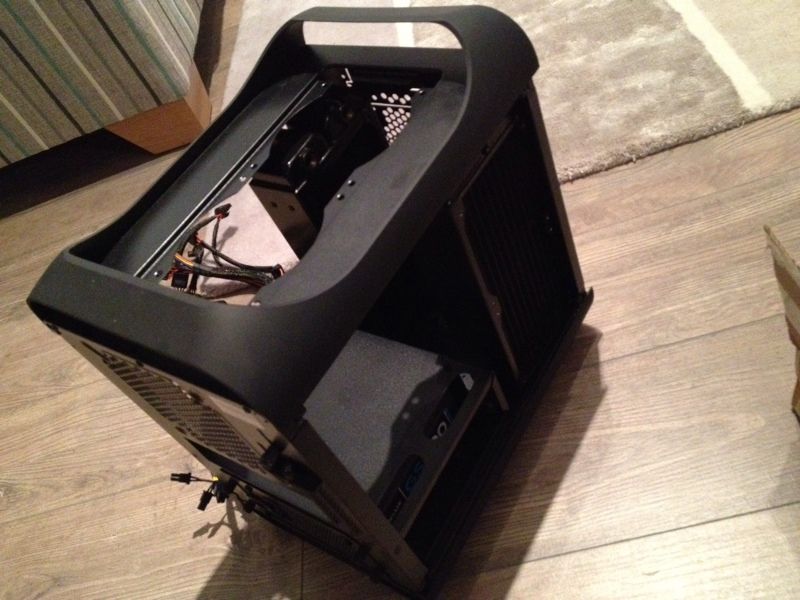
Then finally the rads, in the rough position they will occupy, they're balanced at the moment so please don't worry, they will be straight when finished, just to give you all an idea as to how tight the case will be filled!

4B08E56F-FA8F-4C70-9AF7-0E9DDFDF0975-127-0000001C839DDD4D.jpg


Hardware:

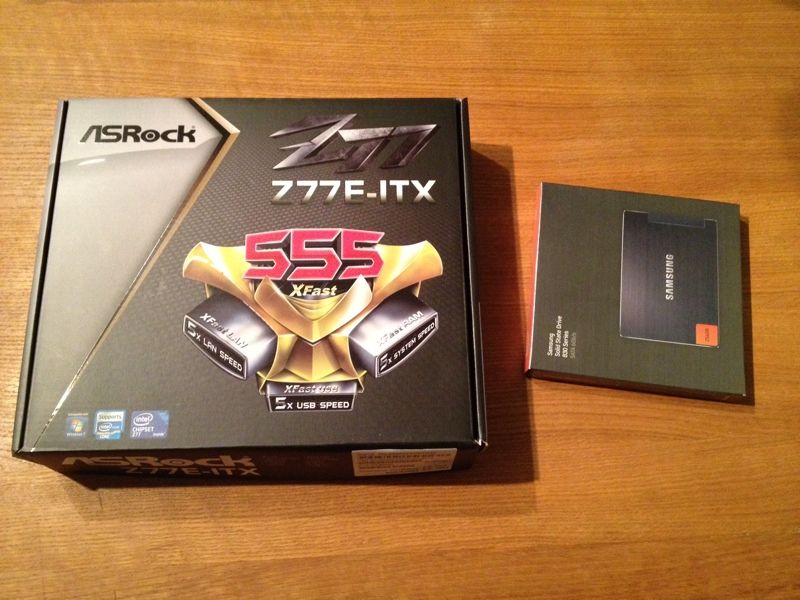
* Z77 Motherboard - TBC
* GPU - TBC
* Corsair 16gb Dominator RAM
* 256gb OCZ SSD
* 2x 2TB Samsung Spinpoint HDD's
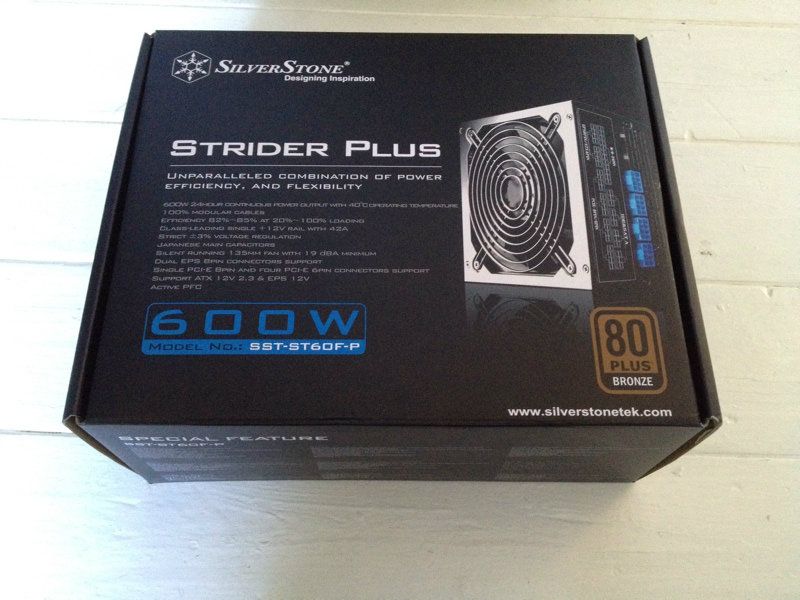
* Corsair GS650 PSU

Watercooling:

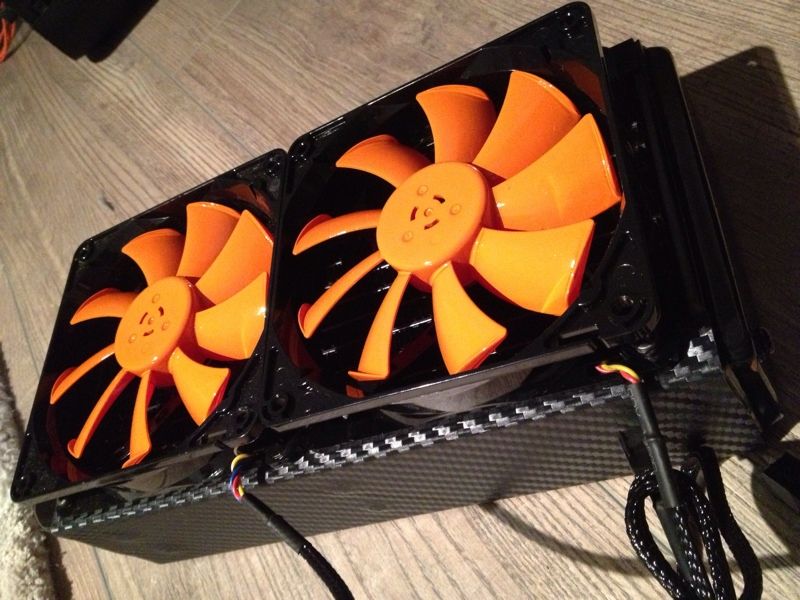
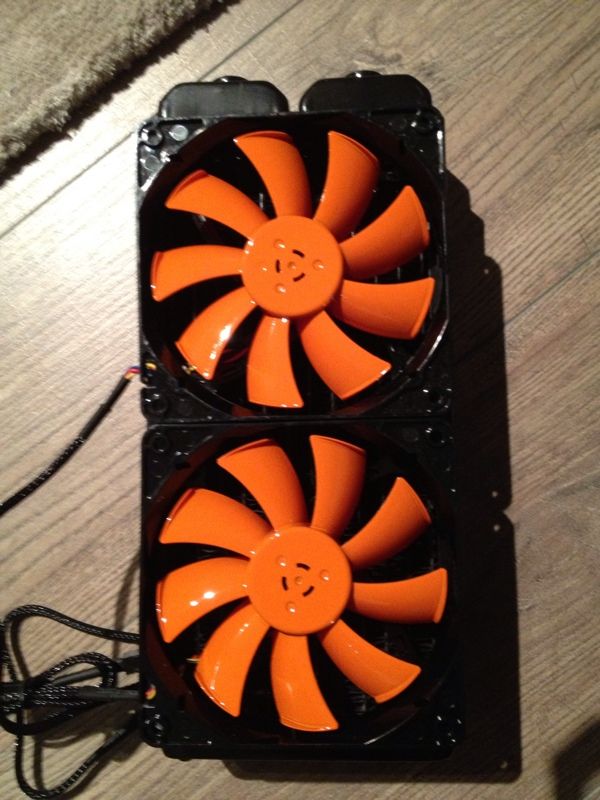
* 2 x Phobya G-Changer Rads
* EK GPU Full Cover
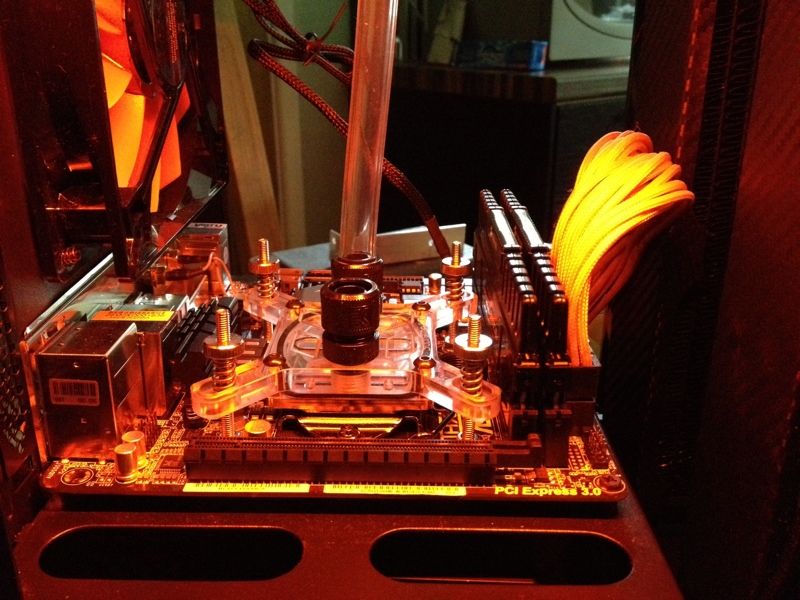
* EK HF Supreme CPU Nickel/Plexi
* EK Dominator Nickel/Plexi
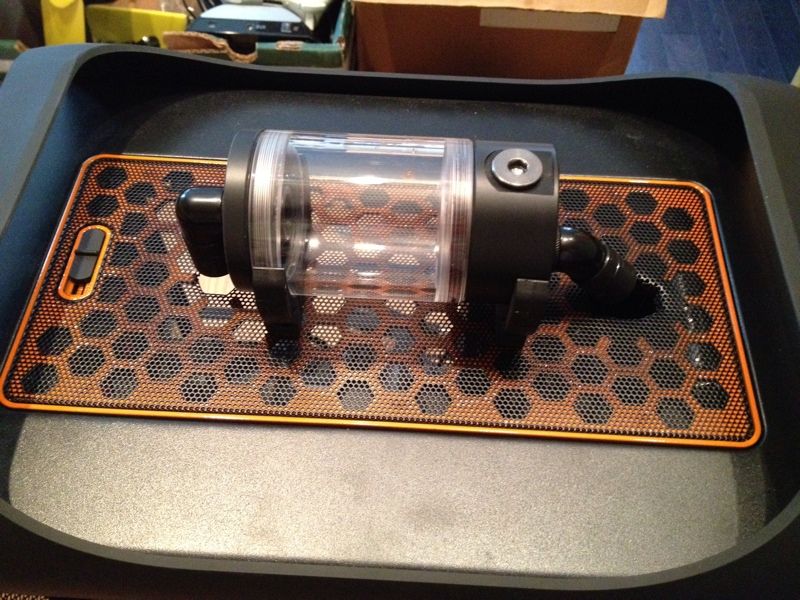
* Laing DDC 18w Pump with EK Top
* EK Fittings
* Fans - Bitfenix 120/140 Fans Colour co-ordinated!

OS - Windows 7 and OSX Mountain Lion

Hope you all like this one guys, it WILL be different!! I promise!:rock::rock:
 
I've always people mention this case, never actually googled to see what it looked like.

It's pretty cool. I like the rad mount location.

Good luck with the build.
 
I've always people mention this case, never actually googled to see what it looked like.

It's pretty cool. I like the rad mount location.

Good luck with the build.

Thanks mate, decided to mount the rads in the most difficult place possible, just to be different, its a great case though!

Subbed out of curiosity :D

Hope you like!

Gonna have to pick a relatively short GPU for that setup.

See below :)

GTX 670 will fit

Spot on!


Thanks!
 
Ok so progress was delayed until some parts arrived, I received mynorder though last week from Specialtech, so yesterday I started moving forward. i'll put the pictures on and allow them to do the explaining as words are just boring!

2D6C1EC4-878E-436B-9CCC-AC08BC8A8107-4743-0000072A5CF08C24.jpg


Love these fans, they are so easy to work with and are great for watercooling builds imo

CBFB0E0A-9CCC-4D7C-9428-6614ABF71401-4743-0000072A63728B49.jpg


Out comes the paint...

93040699-9404-4637-8EDB-C0FFE545537A-4743-0000072A6CE6CC2F.jpg


3 coats later...

23EB578F-2669-4408-9D7F-601E06438F56-4743-0000072A695391BA.jpg


Left these to dry, and went back home, installed the motherboard power cables to see how they look.

CED15AA1-1ADD-40C7-A4A7-94C3F1D244BD-4743-0000072A72FFF6DA.jpg


Not bad!

Then did some work on the rads, CF'd the sides, and attached the fan bodies in place ready for the painted fans tomorrow.

E3CF8364-07A4-4A36-8233-0DE118122838-4743-0000072A785508E3.jpg


Then installed the standard black Bitfenix fans as exhaust fans for the rads, may change these but will see how they cope first.

A318C3D6-D5E1-4A77-824B-C3F923853EEF-4743-0000072A82AE7C8F.jpg


Dropped the rads in to see how close it all was, and hey presto, its perfect!

077B0FD0-409C-477B-AC9B-7887B89B2D5F-4743-0000072A870BF77C.jpg


E717C5B3-A653-4A56-BB68-149B94986D39-4743-0000072A8C9D5B3A.jpg


Enough space but nice and full too!

E87D9D82-7284-42D4-829A-608C0A2B154D-4743-0000072A913F4AE3.jpg


Thats all for now folks, onto the top plate next and the pump/res placement which I am excited about, then saving for the GPU!

Whadya think?
 
Thanks mate, and yep Im well chuffed about the colour, its exactly what I wanted!
 
Ok so a tiny little bit of progress today. I managed to collect the fans I left drying last time and fit them. A little teaser really for you all as Im still yet to make the actual brackets and the reservoir/pump mounts.

Also I could do with some help in deciding which motherboard to go for, the Asrock Z77 or the Asus Z77?? The Asrock fits in nicely with my colour scheme, but the Asus has much higher features?? Help??

Anyway, here are the piccies again, hope you like them...

A9D6D930-993F-4654-989A-2577B6A8852D-6855-00000AD840FD5EE1.jpg


Gotta love the Phobya fans...

B57793C0-915F-46A8-AC98-8C2AAAF0140C-6855-00000AD845B258CE.jpg


and the zesty Orange...

945EF151-0FB1-47F2-A413-EB66F486164B-6855-00000AD849E7D6F7.jpg


Spraying this was kind of a test as there will be a lot happening up in the roof... But I like the effect it gives as the mesh changes how orange it all looks.

And finally an overall shot for you, gives you an idea of how it will all look in the end!

25E6E139-B46A-493A-B8BC-A2C620DD4C61-6855-00000AD84D566713.jpg


Thanks guys, if anyone would like to donate a 670, it would be amazing too! :) :)
 
Havent really been on much lately, but got a bits done in really small doses so thought I would save it all until I had some work worthy of posting, and Im really chuffed, got afew small things left to do but I feel Ive done a half decent job so far!

I had a few deliveries, namely the below!!

A3E3A7E9-E835-4D50-9401-58ED2488FF94-3448-000005C8238137E2.jpg


0A5B0003-9106-4065-9478-60239887234D-2359-000002E53CBF6CD6.jpg


9F77FC64-4EC6-4348-856F-88FAA8C7A898-2359-000002E52E07D1C6.jpg


6DC1C9D7-A585-4386-910B-4C7CC46403A3-2359-000002E502C7EDB7.jpg


So there was a lot to get on with really....

I started off by laying everything out to double check it was all ok, and then started assembling bits in their final positions.

8BF570A7-9A97-4552-AE01-4A86C1D3FA98-3448-000005C81F753CF8.jpg


I will just post the photos from now on, as its all fairly simple...

84627E8B-EDBA-4CEA-B835-1CA8D2DC853D-2359-000002E5393E7659.jpg


EE5C6AC5-AFB6-42E6-9586-593DAAA1E1BA-2359-000002E531677B76.jpg


Hated the stickers on the side of the PSU but that got sorted another time...

0B91D9A3-83DA-4D78-9638-B69BE6764D29-2359-000002E51D5988C9.jpg


CPU installed, cant wait to overclock this little beauty!

HOW TO ALERT: Skip if you want!!

Decided to do a little how to with my cleaning kit... Might help someone?

D5367EFA-4873-450A-B3F6-715DFBD4EDC8-2359-000002E52143FB26.jpg


First step is to wipe off all old residue with some Kitchen towel etc...

6ED48E40-44E0-4E31-8B17-C8C257B03F2F-2359-000002E52A11BF77.jpg


Leaves a smeared dirty mark...

So you apply the Arctic Silver Fluid number 1 and wipe again...

9FBF0173-FF92-4B8E-A231-4771E117C8AA-2359-000002E51A0704A4.jpg


This cleans it but leaves behind an oily film, so you MUST use the second fluid too...

EA6426A8-0418-4425-AD79-03DADD34F347-2359-000002E515F001B6.jpg


Just a drop...

Wipe...

Then...

9DBAAFDA-12CF-4C72-8BE0-BAE4658AB197-2359-000002E511F75D82.jpg


Perfect!!!

HOW TO OVER......

Installed the Samsung SSD and piggy backed it using velcro strip to the old Corsair SSD I had, so I have a Samsung 256GB and a Corsair 128GB SSD, one for Windows, other for Mac OSX.

9531A807-783F-4DDD-88E1-900016751629-2359-000002E4DE86B0EC.jpg


Piggy backed

A59E042C-163E-4036-962F-2998B5A4629F-2359-000002E4E2568FA4.jpg


Then into their new home, as I said the PSU got Dinoc'd, much better now

E5A809CF-F22C-4B4F-9859-C245CFDD4DCA-2359-000002E4E5F35861.jpg


By this time I'd started messing about with the hose routing, so had to fix the pump down on its little rubber dampers...

D2DA4A2E-8259-4A60-AD7A-1A25A77BA4D5-3448-000005C811BBD6E1.jpg


E4C3B993-03E1-4EF9-9DBD-657DB451375D-2359-000002E4FE6523EF.jpg


Its on the floor at the very front between the two rads, its snug in here to say the very least!

Then it was onto the Reservoir placement, now I didnt take many photos of this as I kind of just got into the zone so apologies!! Some will love others will hate, Im definitely the Former!! and before the haters say anything, yes it would fit inside, I want it to be a feature...

8645C228-051A-4390-9101-8508D171C0DB-2359-000002E4F1ACCF5B.jpg


Getting there...

387E31D8-110B-43FD-85D2-0A7F01D6A7A1-2359-000002E4EA49D9DF.jpg


Installed the LED strip and put it inn the roof, am chuffed with it, great light and good effect, just cant wait to see it with the fluid!

DDCD6B47-9AF5-4CAC-AB27-9D6B04D94342-2359-000002E4DA5F9AF2.jpg


B461B7CA-E8D9-4B34-94AB-BD9C19CB2645-2359-000002E4D68B22FE.jpg


Unwrapped the final piece of the jigsaw, but gutted as the EK block was delayed so I couldn't get it all finished off, otherwise it would be leak testing right now, ready for playtime tomorrow!! DOH!

899A73AF-C37A-42D2-8618-C1D70F970736-2359-000002E50A02C463.jpg


and the glory shot...

138C1A54-530D-4A3D-9BF1-B68D87A161E8-2359-000002E4FA836D20.jpg


Just got the block to fit and then its all ready to juice up and get playing!!! More very soon!!!

Oh I forgot one thing, these cases are tiny, so storage can be an issue, overcame that with a mad idea, needs a cover but... enough room eventually for 3TB's to be hidden in there, guess where...


0892C8B4-CEAE-4519-9782-05C01BCCE877-2359-000002E4D27ECFA6.jpg


Haha cheeky ay!!

Hope you like guys, catch you very soon!!
 
Back
Top