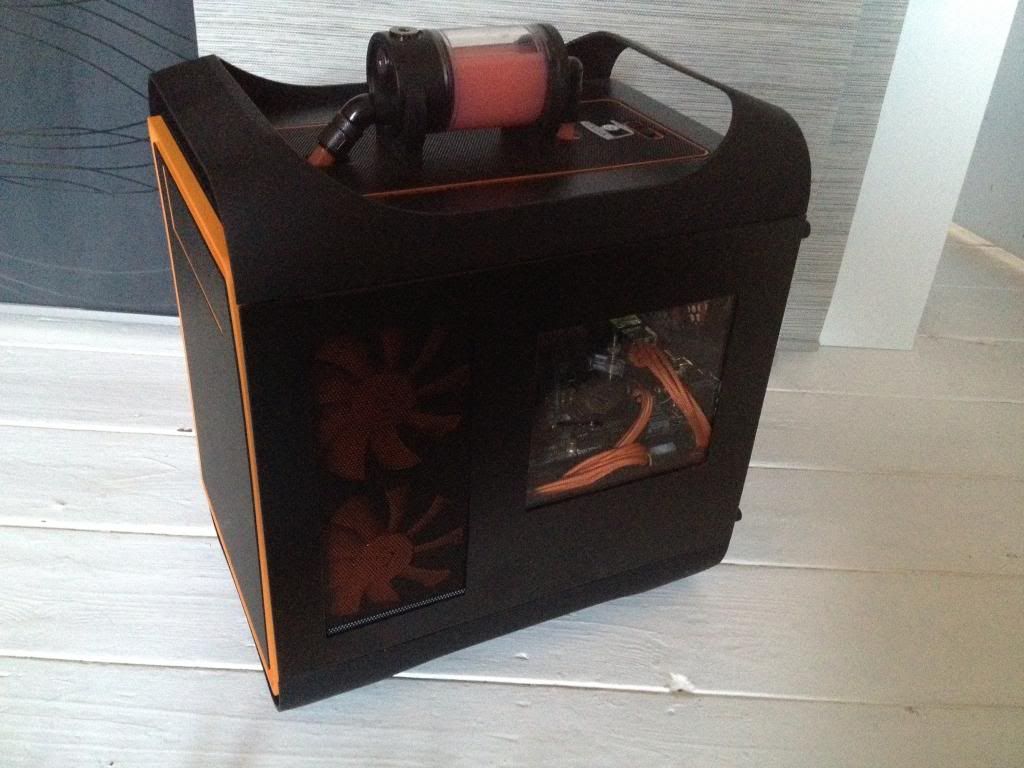
So having already completed a few Bitfenix builds and posting one of my build logs on here, I decided to venture into pastures new and build something a little different. My old build wasnt too extreme, it was just about cramming as much as I thought I could into the Prodigy case, multiple Rads, more HDD's etc. I was happy with it but it never really pushed things enough, I wanted it to be more extreme!
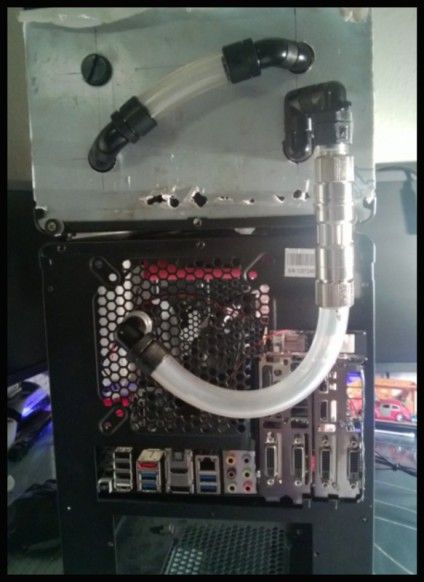
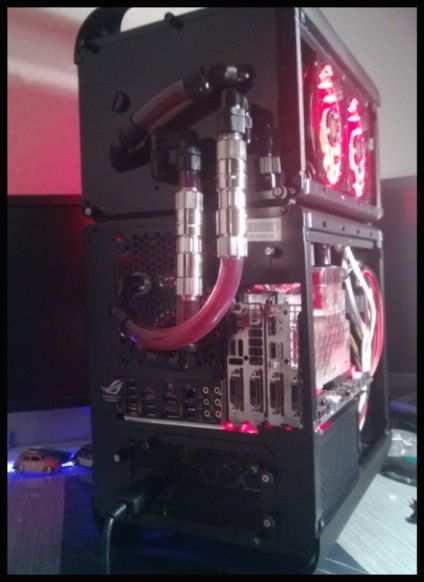
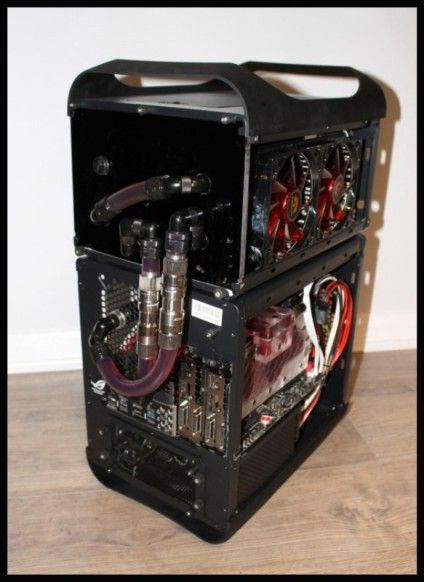
This is how it al looked when complete...
Cute, but not manly!
So I started planning my next rig, this time based around fitting things that shouldnt fit, namely M-ATX, now after seeing other builds, this may seem lame, but at the time of planning, it was to me quite out there!!
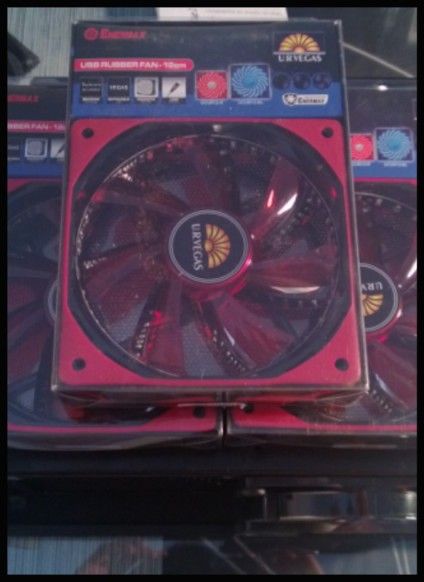
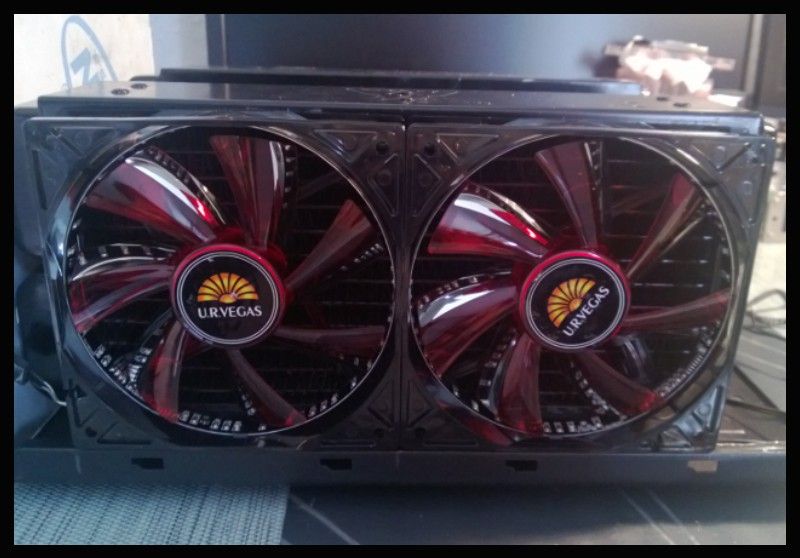
The specs were determined by what I already had mainly, and a little extra that I could afford to throw at it, so all the water-cooling bits were things I already owned, and the fans came from the original project too as they were swapped out for the new owner, you will see.
Specs:
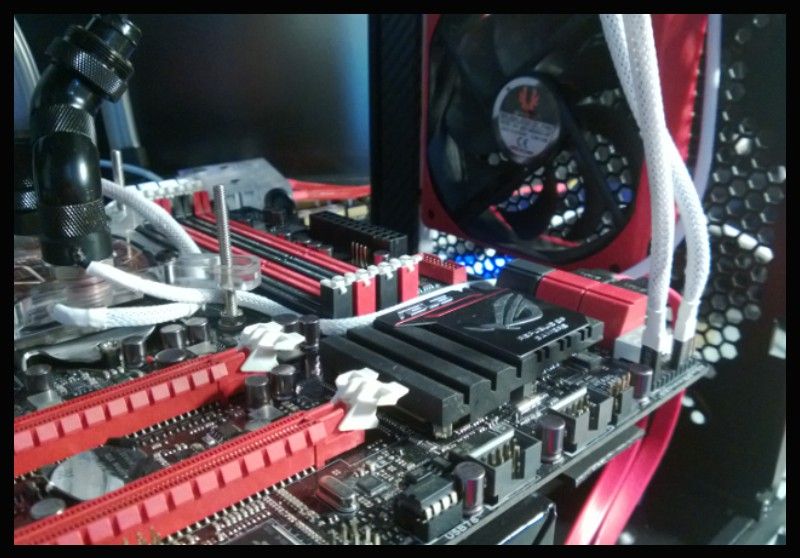
Asus Gene Z77 M-ATX
32Gb Corsair Vengeance RAM (I know!! Don't diss its OTT throughout!)
i7 3770k
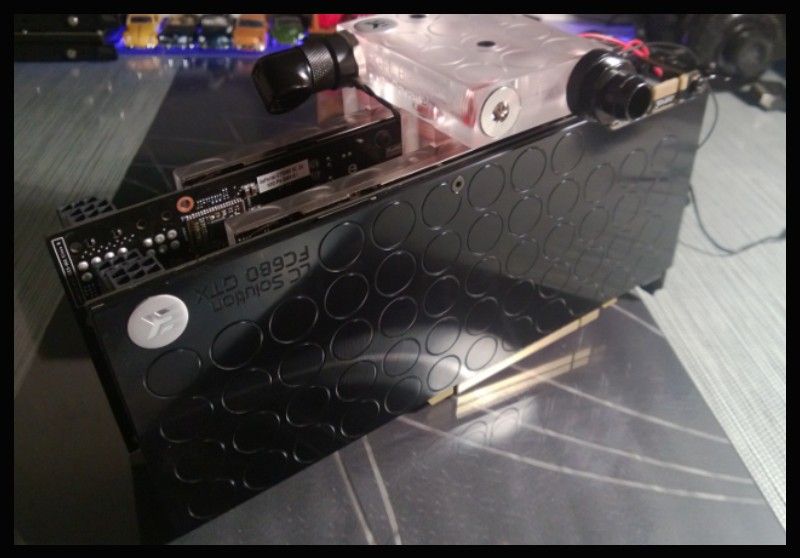
2 x EVGA 680 2Gb
3 x Samsung 256Gb SSD's
2 x 2TB Samsung Spinpoints
Cooling
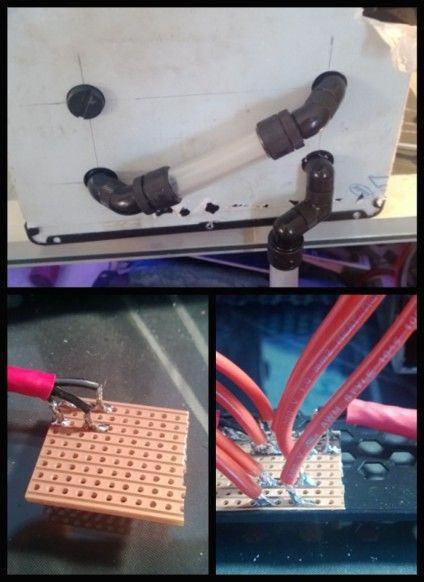
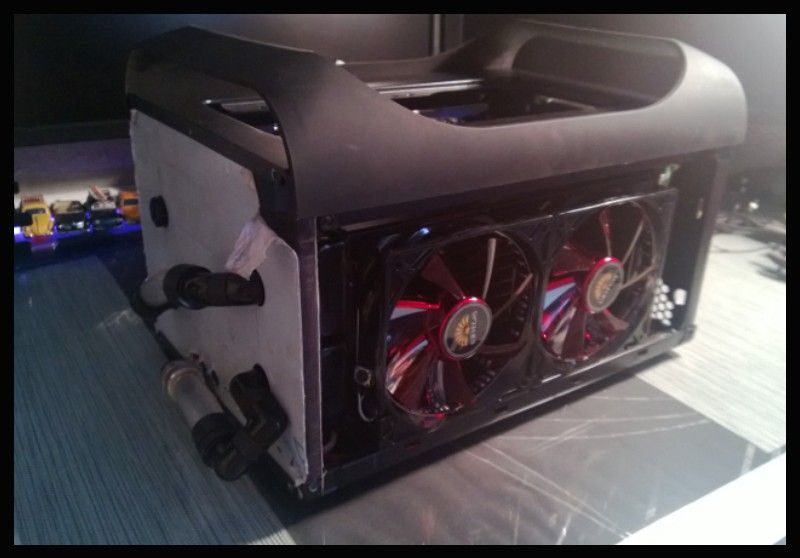
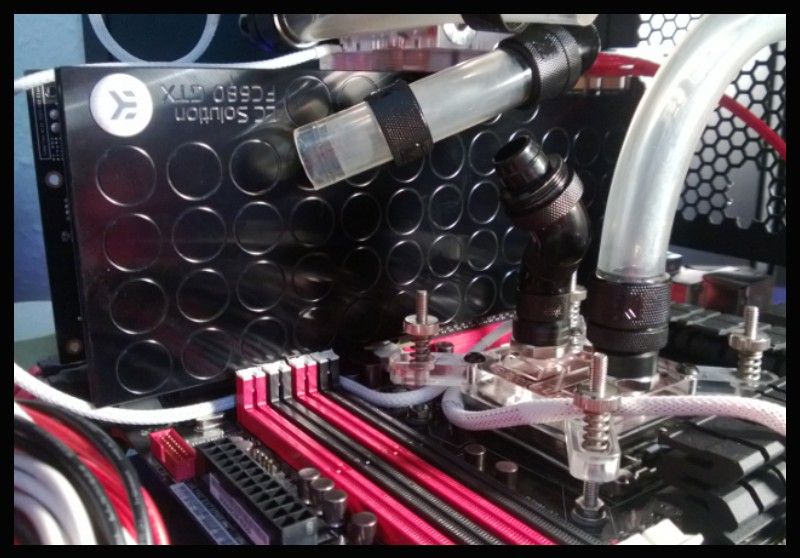
2 x 240mm Thick Phobya Rads
Laing DDC+ 18W Pump
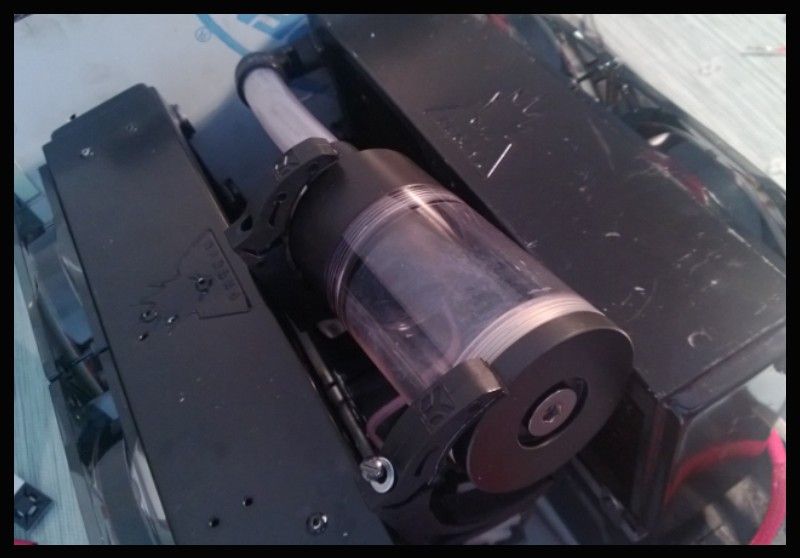
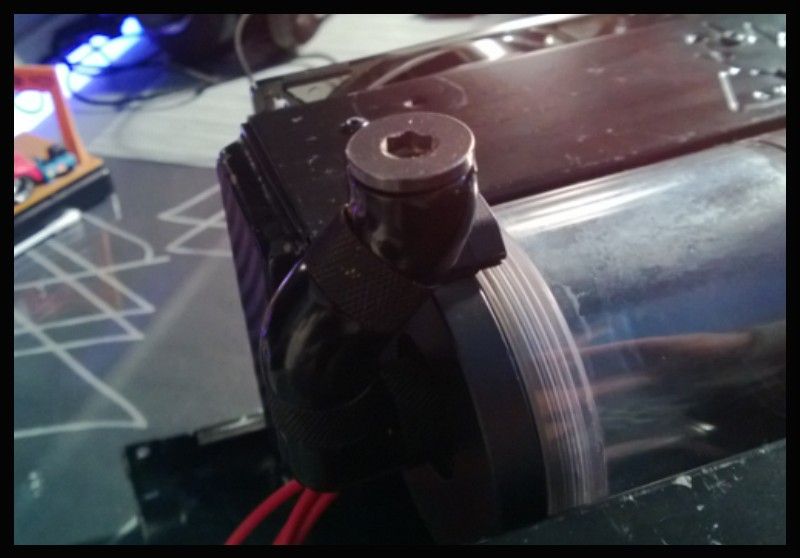
EK Tube Reservoir
EK fittings
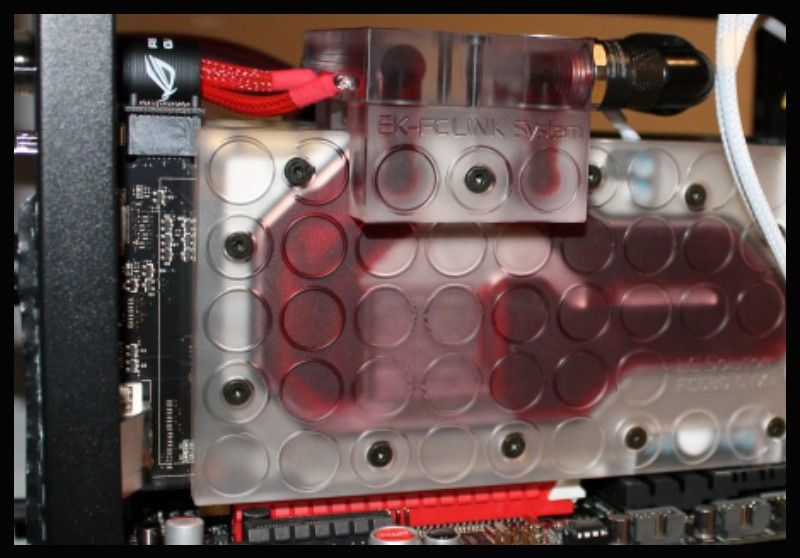
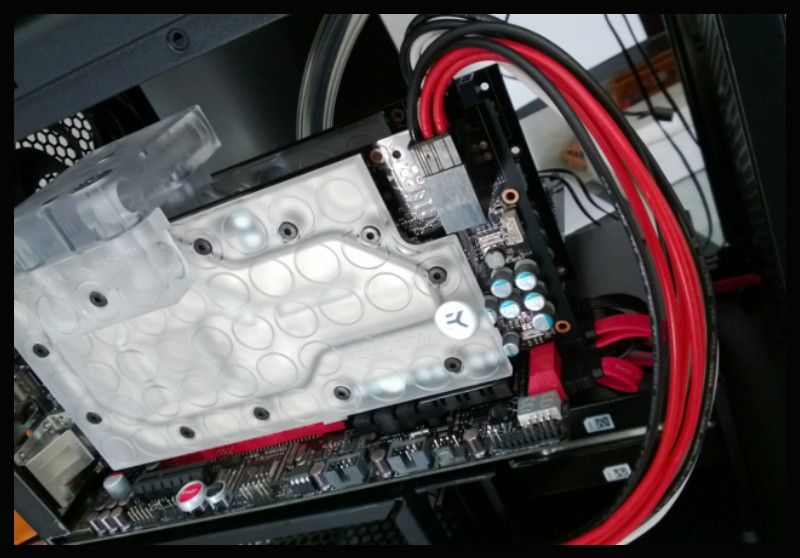
EK CSQ Blocks throughout!
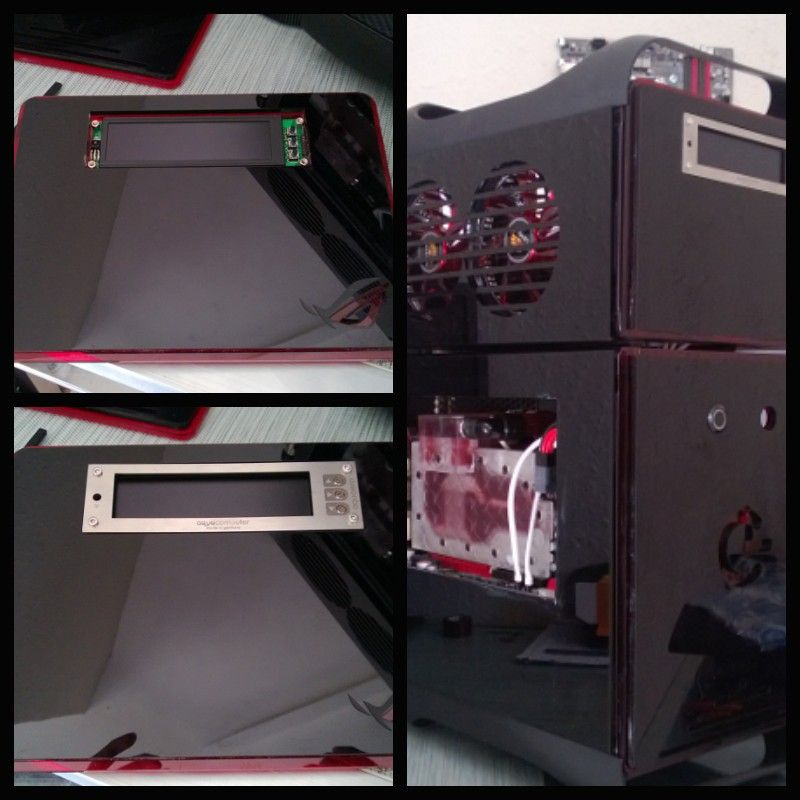
Aquaero 5XT to control all of the above
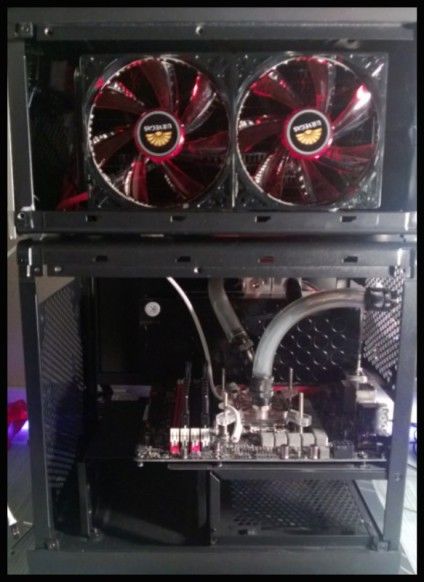
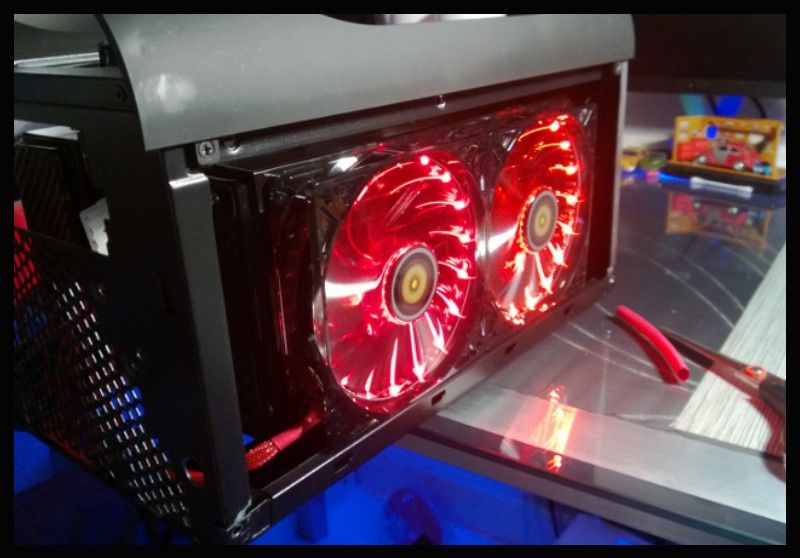
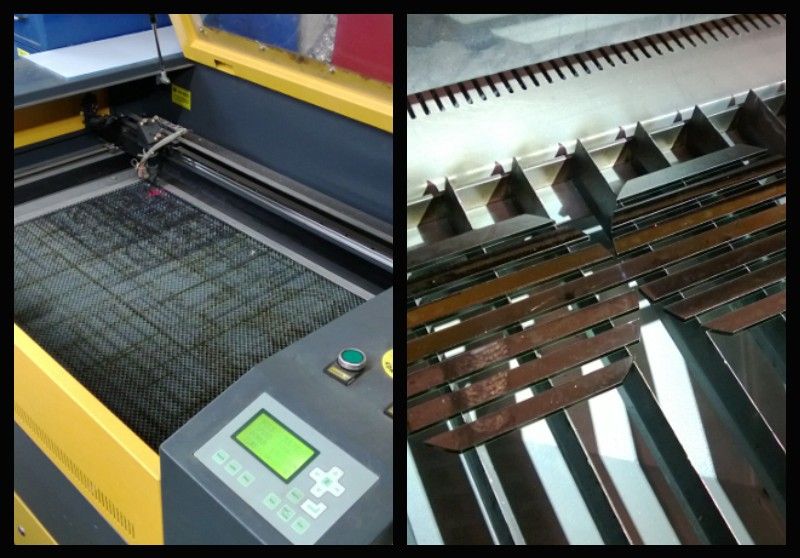
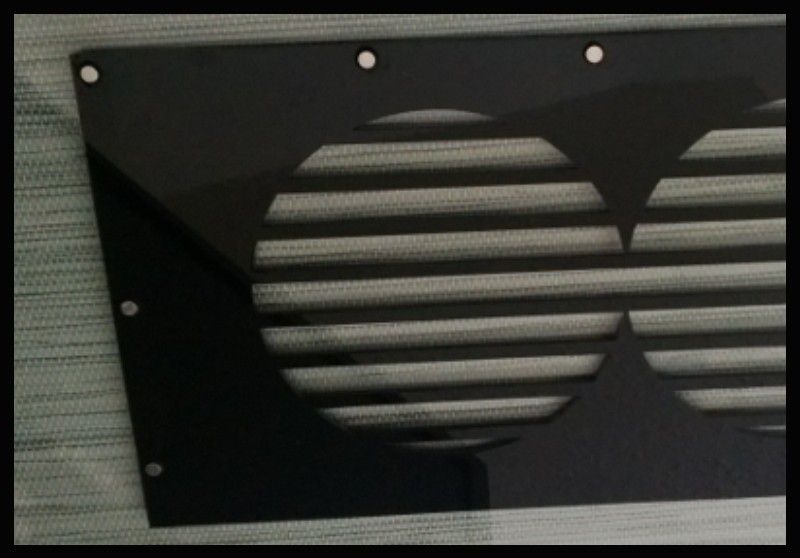
The build is well on its way now, so here is a little taster for you all to get started, I will update the thread with build pics as I get opportunity, let me know what you all think!
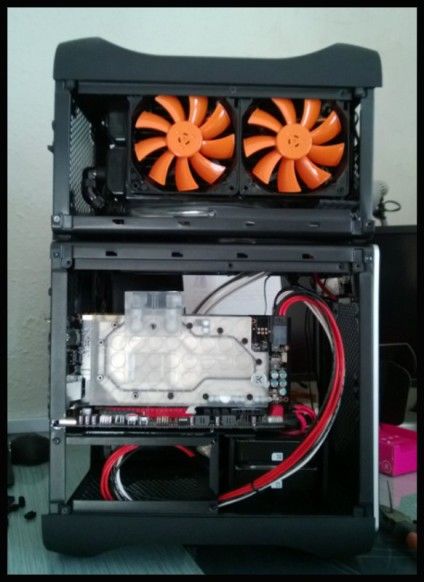
This is how it al looked when complete...
Cute, but not manly!
So I started planning my next rig, this time based around fitting things that shouldnt fit, namely M-ATX, now after seeing other builds, this may seem lame, but at the time of planning, it was to me quite out there!!
The specs were determined by what I already had mainly, and a little extra that I could afford to throw at it, so all the water-cooling bits were things I already owned, and the fans came from the original project too as they were swapped out for the new owner, you will see.
Specs:
Asus Gene Z77 M-ATX
32Gb Corsair Vengeance RAM (I know!! Don't diss its OTT throughout!)
i7 3770k
2 x EVGA 680 2Gb
3 x Samsung 256Gb SSD's
2 x 2TB Samsung Spinpoints
Cooling
2 x 240mm Thick Phobya Rads
Laing DDC+ 18W Pump
EK Tube Reservoir
EK fittings
EK CSQ Blocks throughout!
Aquaero 5XT to control all of the above
The build is well on its way now, so here is a little taster for you all to get started, I will update the thread with build pics as I get opportunity, let me know what you all think!