[Project] Arcygenical00: Incremental Update

Arcygenical

Fully [H]
Joined
Jun 10, 2005
Messages
25,066
Welcome to another project log!

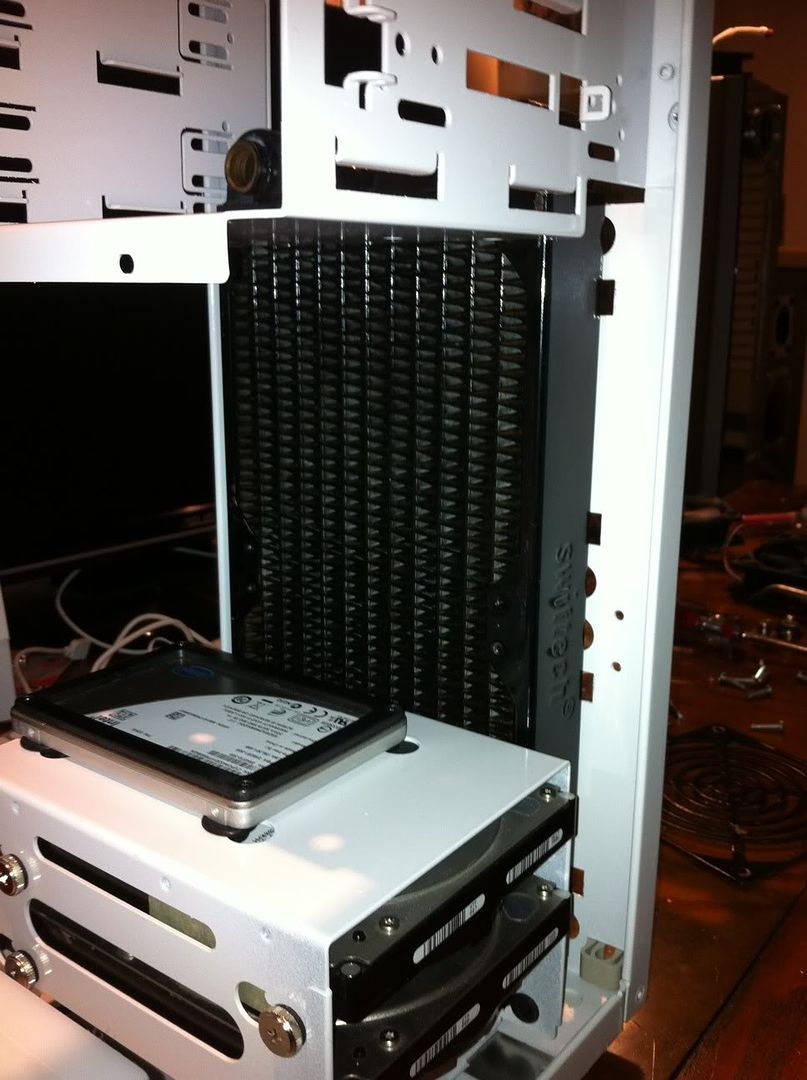
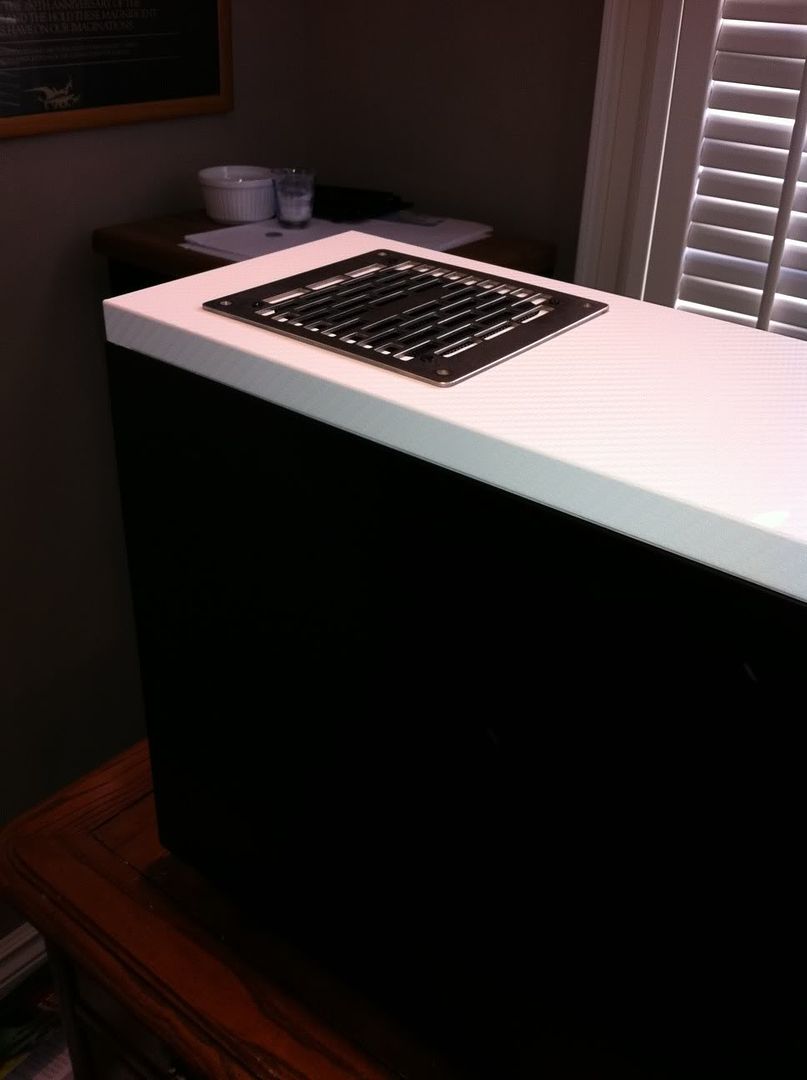
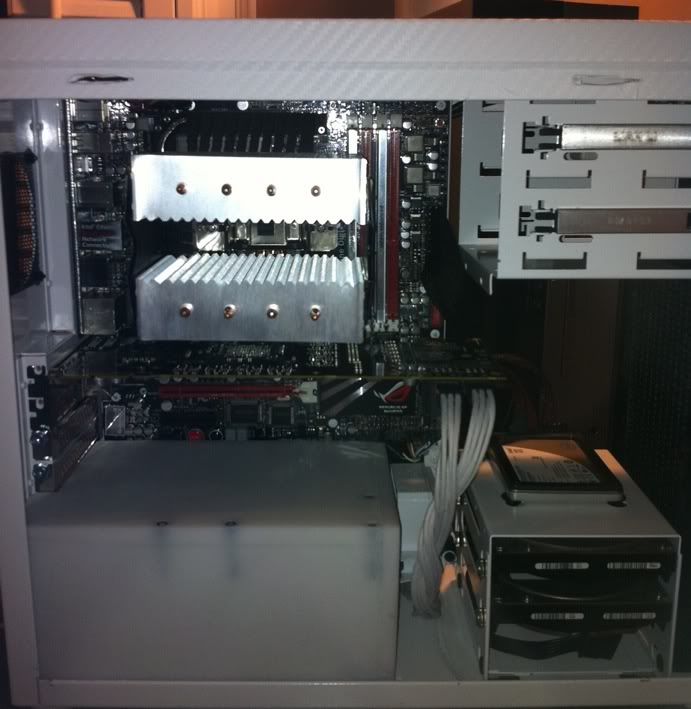
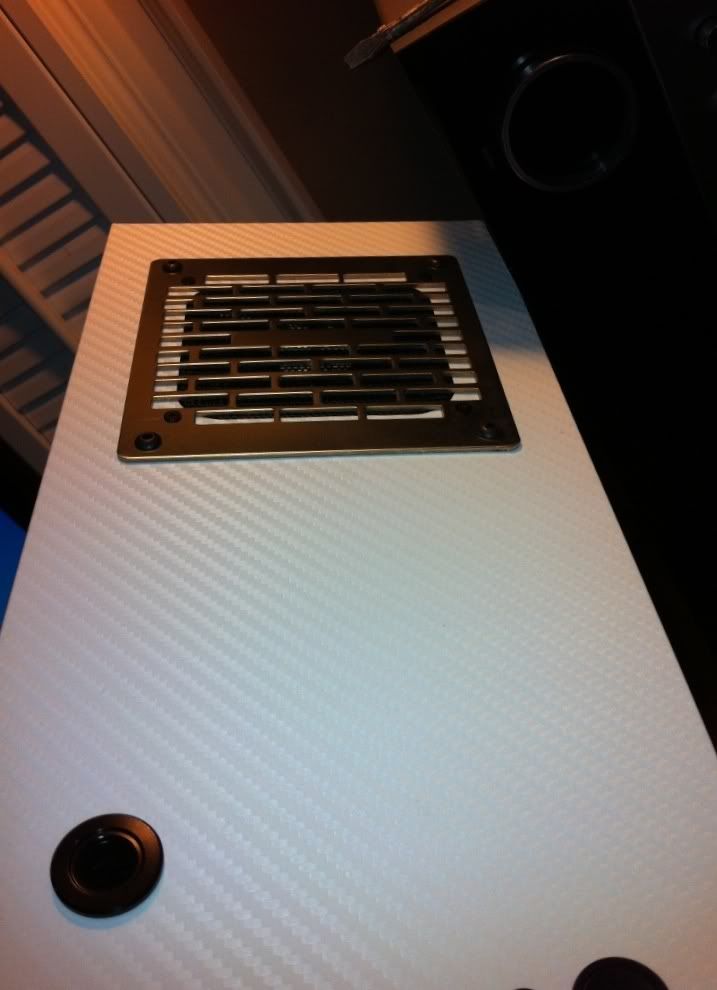
It's that time again, spring... Or at least close enough to it that I feel like changing up my case. I've got a few sponsors lined up, to be revealed later in my progress. The goal of this case is to get myself a very portable mATX build that is easy to carry around, has no external paint to chip, and is basically a lot more durable than my last Lian-Li Cube case.
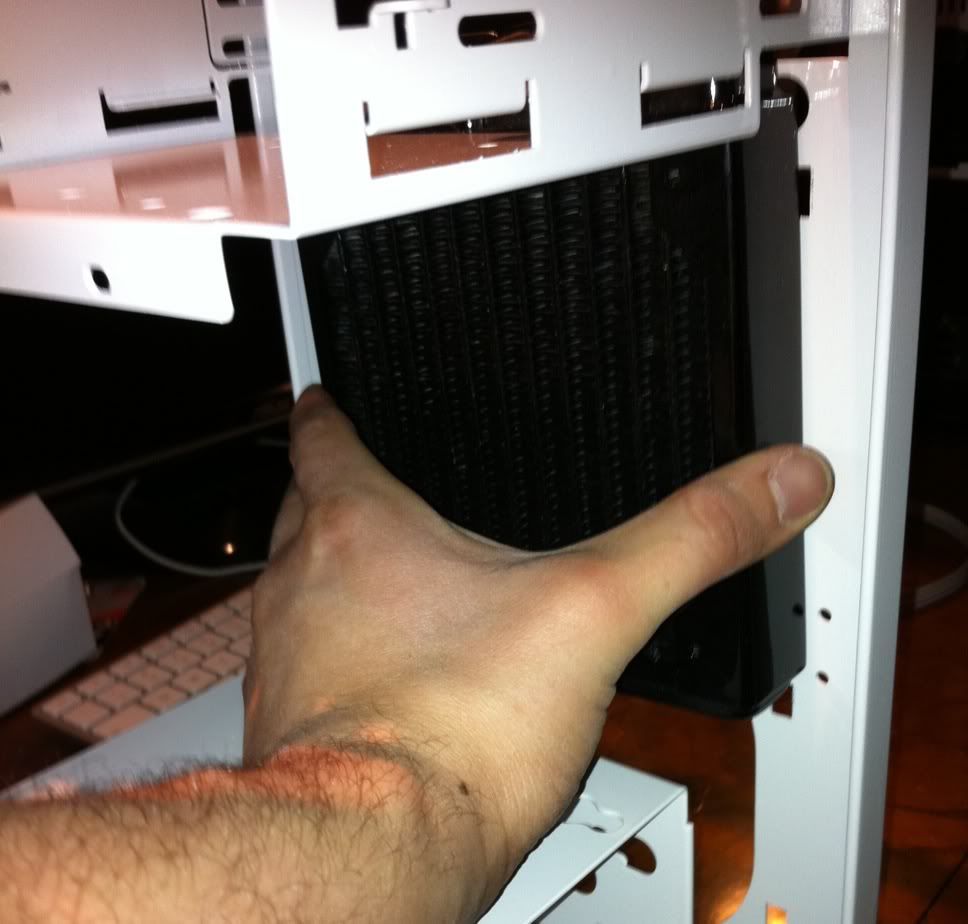
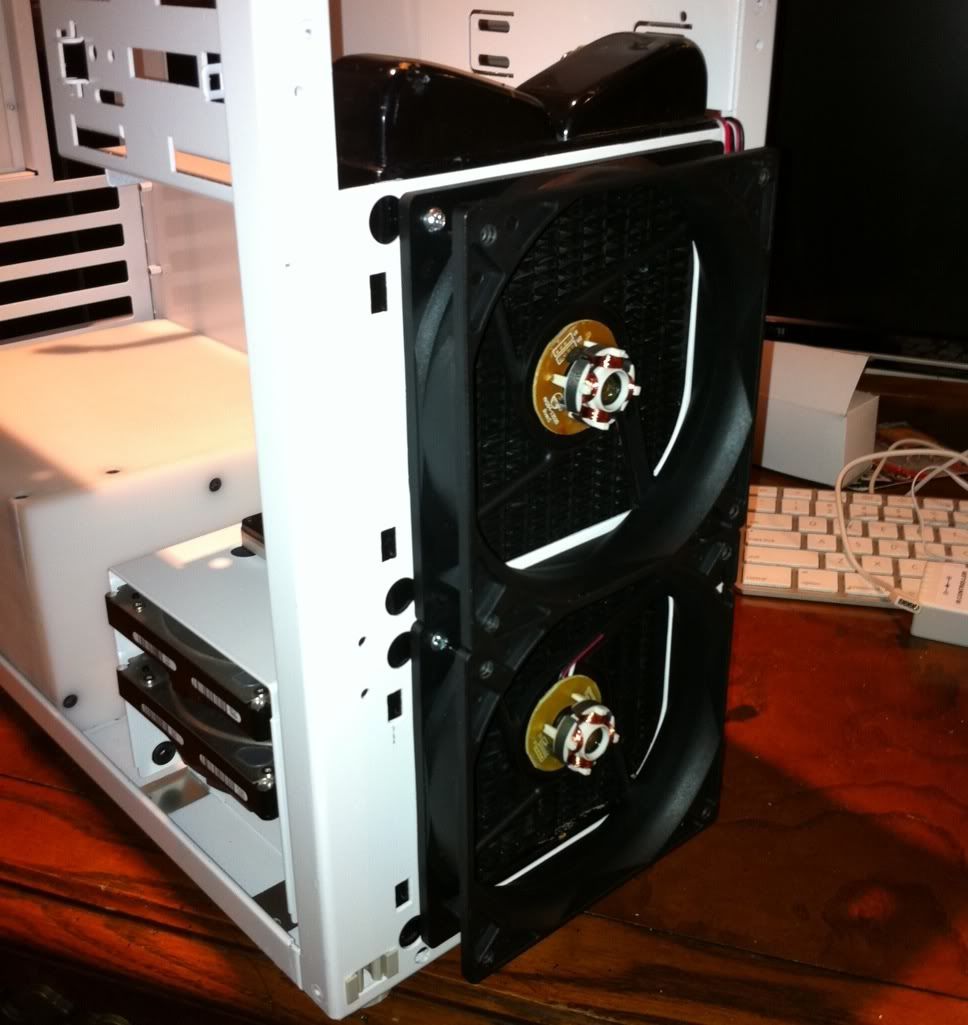
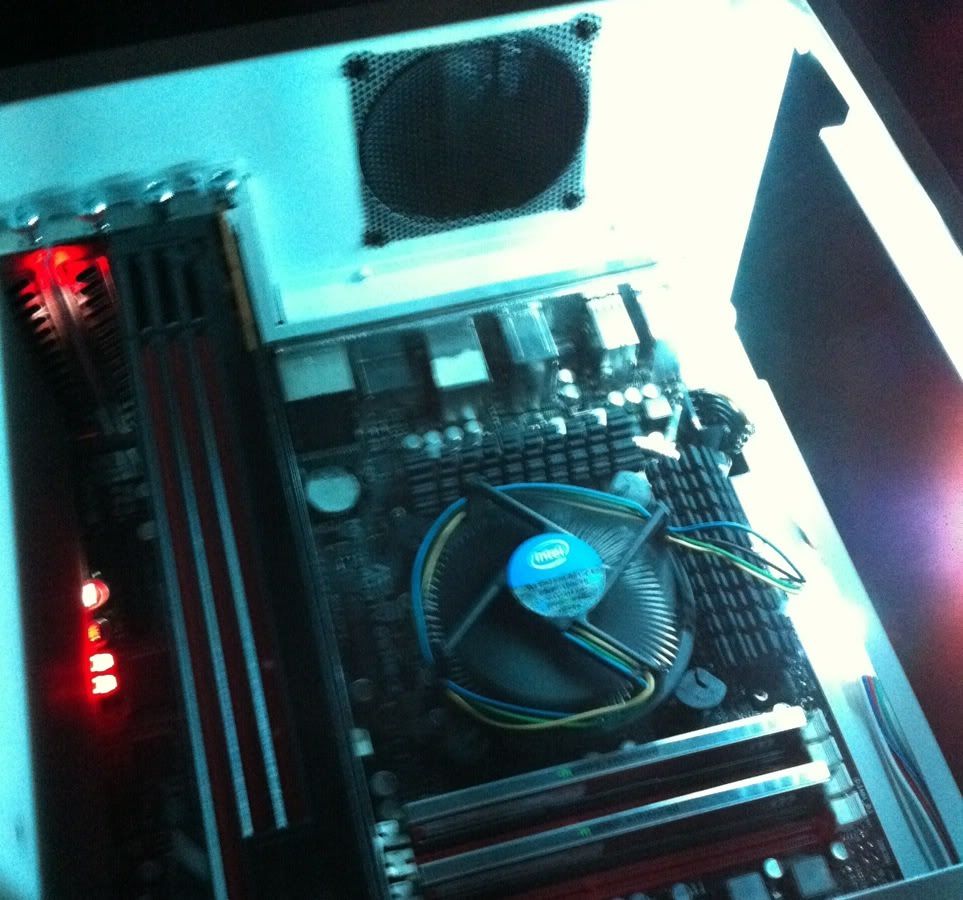
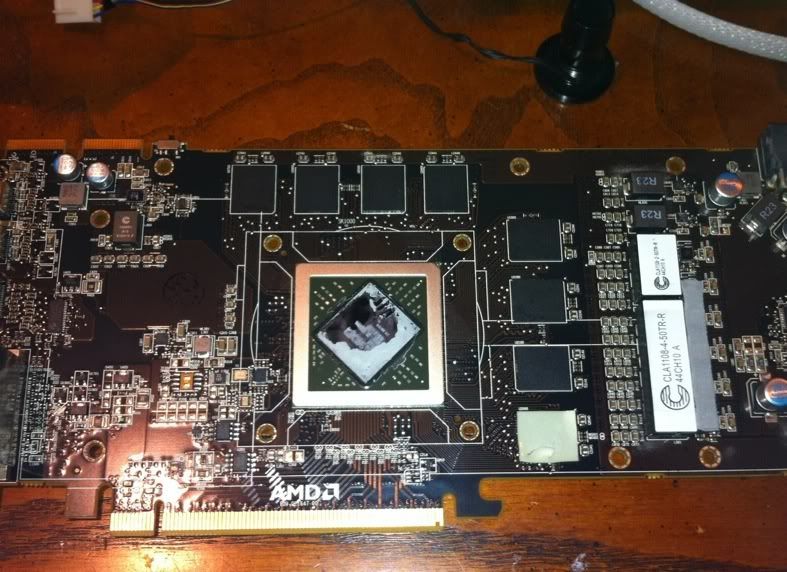
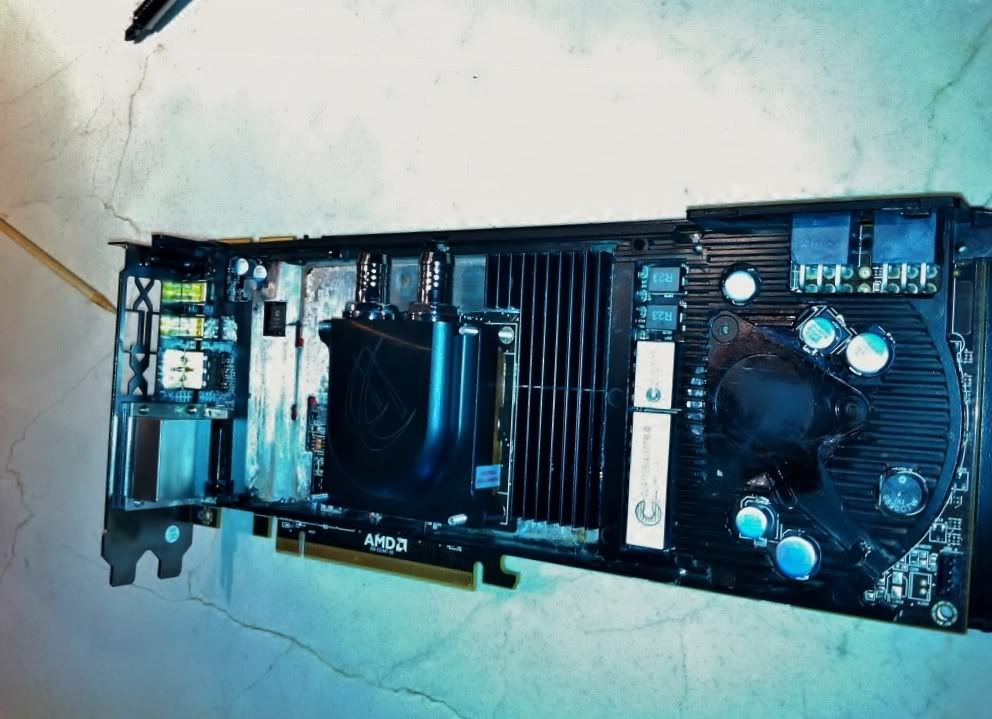
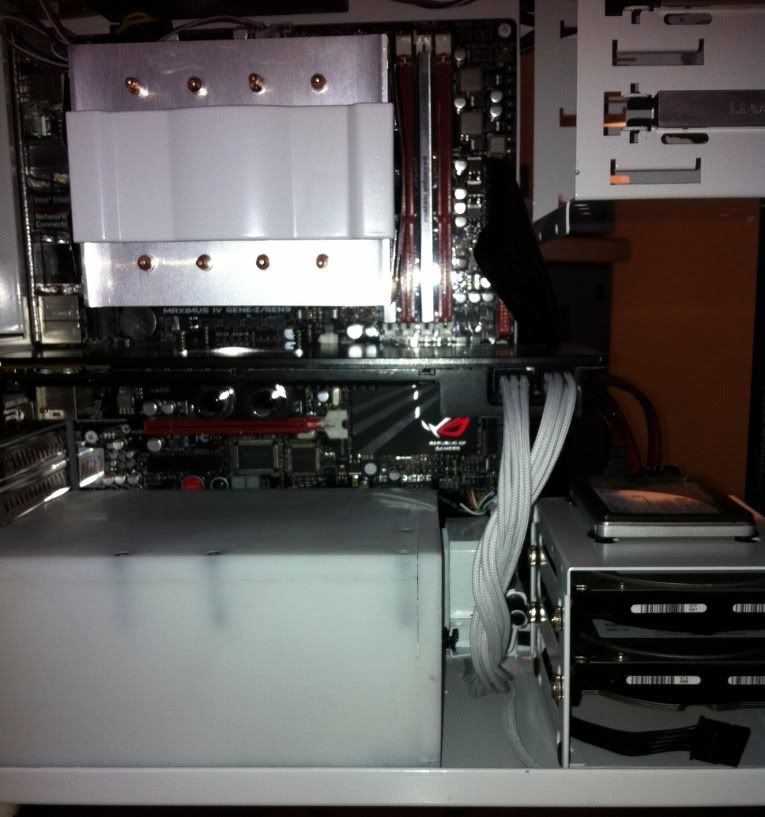
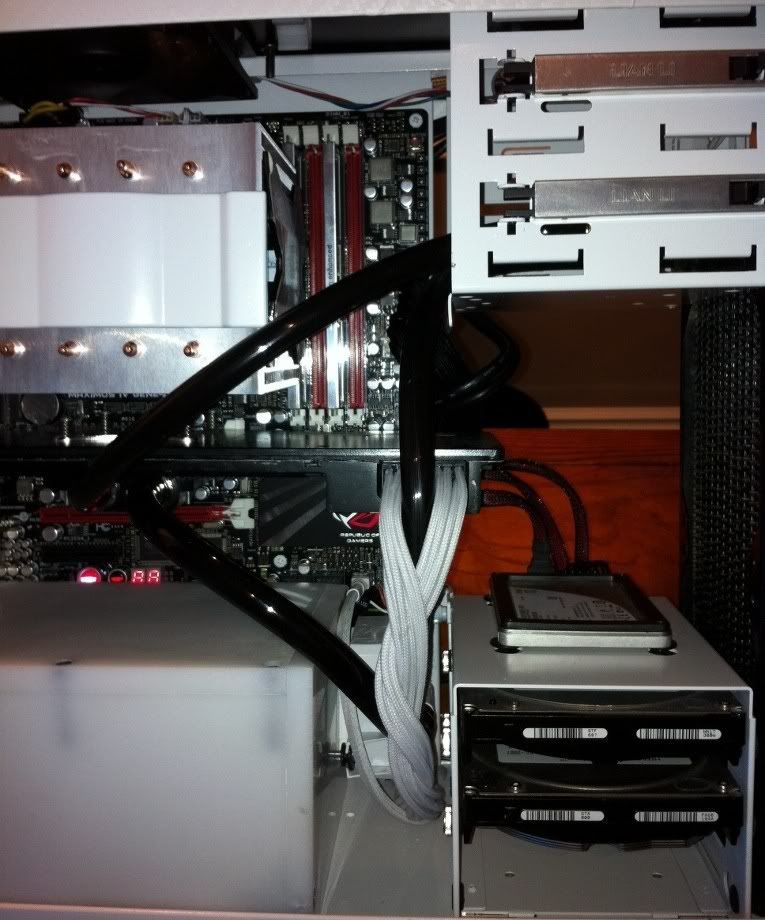
As weight is certainly a concern, I'm finally switching back to air. My CPU has no issues running at 4.5ghz at 1.25v, which really doesn't necessitate water. My current loop adds around 9lbs to the case, a case I take with me at least 2-3x per week.

Enough with the boring diatribe, let's get onto the custom work

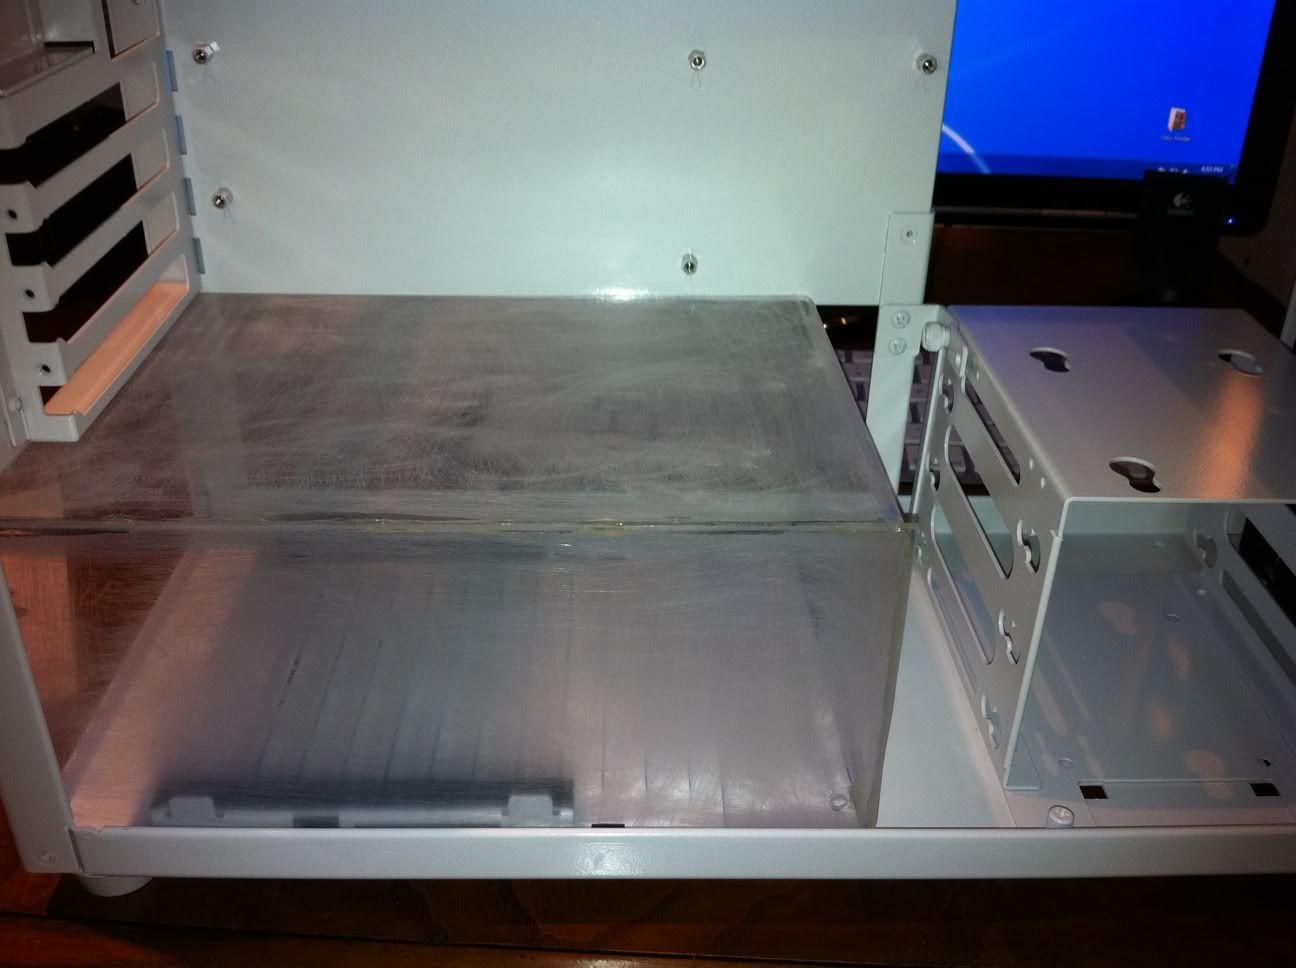
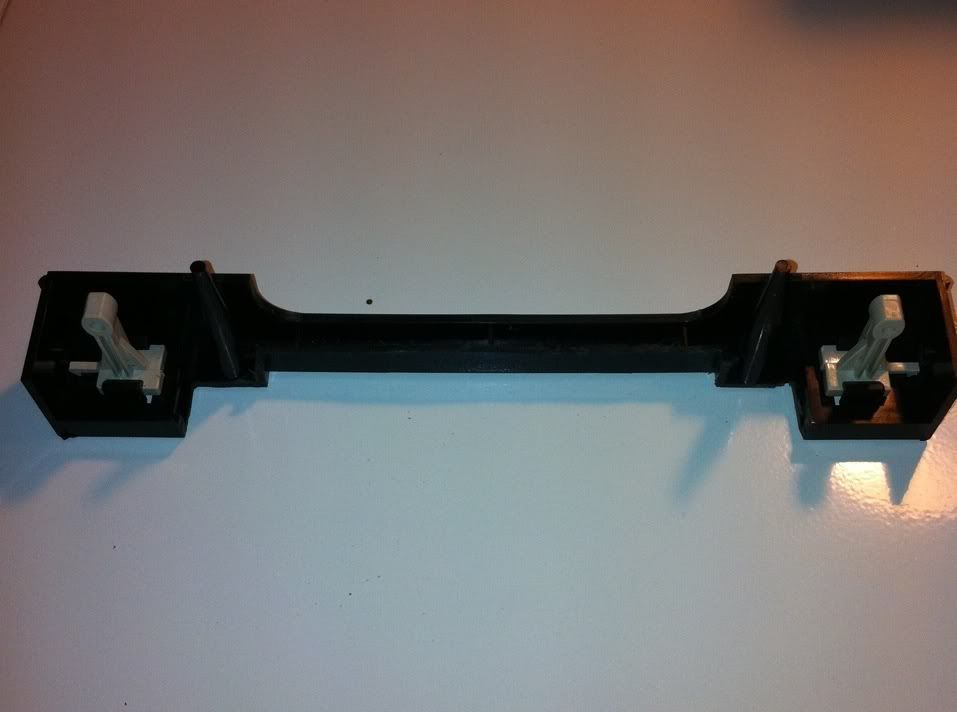
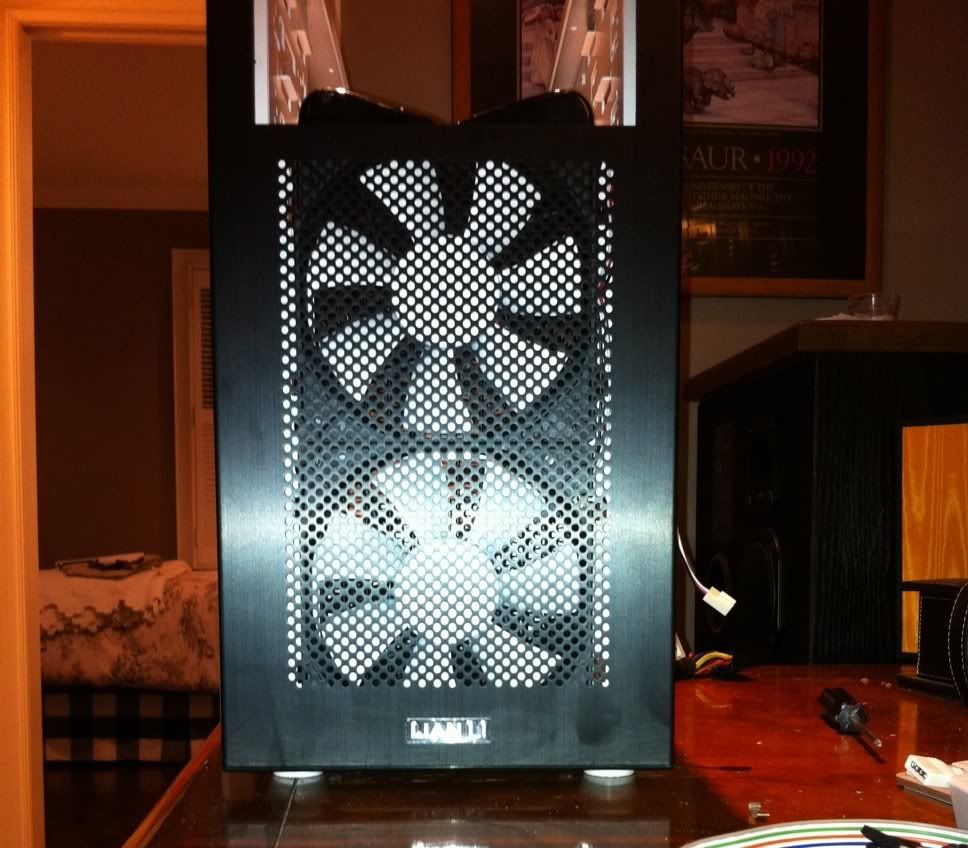
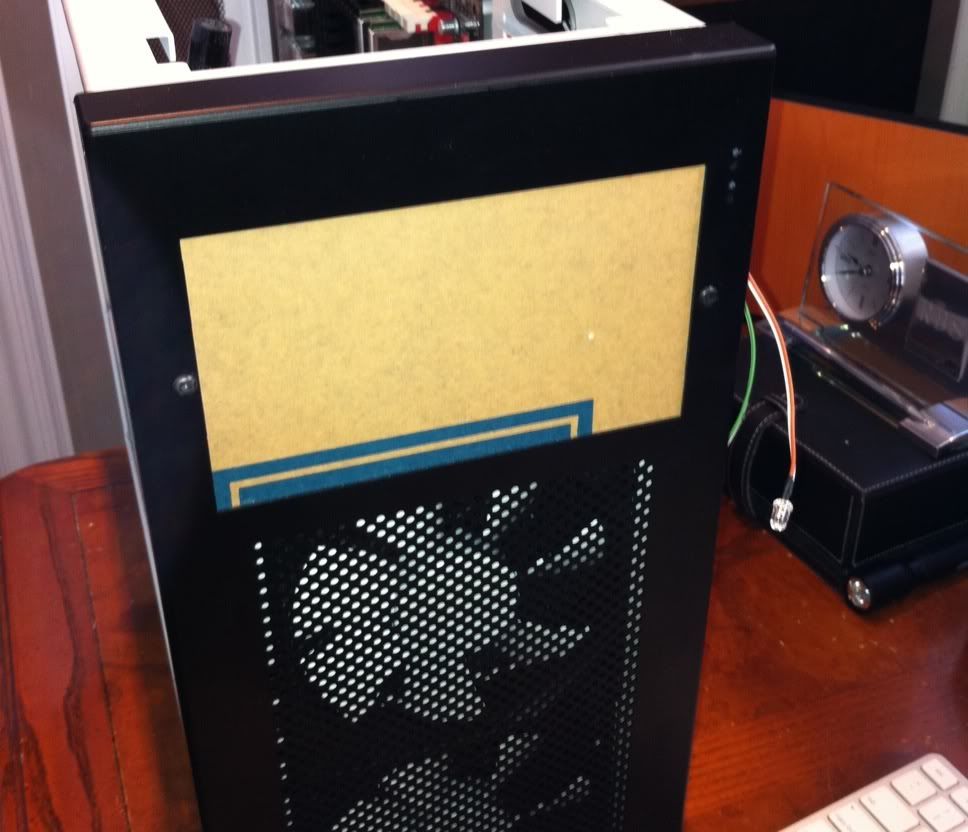
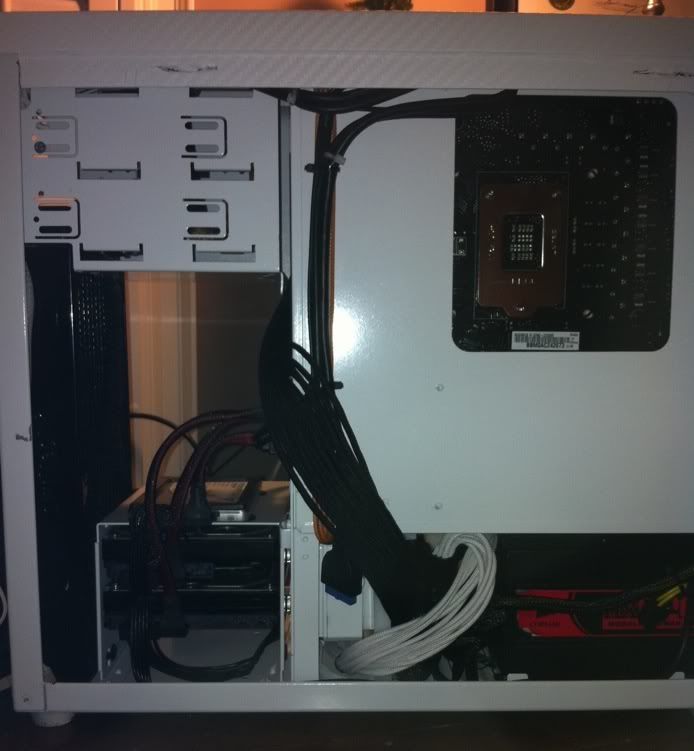
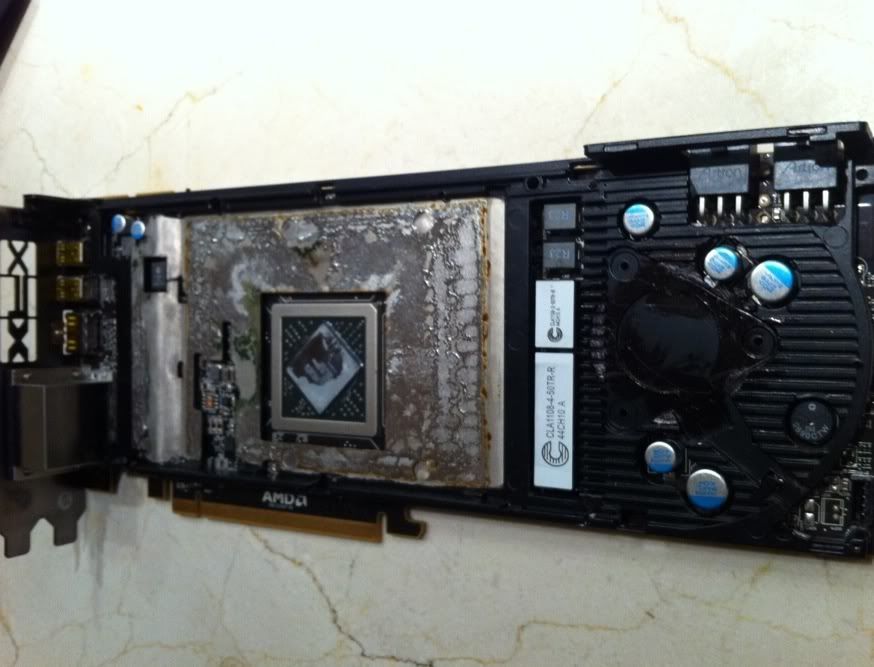
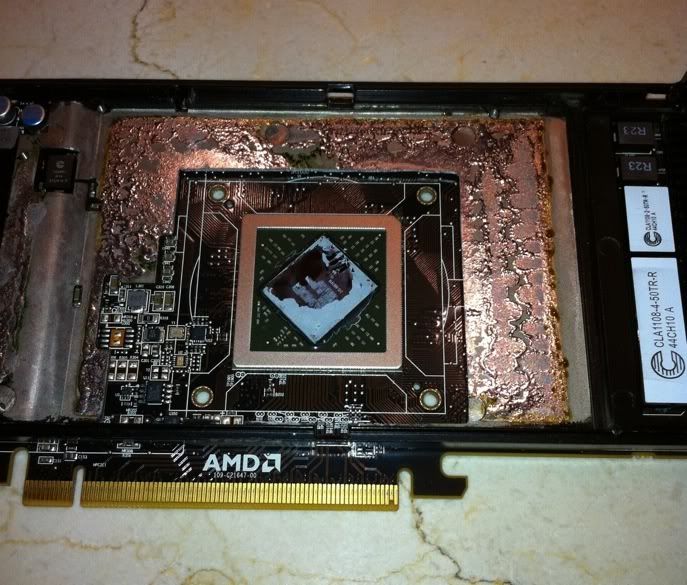
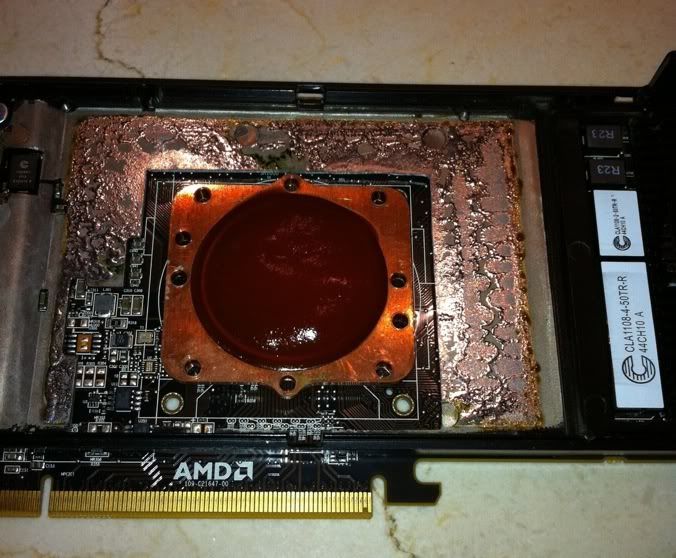
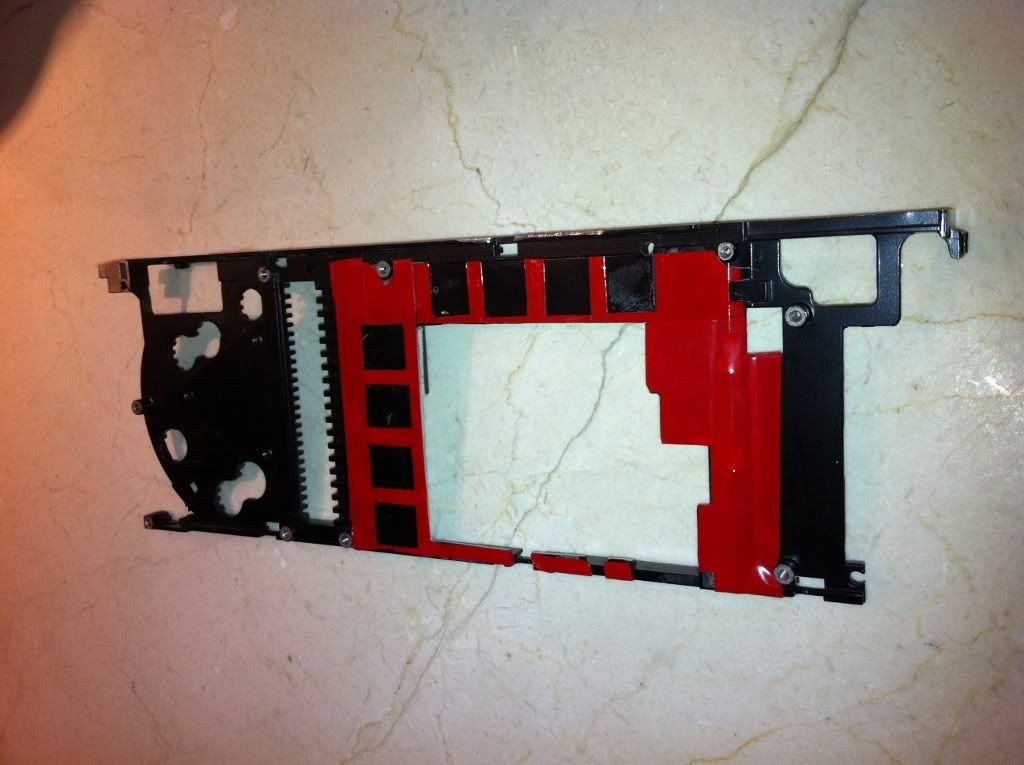
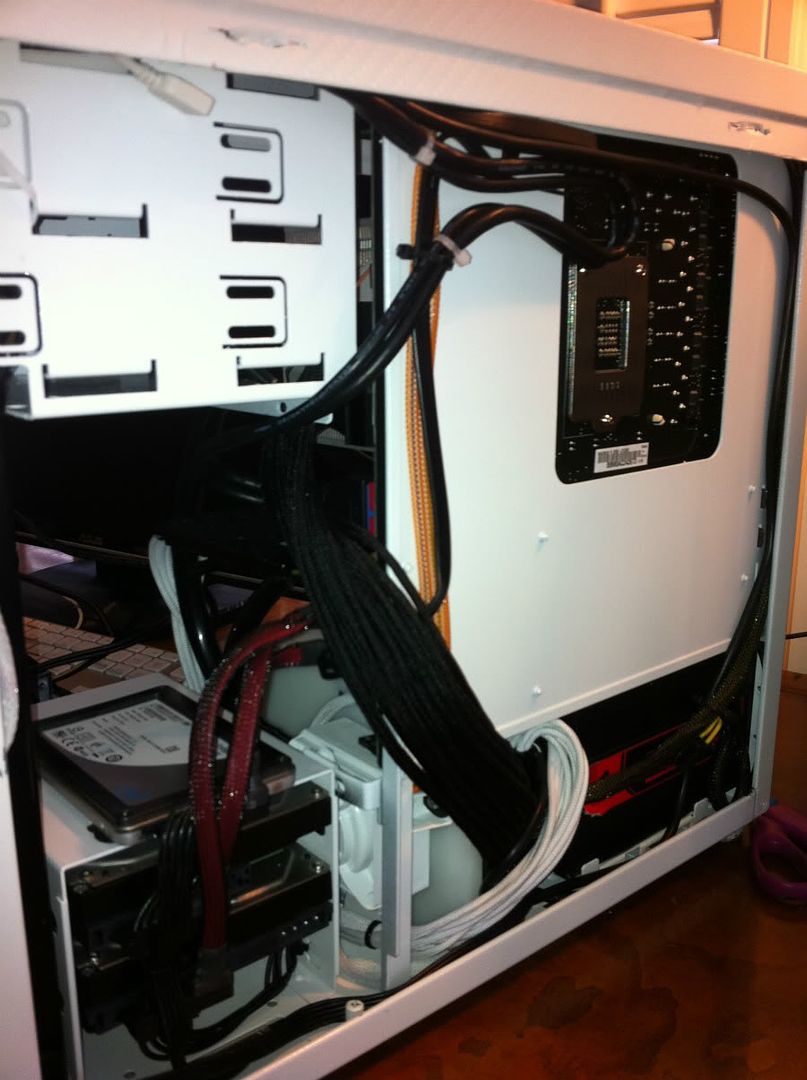
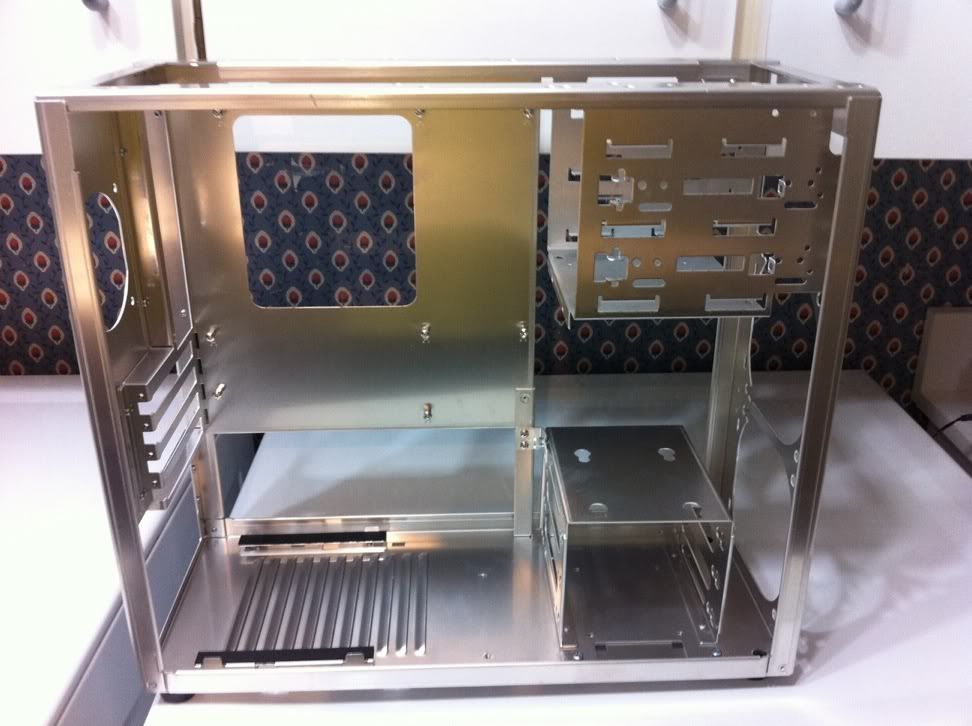
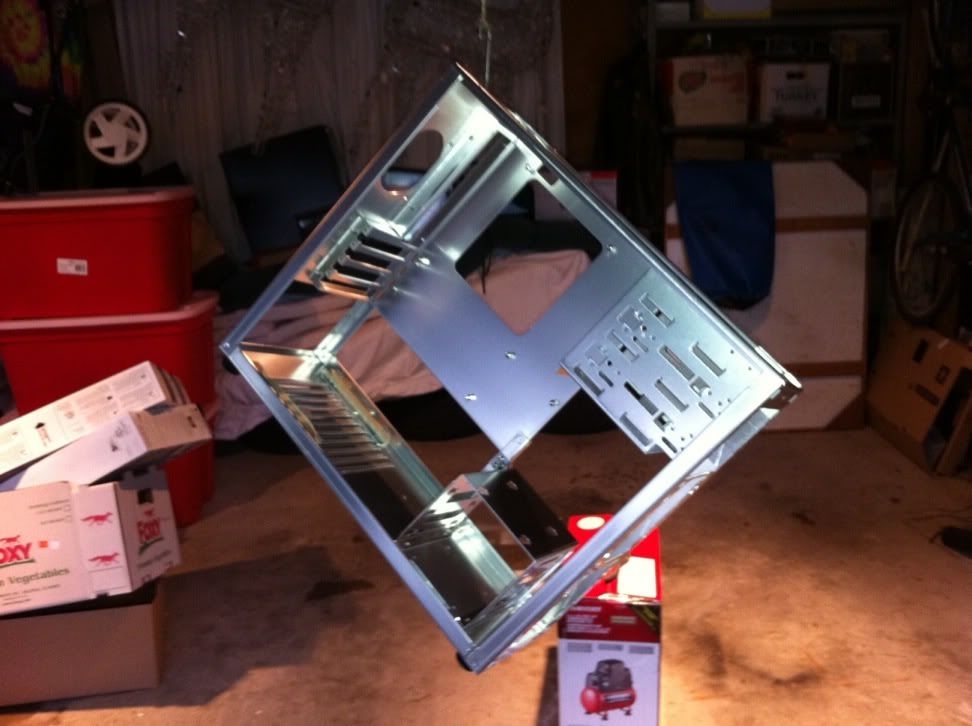
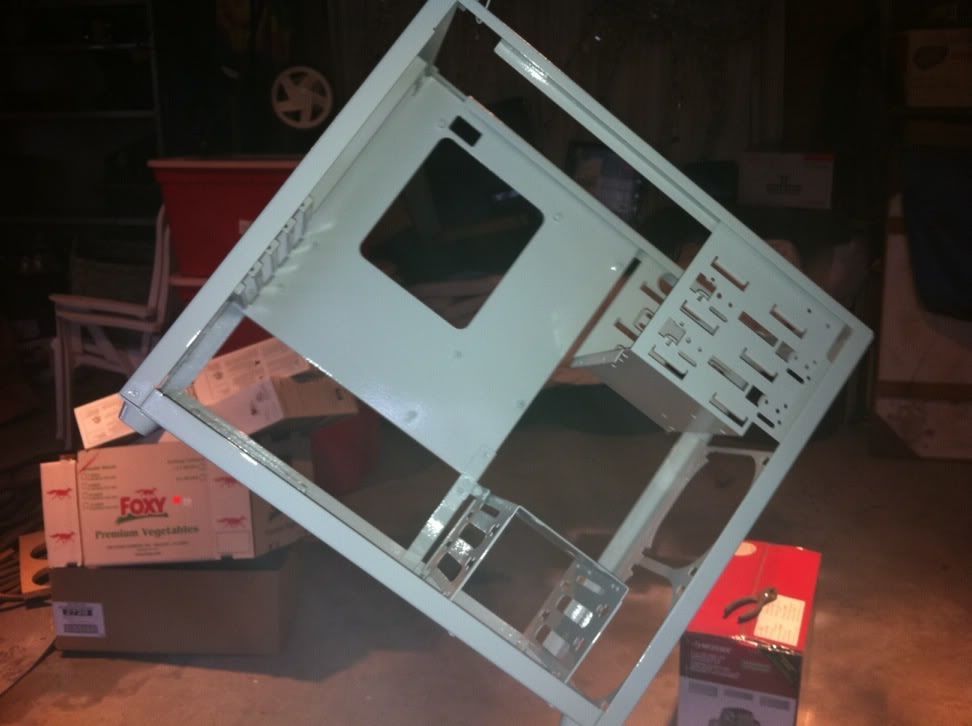
It doesn't do you guys much good to show you a case you can see on google. So let's start with the basics. I had her all naked in about fifteen minutes (Pretty normal for me, hah!). Took all the plastic bits out, to prep for painting.
IMG_0863-1.jpg


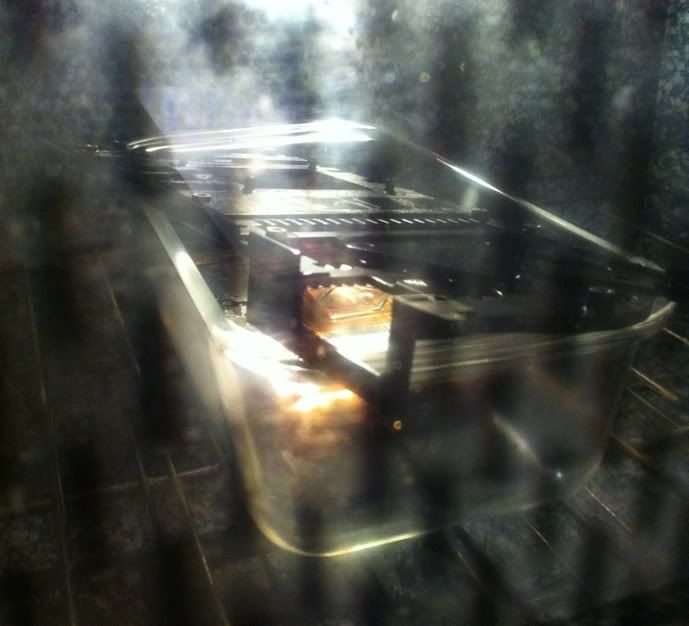
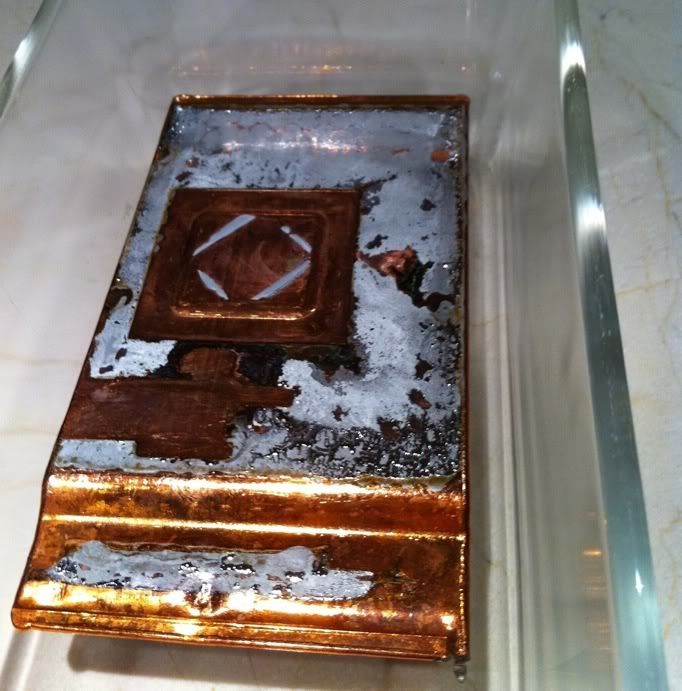
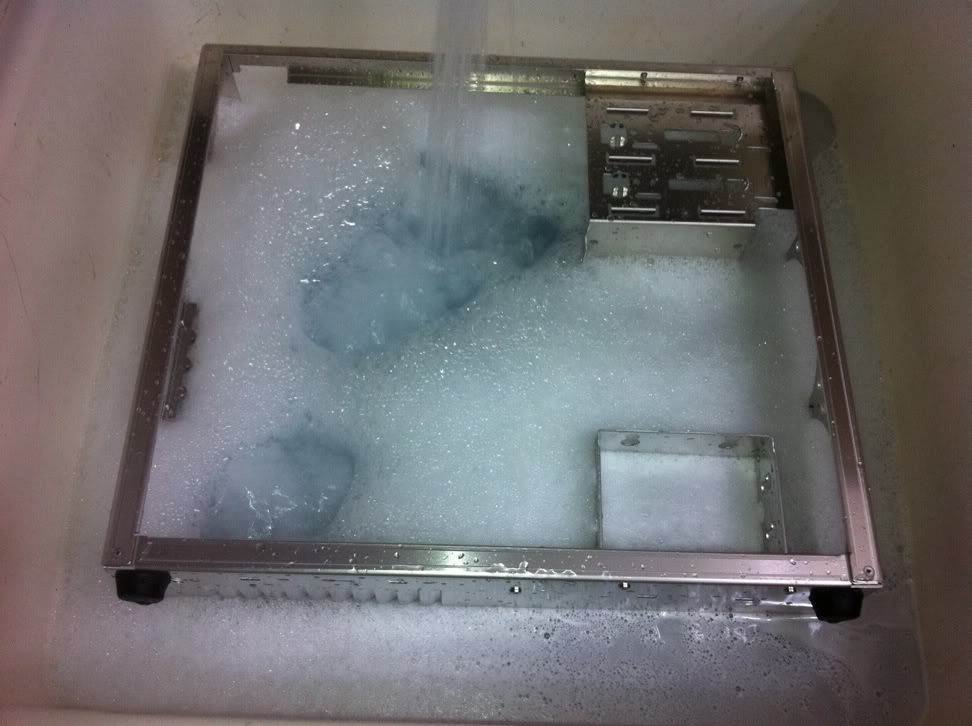
A bit of industrial detergent (TSP), Tide and water to degrease. Later, a vinegar bath to open up the aluminum pores. That part isn't shown, because hot vinegar smells downright awful.
IMG_0865.jpg


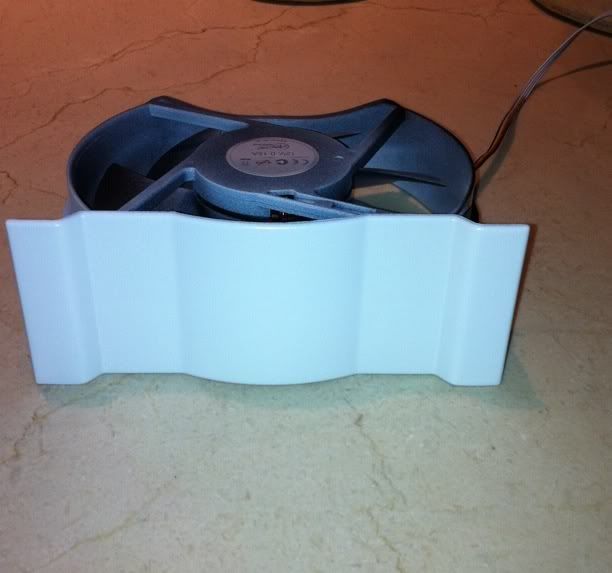
Let's hang the case up to dry, and give it a quick blow with the air compressor. Yeah, I've got a lot of random objects in the garage, alas, property sizes in Canada are tiny, so you'll have to deal with it.
IMG_0866.jpg


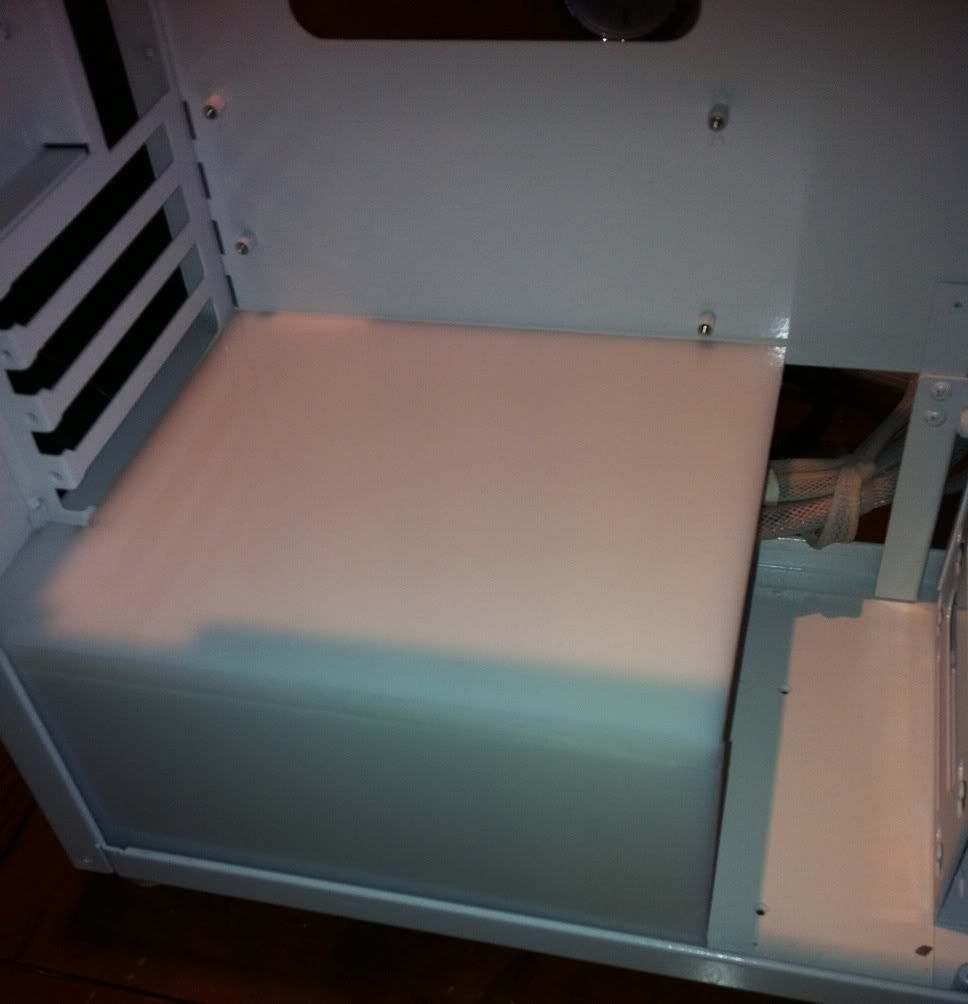
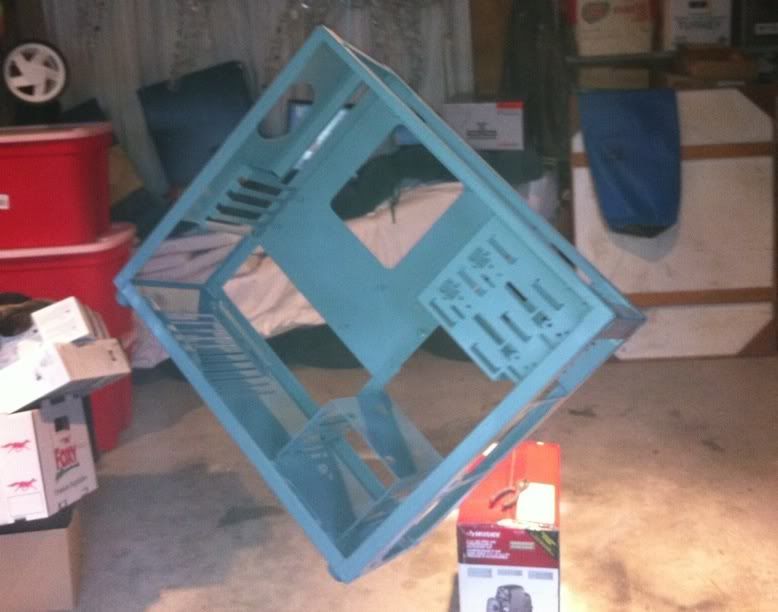
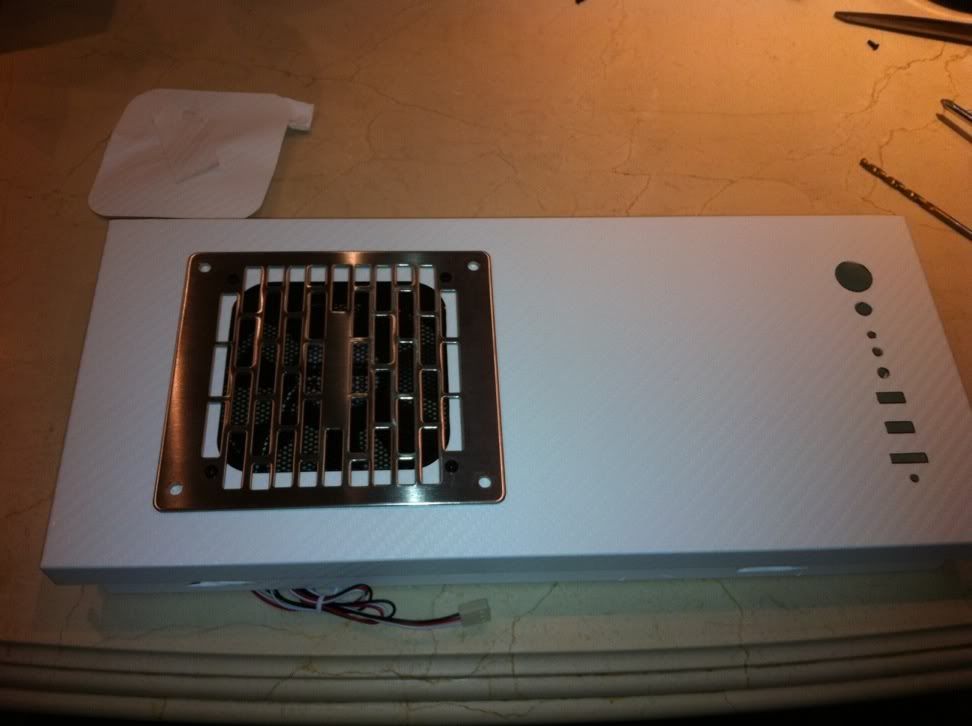
Luckily it was very warm out that day, around 5c over average for January. First coat of etching primer. Very hazy in there due to the cold.
IMG_0867.jpg


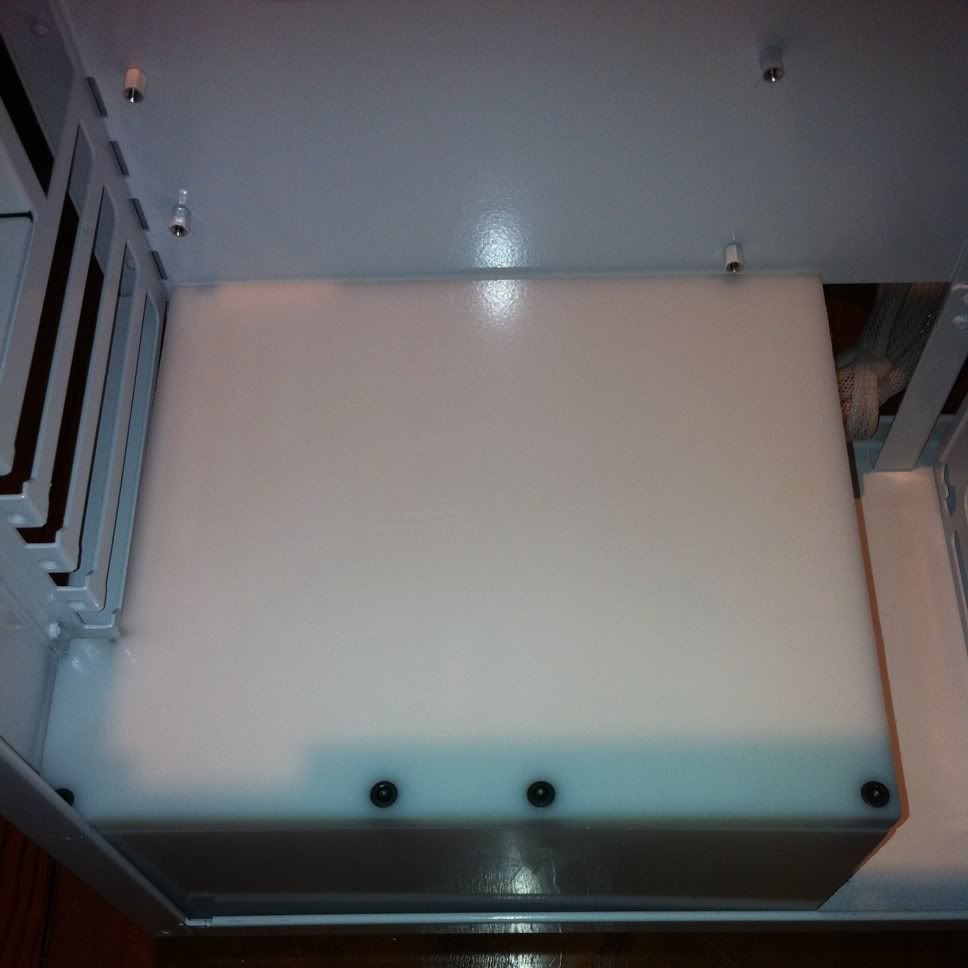
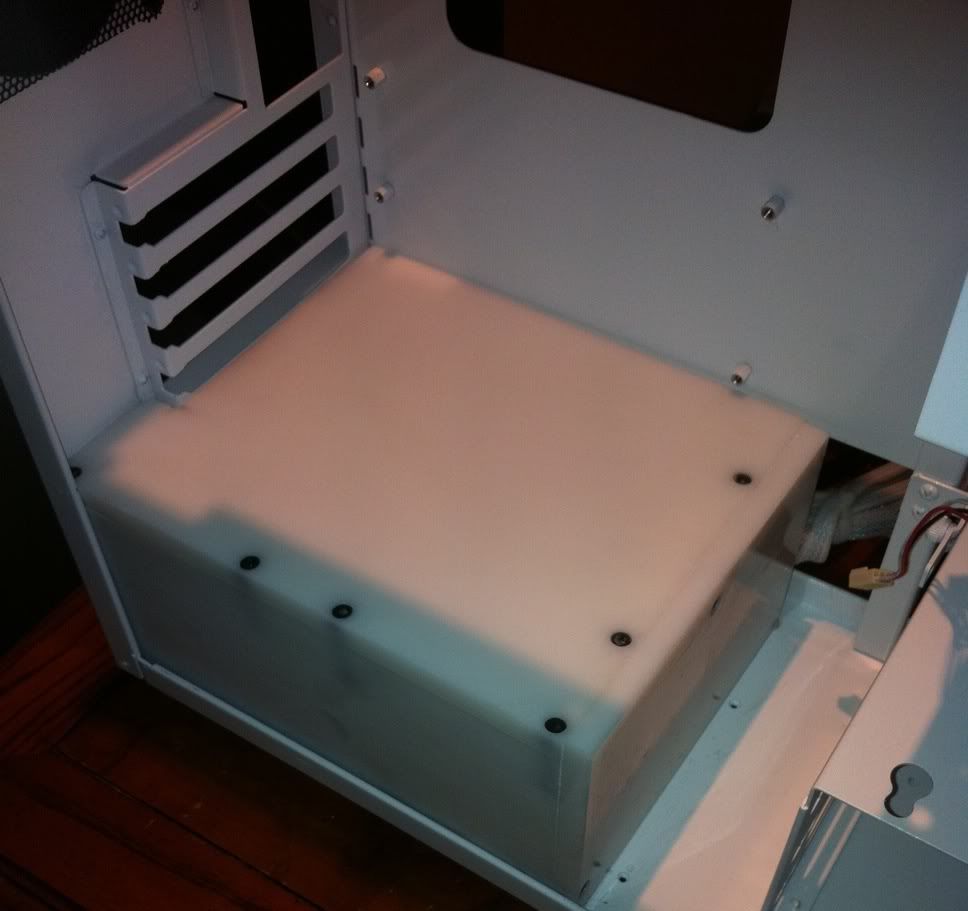
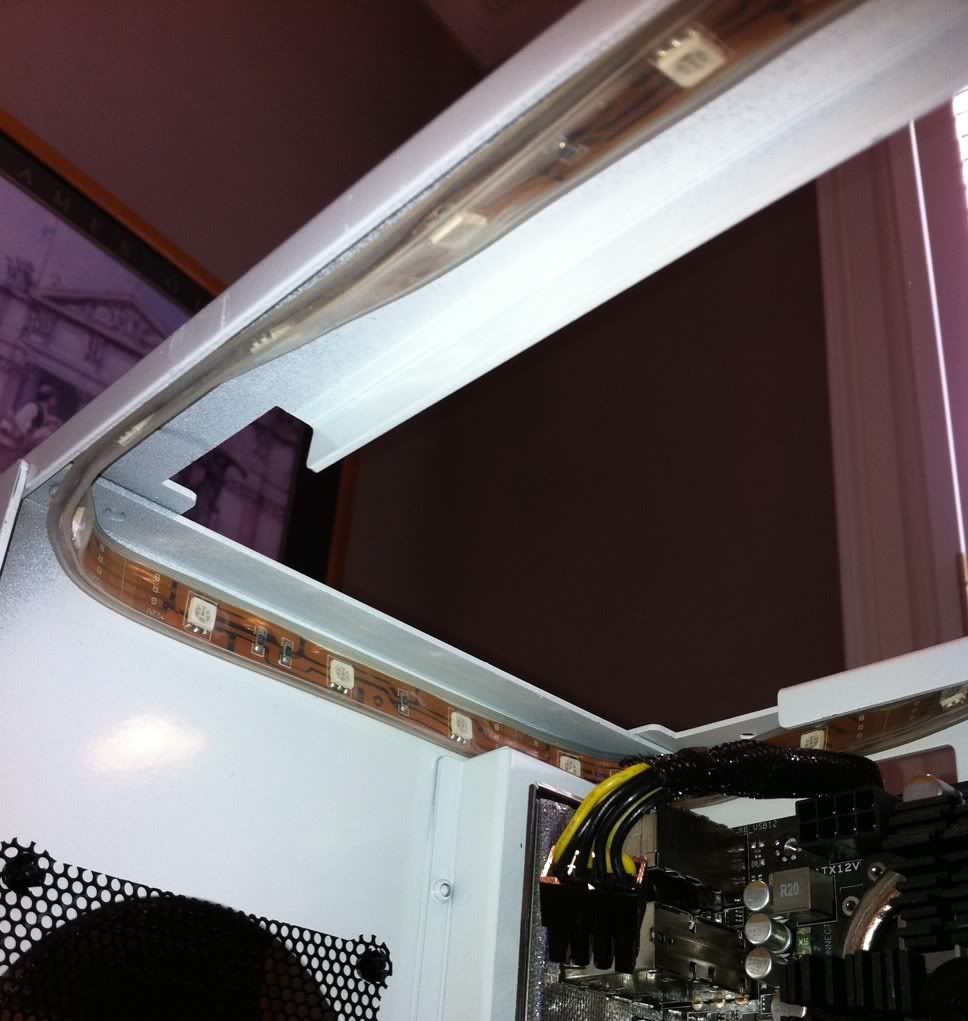
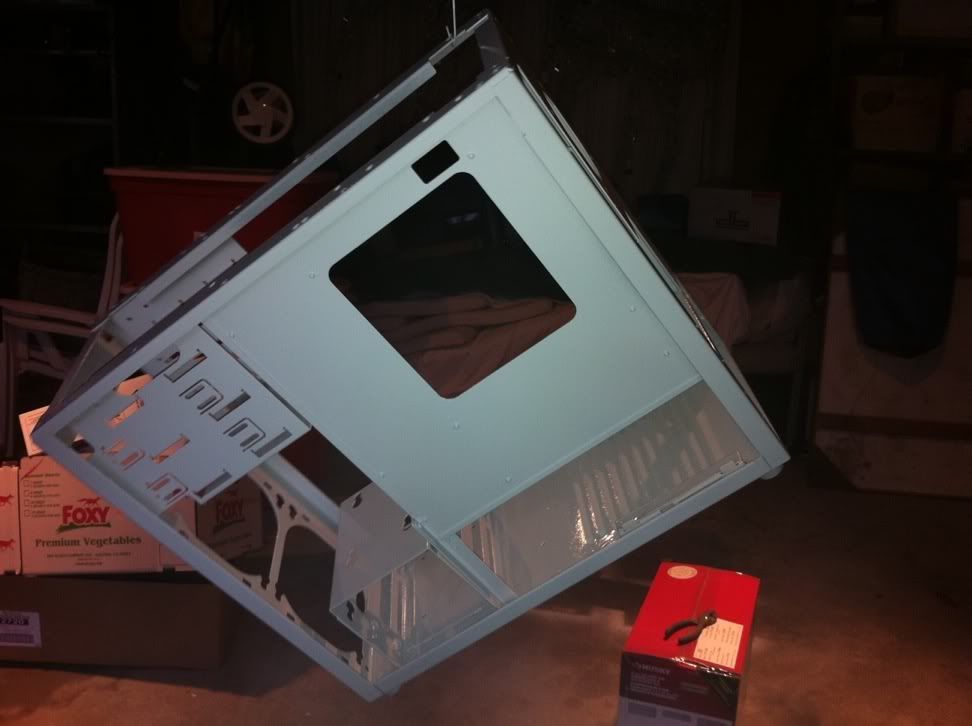
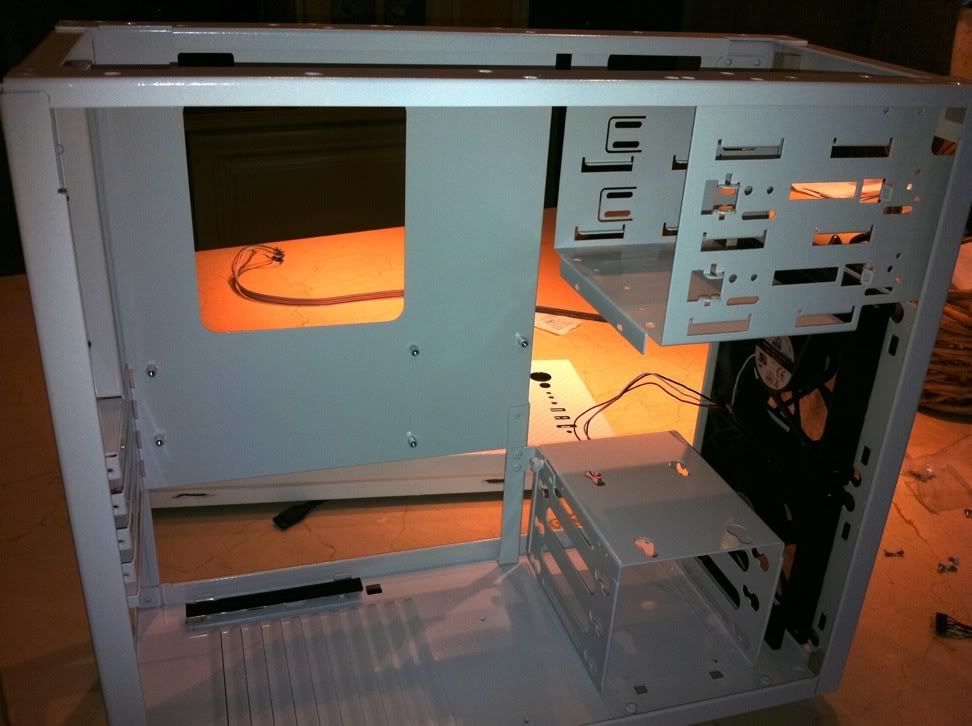
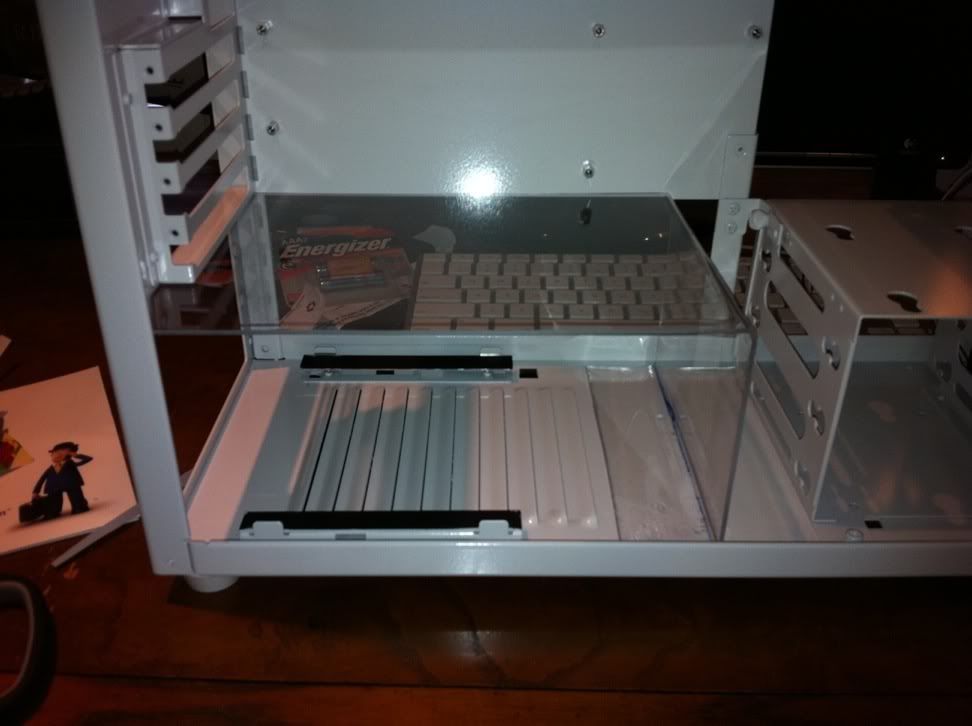
After drying, a few coats (about 5) of gloss white enamel were added. Took a few pictures as the case was spinning from it's hanger.
IMG_0868.jpg


IMG_0869.jpg


IMG_0870.jpg


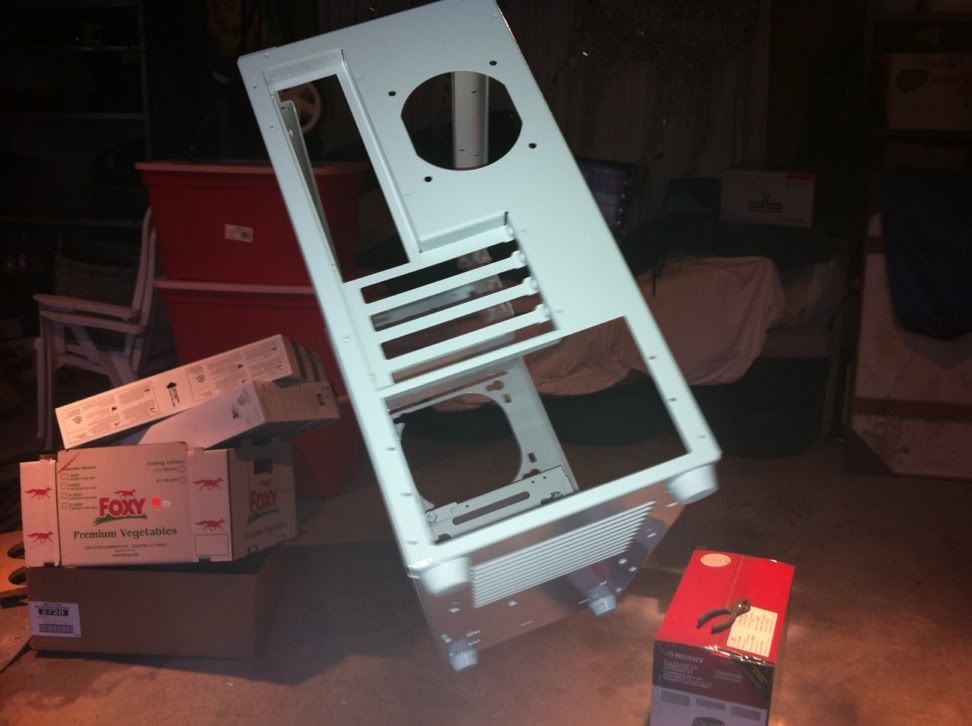
That's it for now. Got to let things dry before I can continue.
 
Update, January 27th, 2012.

I received a small package today... Containing a fantastic product made by 3M.
IMG_0871.jpg


It's called Di-Noc. It's a 8mil vinyl wrap with a thick 3D texture. It goes on with a heat gun, and nothing else. It has these cool diagonal channels on the back that makes air very easy to squeeze out.
IMG_0872.jpg


Here it is applied with all the appropriate cutouts. Still have to drill 4 large holes for the fan grill surround, but I'm liking the way it's looking so far.
IMG_0874.jpg


The case after it's almost dry. Enamel paint can take up to a month to fully cure, but it's quite hard even now. Putting the top panel back on, and taking it off, didn't mar nor scratch the paint. Rustoleum professional gloss white enamel is the best white paint on the market in rattlecan format.
IMG_0875.jpg


Here I begin fabricating the PSU shroud.
IMG_0877.jpg


That's it for now. Waiting for the shroud pieces to dry (epoxy) before I sand, bondo and paint them gloss white as well. :)

Stay tuned.
 
Update, February 20th, 2012.

It's been almost a month since my last update, however I was busy writing my LSAT exam on the 11th, and having a good week-long Skyrim celebration afterwards. I've gotten much accomplished, however I must wait for a package from the US, and RMA my GPU in the meantime. Nonetheless, some updates :)

First and foremost, the PSU shroud mockup has been completed. I was just going for basic sizing before I ordered my quality acrylic...

IMG_0878.jpg


However, I remembered I had a whole whack of white Acetal left over from a mod that never came to fruition. Cut a few pieces to size...
IMG_0887.jpg


Bolt on use countersunk 8-32 hex head screws courtesy of a close personal friend and mutual poster on [H] (thesecond)
IMG_0890.jpg


Cut and bolt on the side piece.
IMG_0891.jpg


Now, this is one of the reasons I love Lian-Li cases. Things that don't need to be removable, often are. Sure, they use lots of rivets for the main case structure, but the front aluminum panel of the PC-a04 is capped on both ends with a plastic piece. It got in the way of one of my planned modifications to the case, so I simply unscrewed it, and dremeled the offending portions out. This is the after-shot, sorry, I don't have a before shot :).
IMG_0894.jpg


Radiator mockup... Cept I'll be using a double SWIFTECH radiator, as I find their slightly lower FPI and 1" form factor to be the best performing radiator in a small space. I plan on doing a GPU only loop. Truly, my CPU doesn't mind hitting 4.5ghz on stock volts. I'm blessed with that, and it hardly loads over 70c with the stock cooler. There's simply no need for CPU water when my GPU is 4x louder than the rest of my system!
IMG_0895.jpg


Something fun came in the mail...
IMG_0896.jpg


Mount the HDD's. I've got another one kicking around somewhere for that last slot, but I'll be damned if I can find it.
IMG_0897.jpg


Mount the radiator.
IMG_0898.jpg


Mount the fans. I've removed the blades for painting. I also prefer to leave the little plastic ring on the inside of the hub-housing removed. This allows for easy removal of the fan for cleaning. If it shortens it's life (it shouldn't, as the dust cap is still there) I'll simply buy a new hub housing down the line.
IMG_0899.jpg


This picture is sort of hard to make out, but you can see just how TIGHT the tolerances are here. The very bottom thin black piece (about 1.5mm thick) is the aluminum bezel of the case. It's literally RIGHT up against the fan housing, though there's a good 4mm between the fan hub and the bezel due to a larger fan frame than blades (thank god!)
IMG_0900.jpg


Bezel re-installed with fan blades in. I honestly love how this looks :).
IMG_0901.jpg


Test-fit with the Motherboard... I had to cut off about 3/4" of the shroud so the board could fit. I was unaware at how tiny this case truly was when I did my initial measurements!
IMG_0903.jpg


GPU installed...
IMG_0904.jpg


Got some really cute SATA cables in, and sleeved.
IMG_0905.jpg


Installed... Perfect lengths!
IMG_0907.jpg


Got some acrylic cut for the 5.25" bays in the front. I'll be housing the awesome Mashie MDVA behind it. It's about damn time I got it back in one of my mods... It's my favorite bay device, pretty much ever.
IMG_0909.jpg


Got the GPU loop pump painted and mounted...
IMG_0910.jpg


Check out how lucky I was with the fit here. You can see the PSU shroud, with a 1/4" spacing between it and the case panel wall. I thought I'd have to forgo a window (not a huge deal for me) but with this, a nice sheet of 1/8" lexan should have no issues fitting in!
IMG_0912.jpg


Mounted the LED strip... I tried to get the LED's to point in various directions to increase the amount of ambient lighting in the case. Pretty ugly, but they'll be hidden.
IMG_0913.jpg


Case mock up with the side panel installed...
IMG_0914.jpg


If you noticed earlier, that IR receiver is an RGB control module. I used to have a Sunbeam chameleon LED bus thing. It gave you the ability to control 4 RGB "canon" style LED's with the use of rheostats. I thought this was really awesome, as I tend to get sick of a particular color every so often. This is the upgraded version, as the IR remote is handy for "mood lighting" from the other side of the bedroom. Or something. I have a good gamut of colors to choose from, intensities and of course, the "off" setting as I'll be using the most often. It's still cool to have some flashy lights when friends come over! iPhone dark pictures are quite bad, and the PWM LED's don't help!
IMG_0917.jpg

IMG_0918.jpg

IMG_0919.jpg


Etc.

That's it for now. Pretty big update for me, as it's a cumulative post for about the last 3 full days of work (spread across about the whole month). The case is coming together nicely, though the GPU needs to be sent back to XFX as it keeps crashing at stock speeds. Underclocking the GPU by 50mhz or so solves the issue, but this is simply no good for me.

Stay tuned!
 
Last edited:
looks good. you can pick up a decent used waterblock, think ek supreme LT or rasa for $30. IMO you should just pop it on to wc the whole thing. It might raise loop and thereby gpu temps, but you should easily be able to handle it. I wced a gtx 570 and i5 760 with a single 120mm rad and 800rpm fans and still had under 50c temps at max load.
 
looks good. you can pick up a decent used waterblock, think ek supreme LT or rasa for $30. IMO you should just pop it on to wc the whole thing. It might raise loop and thereby gpu temps, but you should easily be able to handle it. I wced a gtx 570 and i5 760 with a single 120mm rad and 800rpm fans and still had under 50c temps at max load.

It's a GPU only loop, so don't worry... Trying to work out something out, though :)

Might even go CF as well.
 
March 1, Update.

Alright, let's cut to the chase here... Posted an update earlier but VB crapped out on me, so for now it's only pictures.

Got some wiring done, and some work on the DIY GPU WB.

IMG_0926.jpg

IMG_0927.jpg

IMG_0925.jpg


Put the stock HSF in the oven to release the Vapor Chamber...
IMG_0929.jpg

IMG_0930.jpg


IMG_0931.jpg


That way I can re-use the old board level HSF!

IMG_0933.jpg

IMG_0934.jpg


Bit of painting for the CPU HSF Fan.
IMG_0935.jpg
 
I love how everything is thought out. Coming along very nicely. Can't wait for the end result as it should be very beautiful..
 
what does that vapor chamber even do ? i pulled the heatsink off my xfx 6950 and just put a differnet cooler on it, never heard of removing the vapor chamber ?
 
what does that vapor chamber even do ? i pulled the heatsink off my xfx 6950 and just put a differnet cooler on it, never heard of removing the vapor chamber ?

It's like one huge heatpipe. Or an evaporative heat "plane" so to speak.

The only reason I removed the vapor chamber, was so I could re-use the board level aluminum plate to cool the rest of the card, as I'm making my own water-block.
 
Having 3g means I can be on a roof in an hvac room full of parge and stop to lurk your thread. Also I see you've sold out to the sleeved cable club.

Needs moar updates
 
nice case coming up! I love to use 3M Di-Noc, they have huge variety of film, even leather style!
keep the work coming and more pics!!!
 
Thanks for posting in my thread, this is certainly an interesting approach to the GPU, and yes that is the exact card I have

Would you consider sharing the G code for the block when you finalize it?
 
Update

Well, this has been completed for awhile... But I've been lazy in uploading progress pics. Had a few quirks to work out with windows as well, necessitating a full re-install.

First and foremost, I taped off the bottom of the GPU HSF to prevent shorts.
IMG_09461024x765.jpg


I thermal epoxied some HSFs to the ram area of the card for better cooling. As it stands, the VREG temperature still gets up to 91c in Kombuster at my 1000mhz Core speed... Gonna have to get a fan blowing there...
IMG_09471024x765.jpg


Here you can see the back of the card...
IMG_09481024x765.jpg


Here's with the card installed.
IMG_09491024x765.jpg


Got the card plumbed...
IMG_09601024x765.jpg


Finished the top panel, added the fillport...
IMG_09621024x765.jpg


Final wiring at the back...
Untitled.jpg


Thats it for now... Gonna add a window soon, and I'm going to take some final pics tonight.
 
Thanks for posting in my thread, this is certainly an interesting approach to the GPU, and yes that is the exact card I have

Would you consider sharing the G code for the block when you finalize it?

G code? Hahah.

It's a Dangerden Maze 4 (or swiftech MCW-60) and the stock HSF all pulled apart. The only machining done was a bit of dremeling.
 
Back
Top