• Some users have recently had their accounts hijacked. It seems that the now defunct EVGA forums might have compromised your password there and seems many are using the same PW here. We would suggest you UPDATE YOUR PASSWORD and TURN ON 2FA for your account here to further secure it. None of the compromised accounts had 2FA turned on.
    Once you have enabled 2FA, your account will be updated soon to show a badge, letting other members know that you use 2FA to protect your account. This should be beneficial for everyone that uses FSFT.

Project Arclight

tobyak

n00b
Joined
Aug 11, 2011
Messages
57
ARCBANNER2.jpg


Behold my latest creation to be

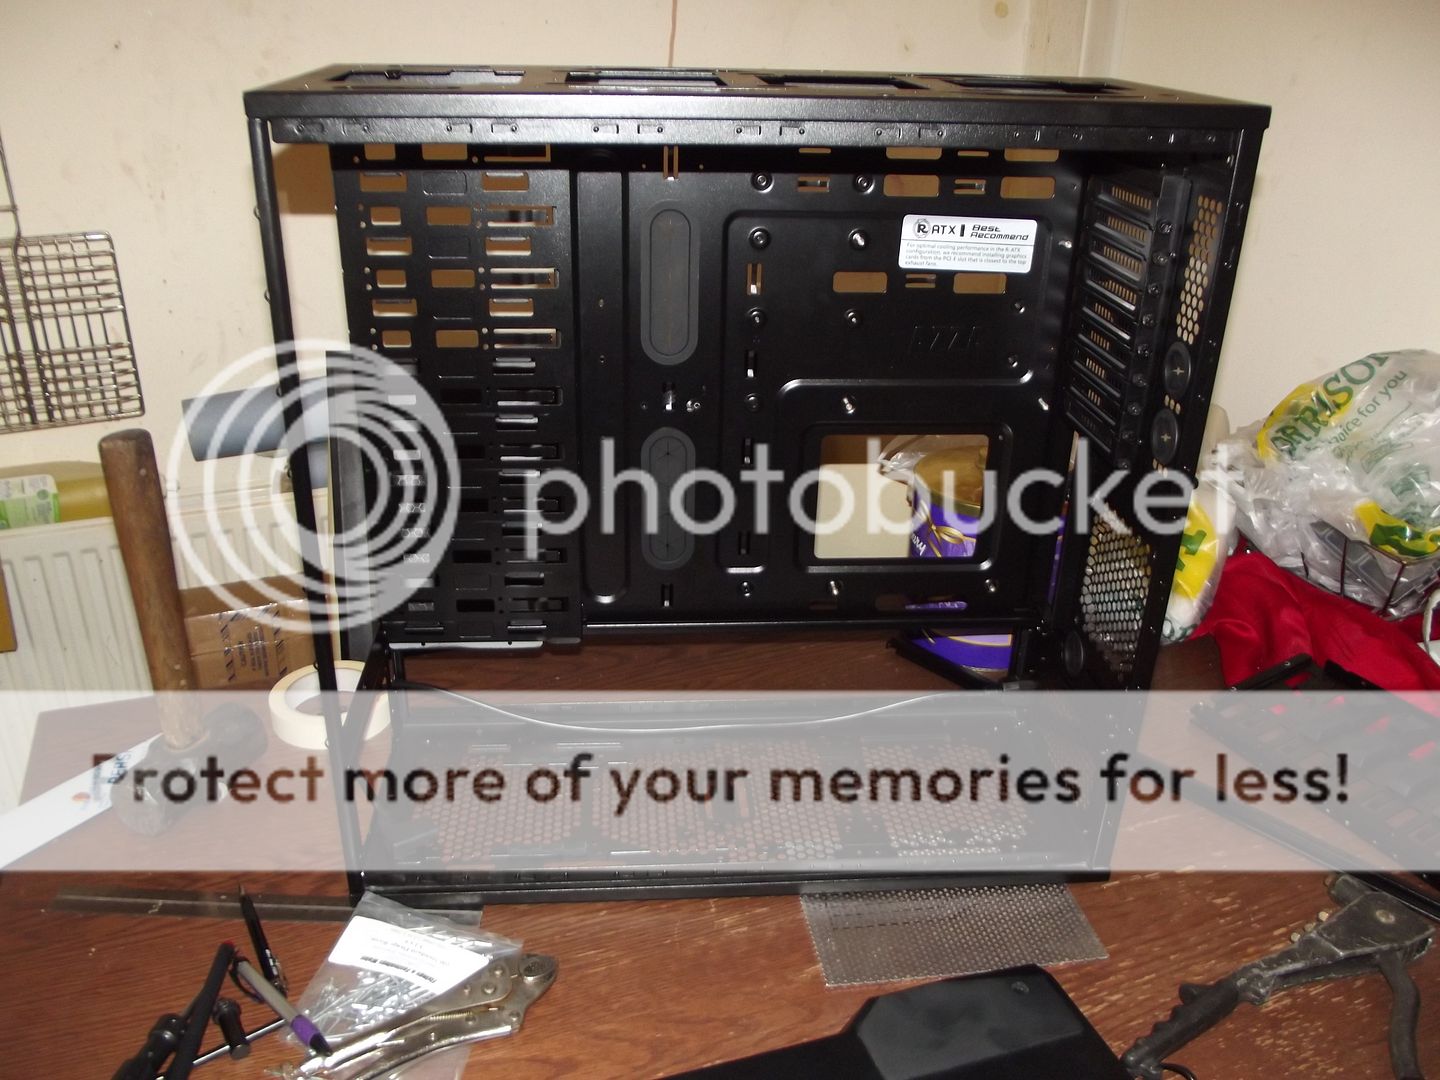
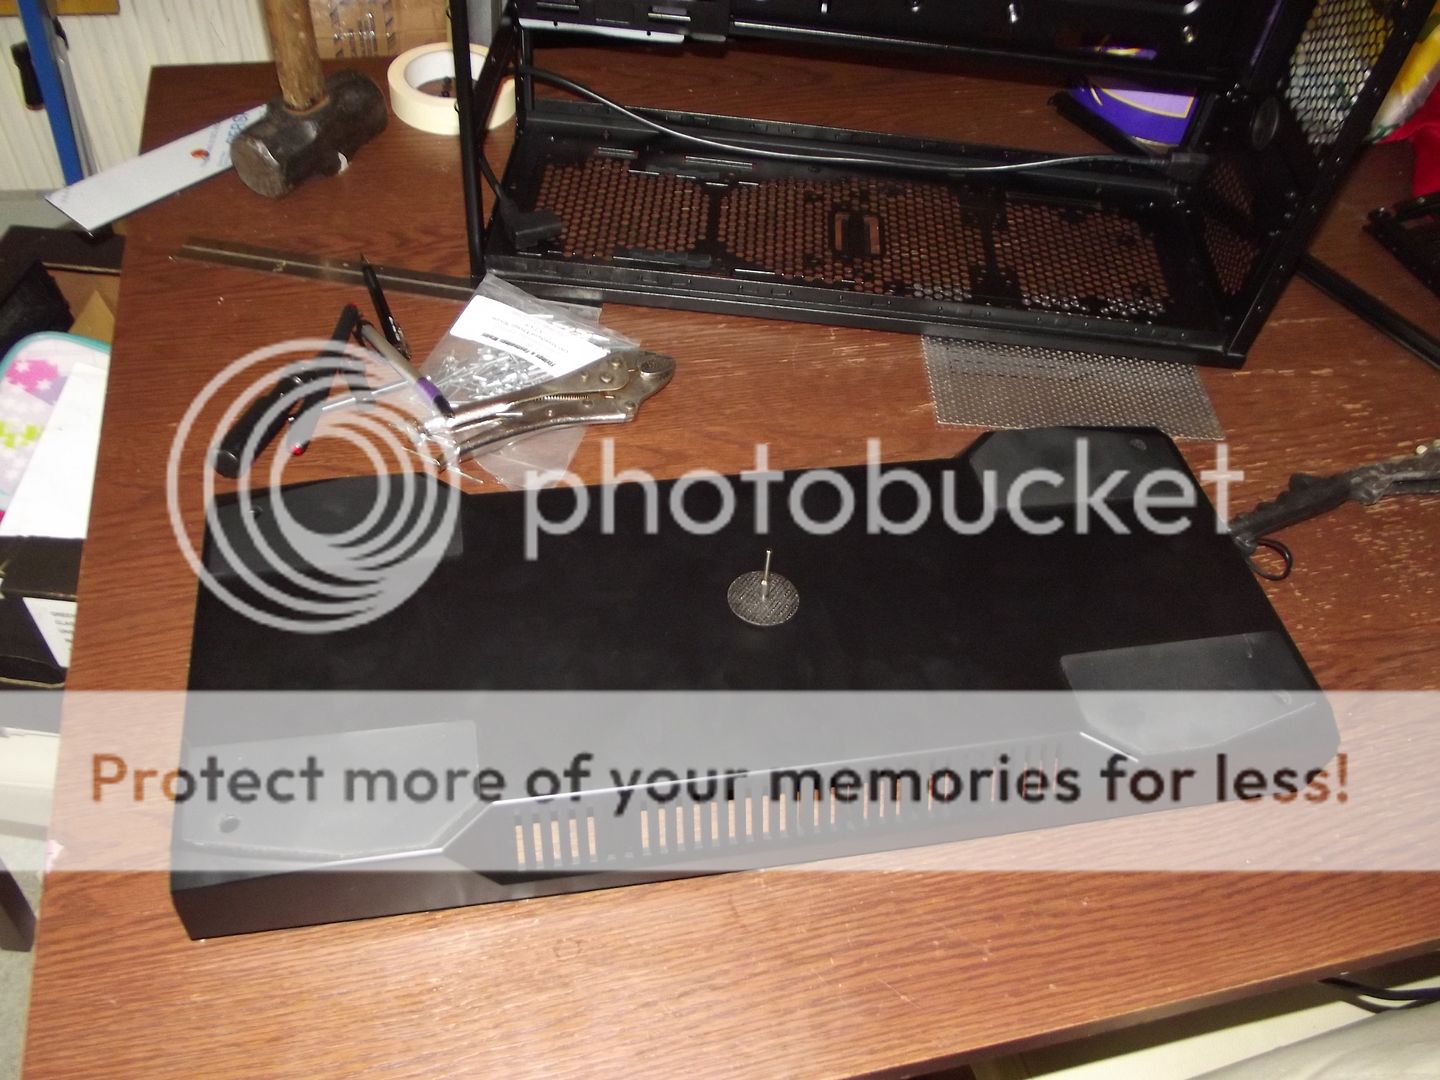
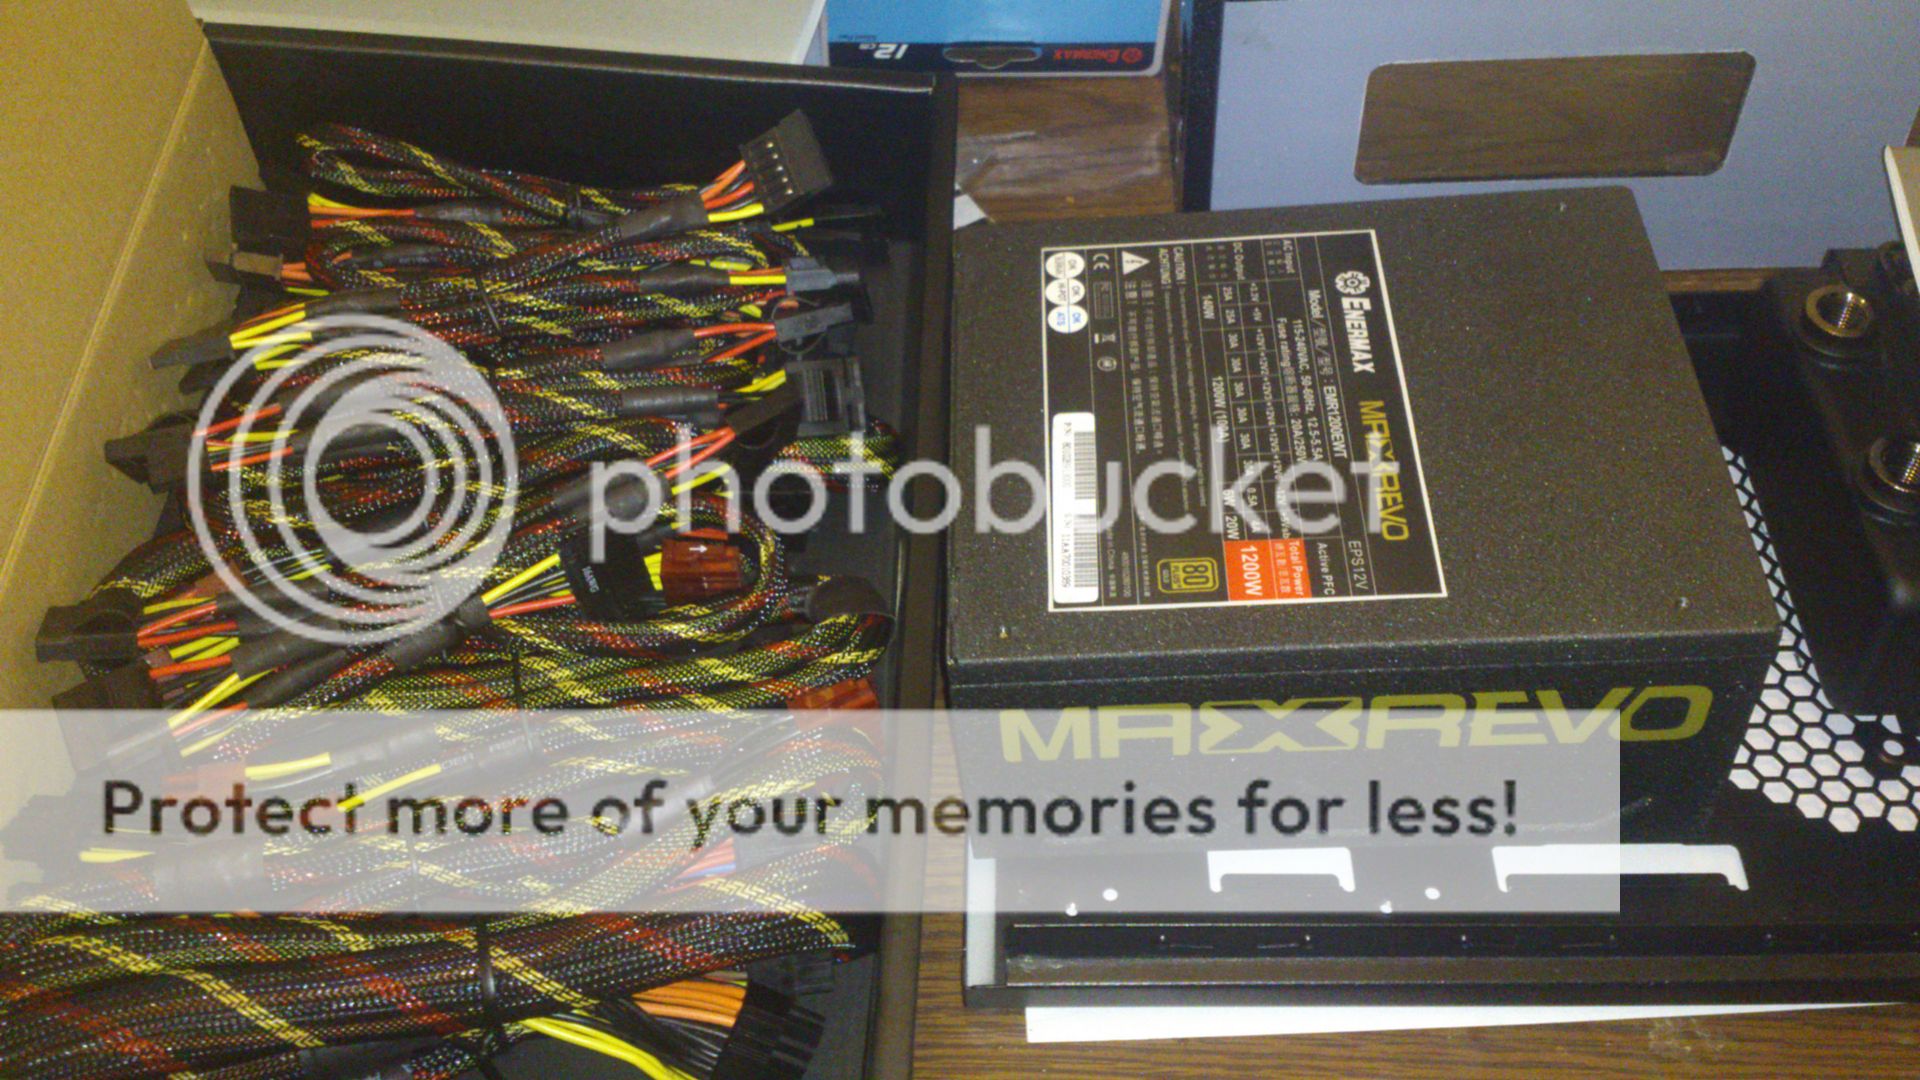
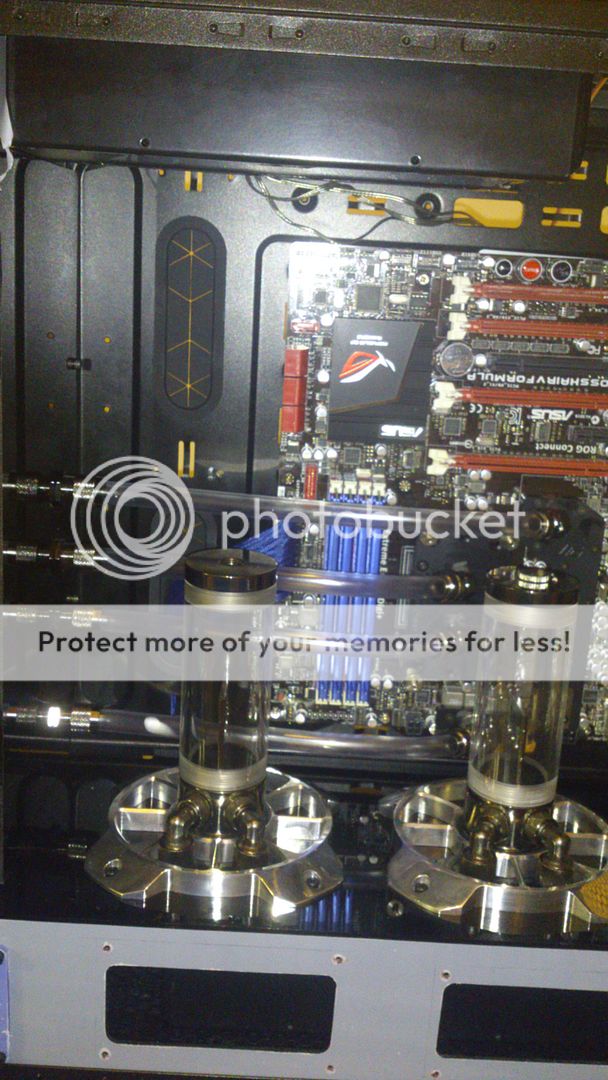
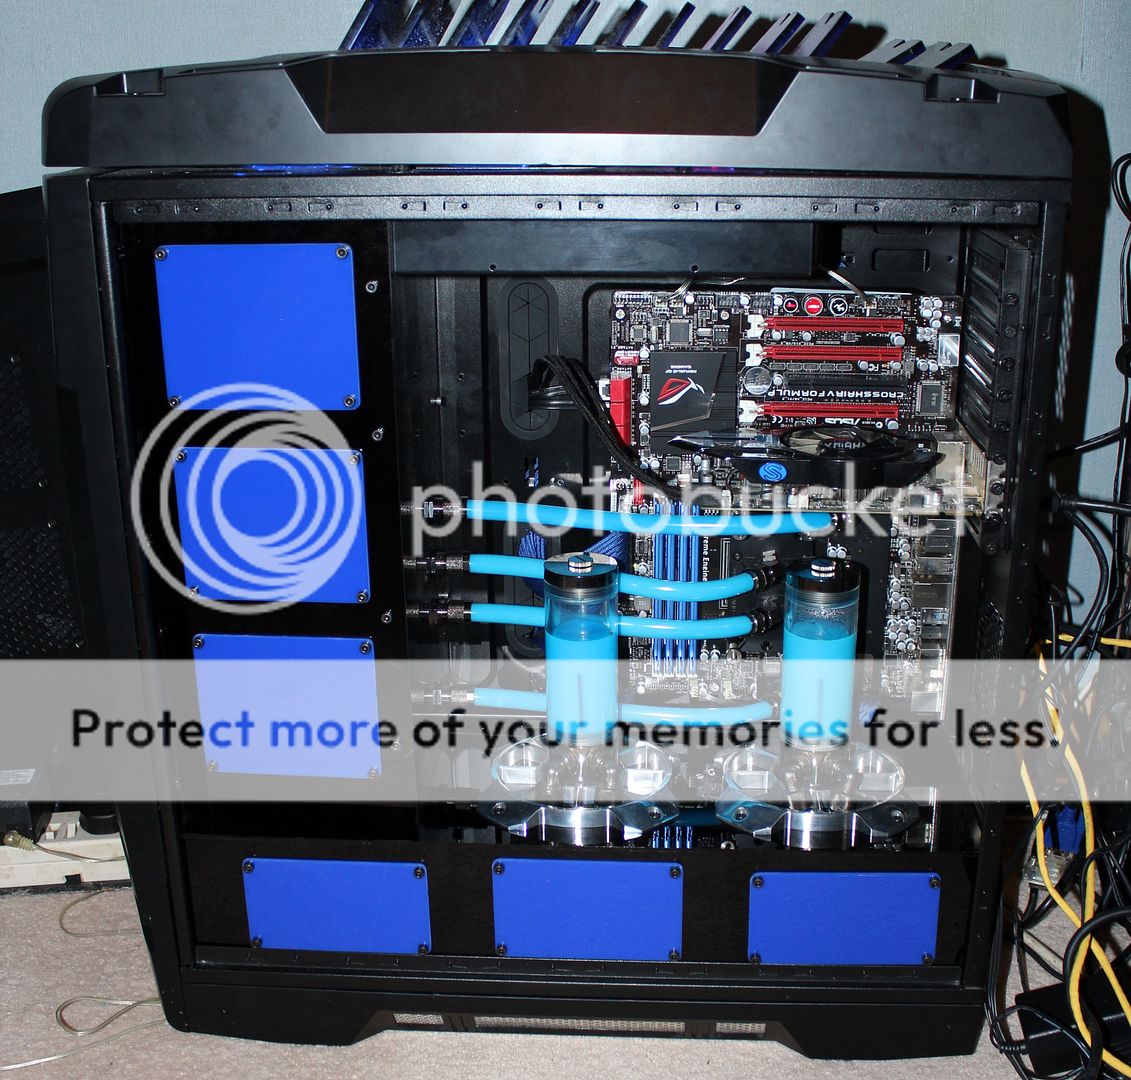
Project Arclight will be a huge case built on an Enermax Fulmo GT chassis with some serious power behind it also provided by Enermax in the shape of the mighty Platimax 1200watt psu

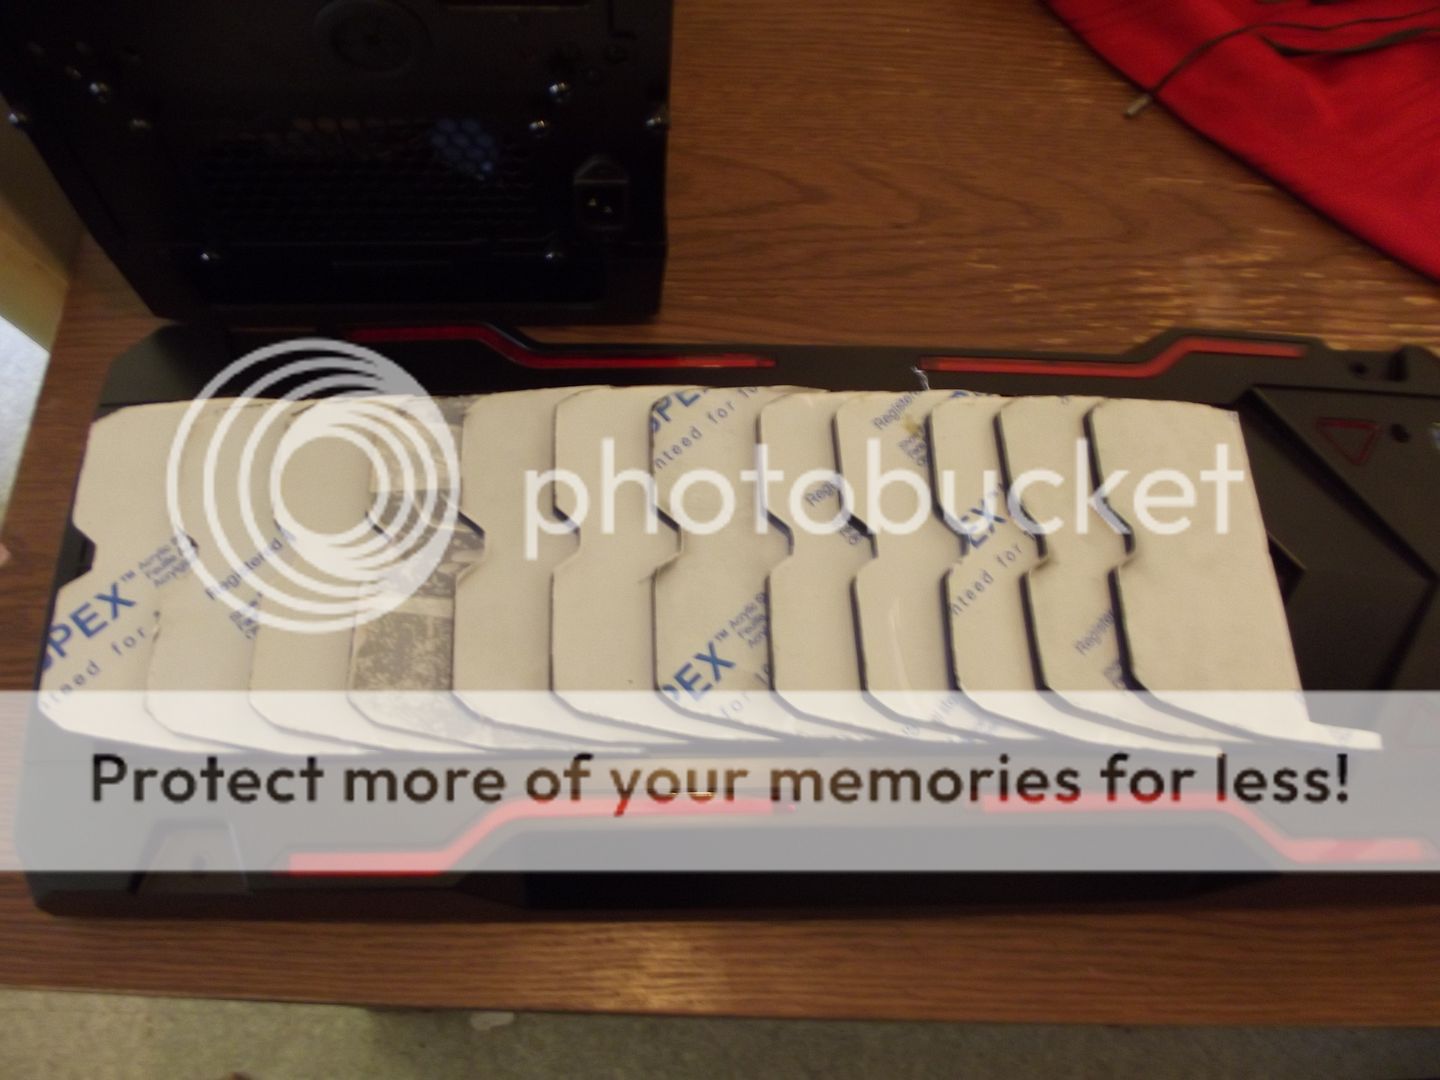
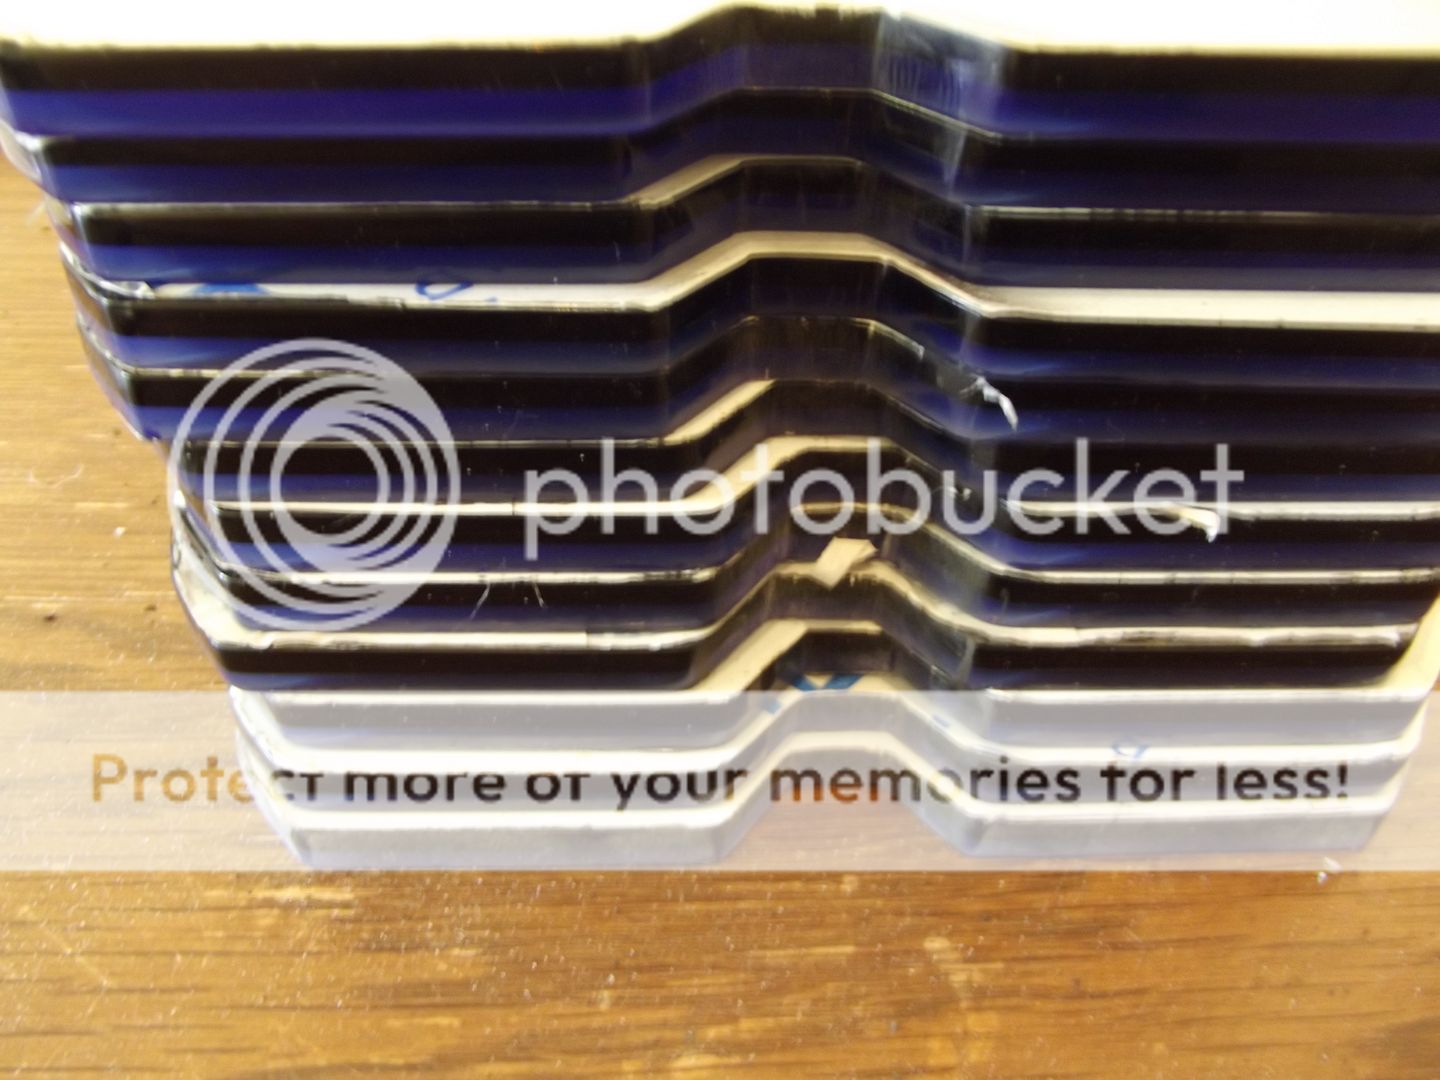
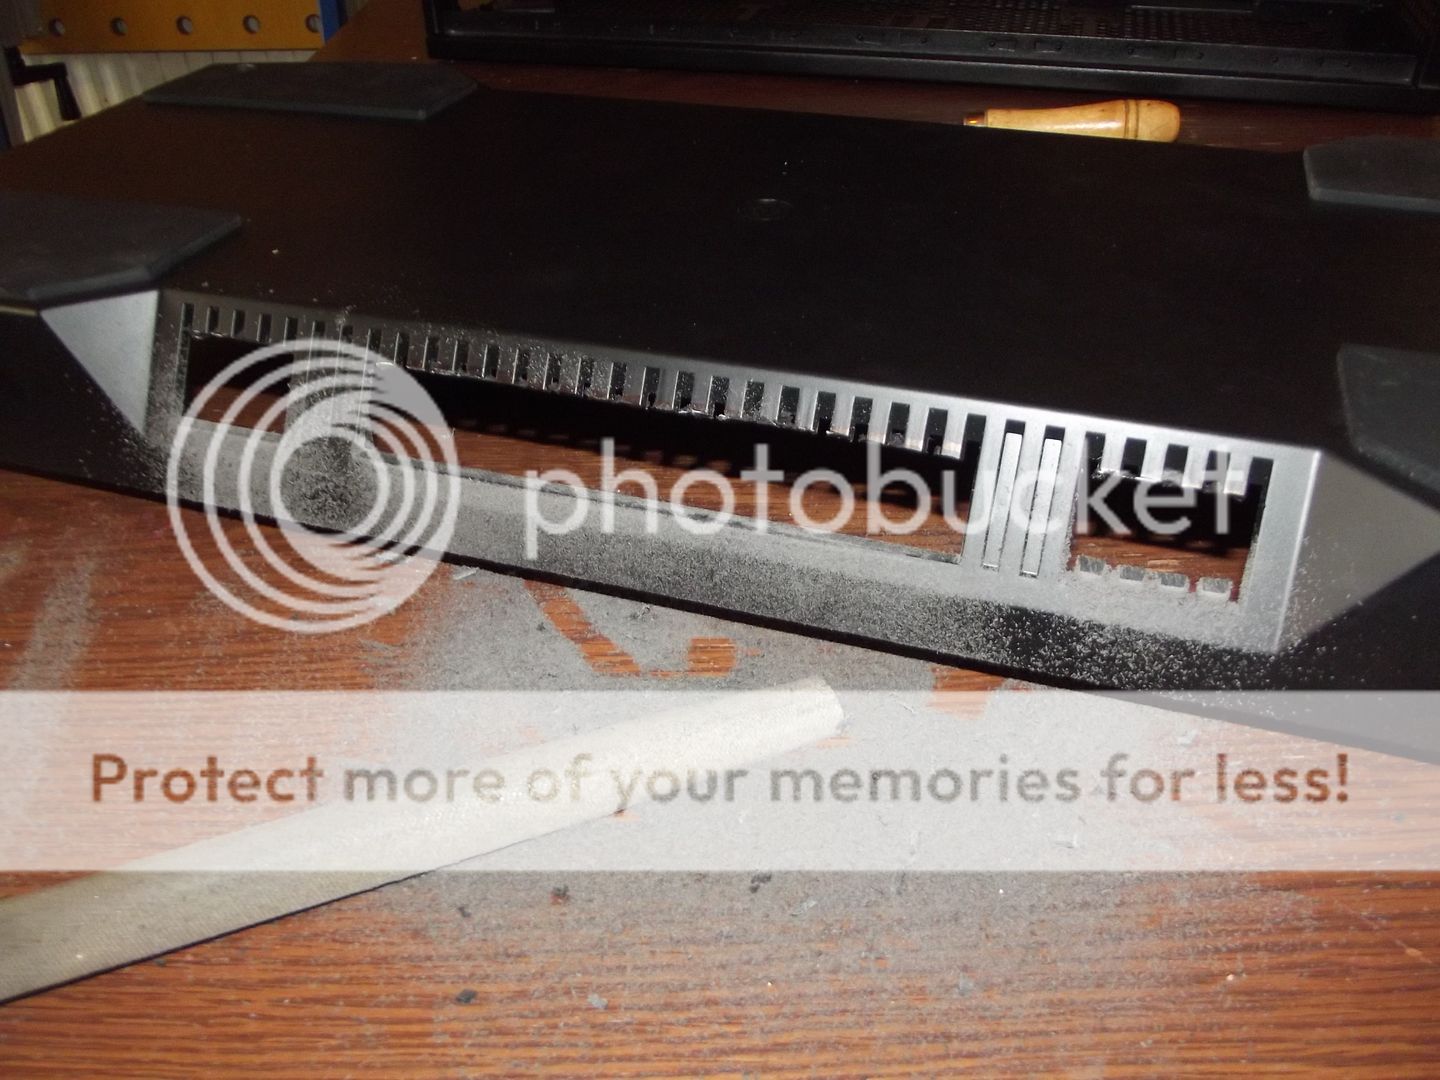
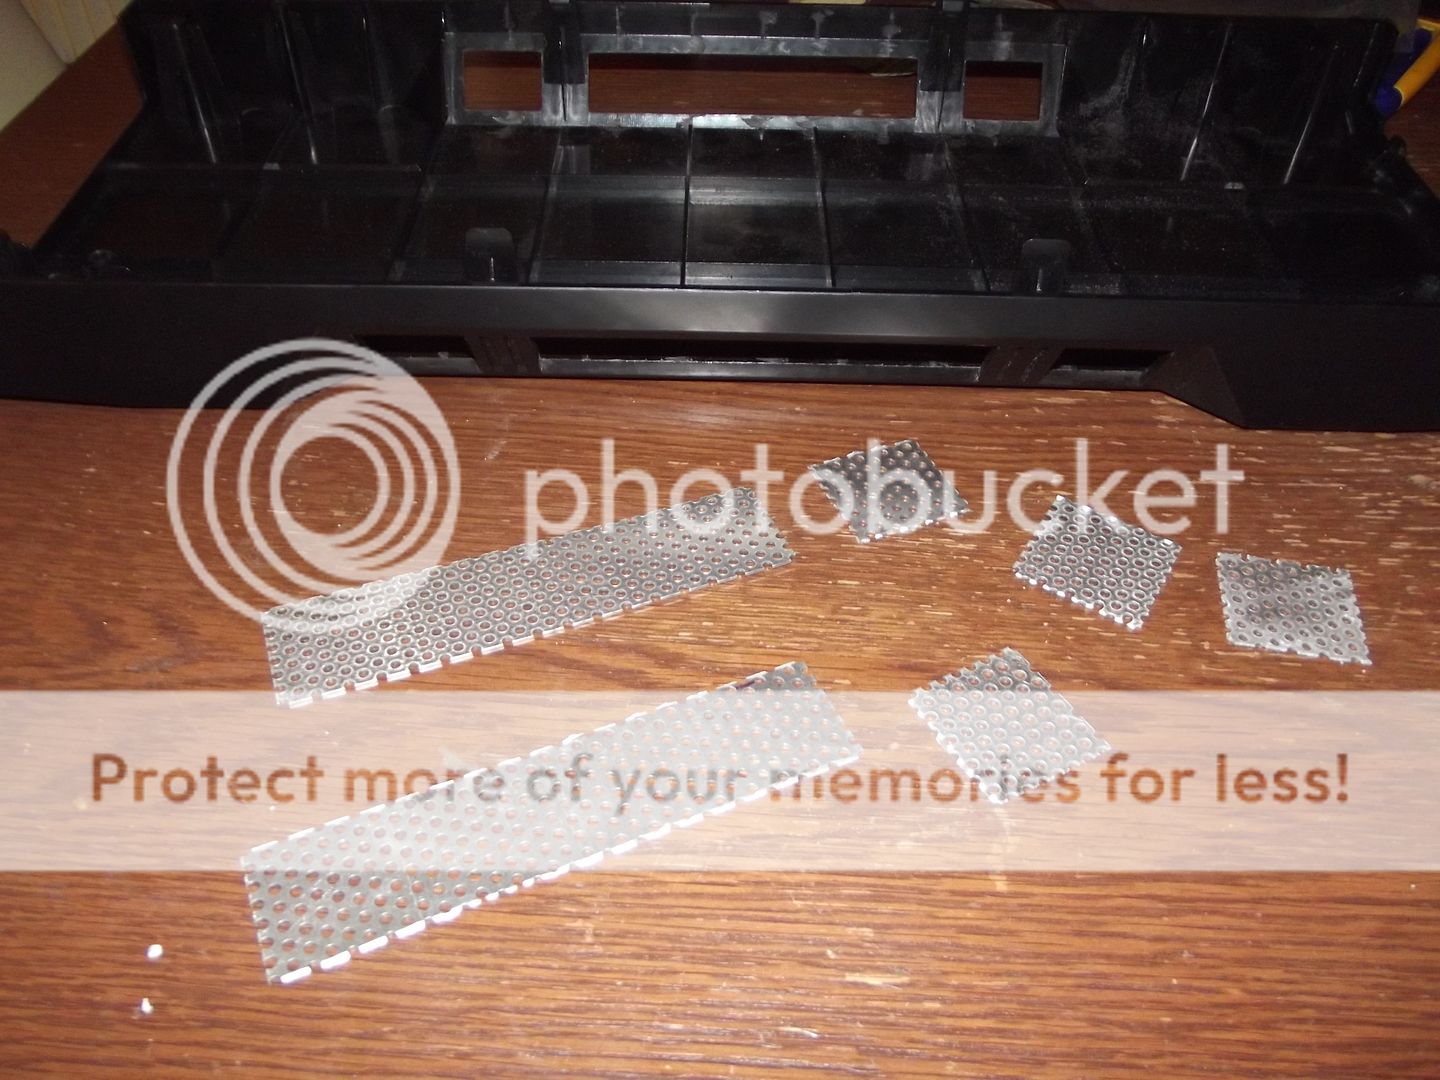
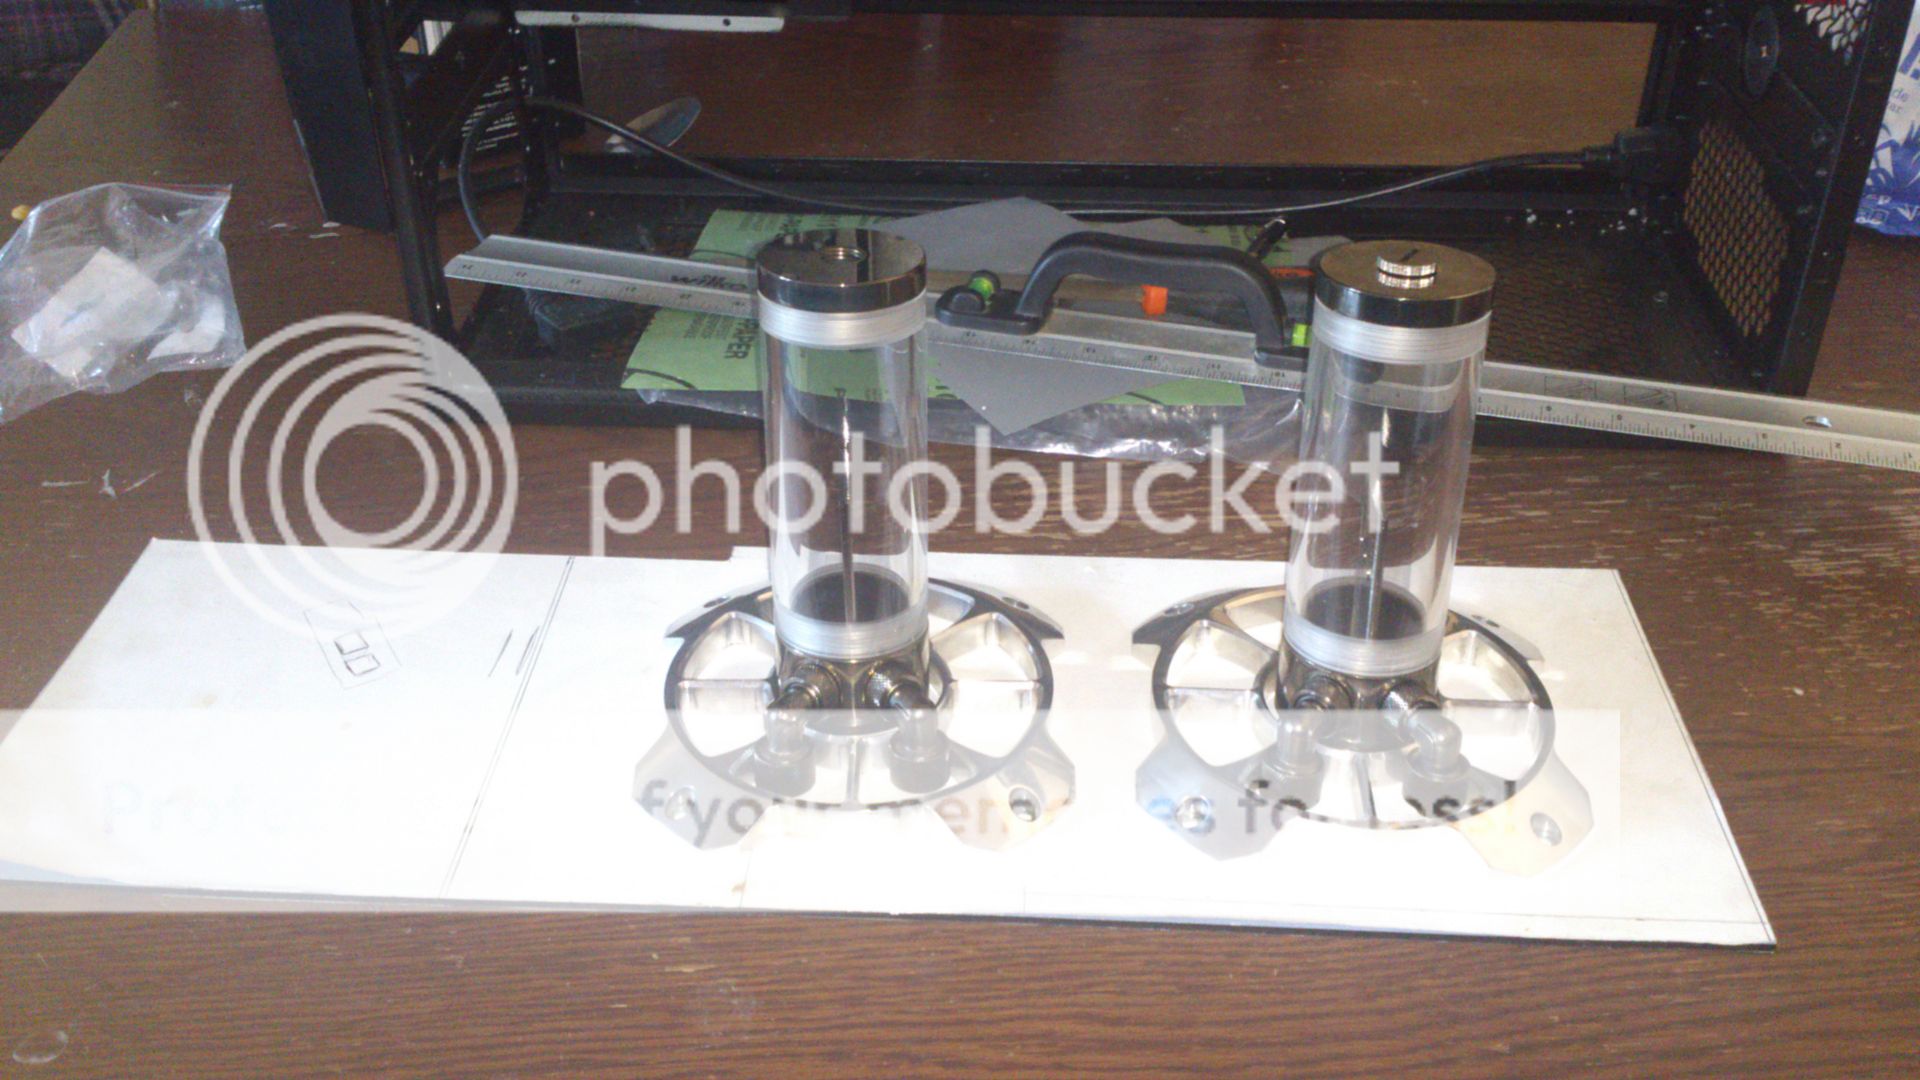
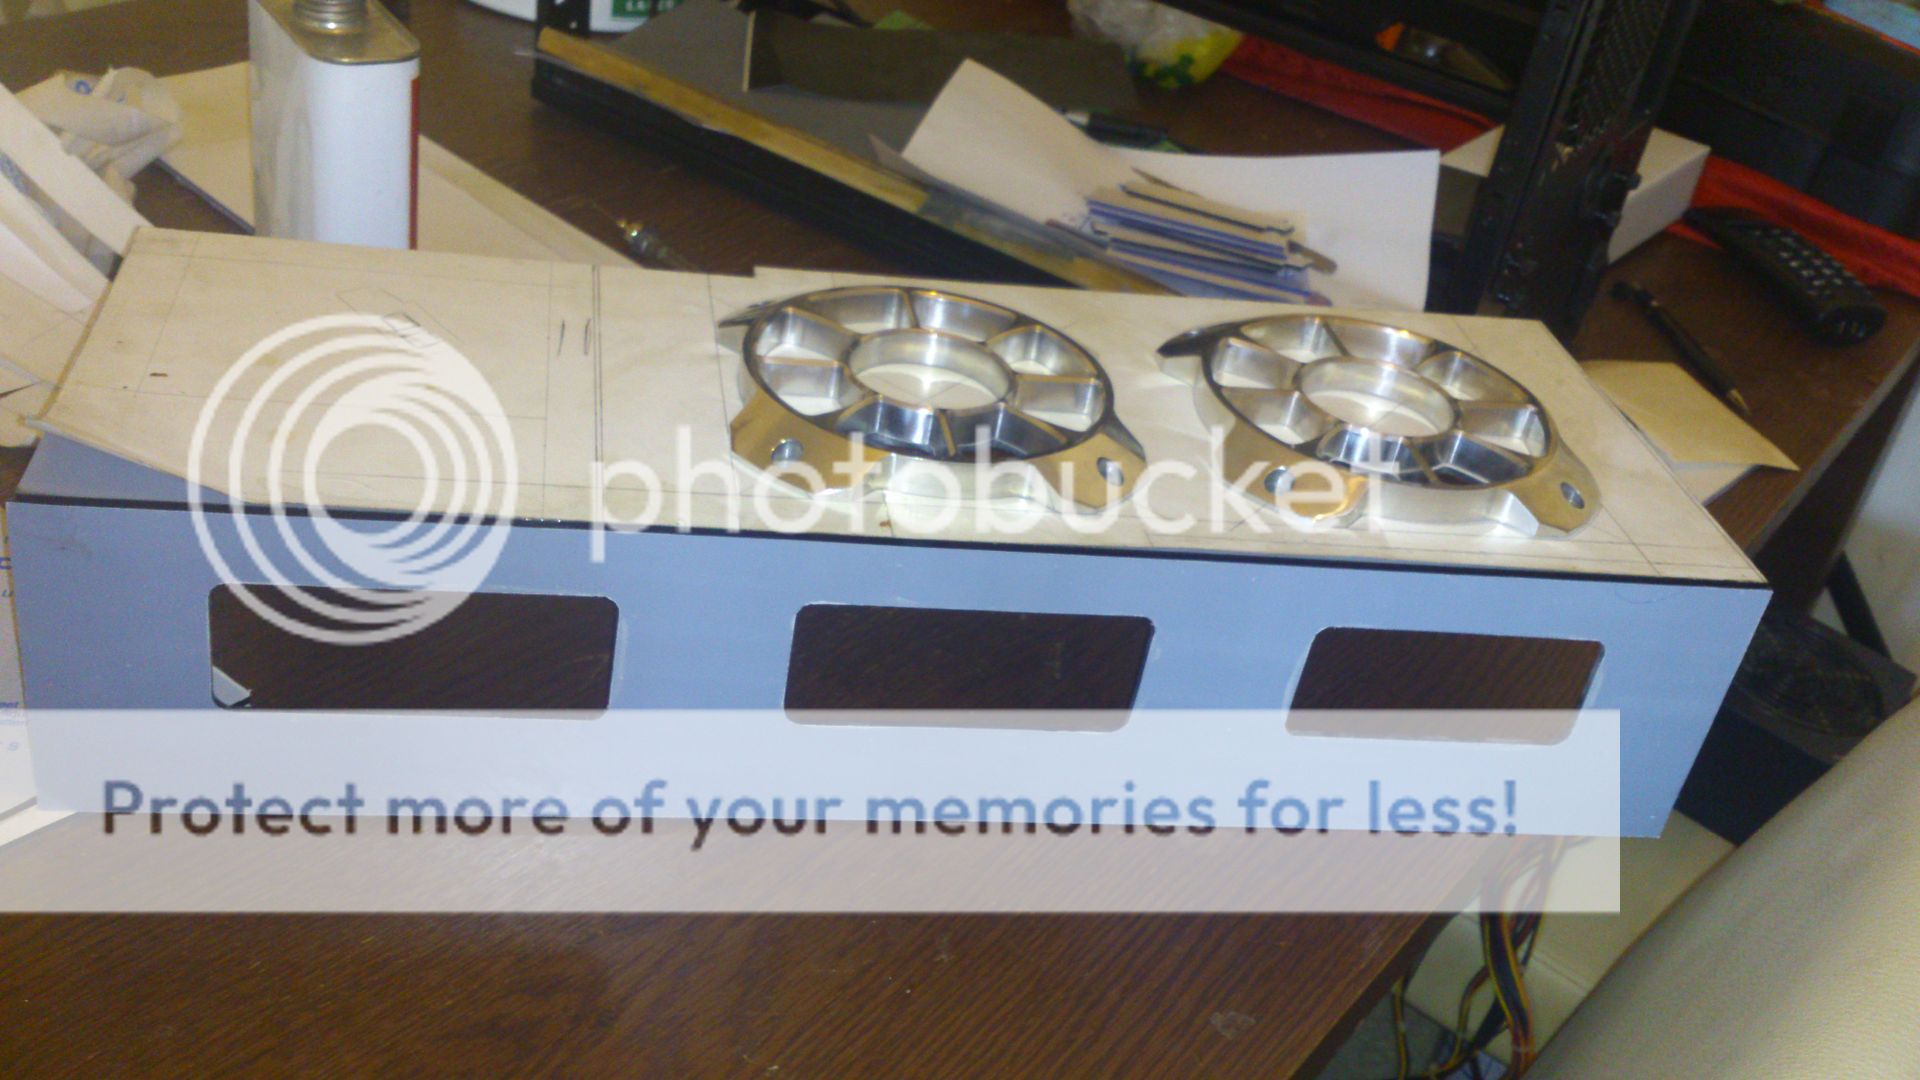
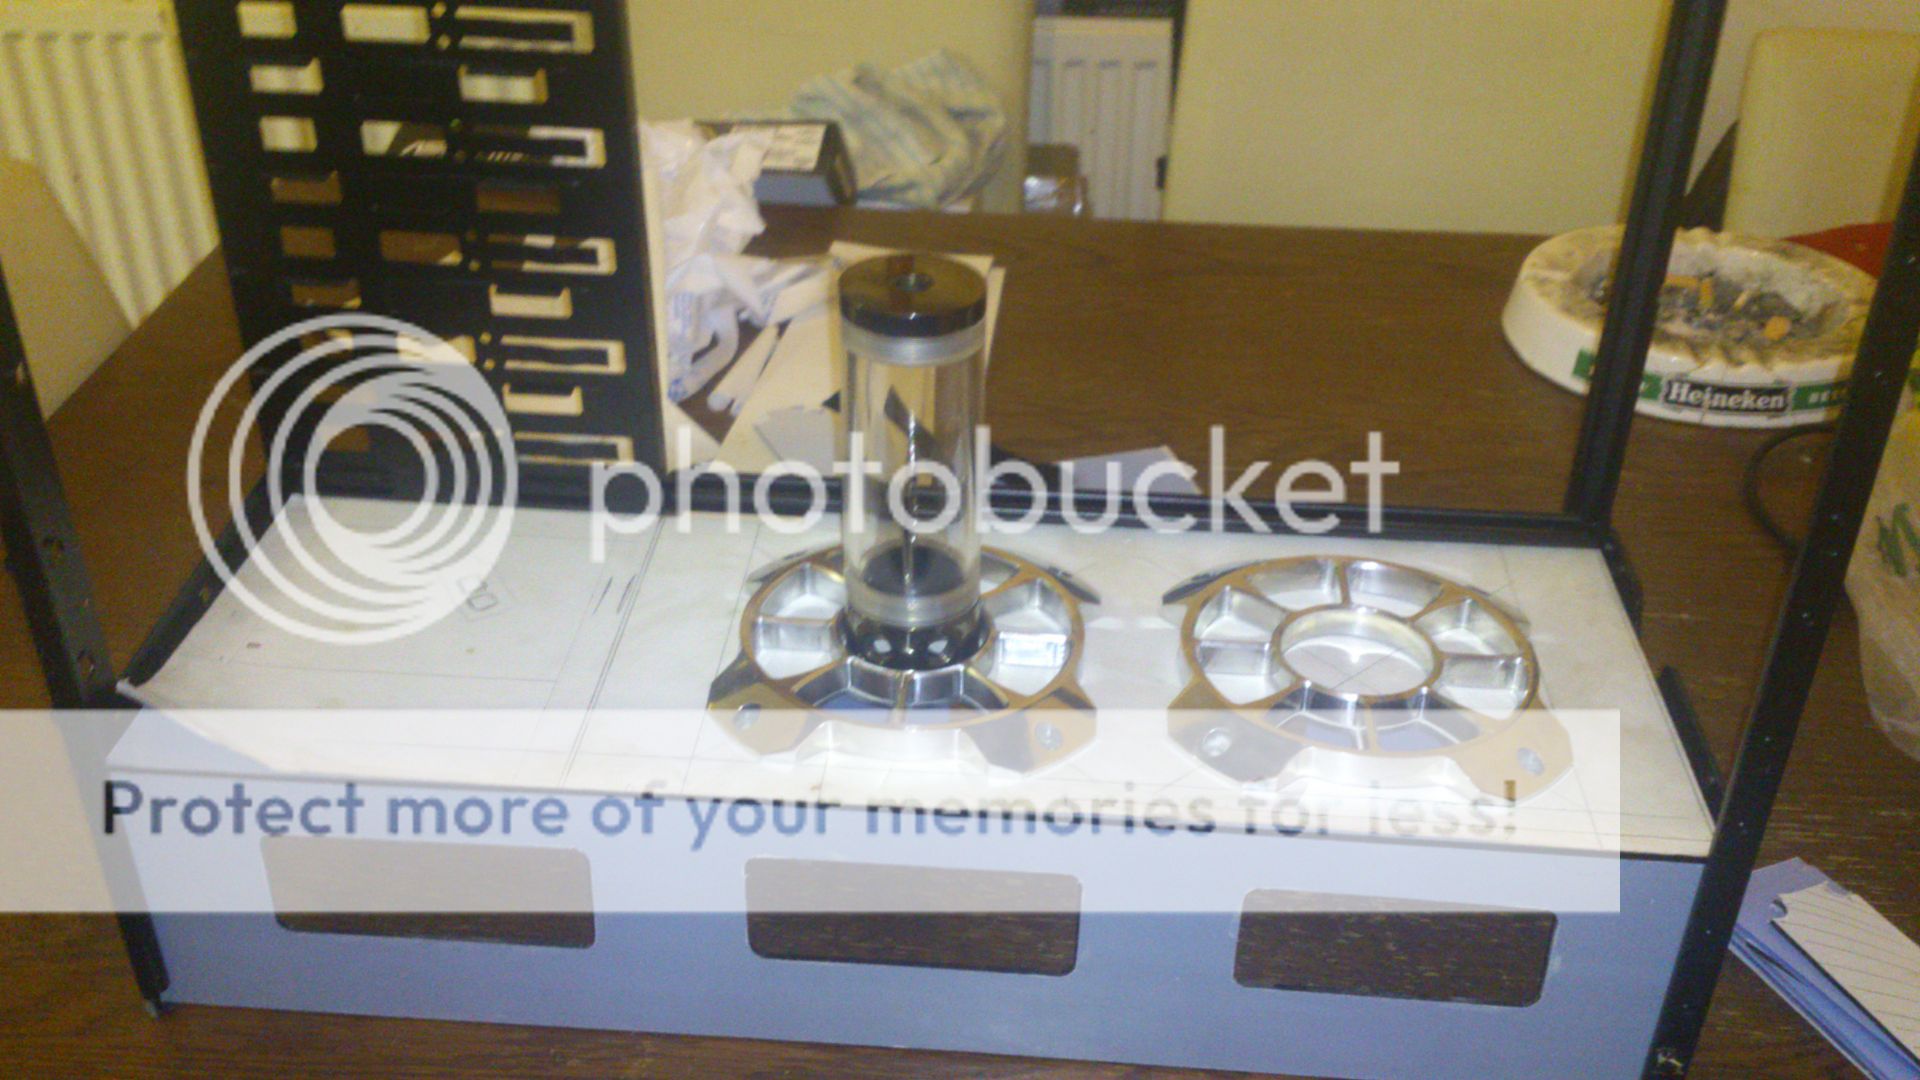
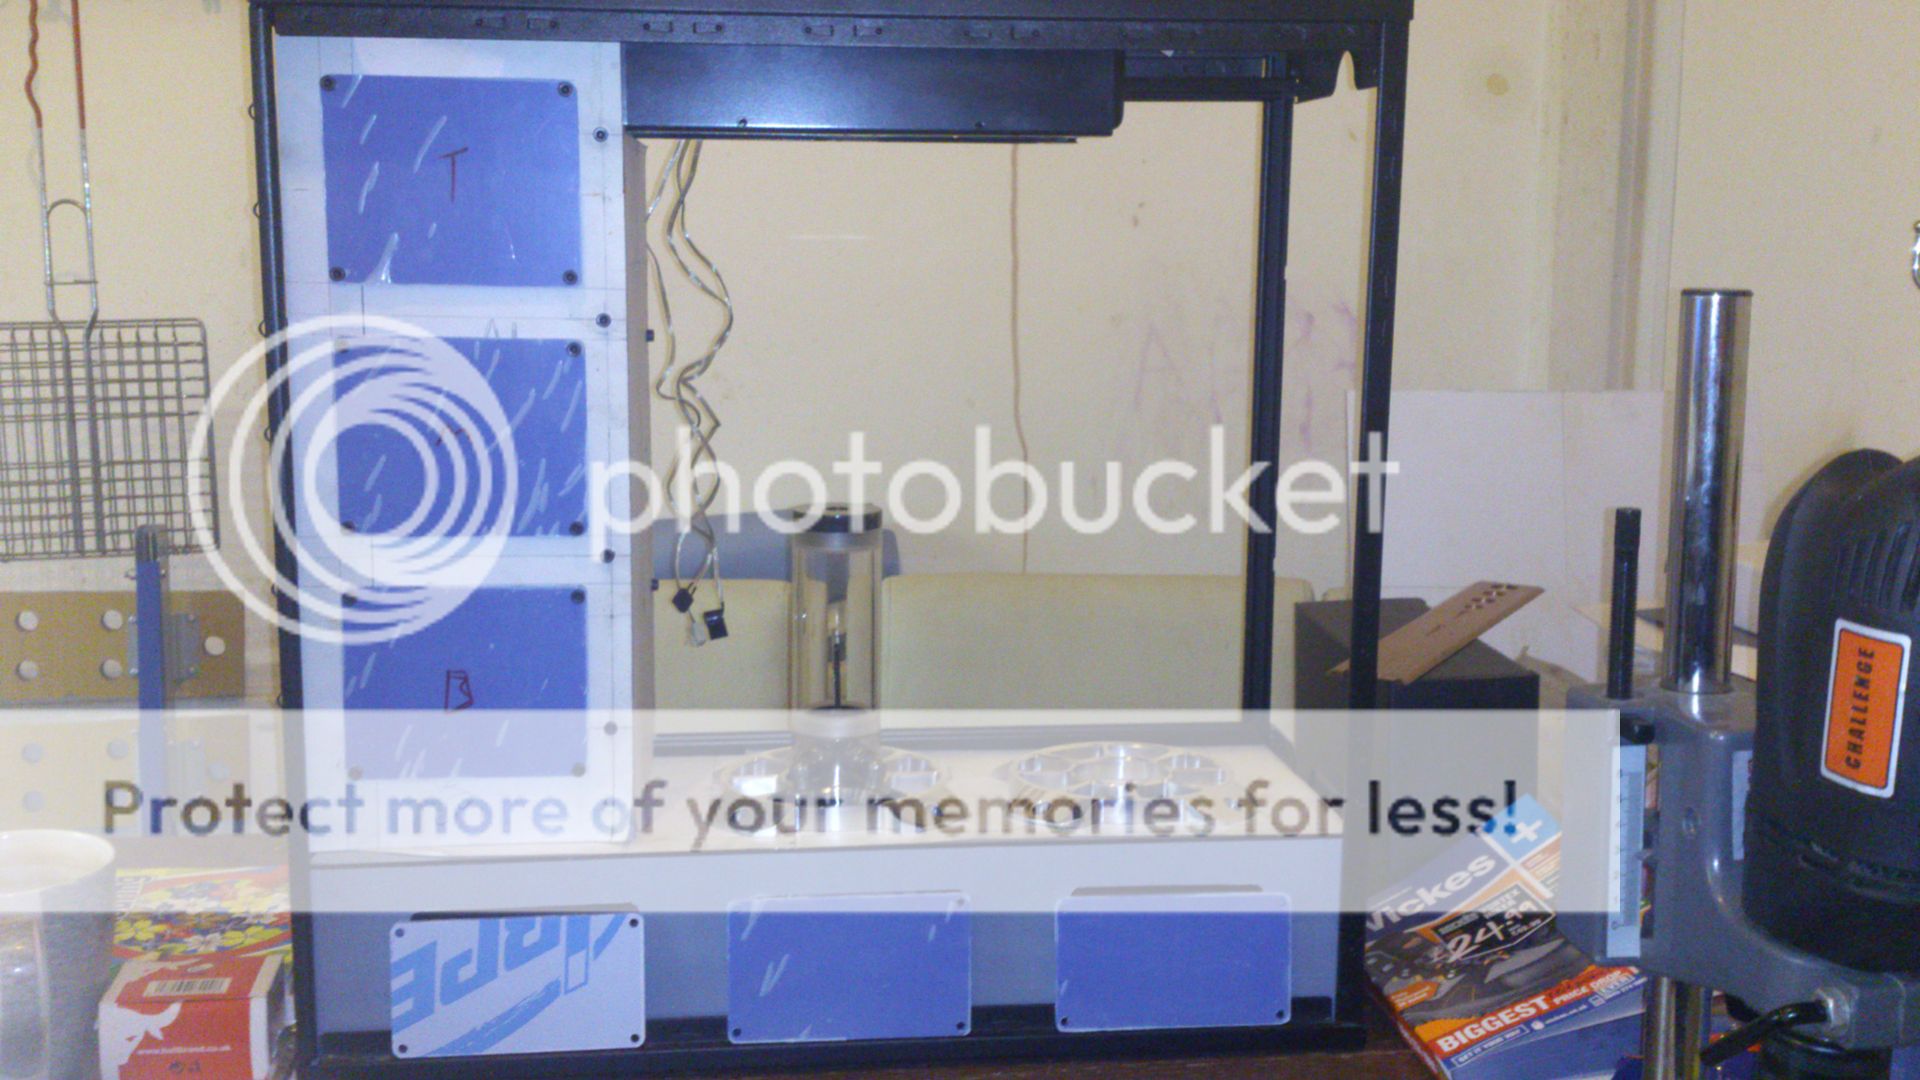
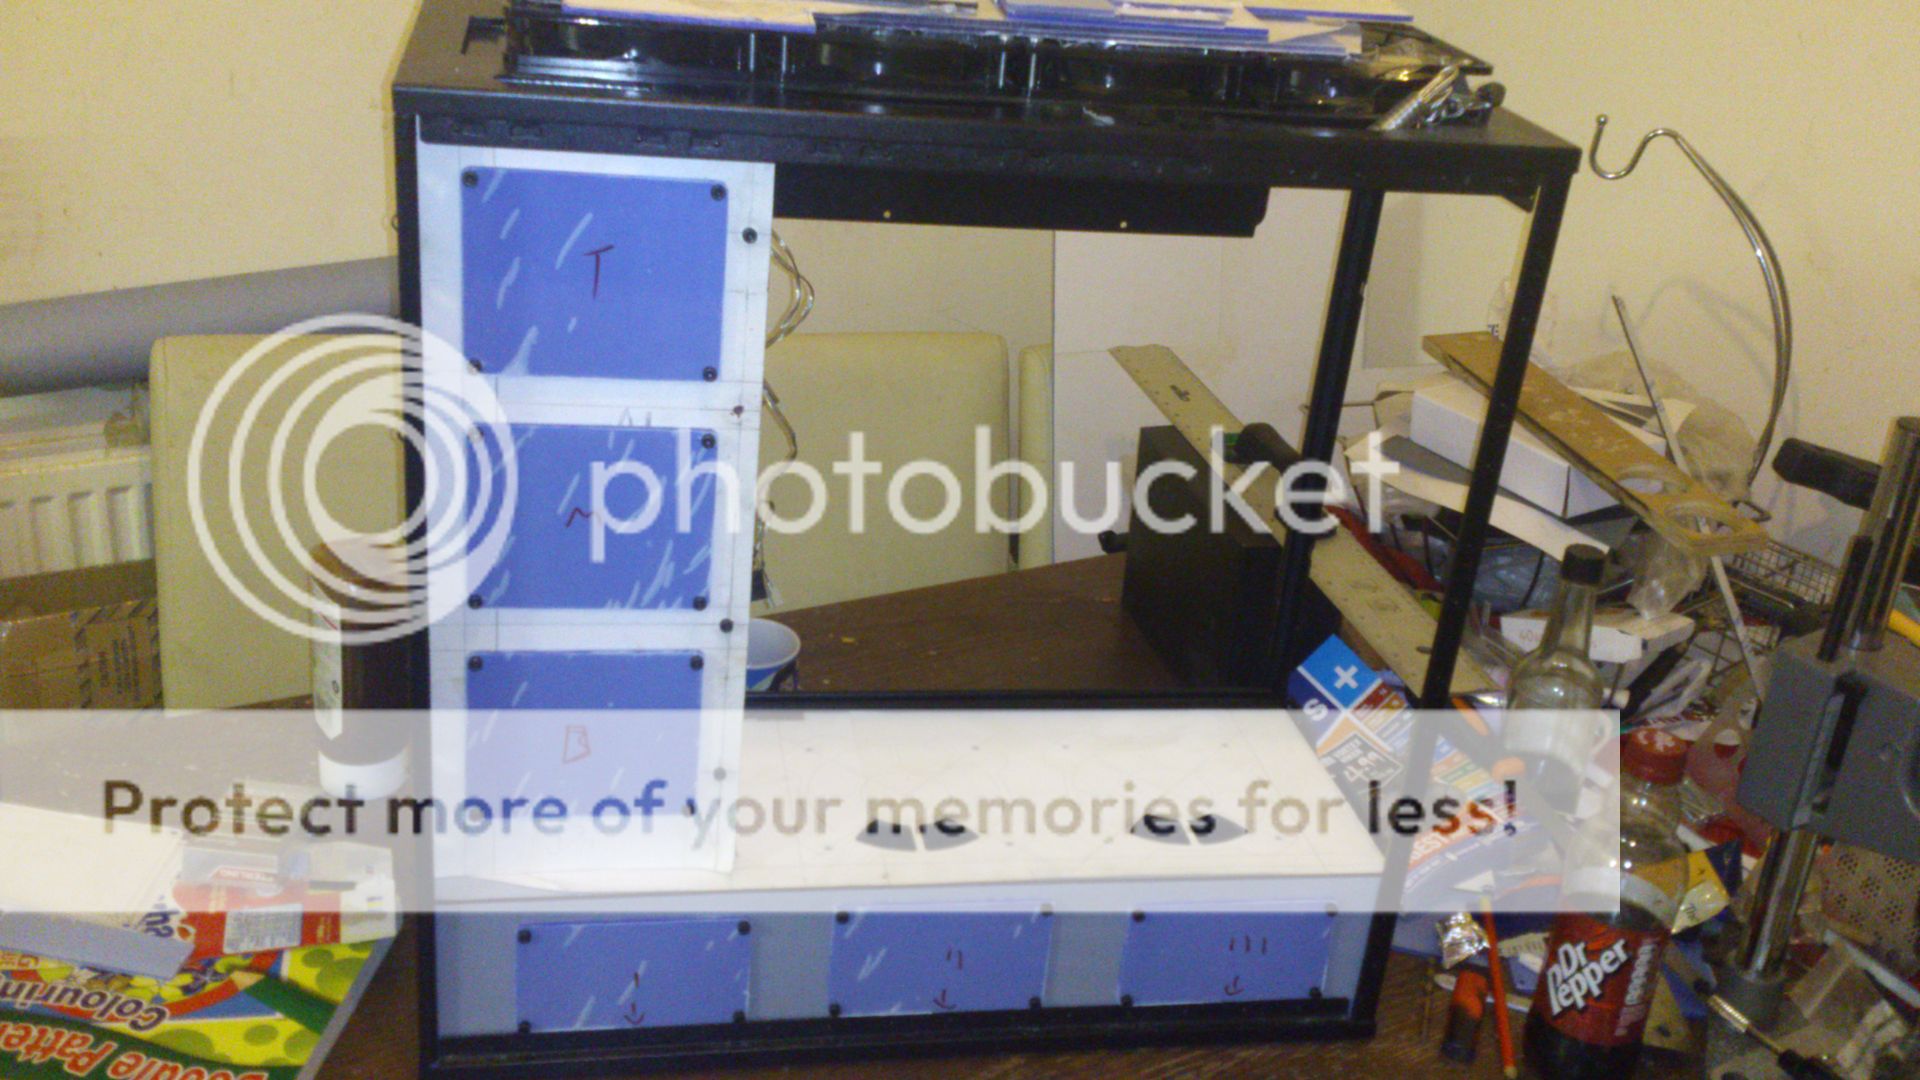
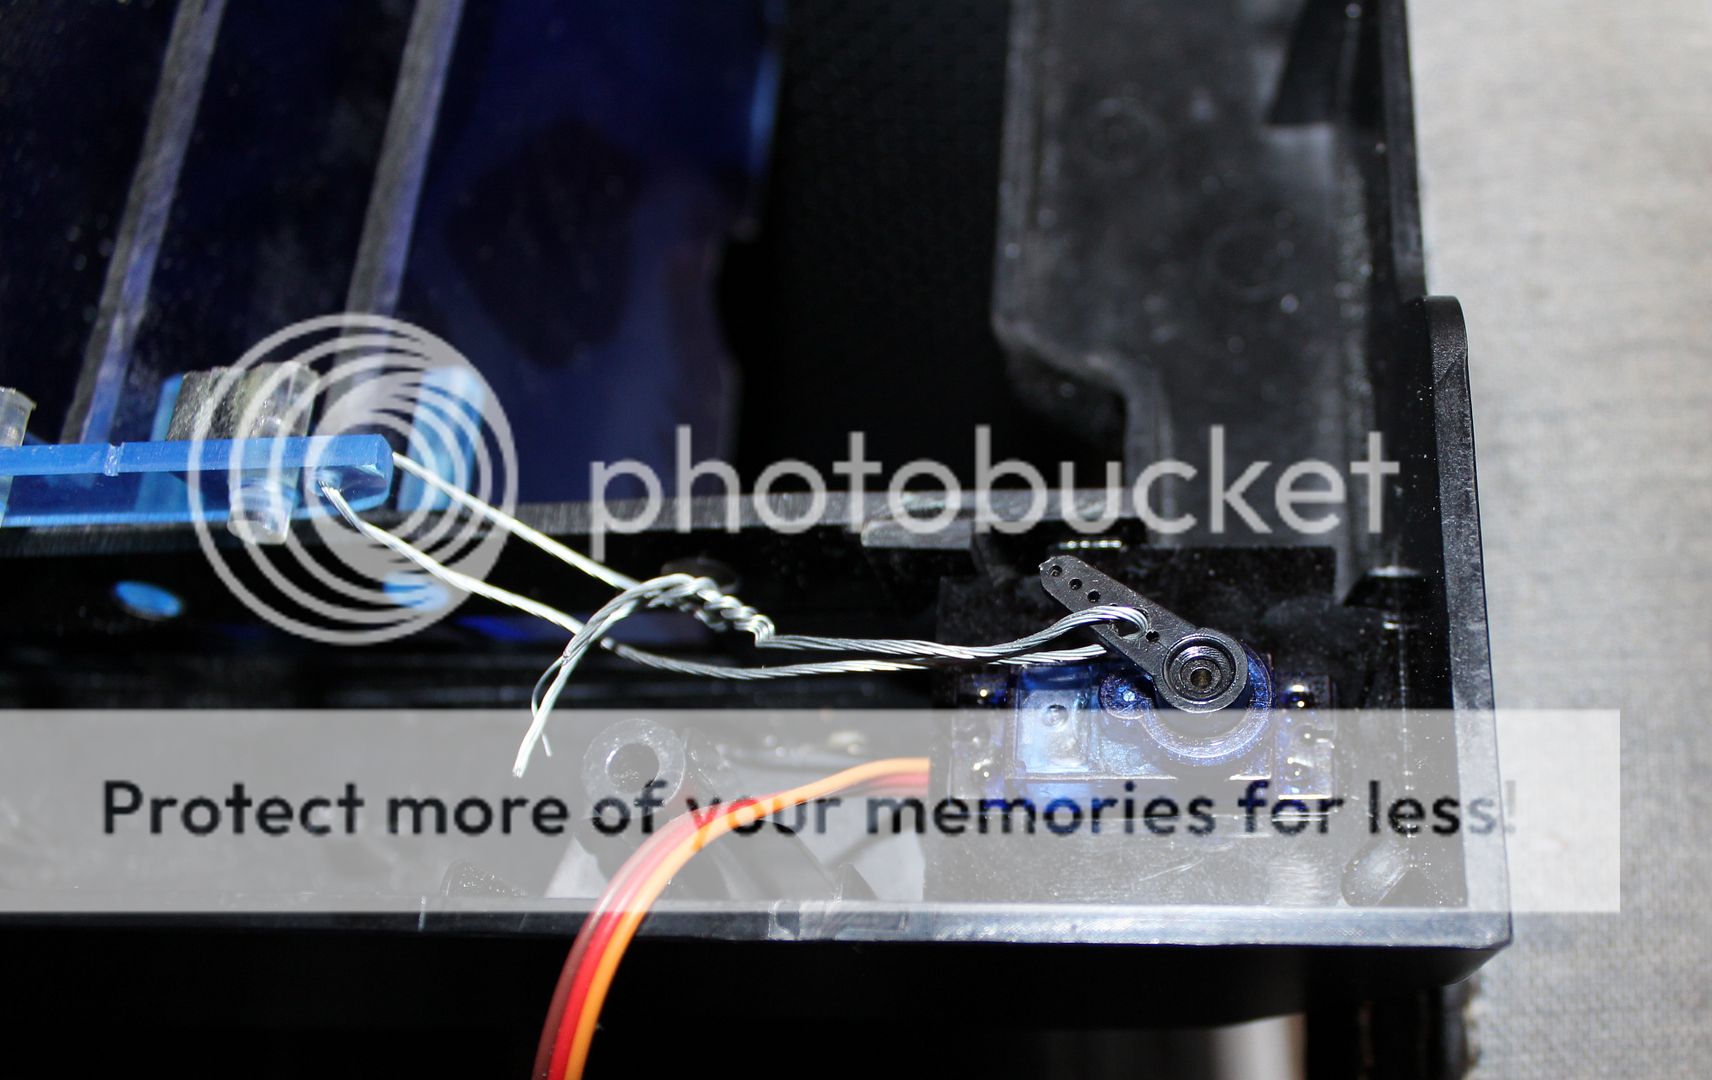
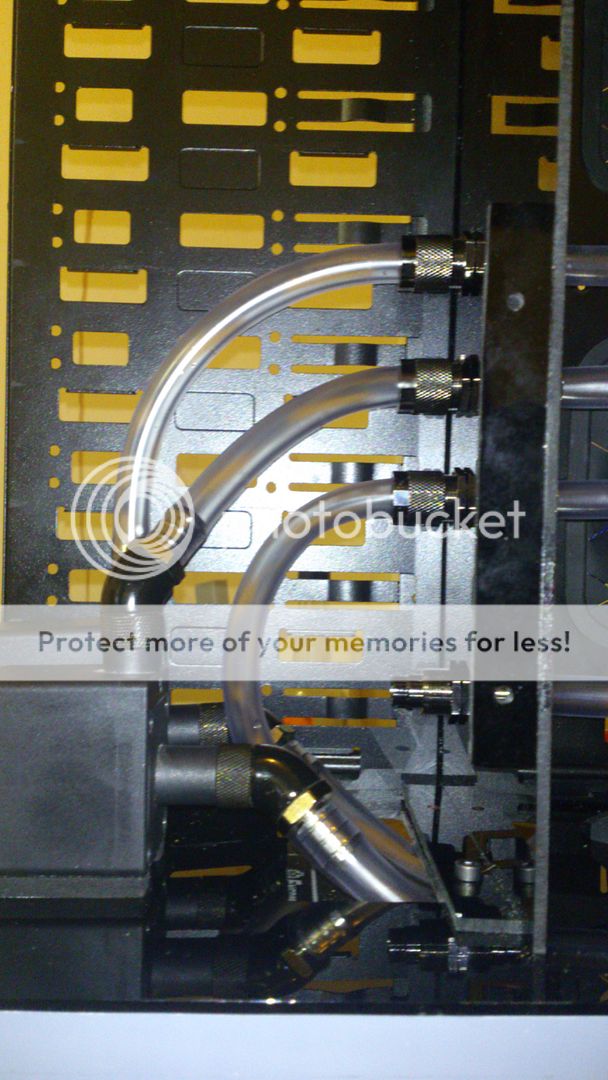
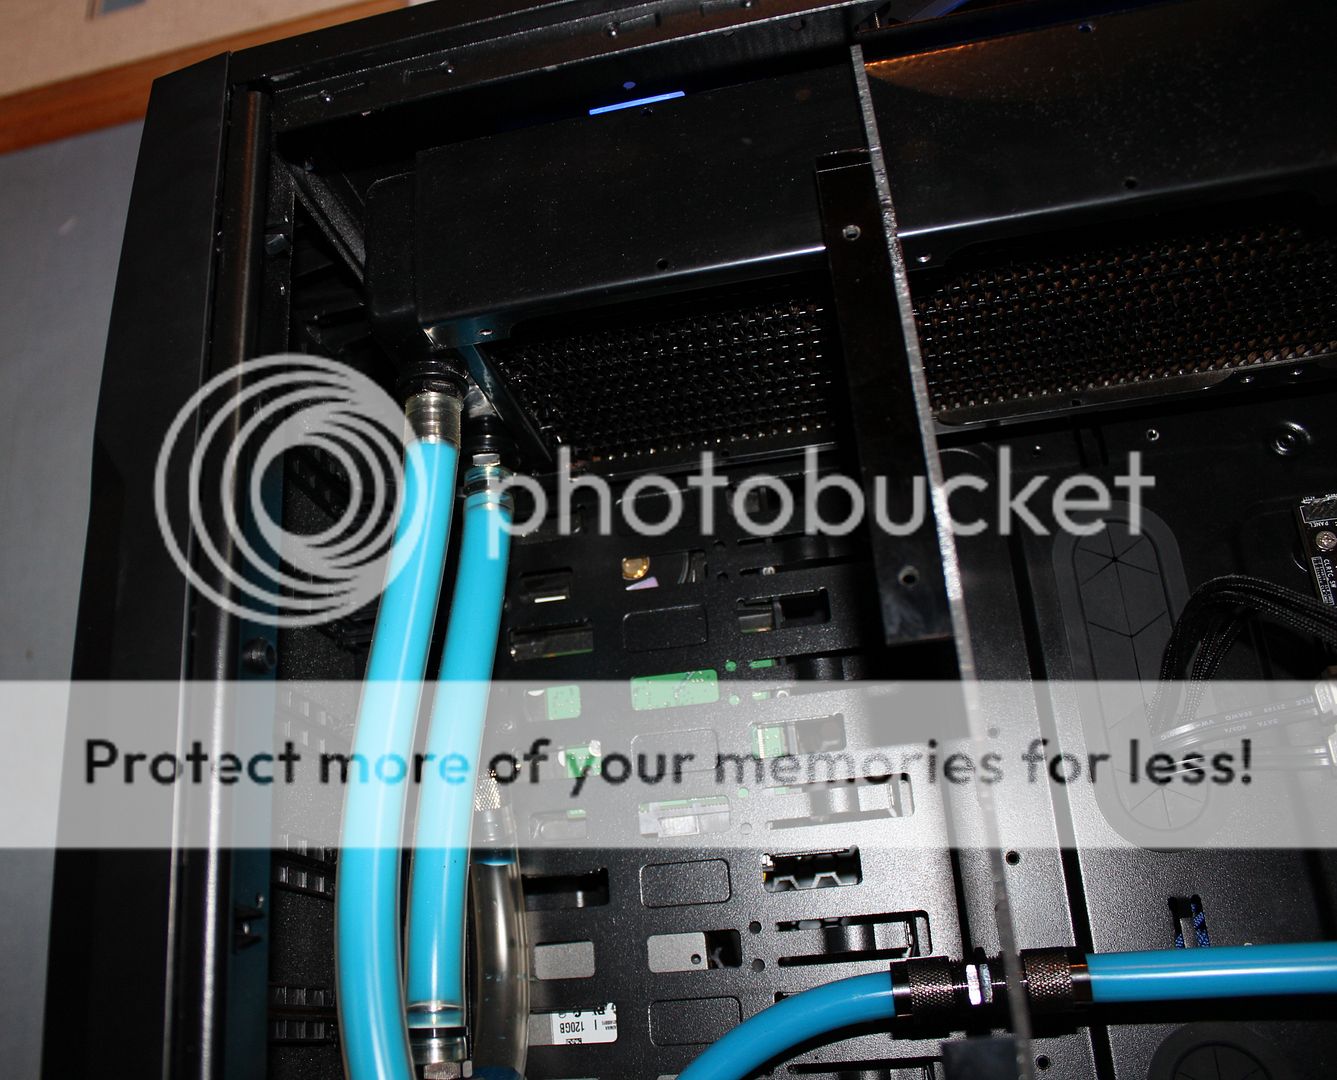
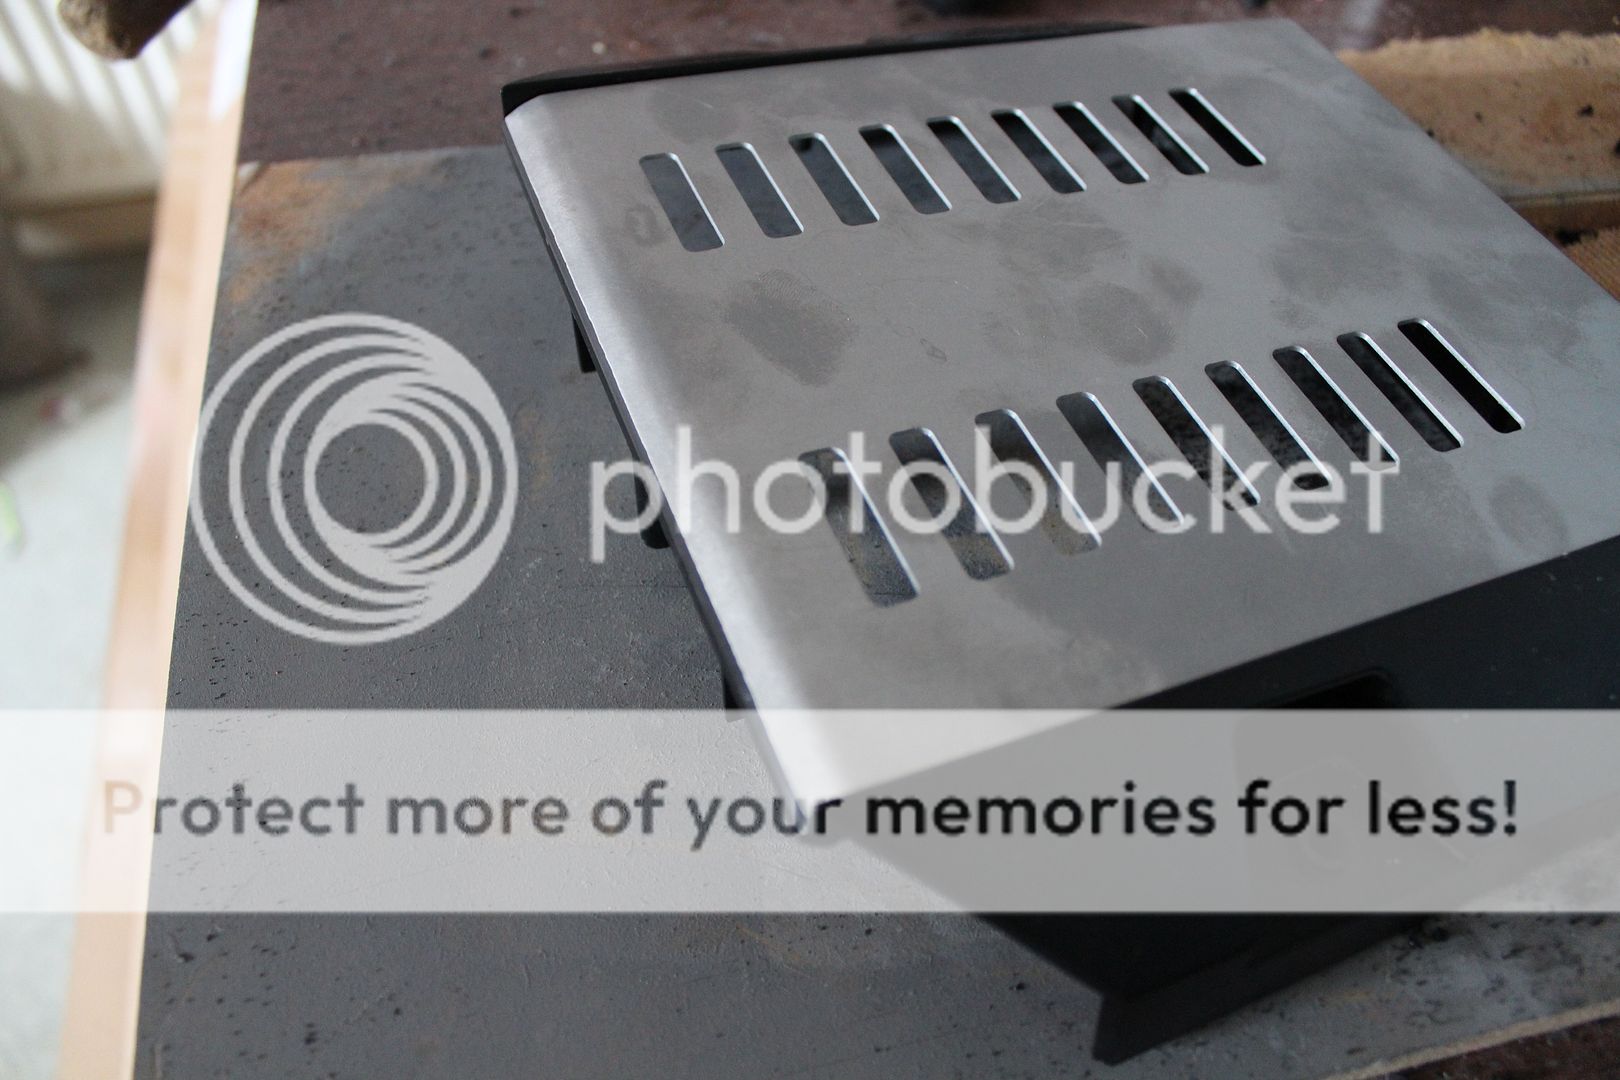
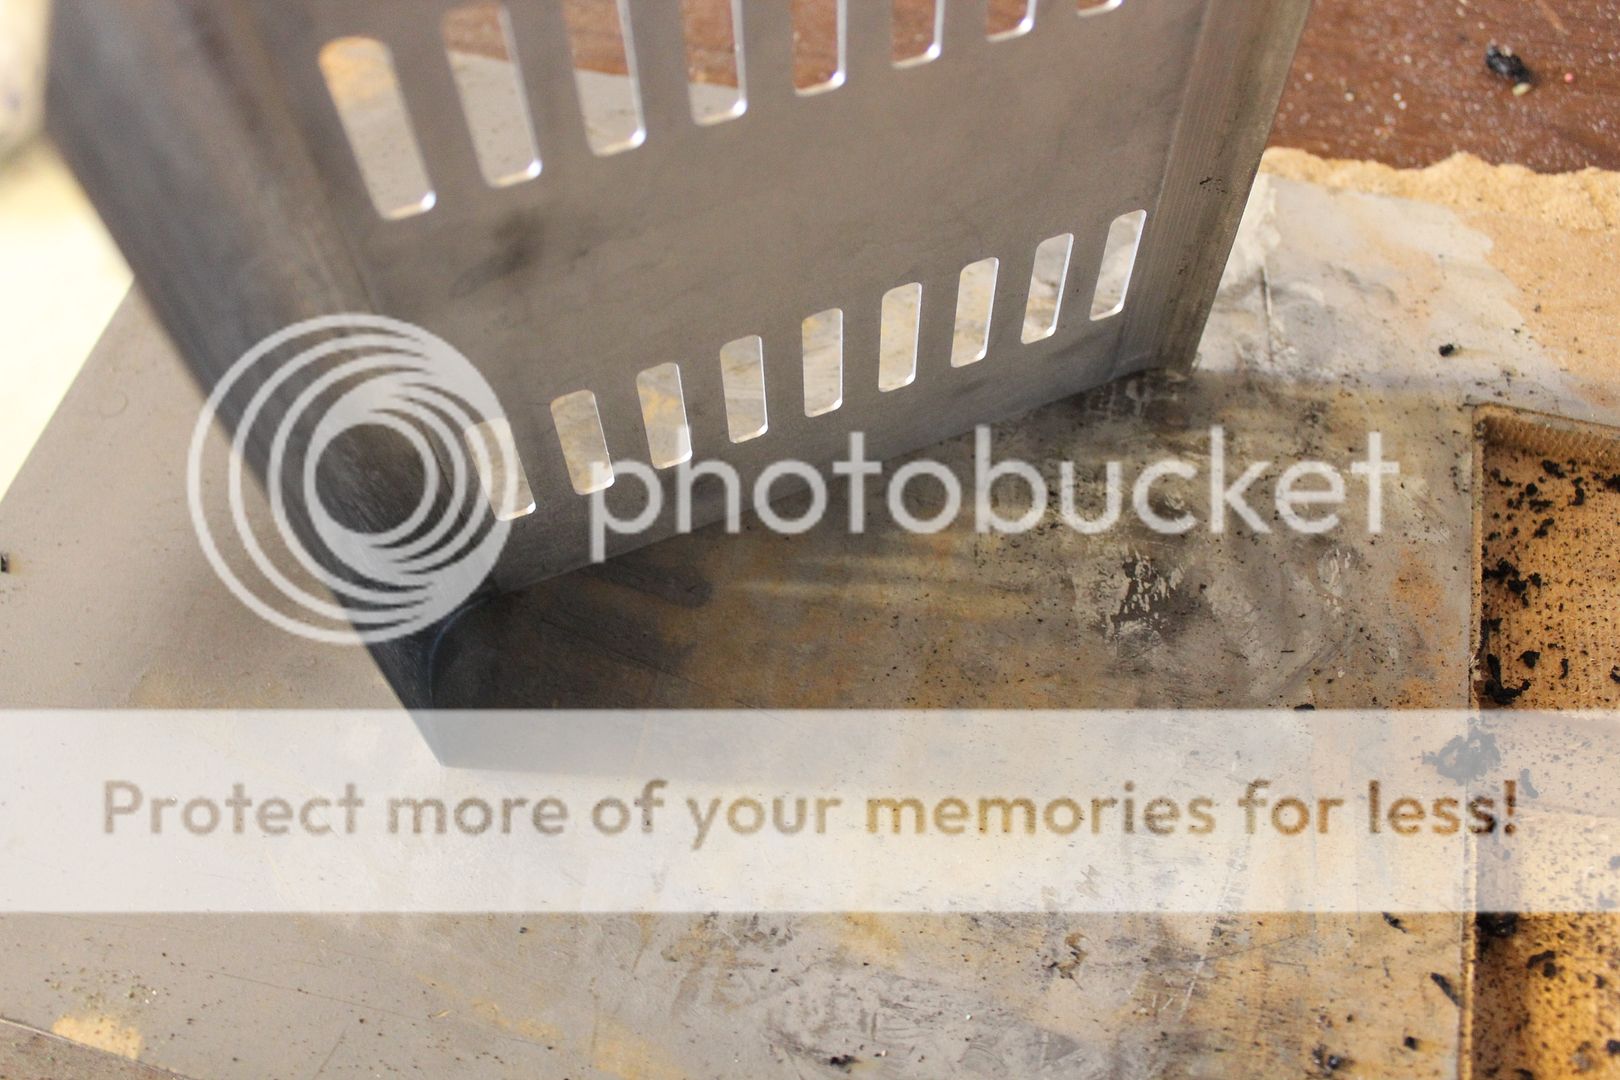
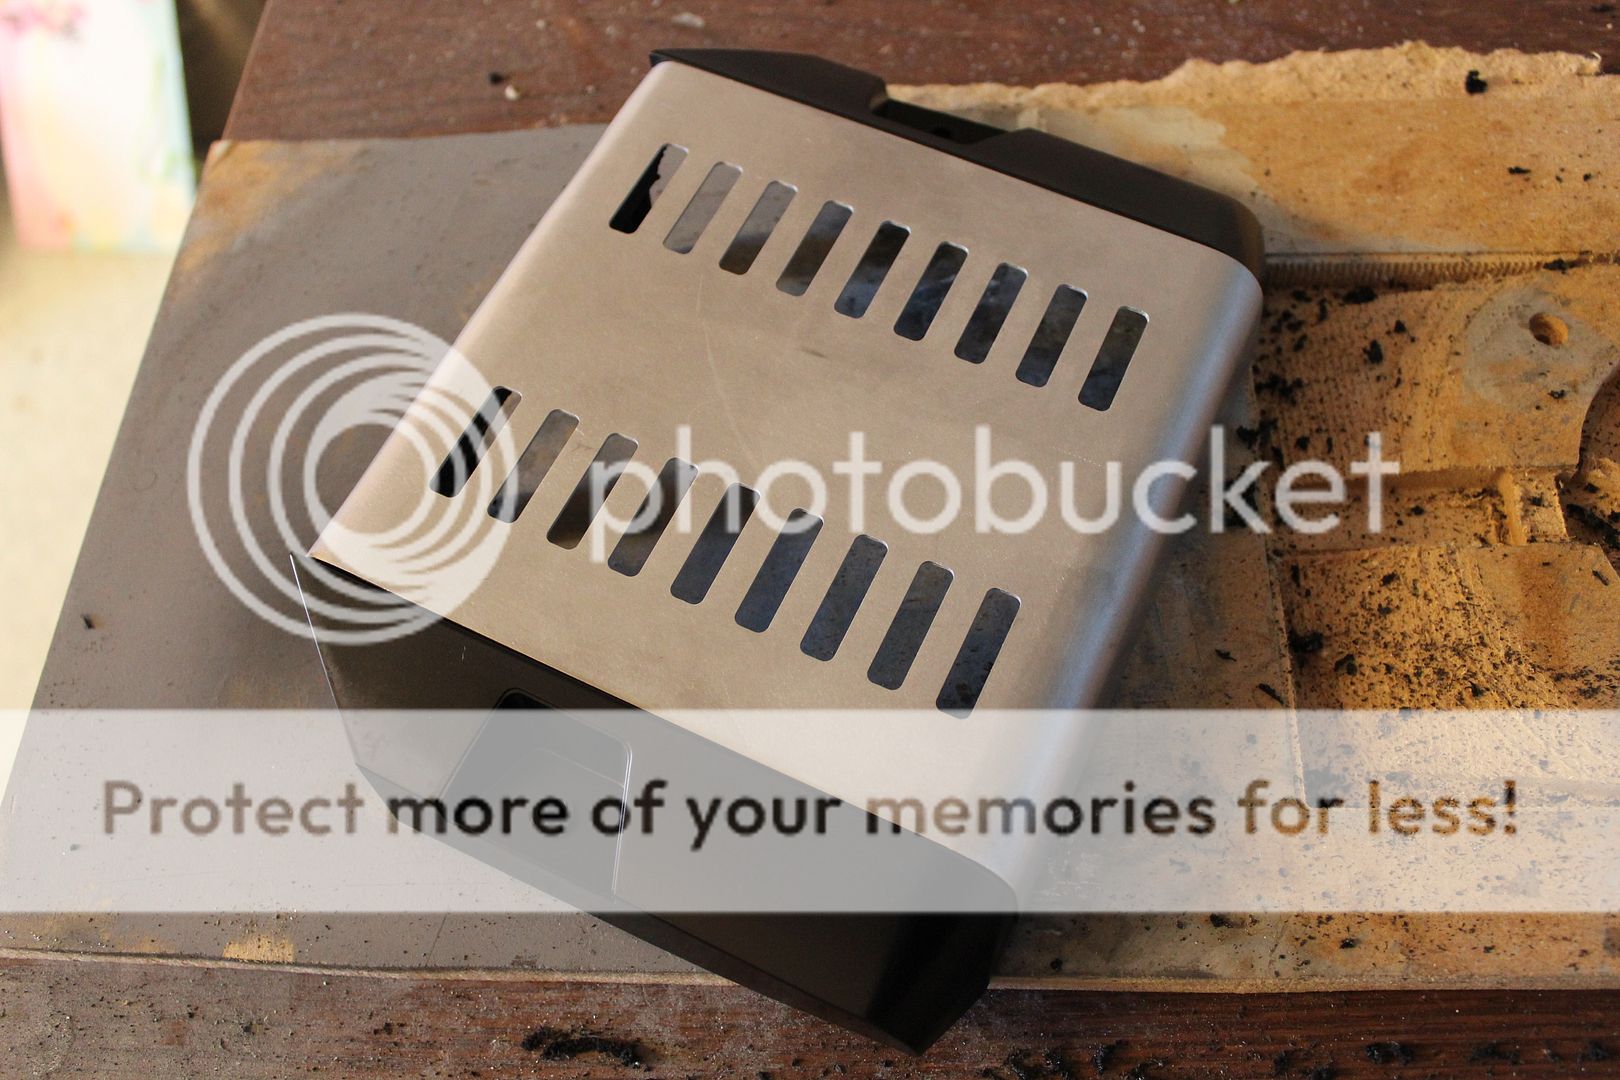
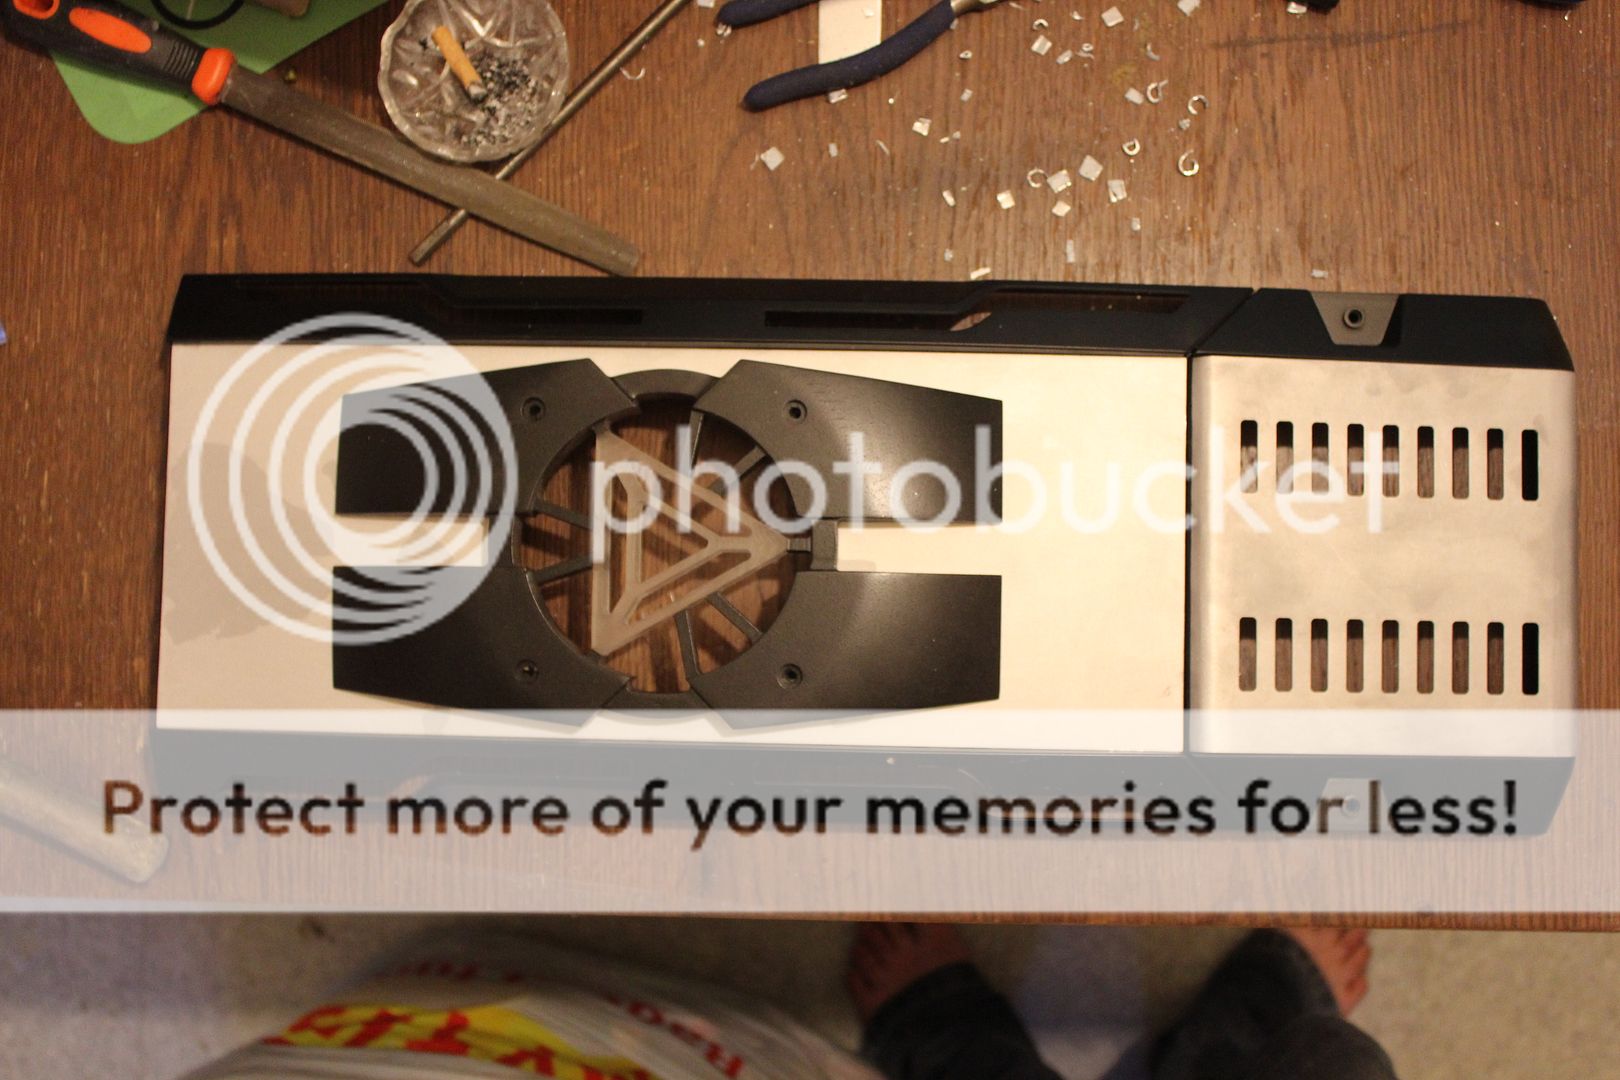
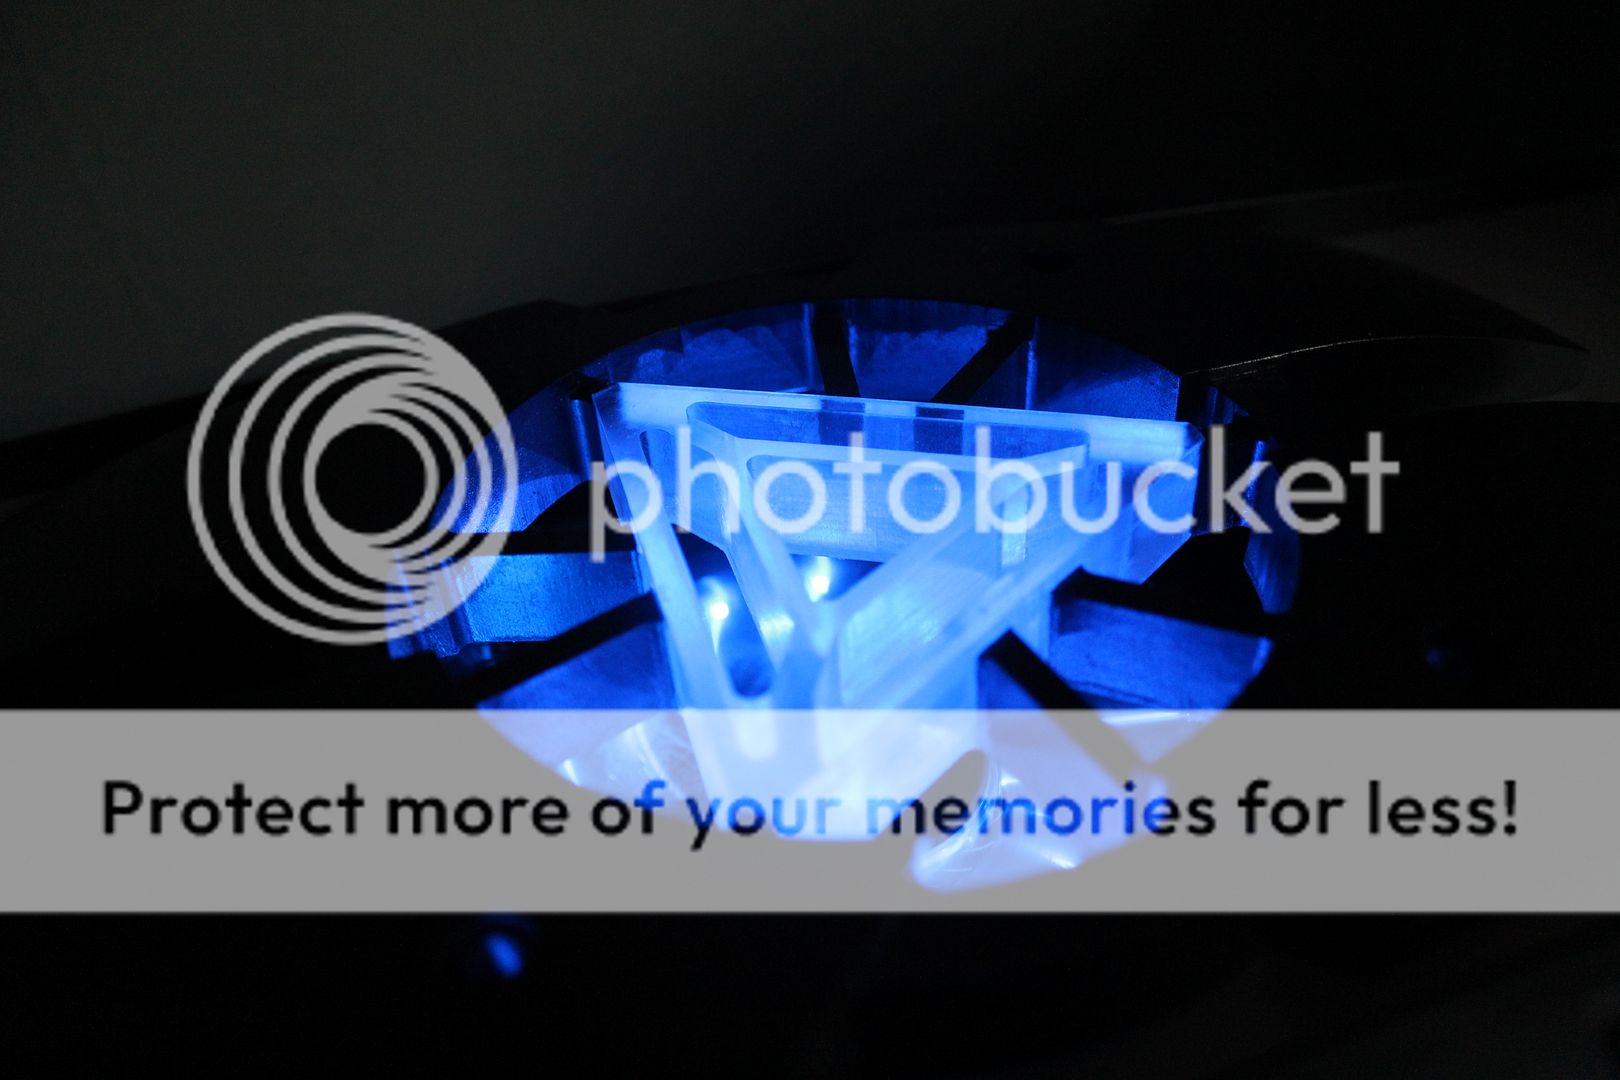
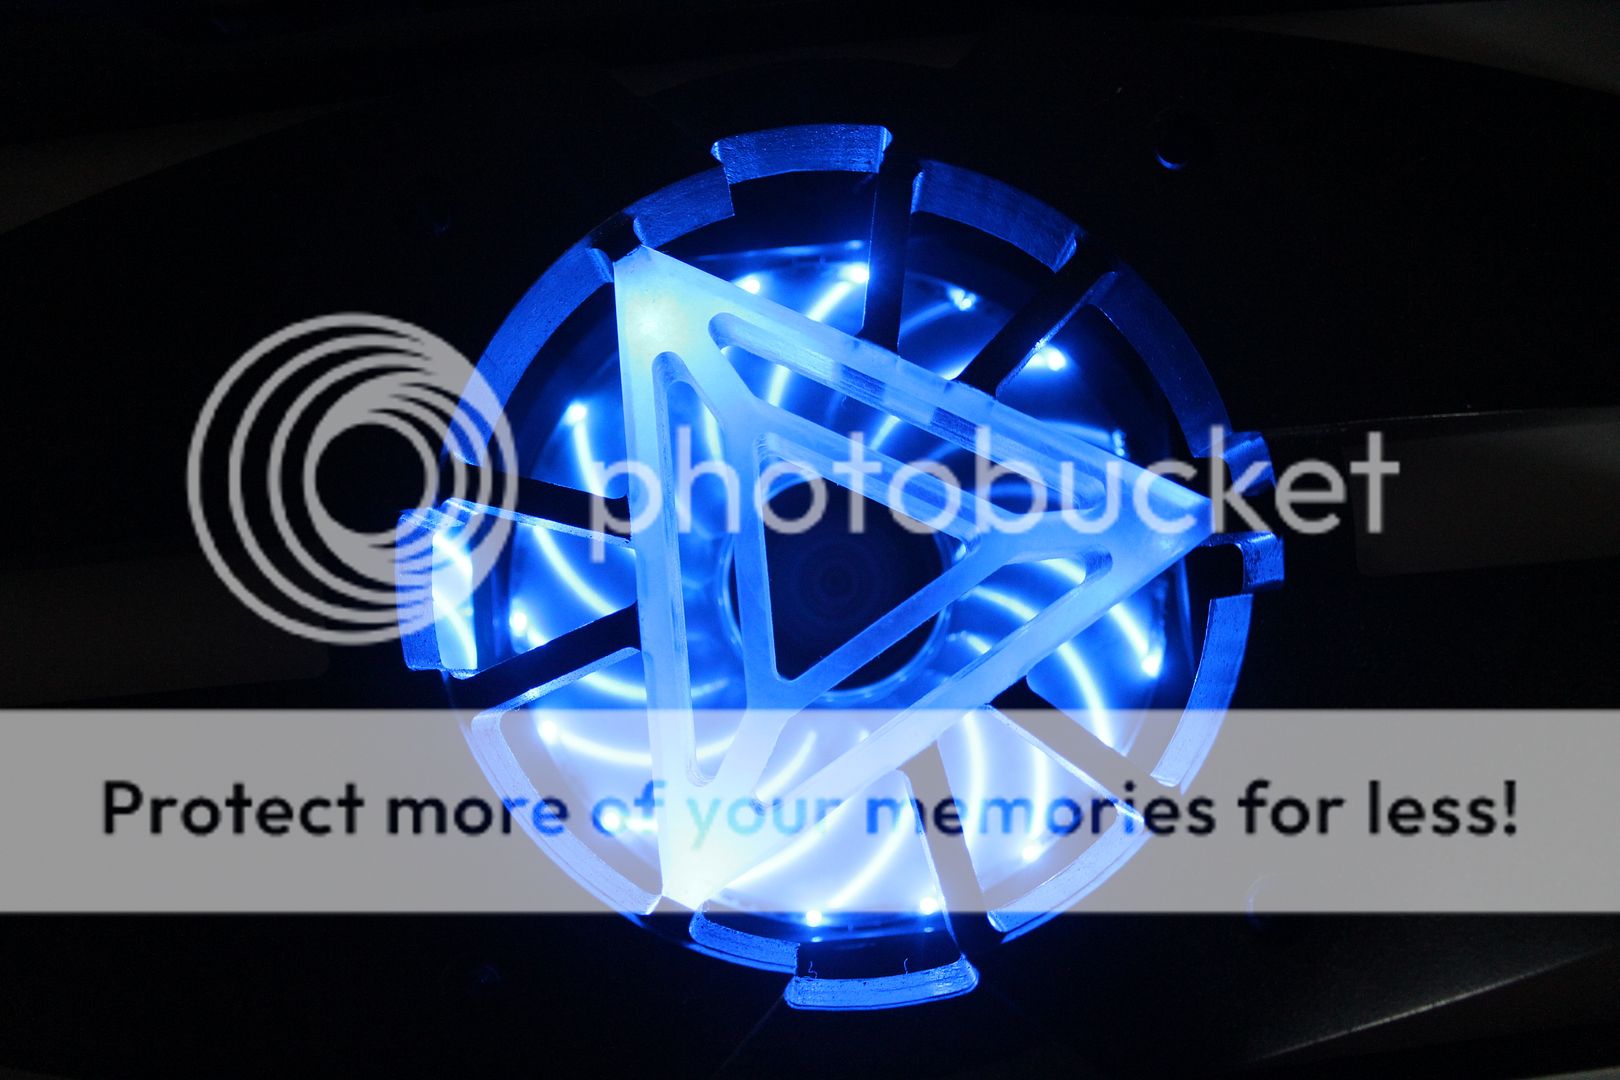
Te Arclight will be an all acrylic outer shell with a double action doors and servo actuated fan intakes that will open and close based on fan speeds, the shell will have a double tone look with layered panels of black and flourescent blue to accent every edge even the 100s of vent parts will have glowing edges, the interior will be a partitioned system very much like the custom partition for my other project "Sulaco" but with far more refinement

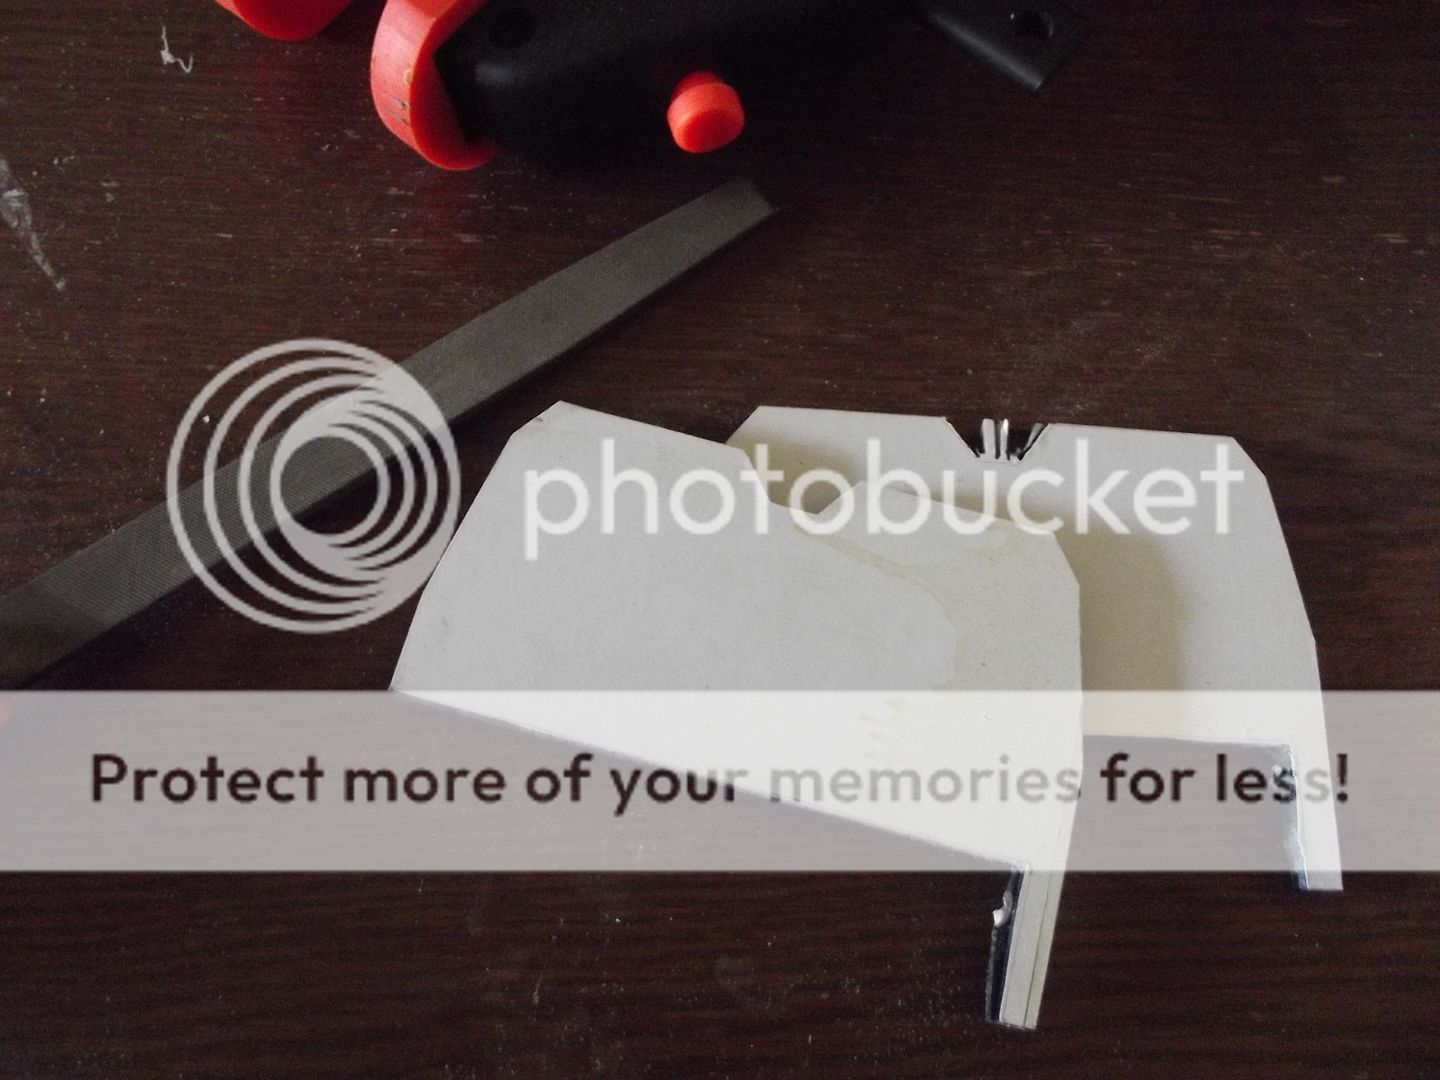
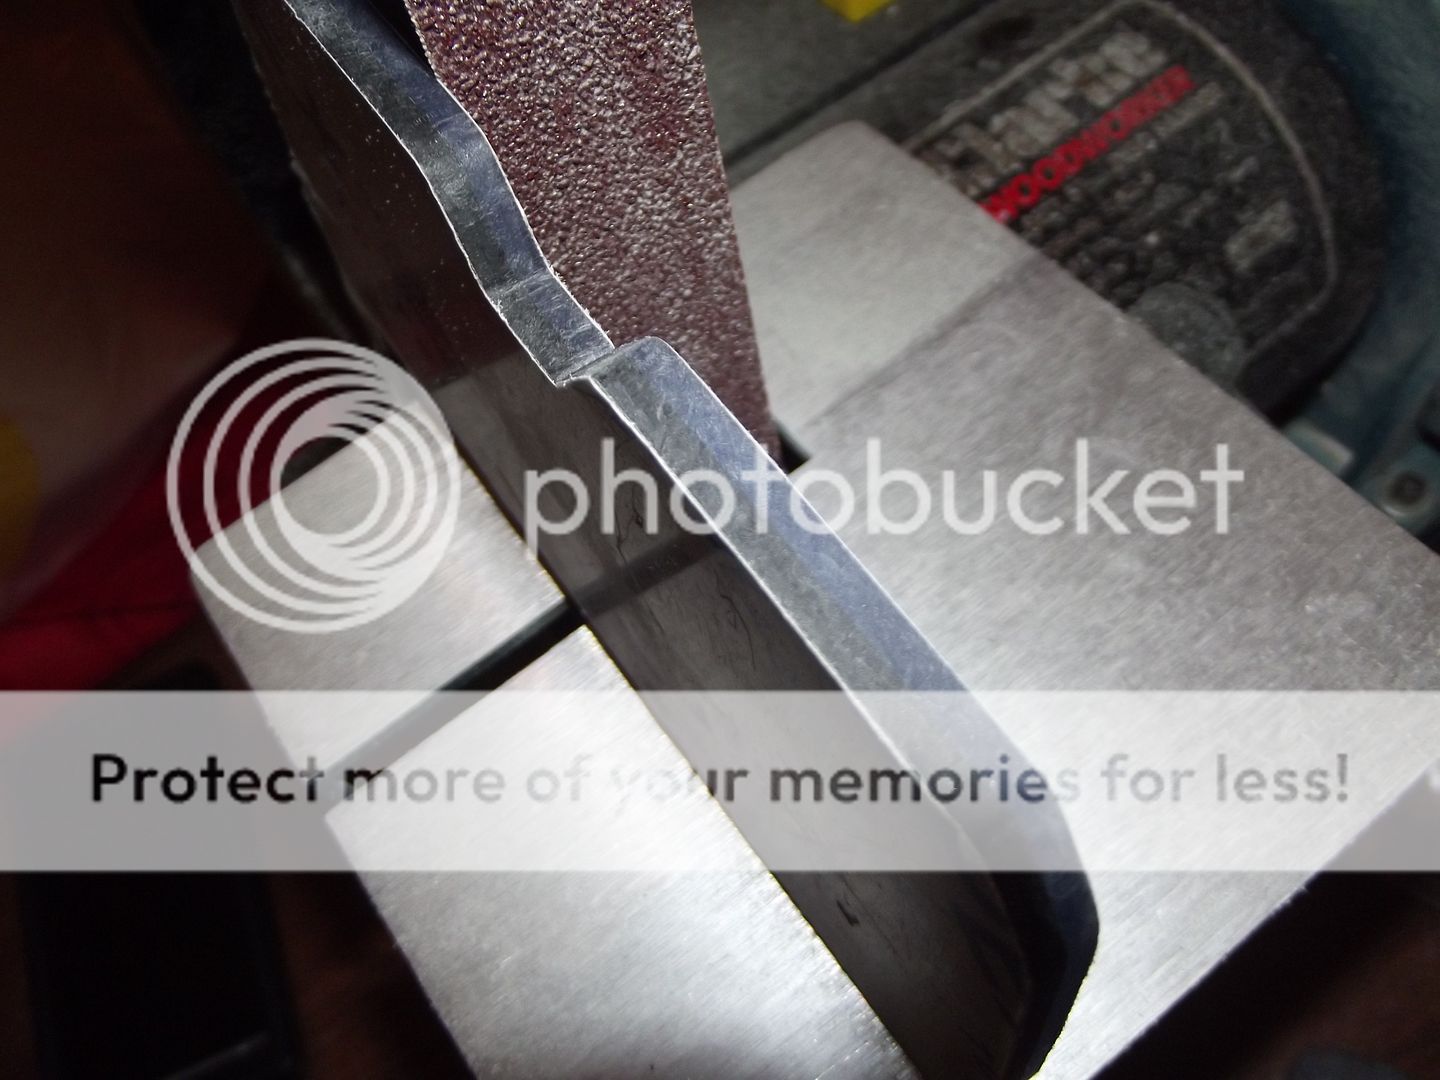
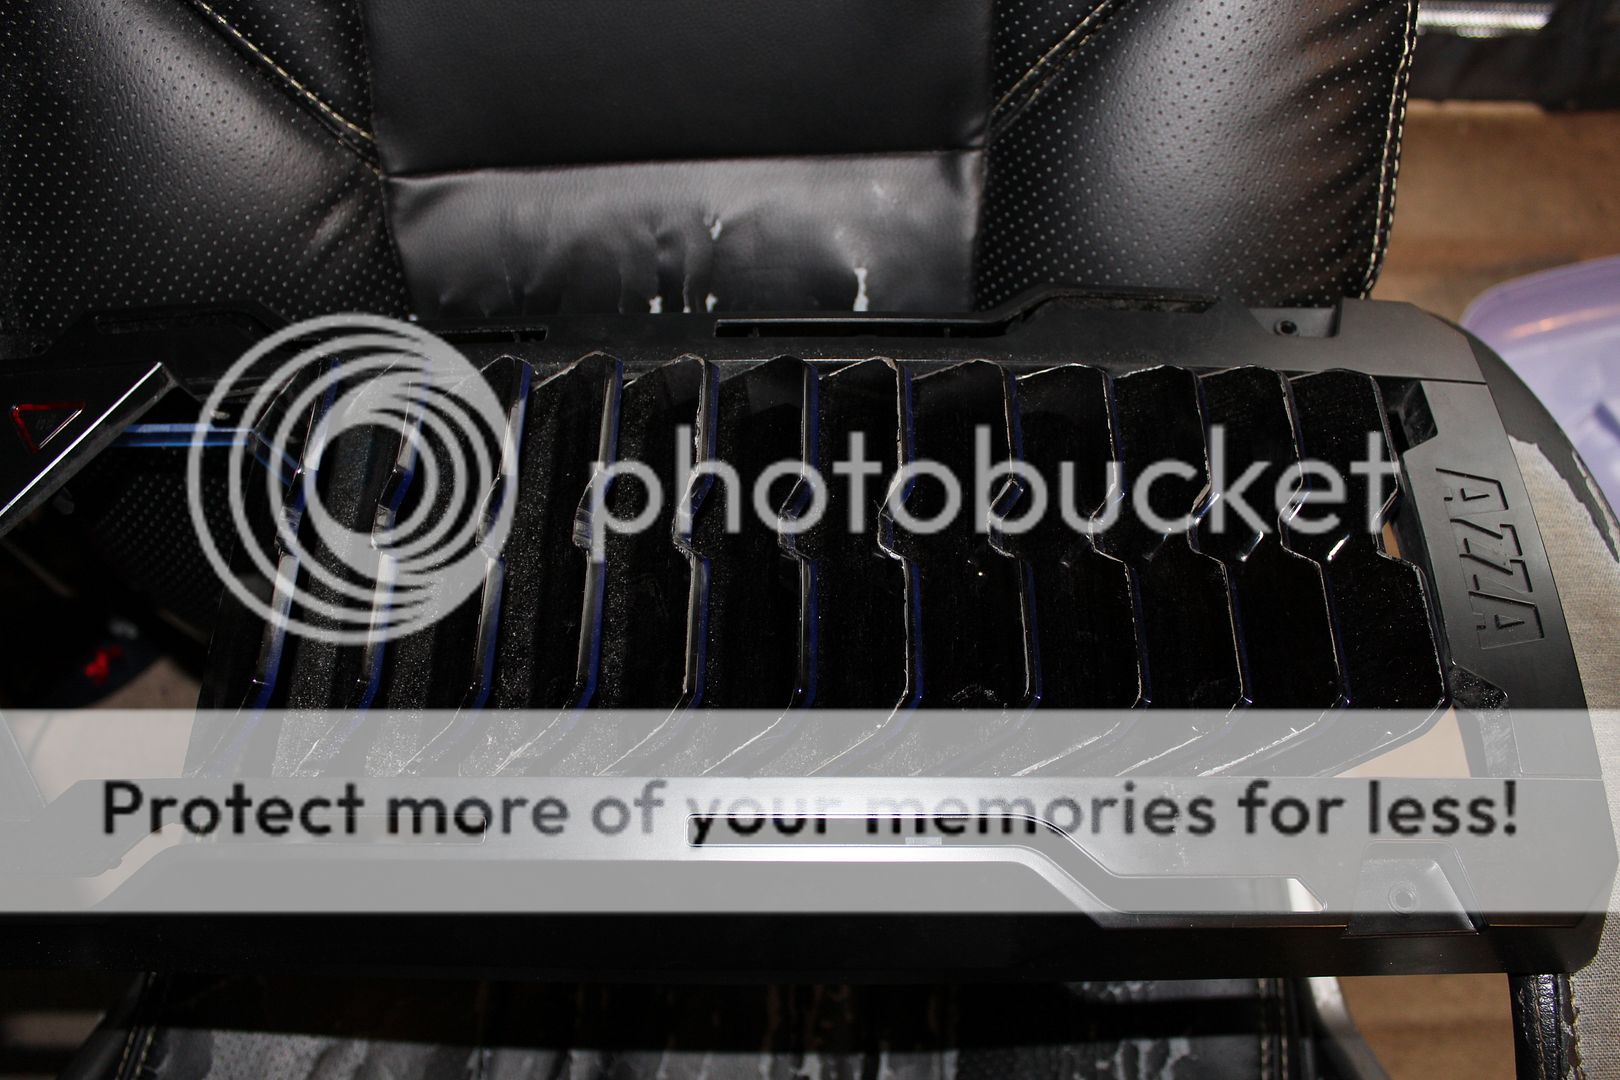
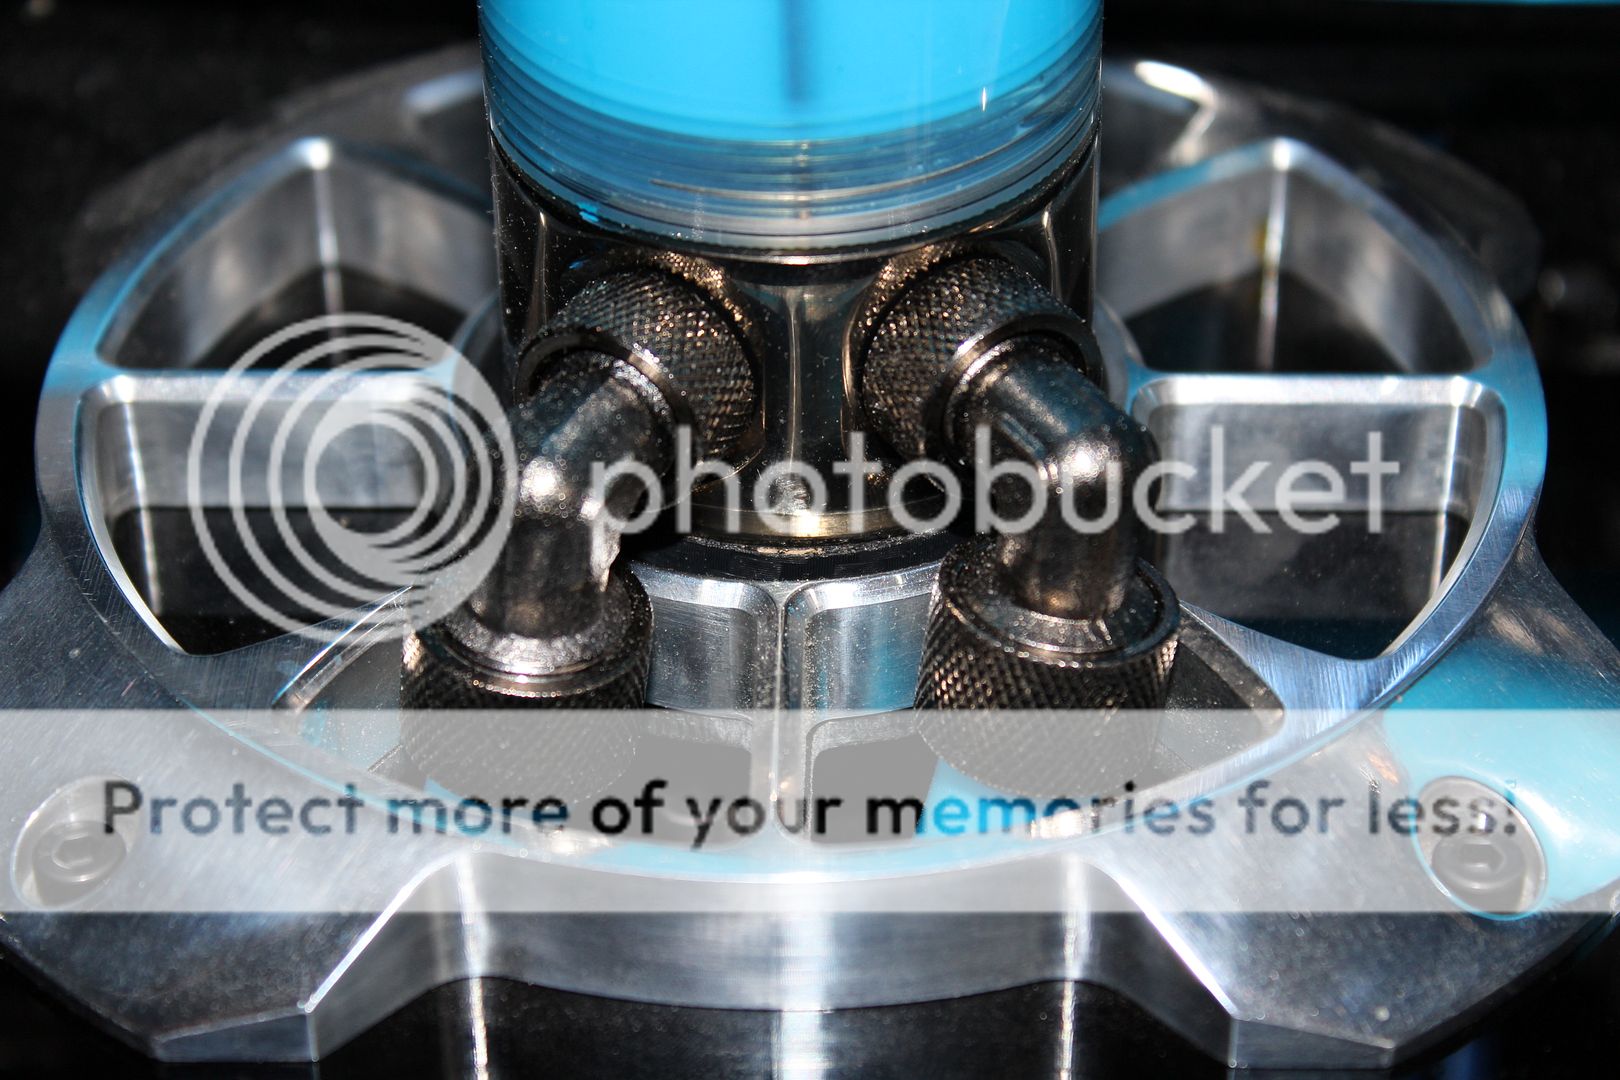
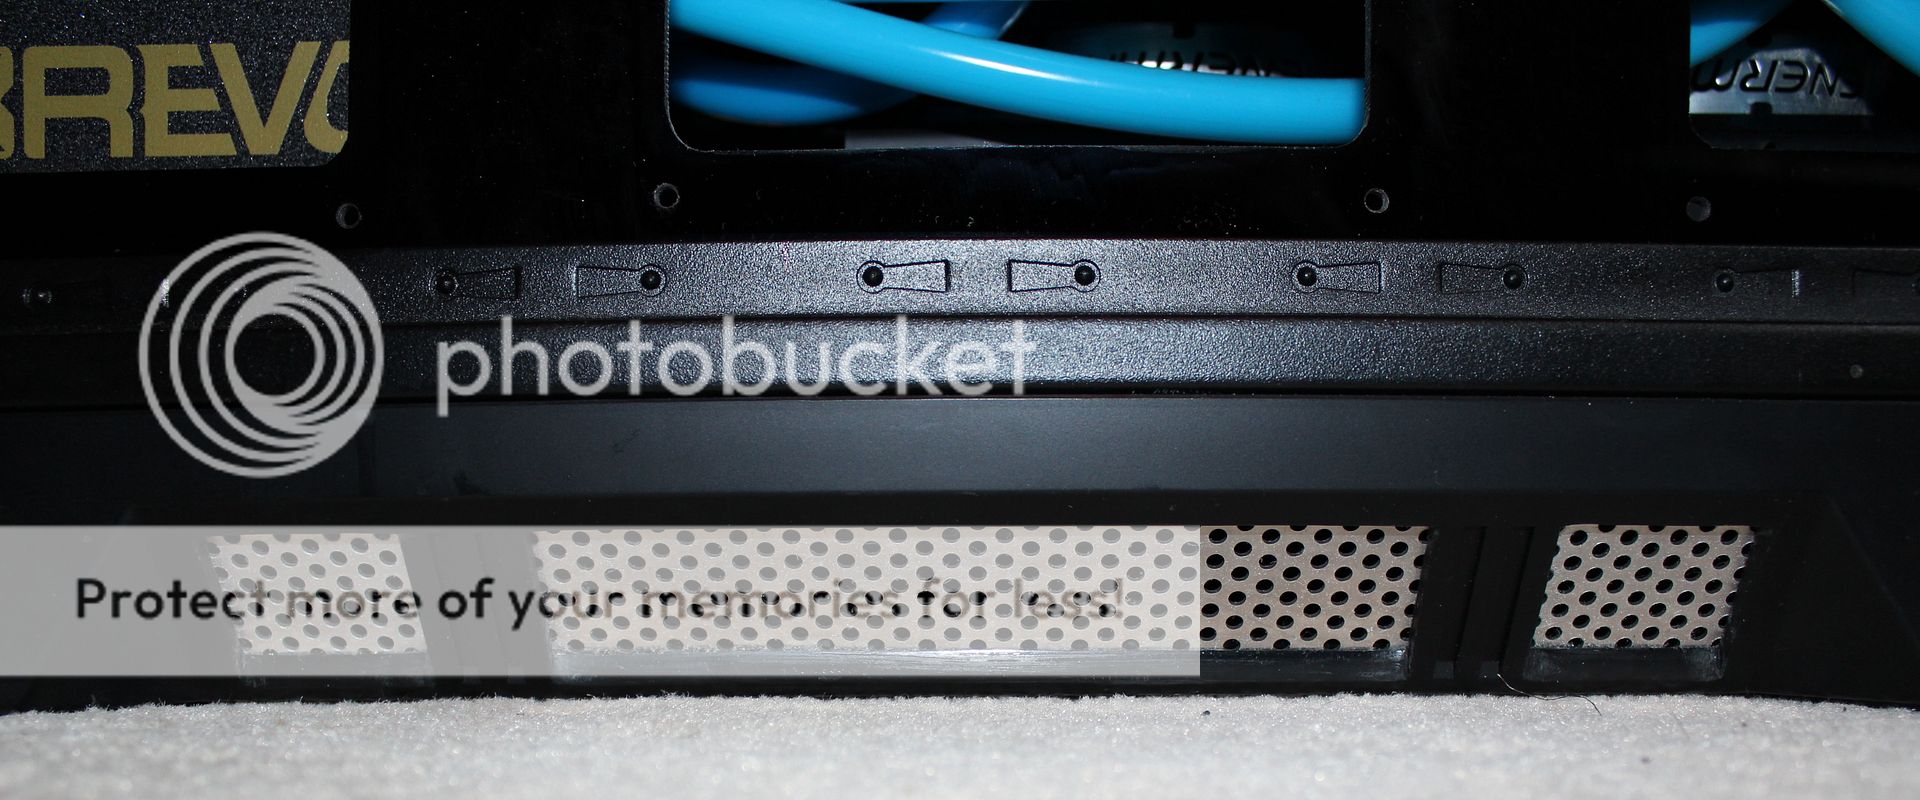
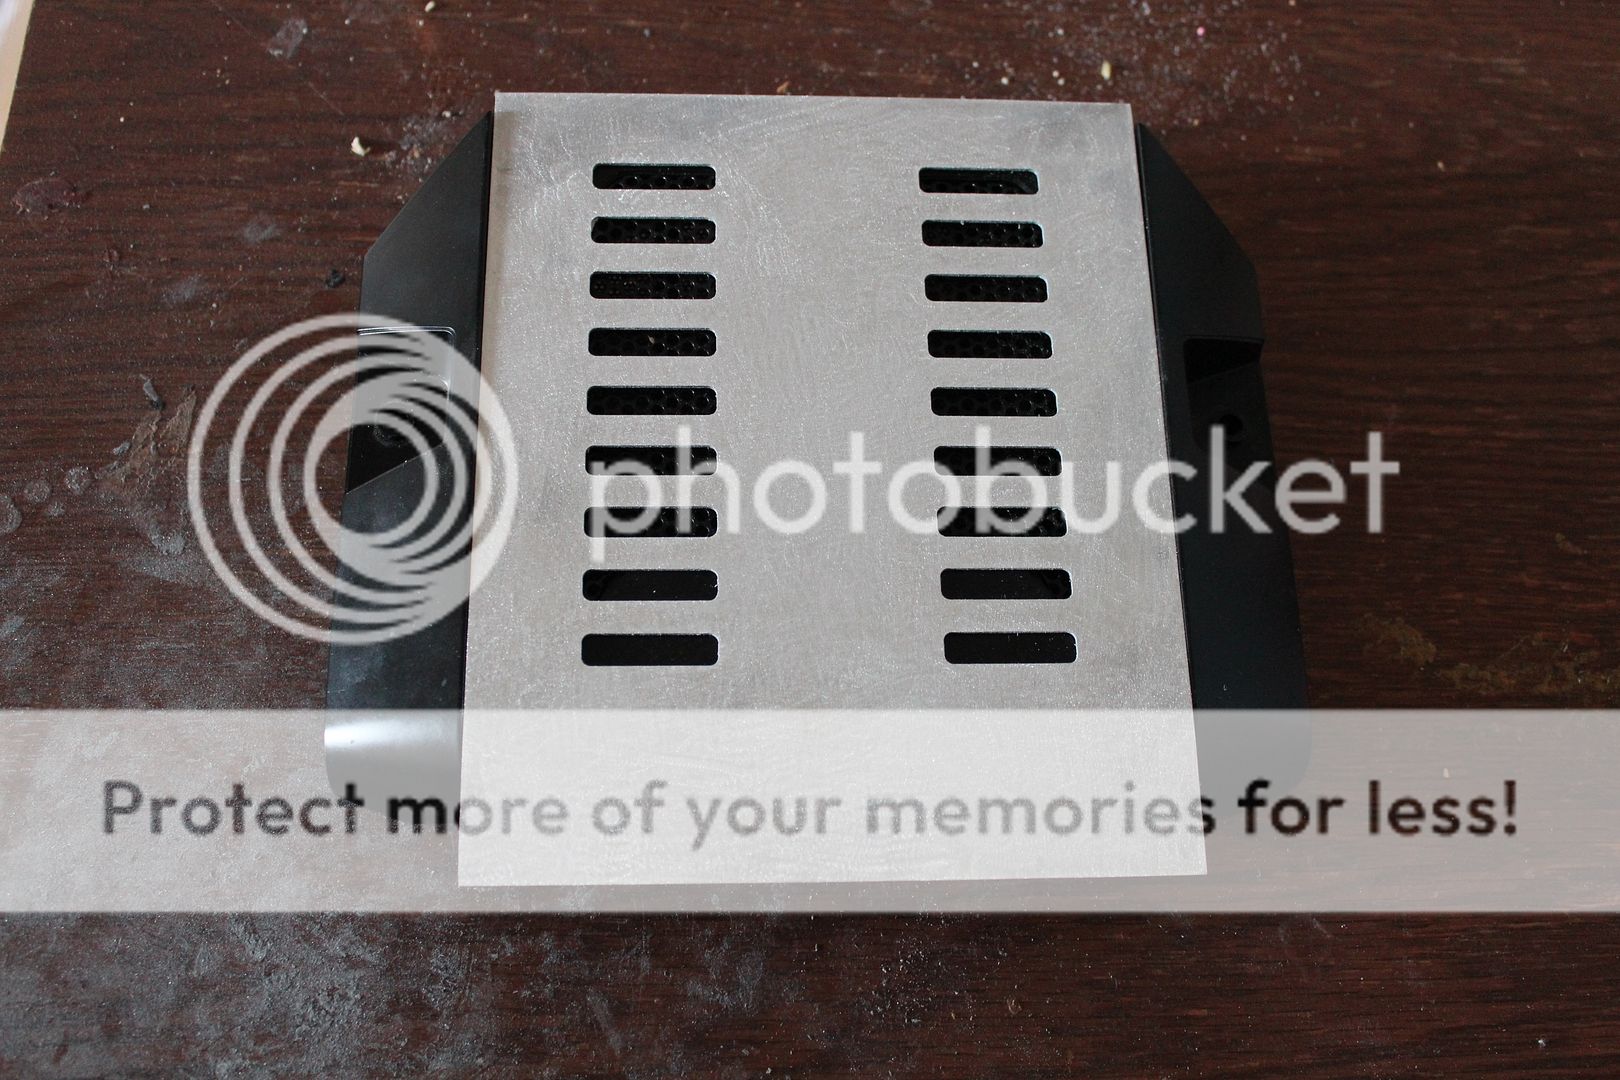
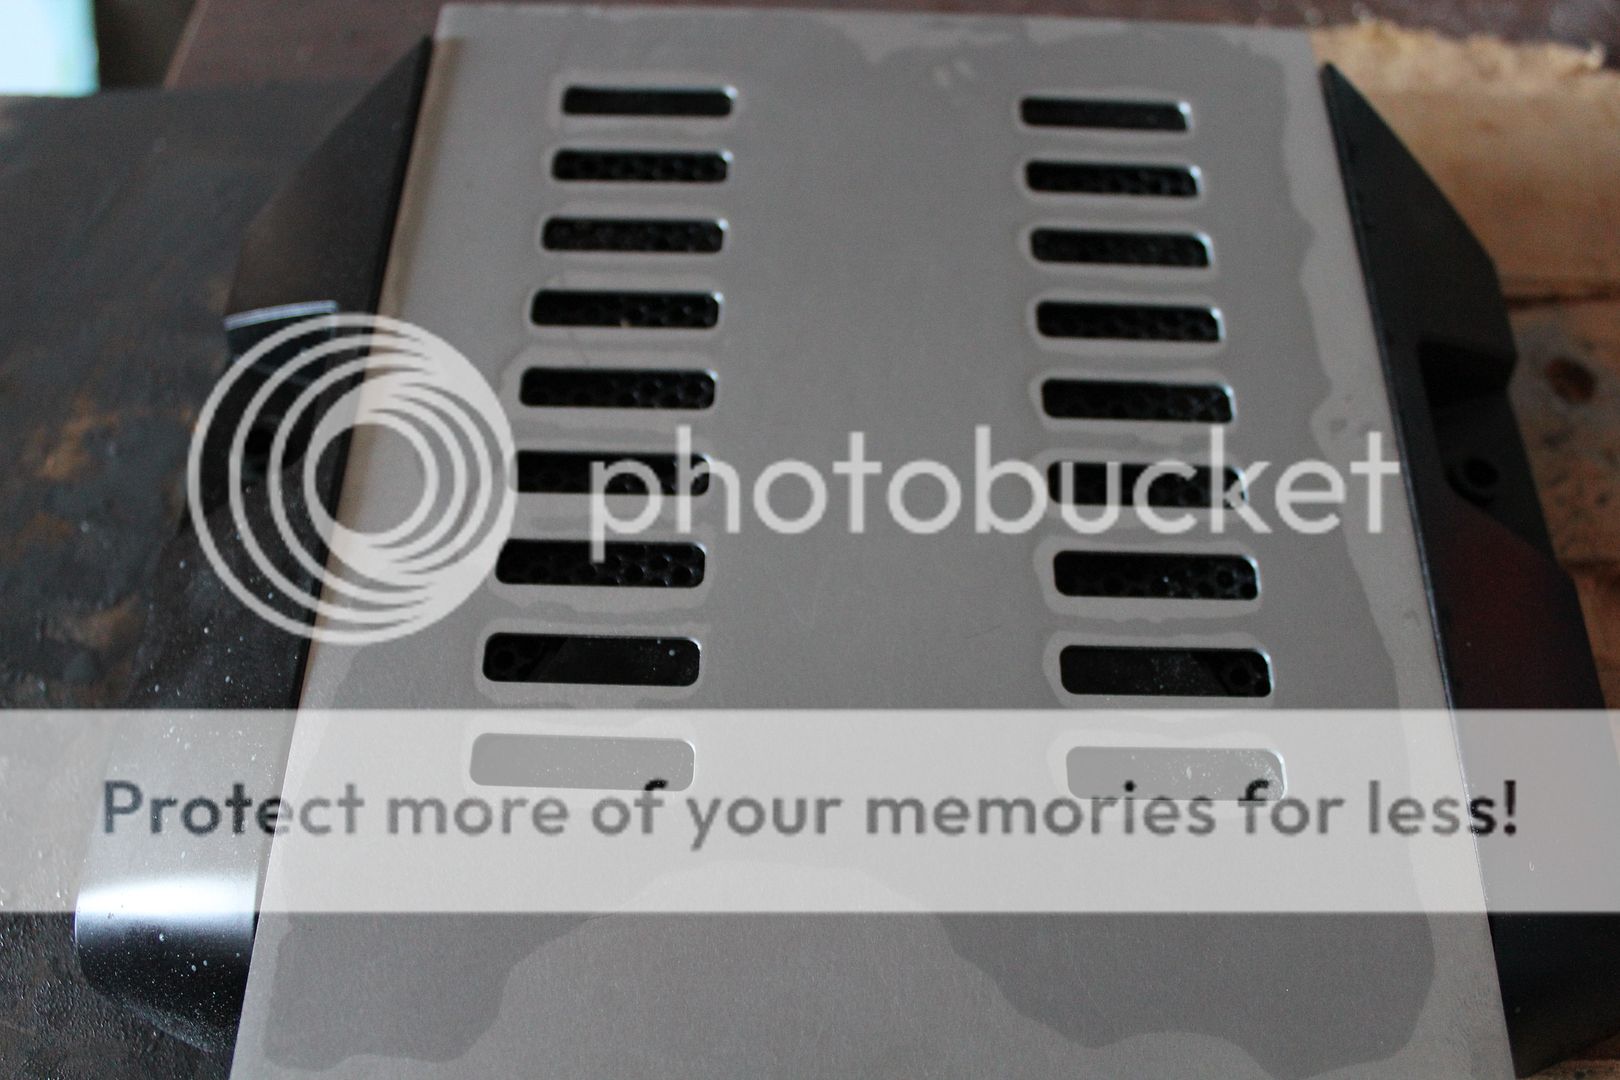
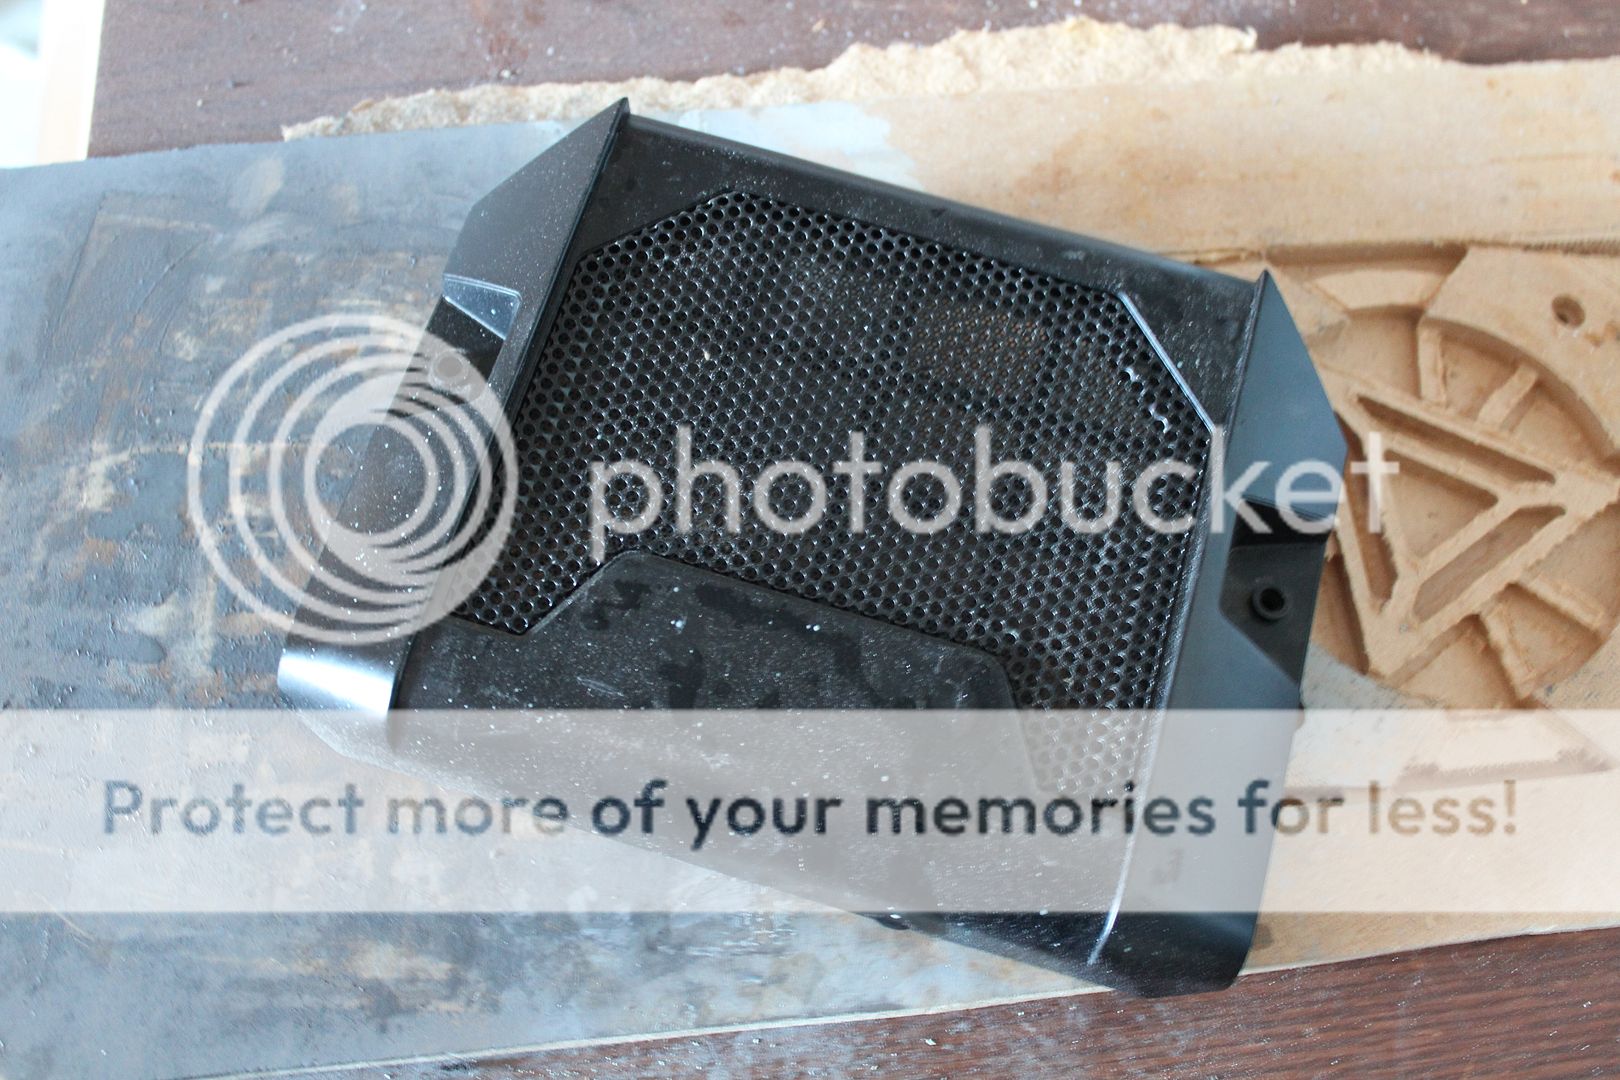
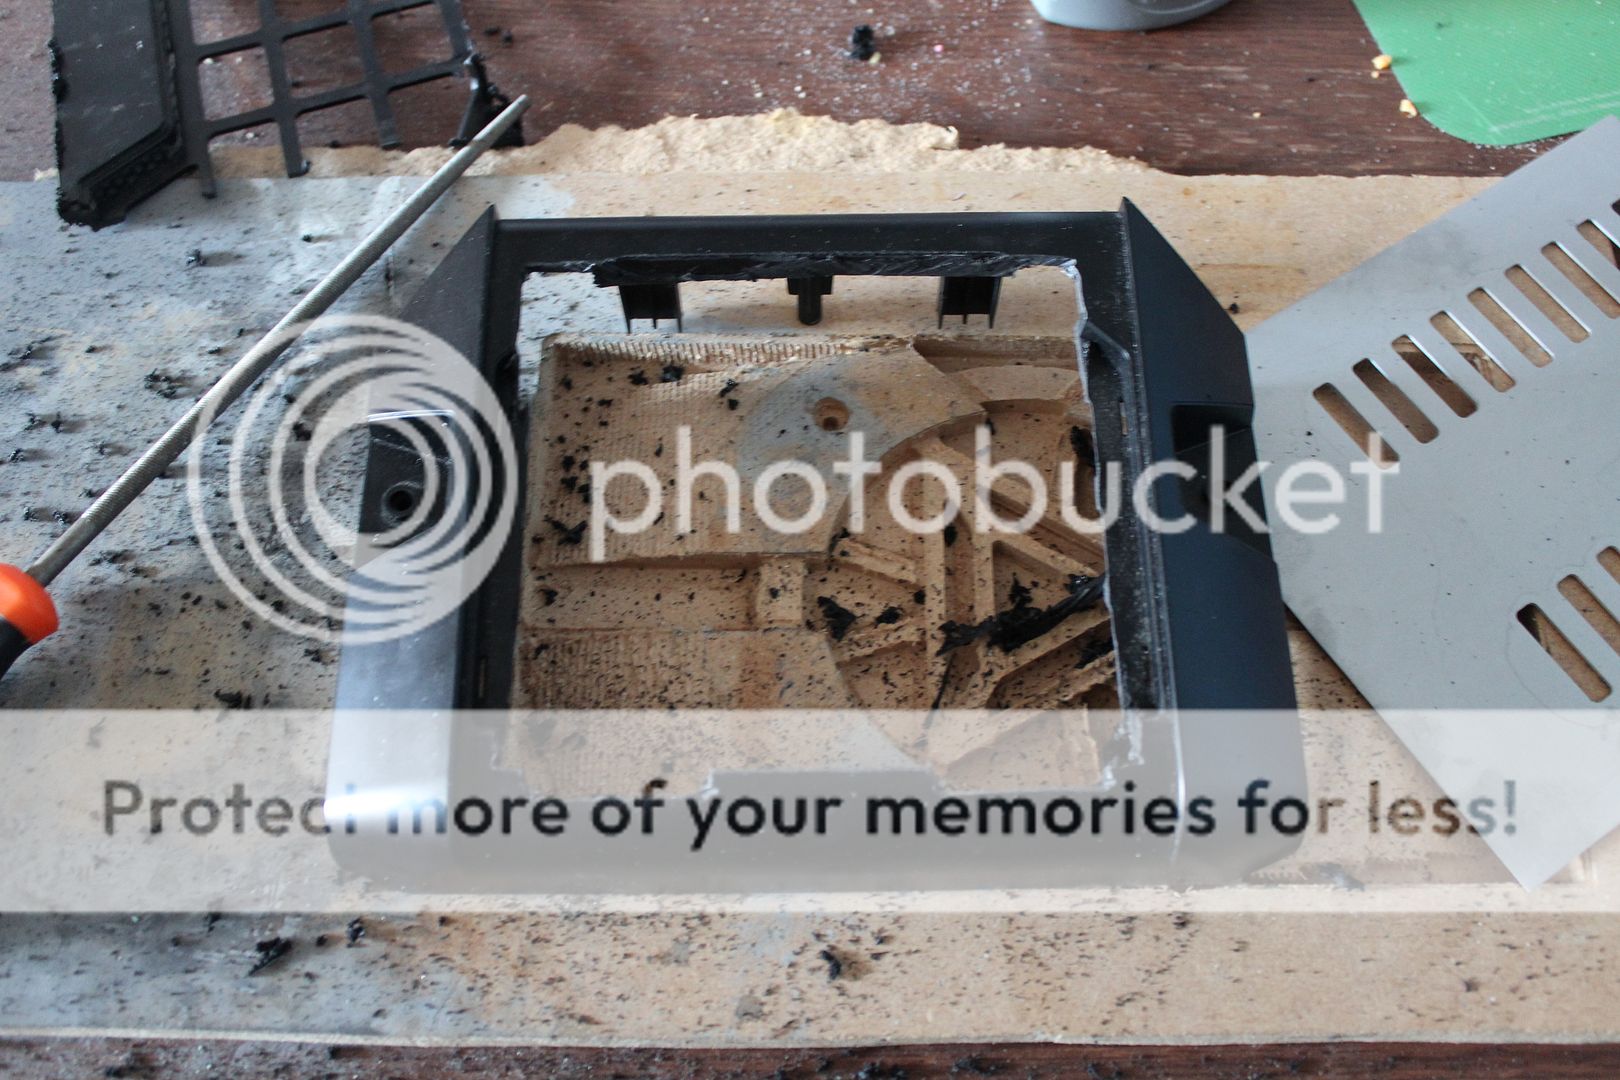
Much of the details i would like to keep slightly underwraps untill I post them for that extra mystery, heres a little peek at the exterior

arclight2.jpg

arclight3.jpg

arclight1.jpg


several sponsors are already assisting me on this build and there help is as ever massively appreciated i simply would not be able to do this without them

Acrylic and solvent supplied by Hindleys. These guys are amazing, catering for 100s of different types of materials from plastic to metal and everything in between. And allays happy to answer even the craziest of questions a modder like me can ask

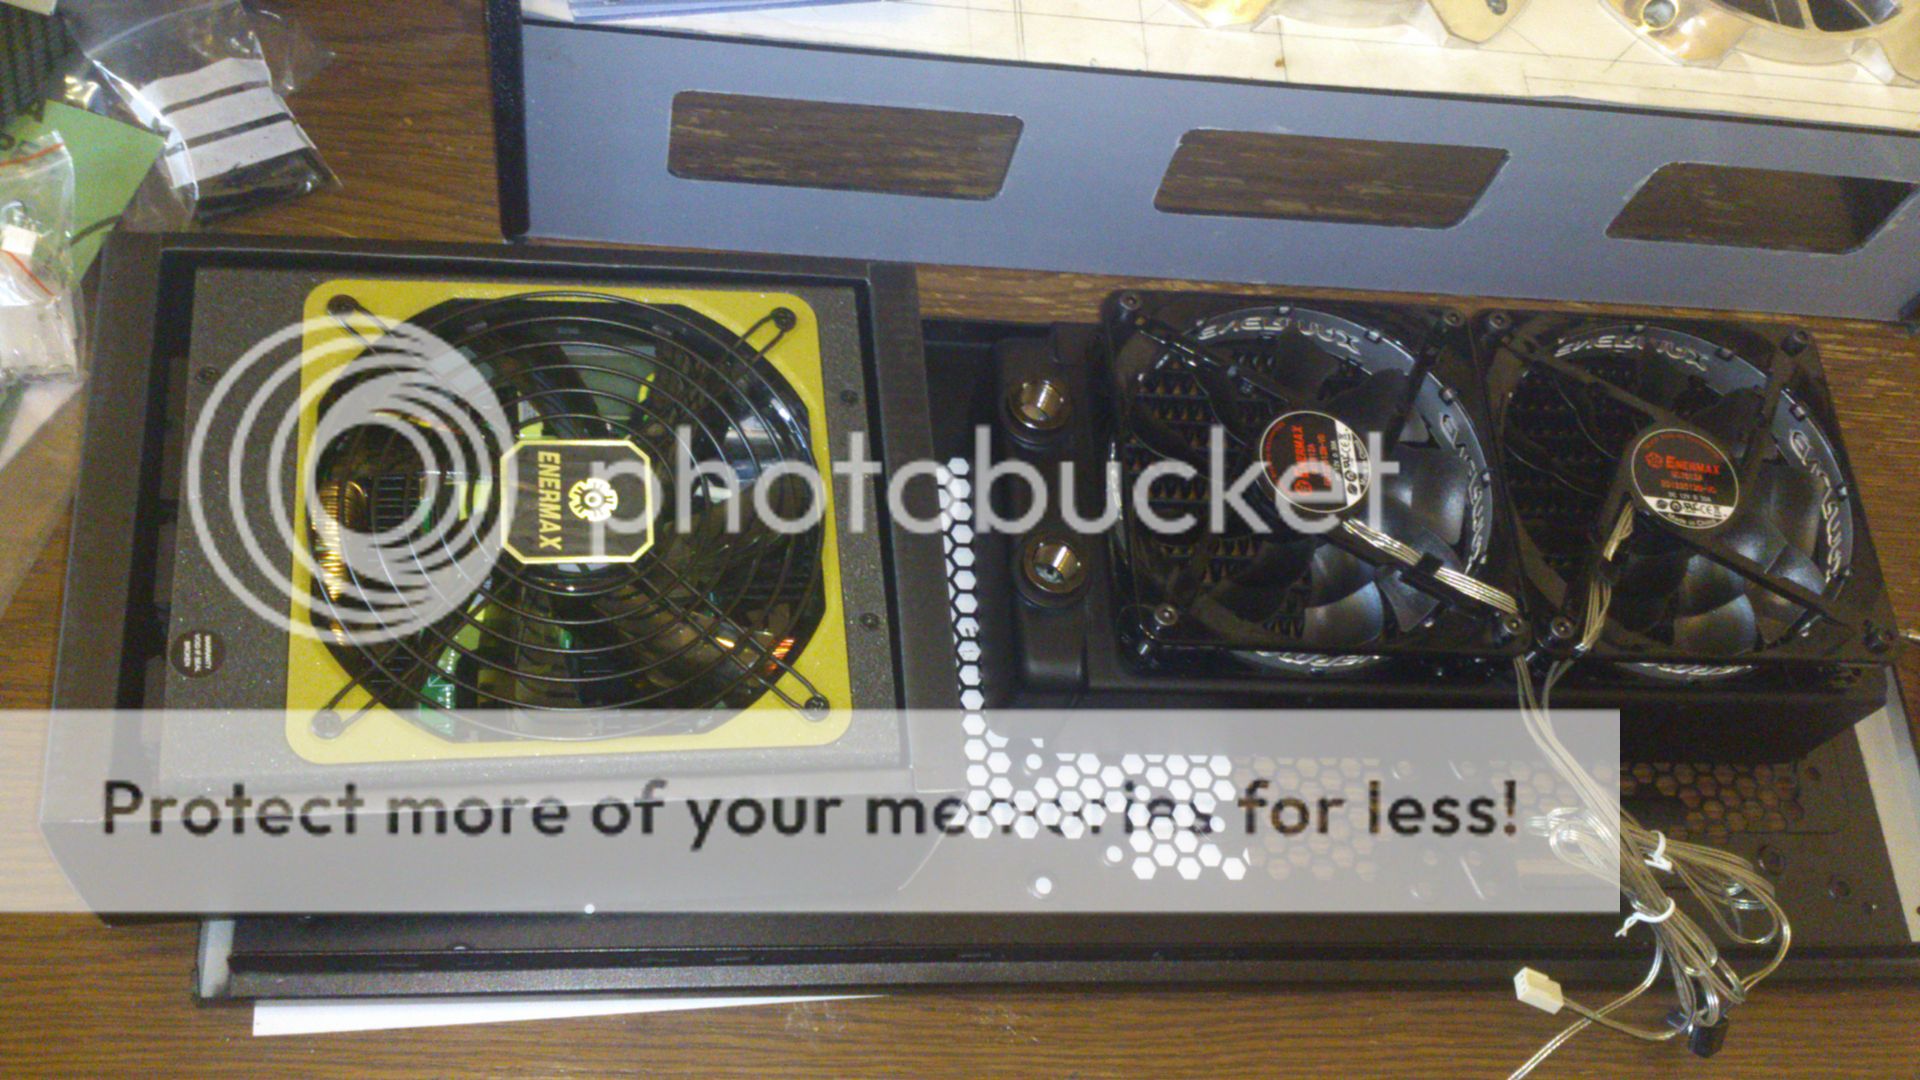
Massive thanks to Enermax for supplying a Fulmo GT, Platimax 1200wall and a vast array of case fans from there amazing Vegas range

Thanks also go to Bitfenix for givign me so much on my last project that i have enough spare to add to Arclight


hindleys_logo.gif


page_header_logo.png


bitfenix_logo_.jpg


logo.jpg

Stay tuned for a lot more to come........
 
Arclight was origionialy designed for the Enermax fulmo GT a huge and brillicnt case, but time has marched on and Azza have offered me the chance to use there superb Genesis 9000, so a little redesigning was called for,

Concepts for the intakes have been redesigned to better fit the new chassis and all the electronics have been brouht in and in some cases teaching myself arduino voodoo

Heres the first batch of parts going in to the chassis

the origional blade design and array have changed slightly from this
ventsreflexed.jpg


to this
render4.jpg

render1.jpg


The array control mechanism of a pull rod attached to a servo will remain much thesame as the origional

Some parts will need to be scrapped or completely changed to fit the new body shell such as the origional concept for the sides
side.jpg

the new version will be a wait and see but they look great in the planning


Well this project will need a huge number of mechanical and electronic parts in top of your typical PC set up


This arduiuno kit courtesy of Phenoptix is a great start to the project and will be controlling several of my lighting systems including a rather clever hack of a LOL shield
DSCF3694.jpg


LOL shields and old school bar graphs will be making quite an appearance as accenting lights, and yes there will be larson scanners
DSCF3688.jpg


Servos and actuators will be making a big appearance including several mechanized fan intakes and a large front panel "shield"
DSCF3689.jpg

DSCF3691.jpg


And to wrap up this update and REBOOT, Kingston have graciously given there support and provided some of there swesome products

the amazing HyperX 120gig SSD
DSCF3674.jpg


and a quad kit of DDR3 2400MHZ RAM
DSCF3652.jpg

DSCF3641.jpg


Stay tuned
 
Just a little update today

An absolute ton of cutting and sanding today


Well i dont have access to a lazer and i need a lot or duplicate pieces to were rocking it old school with a stencil
DSCF3696.jpg


And what better to cut out my many many parts than a home made table saw, complete with mitre fence
DSCF3702.jpg


Problem.... no sharpie..... solution... stick paper to plactic cover on acrylic and use engineering pencil... copy template.... move.... repeat.... over, and over
DSCF3703.jpg


and now its on to cutting

first up divide the sheet up in to manageable blocks
DSCF3706.jpg


then drill holes for turning the cutting blade in
DSCF3707.jpg


some more cutting to further separate each component
DSCF3708.jpg


first half done, all rough cut
DSCF3709.jpg


bit of refining the shapes to reduce sending
DSCF3711.jpg


sanding time...... 1 of 24
DSCF3710.jpg


and yes that is a dyson taped to the extraction port

all done for the day, 24 pieces of the main intake array rough cut and rough sanded
DSCF3714.jpg


i may never want to see acrylic AGAIN after this build....
 
Although ive had a long break from posting my work has continued, i finally have time to sit and type

So i shall pick up where i left off

The rough cuts were plastic welded in to pairs of one blue one black each with liquid dichloromethana injected in to edges to form 12 completed pairs

After coming off the sander for the first time the edges are still as rough as a badgers behind but the biggest thing to address is the notch in the top that neither the belt or disc sander can get in to

So out come the hand files
DSCF3813.jpg


4 hours later and the stack is complete
DSCF3808.jpg

The edges still needed quite a lot of refining so on to the hand sander

.... I broke my sender.... just imagine a lot of swearing and a run to the shop....

After sanding...
DSCF3930.jpg

DSCF3924.jpg


A little test fit and tease before polishing the edges of each intake
DSCF3941.jpg


Three hours of polishing with a drill press slightly modified to server as a bench grinder/buffer and we have....
DSCF3931.jpg


another 2 hours and we have a result
DSCF3926.jpg


A long time to finish from rough cut to finished intakes but they do look damn good if i do say so my self

Next up, modding the roof and base plastics
 
Time for the update that has been a long time coming

As most of you know the case changed from from an Enermax Fulmo GT to an Azza Genesis 9000 as the Genesis offered a stronger frame and more internal space to work with.... before work started it looked like this...

caseext_zps0bfe3e9c.jpg


casedooroff_zps8a495408.jpg


and the chassis itsself looked like this..

framepremod_zps93c45dcf.jpg


IIt is a brilliant reverse ATX chassis, very well made and strong enough for an 16Stone man to stand on, BUT as is the case with mods some structure needed to be removed so after an hour with a drill we have

framepostmod_zps4d1f98b5.jpg


Frame all ready to measure up the floor panels and internal enclosures


As this case is somewhat modular in terms of its plastics i was freed up to mod sections in waves rather then all at once

starting with the floor plate, this would also serve as a test run for the metals replacing all the red inserts in the bezels

The base plastics are very heavy built and massive

floorpremod_zps386b530c.jpg


But the vents need to go to make way for metal inserts

floorafterroughcut_zps8fd3bc93.jpg

flooorremovingsupports_zps8c67b6ea.jpg

floorfilingintakes_zps57dd3fcc.jpg


Perforated plate form ebay makes freat replacement vent intakes for the floor

floormetalparts_zps2d387e96.jpg

floormetalinplace_zps9cd08e7f.jpg


Ahh hot glue what would i do without you....
 
All good mods start with a plan.... well thats me out of the window

But at least i got some penile work done measuring up the plastics for the enclosures


platemarkups_zpsf77e14fe.jpg

Measuringoutbottomplate_zps82e9d7f1.jpg


Overkill 120 grills make handy stencils of.. erm... overkill 120mm grills

Acrylics cut to size and welded with Hindleys Dichloromethane

testfitlowershroud_zpse2135260.jpg

moretestfitting_zps3e91ea98.jpg


Ahhhh all snug fitting

The psu, most of the tubing and a very thick 60x240mm rad will be housed under this.

This 60x240mm rad to be exact, with a pair of Enermax TB silence 120mm fans on pull configuration

fittingfloorrad_zps5f220a6c.jpg


Sharing the floor will be an Enermax Maxrevo 1200Watt fully modular PSU... it is MASSIVE

morepower_zpseb3af345.jpg

tomanycables_zps2829dff4.jpg


I may have to many spare cables

To kill some time waiting for some parts i partook in another of my favourite basstimes... no prizes for guessing what these 2 SciFi icons are

BSG_zpsf969ecea.jpg

B5_zps74f8e6c1.jpg


Plastrics cut and marked up for the optical bay covers, the optical and hdd bay area will house both pumps as well as most of the tubing of the twin loops and access hatched have been cut in to the floor compartment to get to rad fittings and install cables and tubes

measuringupfrontcovers_zps67b119e8.jpg
 
First test fit of all the enclosures plus checking that weight of the res holders will not warp the top of the enclosure

testfittingcoverplates_zps1a9cede3.jpg


Pass through holes cut for Tubing to and from the twin res, due to access the PSU, bottom Rad and main PSU looms are already installed in the lower enclosure

lowerrpassthroughcutout_zps5c34ab96.jpg


Well that's enough of the enclosures for now on to the roof again

After installing the rails and letting the welds cure in go the 12 vent components in to there sockets, until the retention arm goes in they can move through 140deg

moretopintakes_zpsdf22f98d.jpg

topintakessetinplace_zps3b943a77.jpg


I suspect that Dust is going to be an issue... just a hunch

topintakes_zps73e9f7cc.jpg


but DAYUM they look good lit

illuminatedintakes_zps79dbc1c3.jpg


I made a small plate to hold the servo, amazingly a tiny 9g servo can pull the vents, the full array weight close to 3lb

topmechanism_zps510dc27c.jpg

servomount_zpsf35f1c90.jpg

intakealigned_zpsa1f9b771.jpg

intakelongview_zpsfd7ba0f1.jpg


Yes i know the metal wire is a little ghetto but im waiting on an RC pull arm
 
With most of the structure and covers complete i can start the loops, that was a tad more involved than i expected, clearance between the top of the PSU and the Top of the floor enclosure is just big enough to get a 1/2 OD tube through... and i need to get 6 through it

Starting off... install res and attach to mounting blocks on the floor, plus attaching the main tubes from the CPU and MB waterblocks and taking then to the bulkhead

buildingtheloops_zps1bdbab17.jpg

buildingtheloops2_zps4c7ca79c.jpg


Next up install pumps and run feed tubes through the floor plate to the lower rad and run the outputs to the waterblocks, as i side thought i added a fill port and hooked up the top 360 radiator to complete both loops

fronttubing_zps6f218632.jpg

morefrinttubing_zps6448857b.jpg


Well at this stage i was going to fill my loops but my daughter has other ideas

stolencoolant_zps4cdf19ea.jpg


After a short fight that i eventually won with a stunning pile driver i finally filled the loops

accessallareas_zps3ac70737.jpg

pumping_zps19596dbe.jpg

upperradaccess_zps82e0564f.jpg

resholder_zps9cb9de2c.jpg


yay its leak free.... well it is now, it kind of wasn't but lets not talk about that.... nothing to see here... move along
 
Construction is 90% complete and its already in service as my main game machine, side door needs a window and massive changes are going to be made to the front of the case

So im going to show off some of the key features so far

modified intakes and bottom deck enclosure

floorintake_zps144986d6.jpg


Access ports

coverplates_zps69d59dd0.jpg


Concealed tubing

upperradaccess_zps82e0564f.jpg

pumping_zps19596dbe.jpg

floortrippleaccess_zps117bdae2.jpg

insidebottomaccessports_zpsc4d619c1.jpg


Tidy tubing with bulkheads

cooling2_zps2a53061a.jpg


Back plate mounted SSD and HDD

behindthebackplate_zps562094e4.jpg


Damn good lookin if i do say so myself

maincase_zpsf3b87075.jpg


MUCH MORE TO COME
 
my first thought "I've gotta see a video of those vents in action"
looks like I was not alone lol.

Awesome work so far. Keep it up.
 
lol yeah, looks like it is a "by popular demand" ile get my driver and camera set up when i have some peace form my legion of kids
 
I am VERY pleased to announce that EK is now official sponsoring Arclight, they are kindly supplying enough equipment to rebuild the entire double loop set up

600x242px-LL-6bad979e_EKWB-Banner_zps2298b706.jpeg


Stay tuned for a supply drop and more updates
 
Subbed so hard I think I broke the link.

Congratulations on the sponsorship - I don't have to say that EK makes phenomenal products, but I will anyway. Can't do much better than that.
 
This is going to be and is an excellent build! Very cool.

I especially like the jigsaw converted into "scroll saw". Very clever!
 
It is finally time for an update

As most of you know by now a short while ago i acquired a small CnC mill with which to being my twisted imaginings to reality.
here is how it went

220V110V-Updated-3040-CNC-ROUTER-ENGRAVER-DRILLING-MILLING-MACHINE-p107808.jpg


As i completely forgot where i left my shots of my mill here is a stock shot of the exact same model, I was rather dubious of the quality of the machine as it is a cheap ebay Chinese machine but after ironing out a few bugs i do haft to say this is a great machine.... i had to mod it of course


i had heard that as the boards in the control boxes were generic i should find additional headers for a probe and limit (home) switches


just what i wanted to find, headers for limit and probes, idon'tcurrently have a need for a probe but a limit (home) switch is a must have


finding areas to mount the switches was a little tricky given the spaces i had to work in. i wont bore you with the details/


starting simple learning my way around the machine and everything went well..... if you forget the time i put an engraving bit part way through my T slot bed. the end result for a simple quick run was rather impressive although settings still needed some refining/


the first proper case parts to roll off are roof intake vents, the original vents took months to make by hand but with a cnc i can improve on them and get perfect results in just a few hours to cut all 30 of the new intakes (more about those in a later update)
 
Last edited:
once my confidence with the machine grew i finally ventured in to alu milling.... with TERRIBLE results, screaming mill and terrible tooling marks. after 3 weeks i finally worked out what was wrong, no coolant/lubrication, so out came the WD40 and away we went


the arclight main bezel for the front of the roof if a plane sheet of 1.3mm alu shaped and contoured to fit in to a recess in the existing factory plastics


to say that the milling went very well would be an understatement, the results are fantastic, i will be doing way more alu work in the future including my own custom grills for sale

the lesson here...... WD40 is your friend


on to the REAL work


some time ago i designed this bezel for the arclight based on the mk7 ironman cheat arc, at the time i did not have the ability to bring it to life..... now i do

and so the madness begins


starting with a massive block of plexi (300x200x20mm) and a psychotic grin, the mill went in to action, to keep a fairly good finish and prevent melting of the pexi, i invested in some coolant (you will spot the chips chance colour a few times depending on the coolant i am testing in each phase)


the endmills i am using are designed to go no deeper then 12mm and i am going down to 20mm so lots of coolant is being used to try to push the working limits, and thankfully it worked far better then expected


the above shots represent 3 hours of mill time, going super slow to avoid trouble
 
Very cool man! I just built something similar here.

If you're having trouble with the plex melting and it took 3 hours of machining time to do the above pattern, I'd say your feed rate is too slow. It is seems contradictory, but if you're moving to slowly through the material your chip load is too low and your end mill just ends up rubbing in one area for too long. Good chip load, especially when cutting aluminum, helps carry the heat away as well.

I'm not sure how rigid your machine is, but you may want to try slowing down your spindle speed and upping your feed and increasing your depth of cut. From the looks of it your DOC is 0.5mm or less?

What's your:spindle speed? feed rate? doc? # of flutes? Oh and what allow aluminum sheet was the Arclight cut into? 5052/6061? (sorry for all the questions, I just like seeing someone else into this stuff)

Anyways, this is an awesome case mod! I love it! Excellent design and concept, I'm really digging it :D
 
ive done a lot of research in to feeds, this is also a cast, make up (due to supplier) being more similar to lexan then true acrylic so the melting point is through the floor, im also limited on speeds with a max rpm of 11k, ive bought some metal cutting pol and its fixed the melting issue. depth, endmill size and step over are factoring too... i think ive found a happy medium now

DOC was 1mm with 2mm stepover, 2flute 4mm endmill, the depth is the problem as fo speed overall, im gettign chip compacting in the edges as im running with flutes and part of the shaft in the cut so clearing out is a time killer

the alu sheet is 6061

nice machine you have, far more advanced then mine, but for £650 im very happy
Ah, I see. Didn't think about the piece being cast. Yeah you do have to be tender with it don't you!

For the chip compacting problem, I'm assuming you're using an up-cut helix? Air blast might help clear the chips as well. And you can even go with an O-flute for quicker chip evac.

Looks like the machine is performing quite well for you! Nice to have the right tool for the job, you know?

Keep up the great work on the case mod!
 
yes up cut clockwise, the compacting is more due to the geometry im cutting then any tooling issue, air is working well for the most part, added a small holder for an airbrish and currently modifying a hydroponic plant drop feeder to supply coolant

some 1f endmills are on the way om hoping that will help too, ive special ordered them with 22m useable flute
 
continued......


after getting the centre to full depth the tricky work can begin, the endmills i use have a flute that is 12mm long, this limits me to 12mm depth or i will not get any kinf of chip evac when cutting......... but i ignored that and took them 20mm deep


mach3 with custom skin displaying tool paths and the current positions of the axis, just about to start fork on the epics above


i am skipping sections of programs or making ones that leave out large areas of the design specificaly to allow me more sway room as i get closer to completion


first roughing (horizontal roughing) for one of the arms, using vegitable oil (liberated from my chip pan) as an ad hoc lube, as this is cast plexi it melts if you even breath on it. the tooling looks a bit rough as ive not cleaned up all the debris in the shot... the results even at extream depth were very pleasing, although oil as lube does make the chips look horrible and a nightmare to clean up


the eagle eyes may notice the slight lip on the bottot of the right arm, after finishing the left i decided to change max depth to 19.5mm to give me a ,5mm tab to help keep the part stable later and to stop the coolant from destroying my baseboard
 
continued.... erm.... some more


back to milling the center this time leaving zero stock, this was make or break, if i had planned anything wrong the whole piece would be ruined, but it seemed that lick was on my side


full cleanup can wait until all the cutting is complete


for some scale


many many hours later we have this, i quite like the liered effect of the roughing but this is destined to have a smooth finish

finishing took less than an hour, meer seconds compared to the time the entire roughing took


and this is what we and up with


well thats me up to date, more updates in a week
 
That is very cool! Nicely done, sir.

I know you'll be sanding out the tooling marks, but I've always liked the look of them before they get finished of.

What cam software are you using?
 
Visual Mill 6.0 for the path generation

So its not just me who loves tool marks... yay

CAD Solidworks 2012
CAM Visual mill 6.0 with Visual CAM 1.0 pug in
CnC control Mach3 2.1
 
Last edited:
This is awesome. I really like the way you have the reservoirs mounted in the case. The tubing looks very clean too. Nice work.
 
This is awesome. I really like the way you have the reservoirs mounted in the case. The tubing looks very clean too. Nice work.

I will be reworking the res slightly, i need to swap them for EK multiport 150s and add a GPU block, not sure how i am going to get space for that so i am open to suggections
 
just a quick message to my followers

I have been rather ill this week and completely unable to even look at a power tool let alone operate it safely, i am now recovering and will be back to my insane self in a few short days
 
just a quick message to my followers

I have been rather ill this week and completely unable to even look at a power tool let alone operate it safely, i am now recovering and will be back to my insane self in a few short days
Hi tobyak, I'm a representative from Enermax, and I just wanted to say that your work looks amazing! What a massive undertaking, and I seriously can't wait to see it finished, cheers!
 
Hi tobyak, I'm a representative from Enermax, and I just wanted to say that your work looks amazing! What a massive undertaking, and I seriously can't wait to see it finished, cheers!

Thank you very much, lots more to come over the next week
 
Did you go push/pull with that lower rad since fans will fit inside the lower tunnel? Crazy rad room with all 9 5.25" bays (yes 9) gutted. Nice project, will be interesting to see it when finished.
I have this case, but it's not modded. I just added the extra side fans and run them all at 7v (LED button off runs top & bottom fans at 5v), and my CPU fan is far louder than the rest of the case. It's actually a pretty nice BIG case.

The lower rad is super thick 66mm, plus fans on top 91mm, the space under the cover is only 110 and i needed to get tubing in the spaces, fans are running 900RPM in push, the rad is quad pass so so far it is working just fine with the one stack of fans
 
i'll be interested in seeing how your tubing looks in a month or so after using the mayhem's pastel. pastel white totally leeched my masterkleer tubing. I'm using Mayhem's Deep Red + Distilled now hoping to avoid the plasticizer leeching. same thing happened to Tom Logan (TTL/OC3D), turned his tubing chocolate brown.
 
IM BACCCKKKKKKKKKKKKK..... it has been one hell of a year but i am back and Arclight is still alive. I am sorry to anybody whos replies i have missed for all this time

BEHOLD AN UPDATE.... yes, yes, I know, took my sweet time. HEY!! you try modding and having 6 kids


So where were we, Time for the Arclight front lower bezel, the AZZA9000 has a split front bezel due to the front mounted PSU, After several weeks of anguish I finally found an intake design that fits the theme, twin Horizontal slots it is!!!

TO THE CAD SOFTWAREEEEEEEE!!!!


Not the most complicated design by a long way, but the look im going for is very stark
cncscreengrills_zpsbd861f4b.jpg


Once the dimentions are worked out for the raw material its on to cutting out some 1.3mm alu sheet, time for the new toy
IMG_5353_zps8fce04a0.jpg

AND YES I DO HUM THE JAWS THEME WHEN CUTTING


I had been debating for a while on buying these but for under £20 worth a shot
IMG_5354_zps9e82f5b1.jpg

IMG_5356_zpsbc69a8ed.jpg


I am actually quite impressed how easy they are to cut wit and how accurate you can cut... as an added bonus the bi-product seems to be "traditional" jewelry.....
IMG_5357_zpsbecce52a.jpg

IMG_5358_zpsb3384c30.jpg


IT has been a while since i fired up the mill so after a lot of maintenance (read playing with WD40)we were back in action
IMG_5359_zps8e5d5500.jpg

IMG_5360_zps0d64ce89.jpg

IMG_5361_zps1907abdd.jpg

IMG_5362_zpsc1c0b29b.jpg

IMG_5364_zpsc51d7258.jpg


..... And yes, i do love taking pics of the mill running
IMG_5366_zps0a8b44d7.jpg


All done, the opposite side has been shelled out at the ends a little to make bending easier for fitting
IMG_5367_zpsc0b55fba.jpg


Bring on the rough sanding and surface finishing
IMG_5368_zpsc4acc4ae.jpg

IMG_5368_zpsc4acc4ae.jpg

IMG_5370_zps7c3c6ff3.jpg


Damn did i really let it get this dusty
IMG_5371_zpsacb601d9.jpg


10mins of rotary tool and some cussing at a piece of plastic in the eye (keep those glasses on kids!!!!)
IMG_5374_zps5d347a57.jpg


15mins of hammering, inc getting told off my my wife for using the metal legs of the kitchen units as a former to hammer on......
IMG_5375_zps6acf23bd.jpg


Shaping was a lot easier then i expected (i have no metal forming tools bar a very large rubber mallet), mostly thanks to the shelling i did to the ends on the mill
IMG_5377_zpsd1d68083.jpg

IMG_5383_zps5e611613.jpg


one final test fit
IMG_5381_zps4d01fd92.jpg


Heres a little context as to where on the front this piece goes.... yeah its massive
IMG_5386_zpsa14e7731.jpg


LATER.........

Once again Tauntauns are roaming Hell and ye another day has been spent modding, just a short update this time (someone who shall not be named forgot to take pictures)


picture several hours of cutting and filing......... Did you enjoy that?..... GOOD!!

And suddenly the insanity and clashing panel scheme makes sence
IMG_5388_zps0c0c8f0b.jpg

IMG_5390_zps1c9f4f67.jpg

(IT AINT MODDING UNLESS YOU HAVE BARE FEET IN SHOT)

test illumination on the Arclight intake, whilst it was milled as all one piece i masked out the center and sprayed the rest matt black. The effect is a little too bright with the Vegas fan, i may spray the blades black and just use the ambient light from the ring of LEDs to illuminate the center
IMG_5391_zps6305b02b.jpg

IMG_5392_zpsc3dd7c70.jpg

IMG_5393_zpsb69a8c22.jpg


What do you think? leave as is or get rid of the reflection from the fan blades?

Stay tuned for more Arclight coming soon (I PROMISE) and a new side long project on commission to be called 'SMITE'. Watch this space
 
Back
Top