Navigation
Install the app
How to install the app on iOS
Follow along with the video below to see how to install our site as a web app on your home screen.
Note: This feature may not be available in some browsers.
More options
You are using an out of date browser. It may not display this or other websites correctly.
You should upgrade or use an alternative browser.
You should upgrade or use an alternative browser.
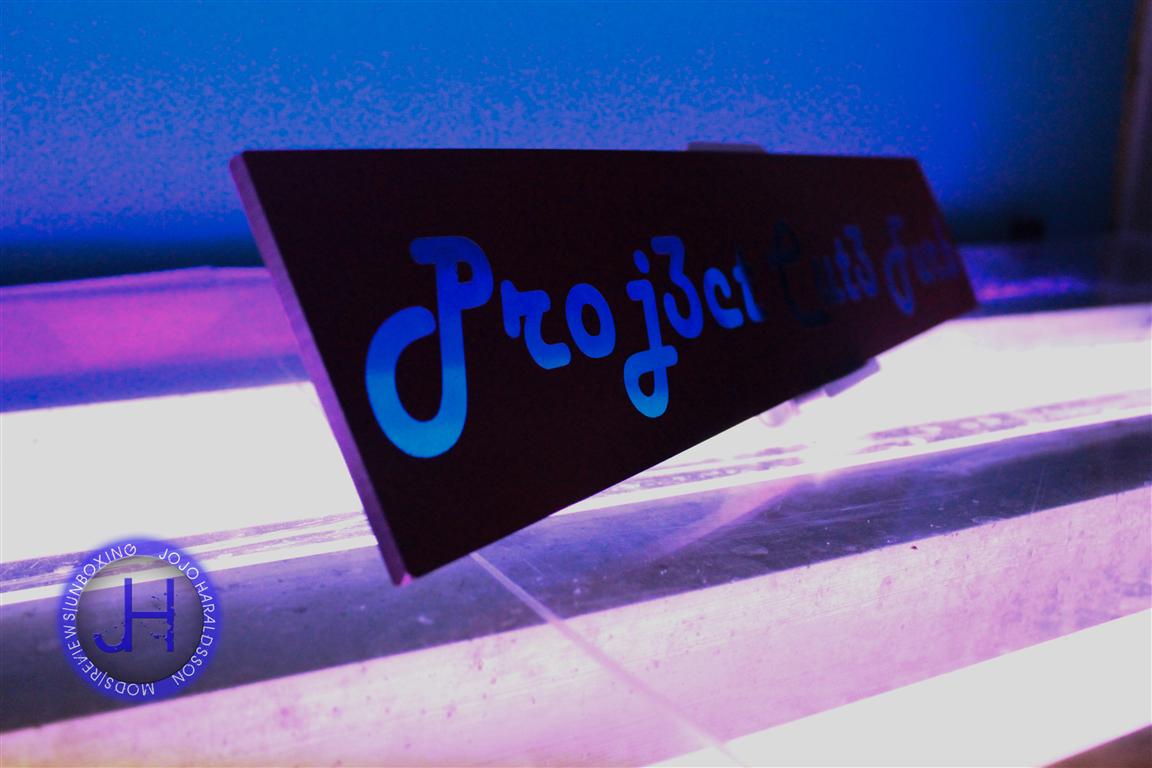
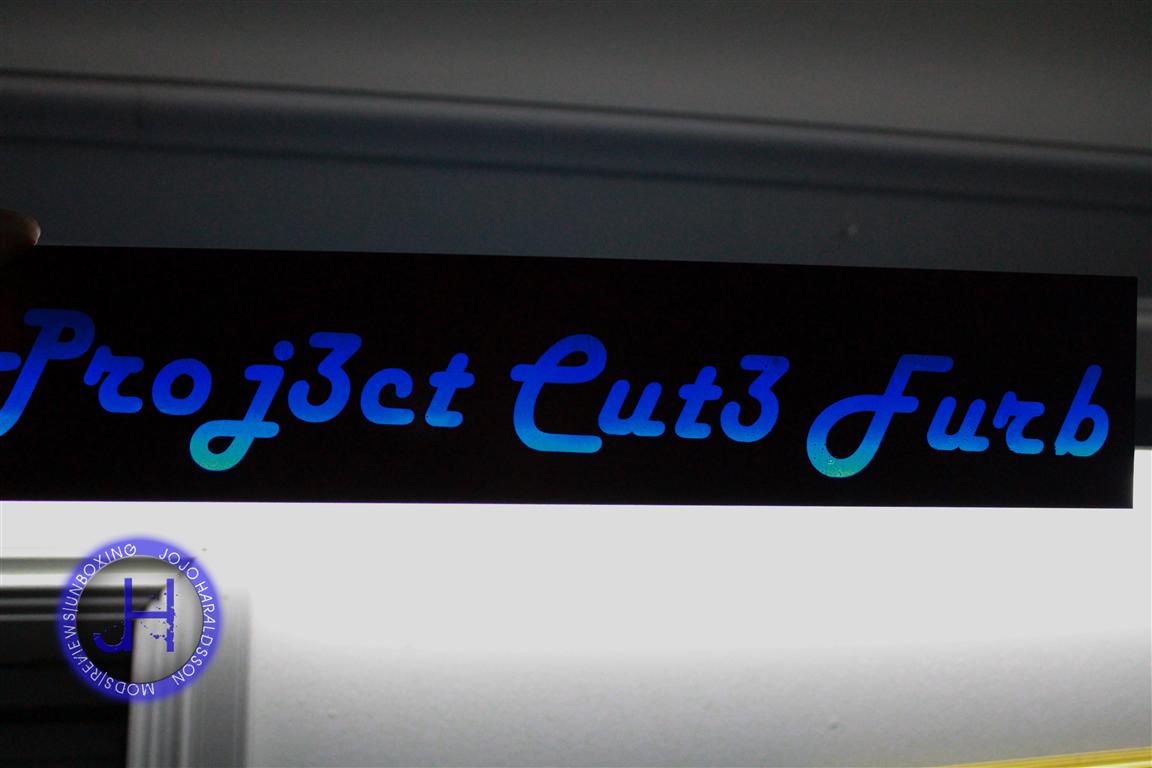
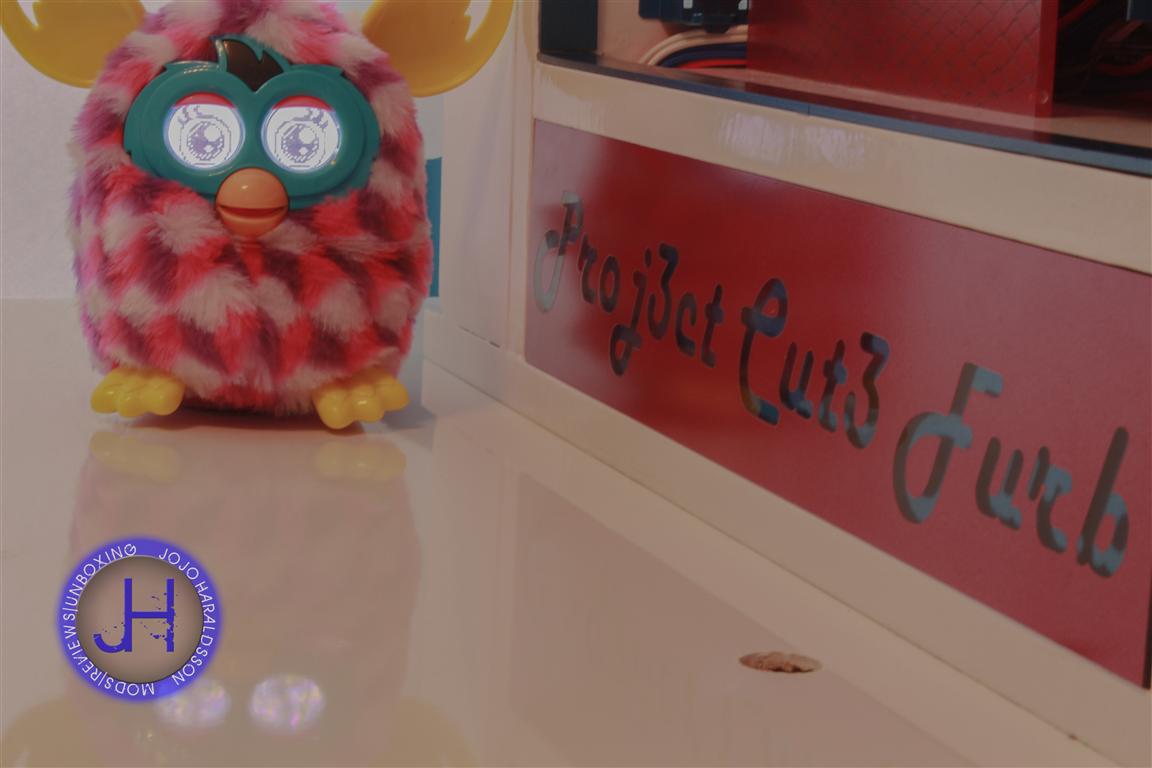
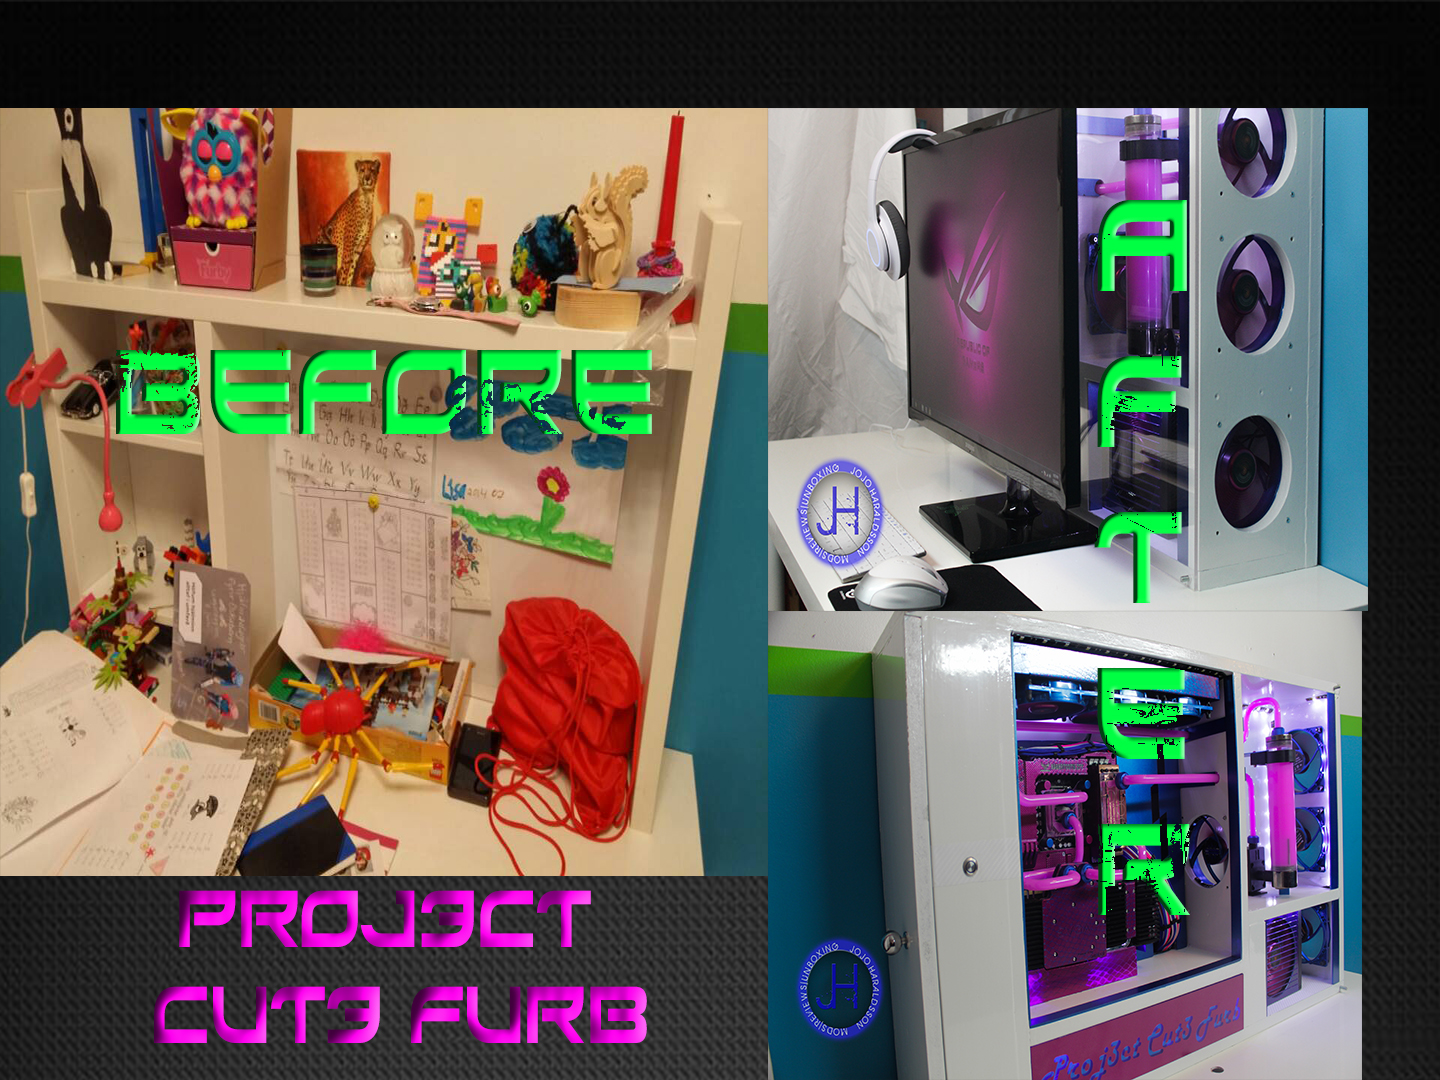
Proj3ct Cut3 Furb [Custom Case /scratchbuild]
- Thread starter deusex
- Start date


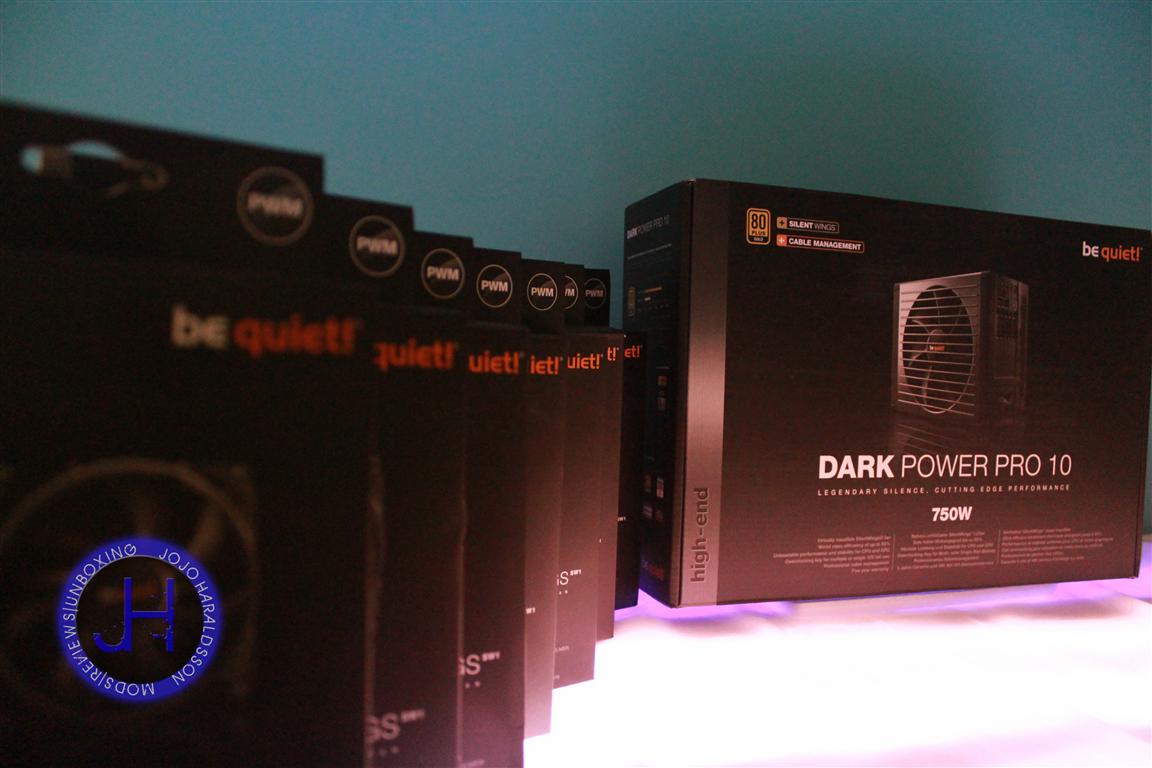
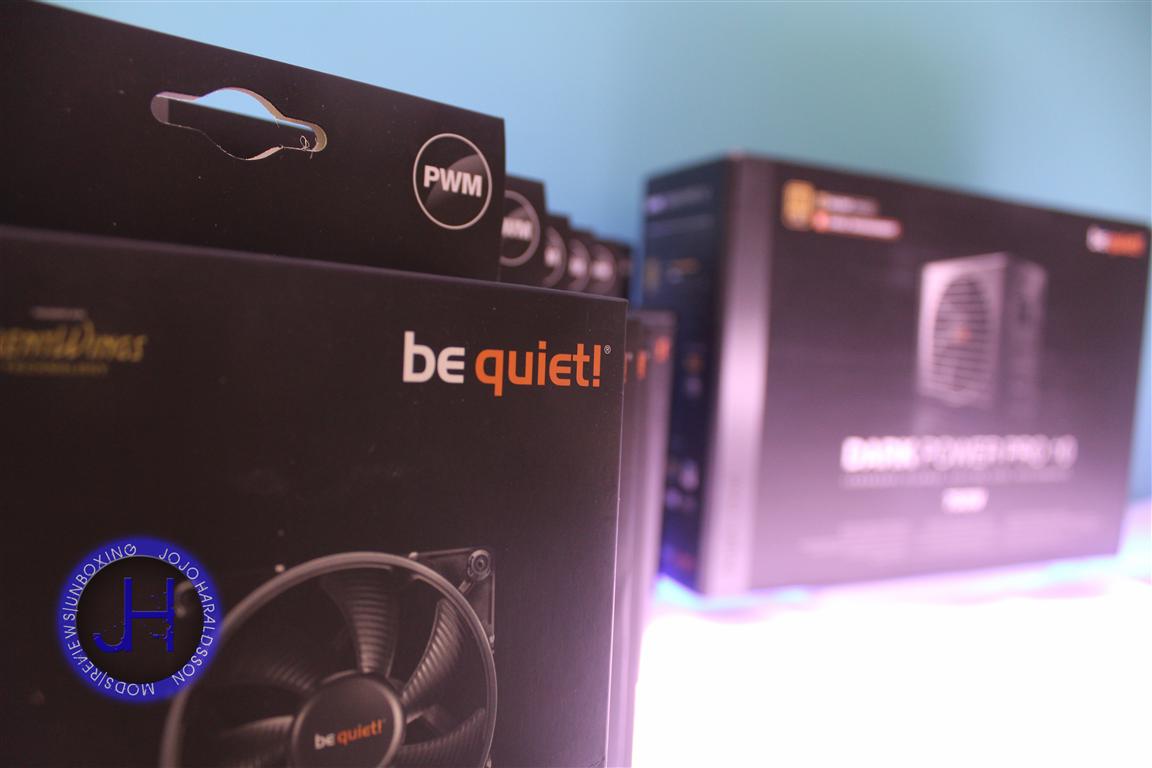
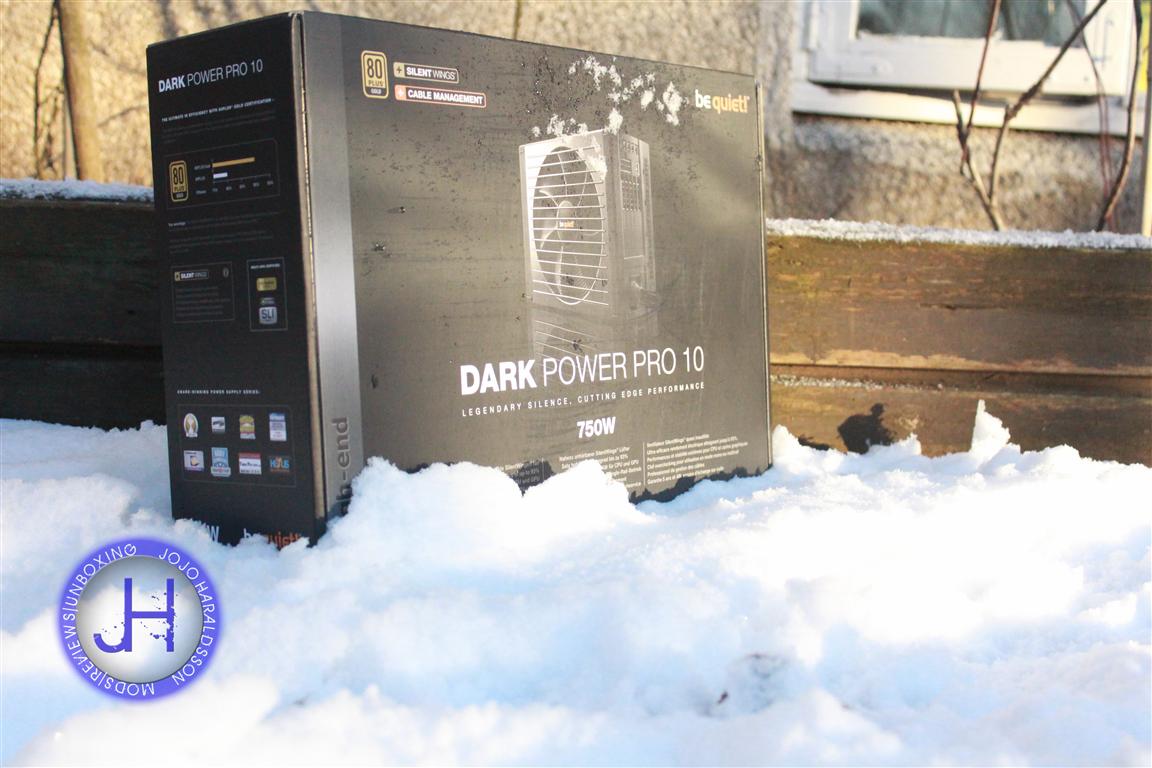
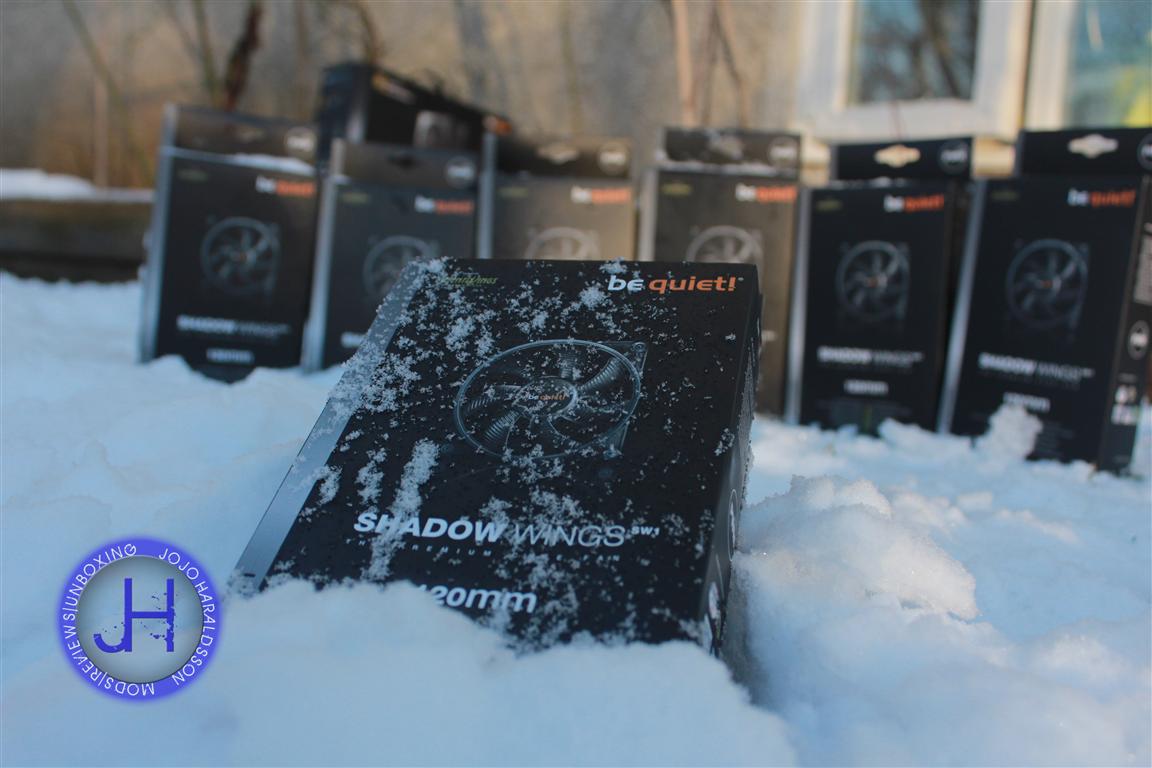
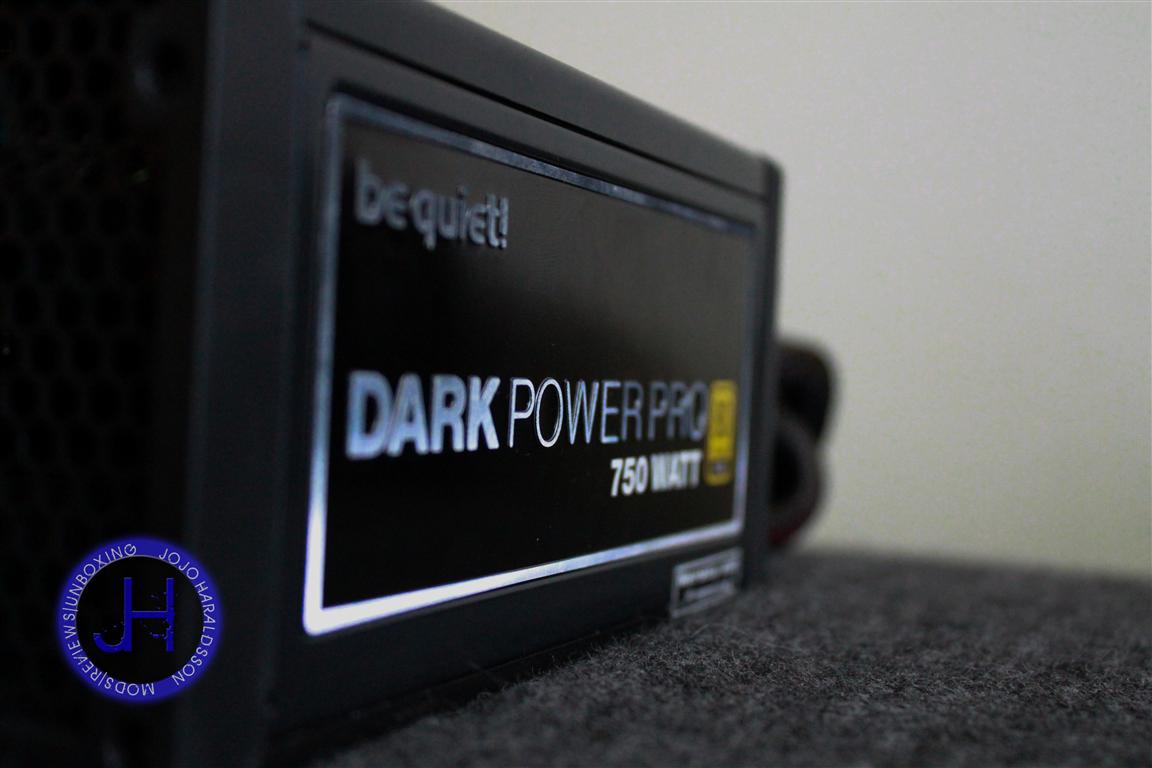
Hey everyone we are proud and honored to announce our new Sposnor.

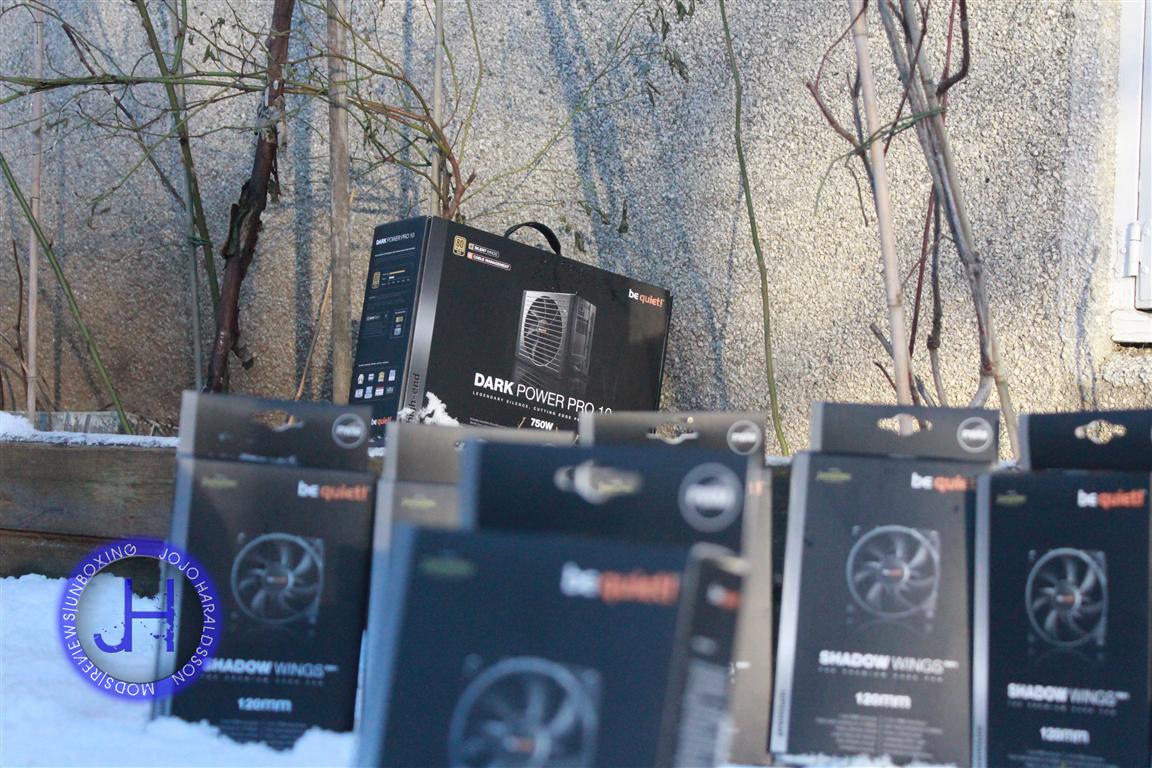
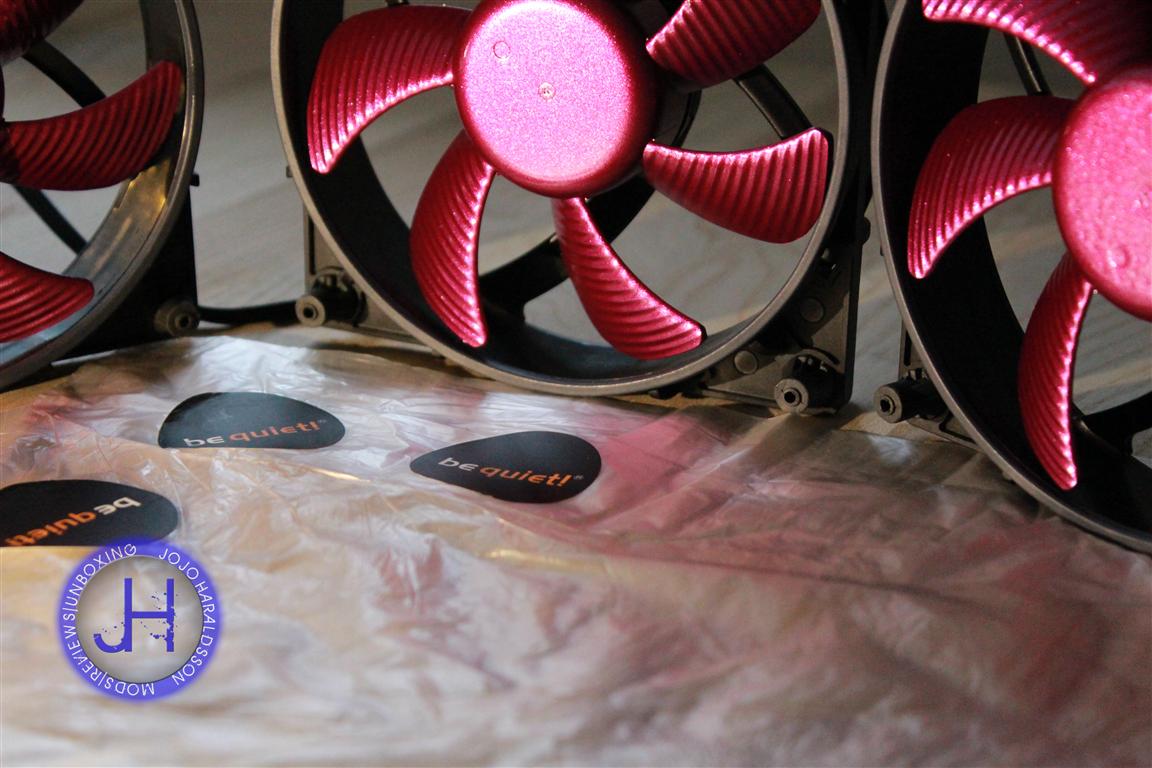
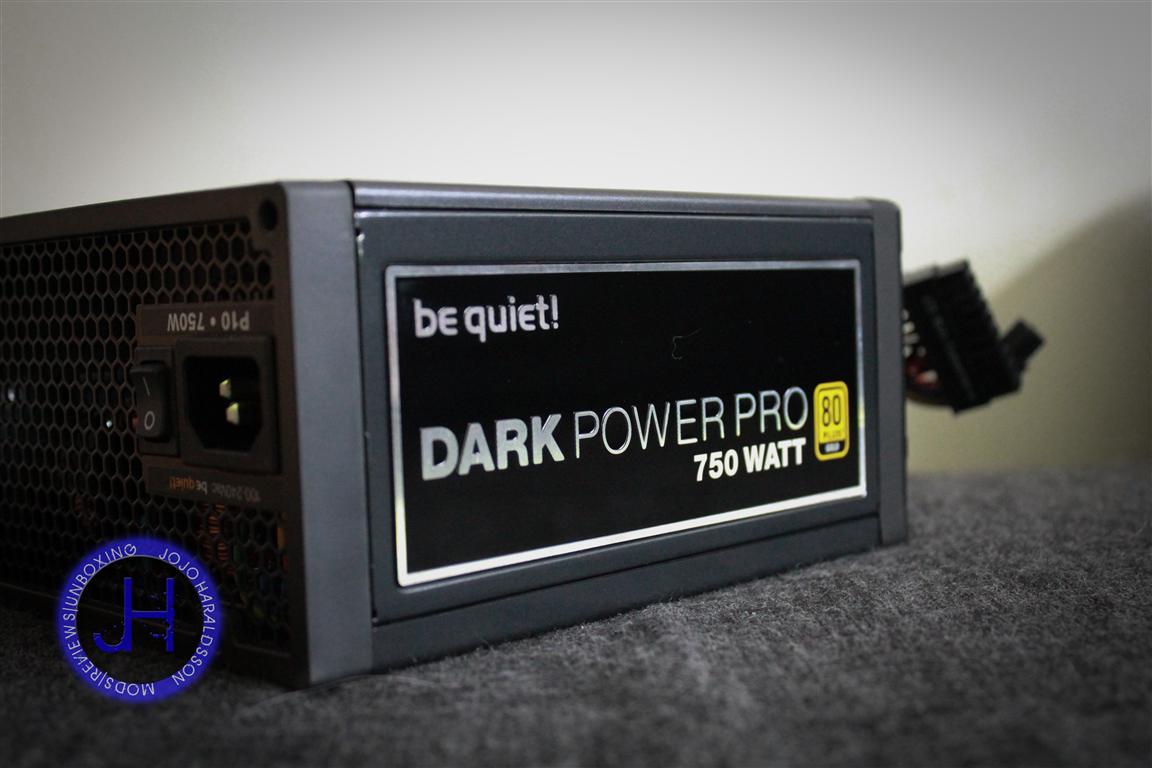
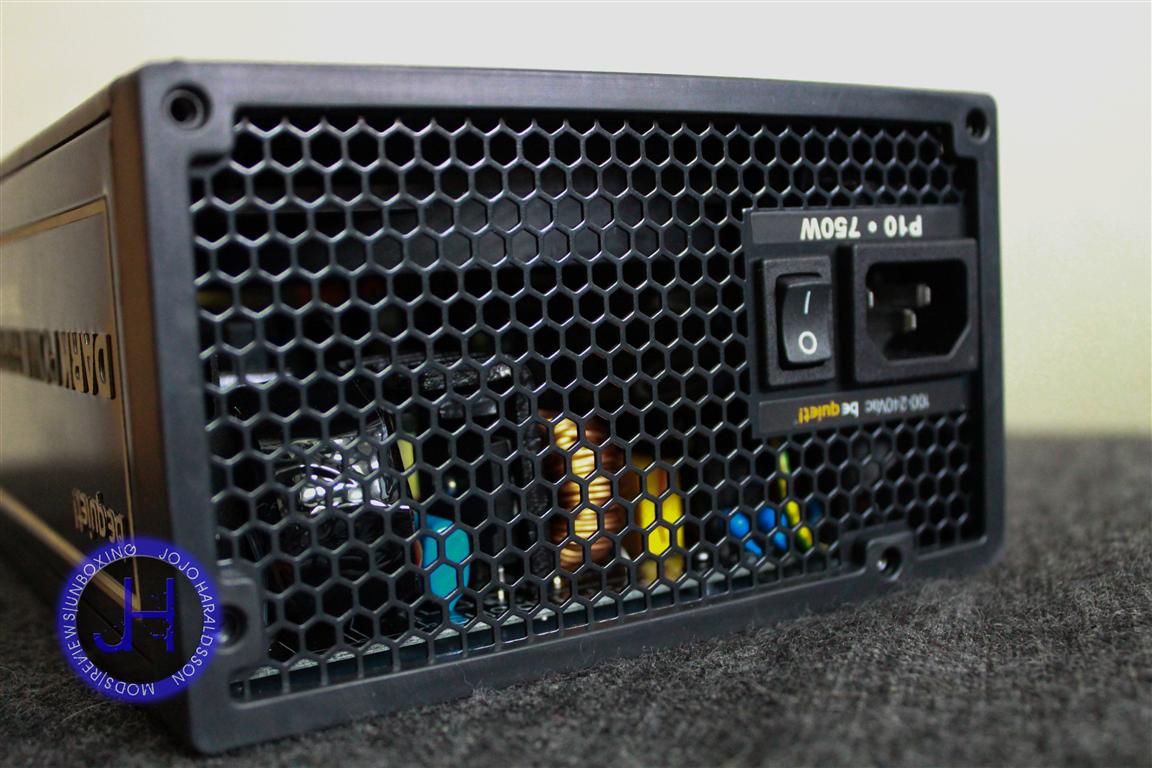
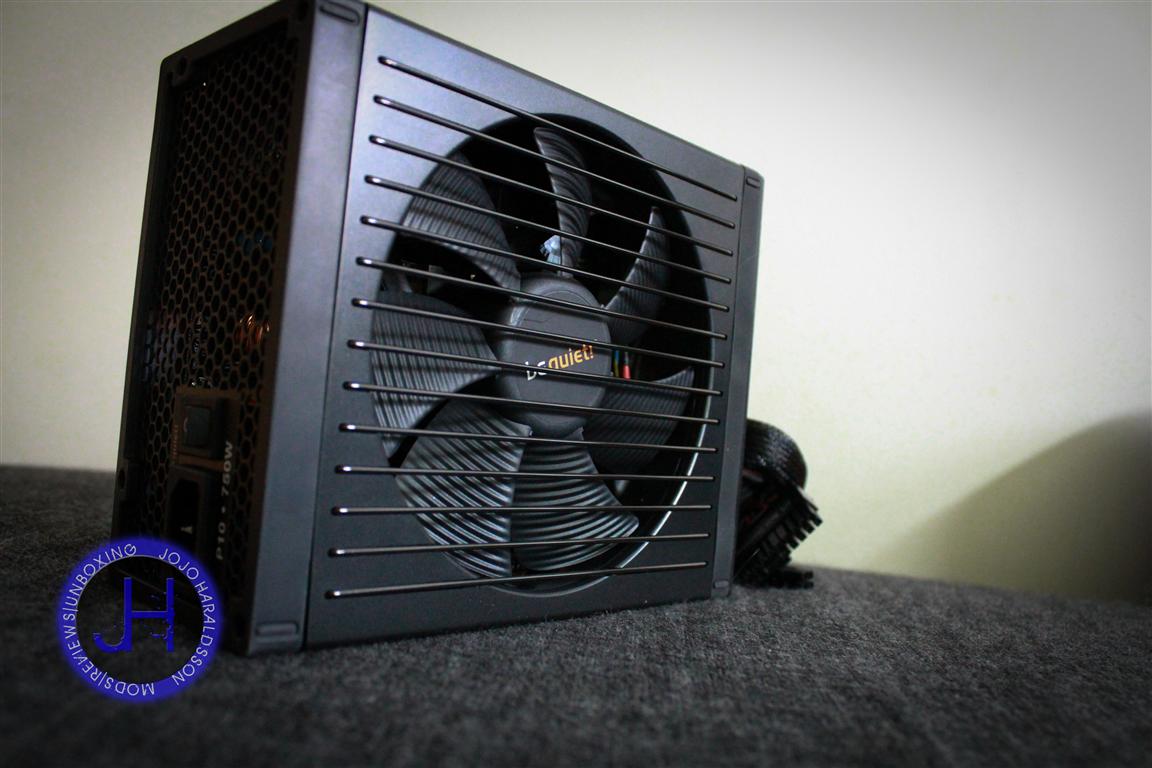
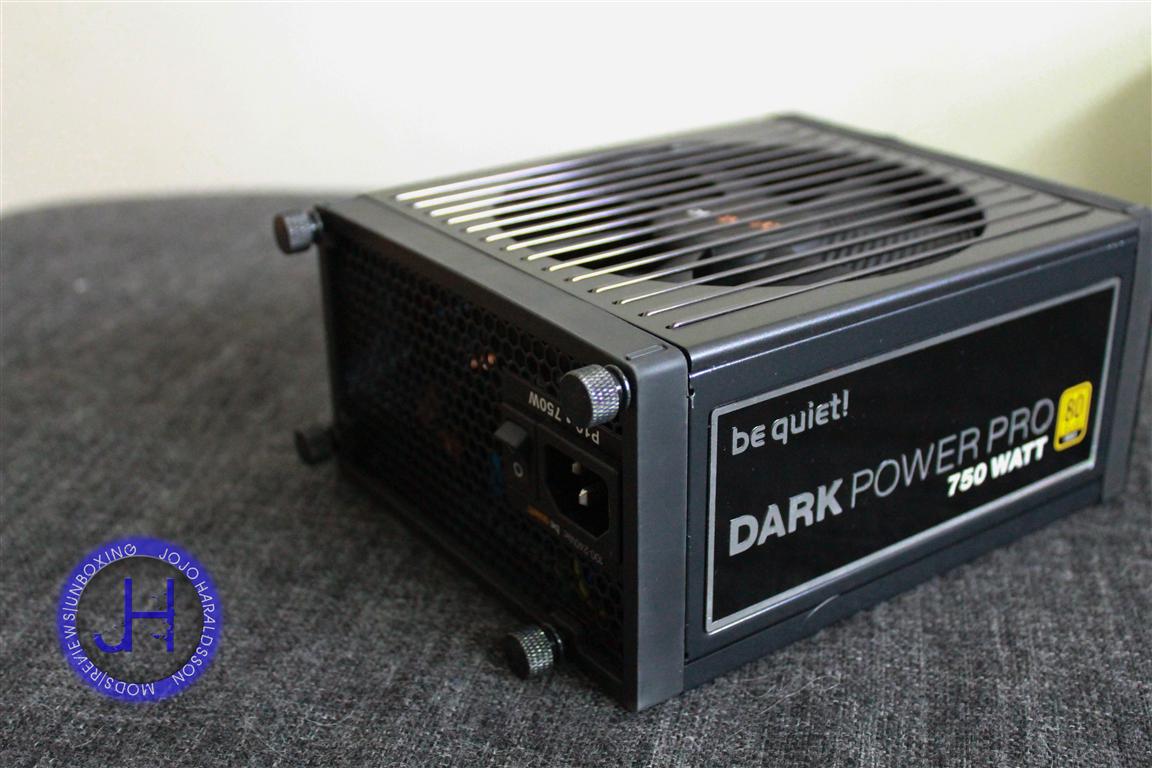
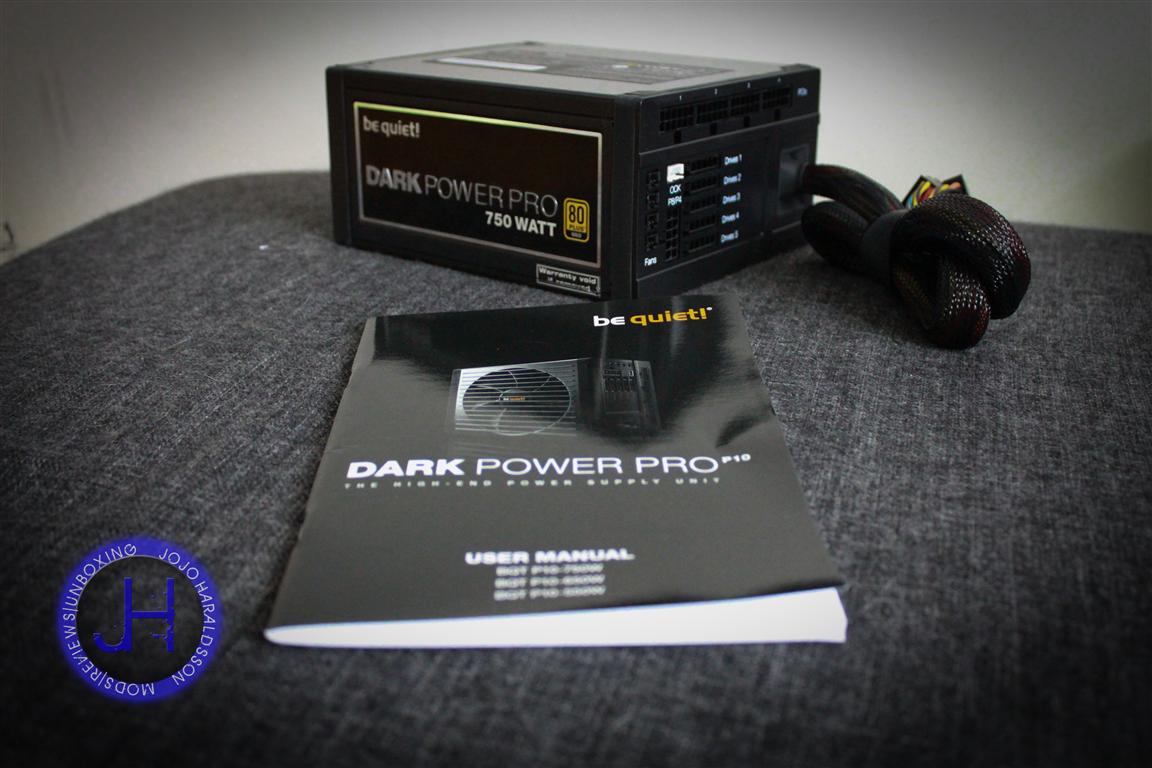
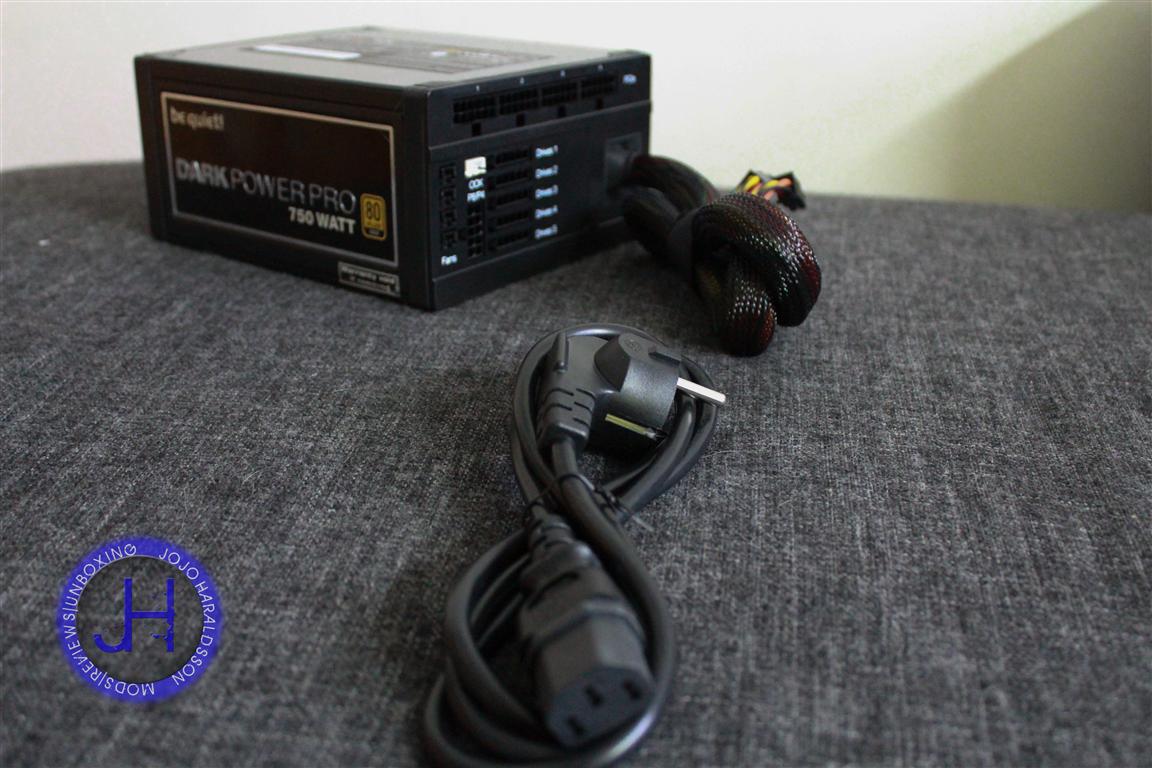
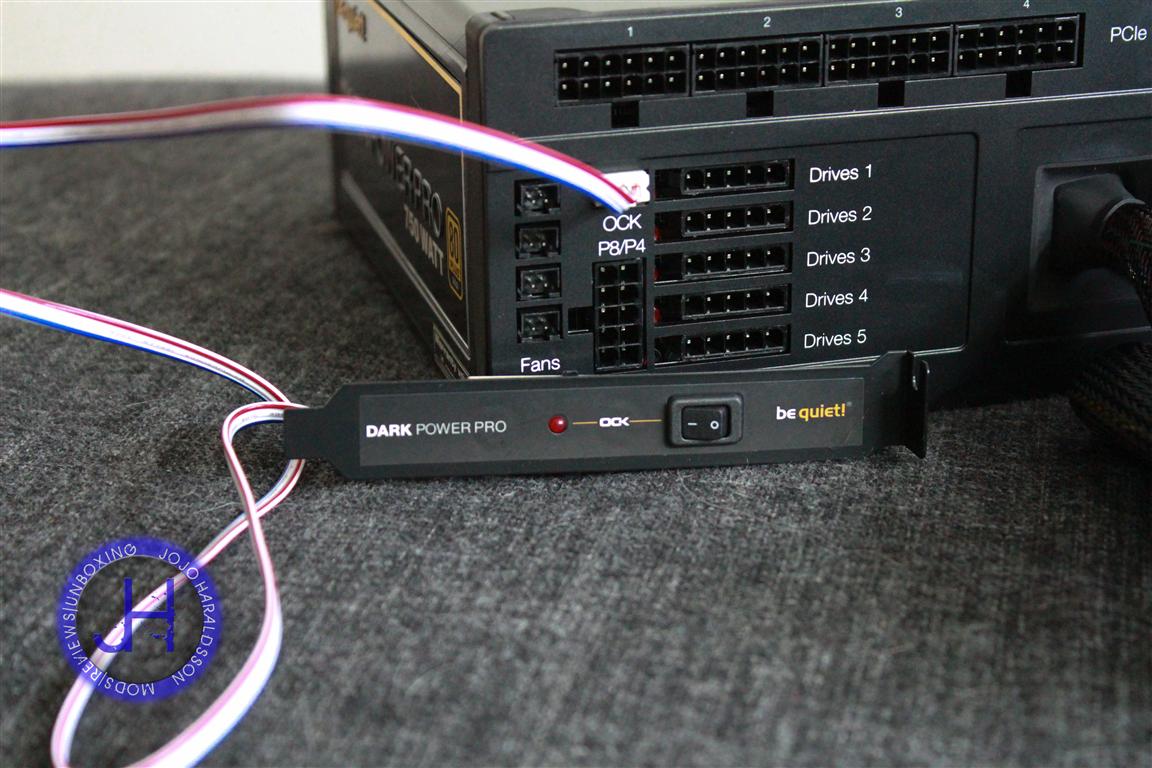
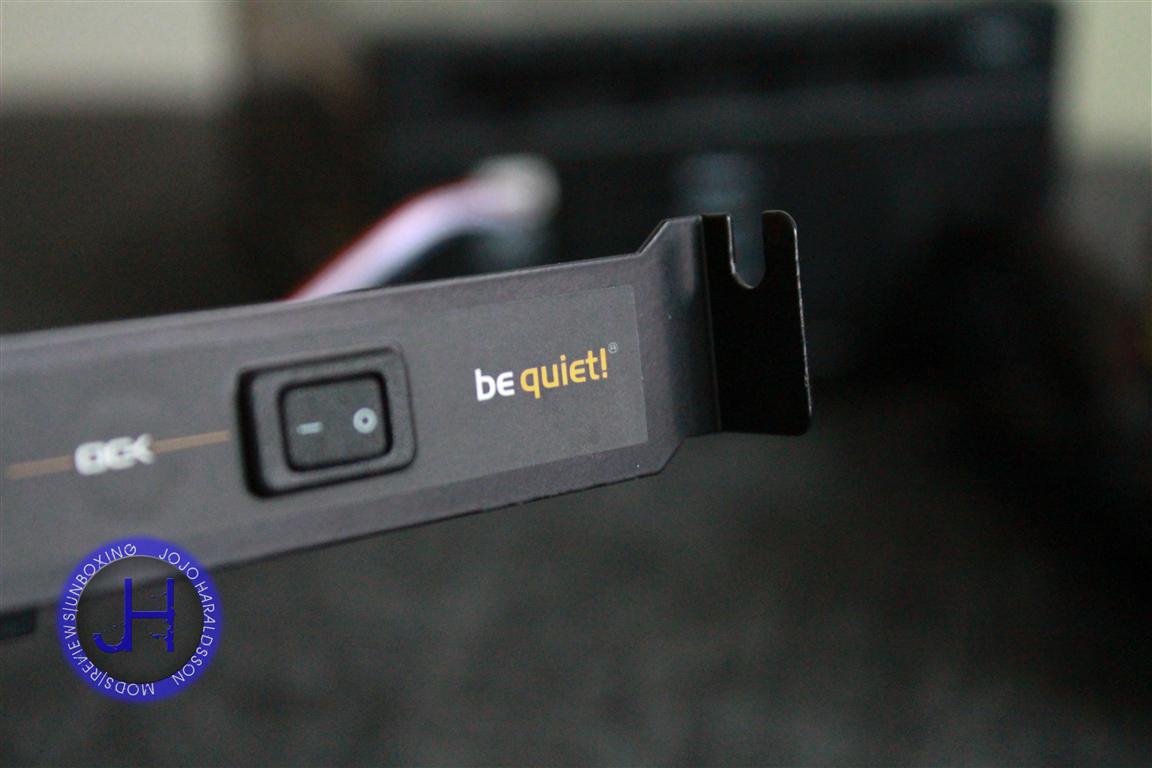
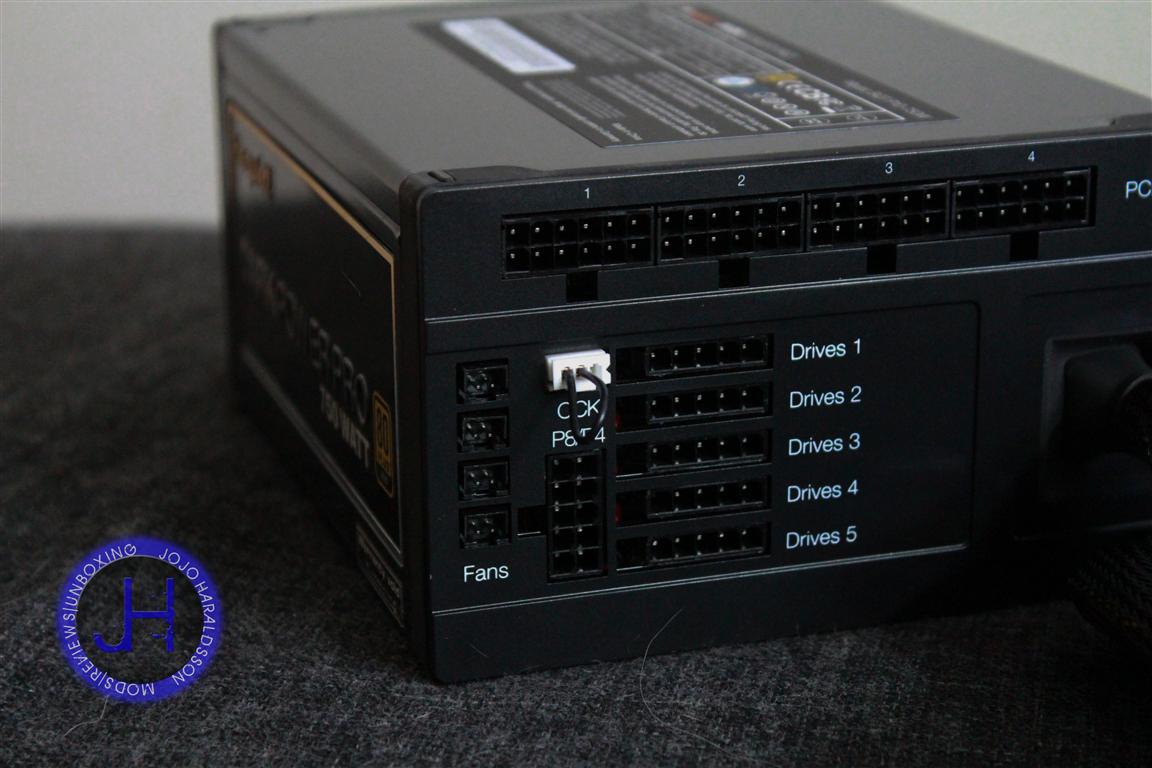
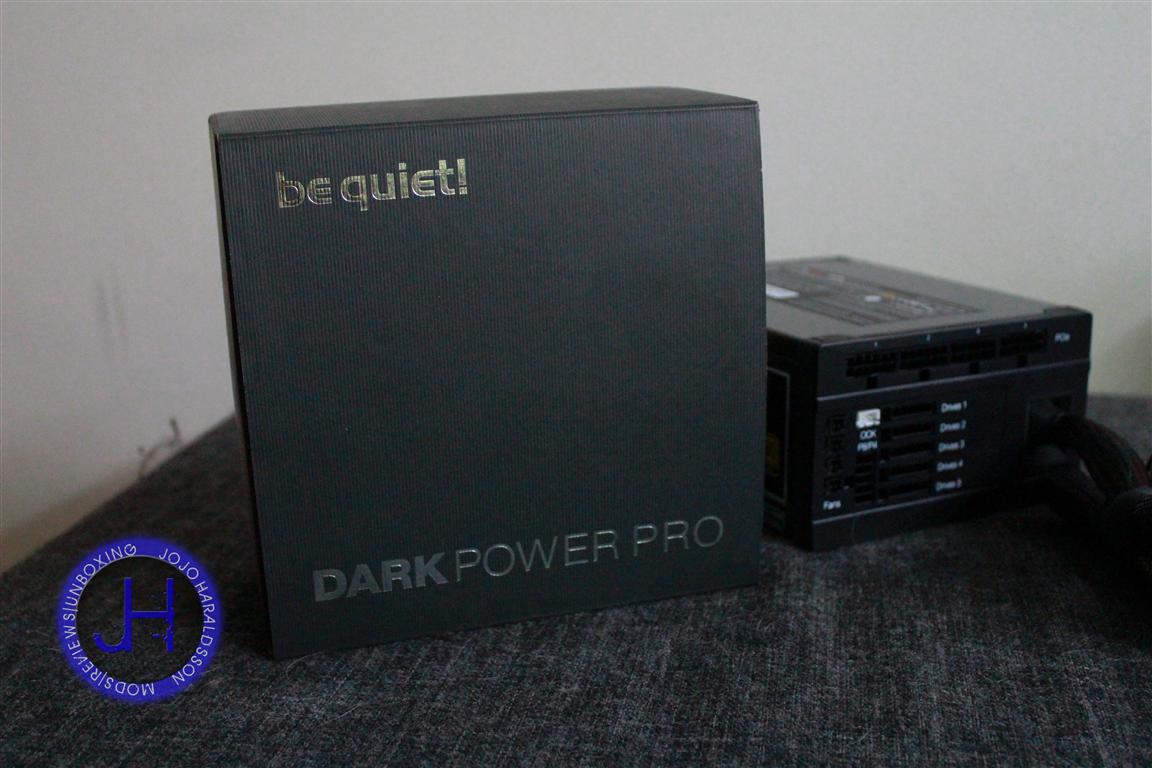
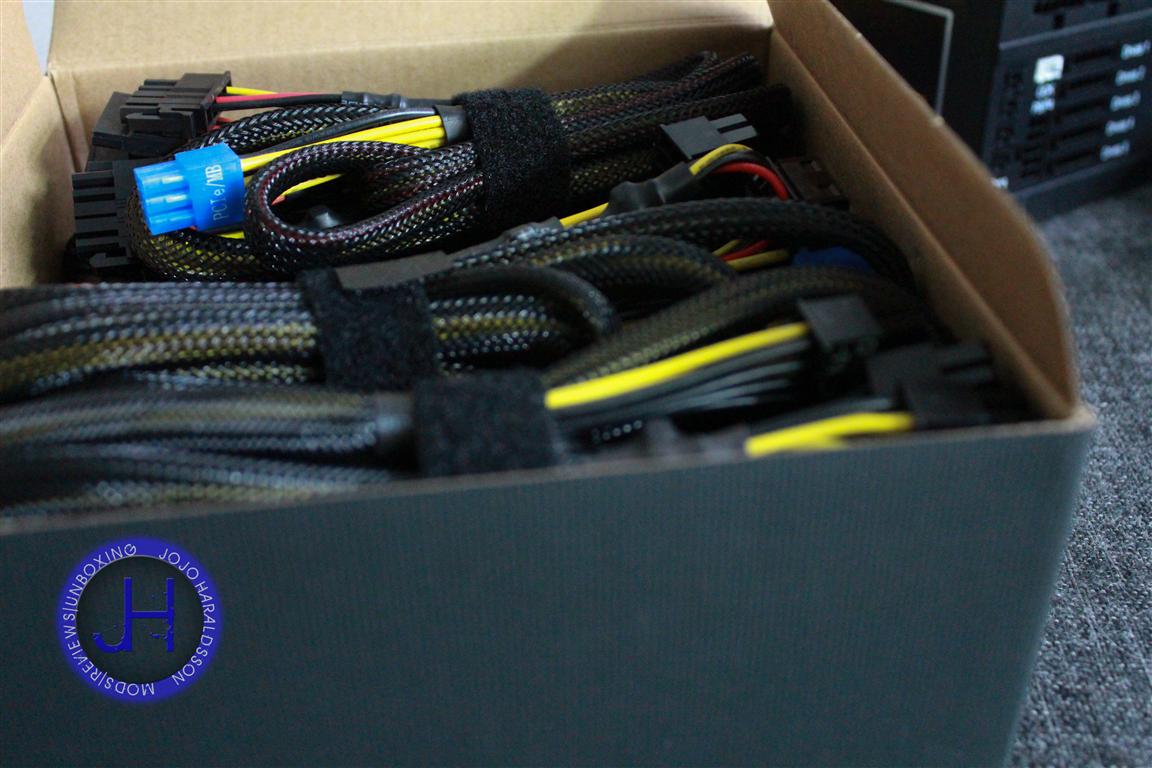
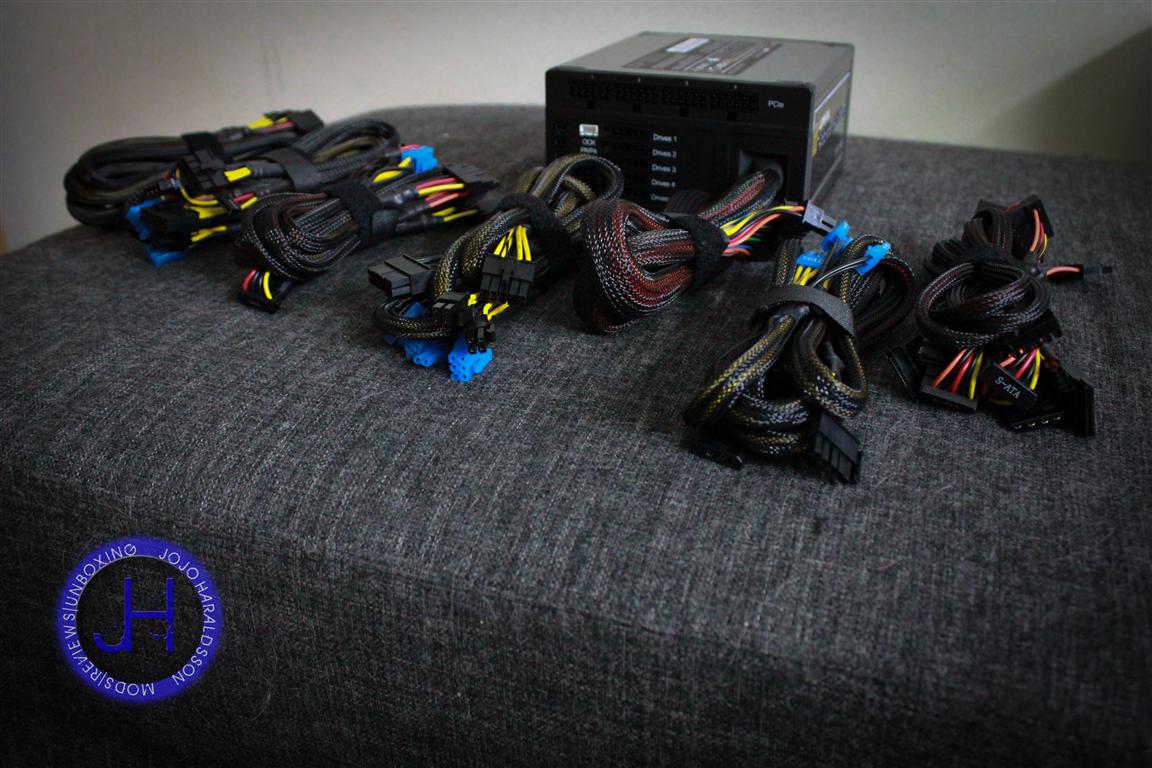
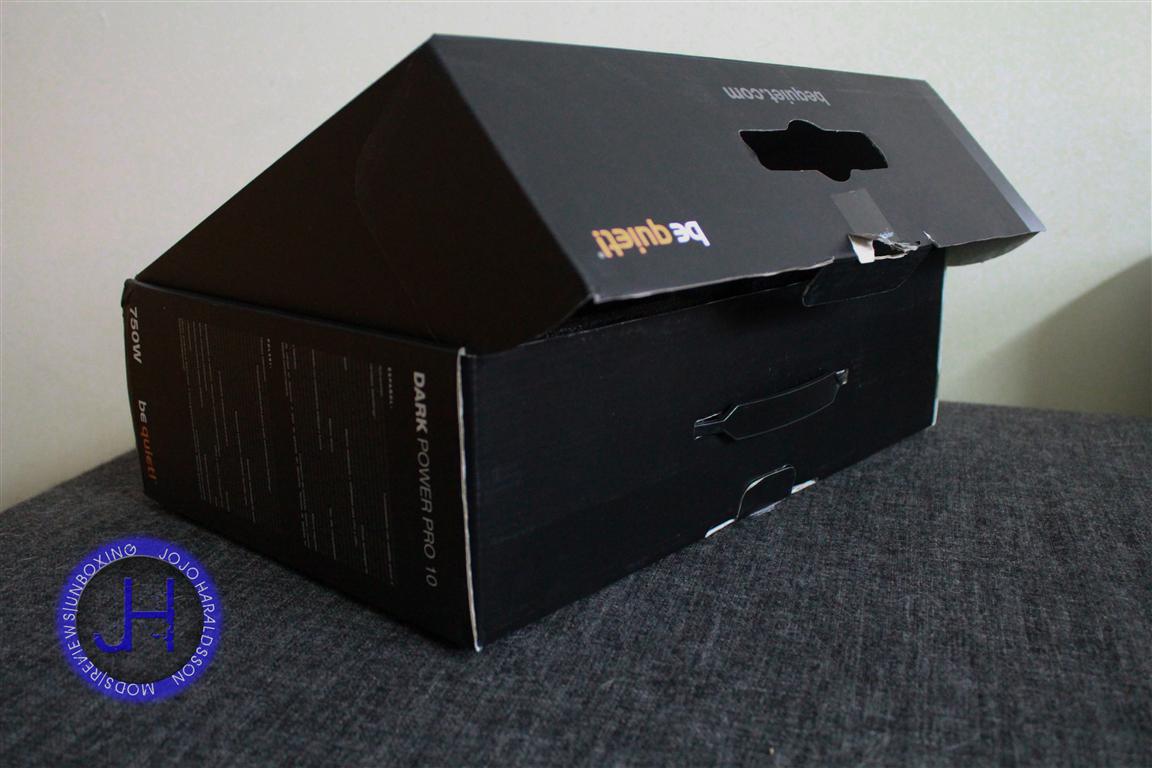
1x Dark Power Pro 750 Watts
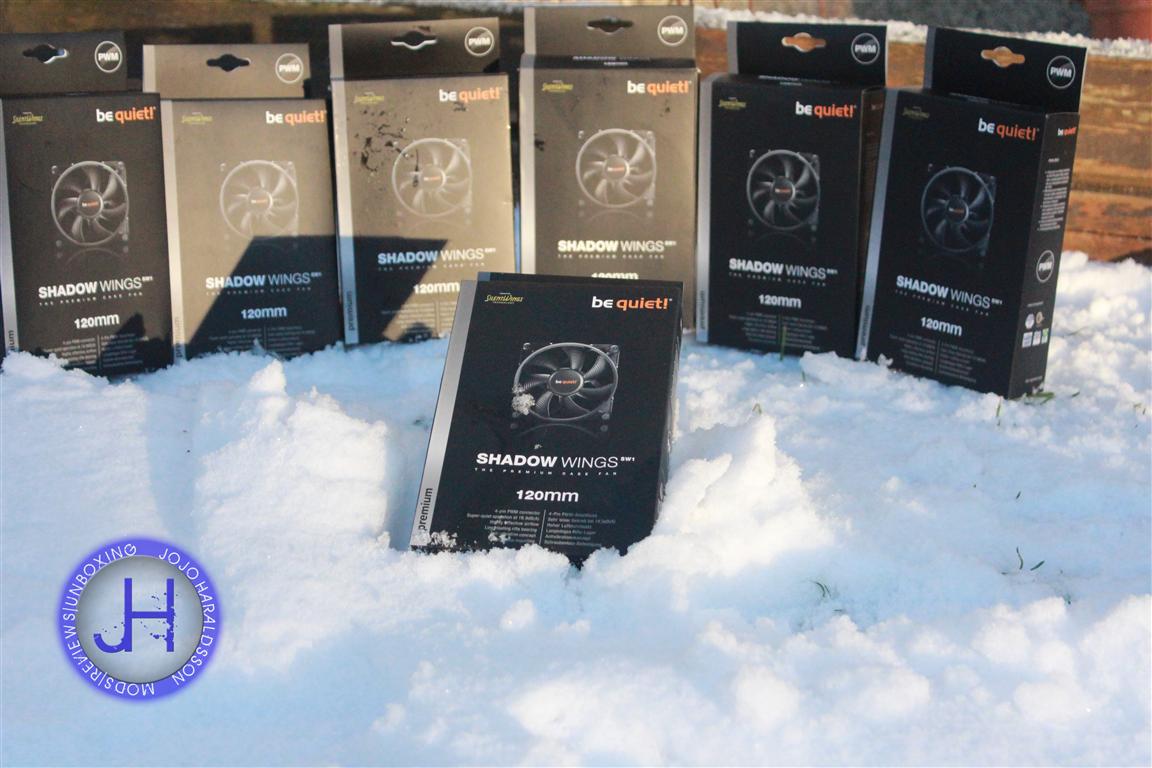
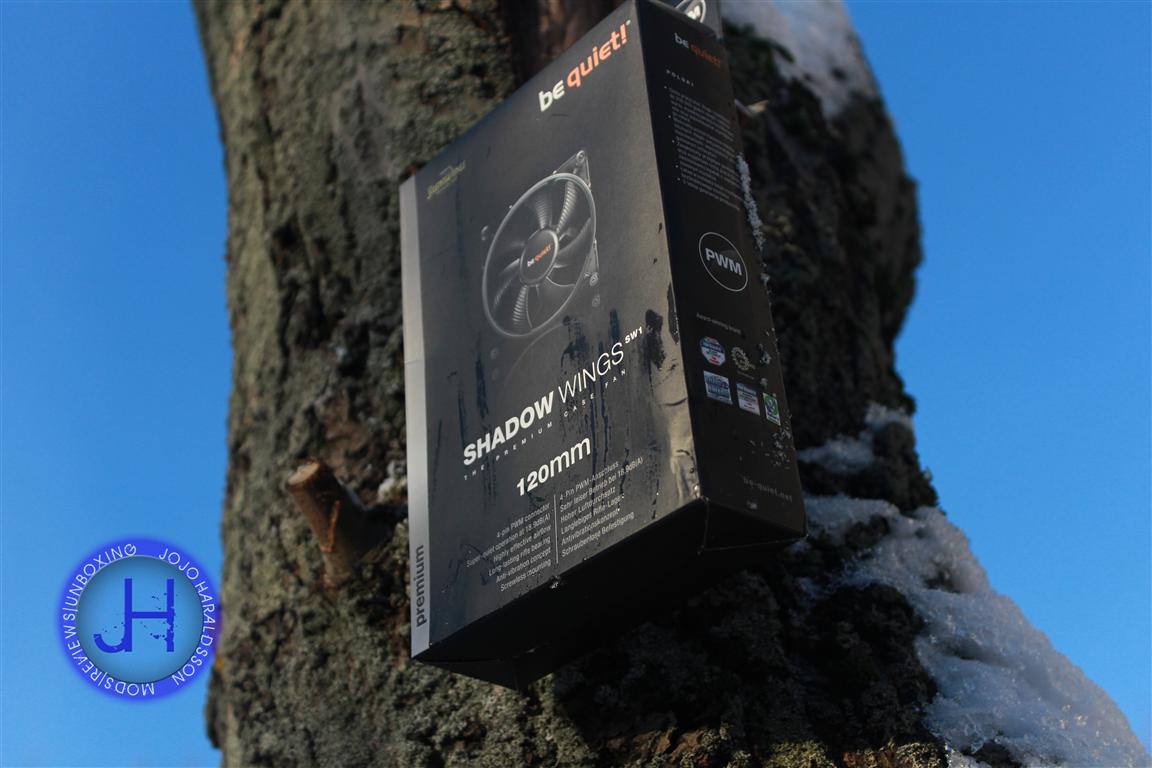
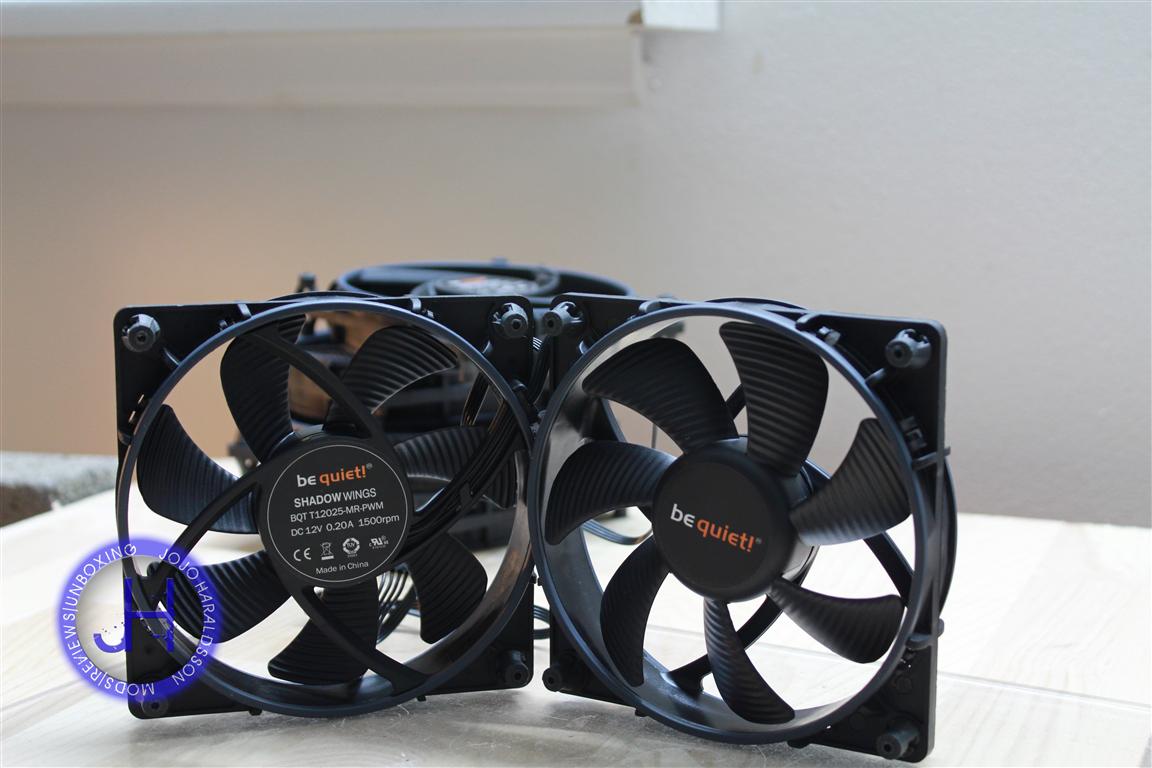
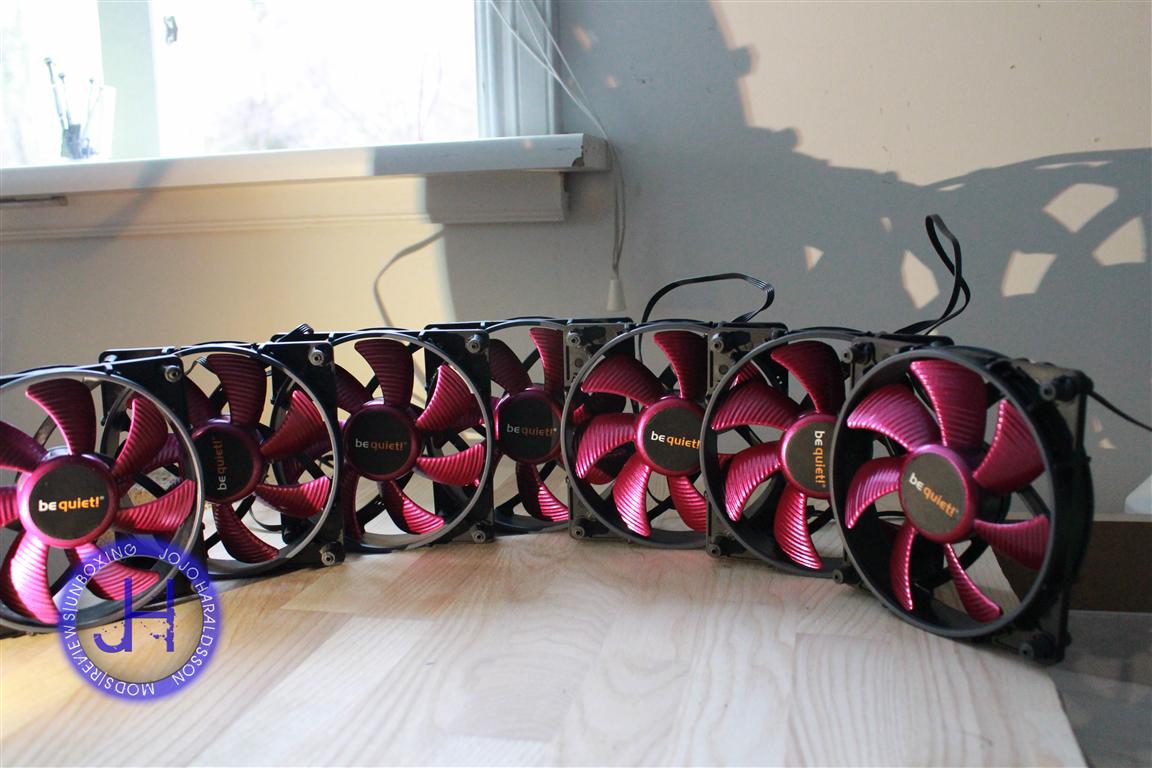
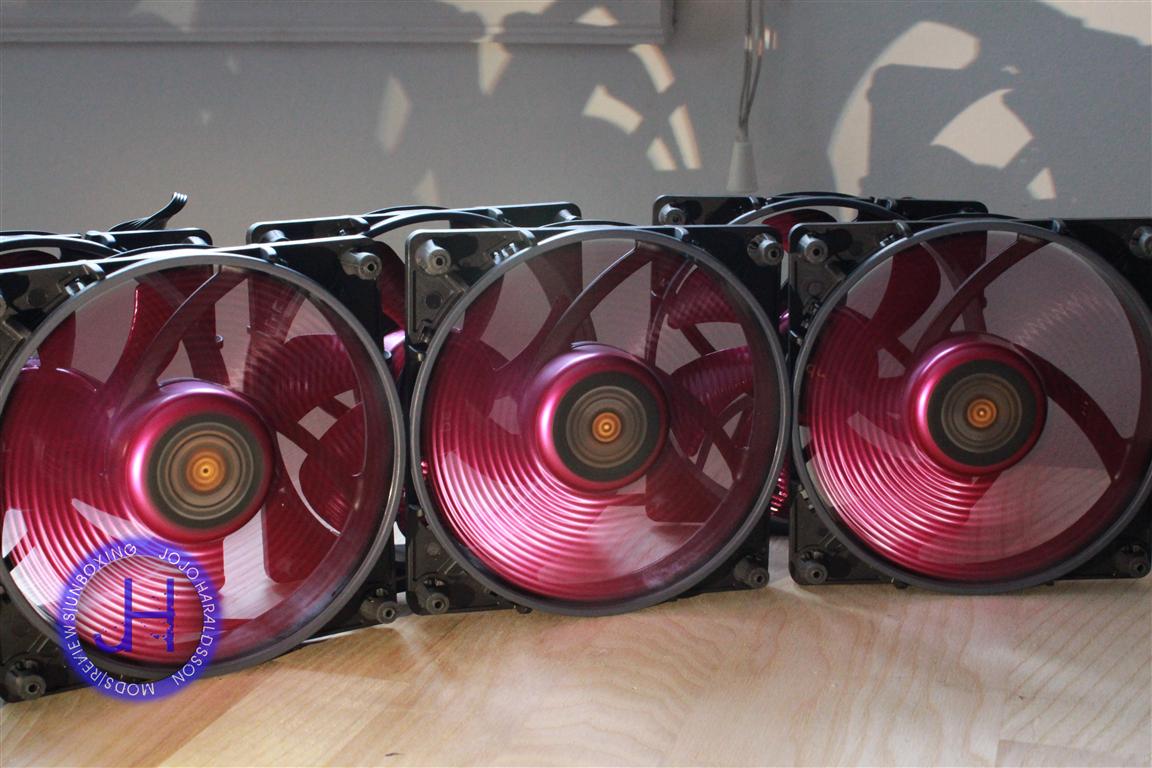
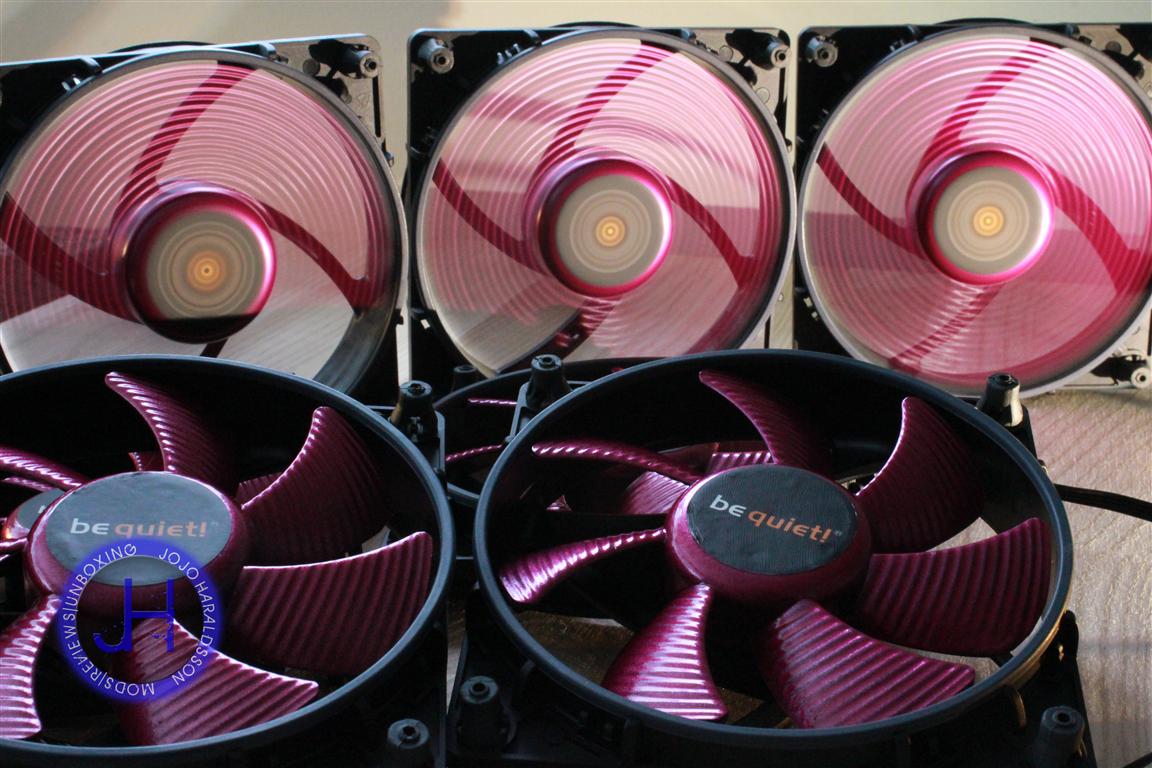
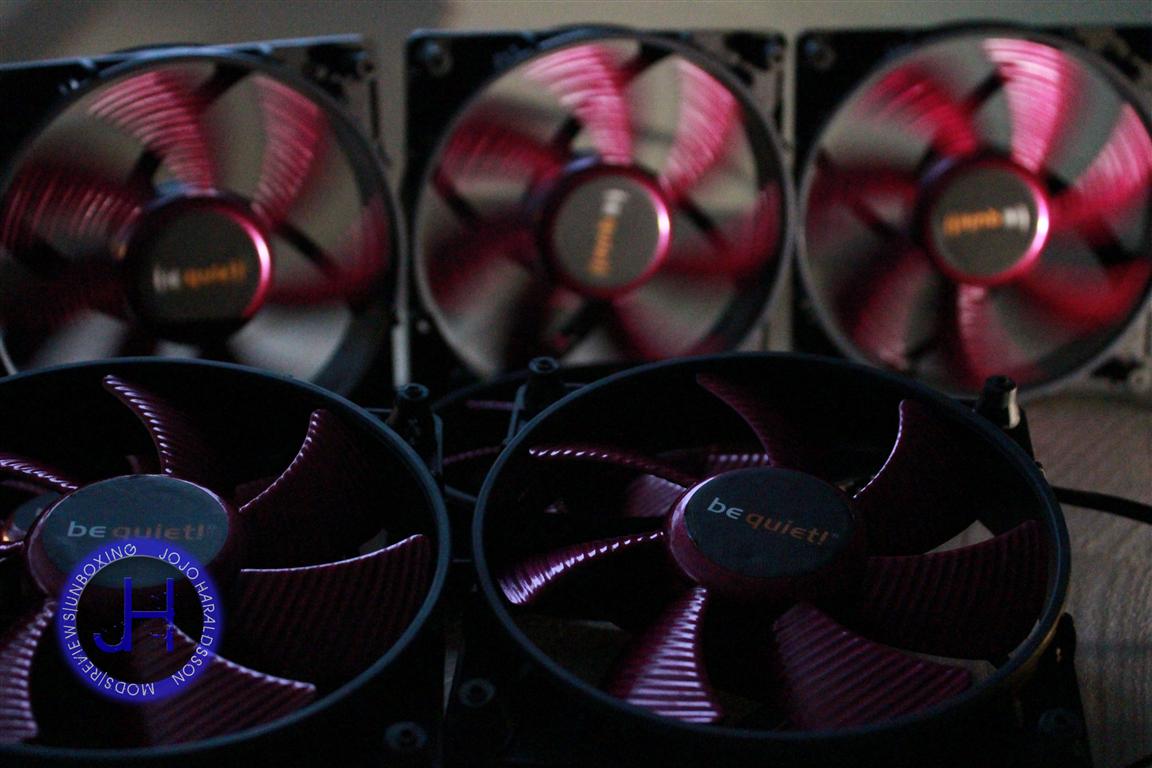
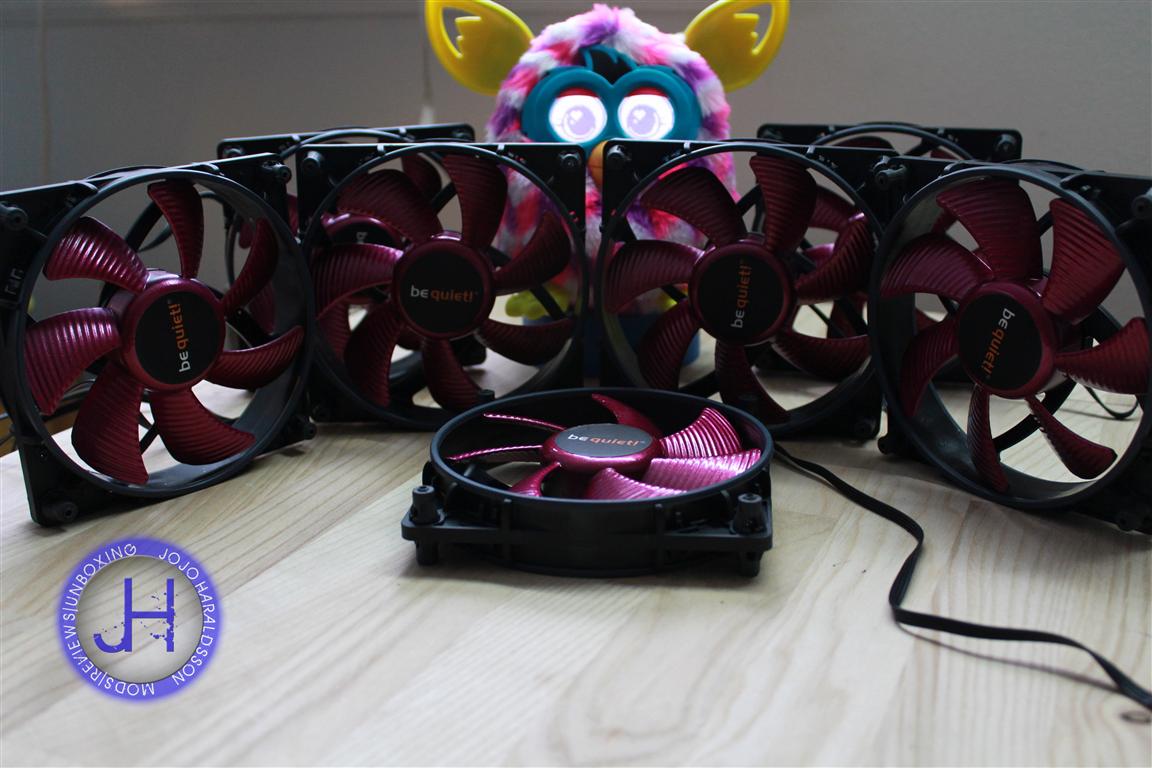
7x Shadow Wings 120mm
Huge thank you to be quiet ,these things will help this build out alot to look good and perform like a charm")
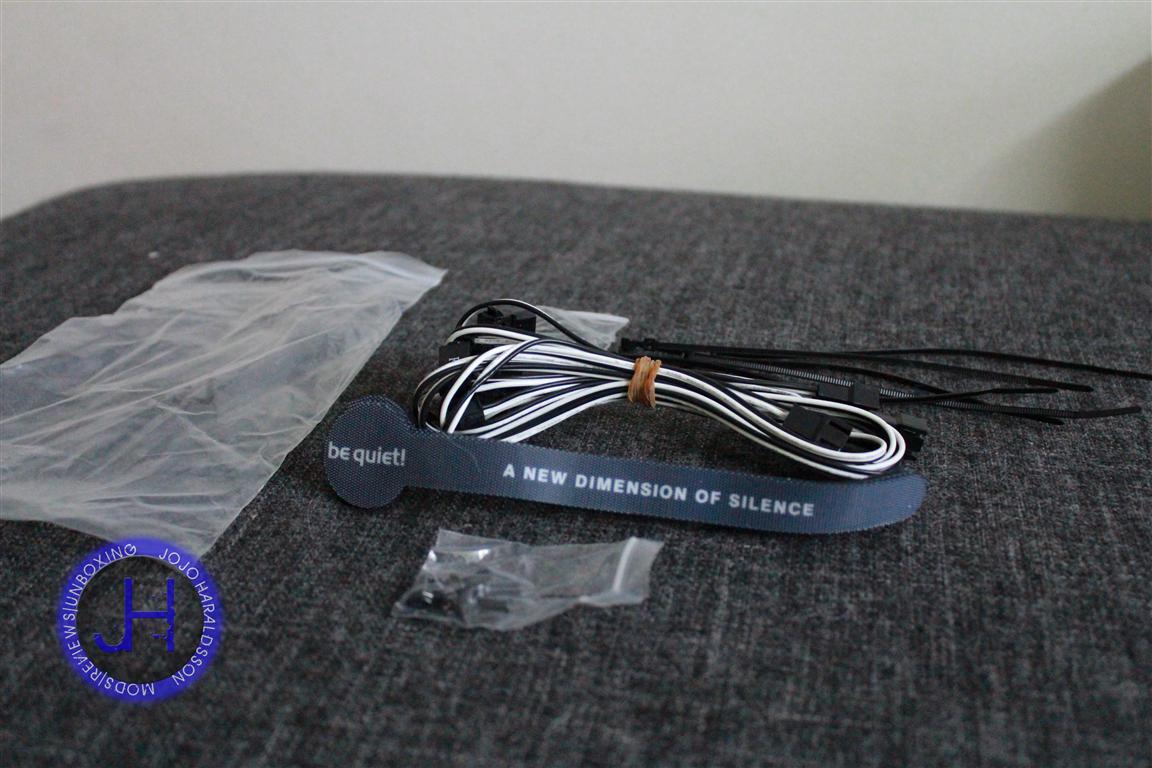
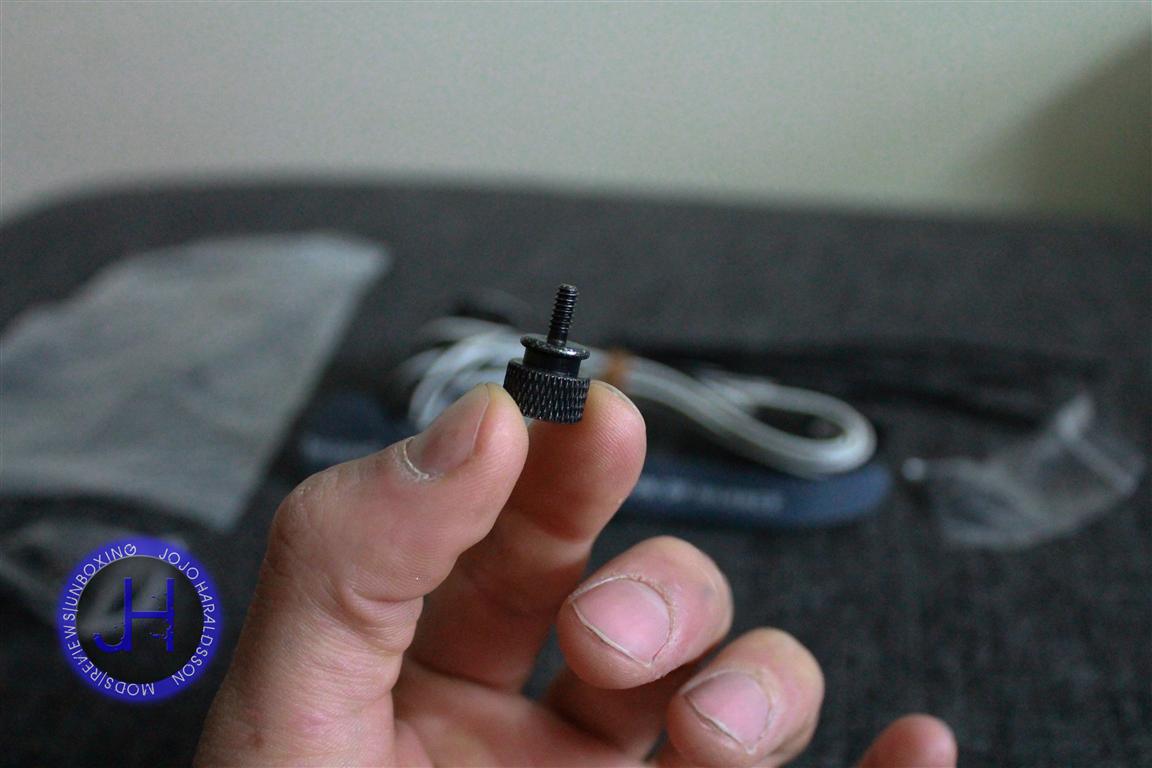
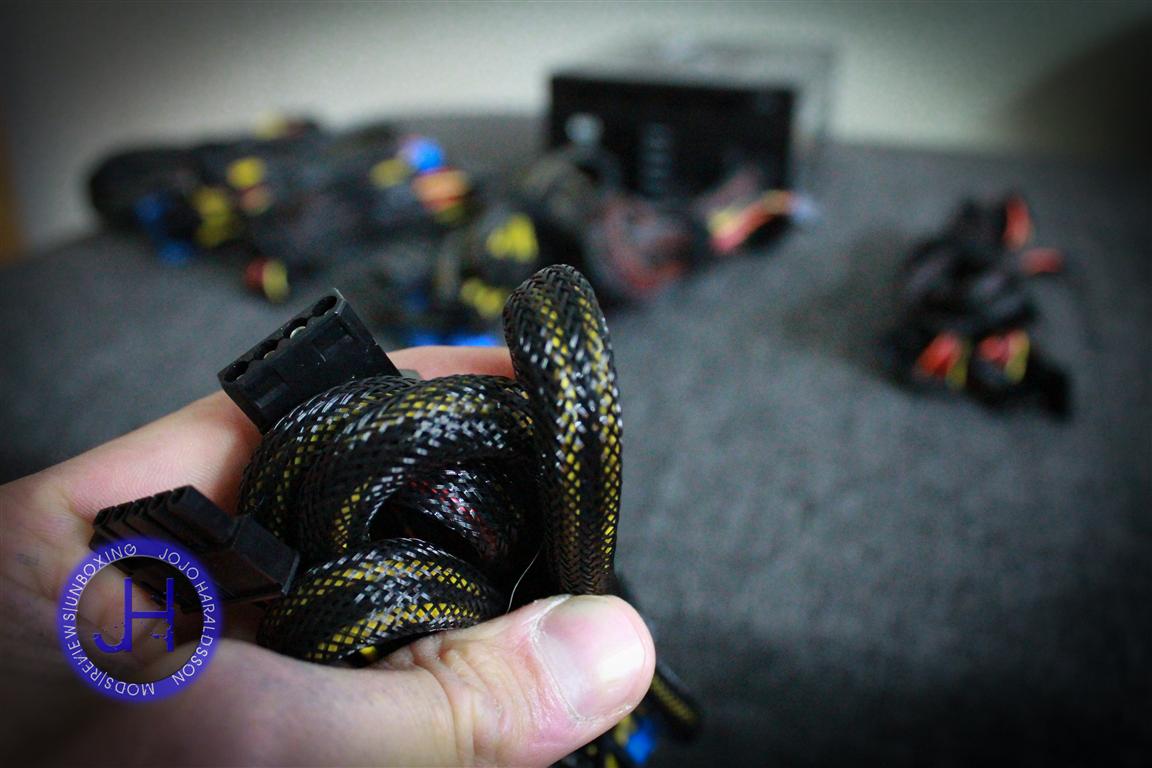
Here are a few pictures,will be showing the contents up closly soon ,and probably review the powersupply.
1x Dark Power Pro 750 Watts
7x Shadow Wings 120mm
Huge thank you to be quiet ,these things will help this build out alot to look good and perform like a charm
Here are a few pictures,will be showing the contents up closly soon ,and probably review the powersupply.

Nobu
[H]F Junkie
- Joined
- Jun 7, 2007
- Messages
- 10,054
Lookin' great, love the paint job on the fans.
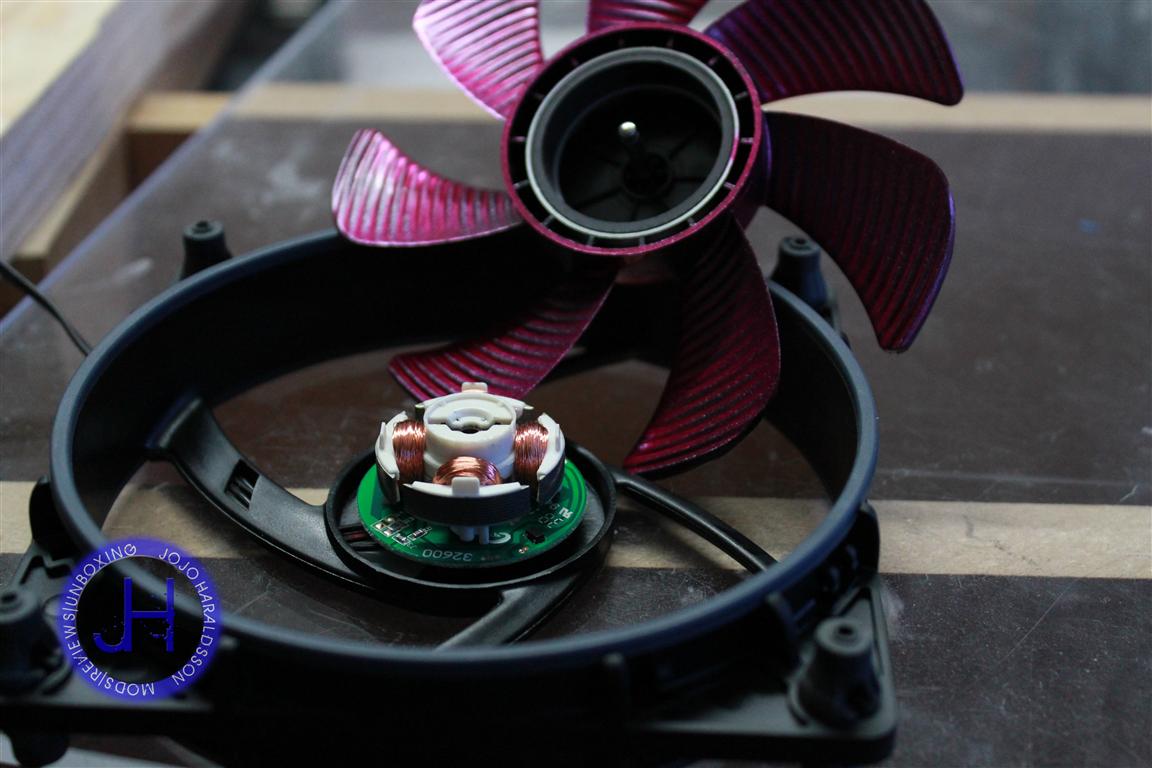
Didn't know you could remove the blades like that with a rifle bearing, good to know.
Didn't know you could remove the blades like that with a rifle bearing, good to know.

Lookin' great, love the paint job on the fans.
Didn't know you could remove the blades like that with a rifle bearing, good to know.
Thank you.
It´s a pain to remove those without damaging
but it worked out.


ClutchAutomatic
Limp Gawd
- Joined
- Sep 17, 2013
- Messages
- 359
Wow you are doing an incredible job keep it up!
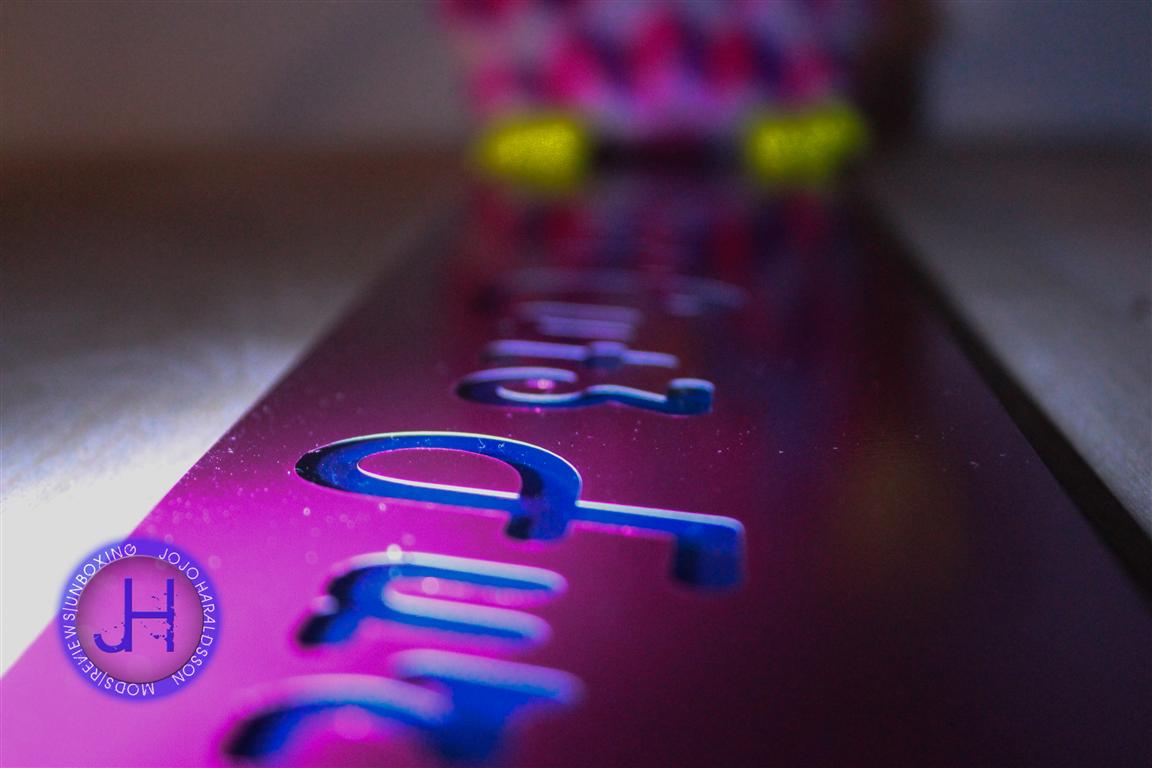
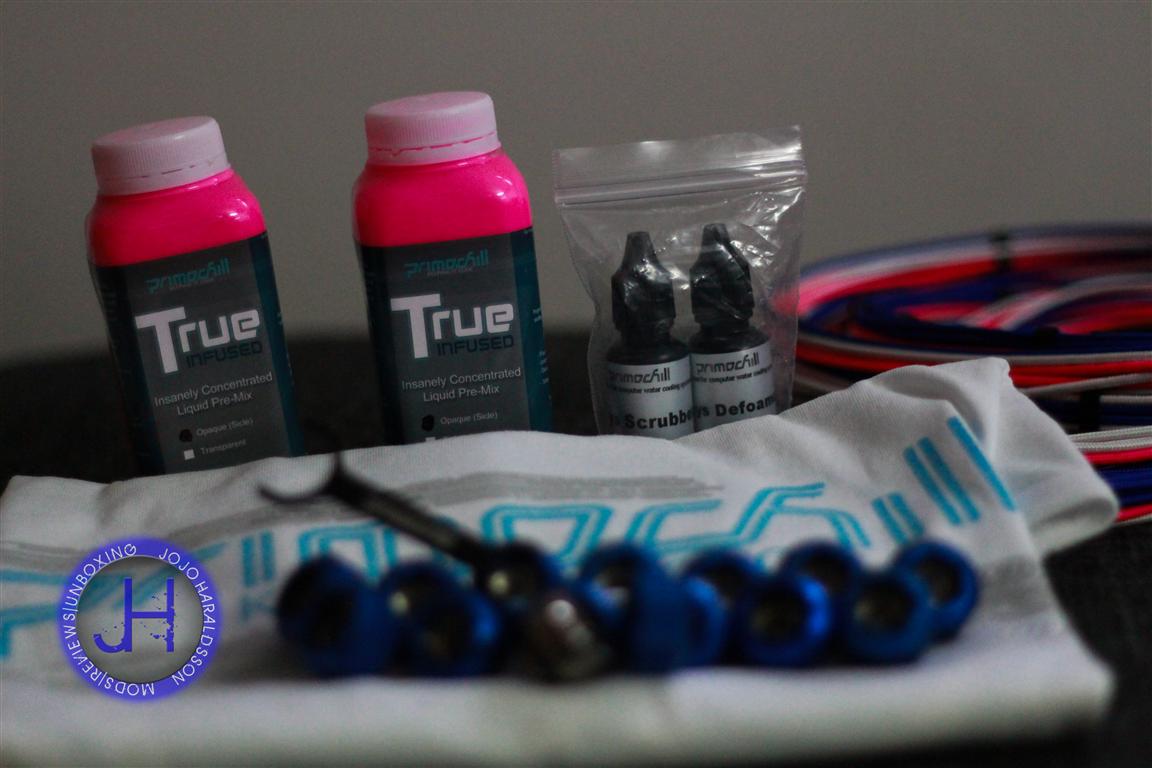
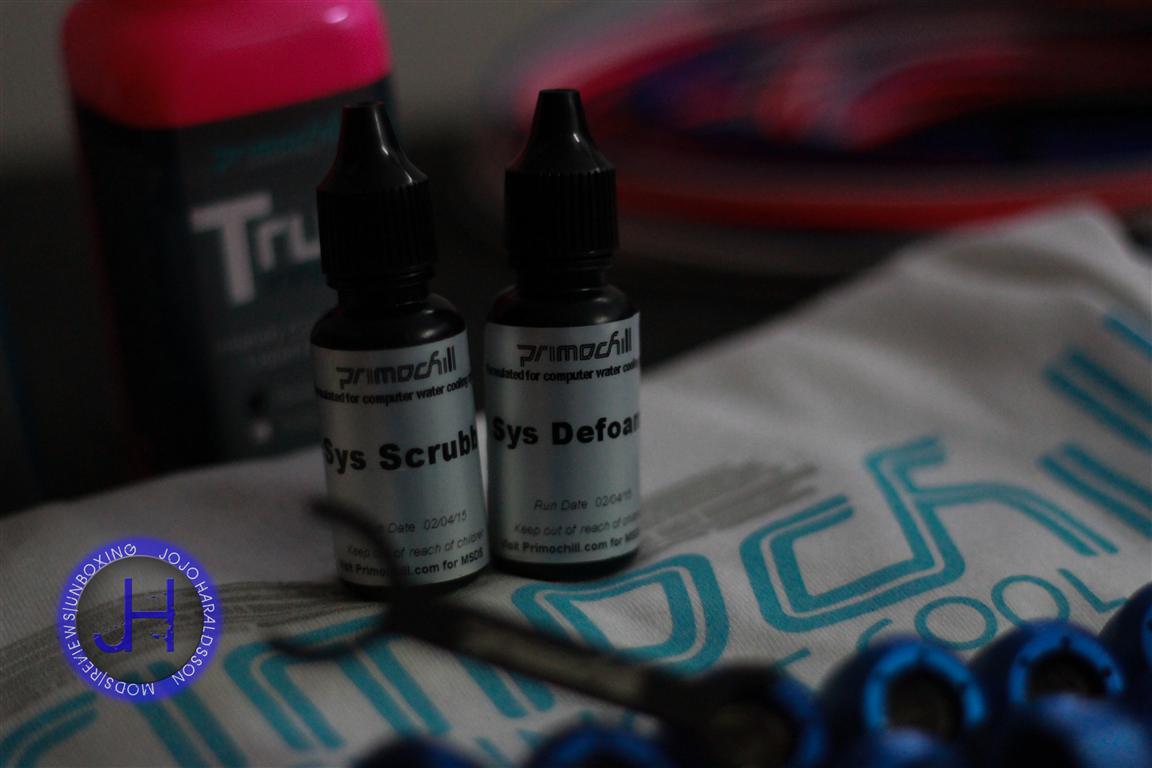
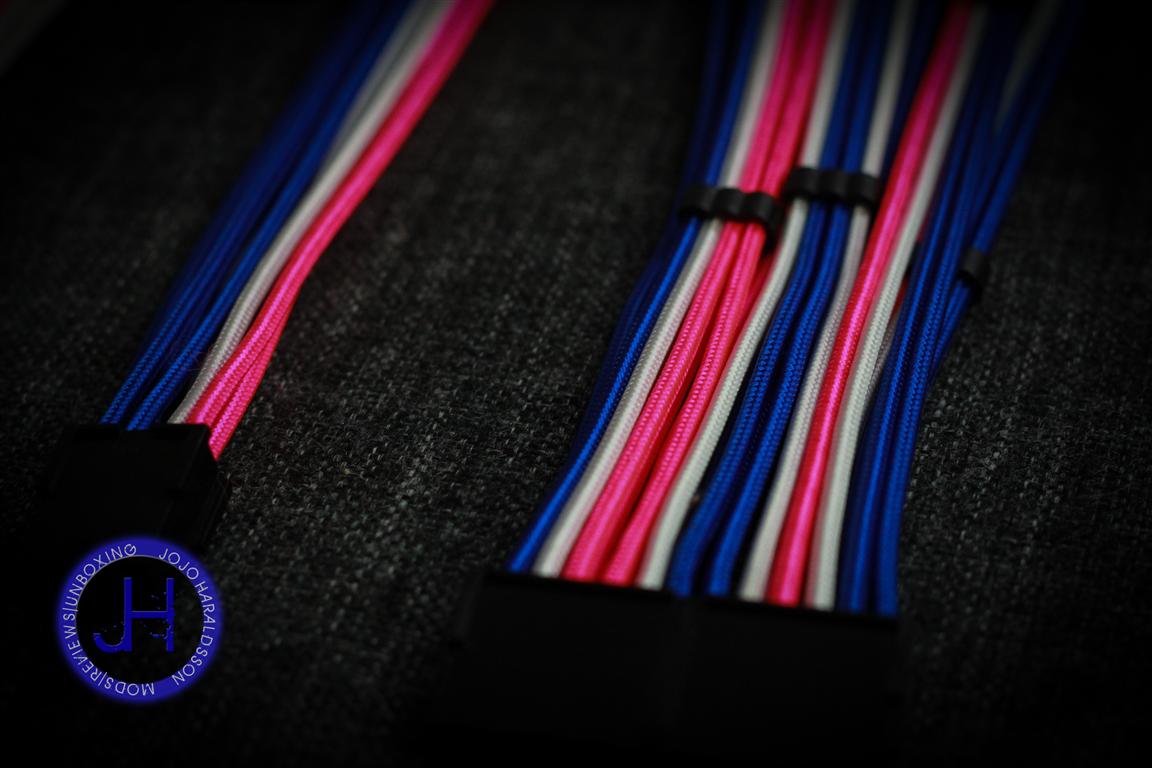
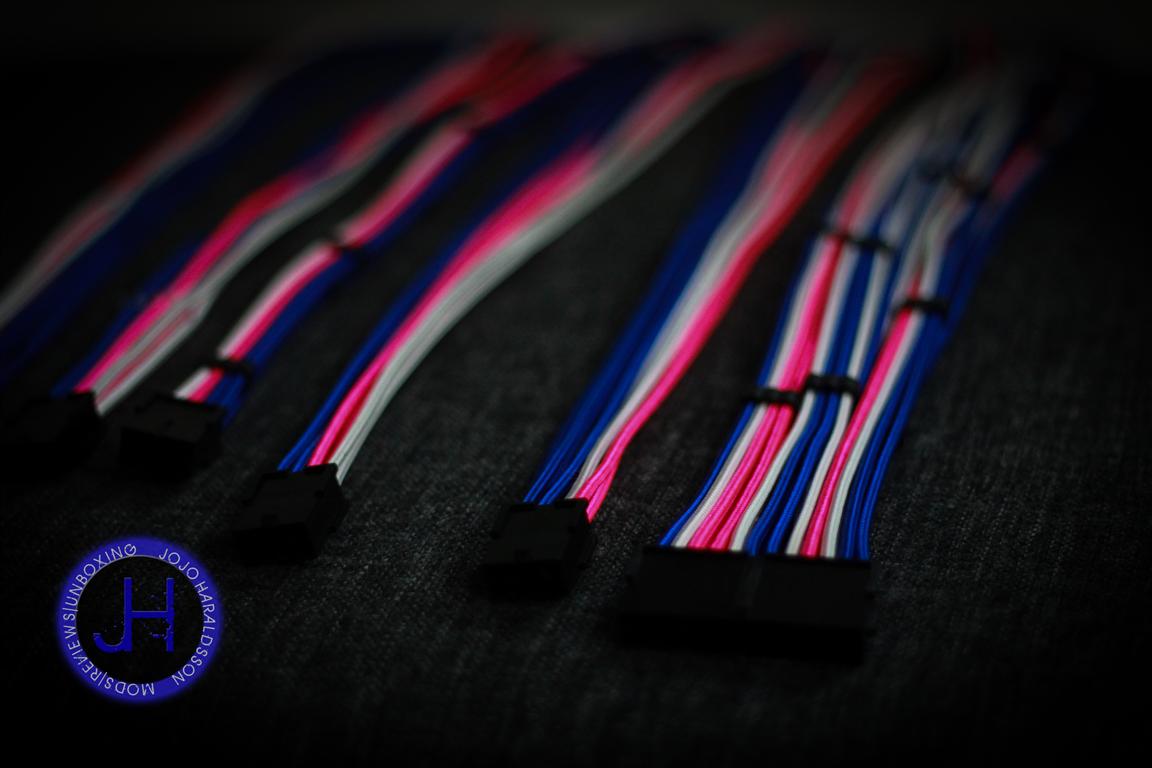
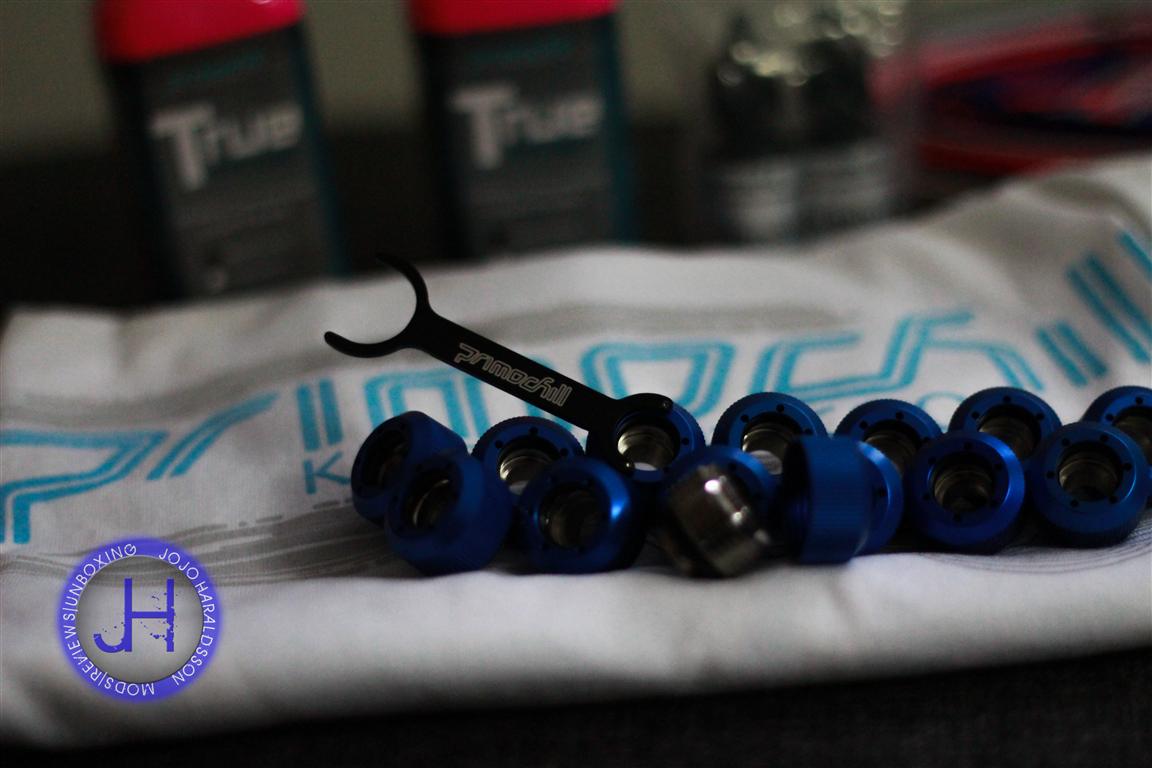
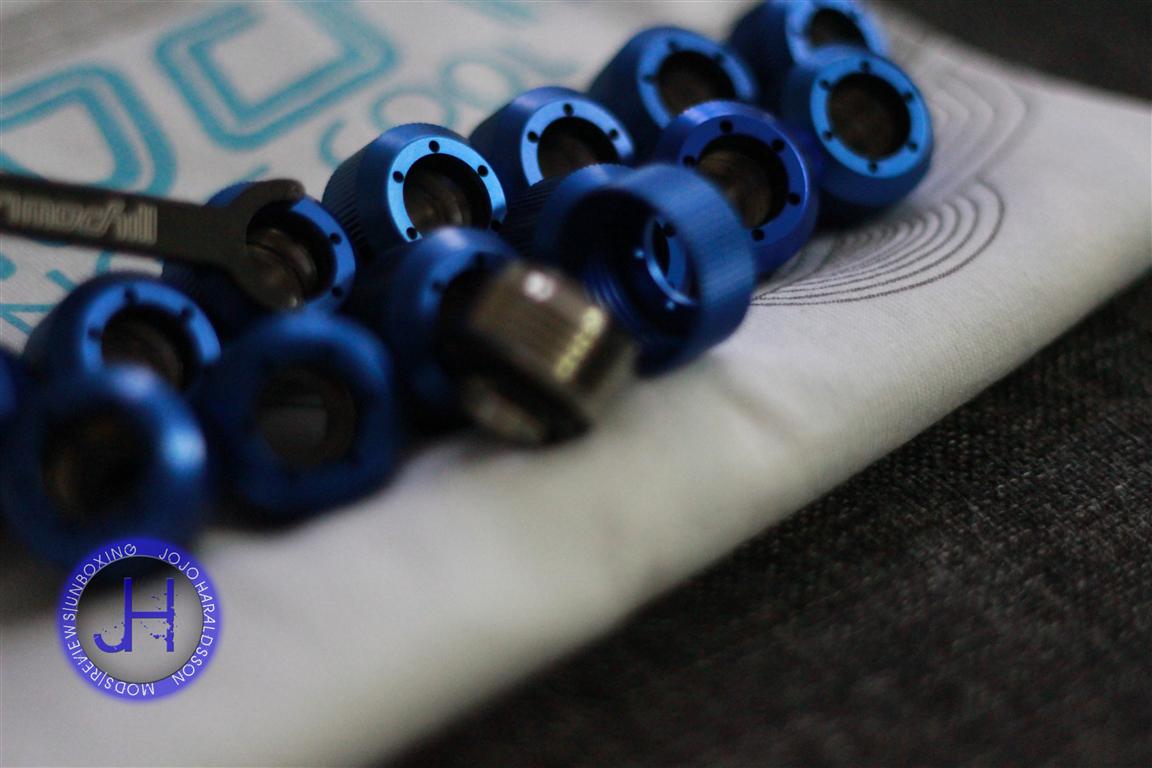
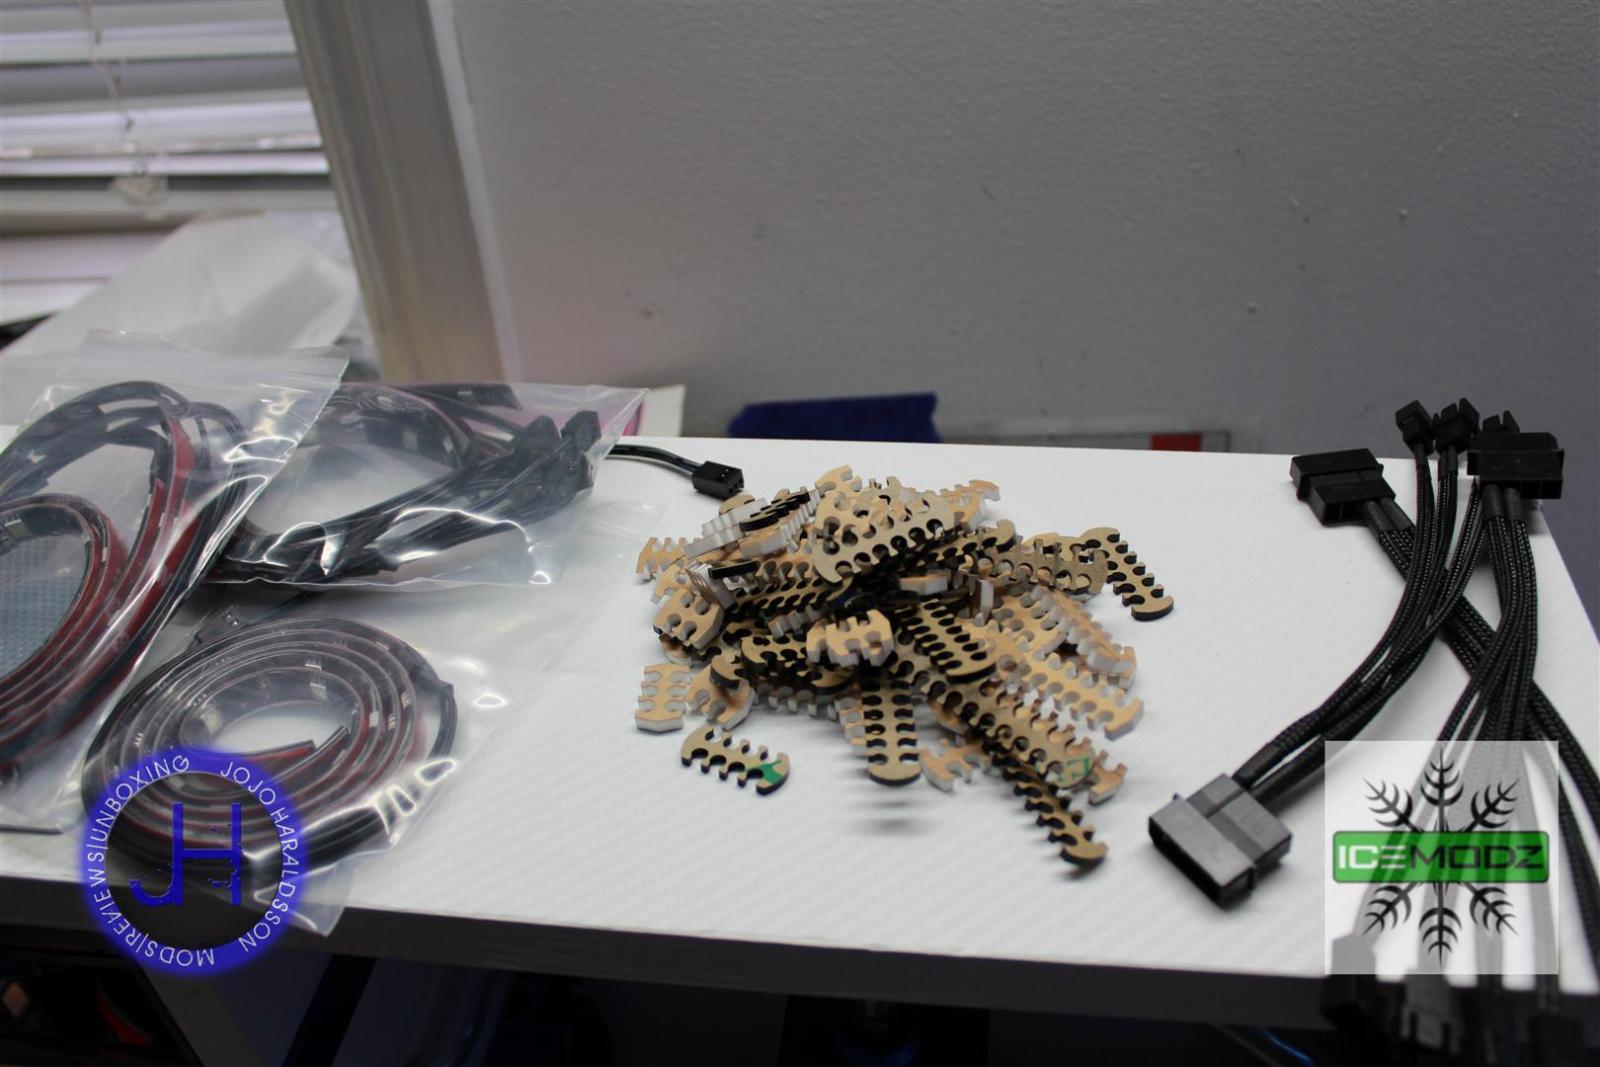
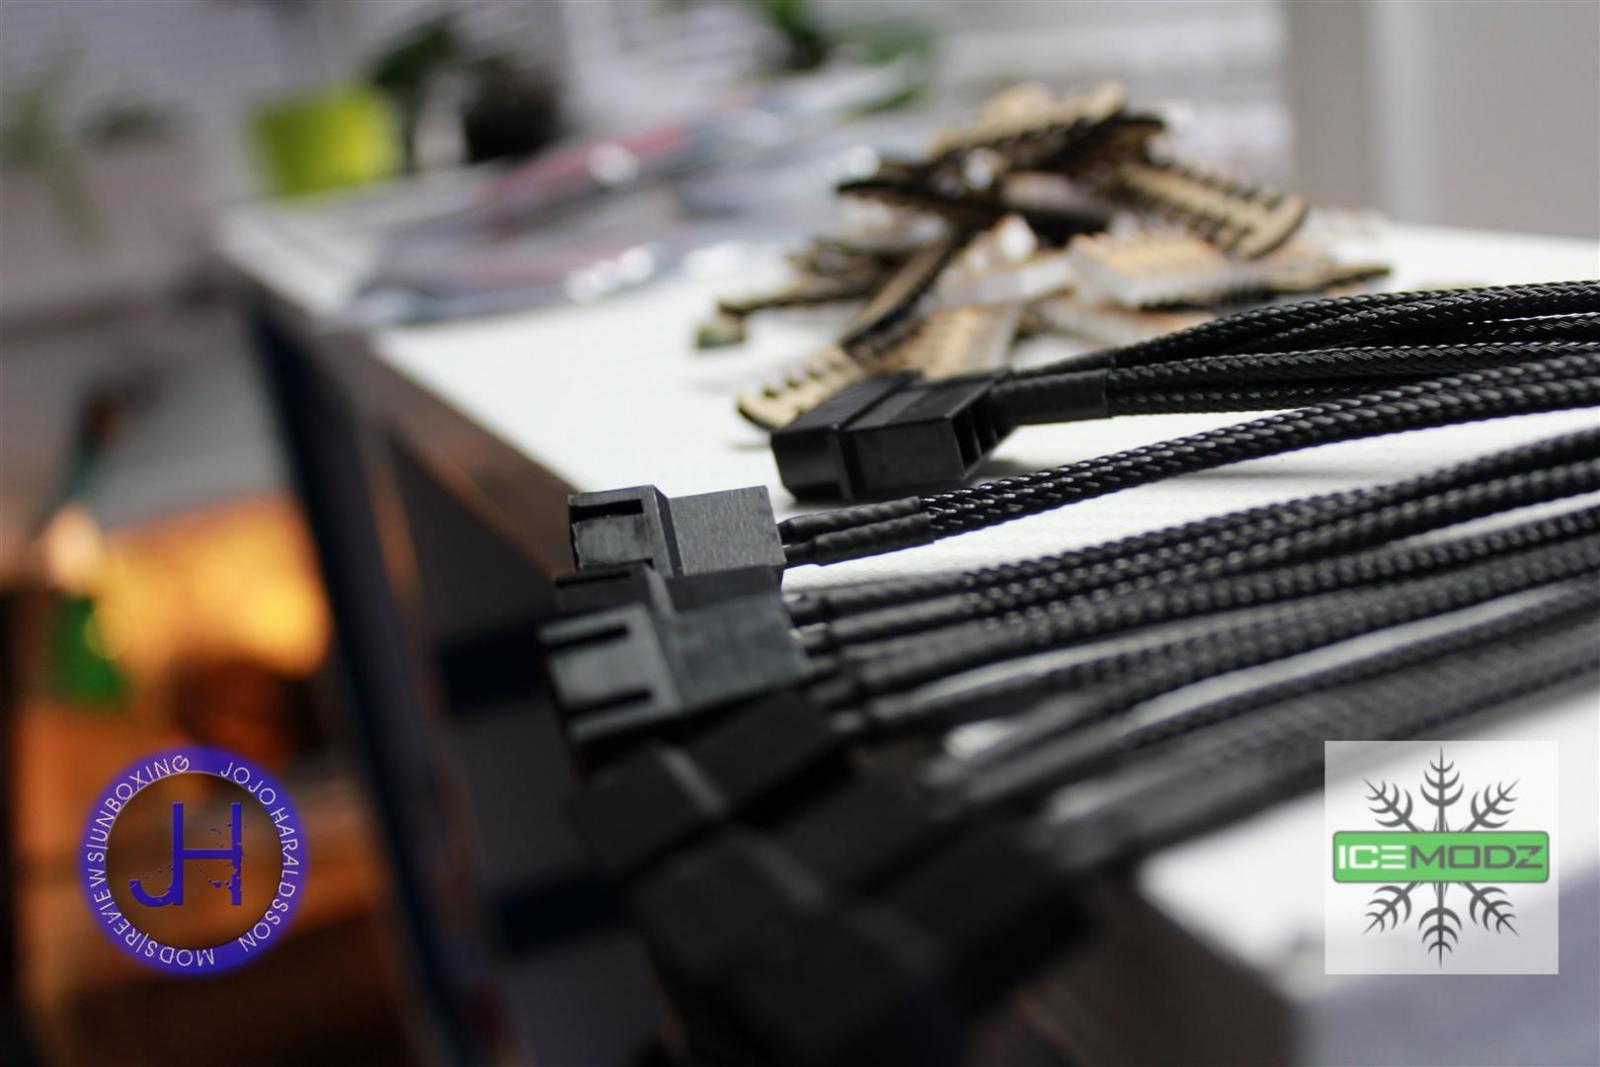
Very proud to announce my new sponsors for this Build,
Primochill were so kind and sending me some of there not yet officialy released fluid for testing [ To be released soon ]
and the awsome revolver fittings (used them before and i really think they are not only amazing in looks but also very secure and great quality.
And a whole set of Awsome sleeved cables with the Cut3 furb theme in mind.
This will look so good once installed and filled

Primochill were so kind and sending me some of there not yet officialy released fluid for testing [ To be released soon
]and the awsome revolver fittings (used them before and i really think they are not only amazing in looks but also very secure and great quality.
And a whole set of Awsome sleeved cables with the Cut3 furb theme in mind.
This will look so good once installed and filled
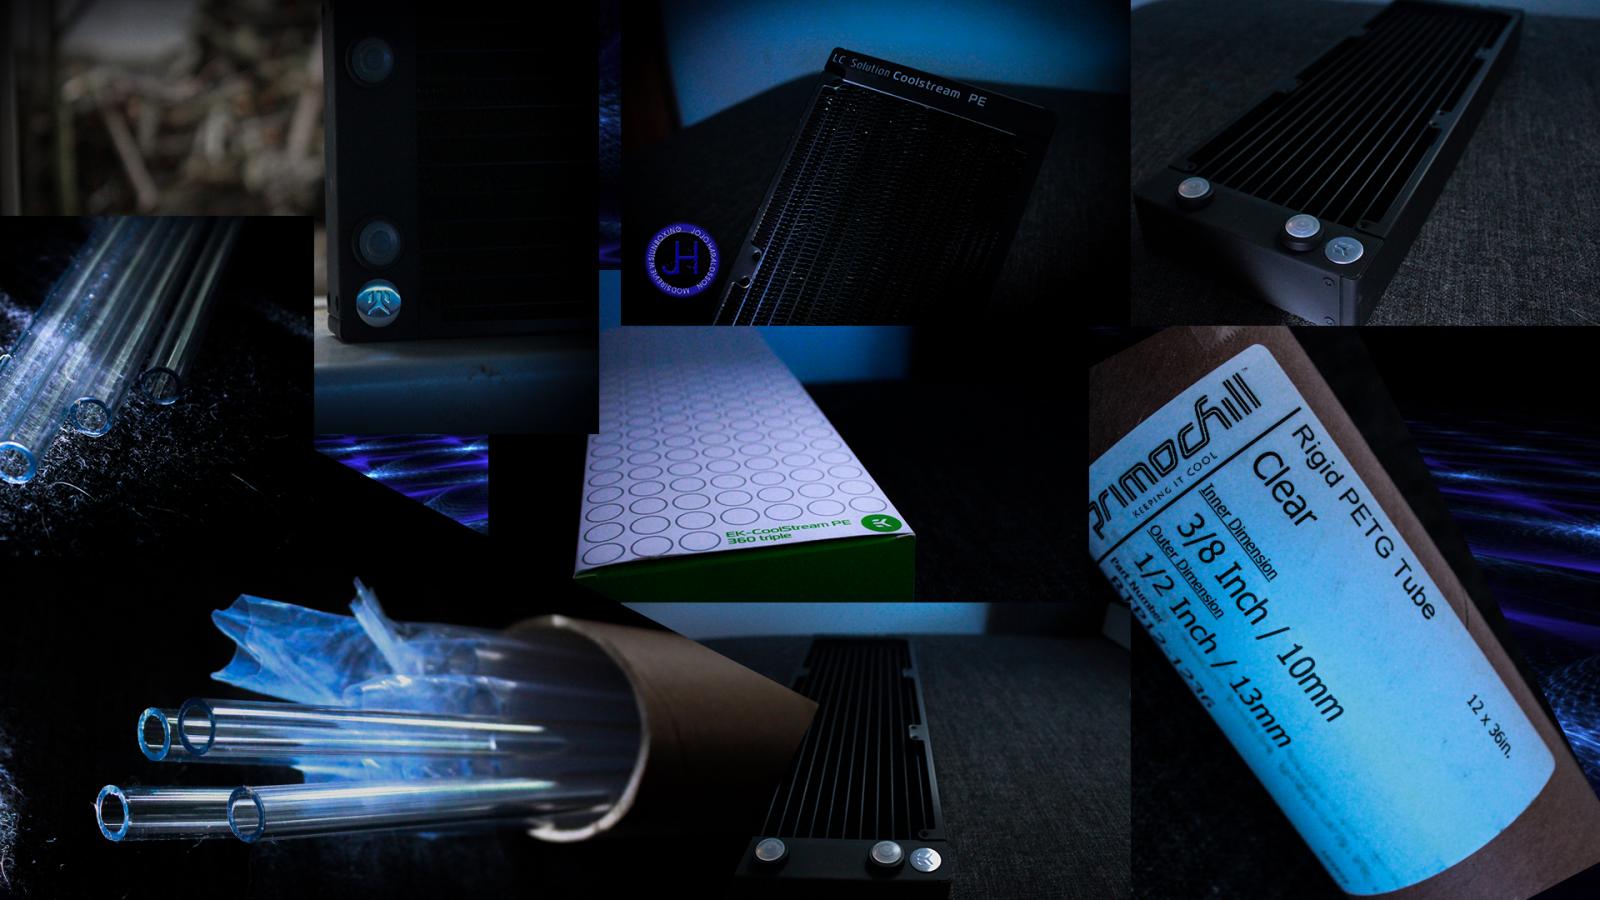
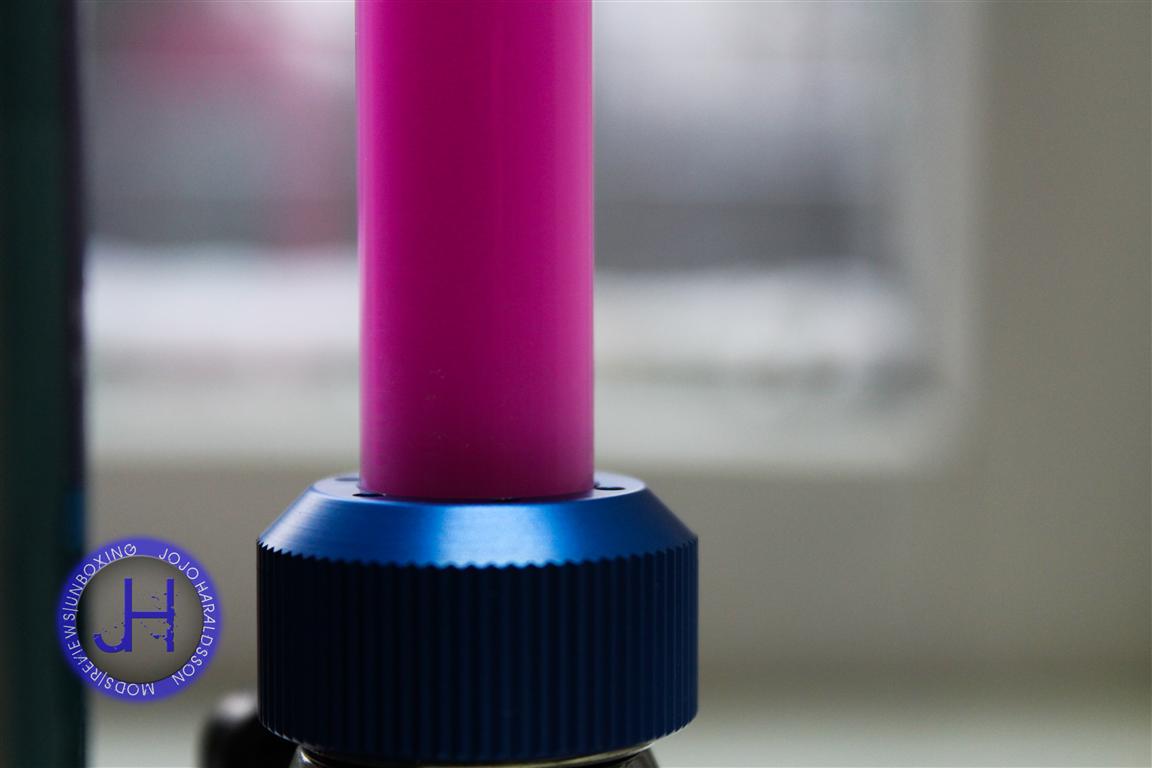
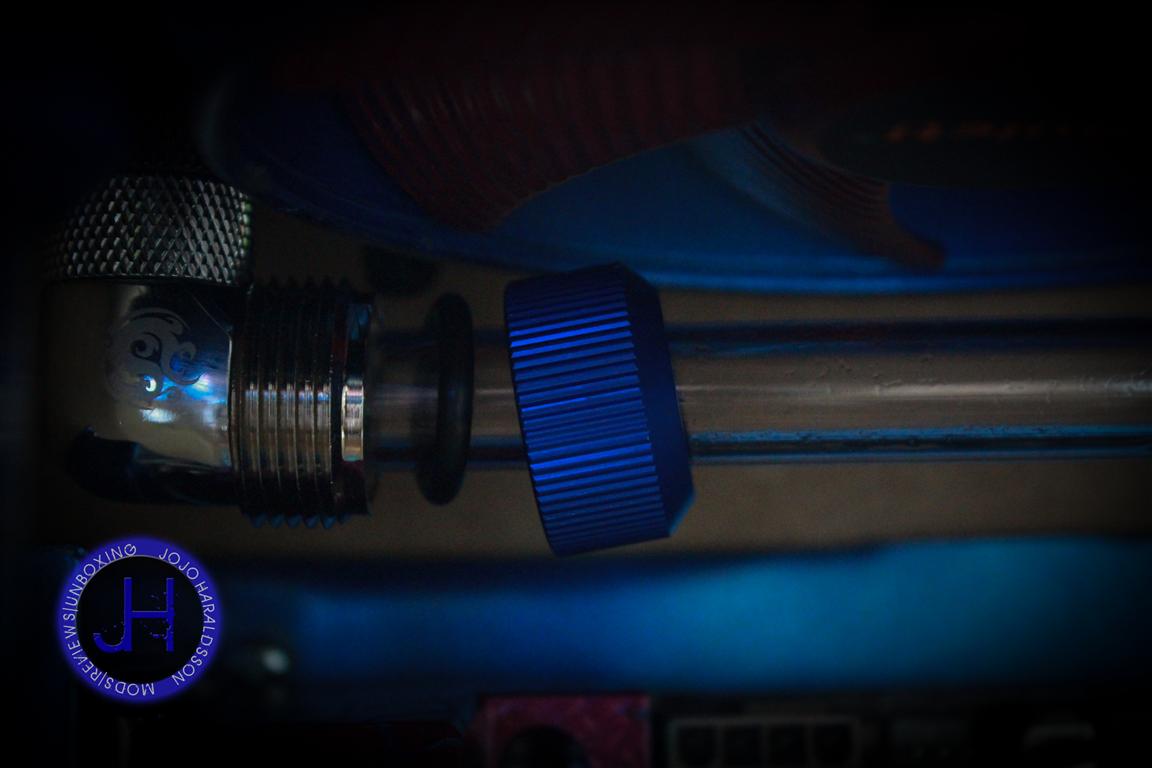
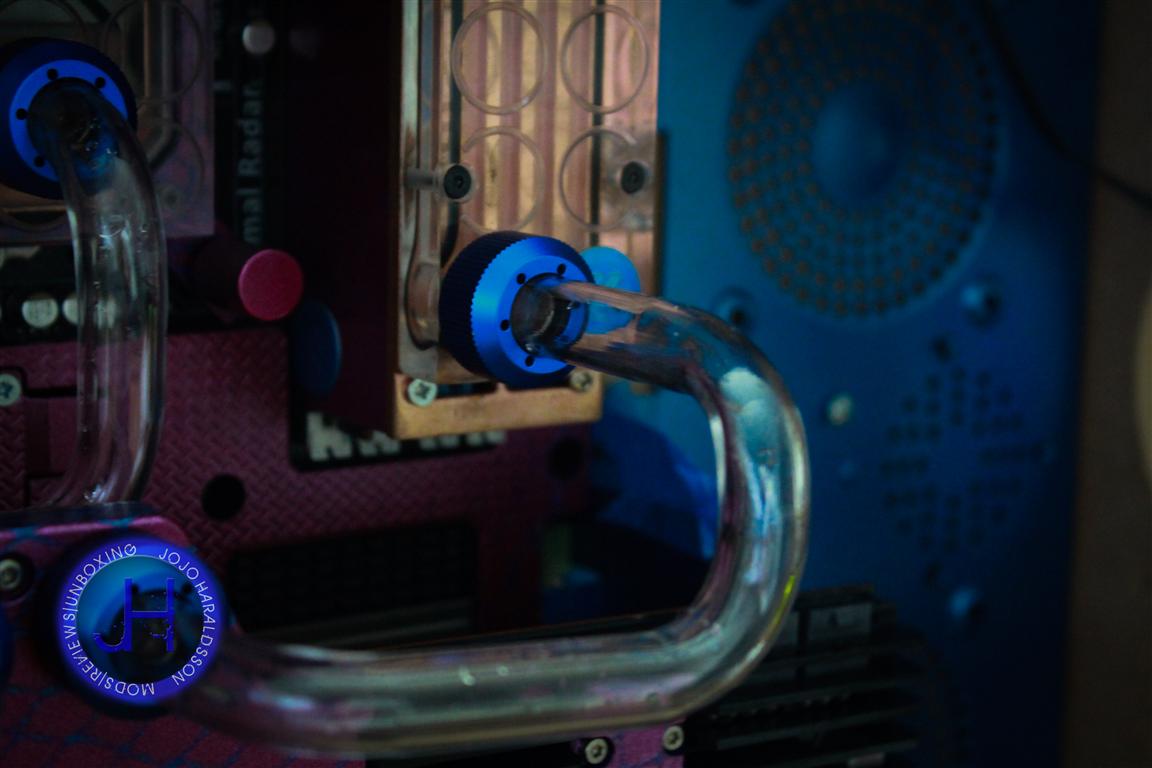
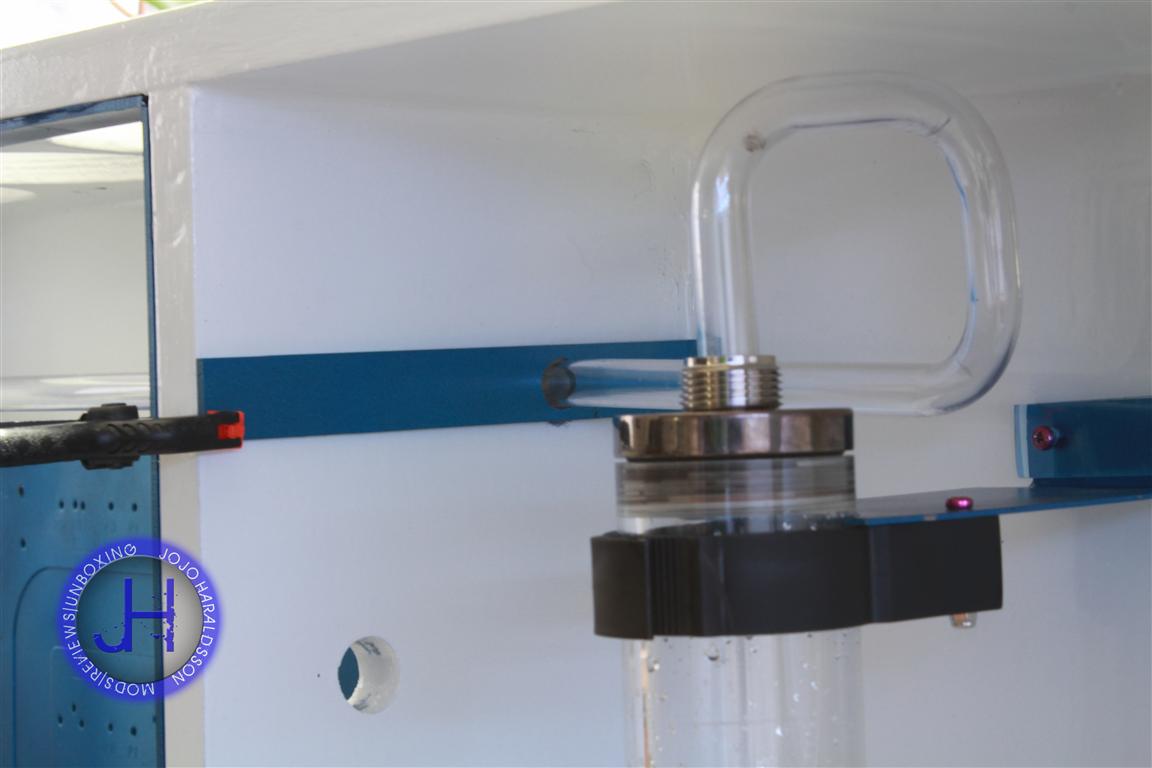
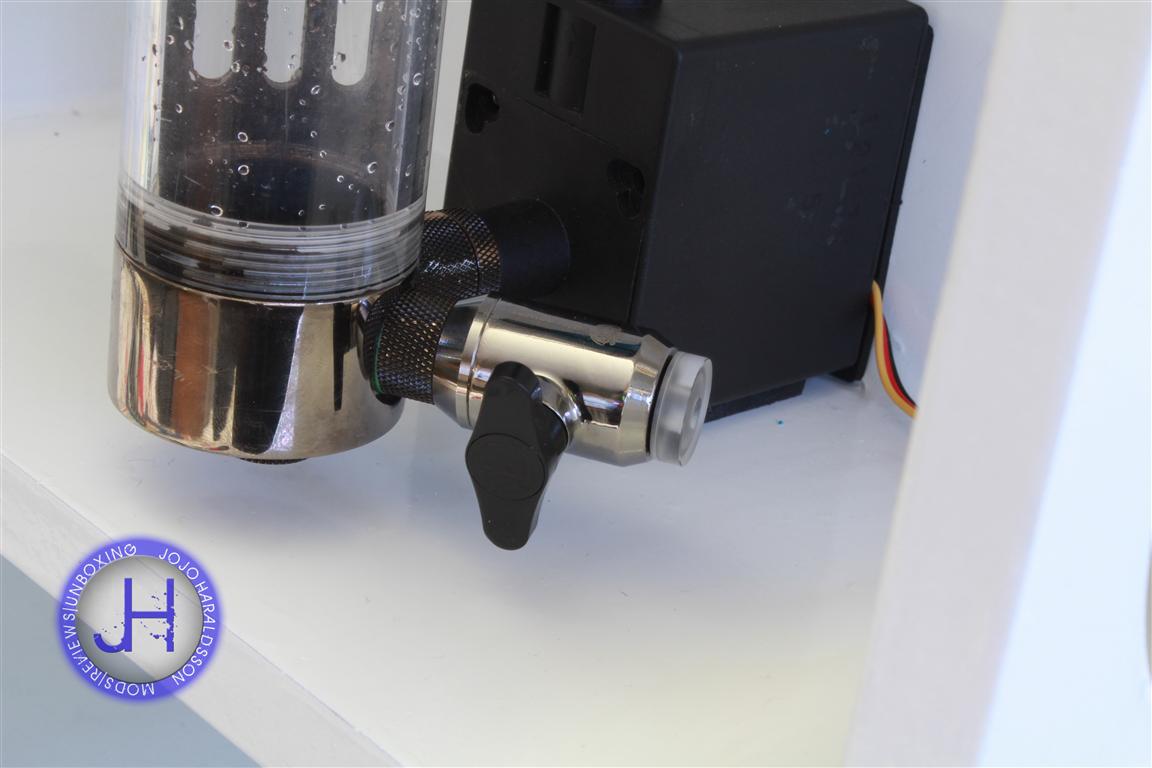
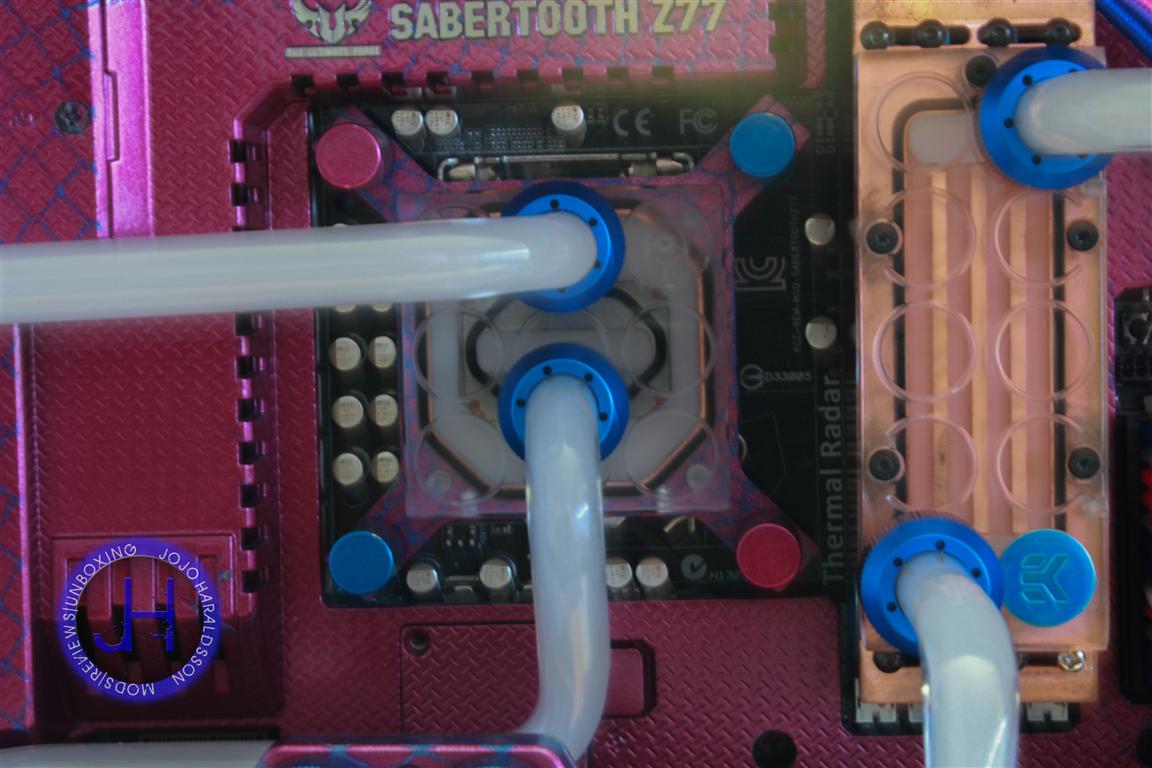
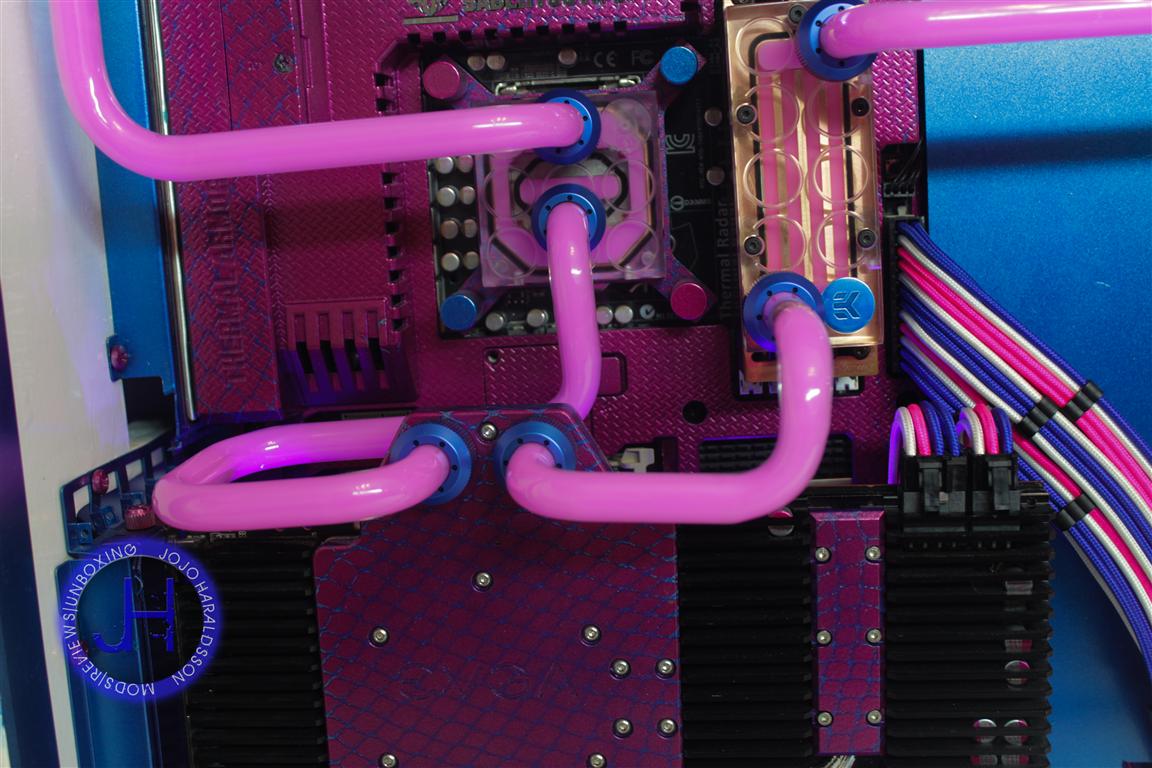
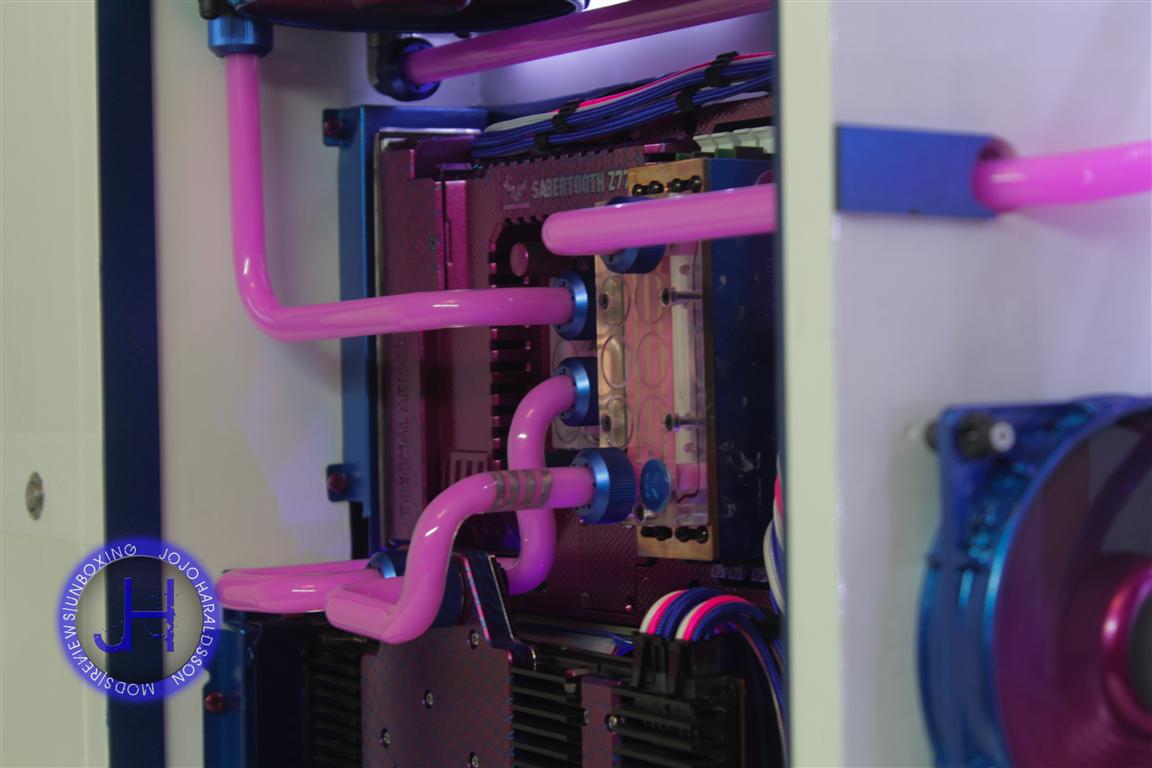
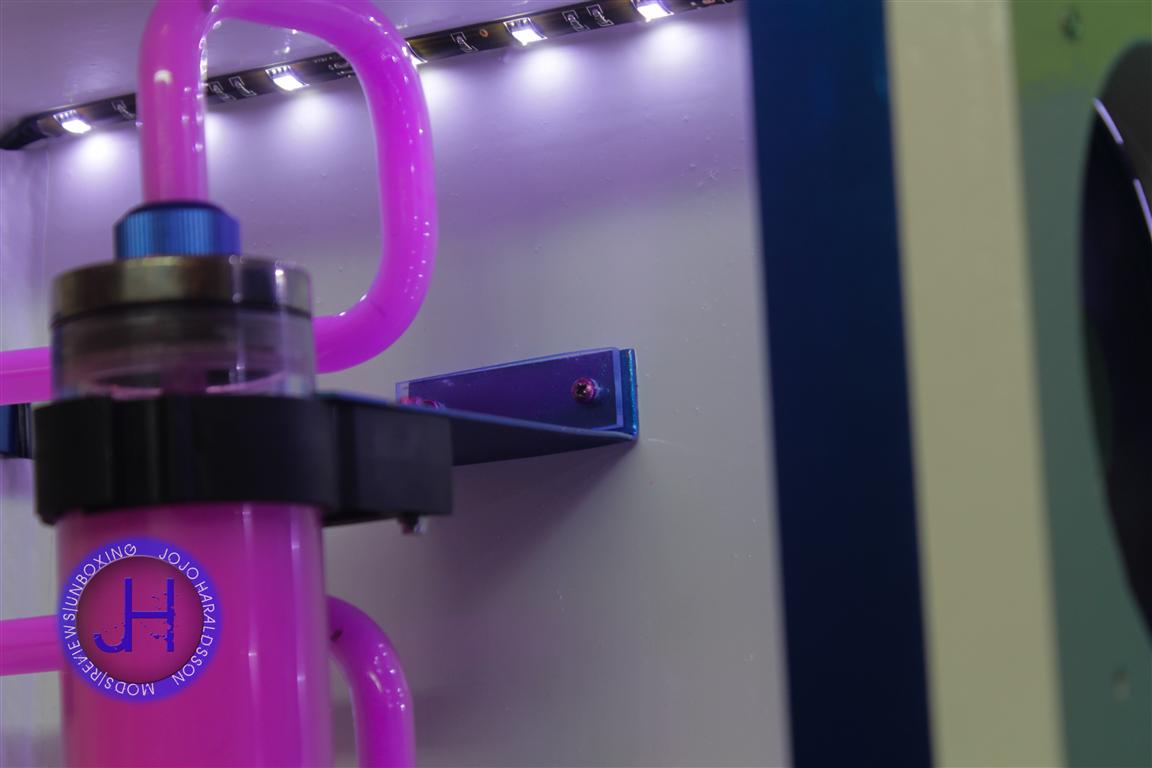
Hey everyone,
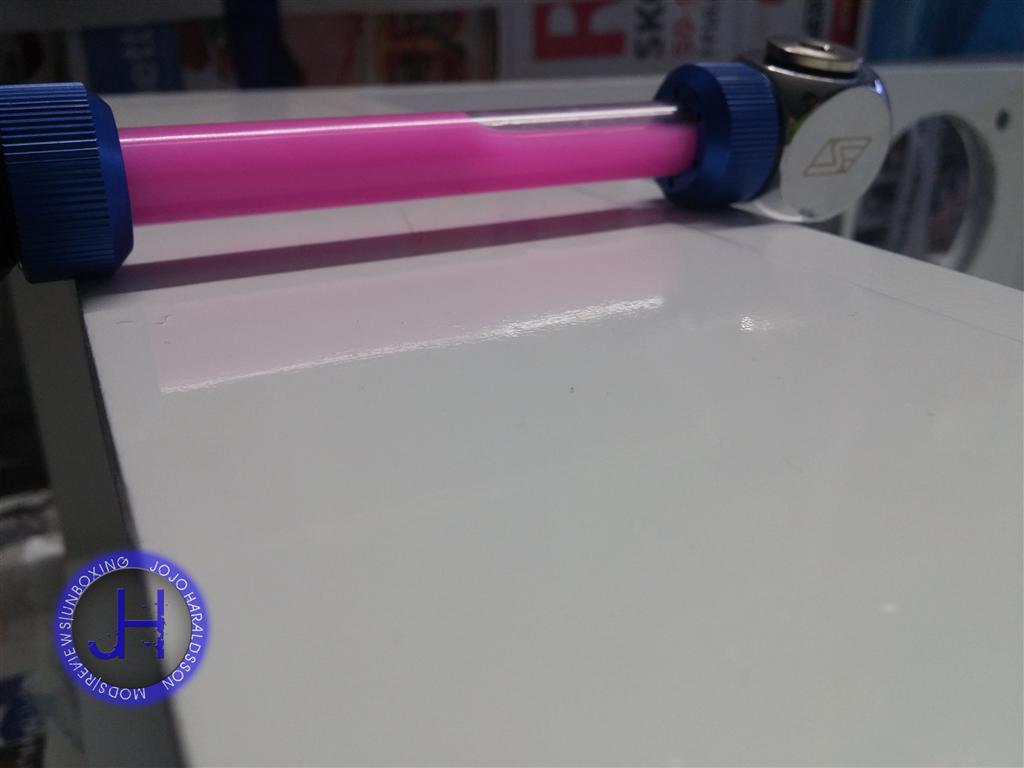
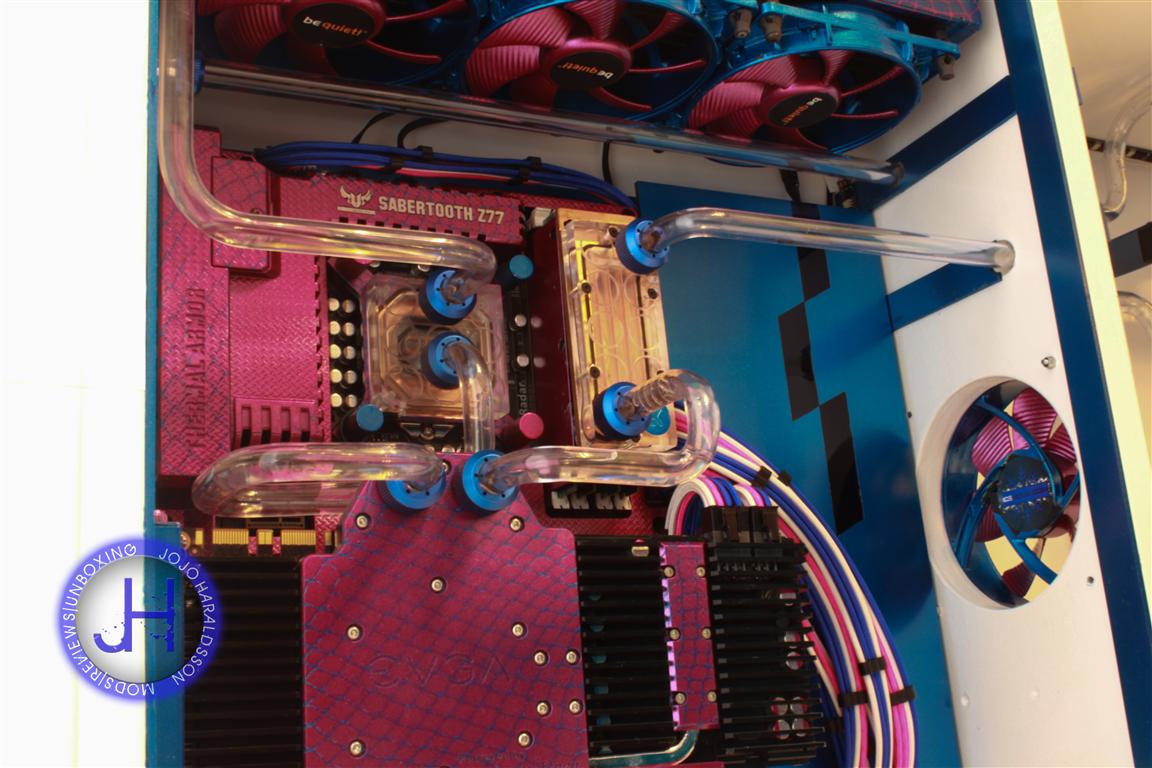
I decided to start on the tubing,since i did not want to cut or drill into the painted unitafterwards.
Here a little teaser of whats in progress,
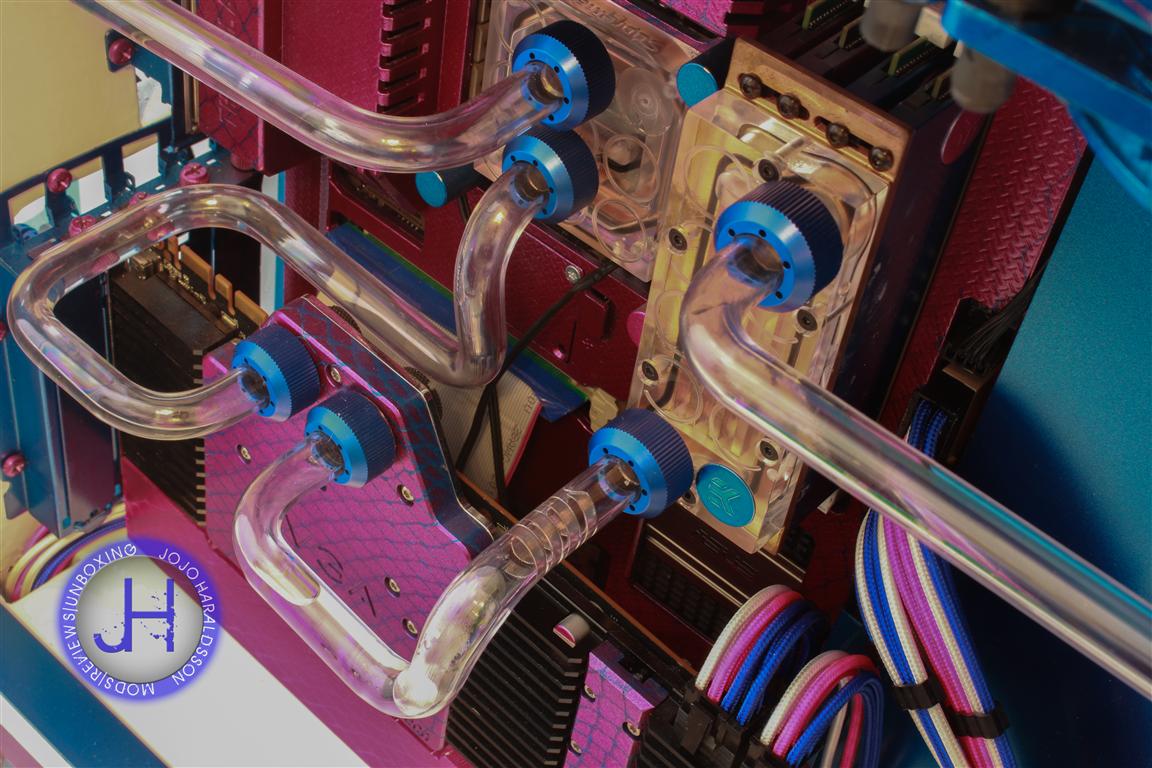
i am trying to use no angled fittings,wich means lots of bends on some tubes.
But since i will be using PETG tubing the bending works like a charm,(realy nice bends so far)
now back to work,until soon
I decided to start on the tubing,since i did not want to cut or drill into the painted unitafterwards.
Here a little teaser of whats in progress,
i am trying to use no angled fittings,wich means lots of bends on some tubes.
But since i will be using PETG tubing the bending works like a charm,(realy nice bends so far)
now back to work,until soon
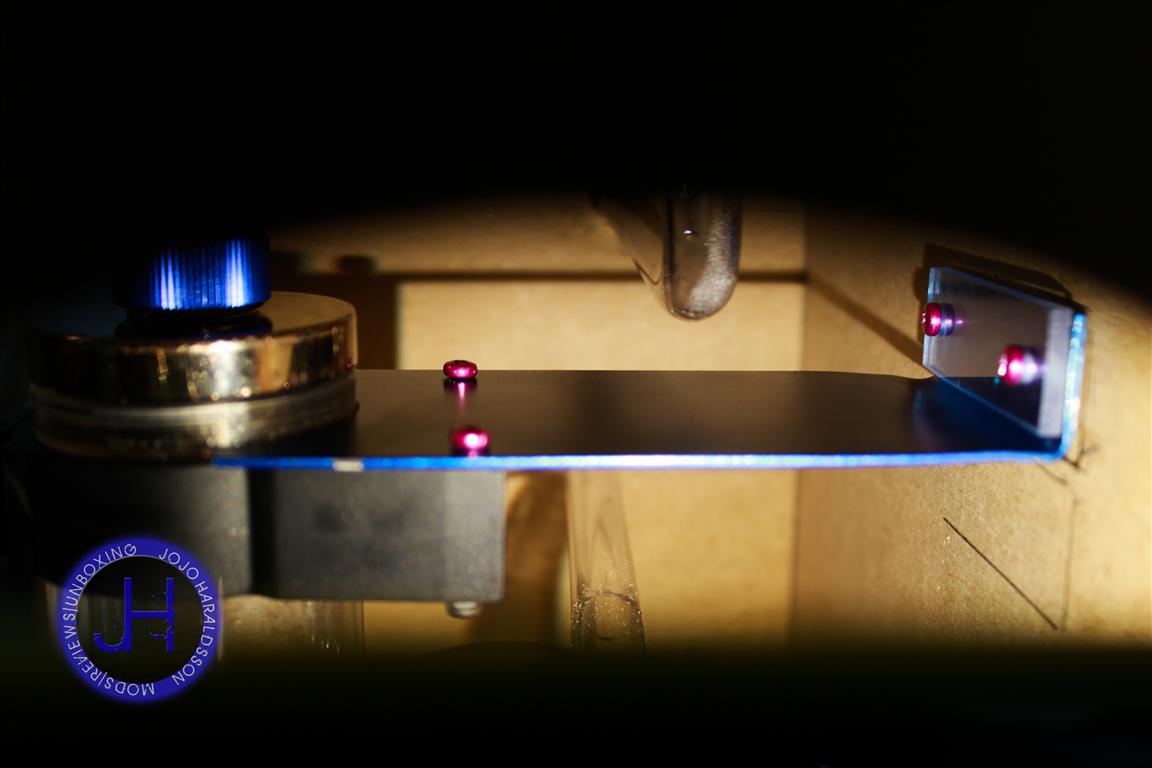
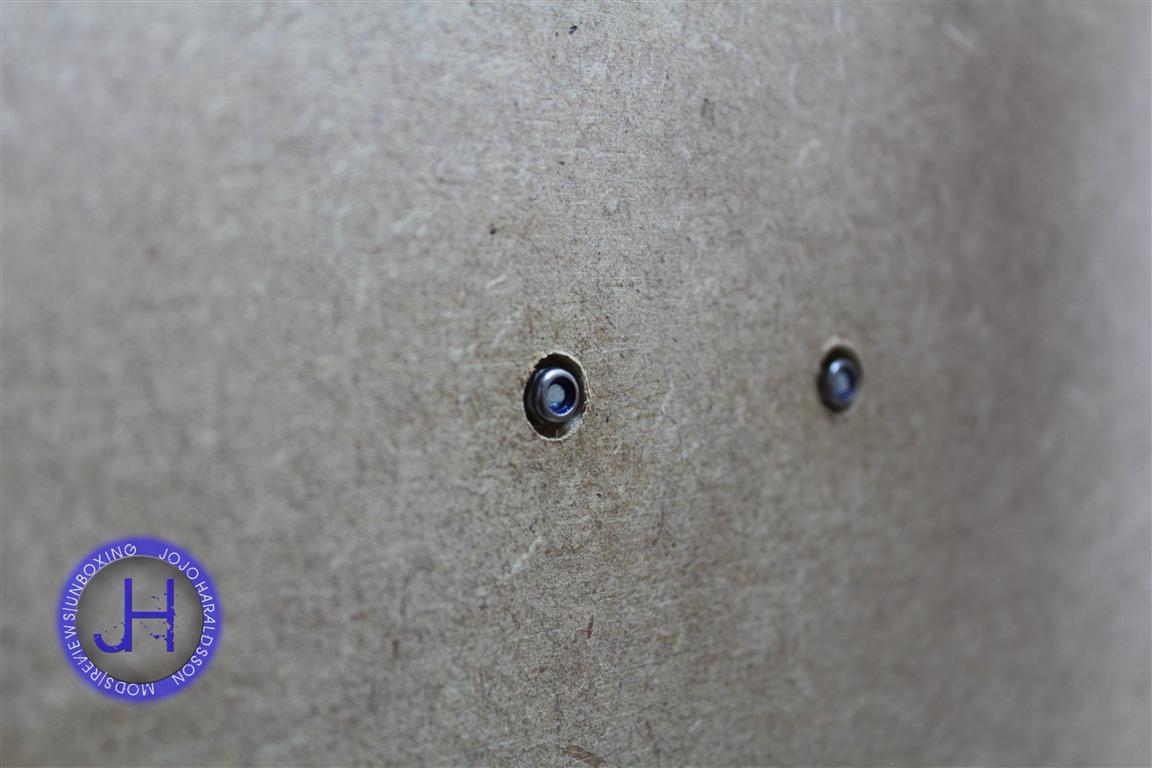
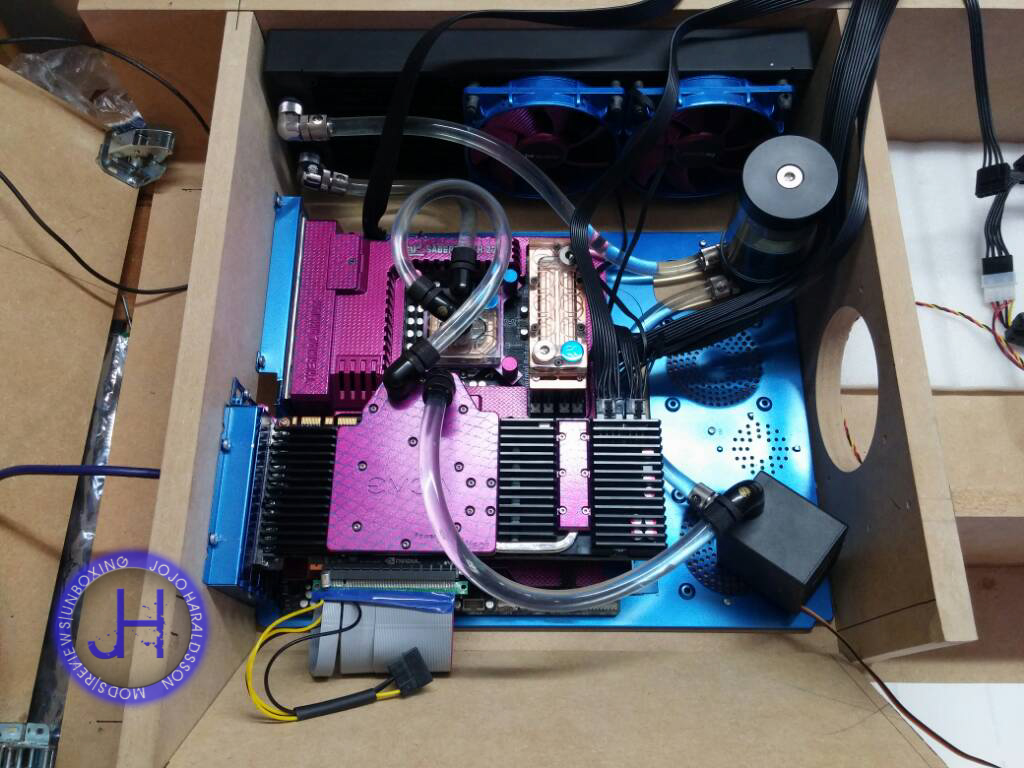
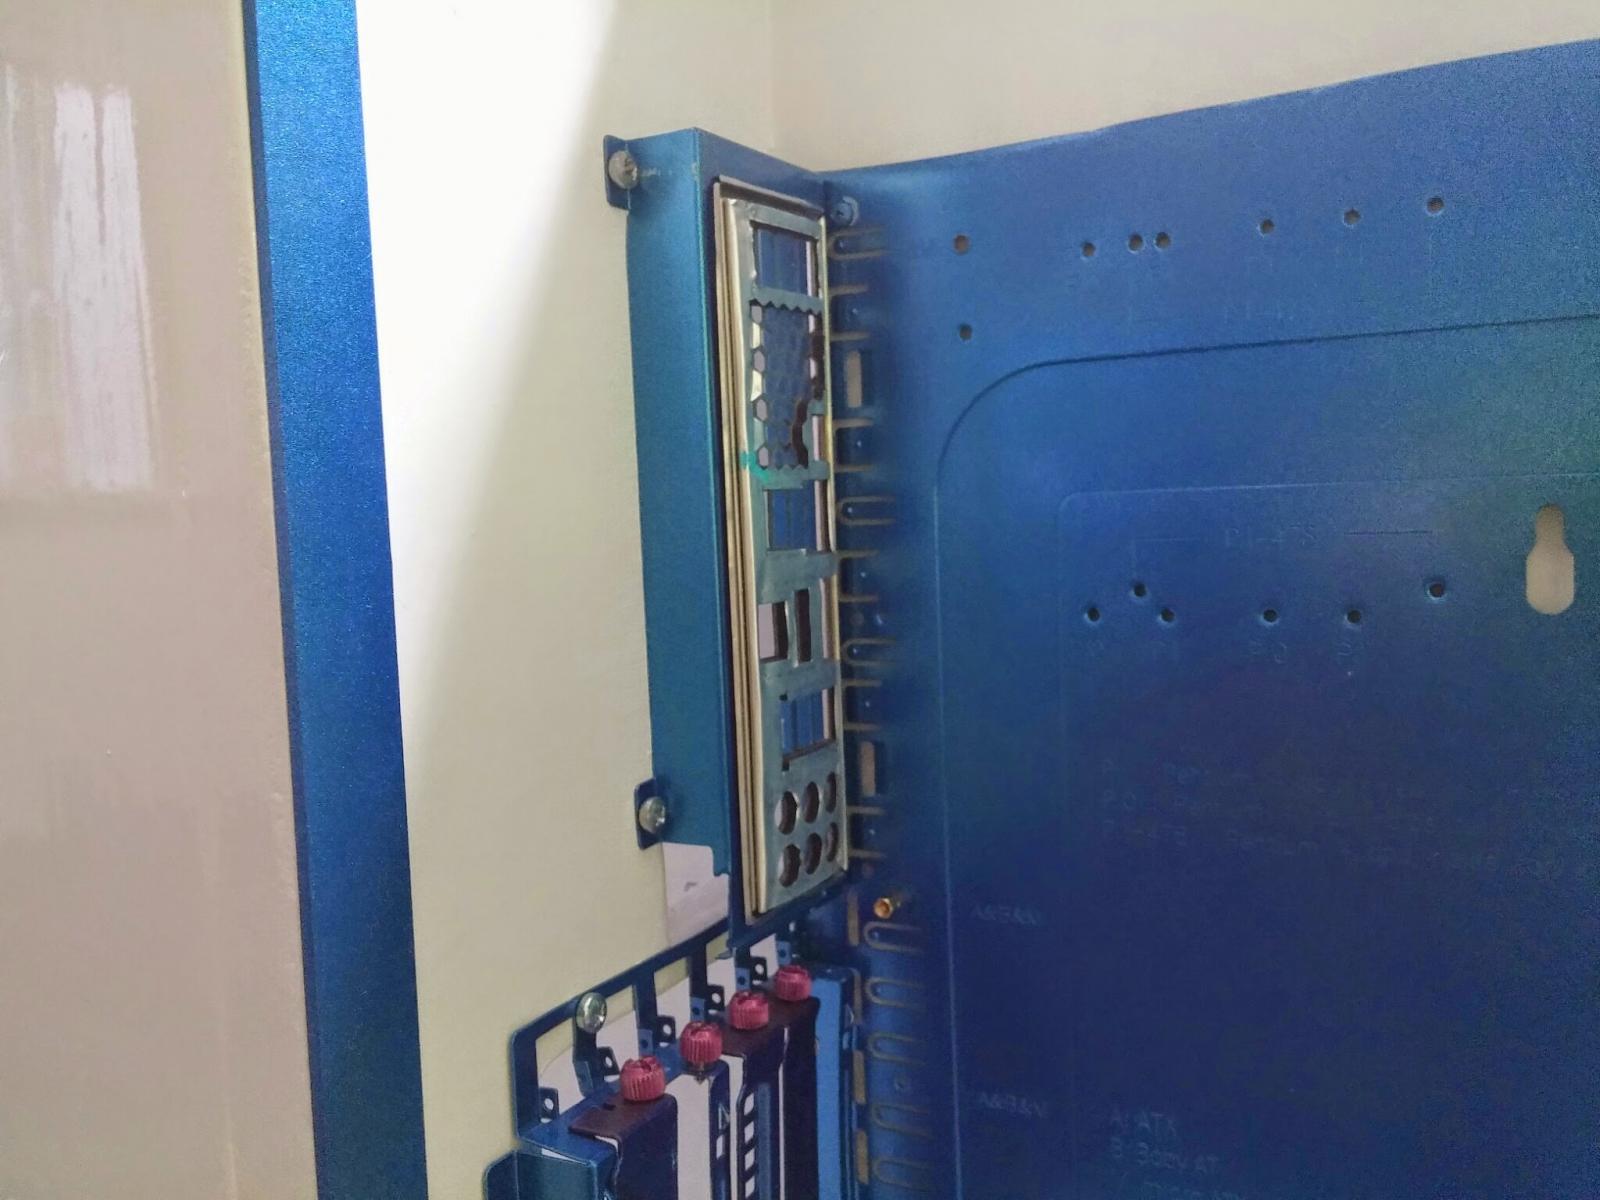
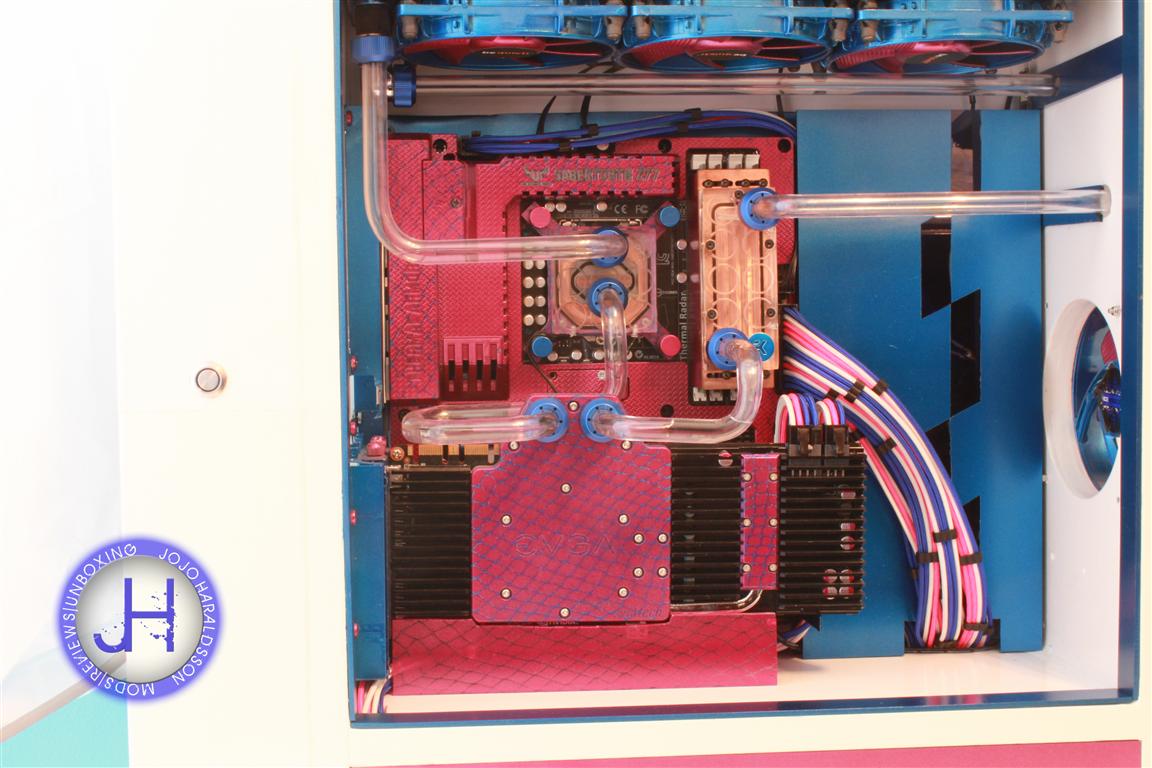
Today i started on the midplate wich will be between the motherboard and the cables in the bottom.
Also had to route the gpu's extension cable.
After routing that ,well let's just say it wasn't pretty :-/
I decided to work on a little cover for the cable.
Let me know what you think (out of curiosity )


Also had to route the gpu's extension cable.
After routing that ,well let's just say it wasn't pretty :-/
I decided to work on a little cover for the cable.
Let me know what you think (out of curiosity
)
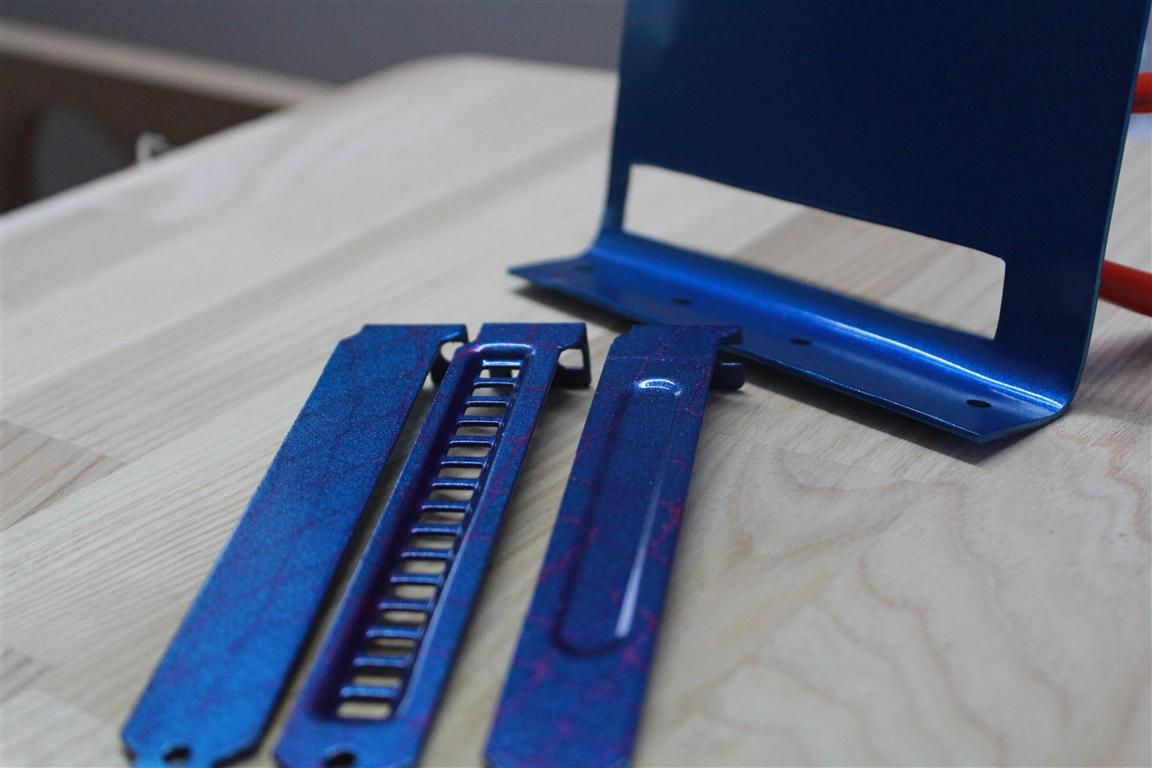
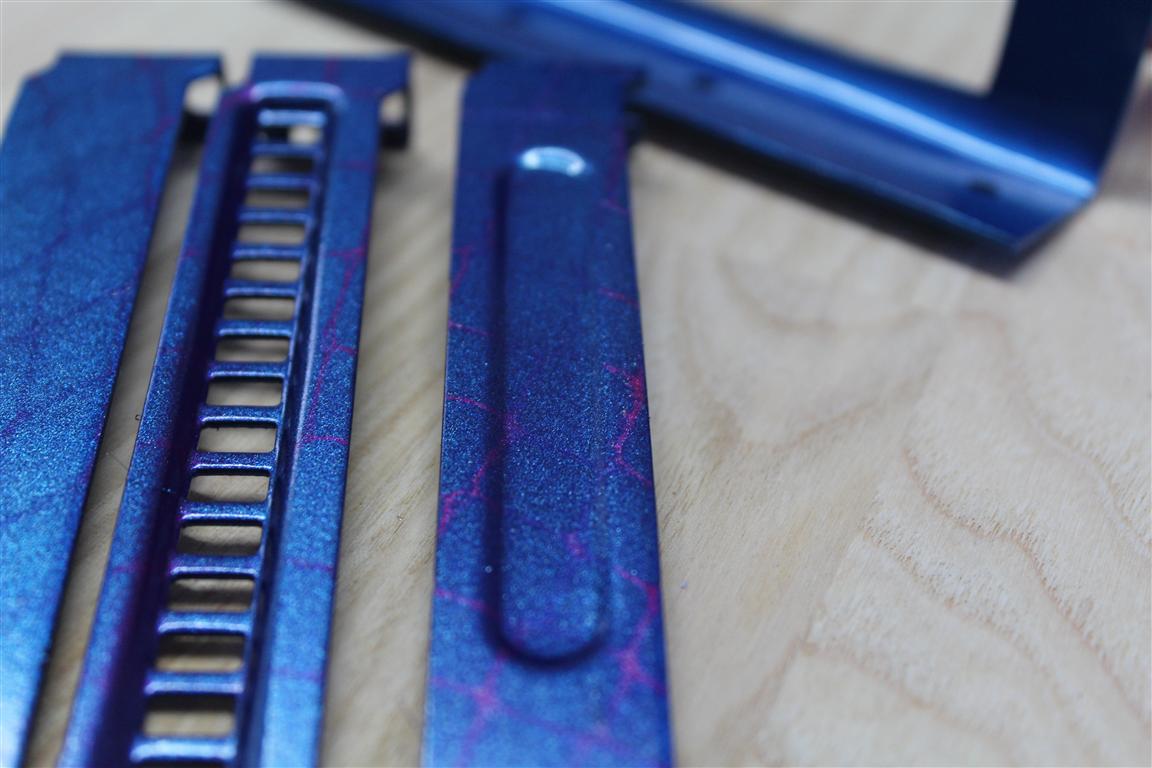
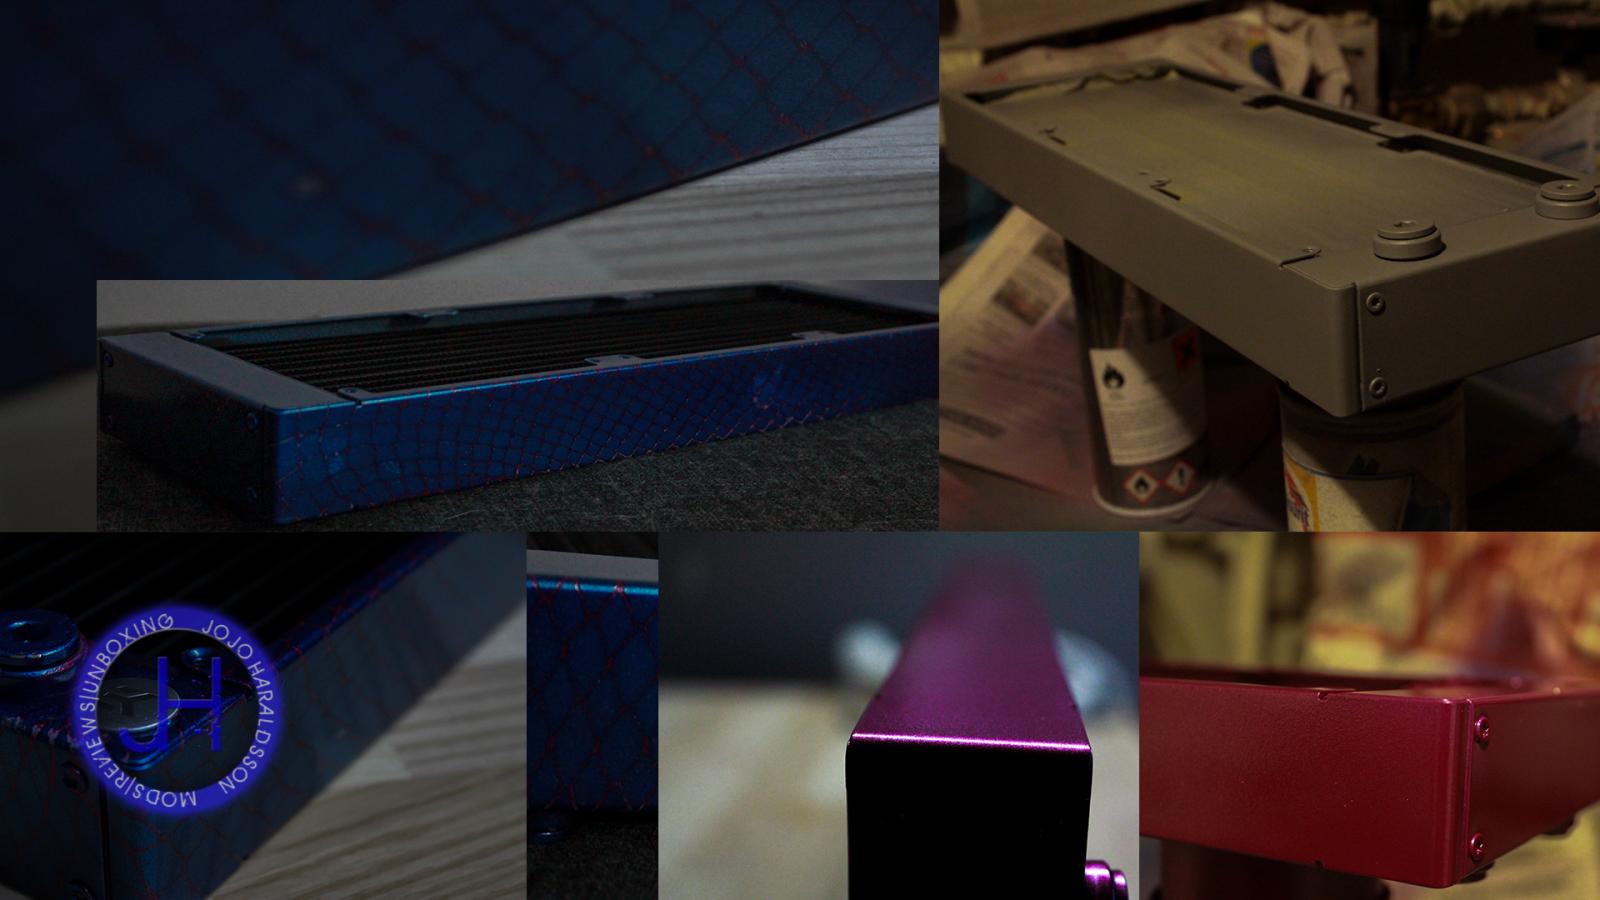
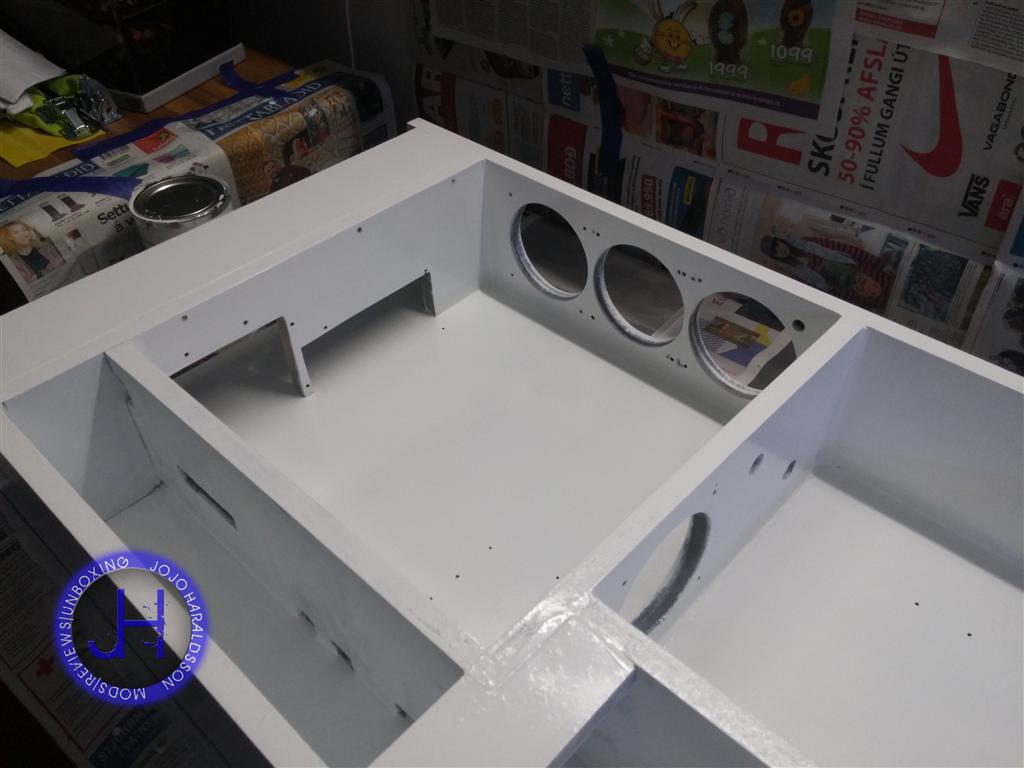
Hey everyone,
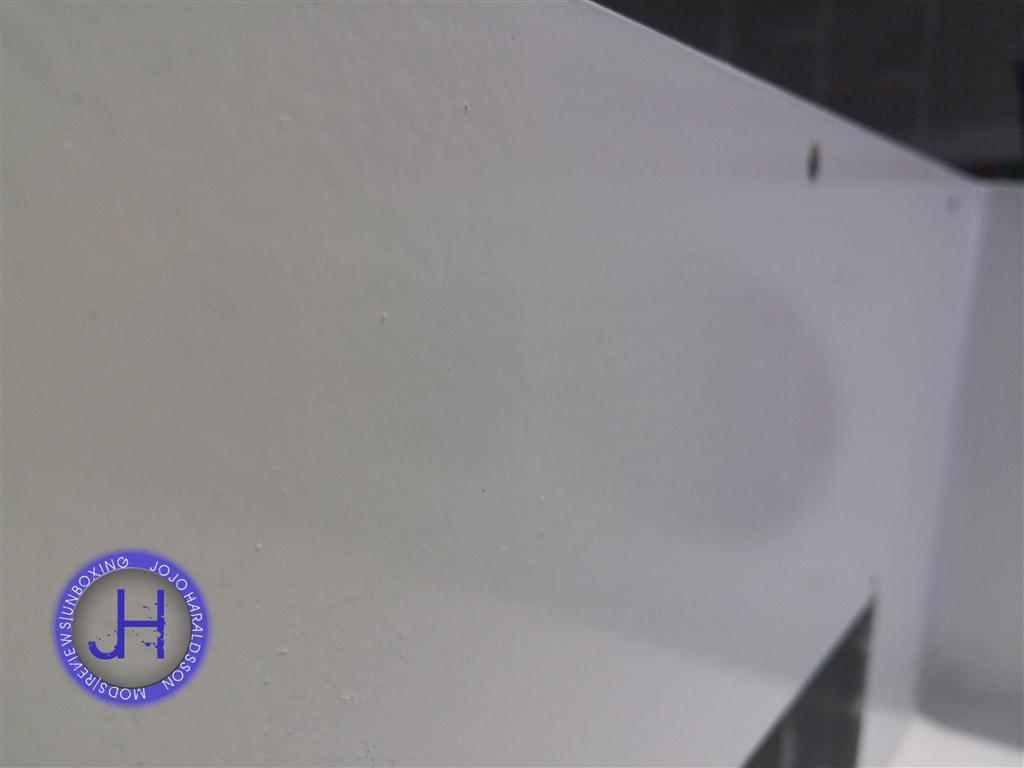
It has been quite busy lately,but i finally got to start on the paint of the caseing,
first we primed it and then first thick coat of paint.
the paint has to try first and then will be sanded a little bit and cleaned up properly.
Here are some pics to show you where we are @.
It is getting there
It has been quite busy lately,but i finally got to start on the paint of the caseing,
first we primed it and then first thick coat of paint.
the paint has to try first and then will be sanded a little bit and cleaned up properly.
Here are some pics to show you where we are @.
It is getting there
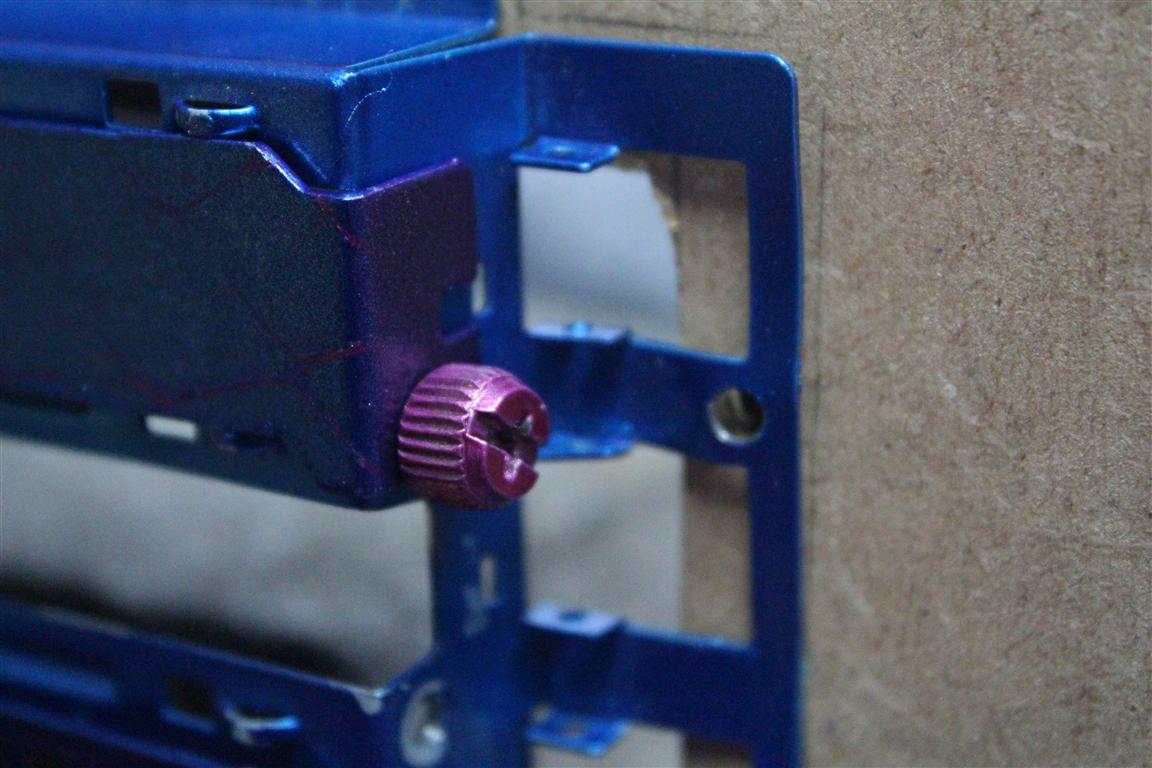
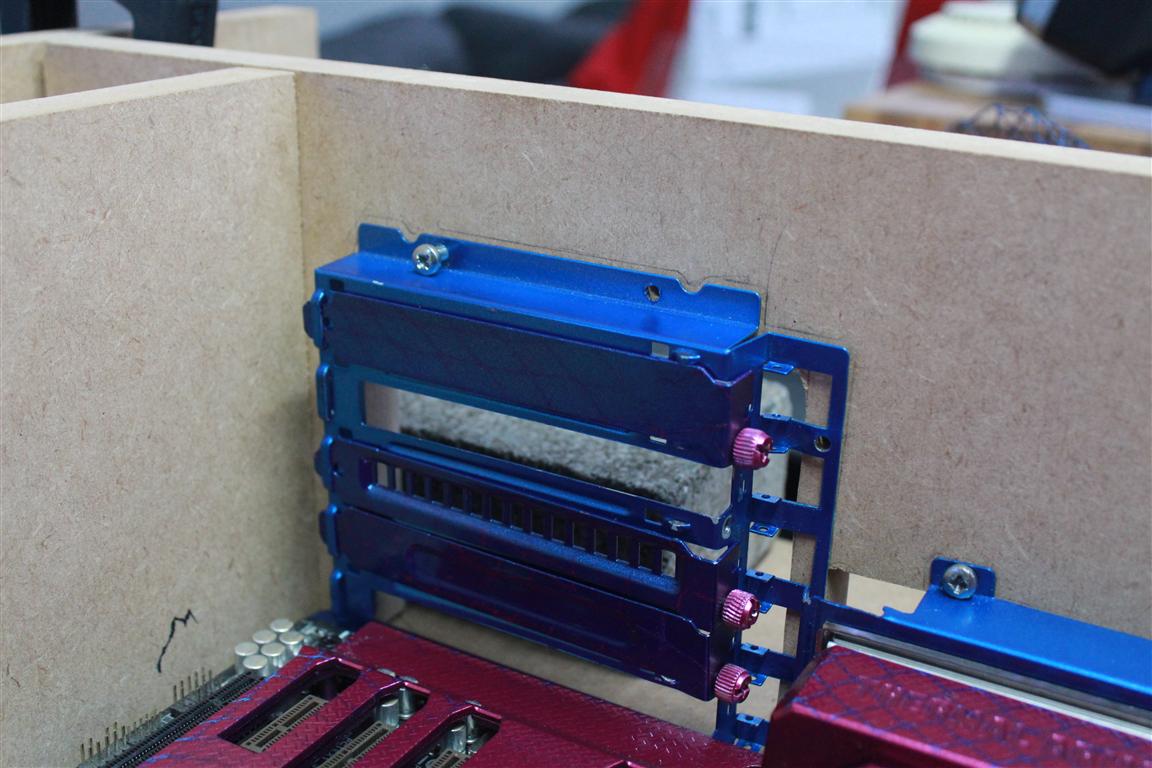
Hey everyone,
the past days has not much been going on,except for paint and dry paint and dry and you get my drift.
but we are finally at a stage to continue.
Here a move shot of the assembly will get you more details soon,(weekend)
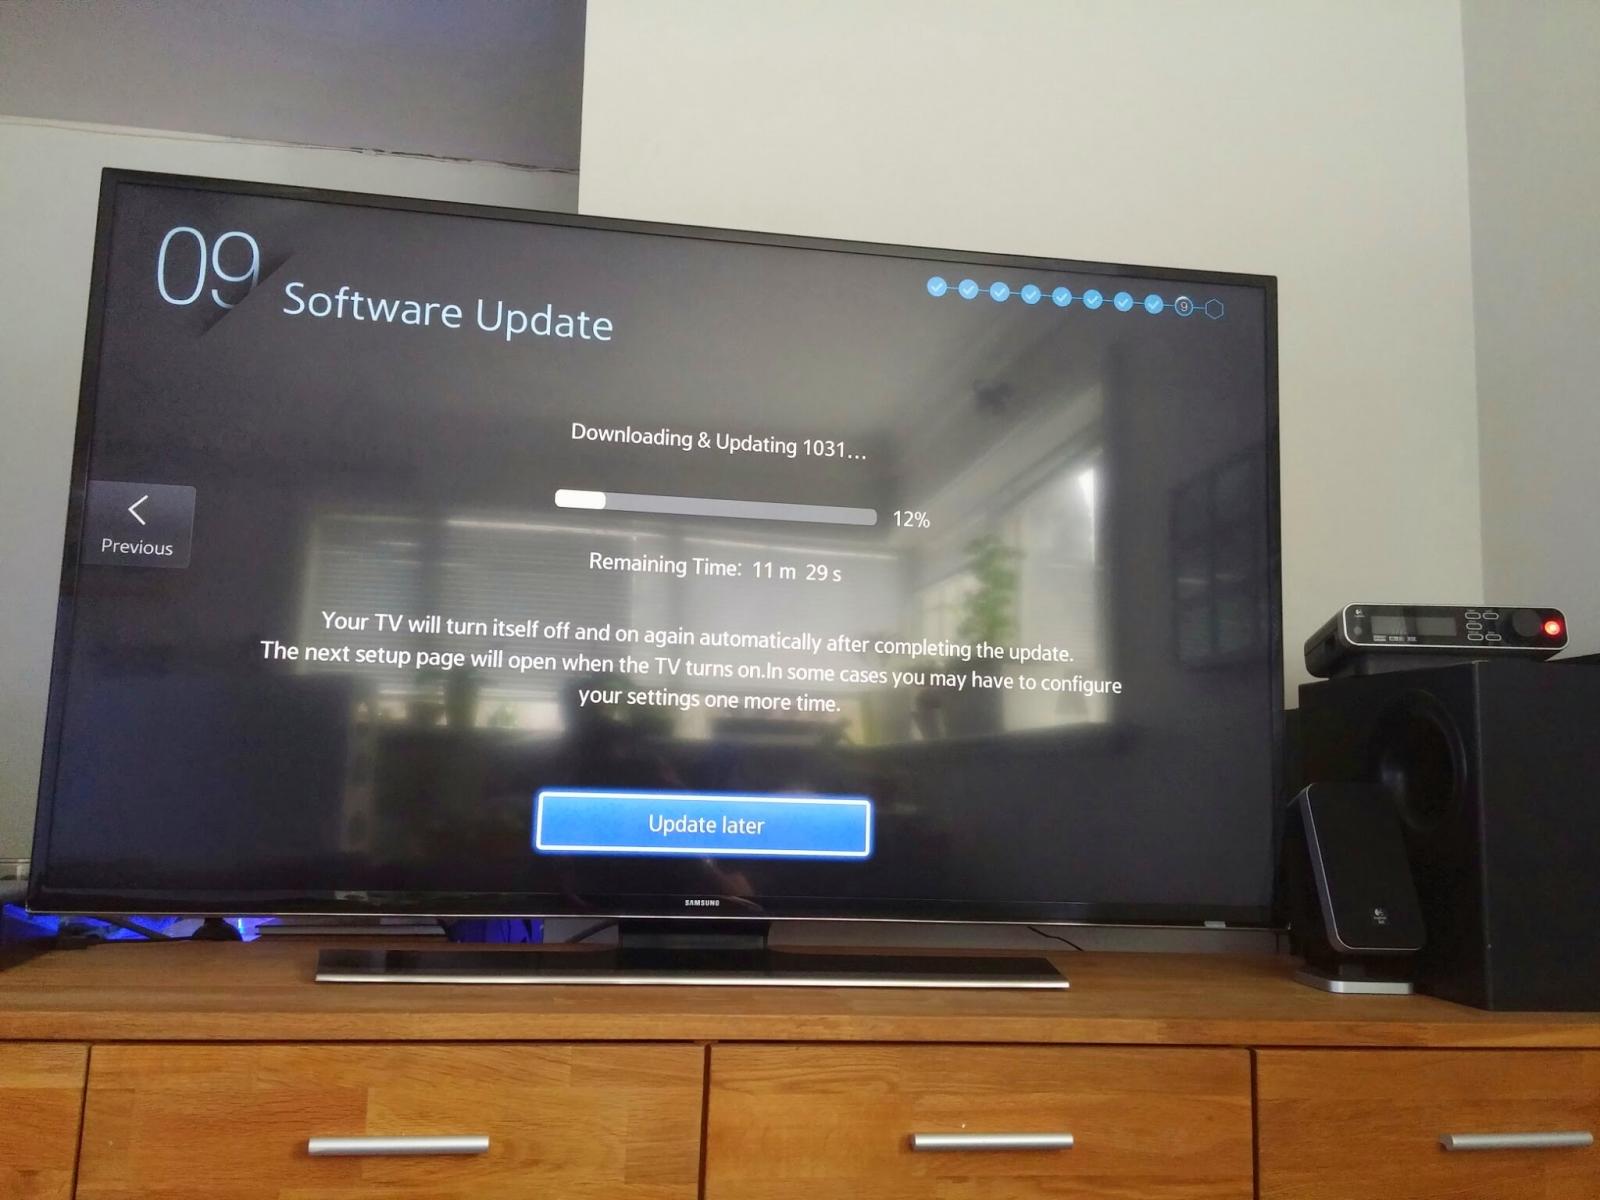
Have to enjoy my new TV for now Samsung 4 K [bought today]

the past days has not much been going on,except for paint and dry paint and dry and you get my drift.
but we are finally at a stage to continue.
Here a move shot of the assembly will get you more details soon,(weekend)
Have to enjoy my new TV for now Samsung 4 K
[bought today]
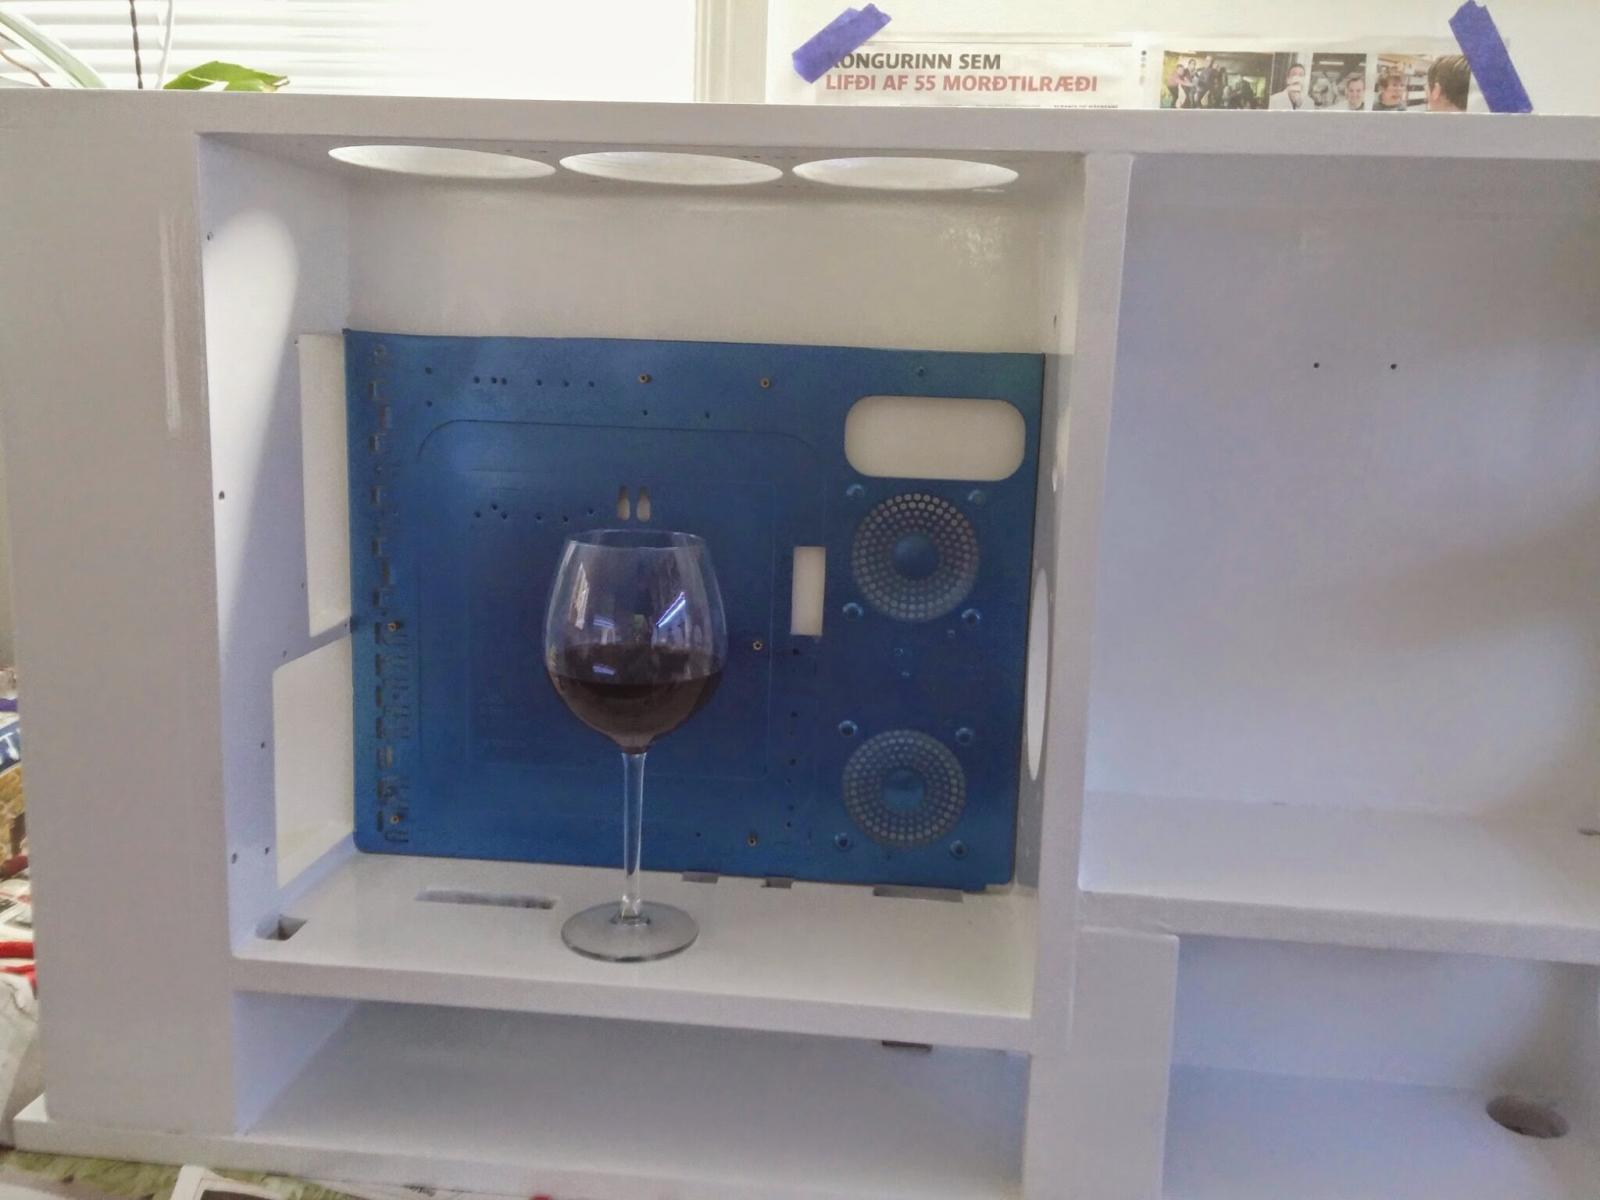
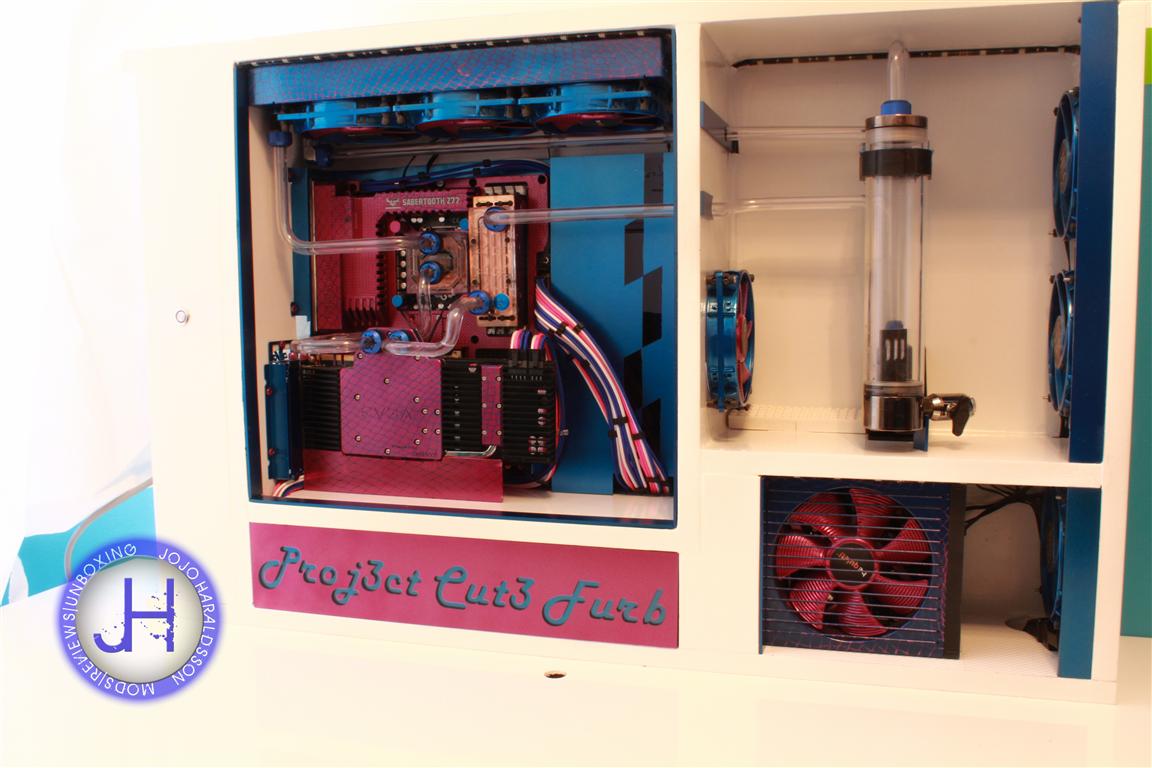
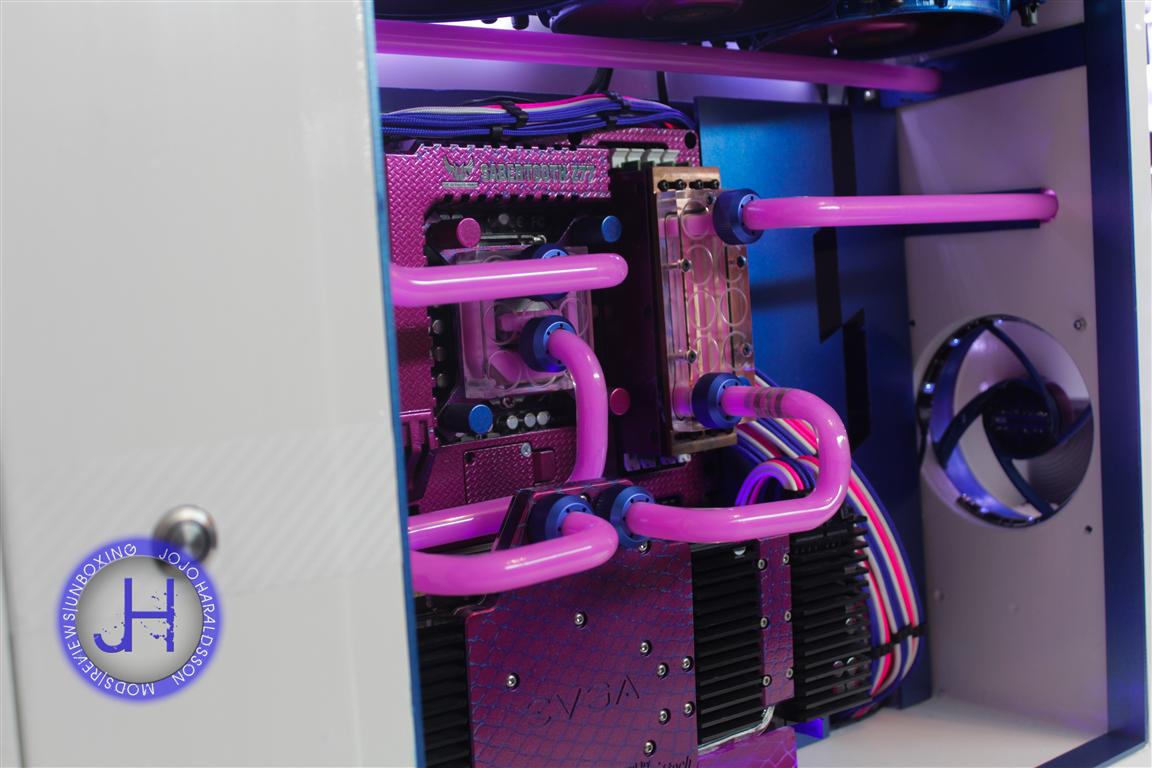
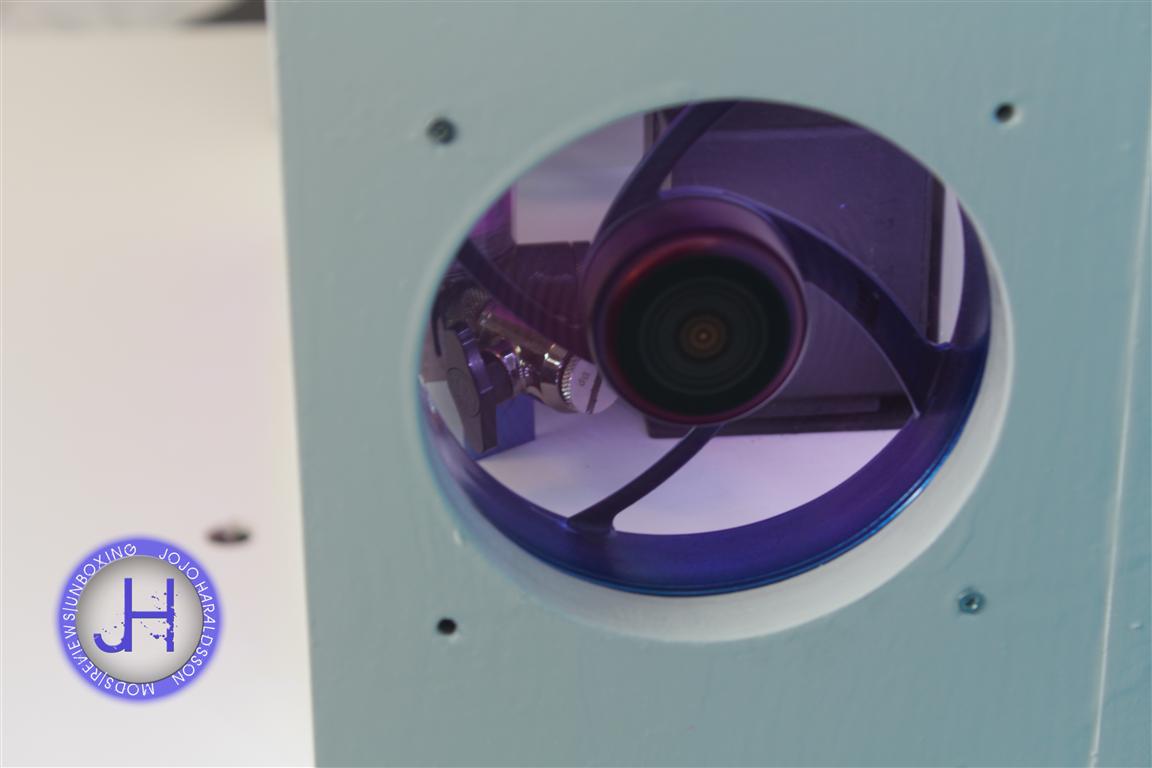
Finaly the weekend is here,
this means assembly of the Project and making final changes and fixes (if needed)
also thinking of some extra ideas wich maybe i will be able to integrate
here a few shots to "maybe put a smile to you´re face" in the end of a work week .
have a nice weekend and stay tuned for more.
Thank you for checking out the Buildlog.
workshop35
Gawd
- Joined
- Nov 24, 2013
- Messages
- 781
Looking good. Interesting paint scheme


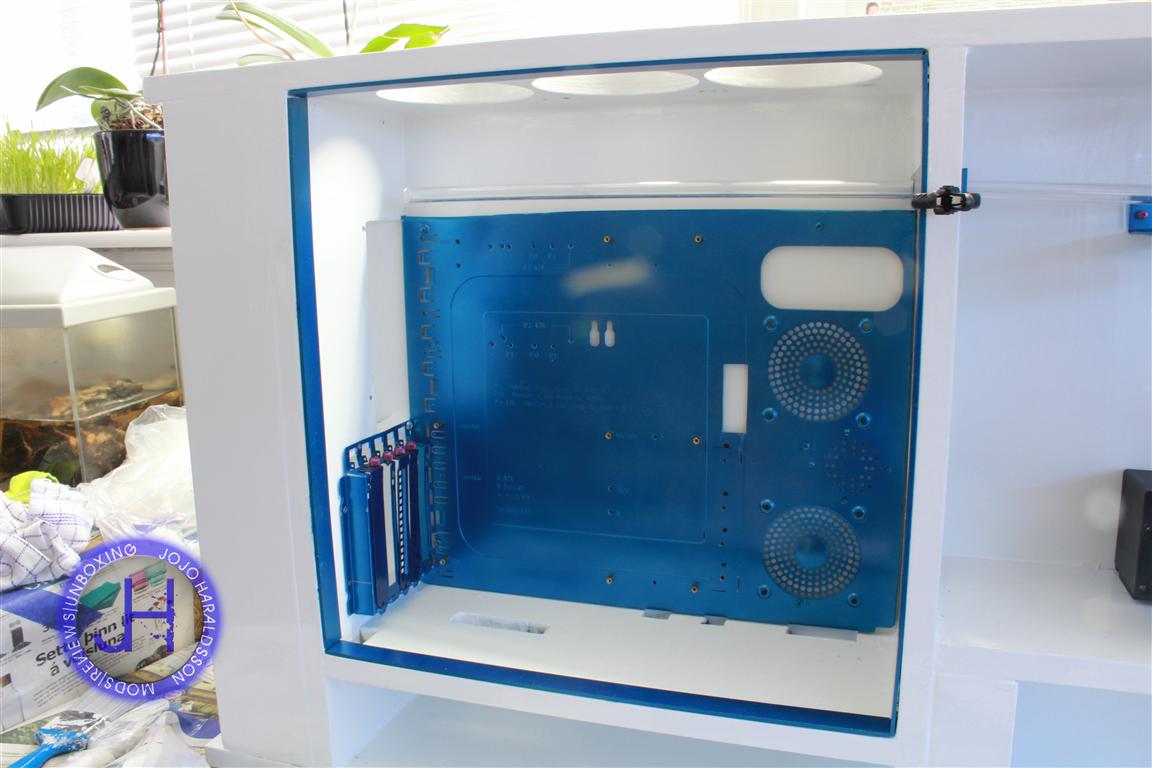
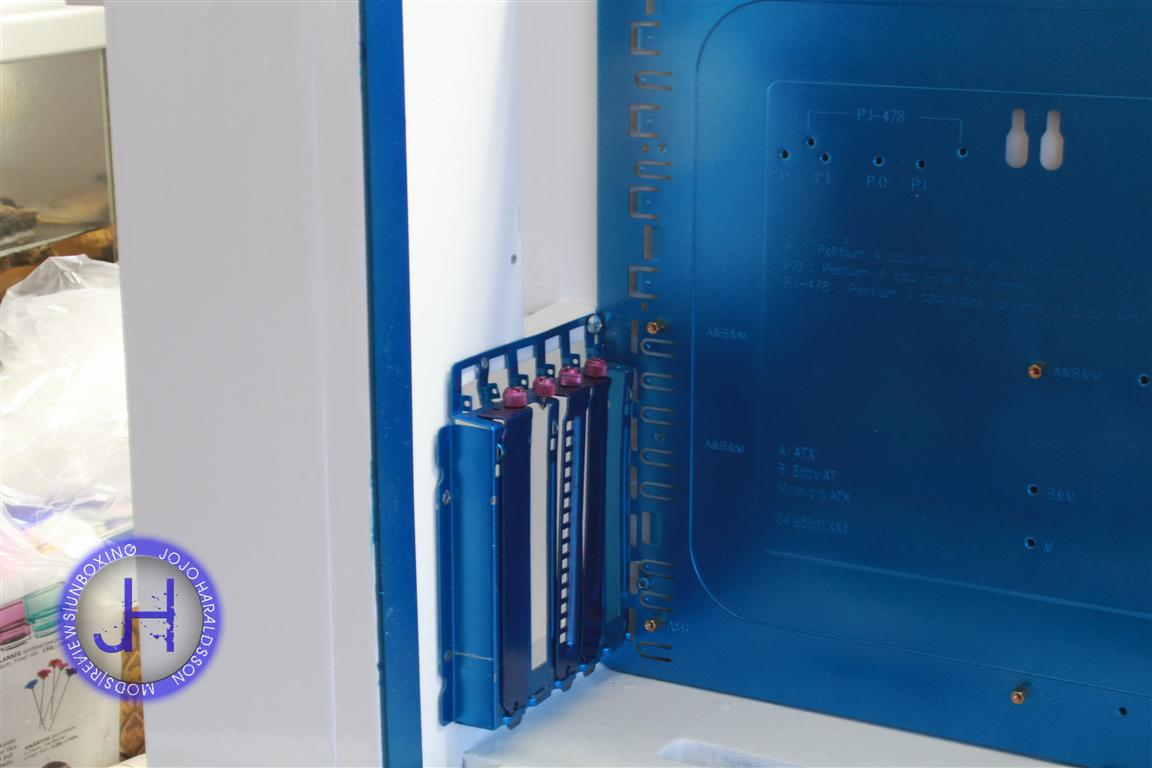
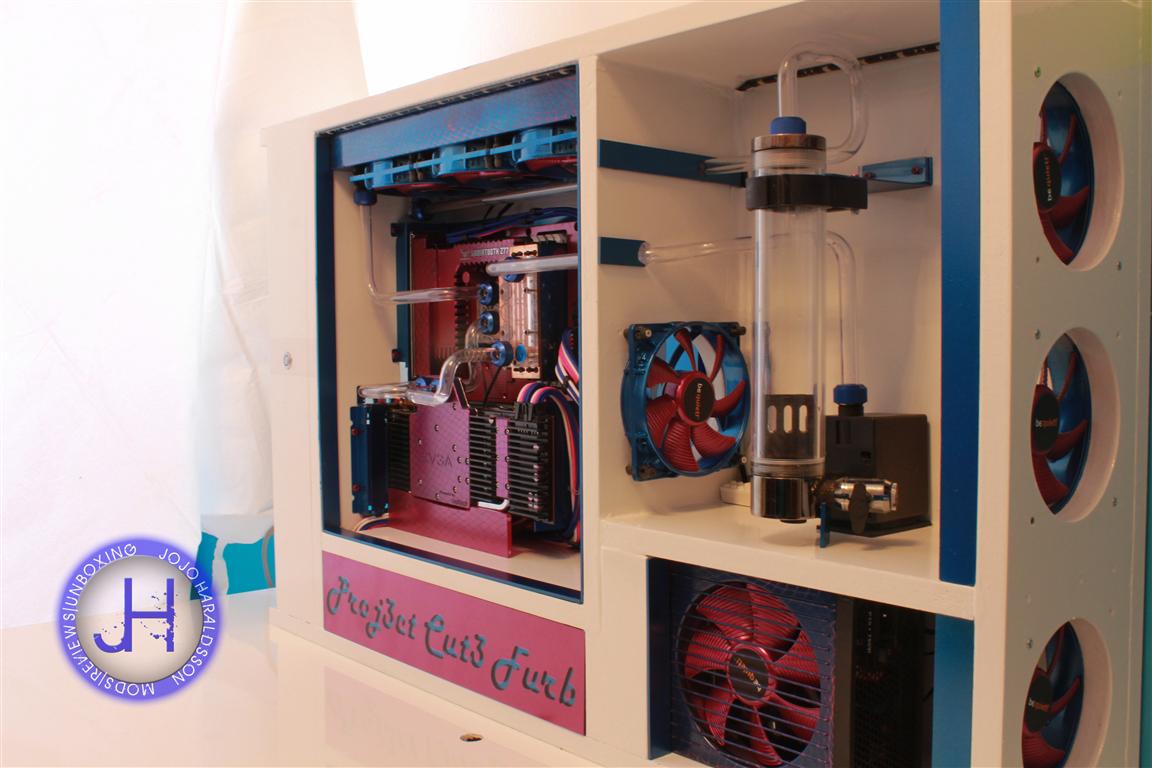
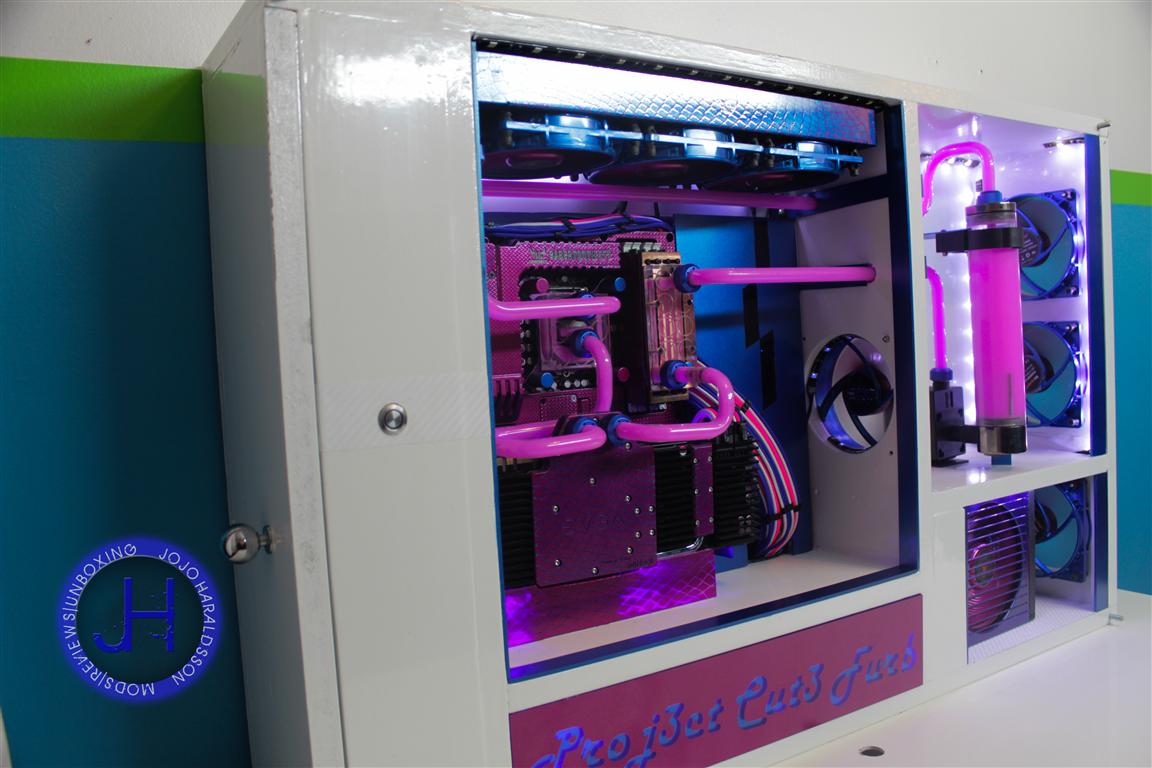
Hey guys it has been a while on this Build,But i think it is finally time to get it up and running.
But......
we are not completly there yet.
Things to be done yet,
Fill the Loop,
get a glass cover or acrylic,
and close the cable /io panel space with a custom door (actually only need to paint the door)
and make some final touches
here are a few pics to show you all where we are @
hope you like what you see.
keep you posted.
Ocellaris
Fully [H]
- Joined
- Jan 1, 2008
- Messages
- 19,077
How could you do such an amazing job on the components and not fill the seams + sand the case before painting? Would have taken like 15 minutes to use wood filler and hit it with a sander once it dried
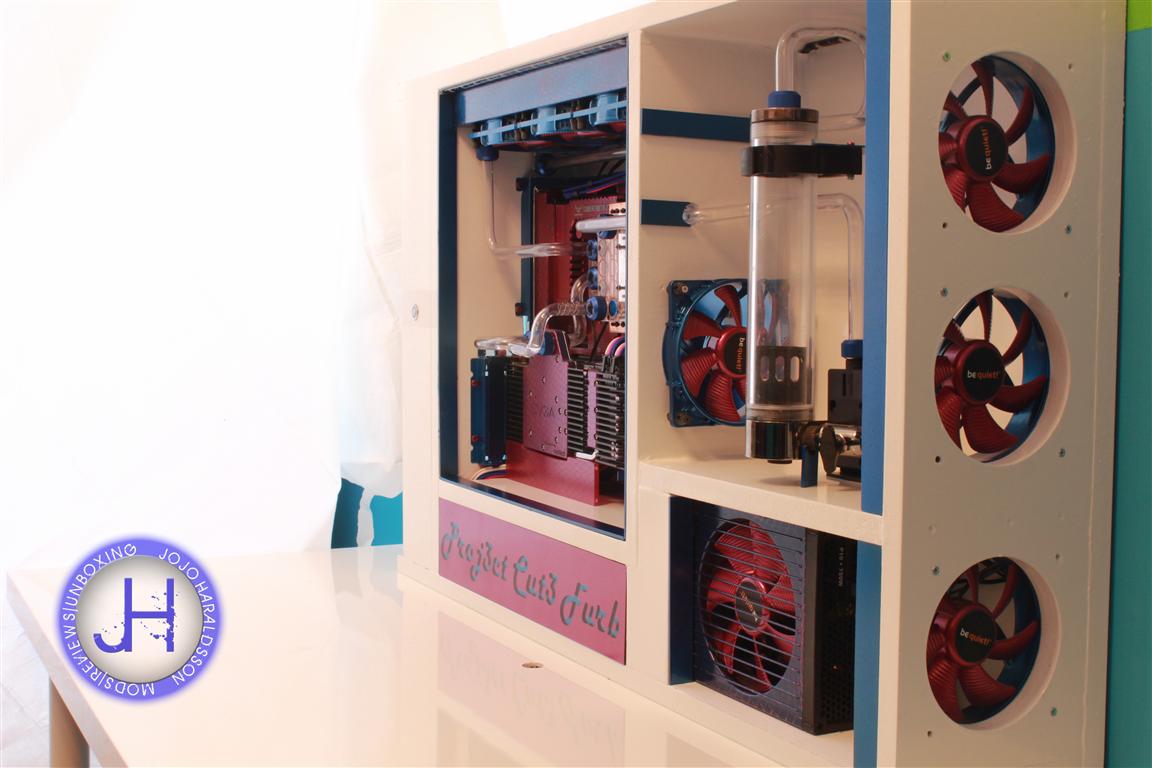
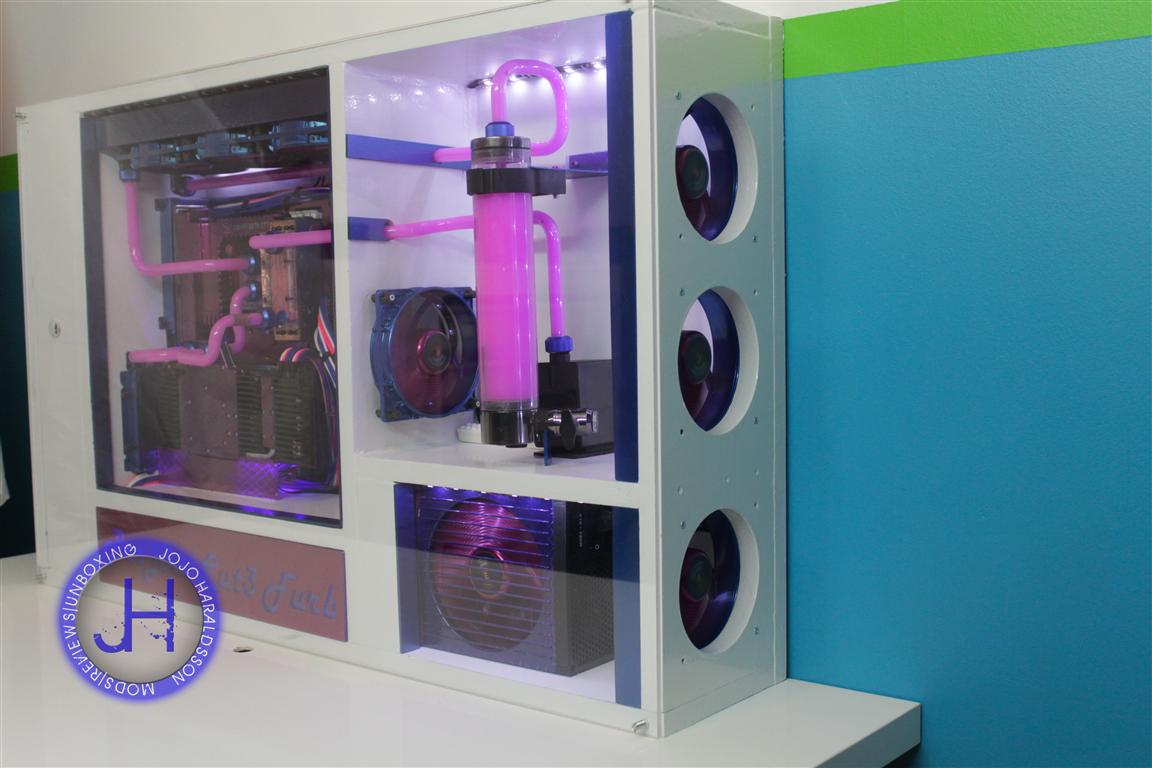
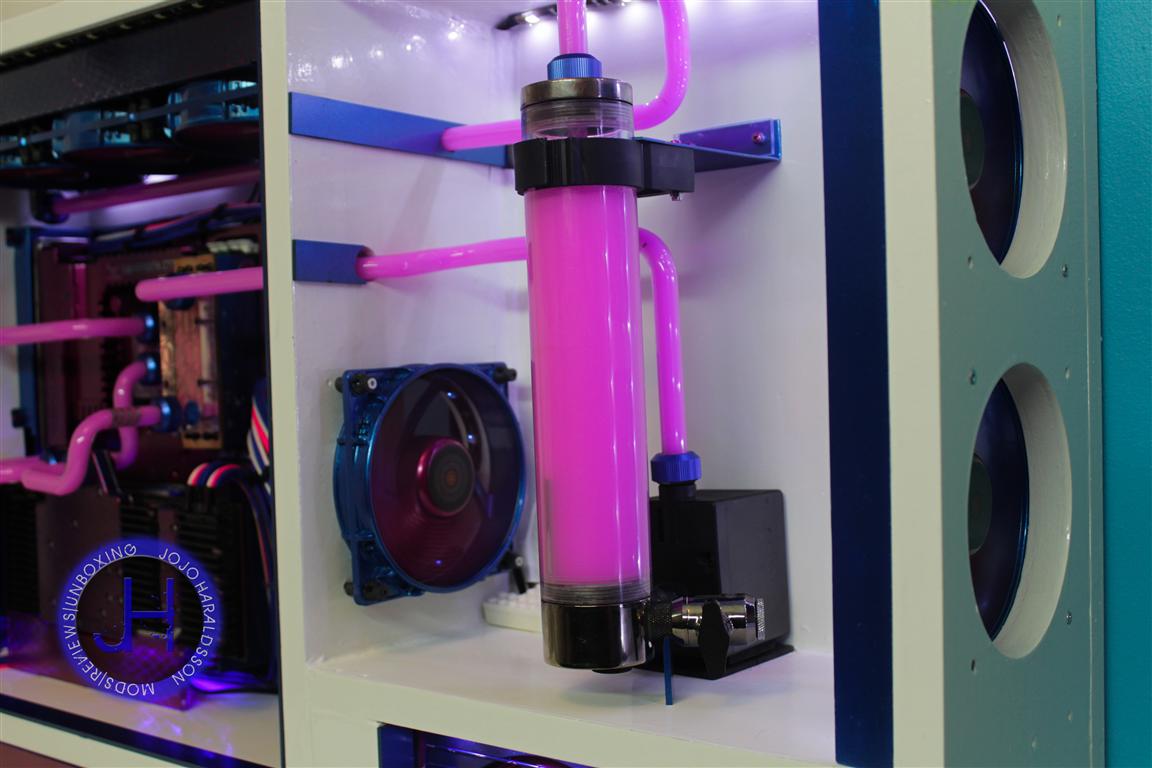
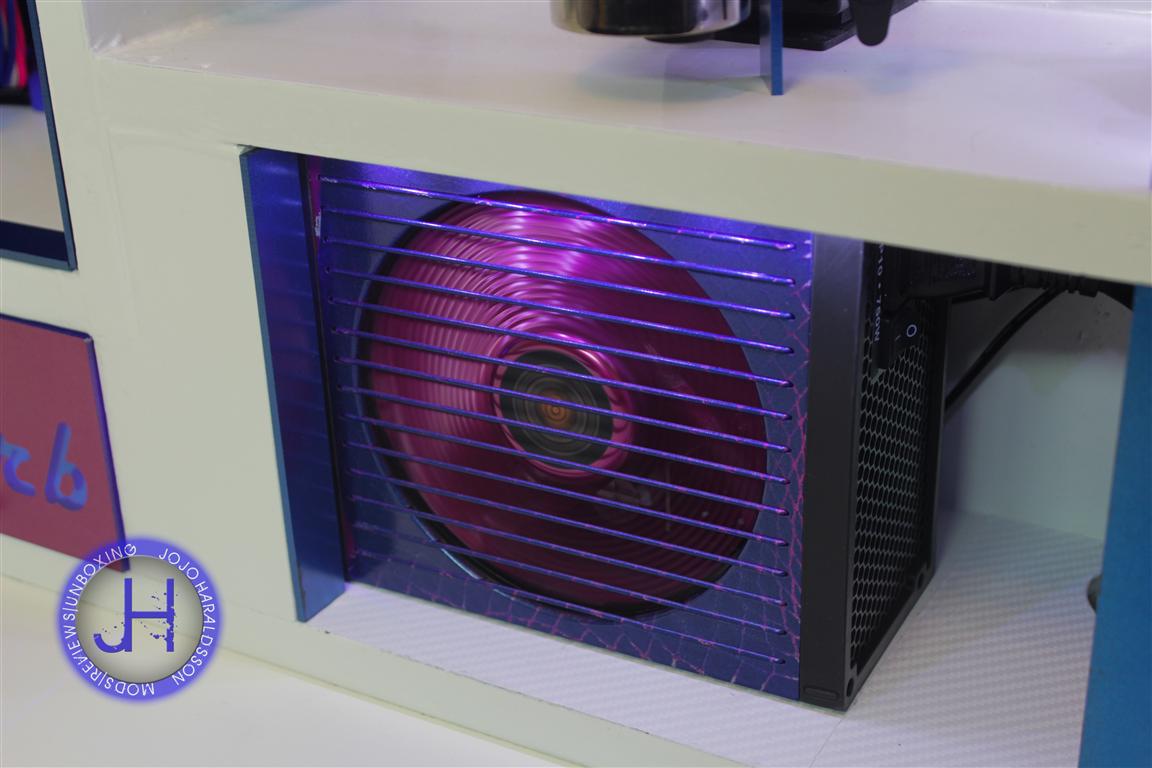
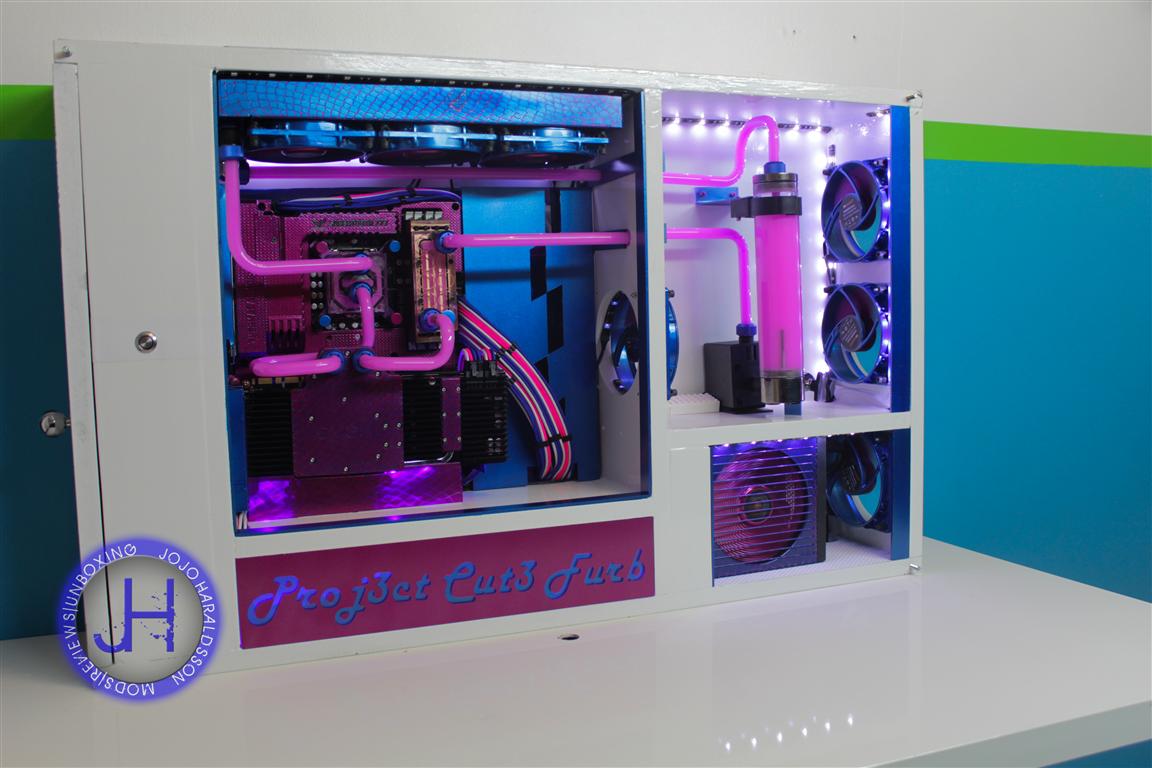
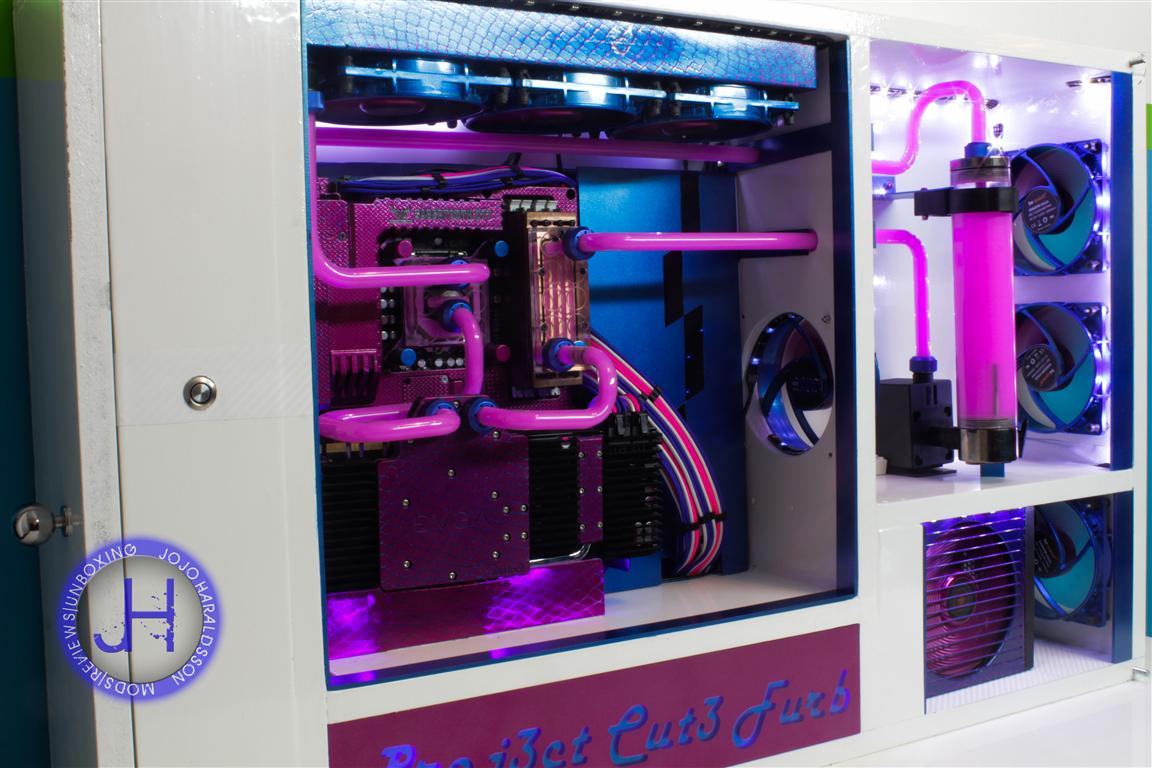
Hey everyone,
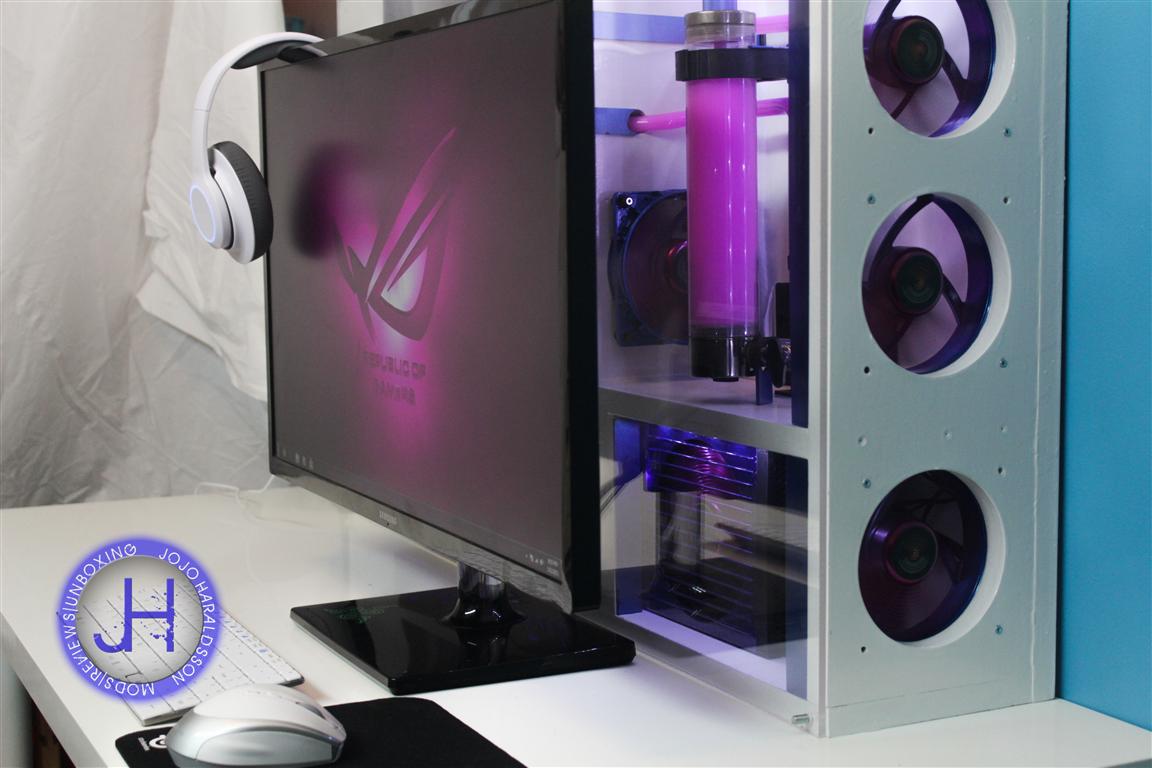
Well We finally got it all together and up and running,and found the time to take pictures and record some clips.
So without letting you all wait any longer,
here is proj3ct Cut3 Furb.
We hope you like the outcome,
We Thank you all for you´re support and interest in this build,
Hopefully we will see you in the next one
THANK YOU
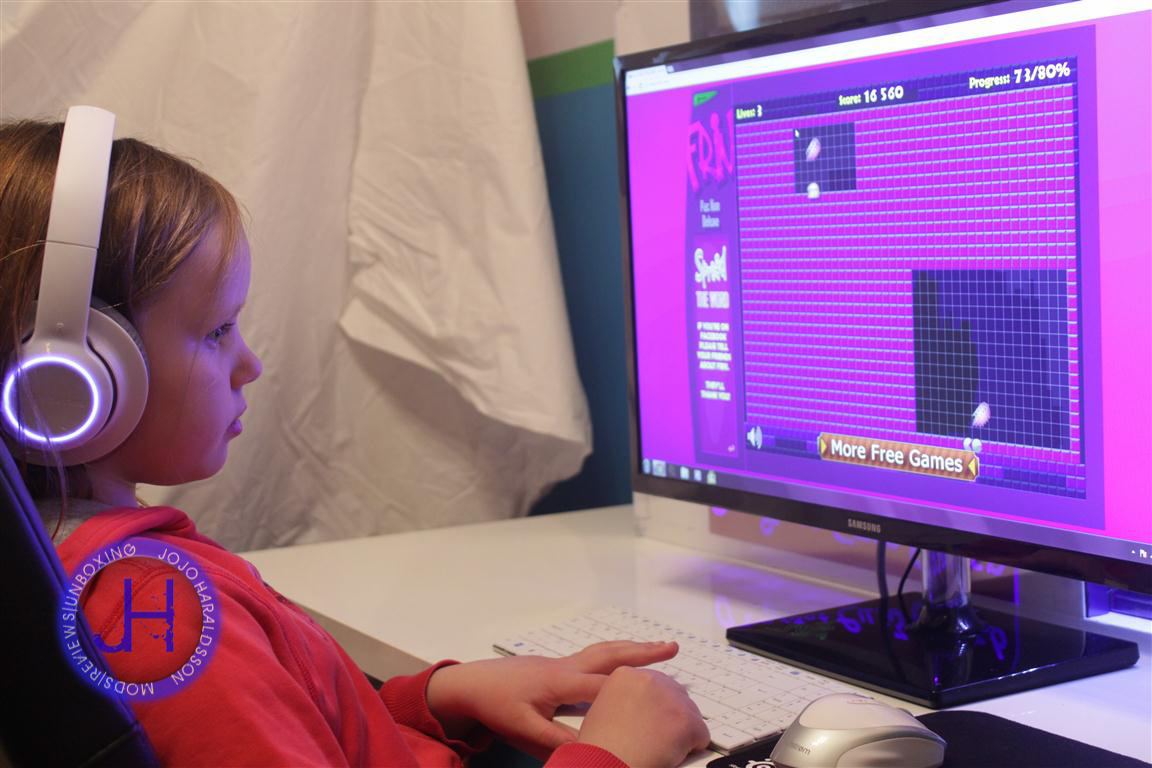
jojo69
[H]F Junkie
- Joined
- Sep 13, 2009
- Messages
- 11,267
simply outstanding
this build earns my highest praise
this build earns my highest praise
simply outstanding
this build earns my highest praise
Thank you .