• Some users have recently had their accounts hijacked. It seems that the now defunct EVGA forums might have compromised your password there and seems many are using the same PW here. We would suggest you UPDATE YOUR PASSWORD and TURN ON 2FA for your account here to further secure it. None of the compromised accounts had 2FA turned on.
    Once you have enabled 2FA, your account will be updated soon to show a badge, letting other members know that you use 2FA to protect your account. This should be beneficial for everyone that uses FSFT.

Nameless Mini-Mod All-in-one Project

Luciel

Limp Gawd
Joined
May 31, 2011
Messages
191
Hi Guys,

I´m currently waiting on some materials to arrive in order to complete the last stage of diabolo (Thread also on here).

I´ve been given a netbook that was run over by a car, as you can imagine it´s pretty screwed, casing, screen, ram, hard drive, all gone, surprisingly, the motherboard didnt have any physical signs of damage, so figured, for what it´s worthed, might as well try to see if it works, so took the whole thing out and plugged it in to an external screen and a usb keyboard. Surprisingly, it starts!, went to bios to check everything, even run some startup tools with diagnostics in them, and... it checks out, seems to be in working order. Obviously, buying the parts to fix this netbook would cost as much if not more than buying a new one, and even if it didn´t, I don´t have the need for a netbook.

So had a look around the workplace, seeing what spares I had and figuring out what I could do with it, posted on another thread here looking for ideas, but nothing quite convinced me, and then I saw an "old-ish" 17" TFT LCD, bit dusty, but working perfectly. I though, would be cool to integrate the motherboard in to the screen and make an all in one, apple mac style. So I took it appart (the screen) and as it happens, there is enough space inside for it, but figured it would heat up to much, now the backplate of the mobo, i.e. the bottom side of the netbook, was damaged but fixable, i.e. twisted plastic but no cracks. So I fixed it, and put it on the back of the screen, and it seems like a perfect fit, so marked where the holes for the screws would need to go, just to make sure there´s no screen hardware behind them, and, yet again, it matches, quite lucky.

So I´m going to be doing that for the next few days, paint wise, I was thinking, either pearl white, or in the same style as my fallout project. Maybe radioactive green, not sure yet.

Another idea would be to reconstruct the back of the screen, add new mounting points and build the thing inside with some micro liquid cooling, which would (I think) solve any heating issues.

So yeah I will update with some pictures later on : )
 
Last edited:
And here we go:

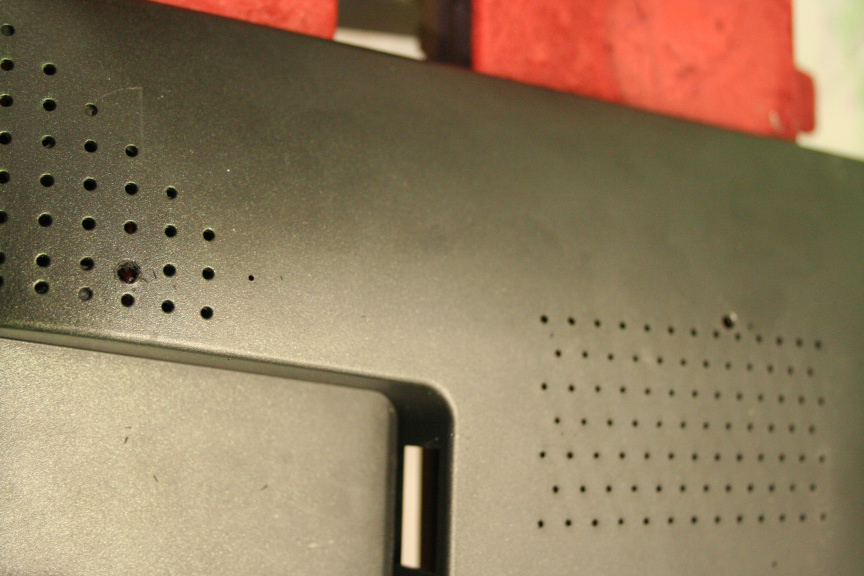
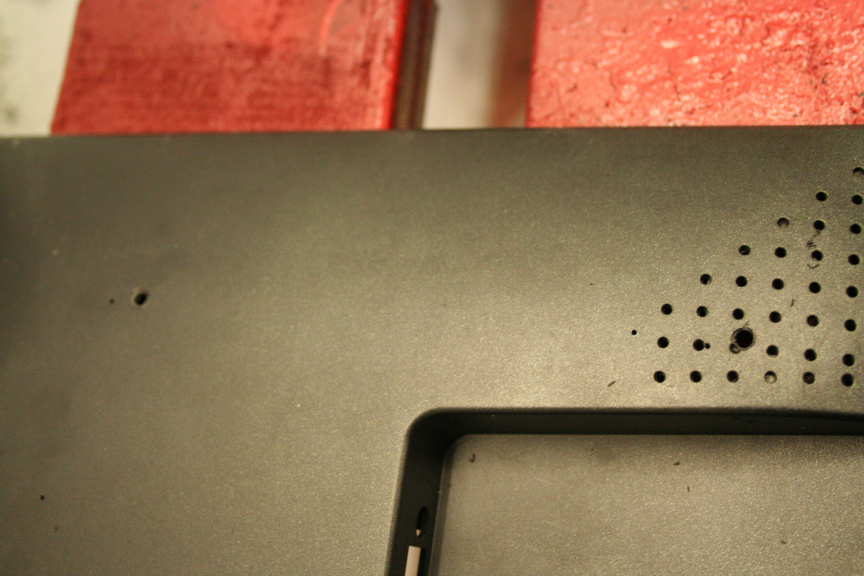
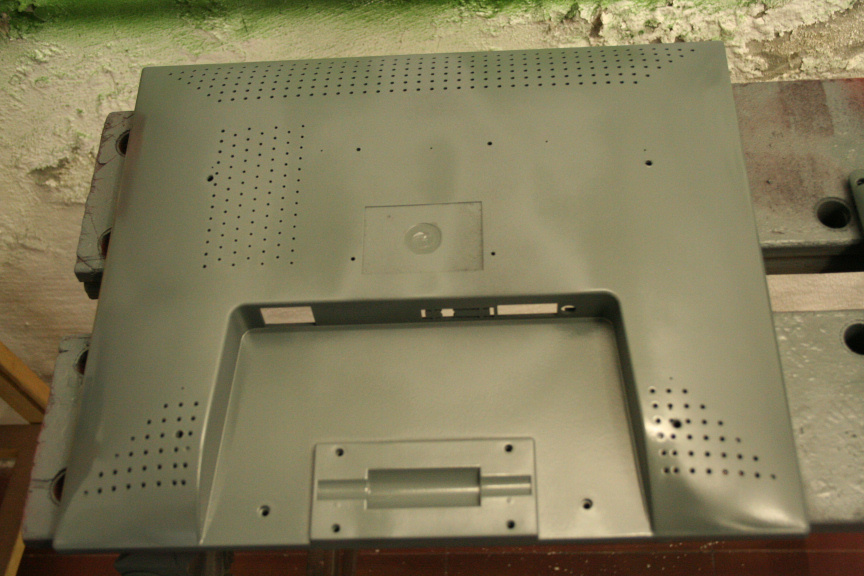
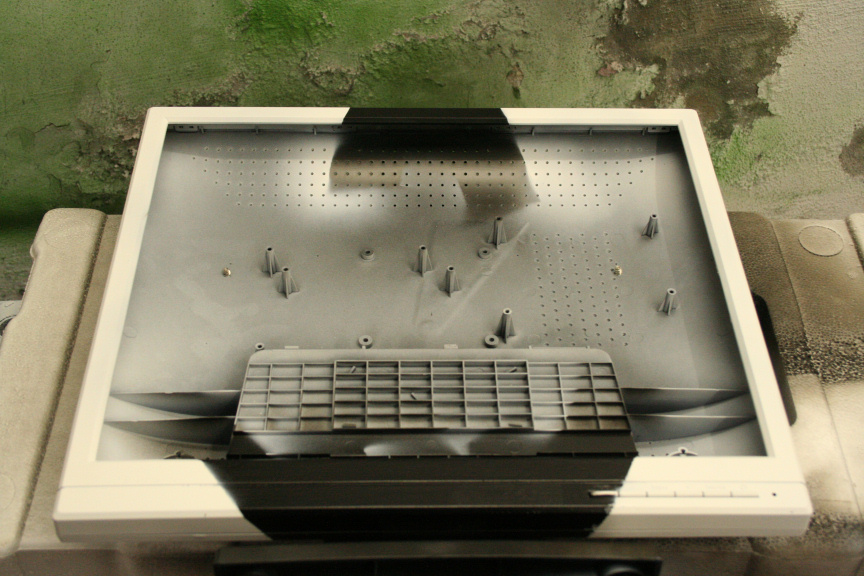
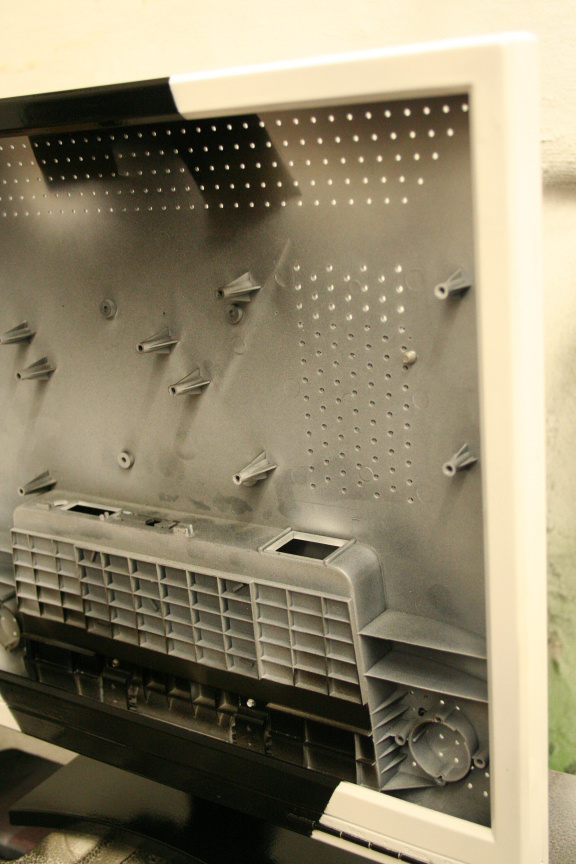
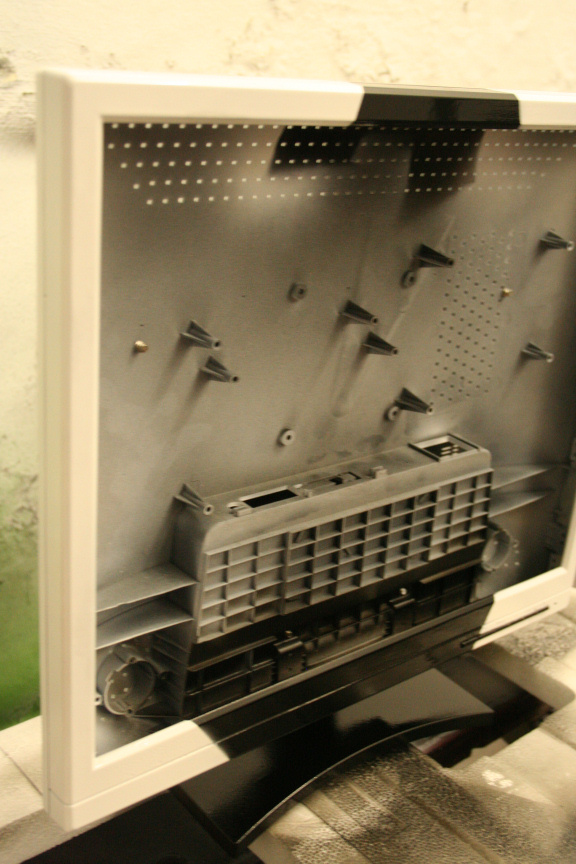
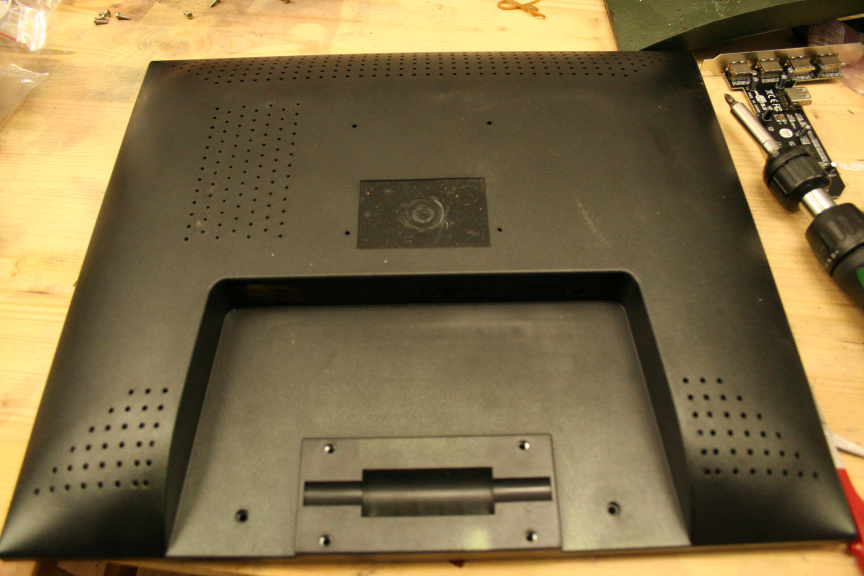
First I took the screen (the 17", not the netbook´s, that was done before and didn´t take any pictures) apart, this is the back cover:

1.JPG


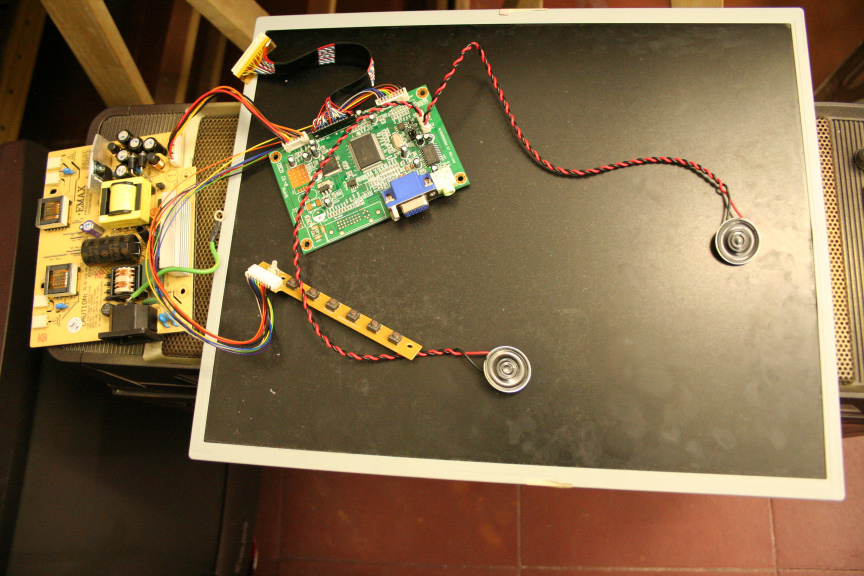
The actual panel with it´s other components:

2.JPG


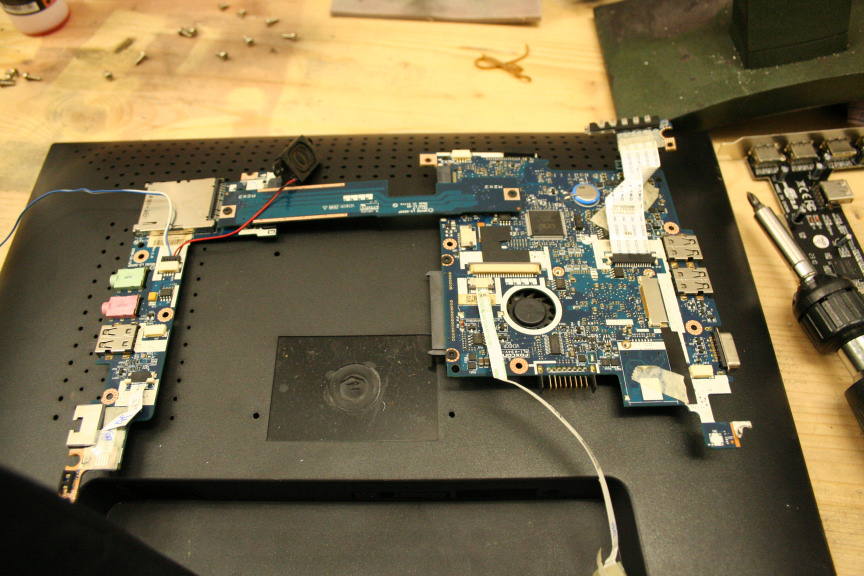
The netbook´s motherboard, note that the middle pcb striple is removable, would be interesting to find out what kind of connection it is that uses and can I get a cable of it, so I don´t have to use an SLI style piece of plastic to connect both sides, i.e. taking more space than needed.

3.JPG


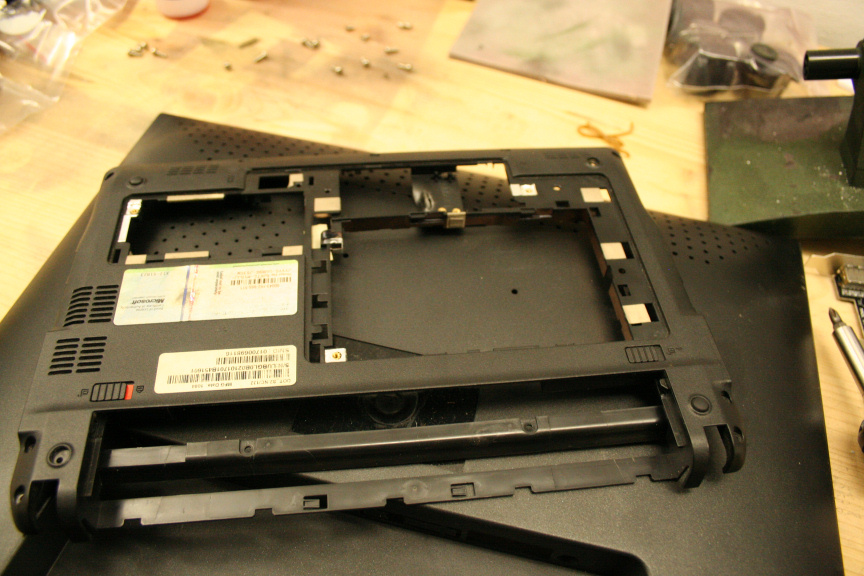
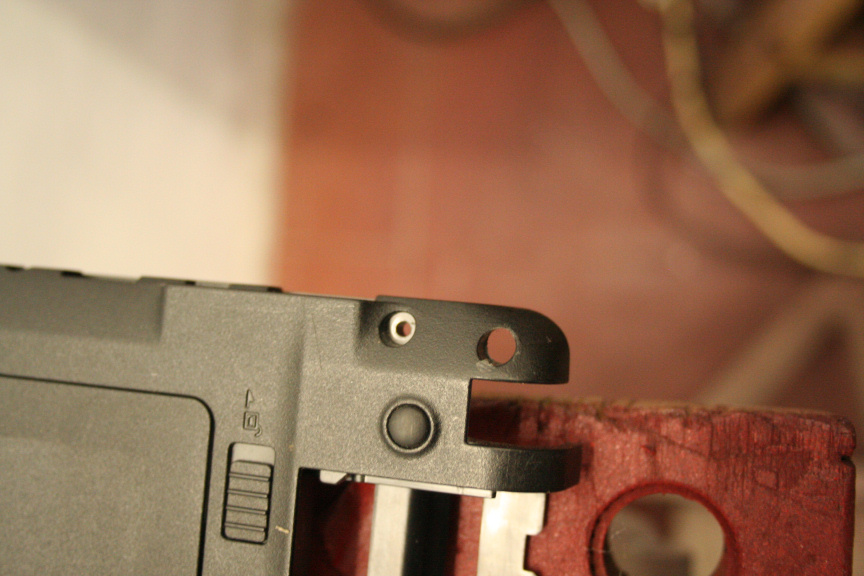
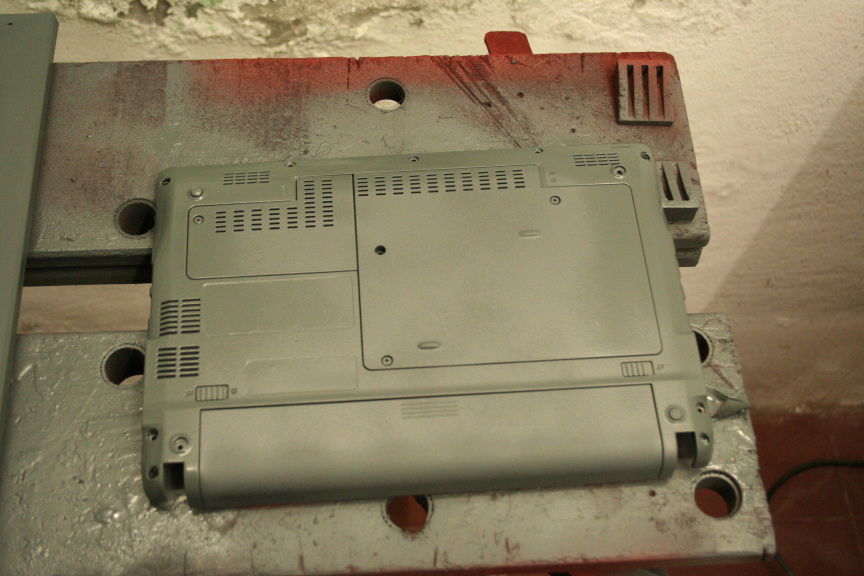
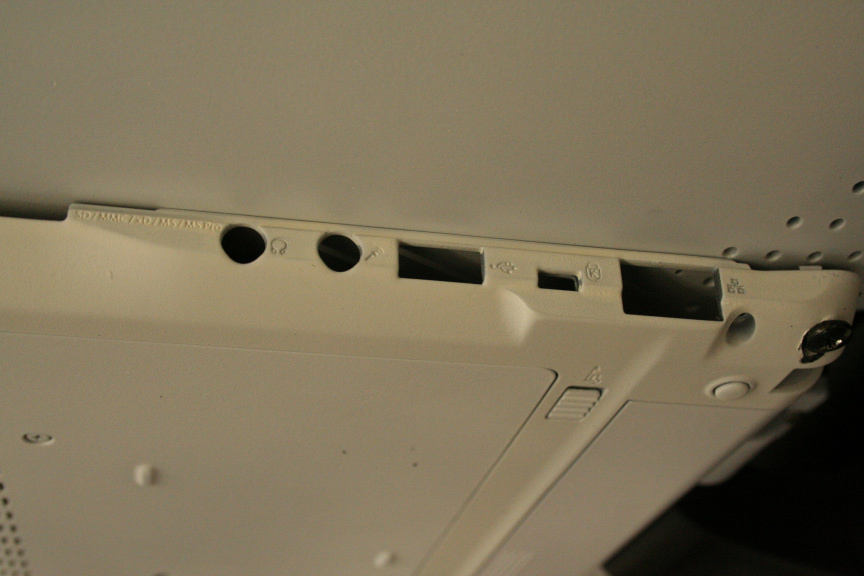
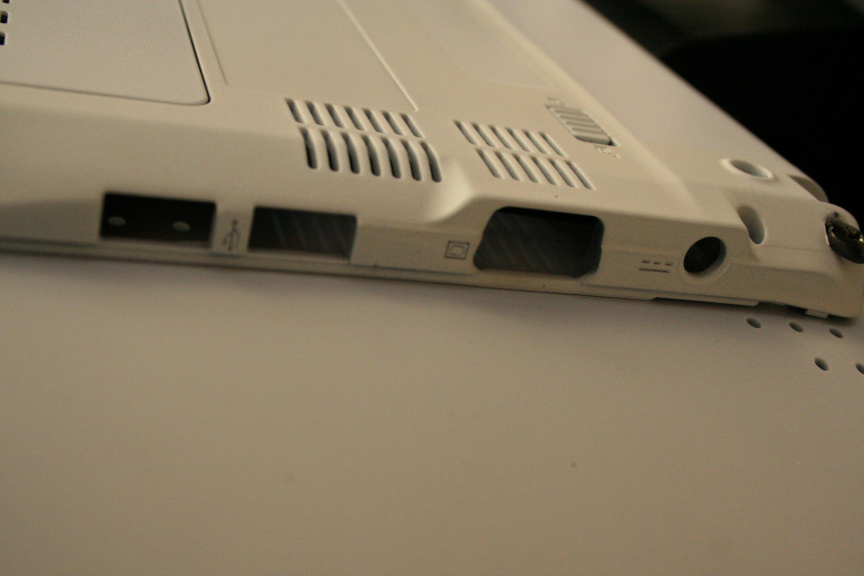
This is the fixed, netbook´s rear casing which will be used in the case I go for an outside mounting.

4.JPG


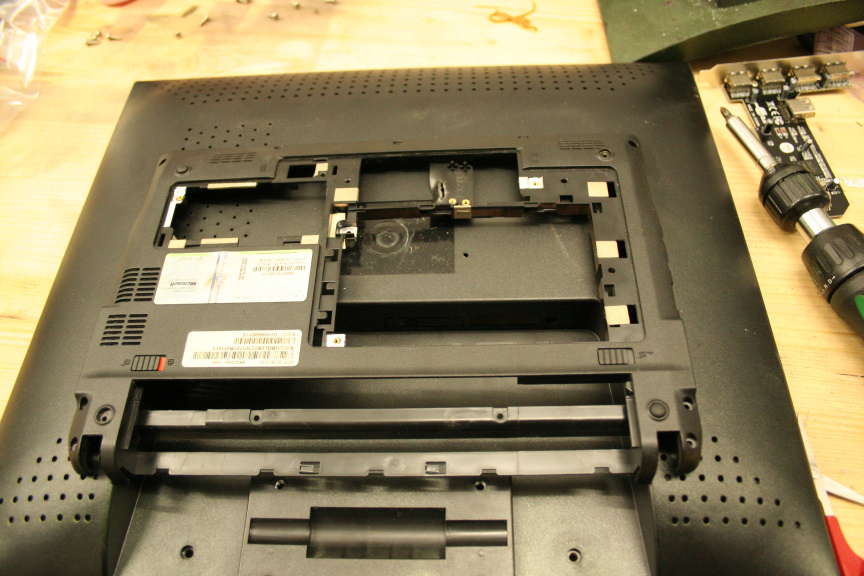
And this is what it would look like mounted on the outside (bare of course, covers have been removed, etc, etc, etc).

5.JPG
 
i like it so far, i like the idea a lot, i might have to do something similar with a raspberry pi
 
If you´re going to go that way, I´d have to recommend a via pico itx, as it has more serious power, then again, the pricetag on the raspberry is veeeeery tempting : )

I will be using one of those for my in-car computer : )
 
Hi Guys,

Finally had some time to go round to my local suplies shop and bought the dremel drillbits I needed for this (didn´t have the right size for the screws I wanted to use, normally I´d say, use different screws, but I decided on the screws normally used to mount fans as the grip very well. This surface being thing and plastic, can use all the grip it can get).

Furthermore, I´ve decided to mount it outside for several reasons. Looking in to obtaining power from the usb (5v) I could only find a few led strips that did the job, unfortunately they where (god knows why) stupidly expensive and I wasnt even sure how they would look (if they had been cheap I would´ve gotten them even if it was just to experiment with them). Reason 2 is, the enclosure is a perfect fit on the back of the monitor, and it seemed like a waste not taking advantage of this. The final reason is, I have to finish diabolo, this, and yet another small project in 2 and a half weeks, so I want to streamline it a bit and I personally think it looks great on the outside, while doing it inside would be more for the challenge, at this point I don´t think it´s needed.

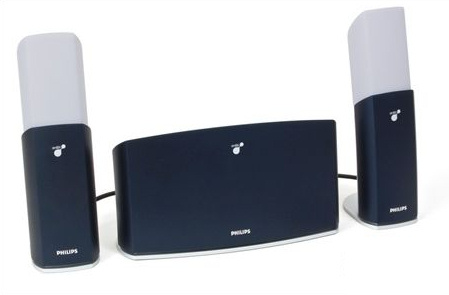
On another note, I will be adding to the setup the philips ambx, of course with a paintjob to match, and seeing as I´ve decided to go for a white paintjob with black details, the light emited by the rig should add a very cool effect to the paintjob.

12.JPG


So as I said, I got the right drillbits and made 4 mounting holes:

6.JPG


7.JPG


Also used the original netbook´s mounting holes but made them big enough for the screws while not going over it´s original design, so it looks factory standard.

8.JPG


Sanded everything down and gave it a coat of primer:

9.JPG


10.JPG


And after it had dried and sanded it down a bit, the first coat of Icy White:

11.JPG


I am now waiting for it to dry in order to give it it´s second coat.


PS: I came up for a name for the project, it is now named Project: AIO AL (as in All-In-One AmbiLight)
 
Last edited:
Update time:

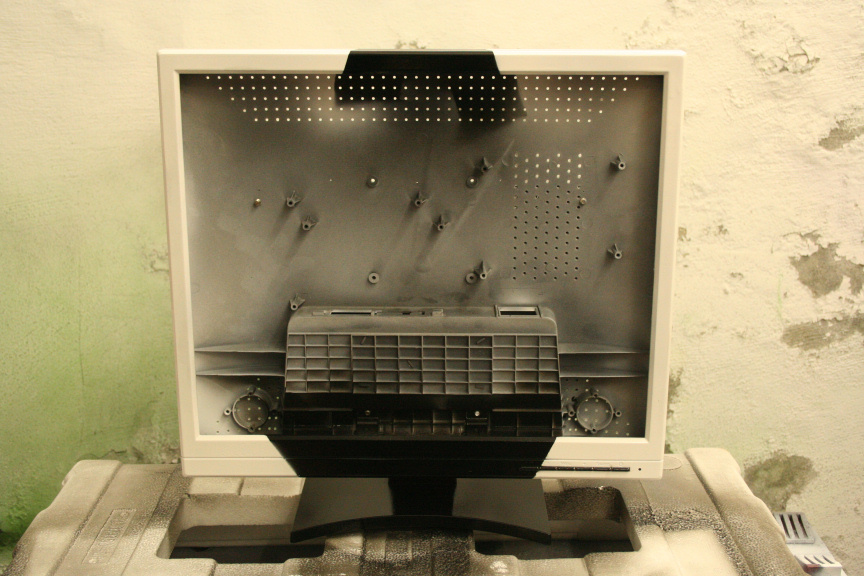
Second coat of icy white done, unfortunately I wasn´t happy with how it turned out as it had bubles in some places, at first I though it was just trapped air, but when I sanded it down and re-painted it, it appeared again, I noticed some other imperfections on the rest of the screen, yet not on the netbook so it can´t be the paint, aniway, sanded it all down, got rid of the paint, reaplied 2 coats of primer just to make sure, white, same thing happened, must have something to do with the material of the screen, no idea, aniway, since at this stage I am not discarding this screen I´ve done my best in disguising the imperfections.

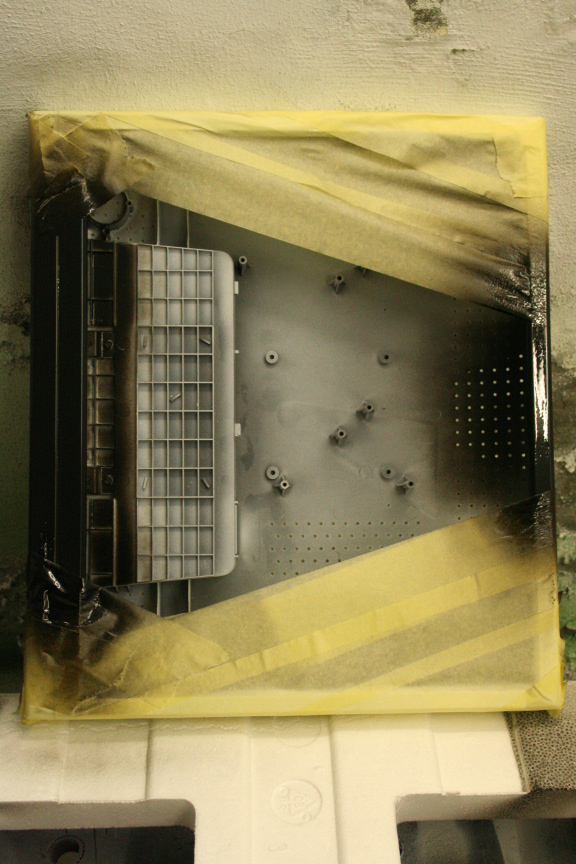
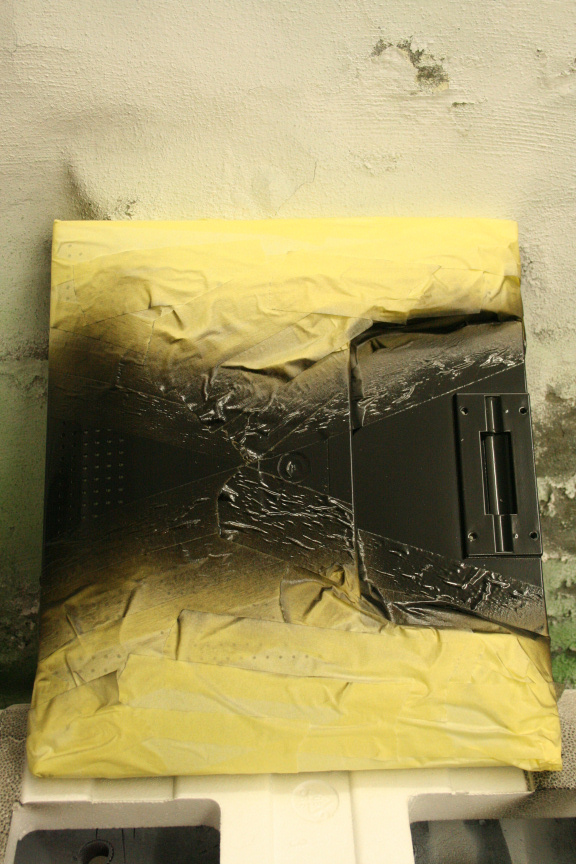
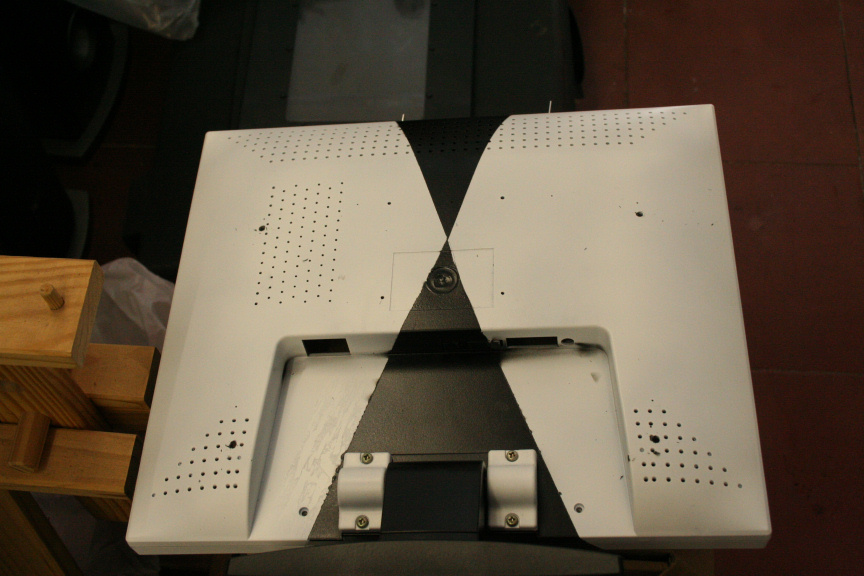
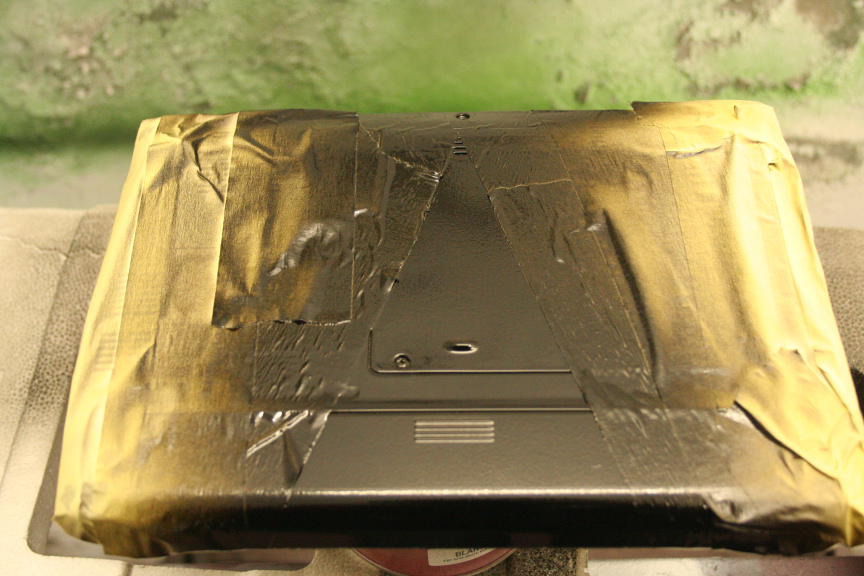
Aniway, covered the parts that would remain white and started on the black parts:

13.JPG


14.JPG


Once dried I removed the masking tape, there is some detailing work needed but no problems, it´s easy enough : )

19.JPG


20.JPG


21.JPG


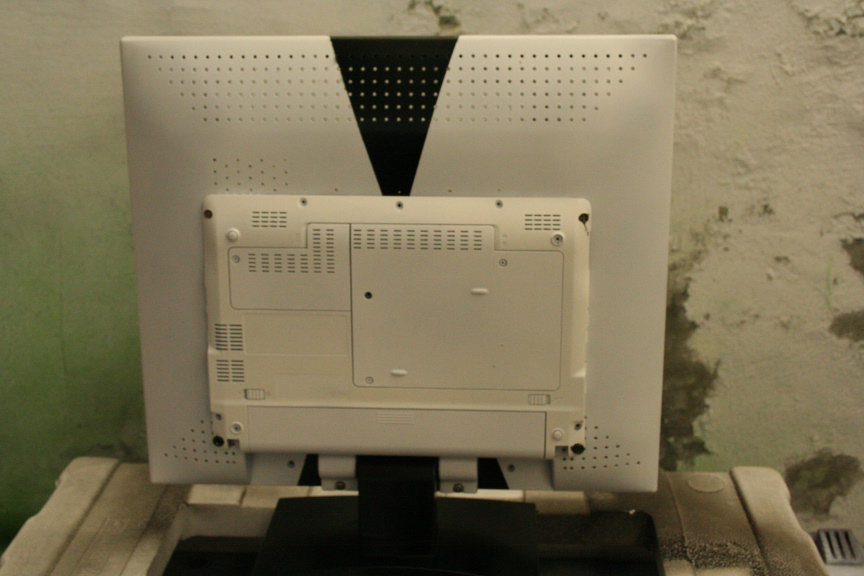
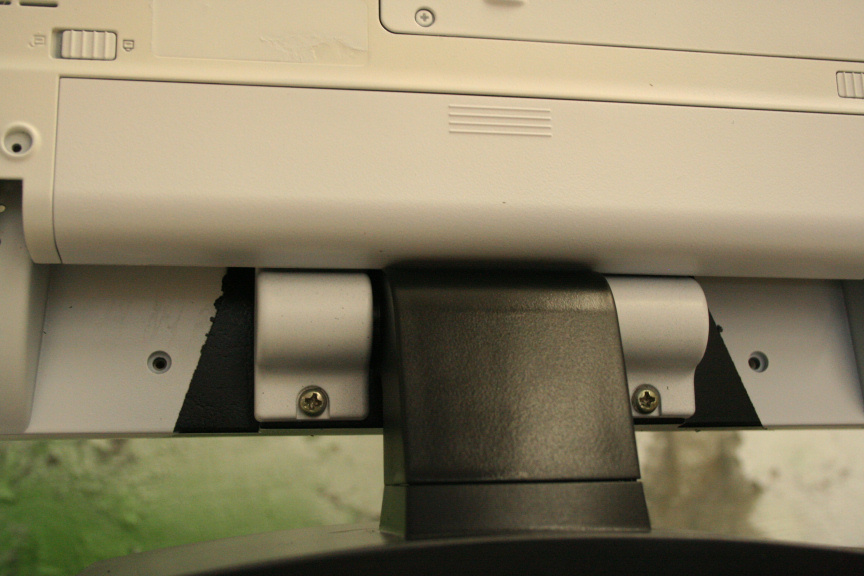
Figured I´d do a test mount of the backplate:

15.JPG


Unfortunately found out that it wasn´t as perfect fit as I though but no problem, sanded down certain parts in order to make it a perfect fit and...

16.JPG


17.JPG


18.JPG


Pretty perfect fit no? ; )

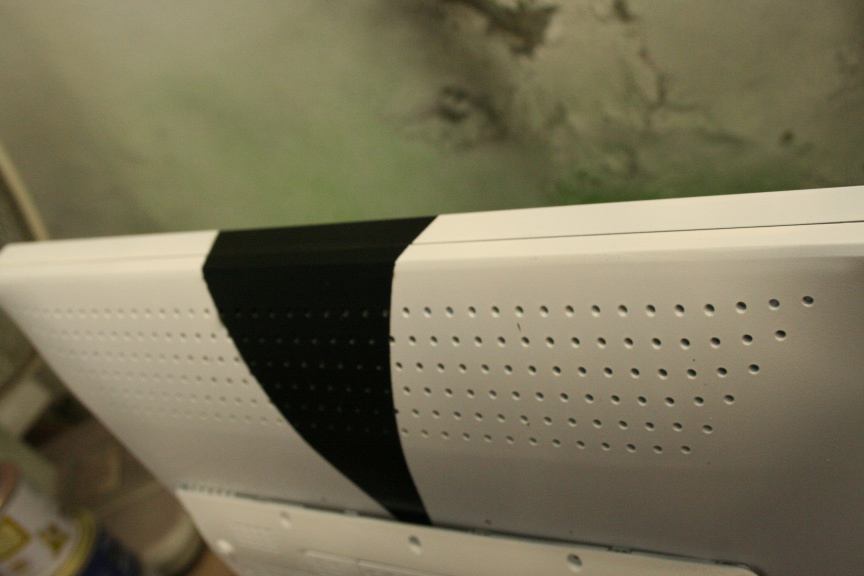
So marked the backplate, following the black patern, took it off and started painting it:

22.JPG


2 coats done, now have to wait for the second coat to try, mount it, do some detailing where the black has gone in to the white a bit, lacquer the whole thing and we´ll go from there.

Next update hopefully tomorrow : )
 
Update:

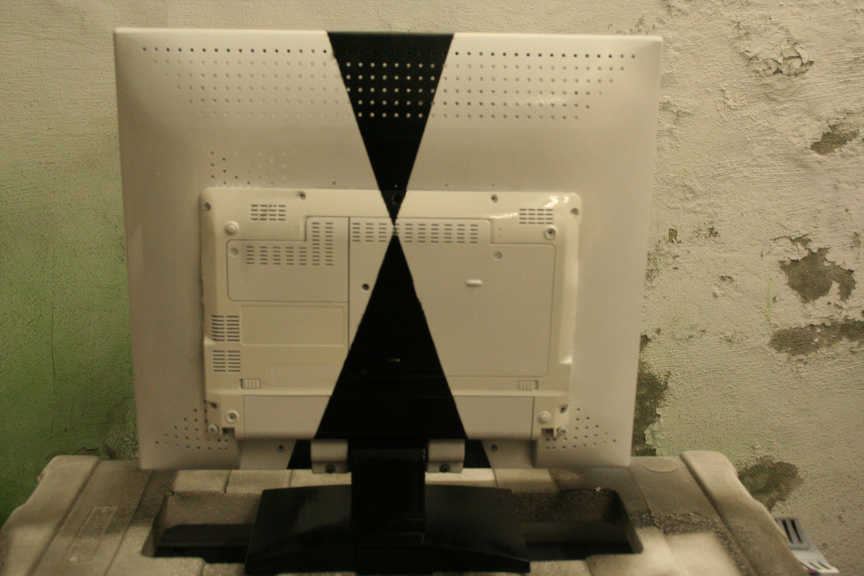
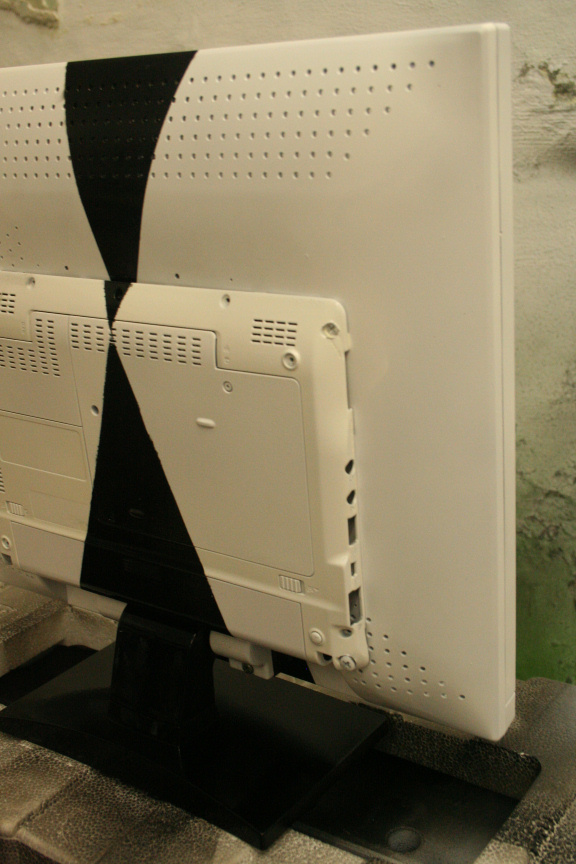
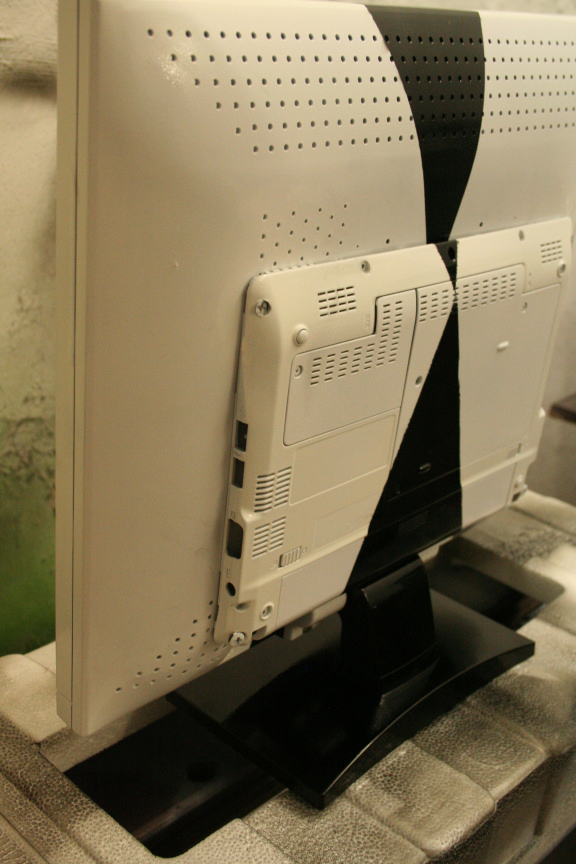
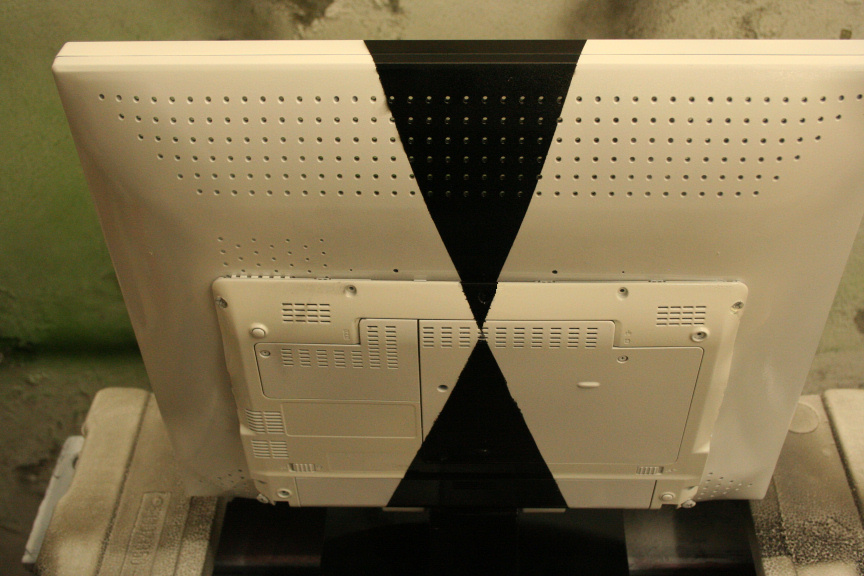
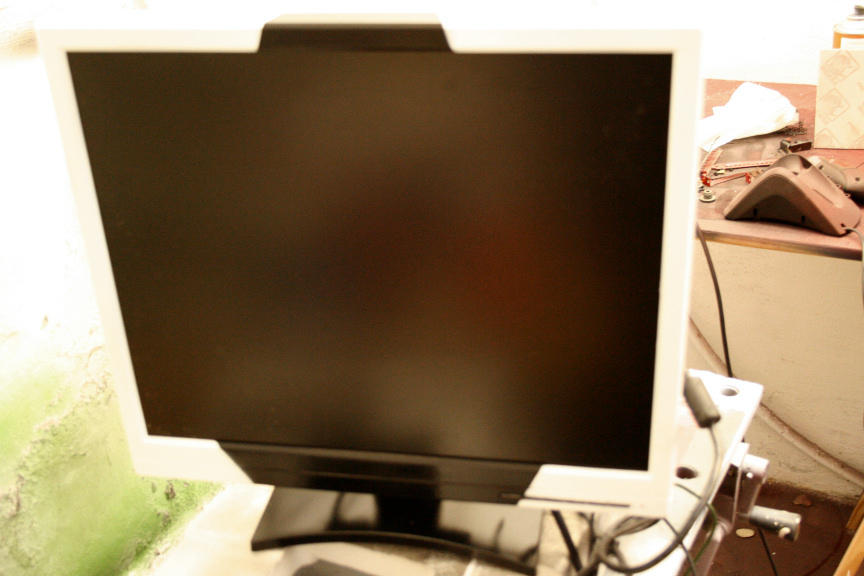
Painting of the center unit (screen with mounted system) is finished, line detailing is fixed and all has been lacquered with a clear glossy finish.

Next update will be of the system put togueter and the start of the painting of the philips ambx system.

23.JPG


24.JPG


25.JPG


26.JPG


27.JPG


28.JPG


29.JPG
 
Might want to try painters tape so that you are not getting so much (pull) when u remove the tape. It is pretty clear that you should touch up those lines.

I do like the idea that you are going for! Good luck!
 
What do you specifically mean by painters tape? Masking tape has always been classified as such over here.

The lines where touched up on the latest update.

Thanks for the comment!
 
What do you specifically mean by painters tape? Masking tape has always been classified as such over here.

The lines where touched up on the latest update.

Thanks for the comment!
It's blue and has a better adhesive on it for cleaner lines and easier removal. But yours is looking great! Very cool project.
 
hmm that sounds quite interesting, I don´t think I´ve seen it at my local paint suply shop, how can it be a better adhesive yet easier on removal? i.e. I always have to be carefull with masking tape as if left on for more than 24h it could take the paint off when removed since there´s no lacquer at that stage.

and thanks : ) I´m currently looking for the power socket for the mobo, cant seem to find it oh oh
 
Quick update:

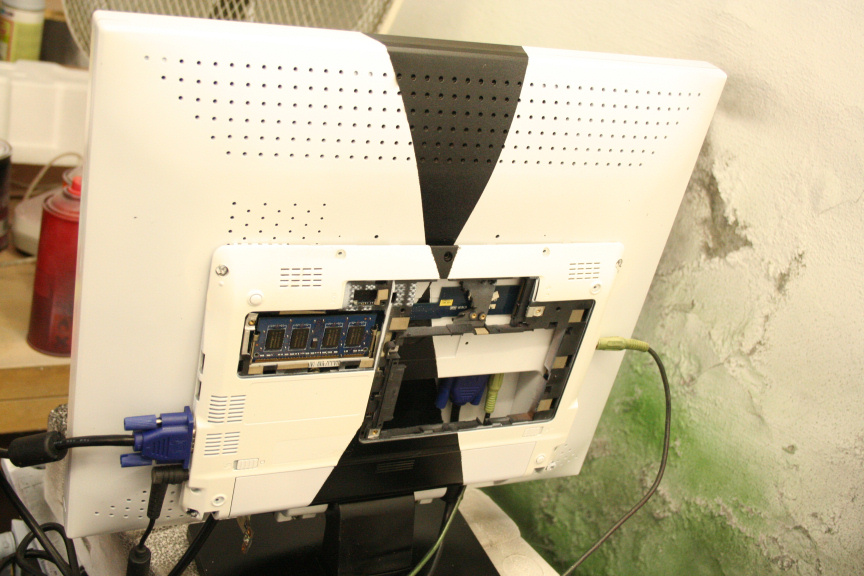
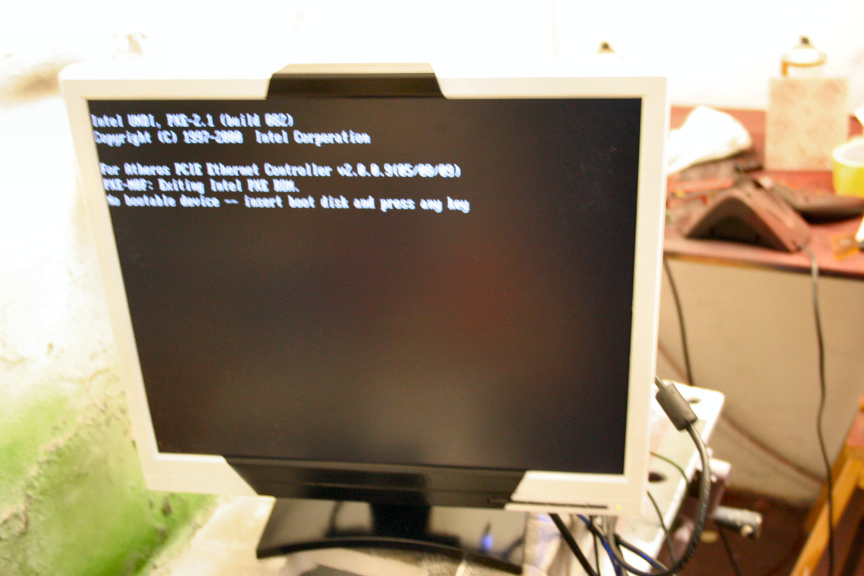
I´ve put all the hardware togueter plus some test ram and test hdd (not the final components) and I´m about to install windows and do some stress testing to monitor stability and temps. Luckily, it all started the first time : )

30.JPG


31.JPG


32.JPG


PS: Don´t worry, no HDD was in at the time of picture ; )
 
Back
Top