![[H]ard|Forum](/styles/hardforum/xenforo/logo_dark.png)
I've been a long time follower of [Hard]|Forum since i built my first computer. But it wasn't till recently i saw the L3p D3sk (Amazing btw) and it really motivated me to build my first case from scratch.
I've gotten a pretty good chunk of the desk built already but haven't had time to start up a worklog since I've been busy moving into my new house.
I'm settled now so its time to get at it.
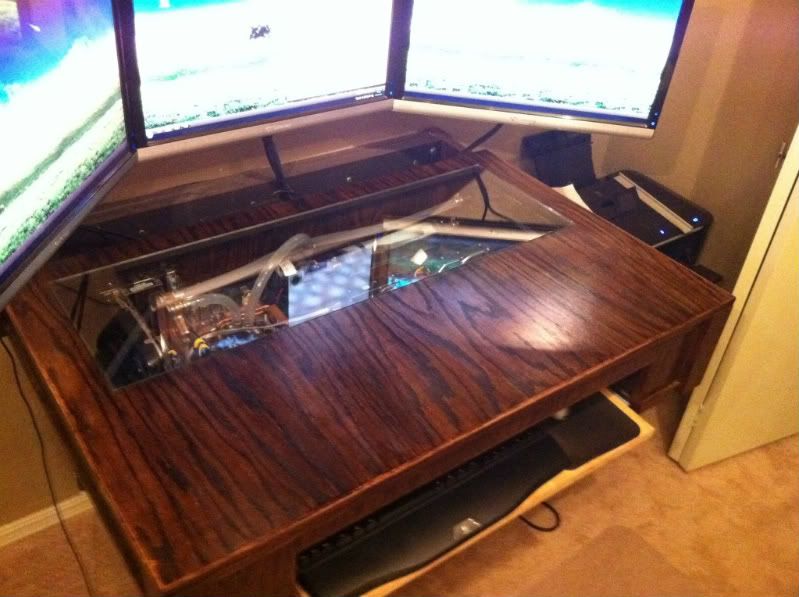
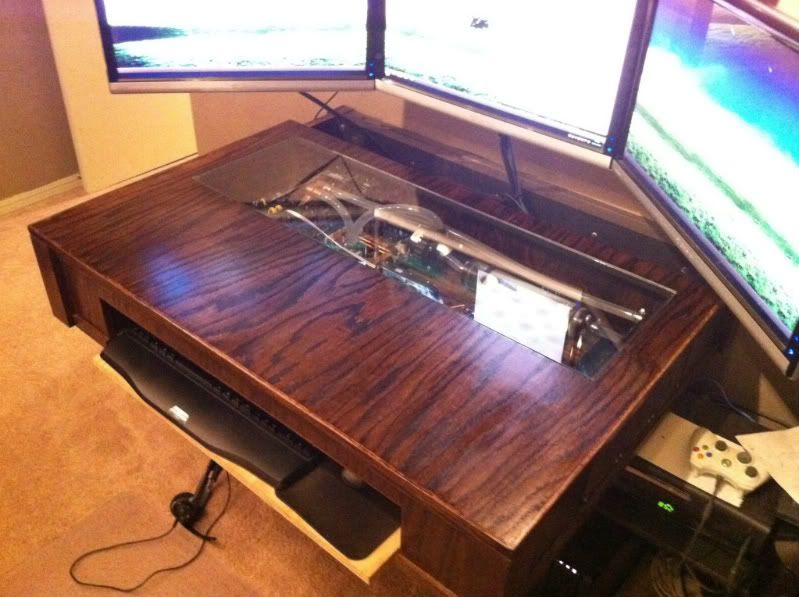
Here was the current state as of this morning
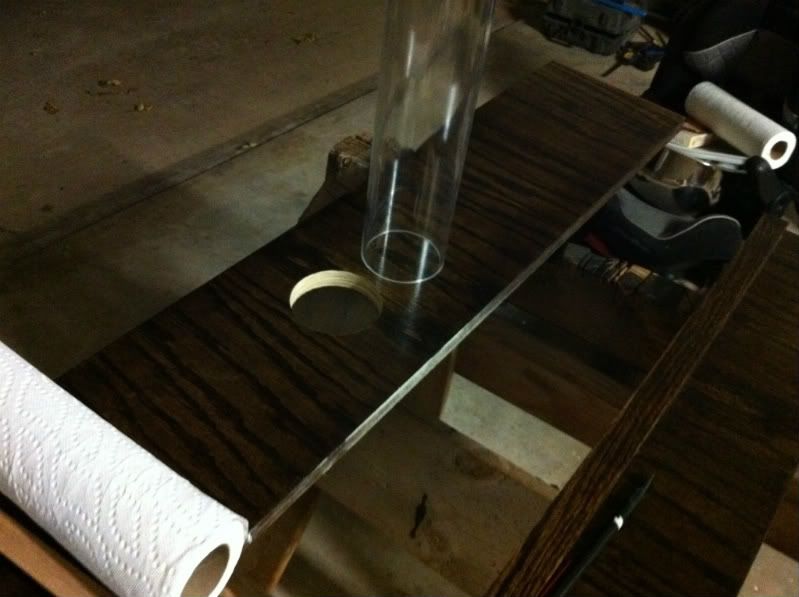
I drilled the hole in the back plate for the acrylic tube i will use to route my wires
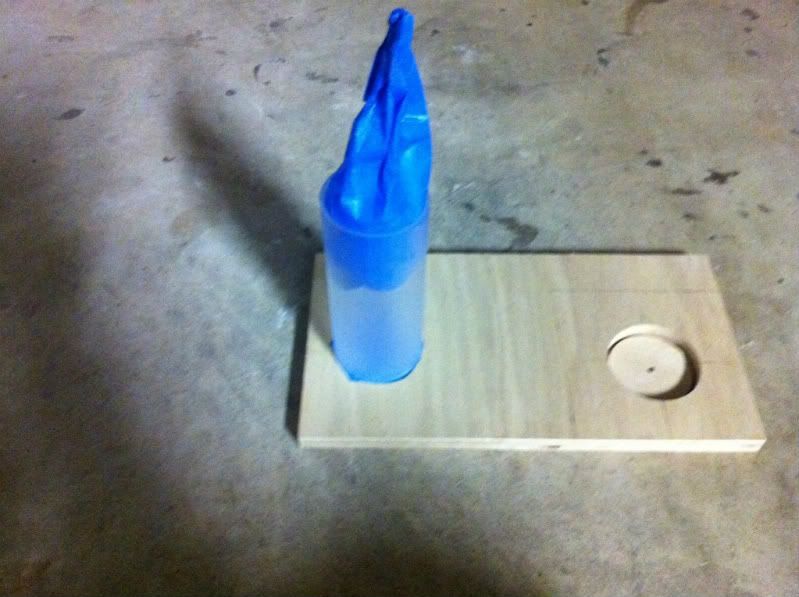
After cutting it to length i used some frosting spay paint
Skipped a couple steps but here is the tube mounted and under-lit
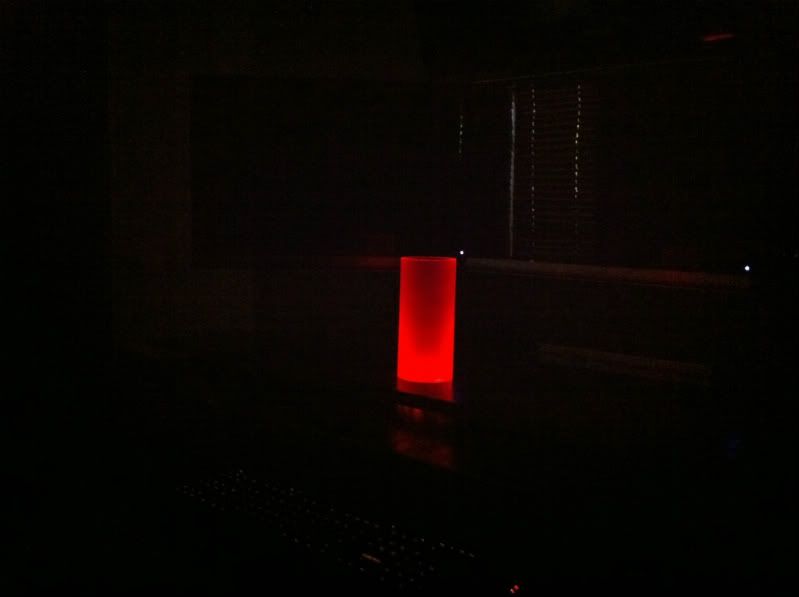
And Finally with the back panel in place and all the cables run
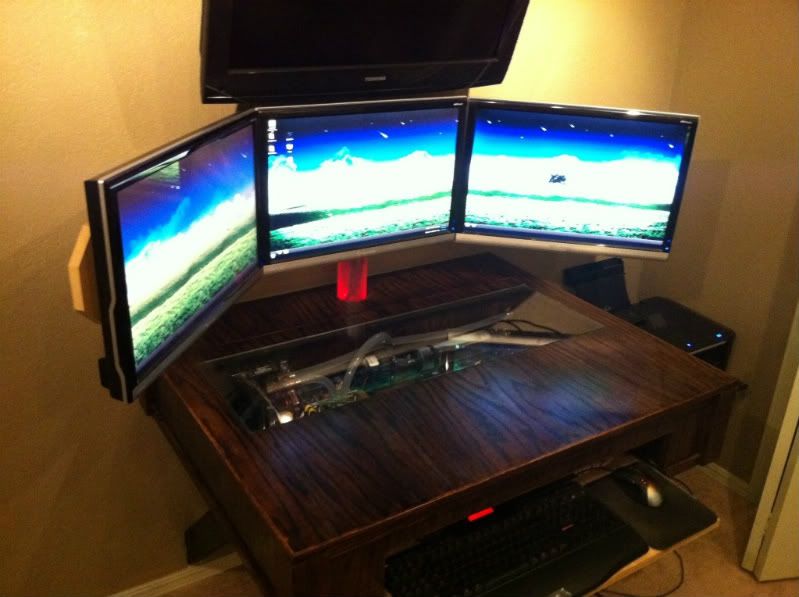
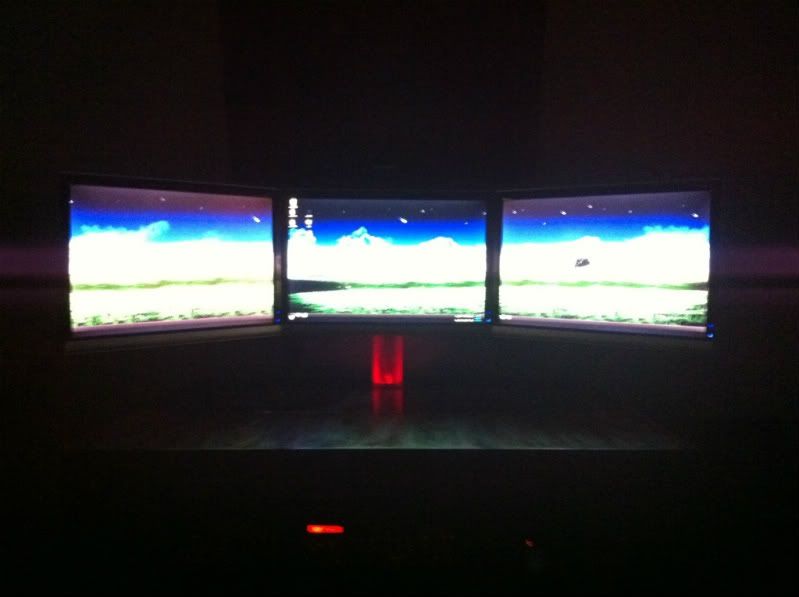
Next up on the agenda is to completely rebuild the internals. Still rocking the comp i built in 07 so I'm way past due for an upgrade.
Parts List
---------------------------------------------
Intel Core i7 2600k Sandie Bridge
Sapphire Radeon HD 6990 **Updated**
Crucial 128GB SSD
CORSAIR PSG AX1200 **Updated**
Asus Maximus IV Extreme
Corsair Vengeance - 16GB
Watercooling Components
---------------------------------------------
EK Supreme HF CPU block
EK FC6990 GPU block **Updated**
EK D5 X-Top rev.2
Bitspower Matte Black Barbs
EK Ekoolant - Blood Red
*apologize for the pictures... yes there from my phone
All the previous build pics can be seen Here
I've gotten a pretty good chunk of the desk built already but haven't had time to start up a worklog since I've been busy moving into my new house.
I'm settled now so its time to get at it.
Here was the current state as of this morning
I drilled the hole in the back plate for the acrylic tube i will use to route my wires
After cutting it to length i used some frosting spay paint
Skipped a couple steps but here is the tube mounted and under-lit
And Finally with the back panel in place and all the cables run
Next up on the agenda is to completely rebuild the internals. Still rocking the comp i built in 07 so I'm way past due for an upgrade.
Parts List
---------------------------------------------
Intel Core i7 2600k Sandie Bridge
Sapphire Radeon HD 6990 **Updated**
Crucial 128GB SSD
CORSAIR PSG AX1200 **Updated**
Asus Maximus IV Extreme
Corsair Vengeance - 16GB
Watercooling Components
---------------------------------------------
EK Supreme HF CPU block
EK FC6990 GPU block **Updated**
EK D5 X-Top rev.2
Bitspower Matte Black Barbs
EK Ekoolant - Blood Red
*apologize for the pictures... yes there from my phone
All the previous build pics can be seen Here
Last edited:
 650 pictures that are useless.


