• Some users have recently had their accounts hijacked. It seems that the now defunct EVGA forums might have compromised your password there and seems many are using the same PW here. We would suggest you UPDATE YOUR PASSWORD and TURN ON 2FA for your account here to further secure it. None of the compromised accounts had 2FA turned on.
    Once you have enabled 2FA, your account will be updated soon to show a badge, letting other members know that you use 2FA to protect your account. This should be beneficial for everyone that uses FSFT.

Motivate - TJ07

mattlef

Weaksauce
Joined
Dec 13, 2008
Messages
120
Hey Everyone, Thanks for checking out my worklog
I've started this build a little while ago, and will be posting all my updates thus far, please excuse the mass posts for the next few mins.


logoPSD-1.jpg

-----------------------------------------------------------------------------------------------------------------------------------
Longterm - Motivation
-----------------------------------------------------------------------------------------------------------------------------------
WELCOME!!!!


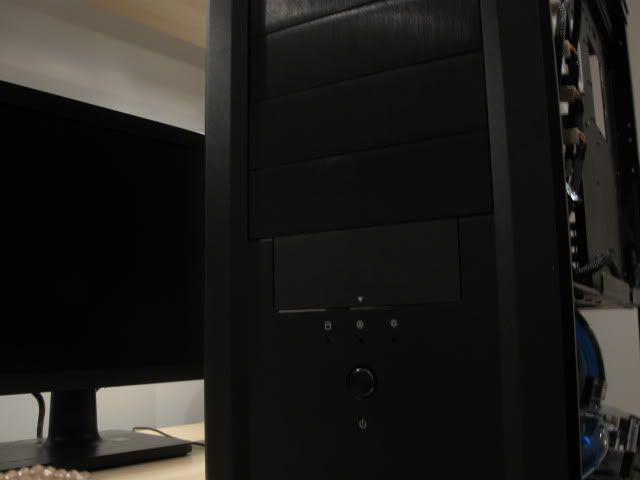
So, i decided to find a TJ07 and work with it for a bit. I finally got my hands on one, and decided to start working on it right away.

I plan on keeping it Standard ATX and I hope to use some MKII parts once they are available :D
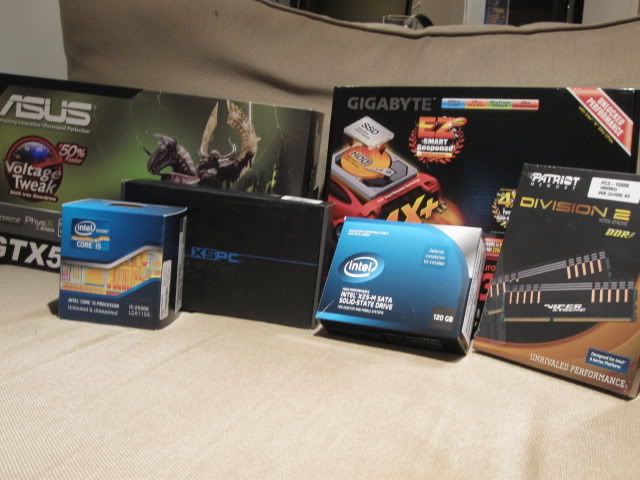
So for now, here is what she'll be powered by:

2500K
Gigabyte GA-Z68X-UD3H_B3
8GB Patriot Extreme ram
Asus GTX 570
Creative Soundard
Intel 120GB SSD
WD 320Green Storage

Current Watercooling :D (this will change ;)
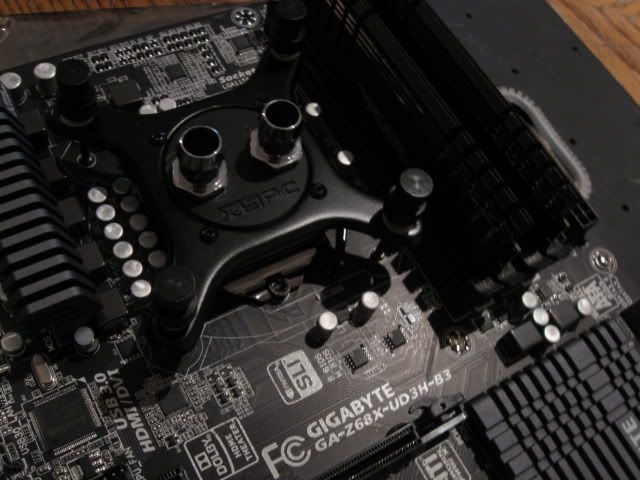
Rasa CPU block
XSPC Razor GPU block
PA120.3 Rad
MCP355 w/ plexi top.


I've already got a few shots for everyone :D
So stay close ;)

IMG_0951.jpg


So as Promised, a few pics :D
IMG_0952.jpg


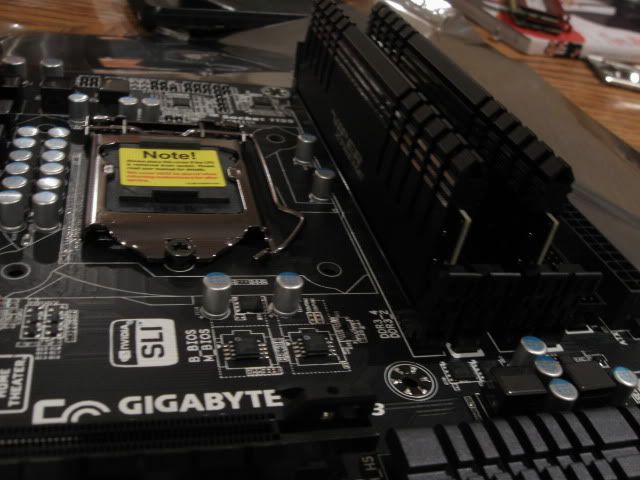
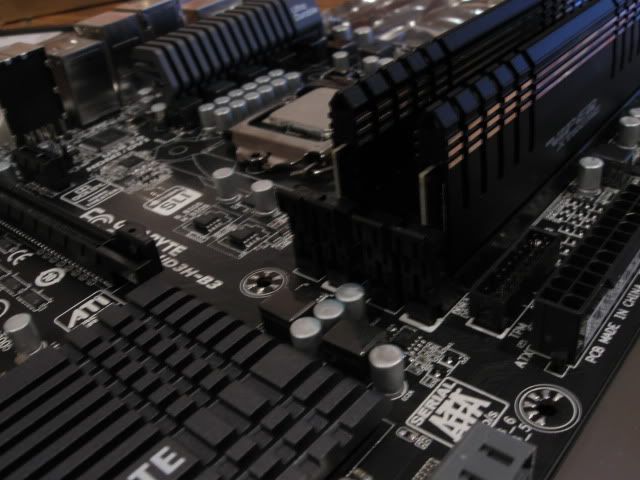
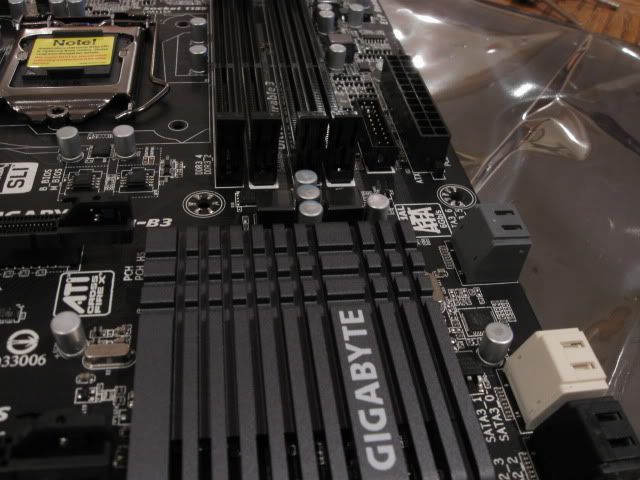
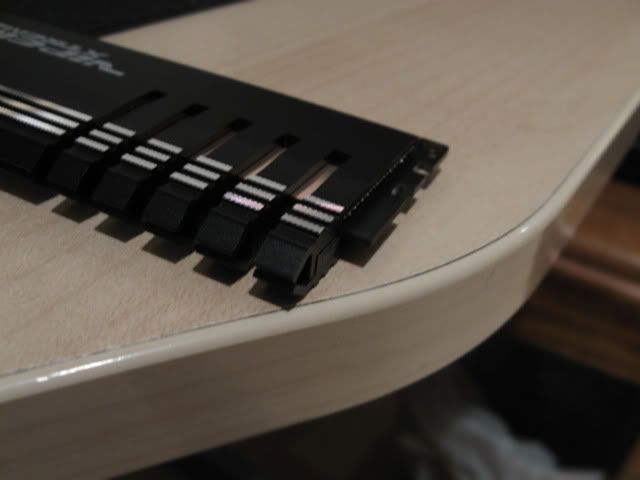
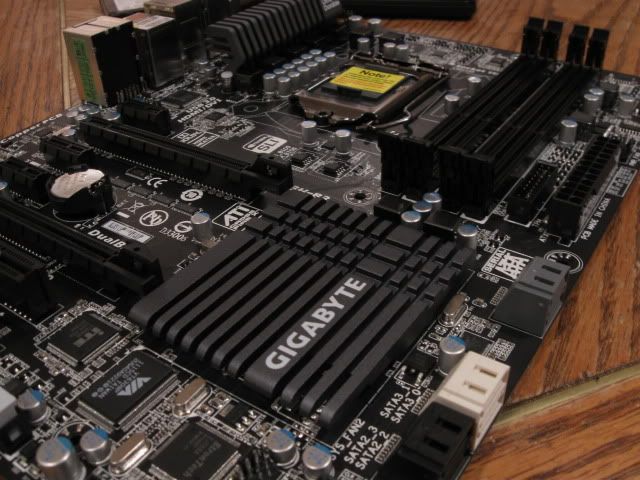
I love the look of this board. But I'll let the photos do the talking for me.
IMG_0953.jpg

IMG_0954.jpg

IMG_0956.jpg

IMG_0955.jpg


I'll have a few more pics later on ;)
There seems to be..... too much blue paint on those caps

:wave:

So, this will probably be it for me tonight, as I plan on now puting it together as a beta build. i'm waiting patiently on a few new parts, like a new GPU and CPU block. As well, i want to create a great looking midplate, So I'll have to come up with a few ideas.

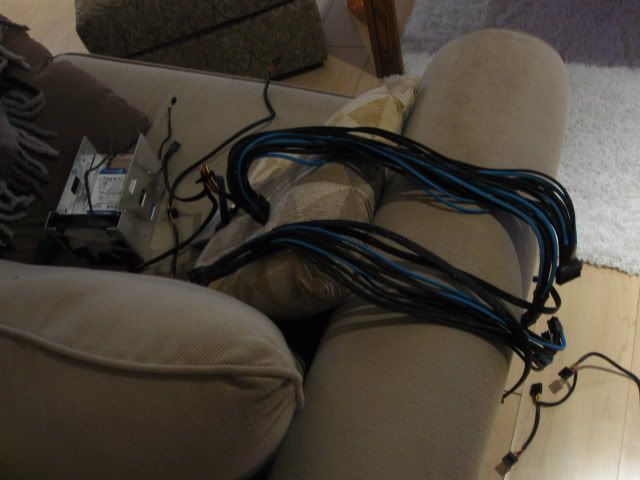
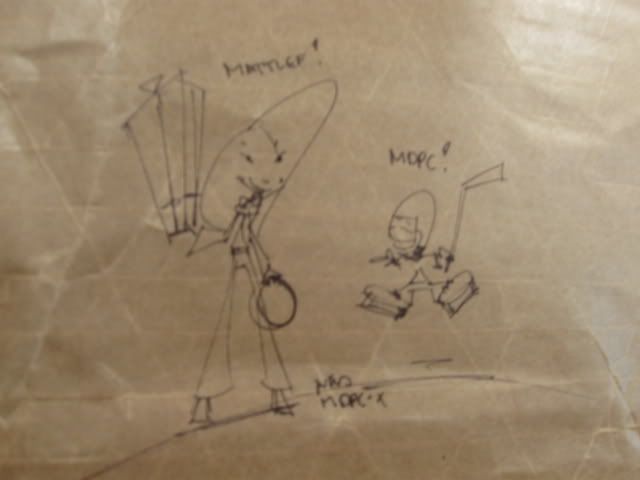
For this project, I'll be using my previously sleeved Seasonic X-760. The pics are old and i'll take some better ones later :D
IMG_0789.jpg

turned into:
IMG_0803.jpg


So down to taking that paint off those caps...
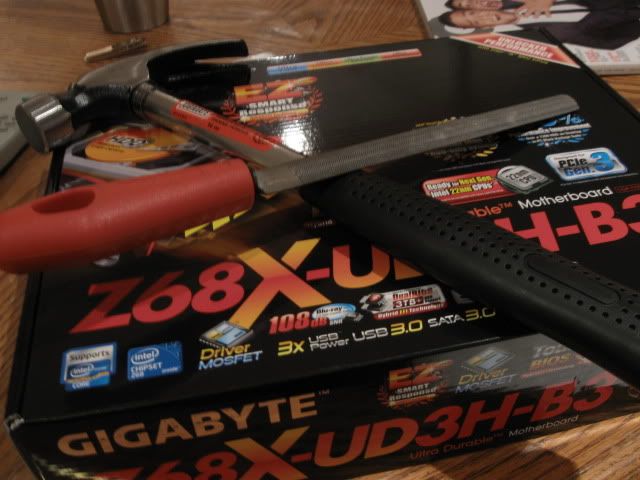
but what tools can i use for it?
IMG_0964.jpg

Okay, maybe not the greatest of ideas lol.


so thinking hard, i decided for a coffee and a little light reading
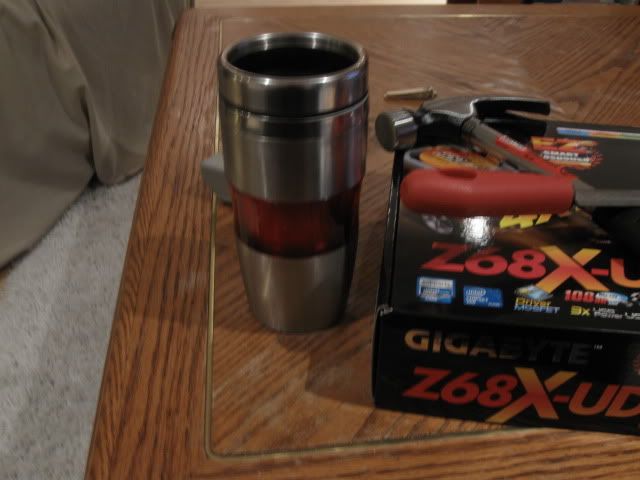
IMG_0965.jpg

IMG_0967.jpg


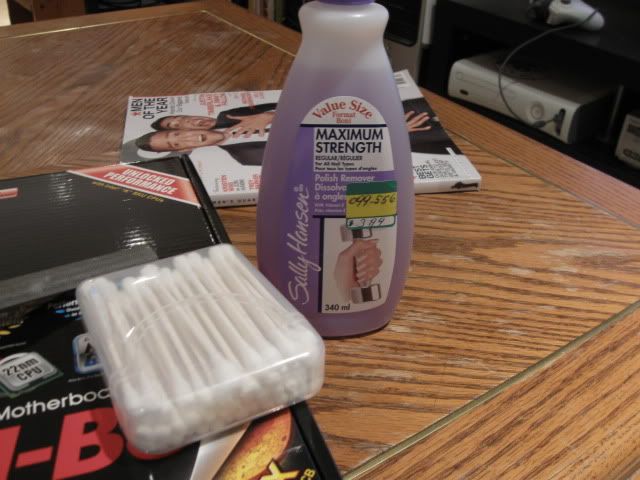
Wait..... Acetone!
IMG_0966.jpg


But it was taking far too long for my liking.... i need something with more... power.
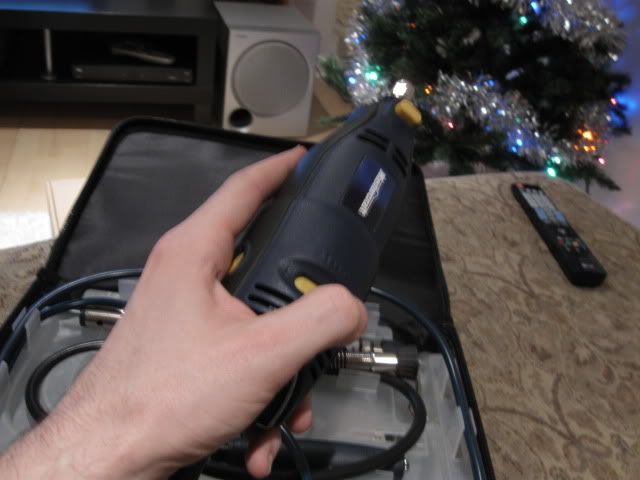
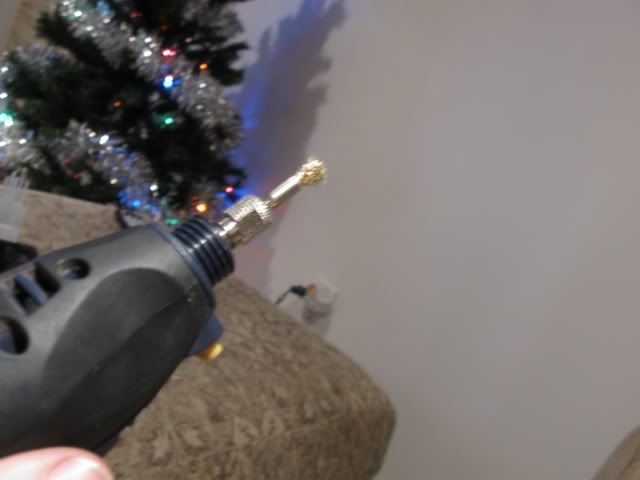
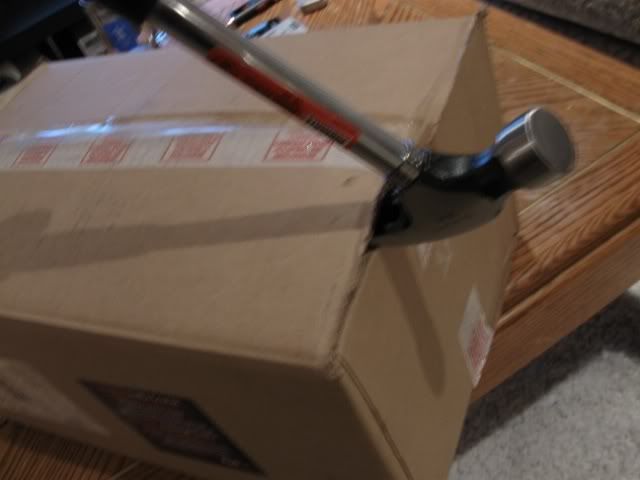
Then i remembered i had this one tool..... with a special attachment that might actually work for me :D
IMG_0968.jpg

IMG_0969.jpg

IMG_0973.jpg


Time to go to work!
So after about 20 minutes of delicately buffing the top of my caps,
I ended up with.... this :) I like the result, but i might use the acetone to shine them up better.

IMG_0961.jpg

IMG_0960.jpg

IMG_0959.jpg

IMG_0962.jpg


:D
More to come soon, but that's it for tonight.
Thanks guys!

Header.jpg
 
Last edited:
So why not. I decided to do a little bit of work on the build with what i have. And i have a little helper this time.
IMG_0995.jpg

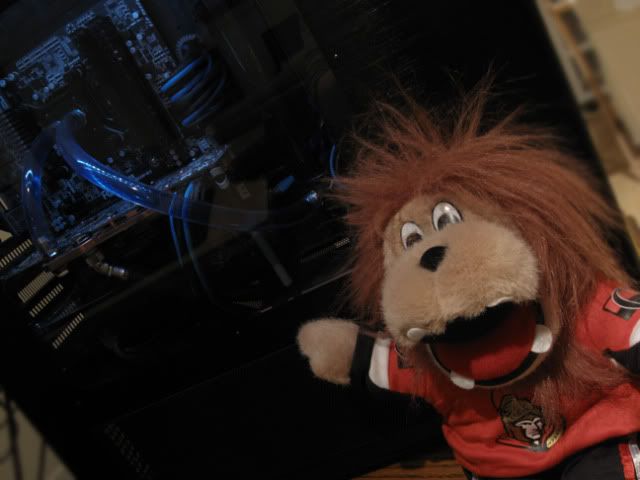
Sparty says "Hey everyone!, looooook at what we're doing!"

So he pulled out the ram, and started coloring it,
IMG_0996.jpg


I think he did a pretty good job.... for a lion in a hockey jersey lol.
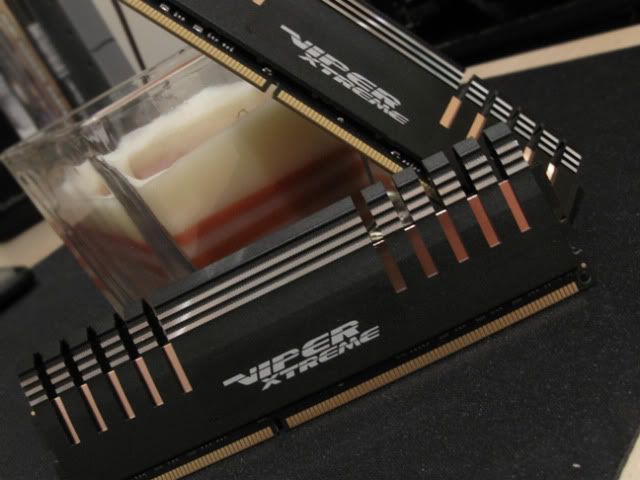
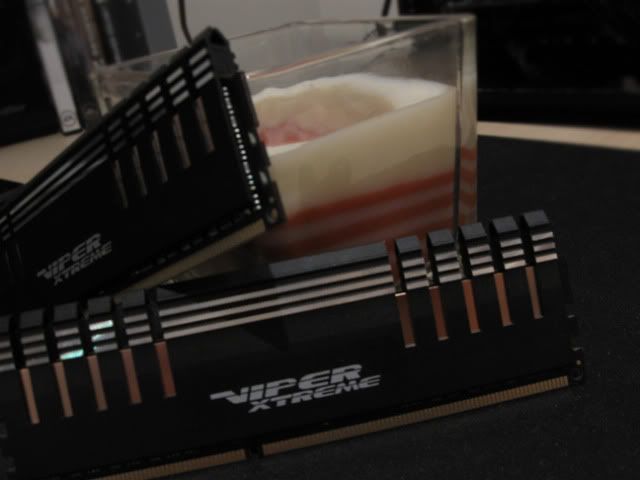
So to celebrate his work, here is the rams and a candle!

IMG_0998.jpg


IMG_0999.jpg


Sorry about the photography, its using a crappy, old, Canon point and shoot :S

IMG_1004-1.jpg


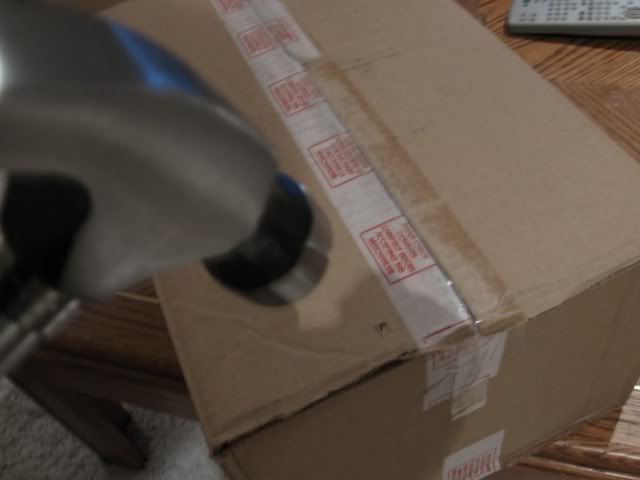
I wonder whats in it...
Lets see if i can get this little bugger open.
IMG_1005-1.jpg


Okay, this isn't working.... and no! Its stuck!
IMG_1010-1.jpg


Gah! why wont this thing just open!!!!
IMG_1006-1.jpg


IMG_1007-1.jpg


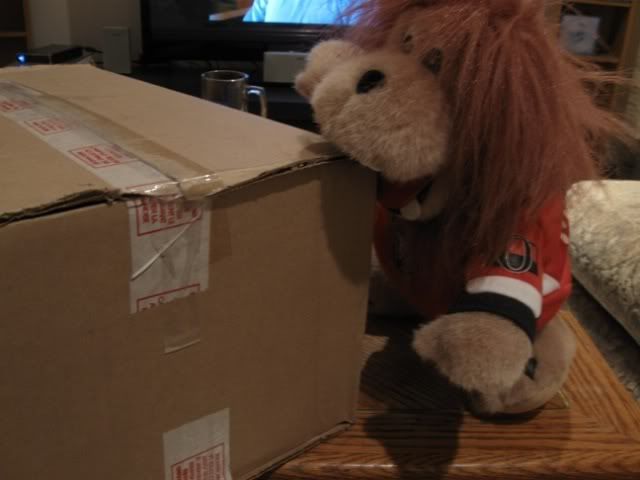
Sparty is giving it a shot as well too... but to no avail.
IMG_1009-1.jpg


Okay. i need to eat. This is bugging me and sparty is resting his sore teeth. Pour guy.
He tries so hard :D
IMG_1003-1.jpg

mmmmm. Thai food.


So lets get back at it...
....
...
..
.
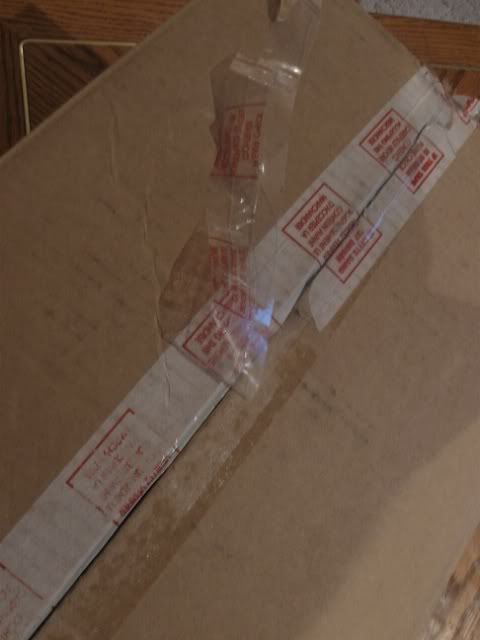
Wait.

I can peel the tape!
IMG_1011-1.jpg


Tada!
IMG_1012-1.jpg


So lets see whats in there.
I'll let the shots doing the talking.

IMG_1013-1.jpg


IMG_1015-1.jpg


Wait... what the :eh: is this?
IMG_1016-1.jpg

Gross!!!! oh, wait.

IMG_1018-1.jpg

HAHAHAHA i wonder what the guys in customs thought it was lol

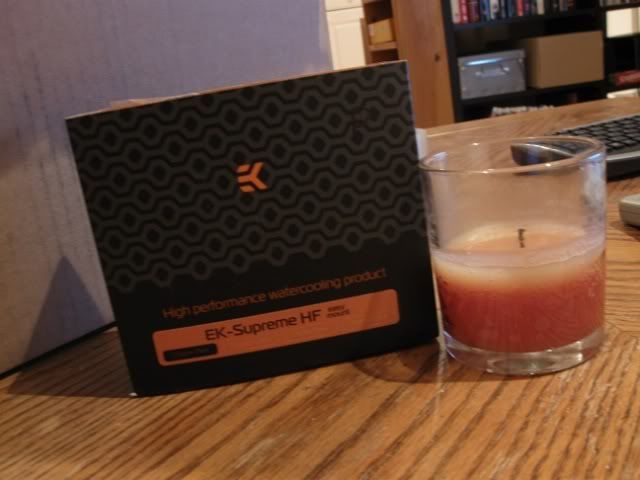
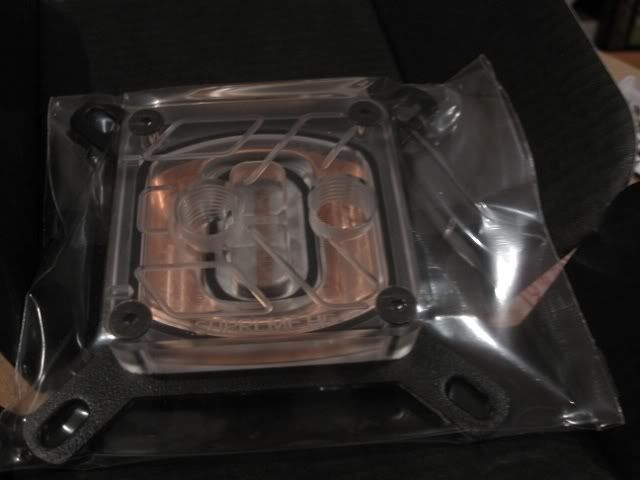
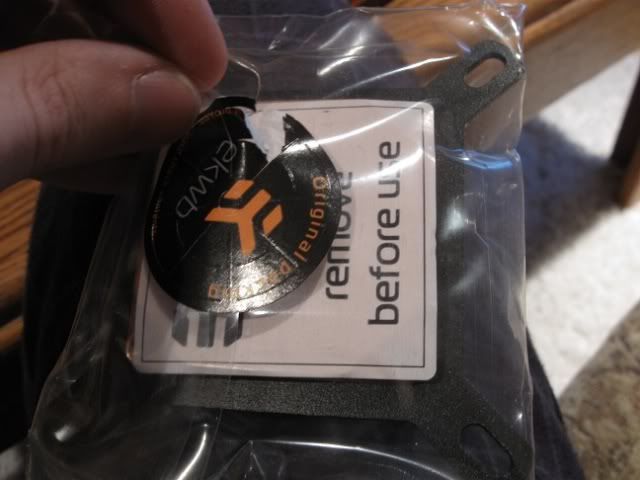
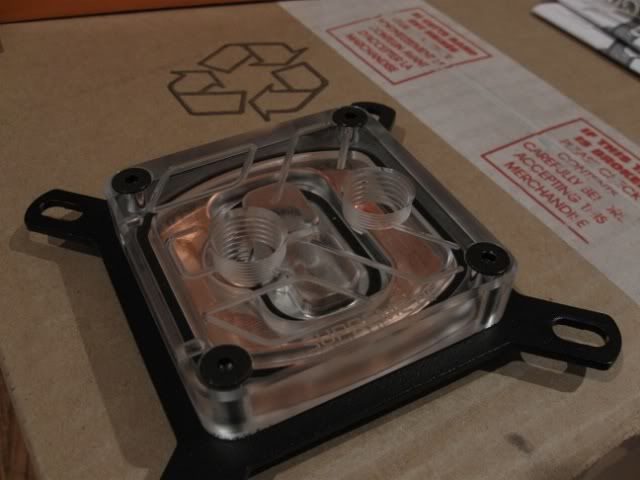
So lets see which block this one is:
IMG_1019-1.jpg


IMG_1020-1.jpg


IMG_1021-1.jpg

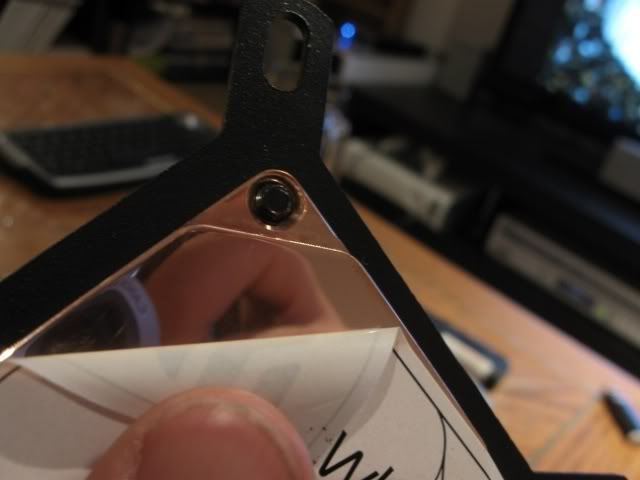
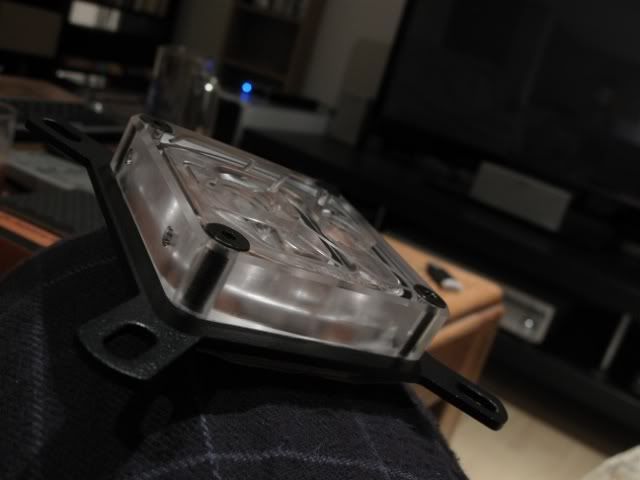
Beautiful :blush: This block is so amazing. i love the finish.

IMG_1022-1.jpg


IMG_1023-1.jpg

I love that shine! but more pics of it later
This has to be one of the nicest blocks I've EVER owned. I might need to get the GPU block to match :D

IMG_1025-1.jpg


IMG_1026-1.jpg


Thats it, for now.... I hope to have some more, when the rest of my items come in the mail. So exciting!


Header.jpg
 
Last edited:
Hey All!!!

I promised an update. But alas, its a small and sour one.

I'm going to hold back on the story of how, but I managed to ruin not only one, but two bottles of IceDragon nano fluid. Not a happy camper right now.

However, that story is for later.
Lets show what has been done so far! :D

So Sparty has found a new toy. my HTPC! (which will be rebuilt later ;)
IMG_1002.jpg


I think he might be a bit distracted. So time to go to work.
That silly tiger is always getting in the way.
IMG_1000.jpg


So, Here are some new (to me) parts!
IMG_1027.jpg


A used Thermochill PA120.4 :D Beautiful rad and performs very well.
Two 1650rpm fans, and some beautiful fluid :D

IMG_1030.jpg

How can you not like a rad like this. Second hand? really? great shape too!

So lets dismantle everything! Dont worry, i'm only assembling this to give me an idea for how i want the loop to look. this will be nowhere near the finished product. I'll be rebuilding this thing about a thousand times by the time i'm done :D
IMG_1036.jpg


Oh... so many things that need remounting and fixing! :(
IMG_1037.jpg


So, how does the block look you ask?
Well,
IMG_1033.jpg

Pretty good i think :D.... copper is soooo pretty

So, While filling my loop to test... the pump started to go nuts. I try to adjust the res to let the bubbles out and Boom! there goes the first spill. :( The line from the res to the pump pops off and everything spills. 1ltr of fluid ruined :(

So l decide to clean it up, and rebuild. This time with distilled... until I get more fluid.
IMG_1044.jpg


But, once i get the new fluid...
there is another major spill.

i swear i build these things drunk or something :(

But thats for the next update ;)
 
I have another minor update :D

After two hours of scrubbing with acetone,
It went from this:
IMG_0951.jpg


to this:

IMG_1045.jpg


IMG_1048.jpg


IMG_1075.jpg


Sorry for the horrible photo, but thats the center of the update. A new addition to the build...
as well as this stuff.

Try to guess what it is :D
IMG_1079.jpg


IMG_1077.jpg


IMG_1081.jpg


IMG_1083.jpg


_ edit -new update!

YAY!
Photoshoot with my new part, all assembled...

IMG_1090-1.jpg


IMG_1085-1.jpg


But why is it yellow?
Damn you lights and living in a basement!!!!Outside we must go!!!

IMG_1091.jpg


Ah HA! a thousand times better.

IMG_1092-1.jpg


IMG_1093-1.jpg


The material is plexi like the rest of the parts, with countersunk holes for mounting the everything together, which in total is about 20 peices :D

IMG_1094-1.jpg


IMG_1095-1.jpg


The part that excites me the most is the fact that this will make the interior so much more clean then ever before, and will e

Header.jpg
 
Last edited:
Here is a little teaser, to hold you all over.
I just got back from the 'Rise of the Dark Knight' Premiere, (one of the companies i work with in advertising is WB the studio who produced the batman film)
I wont spoil anything, but the film is amazing.

Oh right, the teaser:

IMG_1116.jpg
 
Alright,
So I promised an update... so this is going to be a big one.

The day started off like any other. I looked at the case with distant but also with the though that... i need to do this thing justice.
IMG_1096.jpg


IMG_1097.jpg


But something is off.... i think the white balance..
hm,

IMG_1100.jpg


Ah! i think thats a little bit better?

So lets drain the loop!!!

All i have to do, is pop this sucker off :D

IMG_1102.jpg


See?

IMG_1103.jpg


Now its time to take everything apart.

IMG_1104.jpg


IMG_1105.jpg


IMG_1106.jpg


Oh, it looks so very empty right now.... poor thing, I think that needs to change soon. no?

So with everything taken out and removed, its time for me to go and clean out the rad.
For this, i used boiling hot tap water and rinsed it out with distilled

IMG_1107.jpg


IMG_1108.jpg


....

alright, enough work on the dismantling, time for me to get some food in me.

IMG_1109.jpg


but someone smells the food.... oh these big cats can smell it from miles away.

IMG_1110.jpg


I think he wants some of that applewood smoked salmon.

IMG_1111.jpg


Yup!!!! sneaky cat!

IMG_1112.jpg


Thats my food!!! get your own!

IMG_1113.jpg


IMG_1114.jpg


Alright back to eating......

where was i?


oh yea but wait!!!! zzzzzzzzzzzzzzzzzzzzap.
My camera goes dead.

Then it comes back alive, skipping the entire rebuild v1.1.... i need a new camera.
i still have quite a few things i want to do to this build, so dont you worry, there will be more pics of the build process when i get new fittings, maybe a new GPU :D


but here are a few shots to wet your appetitite :D

IMG_1119.jpg


IMG_1115.jpg


Header.jpg
 
Last edited:
So

A quick update. I just took it outside to do a little bit of a photo-shoot.

Please keep in mind that this is not completed. i still need to come up with a way to mount my drives in the drivebays, the rad area needs work, and new fittings and either a new gpu or gpu block are coming at some point.
So please, enjoy :D

IMG_1128.jpg


IMG_1129.jpg


IMG_1130.jpg


IMG_1131.jpg


IMG_1132.jpg


IMG_1133.jpg


IMG_1135.jpg


IMG_1136.jpg


IMG_1137.jpg


IMG_1138.jpg


IMG_1139.jpg


IMG_1140.jpg


IMG_1141.jpg


IMG_1142.jpg


IMG_1143.jpg


IMG_1144.jpg


IMG_1145.jpg


IMG_1148.jpg


let me know what you think! :D

As well guys, i'd like your input.

I'm thinking of changing my sleeve color scheme. do you think i should change the coolant to the Blue Berry Pastel...
990.jpg


Or:
Change the aqua marine sleeve to feature Nils Vivid Violet and MKII Grey.
Sleeve_SMALL___G_4f832280792ff.jpg
Sleeve_SMALL___V_4d5dd84051b41.jpg
Sleeve_SMALL___S_4fc2862bdcce1.jpg


Plus stay tuned. I've been working the past while to solidify a couple of sponsorship's.
soon this build will have some VERY exciting new developments :)

Header.jpg
 
Last edited:
so, here is the first of a few major updates :)

i'm excited to announce the following :)

thanks to ColdZero for some of the manufacturing work that will be featured here in this build.
 
Last edited:
Thanks H@RD5,

Lots more coming'
I have another sponsor announcement to make shortly.
 
like this one!

oh, is it okay if i leave this here?
logoPSD-1.jpg
 
Last edited:
I like the flat black color scheme in general, and since you asked, I prefer the purple coolant with modified sleeving. Regardless of what you choose, I'd like to know how your coolant holds up over time with regard to color/leeching/gumming.

A few things:

1) I assume that the new fittings will be compression fittings? Here's your next leak:
Readytopop.png


2) I tried that reservoir orientation and found that a) having the return located in the top of the reservoir can contribute to the aeration of the water (if the reservoir isn't full) and b) the outlet orientation contributes to vortexes and makes it easy for the bubbles to get sucked into the pump. I found that mounting the pump right-side up, and having both the outlet and return located at the bottom resulted in much less cavitation and much easier bleeding.

3) Can you link to where you purchased that motherboard tray?

4) Did you really feed boiling hot tap water through your pump to flush your radiator?
 
Thanks for the response:
my answers are bolded :D


A few things:

1) I assume that the new fittings will be compression fittings? Here's your next leak:

Damn, you noticed! I've fixed that section of tube, but this plumb as seen in those pics is temporary. The GPU is going to change, as will the block, but i dont want to ruin any suprises just yet :)

2) I tried that reservoir orientation and found that a) having the return located in the top of the reservoir can contribute to the aeration of the water (if the reservoir isn't full) and b) the outlet orientation contributes to vortexes and makes it easy for the bubbles to get sucked into the pump. I found that mounting the pump right-side up, and having both the outlet and return located at the bottom resulted in much less cavitation and much easier bleeding.

While I agree with you, I actually have a crystal link tube within the res, so as long as the bottom of the link tube is submerged, it will act like it is a full res. All air bubbles have escaped as far as i know :D

3) Can you link to where you purchased that motherboard tray?
Sure, just shoot me a PM. A lot of stuff that you'll see in this build *should* be available to purchase once we hammer out the design and details :D

4) Did you really feed boiling hot tap water through your pump to flush your radiator?
I did, yes. However I also flushed with distilled 3 times after the boiling hot water, and once with the Nano Coolant, just to be safe :)
 
Ha this build log was hilarious.

Okay so I want that motherboard tray. How and where do I get it ha. Like that thing is awesome!
 
UpdateHeader.jpg

---------------------------------------------------------------------------------------------------------------------------


I'm so Excited.
Should be here tomorrow at some point :D


ups_Cards.jpg
 
UpdateHeader.jpg

Alright fine

An update you will get :D

So i walk into the door with this large box. Its like he knew i was coming home with something special.
IMG_1165.jpg


the little guy was so excited :D
IMG_1166.jpg


I could just see the excitement in his eyes... he wanted to open it so bad.
IMG_1160.jpg


So i asked Sparty if he wanted to help... and before i could finish, he was already into the box

IMG_1167.jpg


silly cat.
IMG_1168.jpg


ohhhhh


what is it?
IMG_1163.jpg


IMG_1164.jpg


more later ;)

Header.jpg
 
Last edited:
Well, some of you were wondering what was in the box?
I took a few pictures while Sparty was sleeping.... so he wouldn't go crazing knowing i opened it without him.

IMG_1169.jpg


IMG_1172.jpg


I love having new friends :)

Header.jpg
 
Last edited:
So I wanted to leave you guys with an update, as im working on an even bigger one :D

My friend and i are working on a bunch of parts as we speak, however i wanted to share plans for my HDD and SSD sled solution.
Charles motivated me so much with his designs in the past that ive opted to try to put my own twist on his great work...
this is my idea:

IMAG0389.jpg


Its basically 4 peices of plexy.... 2 black and two opaque white which will be LED backlit... all attached with countersunk screws.

What do you think?


Header.jpg
 
Last edited:
I just wanted to let those know , who follow this thread.


Expect an update :D
 
So i wanted to make a really quick update....

look at what i got in the mail!!!


IMG_1178.jpg


IMG_1180.jpg


IMG_1181.jpg


So. this basically means that yes there will still be some sleeving changes, the dynamic color will not change :D

Header.jpg
 
Last edited:
I really like the new coolant color, it will look awesome in your rig. I'm looking forward to more updates!
 
So,
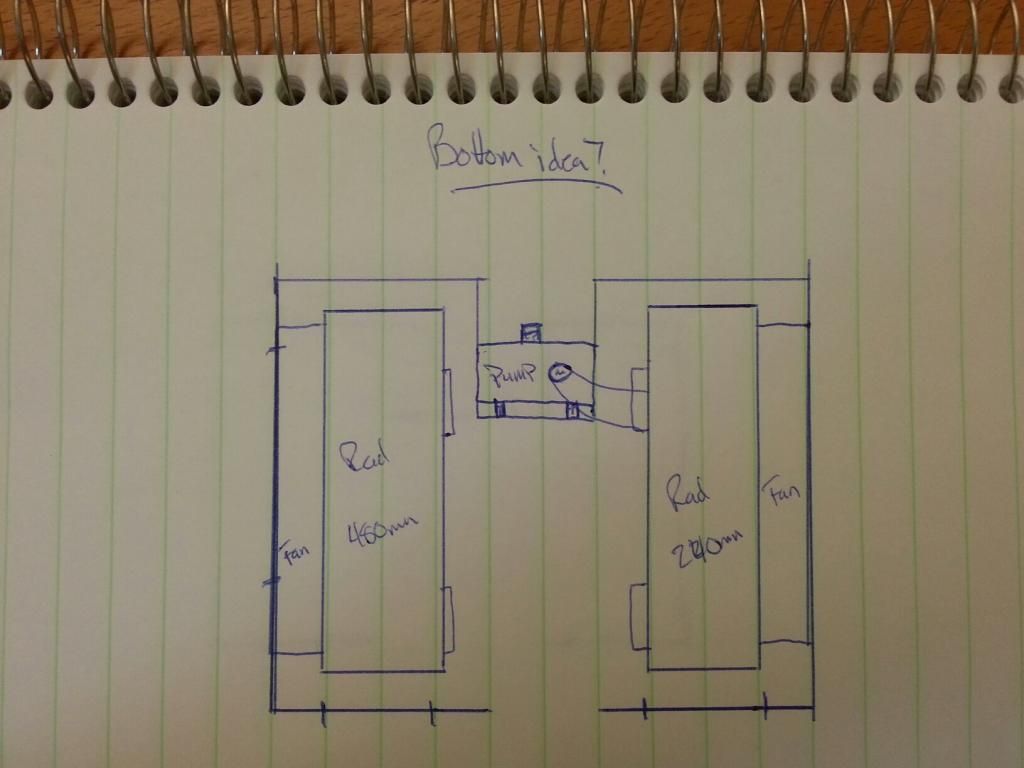
i'm not being very productive at work. An idea hit me and i just had to get it on paper to share with the family.
Sorry if the image is massive. I'll resize it if its huge when i get home :)

radmount_zps9c87e7fb.jpg


Basically what you're looking at is the Rad mount system that popped into my head while at work. I think its self explanitory, and would require a lot of bends.
What do you guys think? would it work? I think there is enough space.


Header.jpg
 
Last edited:
Never seen someone buff caps like that.

Interesting.

Love those 660ti's. Have fun with the re-build!
 
Not sure what you're asking, exactly. If you're thinking of making the dual rad/pump mount out of a single piece, I'd suggest against it. It might work, but it's a lot of wasted material if one bend or one dimension is off, or if you come back to this project later and want to make an adjustment.

There are rad mounts available that will accomplish what you need, and I'm pretty sure that there are pump mounts available that can be mounted to the fan holes on a rad.

At the very least, I'd suggest making each mount as an individual thing.
 
Never seen someone buff caps like that.

Interesting.

Love those 660ti's. Have fun with the re-build!

Thanks!!!


Great find, thank you.

Not sure what you're asking, exactly. If you're thinking of making the dual rad/pump mount out of a single piece, I'd suggest against it. It might work, but it's a lot of wasted material if one bend or one dimension is off, or if you come back to this project later and want to make an adjustment.

There are rad mounts available that will accomplish what you need, and I'm pretty sure that there are pump mounts available that can be mounted to the fan holes on a rad.

At the very least, I'd suggest making each mount as an individual thing.

I somewhat agree, but I want to make this build perfect, with no compromises. So even if I screw up a bend, I'll make another one :D
 
Bleh!!!!

Super hung over update...
Still working on a huge update :D

IMG_1186_zps0b5ae93e.jpg

IMG_1184_zps23c59d9e.jpg


New stuff coming really soon too. So pumped to show you guys
Header.jpg
 
Last edited:
Bleh!!!!!

So, my hope to take pictures, ever, has been derailed for a while. My main camera is down for the count.
However i did make a subtle change today... First person to point out the three changes gets a prize!!!!


20121108_205003.jpg


Please excuse the horrible picture. It was taken with my Samsung GSIII

Header.jpg
 
Last edited:
Tubes, die, and the fittings on your tubes!


Nice!!!!

You win a Hi-Five!
What do you guys think? does the coolant work better? What about the compression fittings?

should i keep the black tube or go back to clear tube?

I'm also thinking of a couple of things to change.

I'm thinking of drilling out individual holes on my mid plate for each wire of my PCI-E Cables so they just passthrough, or i might just have another one made.
If not, i might pass the cables from behind the mobo, from the bottom.... do you guys think that would look good? or should i just go with the midplate option?

Header.jpg
 
Last edited:
Hey Guys,
I'm going to continue posting in here obviously, but I've decided to add a little bit of a new spin on my buildlog, a more personal side.
If you want, follow me on instagram, where I'll basically let you in on my life, and show how i do my work, food, creativity, design ideas

Let you in on my life, as well as provide a unique look at my work

#mattlefebvre
Header.jpg
 
Last edited:
Nope :) it was made by one of my sponsors, ColdZero. His stuff is fantastic and great quality.
Header.jpg
 
Last edited:
Yay!
i have an update :D
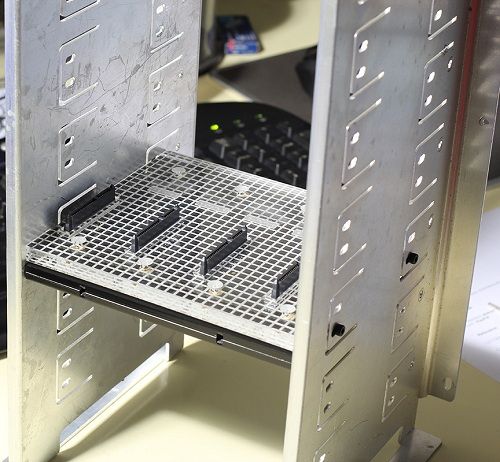
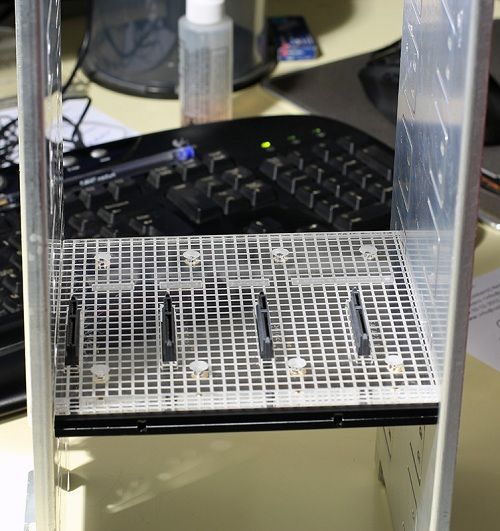
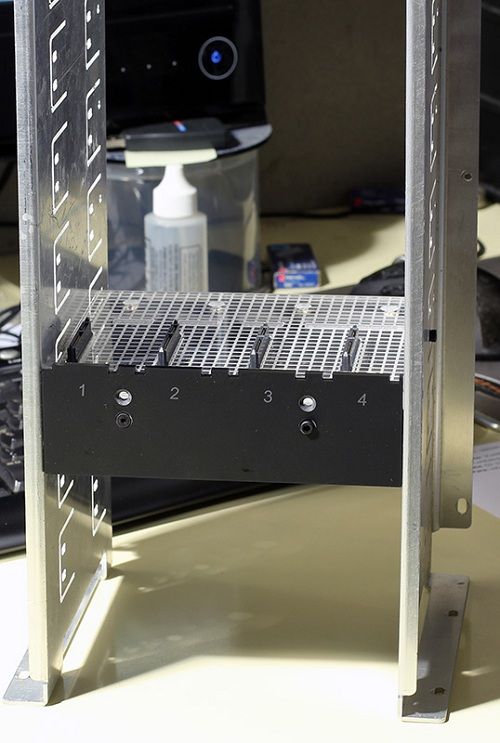
Progress has started on a super secret part. :ninja:

What do you think it is?

hdd_01.jpg


hdd_02.jpg


hdd_03.jpg


hdd_04.jpg


Its a super special part :D

Header.jpg
 
Back
Top