![[H]ard|Forum](/styles/hardforum/xenforo/logo_dark.png)
Hello, you then expose my latest project modding video game based on Disney and Square-Enix "Kingdom Hearts".
The mod is the modification of a case from Cooler Master won a contest.
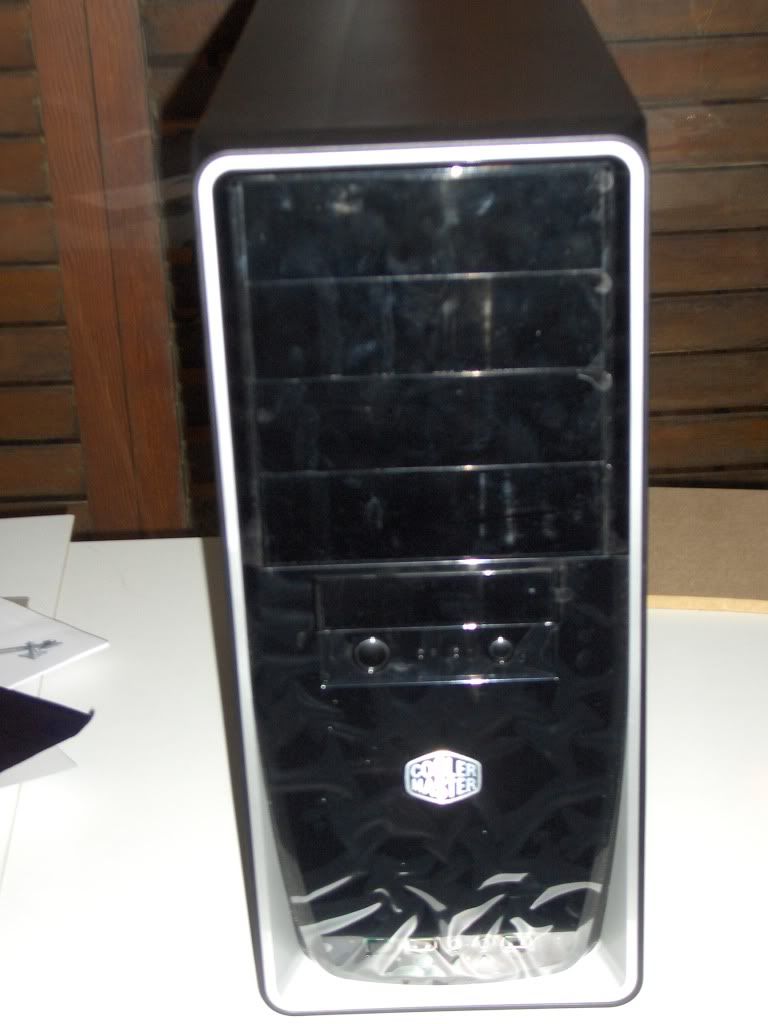
The mod will consist of the box in silver and blue with the game logo on the right side window and a silhouette of Mickey Mouse, and 4 keys sword (weapon in the game) to cross the box by his side off the other end side opposite.
First I will explain how to make the keys:
To draw them on wood I used tracing paper and a blue sheet of wood 1m ^ 2.
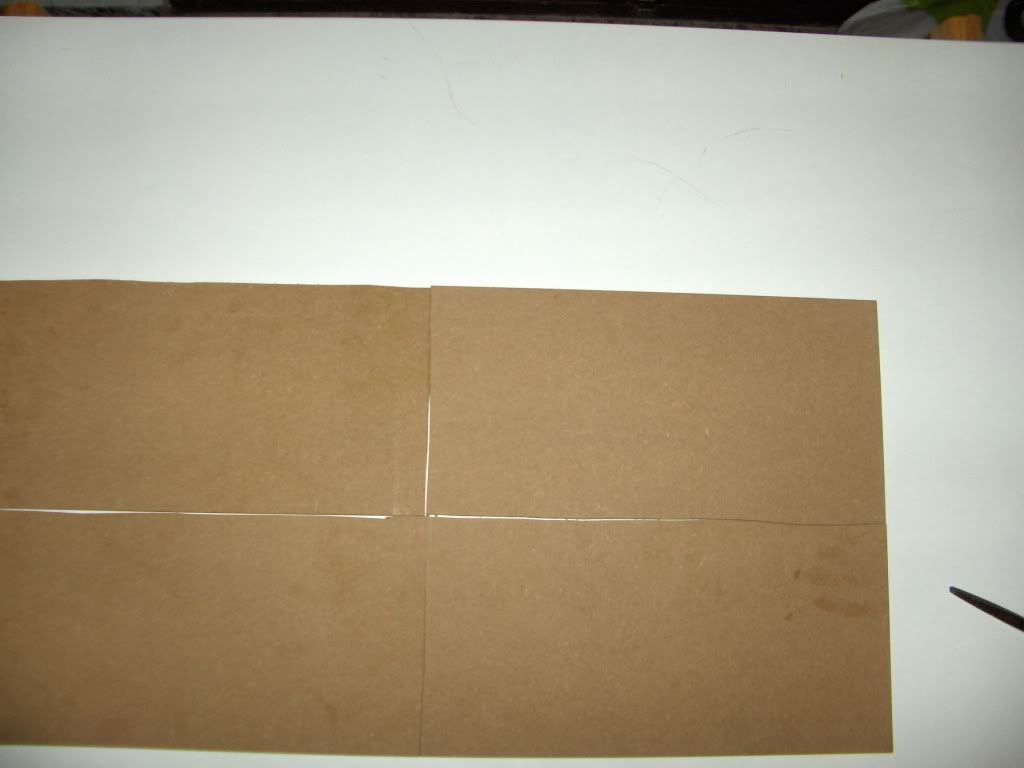
With the jigsaw game I have 4 equal pieces 1 by key:
With the tracing paper I have drawn the key pre-printed:
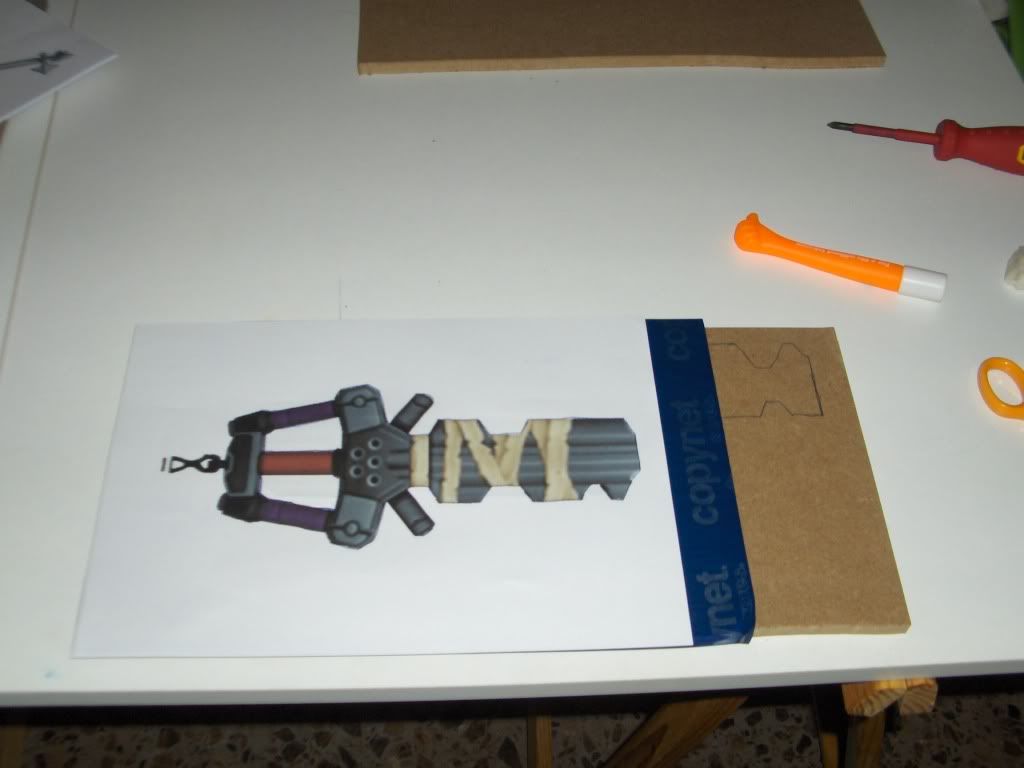
This is the Sleeping Lion: Sword of Squall Leonhart (Leon)
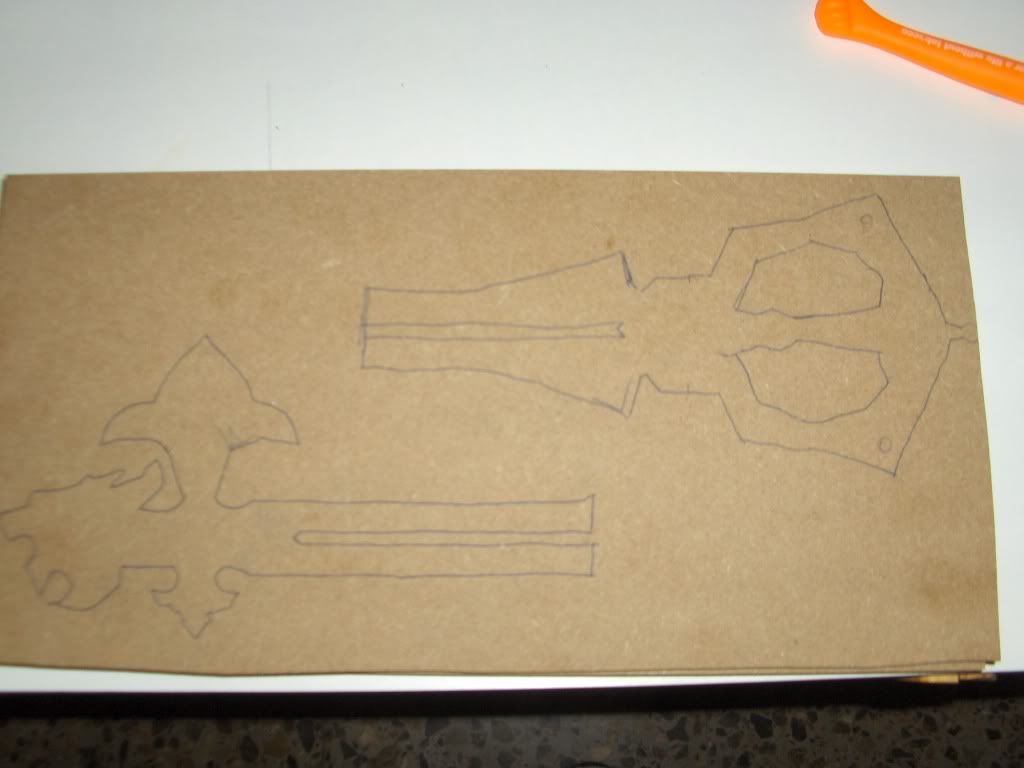
Distant Memories (It's my favorite)
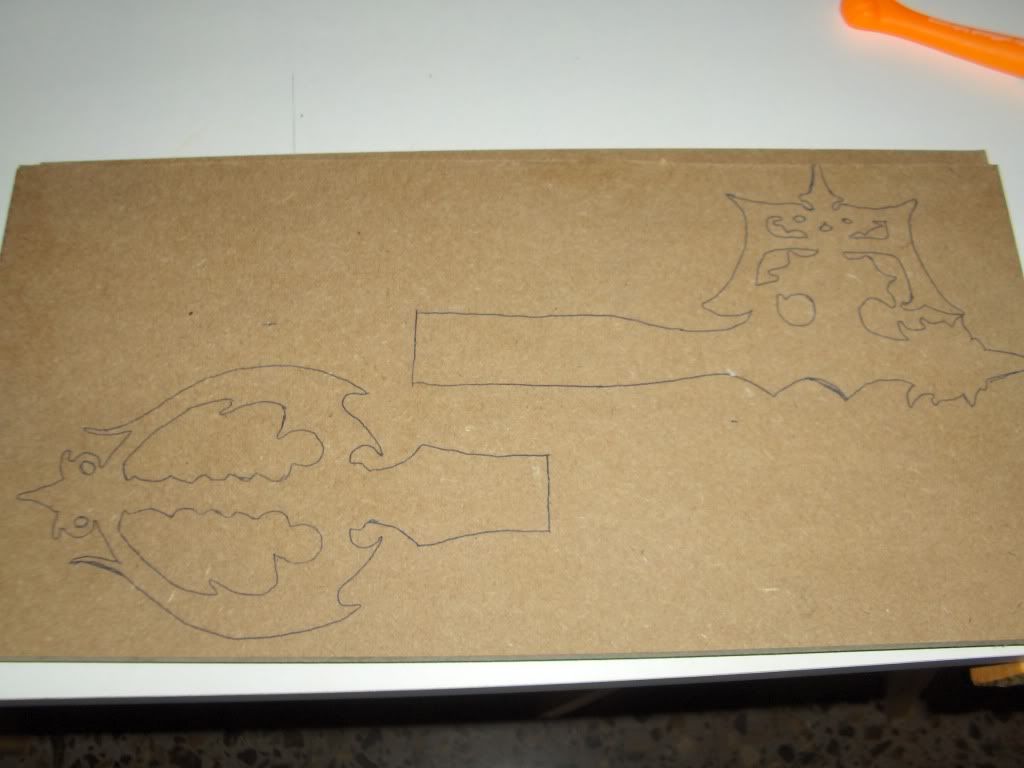
Once I have drawn the saw cut with care not to damage the wood:
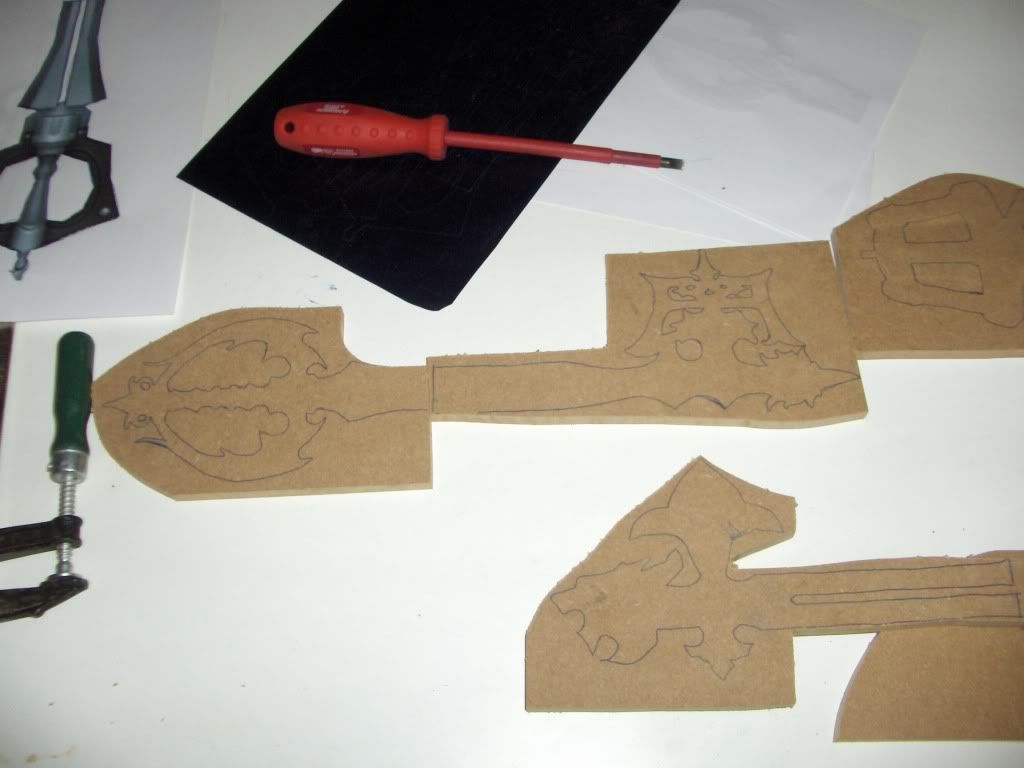
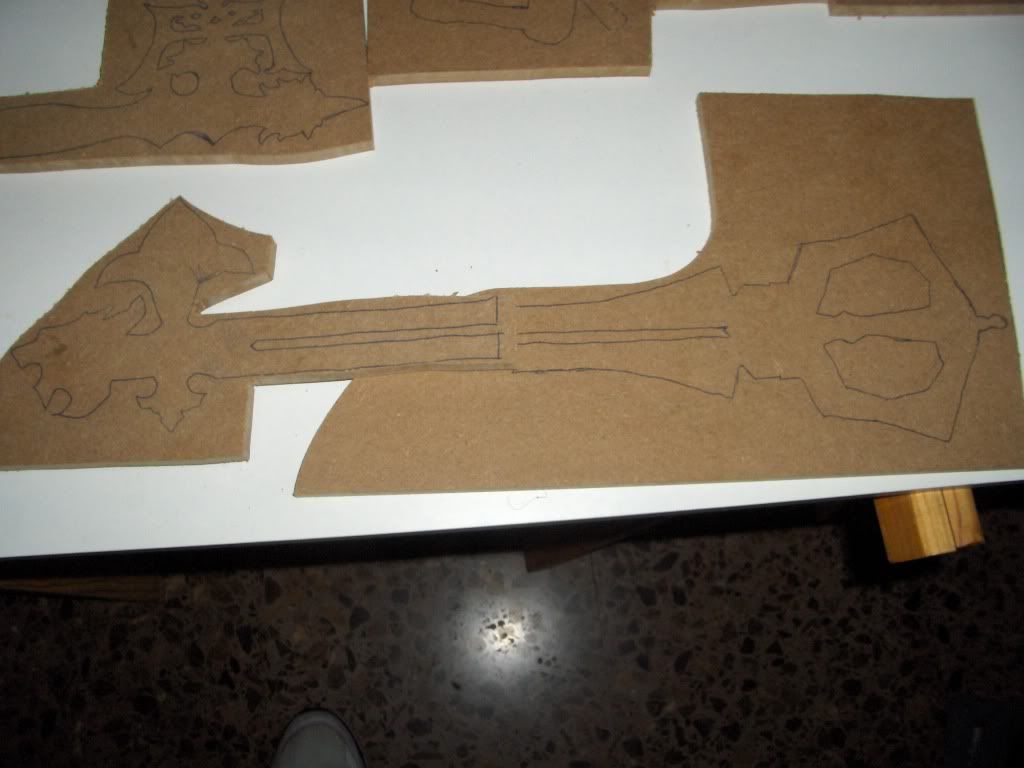
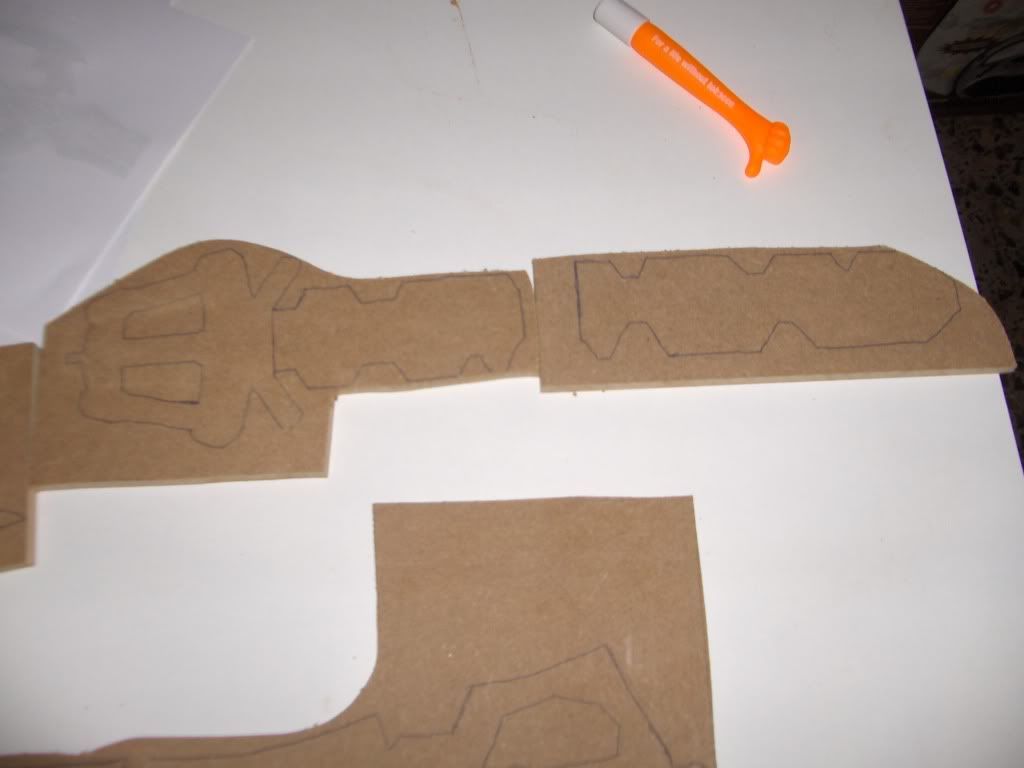
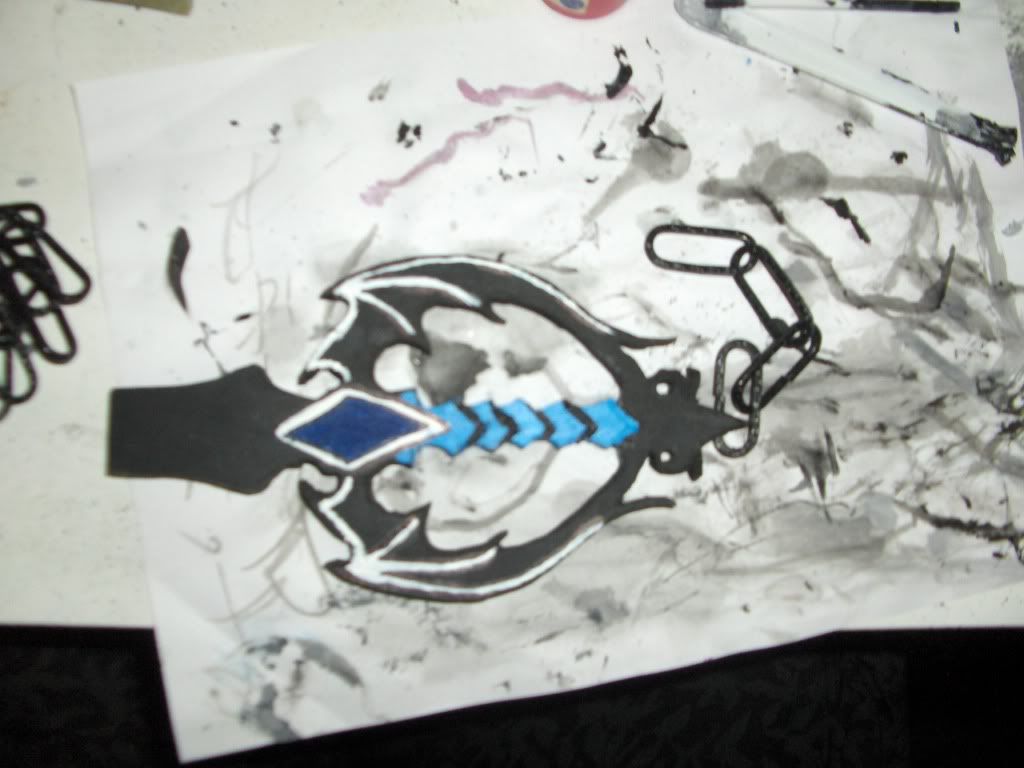
Once cut and painted with the bow tie, following his original model.
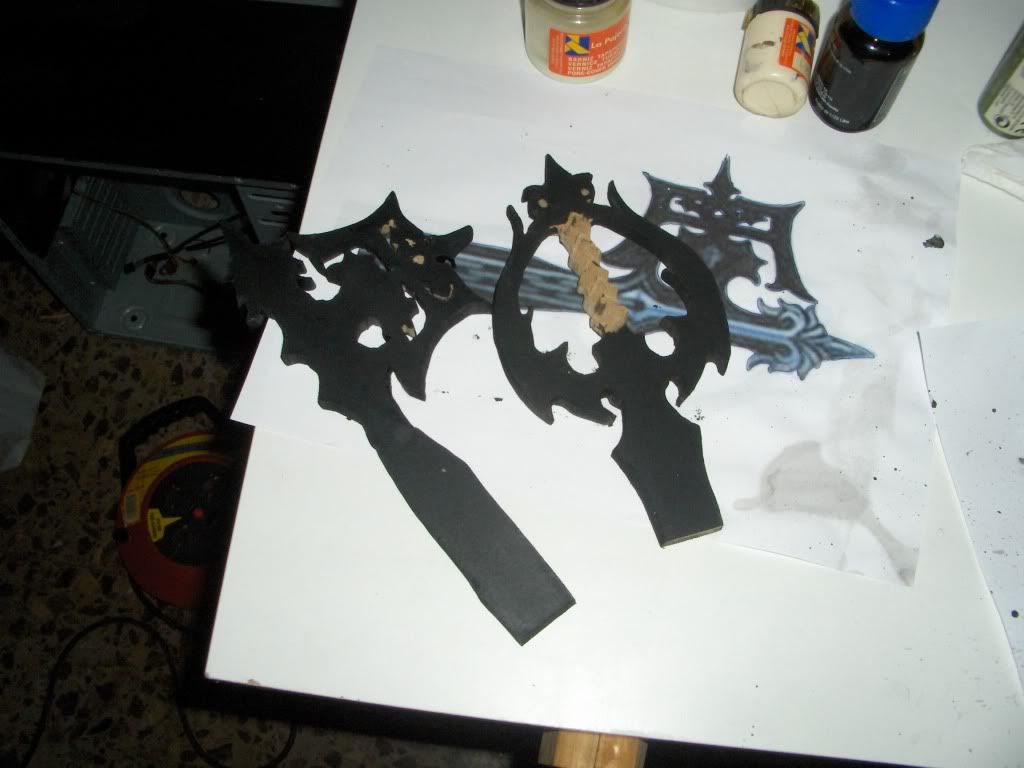
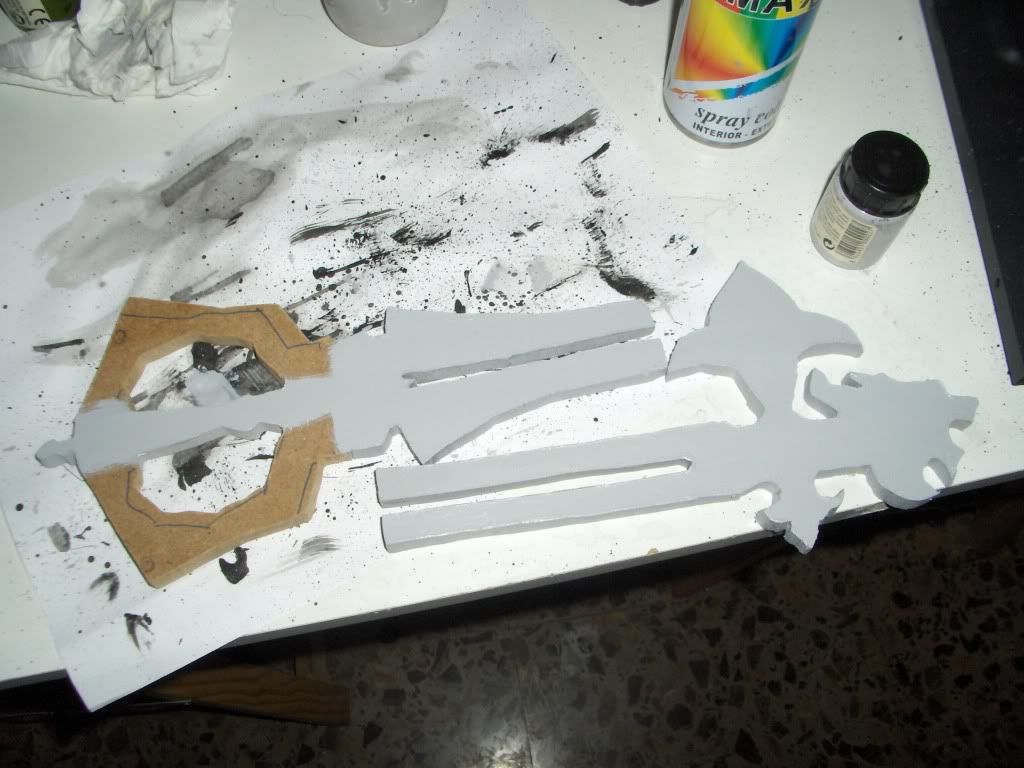
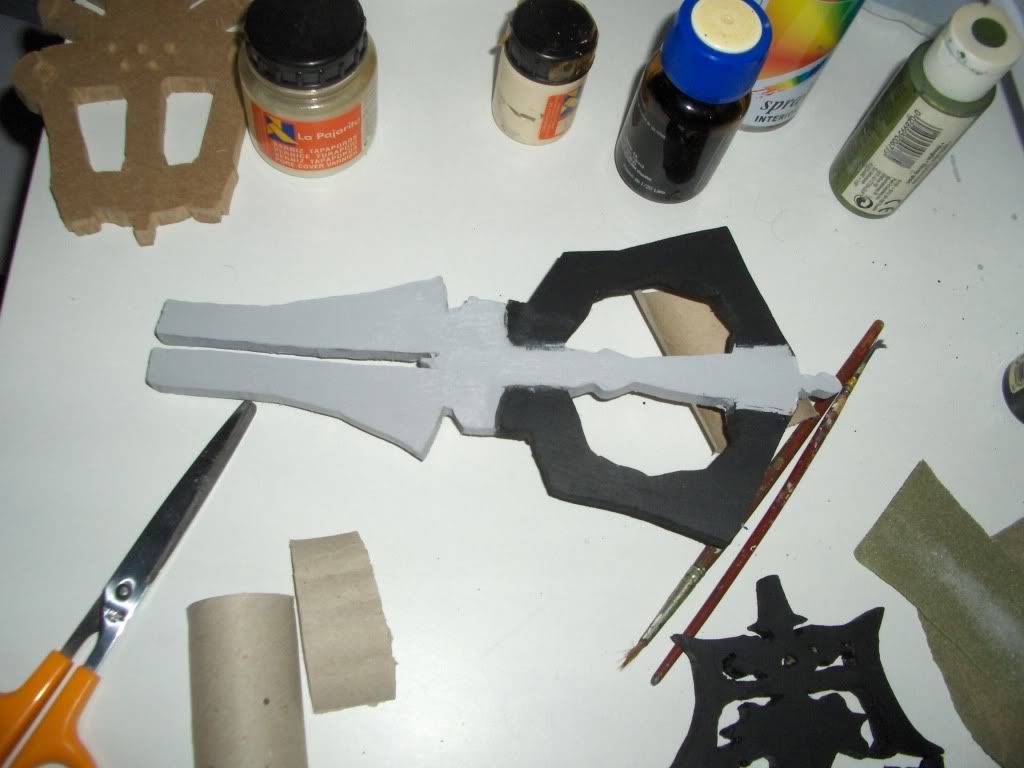
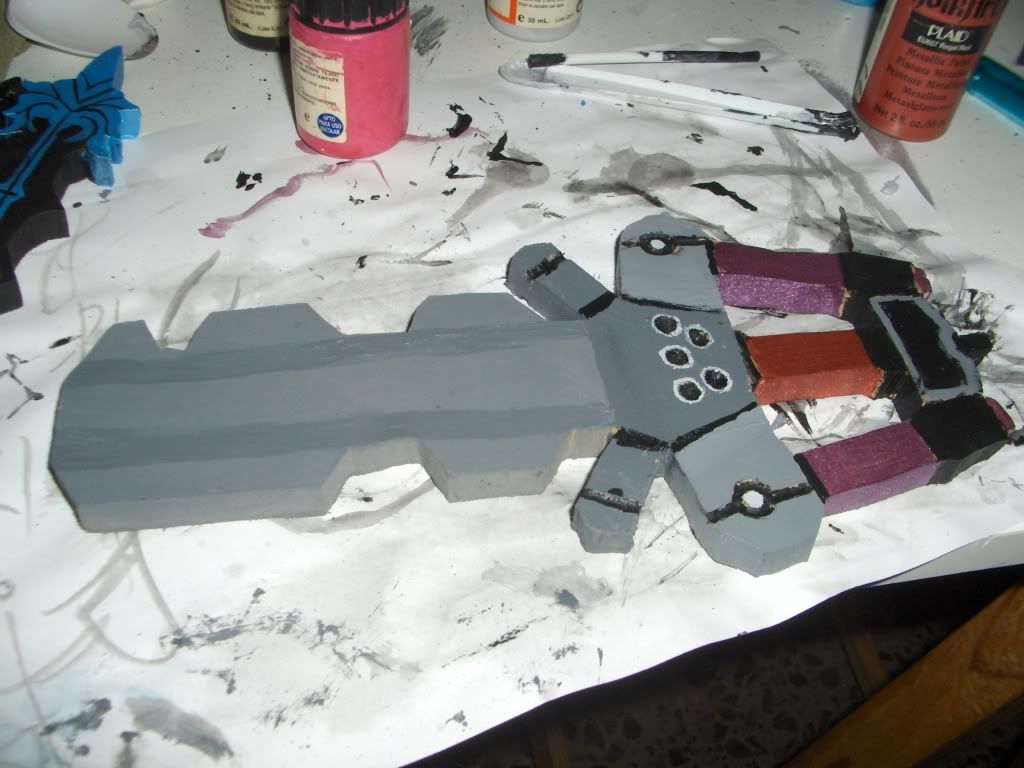
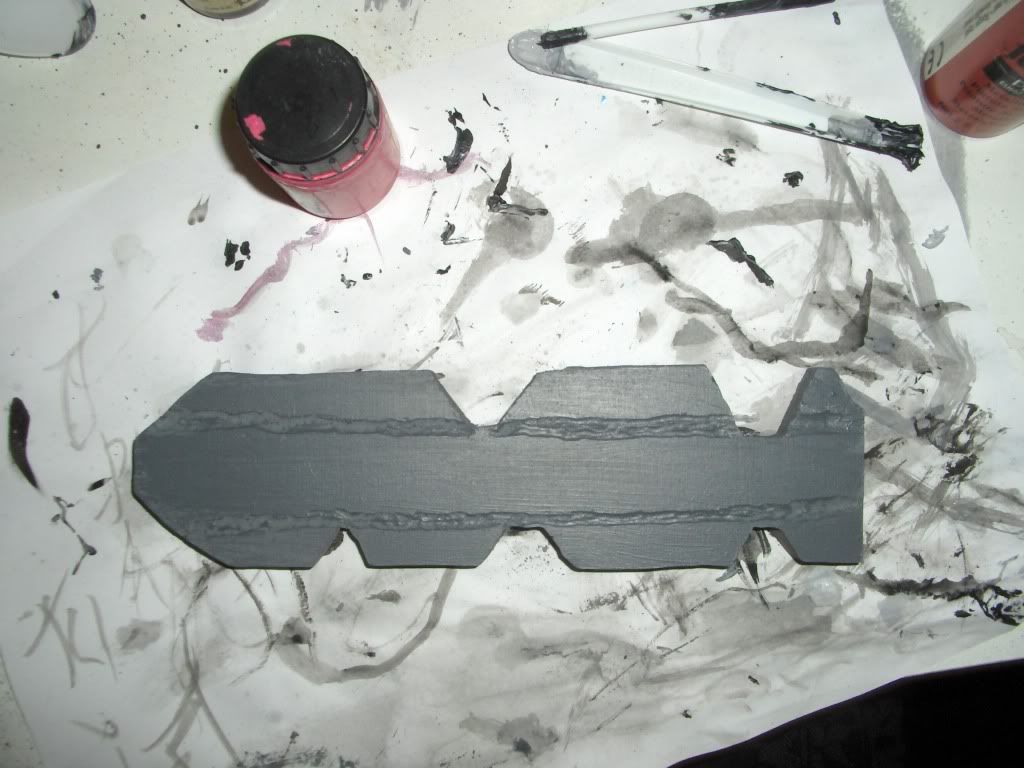
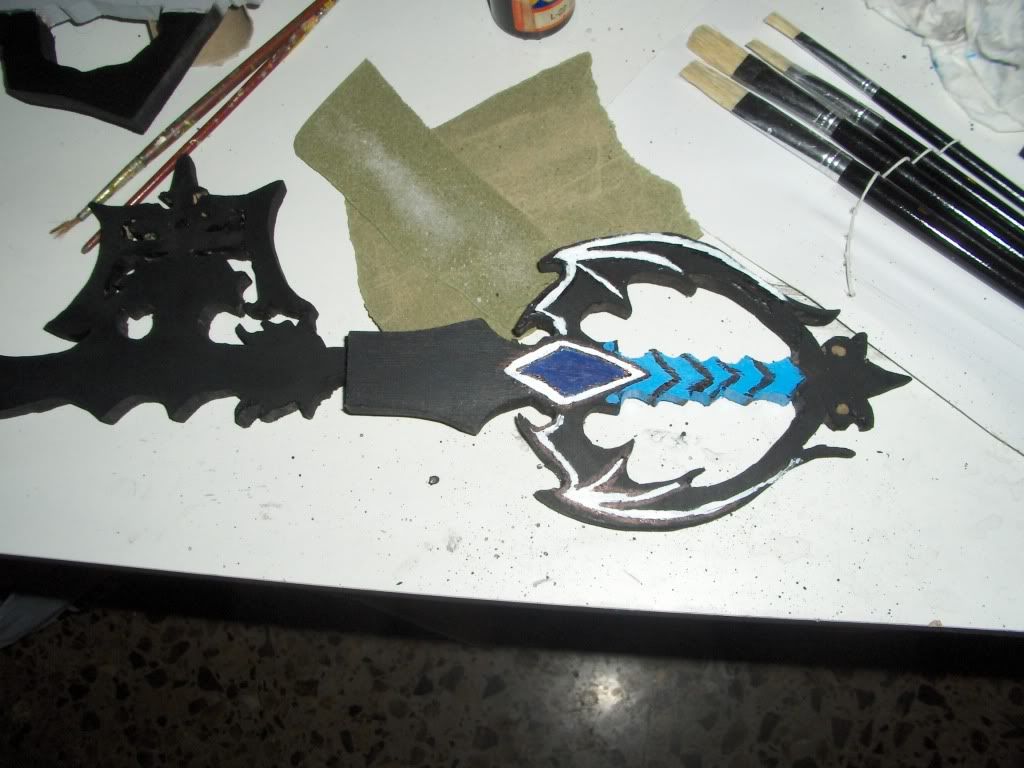
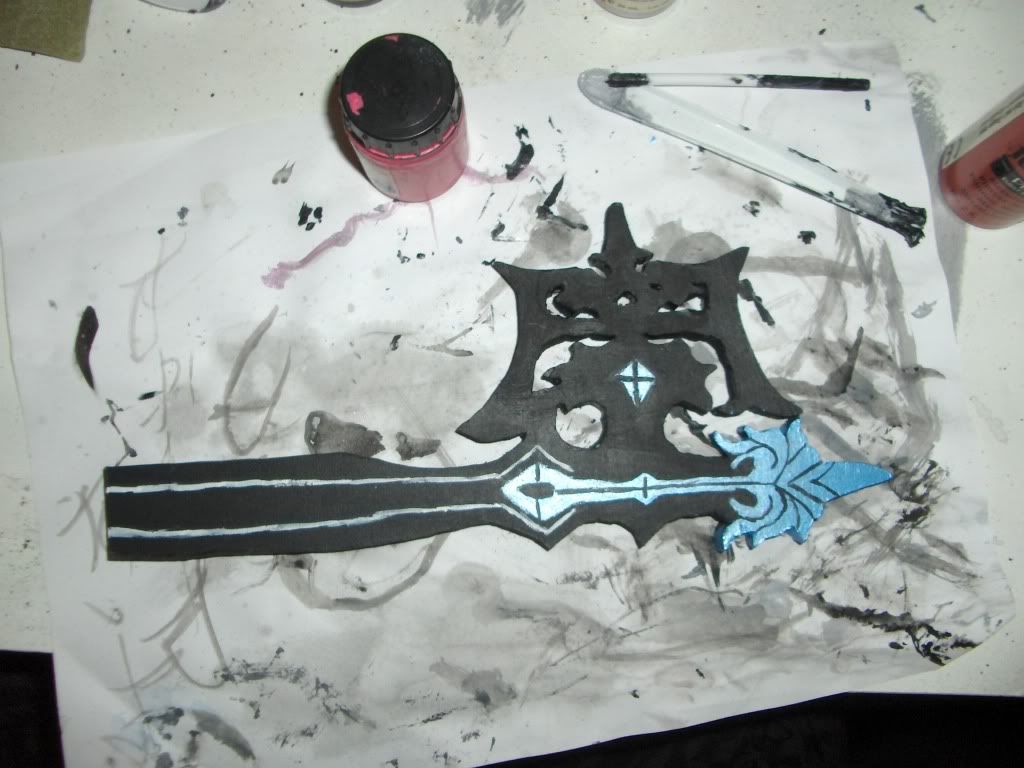
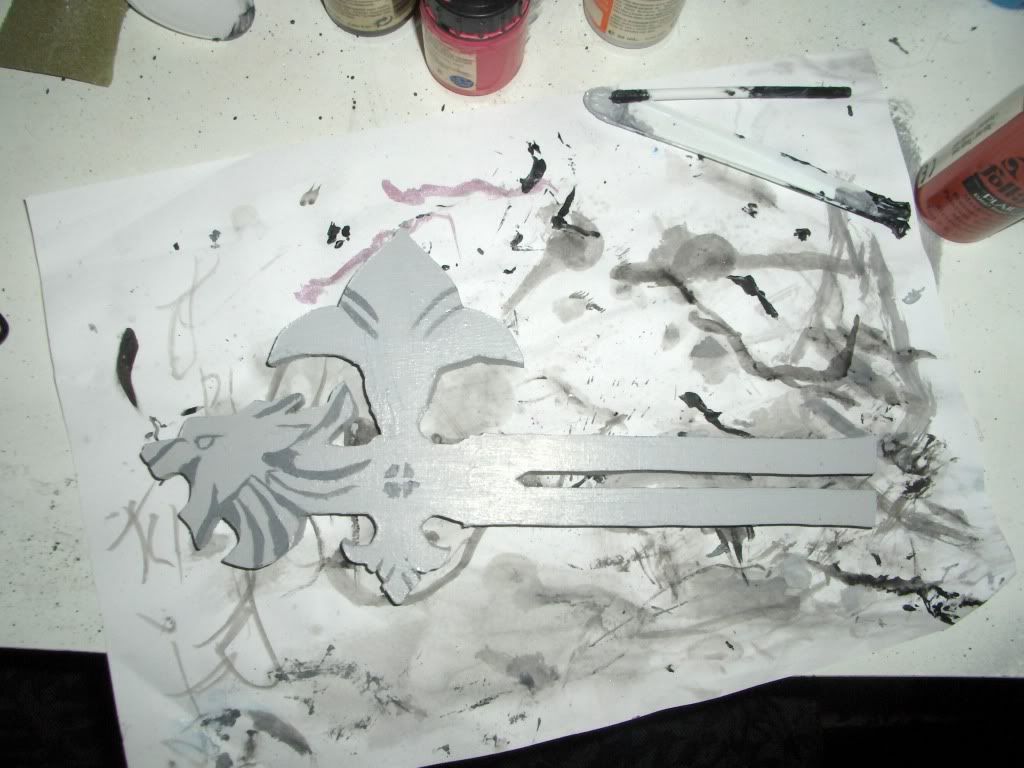
Ointed the back I put the chain ornament.
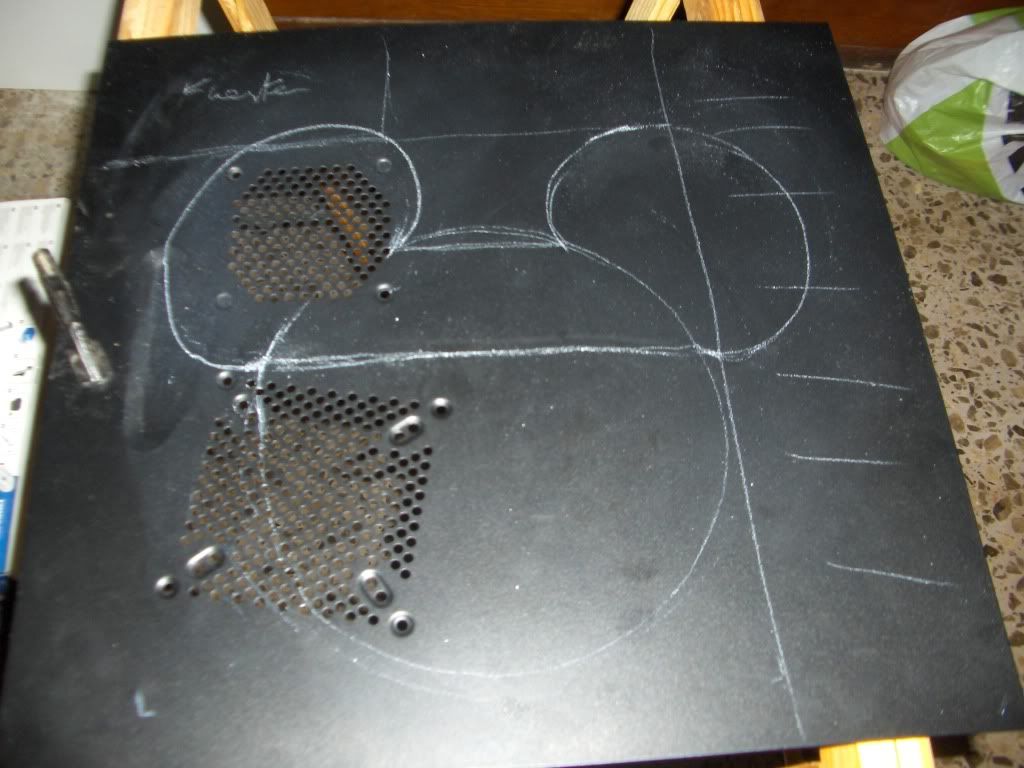
With the keys started work finished sheet once acquired the Dremel:
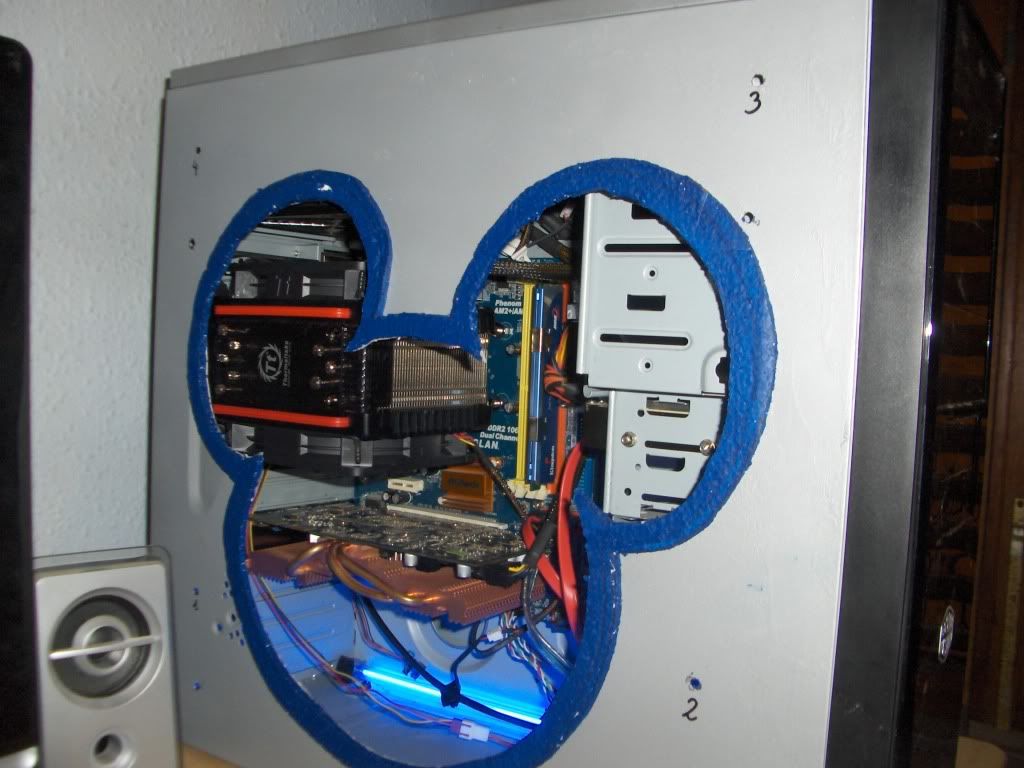
To begin the work sheet draw the lines with a white wax. On the left side where the window would be in the shape of the mouse.
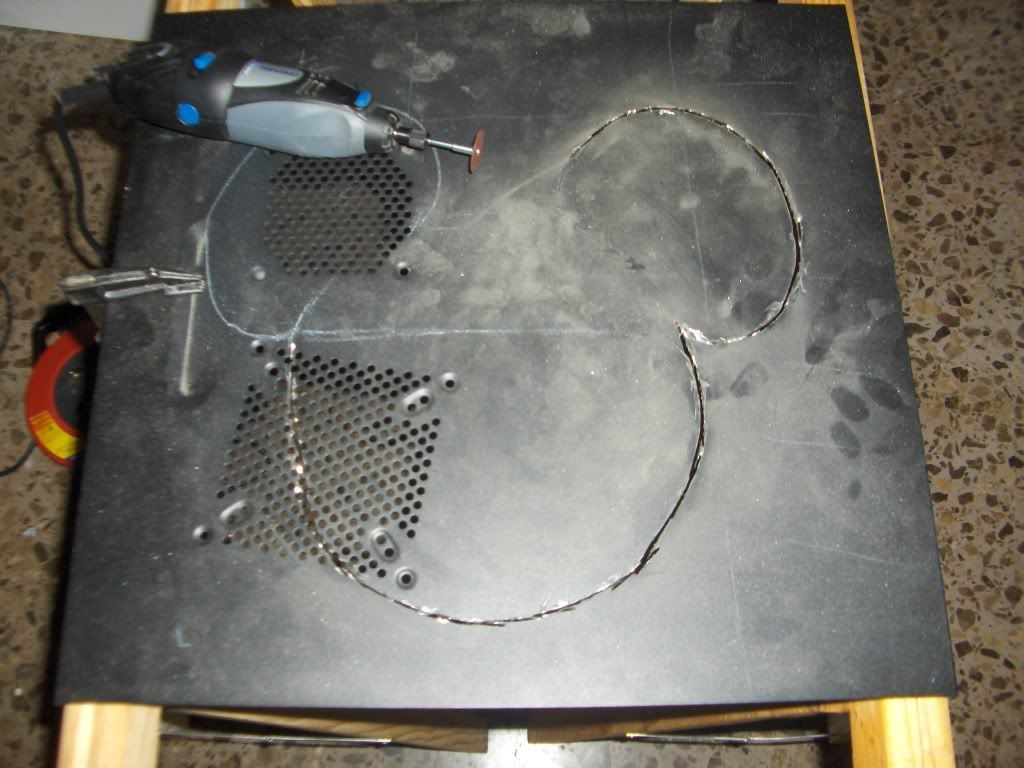
He then proceeded to cut with the tool (it's my first time) following the drawn line.
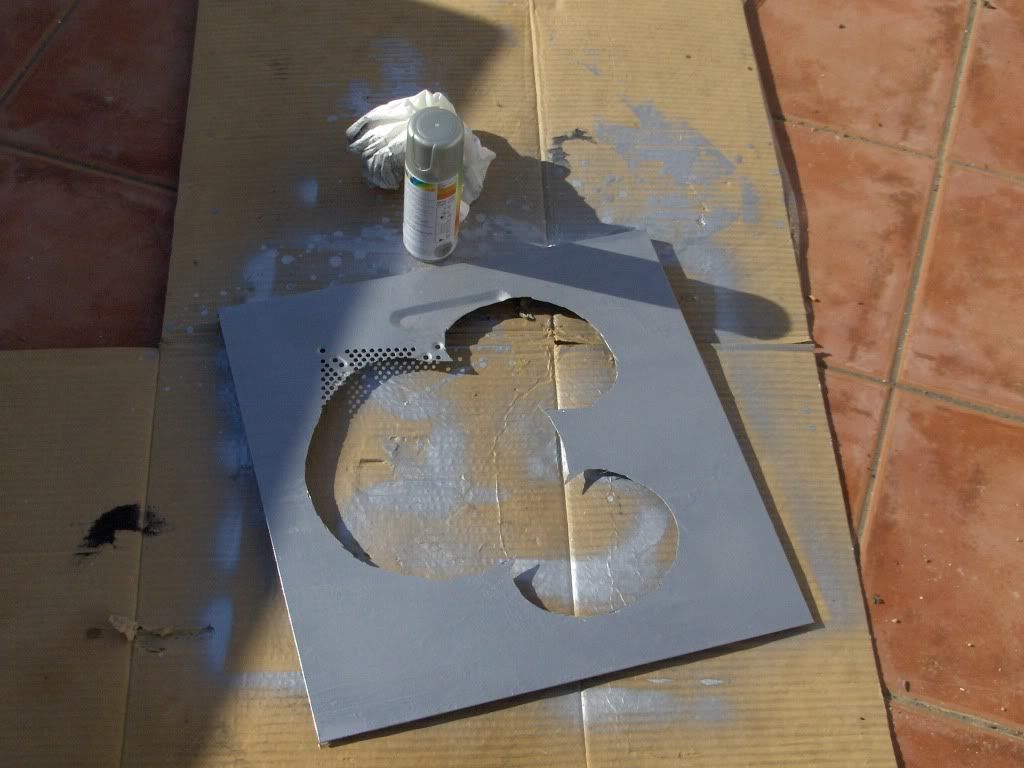
Once cut whole is not so bad xD.
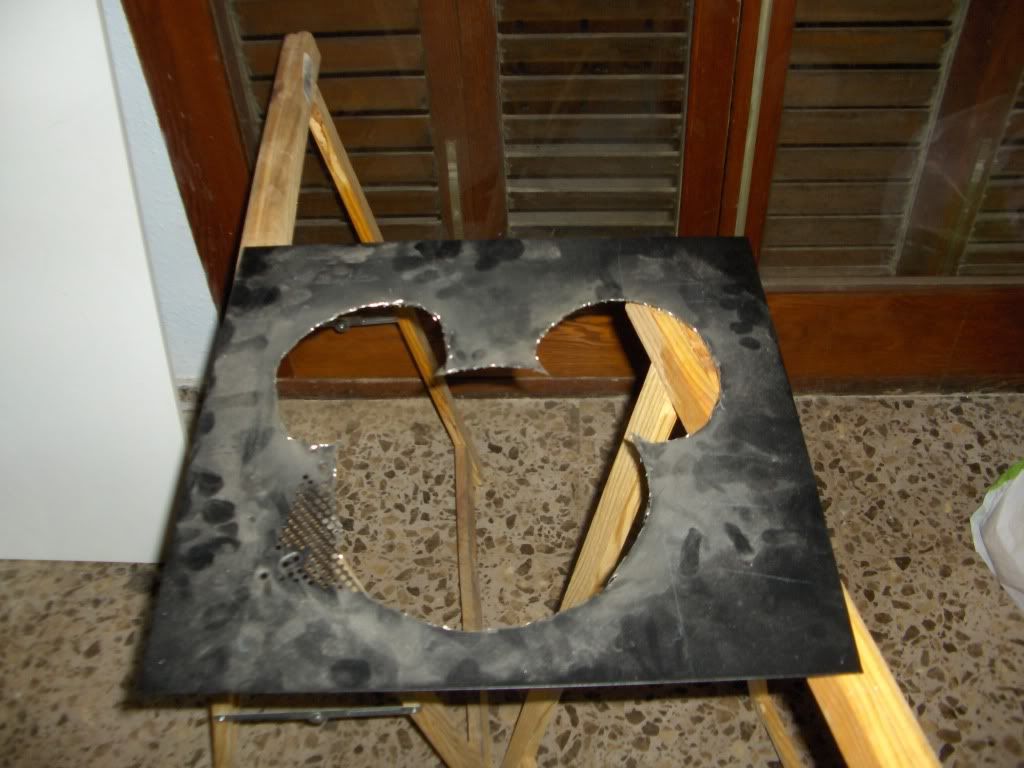
Then after cleaning the plate and spray painted it silver.
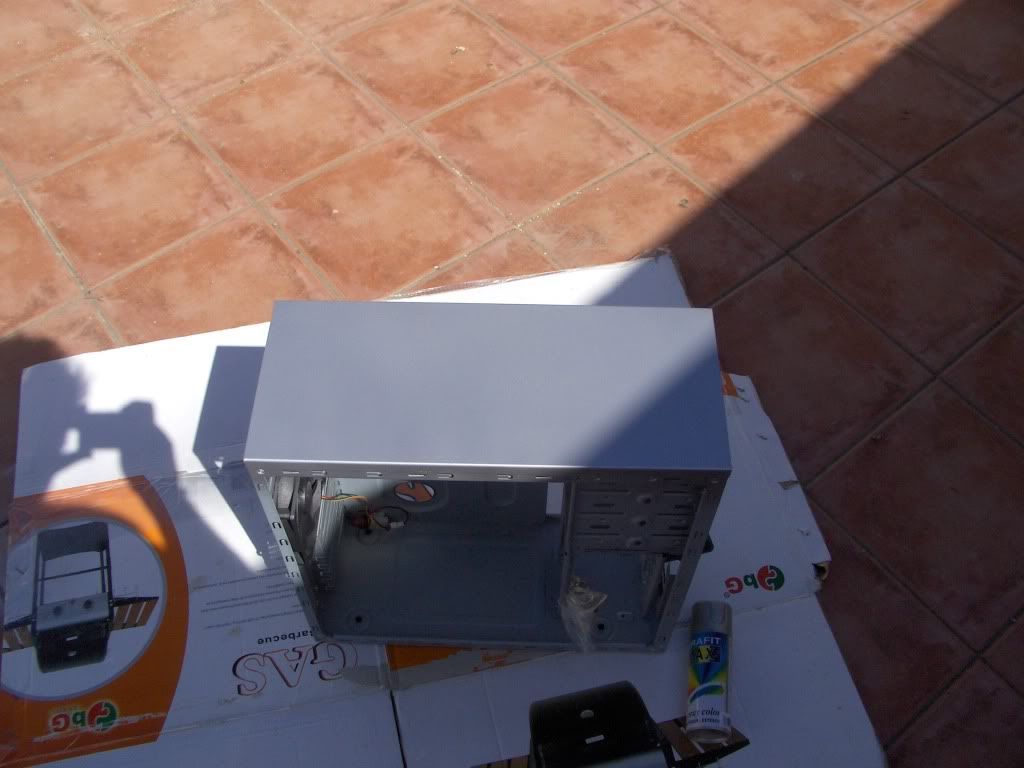
And not lose track also paint the top of the box to remember it was all black.
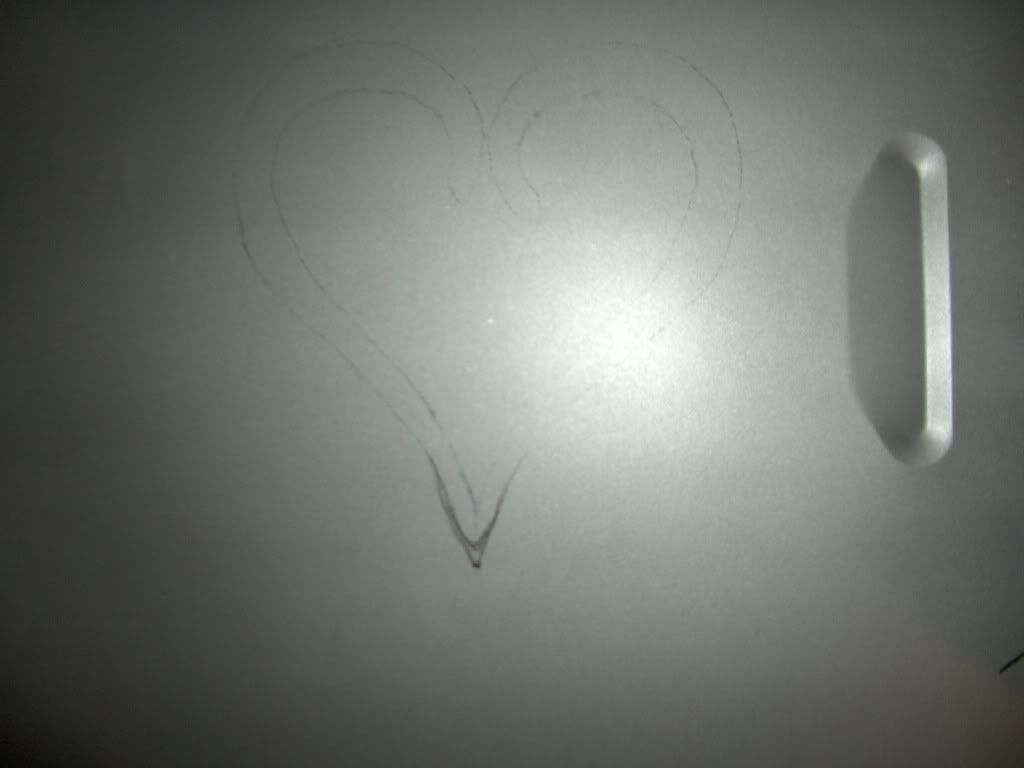
Then I started drawing the right side of the heart of the logo which is then cut.
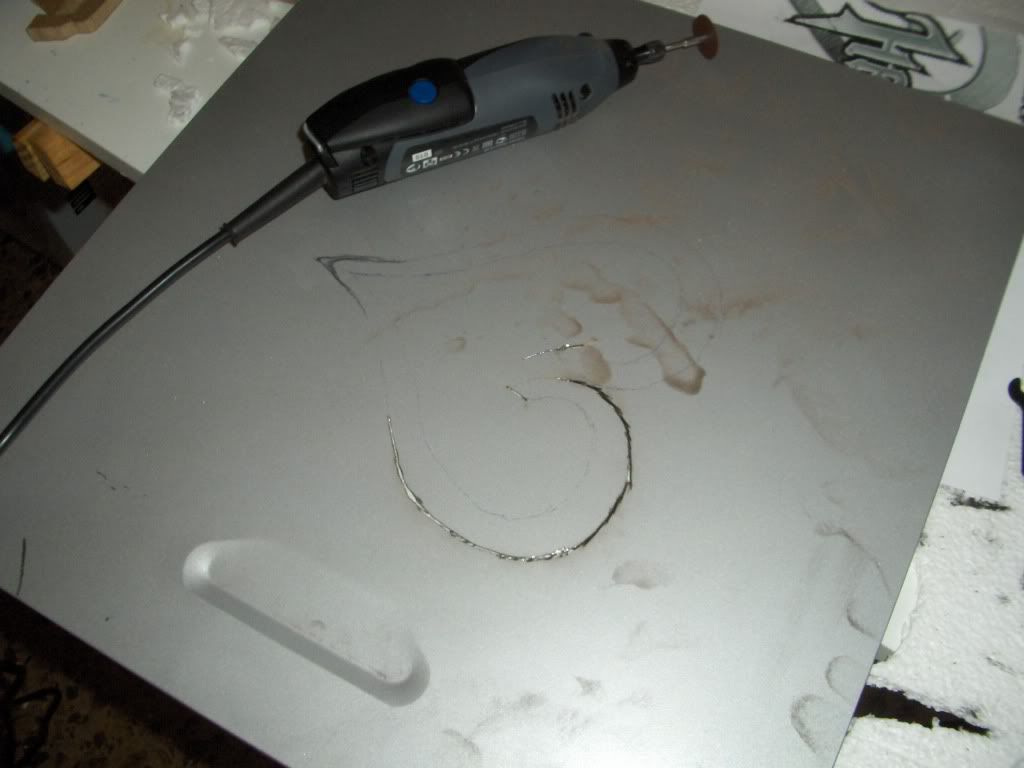
I proceed to give another layer of spray.
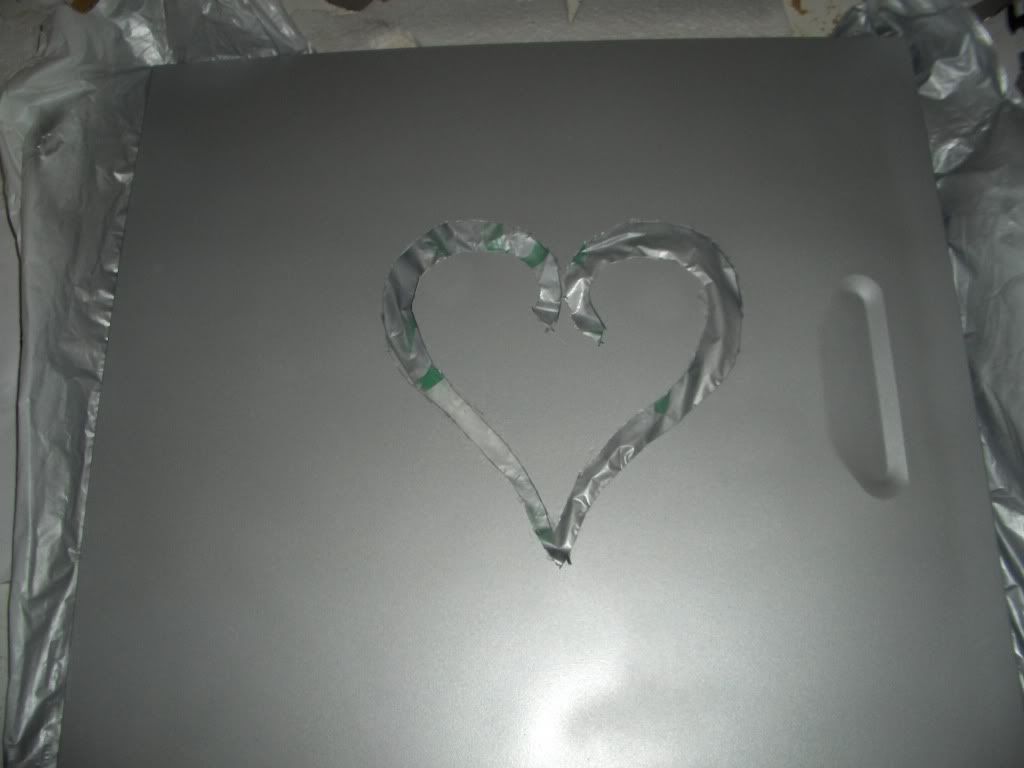
Once the sheet metal work continued with the decor this time with the logo:
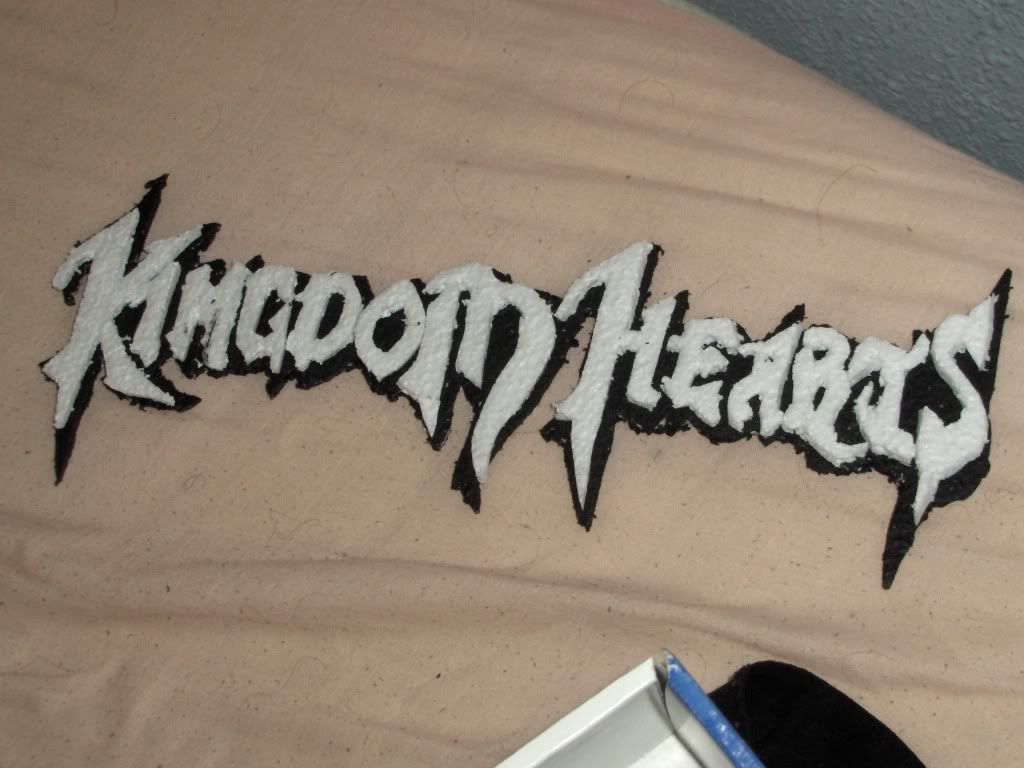
For this I used Styrofoam painted black for the background of the letters and wrapped Styrofoam to paper mache letters cut and made one by one with cutter.
Final minds are stuck in the plate and placed the crown trimmed of excess metal in the left window.
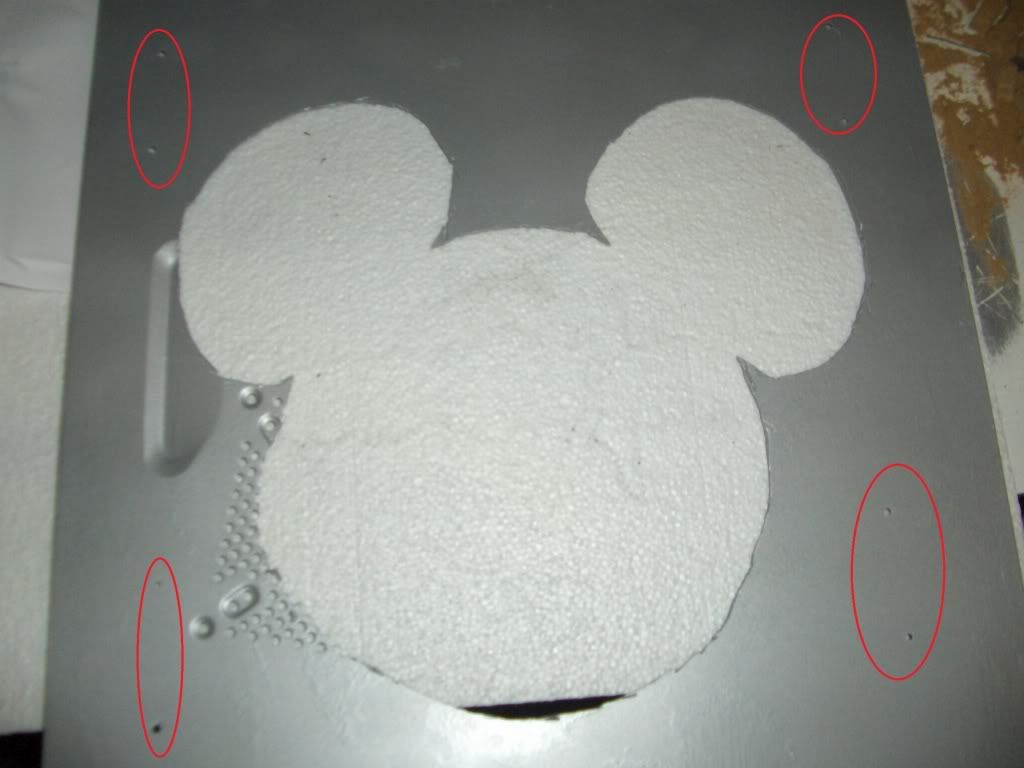
For placement of the keys I made 2 holes to the plate with a drill to screw them.
This is the support of the Keys, are mimicking the door locks from the worlds of Kingdom Hearts.
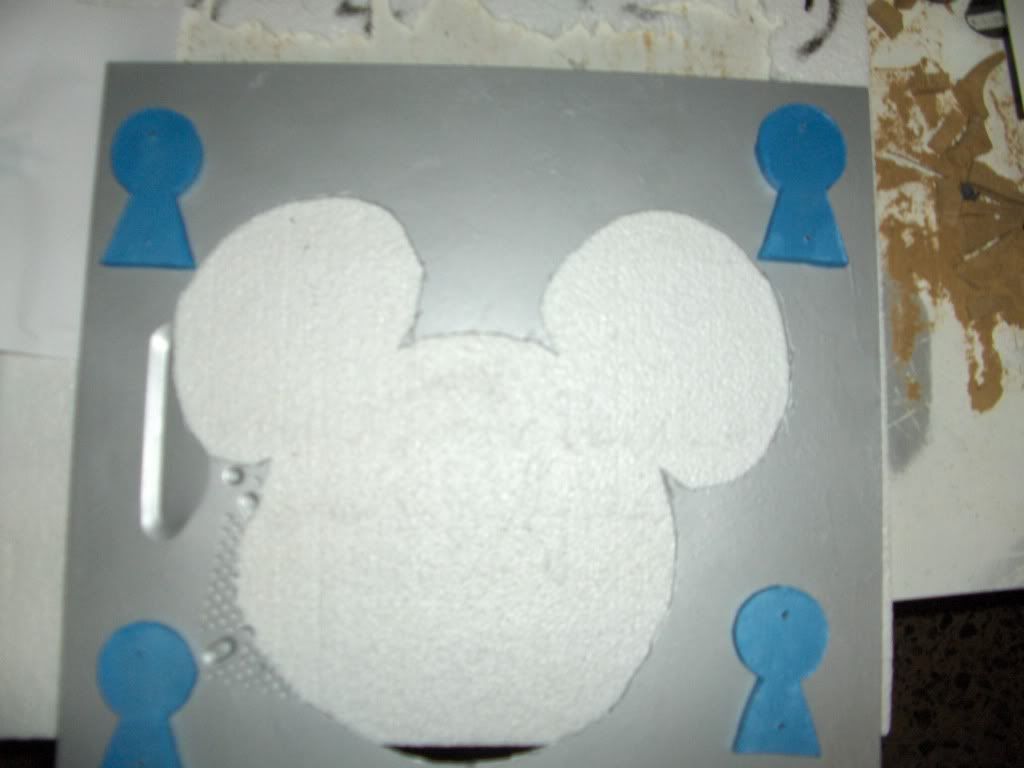
Finally I made a silhouette edge to nice touch to give the drawing to the window.
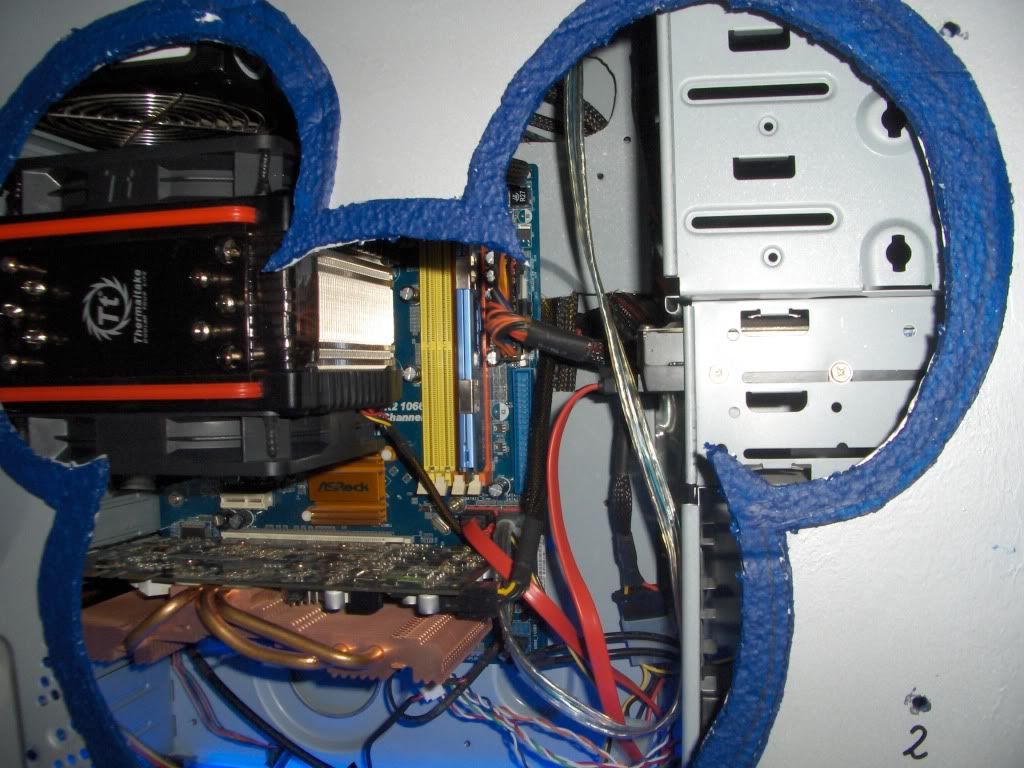
To complete and improve the appearance of the organization of wires cut holes for the mounting plate to hide the cables.
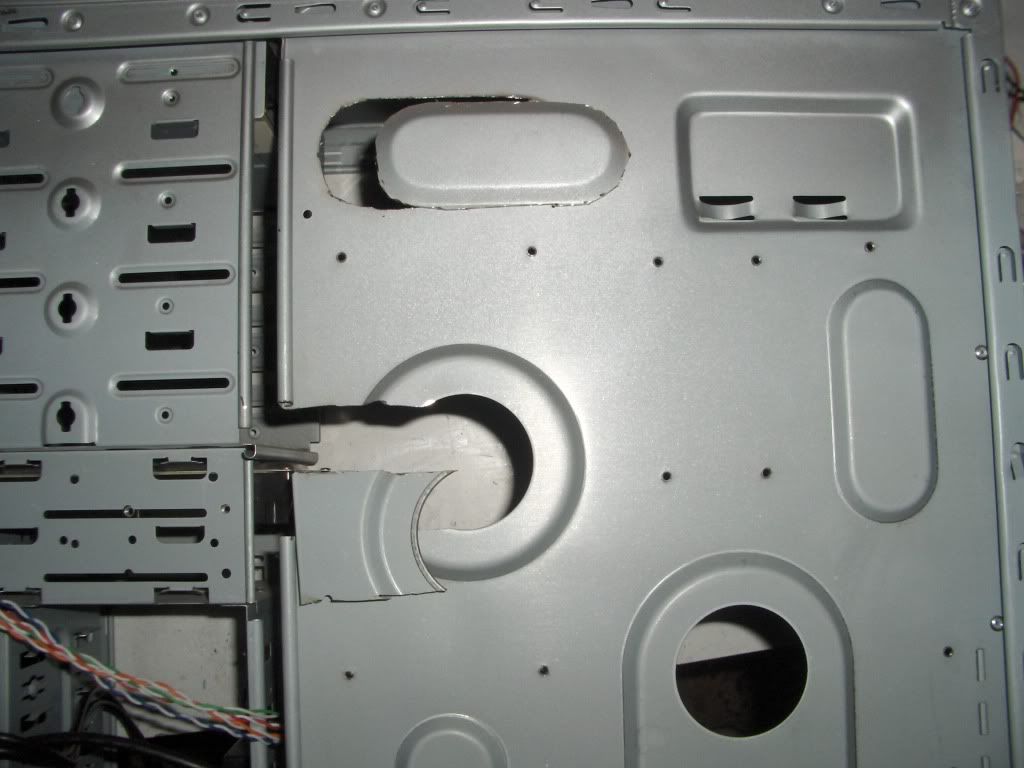
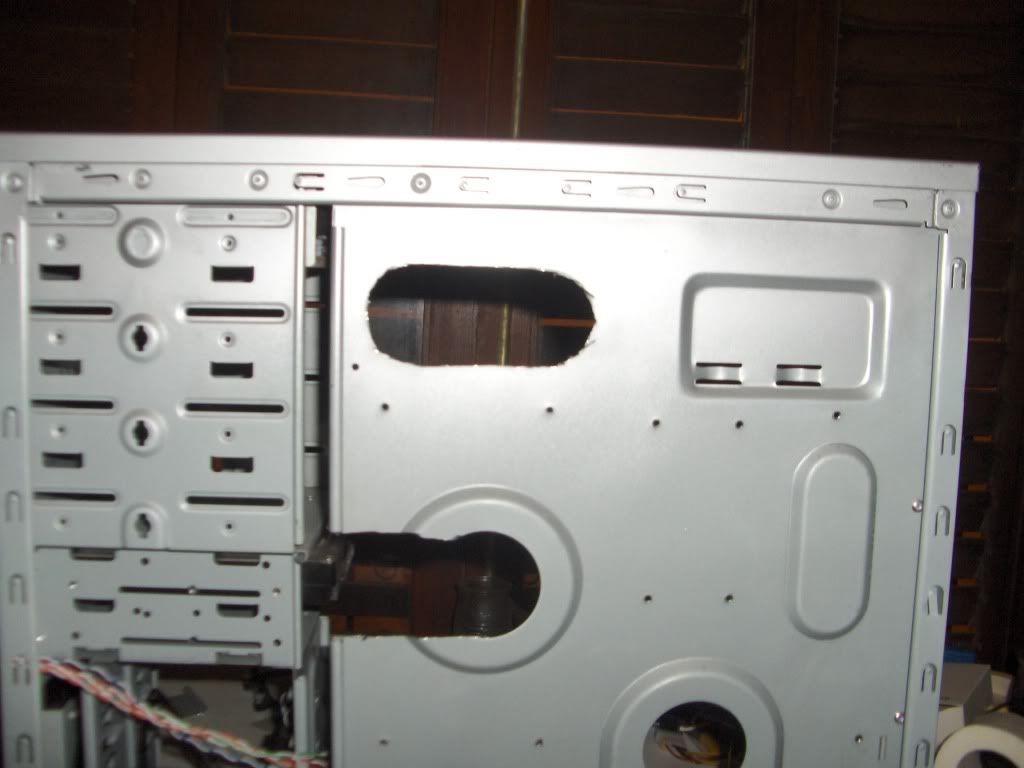
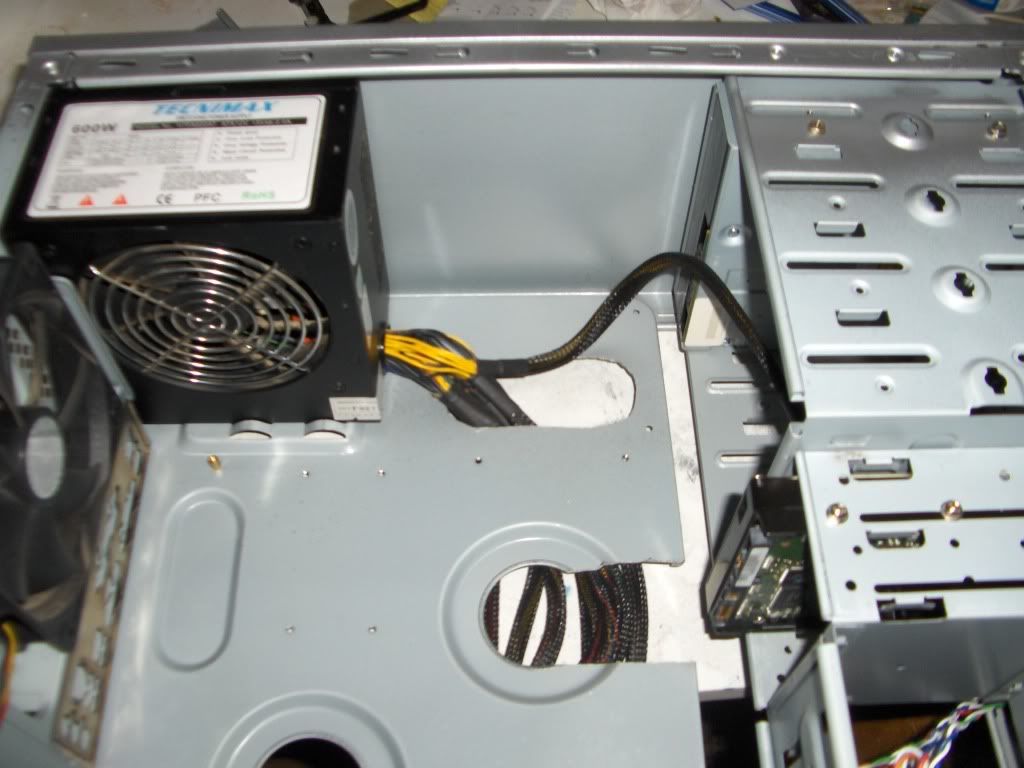
Images from the Campus Party Valencia mod.
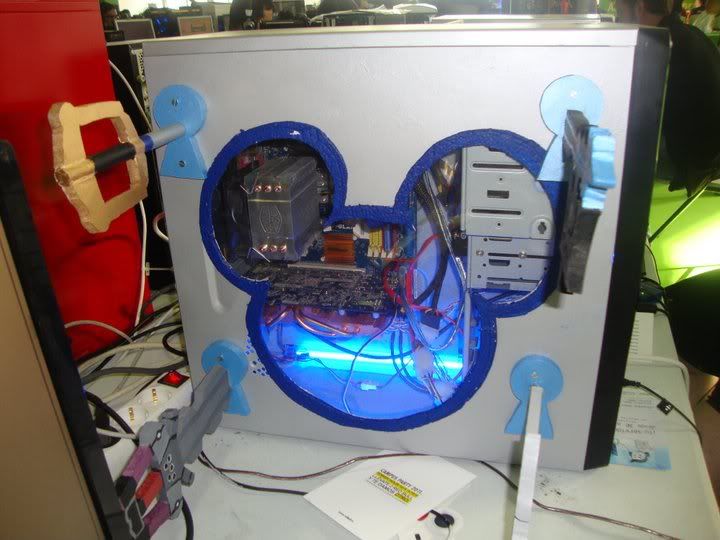
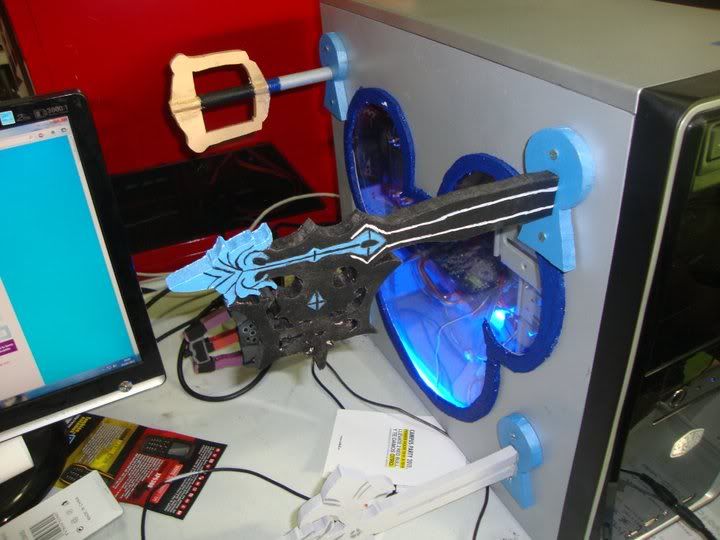
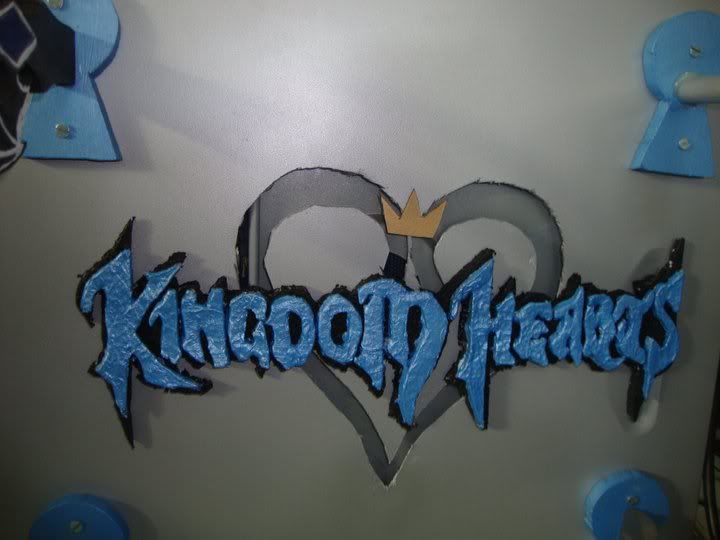
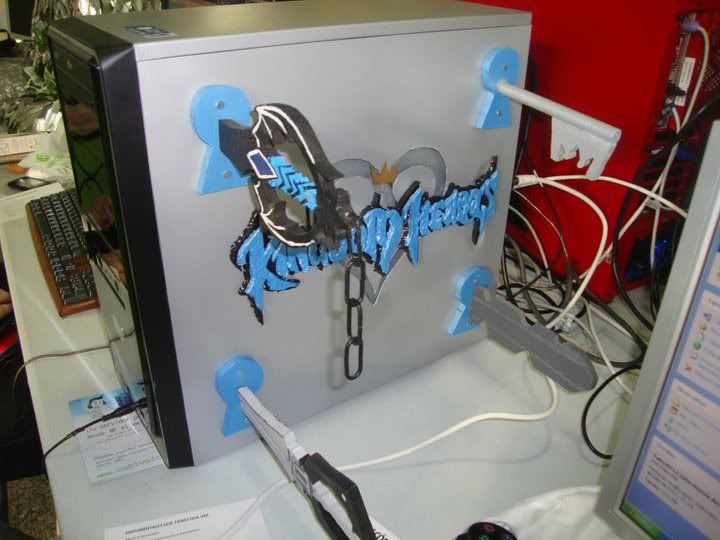
Final result with hidden cables and changed the CPU cooler by Thermaltake Frío.
The mod is the modification of a case from Cooler Master won a contest.
The mod will consist of the box in silver and blue with the game logo on the right side window and a silhouette of Mickey Mouse, and 4 keys sword (weapon in the game) to cross the box by his side off the other end side opposite.
First I will explain how to make the keys:
To draw them on wood I used tracing paper and a blue sheet of wood 1m ^ 2.
With the jigsaw game I have 4 equal pieces 1 by key:
With the tracing paper I have drawn the key pre-printed:
This is the Sleeping Lion: Sword of Squall Leonhart (Leon)
Distant Memories (It's my favorite)
Once I have drawn the saw cut with care not to damage the wood:
Once cut and painted with the bow tie, following his original model.
Ointed the back I put the chain ornament.
With the keys started work finished sheet once acquired the Dremel:
To begin the work sheet draw the lines with a white wax. On the left side where the window would be in the shape of the mouse.
He then proceeded to cut with the tool (it's my first time) following the drawn line.
Once cut whole is not so bad xD.
Then after cleaning the plate and spray painted it silver.
And not lose track also paint the top of the box to remember it was all black.
Then I started drawing the right side of the heart of the logo which is then cut.
I proceed to give another layer of spray.
Once the sheet metal work continued with the decor this time with the logo:
For this I used Styrofoam painted black for the background of the letters and wrapped Styrofoam to paper mache letters cut and made one by one with cutter.
Final minds are stuck in the plate and placed the crown trimmed of excess metal in the left window.
For placement of the keys I made 2 holes to the plate with a drill to screw them.
This is the support of the Keys, are mimicking the door locks from the worlds of Kingdom Hearts.
Finally I made a silhouette edge to nice touch to give the drawing to the window.
To complete and improve the appearance of the organization of wires cut holes for the mounting plate to hide the cables.
Images from the Campus Party Valencia mod.
Final result with hidden cables and changed the CPU cooler by Thermaltake Frío.


