• Some users have recently had their accounts hijacked. It seems that the now defunct EVGA forums might have compromised your password there and seems many are using the same PW here. We would suggest you UPDATE YOUR PASSWORD and TURN ON 2FA for your account here to further secure it. None of the compromised accounts had 2FA turned on.
    Once you have enabled 2FA, your account will be updated soon to show a badge, letting other members know that you use 2FA to protect your account. This should be beneficial for everyone that uses FSFT.

Maximum Security

SXRguyinMA

n00b
Joined
Jun 28, 2011
Messages
56
banner.png


B_DSC_1297jpg.jpg


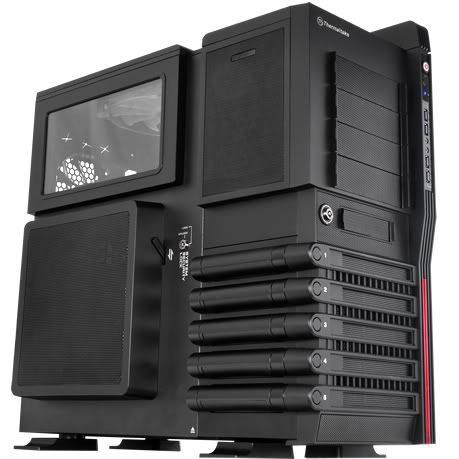
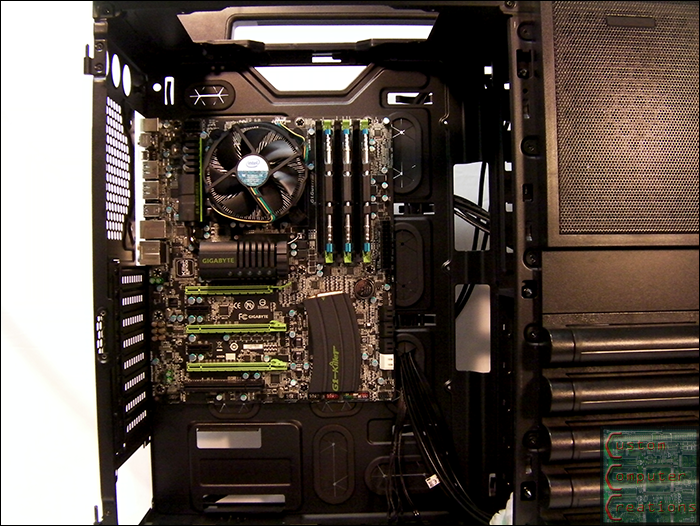
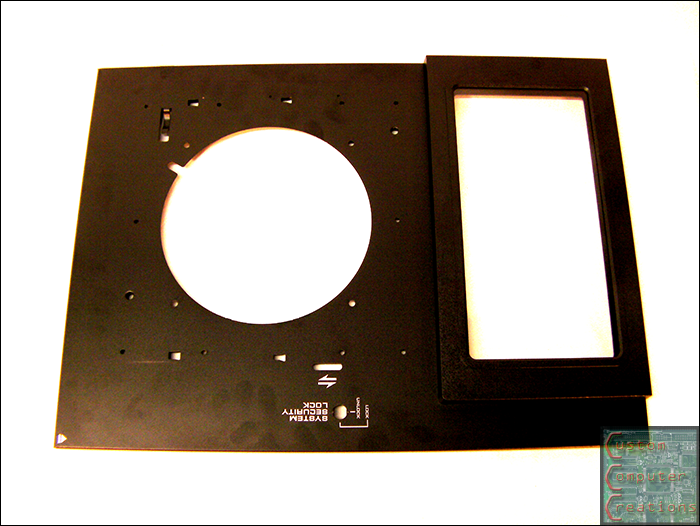
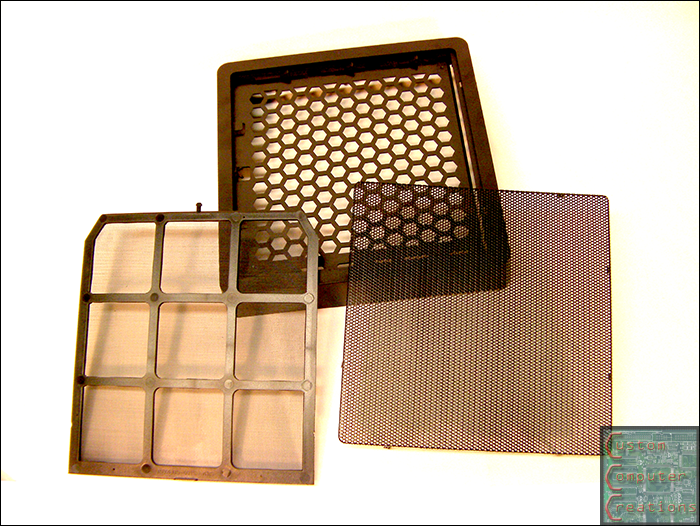
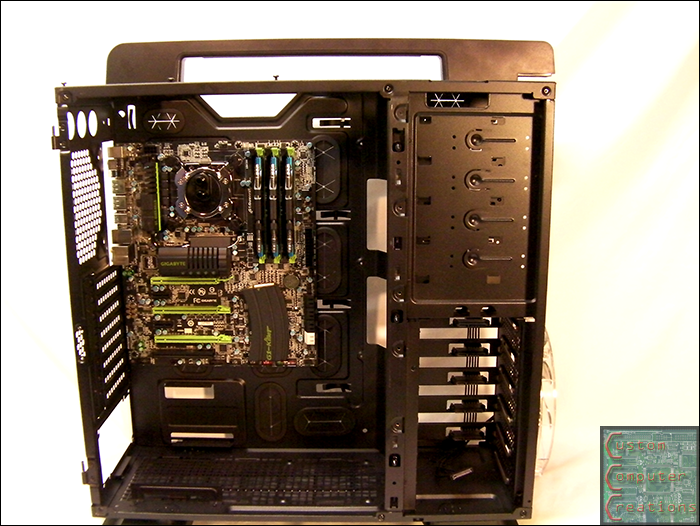
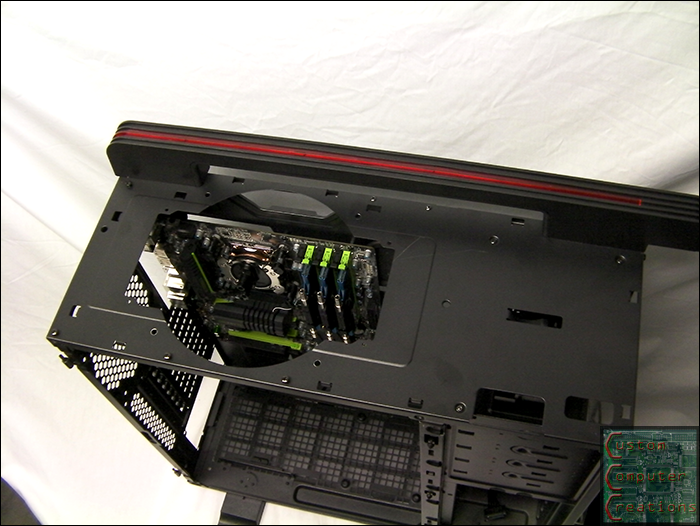
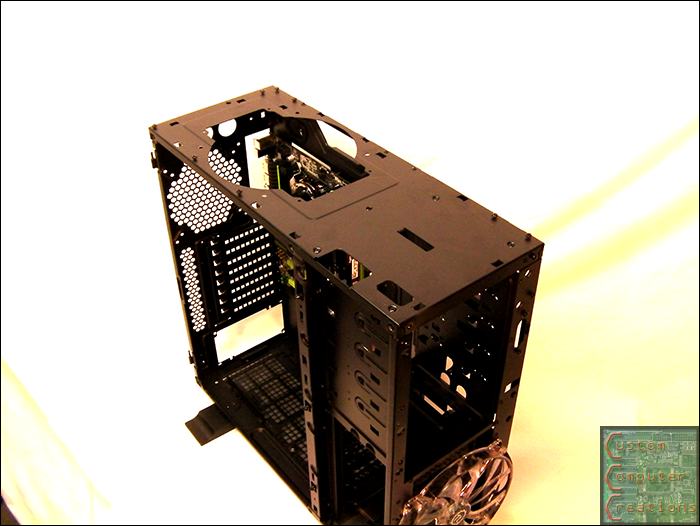
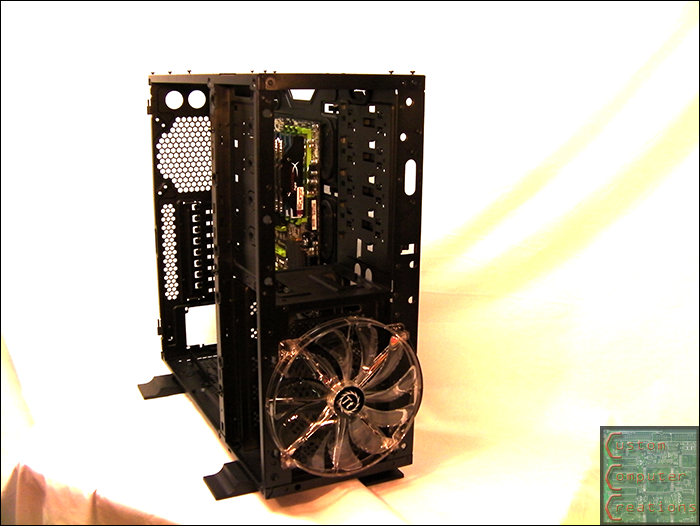
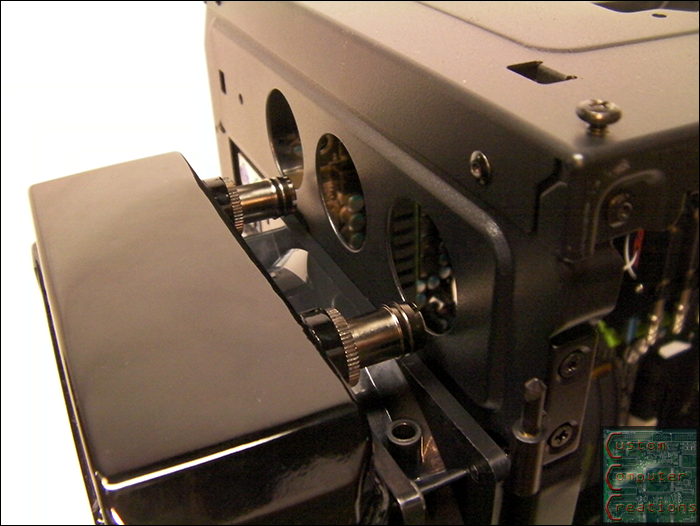
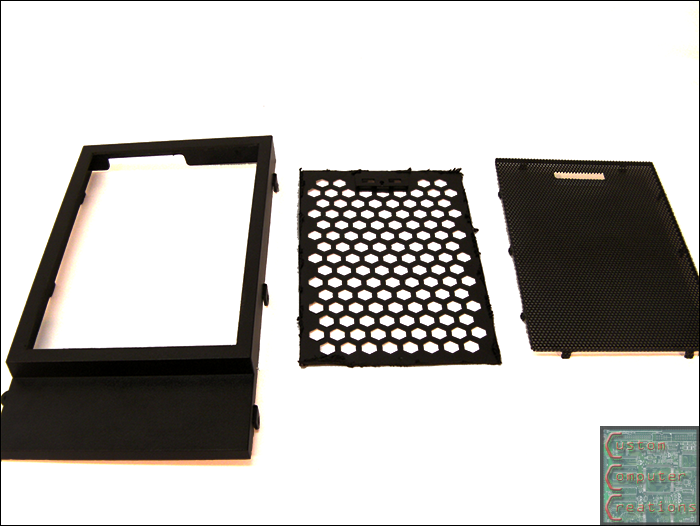
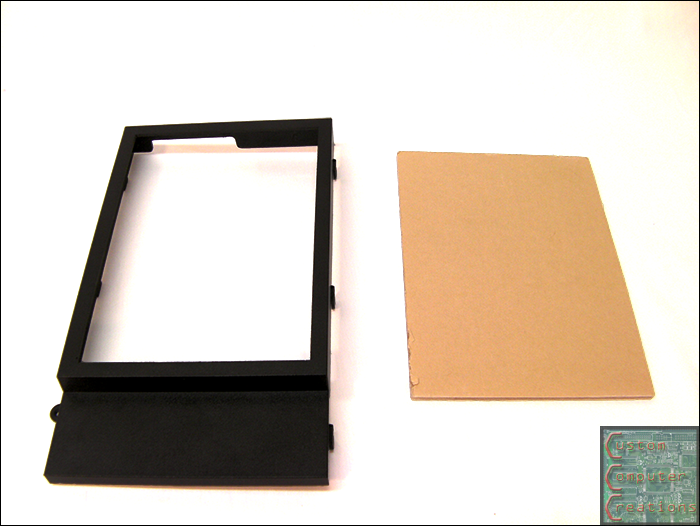
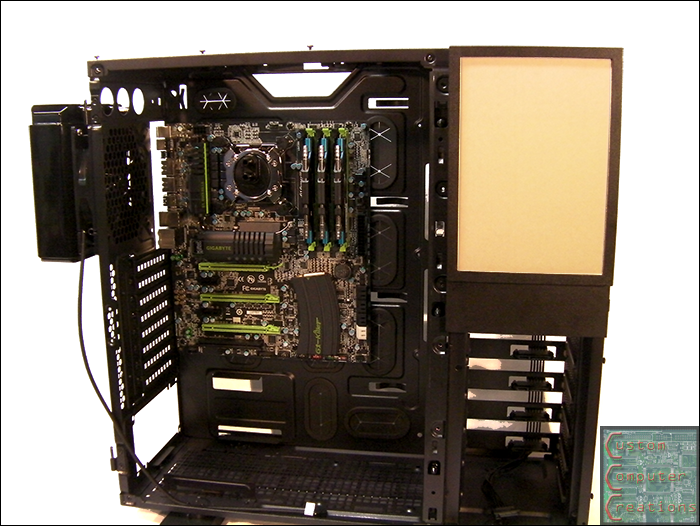
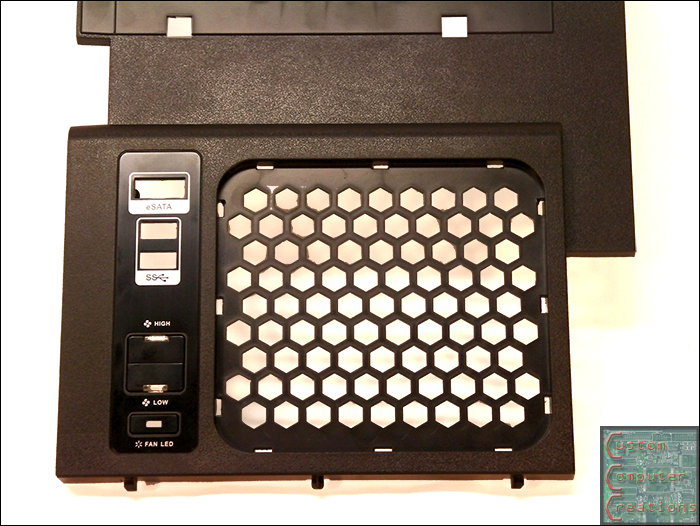
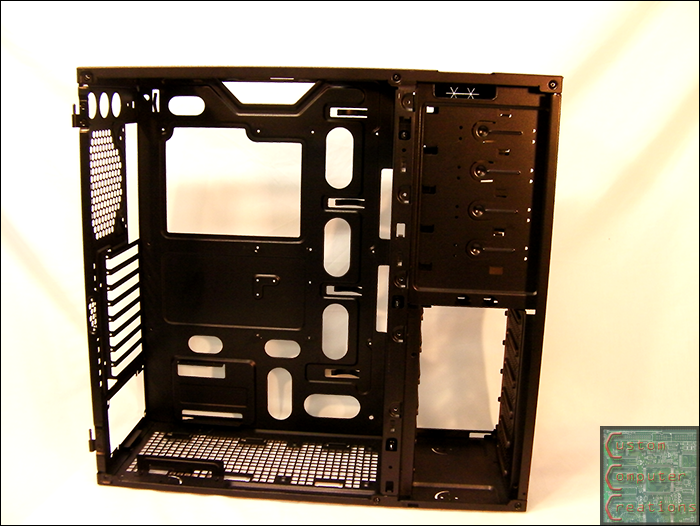
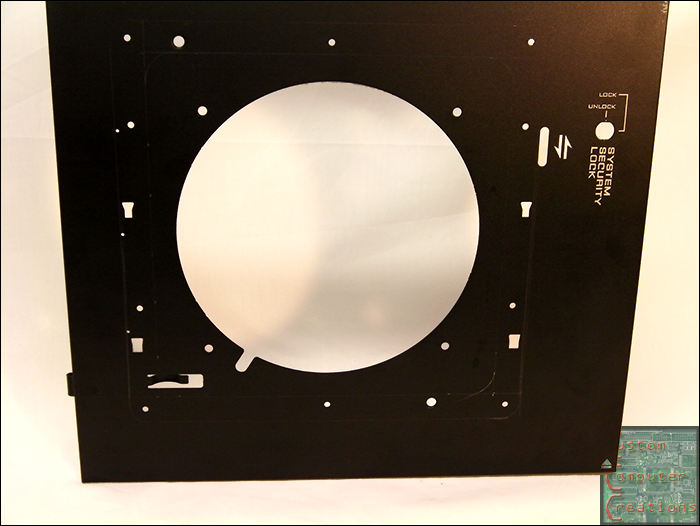
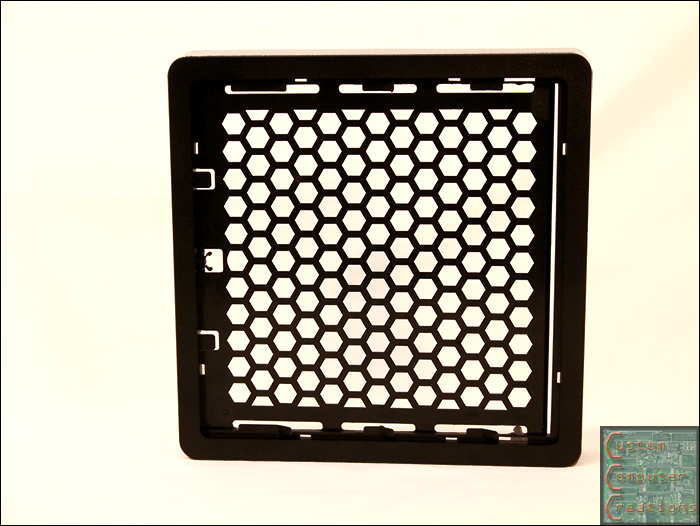
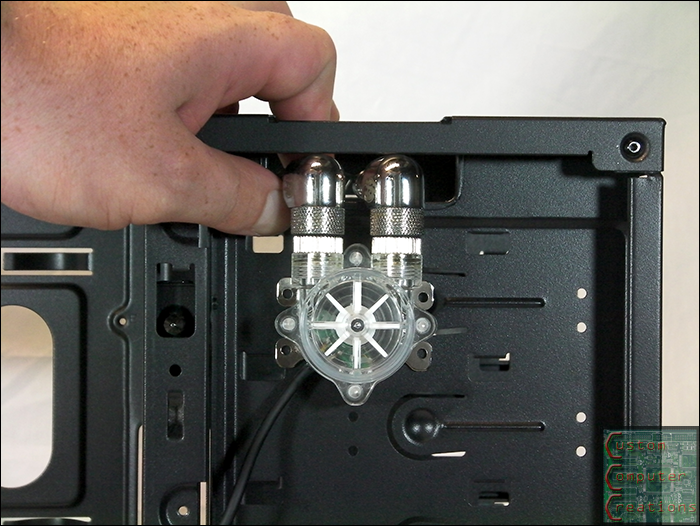
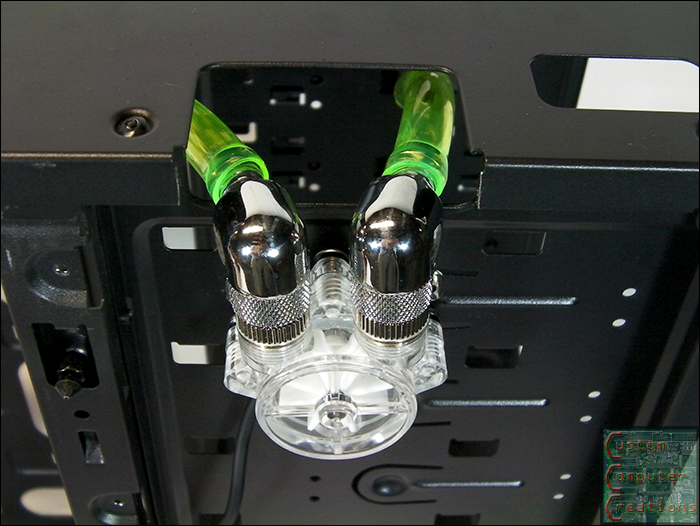
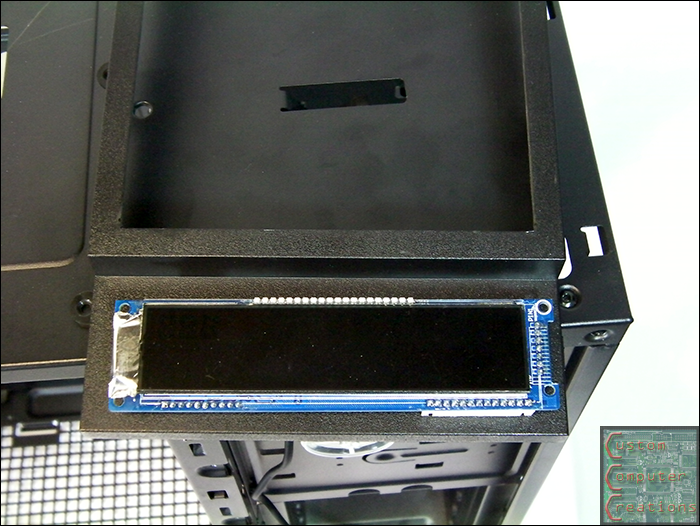
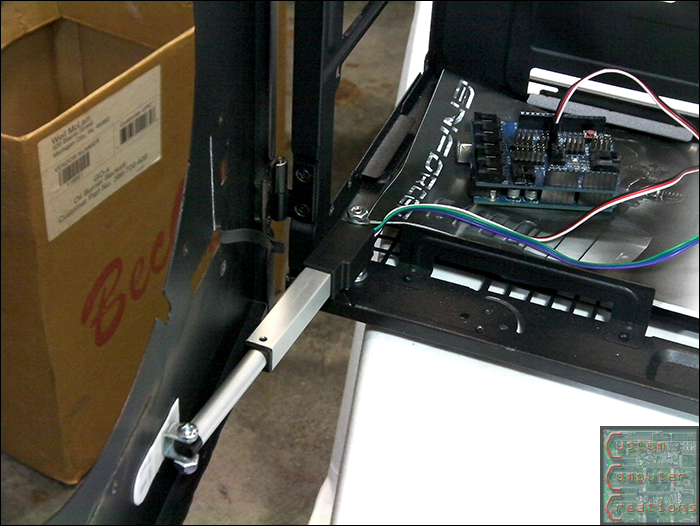
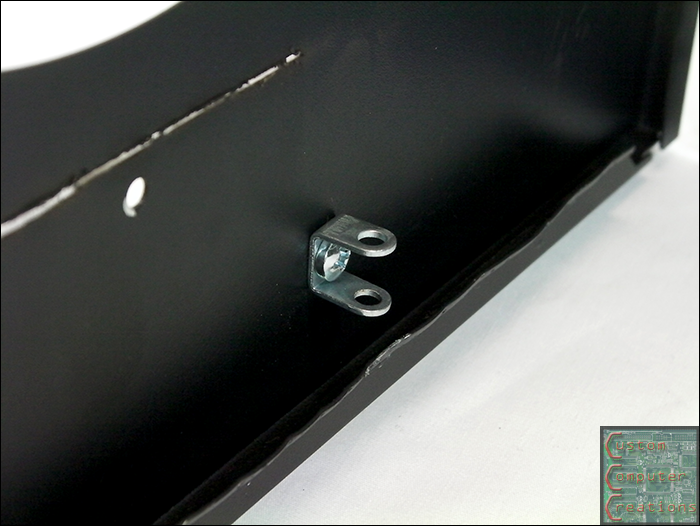
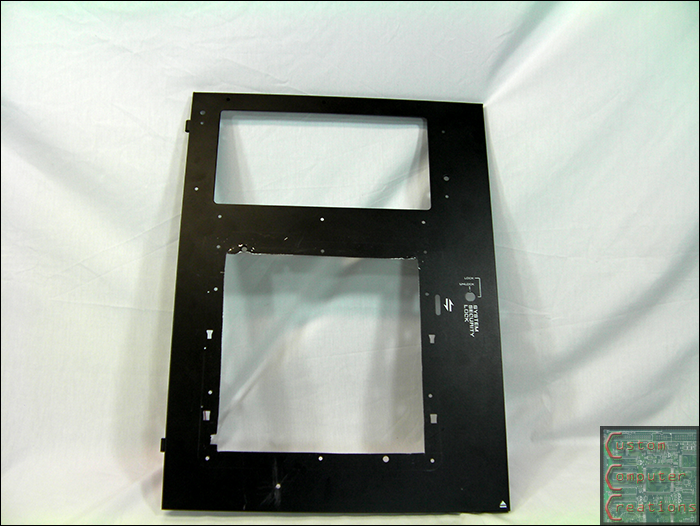
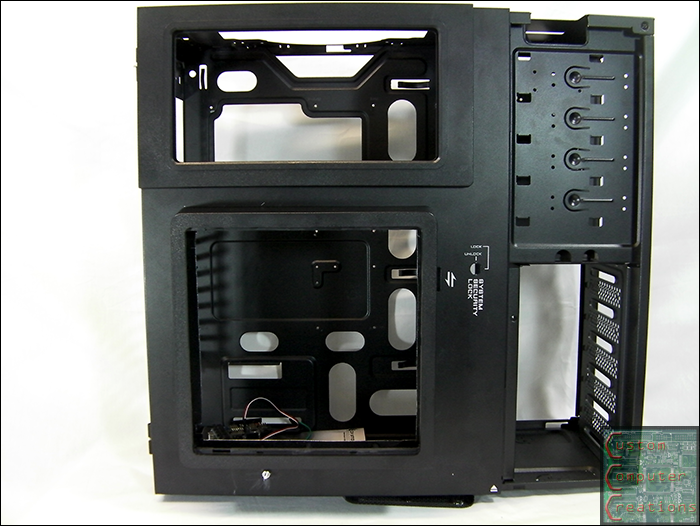
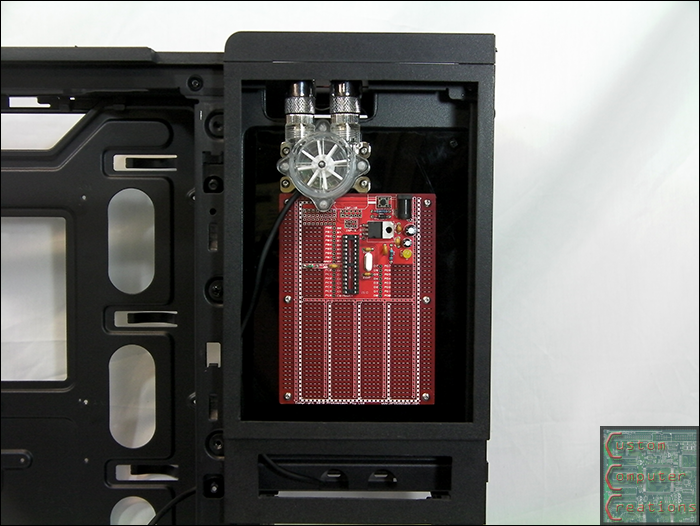
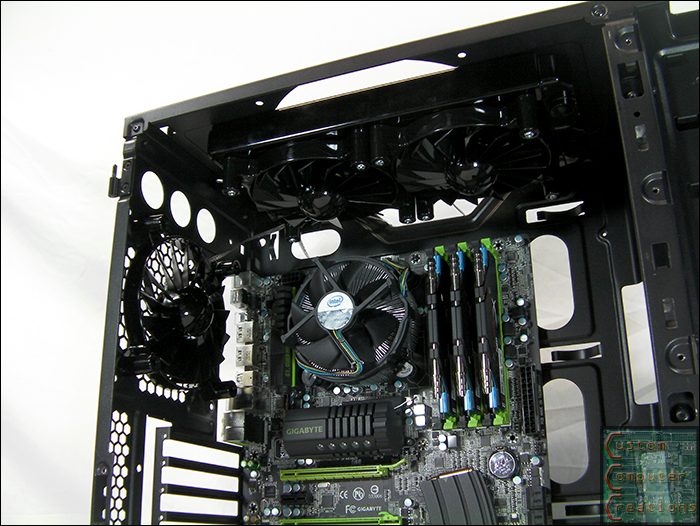
I was asked if I'd be interested in modding Thermaltake's new Level 10 GT chassis. Of course I had to say yes. A case like that may be hard to mod, but I've got some crazy plans for this thing. It involves liquid cooling and LOTS of electronics.

First off, a HUGE THANKS to the current sponsors!!

tt.png

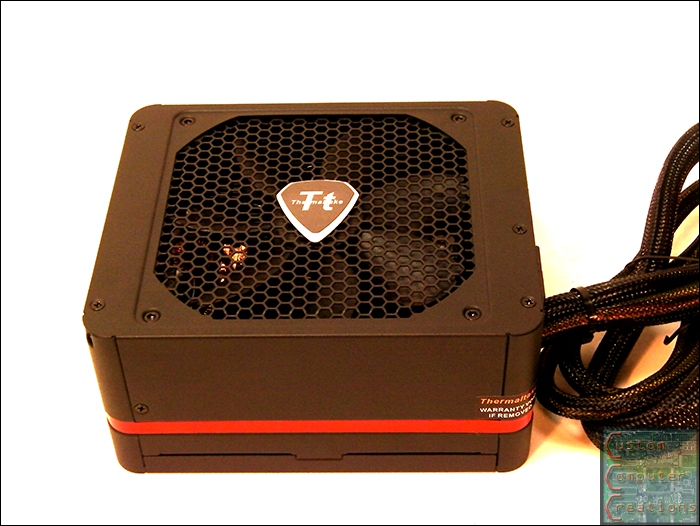
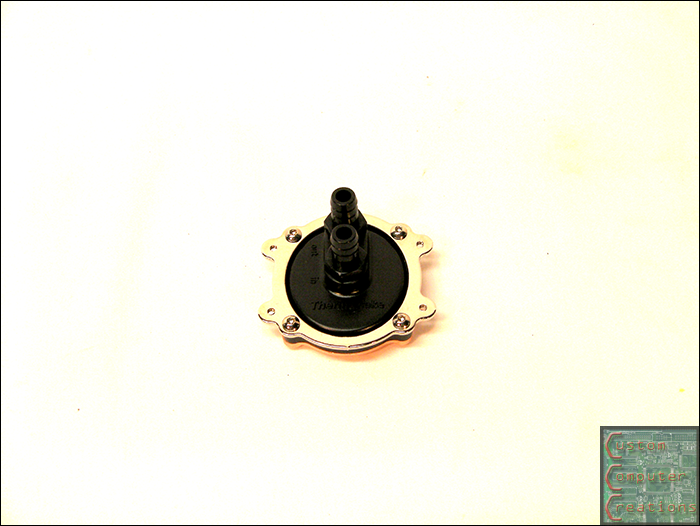
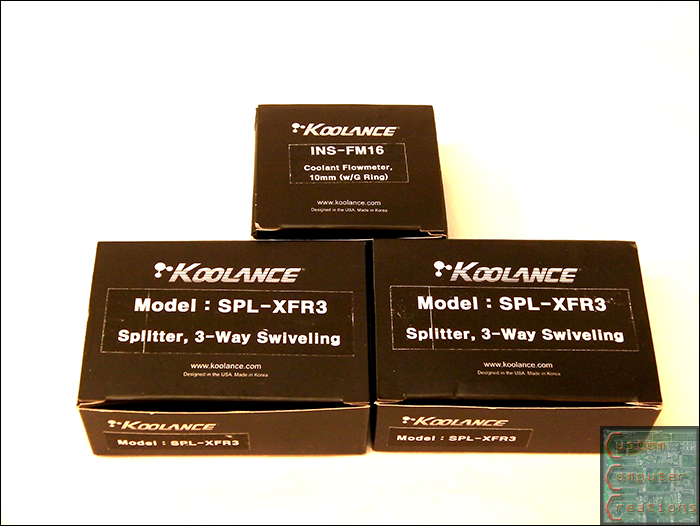
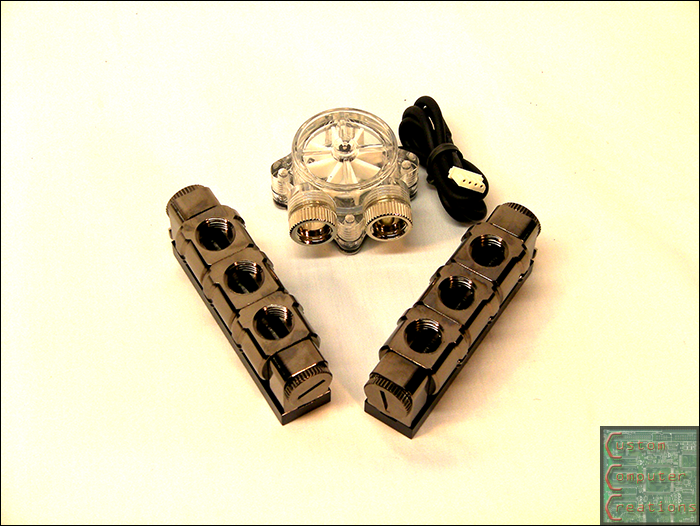
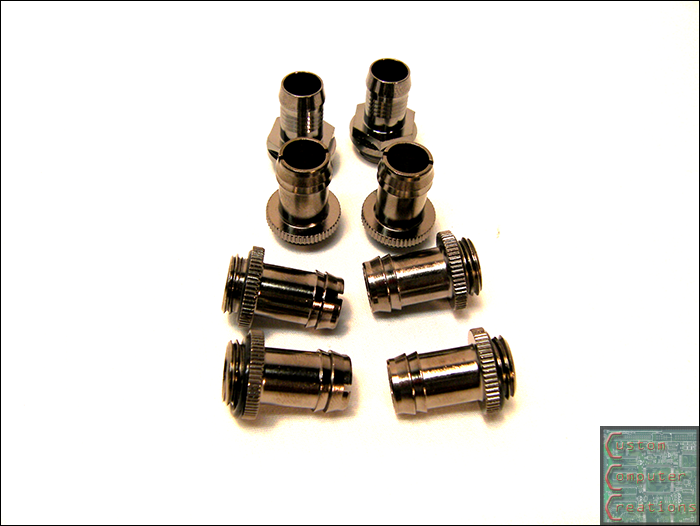
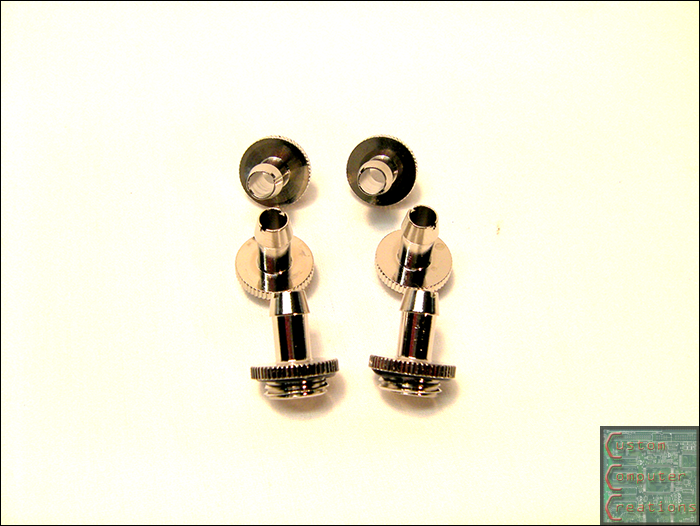
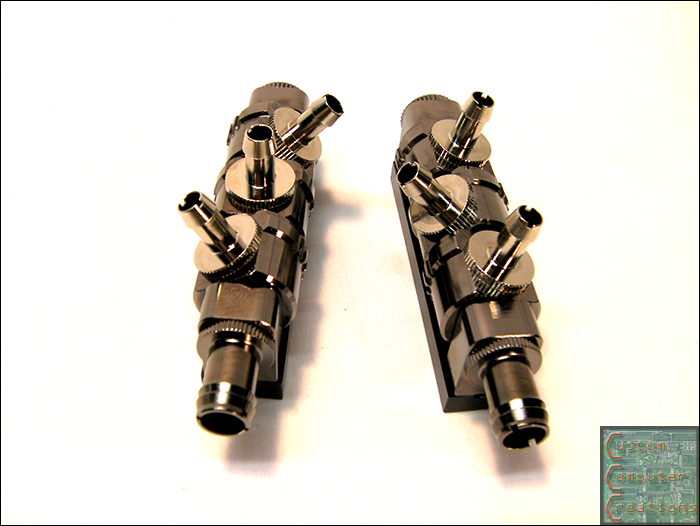
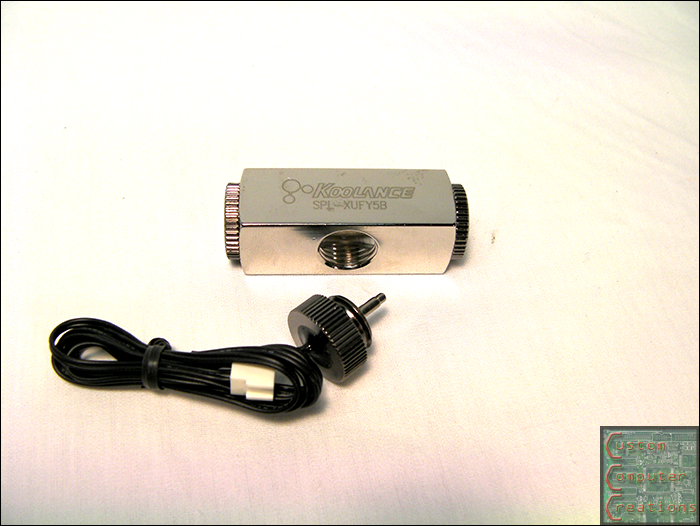
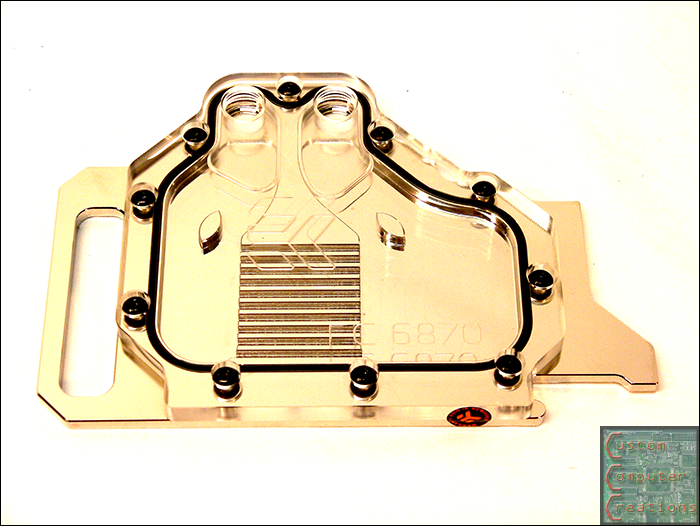
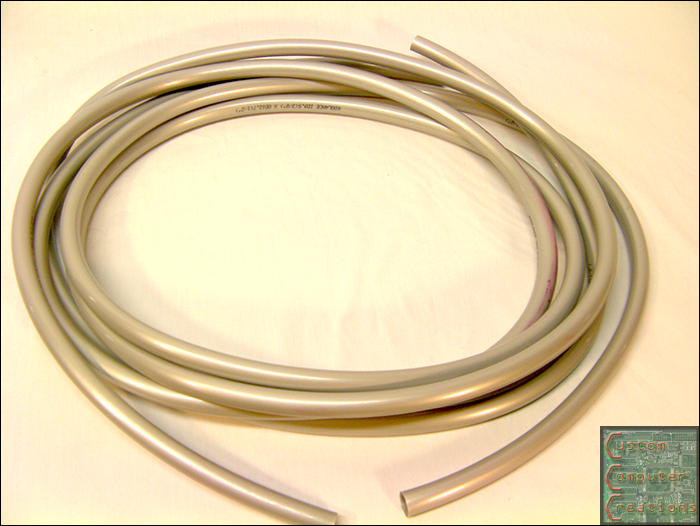
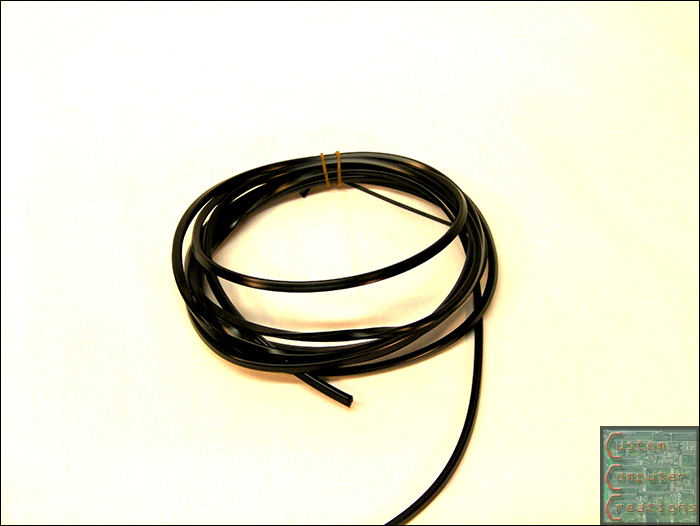
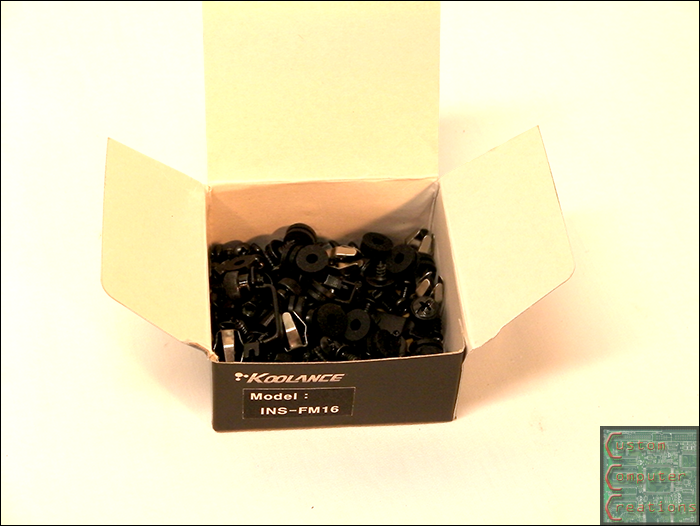
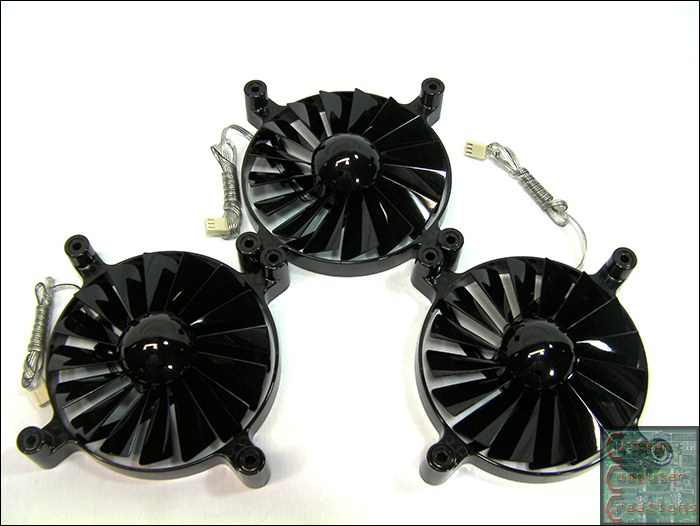
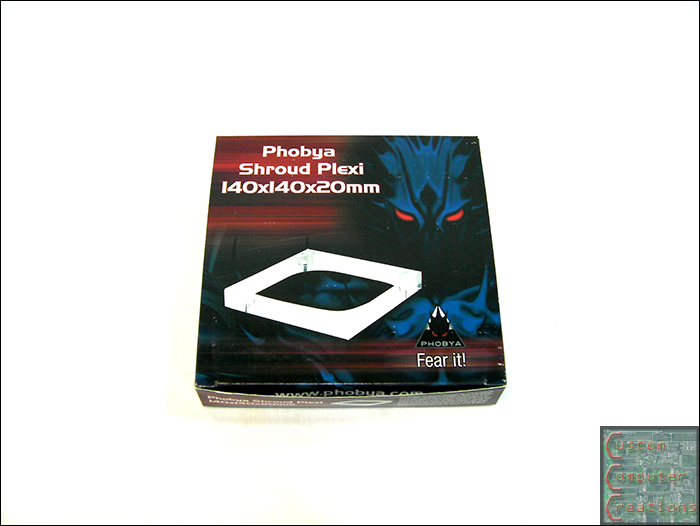
Thermaltake hooked me up with the Level 10 GT chassis, a Toughpower Grand 1050W PSU and some liquid cooling goodness.

kingston.png

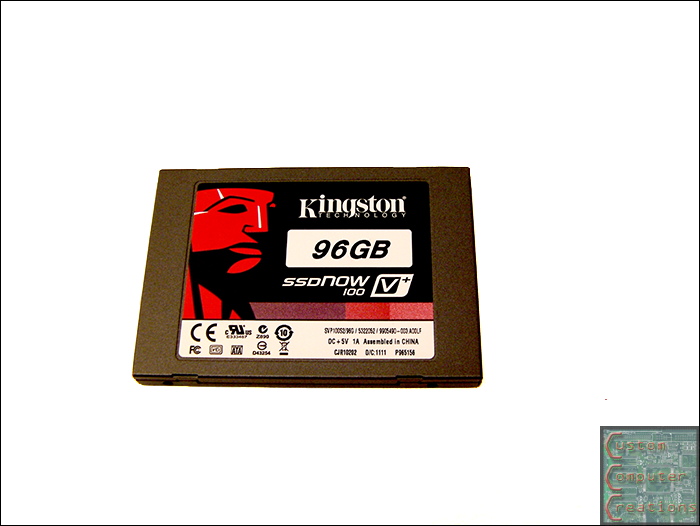
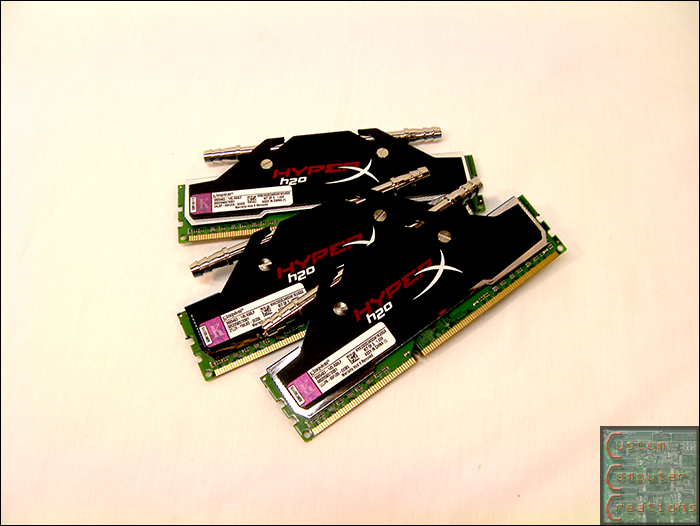
Kingston hooked me up with a 96GB SSDNow V+100 96GB SSD and a 6GB DDR3-2000 HyperX H2O Kit.

gigabyte.png

Gigabyte sent me a G1.Guerrilla motherboard.

microchip.png

Microchip sent me one of their new chipKIT Max32 development boards.

trossen.png

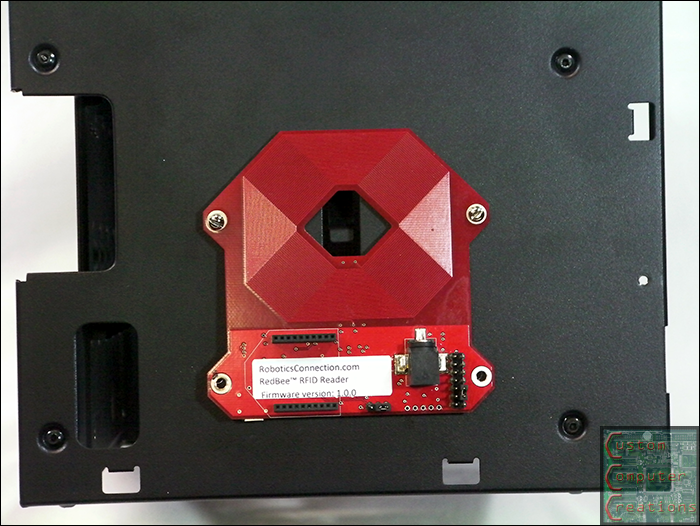
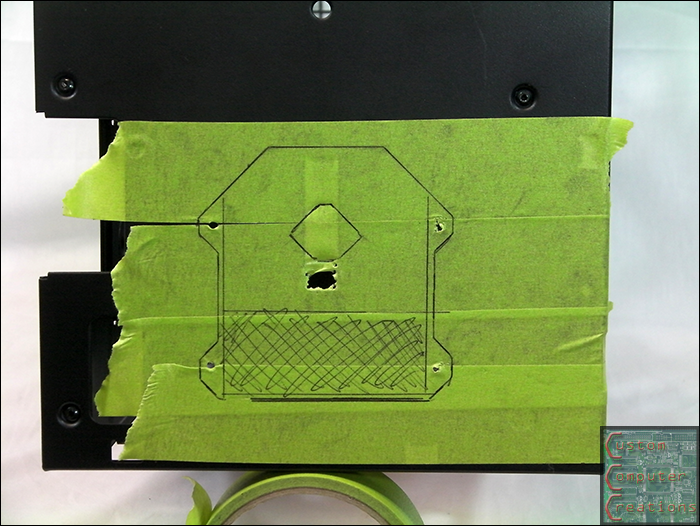
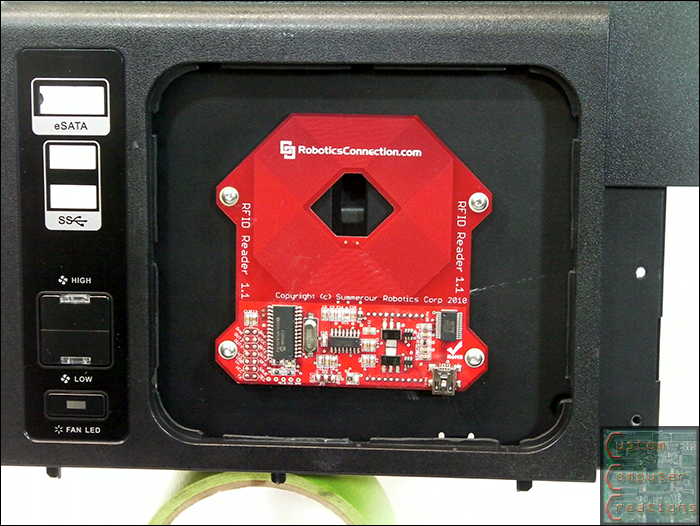
Trossen Robotics hooked me up with their RFID reader kit.

auto-air-color-logo.png

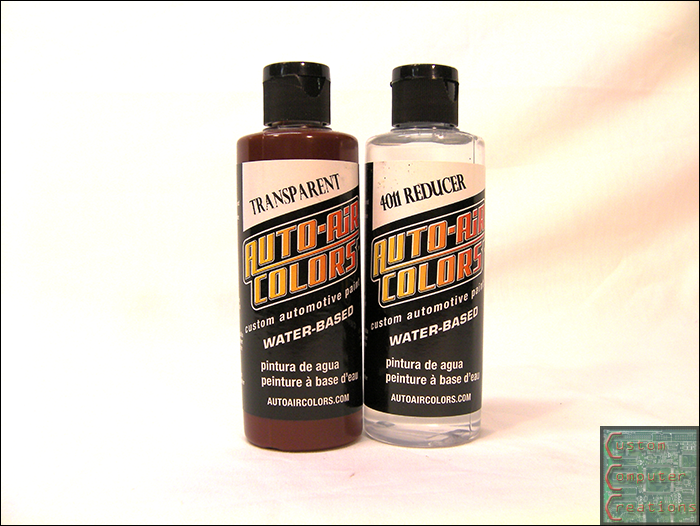
Auto Air Colors sent me a few bottles of airbrush paint.

nzxt.png

NZXT hooked me up with a white LED light strip.

proto.png

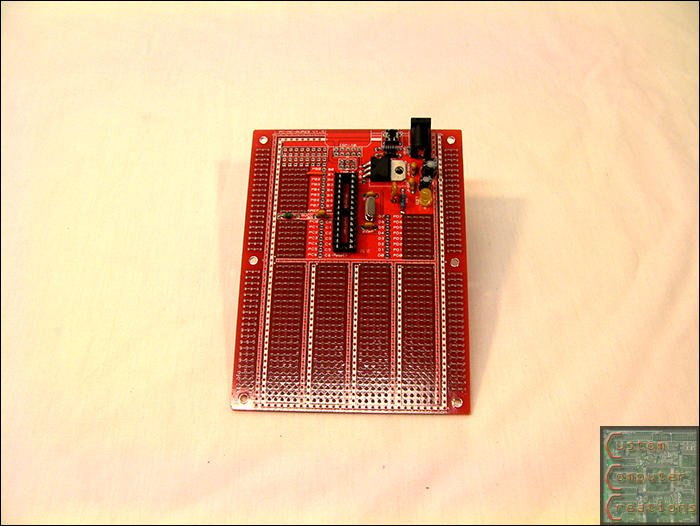
Protostack sent 2 of their ATMega8A development kits.

pcbca.png

PCBoard.ca sent me one of their new individually addressable RGB LED strips.
 
Last edited:
Mhm this should be good. Look forward to seeing what you do...
 
why can't i get tech sponsors to back my dodgy-arse builds i wonder.
well if you can make that TT case 'pretty', you have my eyeballs.
 
Got this coming from Performance-PC's:

  • 2 x *** HOT *** Koolance Tubing Splitter/Manifold, 5-Way Swiveling [no nozzles] (SPL-XFR3)
  • 4 x Koolance Nozzle Single, G1/4 Barb [10mm, 3/8"] (NZL-V10B)
  • 6 x Koolance Nozzle Single, G1/4 Barb [6mm, 1/4"] (NZL-V06B)
  • 2 x mod/smart 24-Pin Female ATX Power Connector- Black (M-MB-24M-BK)
  • 2 x Connectx™ ATX 24 pin Female Pins, GOLD-plated - 24 Pack (ACR-CB8133)
  • 5 x Connectx™ Female 3-Pin Fan Housing Black (ACR-CB9031)
    Molex Pins Add 3 Molex Pins
  • 5 x Connectx™ Male 3-Pin Fan Housing Black (ACR-CB9079)
  • 10 x Koolance Tubing, Silver PVC, 1ft/30.5cm [ID: 10mm (3/8"); OD: 13mm (1/2")] (HOS-10SL)
  • 1 x IandH Silver KillCoils - Antimicrobial .999 Fine Silver Tubing / Reservoir Strip (IANDH-KILLCOIL)
  • 1 x *** NEW *** EK-FC6870 for AMD/ATI Radeon HD 6870 Series - Nickel (EK-FC6870-NK)
    Optional SLI Fitting No fitting
    Fitting Size 3/8" Barb for 3/8" ID tube
  • 1 x Black Ice® GTX Gen Two Xtreme 140 Highest Performance Radiator (GTX140)
    Fitting Size 3/8" Barb for 3/8" ID tube
  • 1 x Koolance INS-FM16 Coolant Flow Meter (INS-FM16)
  • 1 x Koolance Coolant Temperature Sensor, Brass [no nozzles] (SEN-AP005PB)
    Nozzles Add Nozzle Pair, G1/4 Barb [10mm, 3/8"] NZL-V10KGB
  • 1 x A.C. Ryan AcrylPanel™ 3mm - 480x480mm Clear (ACR-AP3404)
  • 8 x Solid Wall Polyethylene Grommet Edging with Adhesive - Black (GES-BK05)

And this coming from Sparkfun:

  • 3x PRT-00115 Female Breakaway Headers
  • 3x PRT-00116 Male Breakaway Headers
  • 5x PRT-08095 Polarized Connectors - Housing (2-pin)
  • 2x PRT-08100 Polarized Connectors - Crimp Pins
  • 5x PRT-08233 Polarized Connectors - Header (2-pin)
  • 2x PRT-09497 ATX Power Supply Connector - Straight
  • 2x PRT-09498 ATX Power Supply Connector - Right Angle
  • 2x PRT-10698 Light Pipe - Clear Core (3mm, 5' Long)

Deets when the goods arrive :D
 
Here is the coding so far:

[ame="http://www.youtube.com/watch?v=0Dom6xPrexg&feature=player_embedded"]YouTube - ‪Maximum Security‬‏[/ame]

[ame="http://www.youtube.com/watch?v=GAjhfoJ-4b0&feature=player_embedded"]YouTube - ‪Maximum Security - Part 2‬‏[/ame]
 
Update time!

First some pics of some of the goods:

proto.png


ATMega8A dev kit from Protostack


ssd2.png


96GB SSD from Kingston


ram2.png


6GB DDR3-2000 H2O RAM also from Kingston


psu.png


Toughpower 1050W PSU from Thermaltake


wb.png


PWB100 Waterblock also from Thermaltake


act2.png


Firgelli L12 Linear actuator (50mm stroke, 100:1 gearing) from Trossen Robotics


kl1.png


kl2.png


Koolance 3-way splitters and flow meter


fit2.png


fit1.png


Koolance 3/8" and 1/4" G1/4 fittings


kl3.png


Here you can see a 3/8" fitting and 3 1/4" fittings in each splitter. What this will do is allow me to hook the main 3/8" tubing to the splitter, and have 1/4" lines run to each stick of RAM, then back out into the second splitter, and back into the loop.


ts.png


Koolance Adapter block with temp sensor


ek1.png


ek2.png


EK waterblock for my XFX 6870


tube.png


10' Koolance silver 3/8" PVC tubing


trim.png


U-Channel edge molding


24p.png


pins.png


2 black 24-pin connectors and pins


3p.png


5 3-pin connector sets


kc.png


Silver Kill Coil

I also got a Black Ice 140mm Radiator, but I need to swap it for a 120mm one as it's too big to fit in the case in the rear 140mm fan spot. I may get creative and try to mount it elsewhere though, we'll see.

I'm still waiting on a 2x120mm radiator and a pump/res combo from Thermaltake as well.


I also got some work done on the case.

test.png


I test-fit the motherboard into the case to get an idea of the layout for some of the various components. This is when I found out that the bit 140mm rad I got won't fit.


side1.png


side2.png


I also got the lower intake cover, louvers and fan removed. The plan is to put a window in where the fan grill used to be.
 
Last edited:
Minor update. I got the case pretty much all disassembled. There was a ton of little screws and clips everywhere, and it was neat to see how they held everything together. Next will be finding placement for some of the components.

case1.png


cas2.png


case3.png


case4.png
 
Wow, this is a freaking awesome project! Looking forward to see what you did with it.

Did you buy that LCD with an RGB backlight, or did you mod it yourself? Or is it something else entirely? Just curious how you had the color changing :D
 
Wow, this is a freaking awesome project! Looking forward to see what you did with it.

Did you buy that LCD with an RGB backlight, or did you mod it yourself? Or is it something else entirely? Just curious how you had the color changing :D

The LCD in the video came standard with a red backlight, but I removed it and ground down a 5mm RGB LED to use in it. Unfortunately I hooked the LCD up wrong one time now half of it doesn't work right lol. I did order 2 LCDs from NKC electronics that already have RBG backlighting built in (http://www.nkcelectronics.com/Character-LCD-Module-16x2-RGB-Backlight_p_114.html). The only thing it they are color background with black letters rather than the black background and colored letters like the LCD in the videos, but it's not a big deal really
 
More pics :D

rfid.png


The RFID reader from Trossen Robotics


paint.png


The 2 bottles of paint from Auto Air Colors.


I also figured out a mounting for the 140mm rad. It was too big for the inside of the case and I thought putting it on the outside wouldn't look good. However after some trial and error I found that I can use the outer shell from an old 140mm fan as a spacer. The only other issue is that the barbs don't line up with the holes in the case, but that's a small hurdle. So the fan will be on the inside of the case with the rad and spacer on the outside. Alternatively I could just mount the fan to the rad and have them both on the outside of the case. Thoughts?

rad1.png


rad2.png
 
...However after some trial and error I found that I can use the outer shell from an old 140mm fan as a spacer. So the fan will be on the inside of the case with the rad and spacer on the outside. Thoughts?

Sounds good. I think having the fan shell as a spacer might help airflow to be cleaner/smoother into the rad. Then again, I could be wrong...If you test this out, let us know the results between the 2 setups.
 
I'd personally try to mount the radiator behind the front 140mm fan, but that would mean relocating your hard drives, I'd relocate them to where the CD drives are, I hate CD/DVD drives anyway:mad:, would probly be a pain but i like the thought of having the rad internal:D
 
I'd personally try to mount the radiator behind the front 140mm fan, but that would mean relocating your hard drives, I'd relocate them to where the CD drives are, I hate CD/DVD drives anyway:mad:, would probly be a pain but i like the thought of having the rad internal:D

the rad is too big to fit behind the front 200mm fan, and I've got plans for the 2 unused 5.25" bays already. One will be a DVD drive, another an NZXT fan controller, and the final two will house a 16x2 LCD each :)
 
I've been reading [H] for probably about 8 or 9 years at least. I just registered to make this comment.

NIXIE TUBES: [ame="http://en.wikipedia.org/wiki/Nixie_tube"]Nixie tube - Wikipedia, the free encyclopedia@@AMEPARAM@@/wiki/File:Nixie2.gif" class="image"><img alt="" src="http://upload.wikimedia.org/wikipedia/commons/thumb/4/4f/Nixie2.gif/170px-Nixie2.gif"@@AMEPARAM@@commons/thumb/4/4f/Nixie2.gif/170px-Nixie2.gif[/ame]

I think I can see what you're going for here, and this project just jumped out and screamed nixie tubes at me. you can even get panel mount flat ones. Where you're already doing custom electronics for it, some nixies should be pretty trivial comparatively.

Just my 2 cents.
 
So the fan will be on the inside of the case with the rad and spacer on the outside. Alternatively I could just mount the fan to the rad and have them both on the outside of the case. Thoughts?

Id keep it this way, should clean it up a bit and get rid of the "dead spot"
BTW grats on being linked on the front page of [H], should be a sic build.
sub'd
 
the rad is too big to fit behind the front 200mm fan, and I've got plans for the 2 unused 5.25" bays already. One will be a DVD drive, another an NZXT fan controller, and the final two will house a 16x2 LCD each :)

Sounds good, im gonna have to keep an eye on this for sure, and of course your front fan is 200mm:eek:
 
Update time :D

I got 2 of the 3 windows done. I started with the top mesh part on the side panel (where the headphones hang, above the hotswap bays)

side1-1.png


I started by removing the steel mesh, then cutting out the plastic honeycomb mesh underneath with my scroll saw.


side2-1.png


Then I cut out a piece from the AC Ryan panel I got. It took a lot of sanding and filing to get the window and the cutout nice and smooth.


side3.png


MMMM nice fit :D


side4.png


And a shot of where it goes on the case. I'm going to have a few components and some lighting behind this window, but I'm keeping the details a secret for now :D


top1.png


Then I started on the top panel. I removed the steel mesh like on the side panel...


top2.png


Then cut out the plastic honeycomb with the scroll saw. I had to do a lot more sanding and filing here than on the side panel. The reason for this is due to how Tt made the plastic parts. On the side I was able to install the window from underneath, so it didn't have to be 100%. Here I need to install the window on the top, and it will rest against a few small parts sticking out, so it needed to be perfect.


top3.png


I used the steel mesh to trace out a rough line for the window panel.


top4.png


And the window cut roughly.

top5.png


And a nice fit :D This took a LOT of time as the window had to be a lot closer to perfect than the side one did. This window will also have components underneath, and both windows may have some etchings...we'll see on that later on.
 
I've been reading [H] for probably about 8 or 9 years at least. I just registered to make this comment.

NIXIE TUBES: Nixie tube - Wikipedia, the free encyclopedia

I think I can see what you're going for here, and this project just jumped out and screamed nixie tubes at me. you can even get panel mount flat ones. Where you're already doing custom electronics for it, some nixies should be pretty trivial comparatively.

Just my 2 cents.

Nixie's are AWESOME, but they're a tad too large and pricey for the amount of digits I'm going to need :D

Id keep it this way, should clean it up a bit and get rid of the "dead spot"
BTW grats on being linked on the front page of [H], should be a sic build.
sub'd

Thanks :D Thanks for the front page mention as well :D I've been linked to here on [H] before, I'm the guy that built the NZXT Tempest EVO with the Alienware-like louvers on teh roof :D
 
Cool if you can make that case look cool and not nerdy, you are the man :confused: you are a dude aren't you? :D forums no pictures who knows? ;)
 
Time for another update!

e-case.png


I finally got the case entirely stripped down, minus drilling out the rivets (that's later).


box.png


Here's all the hardware I had to remove to get all the plastic off this thing!


sidecut1.png


I did some measuring and marking on the side panel in preparation for cutting.


sidecut2.png


Then I tackled the plastic casing that covers that side intake hole. This will also have a window, making for 4 total windows in the case.


sidecut3.png


Here it is all trimmed out. This took several hours of cutting and sanding with the Dremel and final finish sanding. There were a lot of small tabs and whatnot that needed to be removed. What I'm left with is 2 small ledges on which to mount the window.


sidecut4.png


I went about making the window the same way as the others. I used the mesh I removed for an outline/guideline. Then I cut it out with the scroll saw and did the finish sanding with the Dremel and belt sander. Here it is in for a test-fit.


sidecut5.png


sidecut6.png


Here is the plastic and window sitting on the side panel.

The main thing left to do now is cut out the steel side door and work on component placement and electronics. The tough part is going to be finding the right mounting location for the linear actuator that will open and close the door.
 
I did some work with SketchUp tonight. I want to dress up the radiator since it will now be hanging off the back of the case rather than be inside it. I used my Black Ice 140 radiator to make one in SketchUp. Then I used the following picture of an industrial rooftop A/C unit to design a shroud that will screw to the backside of the radiator and fit in with the overall theme of the project. I plan to make this shroud out of white styrene sheet just like I made the louver assembly for my Tempest SXR (http://www.thebestcasescenario.com/forum/showthread.php?p=289709) mod a while back. Enjoy the pics :D

industrial-cooler.jpg


Black_Ice_GTX_Gen_II_Extreme_140.png


rad_w_shroud1.png


rad_w_shroud2.png


rad_w_shroud3.png
 
Minor update.

I decided on a location for the Koolance flow meter. Theres this spot where the cables pass through and it fits nicely with a pair of 90º Bitspower fittings. The only problem is that pesky piece of the frame in the way. Only one thing to do...cut it out!

flow.png


flow2.png


That's better :D This will be visible behind the window I put into the side panel, along with one of the protoboards from ProtoStack. I've got an idea of what to use the board for, now I just need to make it happen :D


sentry1.png


I also decided to mount my Sentry 2 fan controller in this side panel rather than the front 5.25" bays. I already have experience mounting it without it's housing from my Tempest SXR mod, so this should be cake.


sentry2.png


sentry3.png


sentry4.png


I measured and marked the hole, cut it out with my Dremel and filed it down nice and smooth.


sentry5.png


Here's an idea of how it will look. All I need to do is make up some mounts for it on the inside, which should be rather easy.
 
Update time!

I got the actuator mounted! I used a hole that was already in the case as the rear mount, and used double-sided tape for the front to get the positioning correct. I set the actuator to full close, closed the door and stuck it on. It doesn't open 90º, but it's like 88º :D

actuator1.png


actuator2.png


Once I got the position correct and verified, I drilled the side panel to mount the bracket for the actuator. This nut and bolt will not be the final parts, they're just there for temporary mounting.
actuator3.png


I also used a jigsaw to finish cutting out the rest of the side panel, then filed it down nice and smooth. I still need to do some finish grinding and filing to get the edges nice and straight, but it's a start.

door1.png


Then I mounted the plastic covers back to the side panel to stiffen it, and retried the actuator to make sure everything was 100%

door2.png


And a video, of course :D I set the code to run the actuator full open, wait 9 seconds, then full close, repeat. The reason for 9 seconds is that it takes ~4 seconds for the actuator to fully extend or retract.

http://www.youtube.com/watch?v=0C1yT-QBBr4
 
And another update :D

I cut out a piece of black acrylic to use as a fill panel to hide all the slots and holes on the side of the 5.25" bays.

ps1.png


Next I marked and drilled 10 holes. 4 for the flow meter and 6 for the ProtoStack board. Each is held in by a 4-40 stainless allen head screw with a nut to act as a spacer. The acrylic itself is mounted in the same fashion to the side of the 5.25" drive bays.


ps2.png


And here's how it will look through the window in the side. The window is not installed here, but I put the panel on to get an idea. I'm going to use the ProtoStack board to run some interior lighting, wait till you see what I've got planned :D

ps3.png


Next I marked and drilled 4 holes in the top panel for the RFID reader.

rfid1.png


Now the reader has pin headers and a barrel jack on it that won't allow it to fit under the window that will be there, so I had to break out the jigsaw again :D

rfid2.png


rfid3.png


I mounted the RFID reader in the same fashion as the ProtoStack board and flow meter, with 4-40 SS screws with nuts for spacers to keep the contacts off the metal of the case. It now fits perfectly under the window :D

rfid4.png
 
Last edited:
Minor update. Got some goodies in :D

3 120mm Cooler Master Turbine Master 1800RPM fans
fans1.png


fans2.png


A Phobya Radiator Gasket

gasket.png


A Phobya 20x140mm radiator spacer

radspac1.png


radspac2.png


Black Ice Pro II 240mm low profile radiator

240rad1.png


Fans mounted to top rad

240rad2.png


And how it looks installed in the case. The rear 120mm fan will be as shown, with the rad spacer and 140mm rad behind the case. The spacer is necessary so that the fittings from the top of the rad will be able to go through the LC holes in the case.

fans3.png
 
Back
Top