I've been wanting to replace the large, warm Pentium 4-based machine I had under my desk for a while. I use it as a testing box for website stuff and host a few sites on it that I want easy access to from work or other locations. Having been working from home more, the noise and heat of a desktop system under my desk was starting to get to me! I've done a lot of reading on the smaller form factor servers many of you have built...for example this one and this one.
I could have gone mITX with this build (actually, I had it built in my newegg cart), but shifted direction at the last second to mATX case and mobo. I decided that when I build a new desktop in a few years I'd swap cases and put the server into my P182. That may not hold up long term, but it sounds good for now. The goal was to be under 500.
In any event, newegg order was placed Monday morning and arrived Friday afternoon:

Specs are as follows:
Lian LI PC-351B case
Celeron E3300
Intel BOXDG45ID 775 Mobo
4GB RAM
2xWD Blue 500GB drives
I went with the Intel board ultimately because I wanted the Intel NIC on board. As for "why a Celeron?" I chose that because it's a little less hungry than a C2D/C2Q. It also supports 64-bit and VT-x, which I really wanted for this machine. I went with 775 instead of something like an i5 or i7 because if I want to, I can use my Q9550 in this same box when I upgrade my desktop.
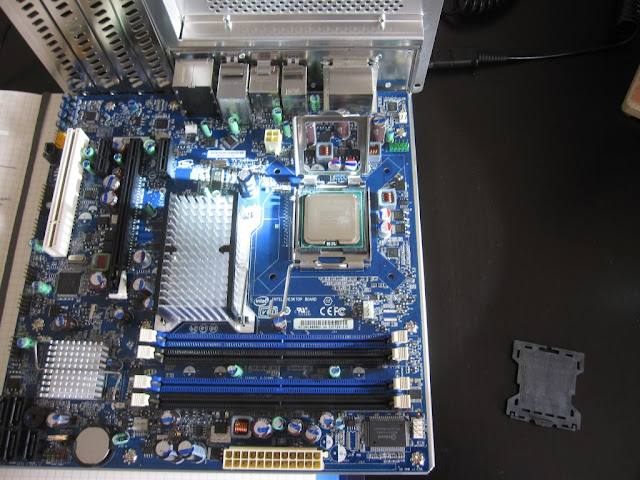
This was my first time working with the mATX form factor and the size surprised me. I knew it was fairly small, but it was pretty tiny on this motherboard tray!
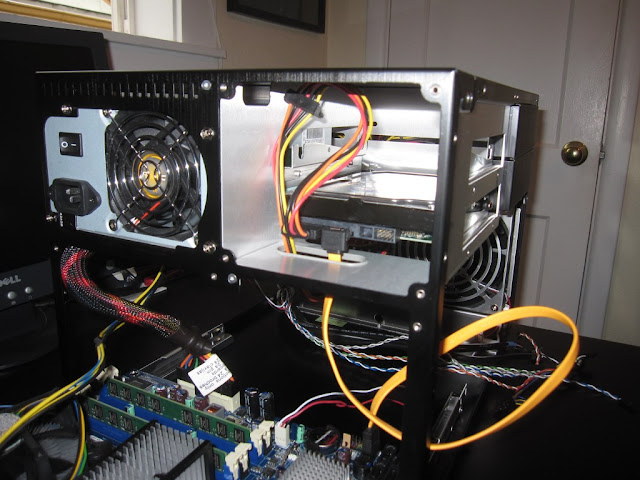
This is also my first Lian Li case - I've always thought they were awesome cases, but never had purchased one previously. Quality is what I expected having read about them over the years. One thing that is frustrating with this specific case, which I've read in a few reviews as well...the screws on the side panels are VERY susceptible to being stripped. I destroyed one because I didn't go slow enough initially. Fail.
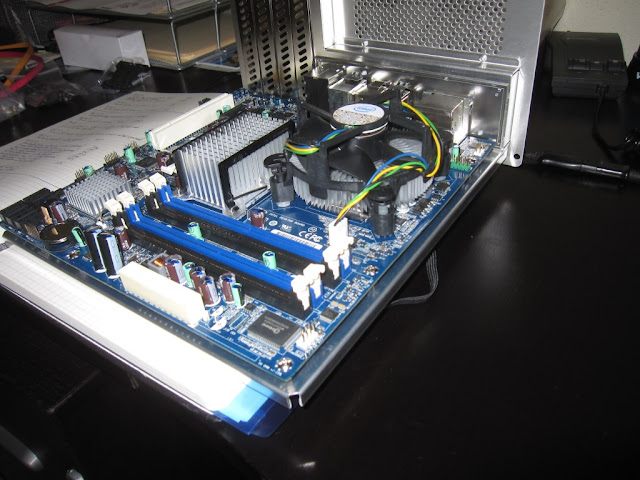
All things considered, putting the pieces together was really simple - I've got no optical drives in this machine and only am using two hard drives (I have a 4-bay NAS for data storage, etc).

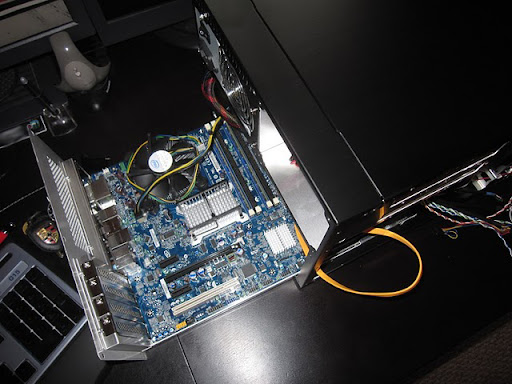
Your eyes aren't deceiving you, there's only one hard drive installed in this picture. The Hitachi drive in the first picture actually replaced the WD Blue that was in my desktop, so I was transferring files to that drive while building the server. I only needed one drive for OS installation anyway.
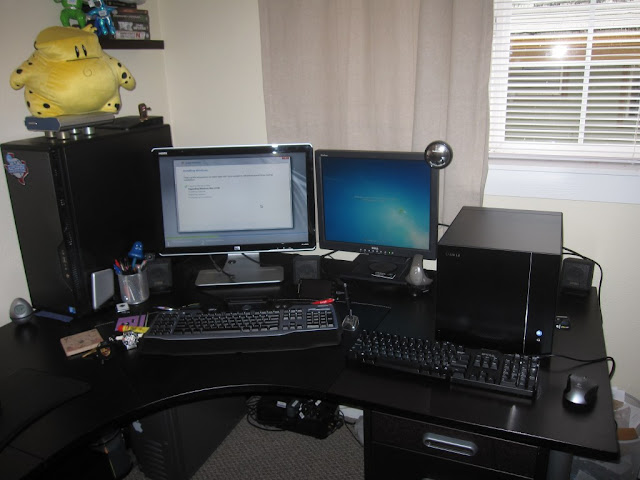
Speaking of OS installation, here we go. I'm using Server 2008 R2 for this build. Again, no WHS because this machine is not my storage box. Getting the display figured out was the hardest part of this project - this motherboard only has DVI and HDMI out - that's all well and good, but both of my monitors digital in ports are in use for my desktop...so I disconnected the HDMI on my primary monitor and connected the server to that instead so I could at least see what was going on.
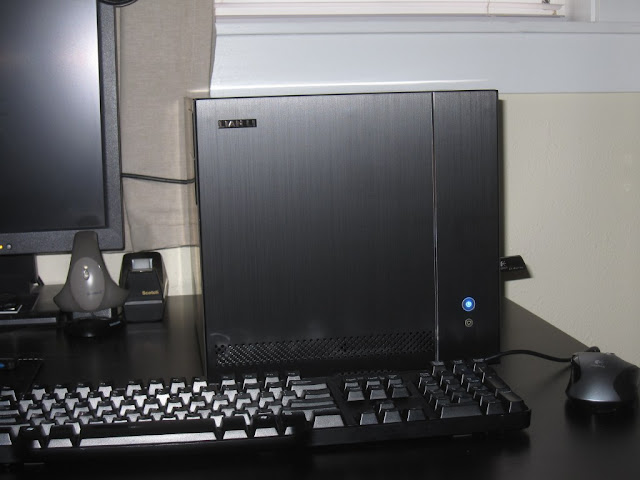
I really like this form factor.
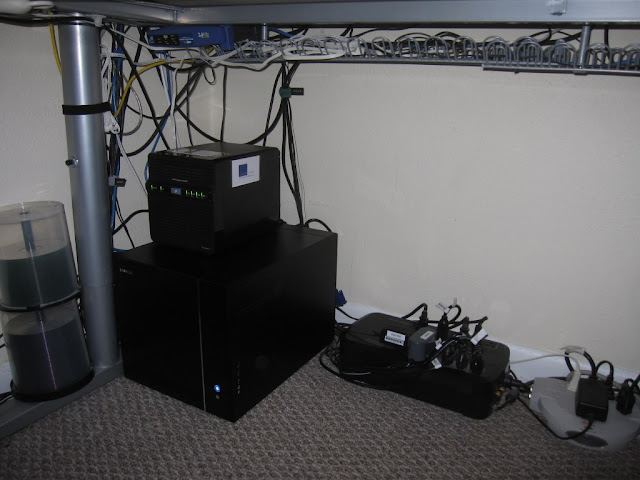
I went ahead and let the machine update itself before powering it down, powering down my old server, and switching their places. This box is now under the desk, and now that I can see all the wires that were hidden by the old mid-tower, I'm probably needing to clean up some more. I'm still working on copying files from one machine to the other and setting up all my databases and such, but that's what tomorrow is for! So far so good, I can't hardly hear it, and it's not quite as warm under the desk now.
I could have gone mITX with this build (actually, I had it built in my newegg cart), but shifted direction at the last second to mATX case and mobo. I decided that when I build a new desktop in a few years I'd swap cases and put the server into my P182. That may not hold up long term, but it sounds good for now. The goal was to be under 500.
In any event, newegg order was placed Monday morning and arrived Friday afternoon:
Specs are as follows:
Lian LI PC-351B case
Celeron E3300
Intel BOXDG45ID 775 Mobo
4GB RAM
2xWD Blue 500GB drives
I went with the Intel board ultimately because I wanted the Intel NIC on board. As for "why a Celeron?" I chose that because it's a little less hungry than a C2D/C2Q. It also supports 64-bit and VT-x, which I really wanted for this machine. I went with 775 instead of something like an i5 or i7 because if I want to, I can use my Q9550 in this same box when I upgrade my desktop.
This was my first time working with the mATX form factor and the size surprised me. I knew it was fairly small, but it was pretty tiny on this motherboard tray!
This is also my first Lian Li case - I've always thought they were awesome cases, but never had purchased one previously. Quality is what I expected having read about them over the years. One thing that is frustrating with this specific case, which I've read in a few reviews as well...the screws on the side panels are VERY susceptible to being stripped. I destroyed one because I didn't go slow enough initially. Fail.
All things considered, putting the pieces together was really simple - I've got no optical drives in this machine and only am using two hard drives (I have a 4-bay NAS for data storage, etc).
Your eyes aren't deceiving you, there's only one hard drive installed in this picture. The Hitachi drive in the first picture actually replaced the WD Blue that was in my desktop, so I was transferring files to that drive while building the server. I only needed one drive for OS installation anyway.
Speaking of OS installation, here we go. I'm using Server 2008 R2 for this build. Again, no WHS because this machine is not my storage box. Getting the display figured out was the hardest part of this project - this motherboard only has DVI and HDMI out - that's all well and good, but both of my monitors digital in ports are in use for my desktop...so I disconnected the HDMI on my primary monitor and connected the server to that instead so I could at least see what was going on.
I really like this form factor.
I went ahead and let the machine update itself before powering it down, powering down my old server, and switching their places. This box is now under the desk, and now that I can see all the wires that were hidden by the old mid-tower, I'm probably needing to clean up some more. I'm still working on copying files from one machine to the other and setting up all my databases and such, but that's what tomorrow is for! So far so good, I can't hardly hear it, and it's not quite as warm under the desk now.
Last edited: