Massive Overkill Micro-Fly Revision 4

MassiveOverkill

[H]ard|Gawd
Joined
Jul 8, 2005
Messages
1,748
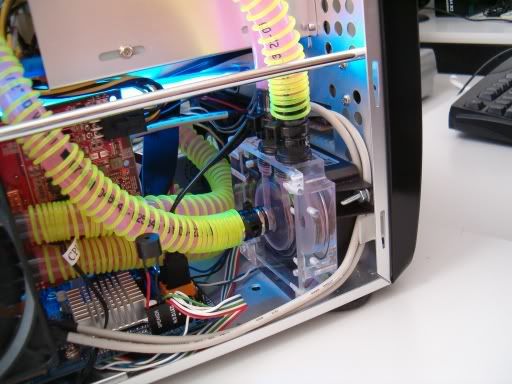
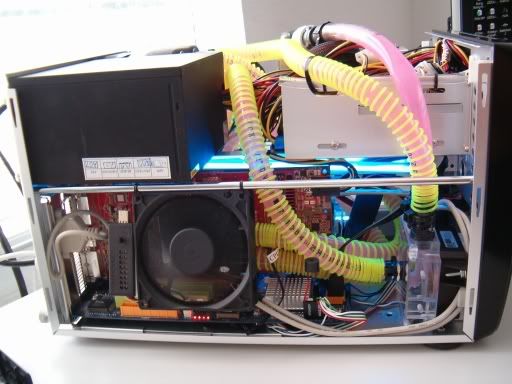
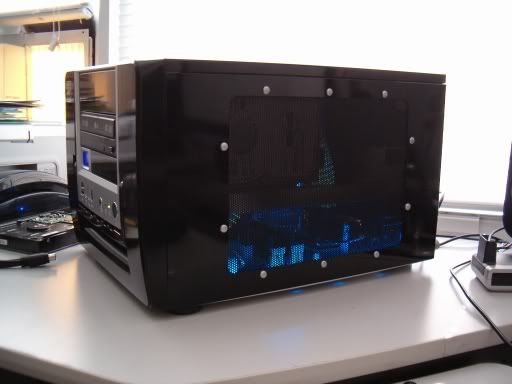
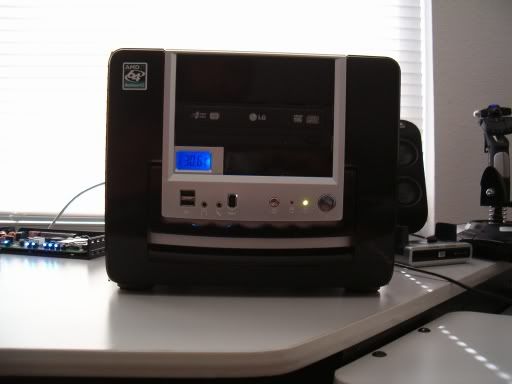
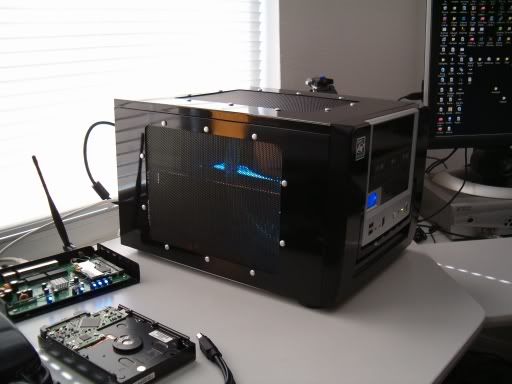
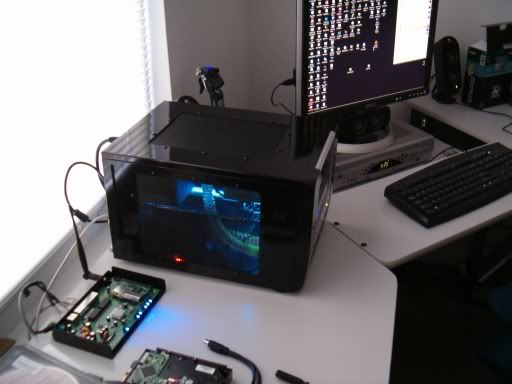
This time around I wanted to keep hacking up of the case to a bare minimum. I was able to get away with only having to cut the side rail, and slightly trimming the side panel tabs. I think it looks much cleaner than it's predecessor: http://www.hardforum.com/showthread.php?t=973995

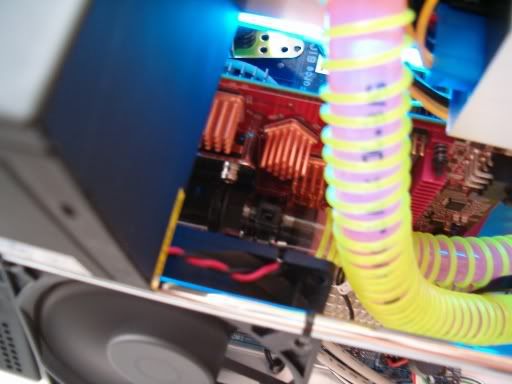
Idle temps at 1.4V for each core are 31/38C and load reaches about 45/55C, with Prime95 running on one core and my X1800XT running RTHDRIBL on the other. I was tempted to redo or just remove my IHS, but as long as it's stable, I'm happy. Video card temps are 41C idle and 53C load with the core at 1.4V

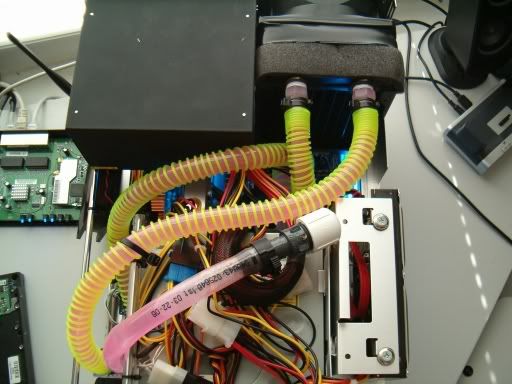
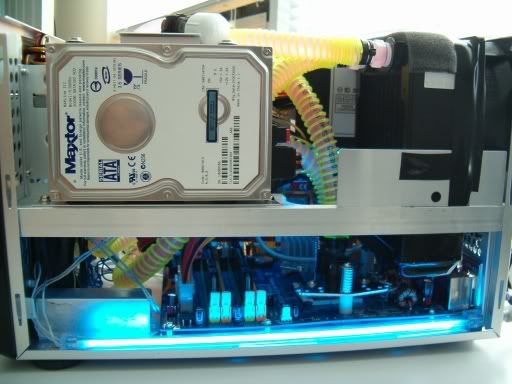
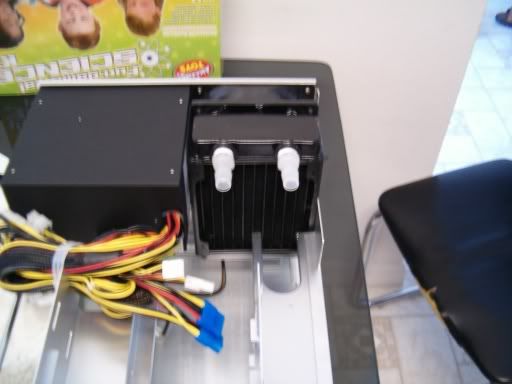
Cutting the rail for the HE 120 radiator:

4thH20rig001.jpg


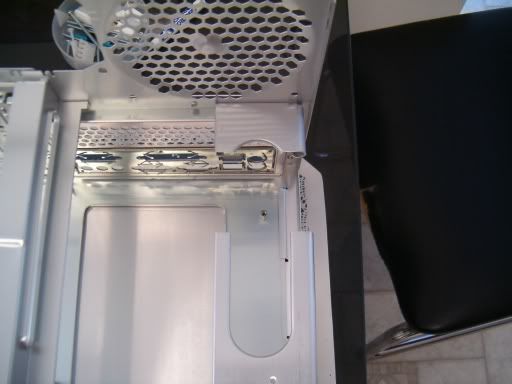
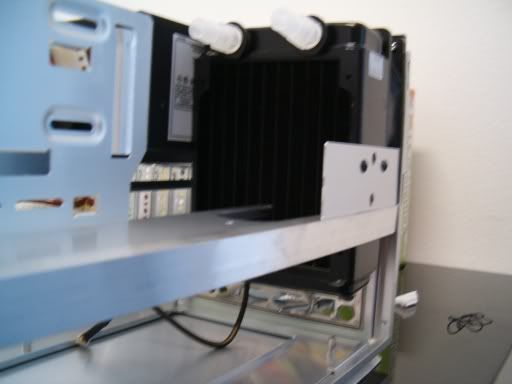
Fabricated support bracket:

4thH20rig002.jpg


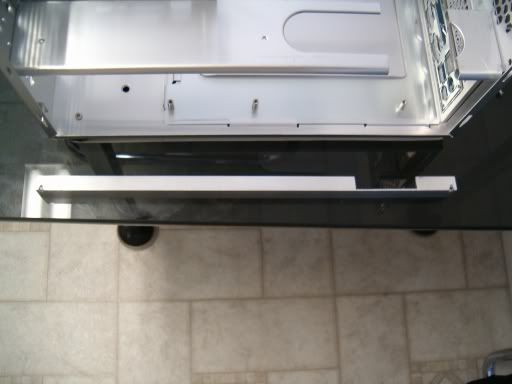
Fit's without having to hack up the rest of the case:

4thH20rig003.jpg


4thH20rig004.jpg
 
MCP 350 with acrylic top mod, mounted on it's side, using the secondary return as the fill port..........made it really easy to bleed all the air. In my old setup, I had to turn my rig every which way to get the air out. All I have to do with this rig is let her run and all the air eventually bleeds out on it's own:

4thH20rig005.jpg


4thH20rig006.jpg


Swiftech ramsinks.....with the 90mm blowing on them, my front panel temp indicator shows the temperature maxing out at about 35C:

4thH20rig007.jpg
 
The extra 1" depth of the Micro Fly makes it so much easier to route 1/2" tubing compared to the X-Qpack:

4thH20rig008.jpg


4thH20rig009.jpg
 
nice work, its always cool to see peoples projects. i wish i could make my q-pack half as cool as what ive seen on here lol
 
Quite nice, I envy your small setup (one case where smaller is better).


Lots of wires though :) (dont mind me, I'm a wiring freak).
 
oh yes very nice indeed and i shall copy your idea nest time with the pump and bleeding of air and all. i wish you posted this yesterday morning cuz i just cleaned my storm yesterday evenign and of course with a t-line this damn thing is still bleeding, prolly will be for the next couple days. argh. but that what you did makes SO much sense! and i have an extra barb or 2!

hmm wonder if i should jsut power down the system right now, and go move my fill line to that spot? hmmm
 
Looks great and I've been wanting to replace the pushpins on my fly and your's came out great.
 
Thanks for the comments guys. The mesh came from Performance-Pcs: http://www.performance-pcs.com/cata...d=3398&zenid=2866e821f8cccfe61623f1962c2c33ae along with all water cooling stuff. The black push-pins I stole from my old Aspire X-Qpack case, but they have that too: http://www.performance-pcs.com/cata...id=278&zenid=2866e821f8cccfe61623f1962c2c33ae I had to cut the mesh, but Hank offered to cut it for me for 10 bucks, which I should have taken him up on, but I'm a cheap bastard........I had to borrow my friend's sawz all and buy metal blades for 5 bucks, so it would have been cheaper to have him cut it in the first place.
 
MassiveOverkill said:
Thanks for the comments guys. The mesh came from Performance-Pcs: http://www.performance-pcs.com/cata...d=3398&zenid=2866e821f8cccfe61623f1962c2c33ae along with all water cooling stuff. The black push-pins I stole from my old Aspire X-Qpack case, but they have that too: http://www.performance-pcs.com/cata...id=278&zenid=2866e821f8cccfe61623f1962c2c33ae I had to cut it the mesh, but Hank offered to cut it for me for 10 bucks, which I should have taken him up on, but I'm a cheap bastard........I had to borrow my friend's sawz all and buy metal blades for 5 bucks, so it would have been cheaper to have him cut it in the first place.
that's some heavy duty mesh :eek: i thought itd be pretty thin and cuttable with wire cutters or something.
 
It's cuttable with tin snips, problem is when you get 2 or 3 snips inwards, you have to bend the mesh to get access for further cuts, which ruins the mesh.
 
very nice, this might be off topic though, but is that the dlink gaming router sitting next to your comp? Why is the cover off? I only noticed because I just got the same router a few days ago and loving it, but the blue lights are BLINDING with the cover on! Can't imagine how much brighter with it off.
 
It is the D-Link Gaming router. I took the cover off because I love the router so much and I believe the chip deserves better ventilation (they do run pretty toasty. I stick my BF2 CD case in front of the LEDs when I go to bed at night if it's bugging me, but actually it makes a good night light.
 
meh - no spinning res no care :p
great work. did you mod your acrylic top at all (drill out inlet)?
 
Nah, ............I was kind of squeamish since I don't have a drill press, but I may do it when I have to change out my fluid next. Performs pretty good just with the stock mod.
 
Wait on that 'till next year. I'll be there to help you guys out. Escaping Stanton to UCF soon enough, lol.

Btw, long time no see. My Q-Pack still isn't finished, but I've become disenchanted with it. Might not ever finish it, lol. Might just put the expensive mATX SLi mobo I bought inside a tower. Then again, I'd have to paint the interior of the tower...

Oh well, I give up. Back to lurking for another couple months! ;)
 
M4rk said:
Wait on that 'till next year. I'll be there to help you guys out. Escaping Stanton to UCF soon enough, lol.

Btw, long time no see. My Q-Pack still isn't finished, but I've become disenchanted with it. Might not ever finish it, lol. Might just put the expensive mATX SLi mobo I bought inside a tower. Then again, I'd have to paint the interior of the tower...

Oh well, I give up. Back to lurking for another couple months! ;)

I go to UCF, it fucking RULES. Best college in the USA.
 
Mesh looks great man! I went through every radiator out there and the only one with the specs that should have fit was the Bigwater and that had tiny barbs/tubing that would have killed flow. Did you have to do anything special, other than cutting the rail to make it fit?
 
Thanks Sleepeeg3, The radiator is 124mm, and it barely bulges the side panel out. Cutting the rail and then cutting the top of the side panel (where the hinges meet). Very minor cutting. I wish the PA series was the same dimensions, because I would much rather have gone with a PA over my HE, (same price too).

My fan is offset from the middle of the rad, but I don't think it's really hurting anything as I have it taped to the rad to prevent leaks and it pulls a fair amount of air through, I have to keep my fan on high though as the X18000XT puts off some major heat.

I've temporarily gone back to an Opty 146 (sold my 3800x2). I'll probably buy another dual core, I just want have my cake and eat it too...........meaning having a dual core that OC's within 100 Mhz of my single core Opty.
 
nice work. but holy icons-on-your-desktop batman.

could you elaborate on the "push pins"
are those like rivets without needing the gun?
 
You'll find those on just about any case that has a window. You have a hollow shell that you insert a pin into, which causes the end to flower out. They're plastic. Push pins are also used on some video card coolers and chipset coolers although they're a little different, they secure using the same principle.
 
MO, I wanted to return the favor and was going to find a pic of an 80mm dual rad in the front and found this on Yahoo! http://www.hardforum.com/printthread.php?t=931302&pp=40
So obviously you are no stranger to front rad placement... stick an 80mm dual rad there! That will bring down your temps. For another $50… 3GHz OC… something to think about. :cool:

Did it to mine and the two problems were the standoffs and the space available for the DDC+ in an ‘L’ config. If you move it to the far right side, the standoff would have to be screwed into the mesh fan grill. But at most, flow is only going to make maybe 2 degrees difference so the standard position is probably acceptable and worth the tradeoff.

Just noticed the alu bracket. Was that a piece from another case or did you grab some aluminum from Home Depot or did you do some bypass surgery? ;) Looks stock. If I do the 120mm rad, I am debating whether to do that as I have already savaged the case integrity...
 
I thought about adding an additional rad, but I don't want to deal with the additional plumbing.

I got the aluminum stock from Lowes (Home Depot probably has it too). I just cut it to fit with my trusty hacksaw, and use the hard drive bracket as a clamp.

You know, if Evercool would make brackets that fit the newer video cards, I would probably have stuck with that kit. It cools pretty damn good for $100 and is alot easier to work with.
 
This rig is SOLD, LOL...............................look forward to Massive Overkill Micro-Fly Revision 5. Not as impressive as Dworley's gallery, but I'm trying.
 
MassiveOverkill said:
This rig is SOLD, LOL...............................look forward to Massive Overkill Micro-Fly Revision 5. Not as impressive as Dworley's gallery, but I'm trying.

i look forward to your next build


:)
 
Back
Top