Welcome to my next Project:
„Maker EVO Deluxe"
After a long time of thinking, I've decided to do a more complex Casemod. Lets see what I'm doing with it.
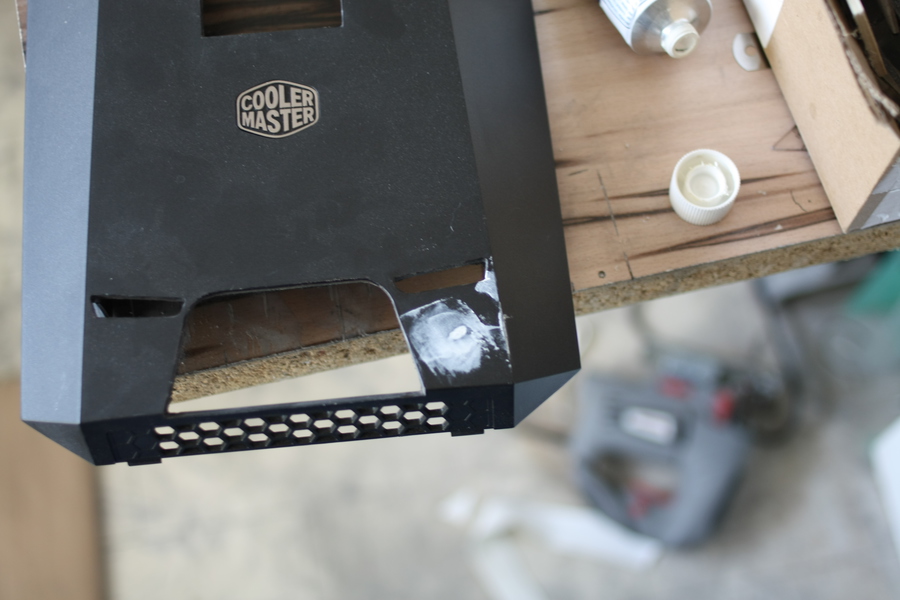
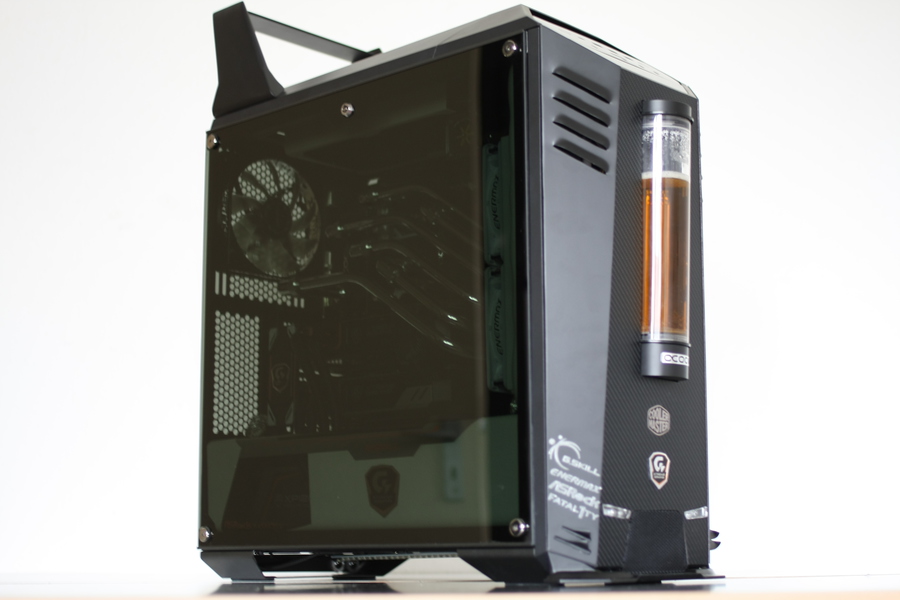
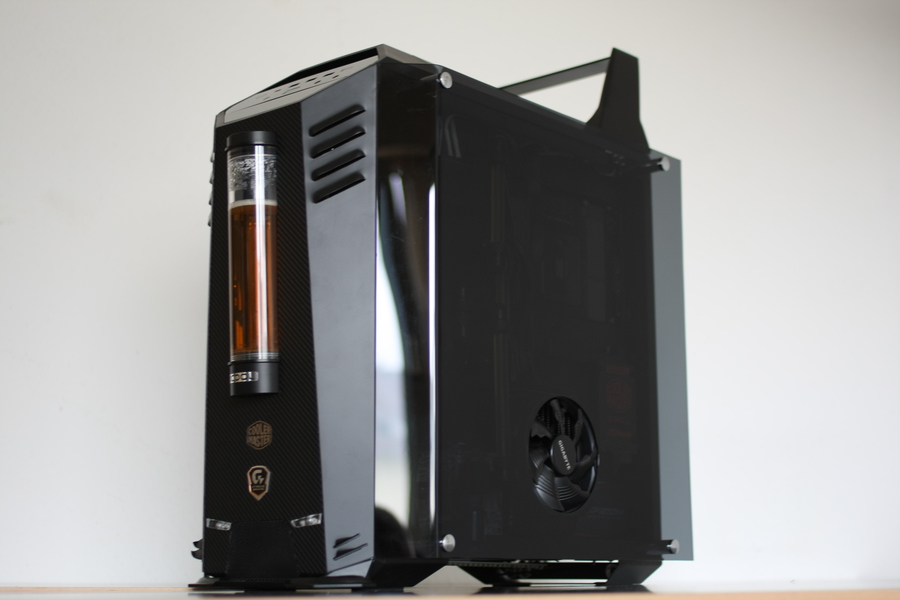
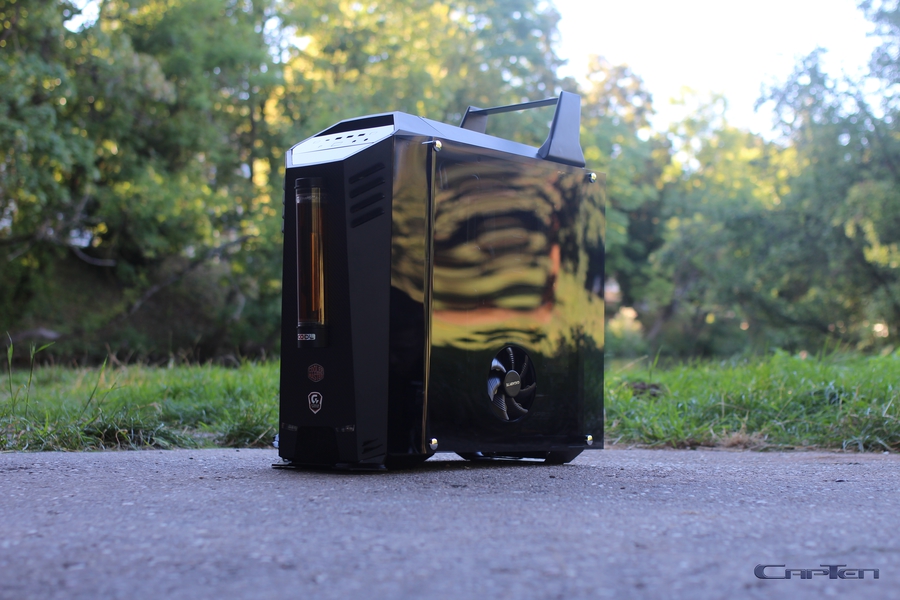
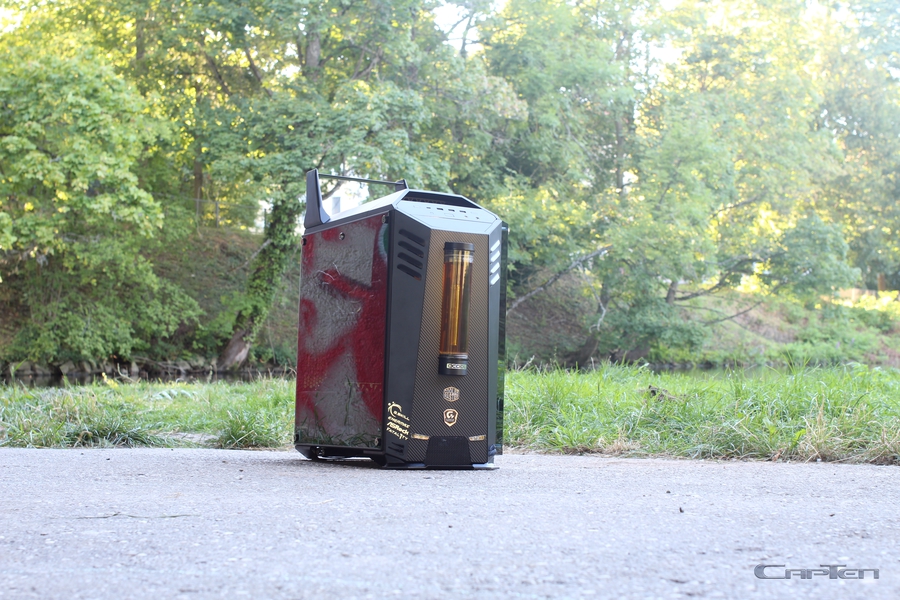
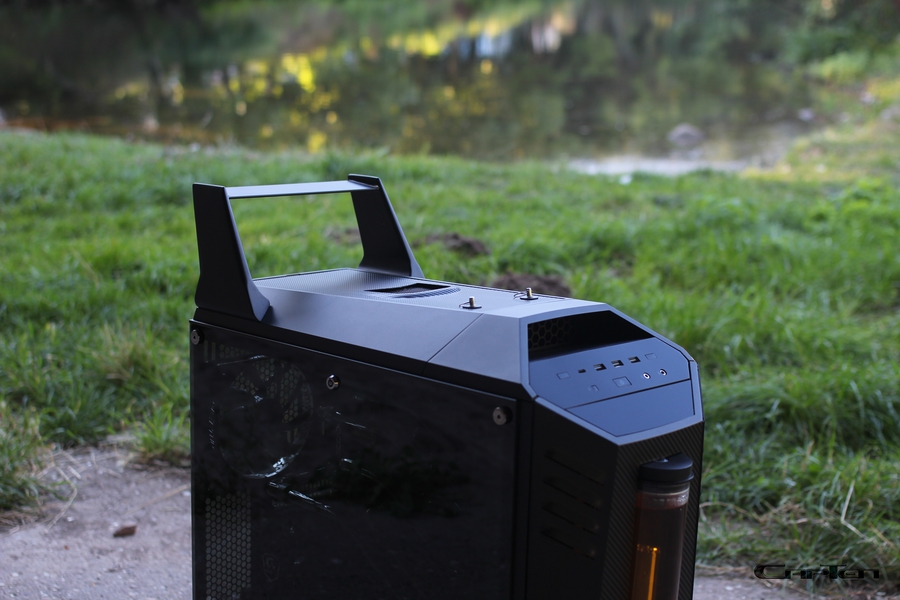
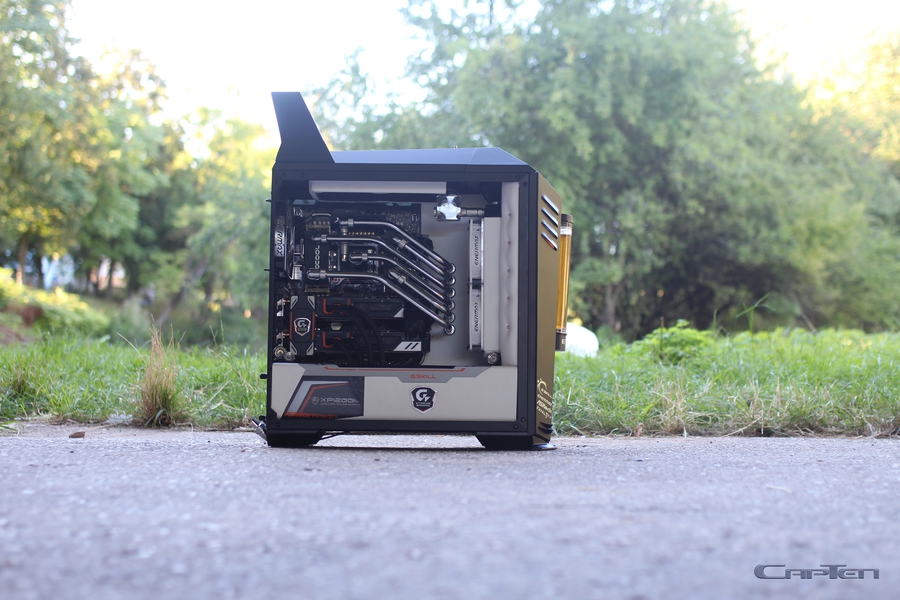
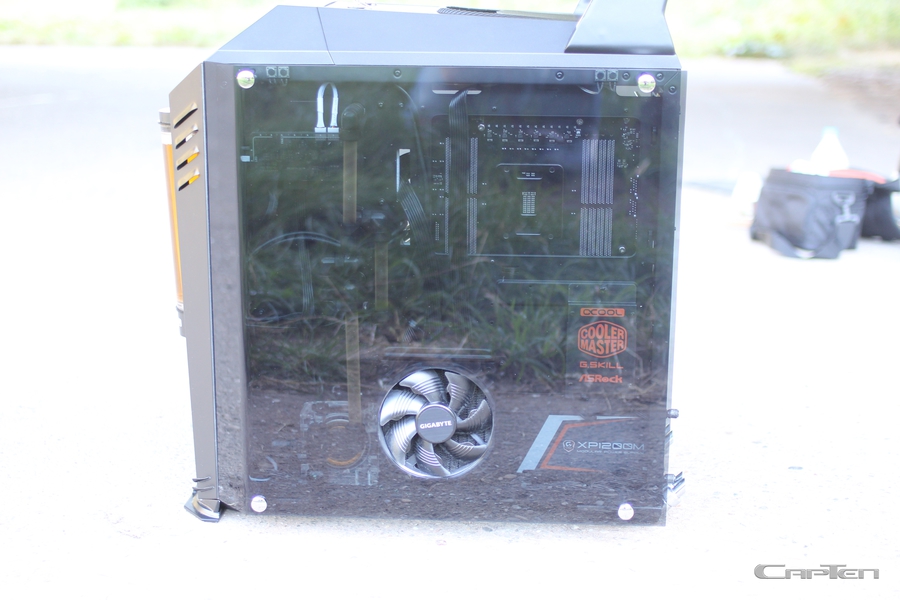
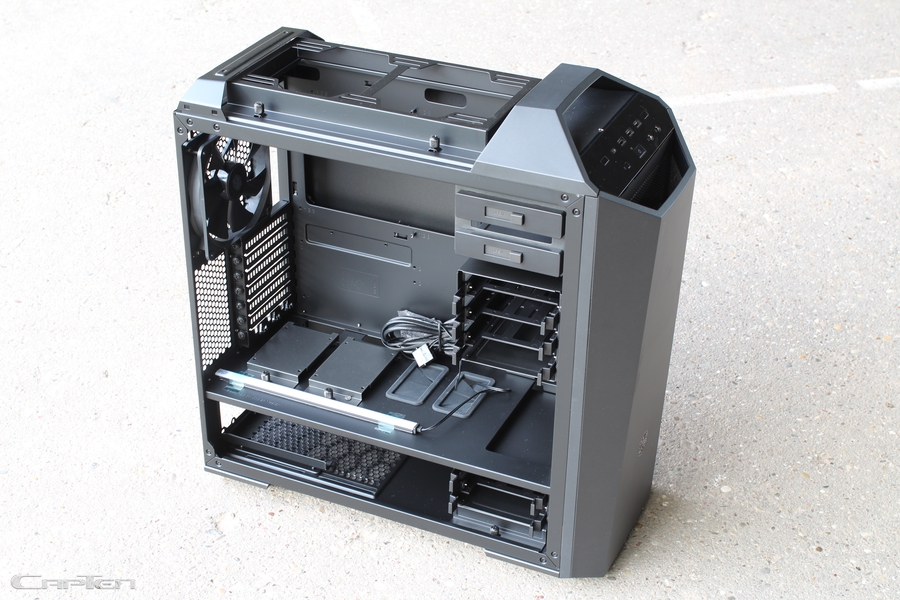
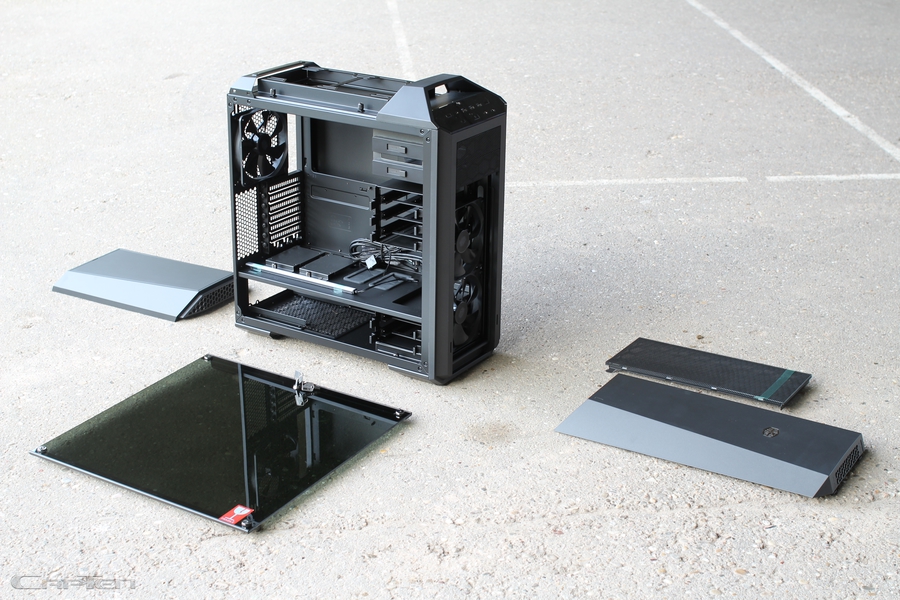
To be called into action is coming the brand new Mastercase Maker 5.
Inspired was this Mod from the Mitsubishi Lancer Evolution.
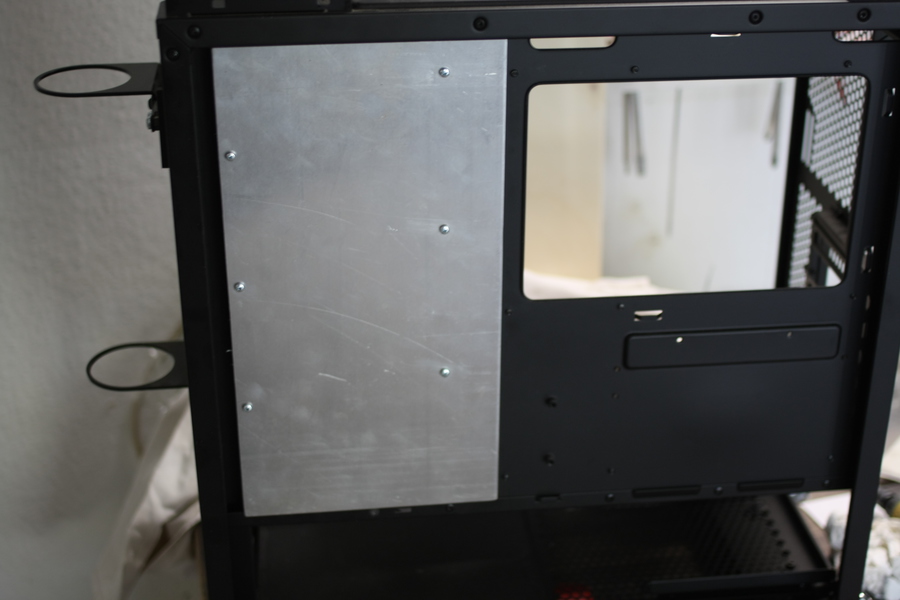
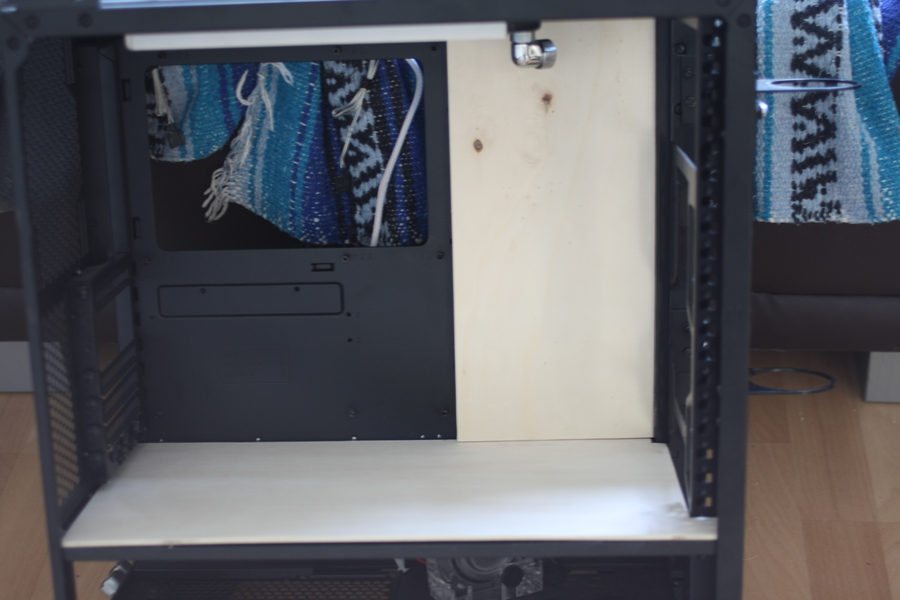
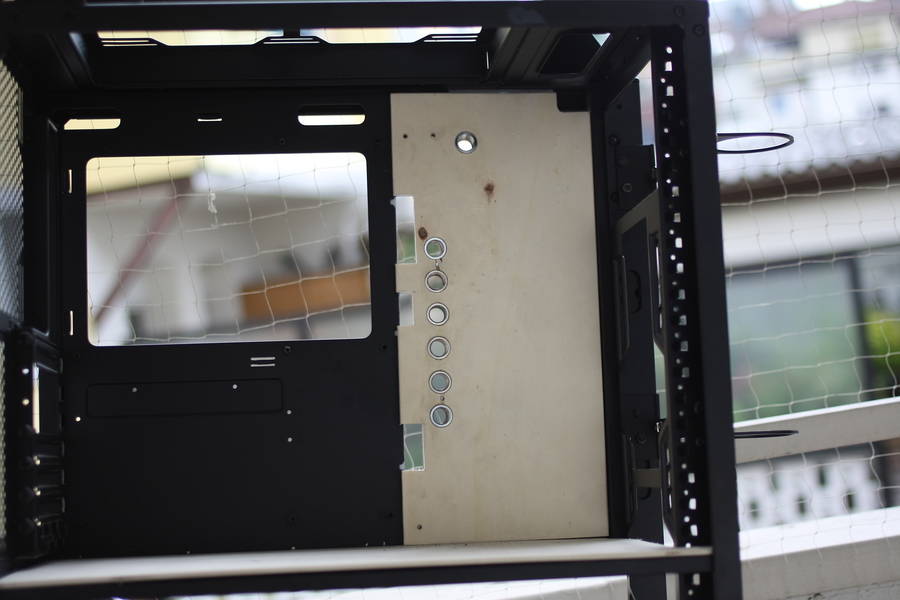
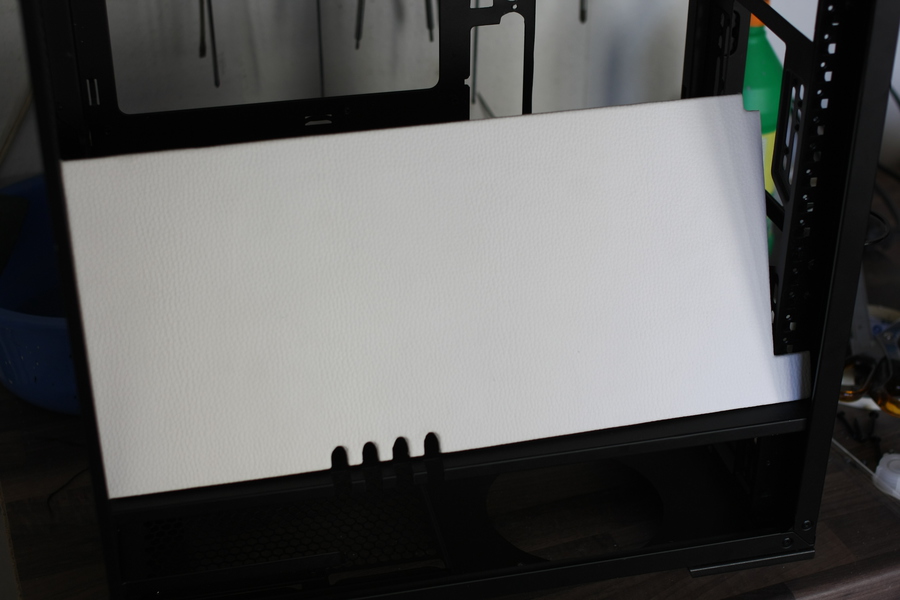
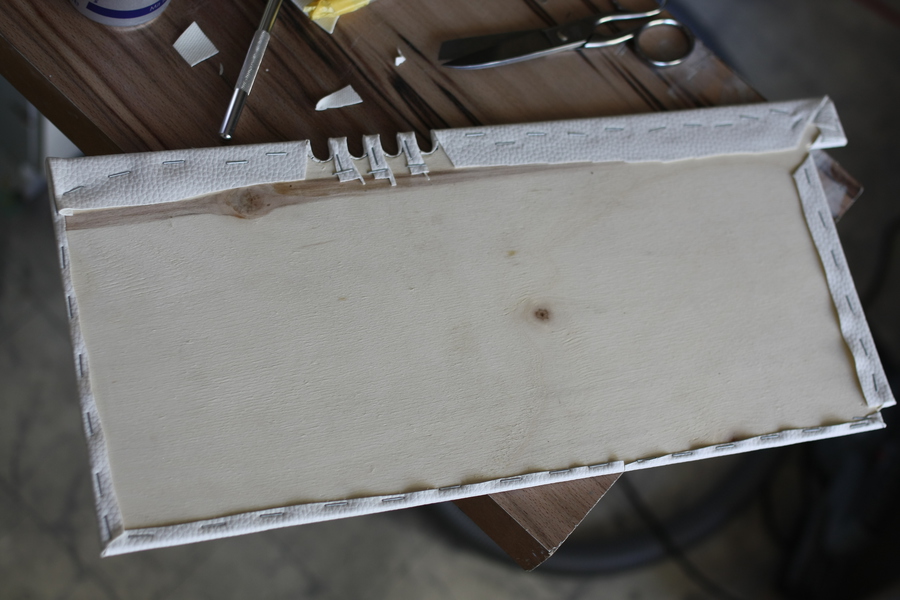
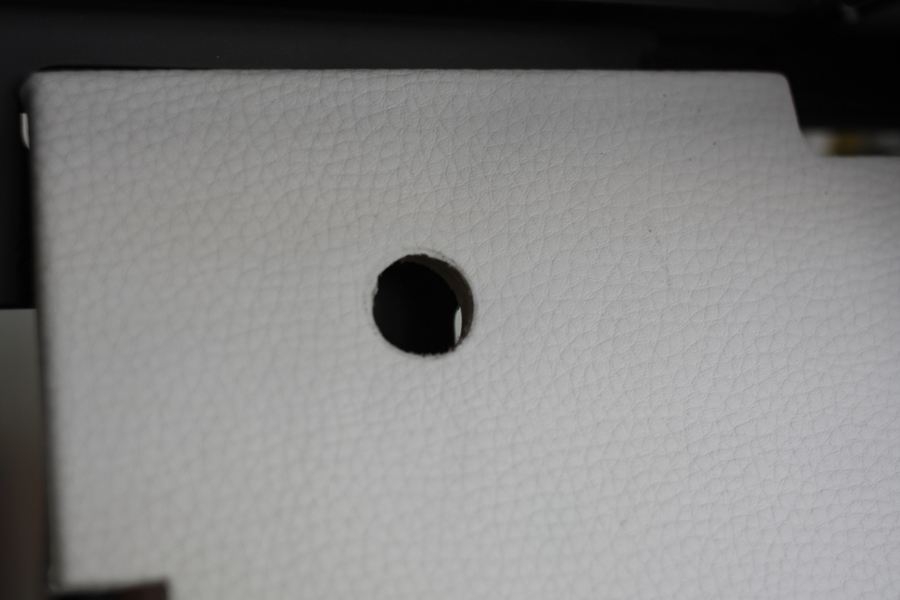
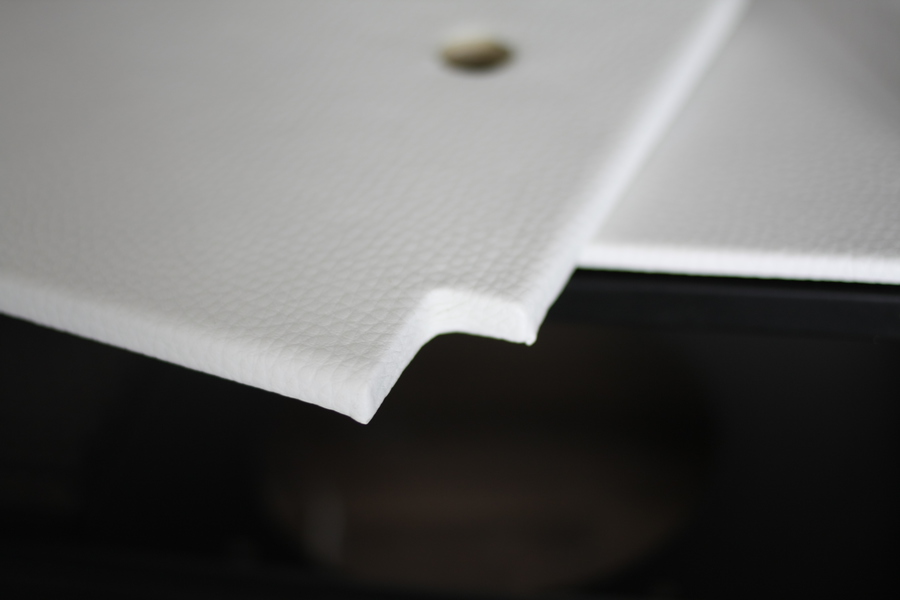
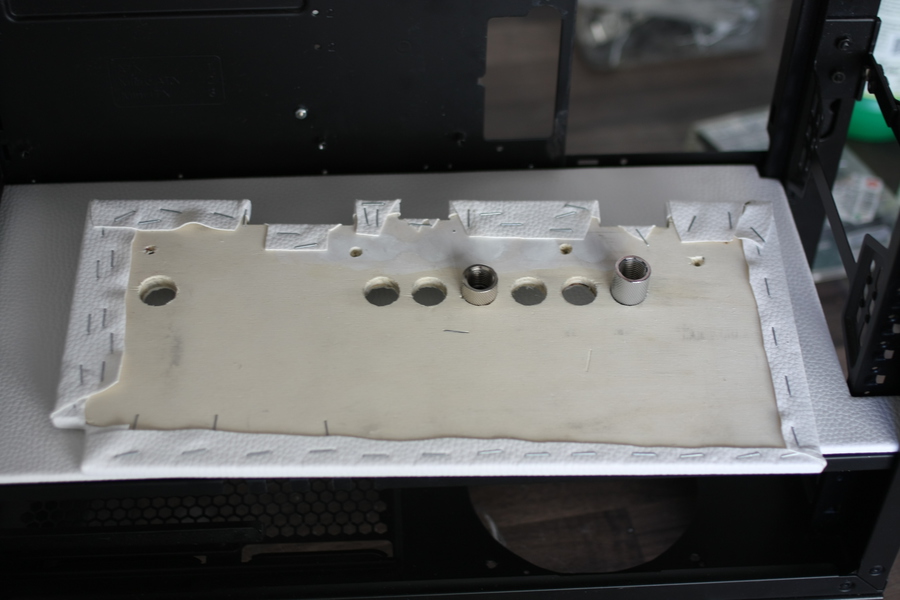
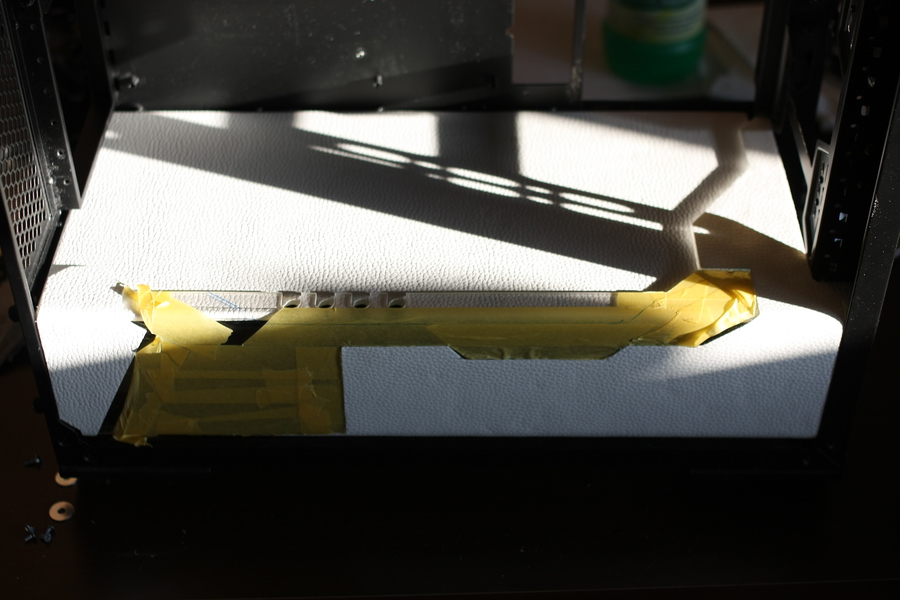
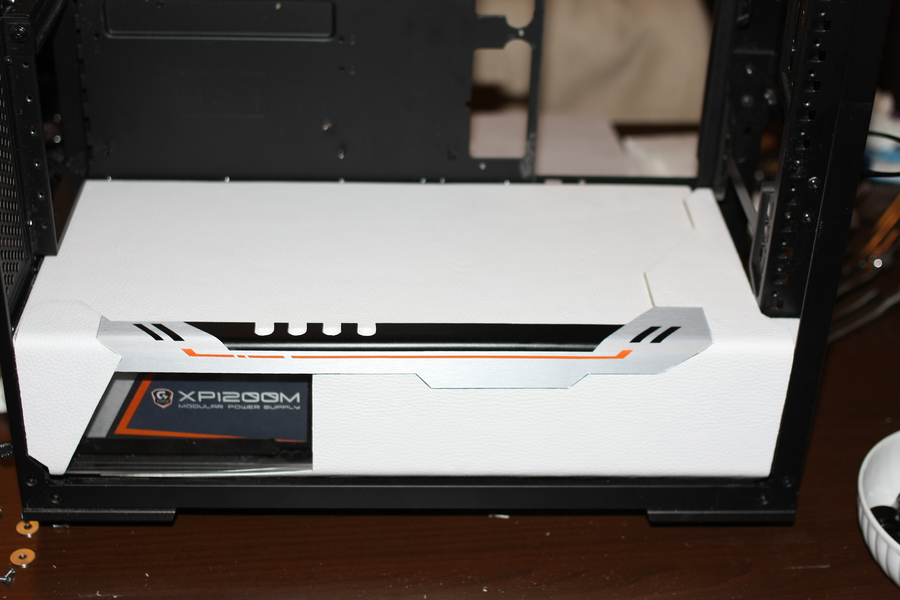
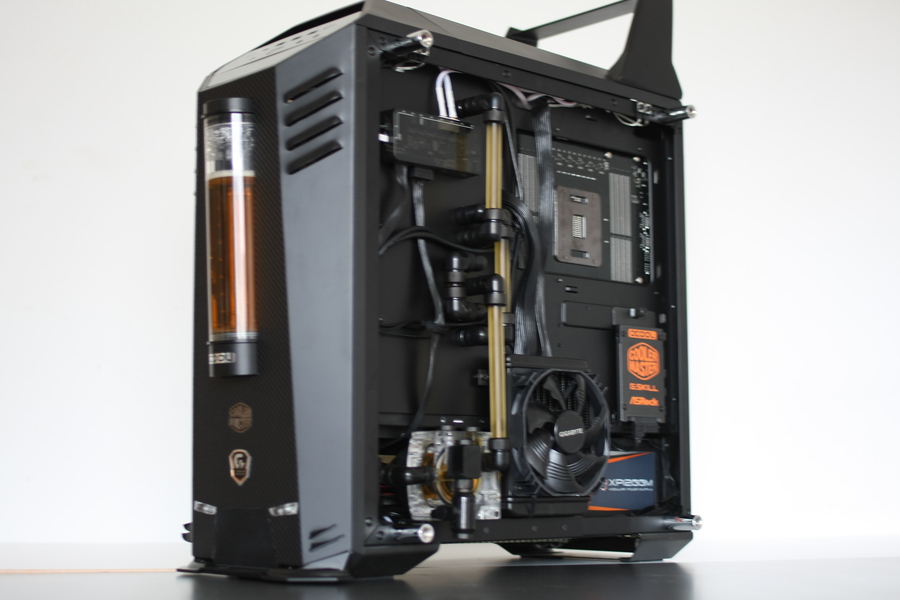
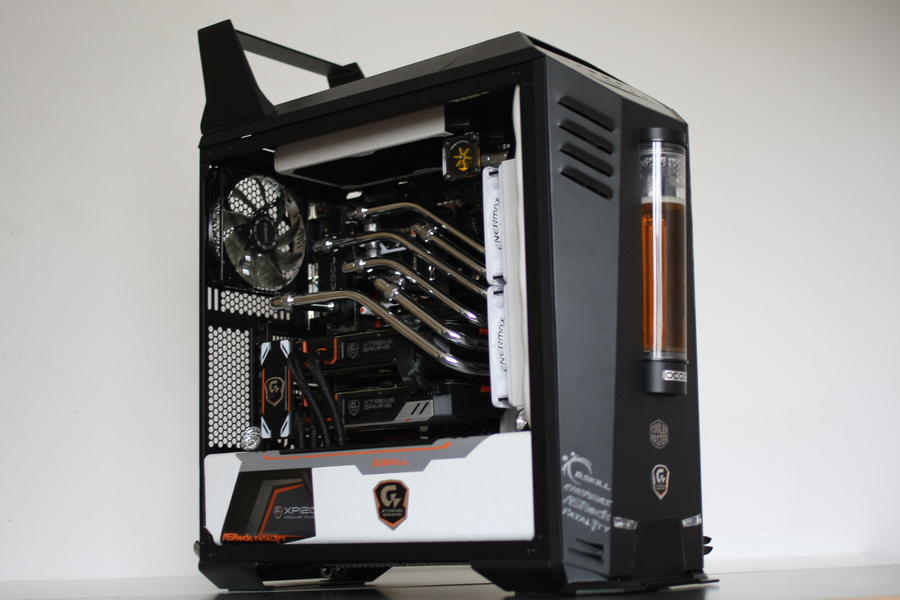
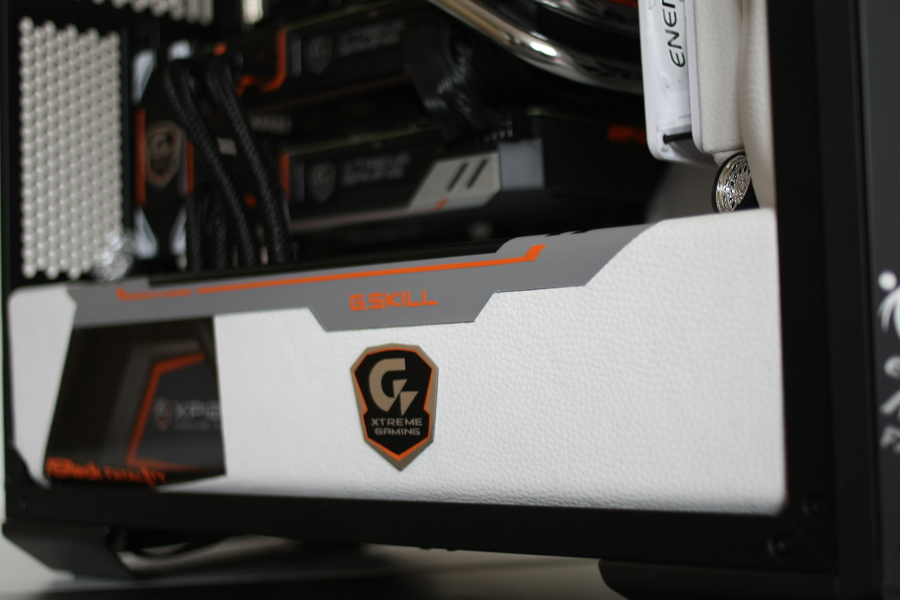
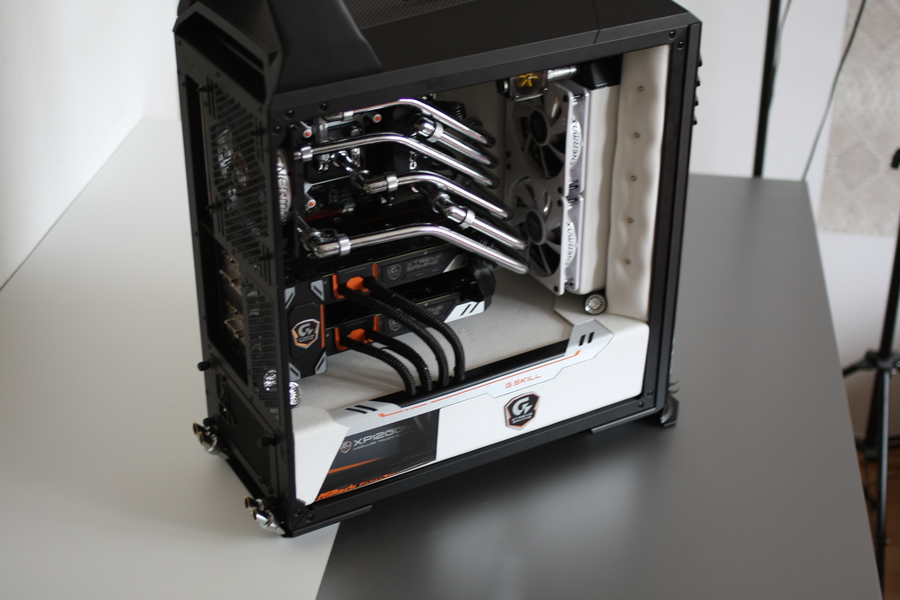
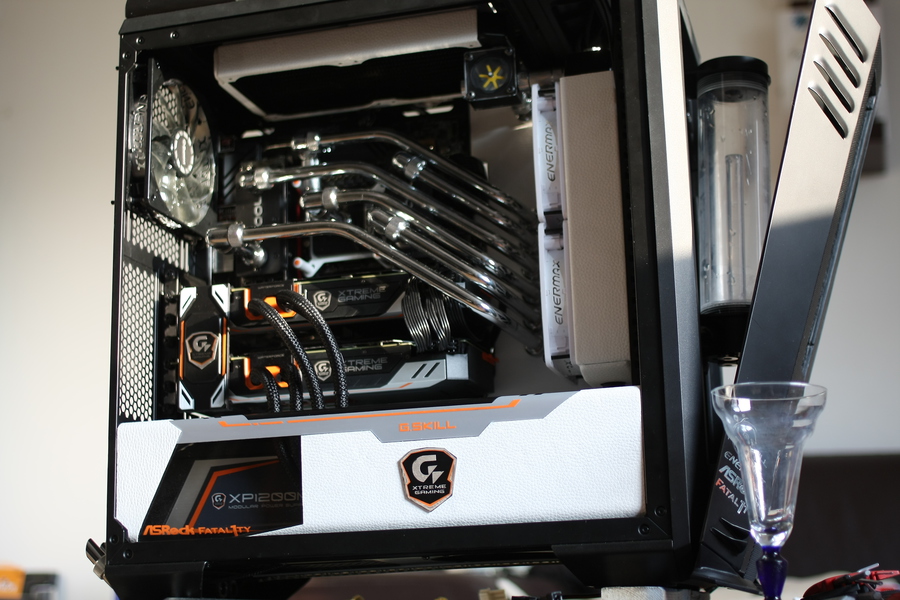
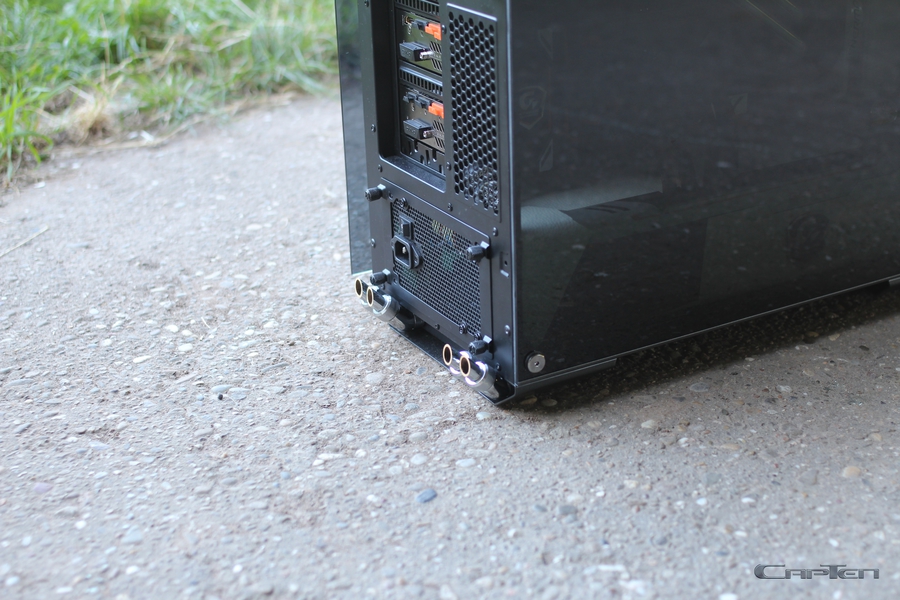
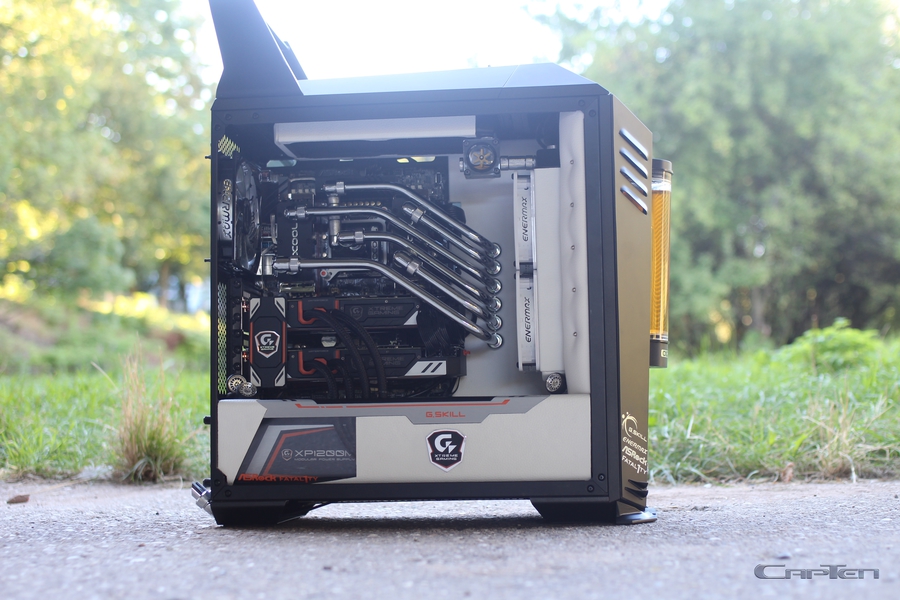
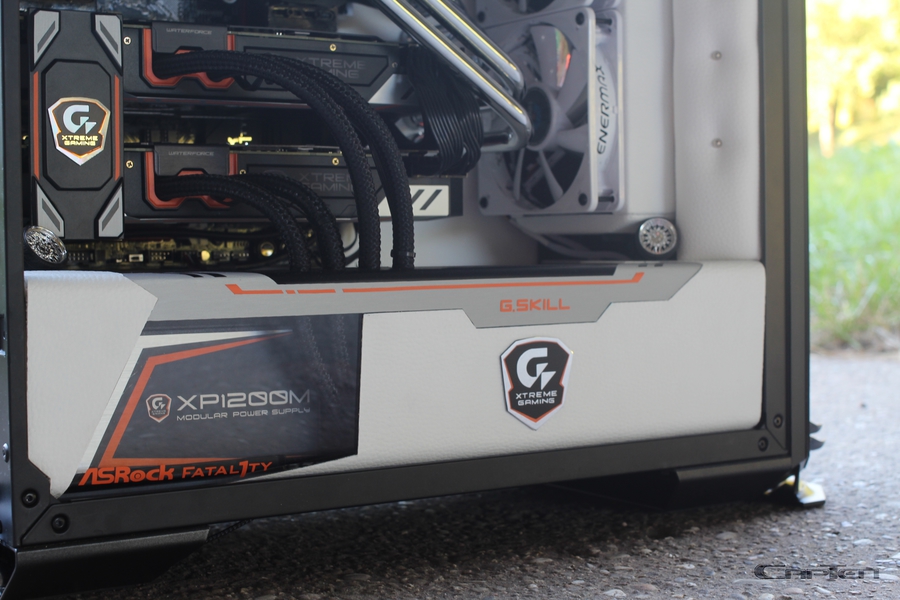
The interior was completely cleaned and covered with pale Leather. For the Cables/PSU Area a Cover was created in the Design of the Case.
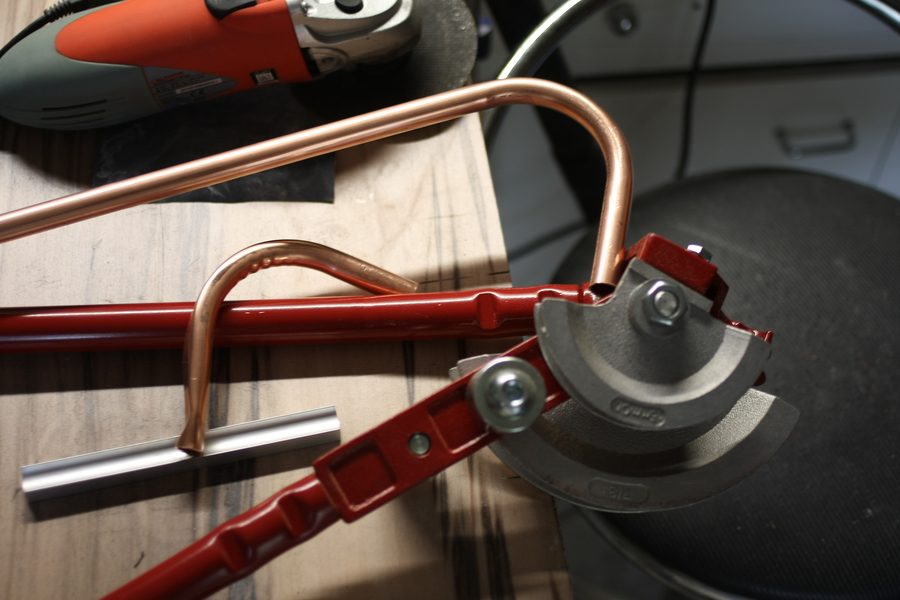
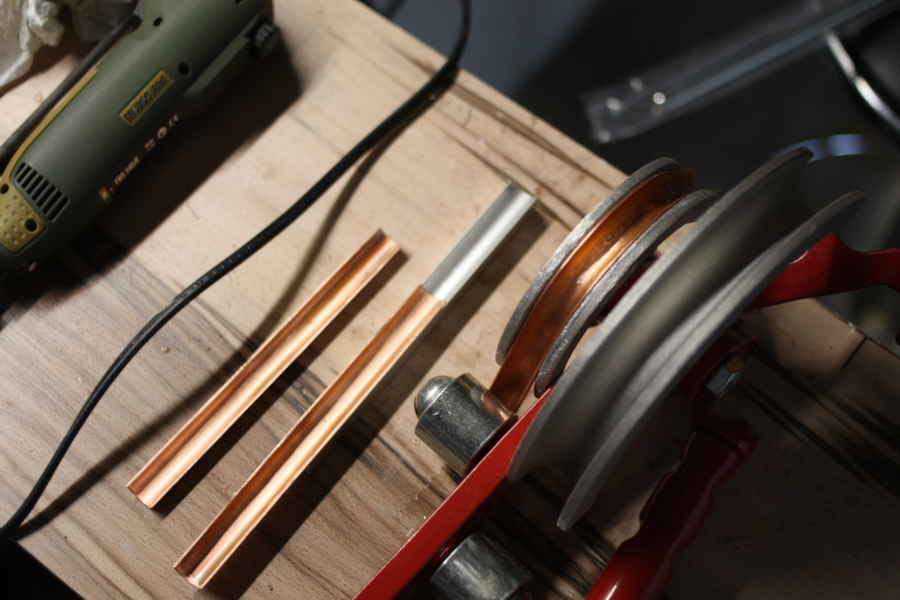
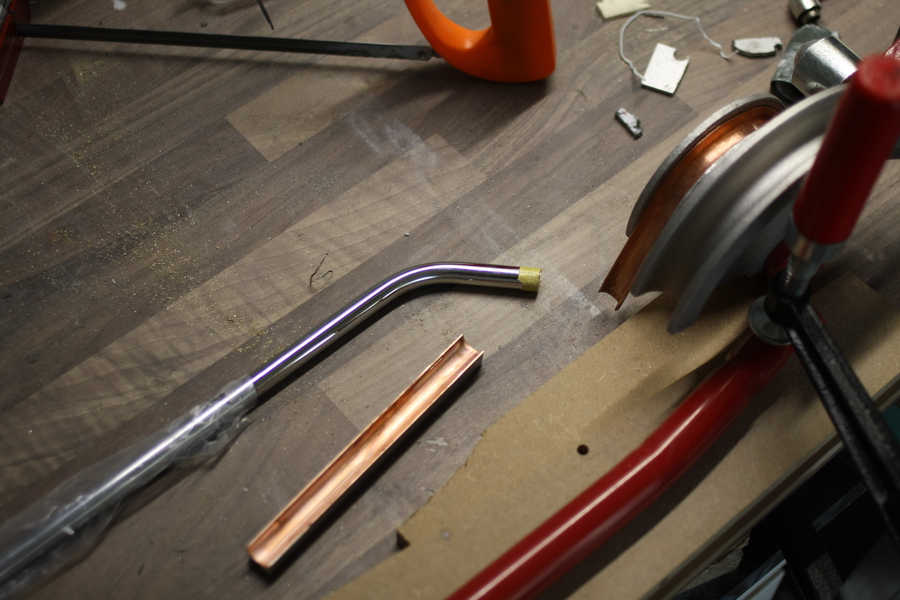
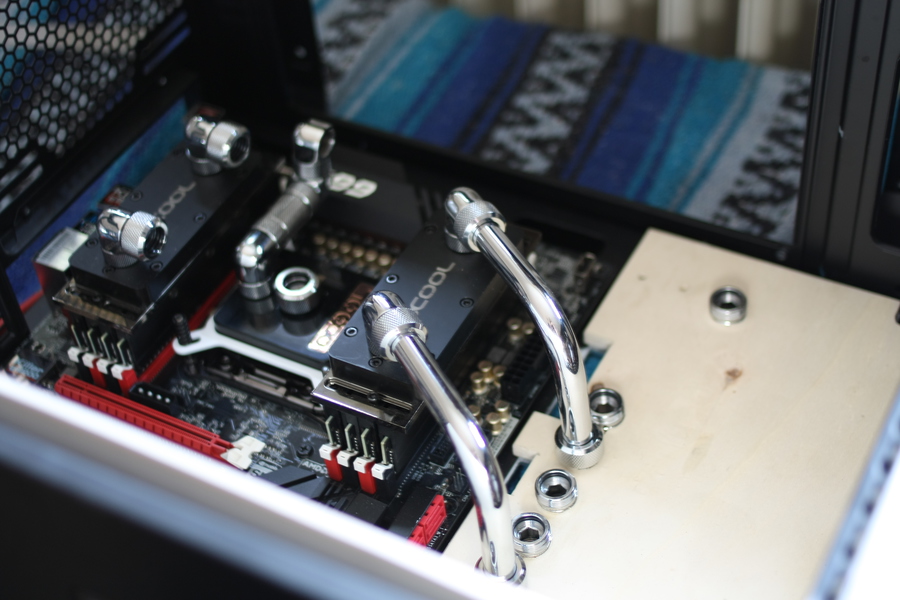
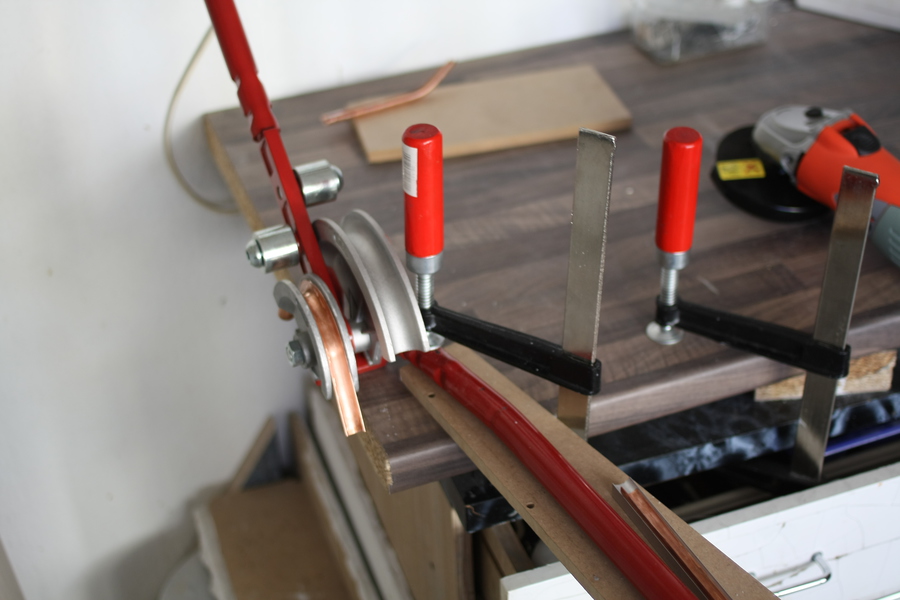
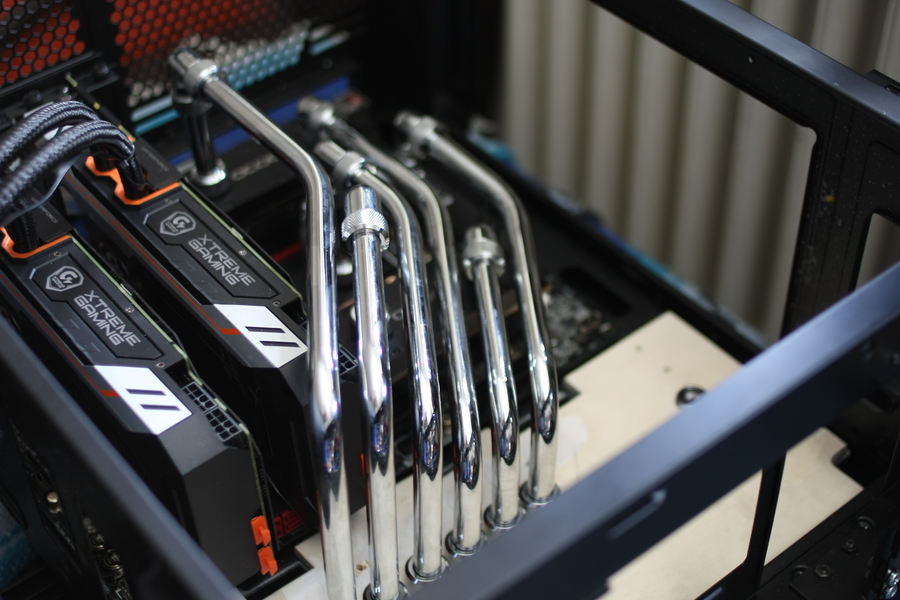
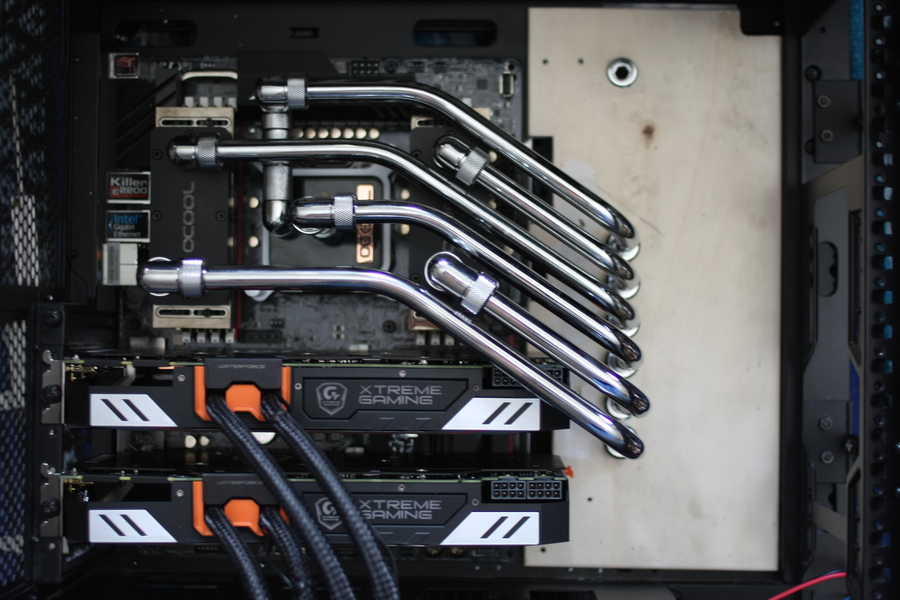
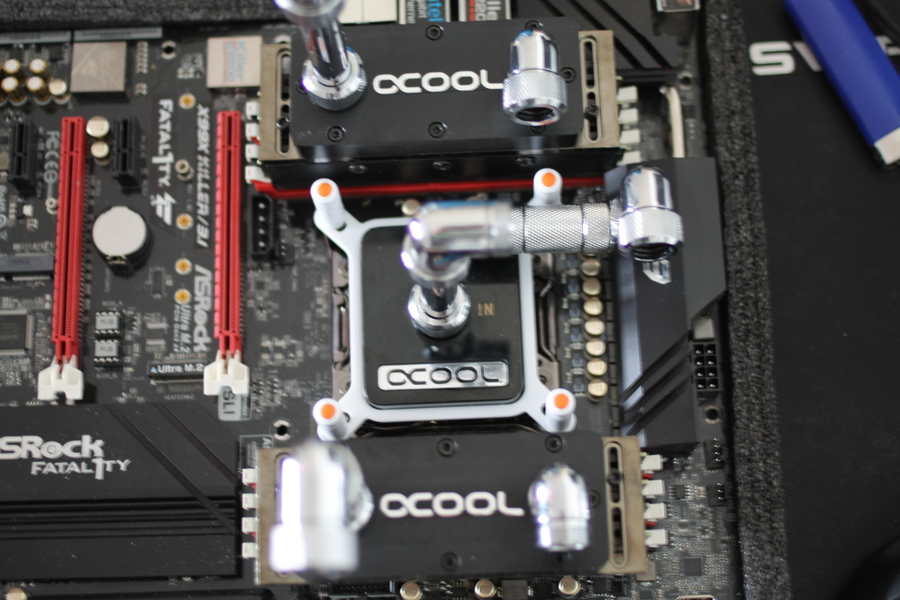
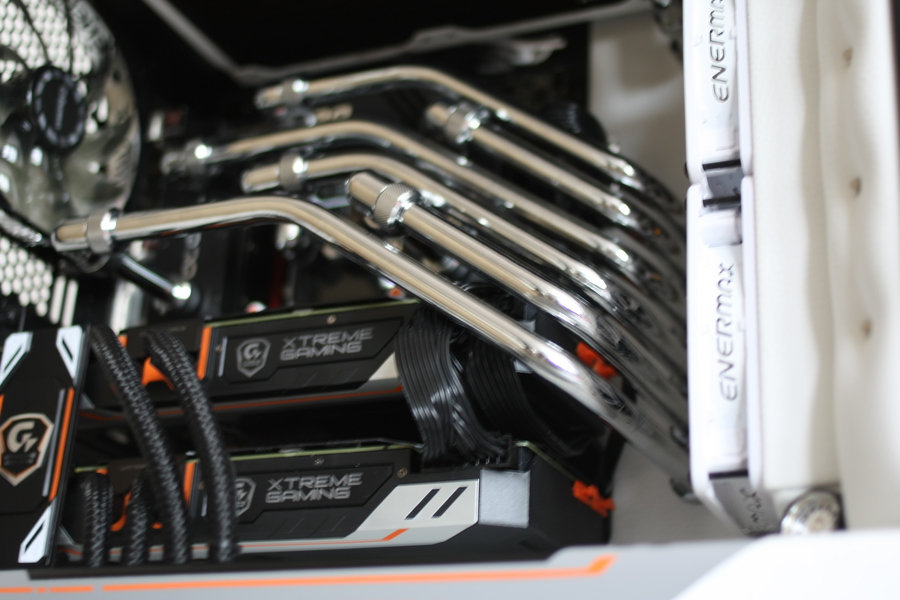
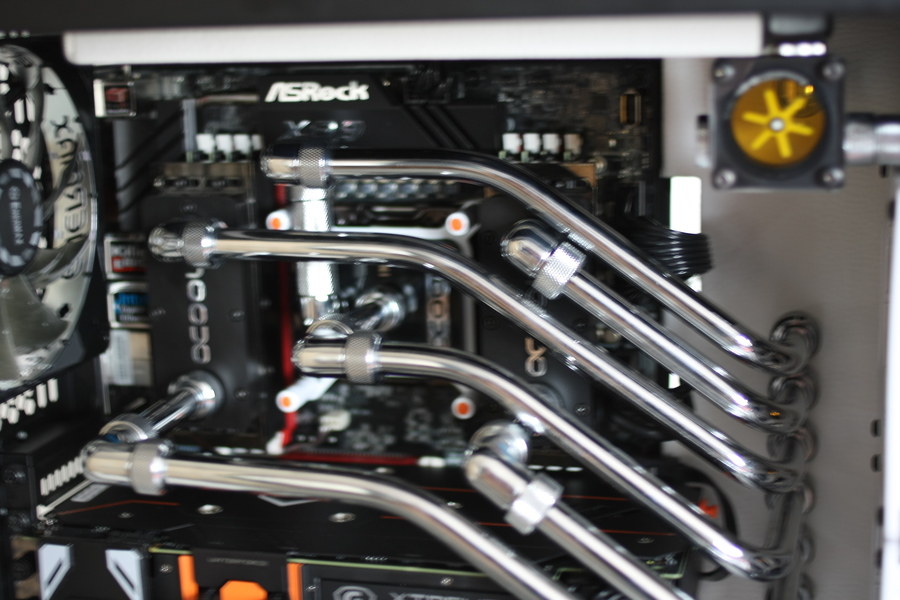
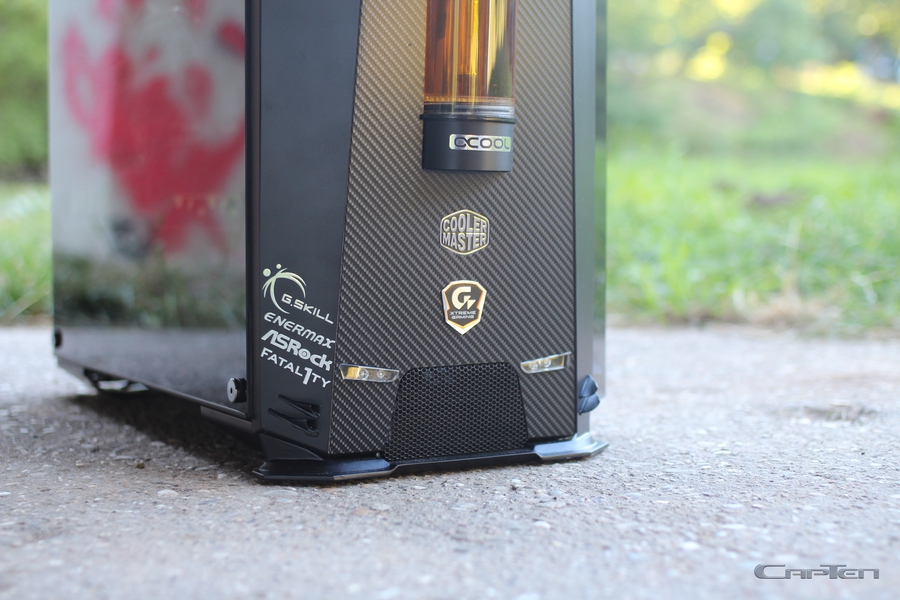
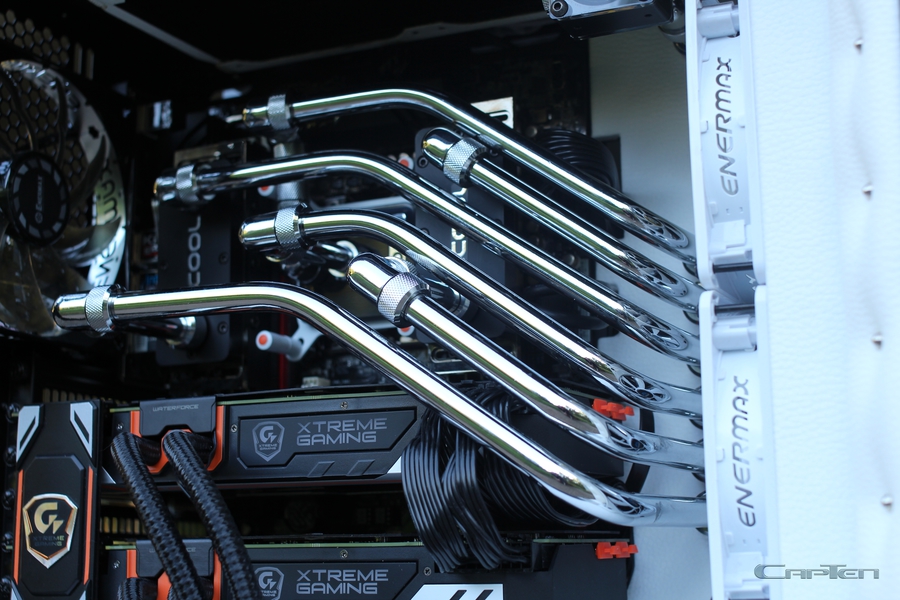
It should be installed a lavish Watercooling with Brasstubes and Chrome Fittings which should seems like a Header.
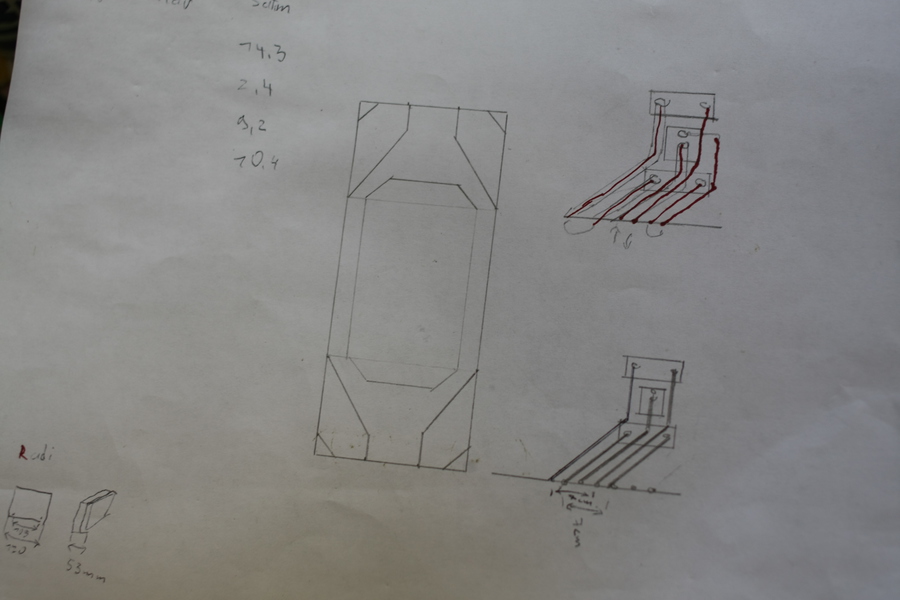
The AGB will fitted justified in the front of the Case, so that it will be one unit on that case and be used as brake fluid reservoir.
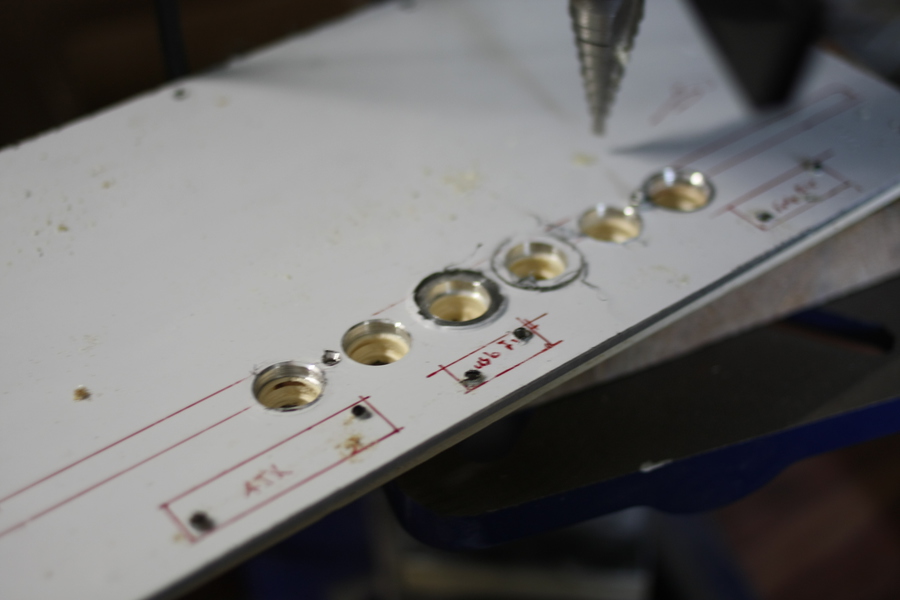
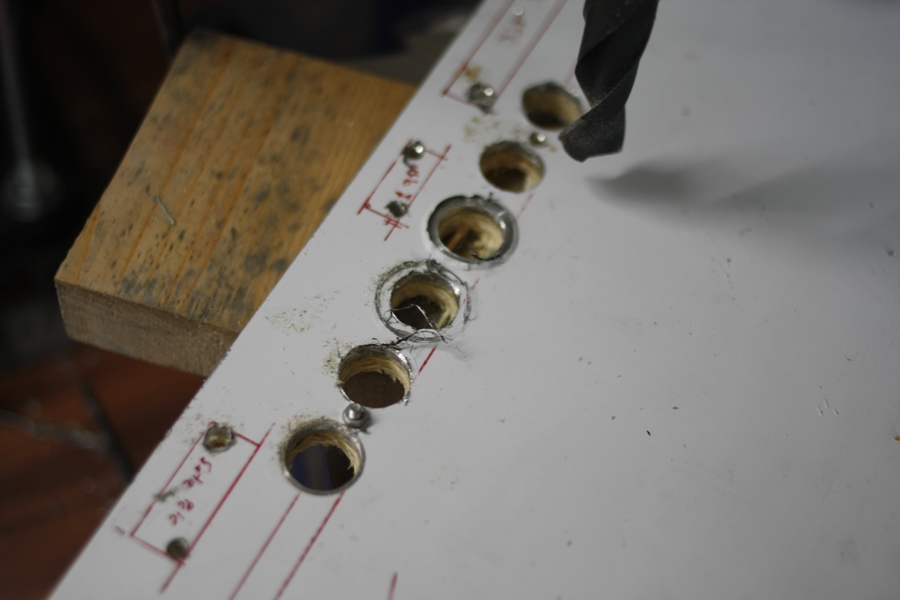
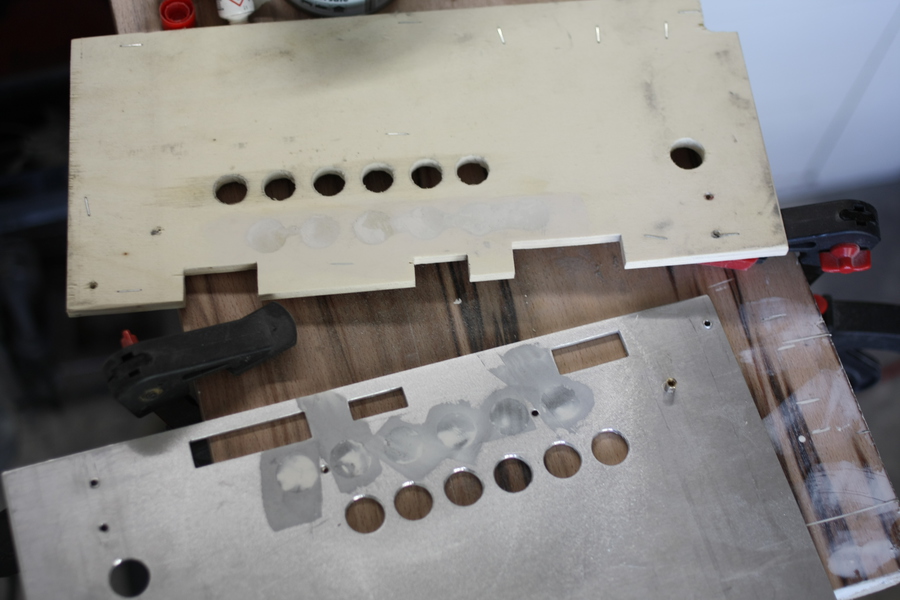
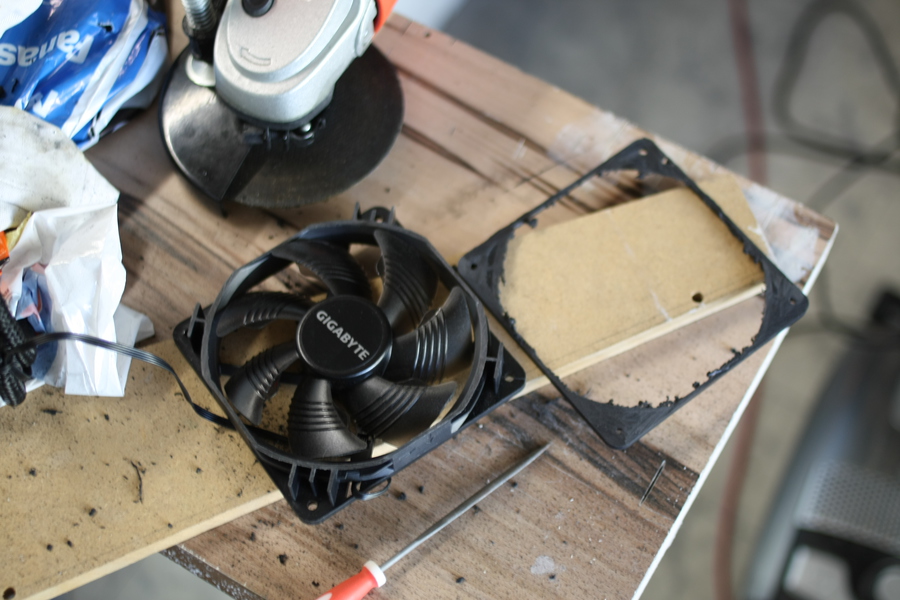
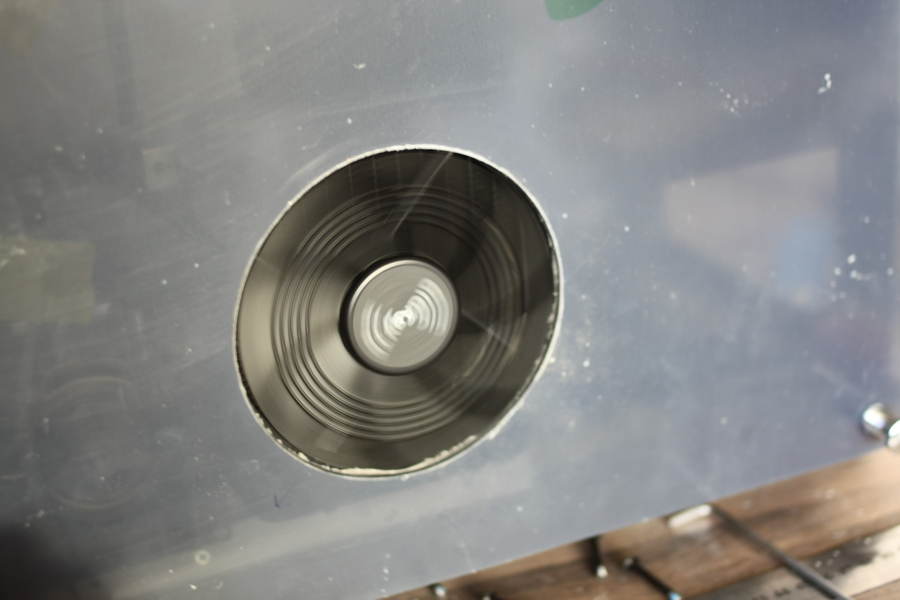
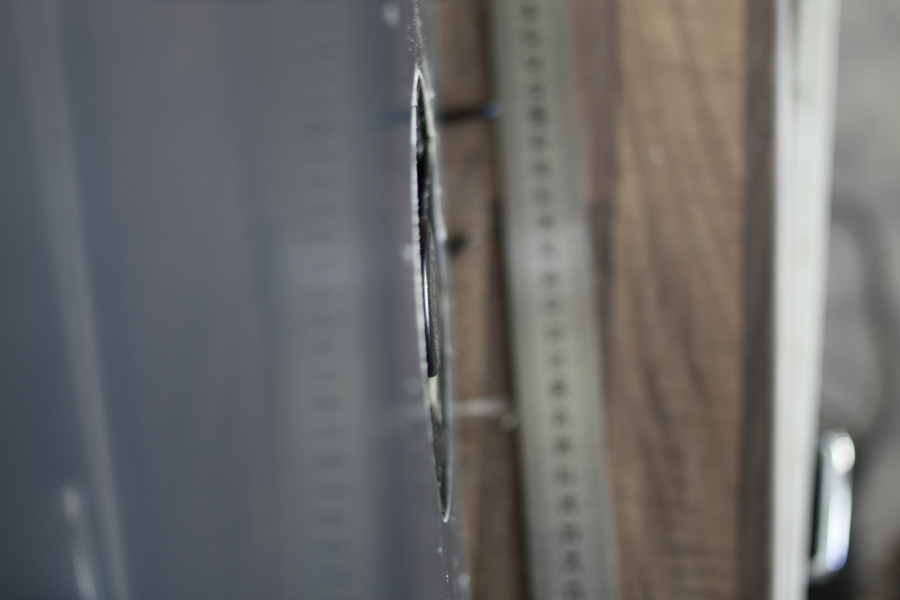
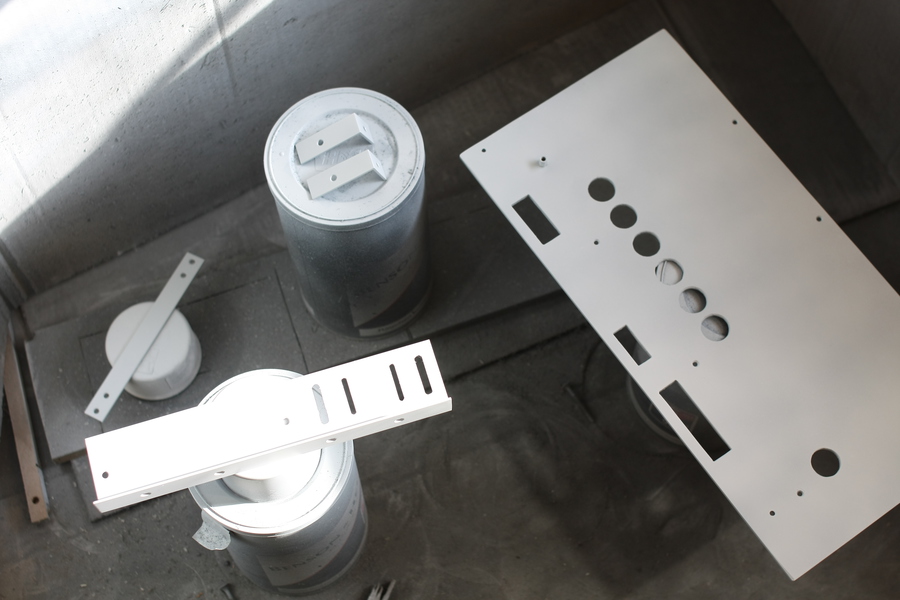
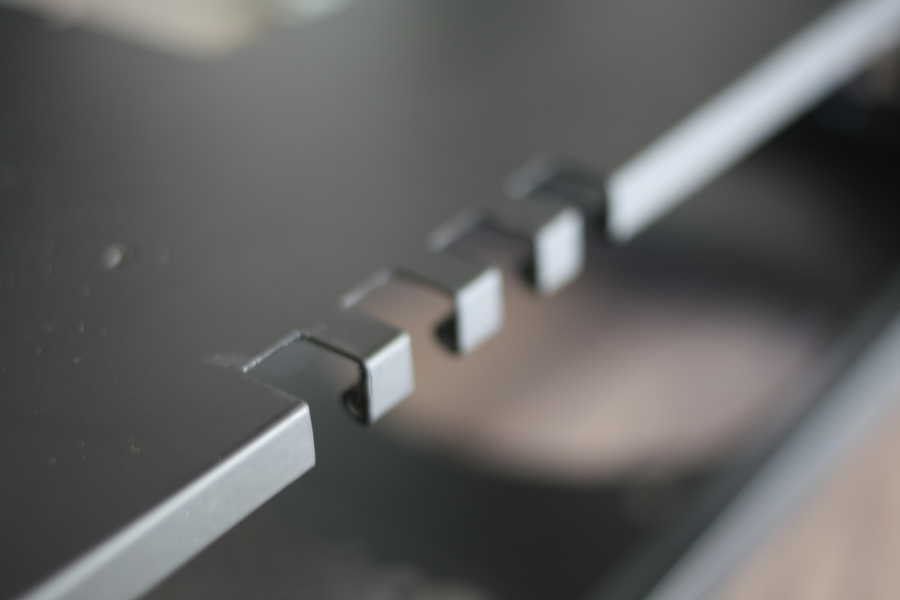
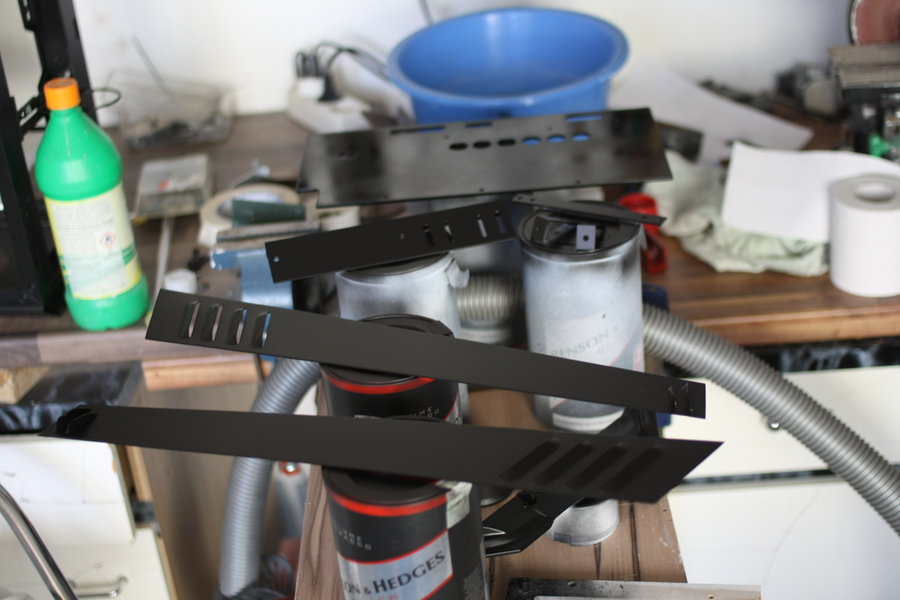
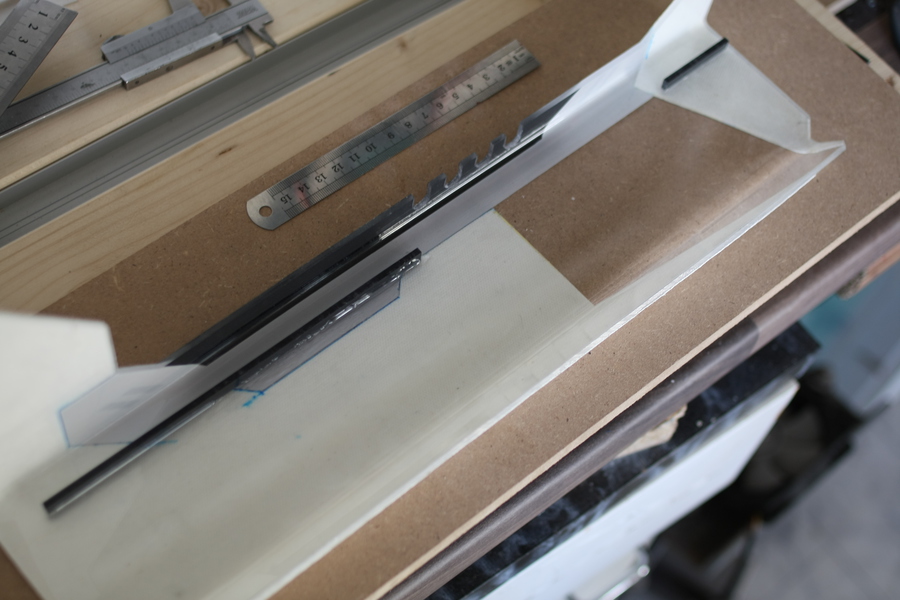
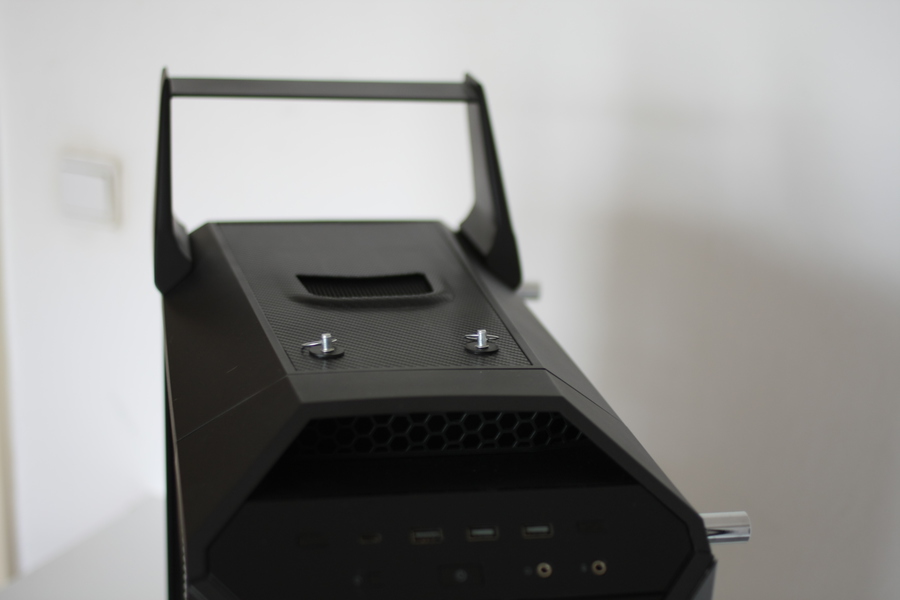
At the Case you will find some air scoops, which are normally founded on engine covers or fenders., which will be made from me out of Aluminum Plates.
At the Leather I made different punch works.
Here and there will be a Wing installed together with Headlights and one DTM Axle Back Exhaust.
The Theme is called Sportcar and I will try to make as much Details as possible.
Hardware:
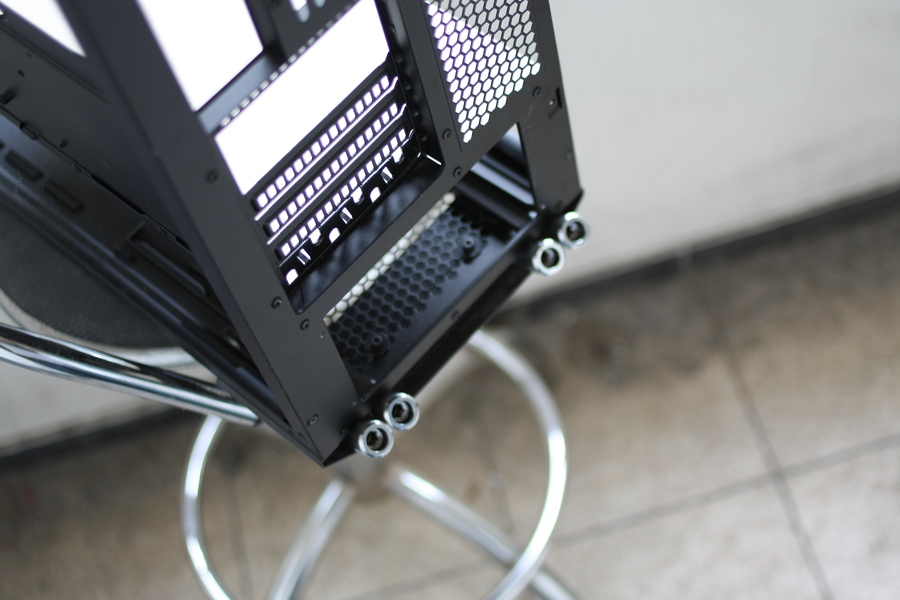
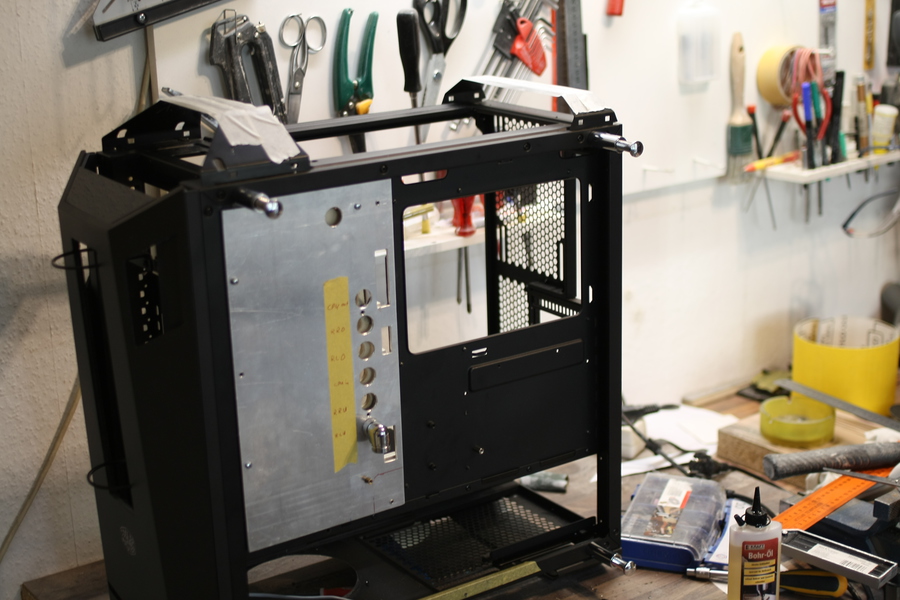
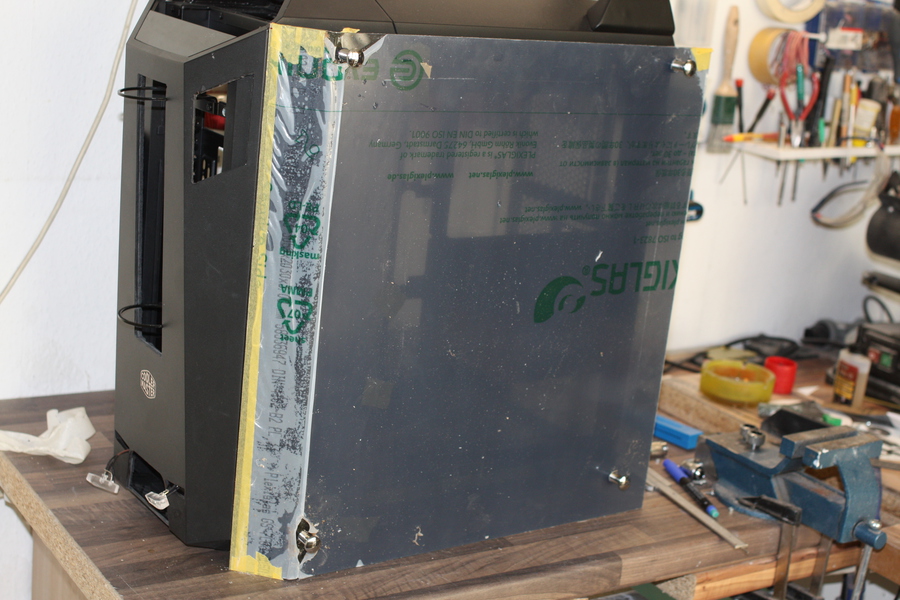
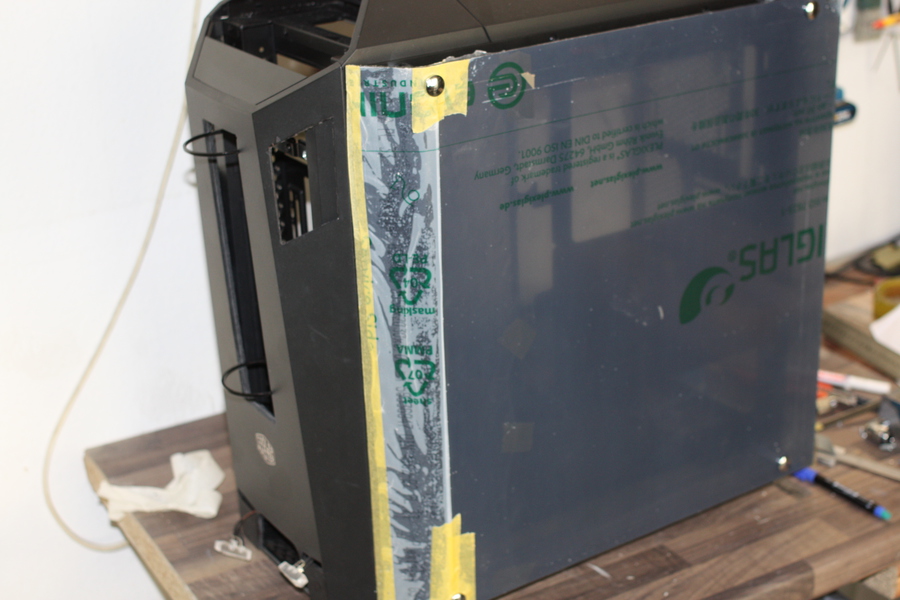
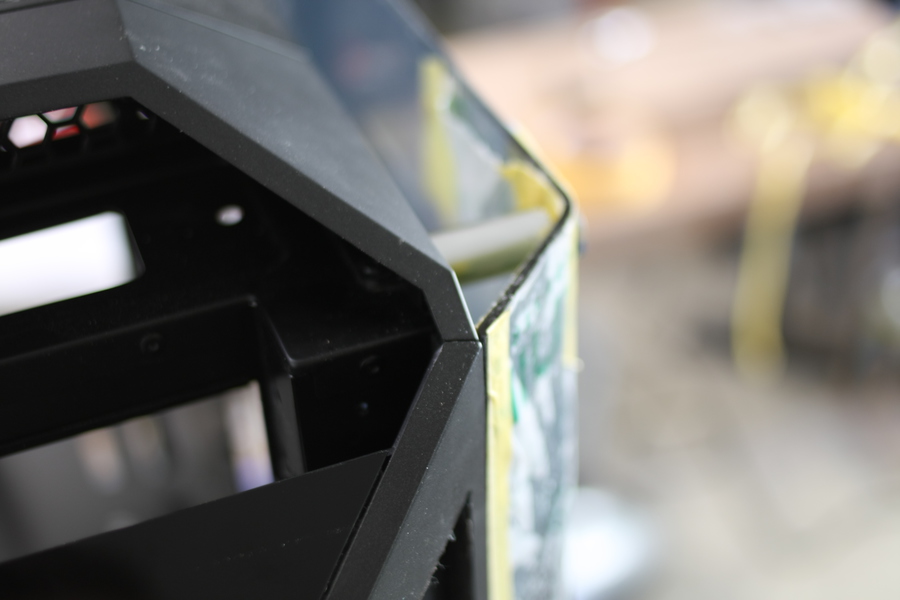
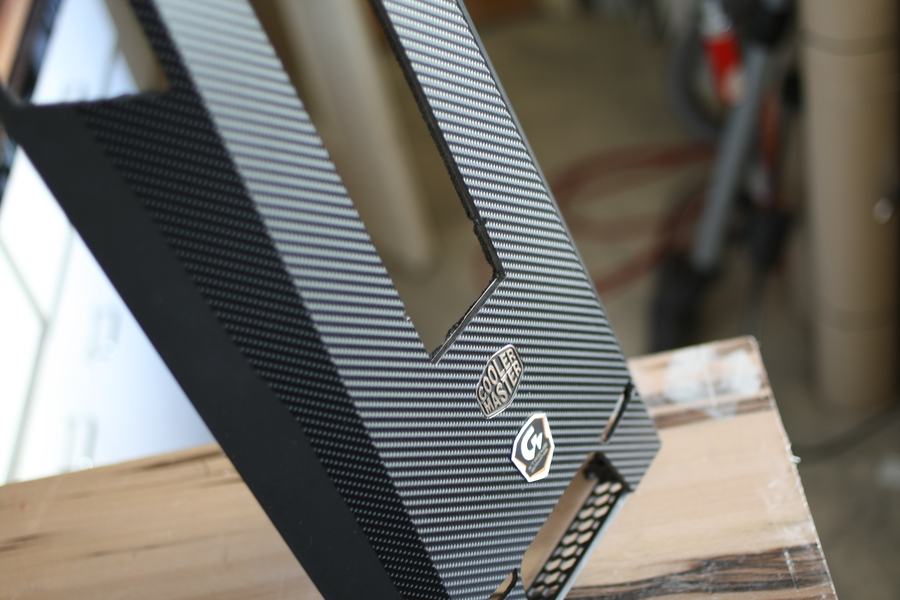
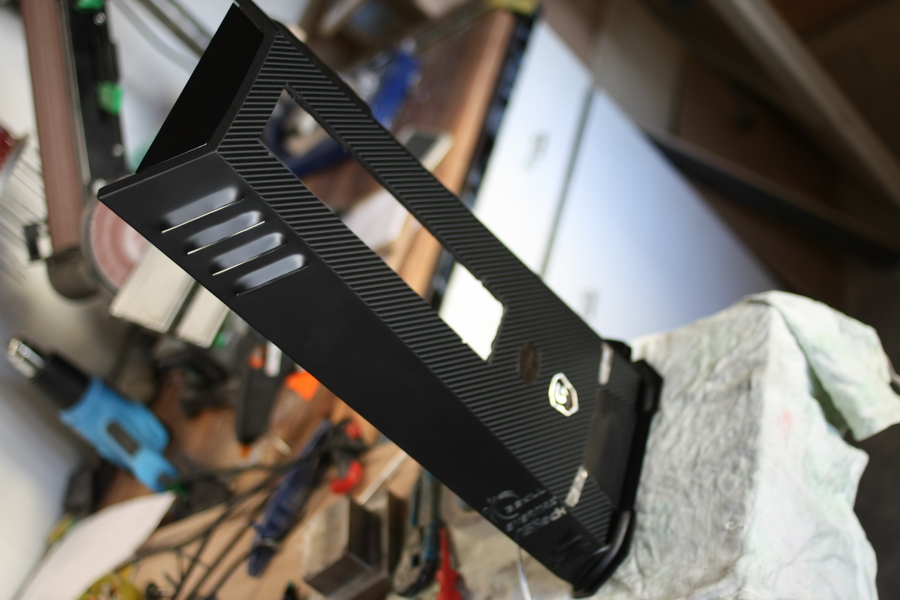
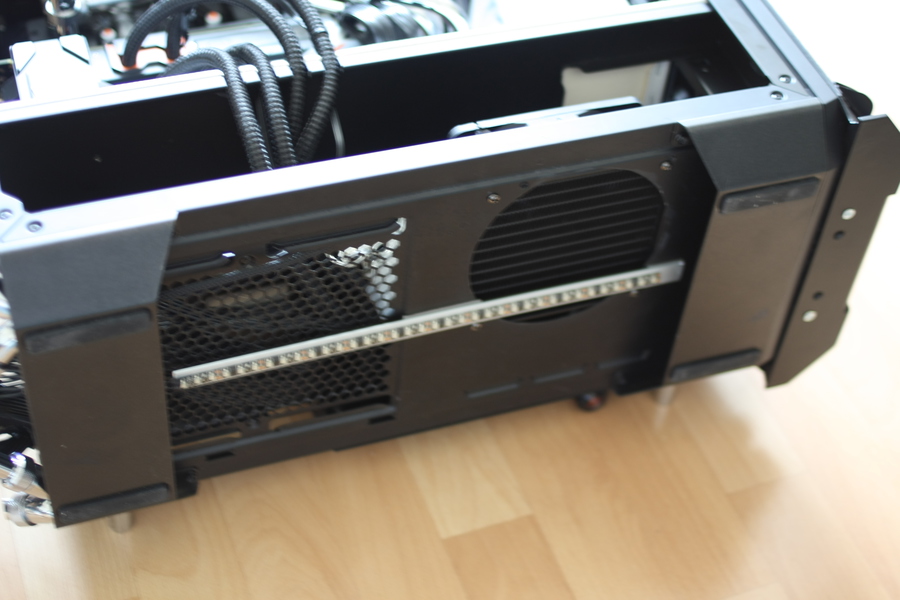
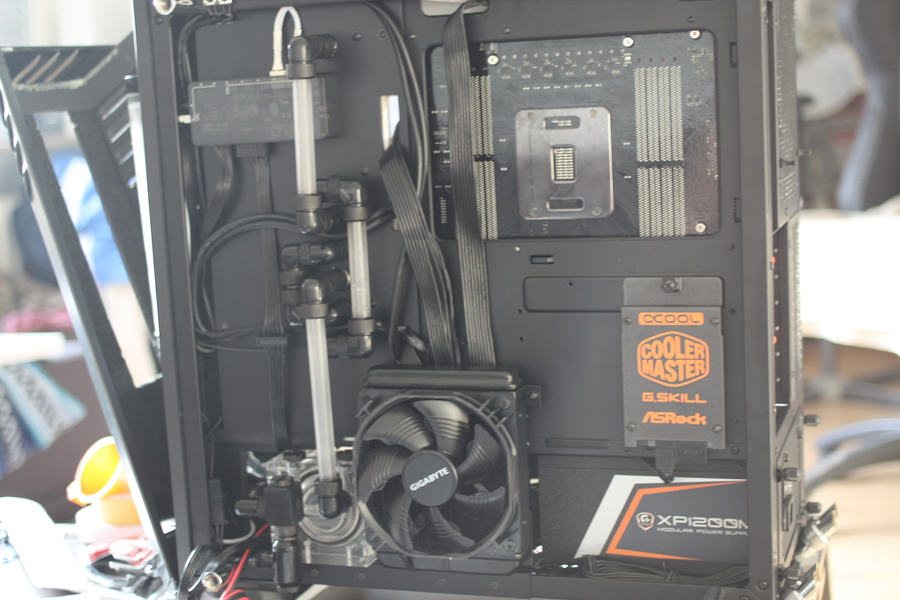
Case: MasterCase Maker 5
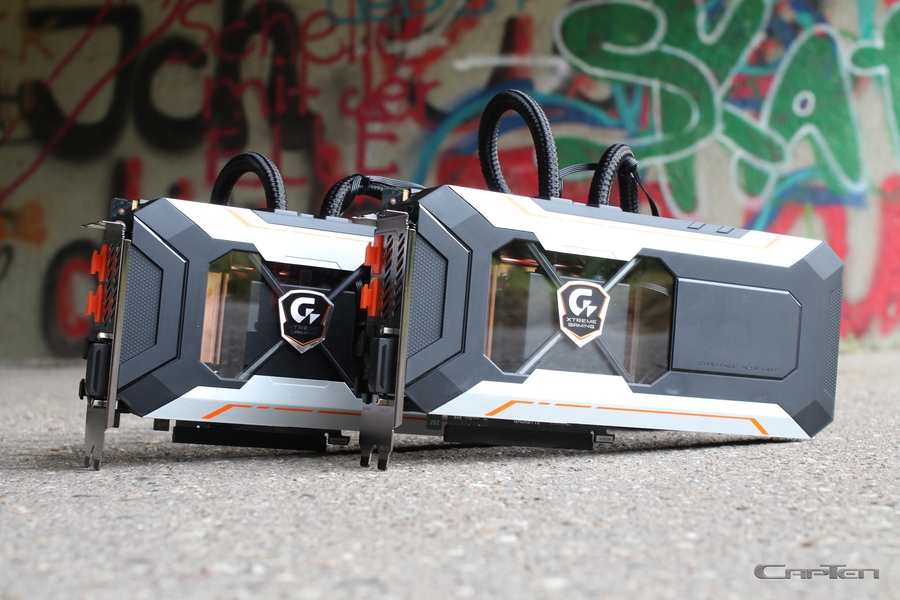
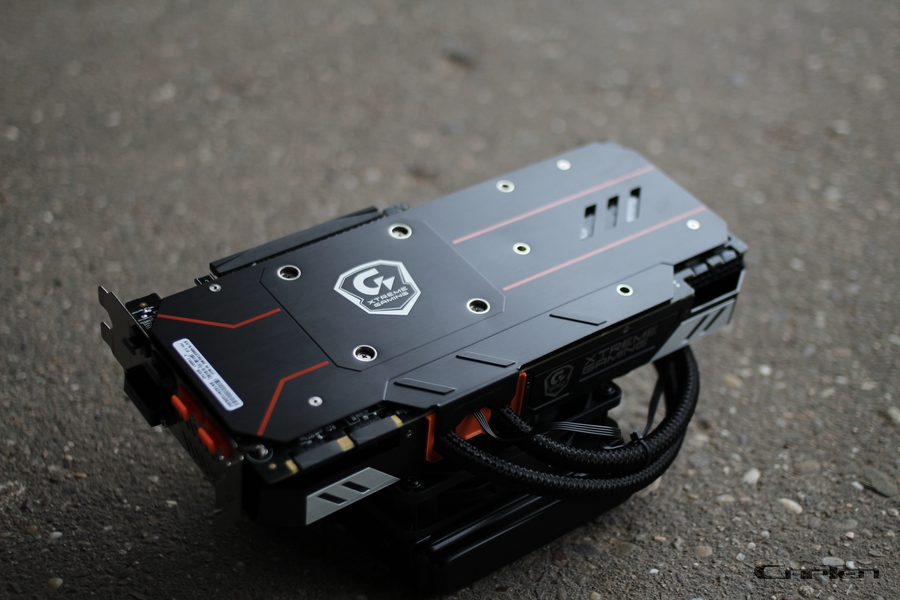
Graphiccards: 2 x Gigabyte GeForce® GTX 1080 Xtreme Gaming Water cooling
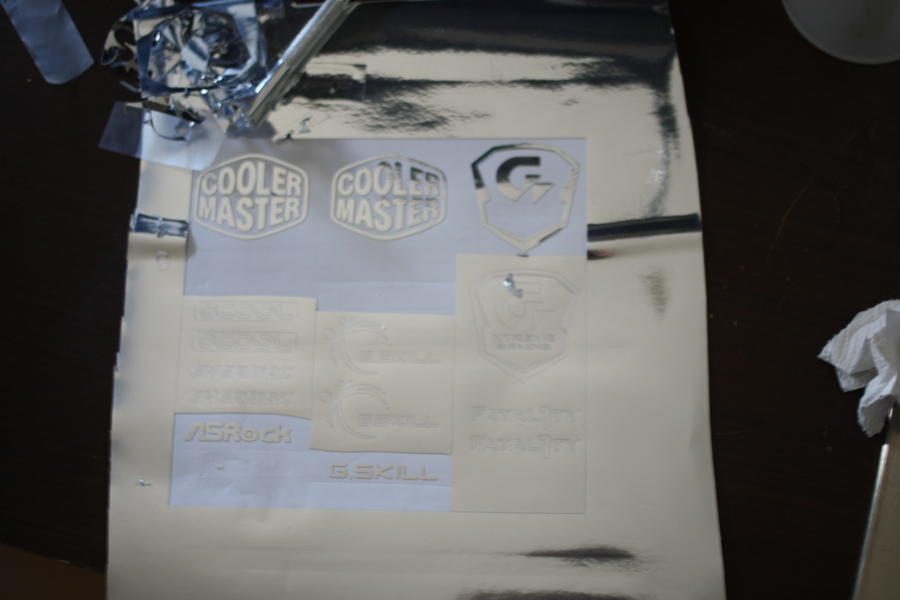
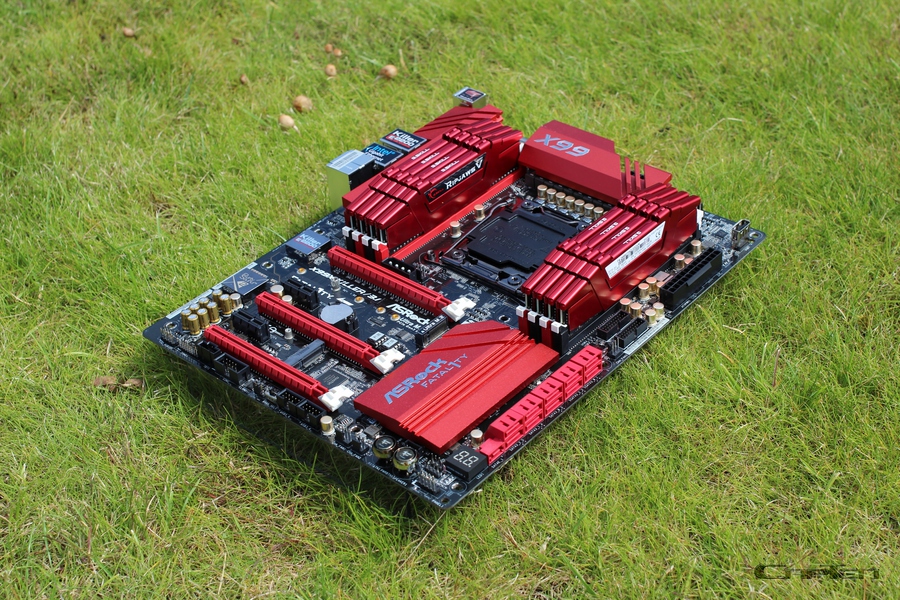
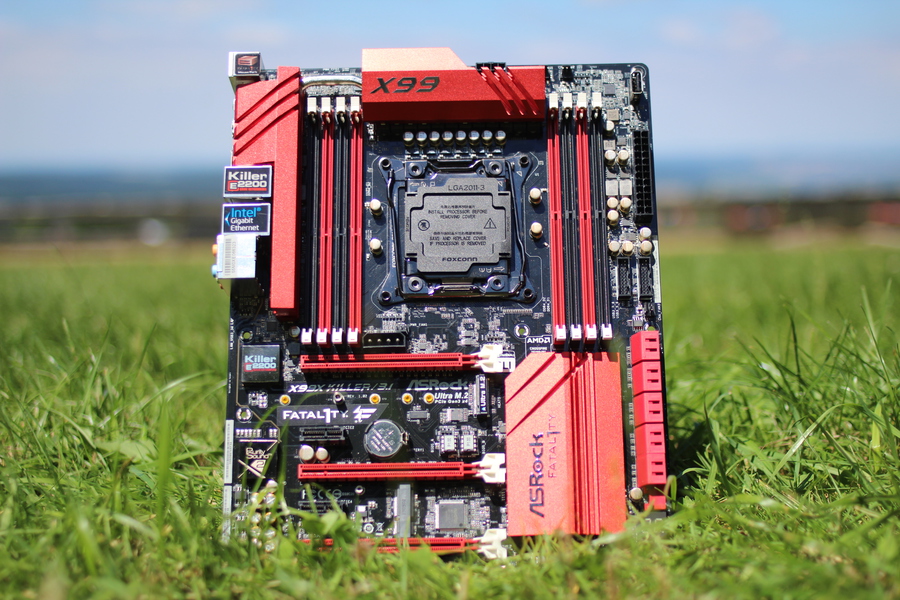
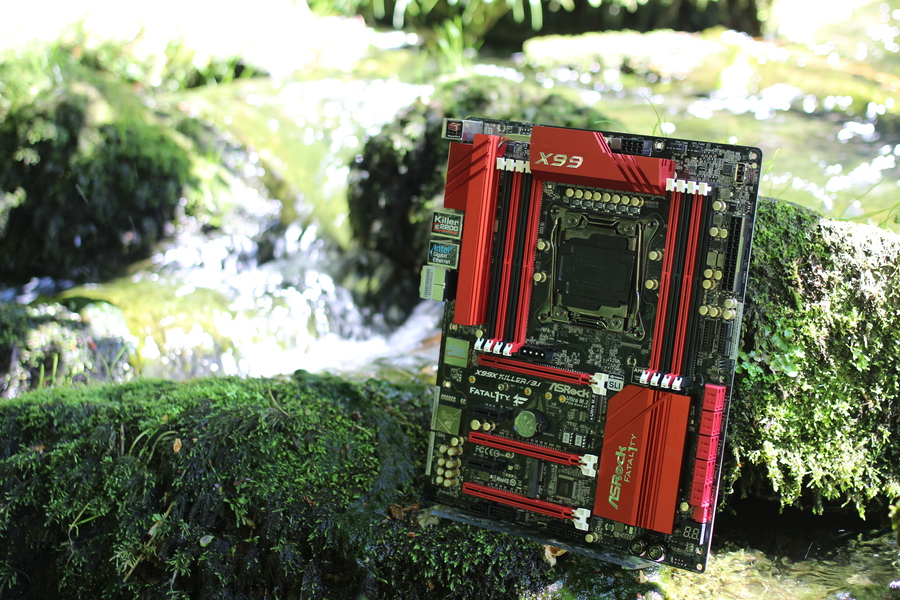
Mainboard: ASRock Fatal1ty X99X Killer/3.1
CPU: Intel Core I7 5820K
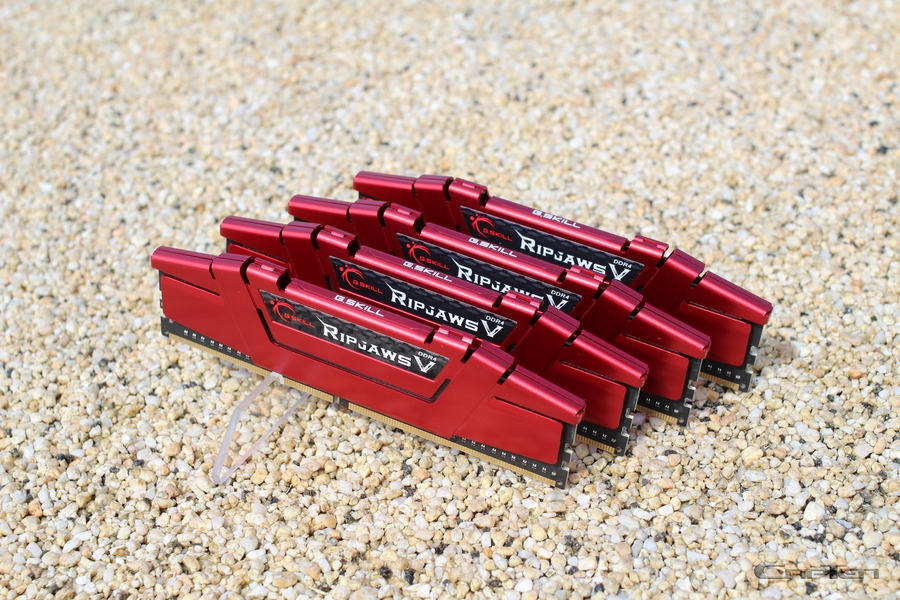
Ram: 8 x 8GB G.SKILL RIPJAWS V DDR4 2666MHz
SSD: HyperX 3K Limited Edition White 240Gb
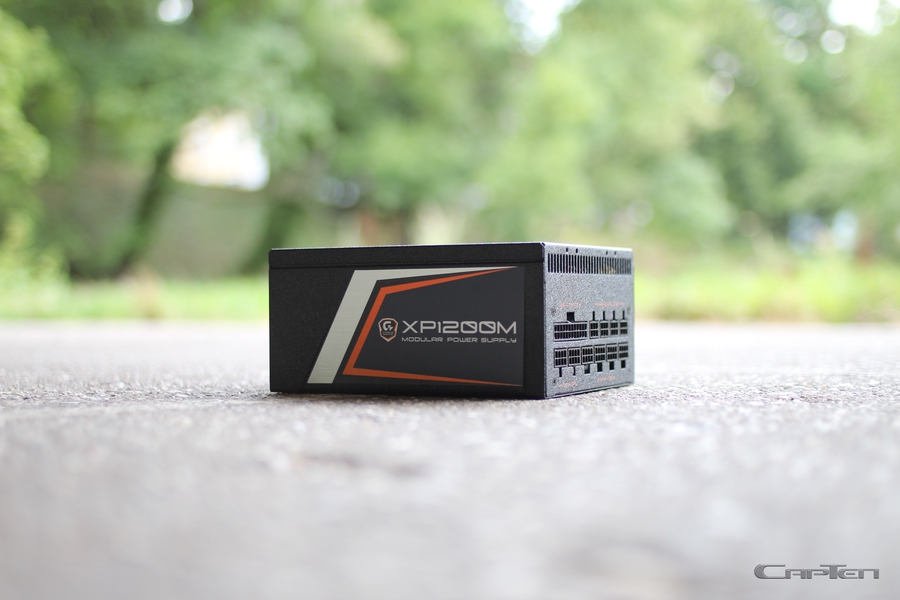
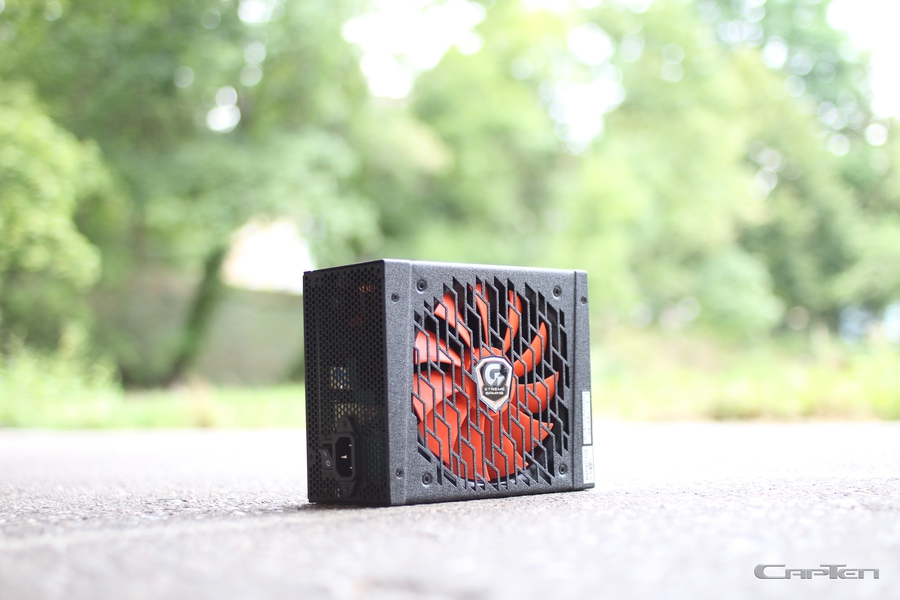
Netzteil : Gigabyte XP1200M
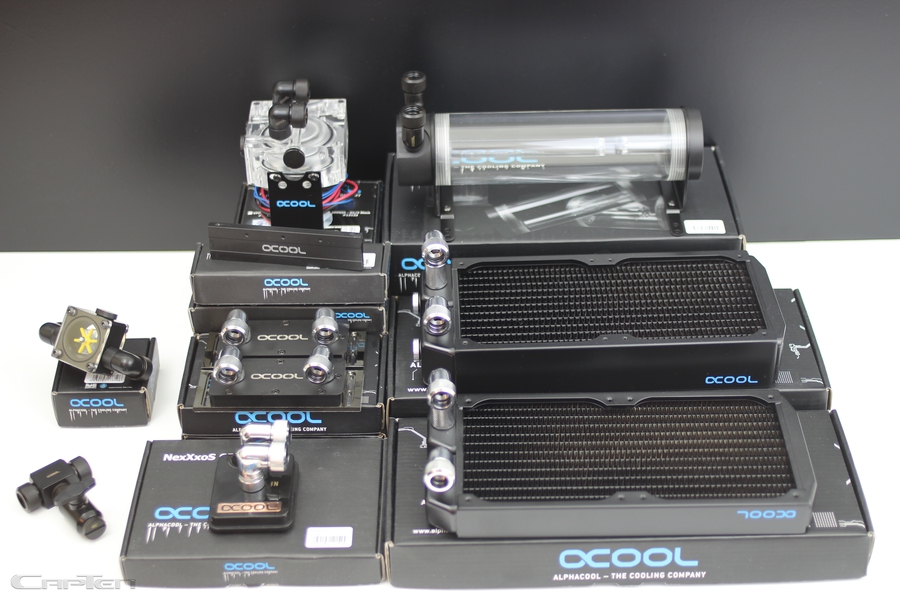
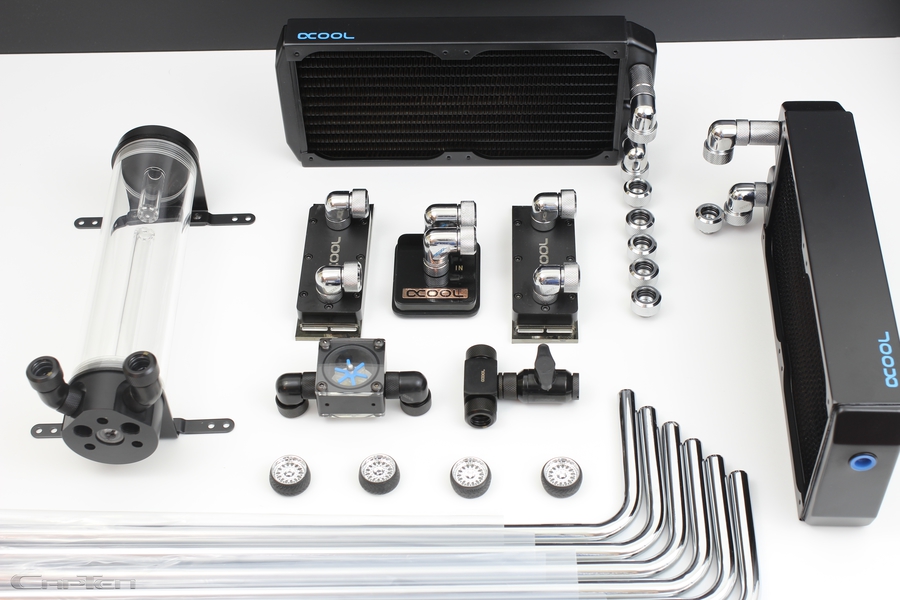
Watercooling:
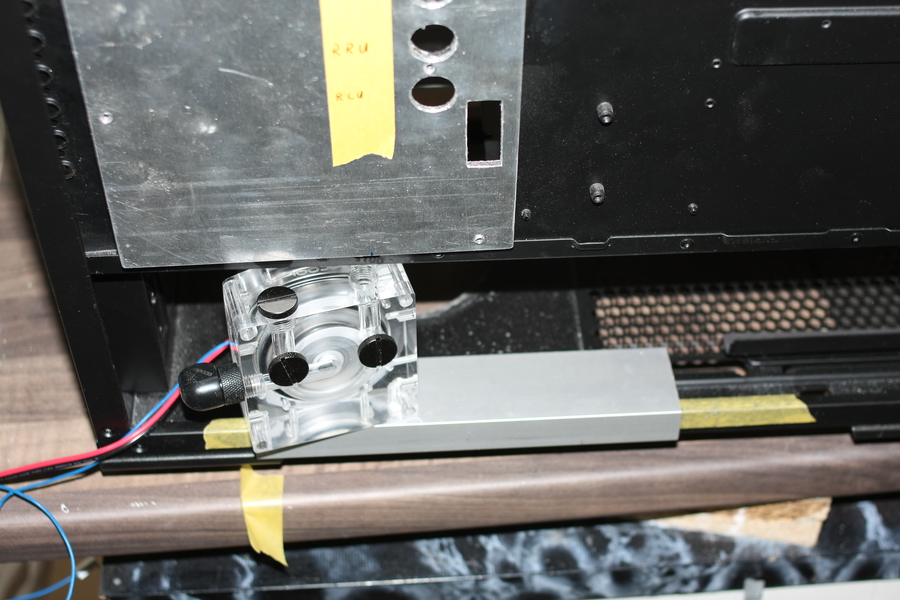
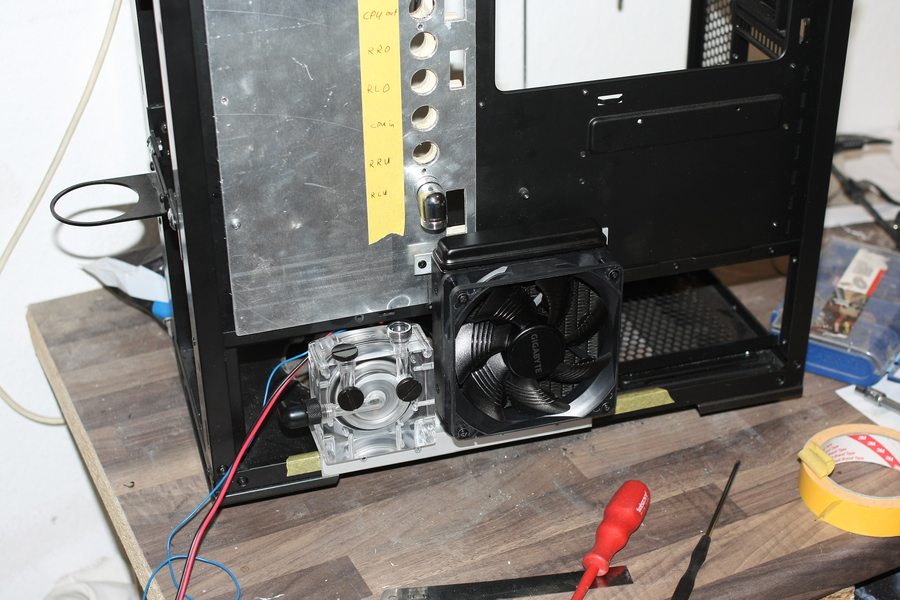
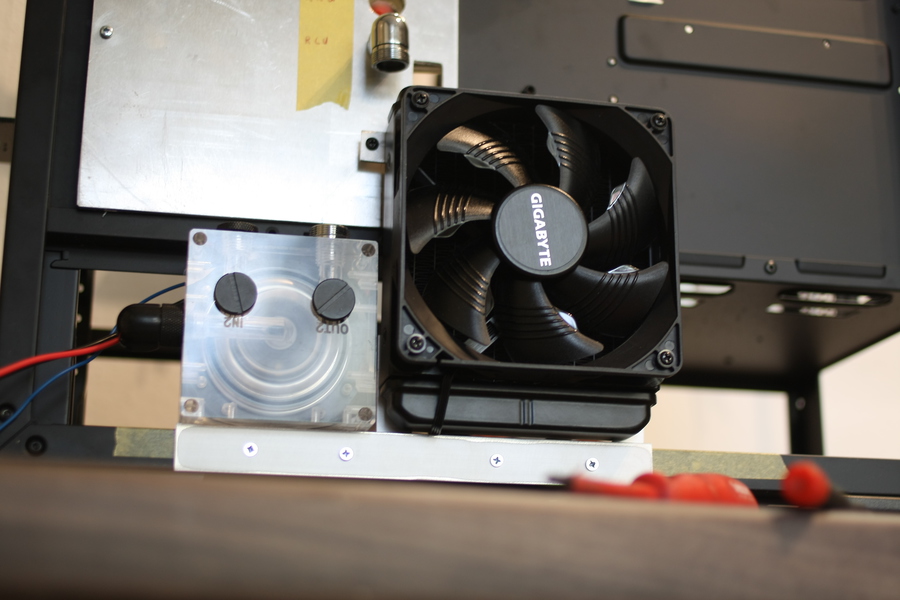
Pump:Alphacool VPP655 - G1/4 IG inkl. Eisdecke D5 - Plexi V.3
CPU : Alphacool NexXxoS XP³ Light - Brass Black Chrome
Ram : Alphacool D-RAM Modul (für Alphacool D-RAM Cooler) -...
Alphacool D-RAM Cooler X4 Universal - Acetal Black Nickel
GPU : 2 x Gigabyte GeForce® GTX 1080 Xtreme Gaming Water cooling
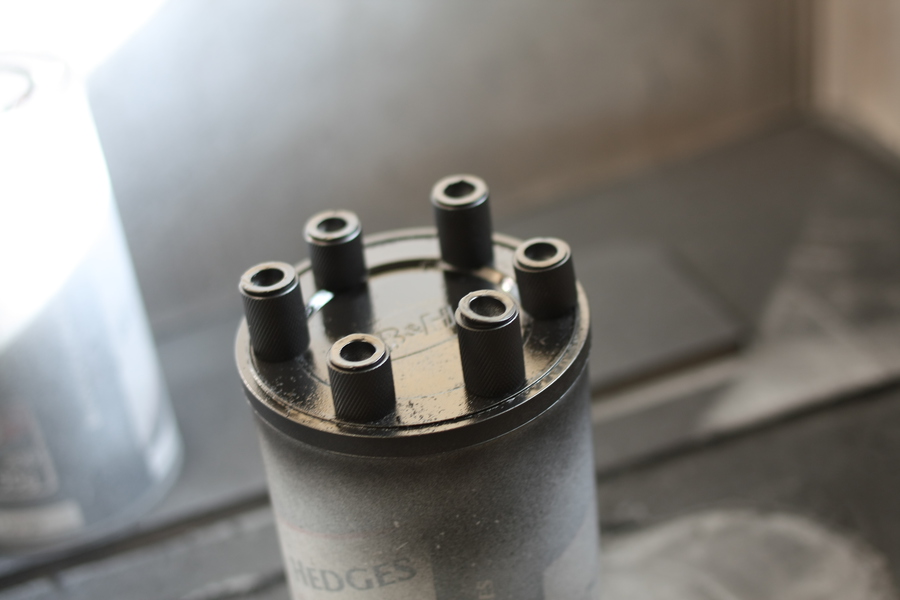
AGB : Alphacool Eisbecher 250mm Acetal Ausgleichsbehälter
Radiator: Alphacool NexXxoS XT45 Full Copper 240mm
Alphacool NexXxoS ST30 Full Copper 240mm Radiator
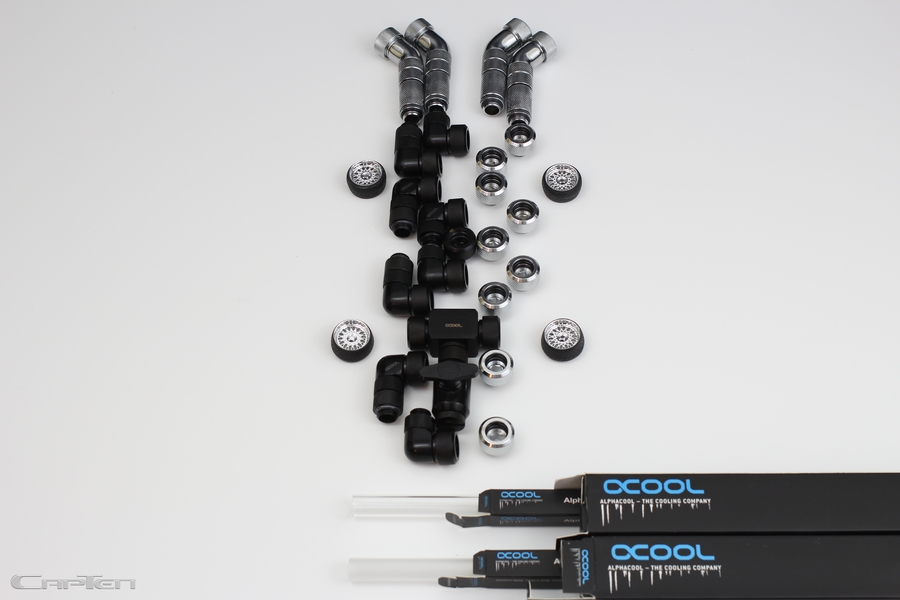
Brasstubes : Alphacool HardTube 13/10mm 90° Messing Chrome 10/50cm
Hardtubes : Alphacool Eisrohr 13/10mm Plexi (PMMA) HardTube Satin...
Alphacool HardTube 13/10mm Plexi (PMMA) Klar 80cm - 4er Set
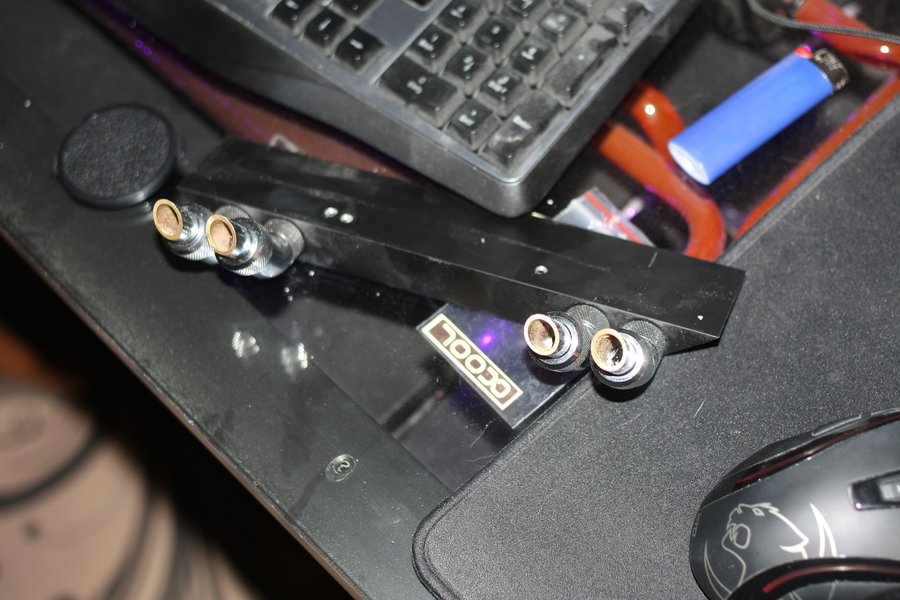
Fittings : Alphacool Eiszapfen 13mm HardTube Anschraubtülle G1/4 für chrome and black
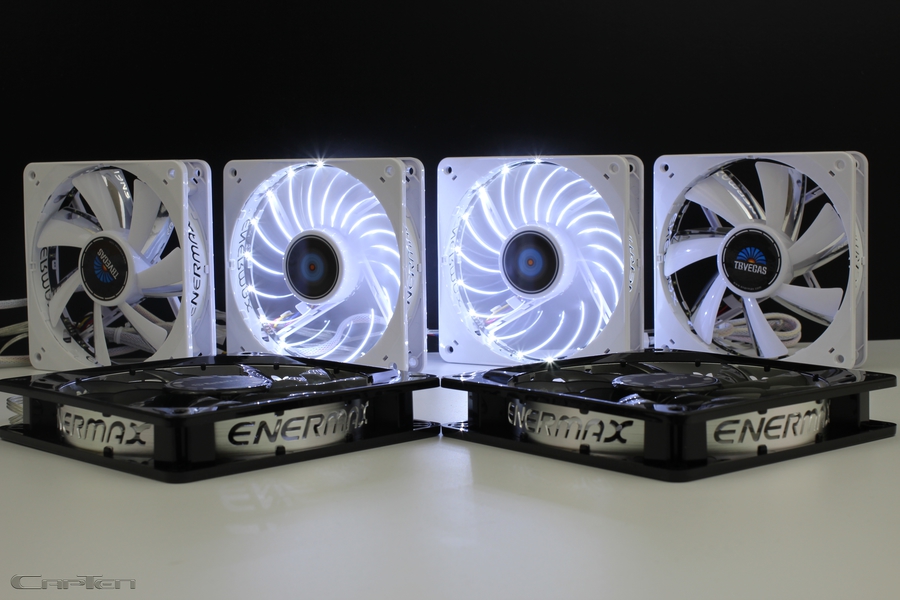
Fans: Enermax T.B.Silence 14cm
Enermax T.B.Vegas 12cm weiß
Accessories:
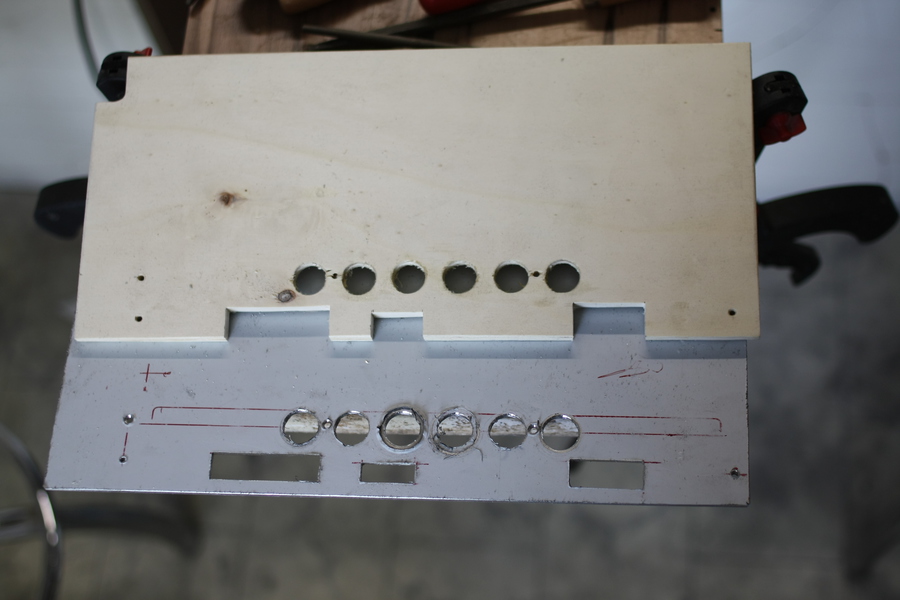
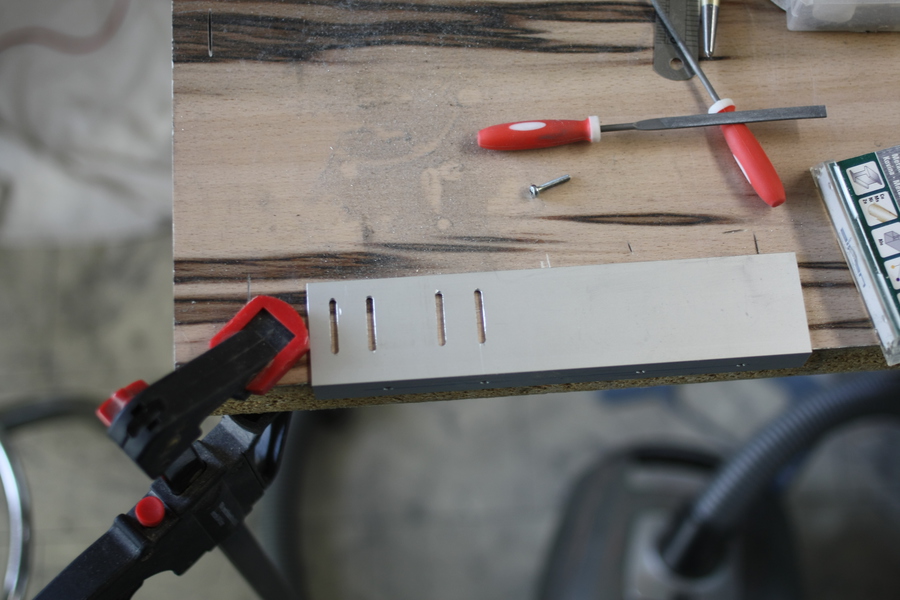
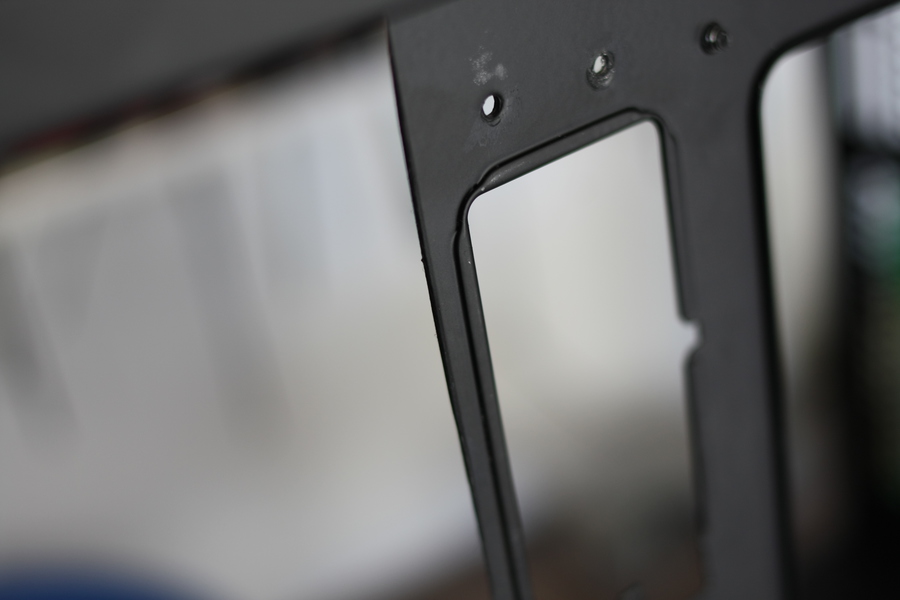
Aluminum
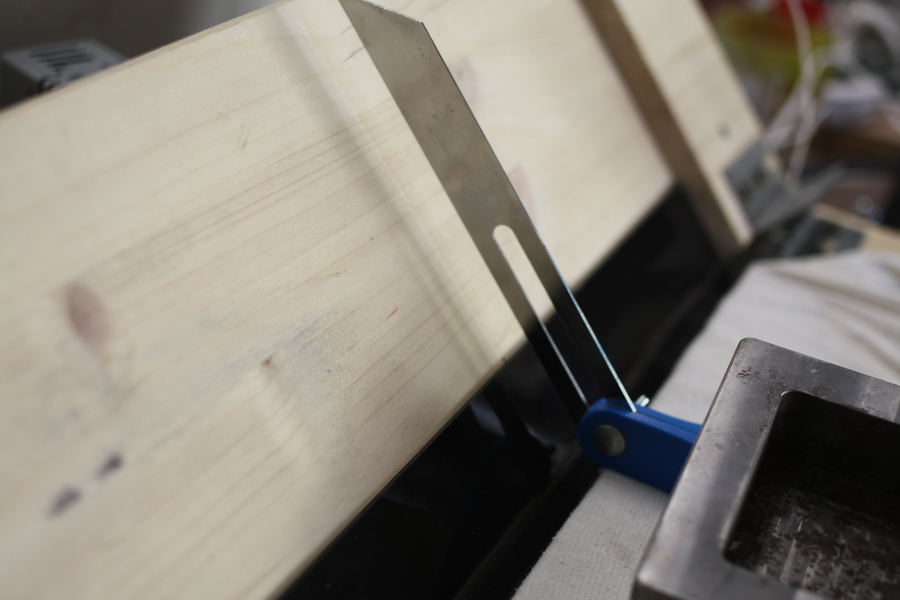
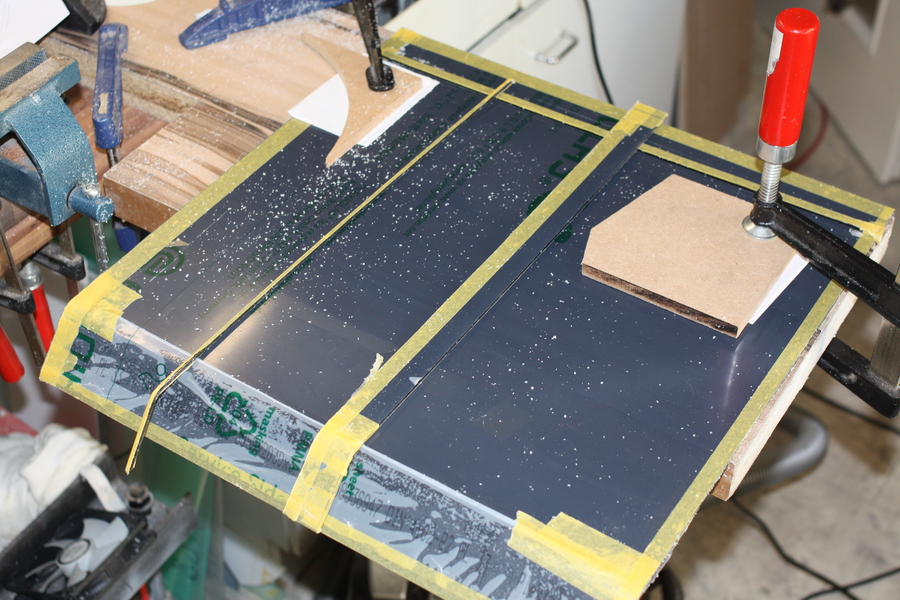
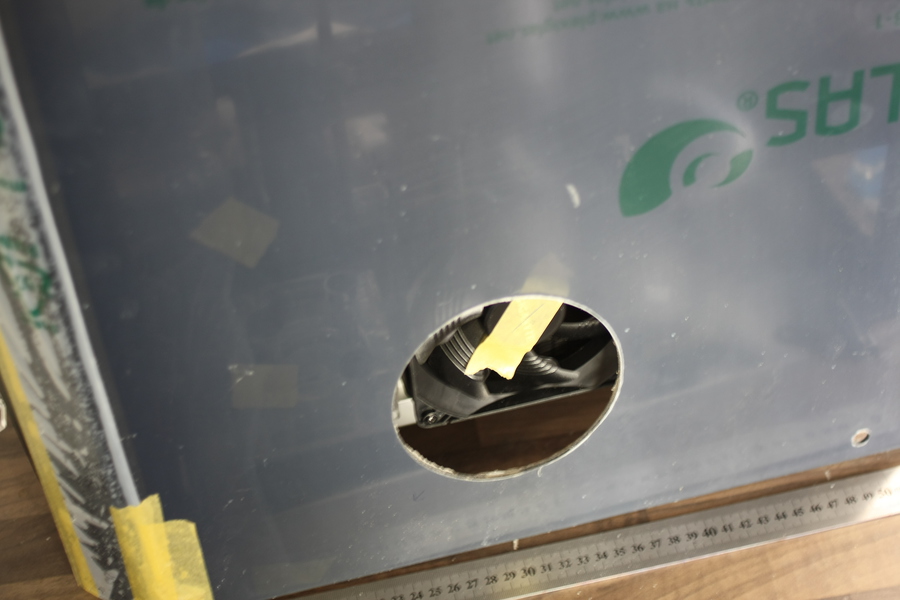
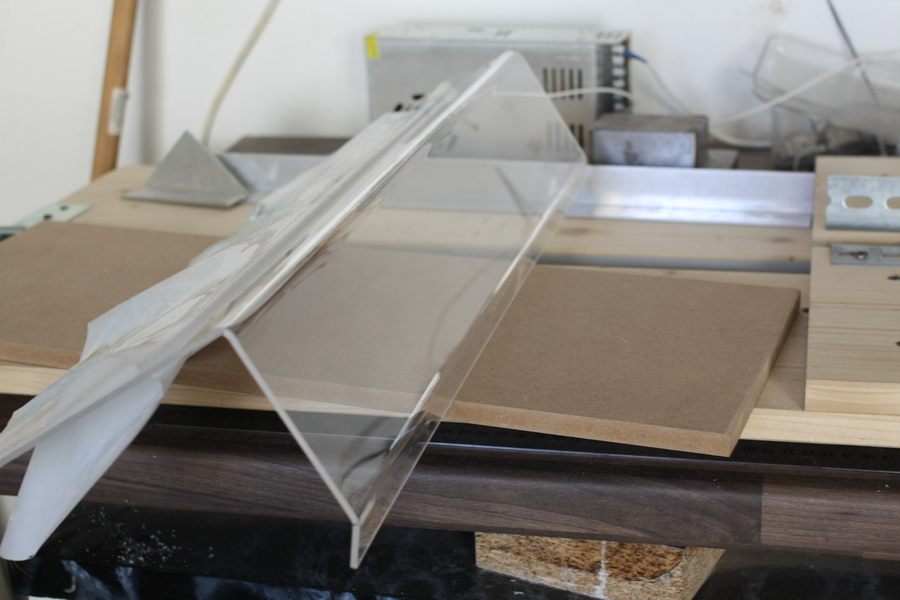
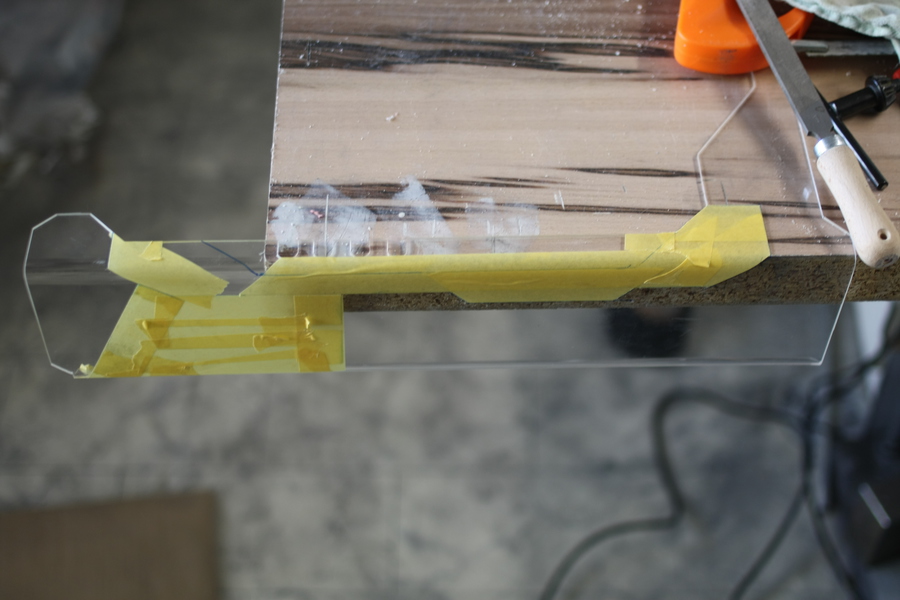
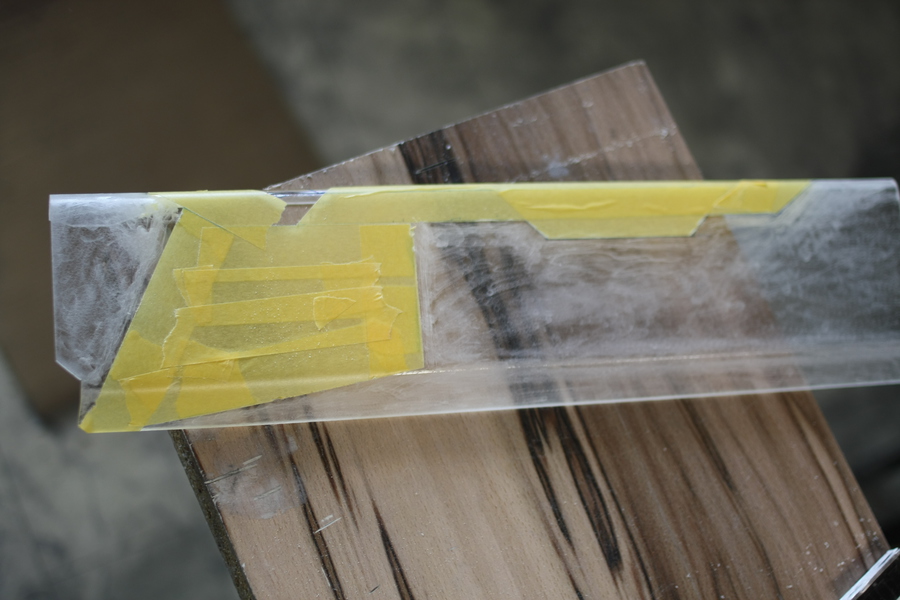
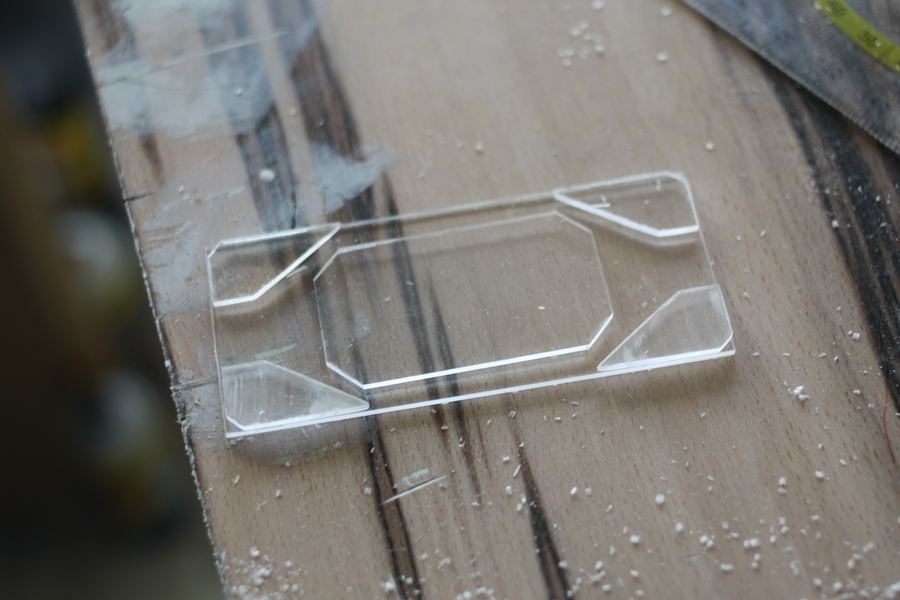
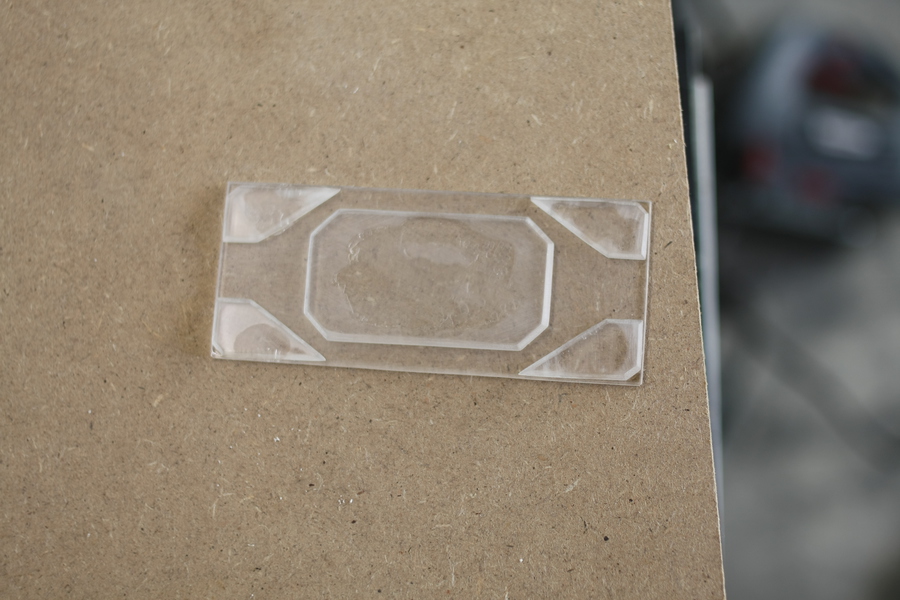
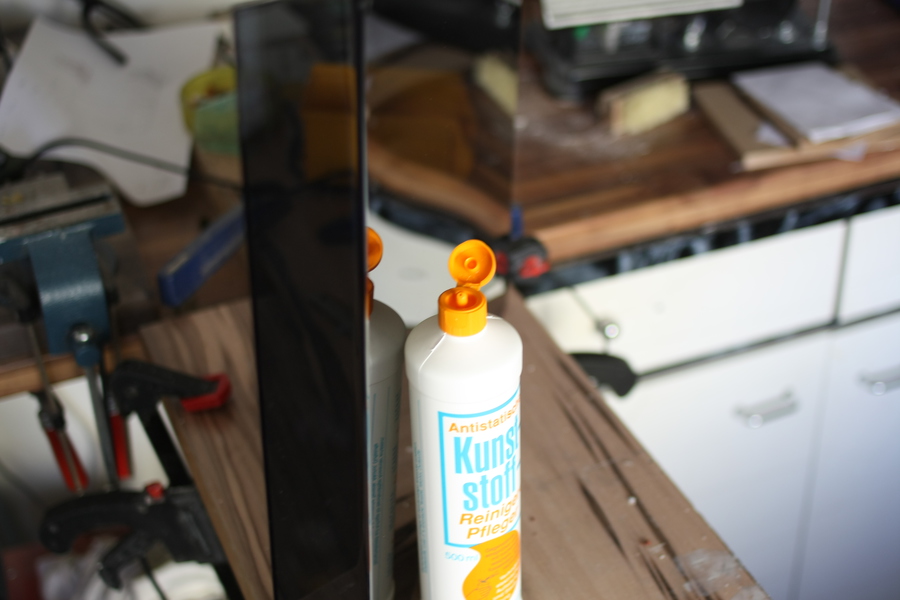
Acrylics
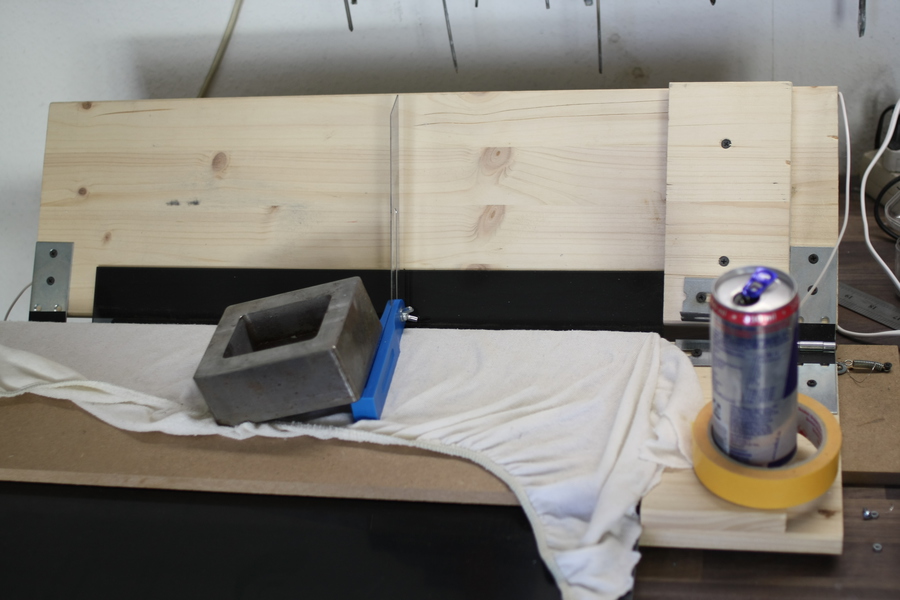
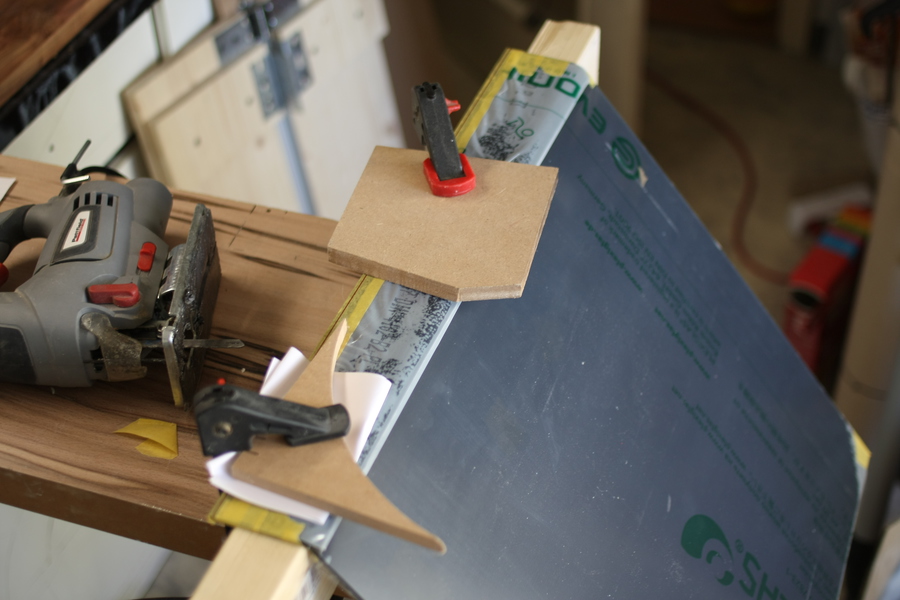
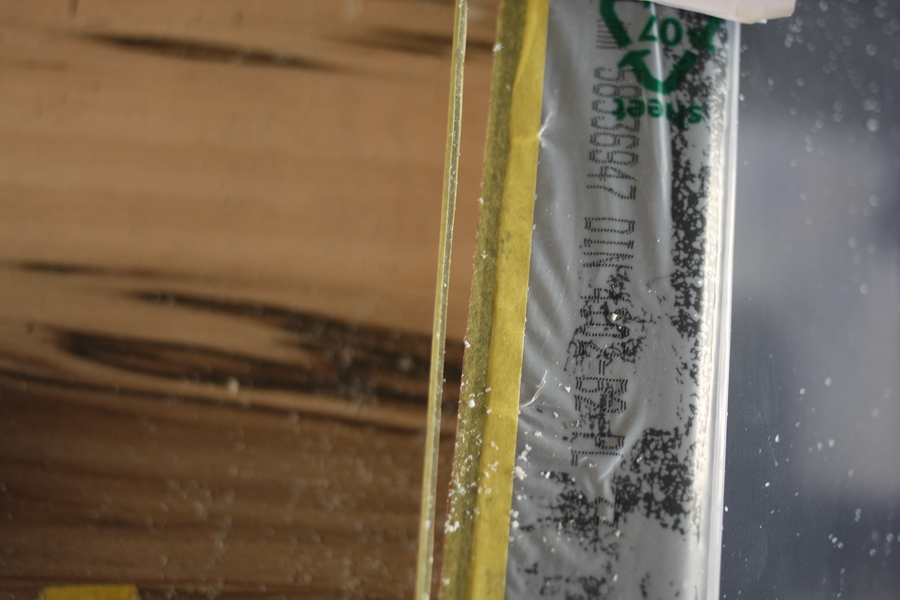
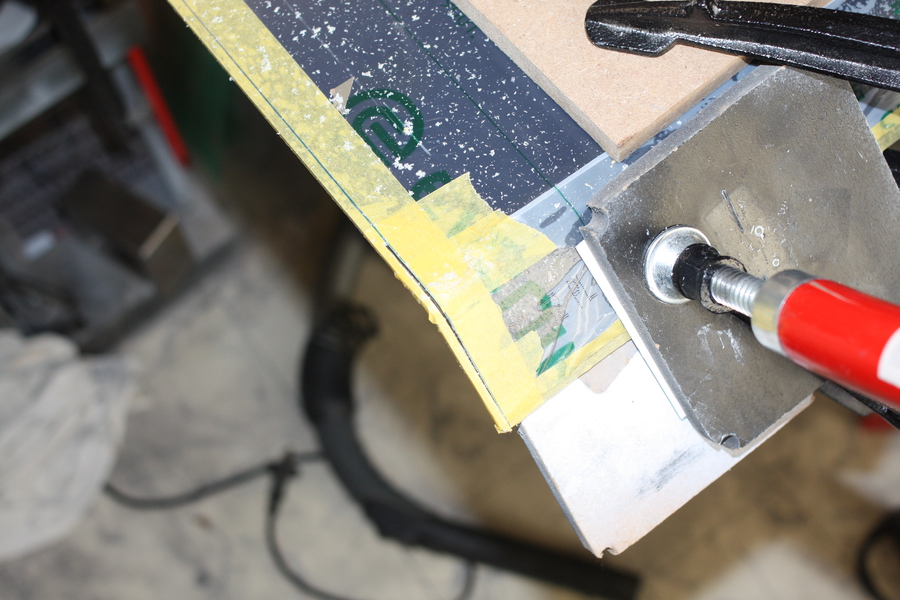
Wood and MDF
white Leather
Blank Leather
Punch iron
Swivel knife
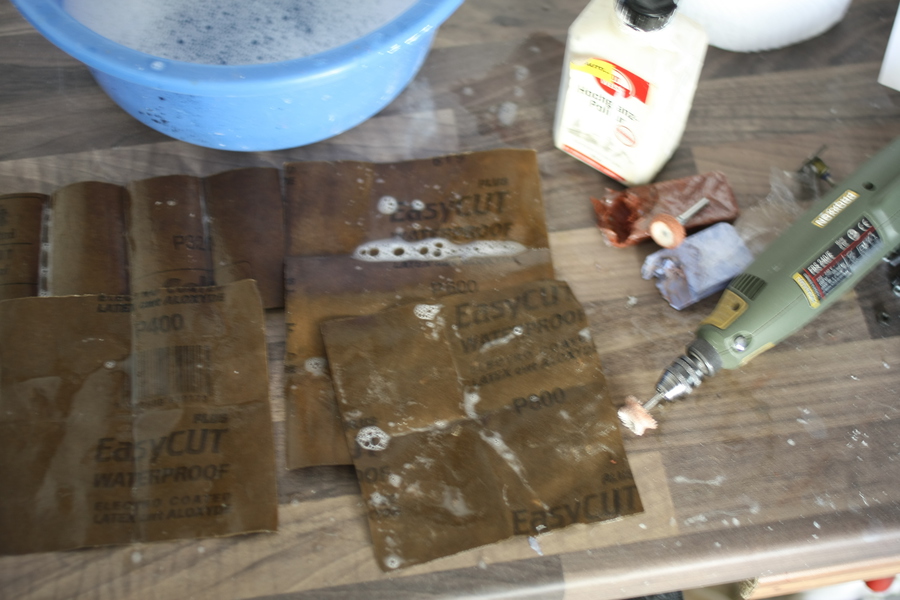
Color, Coating Spray
Pipe Bender
A huge thank to all who supported this Project, without your Help
the Execution of this Project wouldn't be possible.


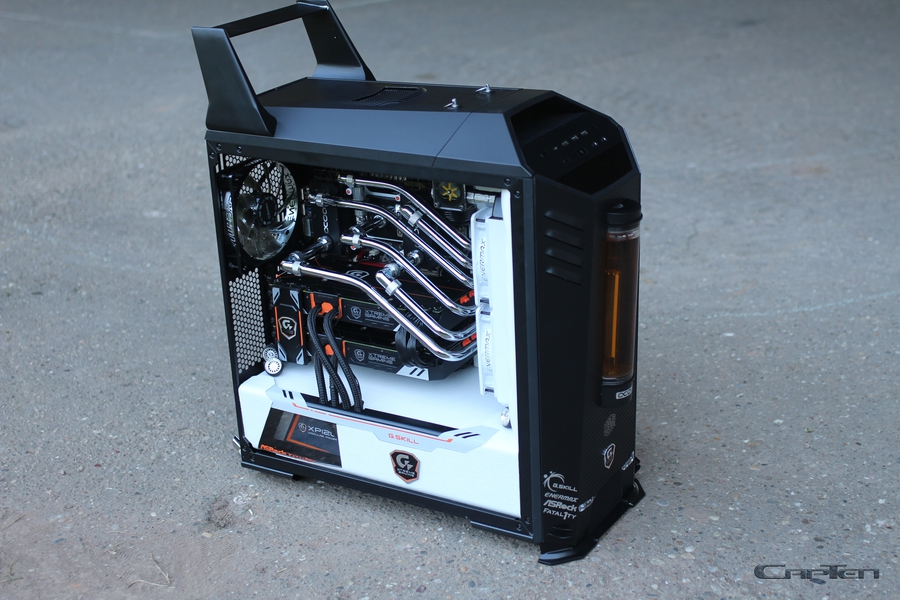
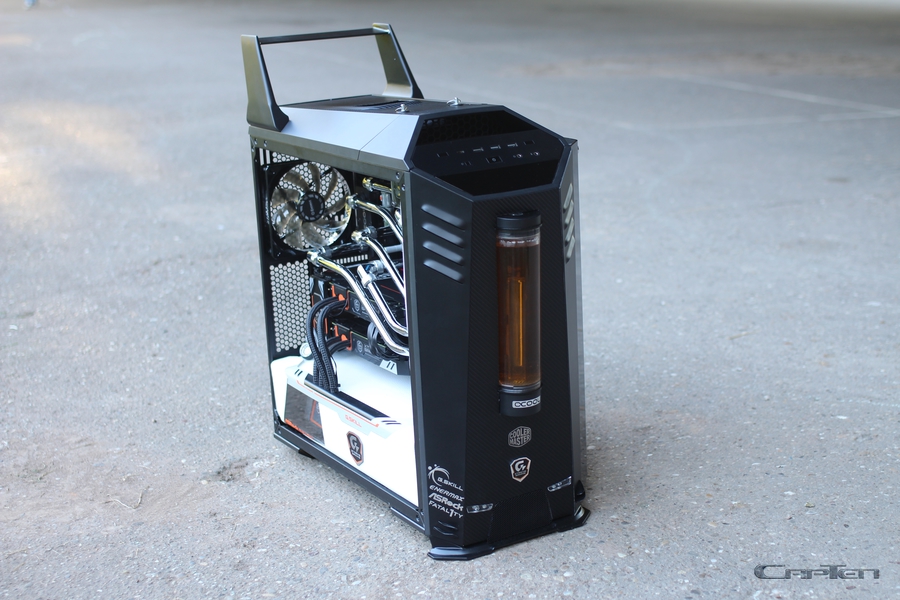
little preview :rock:

„Maker EVO Deluxe"
After a long time of thinking, I've decided to do a more complex Casemod. Lets see what I'm doing with it.
To be called into action is coming the brand new Mastercase Maker 5.
Inspired was this Mod from the Mitsubishi Lancer Evolution.
The interior was completely cleaned and covered with pale Leather. For the Cables/PSU Area a Cover was created in the Design of the Case.
It should be installed a lavish Watercooling with Brasstubes and Chrome Fittings which should seems like a Header.
The AGB will fitted justified in the front of the Case, so that it will be one unit on that case and be used as brake fluid reservoir.
At the Case you will find some air scoops, which are normally founded on engine covers or fenders., which will be made from me out of Aluminum Plates.
At the Leather I made different punch works.
Here and there will be a Wing installed together with Headlights and one DTM Axle Back Exhaust.
The Theme is called Sportcar and I will try to make as much Details as possible.
Hardware:
Case: MasterCase Maker 5
Graphiccards: 2 x Gigabyte GeForce® GTX 1080 Xtreme Gaming Water cooling
Mainboard: ASRock Fatal1ty X99X Killer/3.1
CPU: Intel Core I7 5820K
Ram: 8 x 8GB G.SKILL RIPJAWS V DDR4 2666MHz
SSD: HyperX 3K Limited Edition White 240Gb
Netzteil : Gigabyte XP1200M
Watercooling:
Pump:Alphacool VPP655 - G1/4 IG inkl. Eisdecke D5 - Plexi V.3
CPU : Alphacool NexXxoS XP³ Light - Brass Black Chrome
Ram : Alphacool D-RAM Modul (für Alphacool D-RAM Cooler) -...
Alphacool D-RAM Cooler X4 Universal - Acetal Black Nickel
GPU : 2 x Gigabyte GeForce® GTX 1080 Xtreme Gaming Water cooling
AGB : Alphacool Eisbecher 250mm Acetal Ausgleichsbehälter
Radiator: Alphacool NexXxoS XT45 Full Copper 240mm
Alphacool NexXxoS ST30 Full Copper 240mm Radiator
Brasstubes : Alphacool HardTube 13/10mm 90° Messing Chrome 10/50cm
Hardtubes : Alphacool Eisrohr 13/10mm Plexi (PMMA) HardTube Satin...
Alphacool HardTube 13/10mm Plexi (PMMA) Klar 80cm - 4er Set
Fittings : Alphacool Eiszapfen 13mm HardTube Anschraubtülle G1/4 für chrome and black
Fans: Enermax T.B.Silence 14cm
Enermax T.B.Vegas 12cm weiß
Accessories:
Aluminum
Acrylics
Wood and MDF
white Leather
Blank Leather
Punch iron
Swivel knife
Color, Coating Spray
Pipe Bender
A huge thank to all who supported this Project, without your Help
the Execution of this Project wouldn't be possible.
little preview :rock: