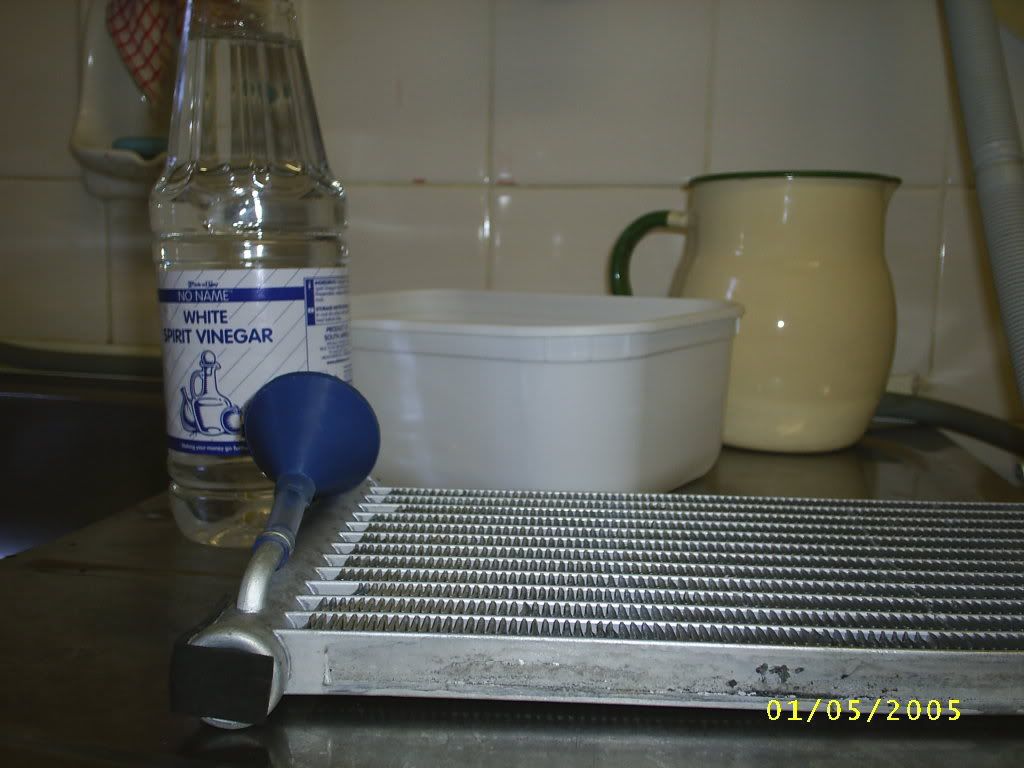
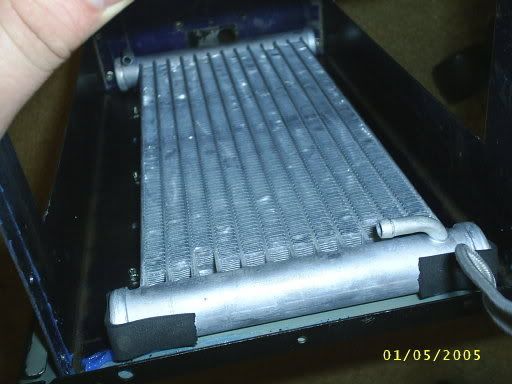
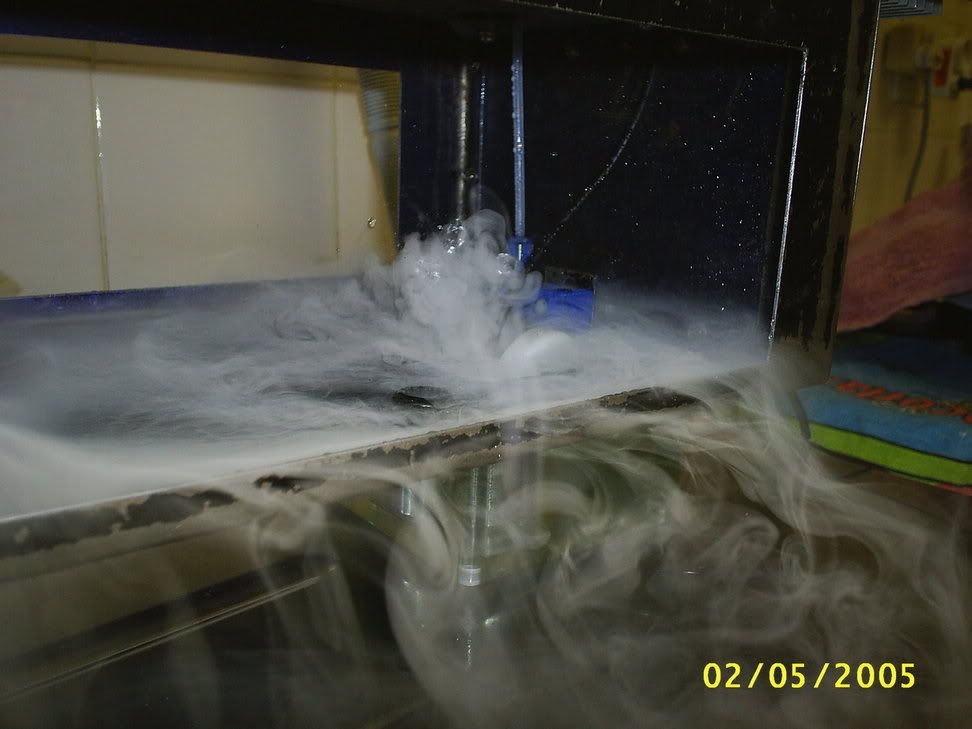
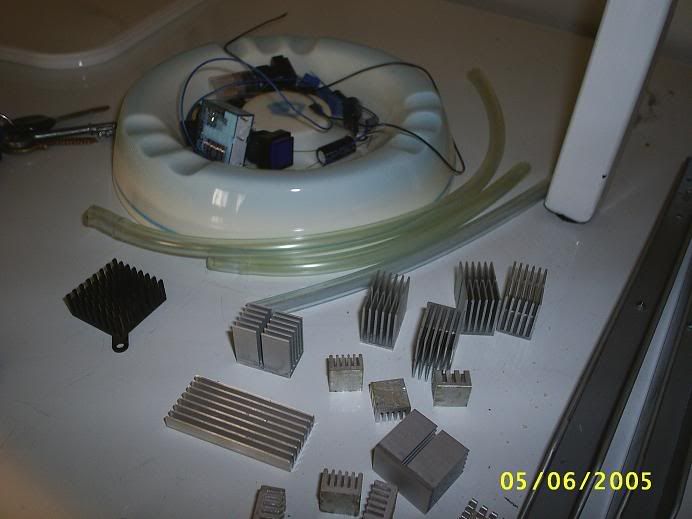
I Have been experimenting with sending the mist from a Mist Maker through the radiator.
(At the bottem right of this page is a pic of the exact same one I got)
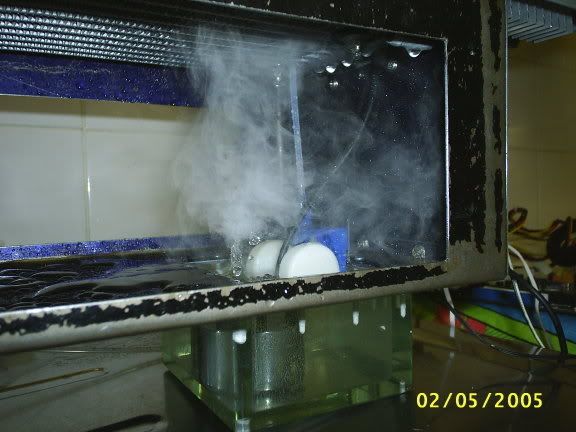
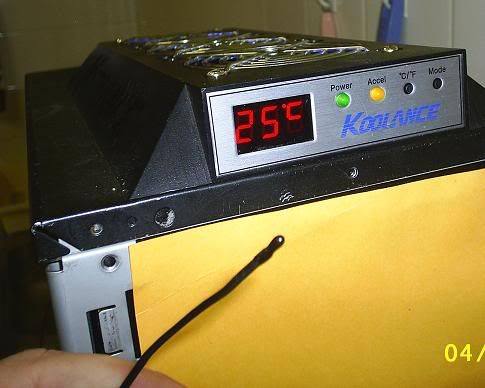
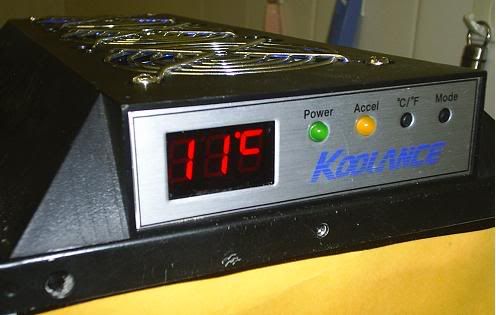
The mist is extremely fine water droplets made by a Piezo-Electric ceramic disk which turns high frequency Alternating Current into a physical shape change or vibration.
This mist evaporates and gives me a 7 deg C temp drop on my backup/test computer.
More on all this here
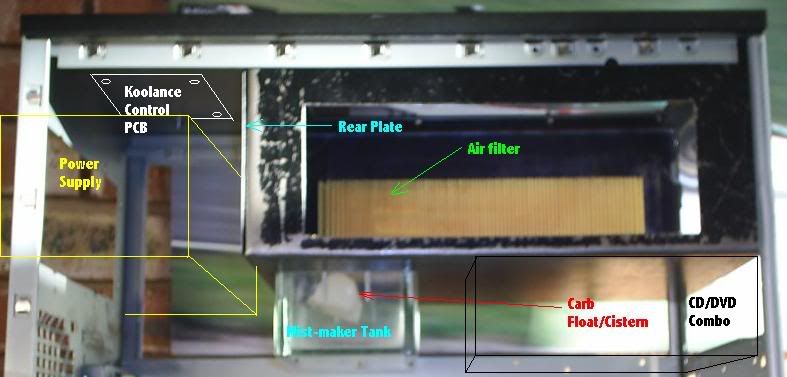
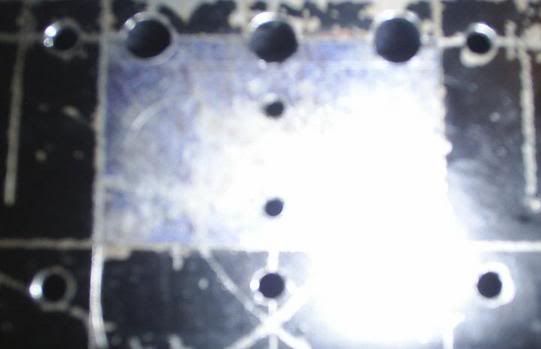
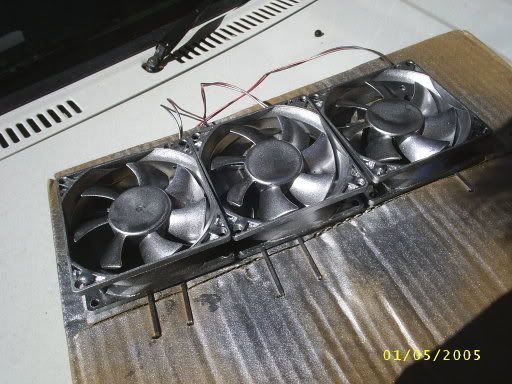
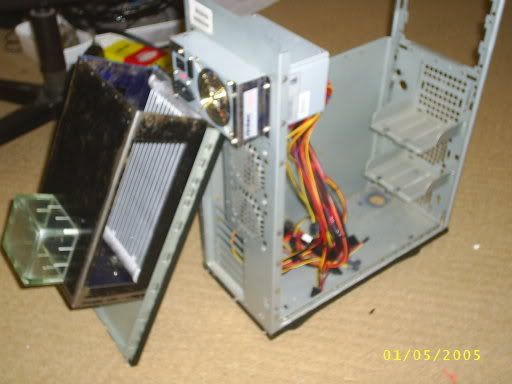
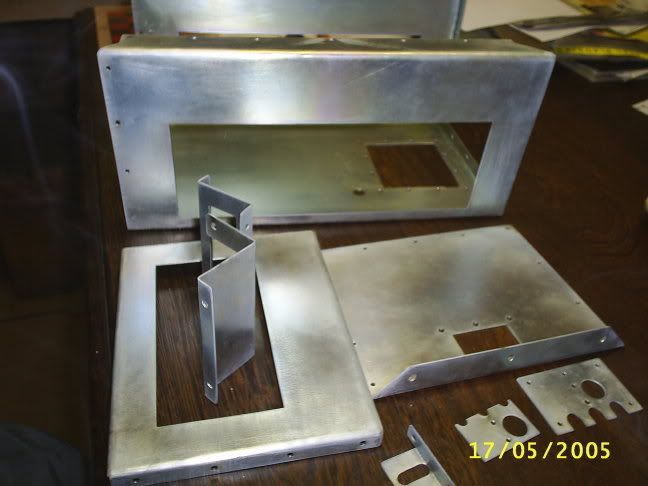
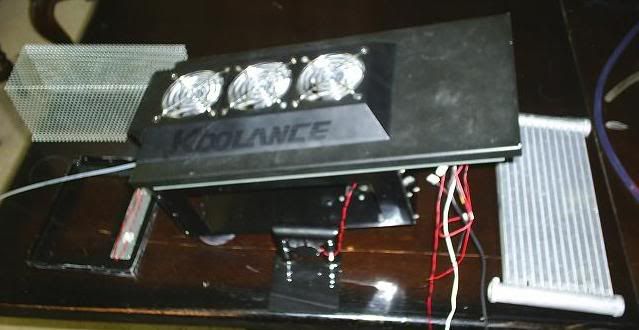
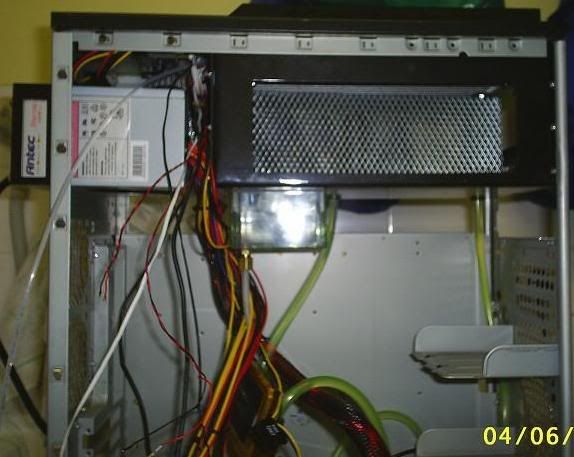
After some measuring and CAD I decided to build an enclosure, which incorperates this, into the top of my Koolance case!:
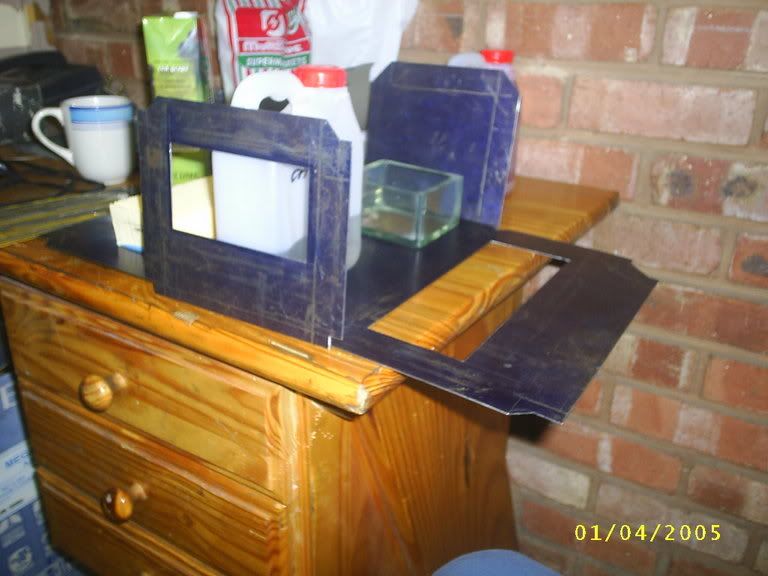
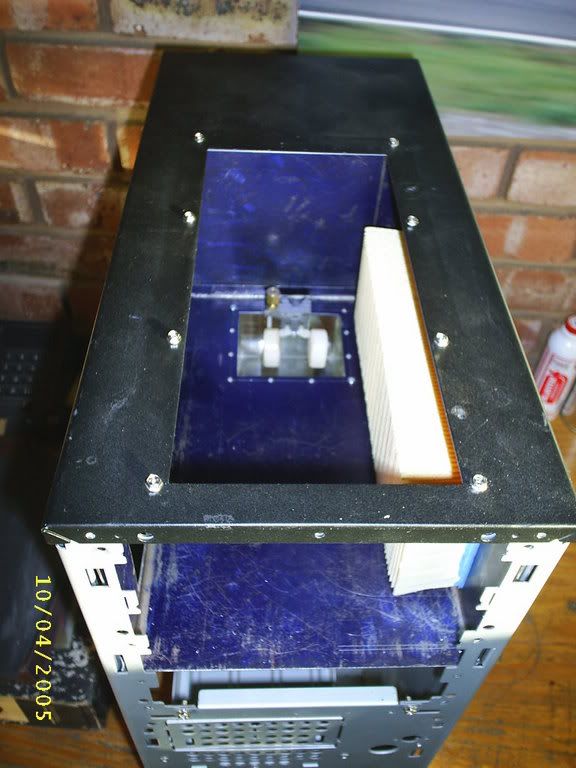
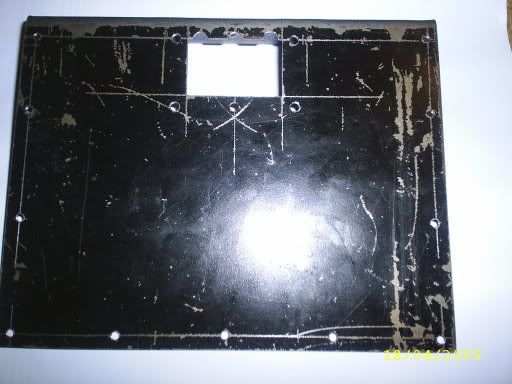
The pic shows the un-bent enclosure that will fit (hopefully) into the top of the koolance case.
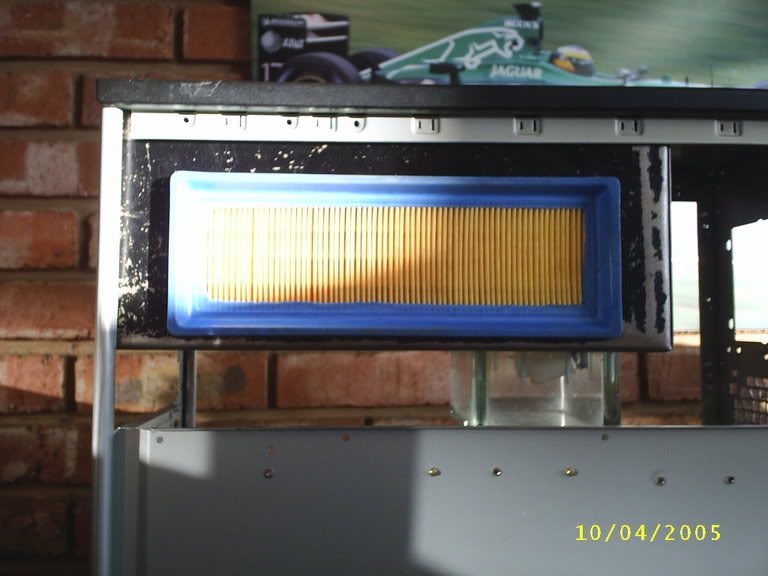
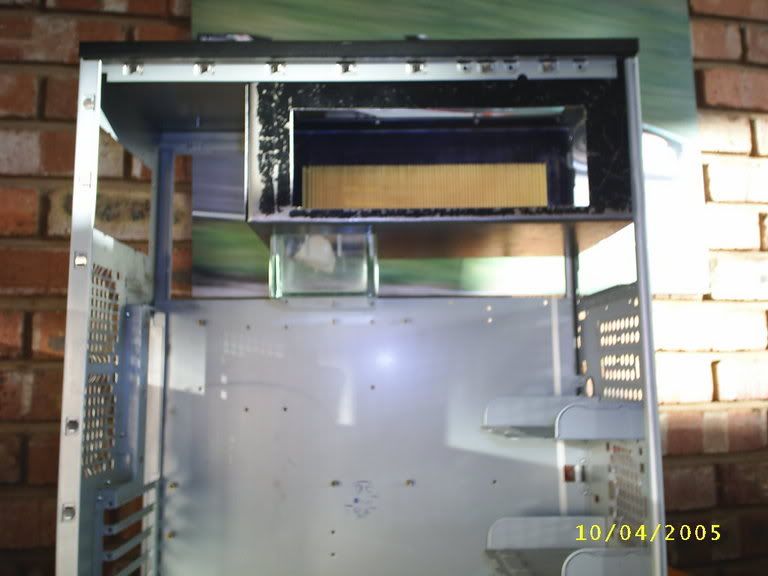
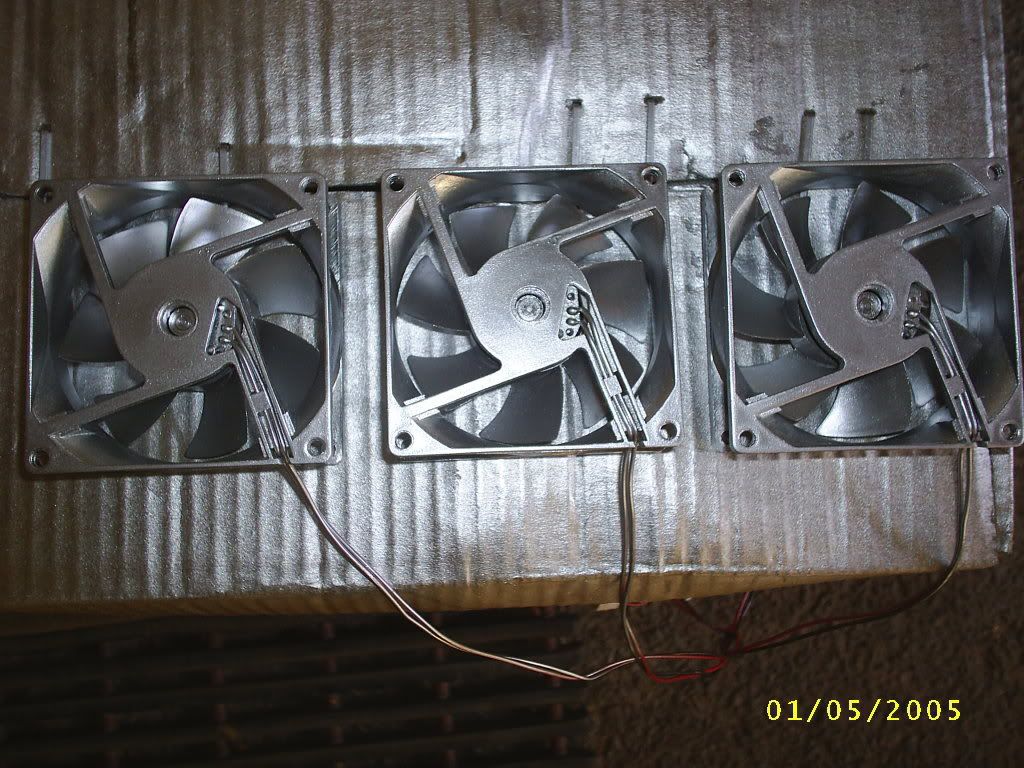
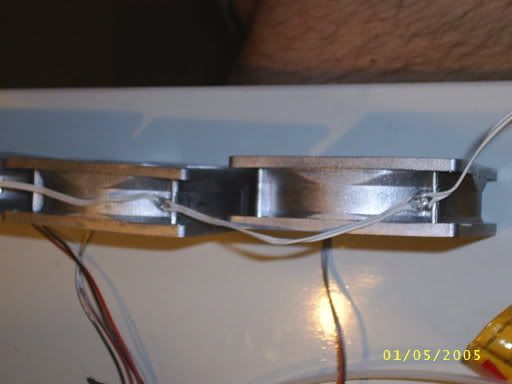
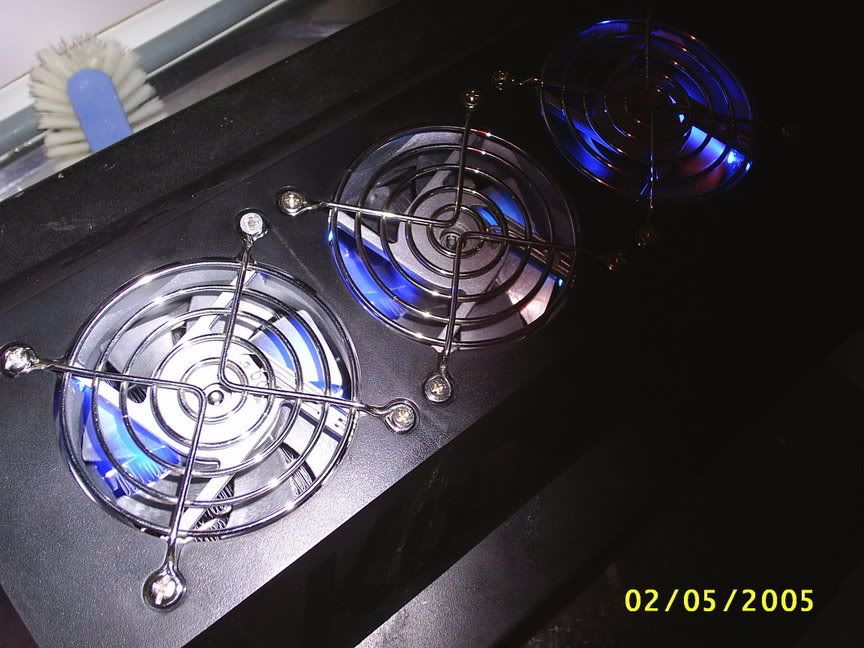
On the left is one of the air filters (Fiat Uno), and the hole on the right is for the other. These sides will be bent up and holes cut in the side covers of the case for airflow through the filters. The radiater will be in the top of the enclosure with all 3, std. Koolance fans sucking air out of the top.
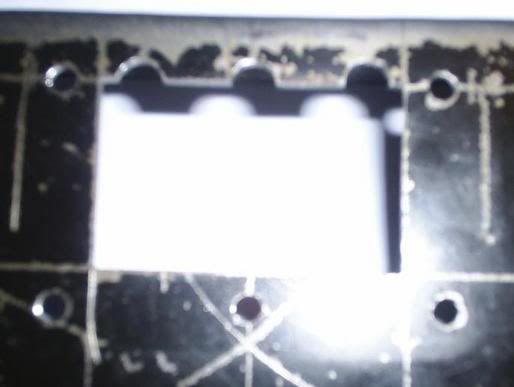
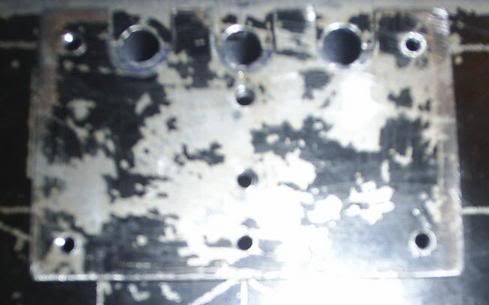
The rectangle cut out of the front plate is for a window so that you can see into the enclosure from the front of the case.
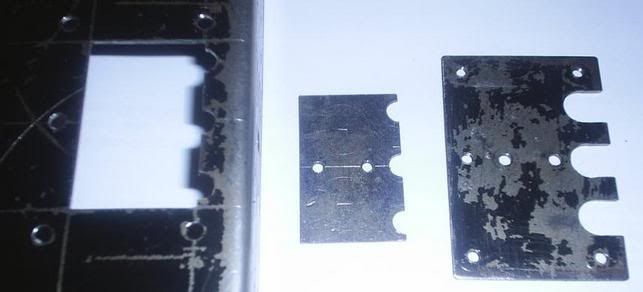
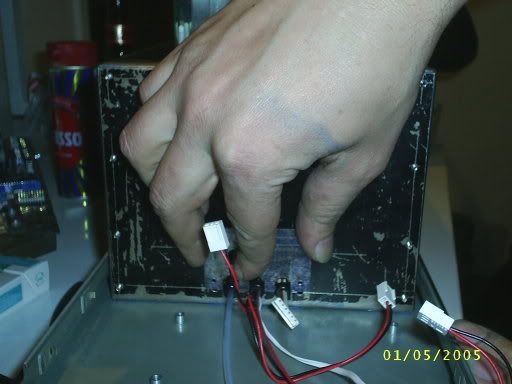
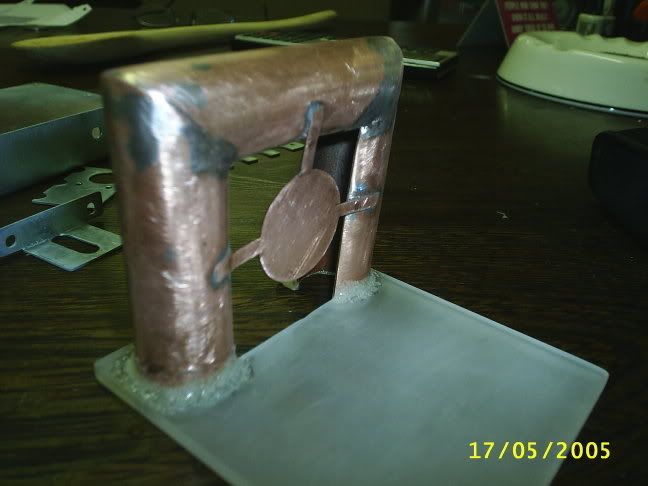
The thing that looks like a glass ashtray will hold the Mist Maker and water. It actually goes on the bottem of the plate like so:
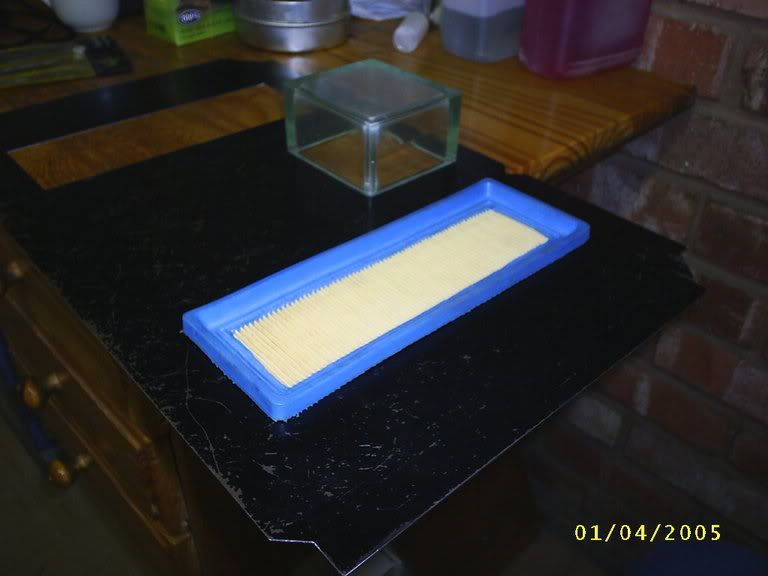
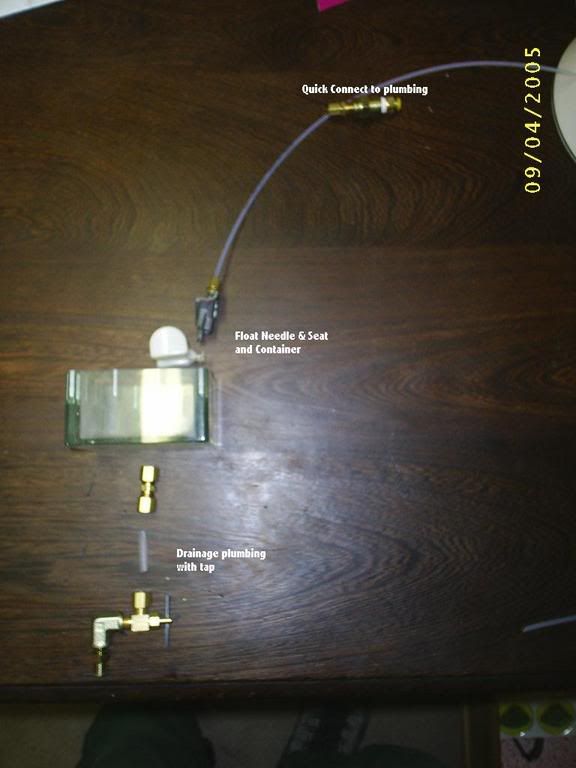
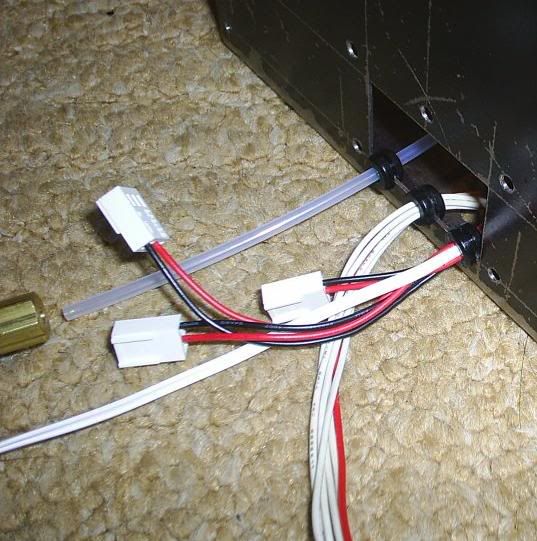
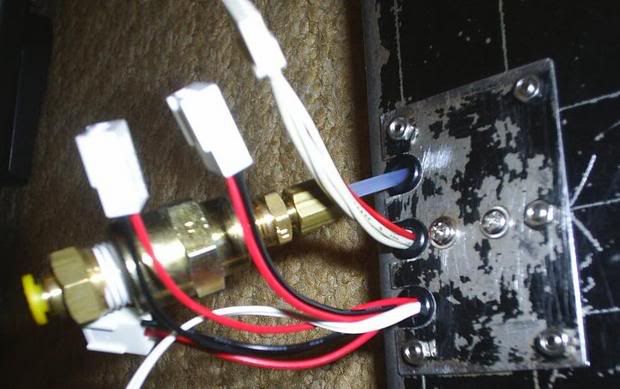
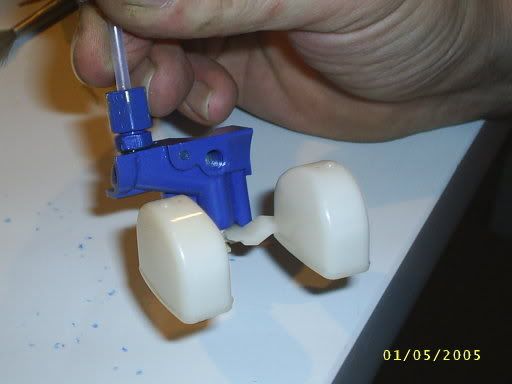
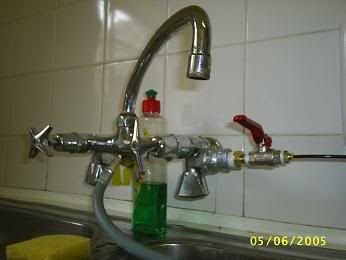
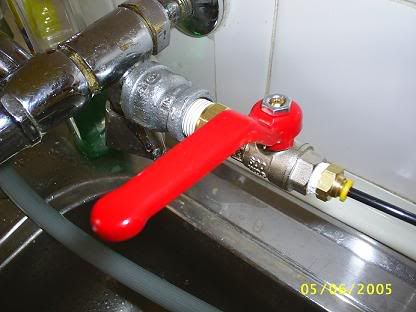
It will incorperate a cistern made from the float, needle and seat from a small motorbike's carburator. This will attach direct to the House plumbing with quick connects for getting it to LANS without the house! :

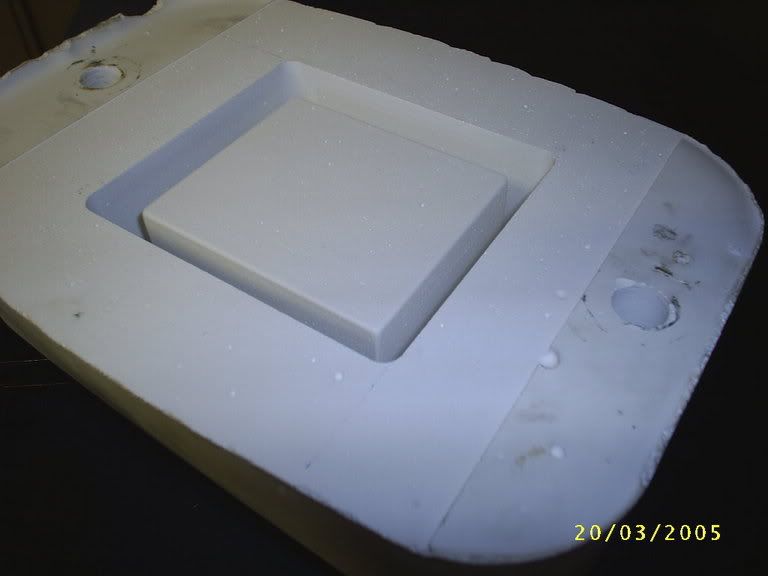
The 'Ashtry' is cast from clear casting resin using a Plaster of Paris mould with the cavity milled out:
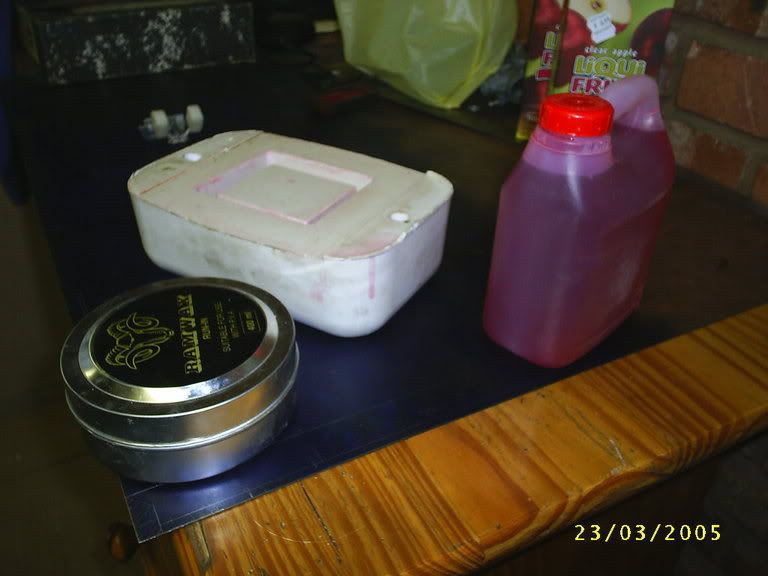
Mould Waxed:
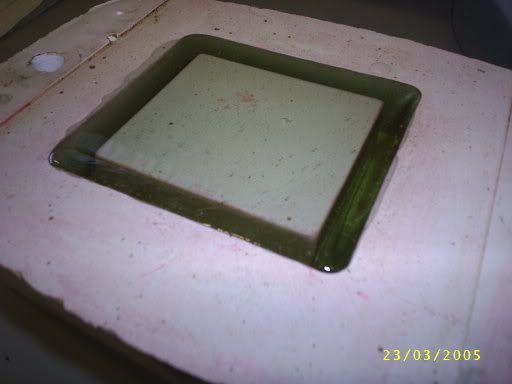
Resin poured:
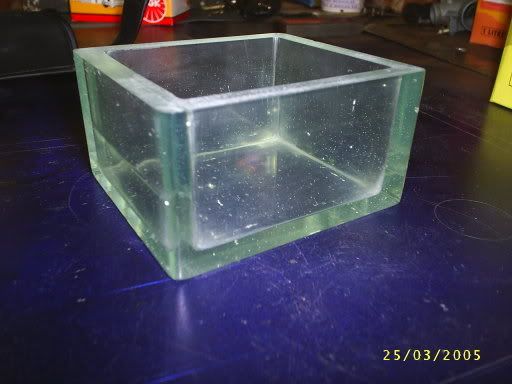
Ashtray!: (After a LOT of sanding and polishing
Looks better in real life with the bubbles in the casting adding an interesting visual effect.
Well hopefully I'll get the plate bent tomorrow and put up pics of it with the 'ashtray' mounted.
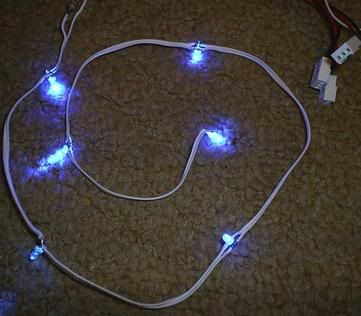
I'm thinking of drilling a hole for a LEd in the ashtray; so that the the whole thing glows blue?
Some clear Silicone should transfere the light into the casting quite well?
Also LED lighting for thr interior of the enclosure.
(At the bottem right of this page is a pic of the exact same one I got)
The mist is extremely fine water droplets made by a Piezo-Electric ceramic disk which turns high frequency Alternating Current into a physical shape change or vibration.
This mist evaporates and gives me a 7 deg C temp drop on my backup/test computer.
More on all this here
After some measuring and CAD I decided to build an enclosure, which incorperates this, into the top of my Koolance case!:
The pic shows the un-bent enclosure that will fit (hopefully) into the top of the koolance case.
On the left is one of the air filters (Fiat Uno), and the hole on the right is for the other. These sides will be bent up and holes cut in the side covers of the case for airflow through the filters. The radiater will be in the top of the enclosure with all 3, std. Koolance fans sucking air out of the top.
The rectangle cut out of the front plate is for a window so that you can see into the enclosure from the front of the case.
The thing that looks like a glass ashtray will hold the Mist Maker and water. It actually goes on the bottem of the plate like so:
It will incorperate a cistern made from the float, needle and seat from a small motorbike's carburator. This will attach direct to the House plumbing with quick connects for getting it to LANS without the house!
:
The 'Ashtry' is cast from clear casting resin using a Plaster of Paris mould with the cavity milled out:
Mould Waxed:
Resin poured:
Ashtray!: (After a LOT of sanding and polishing
Looks better in real life with the bubbles in the casting adding an interesting visual effect.
Well hopefully I'll get the plate bent tomorrow and put up pics of it with the 'ashtray' mounted.
I'm thinking of drilling a hole for a LEd in the ashtray; so that the the whole thing glows blue?
Some clear Silicone should transfere the light into the casting quite well?
Also LED lighting for thr interior of the enclosure.