• Some users have recently had their accounts hijacked. It seems that the now defunct EVGA forums might have compromised your password there and seems many are using the same PW here. We would suggest you UPDATE YOUR PASSWORD and TURN ON 2FA for your account here to further secure it. None of the compromised accounts had 2FA turned on.
    Once you have enabled 2FA, your account will be updated soon to show a badge, letting other members know that you use 2FA to protect your account. This should be beneficial for everyone that uses FSFT.

inFusion by Smasher [Scratch Build]

Smasher

n00b
Joined
Jun 3, 2011
Messages
34
Now yes!
inFusion​
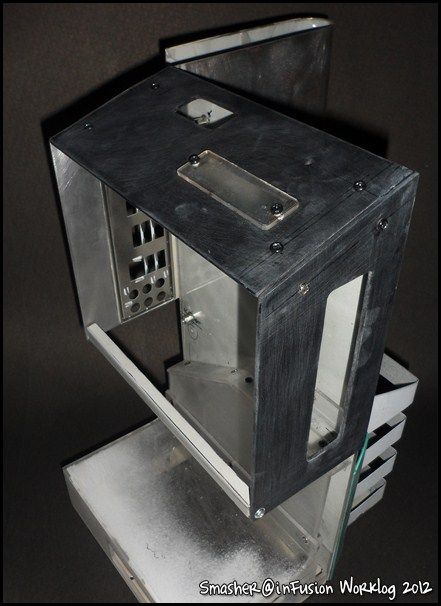
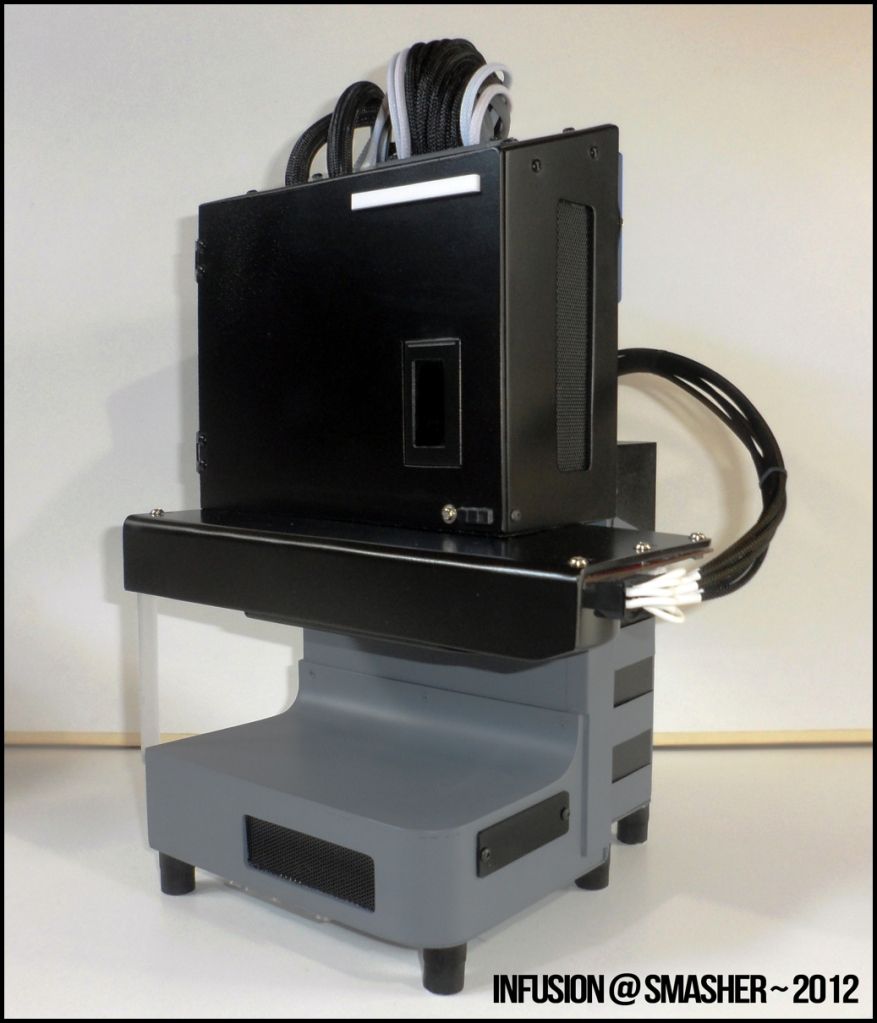
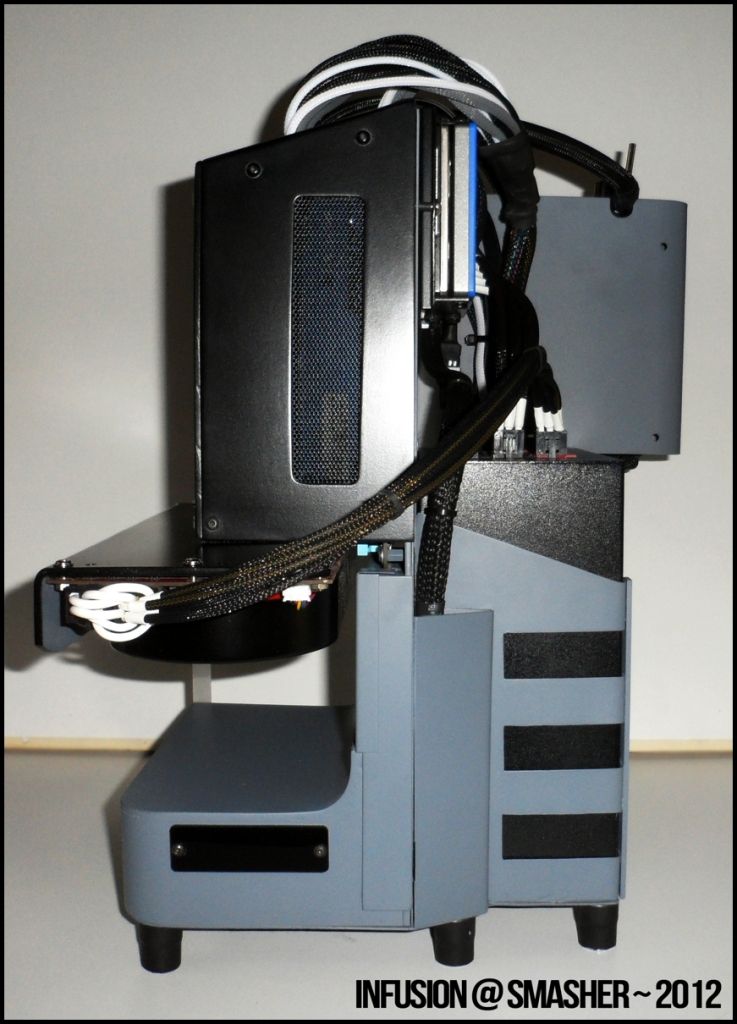
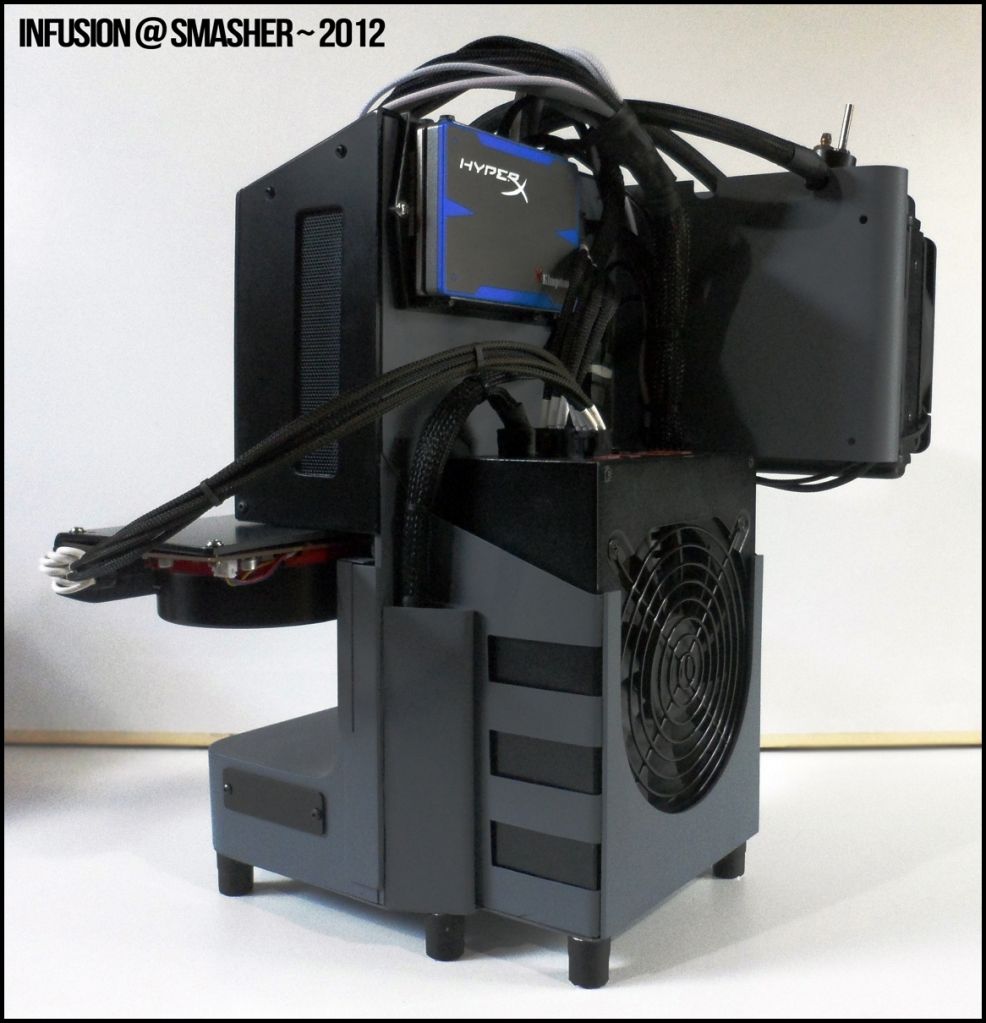
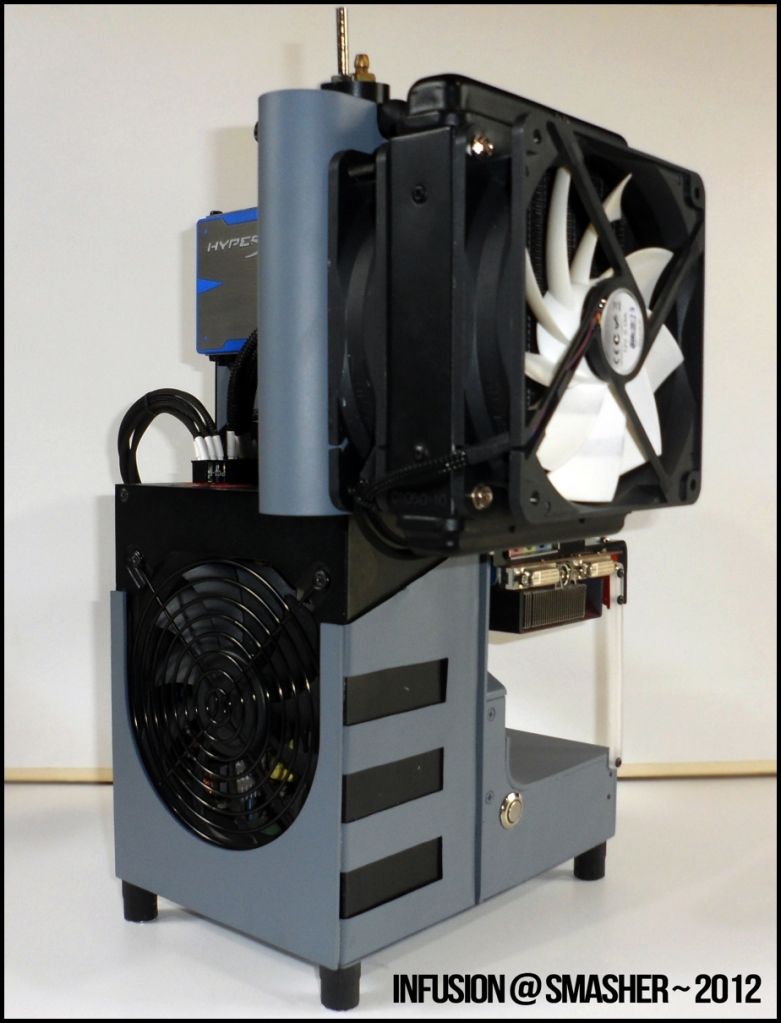
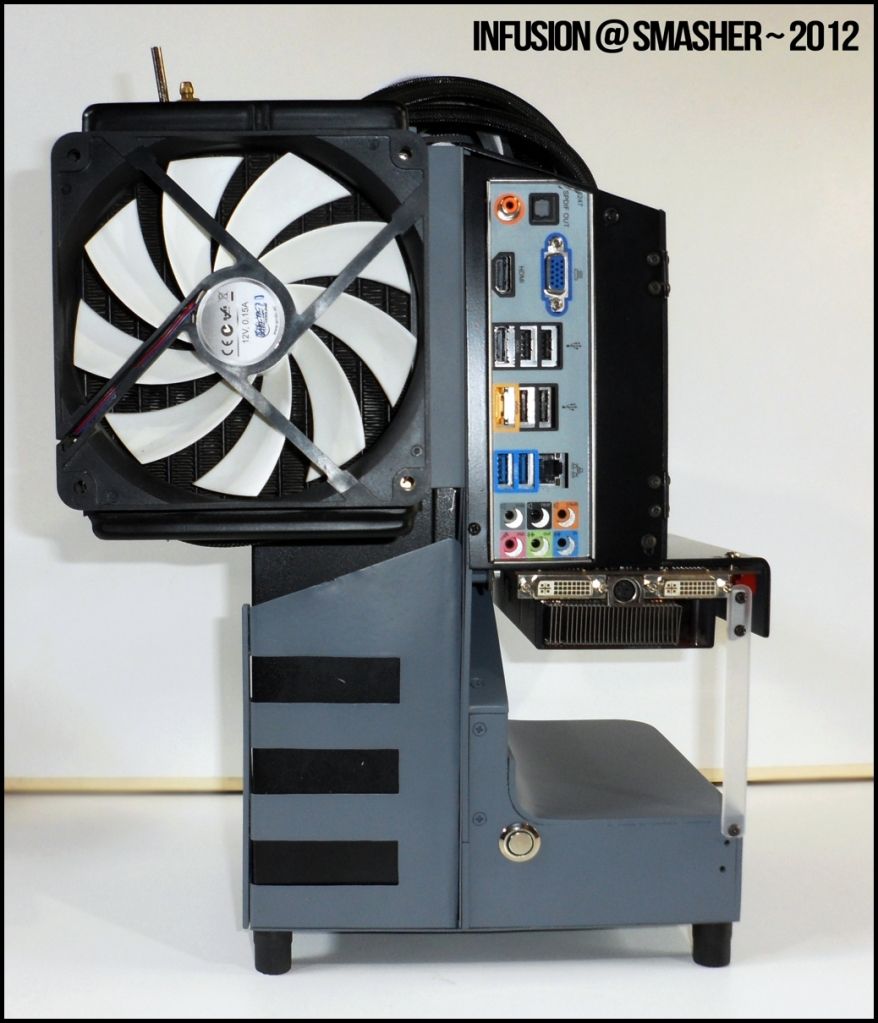
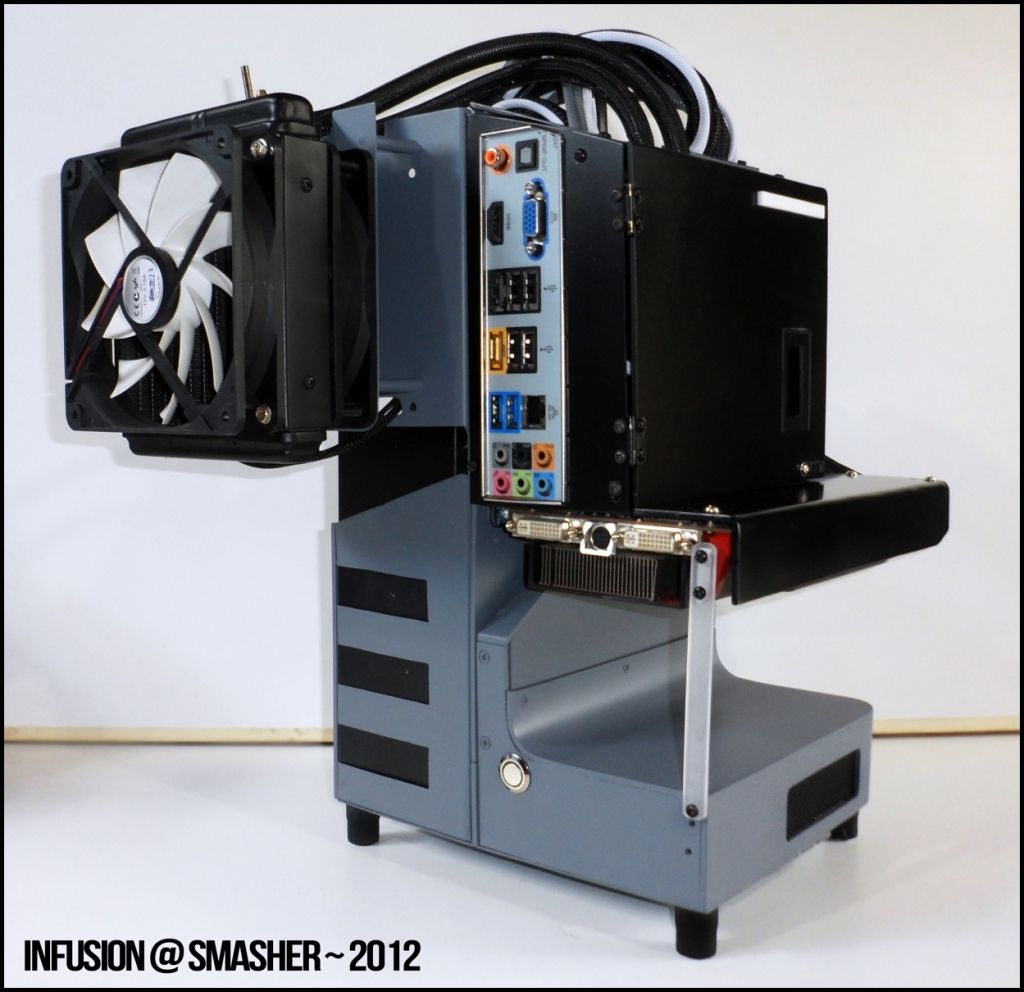
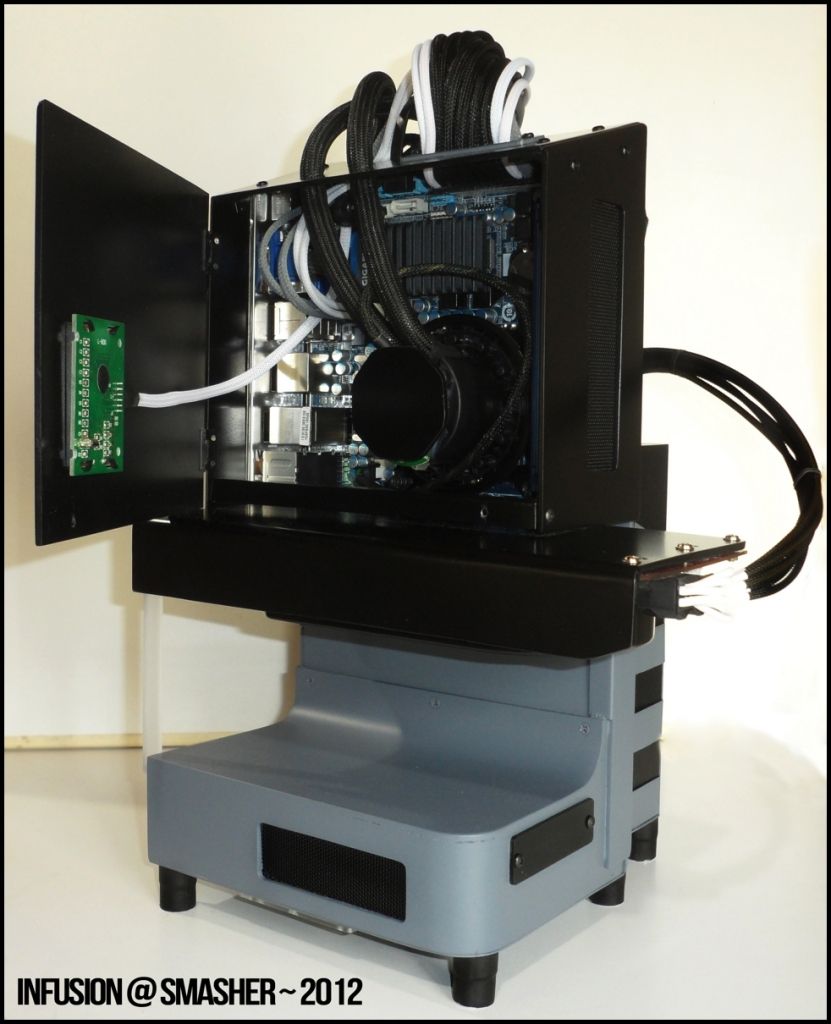
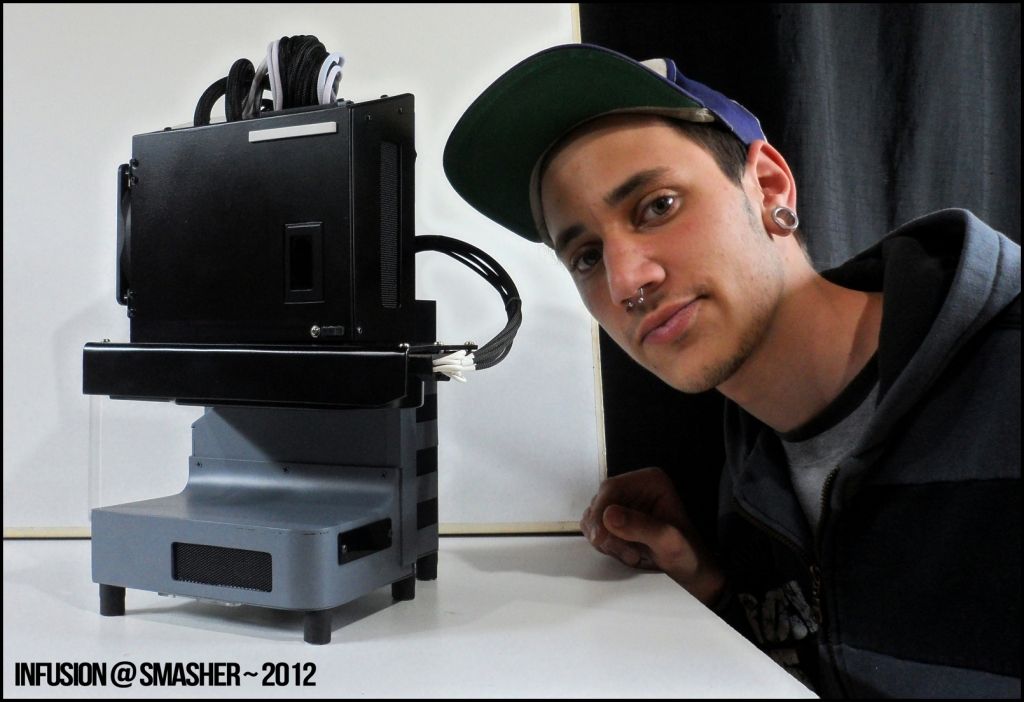
The project infusion is a Scratch Build case that will be builded from the beginning with different types of materials: Acrylic, Metal and Wood.
Have a unique shape and design, containing in it a powerful hardware.
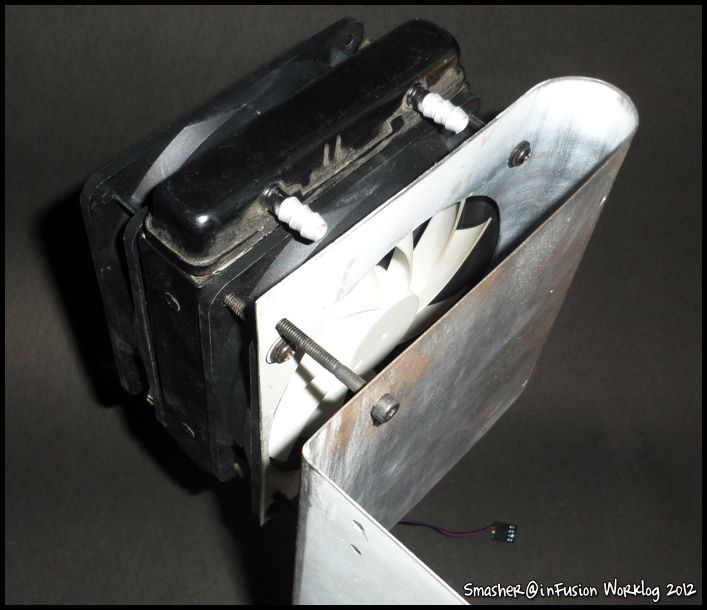
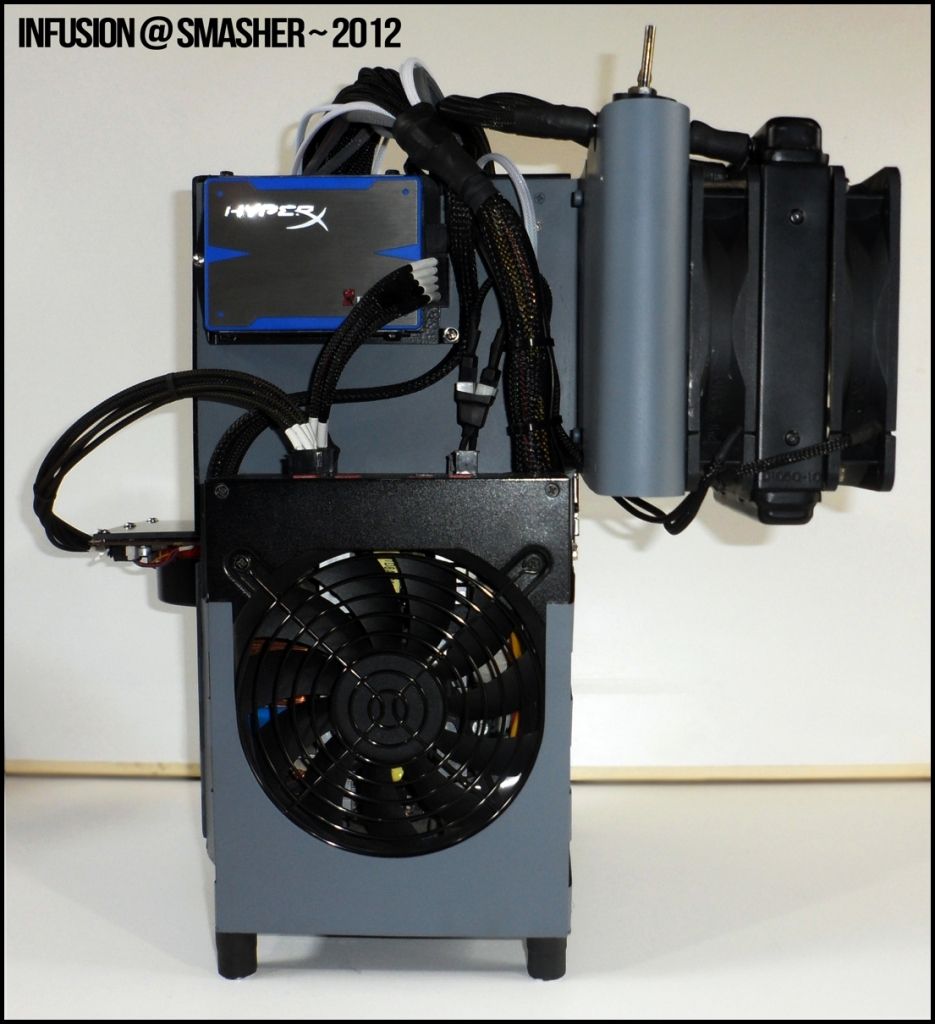
Have a watercooling (Corsair H50) modified for this project.
The aesthetic is warm hug, with around 183 hours dedicated solely and exclusively to this design.
These will be the base material will be used:
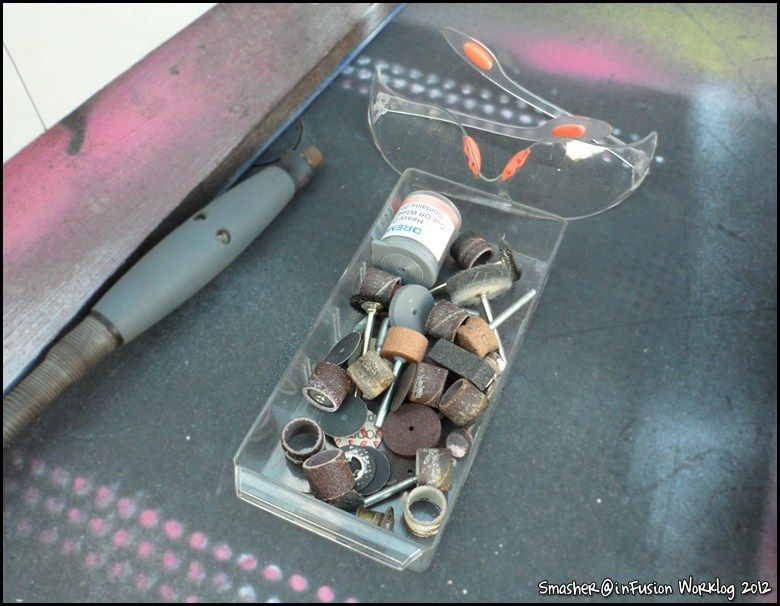
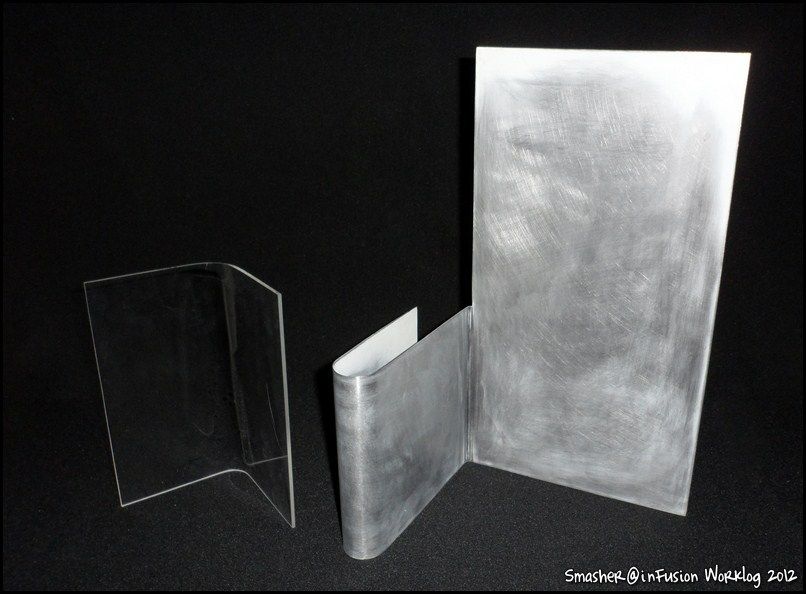
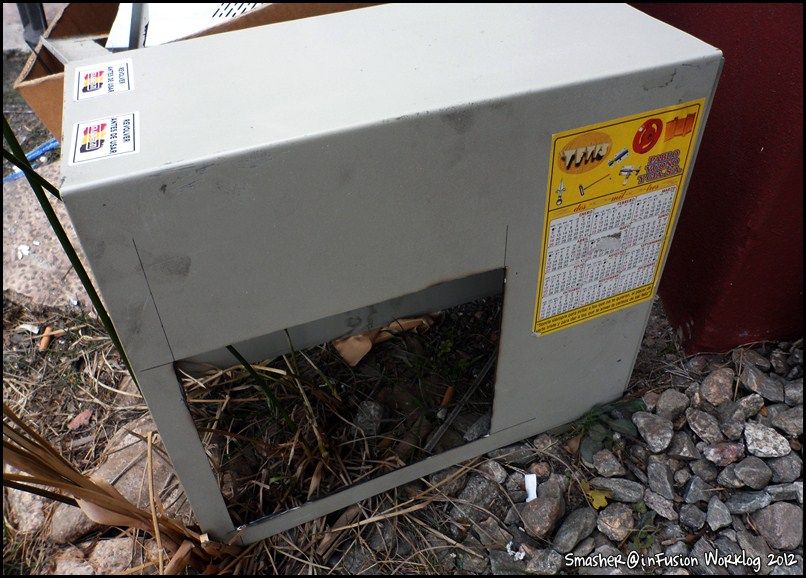
Samples of acrylic, acrylic tubes, and sheets of old cases.
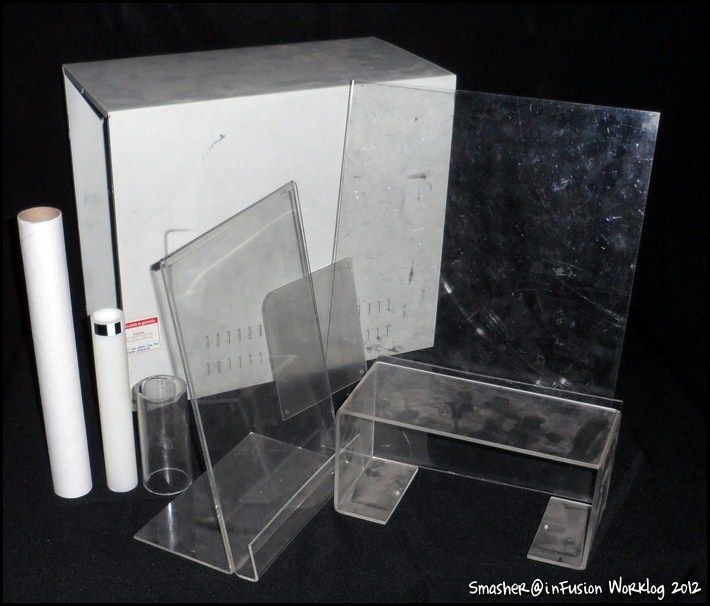
inFusionSmasher001.jpg


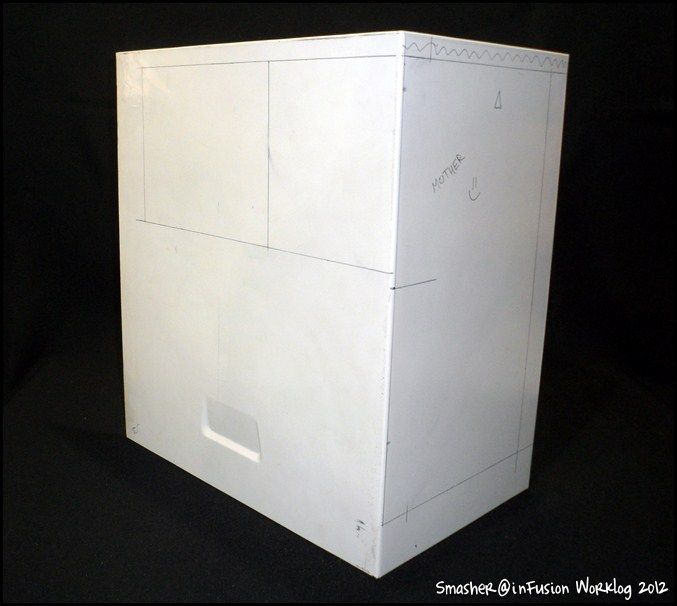
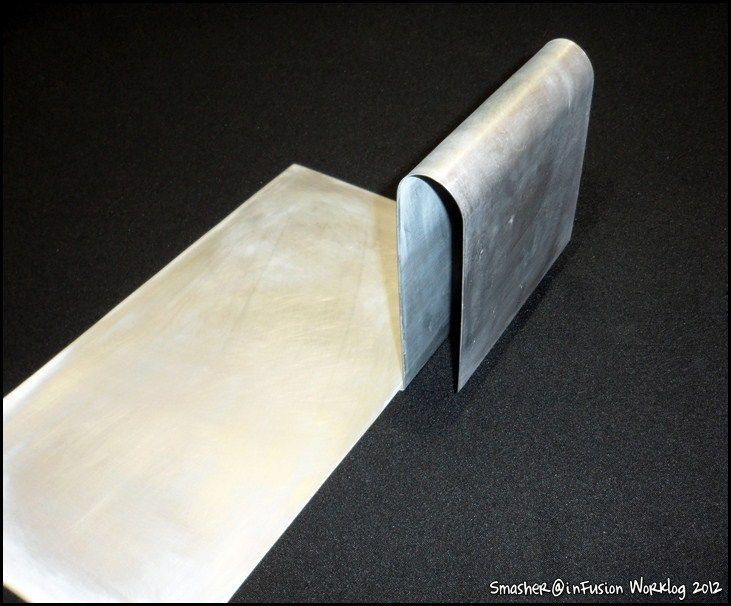
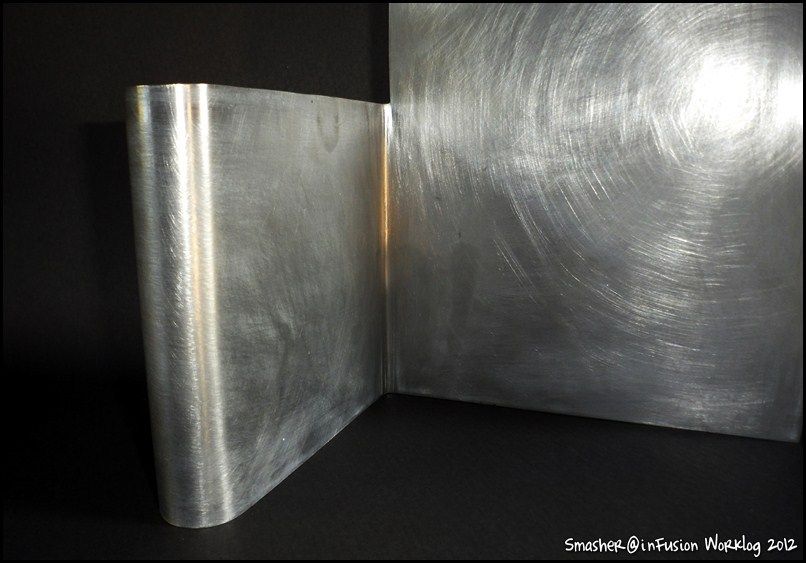
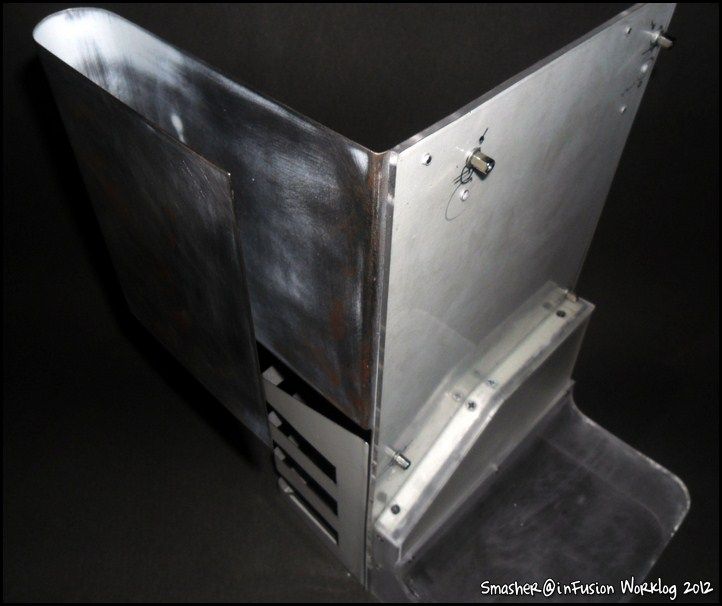
With this cover of old cabinet, the main structure will be built.
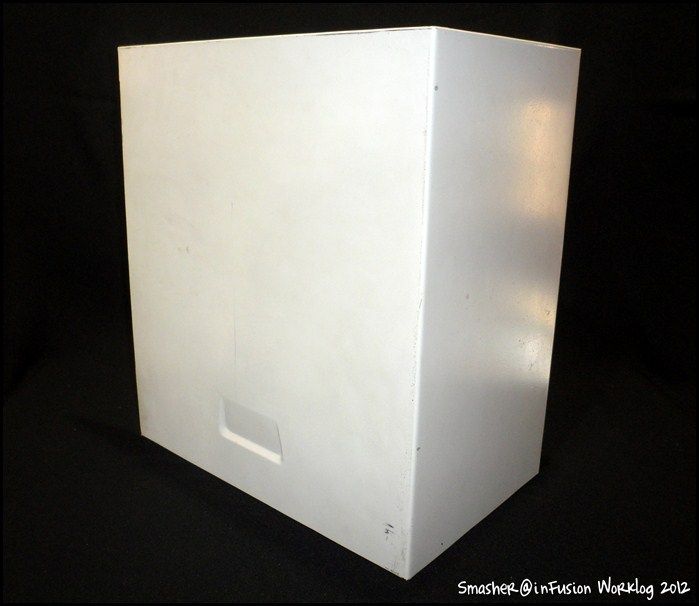
inFusionSmasher002.jpg


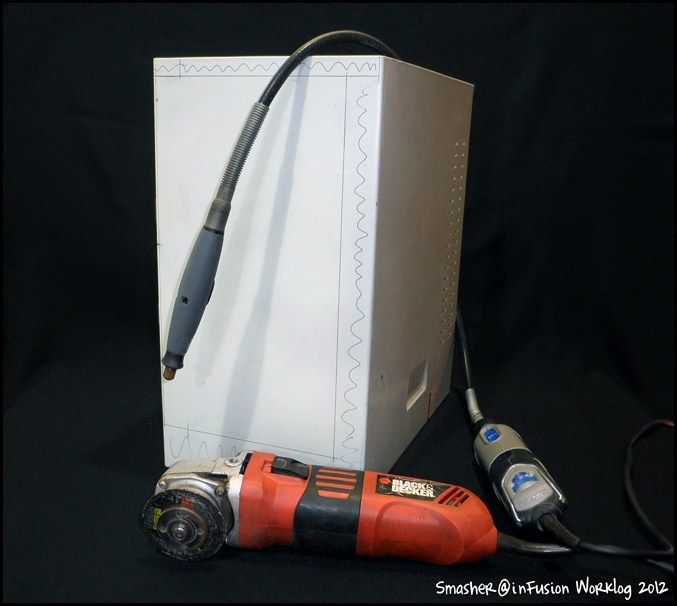
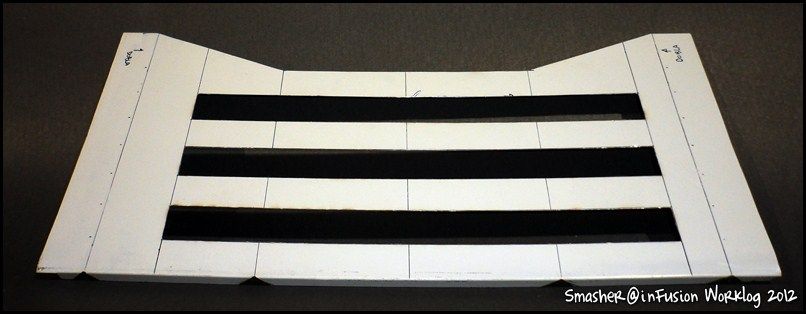
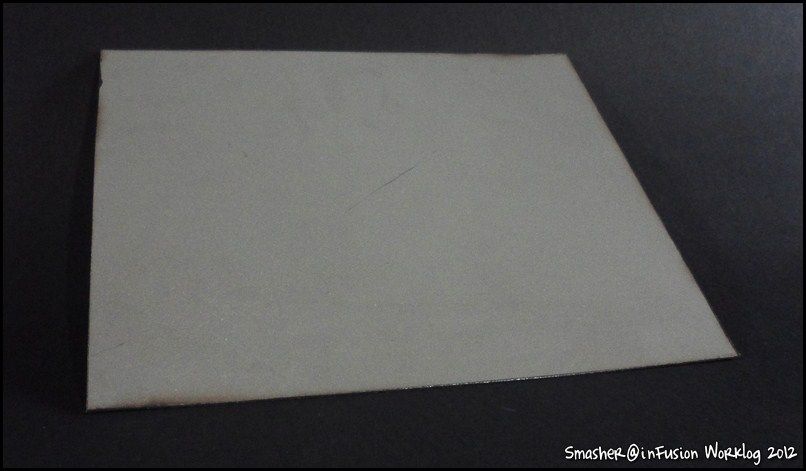
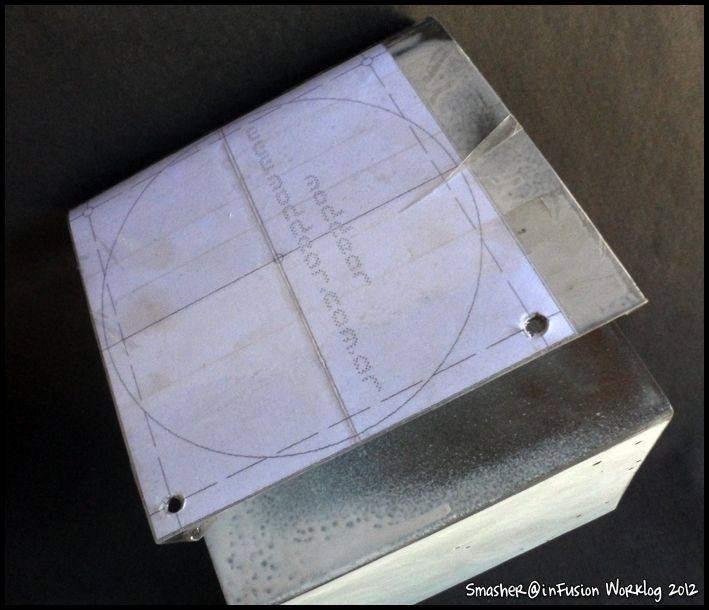
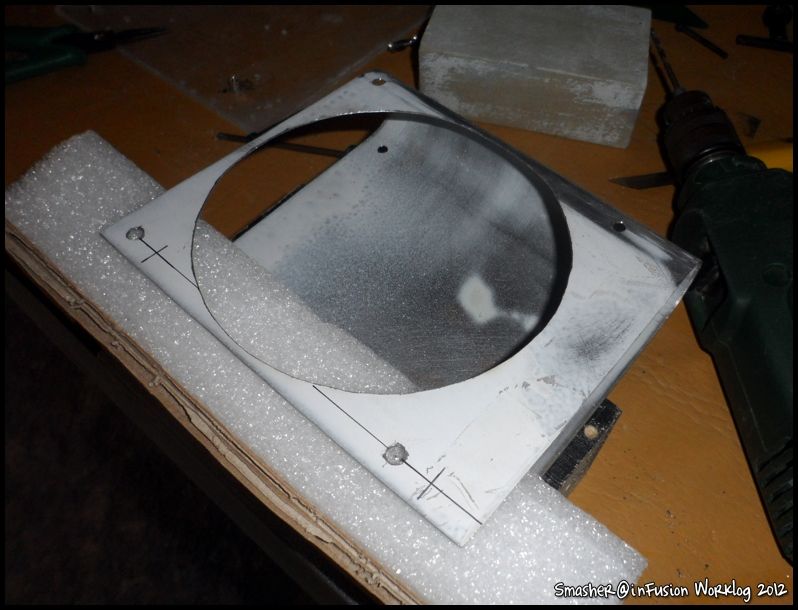
Based on a test piece made of cardboard, the cuts are marked.
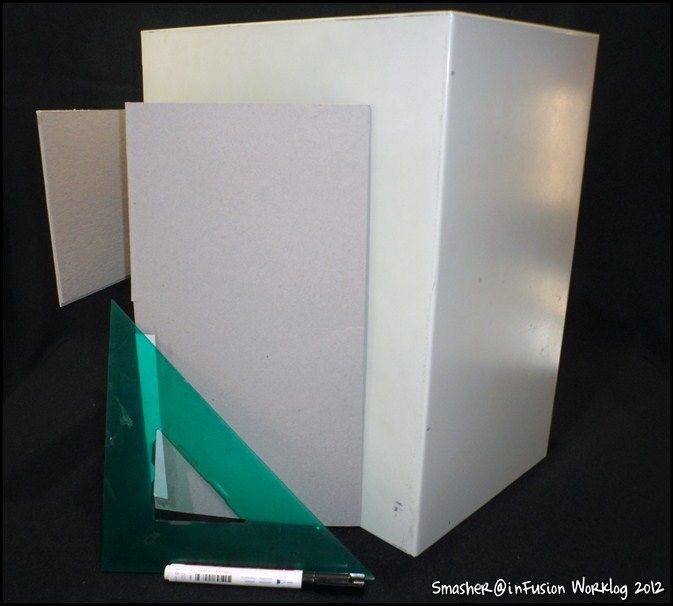
inFusionSmasher003.jpg


inFusionSmasher004.jpg


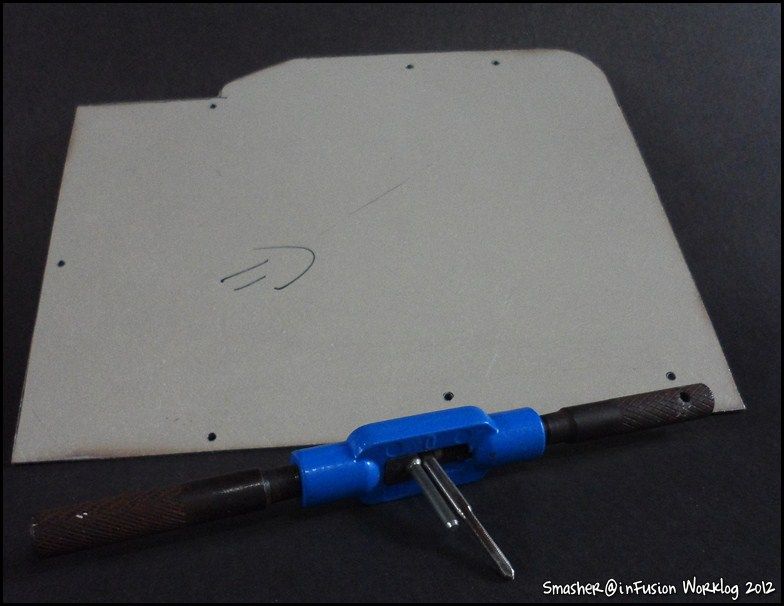
Starting!

inFusionSmasher005.jpg


inFusionSmasher006.jpg


inFusionSmasher007.jpg


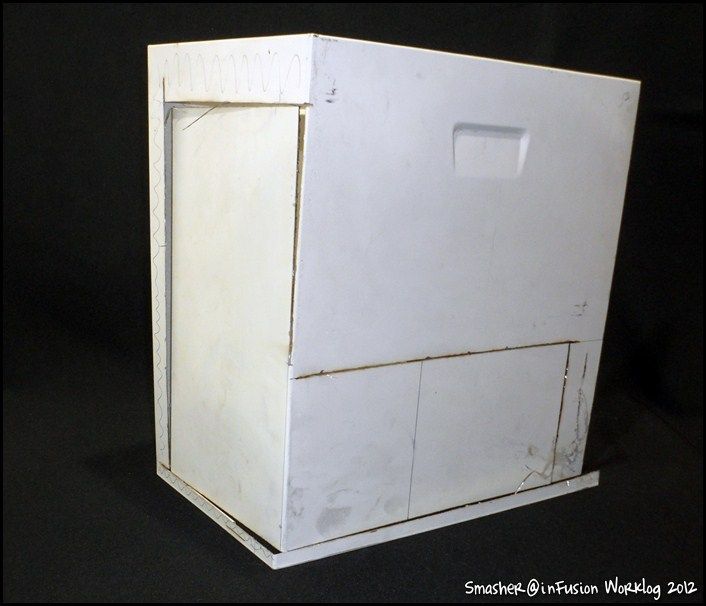
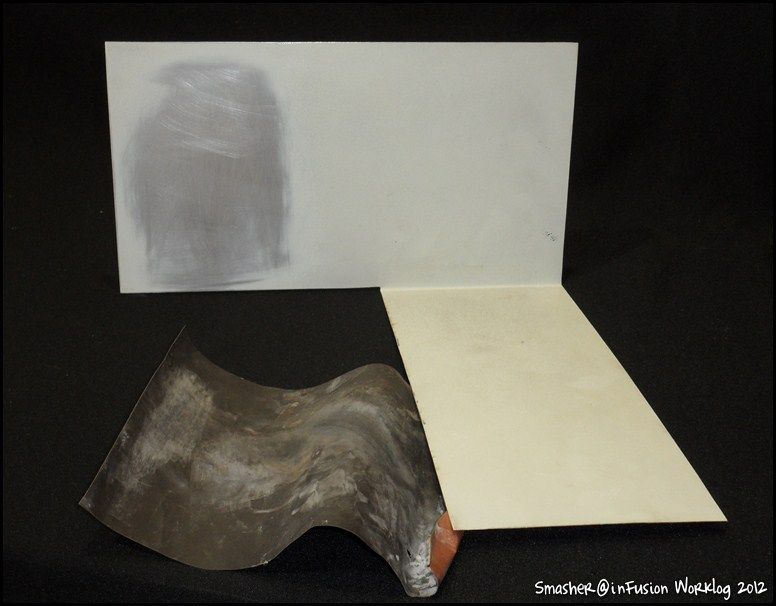
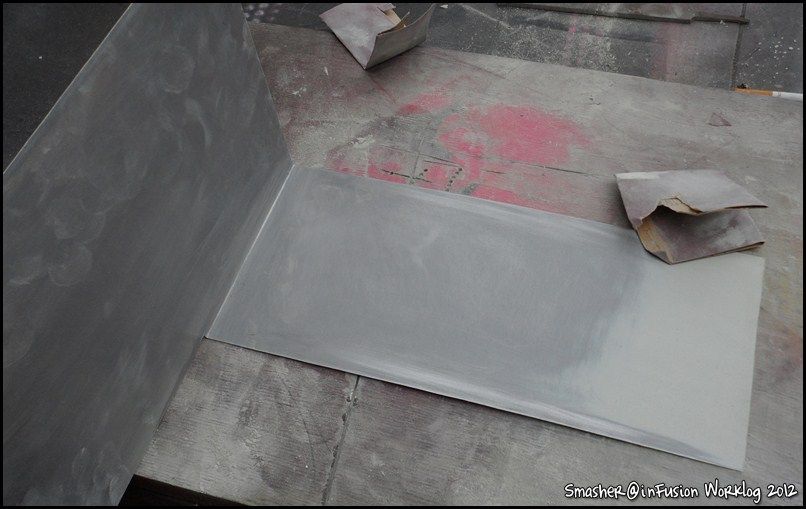
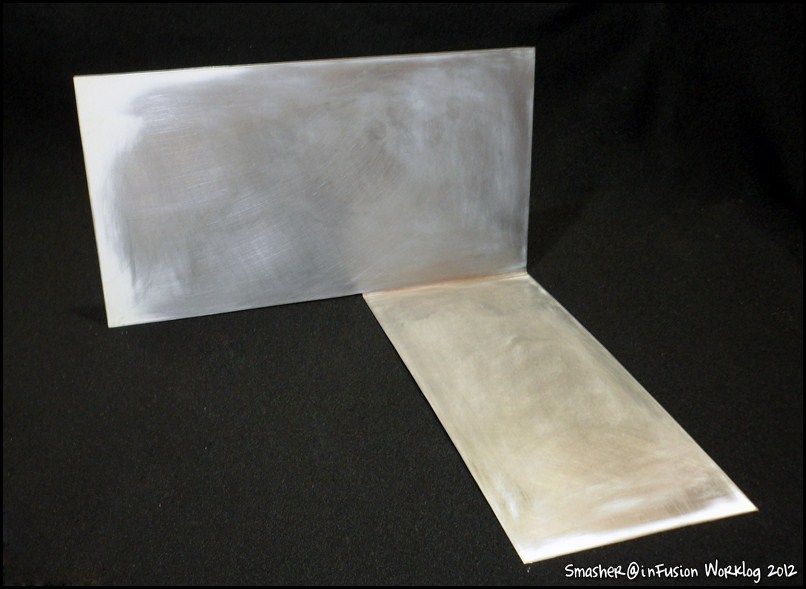
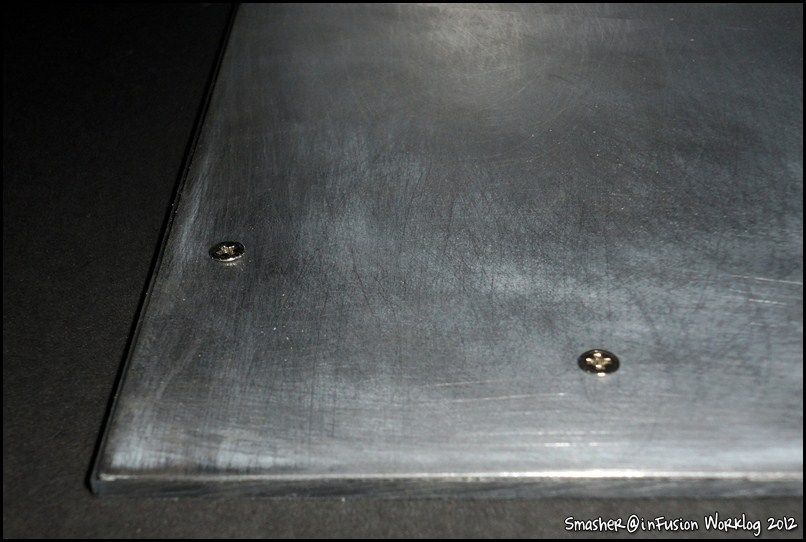
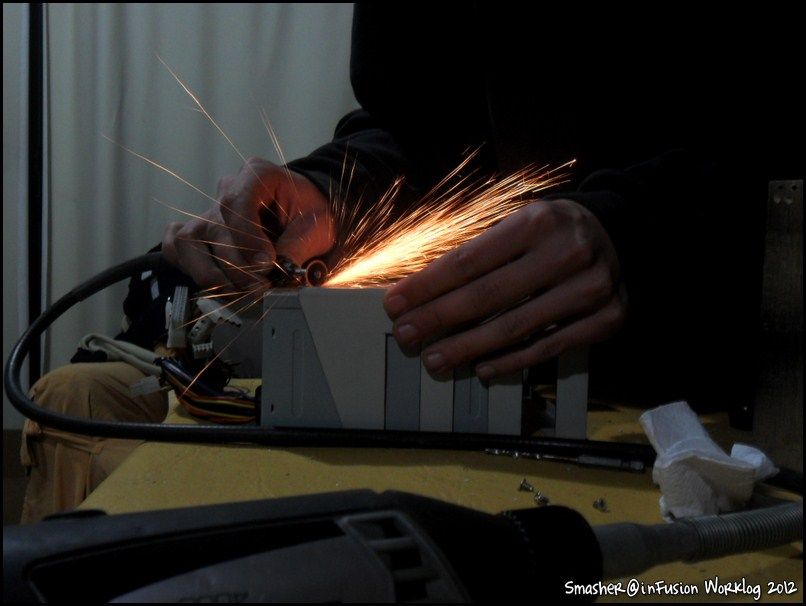
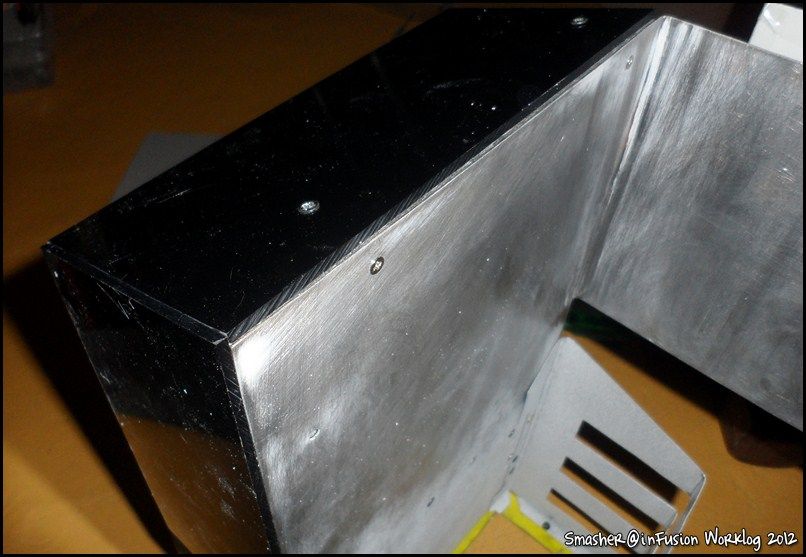
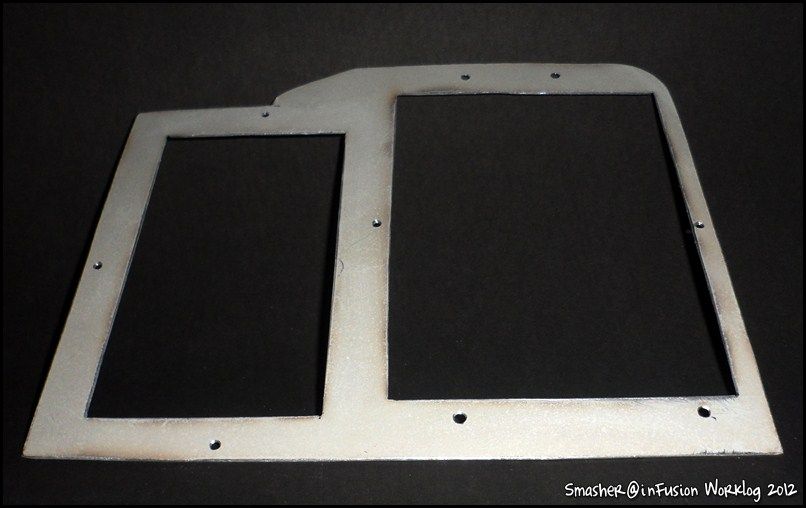
Filing the edges and sand the paint to make the raw metal.
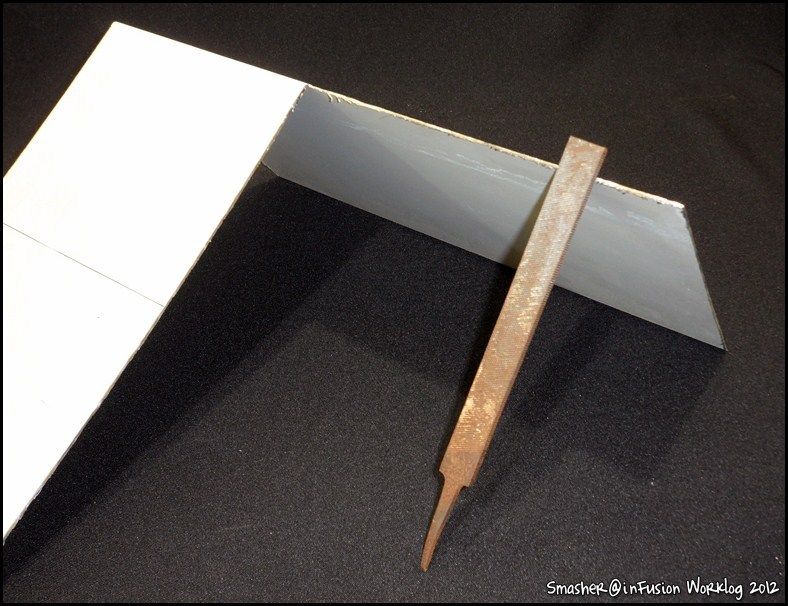
inFusionSmasher008.jpg


inFusionSmasher009.jpg


inFusionSmasher010.jpg


inFusionSmasher011.jpg


inFusionSmasher012.jpg


inFusionSmasher013.jpg


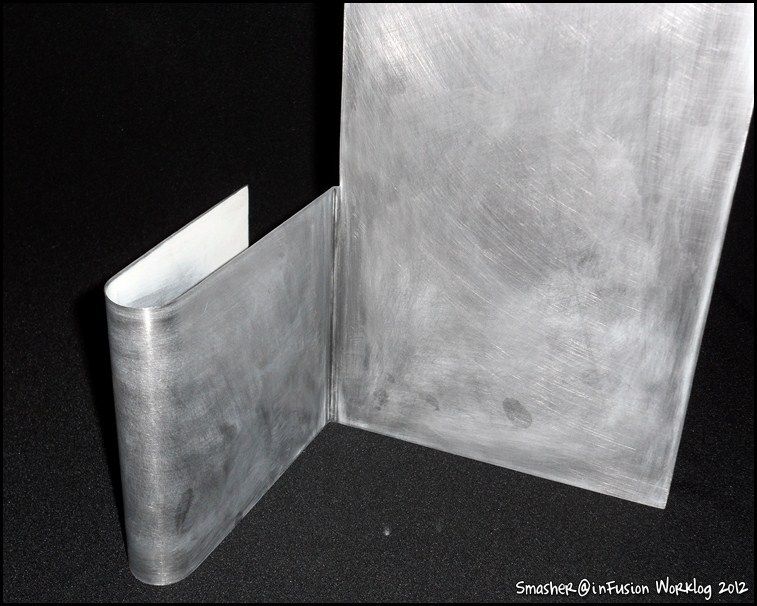
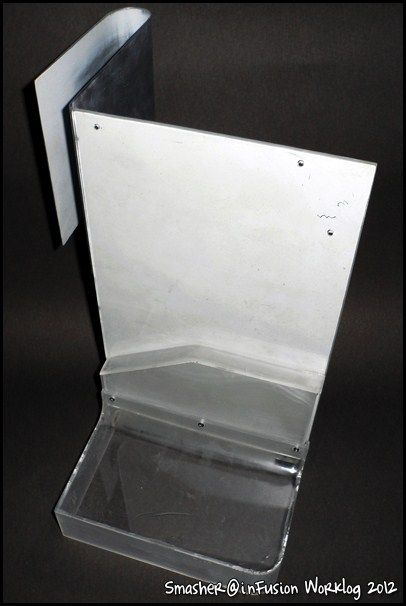
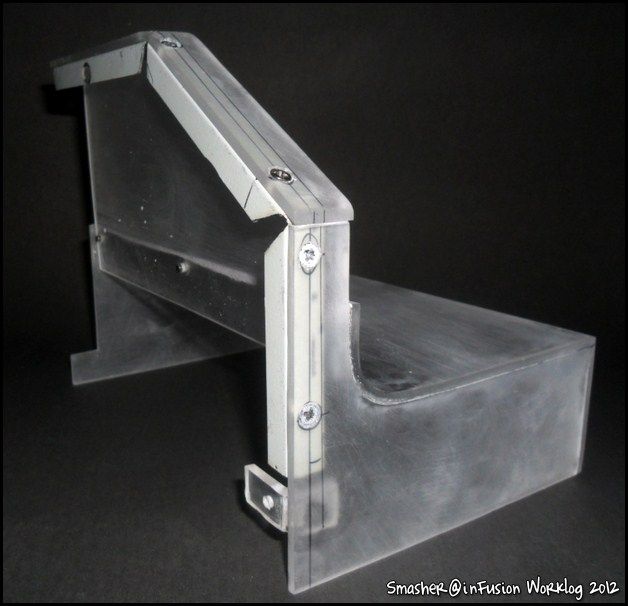
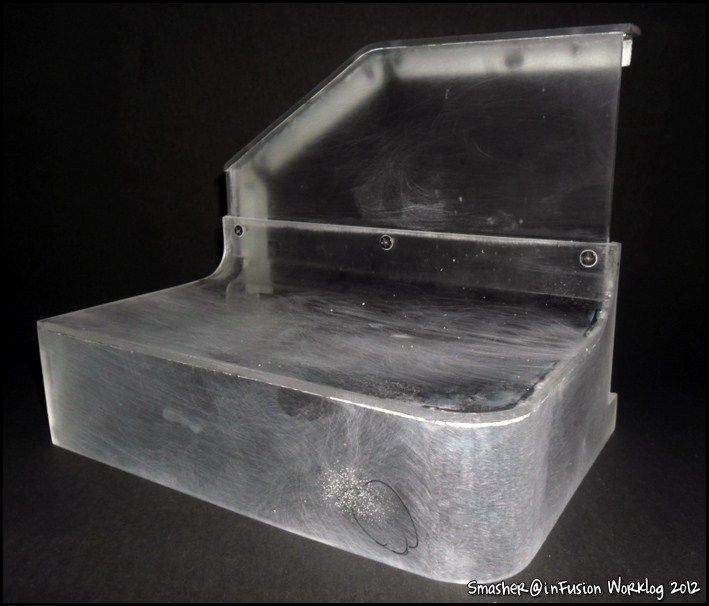
With this piece semi finished, we will build the front, which will house the hard disk and DVD lectograbadora.
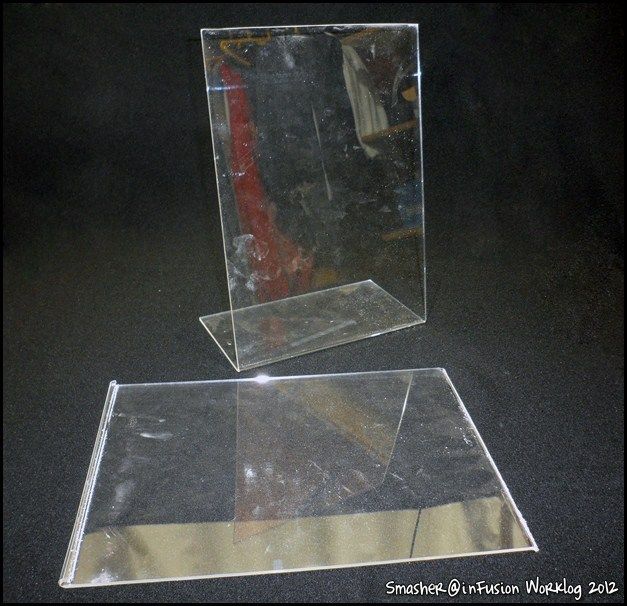
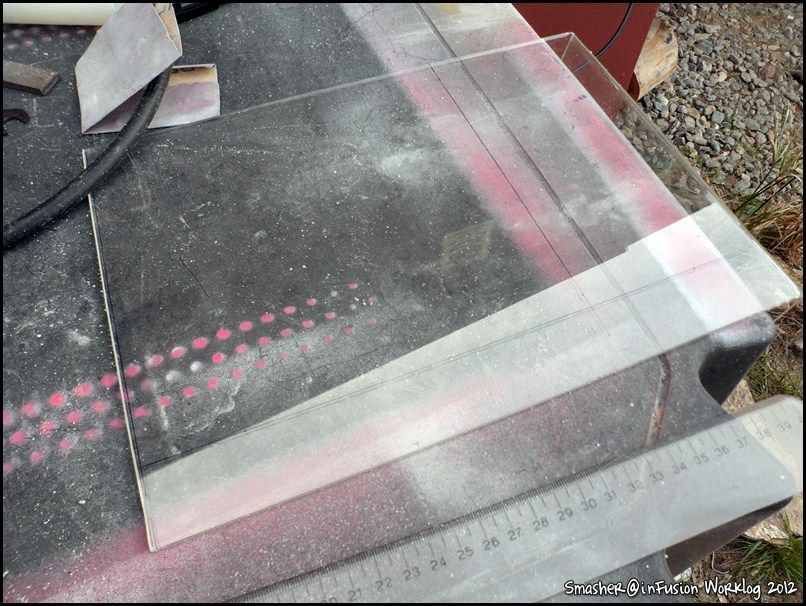
inFusionSmasher014.jpg


inFusionSmasher015.jpg


inFusionSmasher016.jpg


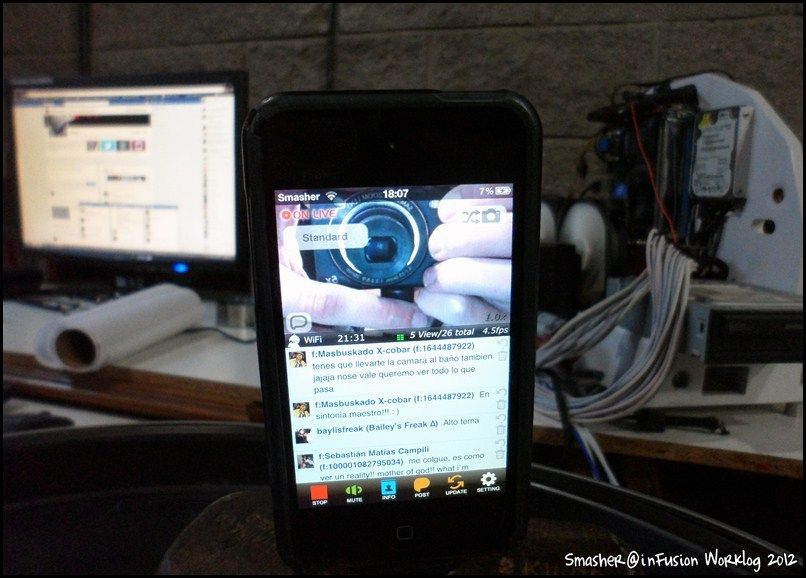
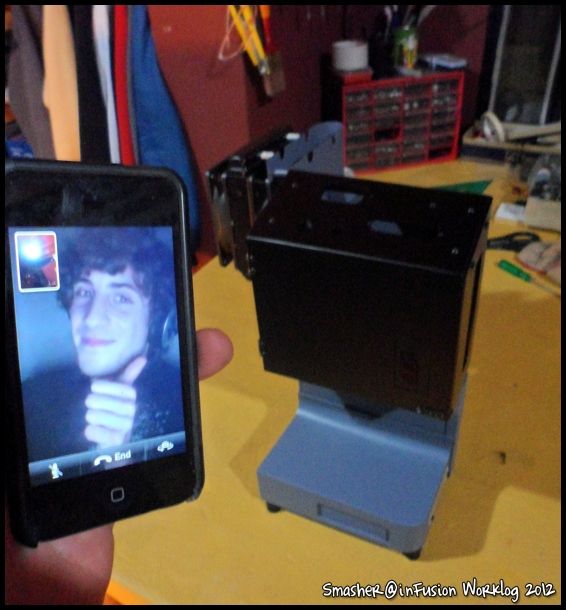
While I Twitcam

inFusionSmasher017.jpg


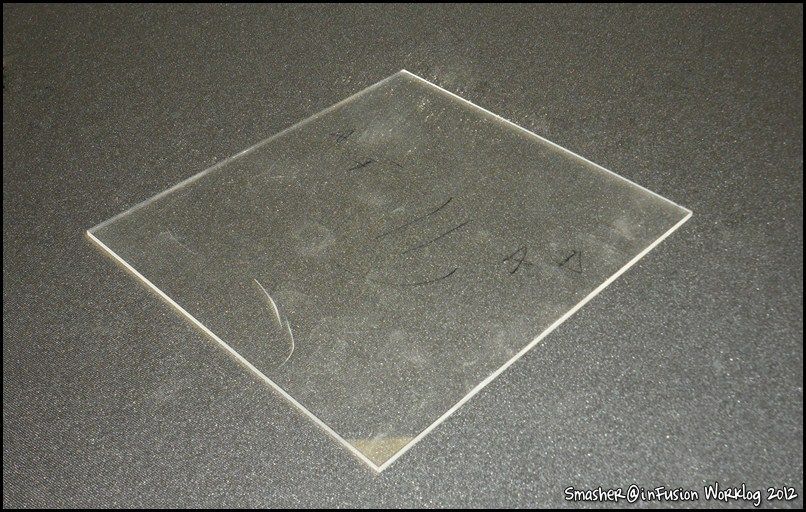
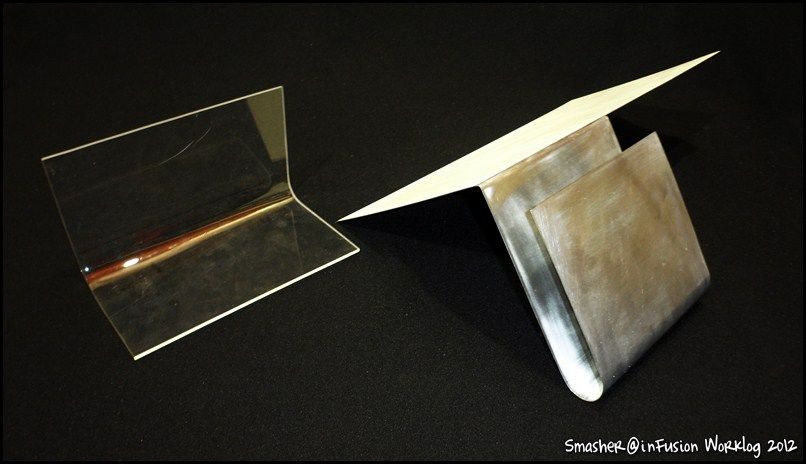
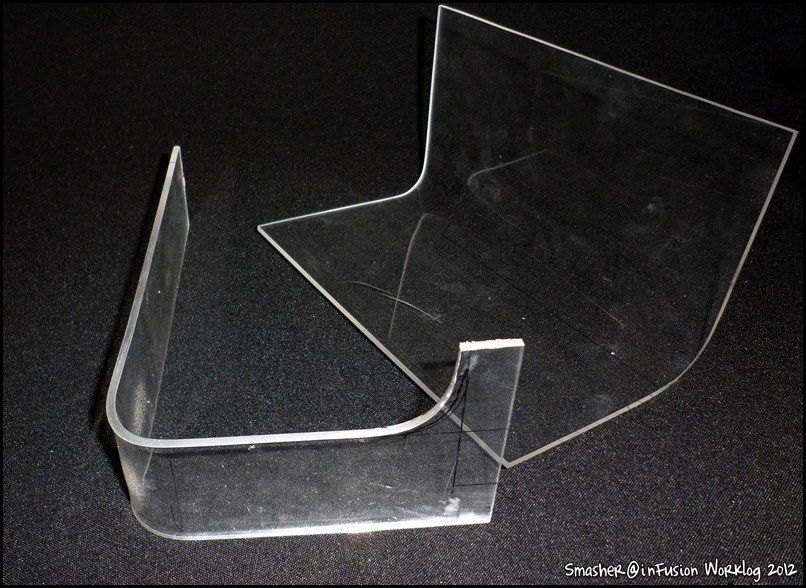
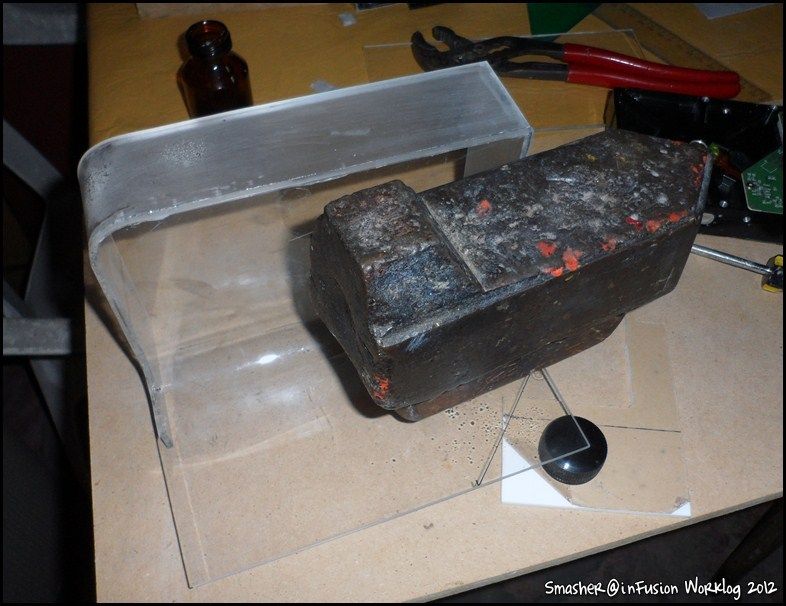
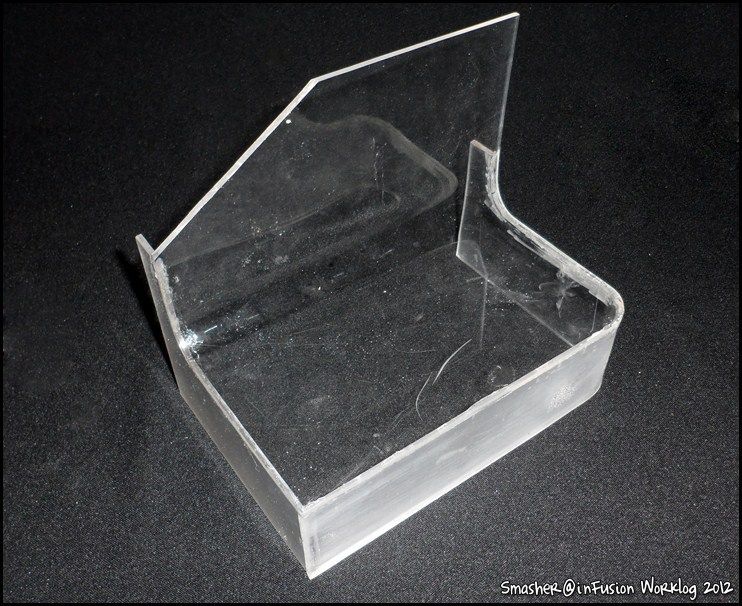
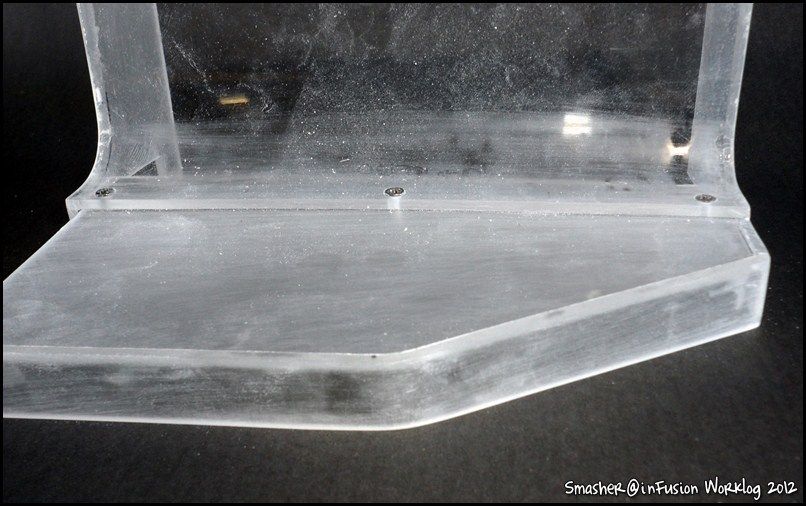
With the heat gun to bend the acrylic we have left to 90 °.
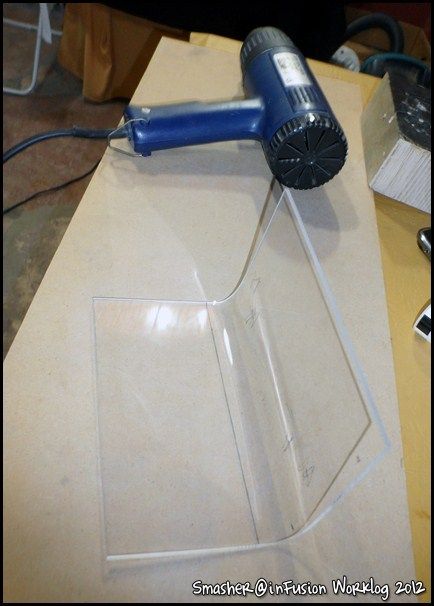
inFusionSmasher018.jpg


inFusionSmasher019.jpg


inFusionSmasher020.jpg


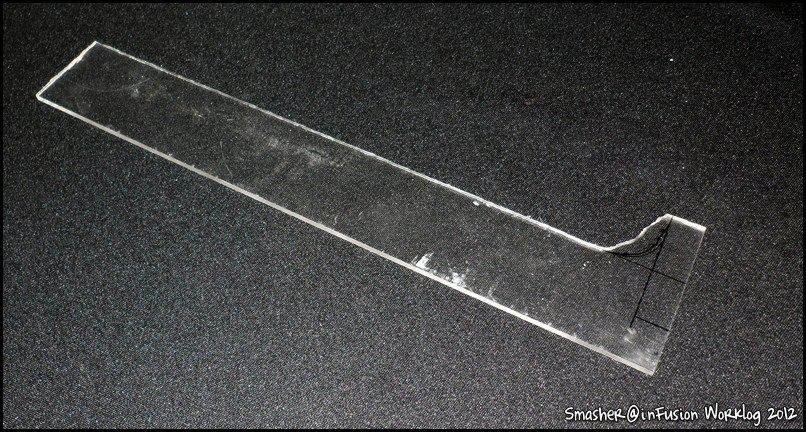
Now the sides of this piece, also bent with the heat gun.
inFusionSmasher021.jpg


inFusionSmasher022.jpg


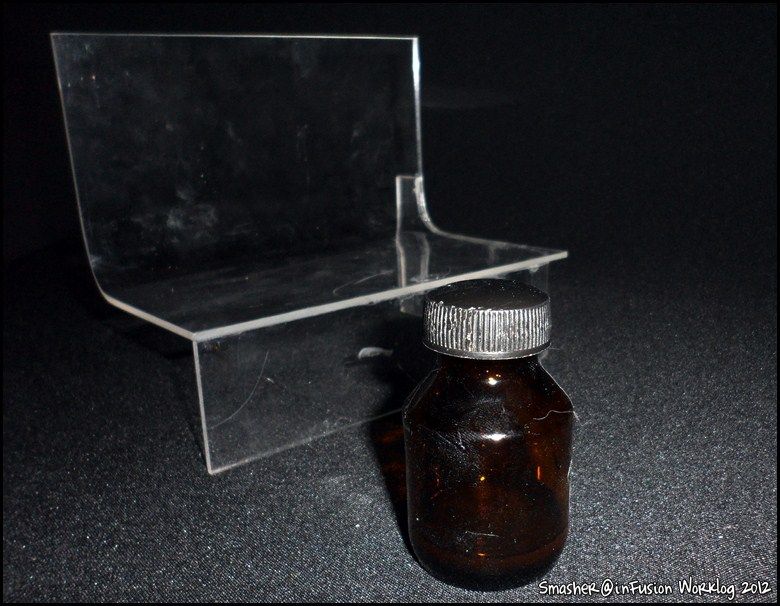
Las piezas se pegan con cloroformo industrial, diluido con acrilico para darle una consistencia espesa y que no se evapore tan rapido.
inFusionSmasher023.jpg


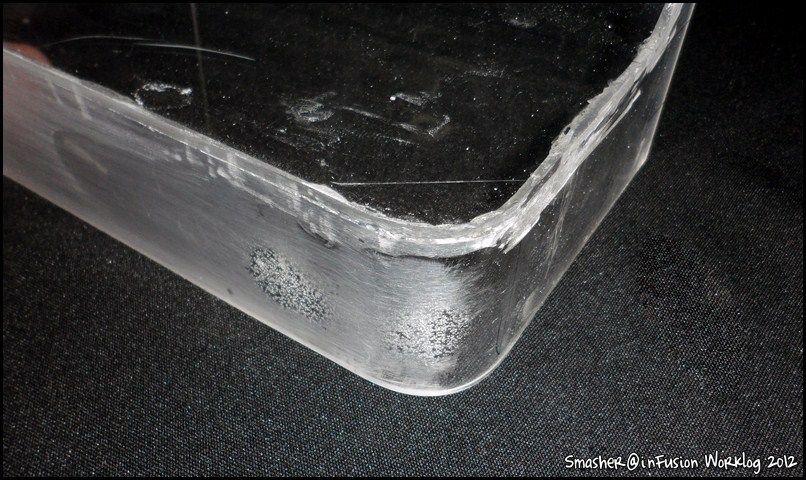
The rough edges that will be sanded.
inFusionSmasher024.jpg


inFusionSmasher025.jpg


inFusionSmasher026.jpg


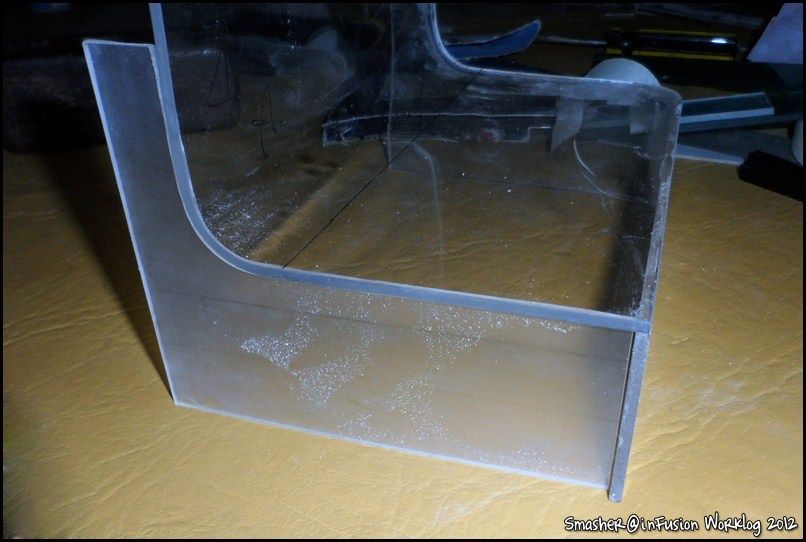
The rough edges that will be sanded.
inFusionSmasher027.jpg


inFusionSmasher028.jpg


inFusionSmasher029.jpg


Más de la estructura principal.

inFusionSmasher030.jpg


inFusionSmasher031.jpg


inFusionSmasher032.jpg


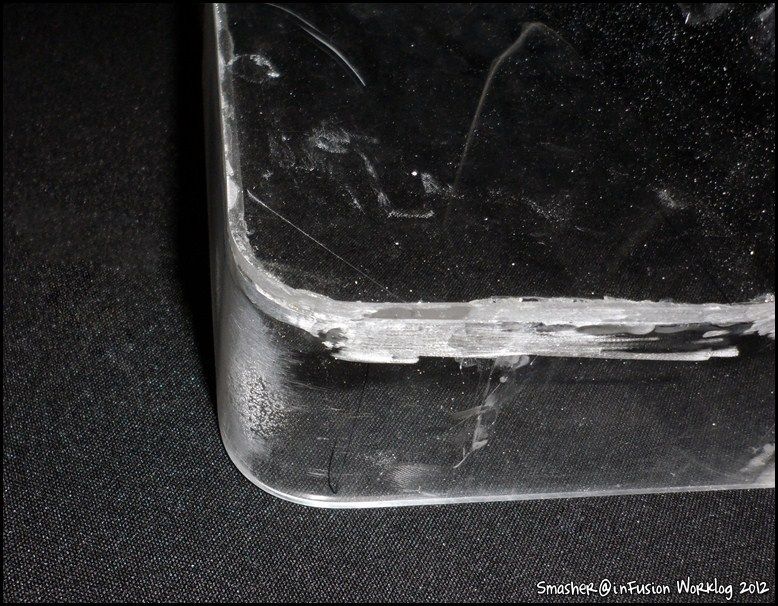
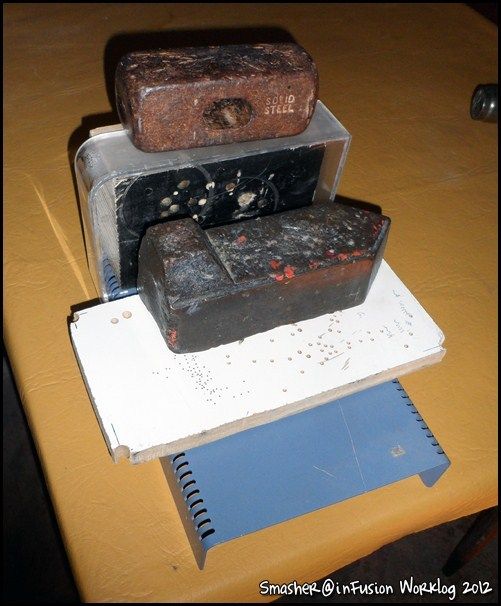
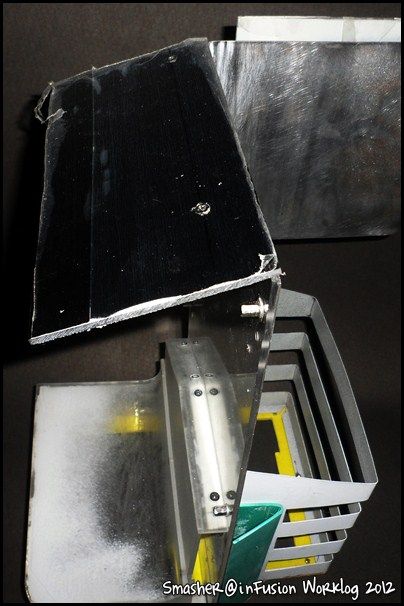
I had the problem that the acrylic is encompassed by a lot of heat, so should replace this piece.
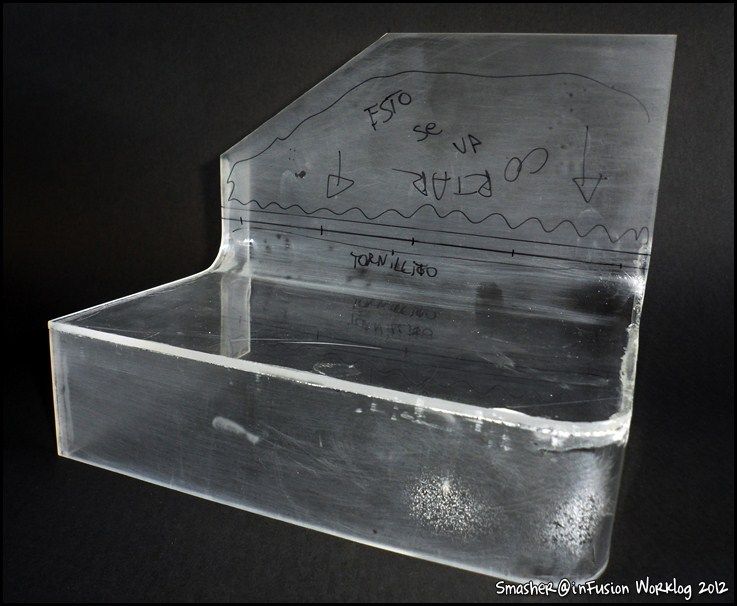
inFusionSmasher033.jpg


Now yes!

inFusionSmasher034.jpg


The "cap" where under DVD.

inFusionSmasher035.jpg


inFusionSmasher036.jpg


inFusionSmasher037.jpg


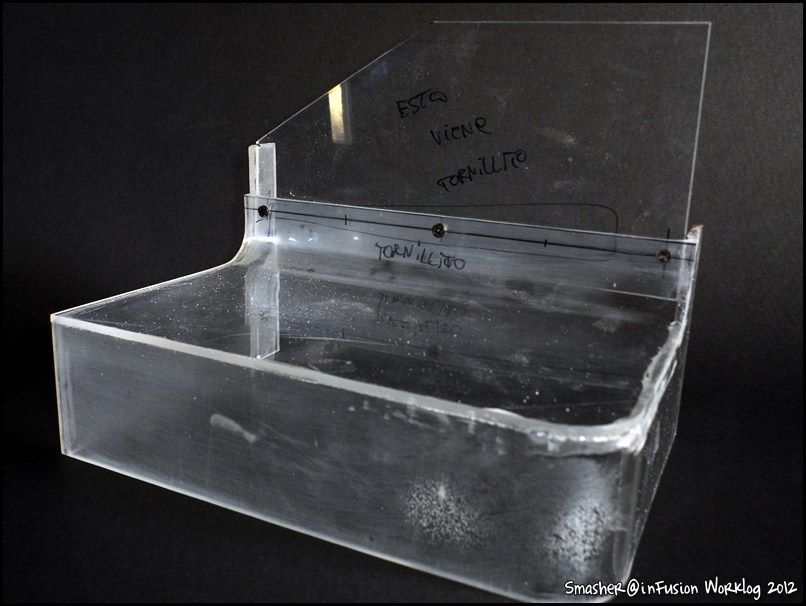
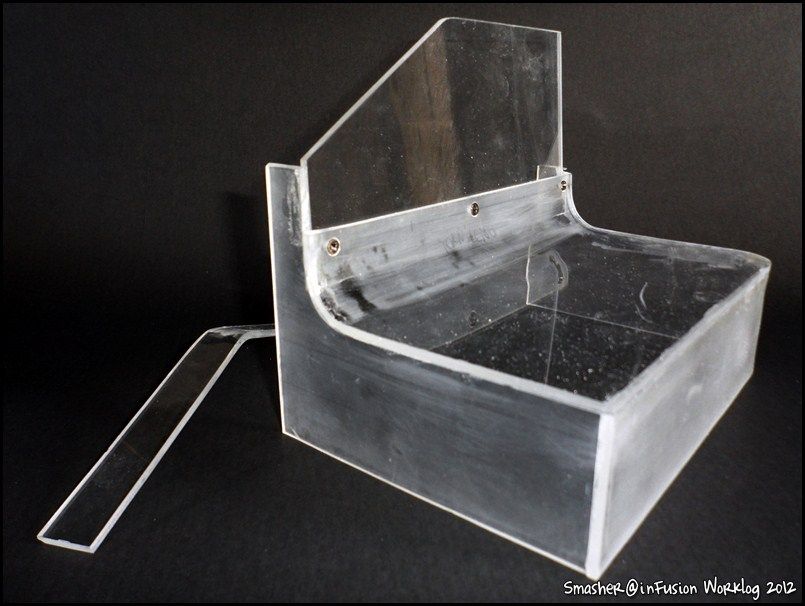
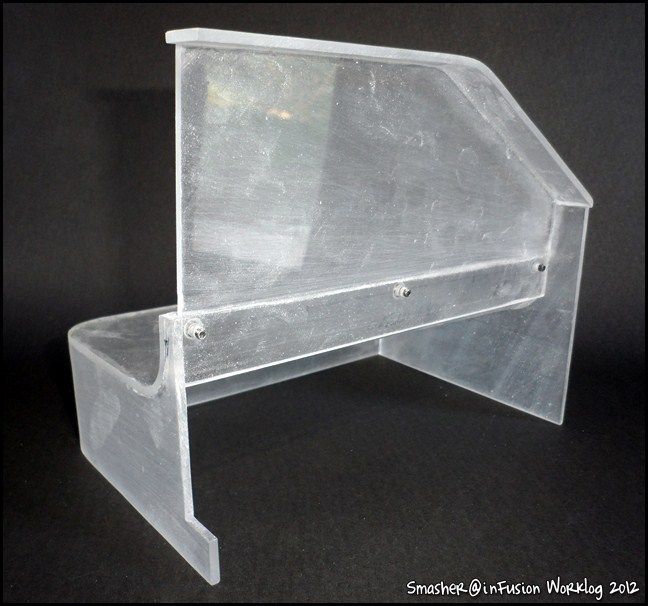
Adding an acrylic to add rigidity.
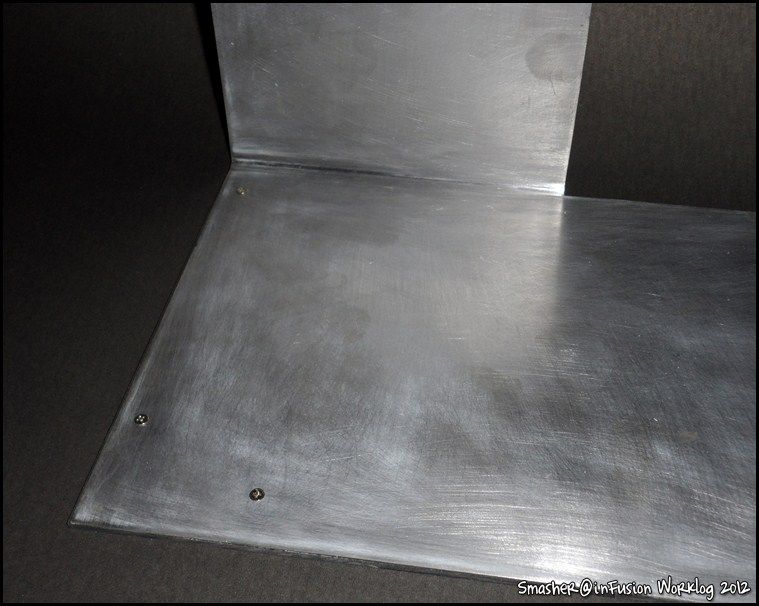
inFusionSmasher038.jpg


inFusionSmasher039.jpg


Through which pass the wires from the HDD and DVD.
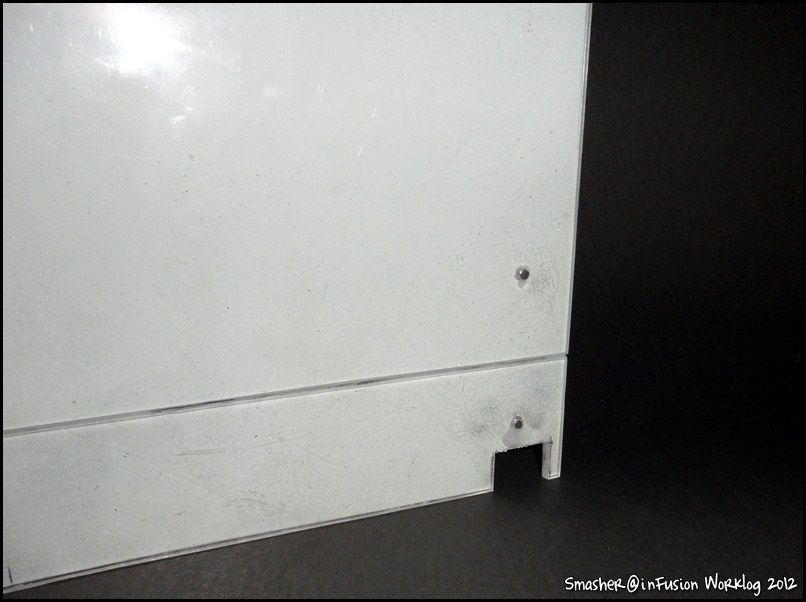
inFusionSmasher040.jpg


Submission:

inFusionSmasher041.jpg


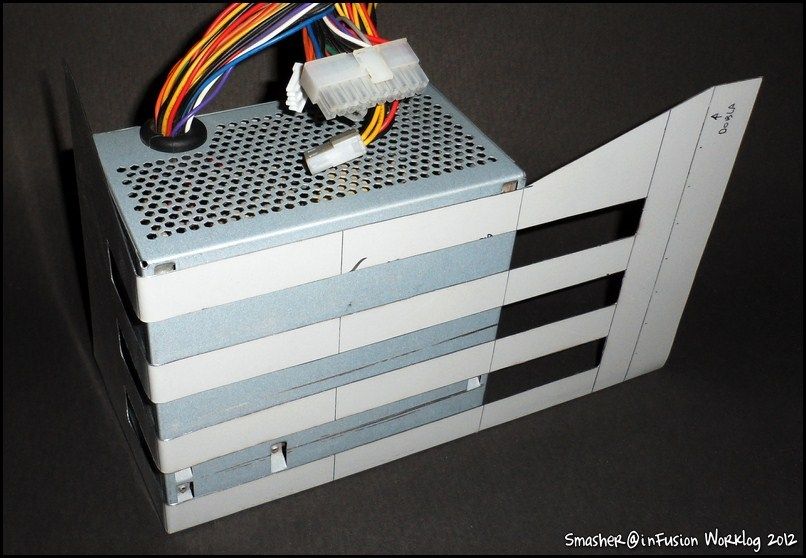
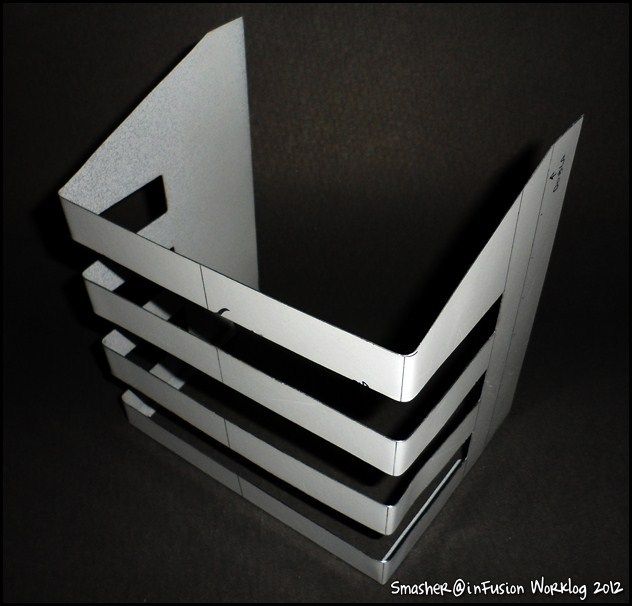
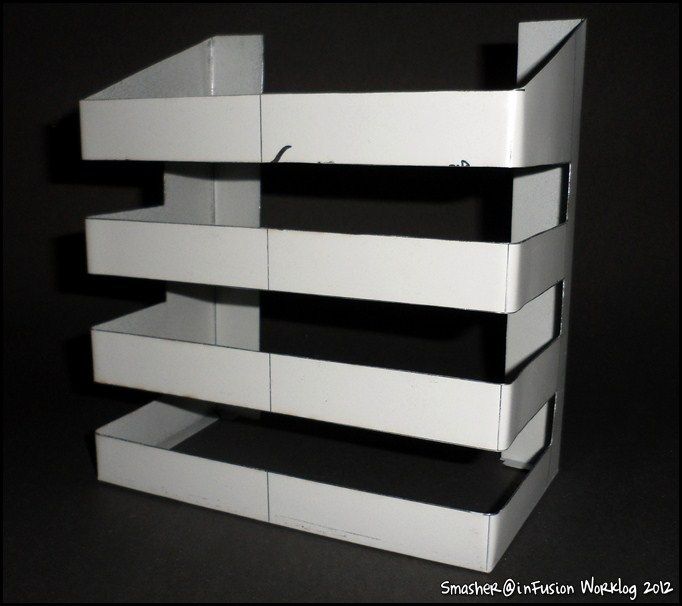
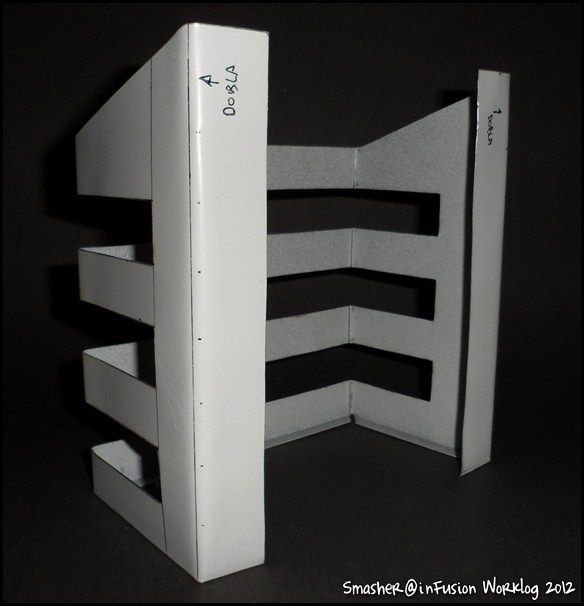
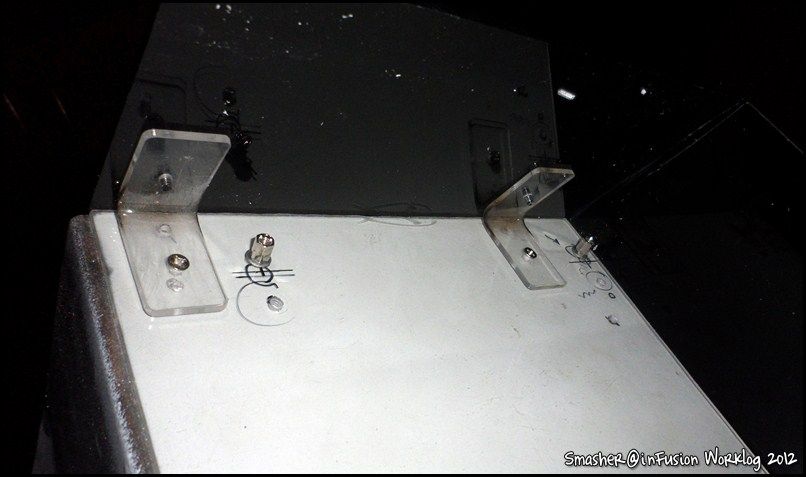
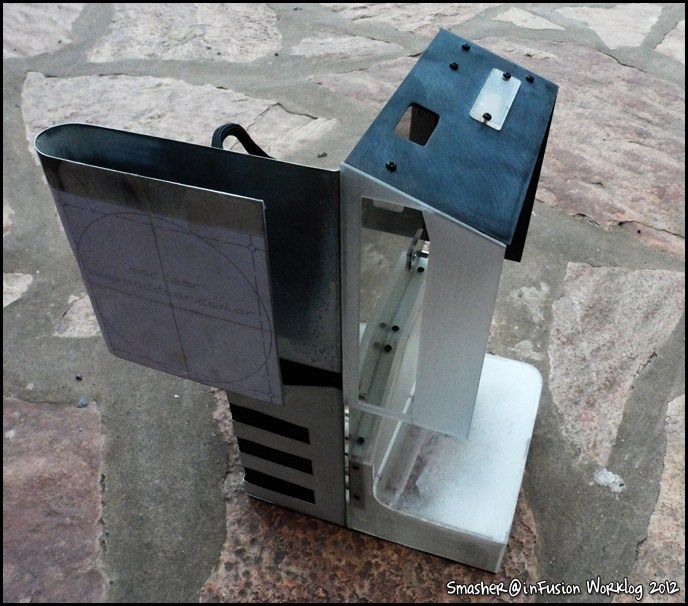
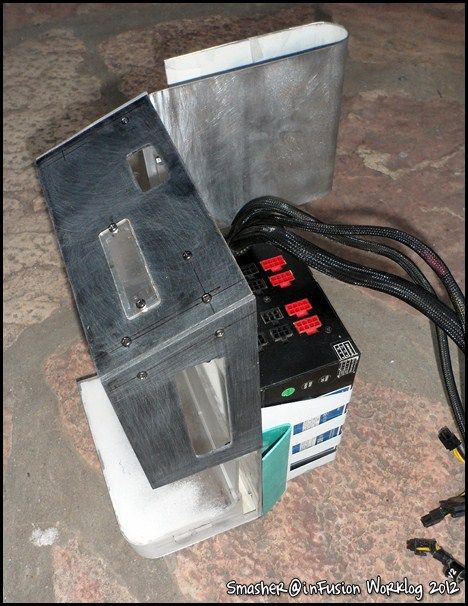
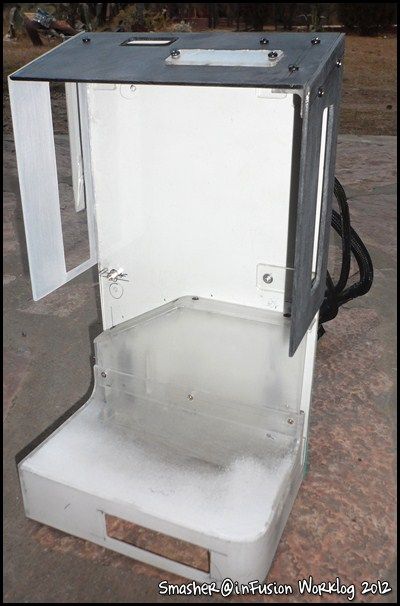
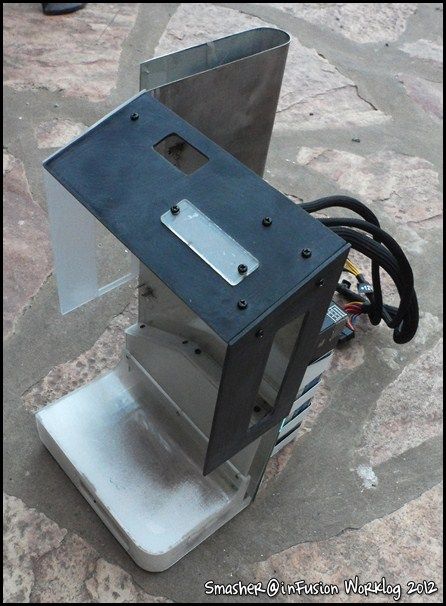
From one side of cabinet manufacture it a holder for the source:
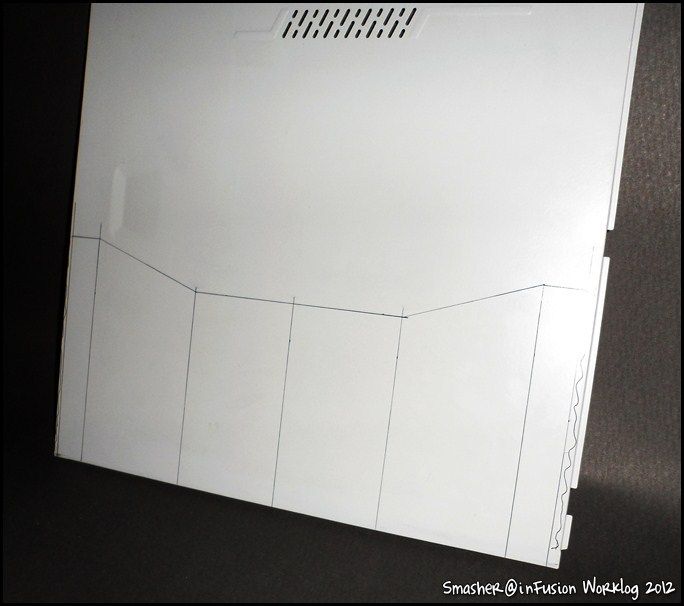
inFusionSmasher042.jpg


inFusionSmasher043.jpg


inFusionSmasher044.jpg


inFusionSmasher045.jpg


inFusionSmasher046.jpg


inFusionSmasher047.jpg


inFusionSmasher048.jpg


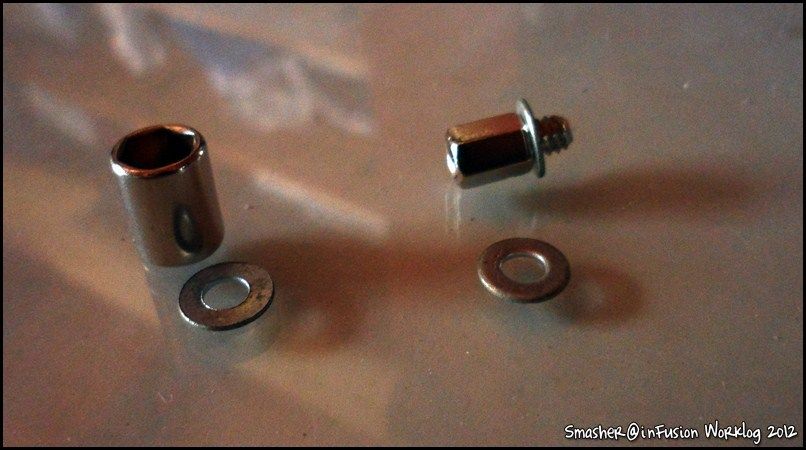
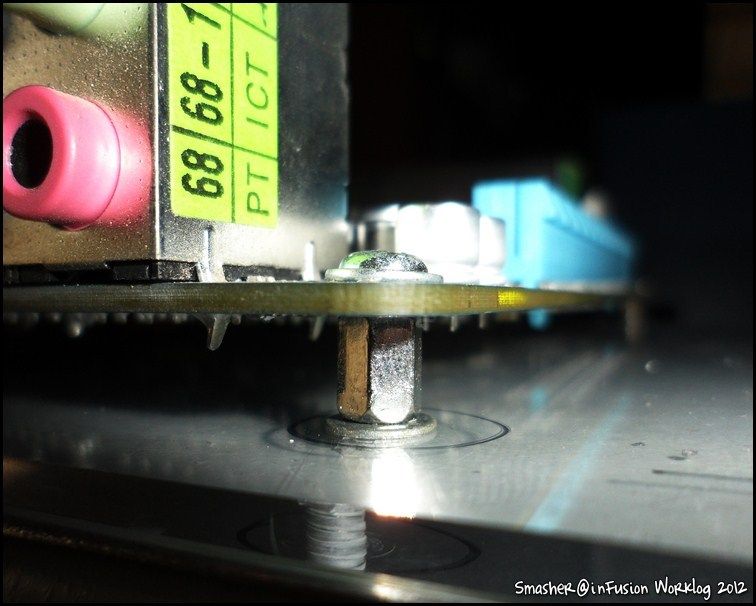
Screws and mother presented.
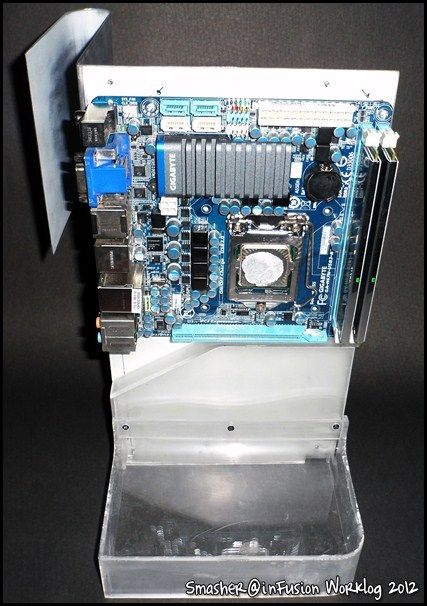
inFusionSmasher049.jpg


inFusionSmasher050.jpg


inFusionSmasher051.jpg


inFusionSmasher052.jpg


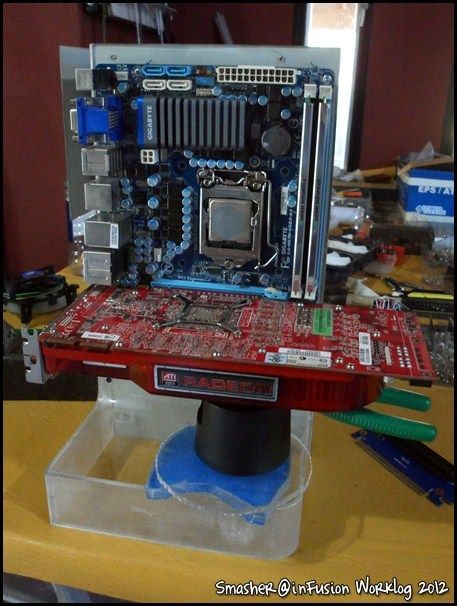
VGA:

inFusionSmasher053.jpg
 
Last edited:
photobucket links dont work

Edit: Working now, thnx for fixing them.
 
Last edited:
Well after a while I return with much progress.
I was at an event, in Loki Custom Tech stand, exposing White Timantti, photos of the event here:

Web

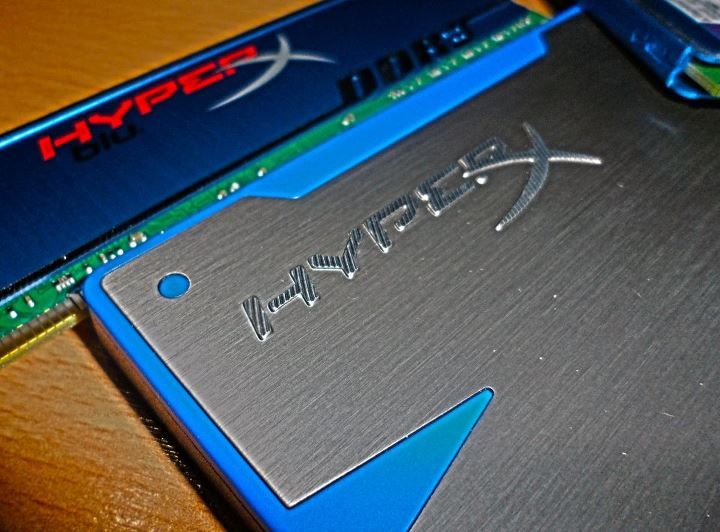
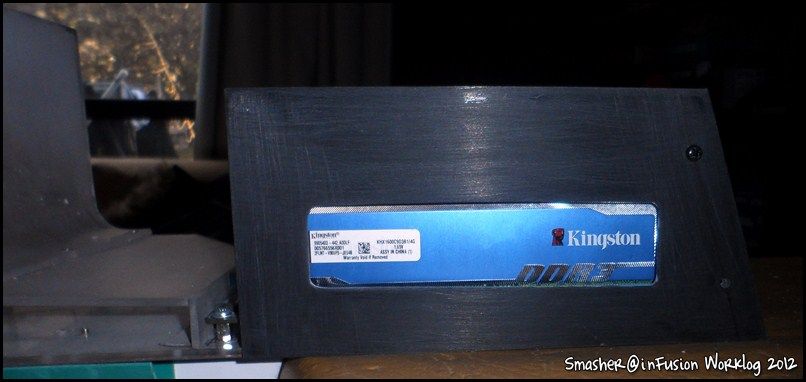
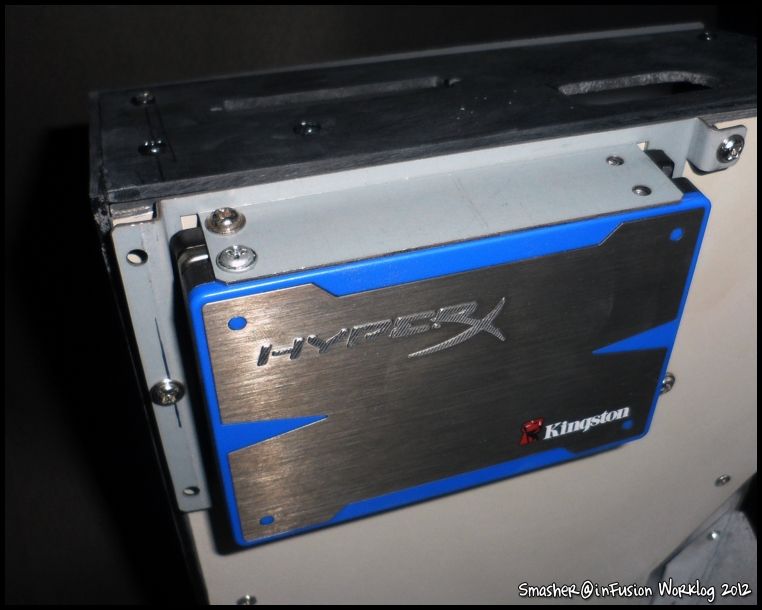
In this joined Kingston as Sponsor, providing a HyperX 2x4GB DDR3

and 110gb.

kingston.jpg


kingstonhyper.jpg


We continue to progress, stand to tighten and not have to go with glue:

inFusionSmasher054.jpg

inFusionSmasher055.jpg


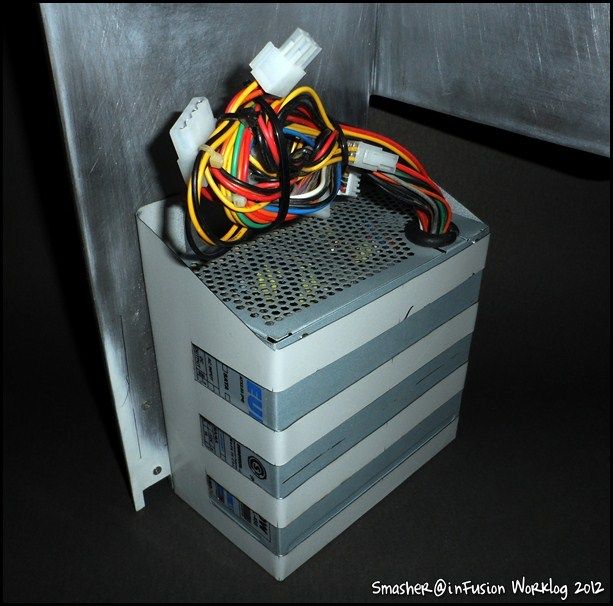
And set the psu support:

inFusionSmasher056.jpg

inFusionSmasher057.jpg

inFusionSmasher058.jpg

inFusionSmasher059.jpg

inFusionSmasher060.jpg

inFusionSmasher061.jpg


Support for the base:

inFusionSmasher062.jpg


Cut cut cut

inFusionSmasher063.jpg


PSU

inFusionSmasher064.jpg


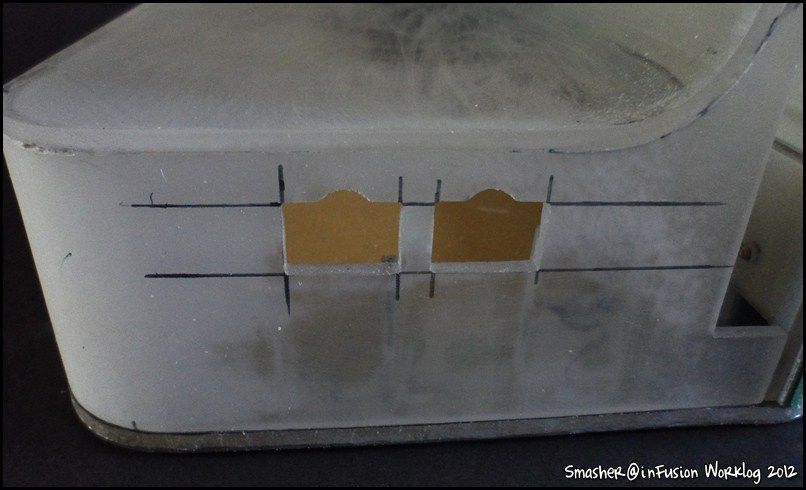
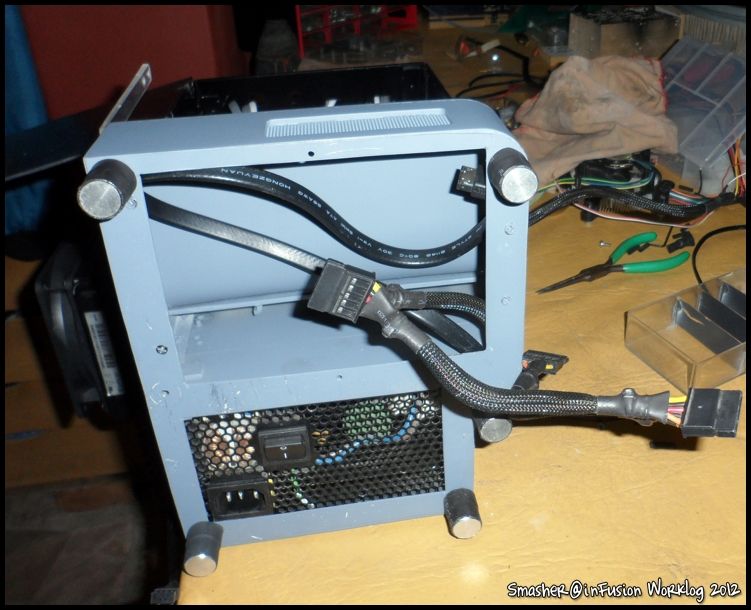
"Knockouts" where they will spend the sata and power

inFusionSmasher065.jpg

inFusionSmasher066.jpg


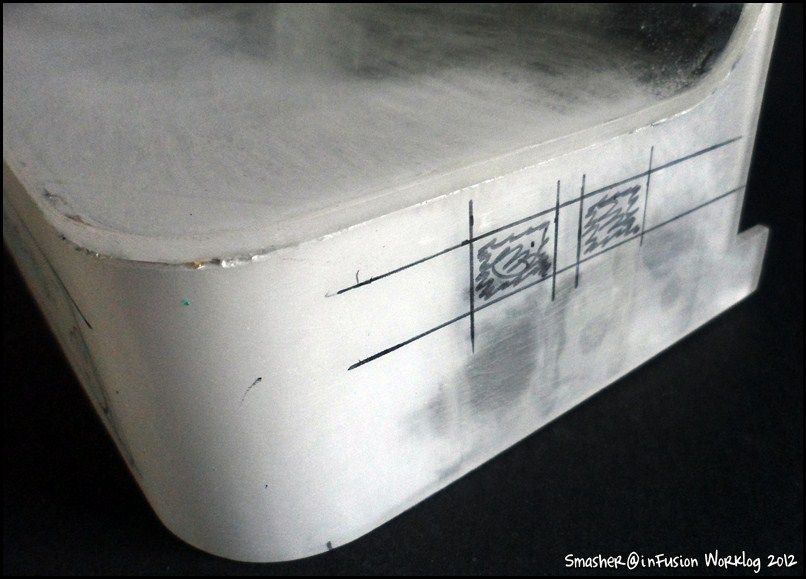
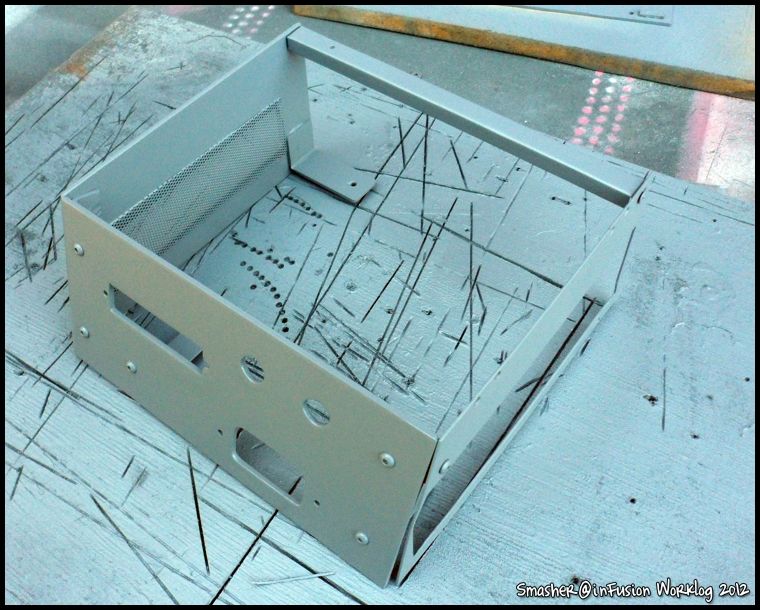
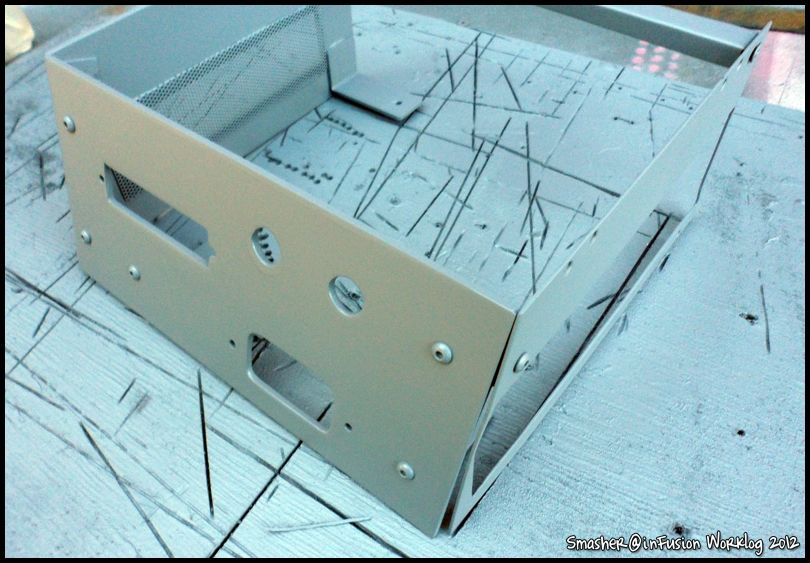
Ventilation to go with metal mesh

inFusionSmasher067.jpg

inFusionSmasher068.jpg

inFusionSmasher069.jpg

inFusionSmasher070.jpg

inFusionSmasher071.jpg


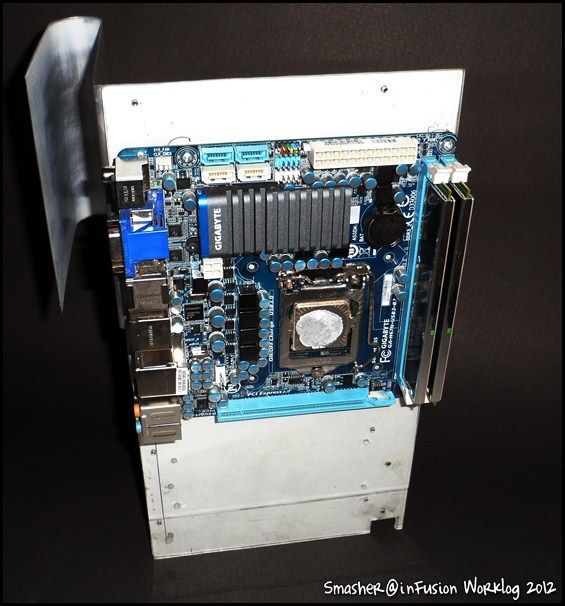
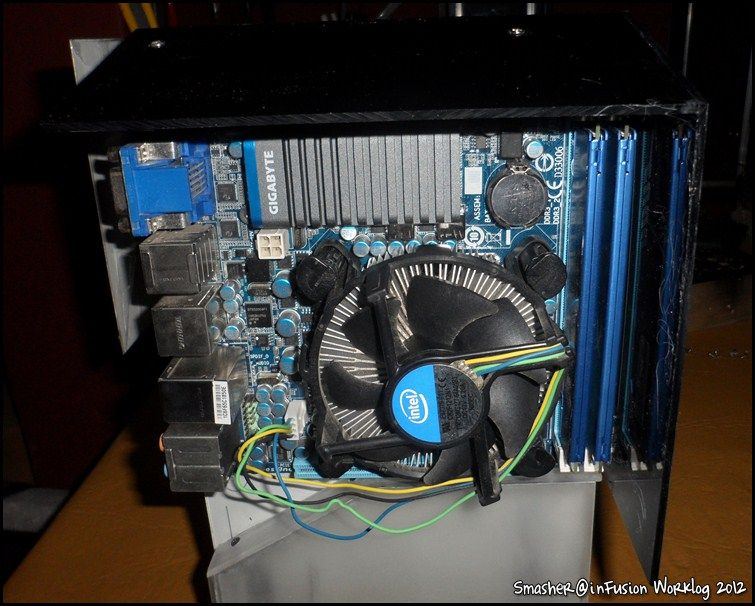
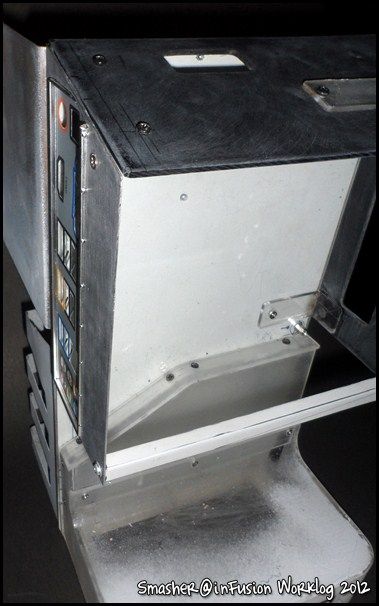
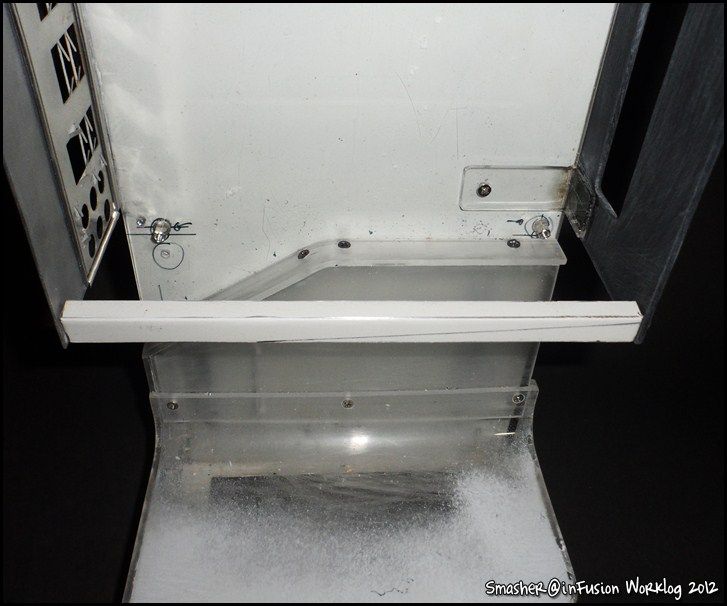
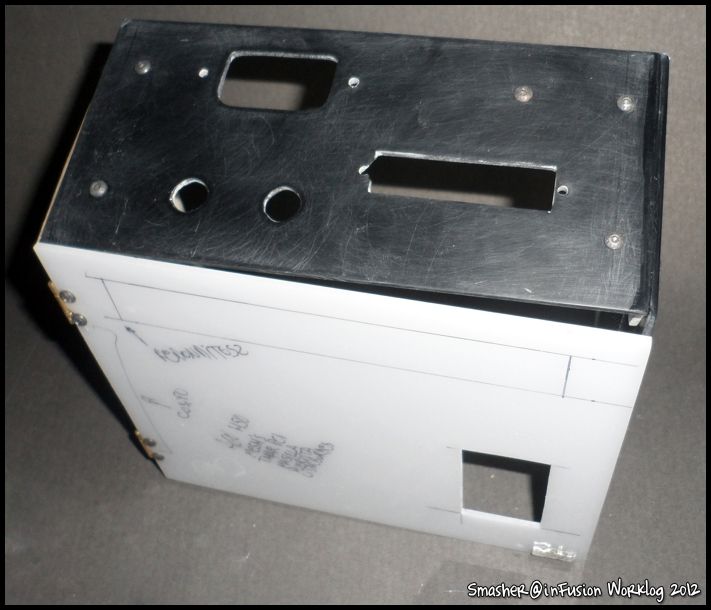
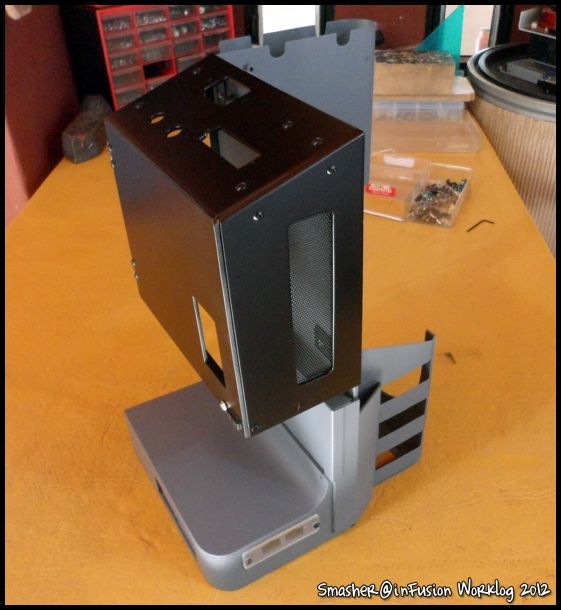
Now we start with the "box" of the motherboard

inFusionSmasher072.jpg

inFusionSmasher073.jpg

inFusionSmasher074.jpg

inFusionSmasher075.jpg

inFusionSmasher076.jpg


This is a side project, will modding on these pc's, can follow the project on

www.facebook.com/SmashModding

inFusionSmasher077.jpg


Sides

inFusionSmasher078.jpg

inFusionSmasher079.jpg

inFusionSmasher080.jpg


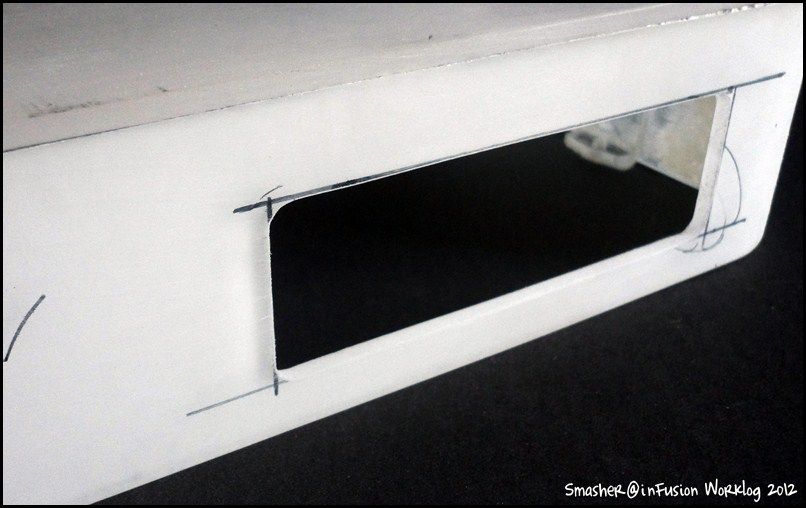
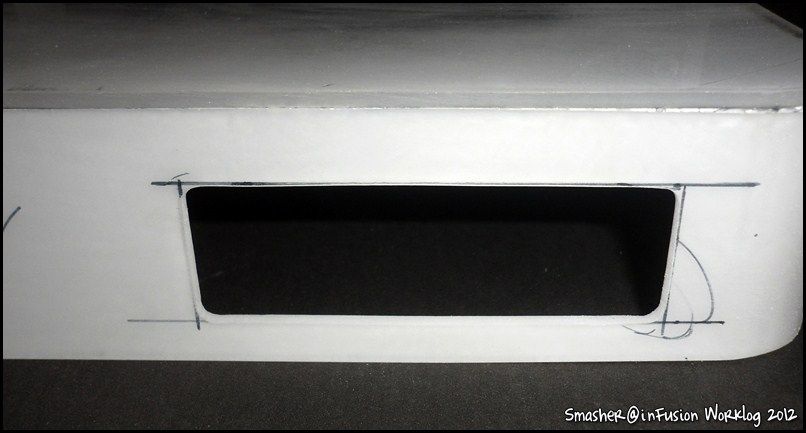
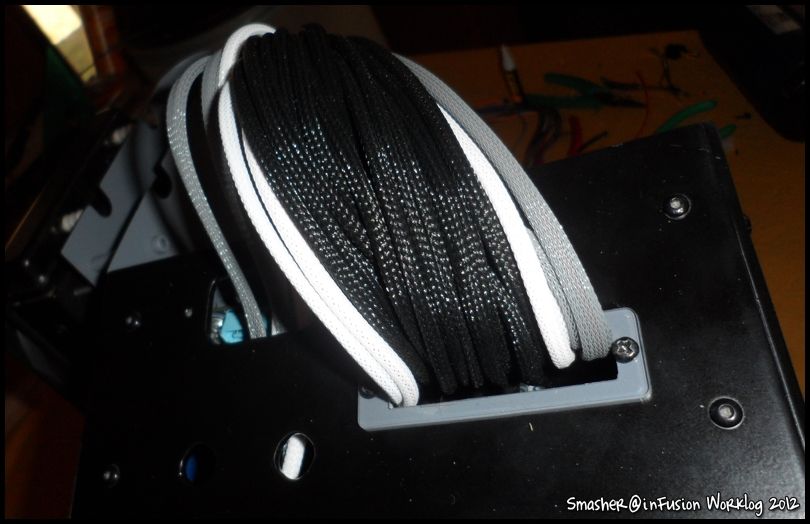
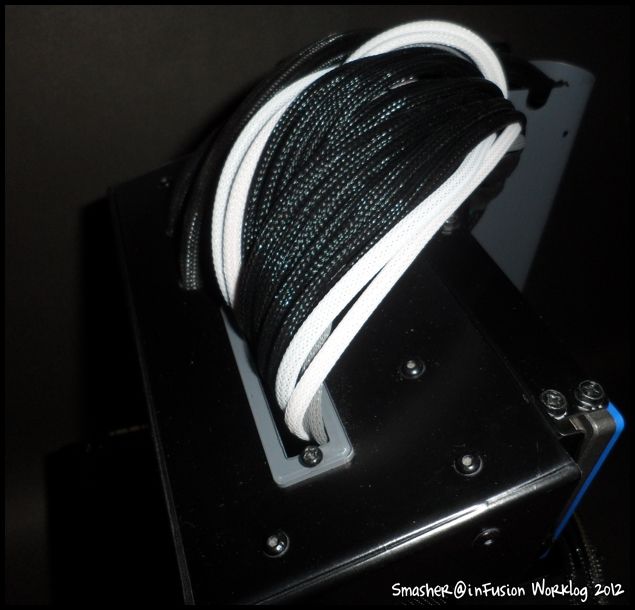
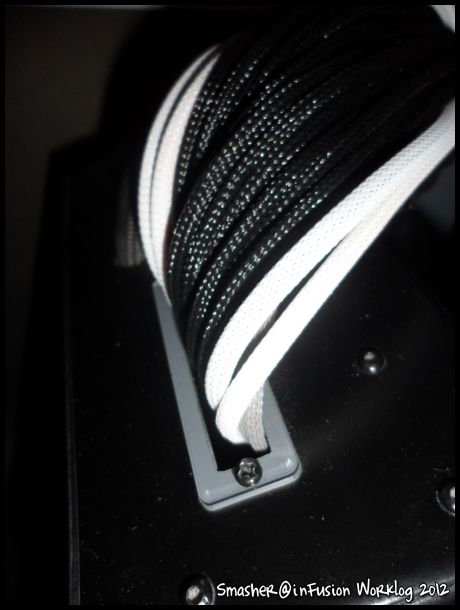
Small window on a single pass of the power cables

inFusionSmasher081.jpg

inFusionSmasher082.jpg


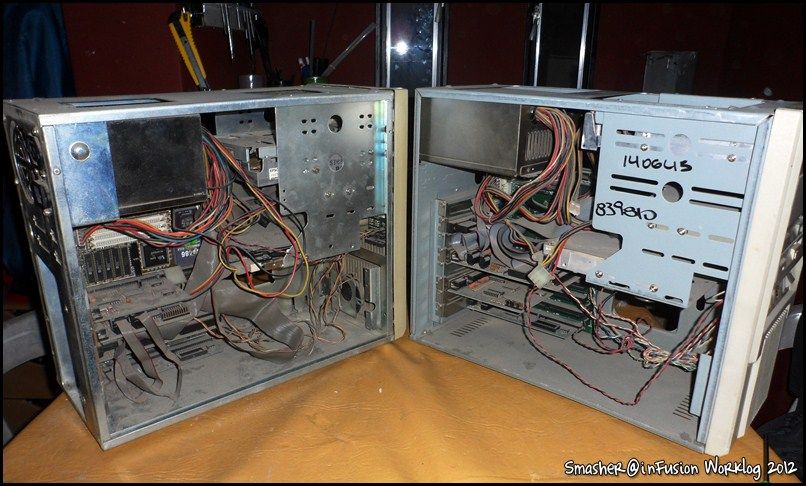
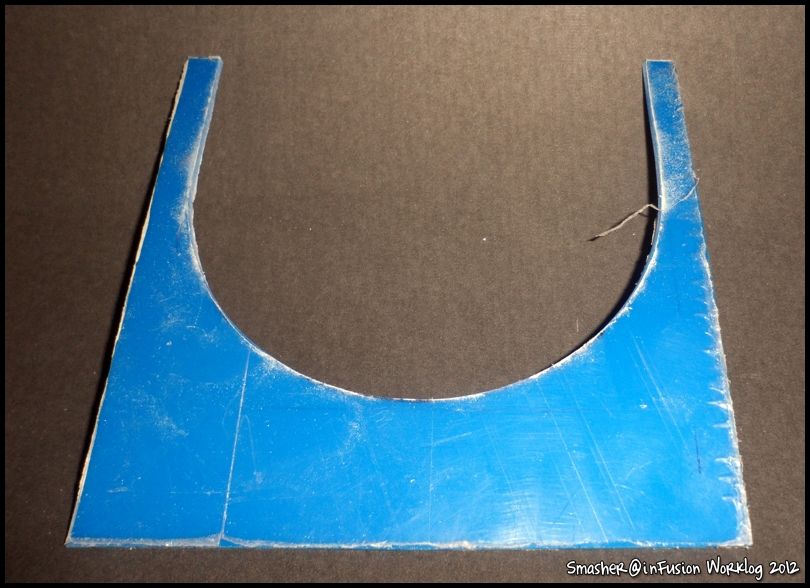
Old cabinet veneer, thick as a good basis for

inFusionSmasher083.jpg

inFusionSmasher084.jpg

inFusionSmasher085.jpg

inFusionSmasher086.jpg


Presenting

inFusionSmasher087.jpg

inFusionSmasher088.jpg

inFusionSmasher089.jpg

inFusionSmasher090.jpg


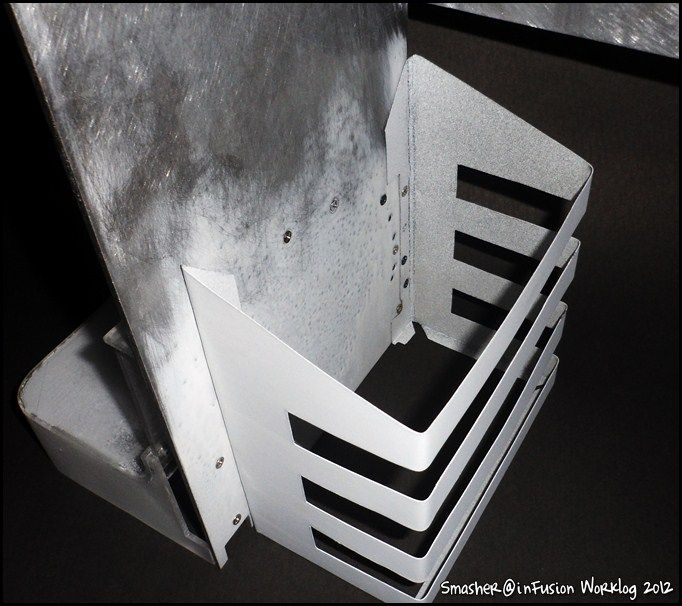
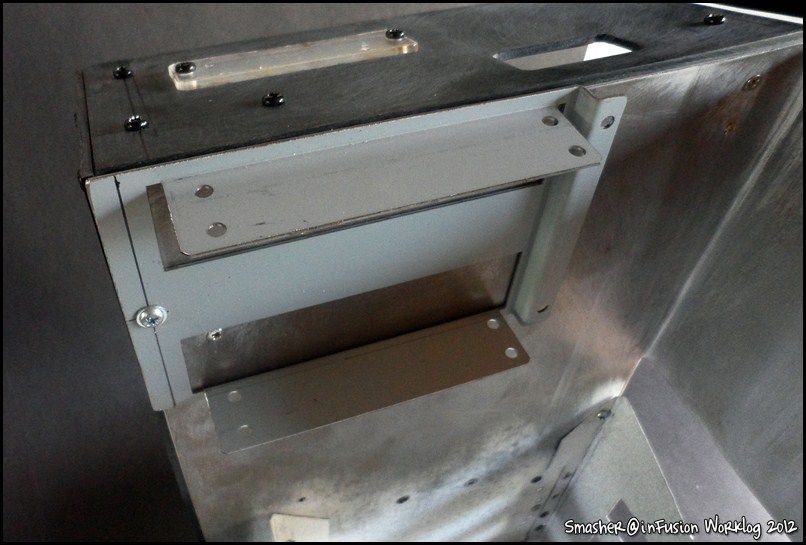
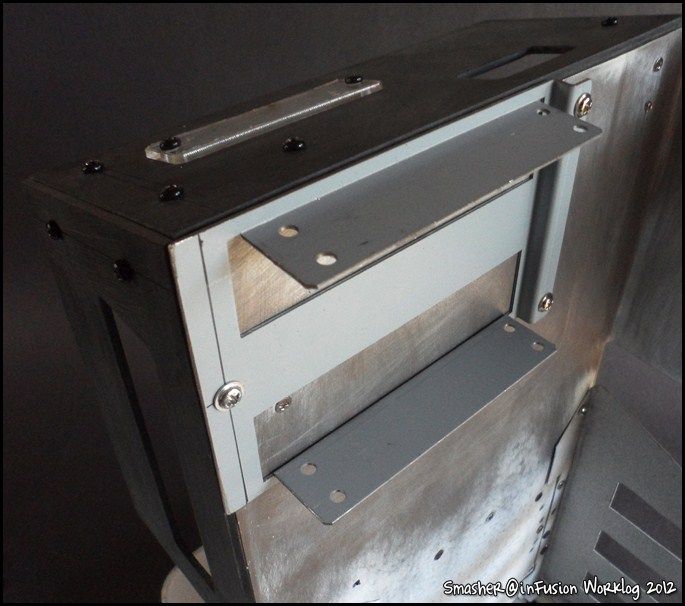
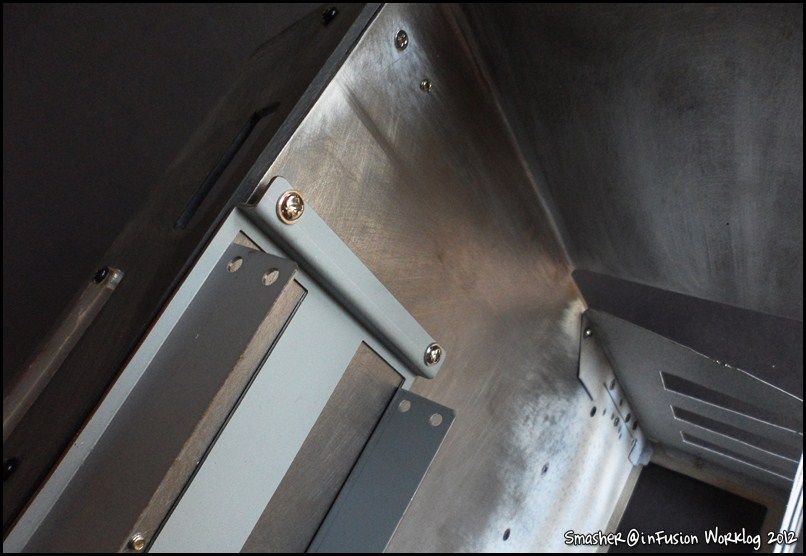
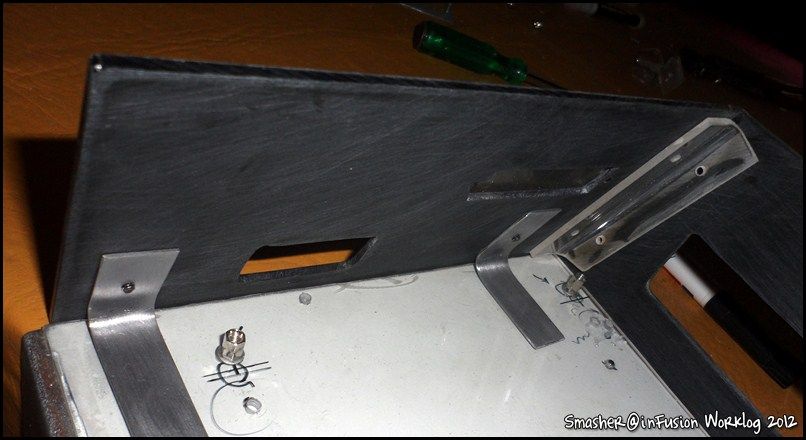
Support for HDD's

inFusionSmasher091.jpg

inFusionSmasher092.jpg

inFusionSmasher093.jpg

inFusionSmasher094.jpg

inFusionSmasher095.jpg


Re-do media

inFusionSmasher096.jpg

inFusionSmasher097.jpg

inFusionSmasher098.jpg


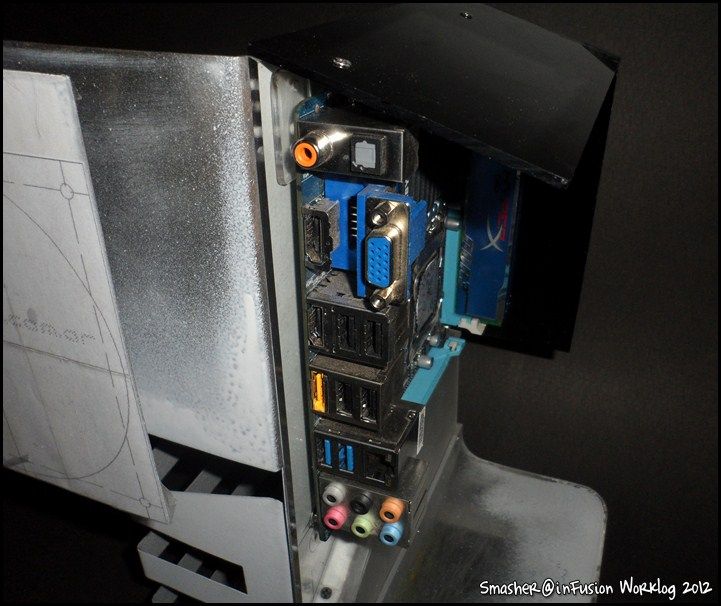
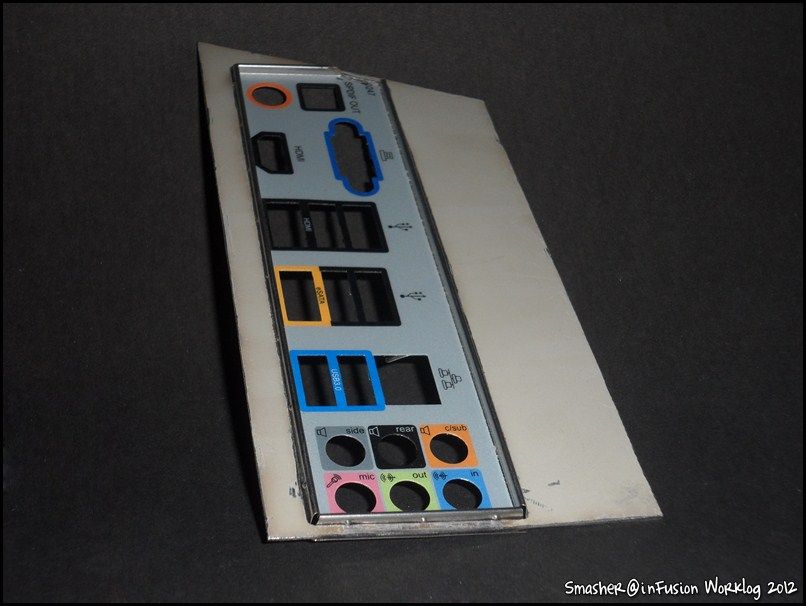
i/o Panel

inFusionSmasher099.jpg


Window-mesh

inFusionSmasher100.jpg


Support structure

inFusionSmasher101.jpg

inFusionSmasher102.jpg

inFusionSmasher104.jpg


Good and so is at the moment, I hope your opinions!
 
Well I have a few developments
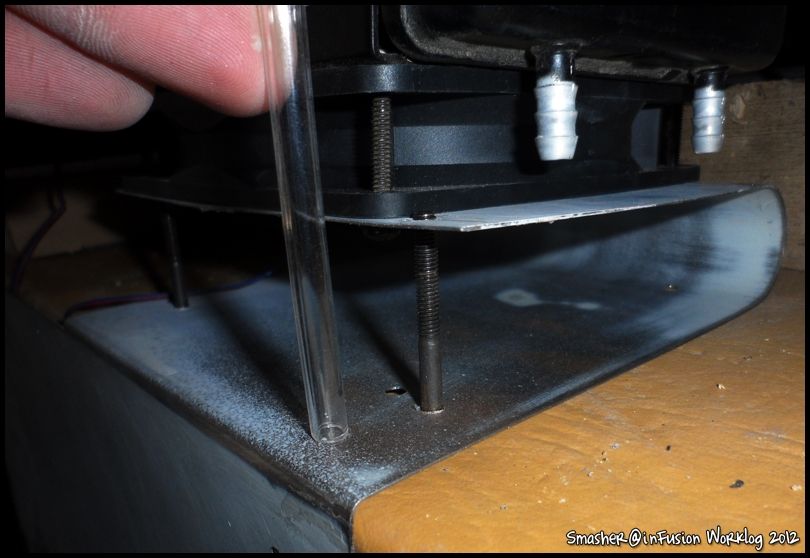
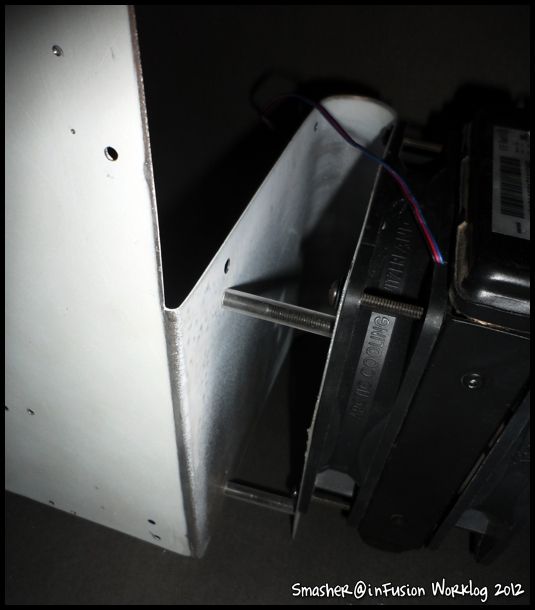
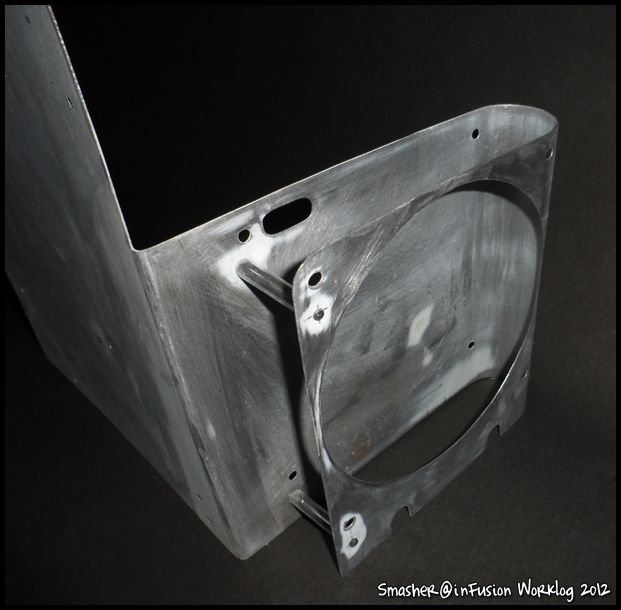
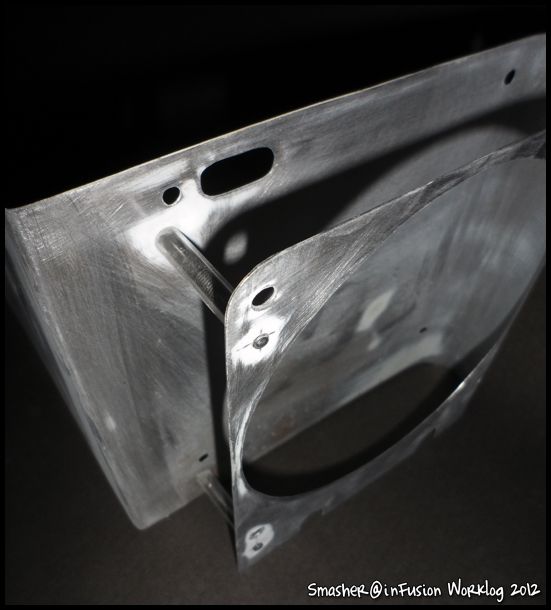
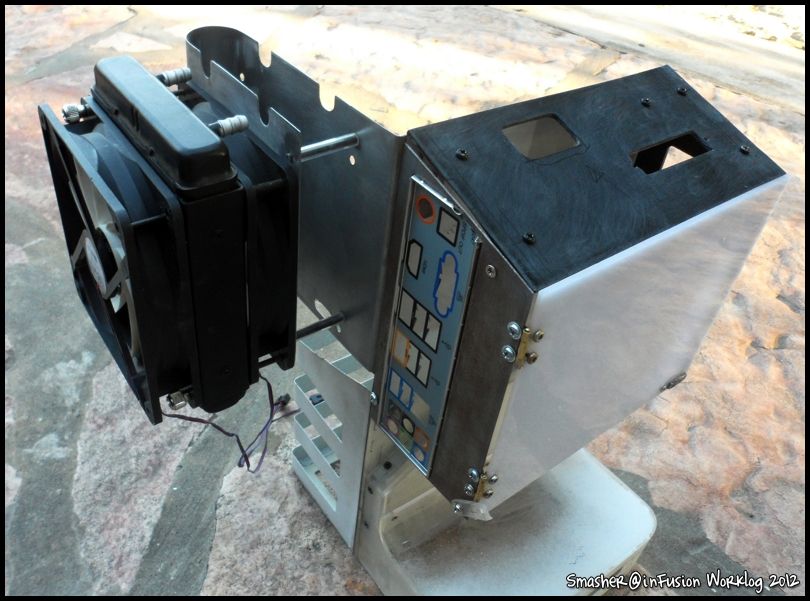
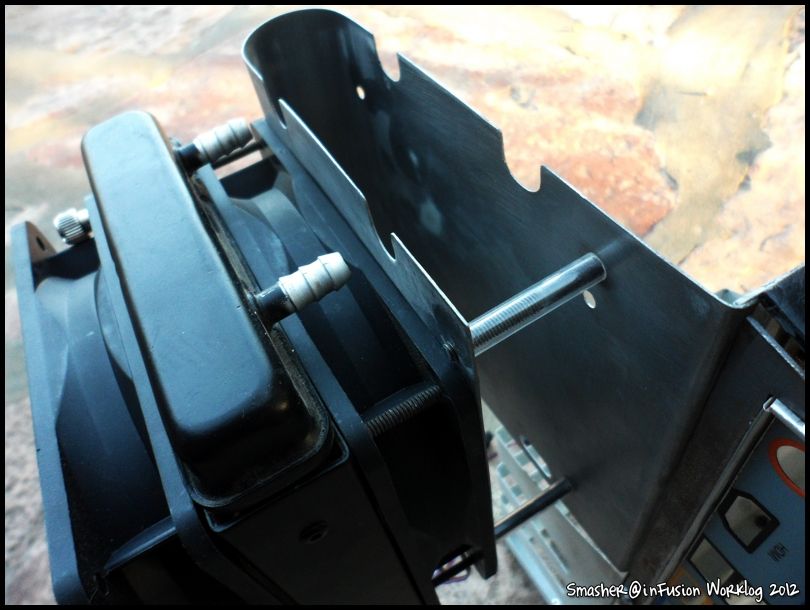
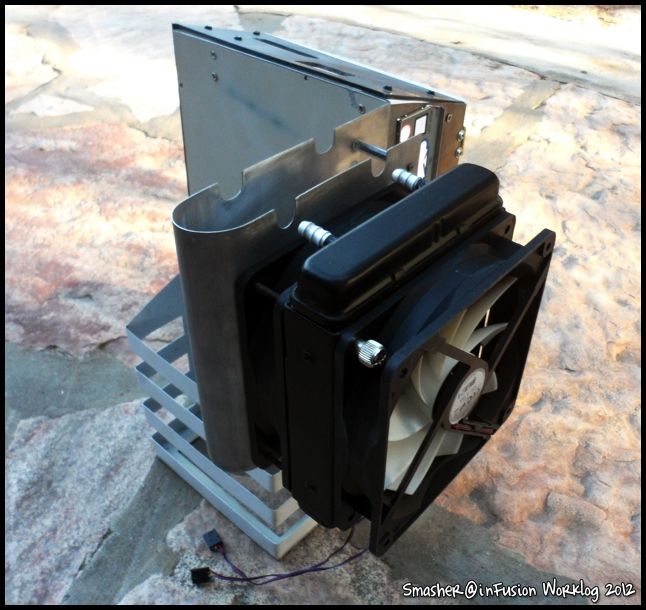
I worked all part of the radiator

inFusionSmasher105.jpg


inFusionSmasher106.jpg


inFusionSmasher107.jpg


inFusionSmasher108.jpg


inFusionSmasher109.jpg


inFusionSmasher110.jpg


inFusionSmasher111.jpg


inFusionSmasher112.jpg


inFusionSmasher113.jpg


inFusionSmasher114.jpg


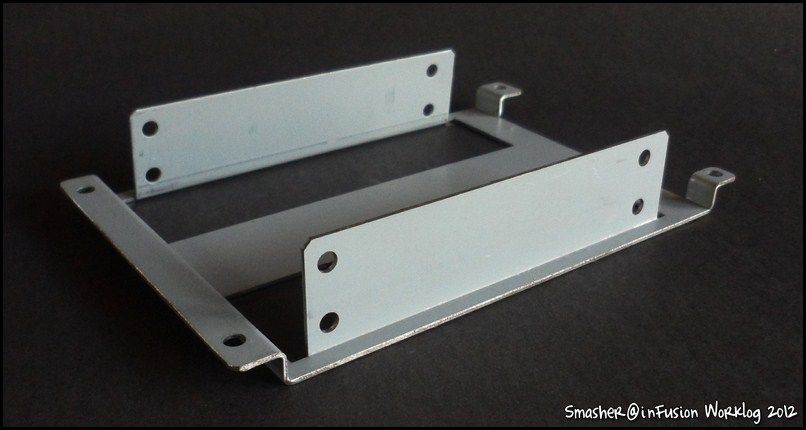
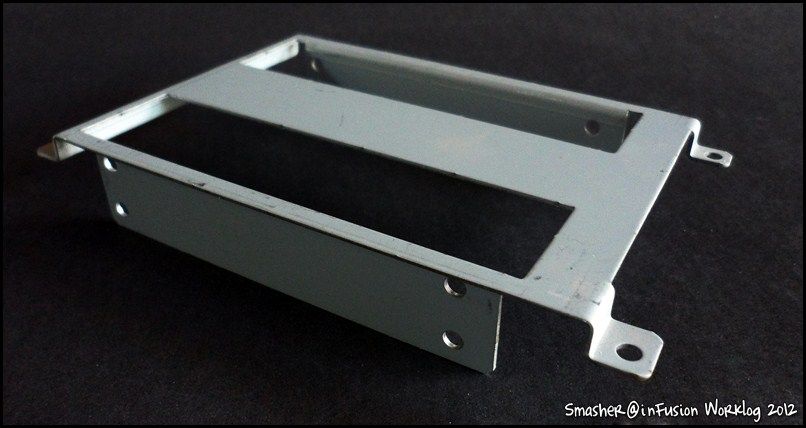
And went back to do the HDD bracket because on the other, the bottom had no room for the cables:

inFusionSmasher115.jpg


inFusionSmasher116.jpg


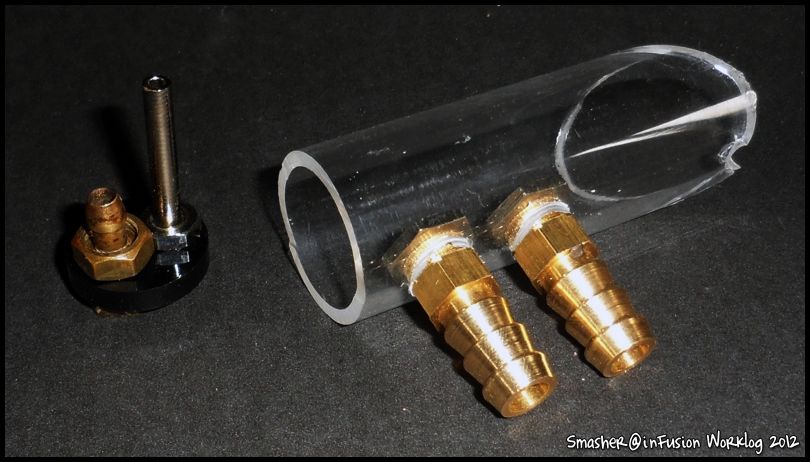
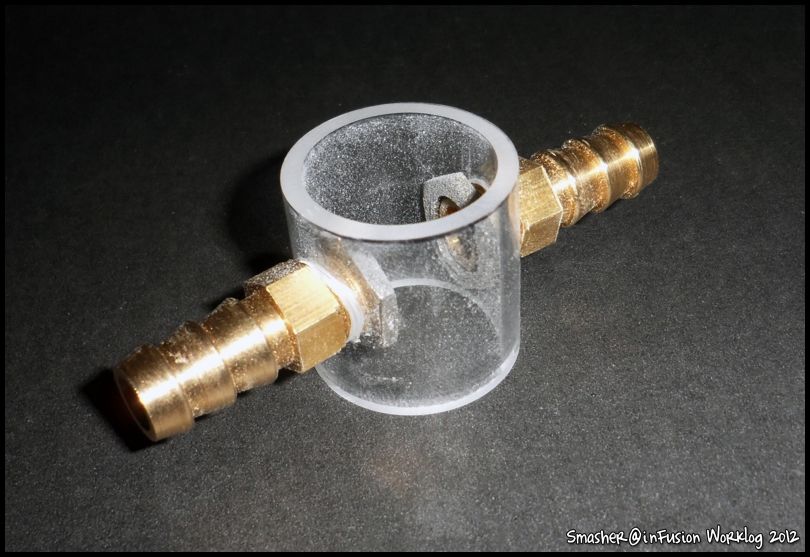
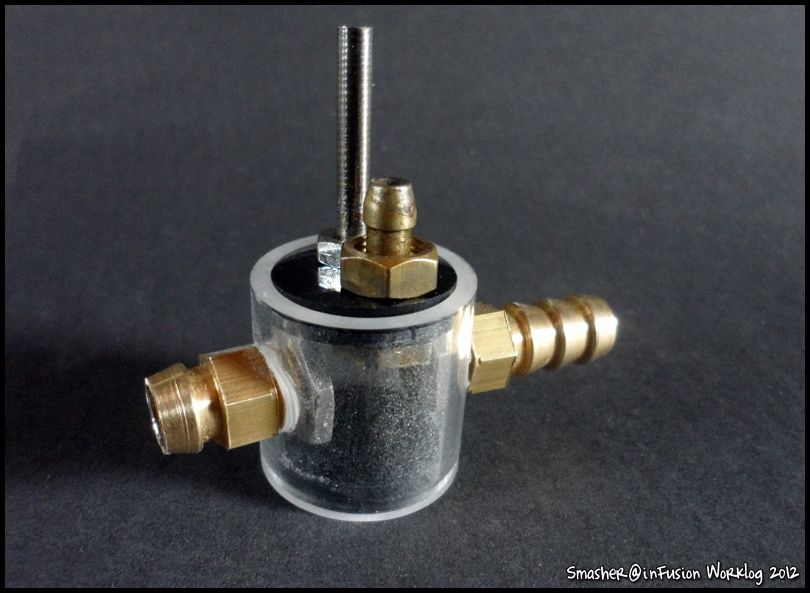
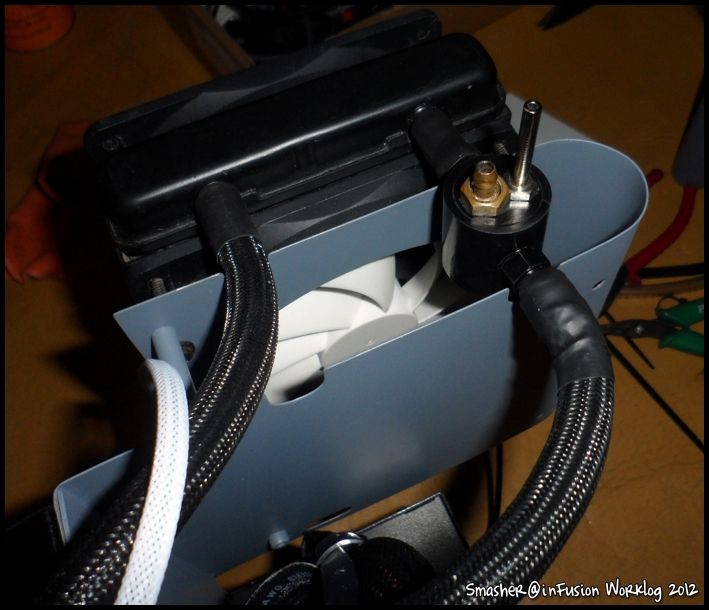
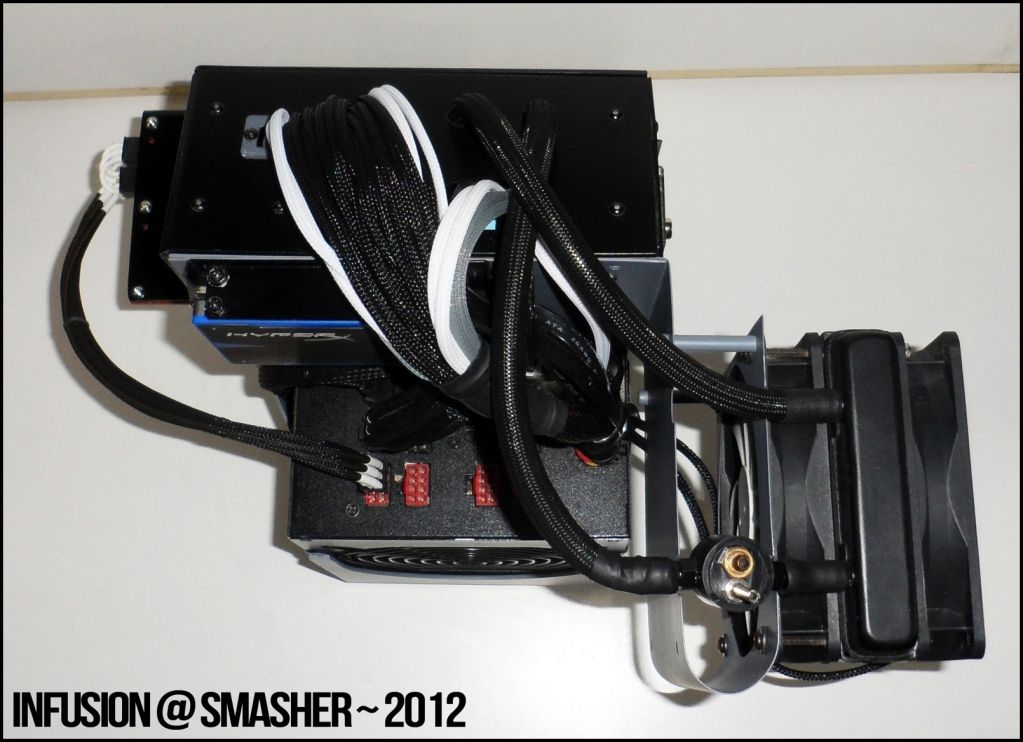
And I started a small reservoir for H50, lack seal:

inFusionSmasher117.jpg


inFusionSmasher118.jpg


inFusionSmasher119.jpg


regards!
 
After a while of modding, progress:

Modification "box" of the PSU:

inFusionSmasher121.jpg


inFusionSmasher122.jpg


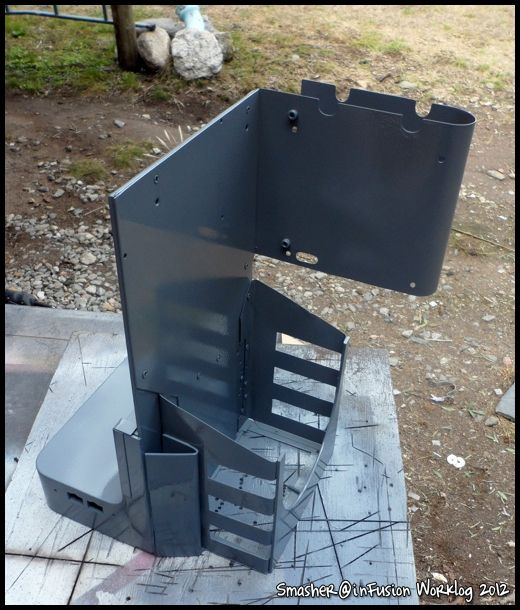
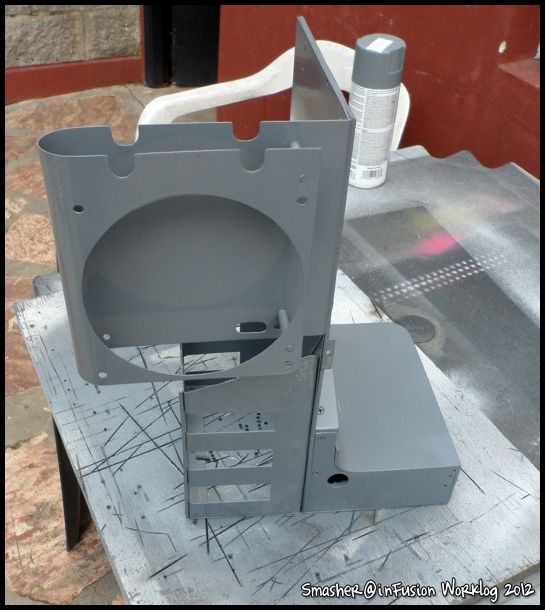
And finally paint!

inFusionSmasher123.jpg


inFusionSmasher124.jpg


inFusionSmasher125.jpg


Ready to paint

inFusionSmasher126.jpg


inFusionSmasher127.jpg


inFusionSmasher128.jpg


Was something like:

inFusionSmasher129.jpg


inFusionSmasher130.jpg


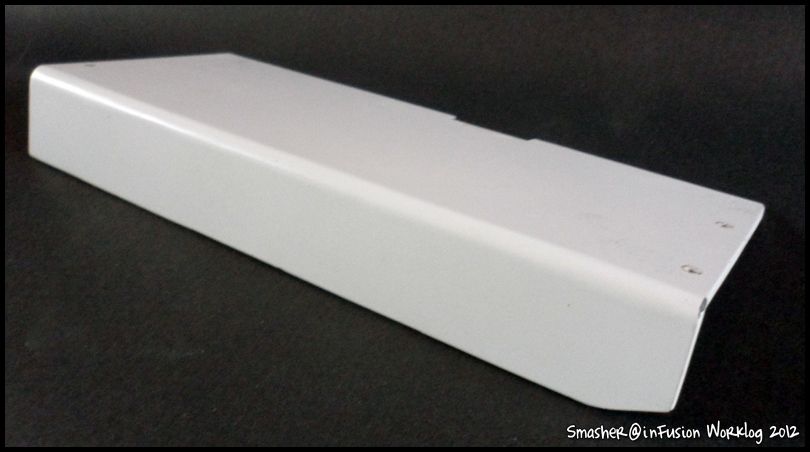
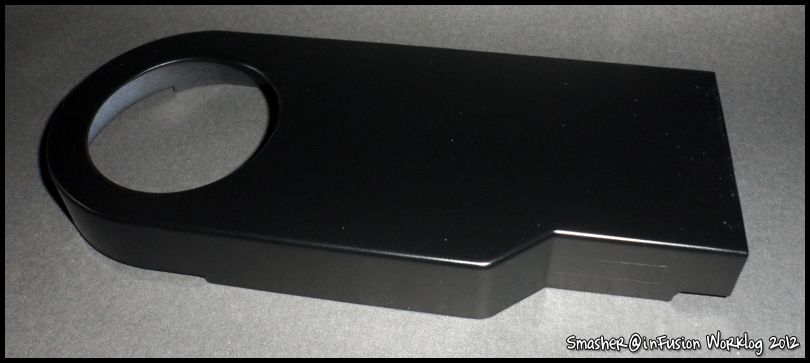
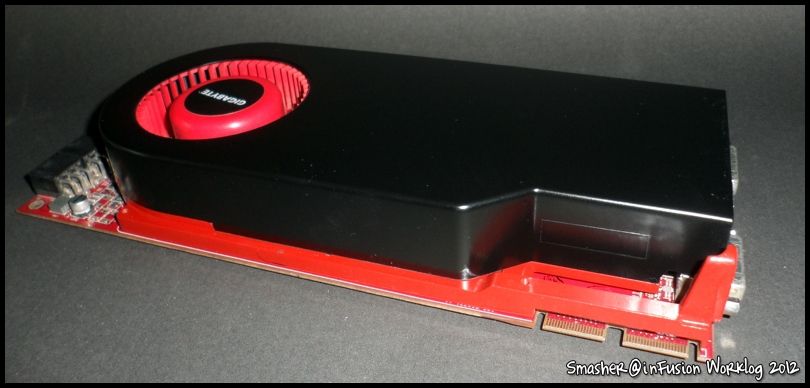
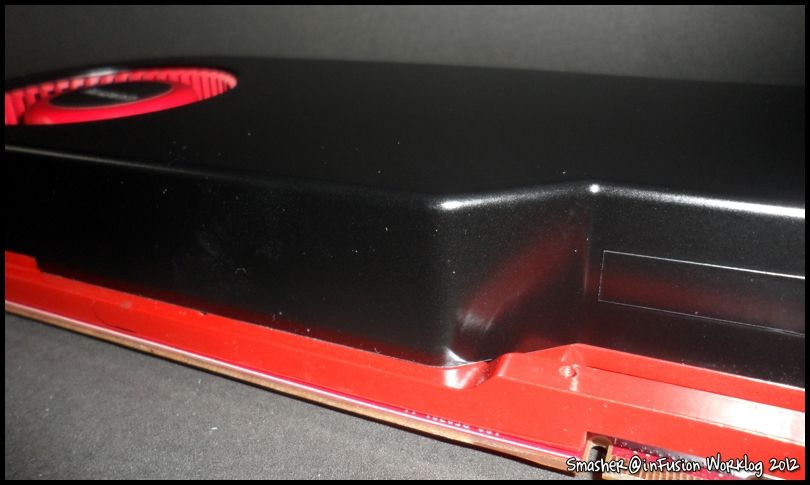
VGA Cover

inFusionSmasher131.jpg


inFusionSmasher132.jpg


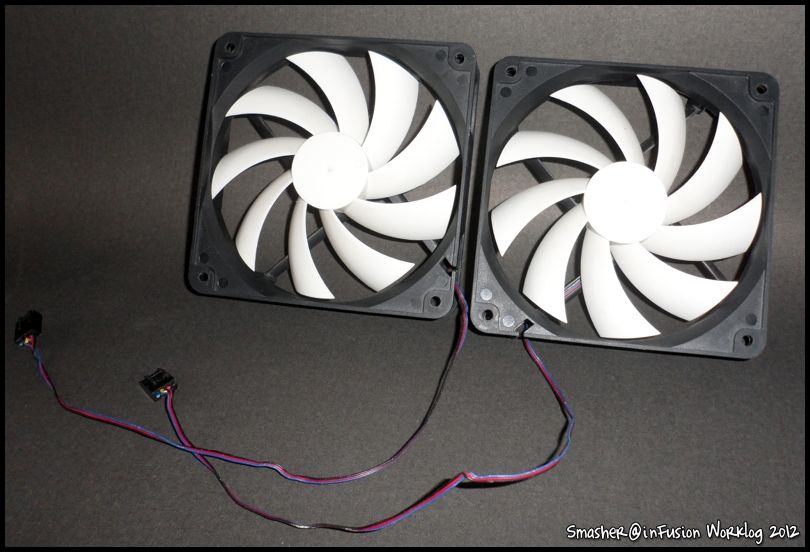
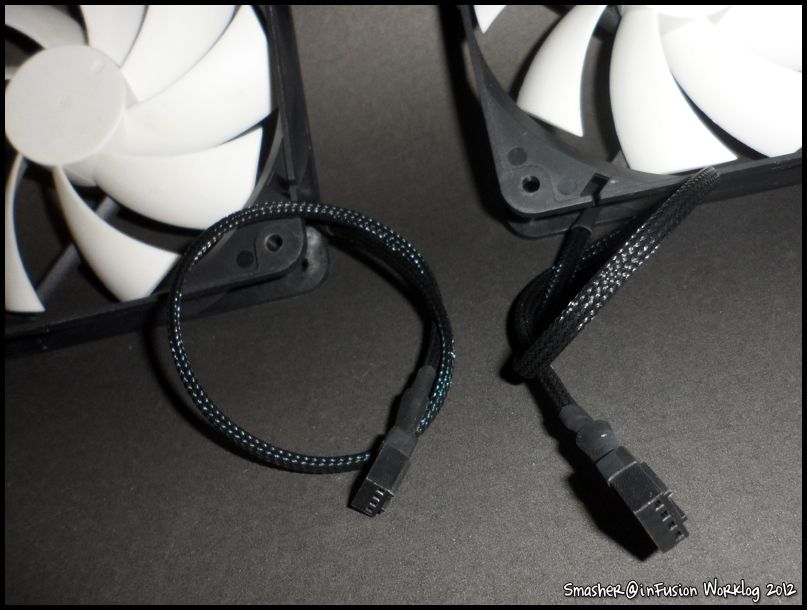
Fans:

inFusionSmasher133.jpg


inFusionSmasher134.jpg


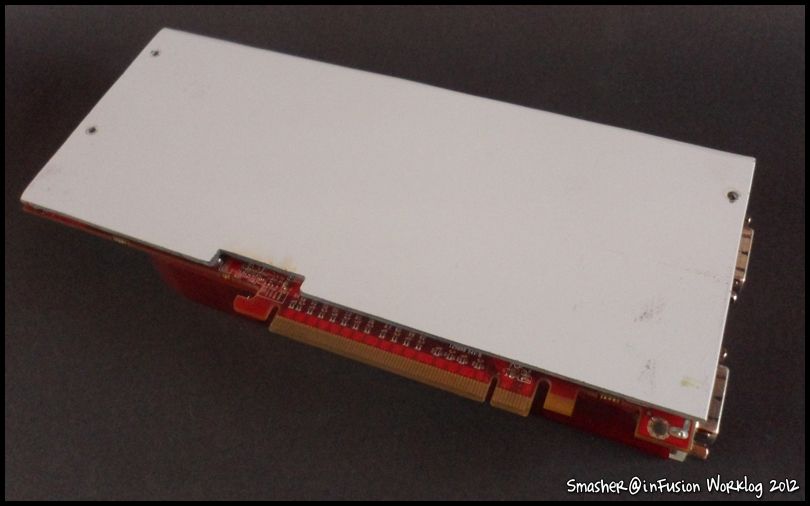
Painting on the VGA:

inFusionSmasher136.jpg


inFusionSmasher137.jpg


inFusionSmasher138.jpg


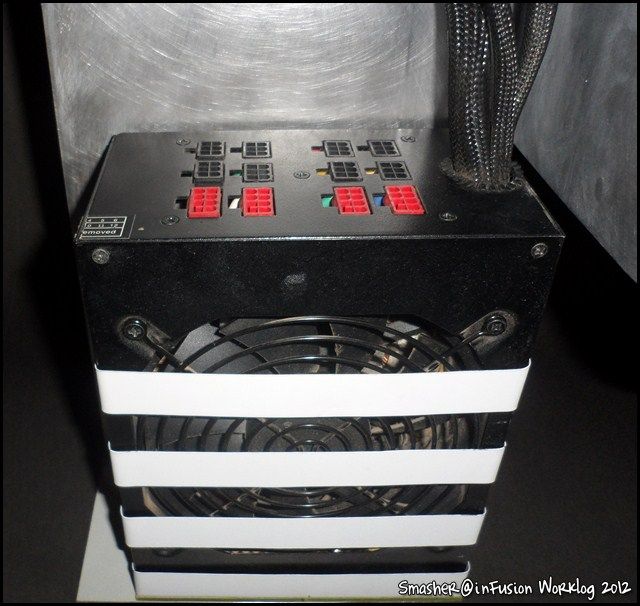
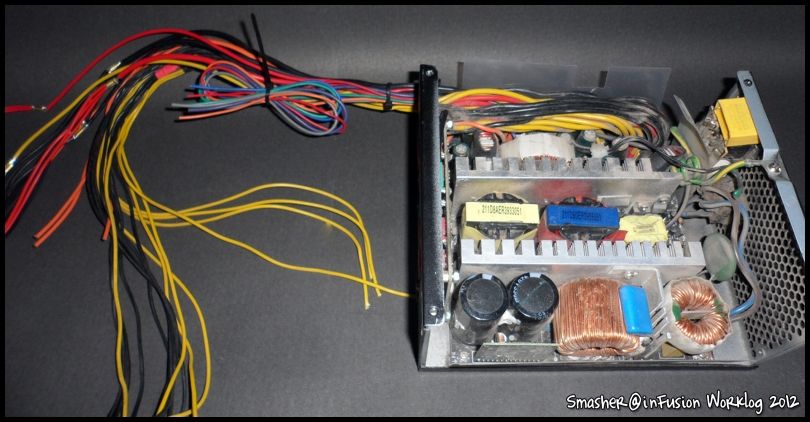
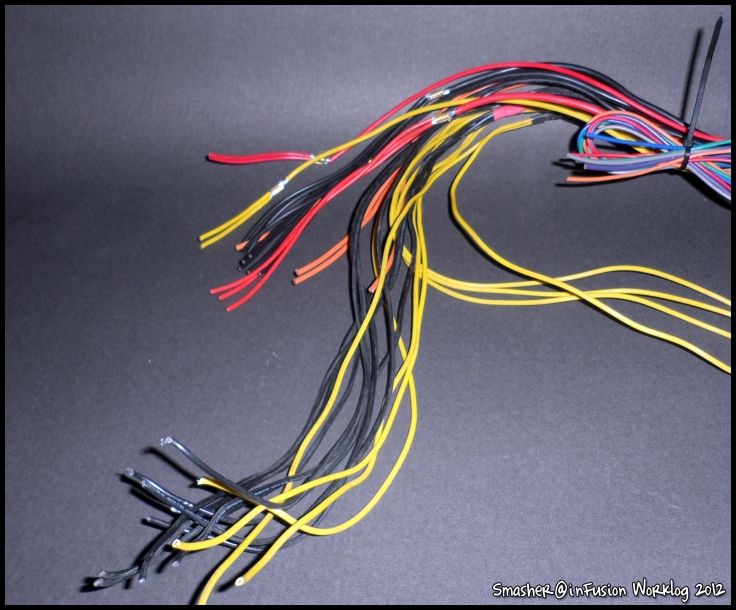
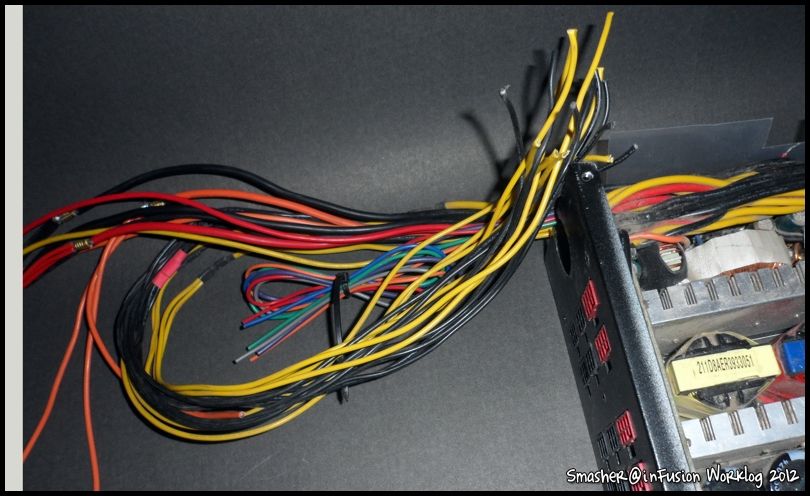
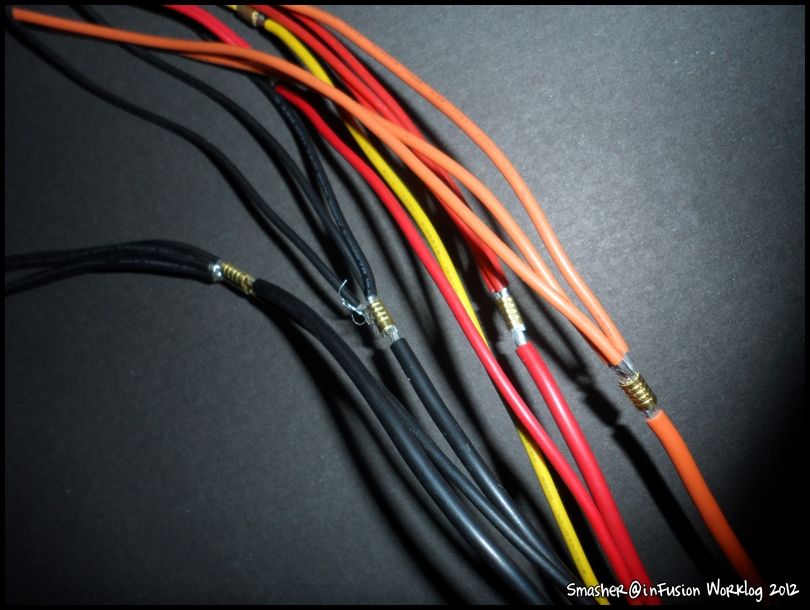
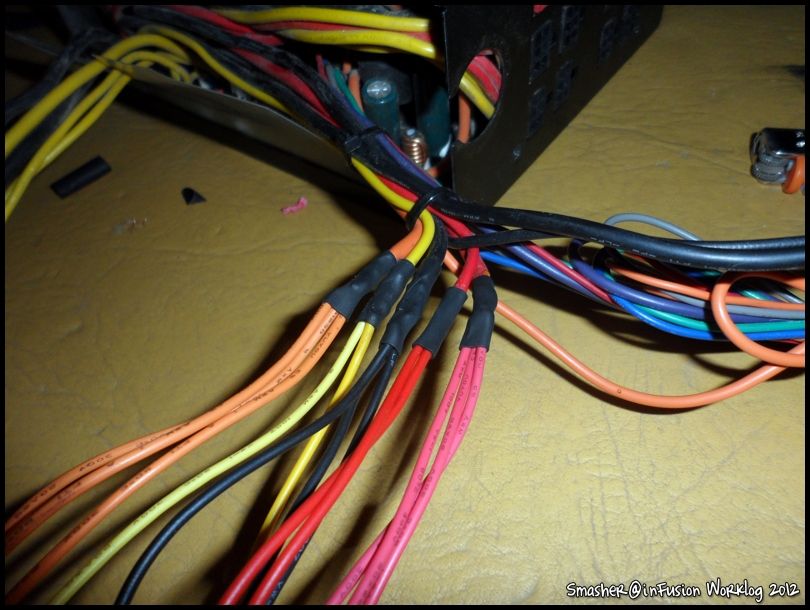
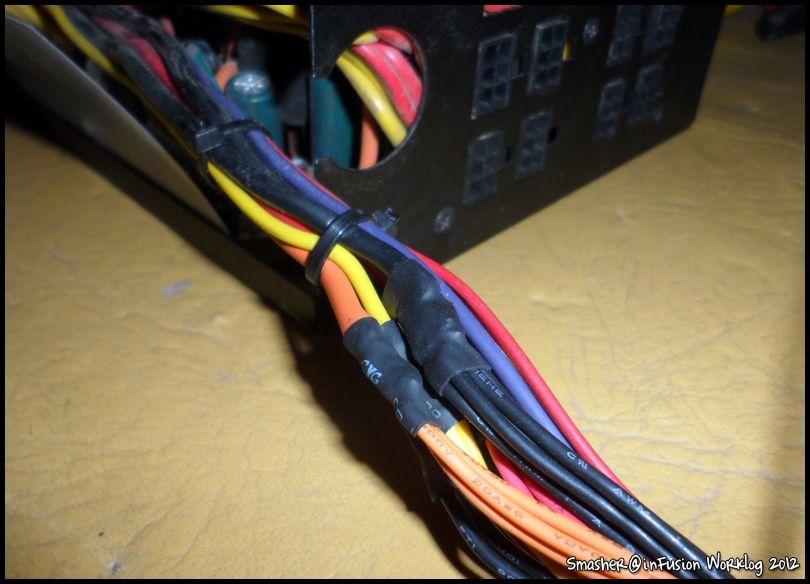
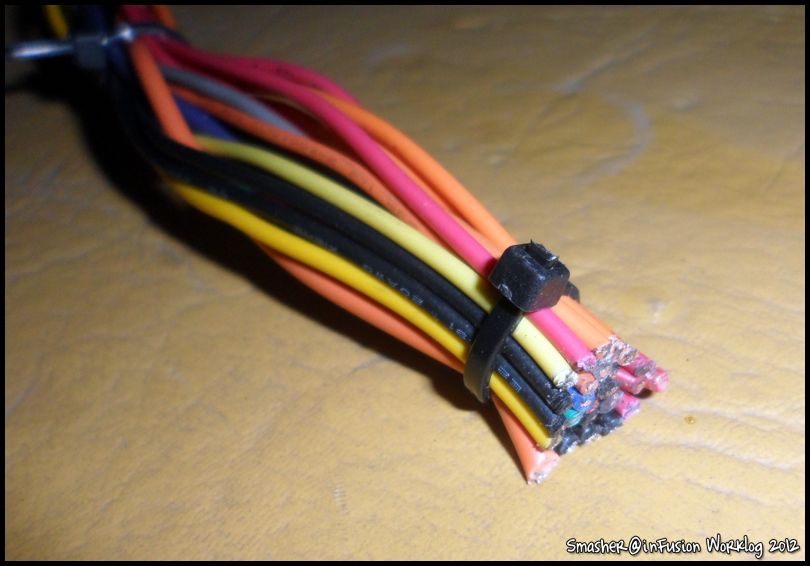
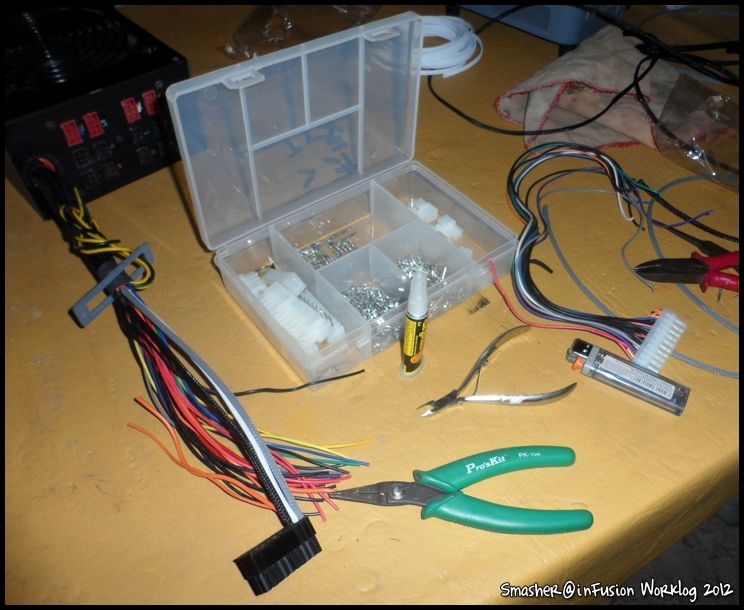
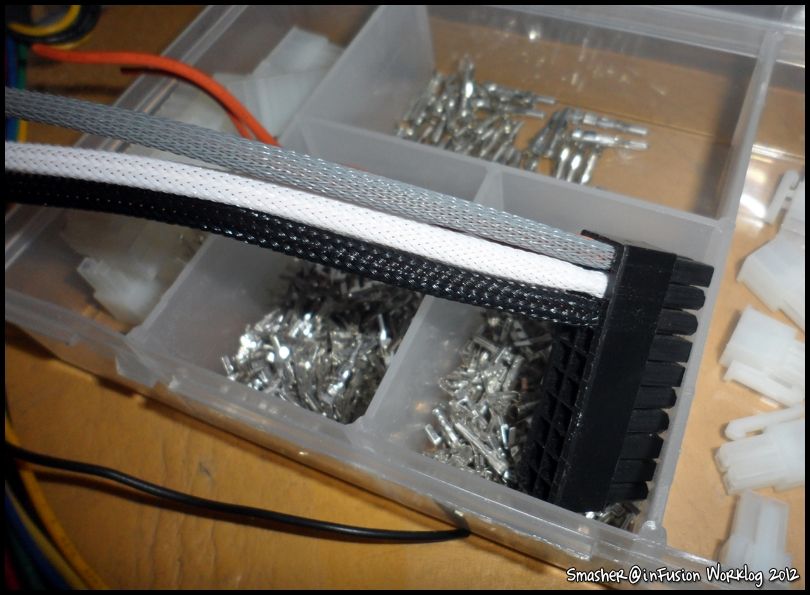
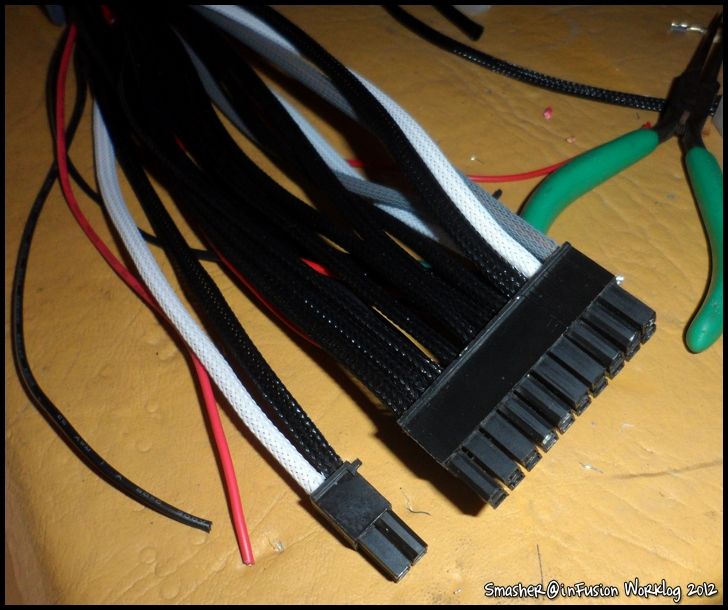
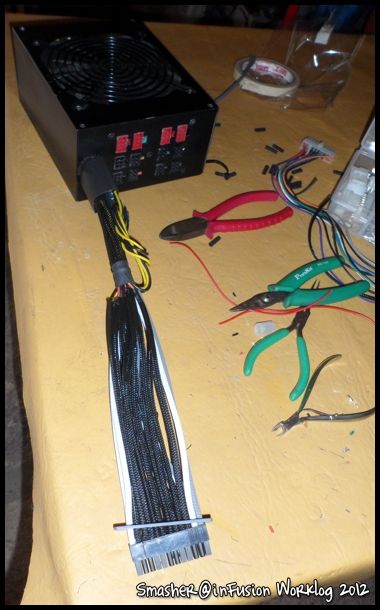
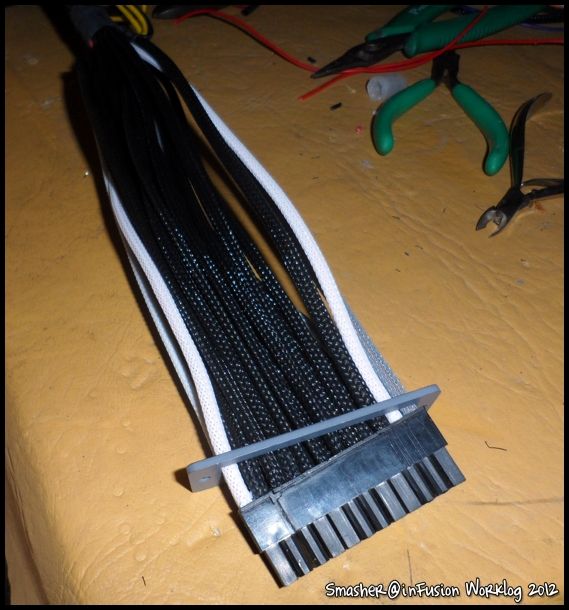
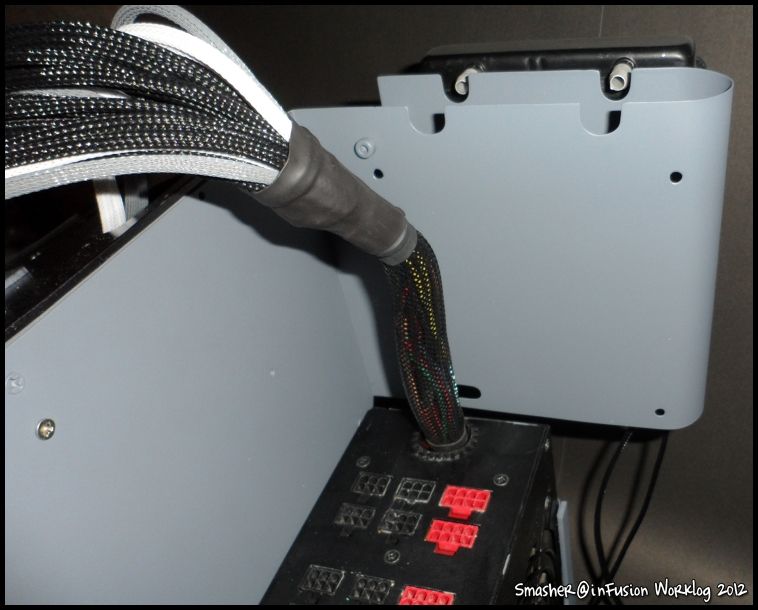
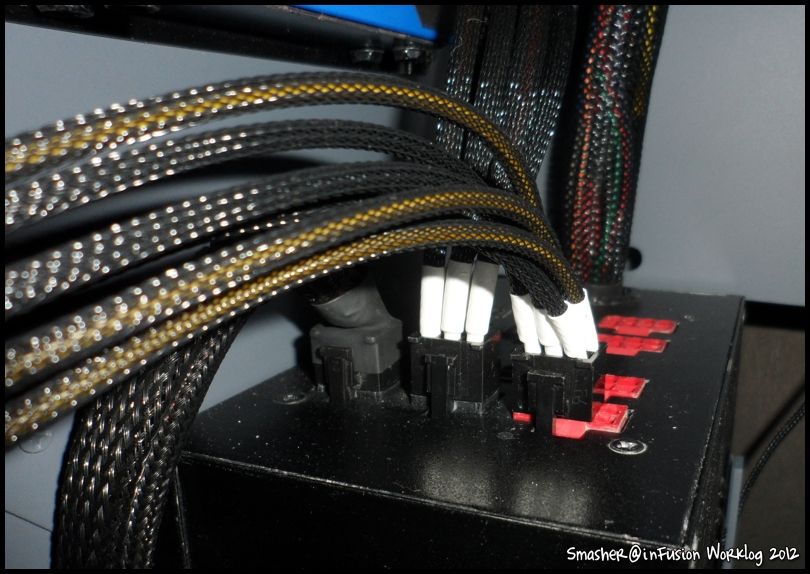
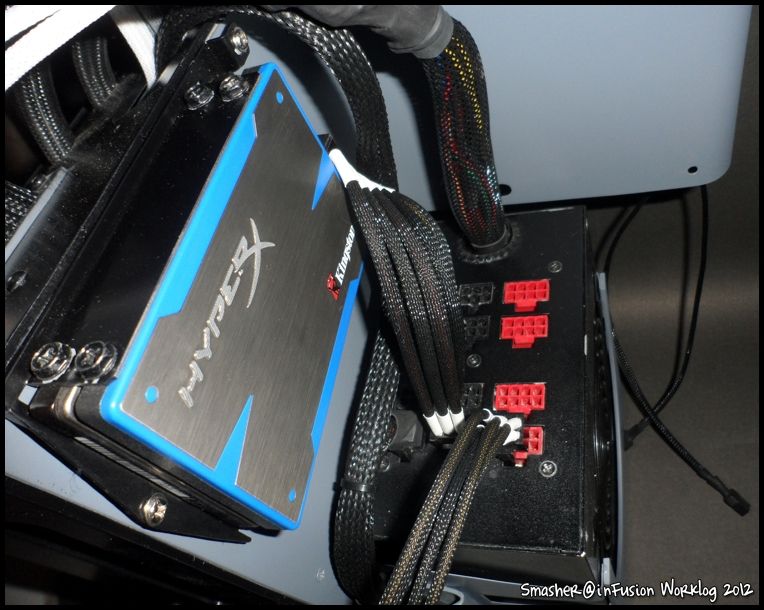
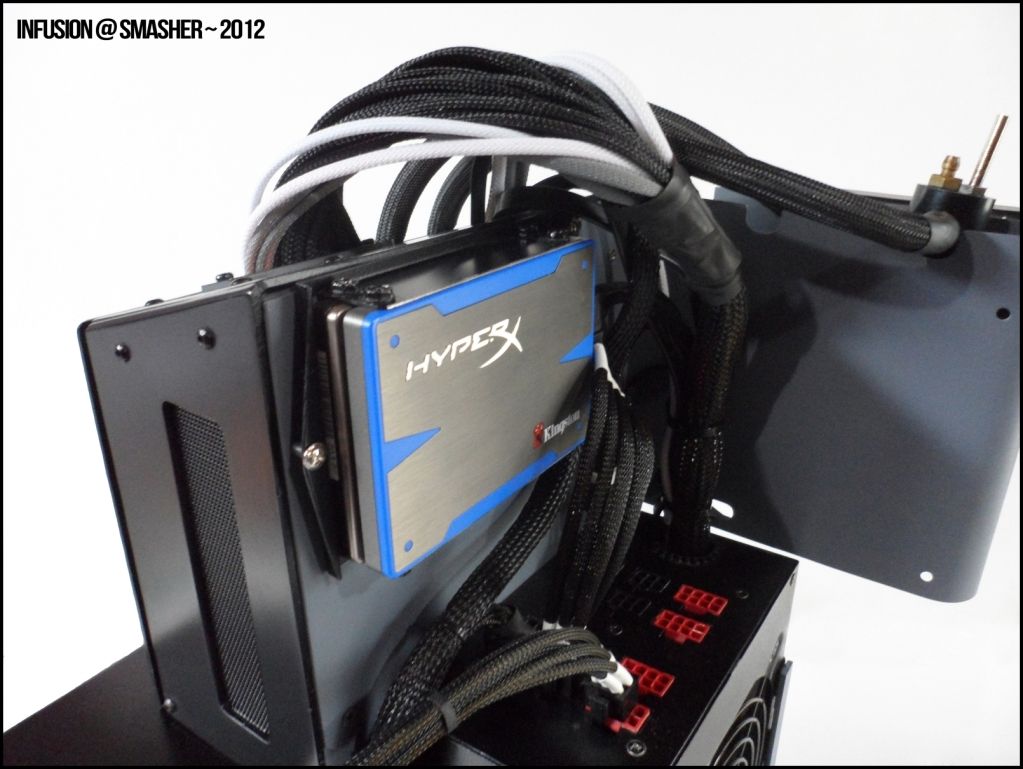
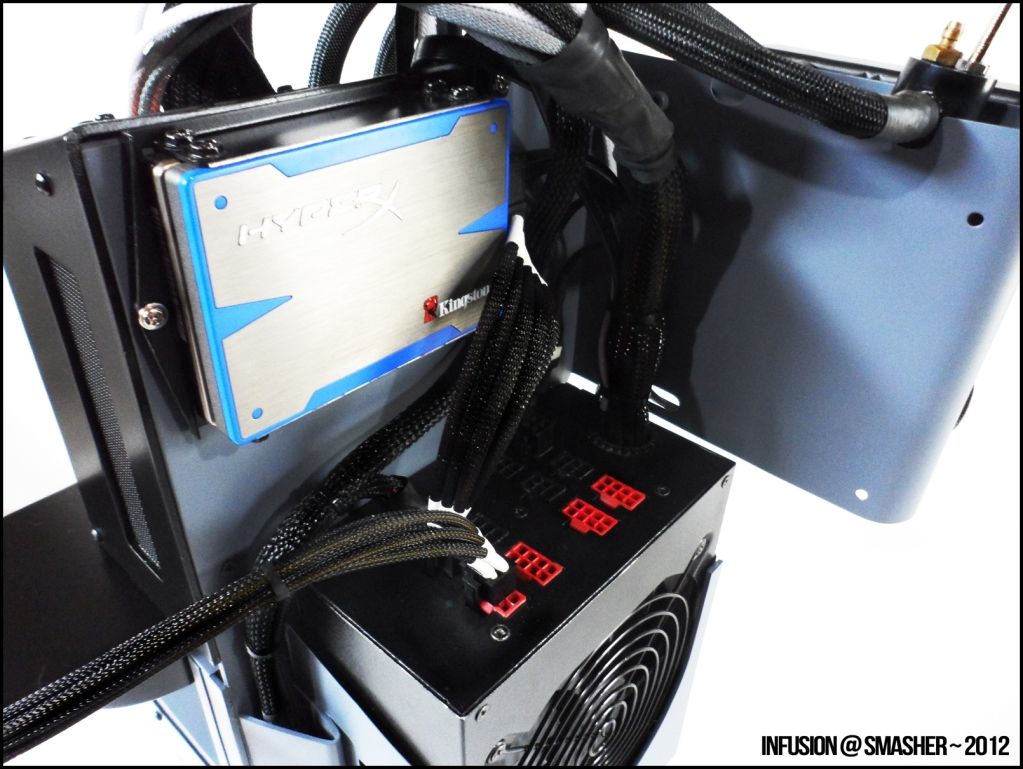
PSU Sleeving:

inFusionSmasher139.jpg


inFusionSmasher140.jpg


inFusionSmasher141.jpg


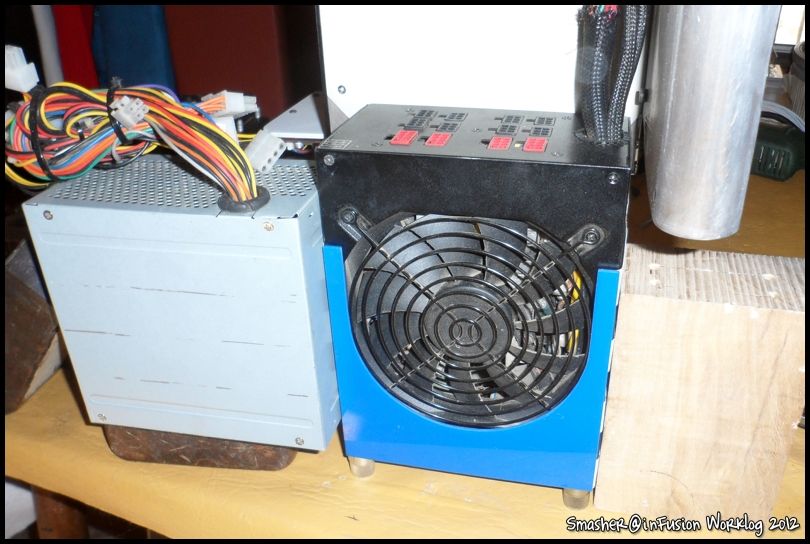
This source is unique in this topic:

inFusionSmasher142.jpg


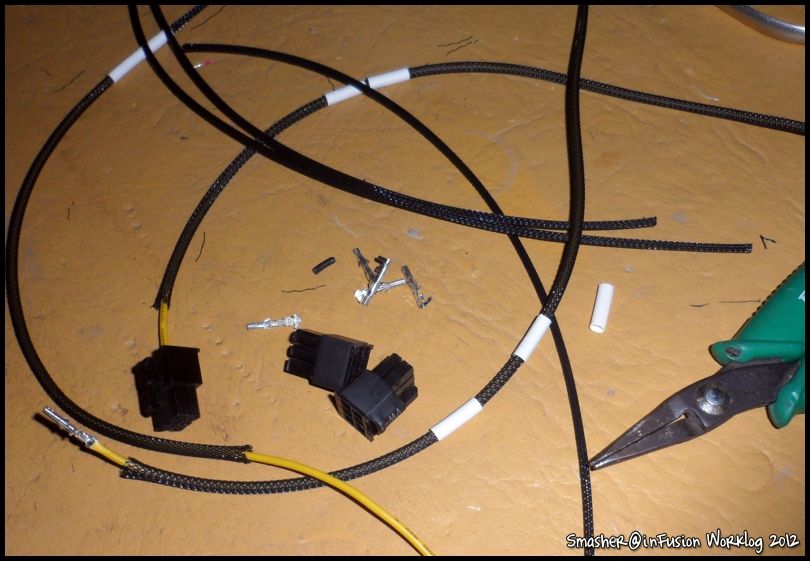
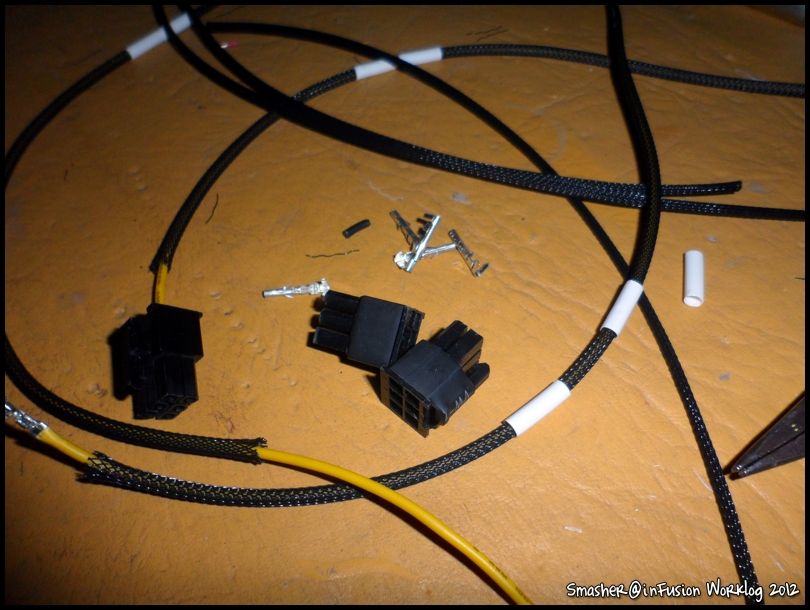
Which would not let me do sleeving 1x1, cut extensions.

inFusionSmasher143.jpg


inFusionSmasher144.jpg


inFusionSmasher145.jpg


inFusionSmasher146.jpg


Santi approves the project!

inFusionSmasher147.jpg


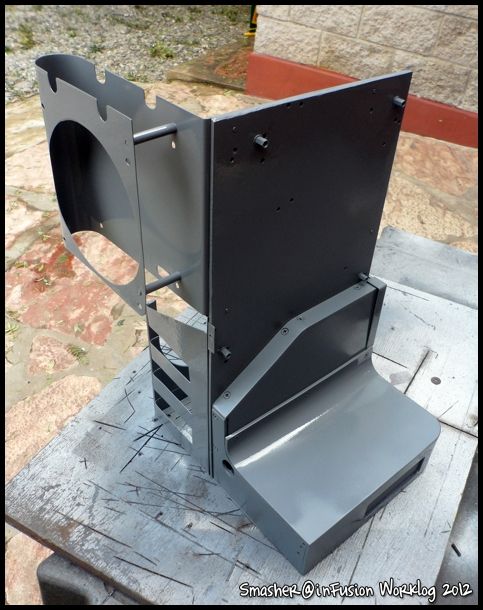
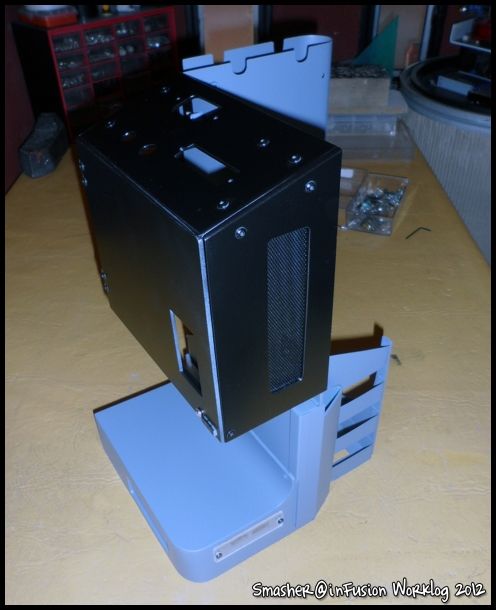
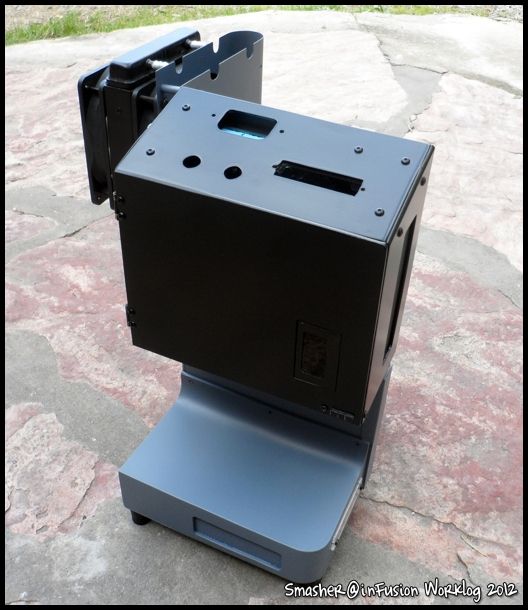
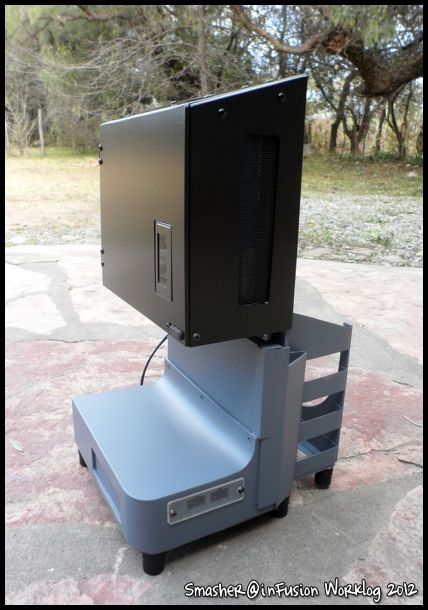
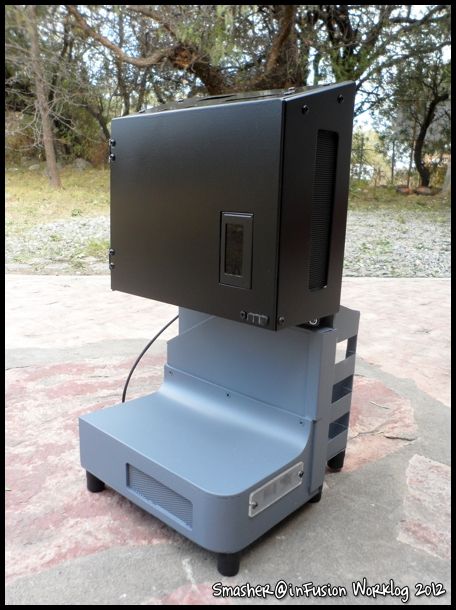
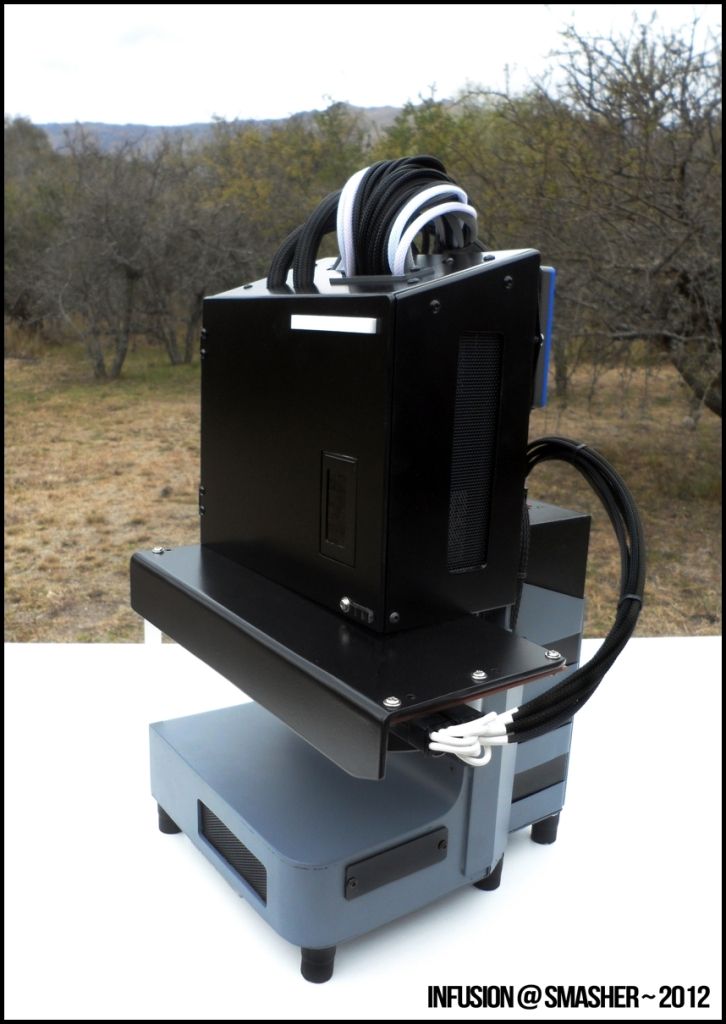
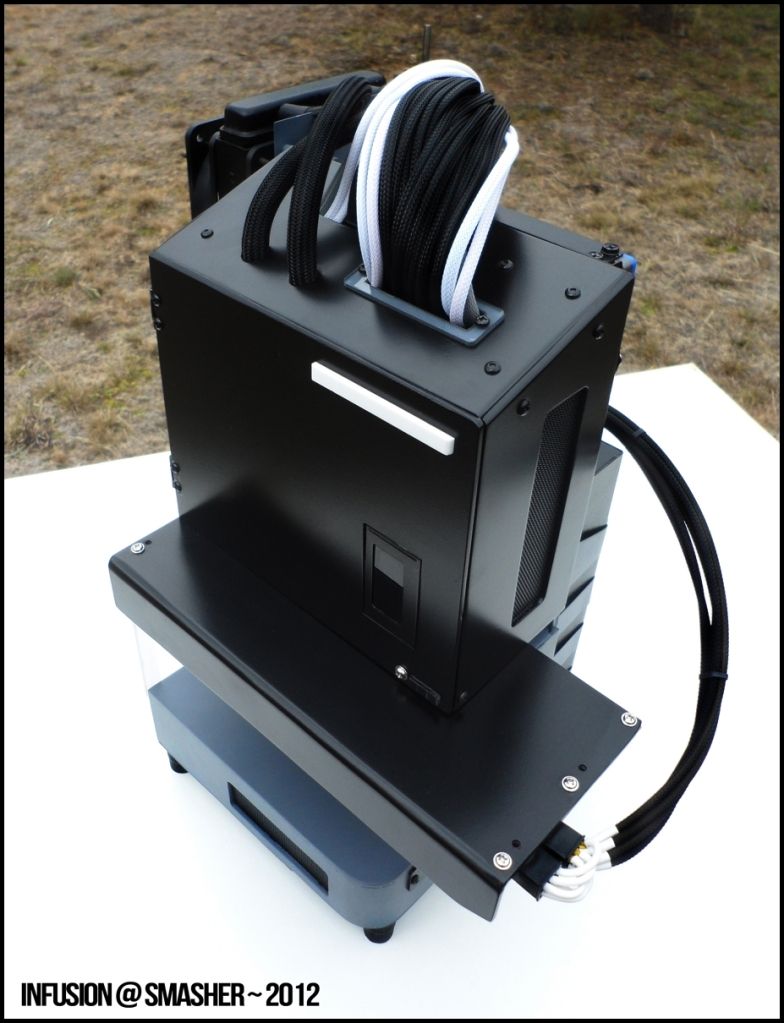
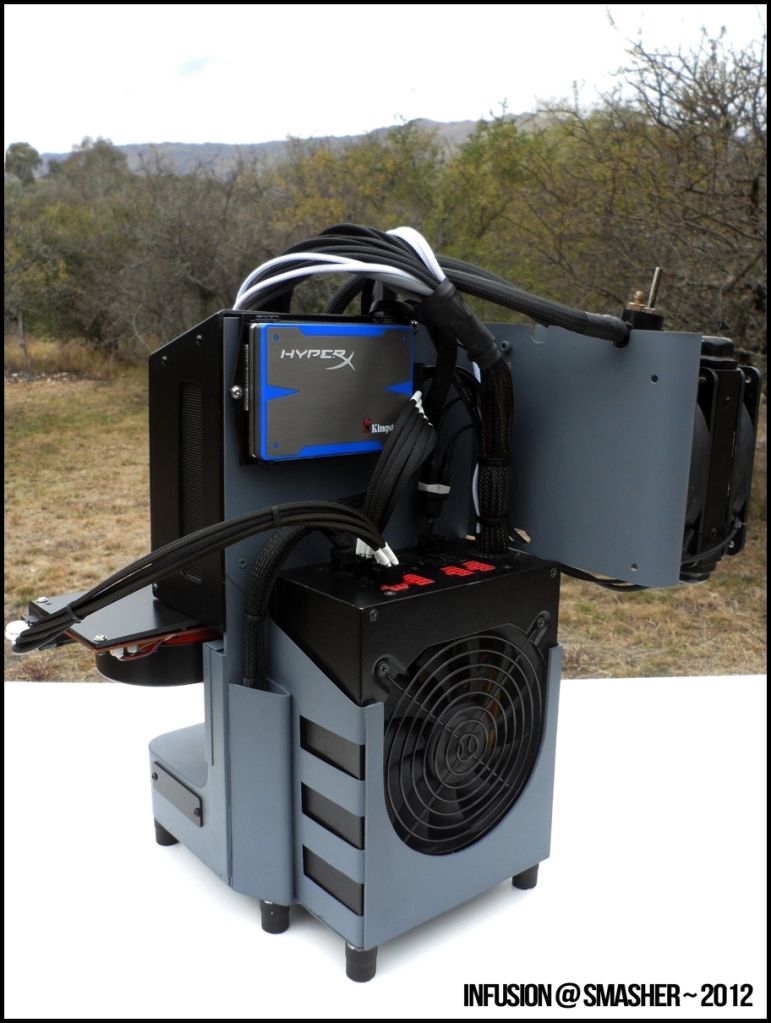
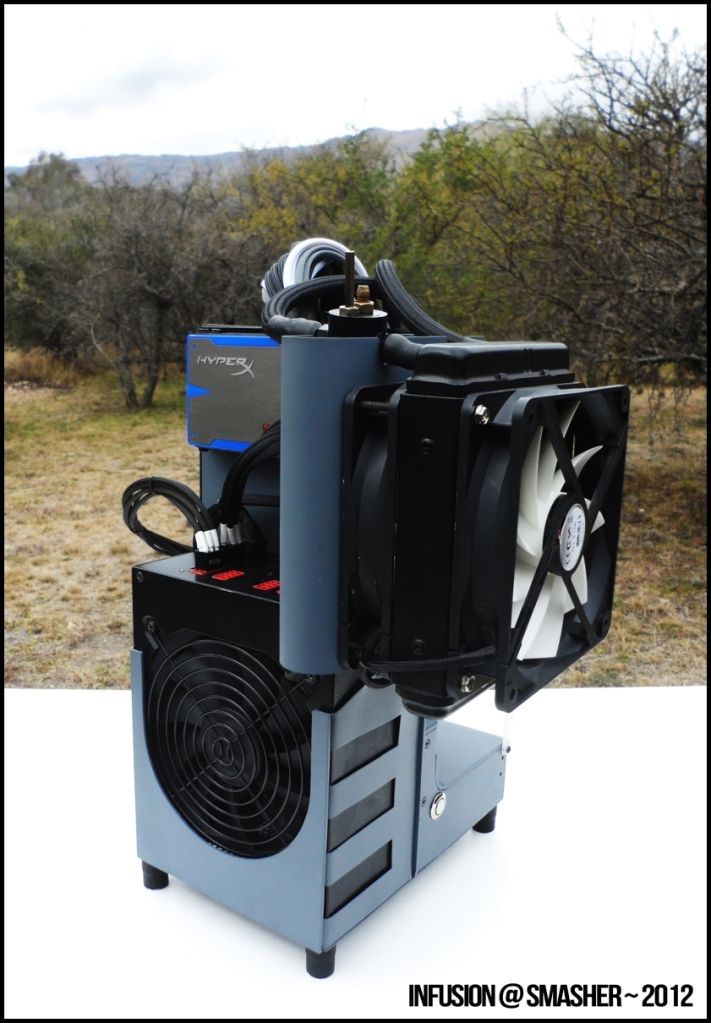
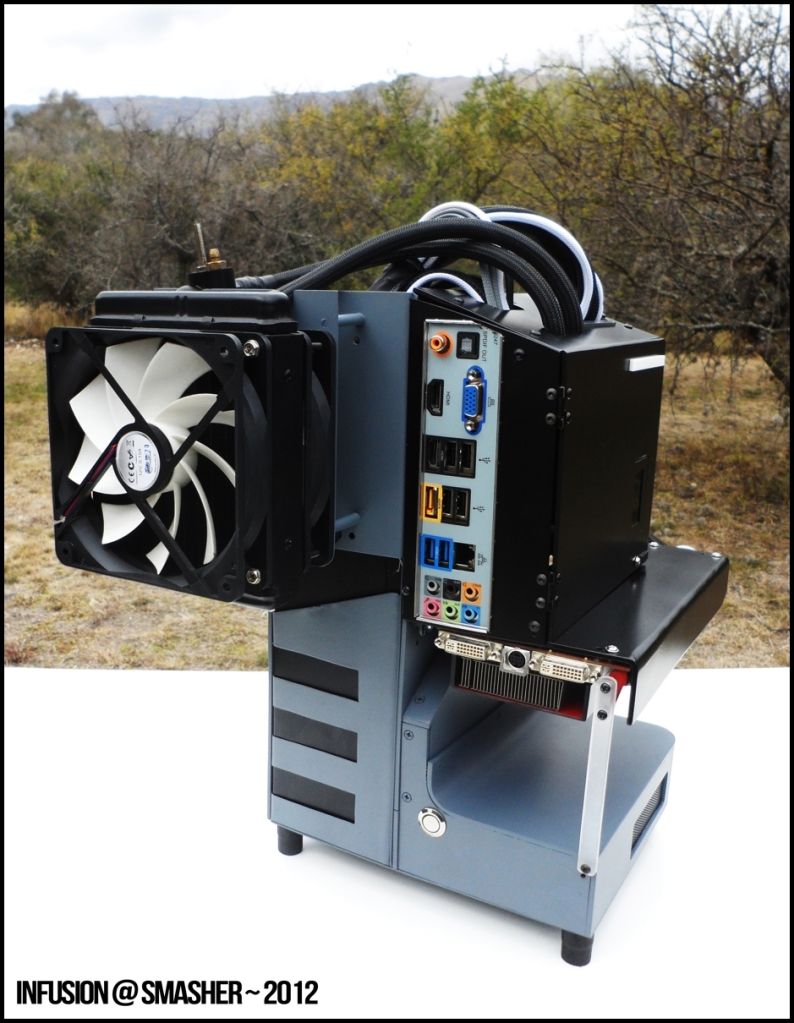
Scratch Build finished paint job

inFusionSmasher148.jpg


inFusionSmasher149.jpg


inFusionSmasher150.jpg


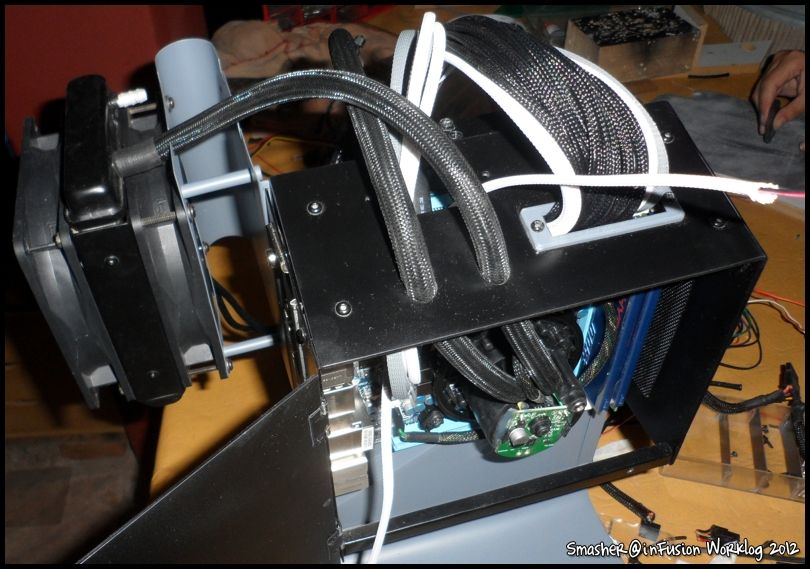
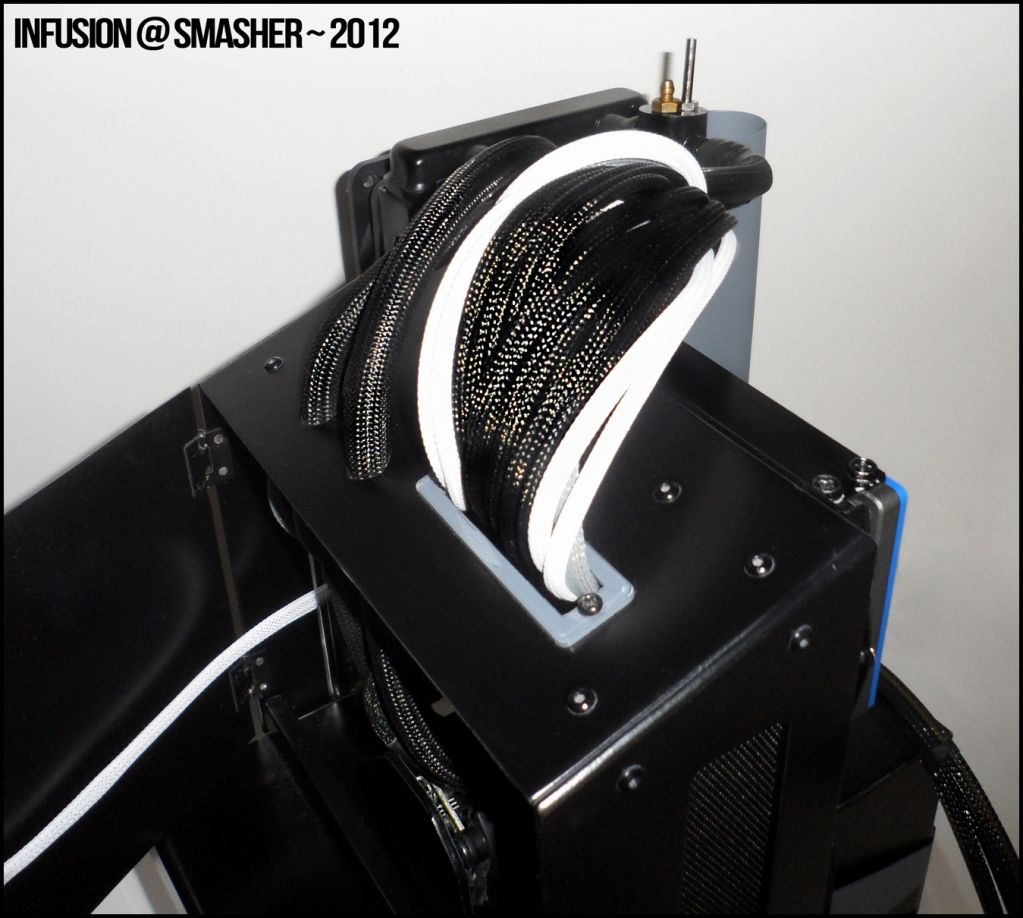
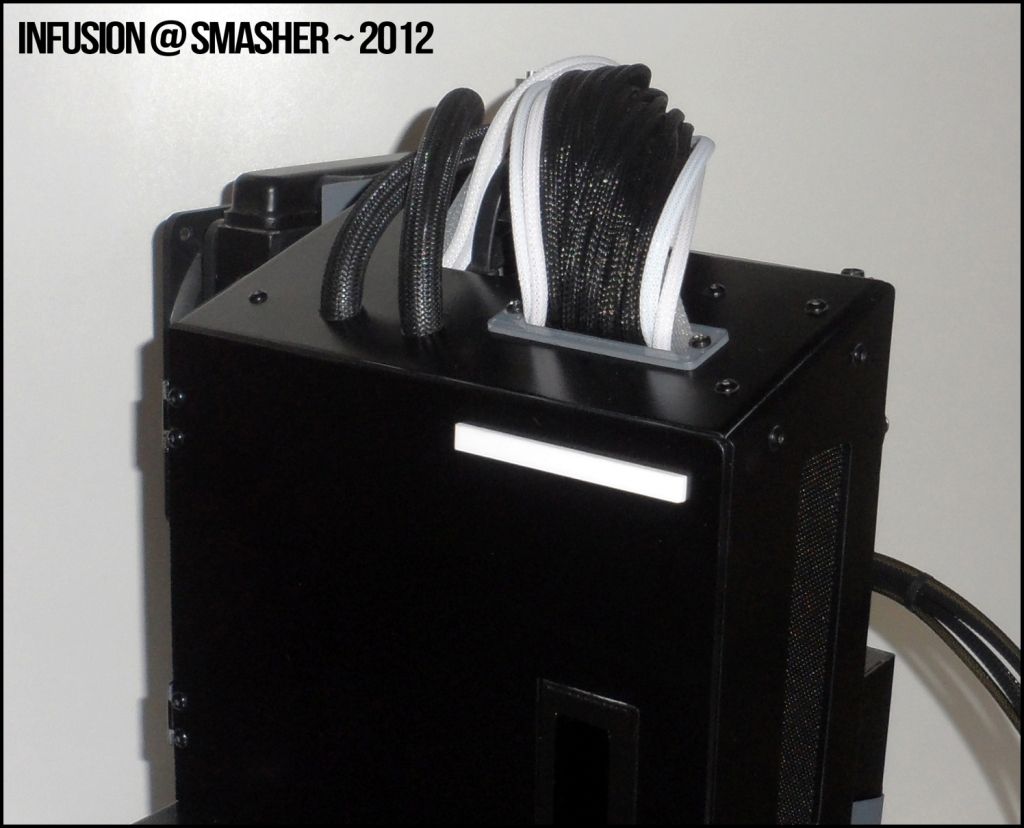
As we continue with the cables:

inFusionSmasher151jpg


inFusionSmasher152.jpg


inFusionSmasher153.jpg


inFusionSmasher154.jpg


inFusionSmasher155.jpg


inFusionSmasher156.jpg


inFusionSmasher157.jpg


inFusionSmasher158.jpg


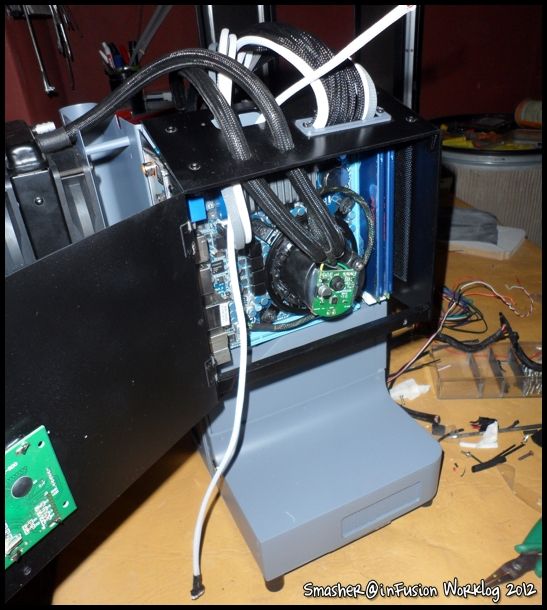
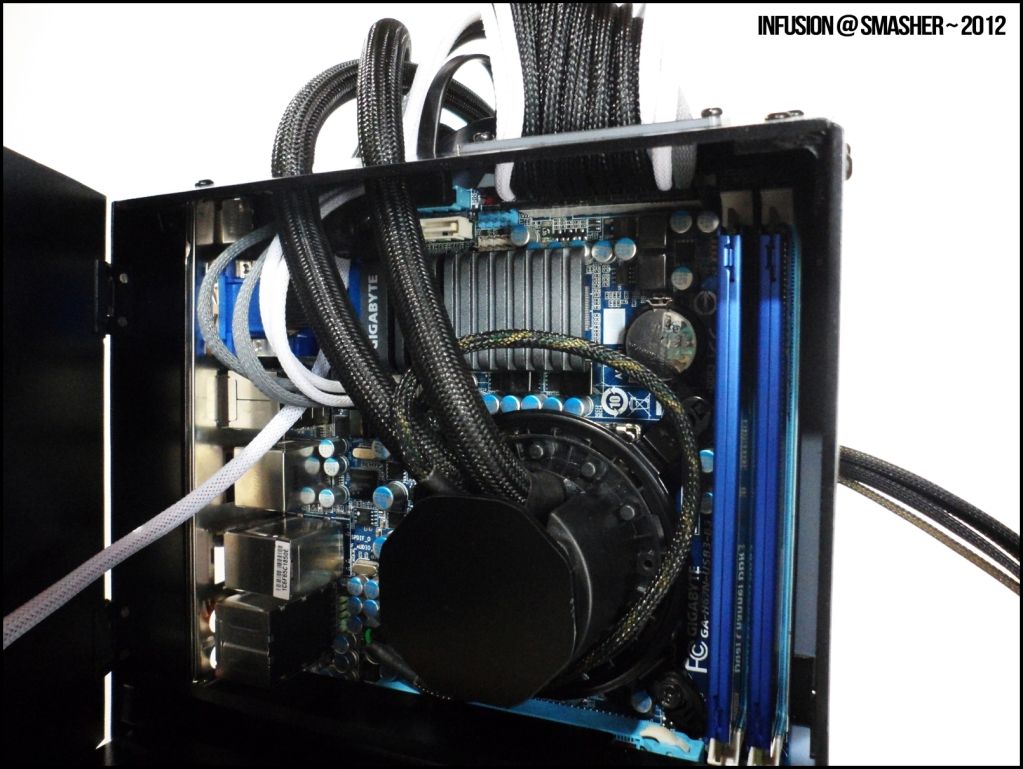
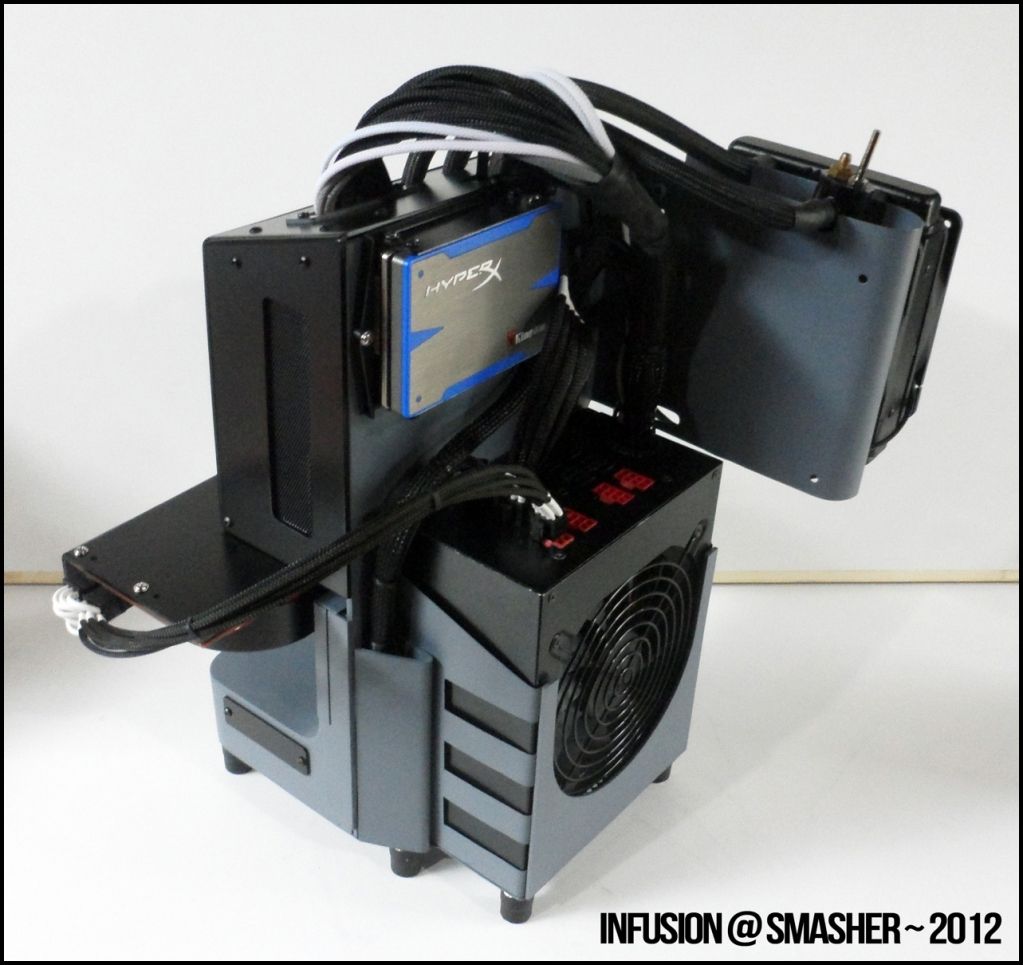
Starts assembly!

inFusionSmasher159.jpg


inFusionSmasher160.jpg


inFusionSmasher161.jpg


inFusionSmasher162.jpg


inFusionSmasher163.jpg


inFusionSmasher164.jpg


inFusionSmasher165.jpg


inFusionSmasher166.jpg


inFusionSmasher167.jpg


And the mini reservoir of H50:

inFusionSmasher168.jpg


In a little while final photos!
 
Last edited:
Back
Top