![[H]ard|Forum](/styles/hardforum/xenforo/logo_dark.png)
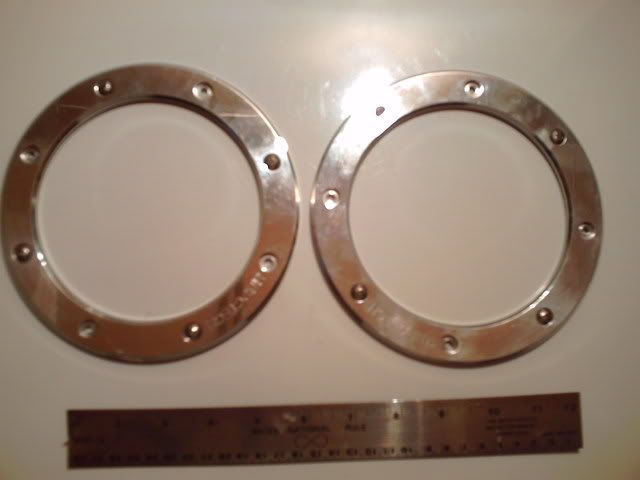
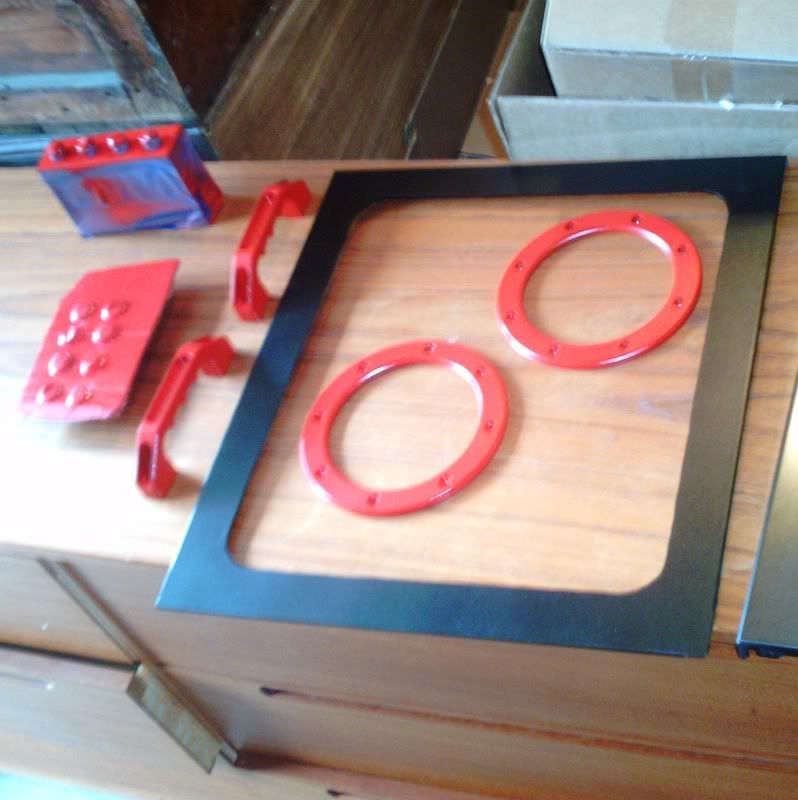
I just got a hold of an old Lian-Li PC-86 case along with some used MNPCTECH hardware, so I'm about ready to start a mod I've been thinking about for a while: a computer based on the Edios Interactive Hitman francise, my favorite game series.
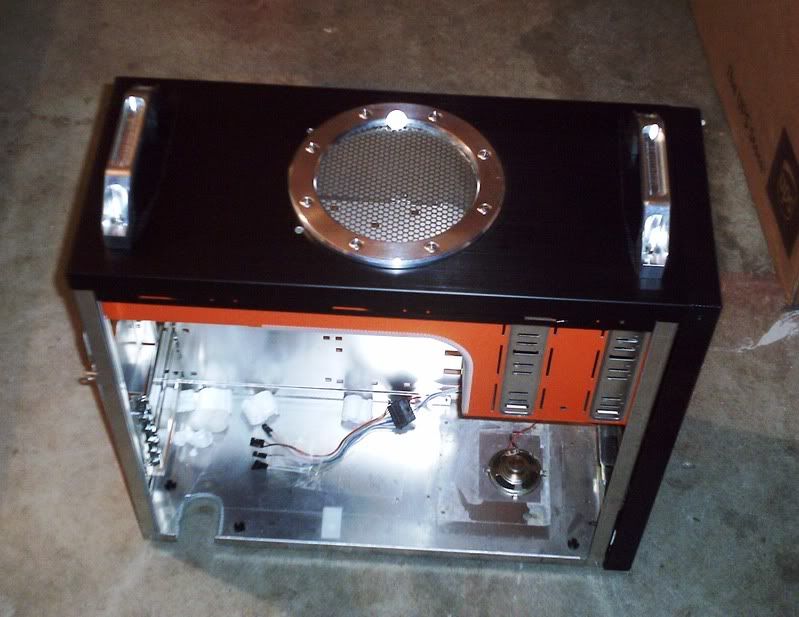
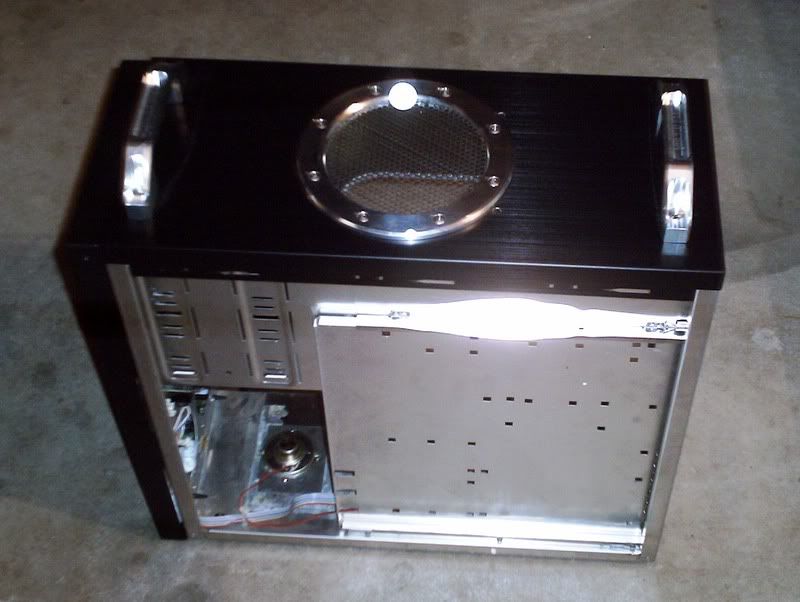
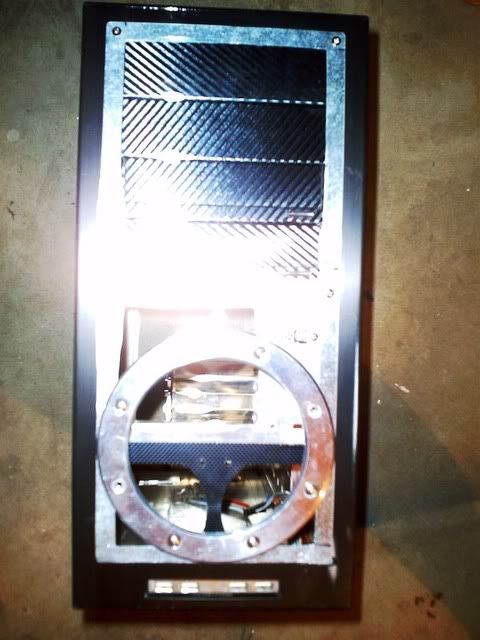
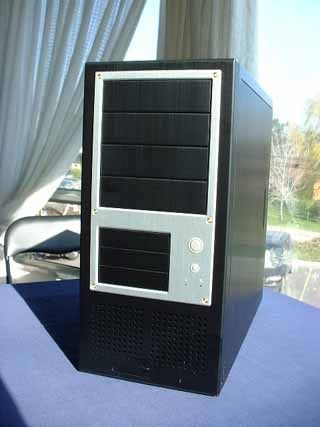
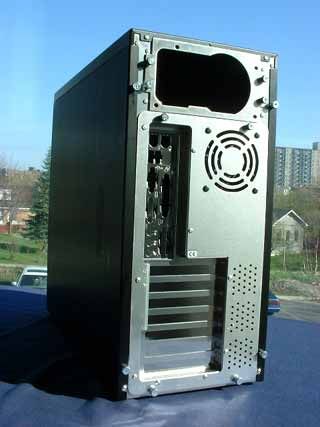
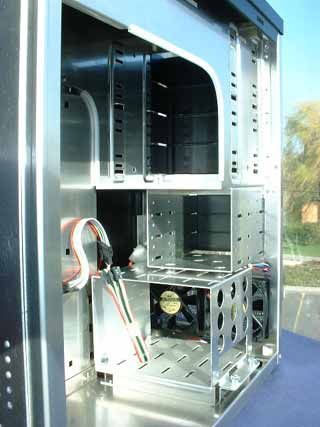
Here's what the stock case looks like:
My objective is a clean, well designed case. I want it to look spectacular but I don't want to anything beyond my ability and end up with a mediocre result. Ideally this case will be adorning my desk for a very long time.
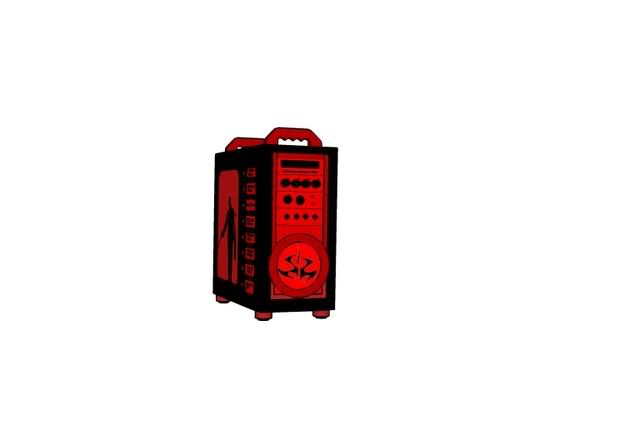
I'm a sketchup noob, but I managed to produce a fairly accurate representation of what I want the case to look like. To the best of my knowledge, everything is to scale.
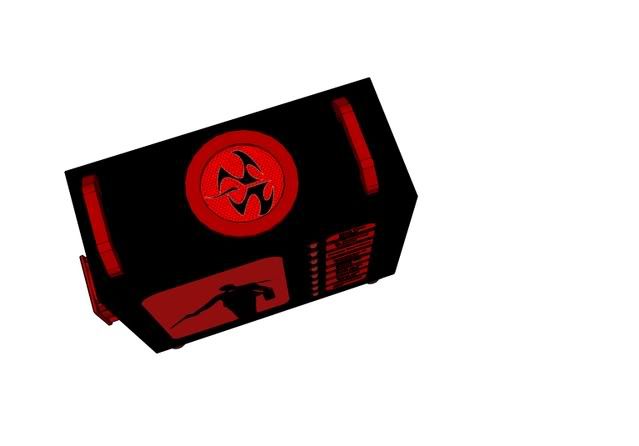
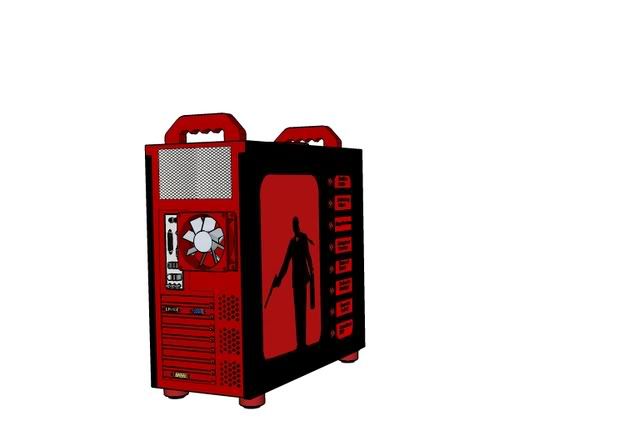
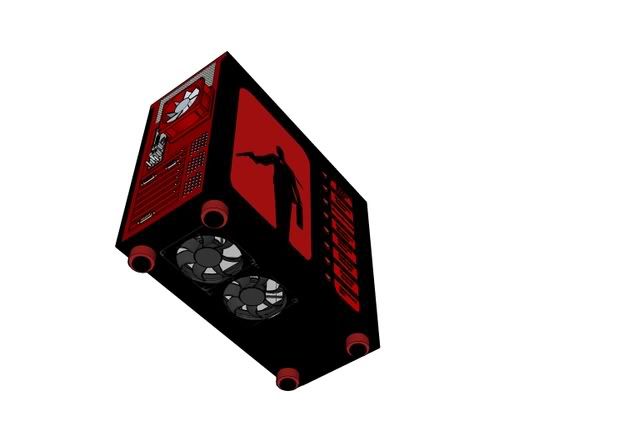
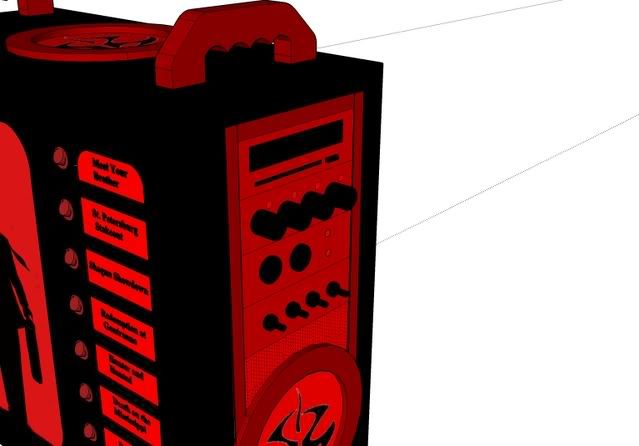
Here's a brief synopsis of my plan:
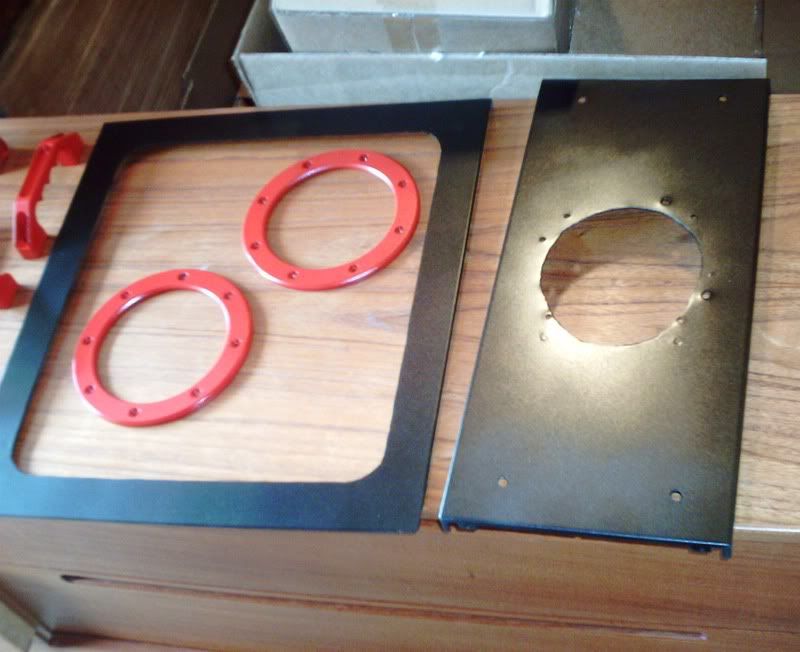
Front- If my budget allows, everything will be powder coated either black or red (except the mobo tray, more on that later). The color sceme for each exterior piece can be seen in the sketches. The drive bays will hold one CD/DVD cover, one Lian Li fan controller (I'll replace the LED's with red ones), vandal resistant power and reset switches along with a power and HDD light, and four toggle switches which will control the LED light strips inside the case. The drive bays will be trimmed with aluminum and the area below them will be red round hole modders mesh (hard to see in the picture that it's mesh). I'm going to put a 120mm aluminum blowhole on the front, but instead of putting a fan behind it, I plan to use a circle of translucent red acrylic with the hitman logo cut out of aluminum. The fans will be placed elsewhere...
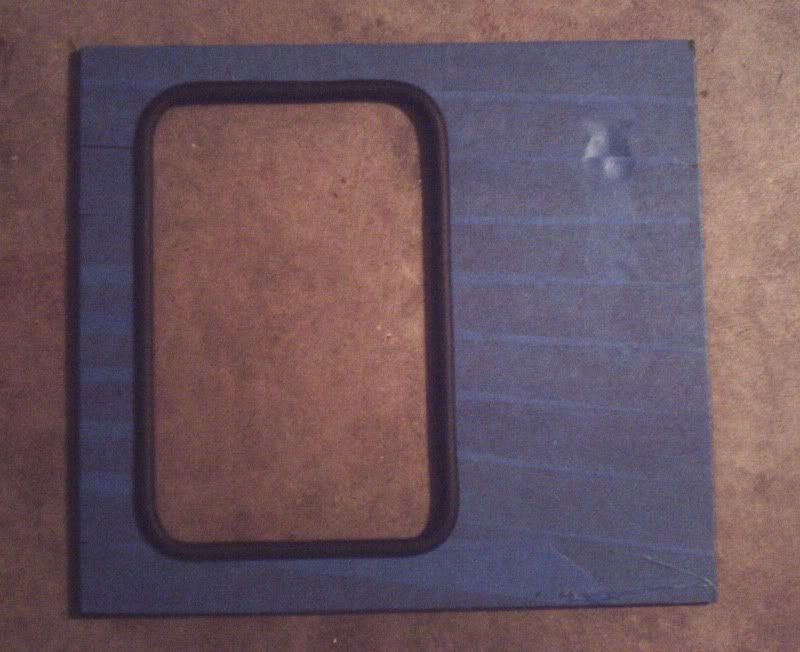
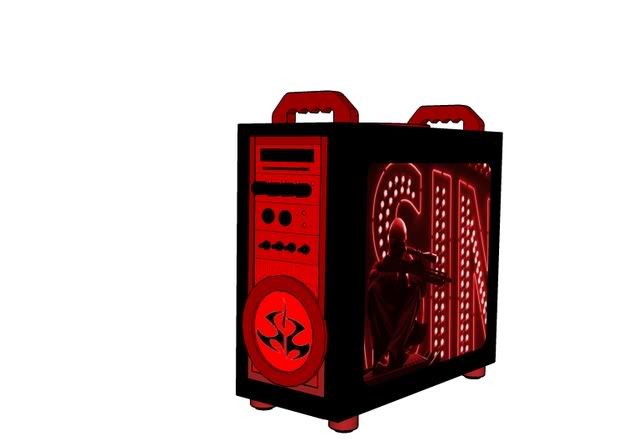
Right Panel- To get the picture on the right panel, I plan to cut a window-like hole with transparent red acrylic behind it. Behind this acrylic sheet, I'm going to put a piece of mirrored red acrylic. Sandwhiched in between will be the image printed on a large transparency.
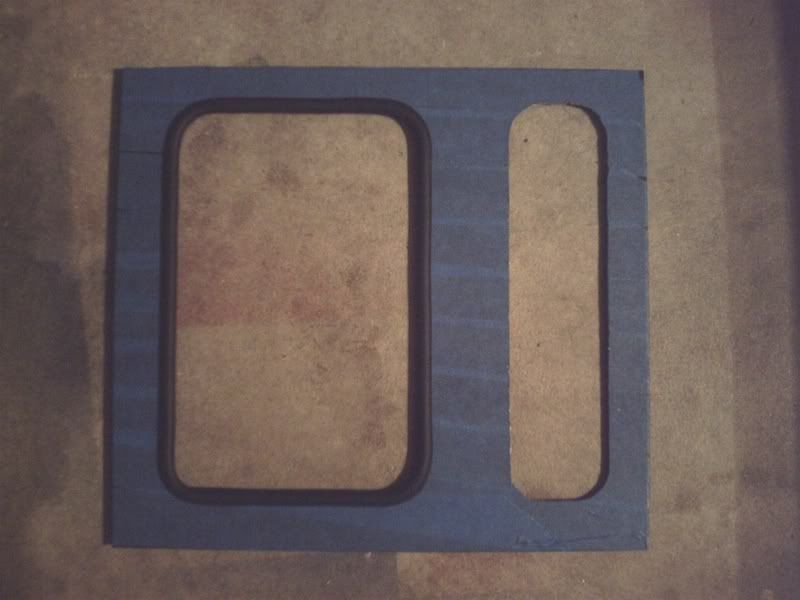
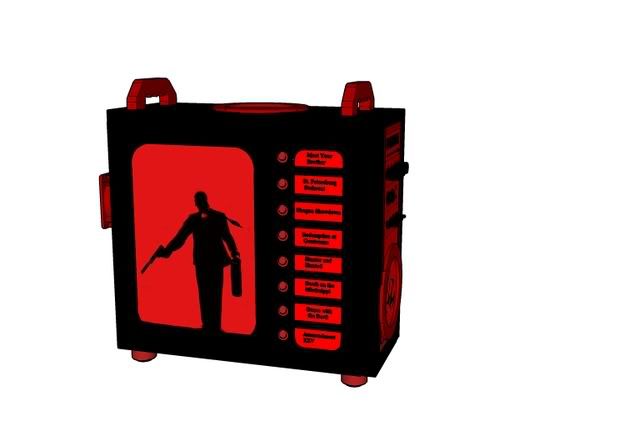
Left Panel- The larger window on the left panel will be similar to the right panel window except that both acrylic pieces will be transparent so that the case can be seen into. The smaller window is the "mission window." It will be transparent red acrylic and the names of eight key missions from the four games will be printed on it. However, it will be backed by a thin sheet of translucent black acrylic so the words will be difficult to distinguish when not backlit. Each mission will have a laser LED behind it (partitioned of so there's no cross contamination) controlled by the rocker switch next to the mission. If the mission's name is visible this indicates the misson has been completed.
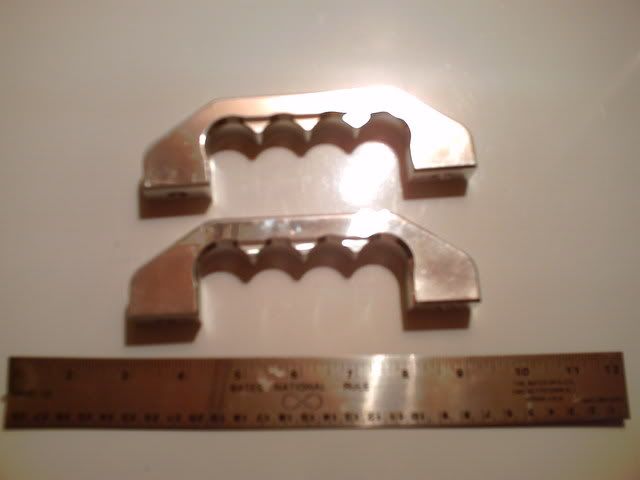
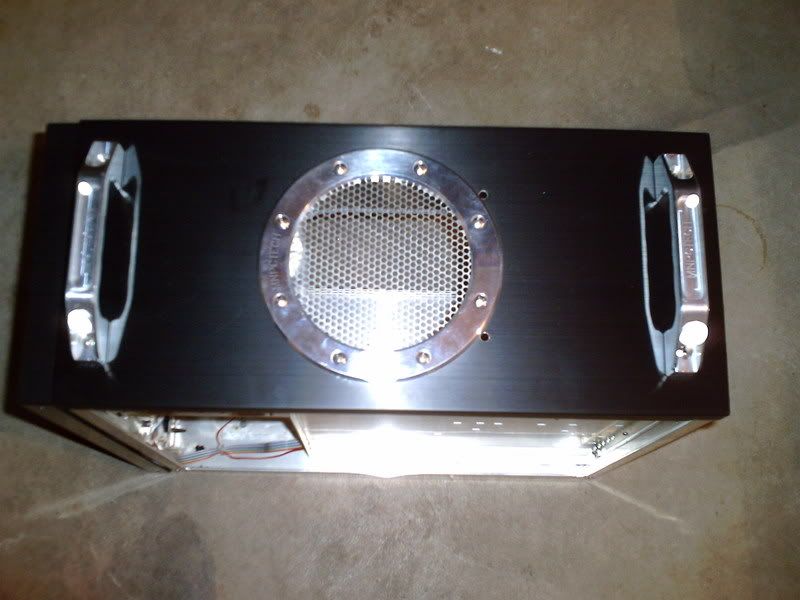
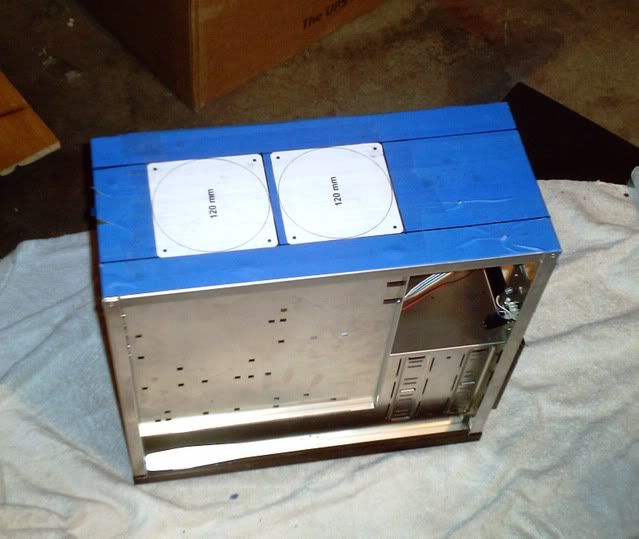
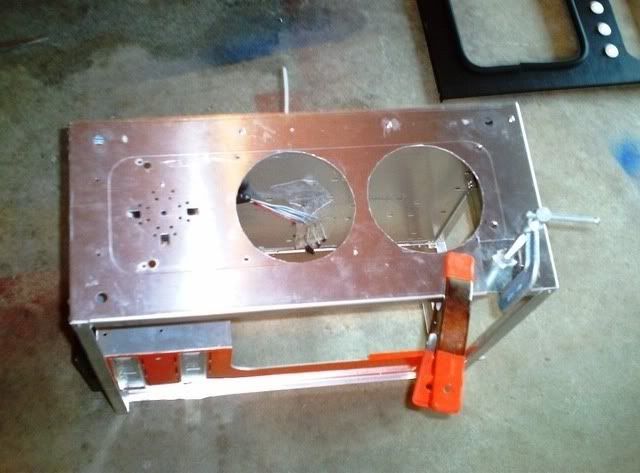
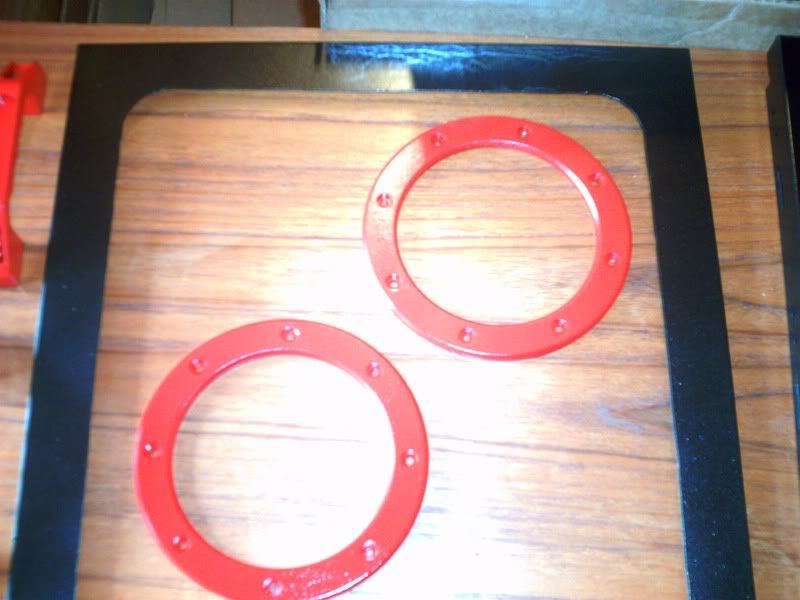
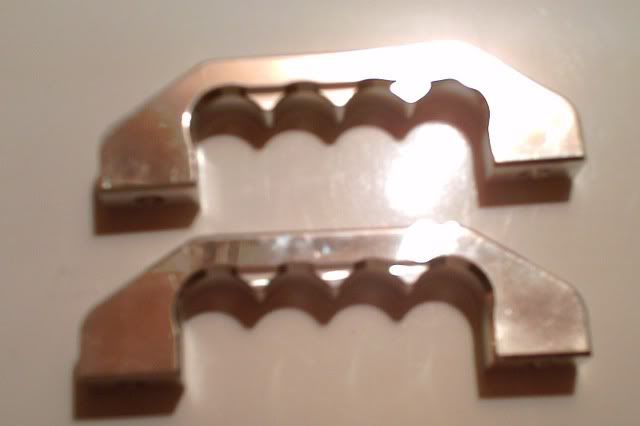
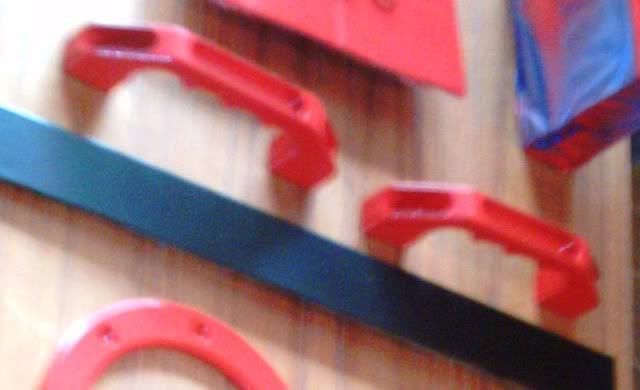
Top/Bottom- I intend for this case to be almost entirely vertically cooled. Two 120mm fans on the bottom of the case will intake air and an exterior 92mm fan on the back along with a 120mm fan on top will exhaust it (the power supply will exhaust as well). There's a mistake in the picture of the bottom, the case will be watercooled so there should be a dual 120mm rad between the case and the fans. As shown the case will sit on MNPCTECH billet aluminum case feet. Billet handles will be mounted on the top along with an aluminum blowhole for the exhaust fan. Inside the blowhole with be another aluminum hitman logo.
Interior/Cooling- I intend to use carbon fiber vinyl on the mobo tray and powercoat the rest of the interior black. I've never watercooled before, so any suggestions here would be greatly apprieciated. To me, looks are as important as cooling. I plan to use black coolant and mount the res and pump underneath the drive bays. My tenative plan for the loop is: res→ pump→ bottom dual rad→ gpu→ 92m rad on back→ northbridge→ 120 rad under top fan→ cpu→ res.
I suppose that's about all. I don't want to be begin only to find I've made a major planning mistake, so any comment, criticisms, or suggestions would be greatly apprieciated.
Here's what the stock case looks like:
My objective is a clean, well designed case. I want it to look spectacular but I don't want to anything beyond my ability and end up with a mediocre result. Ideally this case will be adorning my desk for a very long time.
I'm a sketchup noob, but I managed to produce a fairly accurate representation of what I want the case to look like. To the best of my knowledge, everything is to scale.
Here's a brief synopsis of my plan:
Front- If my budget allows, everything will be powder coated either black or red (except the mobo tray, more on that later). The color sceme for each exterior piece can be seen in the sketches. The drive bays will hold one CD/DVD cover, one Lian Li fan controller (I'll replace the LED's with red ones), vandal resistant power and reset switches along with a power and HDD light, and four toggle switches which will control the LED light strips inside the case. The drive bays will be trimmed with aluminum and the area below them will be red round hole modders mesh (hard to see in the picture that it's mesh). I'm going to put a 120mm aluminum blowhole on the front, but instead of putting a fan behind it, I plan to use a circle of translucent red acrylic with the hitman logo cut out of aluminum. The fans will be placed elsewhere...
Right Panel- To get the picture on the right panel, I plan to cut a window-like hole with transparent red acrylic behind it. Behind this acrylic sheet, I'm going to put a piece of mirrored red acrylic. Sandwhiched in between will be the image printed on a large transparency.
Left Panel- The larger window on the left panel will be similar to the right panel window except that both acrylic pieces will be transparent so that the case can be seen into. The smaller window is the "mission window." It will be transparent red acrylic and the names of eight key missions from the four games will be printed on it. However, it will be backed by a thin sheet of translucent black acrylic so the words will be difficult to distinguish when not backlit. Each mission will have a laser LED behind it (partitioned of so there's no cross contamination) controlled by the rocker switch next to the mission. If the mission's name is visible this indicates the misson has been completed.
Top/Bottom- I intend for this case to be almost entirely vertically cooled. Two 120mm fans on the bottom of the case will intake air and an exterior 92mm fan on the back along with a 120mm fan on top will exhaust it (the power supply will exhaust as well). There's a mistake in the picture of the bottom, the case will be watercooled so there should be a dual 120mm rad between the case and the fans. As shown the case will sit on MNPCTECH billet aluminum case feet. Billet handles will be mounted on the top along with an aluminum blowhole for the exhaust fan. Inside the blowhole with be another aluminum hitman logo.
Interior/Cooling- I intend to use carbon fiber vinyl on the mobo tray and powercoat the rest of the interior black. I've never watercooled before, so any suggestions here would be greatly apprieciated. To me, looks are as important as cooling. I plan to use black coolant and mount the res and pump underneath the drive bays. My tenative plan for the loop is: res→ pump→ bottom dual rad→ gpu→ 92m rad on back→ northbridge→ 120 rad under top fan→ cpu→ res.
I suppose that's about all. I don't want to be begin only to find I've made a major planning mistake, so any comment, criticisms, or suggestions would be greatly apprieciated.