Navigation
Install the app
How to install the app on iOS
Follow along with the video below to see how to install our site as a web app on your home screen.
Note: This feature may not be available in some browsers.
More options
-
Some users have recently had their accounts hijacked. It seems that the now defunct EVGA forums might have compromised your password there and seems many are using the same PW here. We would suggest you UPDATE YOUR PASSWORD and TURN ON 2FA for your account here to further secure it. None of the compromised accounts had 2FA turned on.
Once you have enabled 2FA, your account will be updated soon to show a badge, letting other members know that you use 2FA to protect your account. This should be beneficial for everyone that uses FSFT.
You are using an out of date browser. It may not display this or other websites correctly.
You should upgrade or use an alternative browser.
You should upgrade or use an alternative browser.
-Freshly Sliced-
- Thread starter barfastic
- Start date

“An idea that is developed and put into action is more important than an idea that exists only as an idea.”
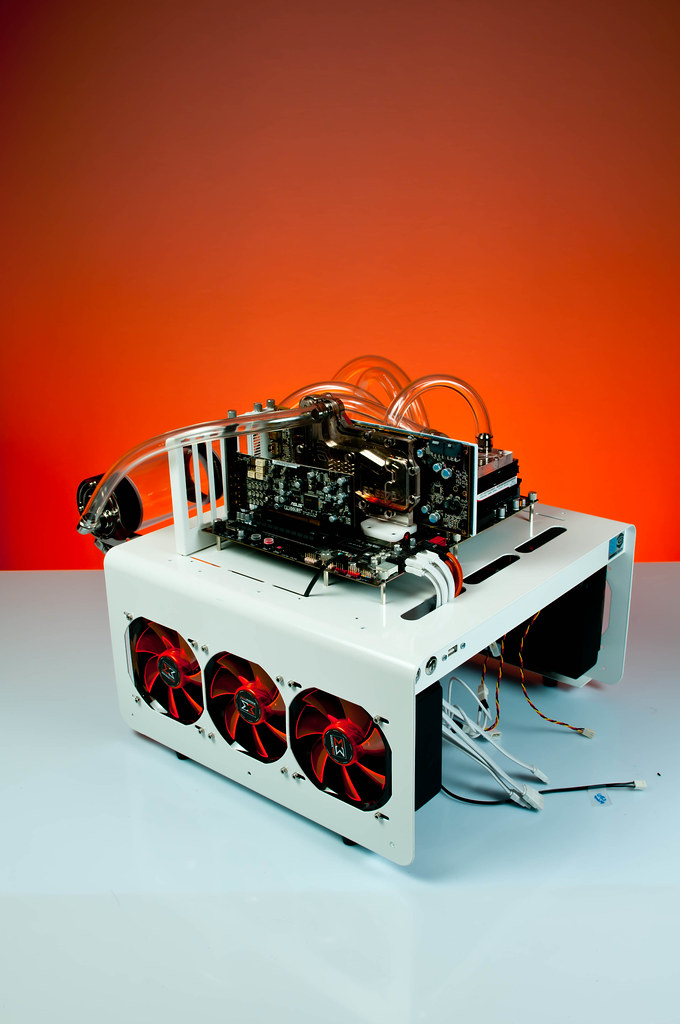
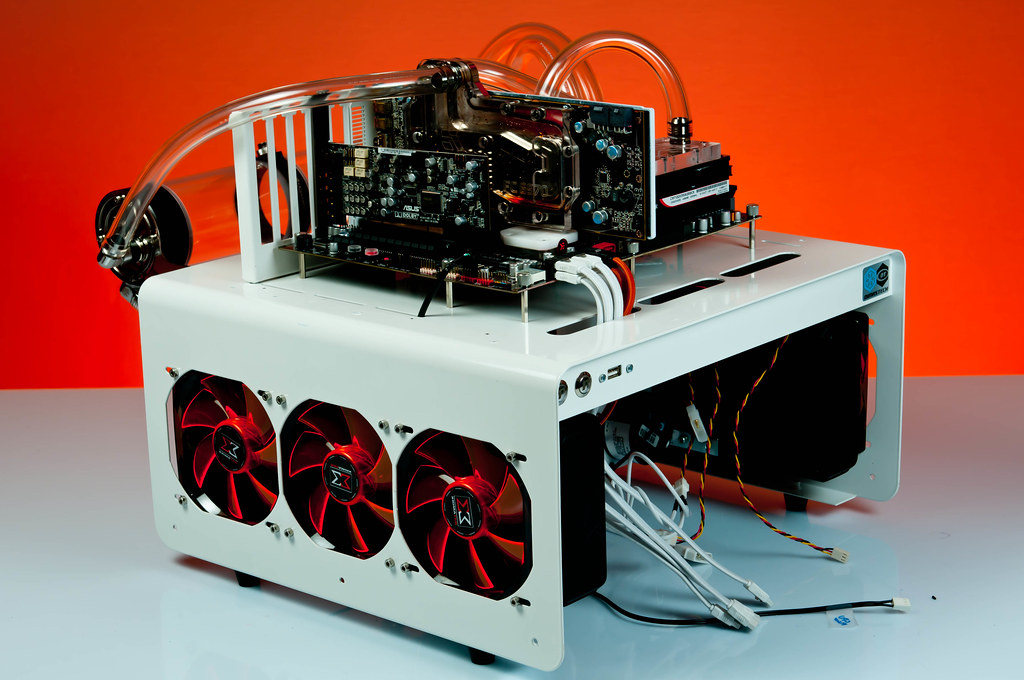
As such, i wanted to put my idea into action. This build is based upon my other build "Freshly Squeezed". While the MM Pinnacle 24 was a nice case, it was a behemoth to have on my desk. So i thought, what would be big enough to fit all my components, yet, small enough to fit on my desk without looking out of place.
Cases came and went, ideas were thought, put down into paper and re evaluated. and i finally came up with a case that could fit.

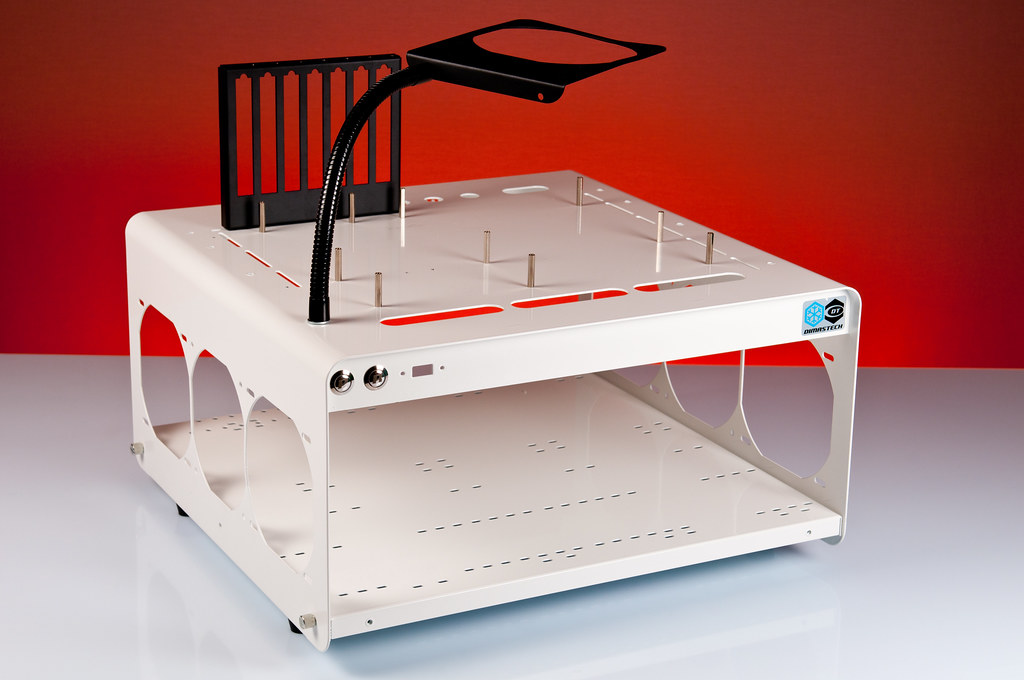
DIMASTECH DUAL EASY 2.5
Once the case was selected the rest was as simple as pie...
HARDWARE:
THERMALTAKE Tough Power 1000W
EVGA X58 SLI3
INTEL Core i7 920
SAPPHIRE HD 6970
ASUS XONAR DX
CORSAIR 12GB Dominators
OEM DVD Burner
INTEL "510 Series" 120GB x2 in RAID 0
WD Black 2TB HDD
COOLING:
HW LABS SR1 120.3 x2
ALPHACOOL D5 x4
EK Dual (Serial) D5 Top x2
KOOLANCE 80mm Res
XIGMATEK XLF-F1253 x6
EK White Acetal X58 Mobo Block
EK Ram Block
EK Supreme HF Cpu Block
EK FC6970 Block
As such, i wanted to put my idea into action. This build is based upon my other build "Freshly Squeezed". While the MM Pinnacle 24 was a nice case, it was a behemoth to have on my desk. So i thought, what would be big enough to fit all my components, yet, small enough to fit on my desk without looking out of place.
Cases came and went, ideas were thought, put down into paper and re evaluated. and i finally came up with a case that could fit.
DIMASTECH DUAL EASY 2.5
Once the case was selected the rest was as simple as pie...
HARDWARE:
THERMALTAKE Tough Power 1000W
EVGA X58 SLI3
INTEL Core i7 920
SAPPHIRE HD 6970
ASUS XONAR DX
CORSAIR 12GB Dominators
OEM DVD Burner
INTEL "510 Series" 120GB x2 in RAID 0
WD Black 2TB HDD
COOLING:
HW LABS SR1 120.3 x2
ALPHACOOL D5 x4
EK Dual (Serial) D5 Top x2
KOOLANCE 80mm Res
XIGMATEK XLF-F1253 x6
EK White Acetal X58 Mobo Block
EK Ram Block
EK Supreme HF Cpu Block
EK FC6970 Block
Ok, Lets get the show on the road 
Whats in the box?
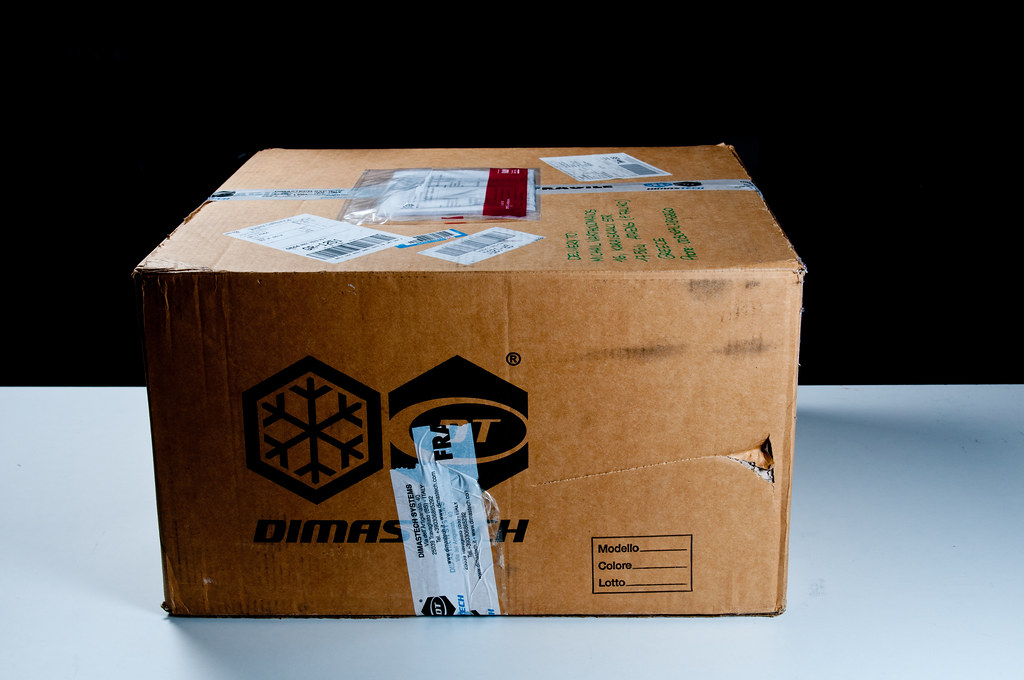
If you thought this.... you are PARTIALLY correct... There is more inside
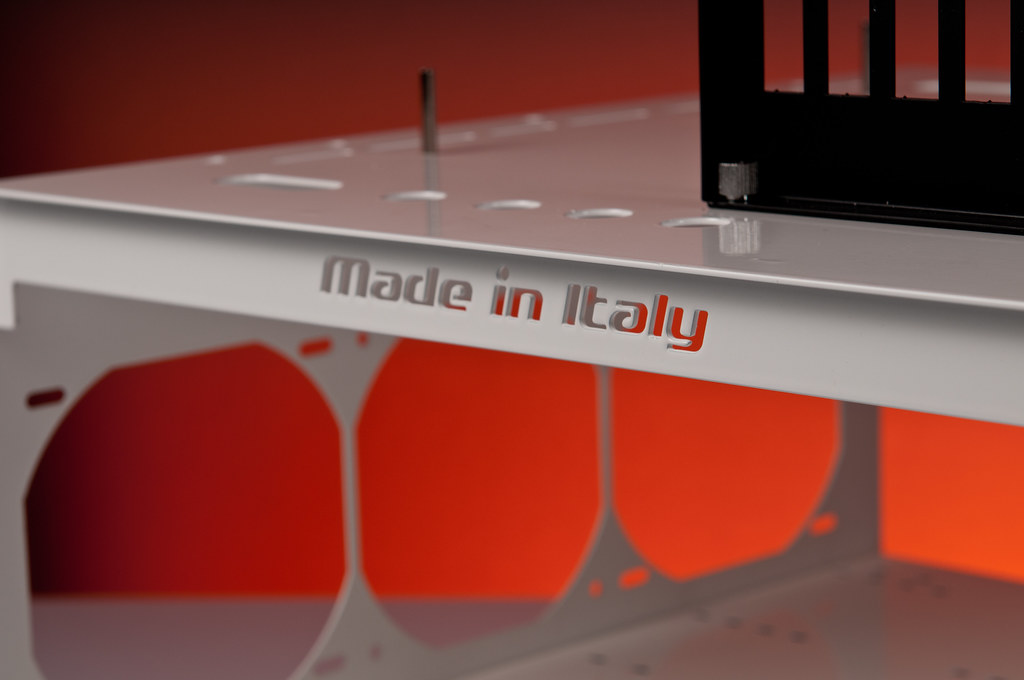
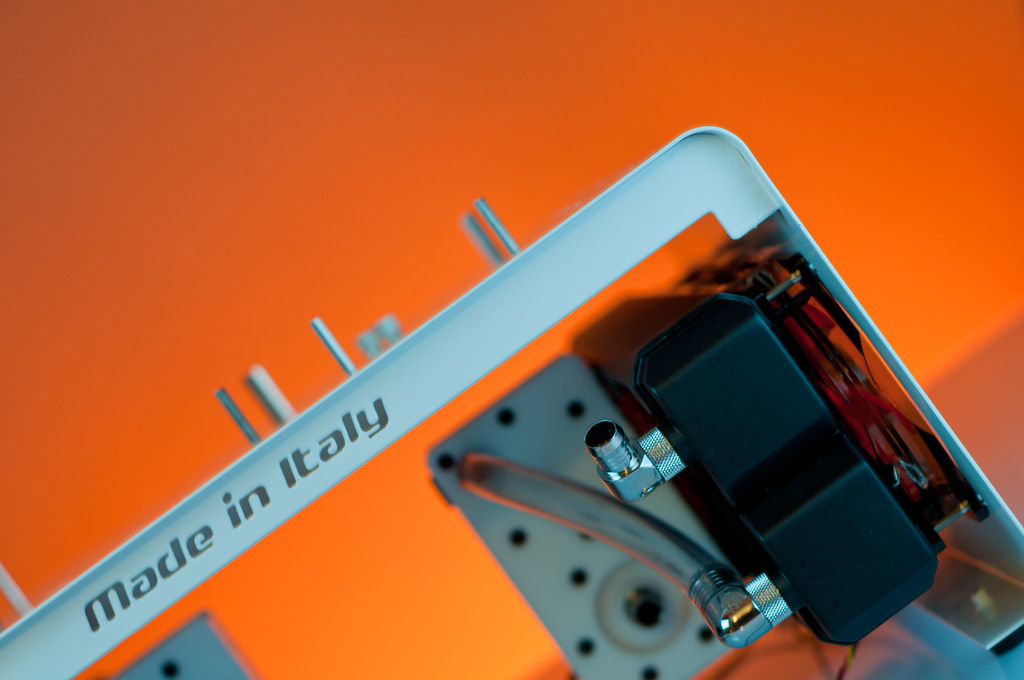
Proud italians! MADE IN ITALY
Case Badge
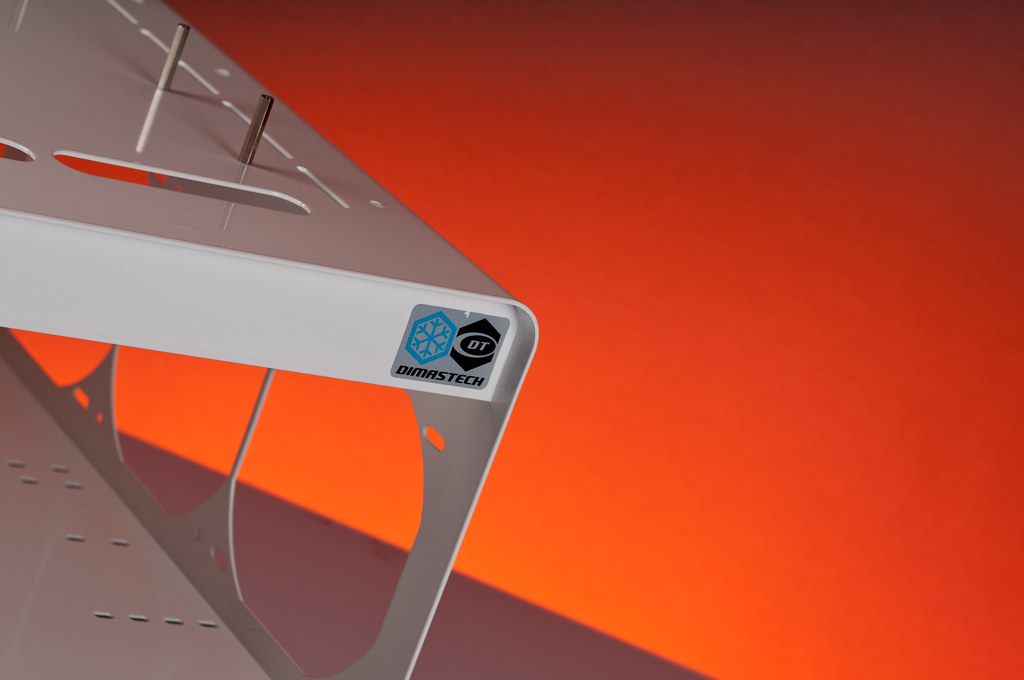
Playing around with different lighting scenarios

The quality of the bench is superb. It feels sturdy! Unfortunately, the paint is nicked in 2-3 aprts, fortunately, in places where it is not viewable.
I also have to say that even though i ordered it white, all my accessories came in black. Im not sure if this is normal, but i would assume that if you order a white case, you get white brackets, etc with it. None the less, i will get these parts powdercoated ASAP.
I also didnt like the screws that came with the bench, and im trying to find replacement parts
On to the 2nd item that was in the box
2 Χ SR1 HW Labs 360 Rads!
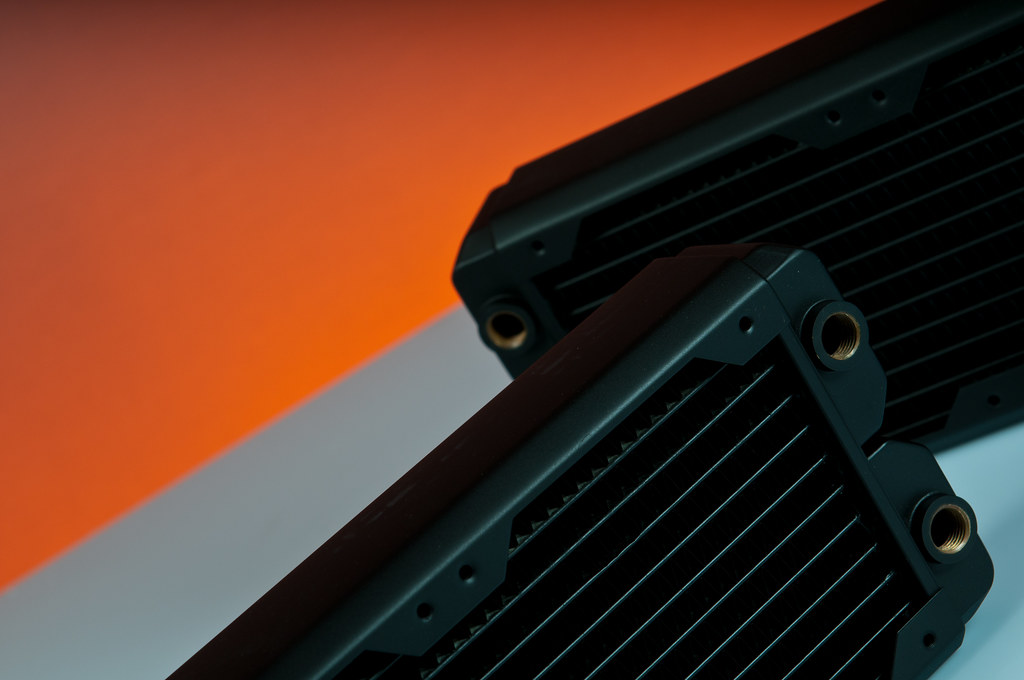
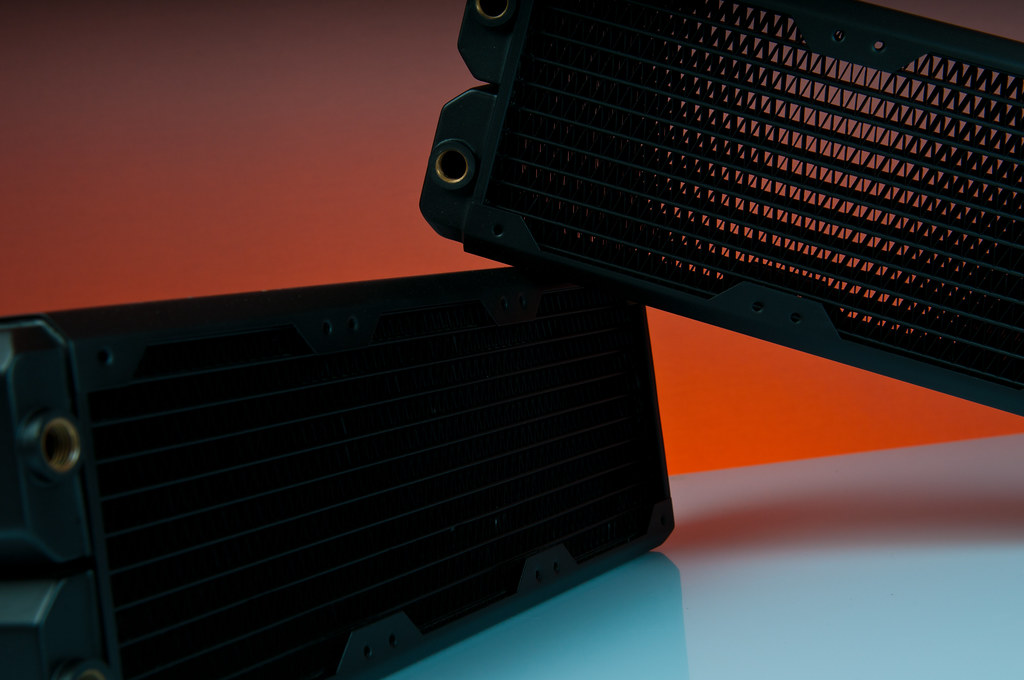
The finish on these radiators is amazing. it feels like a chalkboard, but more smooth...
Unfortunately i didnt have any decent Allen head M4 screws to use to mount them on the bench, but i did order a few and im waiting for them in the mail.
(PS. If you want to see more pics of something/detail, please let me know, and ill do my best)
Whats in the box?
If you thought this.... you are PARTIALLY correct... There is more inside
Proud italians! MADE IN ITALY
Case Badge
Playing around with different lighting scenarios
The quality of the bench is superb. It feels sturdy! Unfortunately, the paint is nicked in 2-3 aprts, fortunately, in places where it is not viewable.
I also have to say that even though i ordered it white, all my accessories came in black. Im not sure if this is normal, but i would assume that if you order a white case, you get white brackets, etc with it. None the less, i will get these parts powdercoated ASAP.
I also didnt like the screws that came with the bench, and im trying to find replacement parts
On to the 2nd item that was in the box
2 Χ SR1 HW Labs 360 Rads!
The finish on these radiators is amazing. it feels like a chalkboard, but more smooth...
Unfortunately i didnt have any decent Allen head M4 screws to use to mount them on the bench, but i did order a few and im waiting for them in the mail.
(PS. If you want to see more pics of something/detail, please let me know, and ill do my best
)-UPDATE-
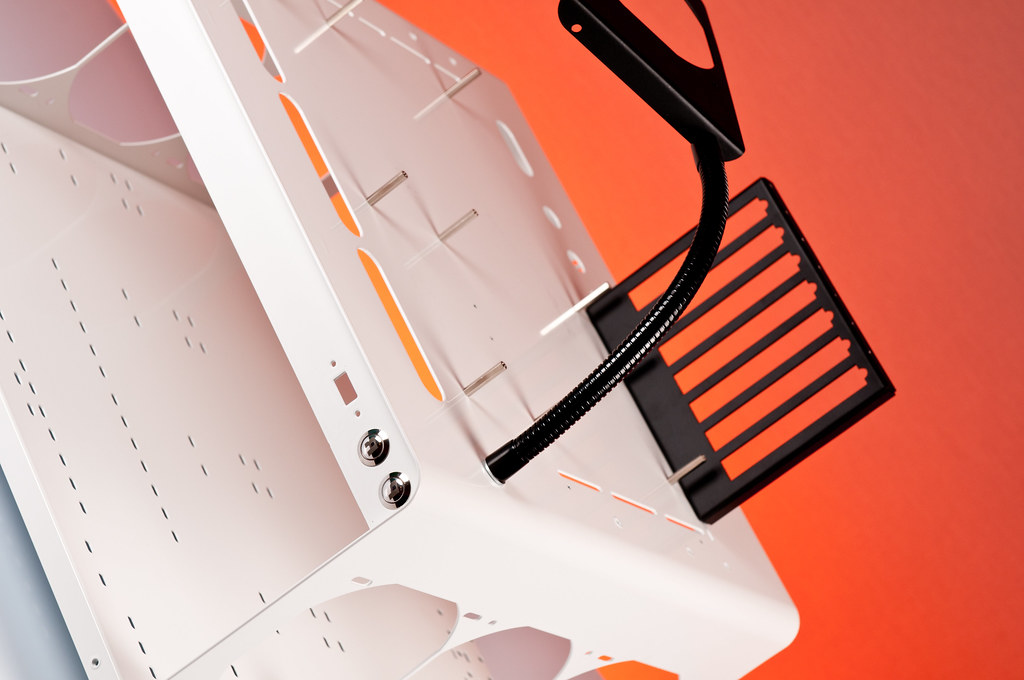
So, i was thinking of how to make it so, that when i want to change a peice of hardware, i could make it as easy as possible. Everyone who has ahd watercooling in the past i am sure knows what a @@@@@@@ it is to add and remove hardware!
So i got to brainstorming and came up with an idea.
I attached the pumps vertically to the radiators on the inside using some small metal panels.
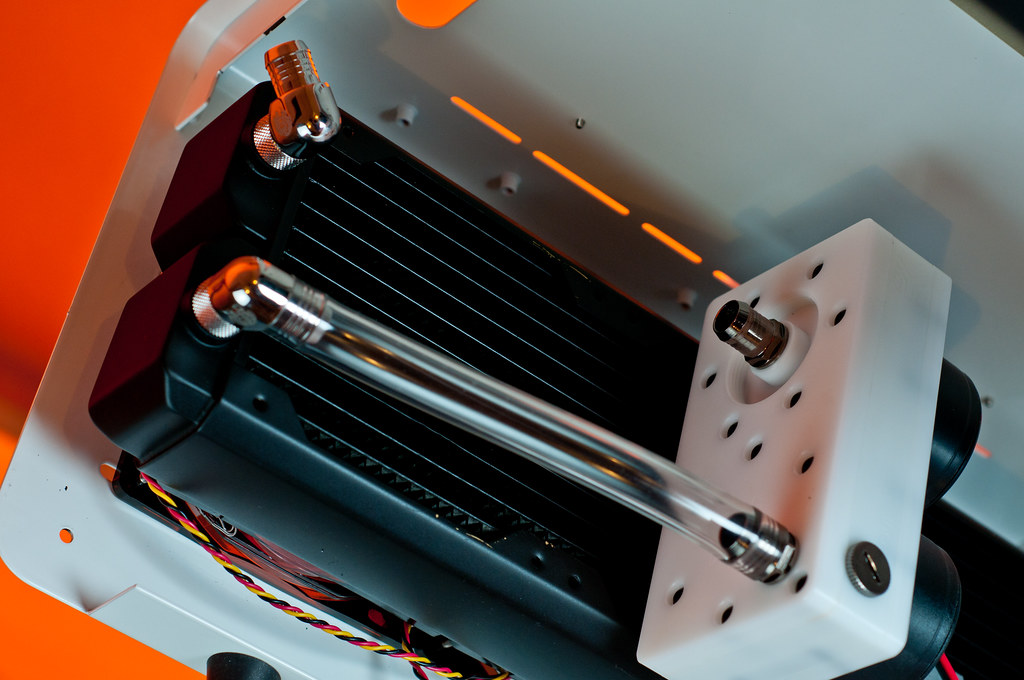


This way, the entire bottom tray can slide in and out of the bench table, without me having to take apart the watercooling loop
Here you can see the metal plate in place. i am going to cut it so it doesnt block too much air coming out of the radiator.
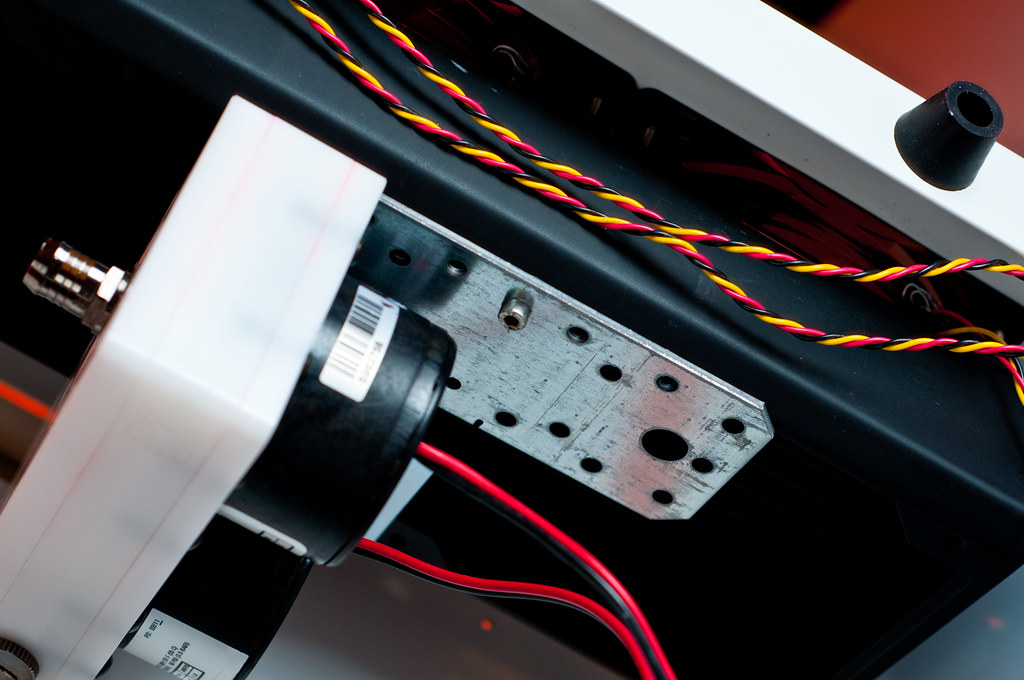
and here is a total shot of the back side, with all 4 pumps mounted on each radiator
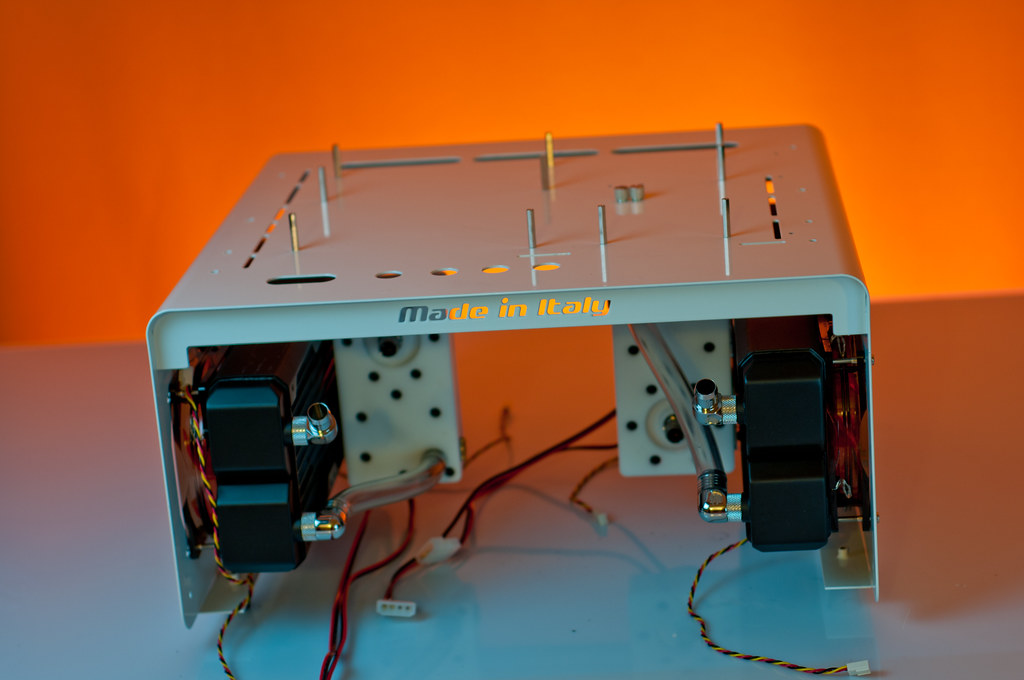
but do you see anything strange?
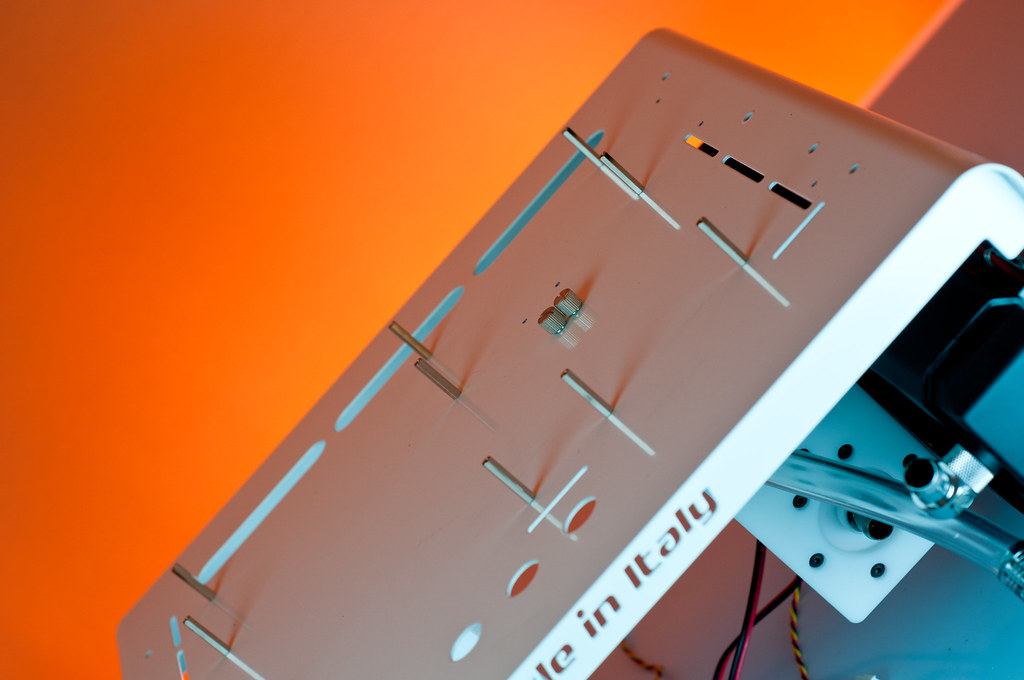
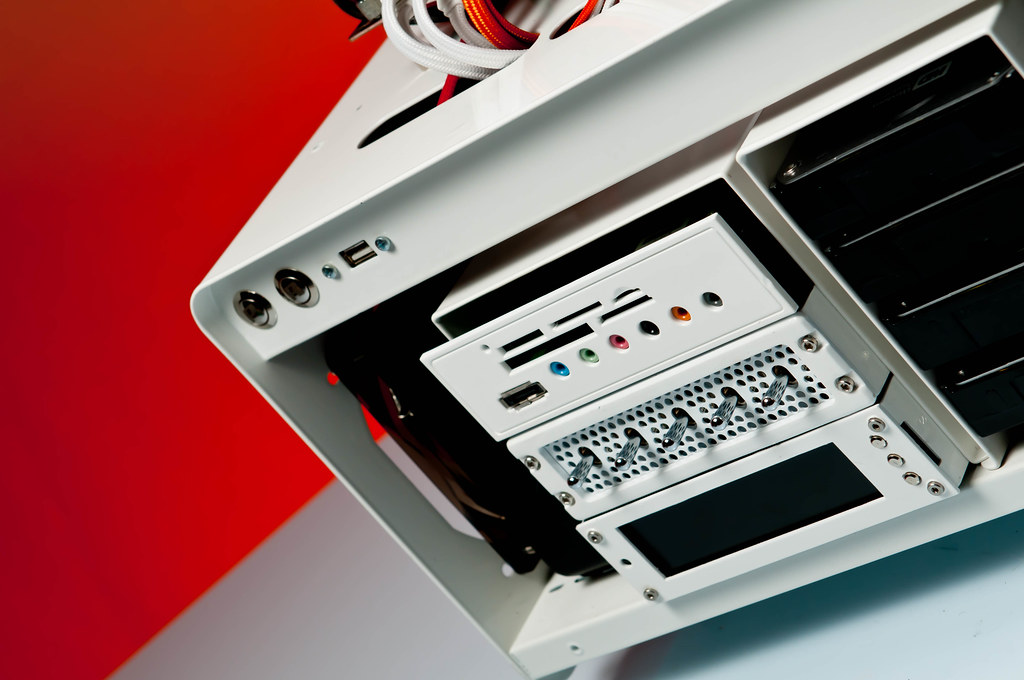
What do we have here?
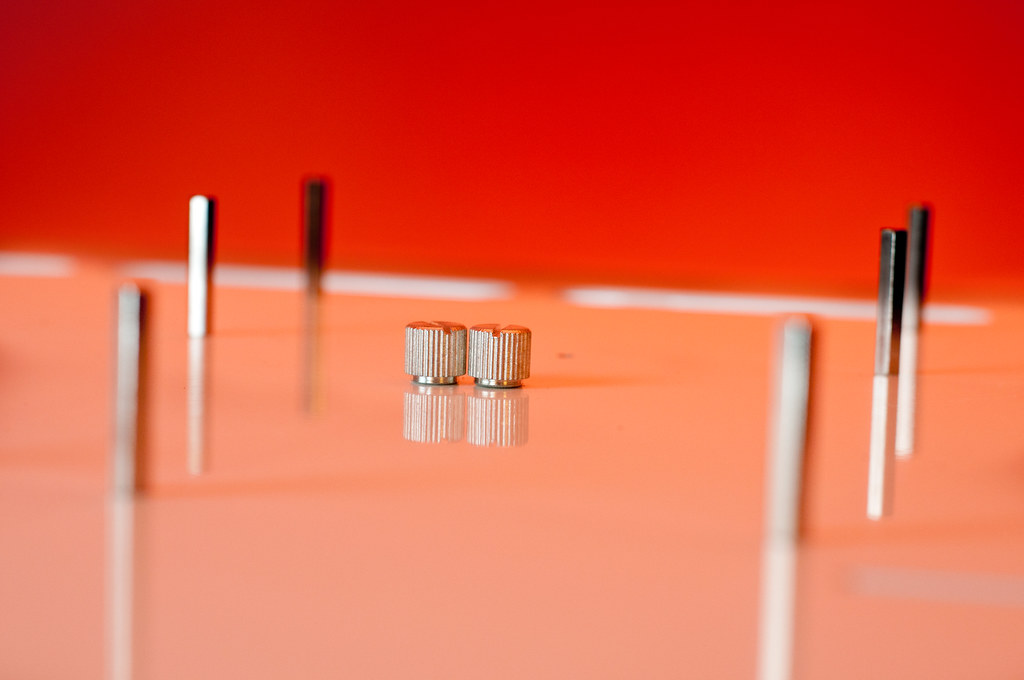
2 screws???? hmmmmm.....
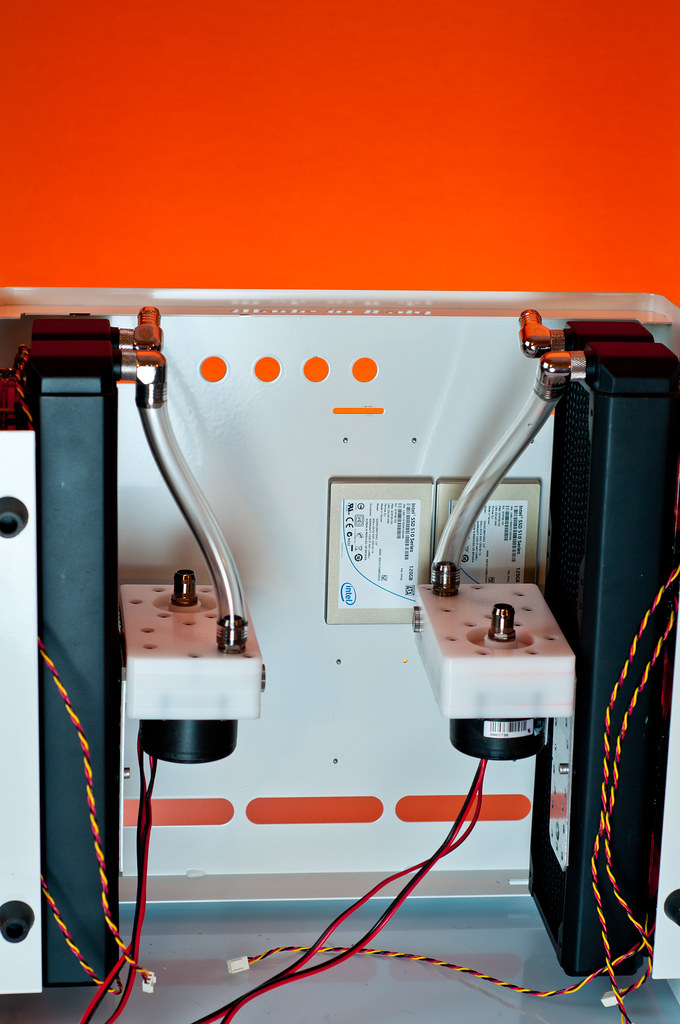
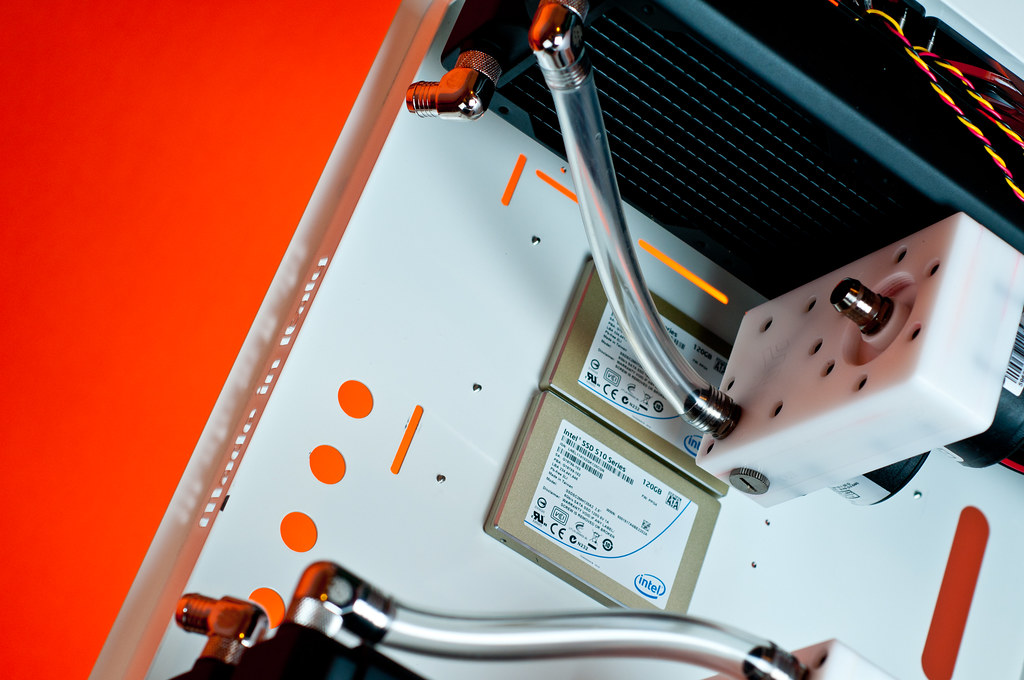
I had to find my SSD's a new home because the front panel is already filled with HDDS and Fan controllers, etc...
Thats it for now... more soon
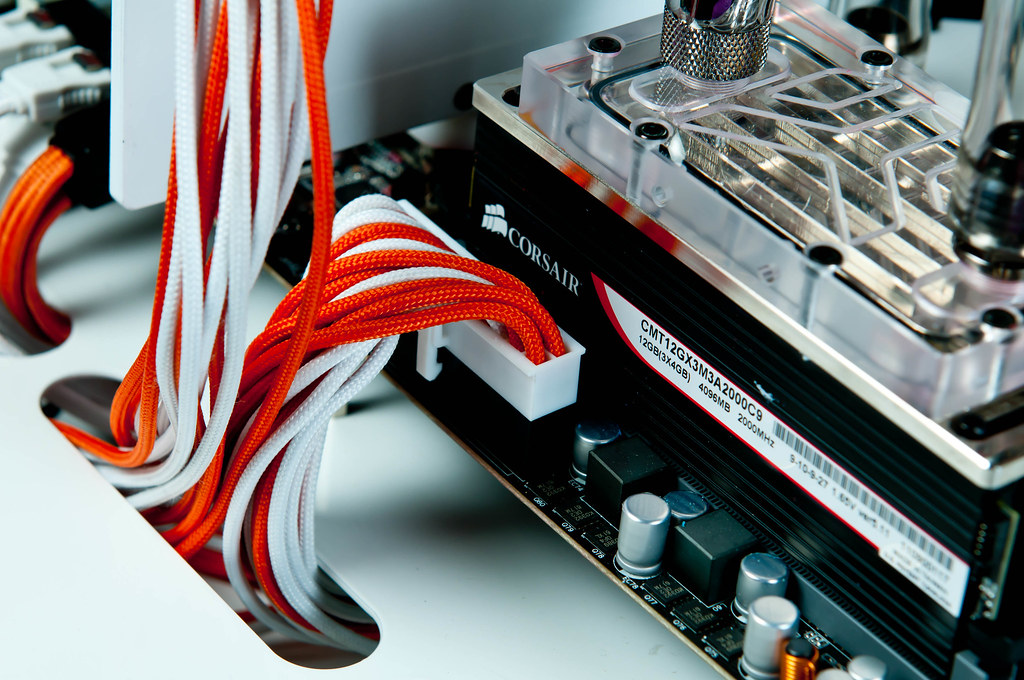
I know, i know.... i have to sleeve, but im looking for a new power supply, and until i find it you guys will ahve to put up with naked cables
Wingless92
Limp Gawd
- Joined
- Jan 22, 2011
- Messages
- 333
Is it just me or is white the new black? Great looking BTW.
Thank youLooks very nice so far.
Yeah they are very light, and no moving parts, so vibrations wont be a problem i might drill 2 more holes just to stabilize them...Looking good. I really like the SSD Placement but are they secured with just those 2 thumbscrews or am I missing something?
Ive always loved WHITE. and orange.... but white moreIs it just me or is white the new black? Great looking BTW.
Thanks As for updates go...
i ordered some new parts!
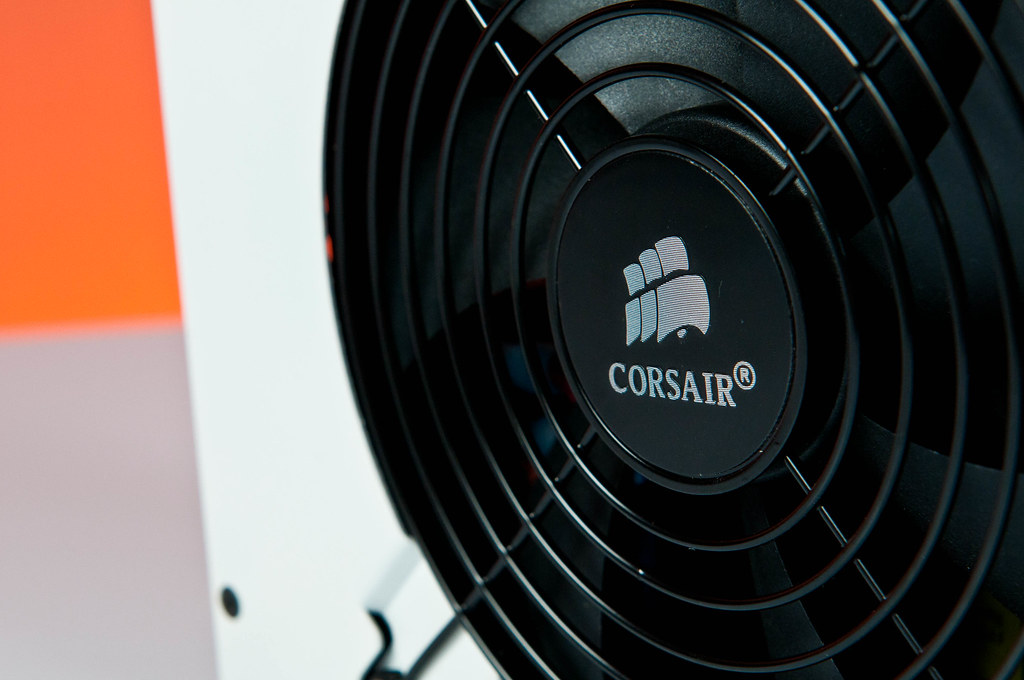
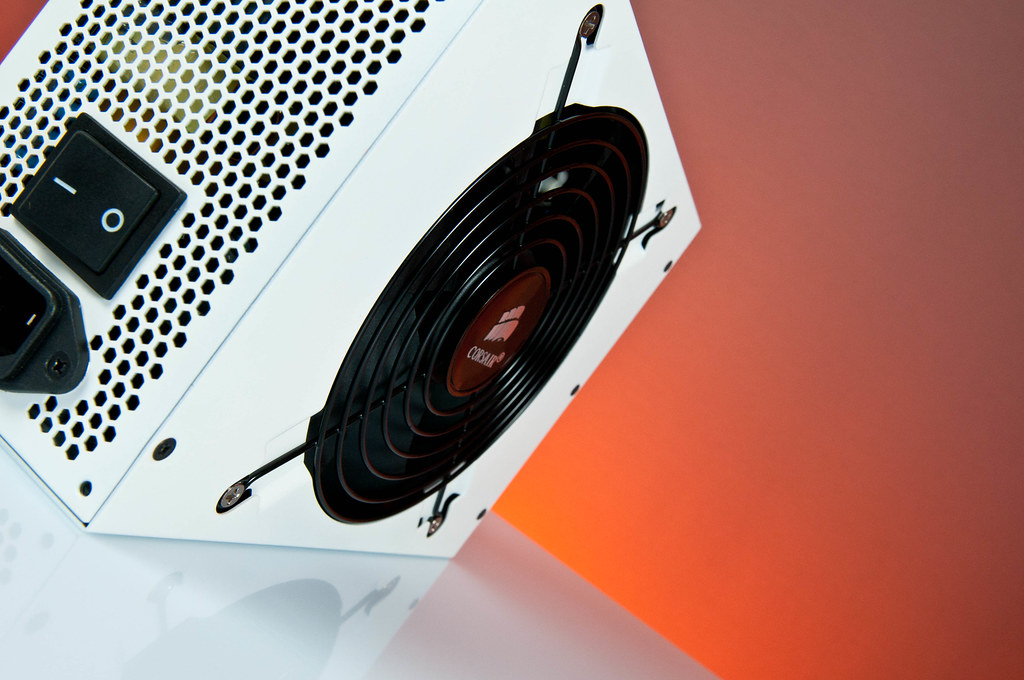
I got myself a new PSU because i had only 1 modular cable to connect peripherals (Molex specifially, no sata, no extra cables, and the PSU 12v line was dying slowly. its served me VERY well for the past 4 years, but i think an upgrade was finally due)
New Hardware :
Corsair AX1200 + Custom Power Plugs
Aquaero 5 + bunch of monitoring tools
Indigo Xtreme TIM (have high hopes for this)
Lamptron Fan-Attic (to be able to turn off the pumpsif not needed, and control lights)
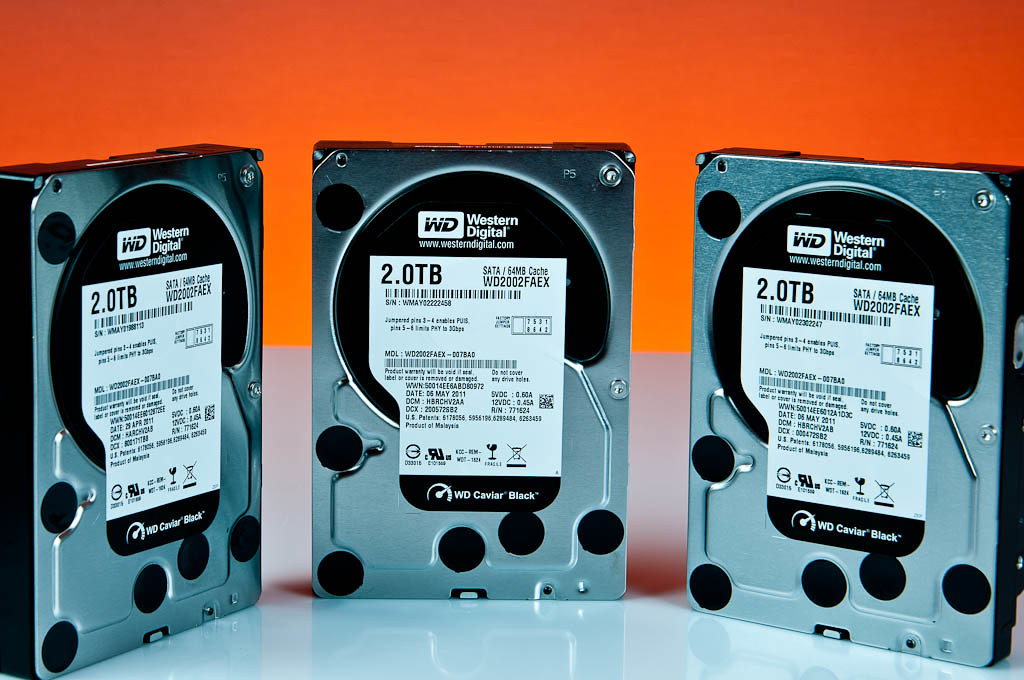
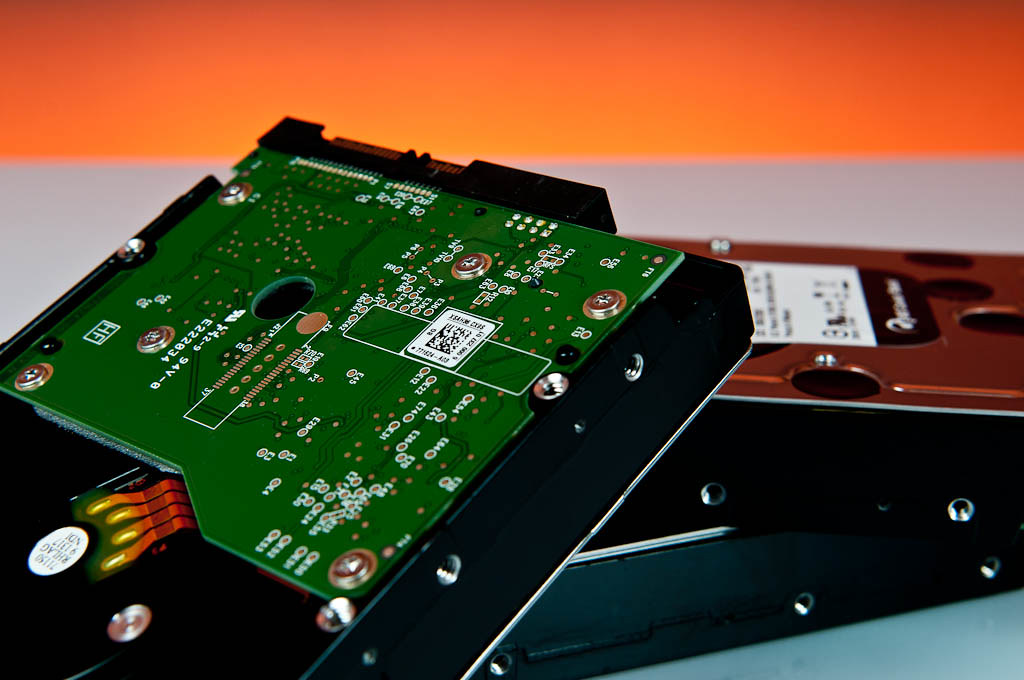
3 X Western Digital Caviar Black (2Tb) (waiting for a fourth)
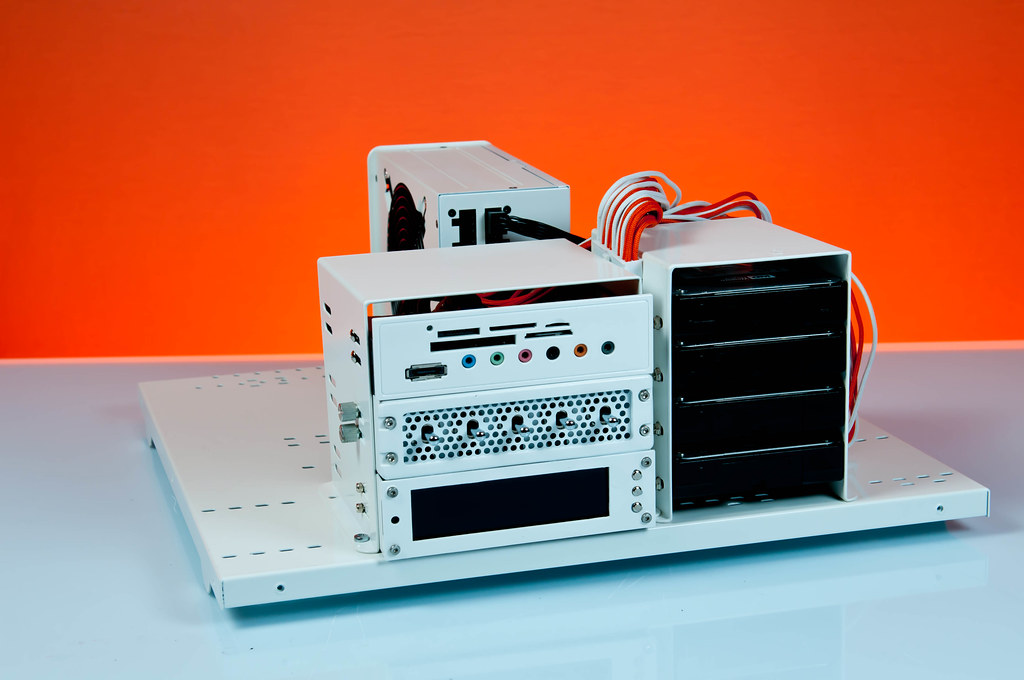
so on to some pics
Storage consortium
and this strange peice of metal that showed up in the mail...
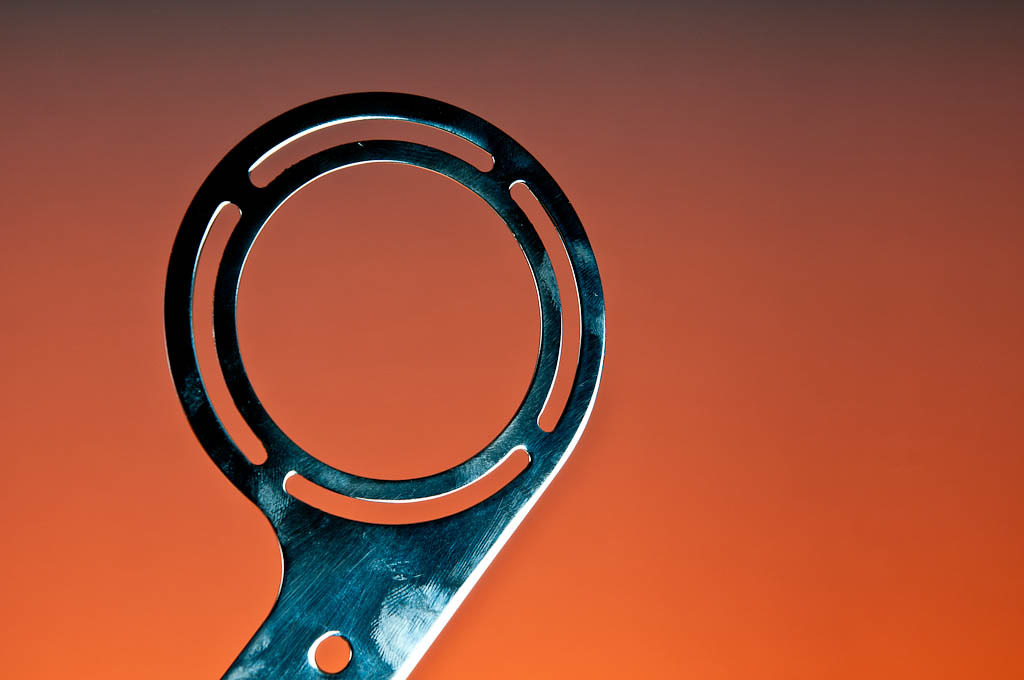
that apparently multiplies!
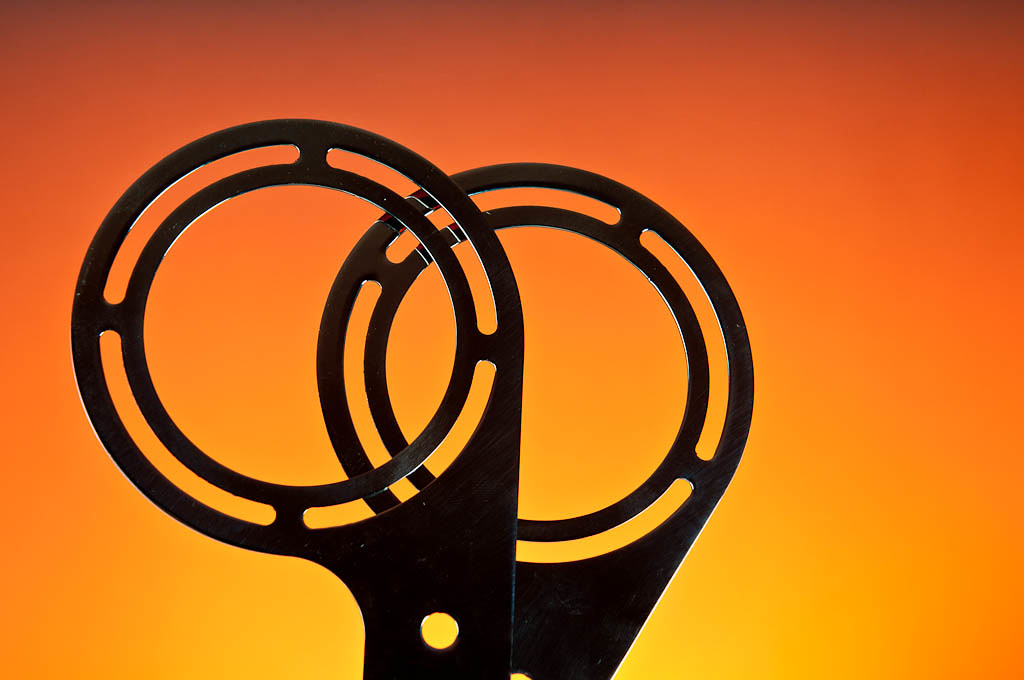
What could it be?
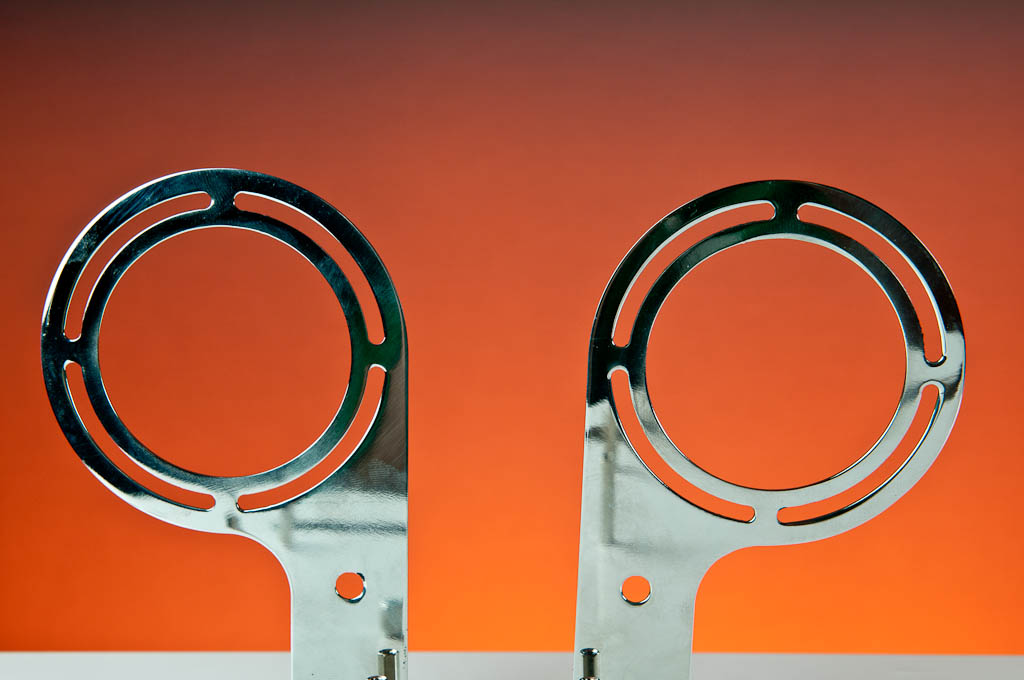
Next update you will know
i ordered some new parts!
I got myself a new PSU because i had only 1 modular cable to connect peripherals (Molex specifially, no sata, no extra cables, and the PSU 12v line was dying slowly. its served me VERY well for the past 4 years, but i think an upgrade was finally due)
New Hardware :
Corsair AX1200 + Custom Power Plugs
Aquaero 5 + bunch of monitoring tools
Indigo Xtreme TIM (have high hopes for this)
Lamptron Fan-Attic (to be able to turn off the pumpsif not needed, and control lights)
3 X Western Digital Caviar Black (2Tb) (waiting for a fourth)
so on to some pics
Storage consortium
and this strange peice of metal that showed up in the mail...
that apparently multiplies!
What could it be?
Next update you will know
SXRguyinMA
n00b
- Joined
- Jun 28, 2011
- Messages
- 56
this is going to be SWEEEEET
this is going to be SWEEEEET
This.
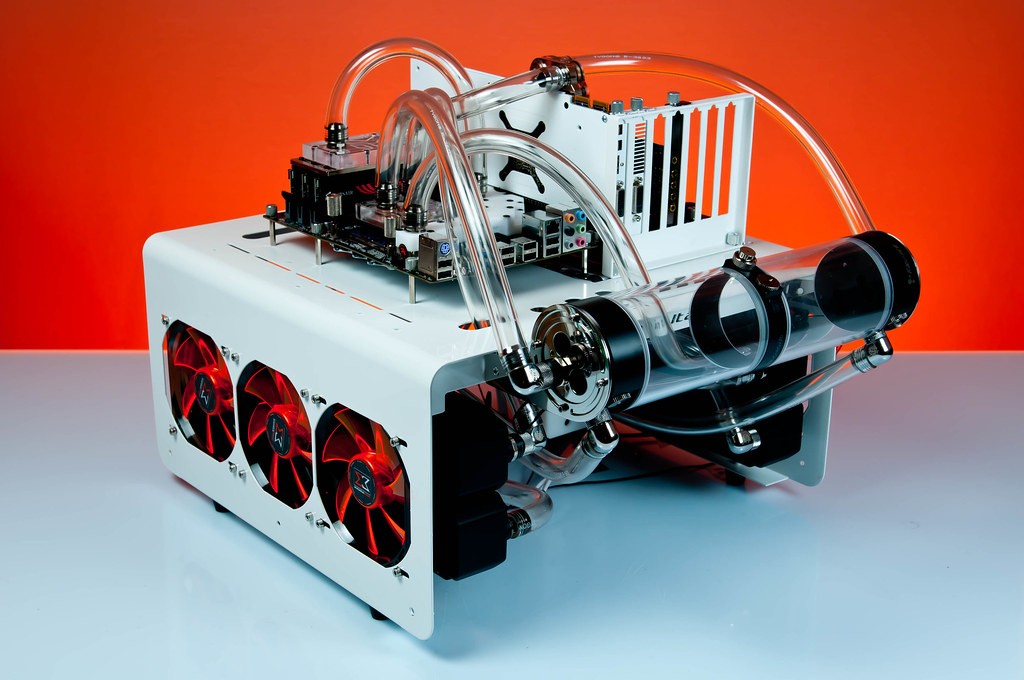
-UPDATE 30/8/2011-
I finally got organized and managed to arrange some one on one time with my build...
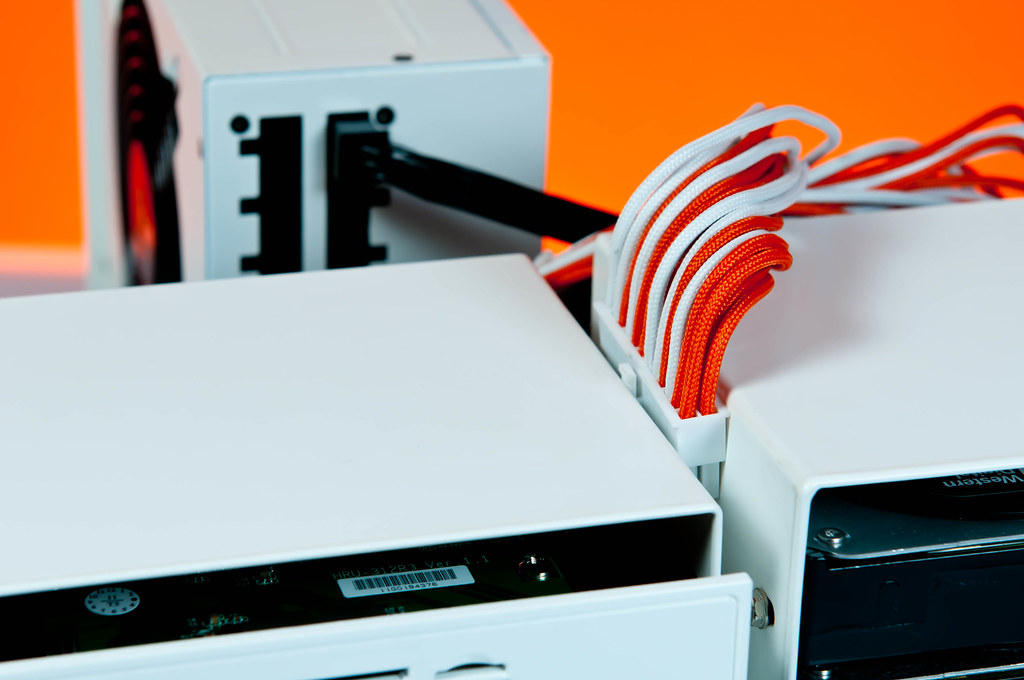
Welcoming the newest member of the family... Mr. Corsair Ax1200. Unfortunately it underwent surgery MJ style, and is now white!
For such a PSU, ahving a plain black power cord bothered me. So i found myself a nice pair of schuko connectors for high quality audio gear. After some white electrical tape, some sleeving, and a blonde moment ( iw as trying to figure out what cable to connect where, green, black, red, and i was stupid. in europe we have two prongs, so no matter which side i connected, it would work because the polaritys switch by user.)
the end result? A nice looking power cord, capable of powering my new PSU and my computer
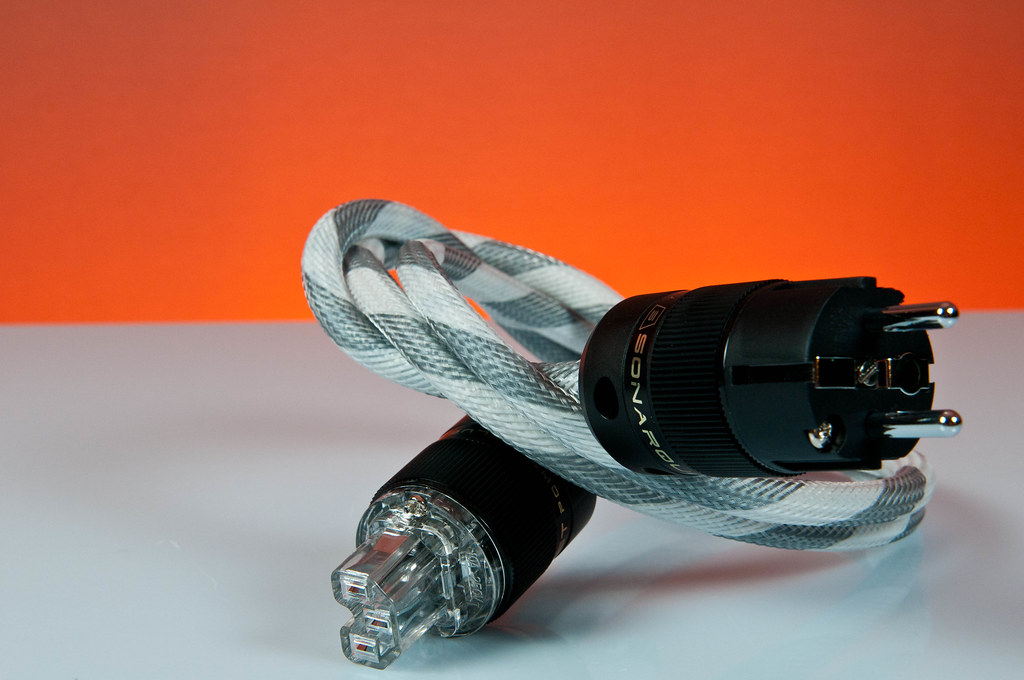
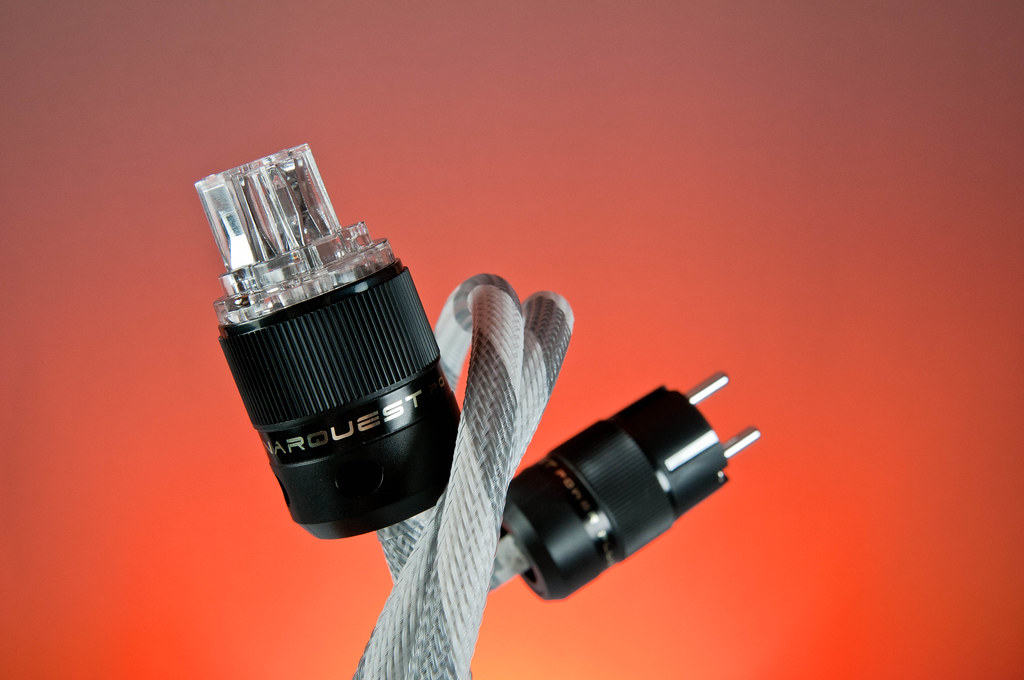
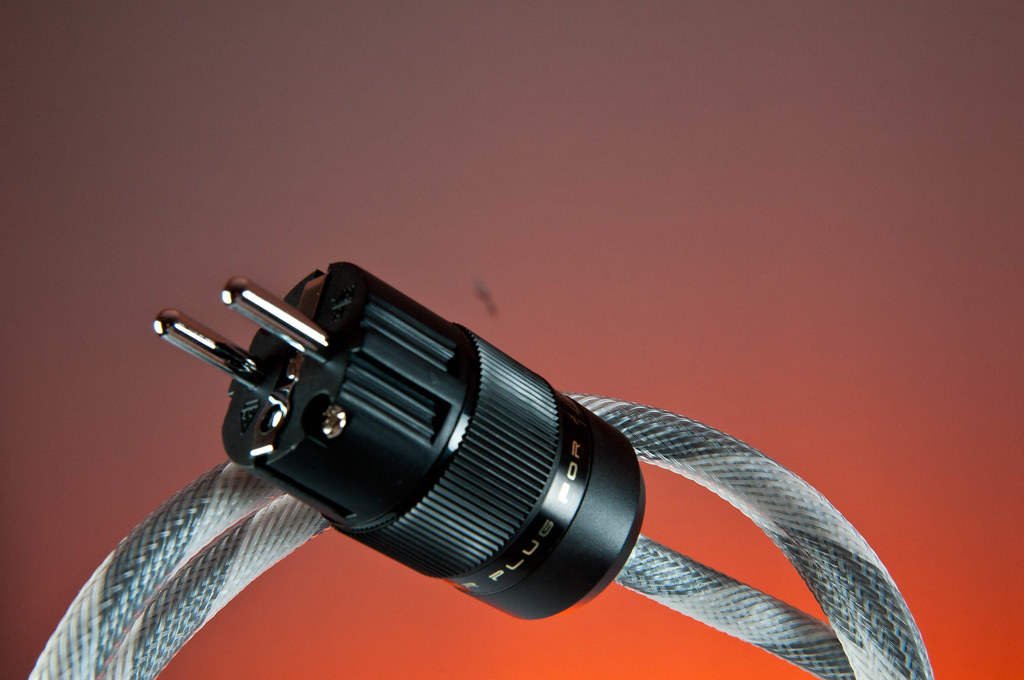
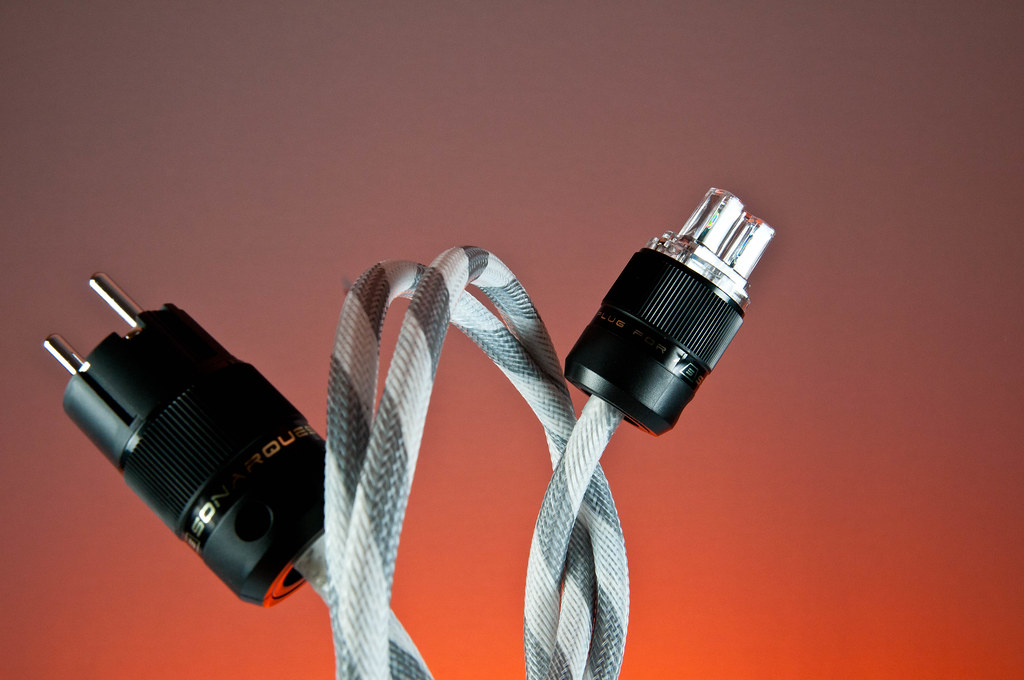
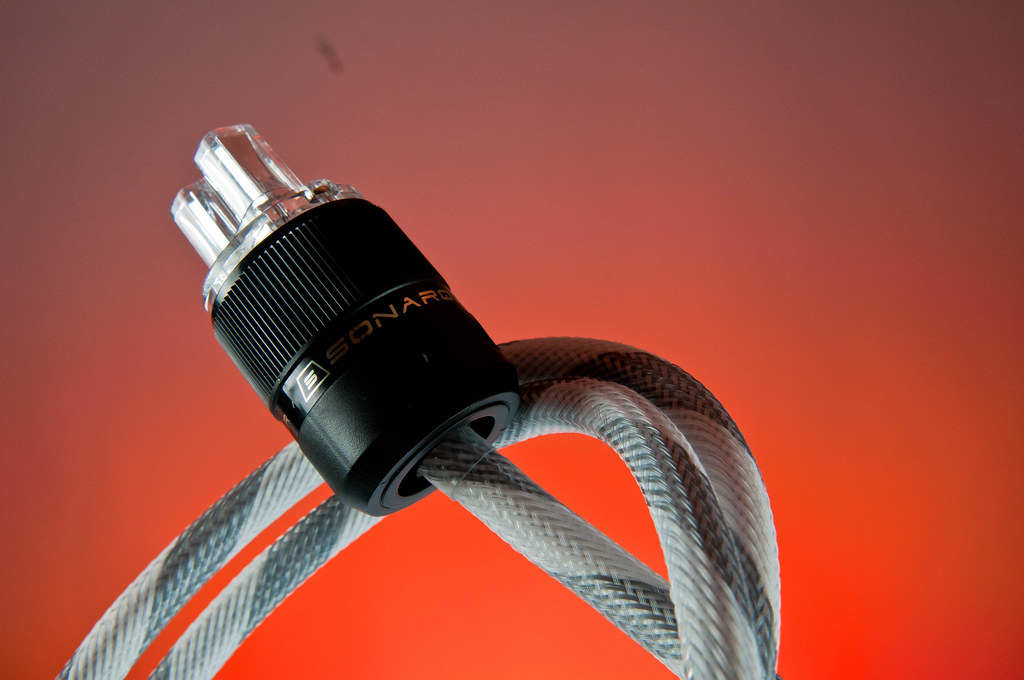
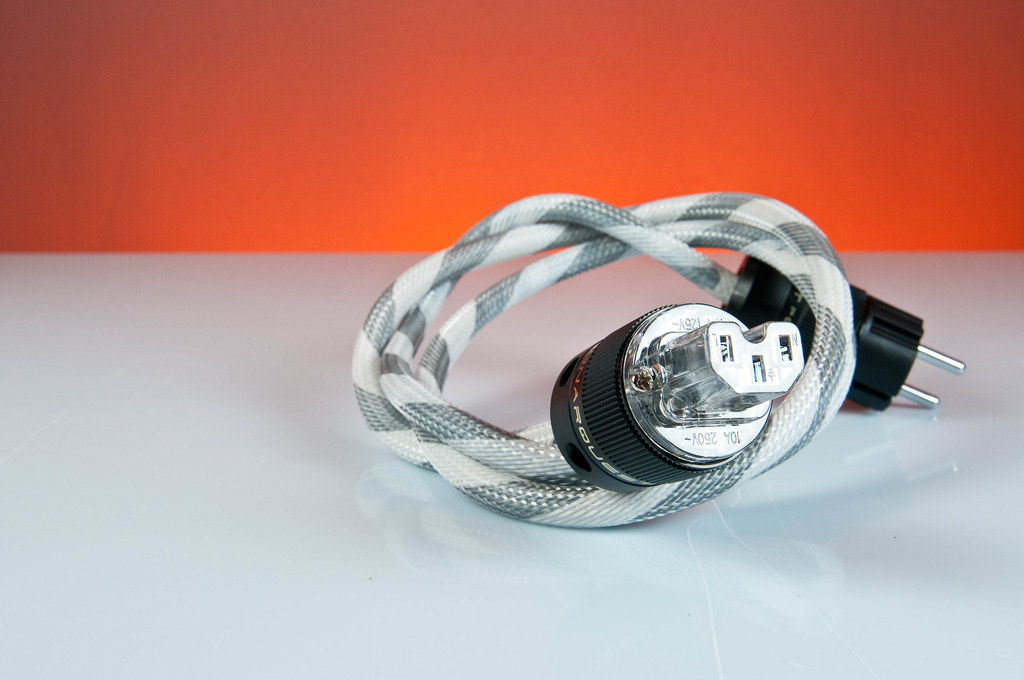
I know, i know, i took too many pictures of it... but i really msut admit, that i am in love, and that i have ordered another 6 pa
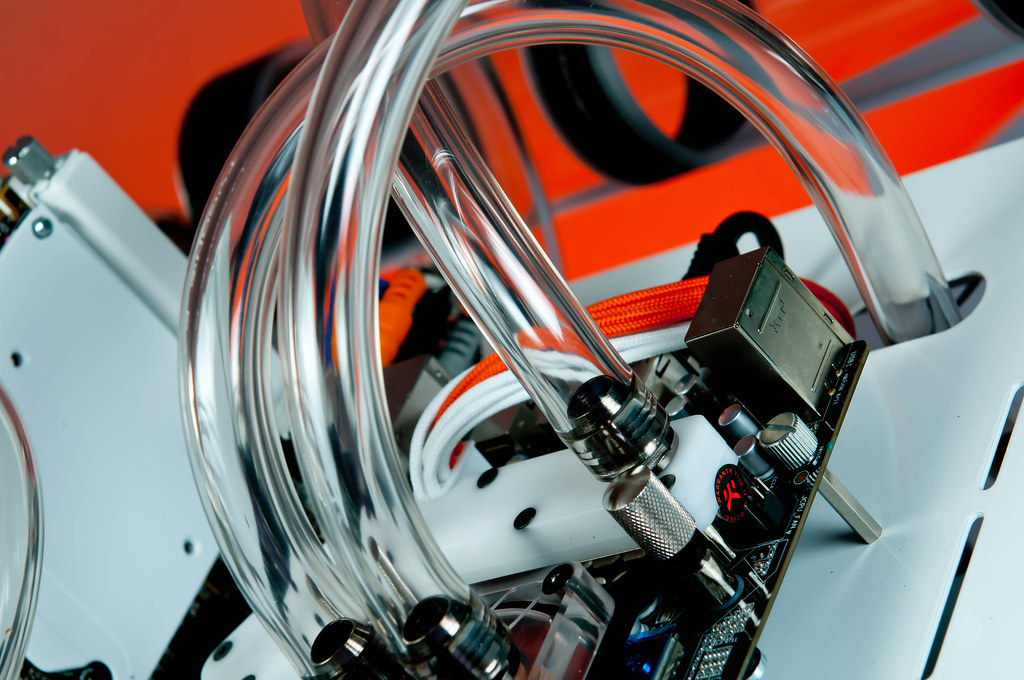
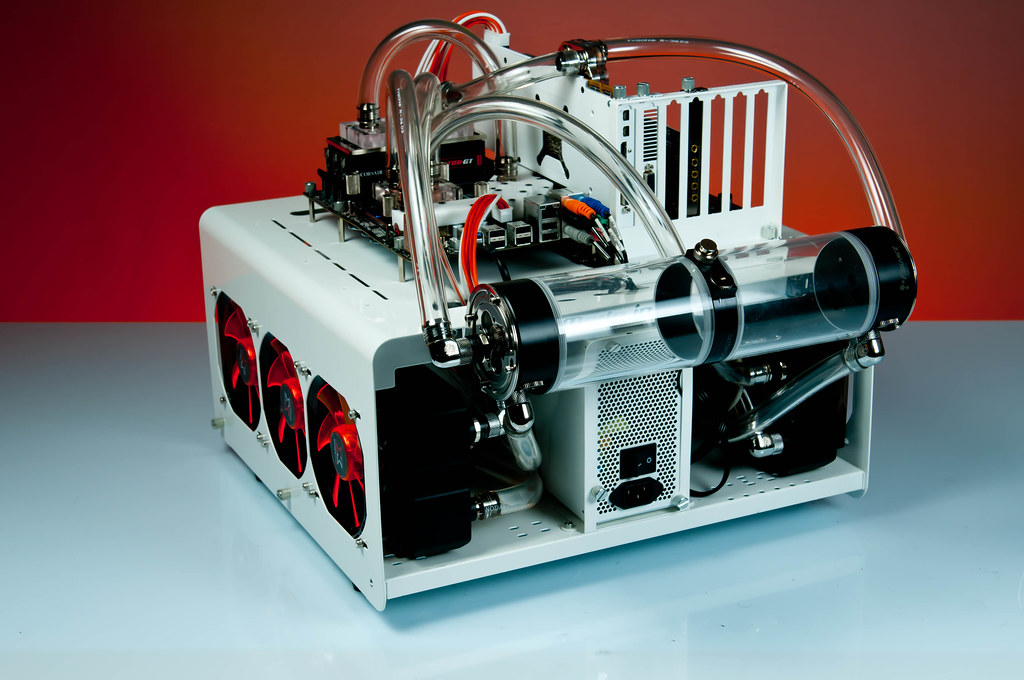
And the big case update.
Finally mounted my reservoir, with a custom bracket made by a fellow member and modder in Greece (SlackerXL).
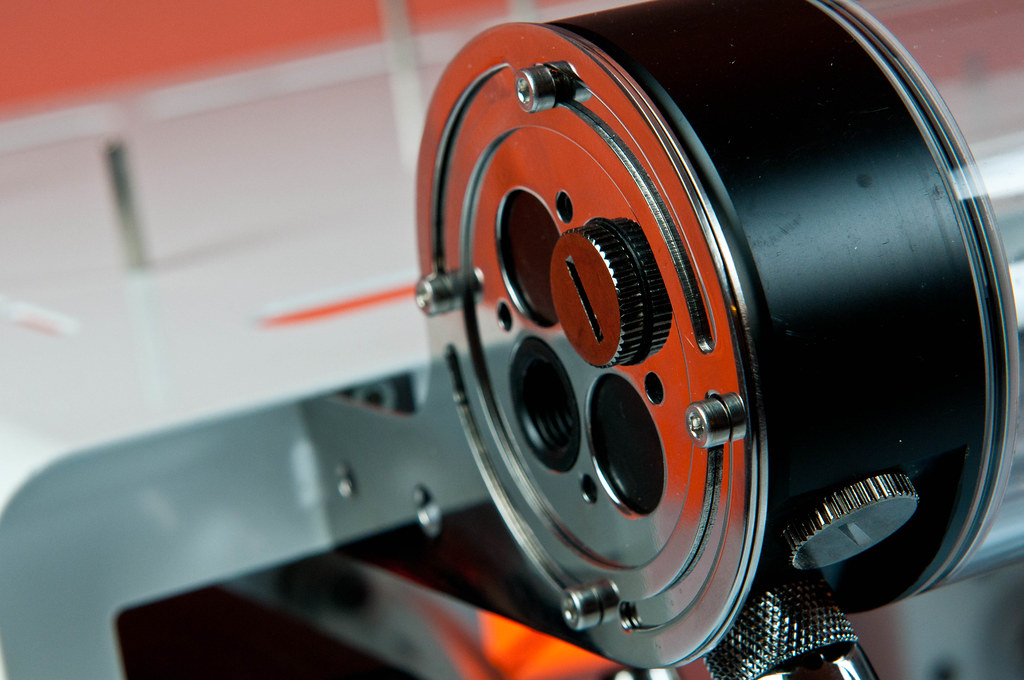
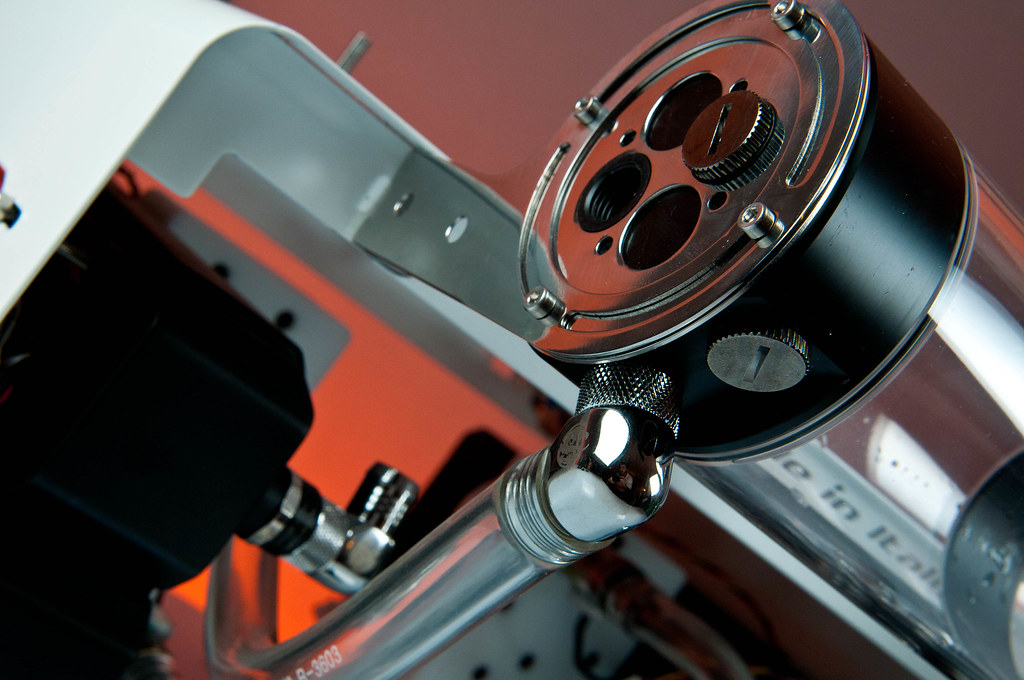
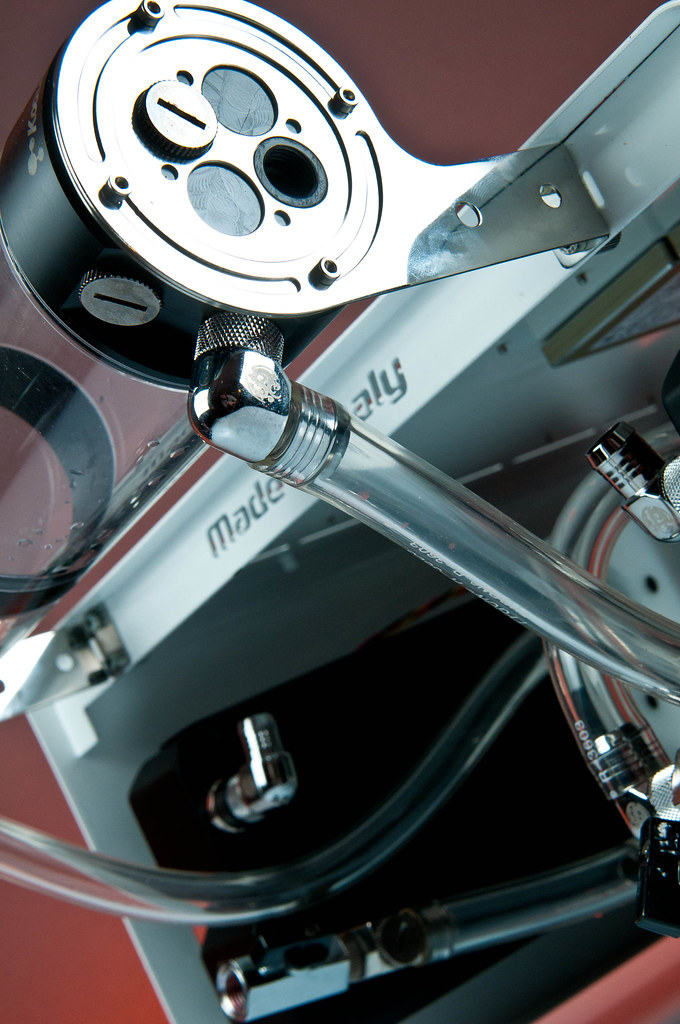
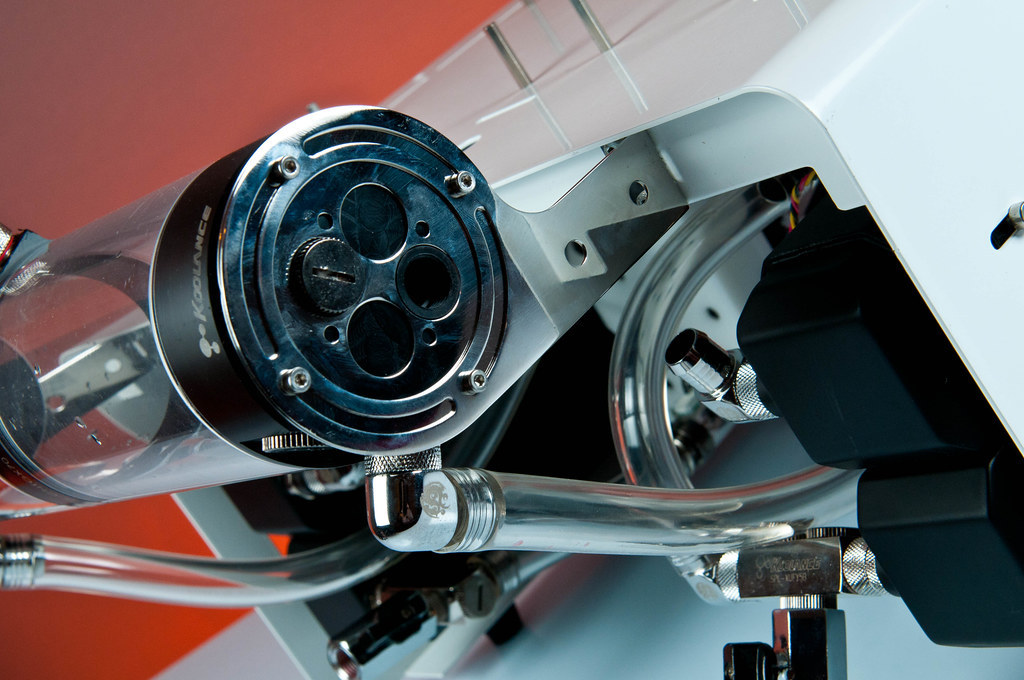
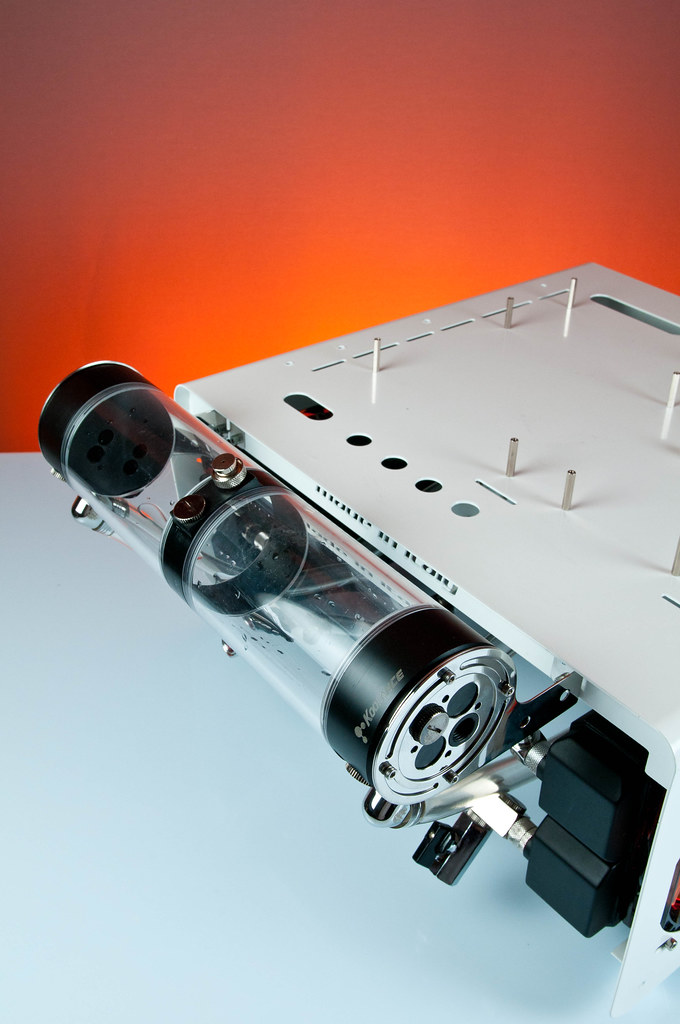
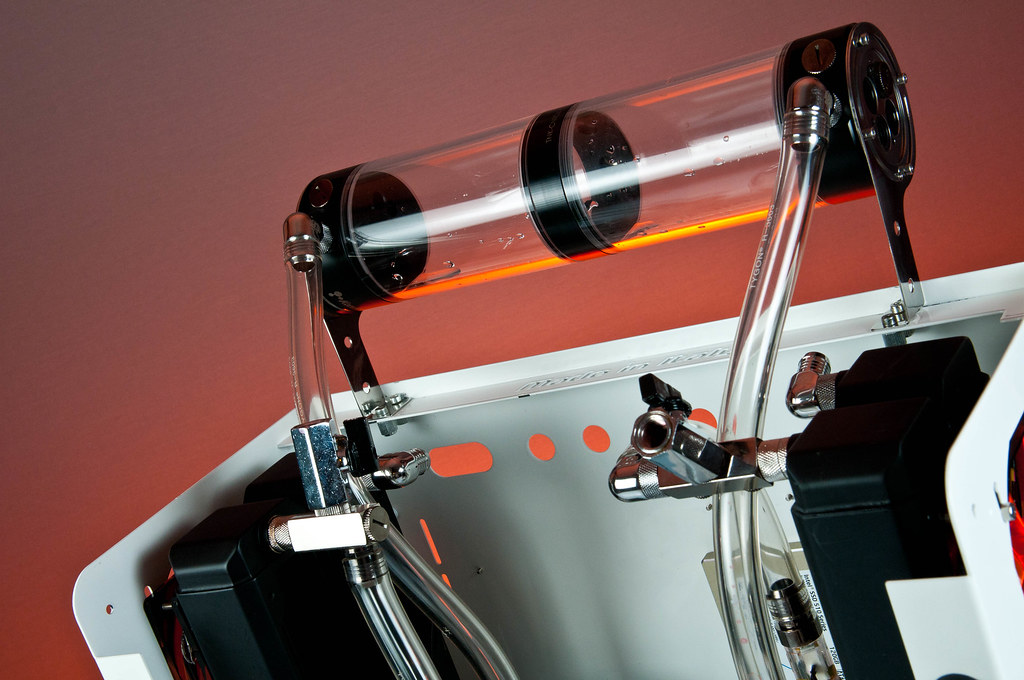
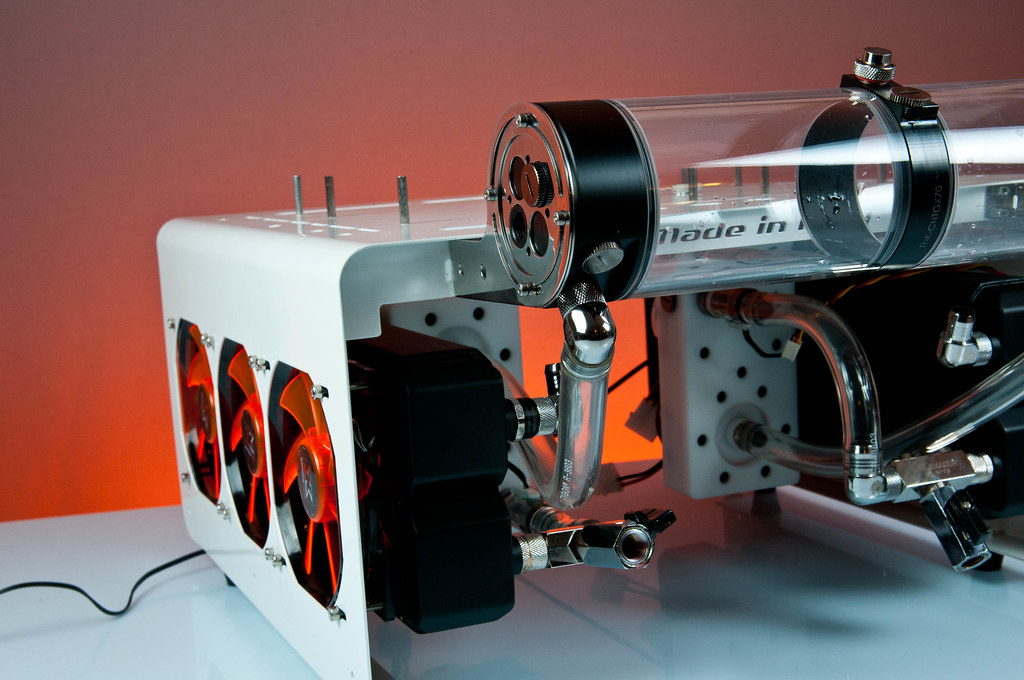
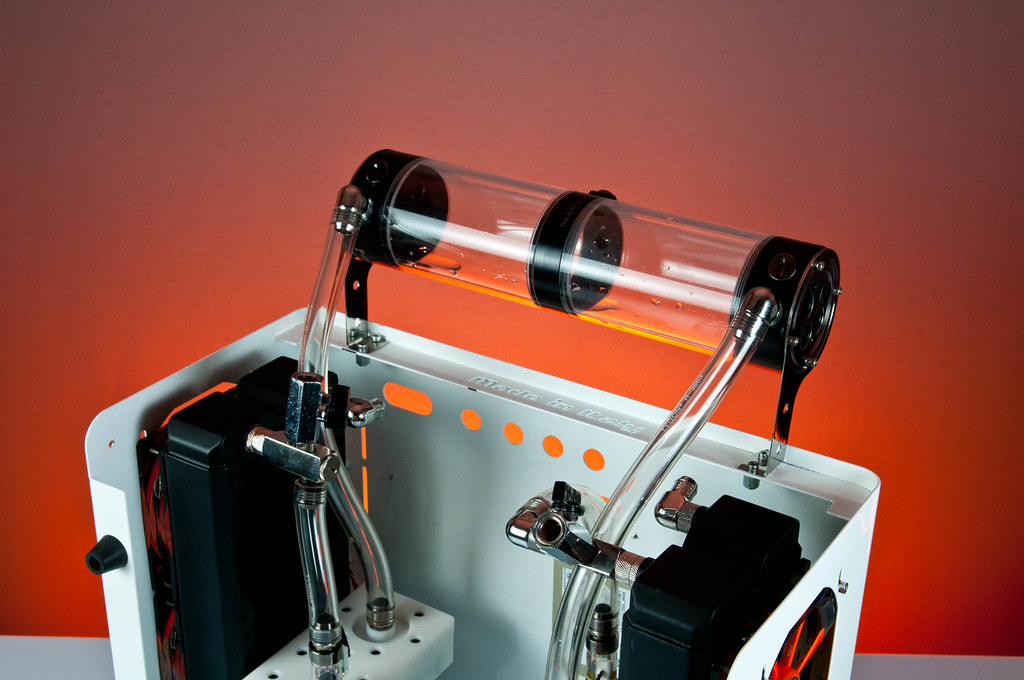
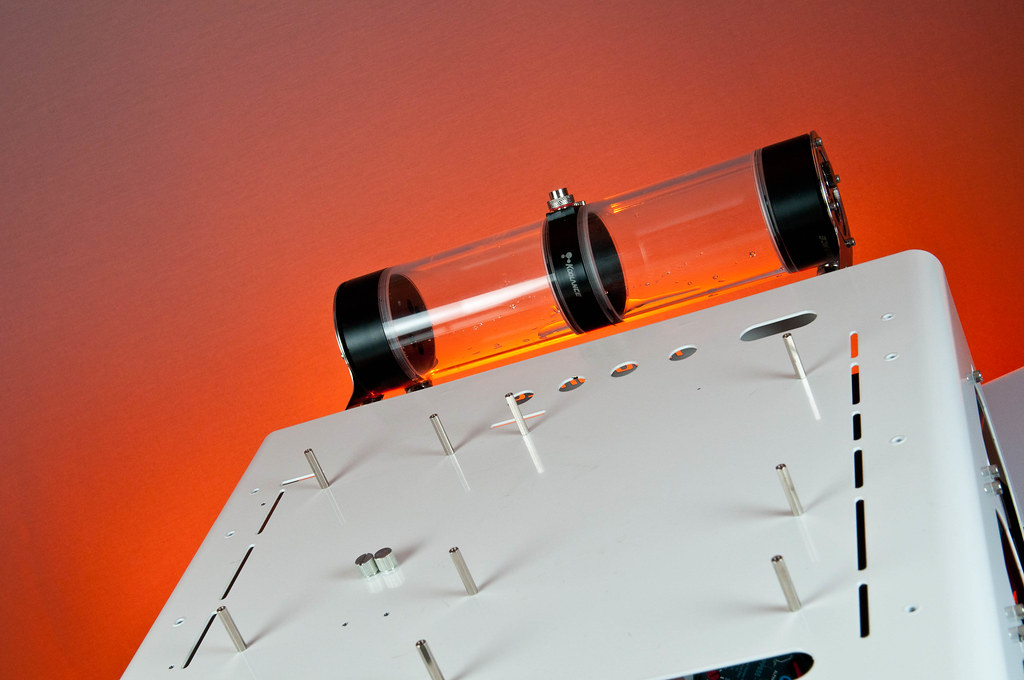
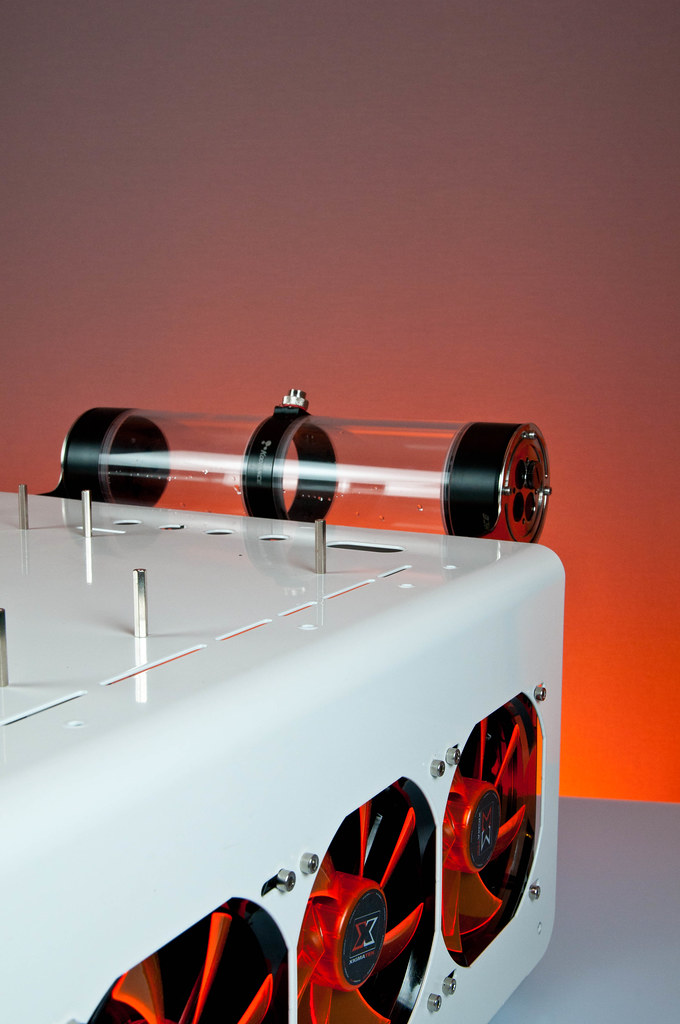
Thats it for now, until next time...
Happy Modding
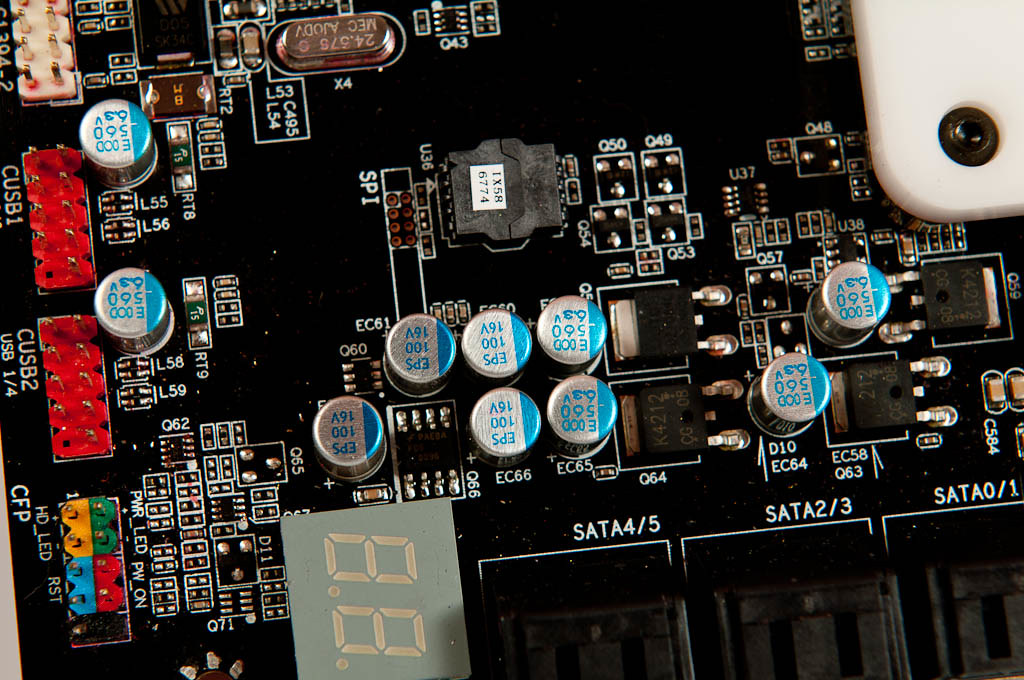
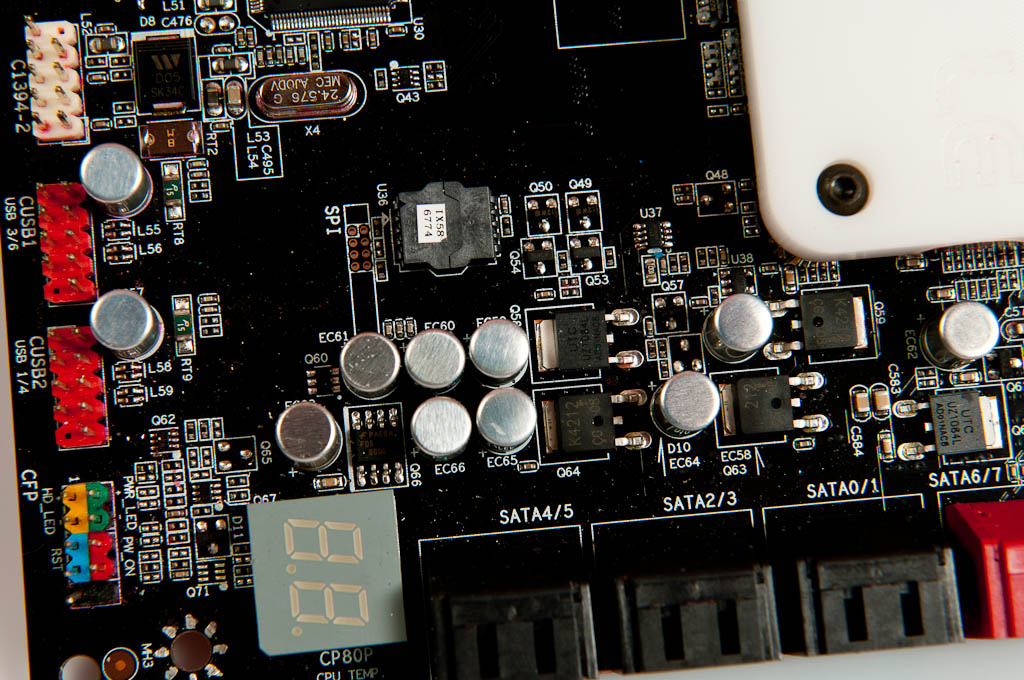
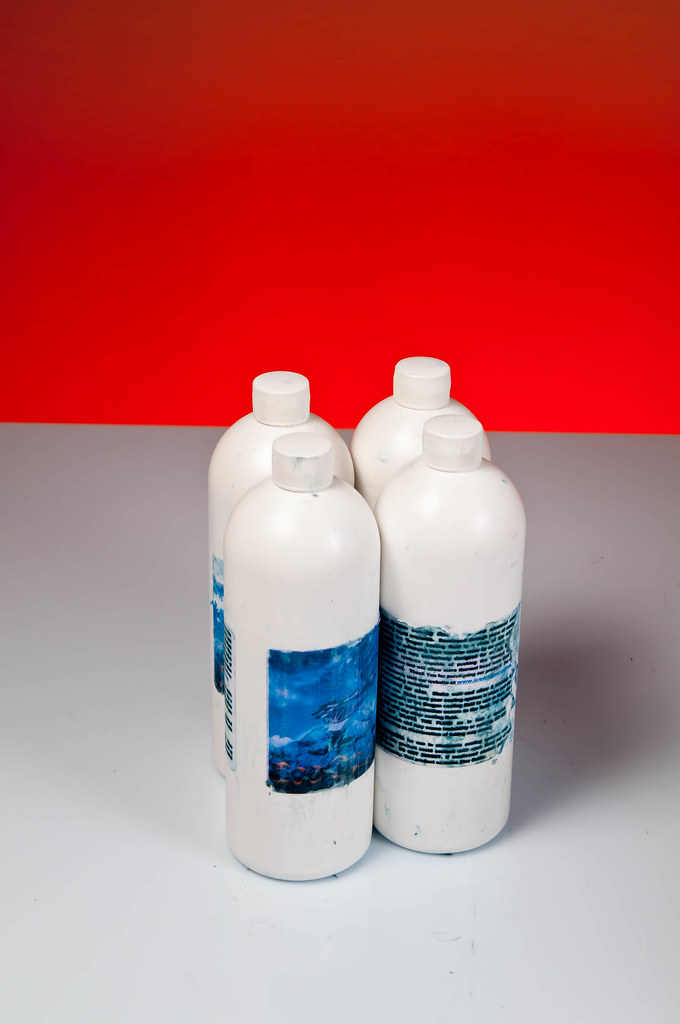
Micro Update...
Find the difference... hehe
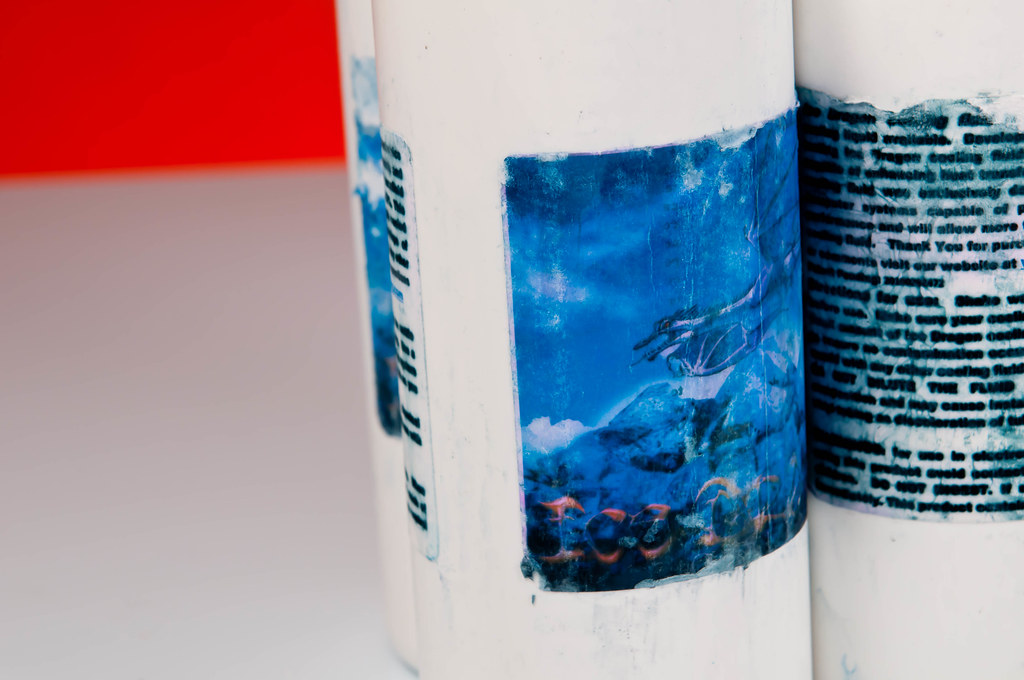
ok, the outcome might not be amazing, but its the first time i tried this, and i must give credit to anyone whos done this before, it was painful. i can barely feel my wrist...
Before:
After:
Before:
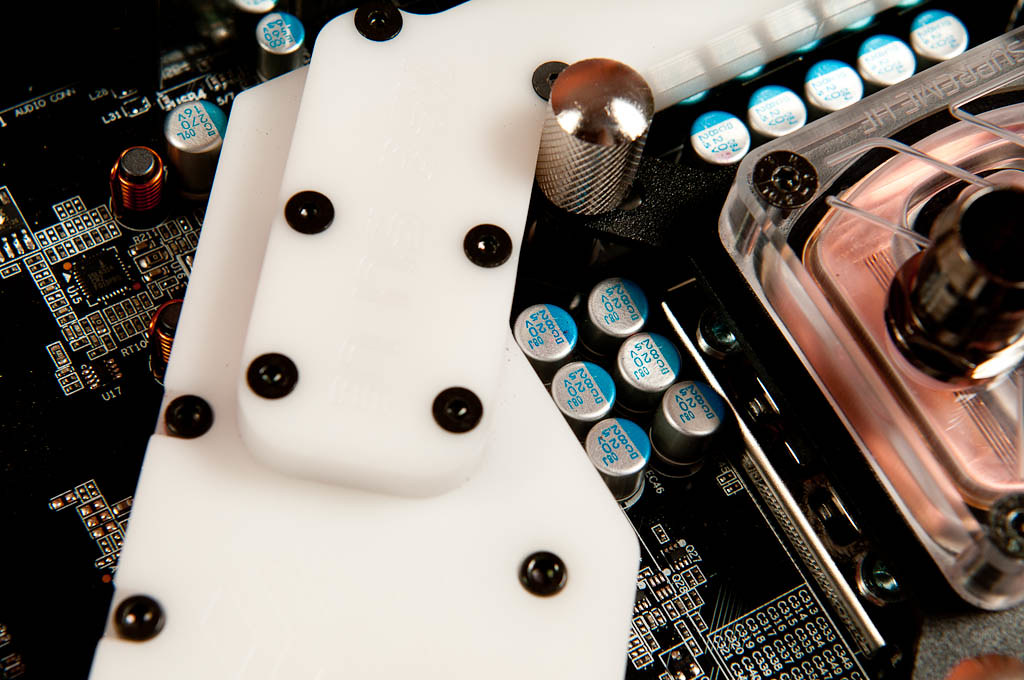
After:
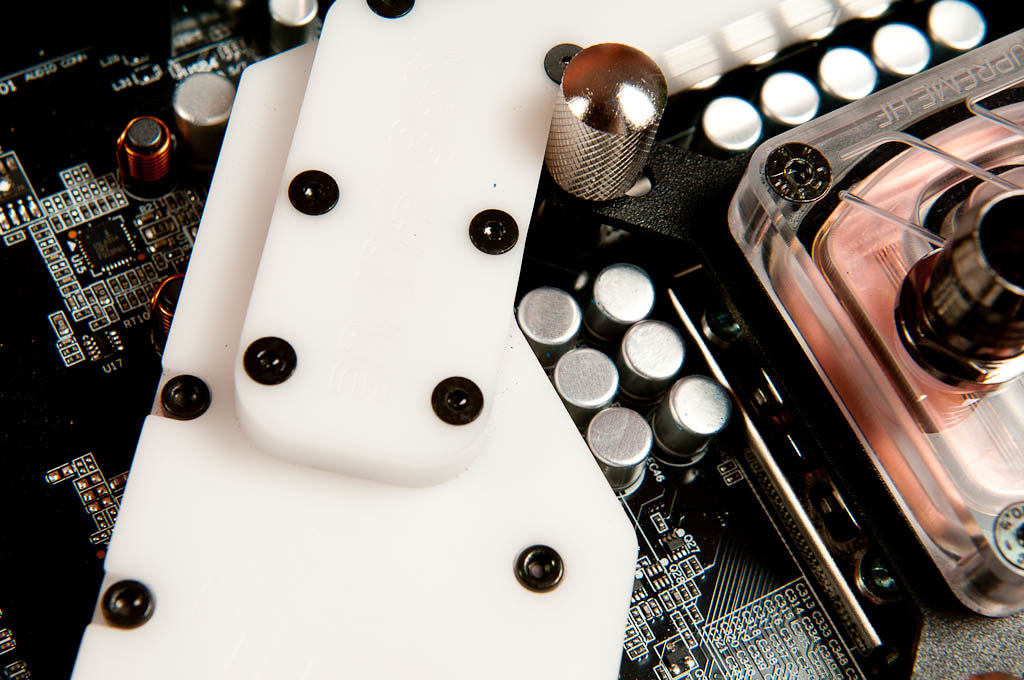
Before:
After:

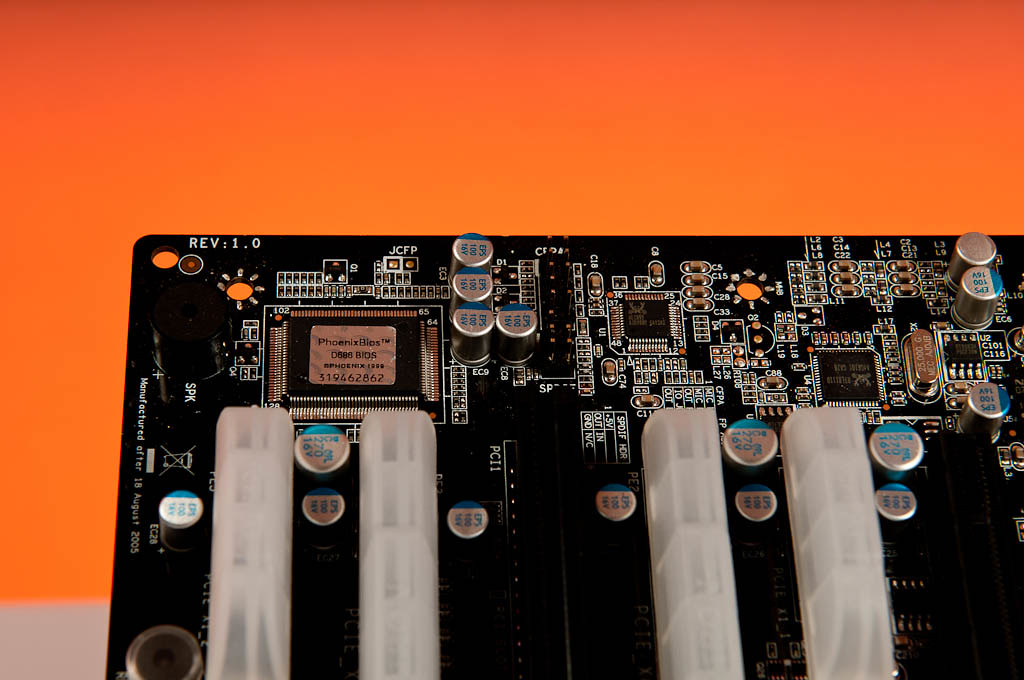
More updates en route, im in the very boring part of sanding, priming, and painting. it took 2 weeks t find a clear coat that IS actually CLEAR i kept getting ones that made my white yellow...
Find the difference... hehe
ok, the outcome might not be amazing, but its the first time i tried this, and i must give credit to anyone whos done this before, it was painful. i can barely feel my wrist...
Before:
After:
Before:
After:
Before:
After:
More updates en route, im in the very boring part of sanding, priming, and painting. it took 2 weeks t find a clear coat that IS actually CLEAR i kept getting ones that made my white yellow...
Loafdogg420
Limp Gawd
- Joined
- Jun 2, 2010
- Messages
- 445
You removed all the labeling from the top of the caps. What did you use to do that?
Acetone should work.
Avalanche
Pendleton - Learn It, Live It, Know It
- Joined
- Feb 24, 2008
- Messages
- 4,548
I was going to say that you just took the slot covers off and then I scrolled and saw the cap labels taken off haha. Looks good so far!
CompMage
Gawd
- Joined
- Sep 7, 2003
- Messages
- 851
That is looking amazing. I can't wait to see it finished. With that many pumps you are going to have some crazy flow rate!
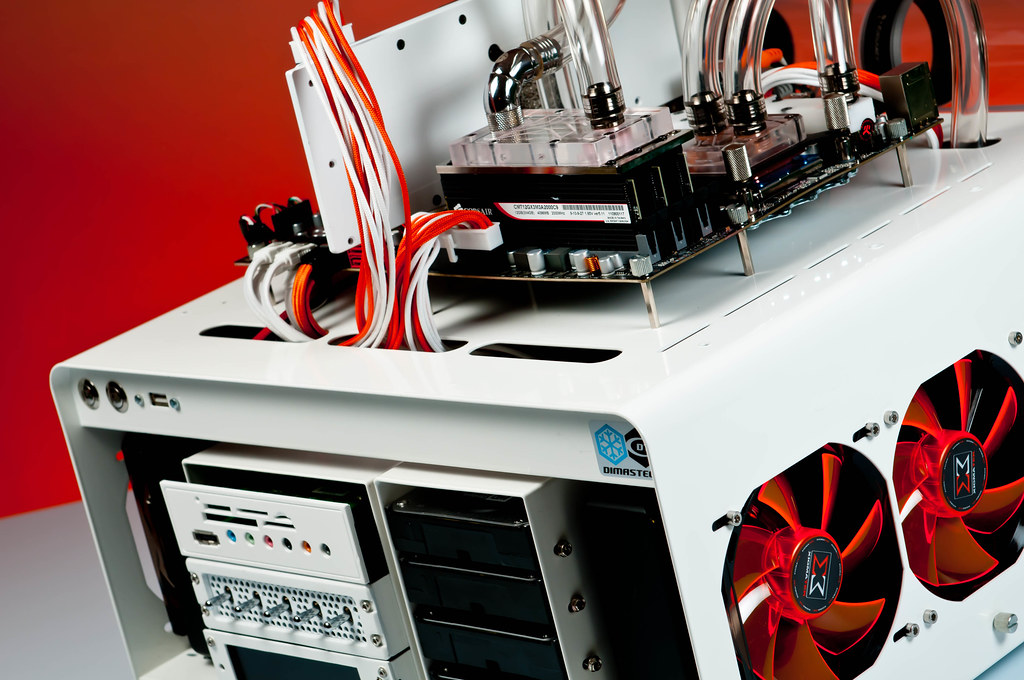
-UPDATE!-
Last night was a long one.... but i made it
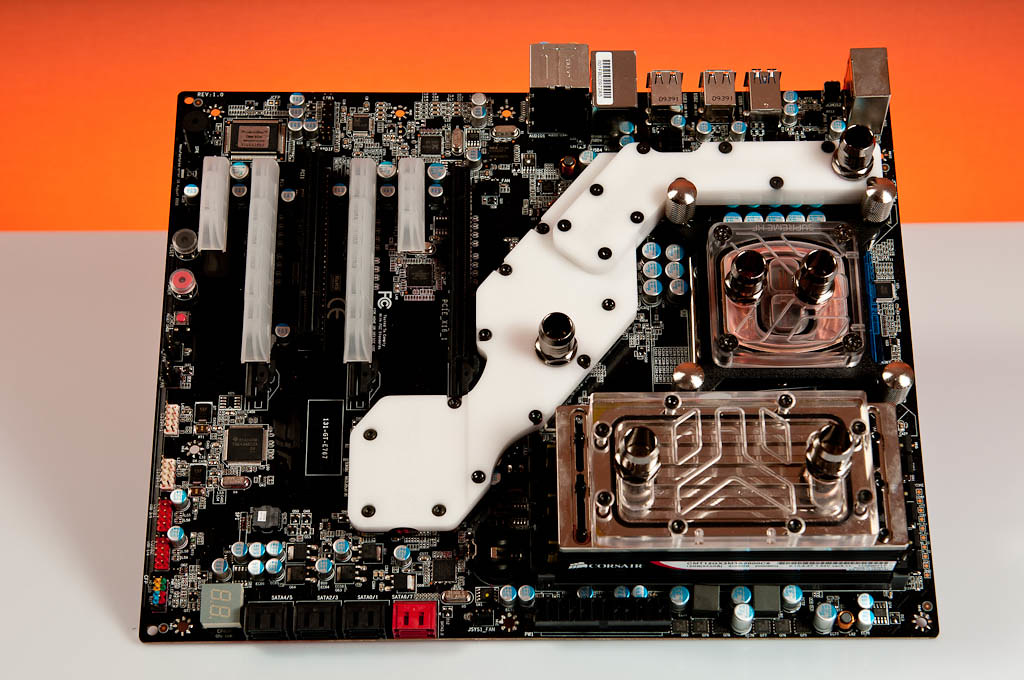
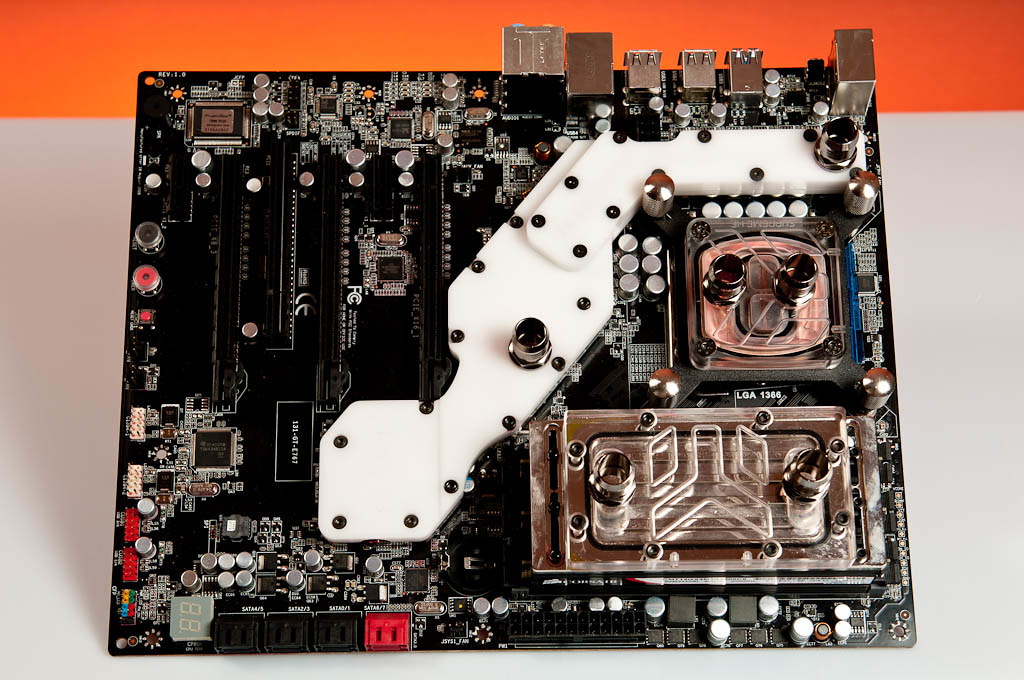
I attached the motherboard onto the top part of the bench...

I prepared the bottom tray to be inserted aswell.
a close up of the 24pin
1+1=2... finally the top and bottom together after a long time apart

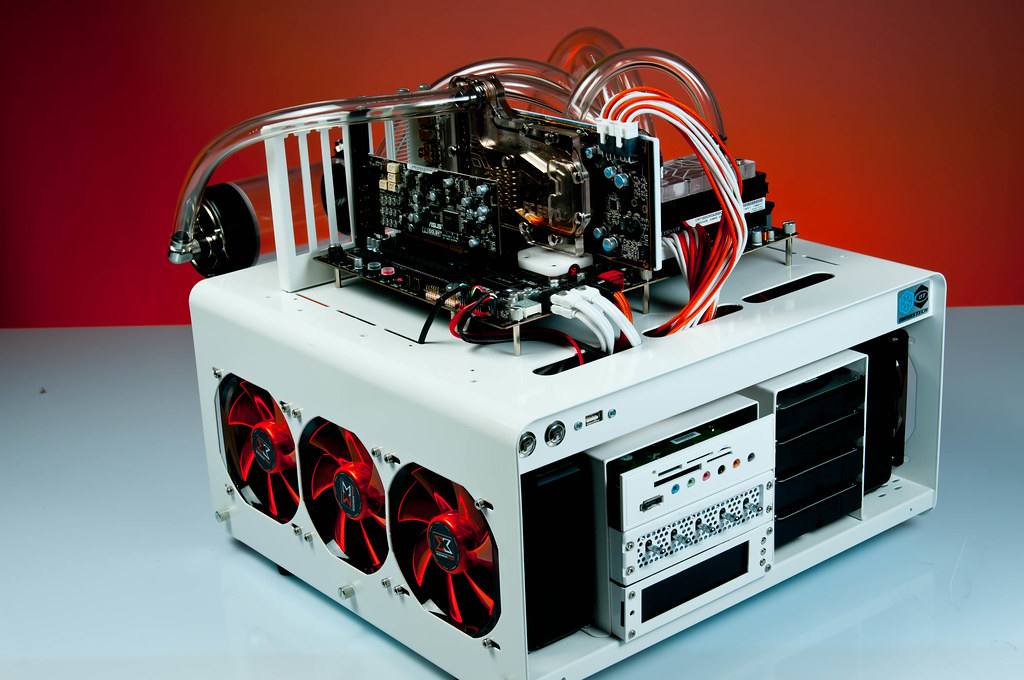
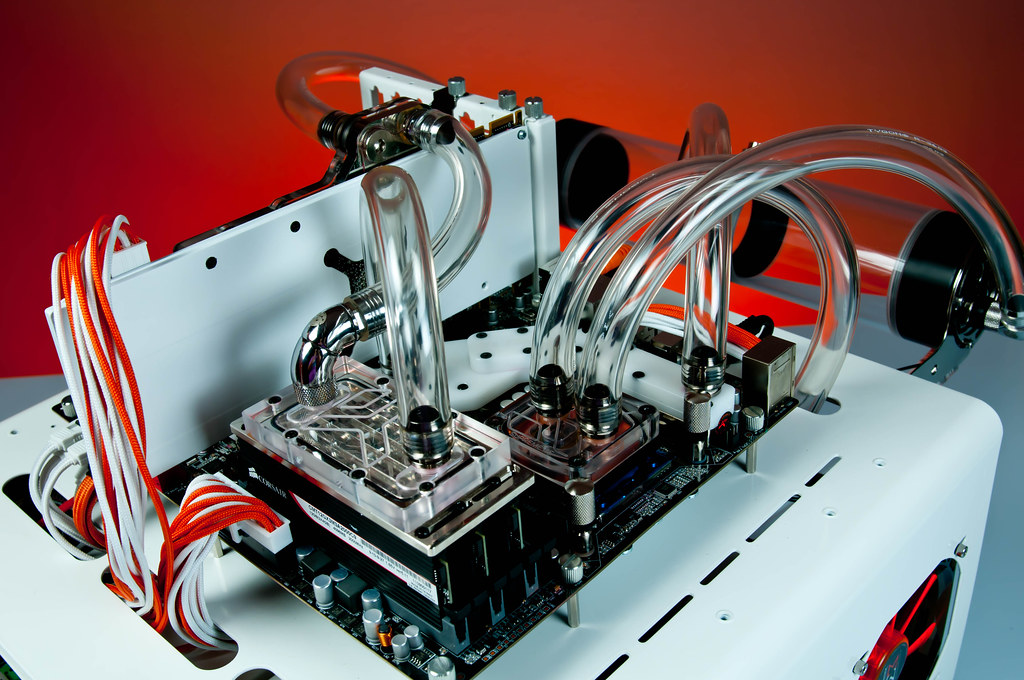
oooh, what do we have here?
ICE DRAG....
MILK?!

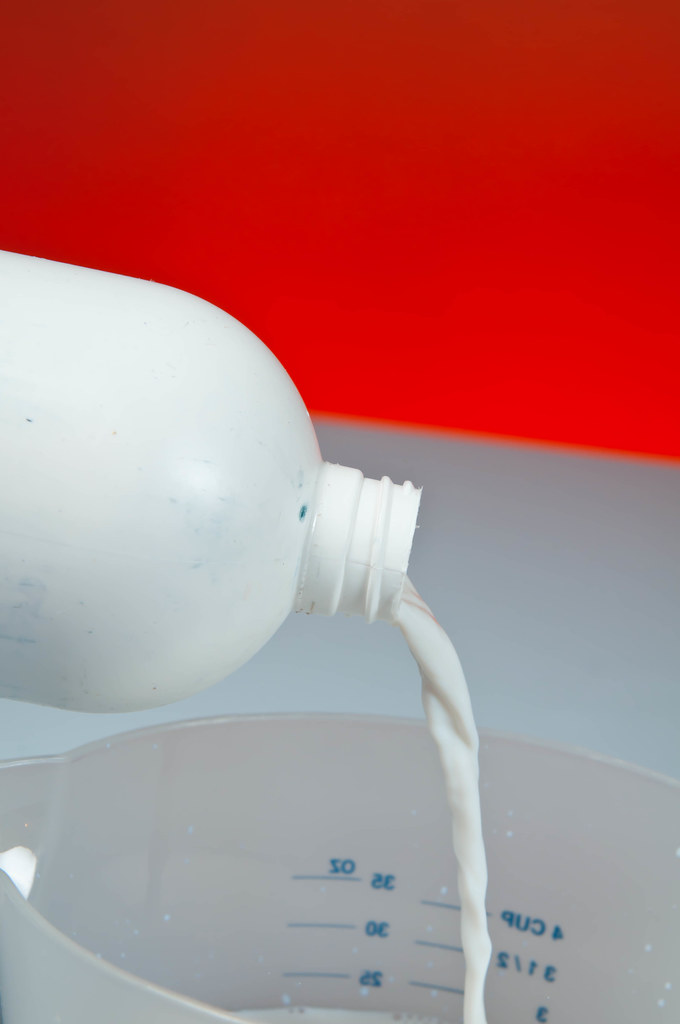


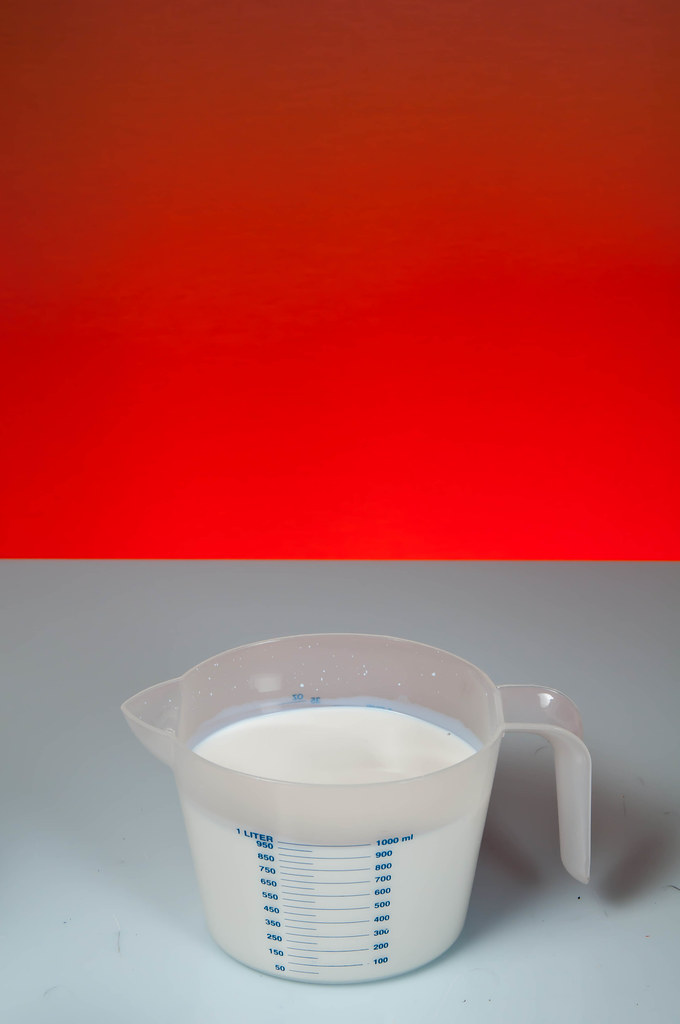
I would of filled it up, but i was a little unlucky.... thankfully i didnt rush!
Even though the board was working right before i put it on the tray, once i put on the board, it wouldnt power on. the leds lit up but no psot, no error beeps, nothing.
I changed the cpu, i changed ram, i changed the psu, nothing, i took off all the blocks, removed the batteries, and showered it in 100% alcohol, dried it off with a hair dryer, and put it all abck together. it works fine now. :/ no idea what happened. but it works. so YAY!
in a couple of days the first boot is coming

- Joined
- May 3, 2011
- Messages
- 219

That is all.
^^ this! glad you got it working.
That is all.
Seconded. White and orange go great with each other.
zer0gravity
[H]ard|Gawd
- Joined
- Dec 8, 2008
- Messages
- 1,133
looks GREAT!
Thanks alotlooks GREAT!
Take any diea you wantWows thats awsome. trying to steal some ideas... lol
you got pm btw Dimastech easy dual is the model... google is your friendWhere can I buy that case?
I think so too, my second white and orange buildSeconded. White and orange go great with each other.
Thanks, me too^^ this! glad you got it working.
wasnt willing to spend any money on hardware Beautiful. Can't wait to see some pics of it up and running.
Today it will be done
sortableturnip
Limp Gawd
- Joined
- Aug 12, 2011
- Messages
- 213
Glad you got it running...if you didn't you would have had to change the name of the build from Freshly Squeezed to White Lemon
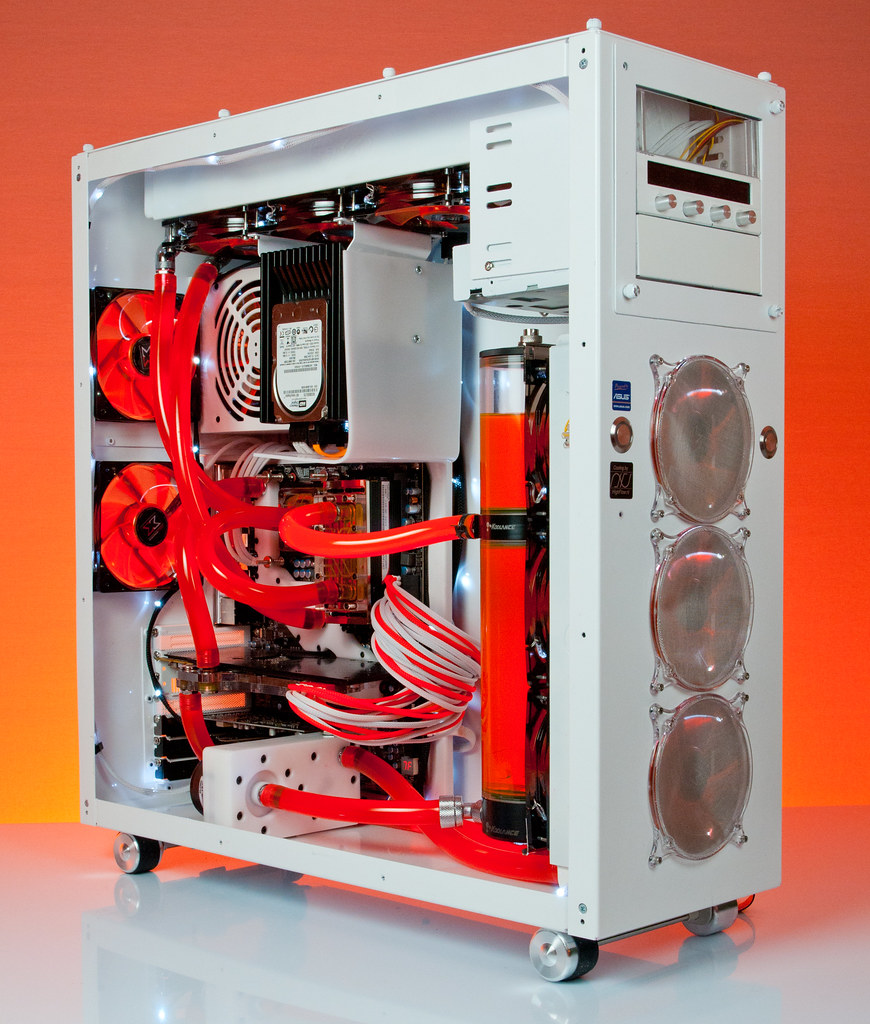
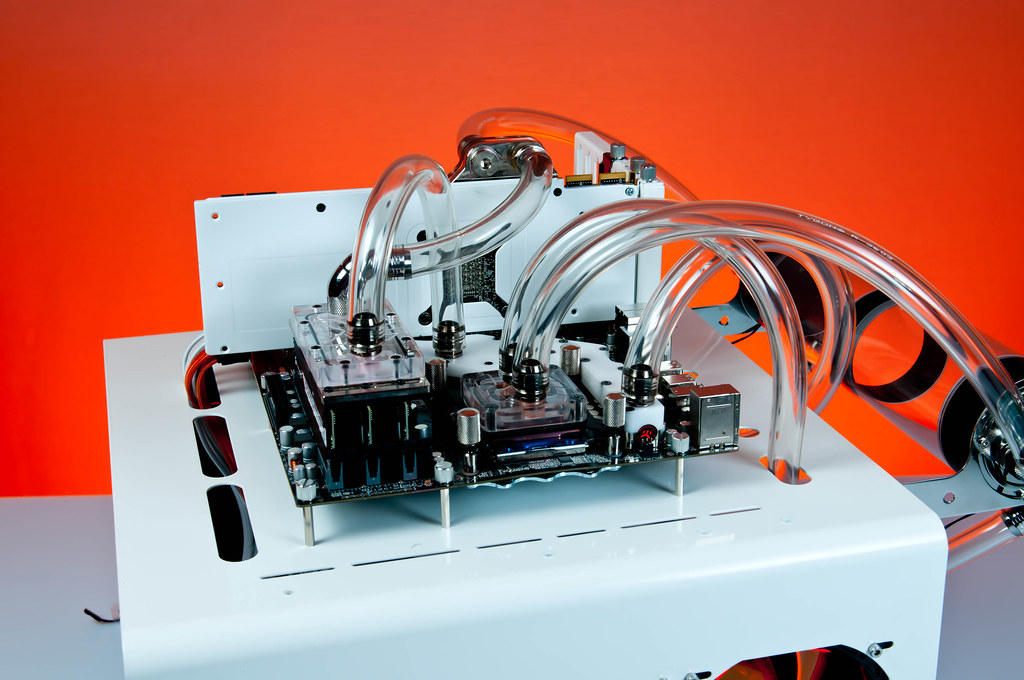
The orientation of your water cooling setup is a little confusing. I see res>gpu>memory>chipset>rad and res>cpu>rad? Is it two separate loops with a shared res?
The orientation of your water cooling setup is a little confusing. I see res>gpu>memory>chipset>rad and res>cpu>rad? Is it two separate loops with a shared res?
Glad you got it running...if you didn't you would have had to change the name of the build from Freshly Squeezed to White Lemon
The orientation of your water cooling setup is a little confusing. I see res>gpu>memory>chipset>rad and res>cpu>rad? Is it two separate loops with a shared res?
Yes thankfully it worked and i didnt have to spend more $$$$ :/
Its 2 seperate loops with a common reservoir. So all the parts can benefit from both rads
1 loop is, res-> dual D5's-> triple rad-> Cpu Block -> res
2 loop is res-> dual d5's-> triple rad-> Mobo block-> Ram-> Gpu-> Res
silent-circuit
[H]F Junkie
- Joined
- Sep 18, 2005
- Messages
- 16,132
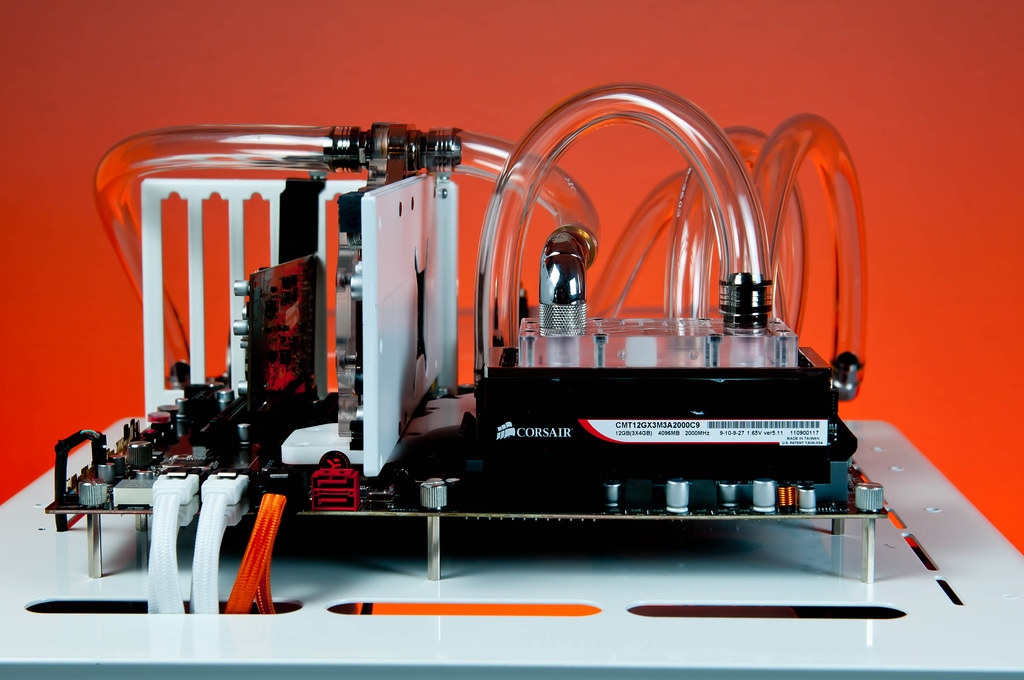
Need white acetal tops for those EK blocks, they ruin the look. That or switch to clear for the big NB/SB/VRM block, which would probably be harder. Same with the card. Either they need to all go clear, or all go white.
leSLIe
Fully [H]
- Joined
- Oct 18, 2004
- Messages
- 17,378
I hate the op