PcJunkie209
Limp Gawd
- Joined
- Apr 20, 2011
- Messages
- 158
Alright so I'm about to spam the crap out of this first post with pictures! ") Sorry for that. I have been crazy busy building and laying it out that I haven't had time to post a log about it. This desk is for a client of mine and I'd like to give a little info for the purpose of the build to give everyone an idea why it is going to be the way it is.
Sorry for that. I have been crazy busy building and laying it out that I haven't had time to post a log about it. This desk is for a client of mine and I'd like to give a little info for the purpose of the build to give everyone an idea why it is going to be the way it is.
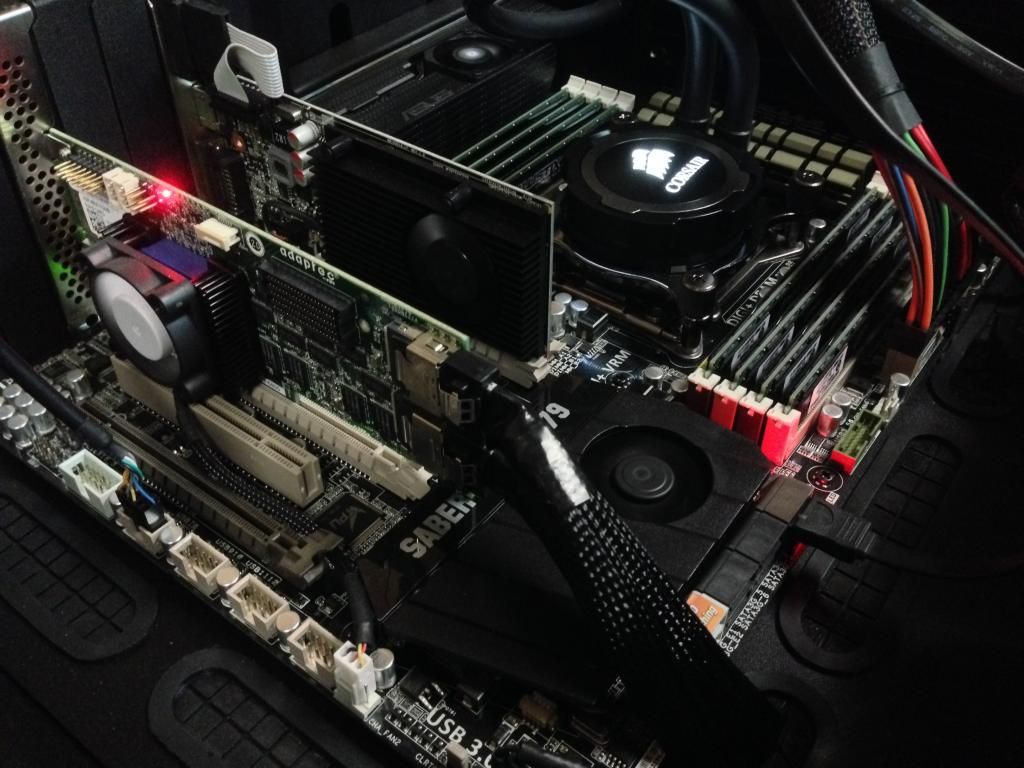
First off Phil does web traffic among other things. So he needs a pc that can be on all the time that he doesn't have to worry about the liquid setup. This part of the desk will be a 24/7 system that he can remote into from anywhere. The other setup is more extreme and his daily driver. He will work from it and game from it. He will be running 4 x 144hz Asus monitors on this setup where as the other system will only have power and a nic hooked up. So lets try and do some specs. I'm gonna wing this part and I'll come back and try and fill anything I miss.
Work side -
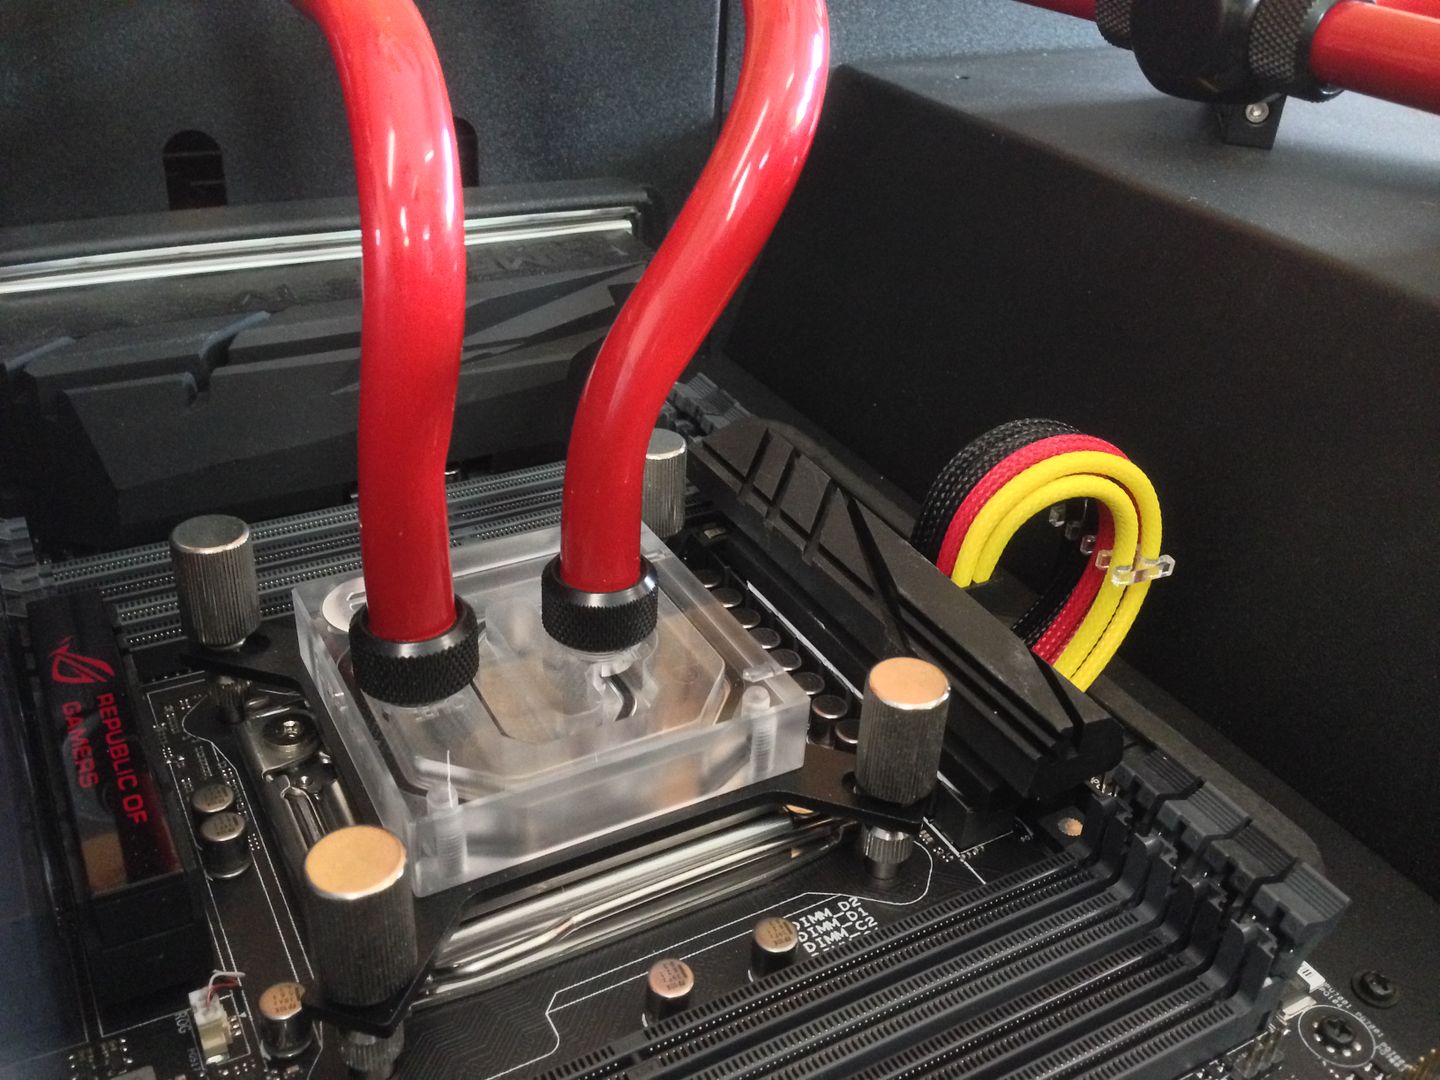
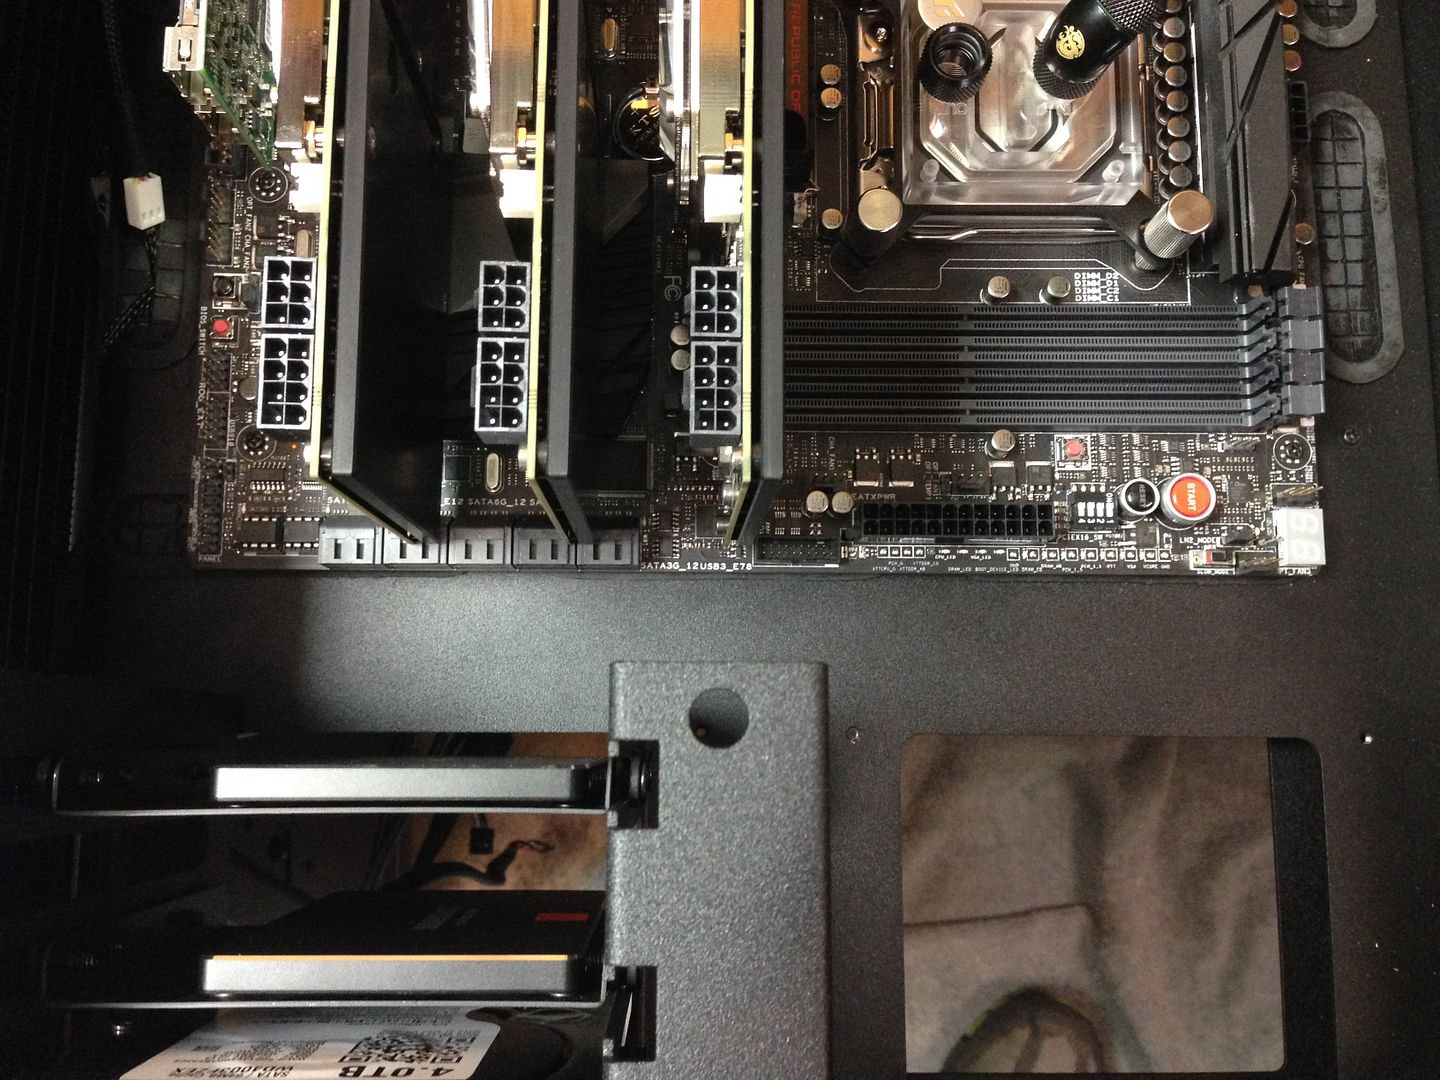
Asus Sabertooth X79
Intel i7 4820K
Crucial Ballistic low pro 64gb 2133mhz
Samsung Evo 500gb SSD
Evga GT610
Adaptec 6805 Raid card
Western Digital 4TB Black x 6 in Raid 10
LG DVD burner
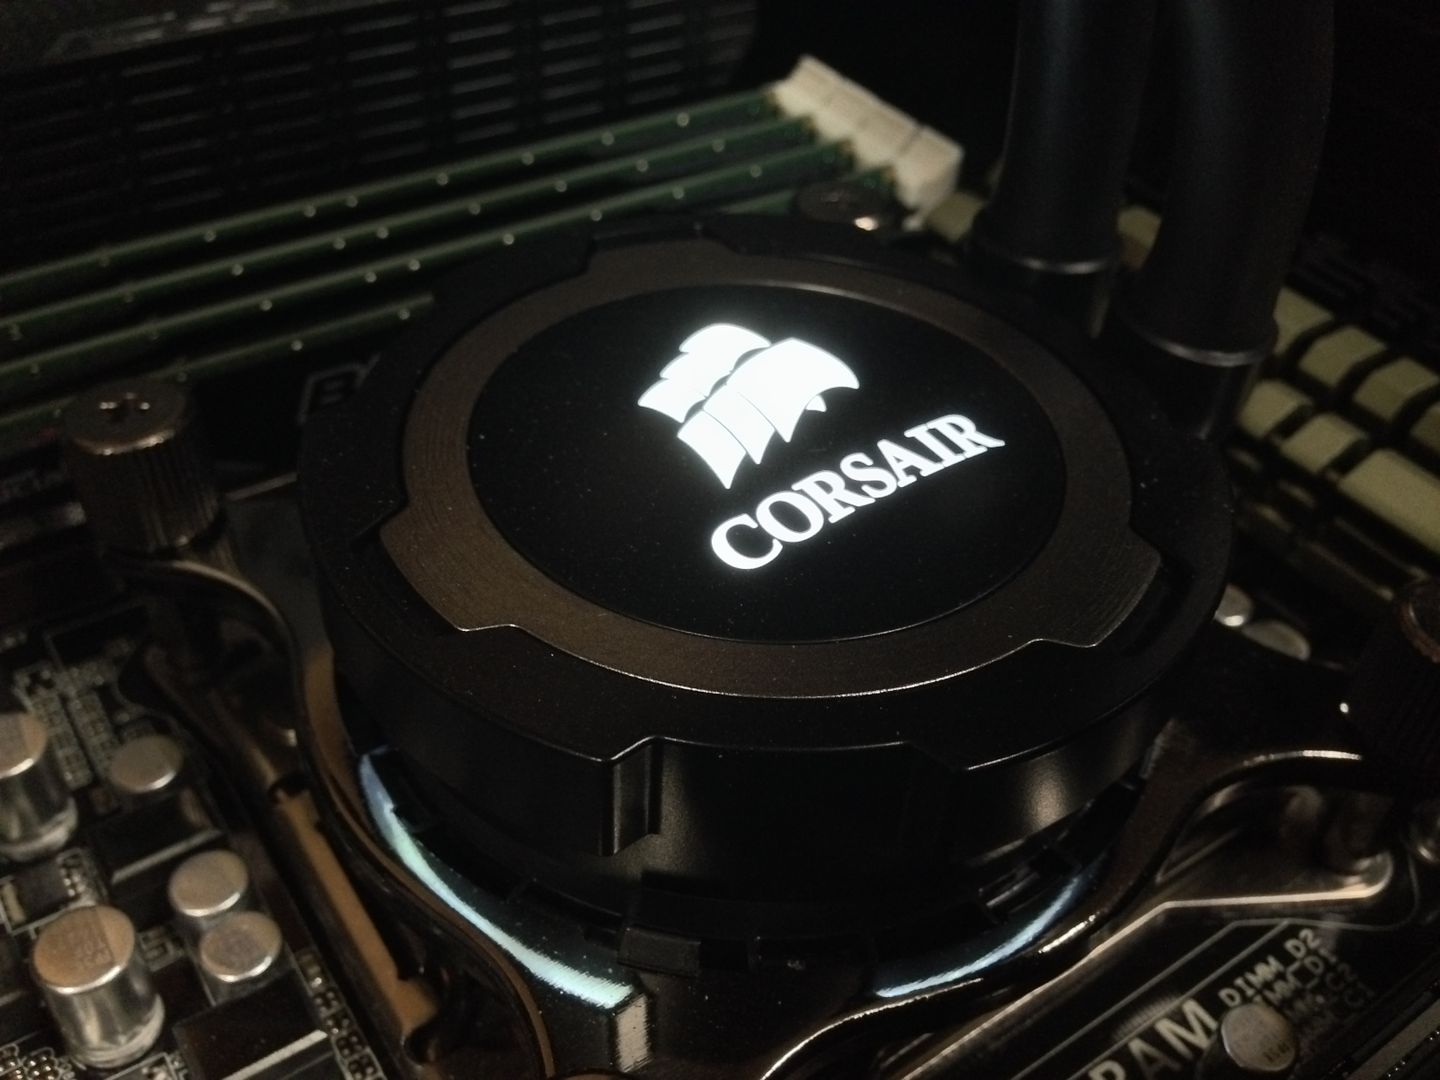
Corsair H105 AIO cooler
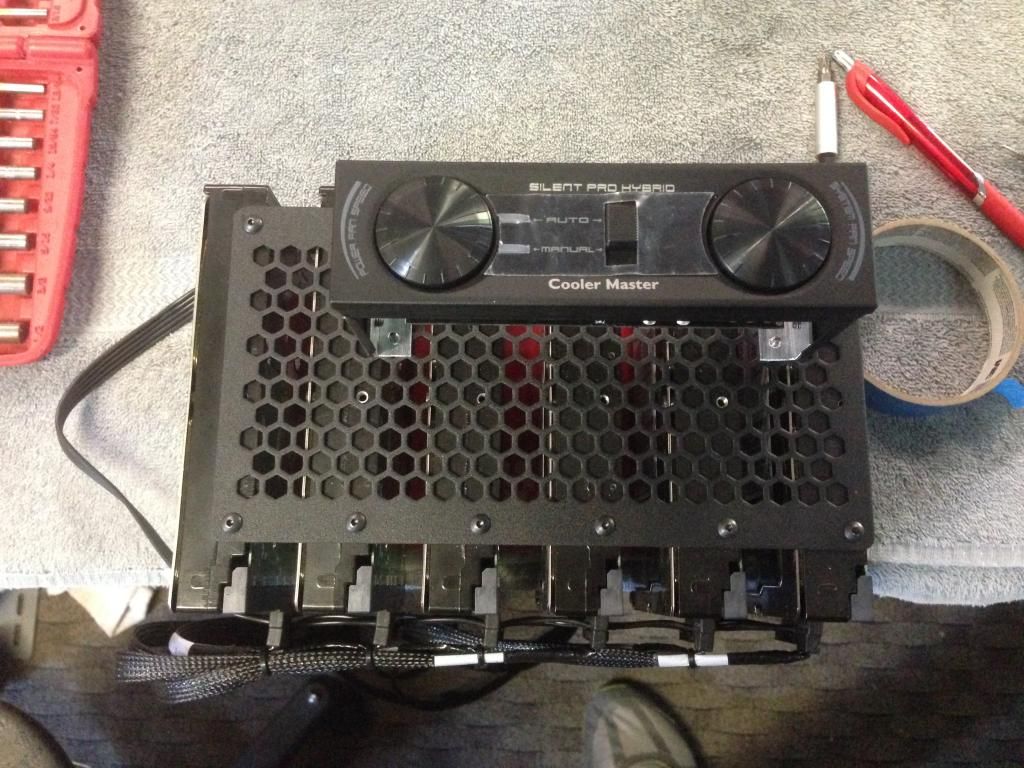
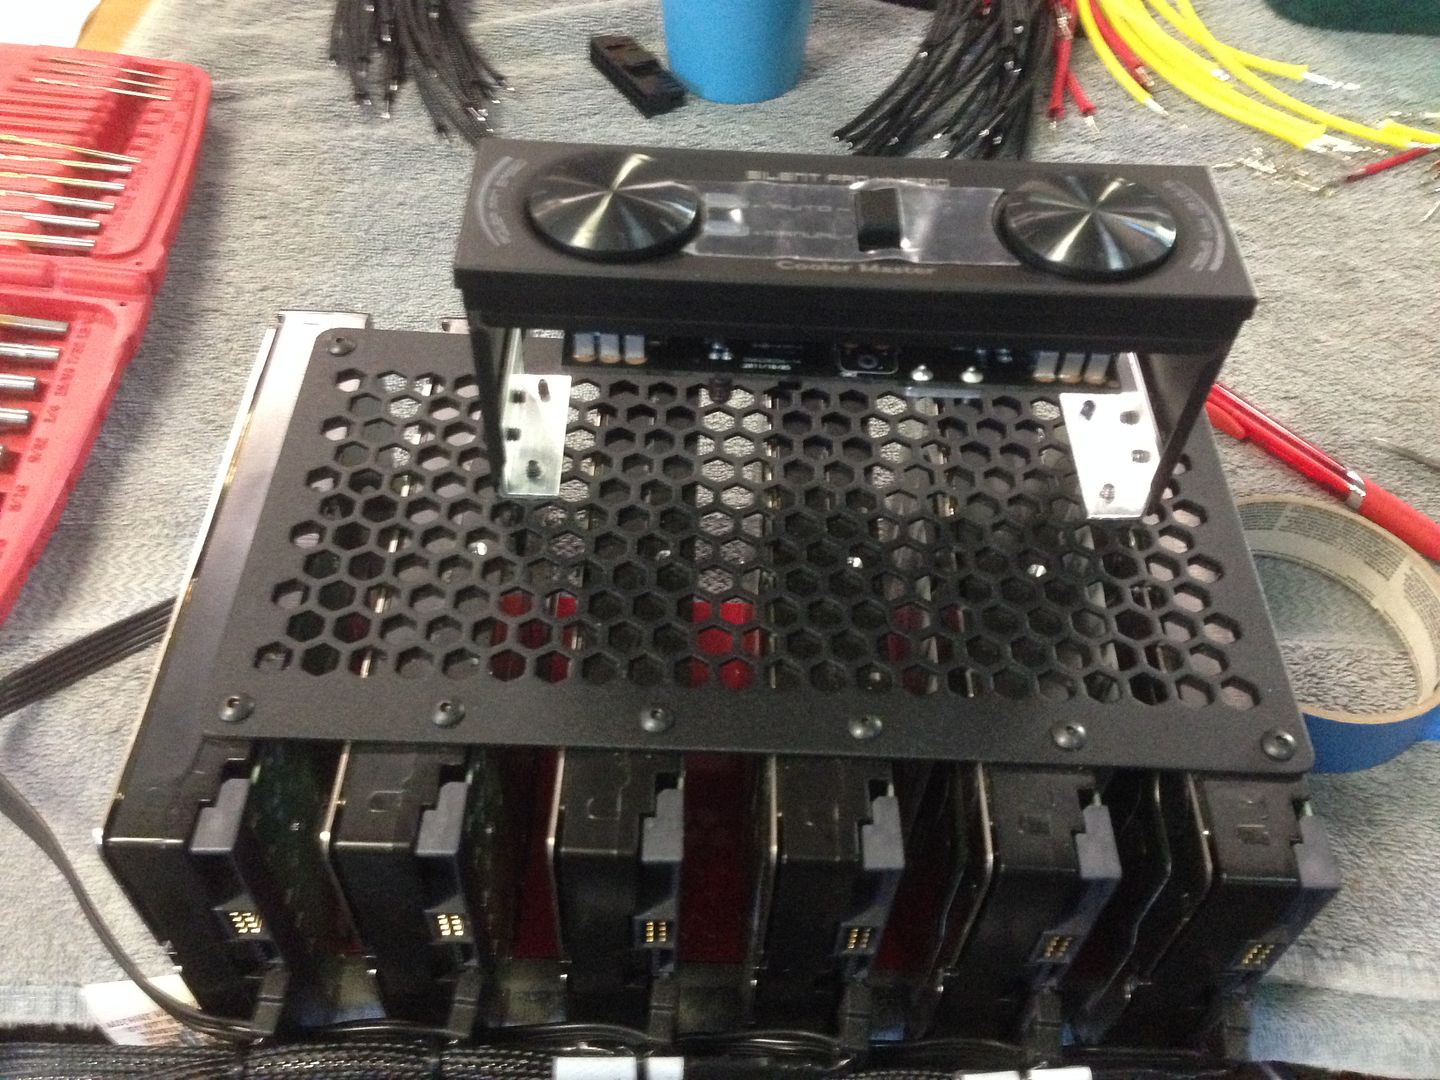
Cooler Master Hybrid 1050watt PSU
Main system-
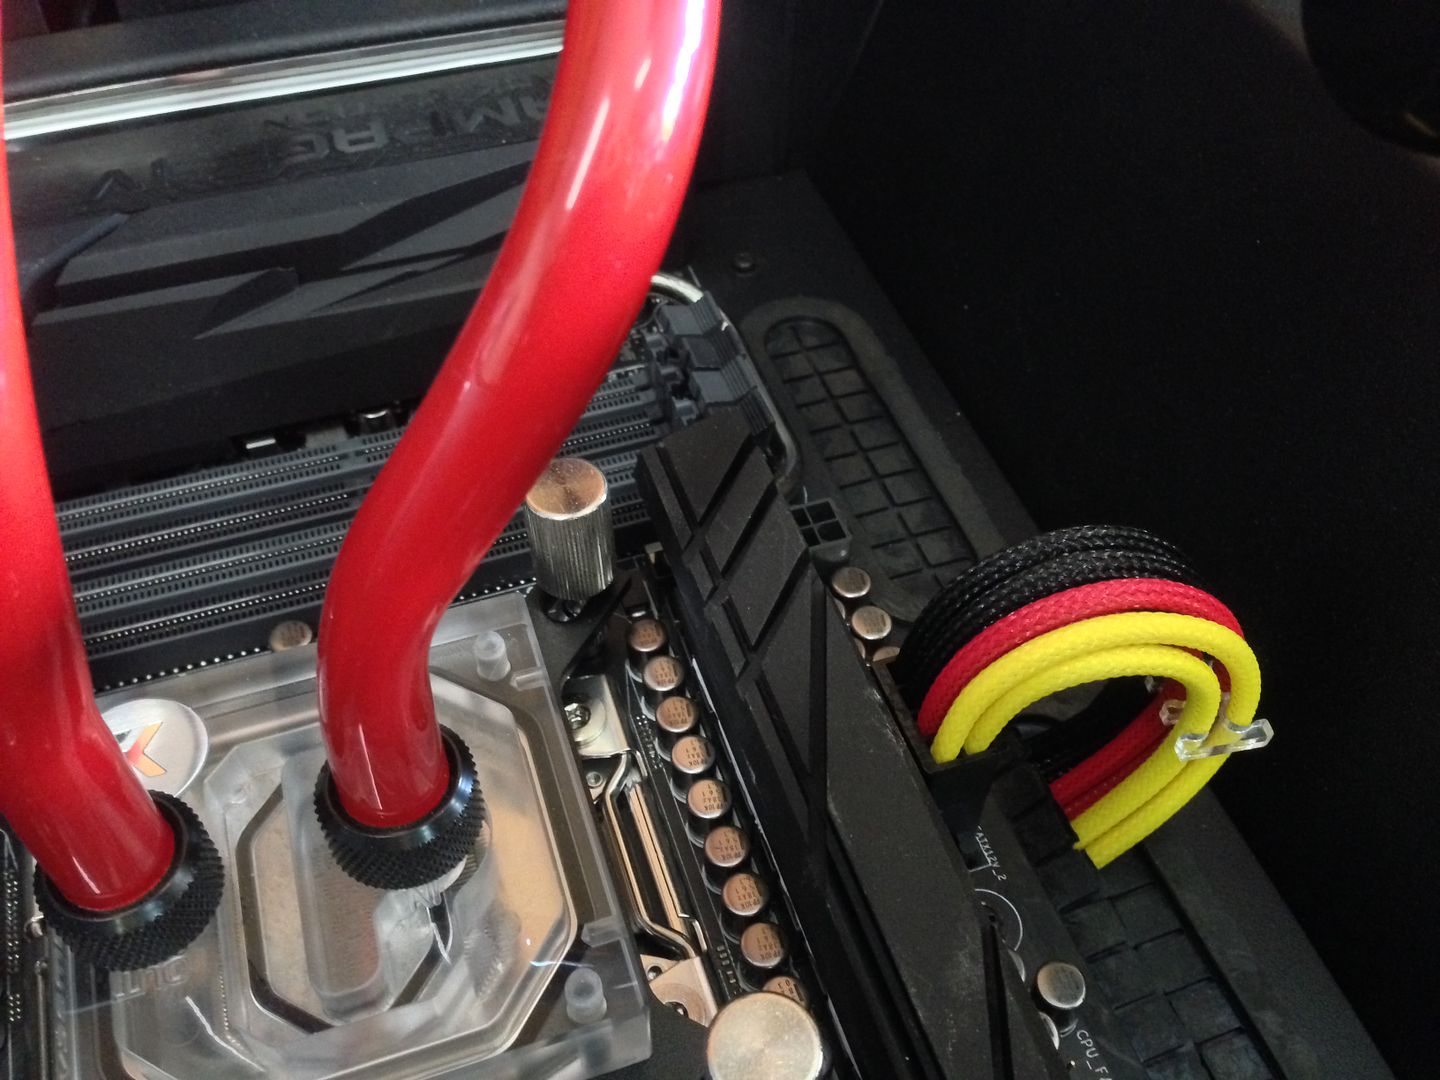
Asus Rampage IV Black
Intel i7 4930K
Corsair Vengance Pro 64gb 2133mhz
Samsung 840 Pro x 2 in Raid 0 for OS
Evga GTX Titan x 3
Adaptec 6805 Raid card
Western Digital 4TB Black x 6 in Raid 10
LG Bluray burner
Cooler Master Hybrid 1050watt PSU
Cooling and Misc.-
Aquaero 6 XT
Aquacomputer high flow USB
Aquacomputer temp sensors x 3
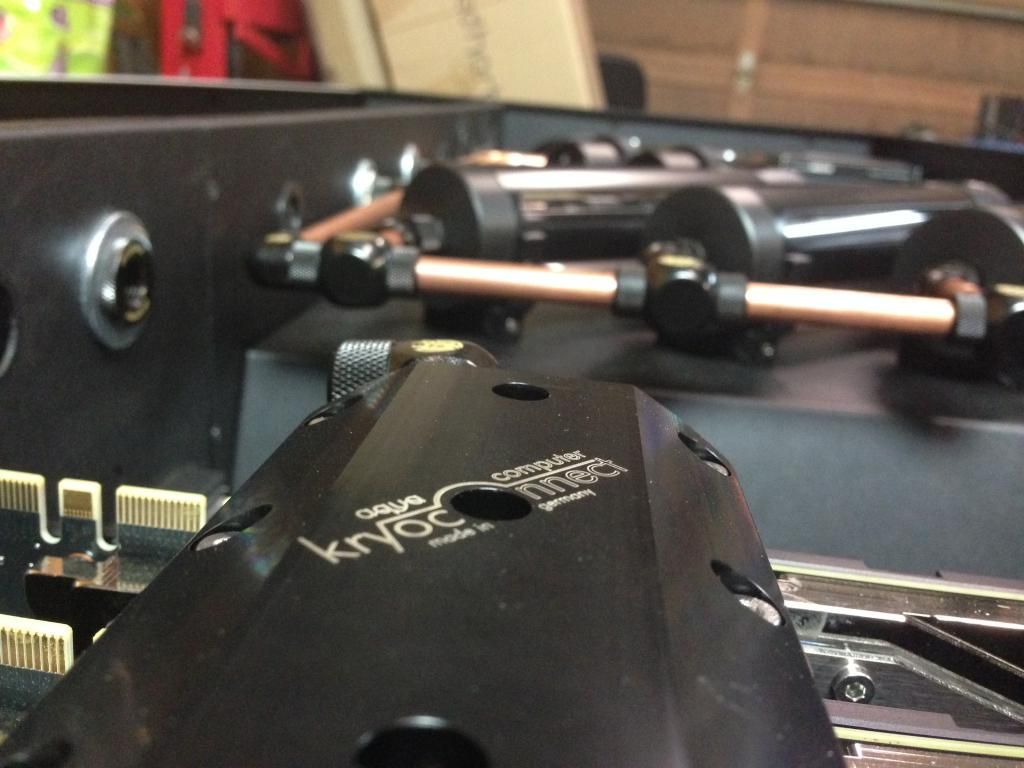
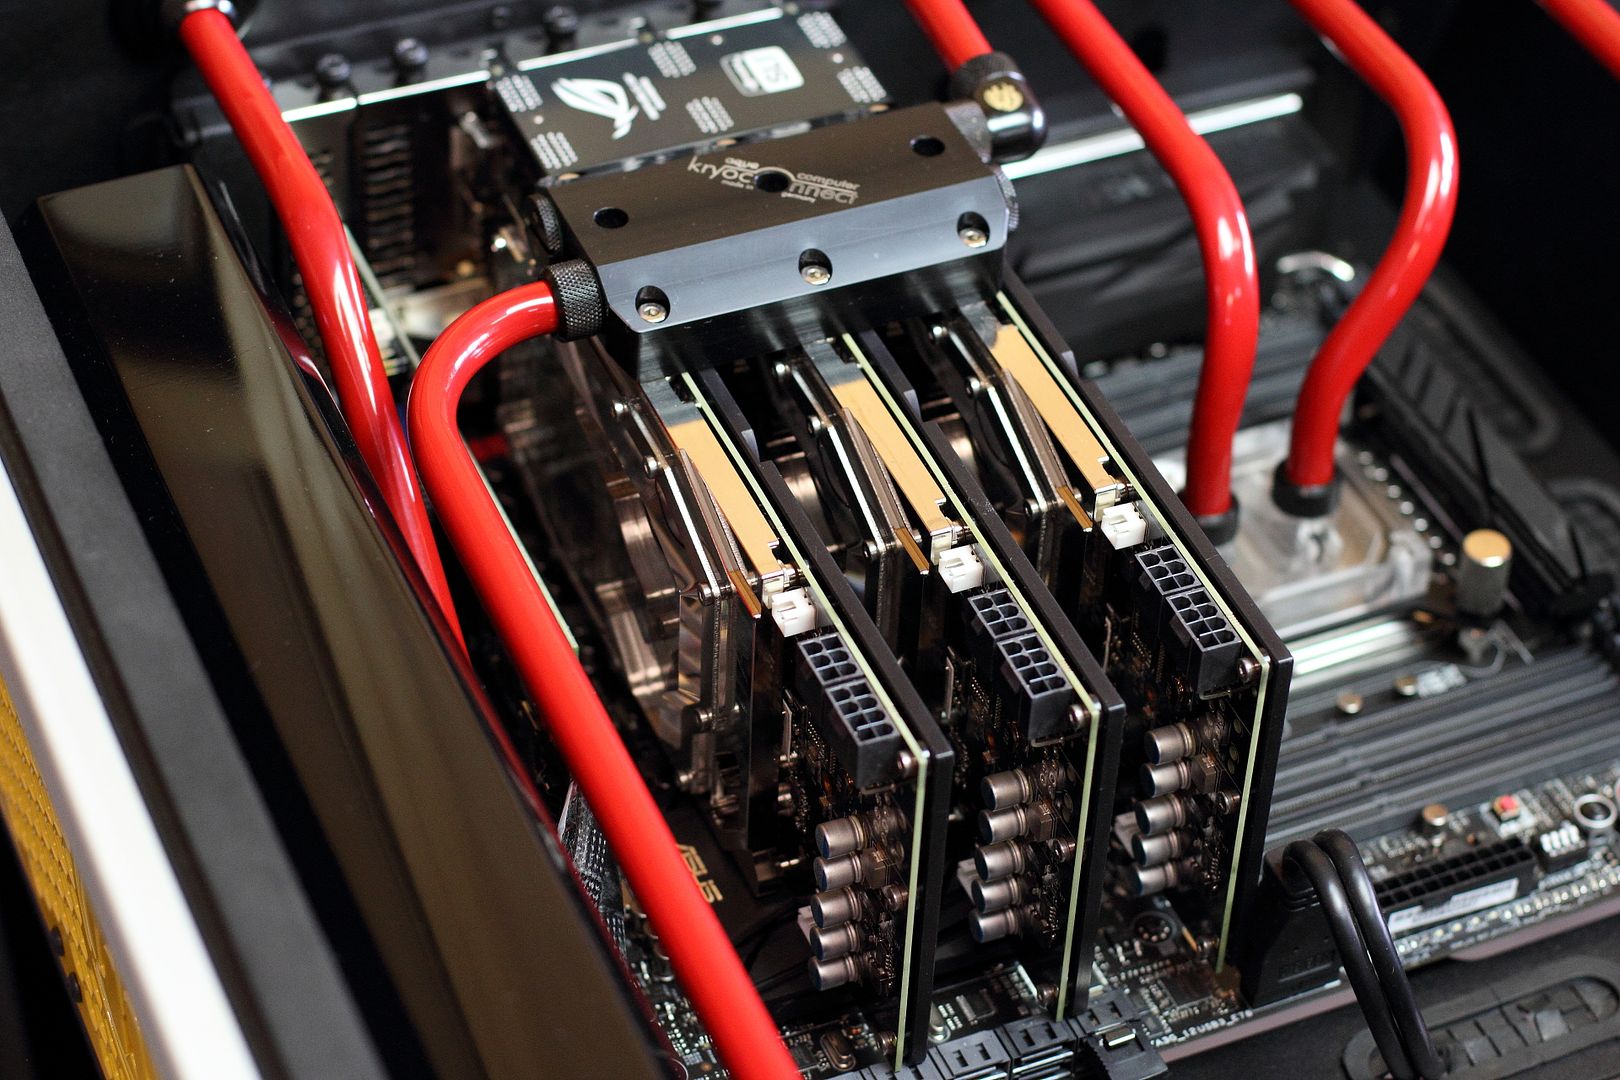
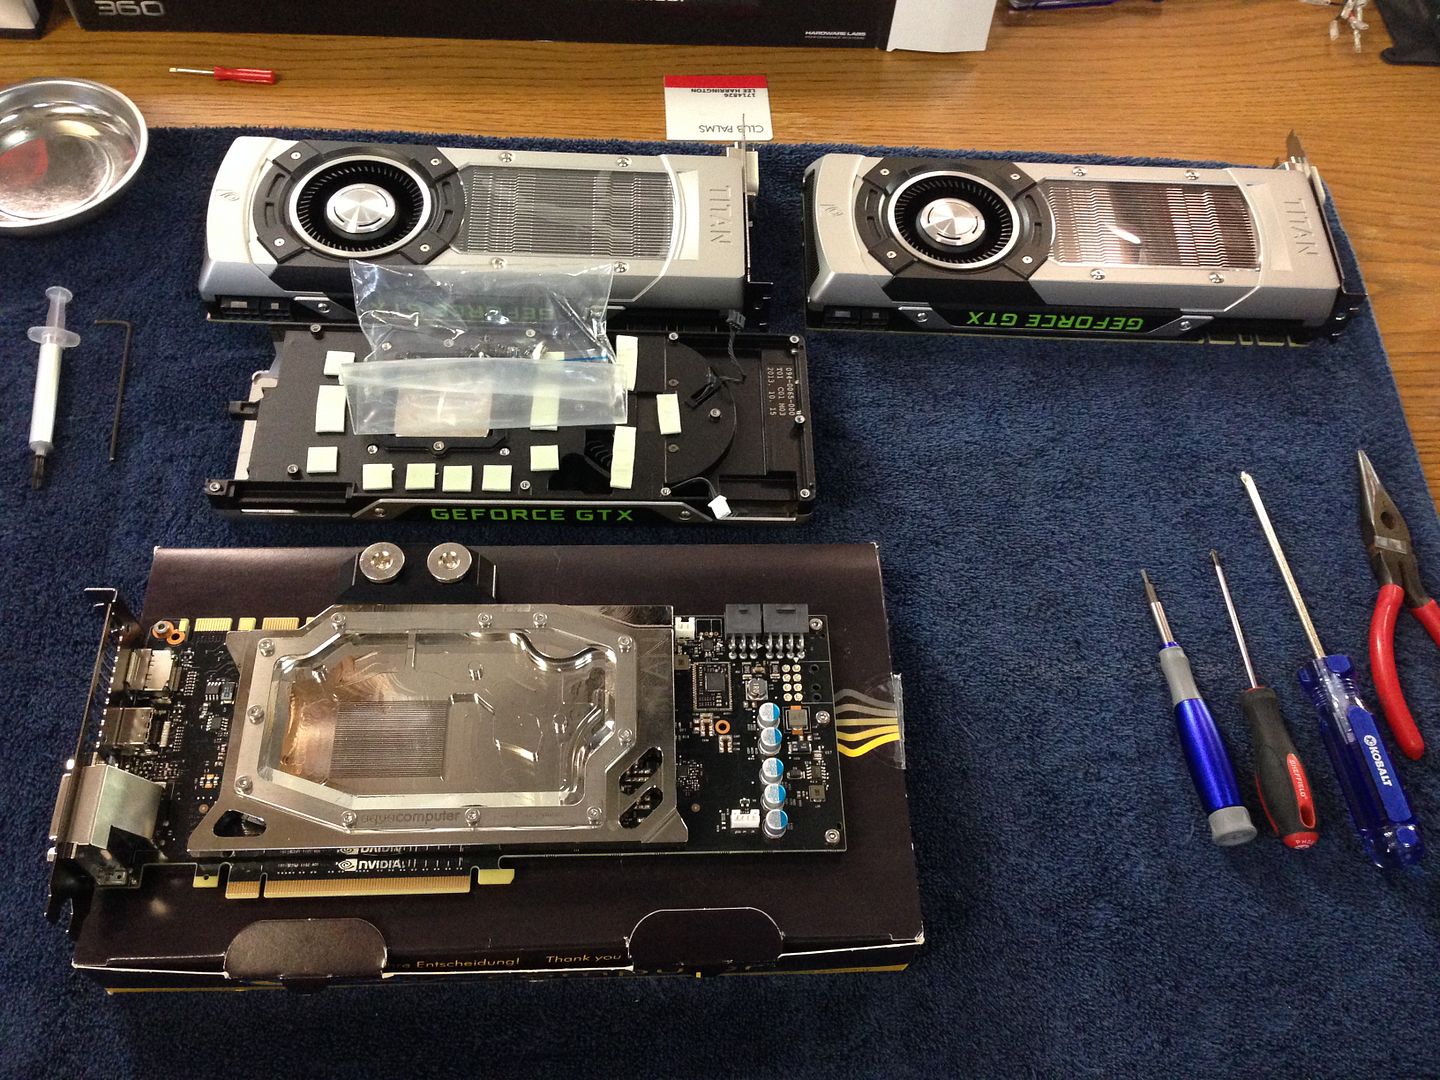
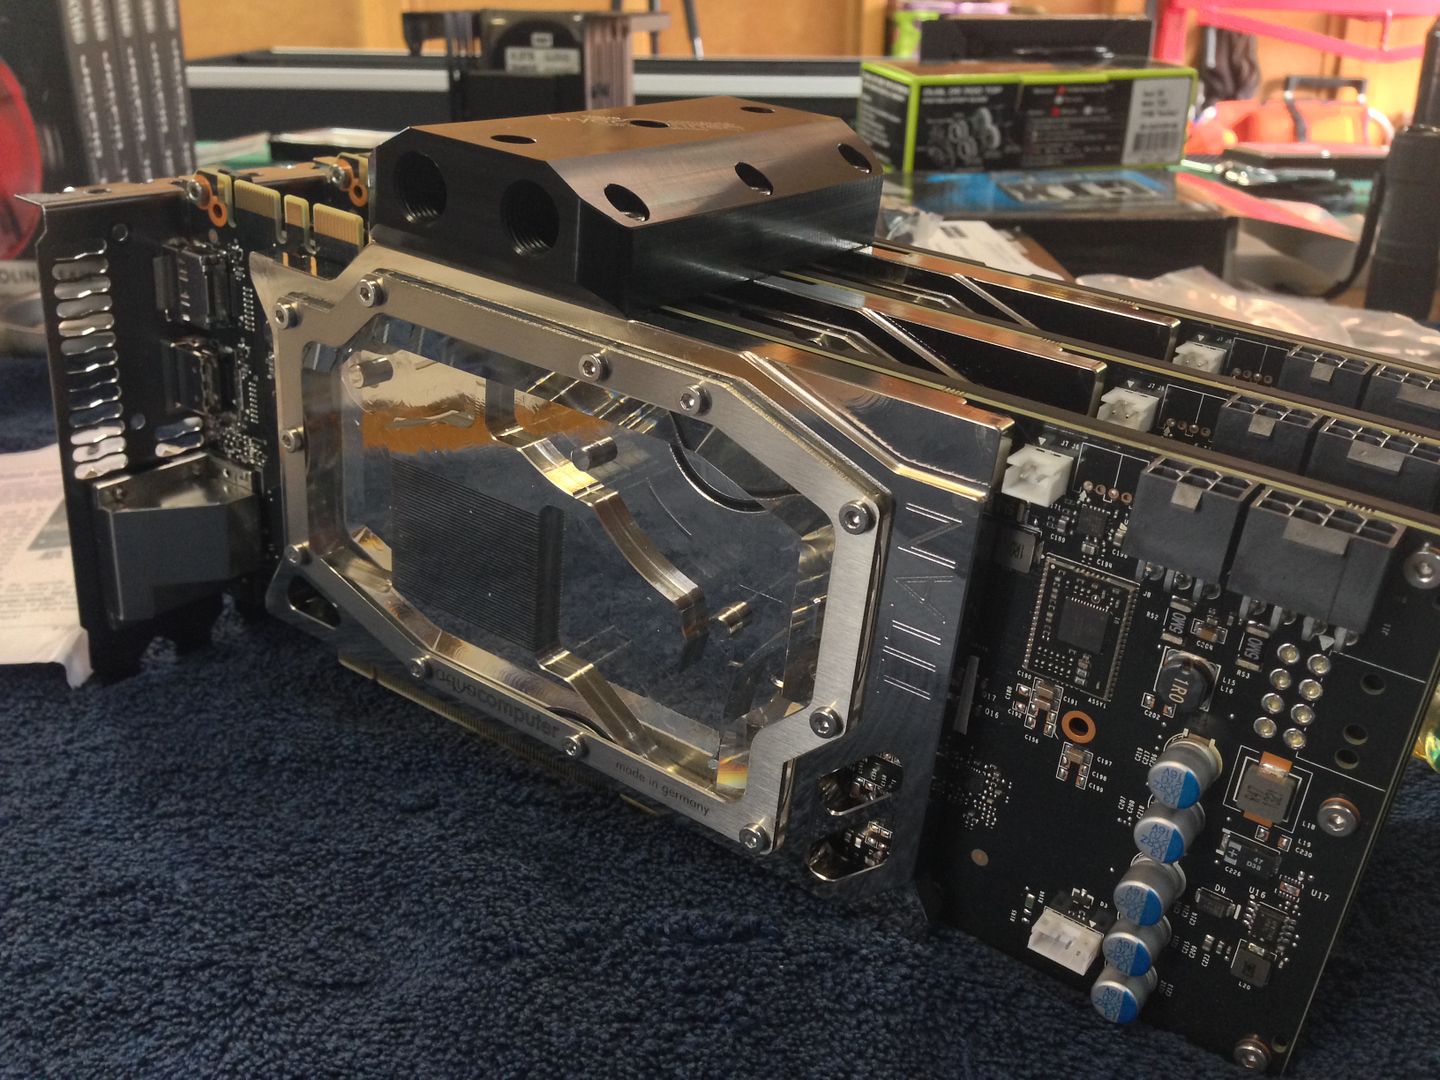
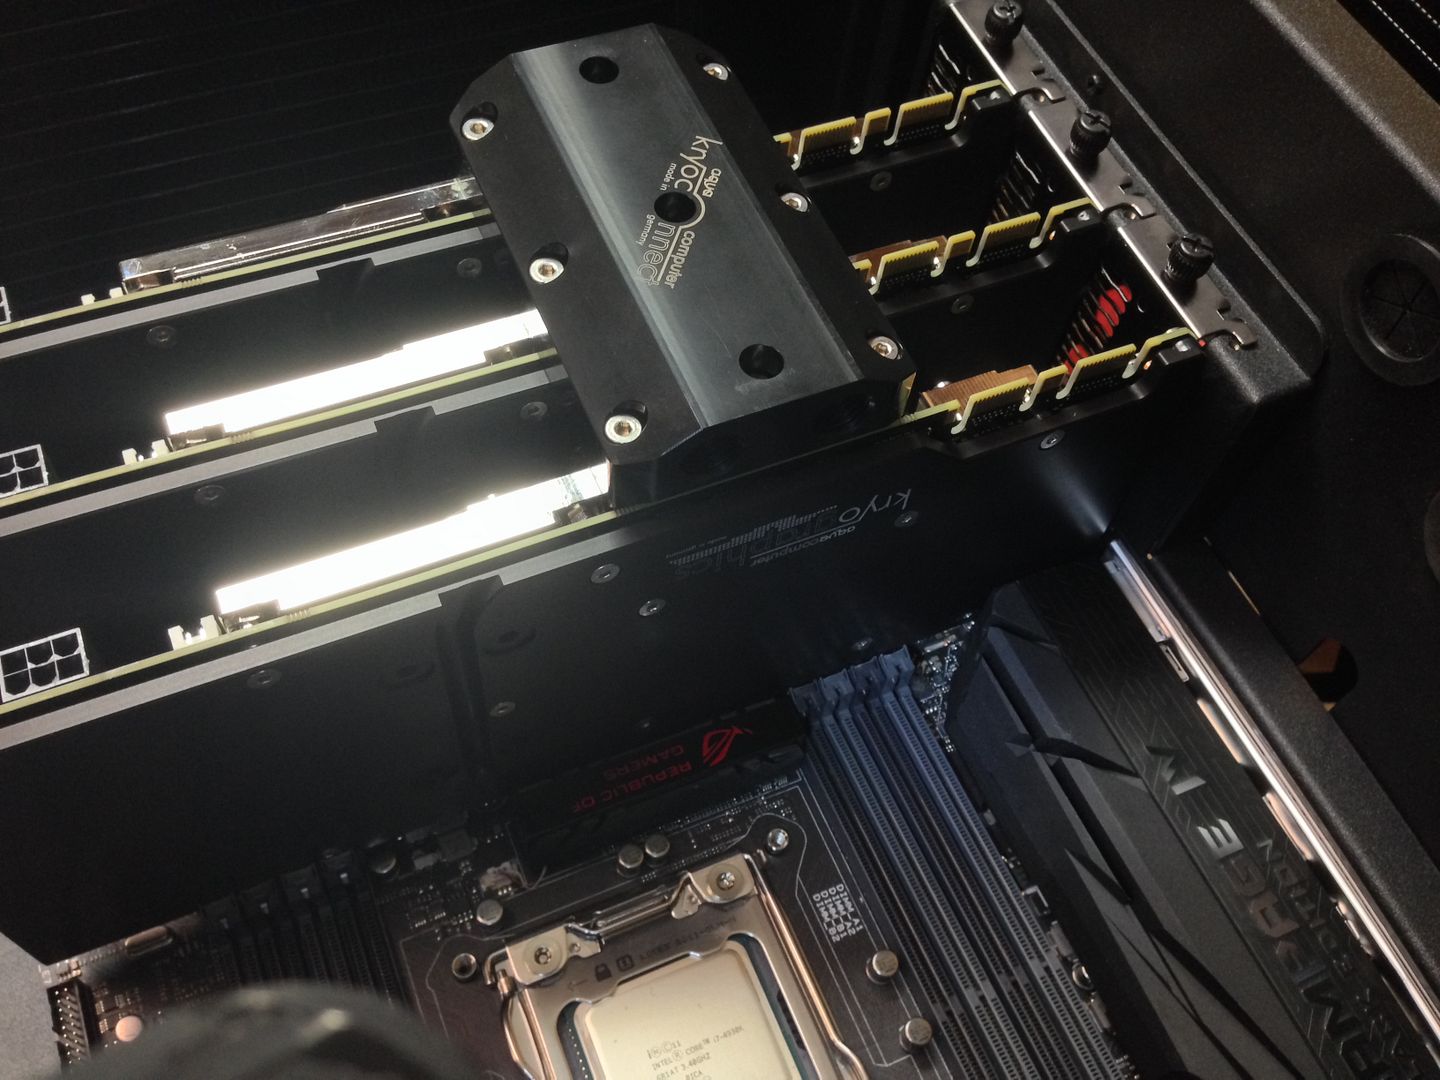
Aquacomputer Kryographics for GTX TITAN - Acrylic Glass, back plates and bridge
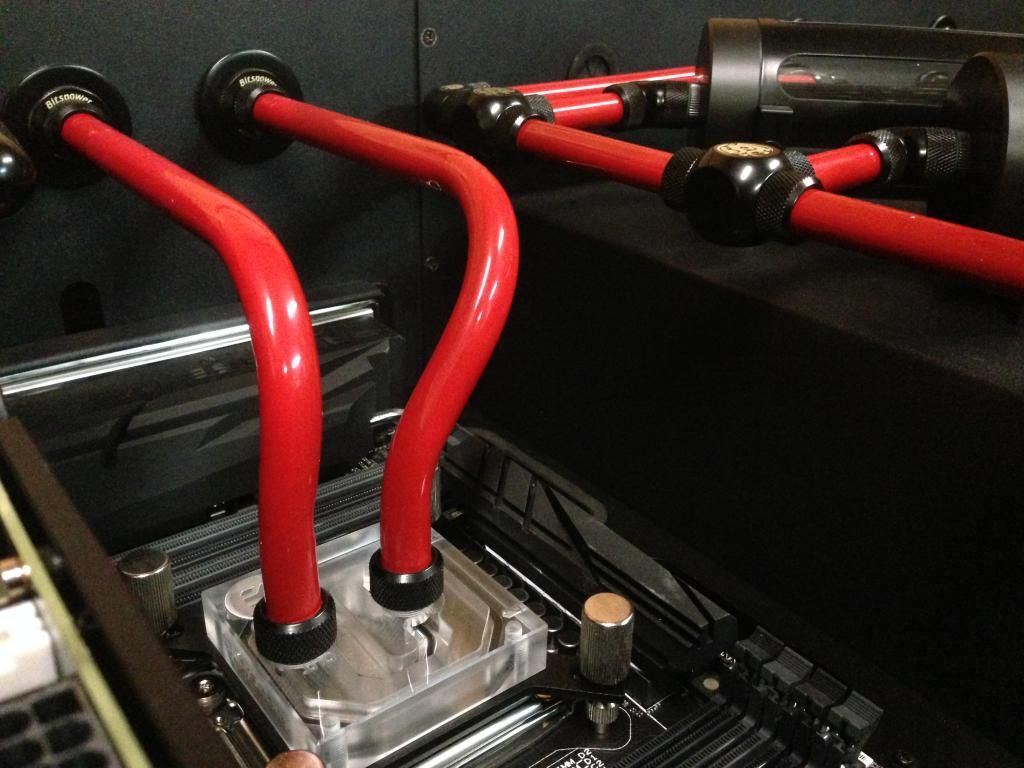
EK-Supremacy Clean CSQ cpu block
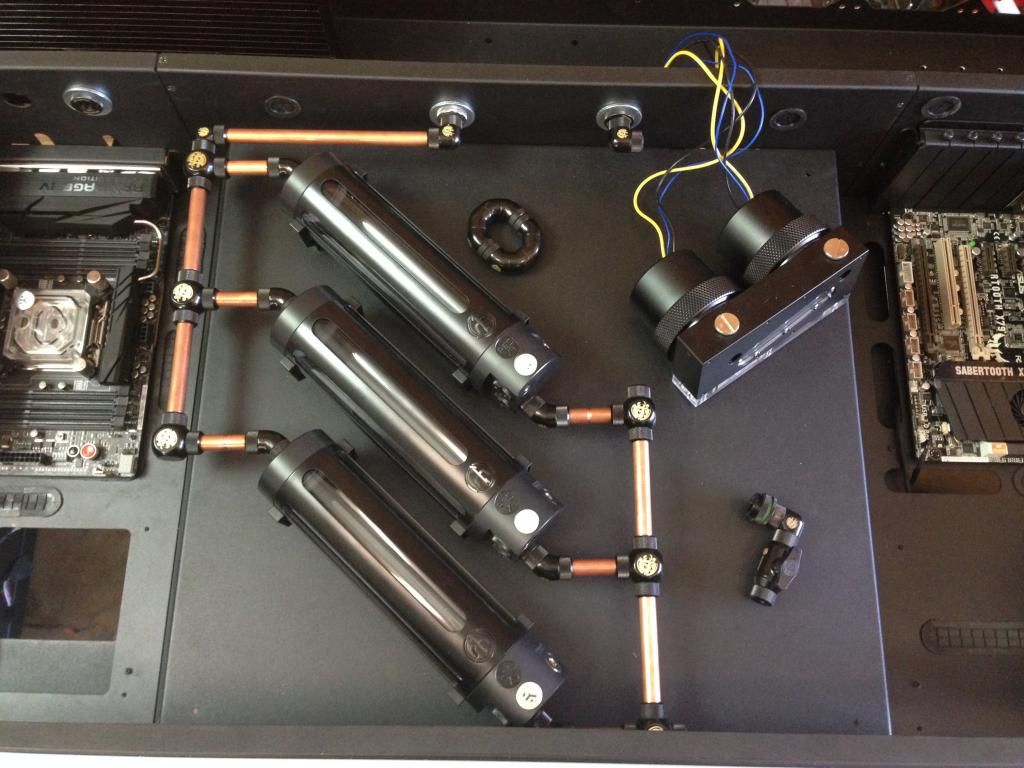
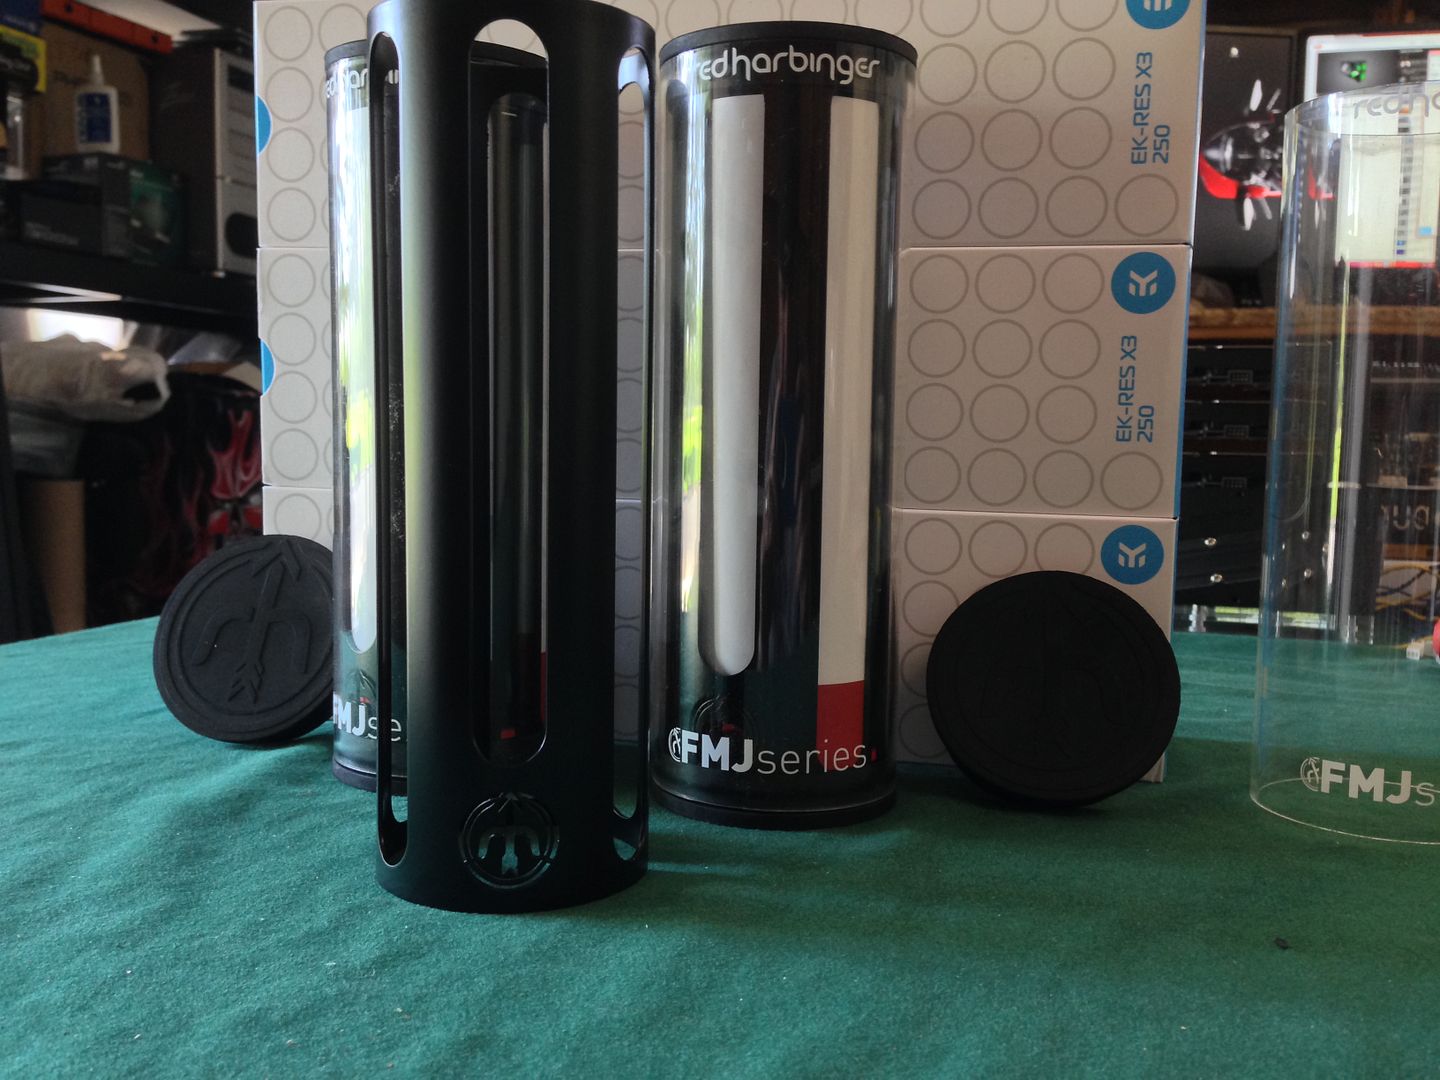
Redharbinger FMJ Series Stainless Steel Reservoir Cover - Classic - 250e Black w/ EK-MultiOption RES X3 250 x 3
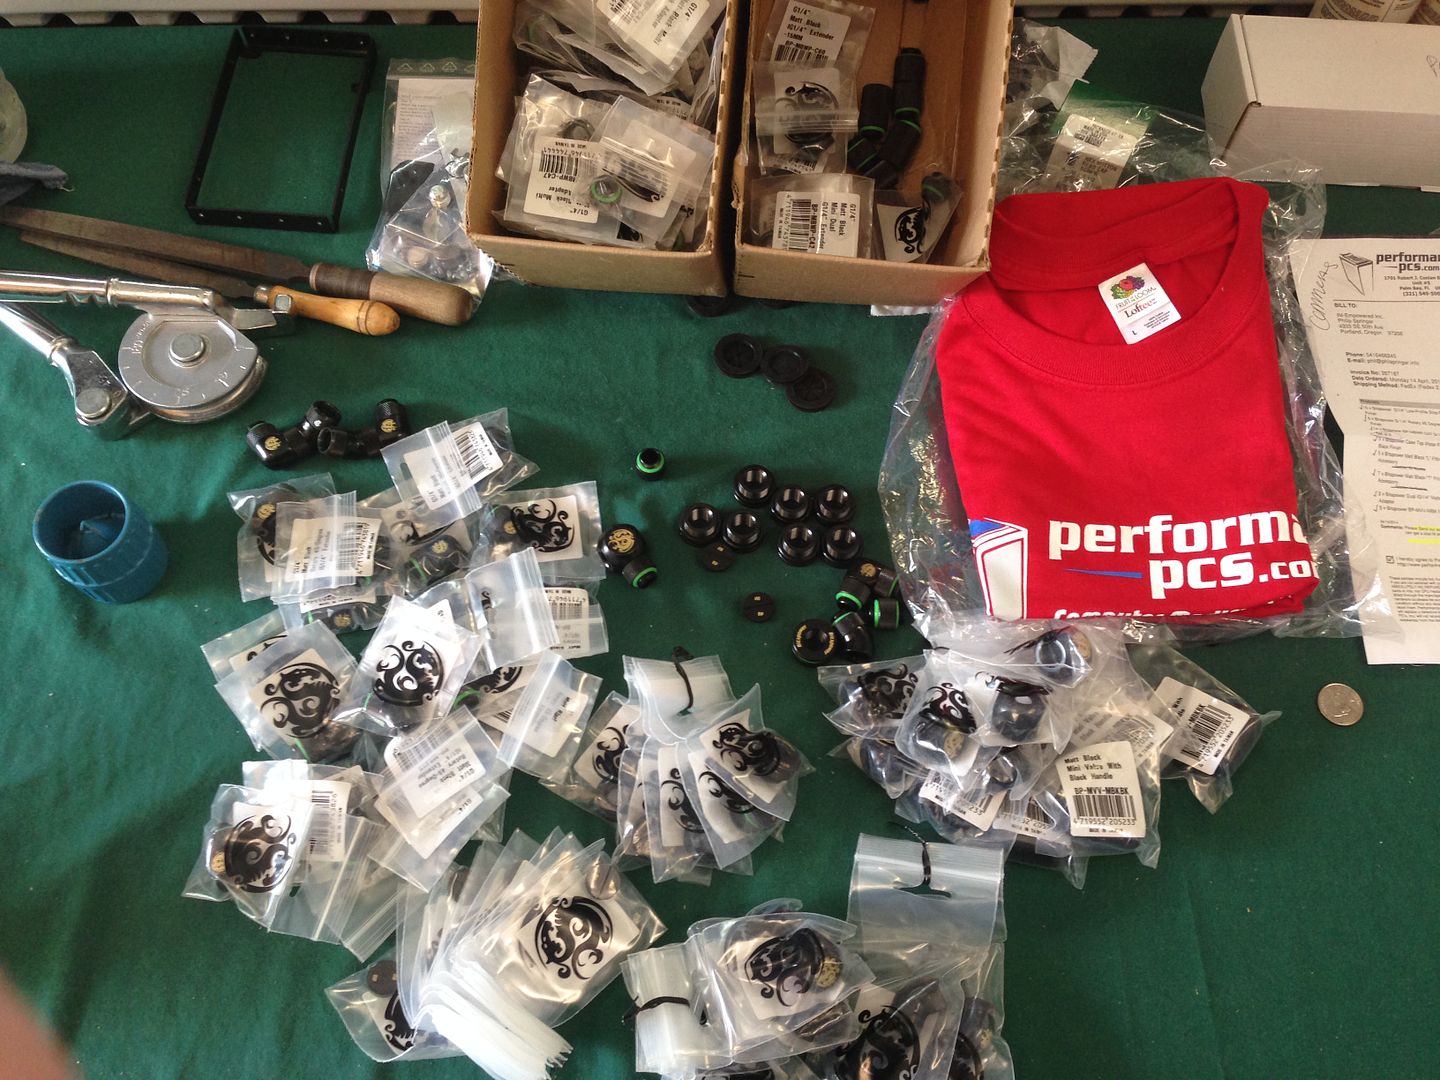
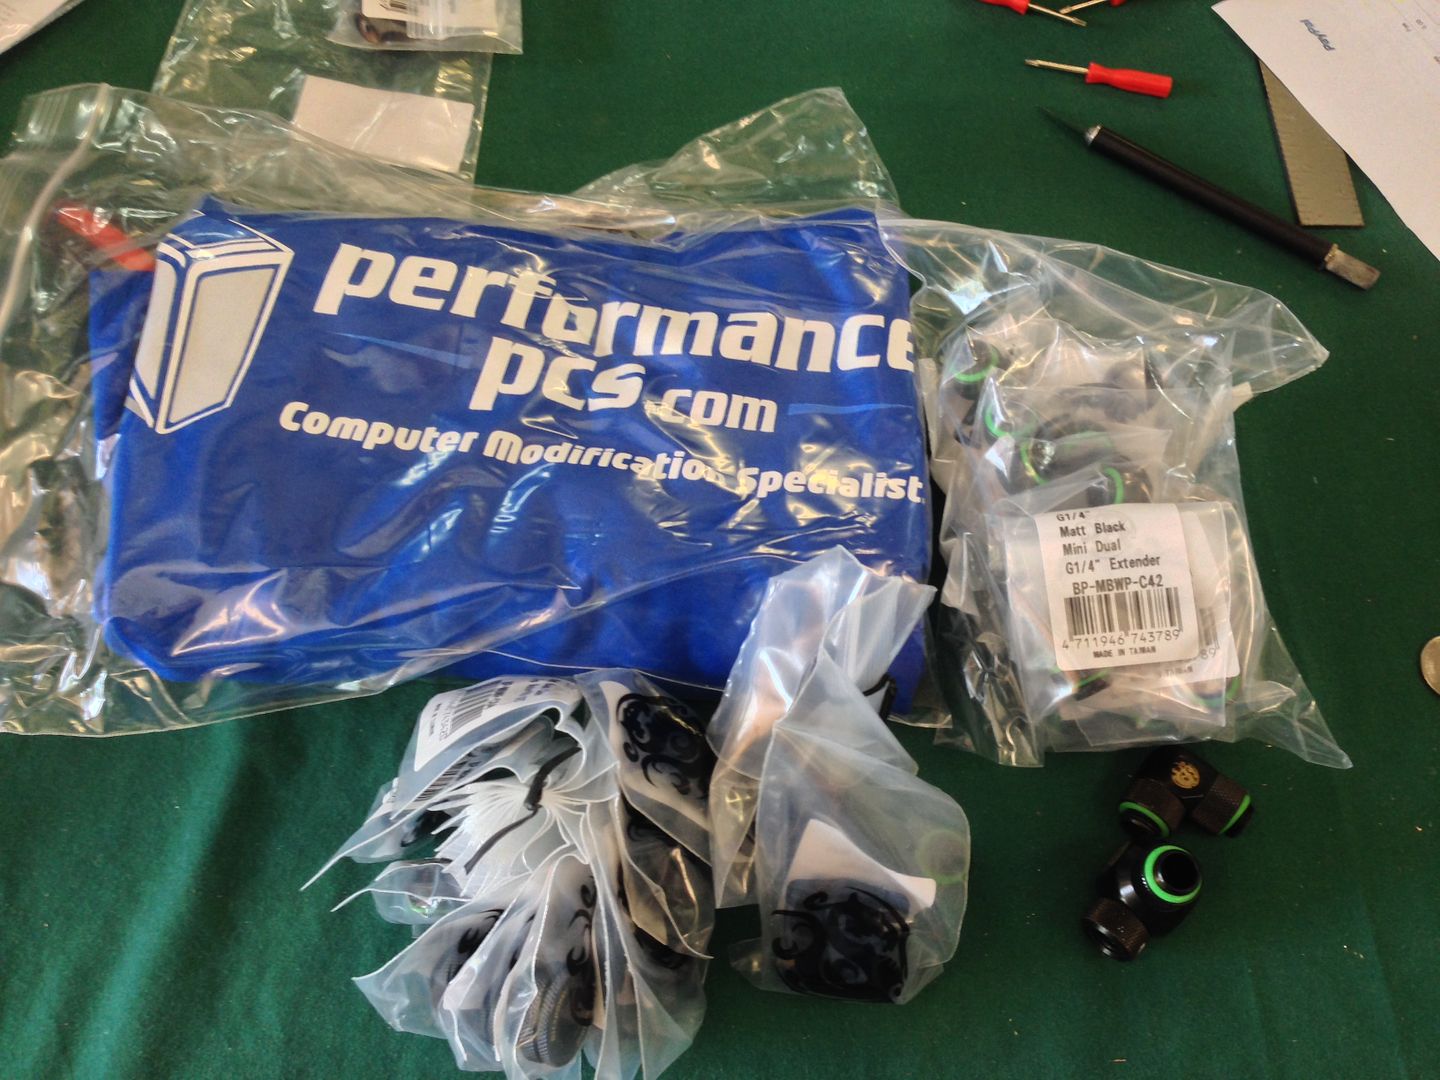
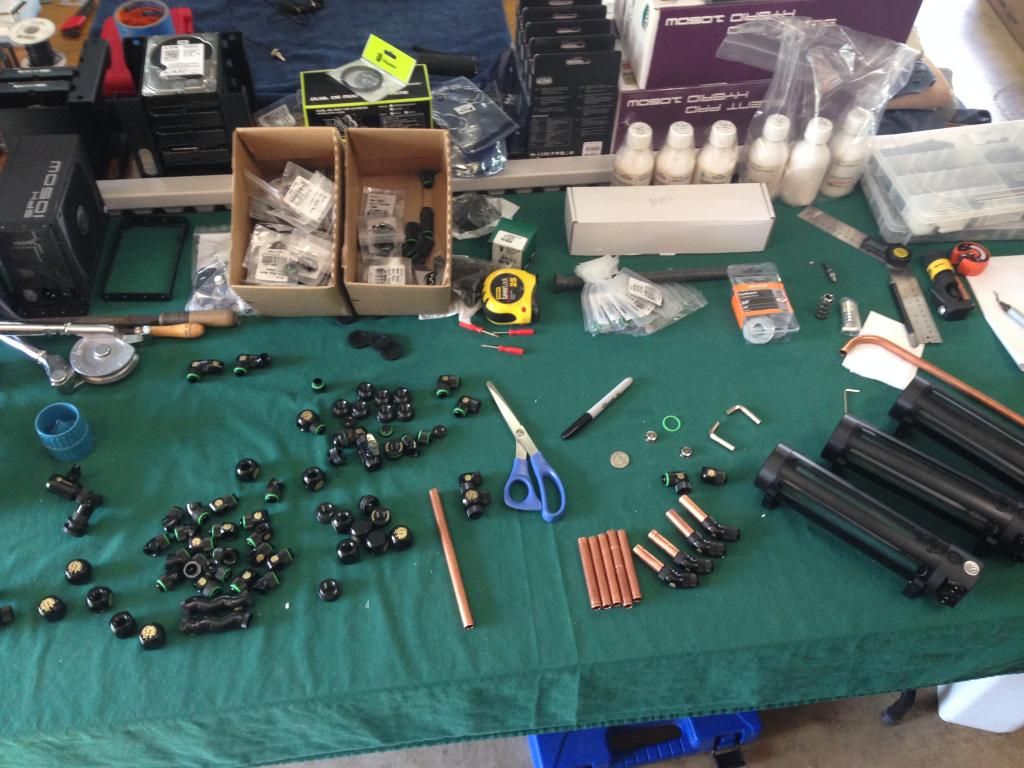
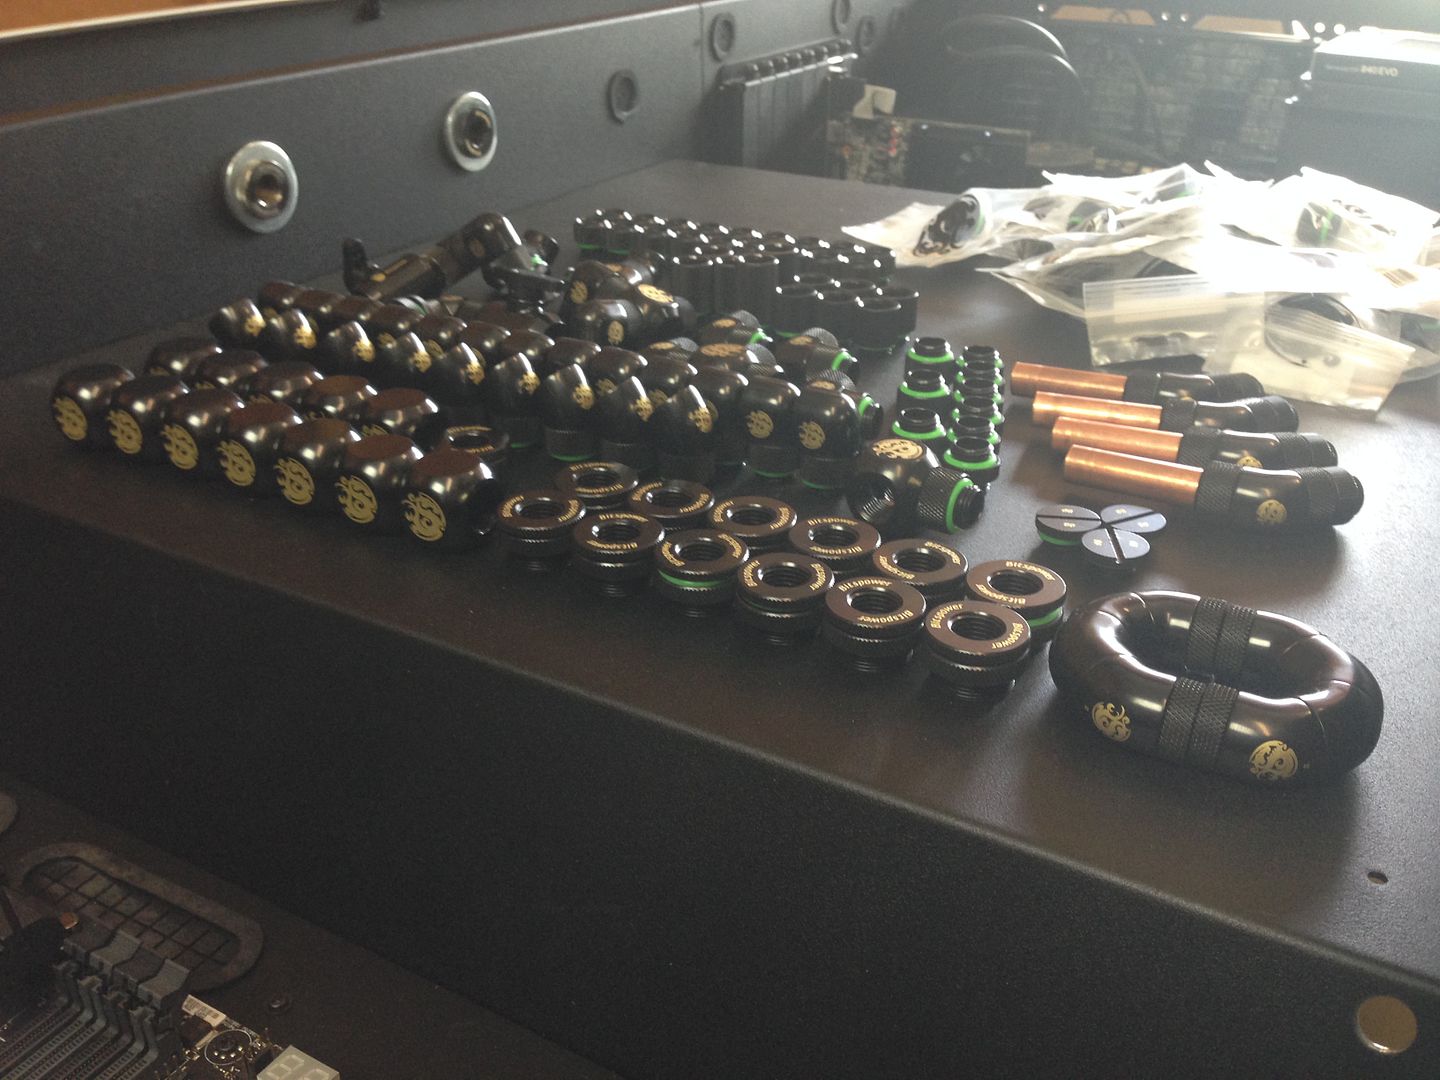
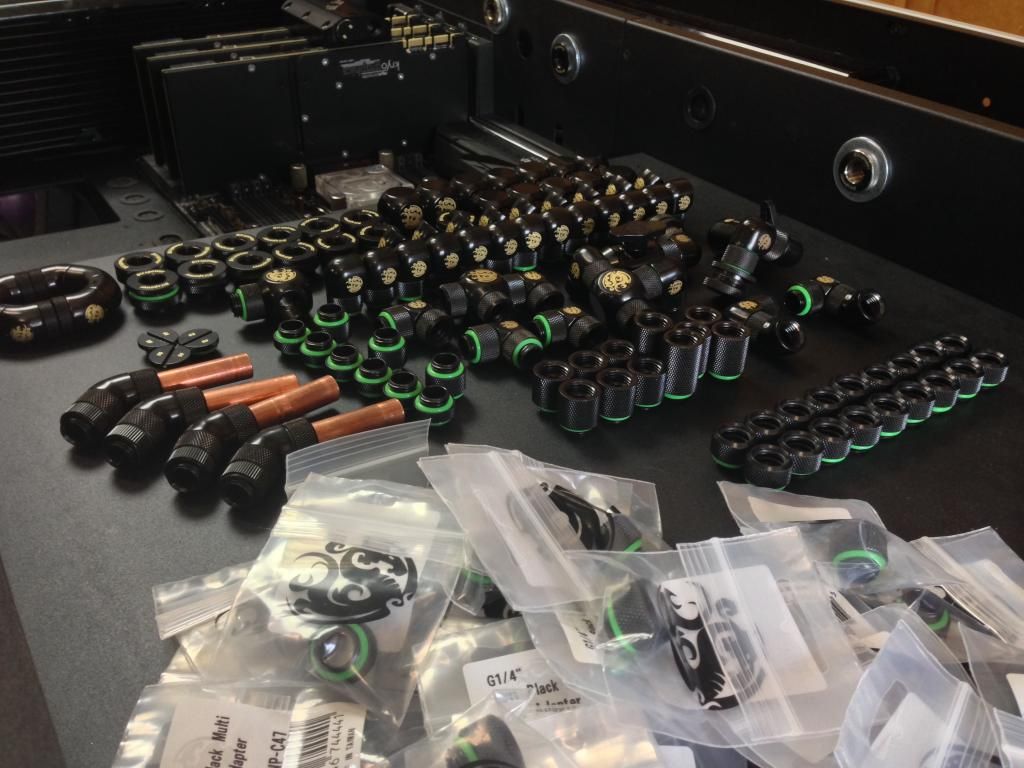
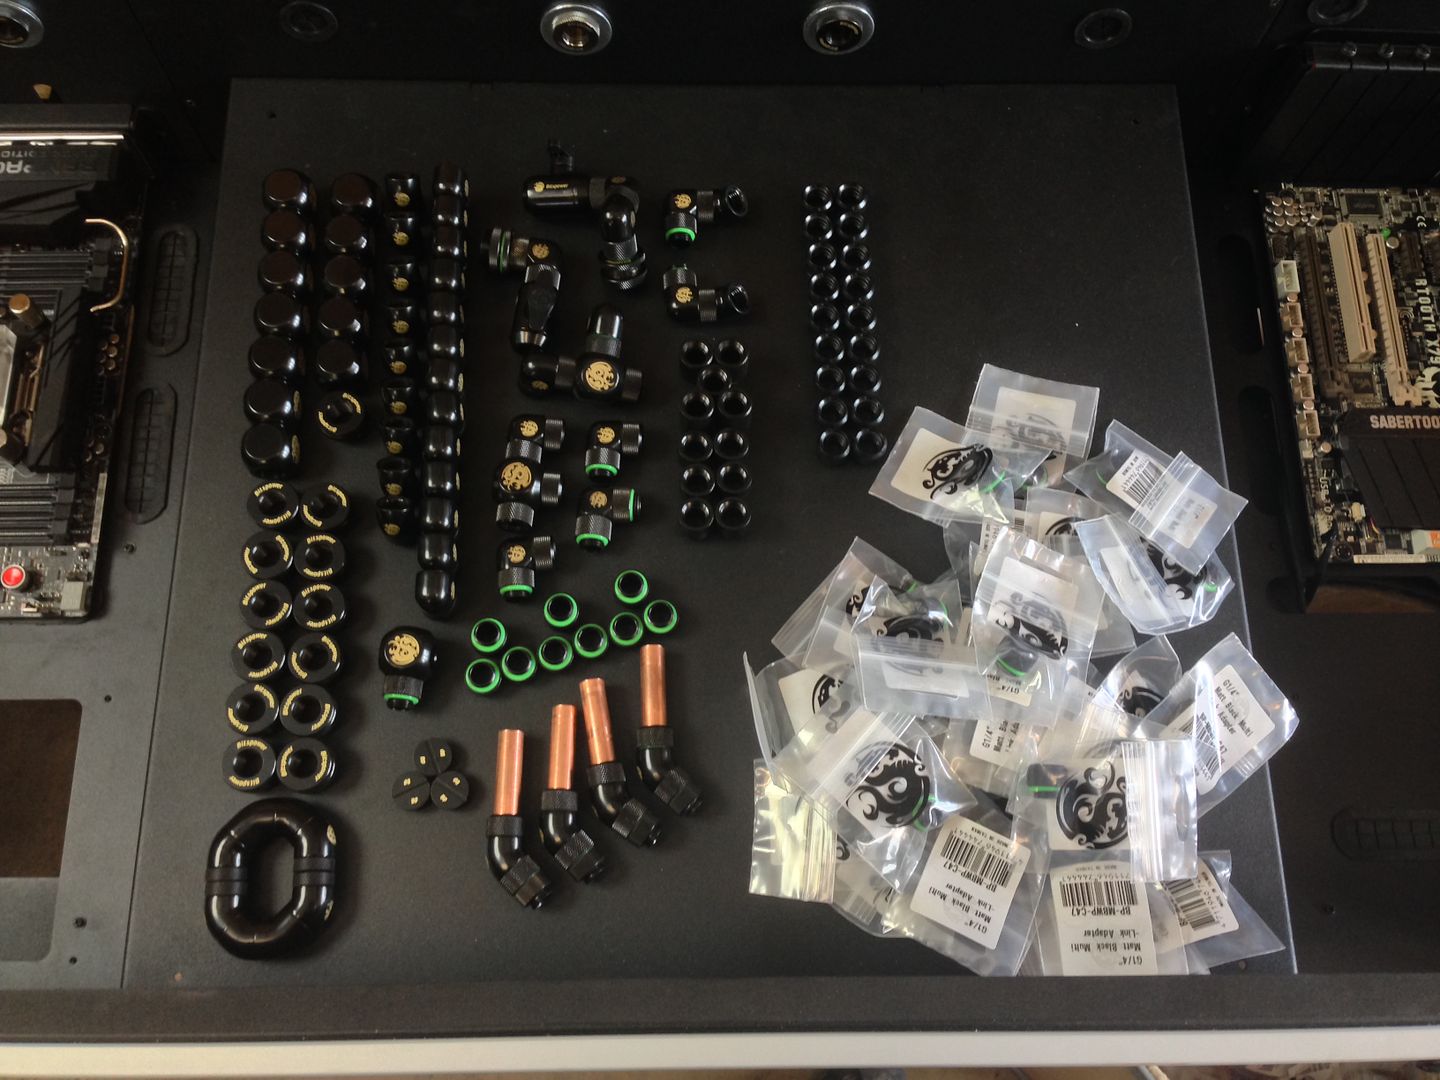
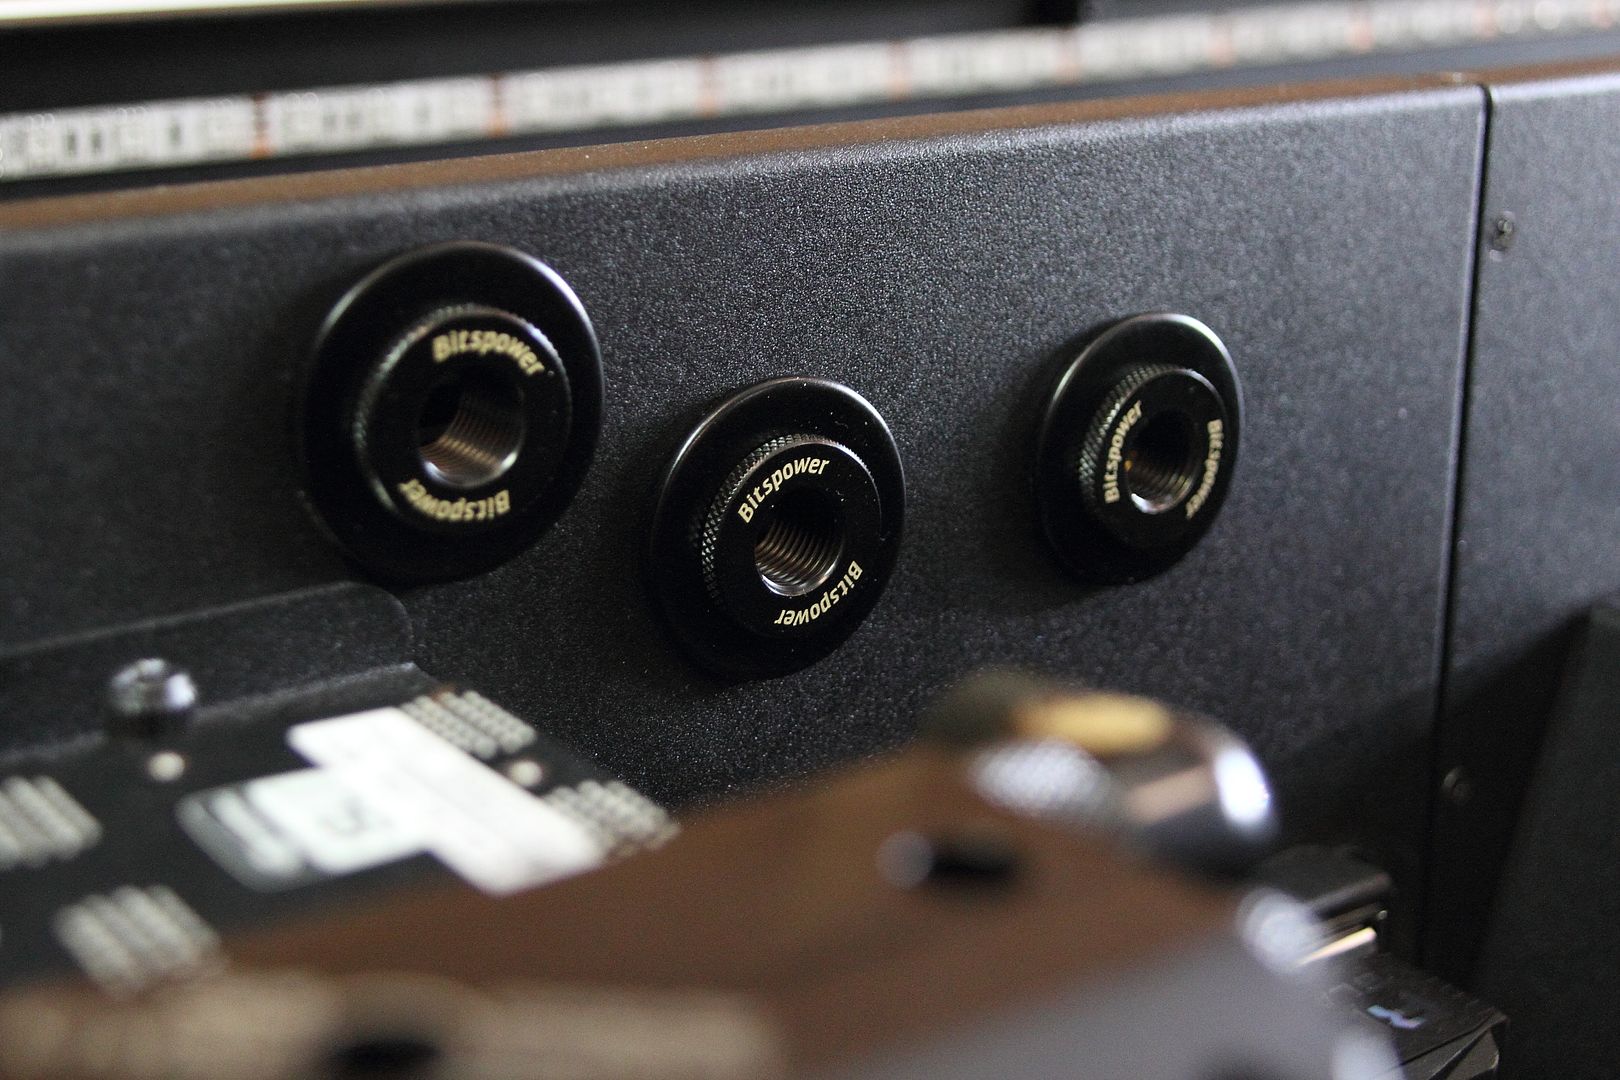
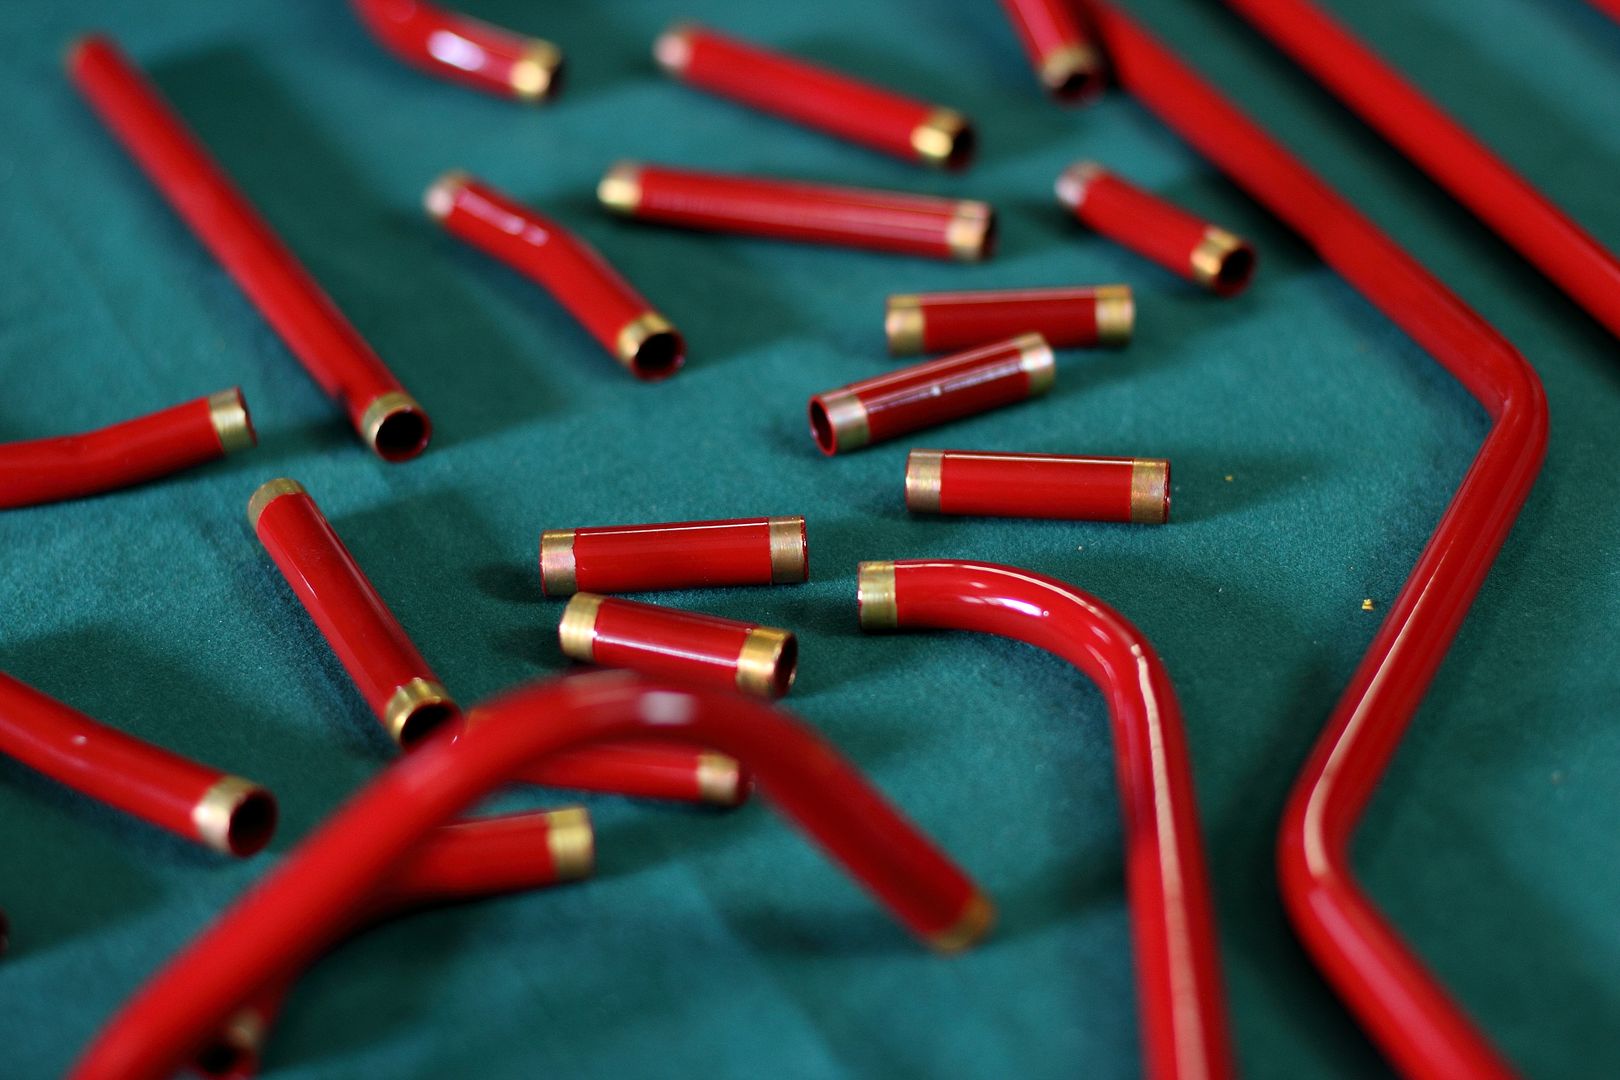
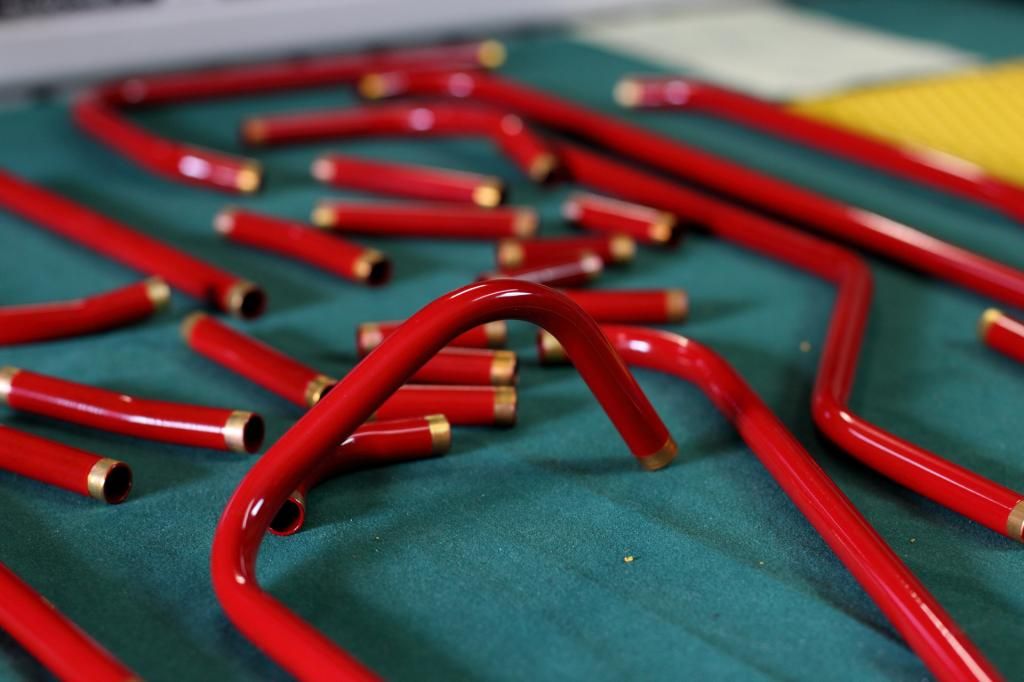
Bitspower fittings up the wazoo!
Hardware Labs 360mm and 480mm radiators
Bitspower dual D5 pump mod and covers
Koolance PMP450 pumps
Mayhems Sunshine Yellow Pastel
Cooler Master 120mm JetFlows x 16 Red LED
RGB kit from here
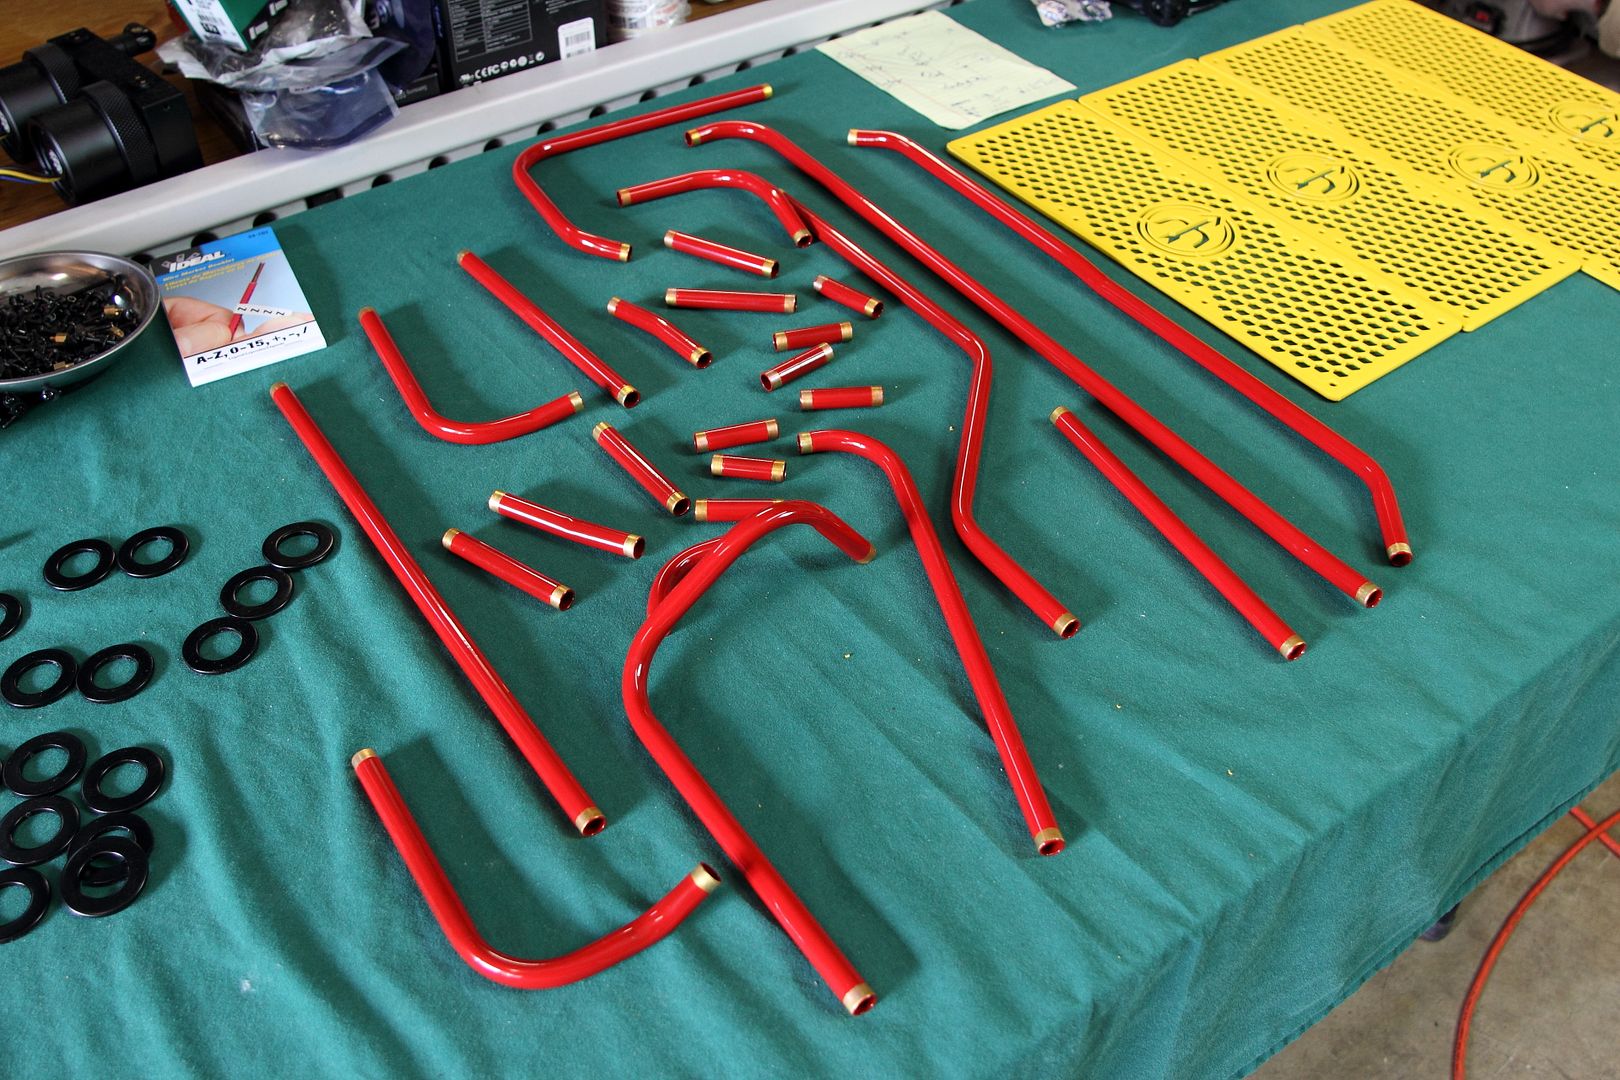
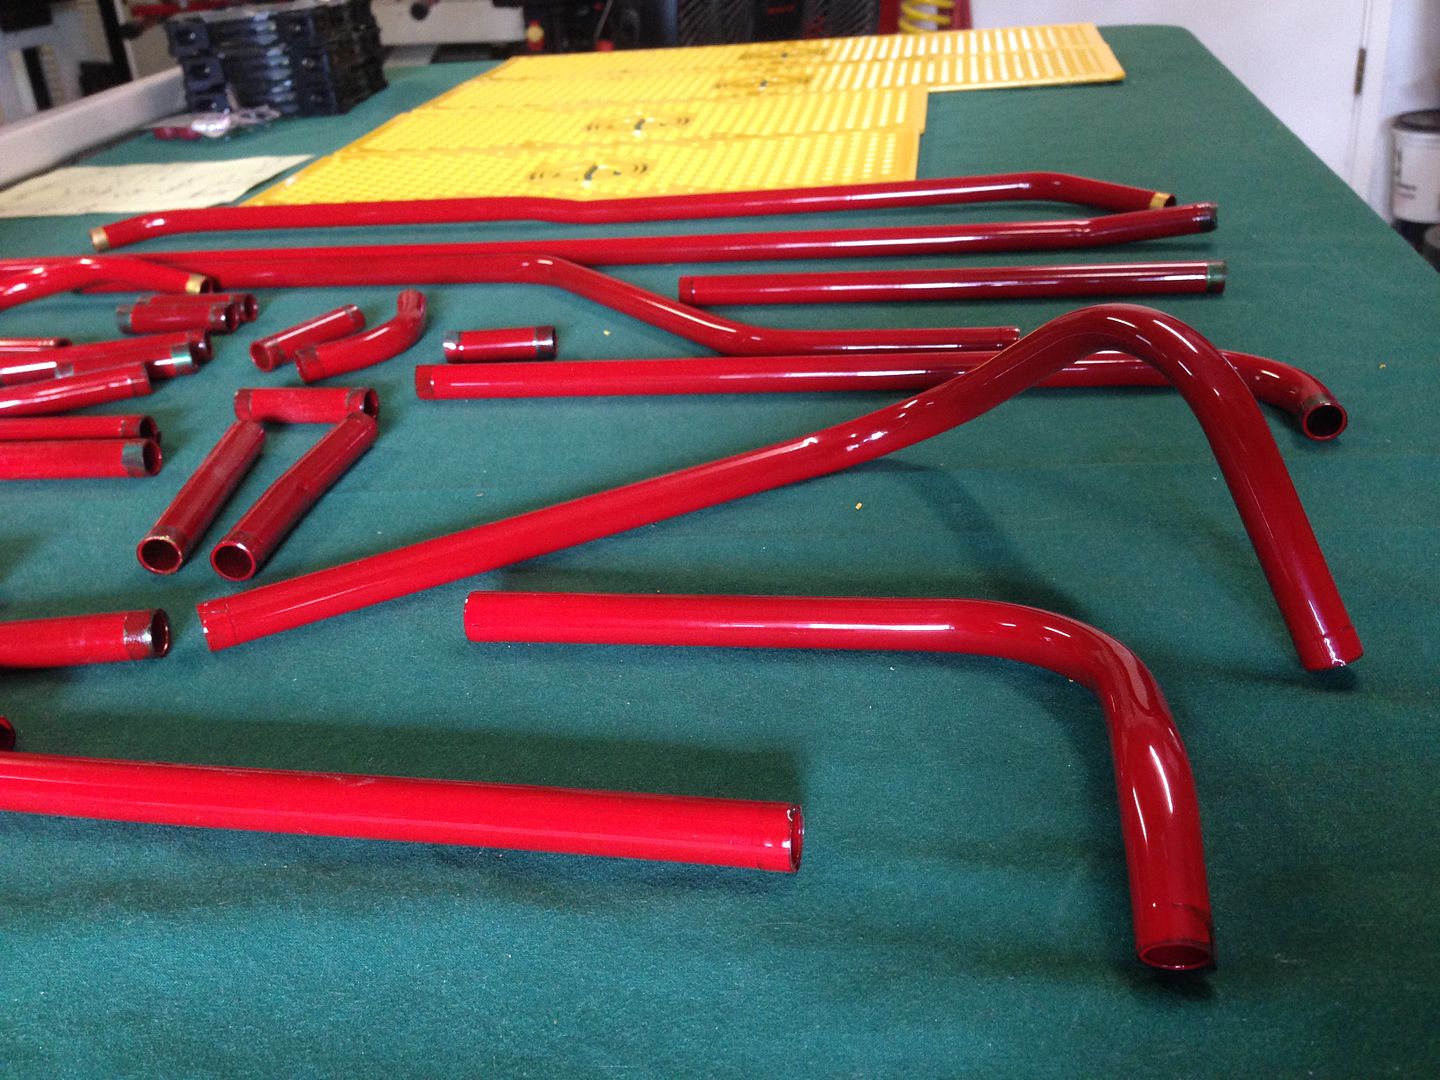
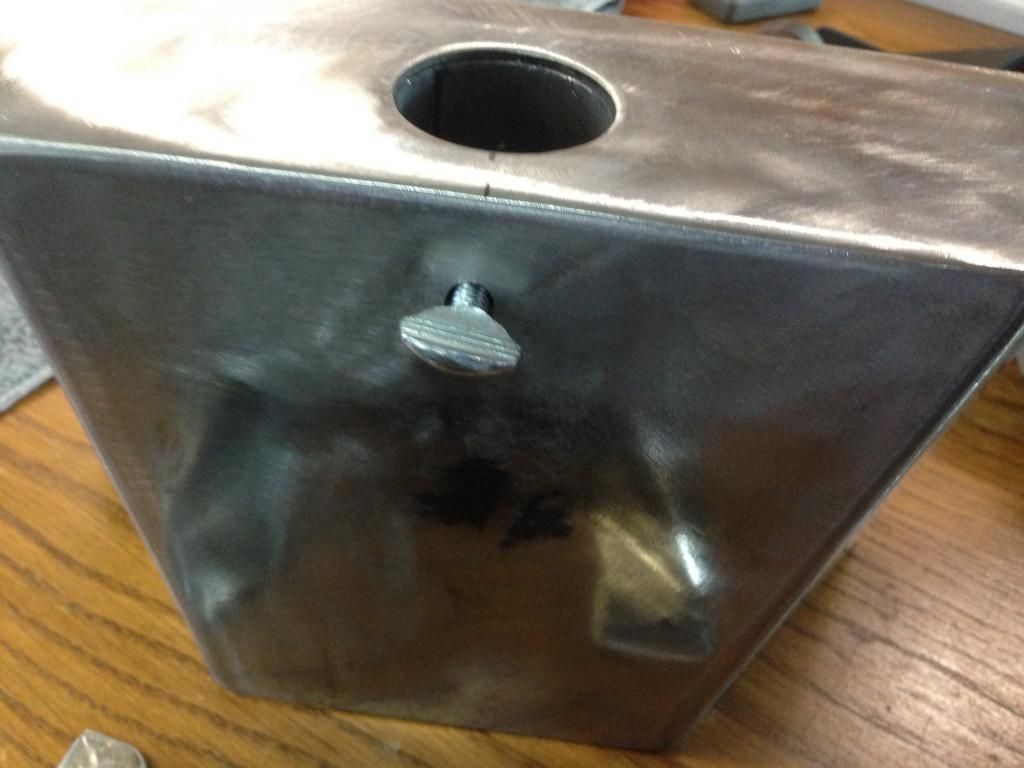
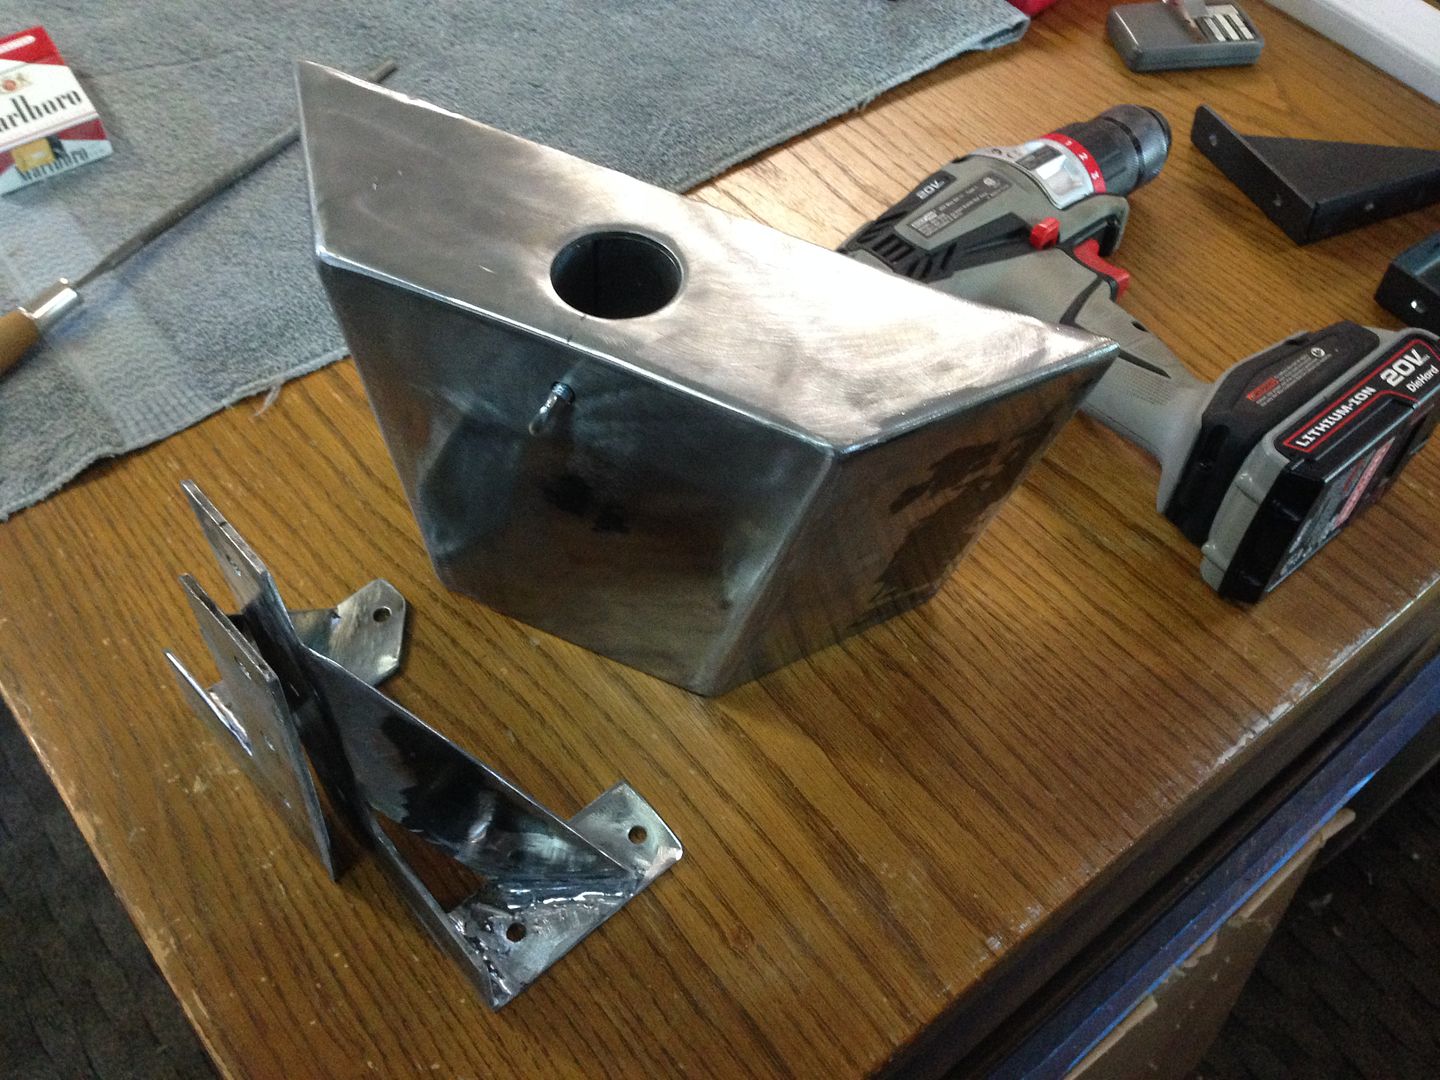
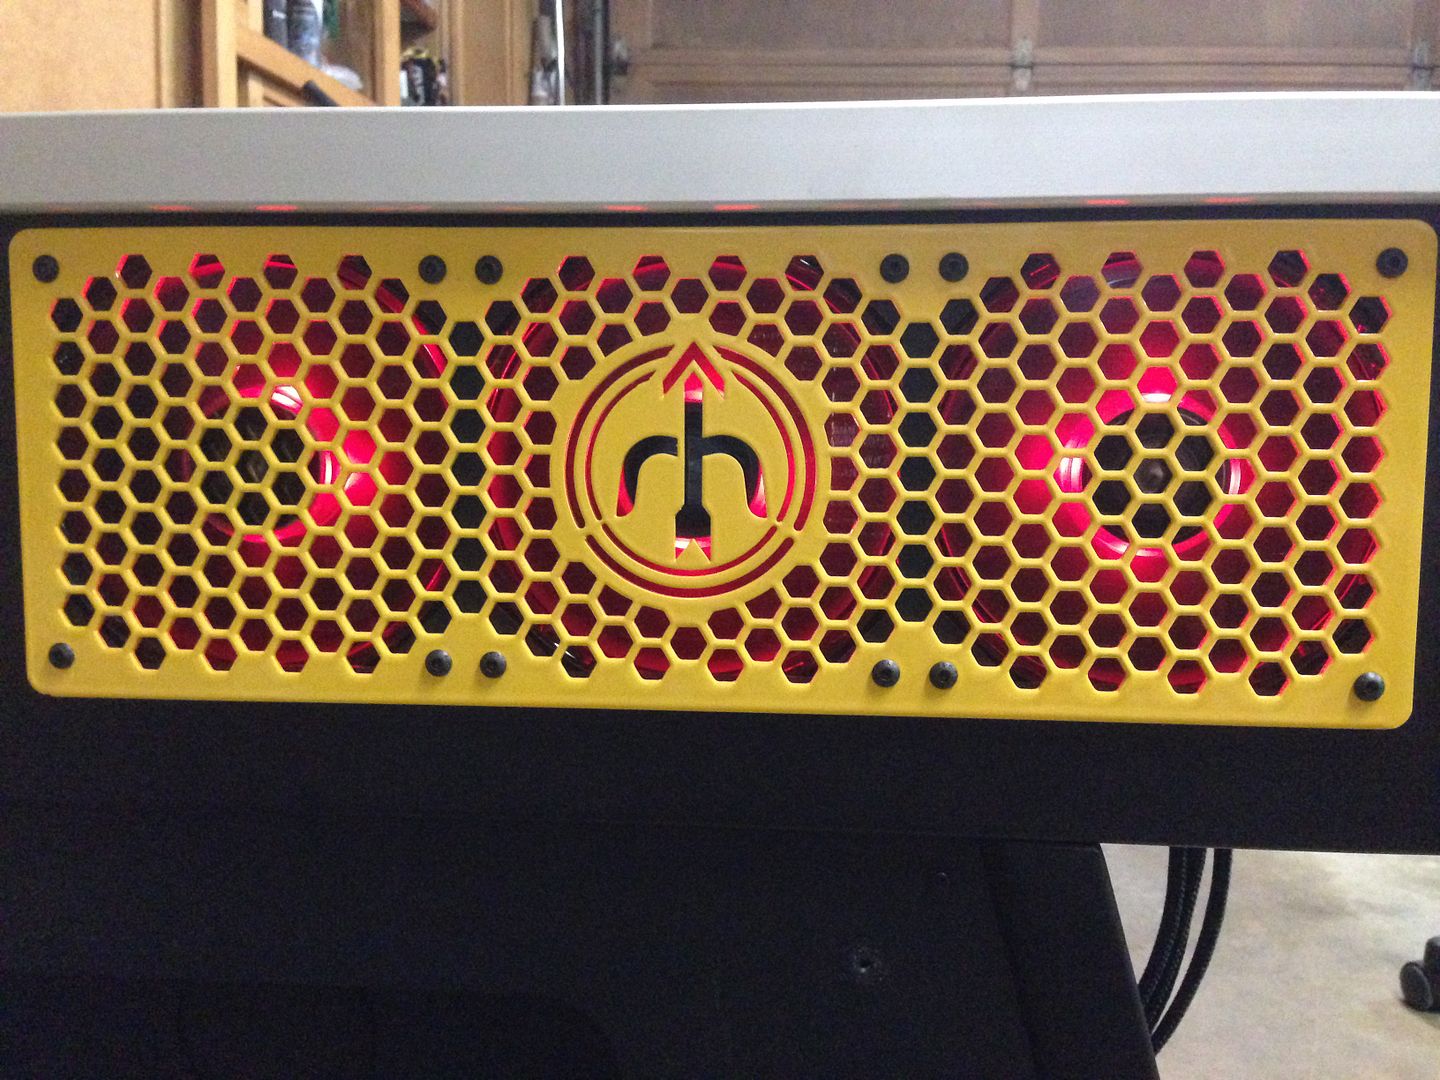
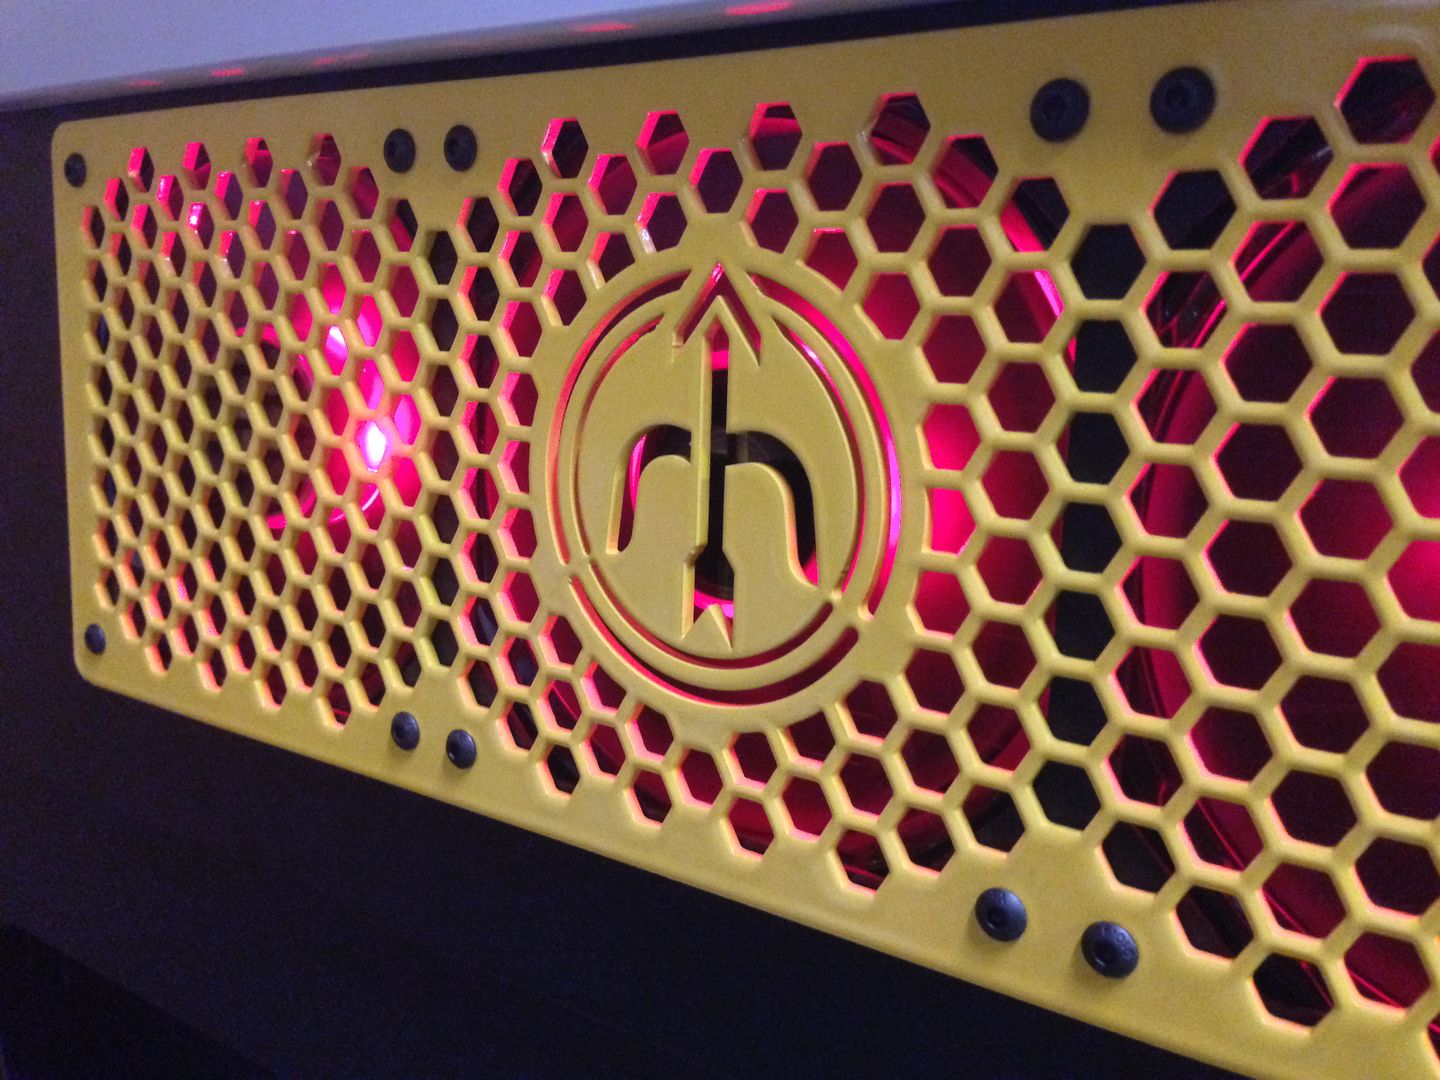
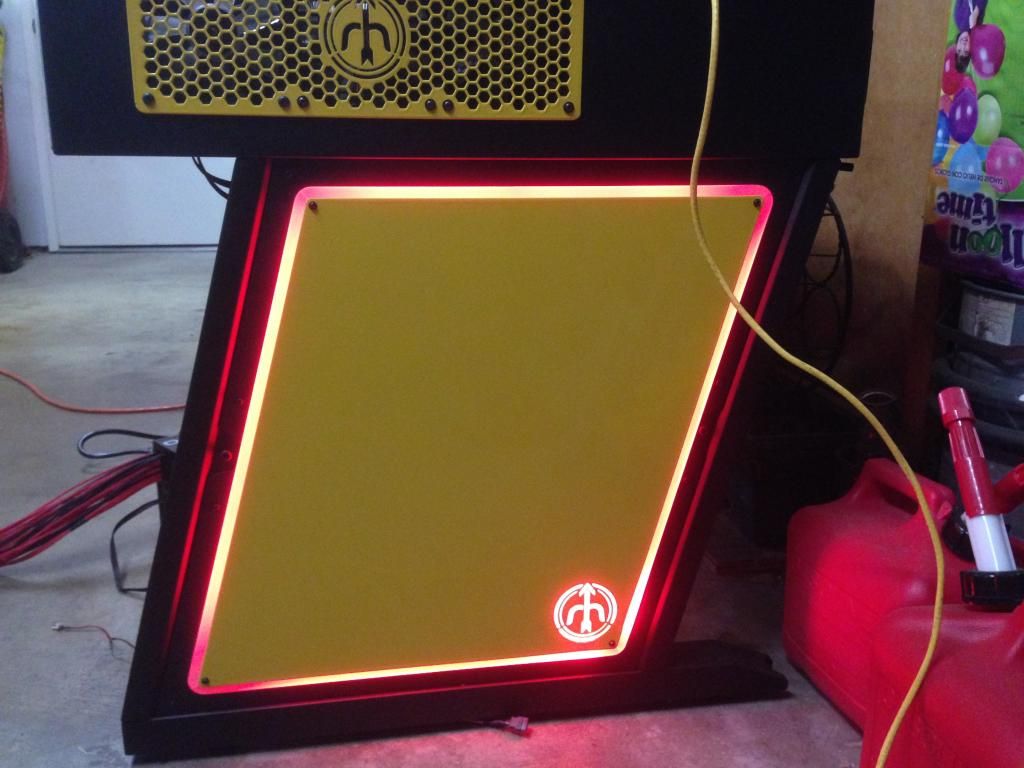
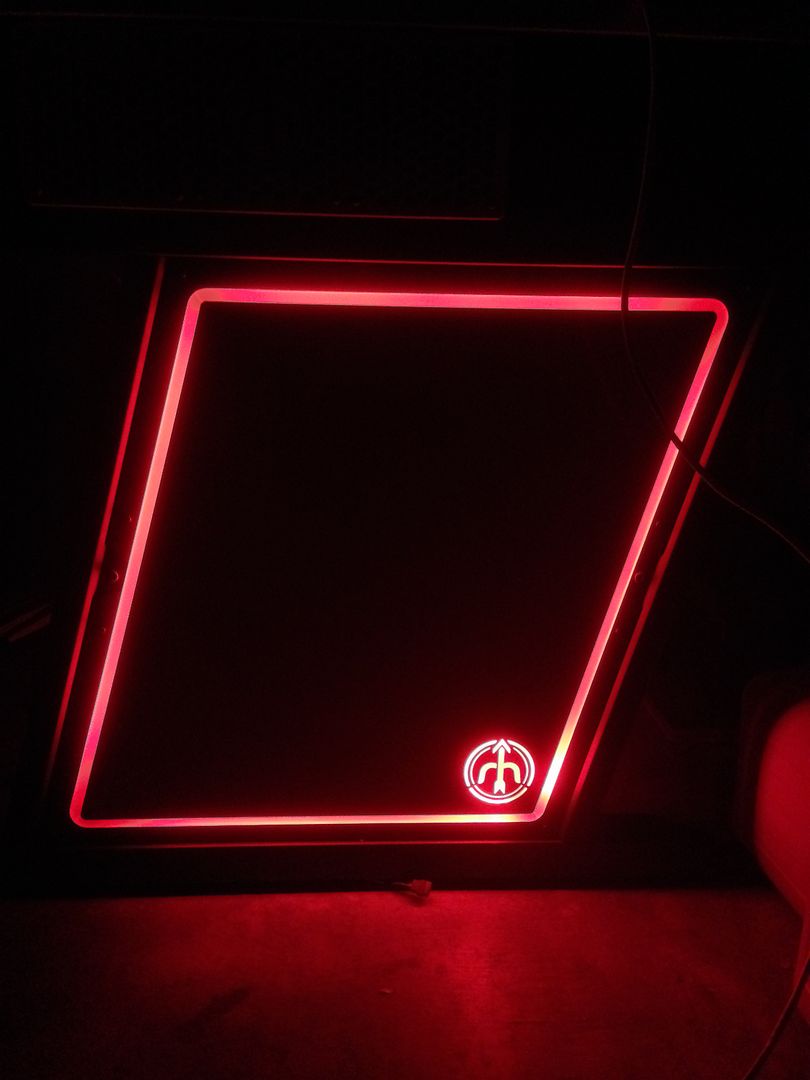
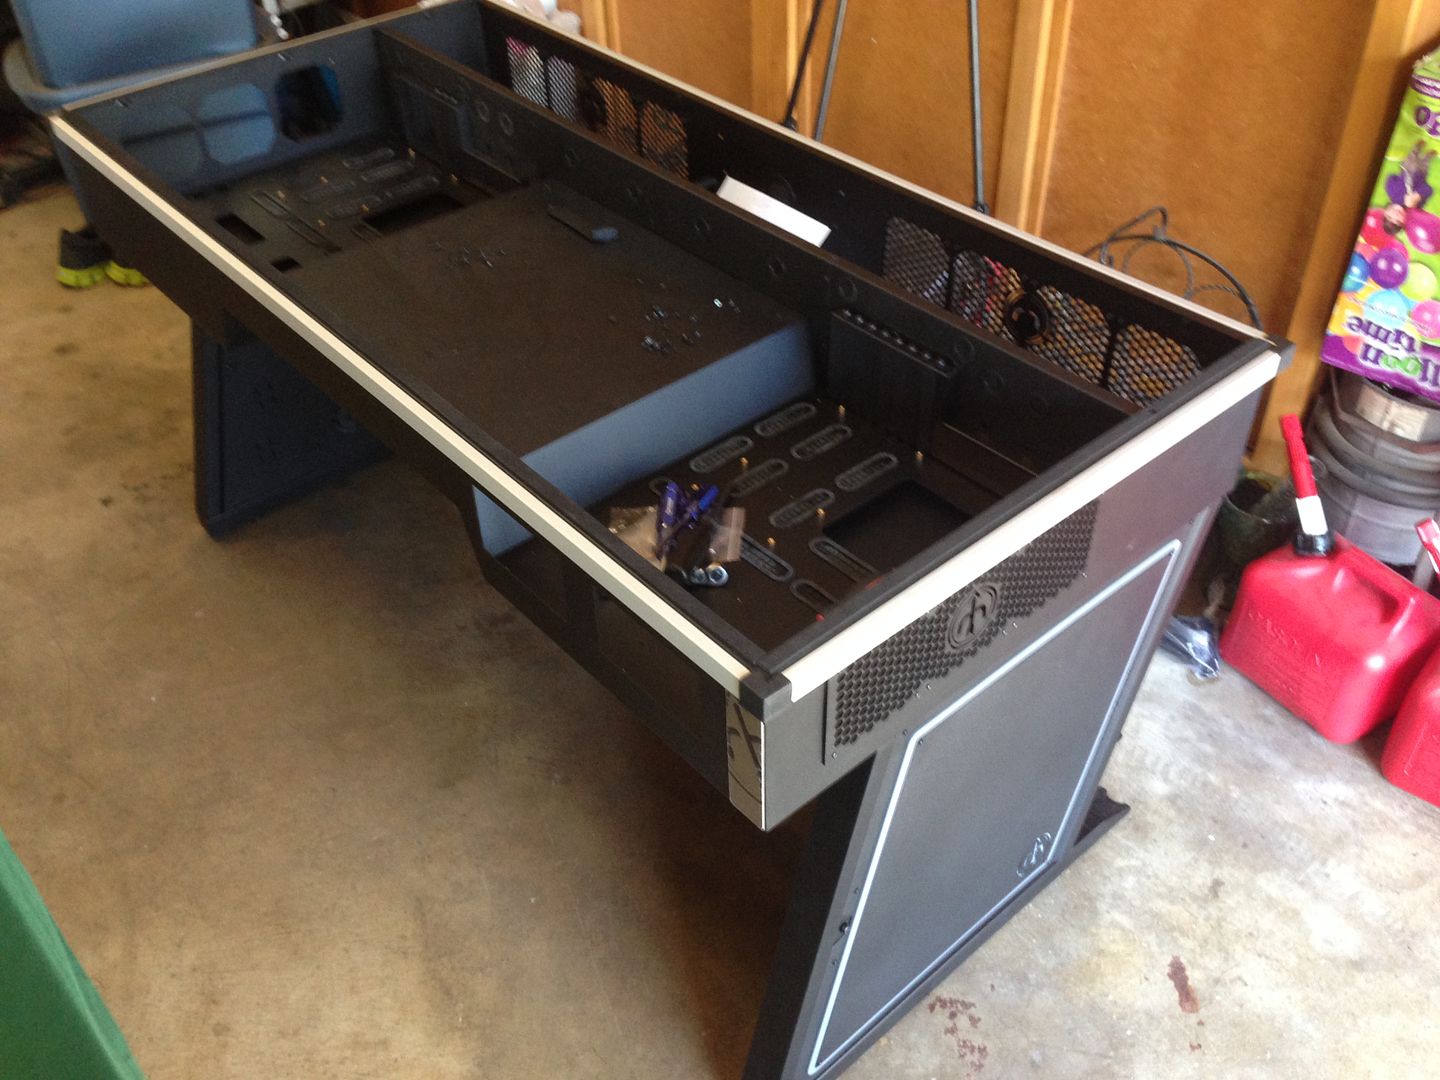
Ok I think that about covers it. I may have missed something so I may add later. So lets start with the Red Harbinger Cross Desk
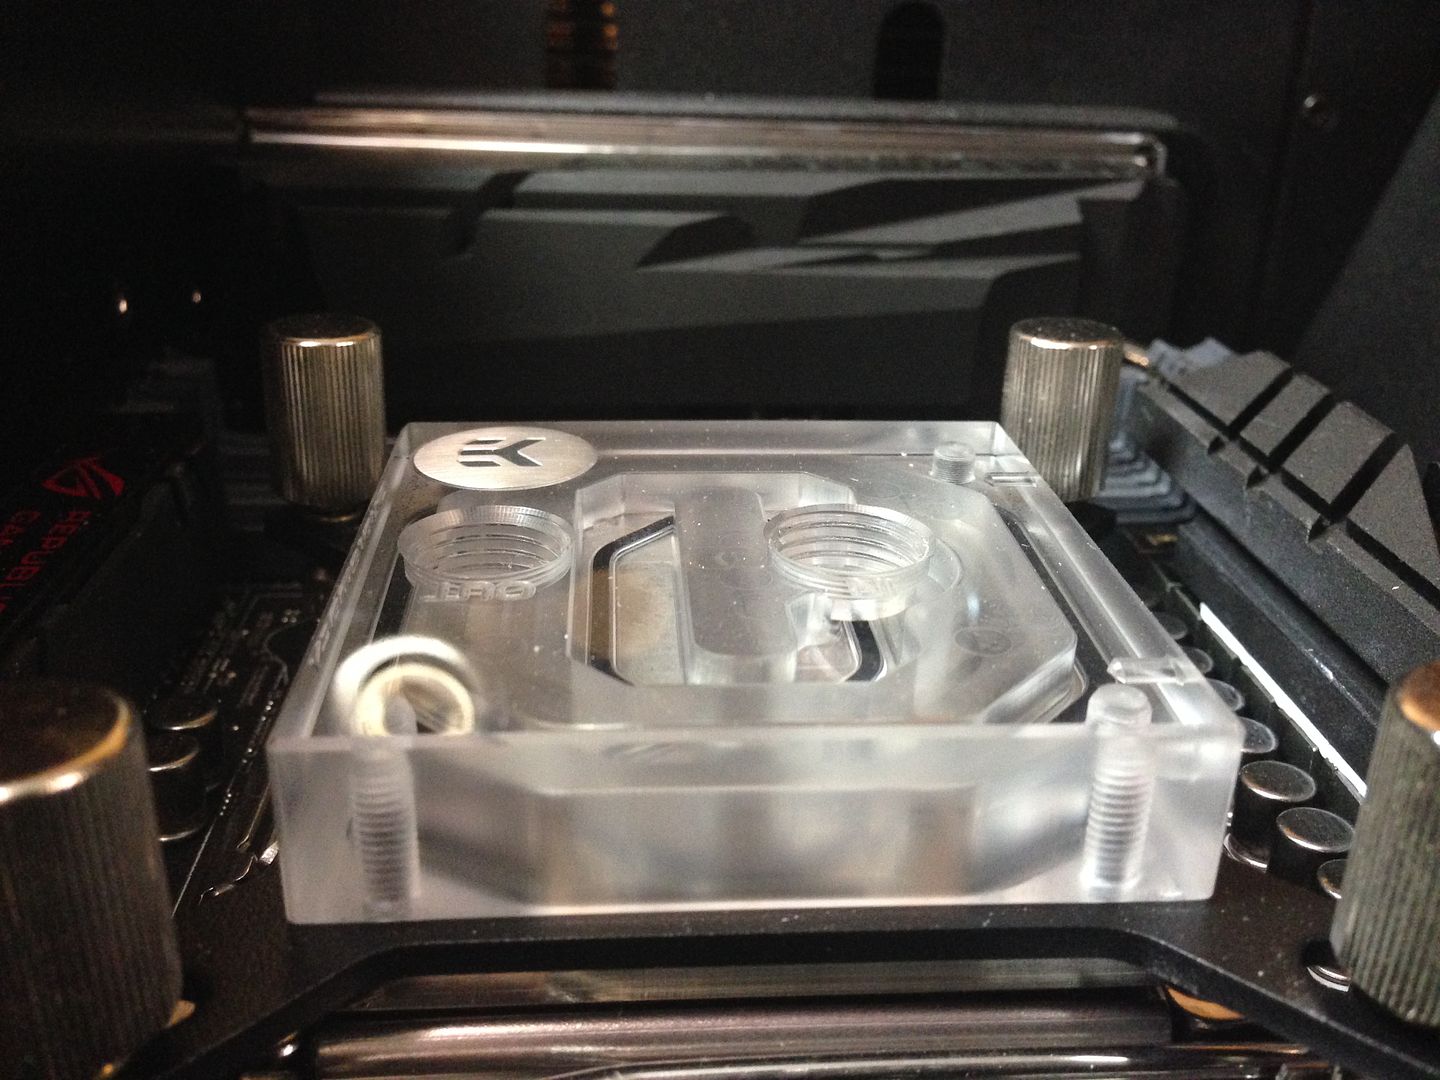
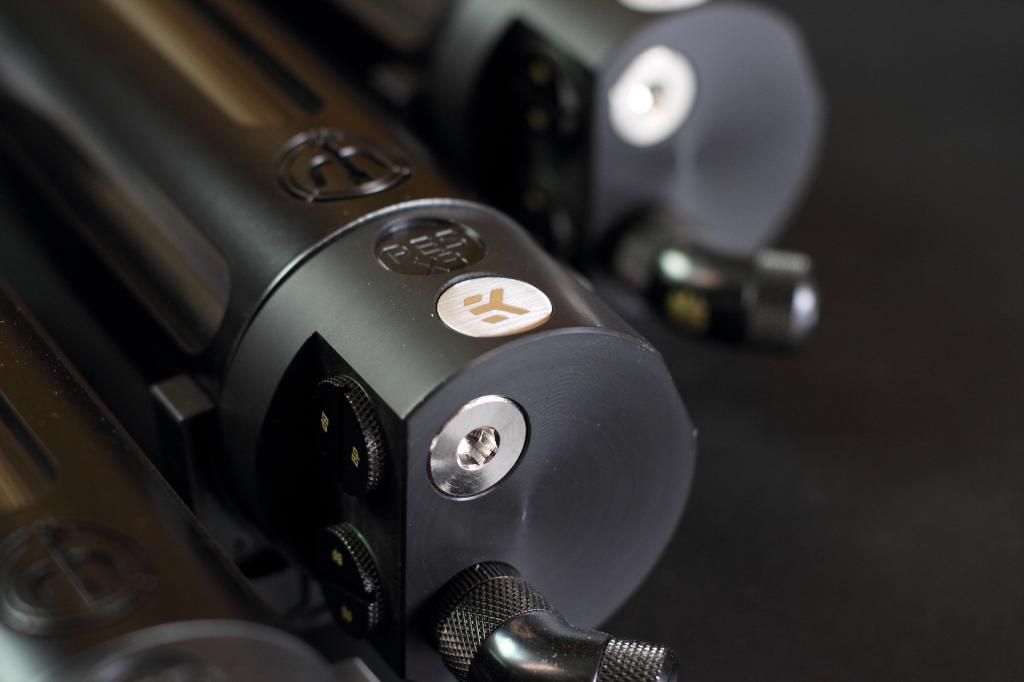
Next up some Titan blocks.
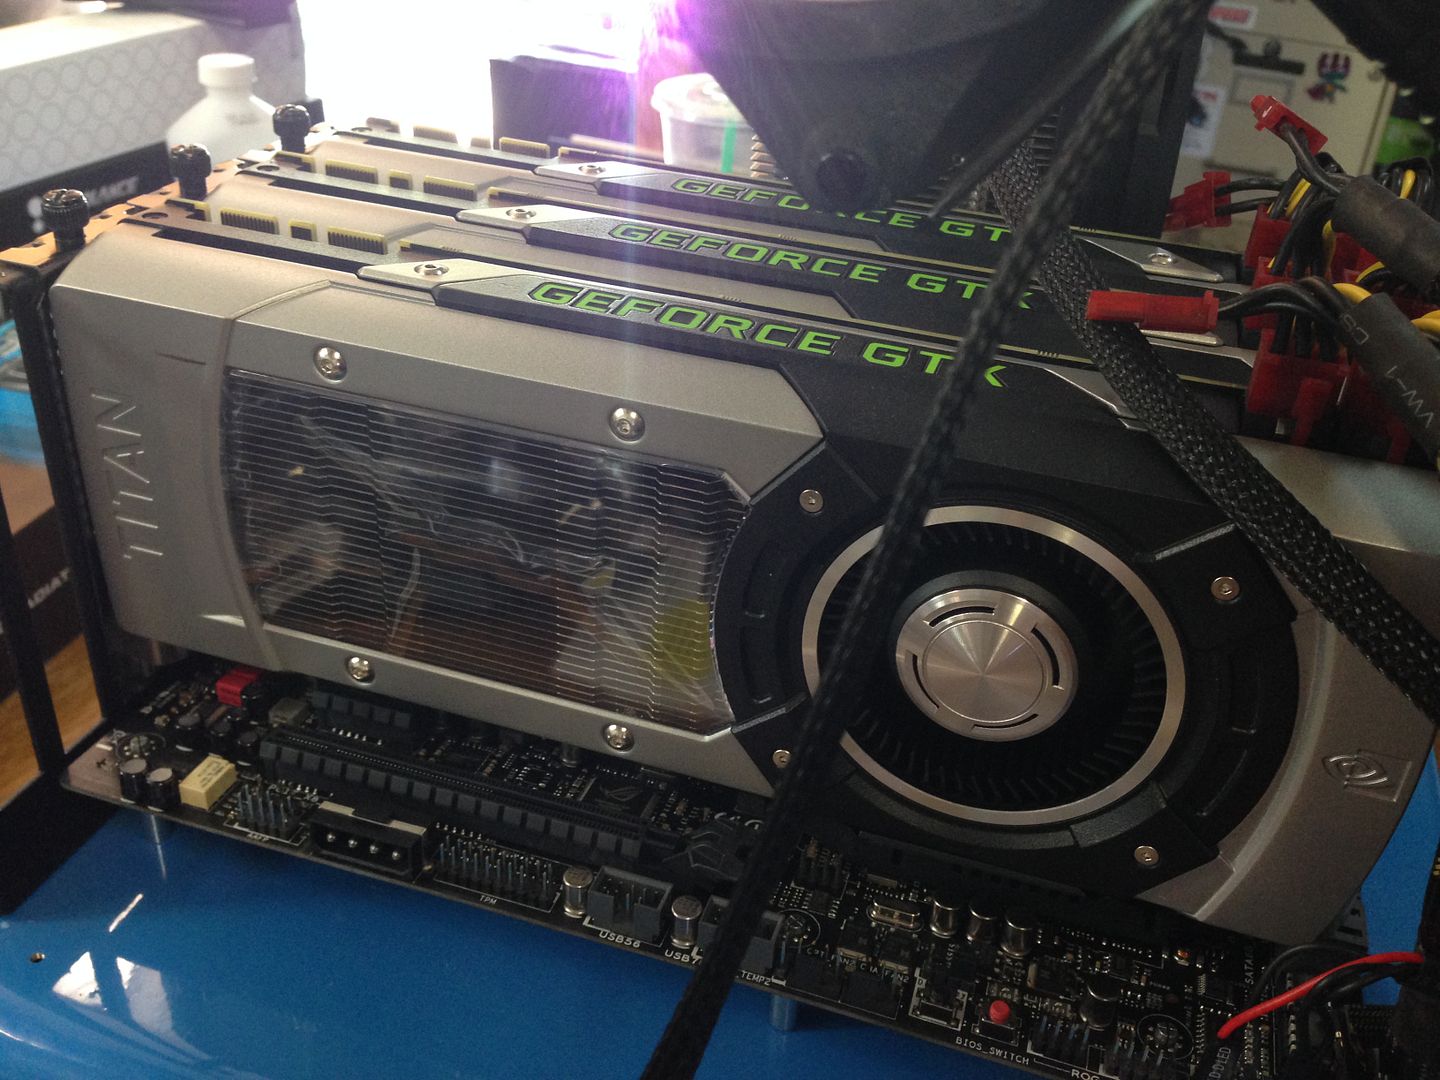
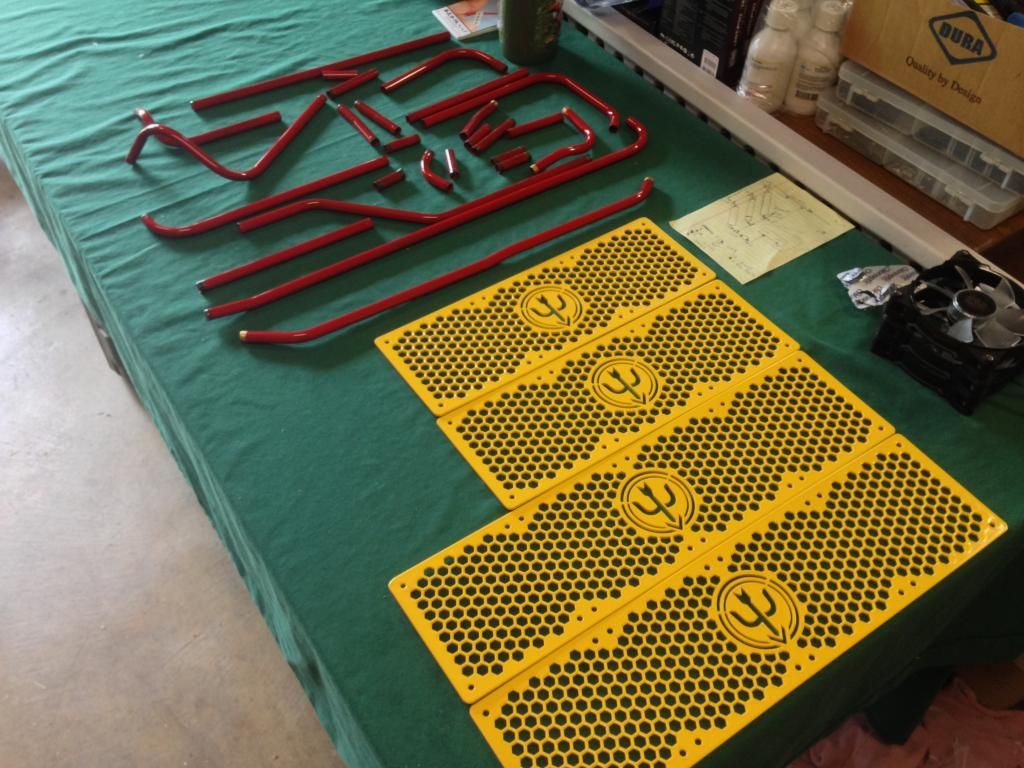
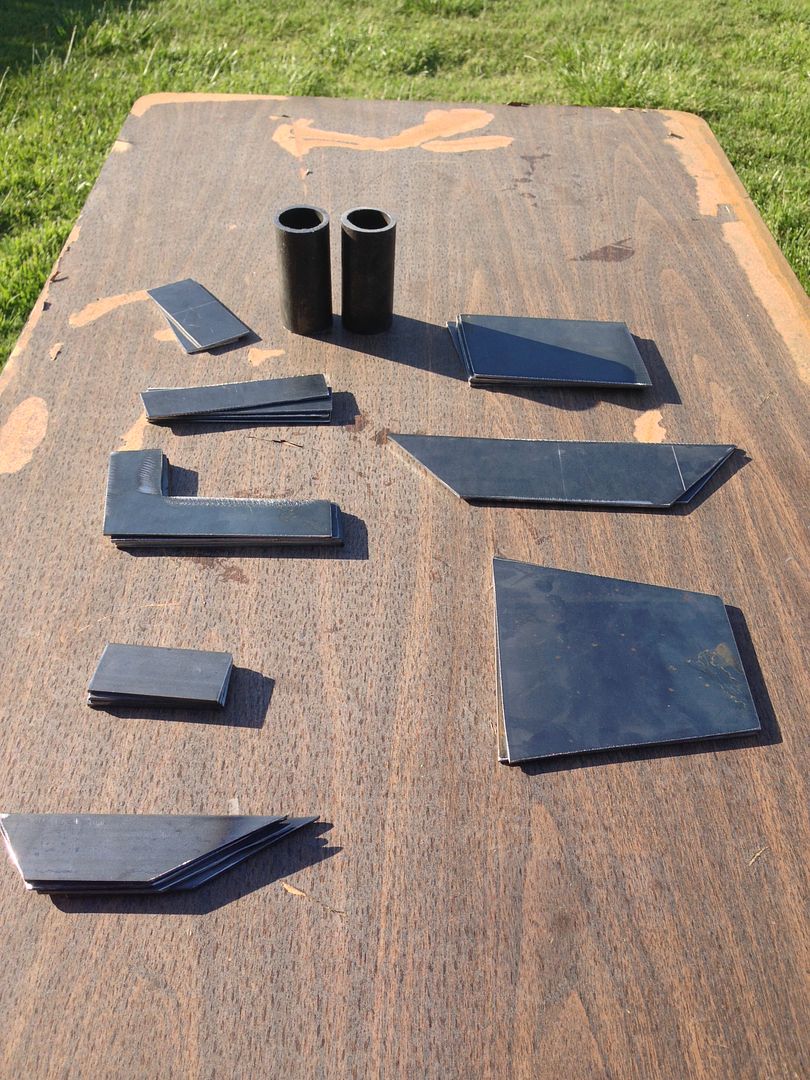
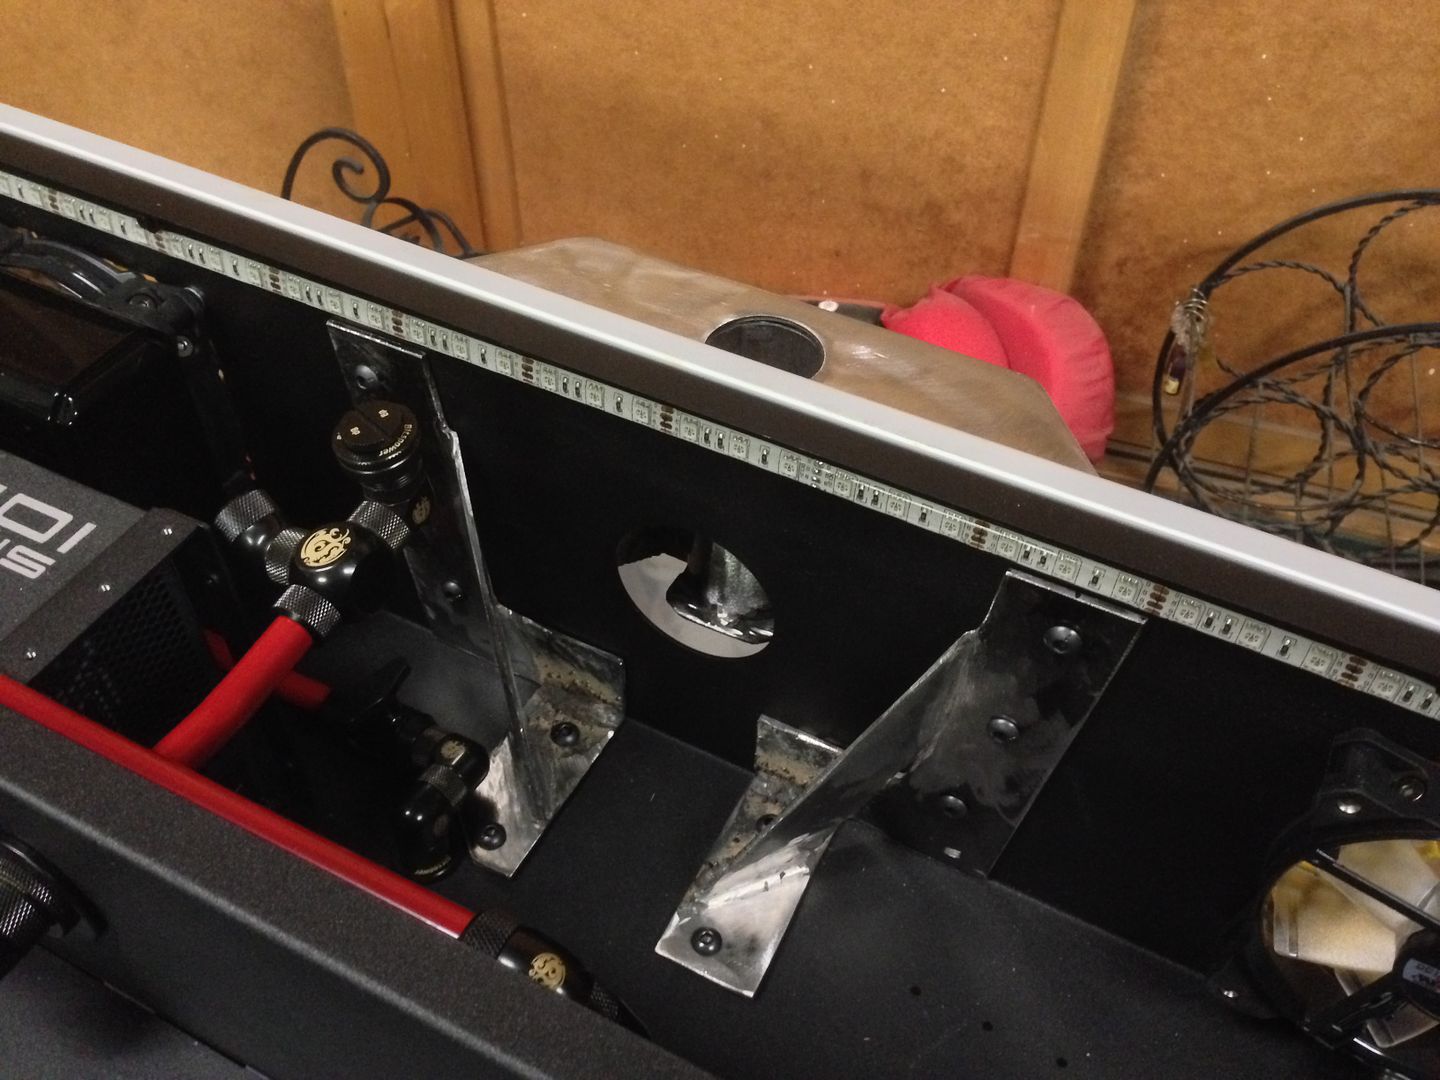
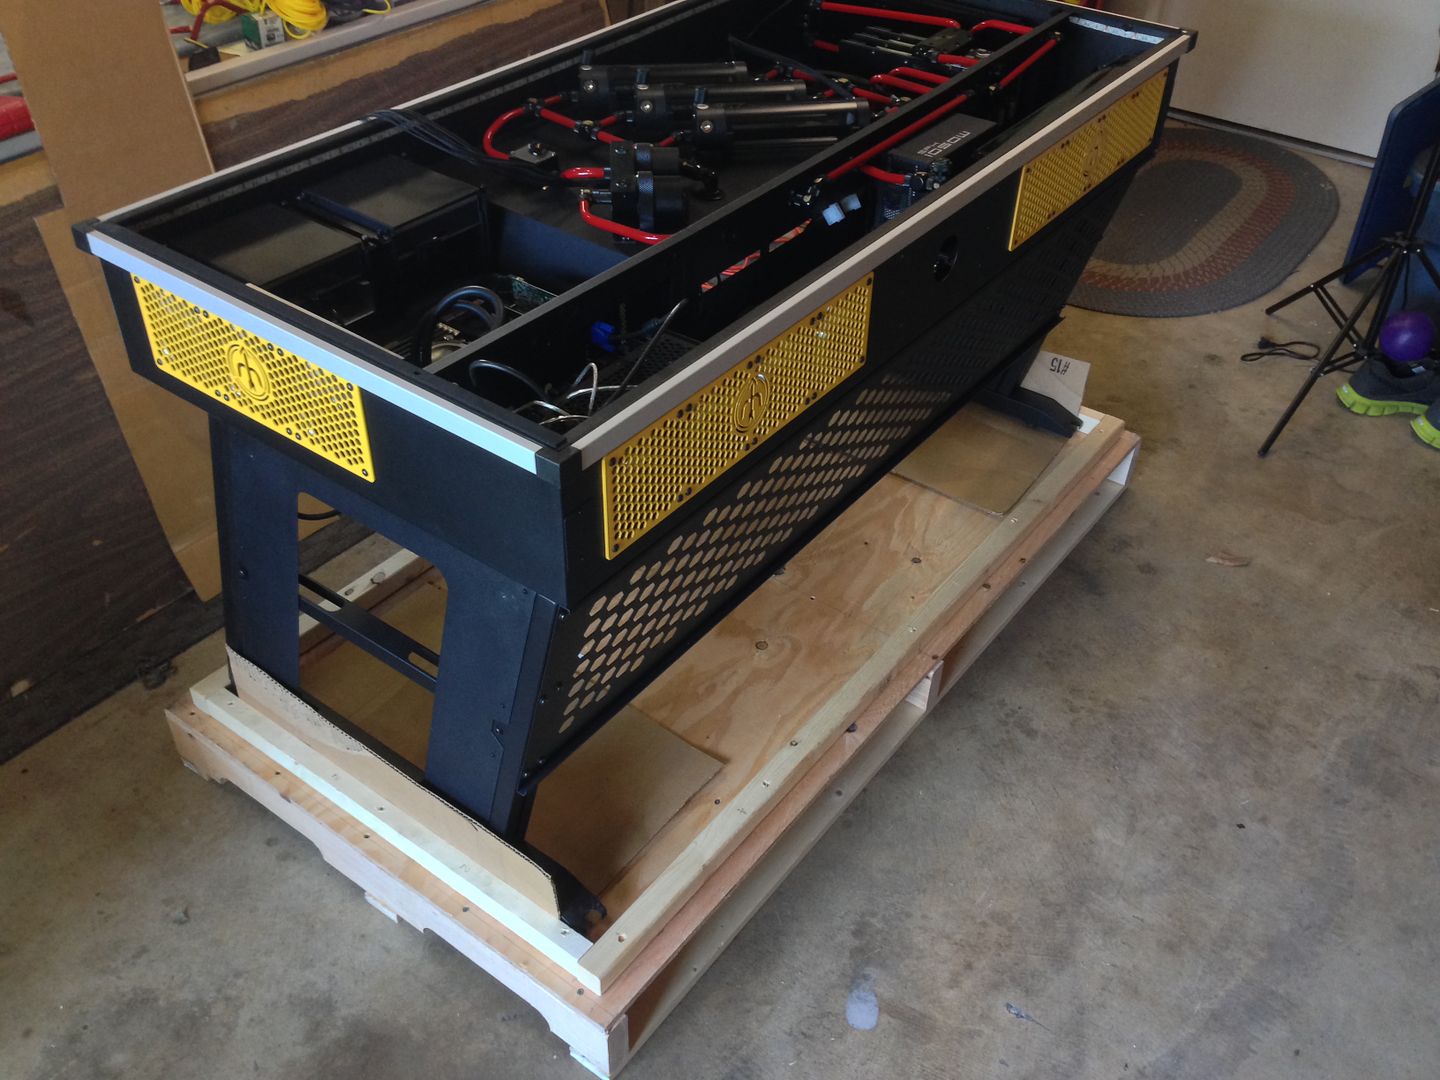
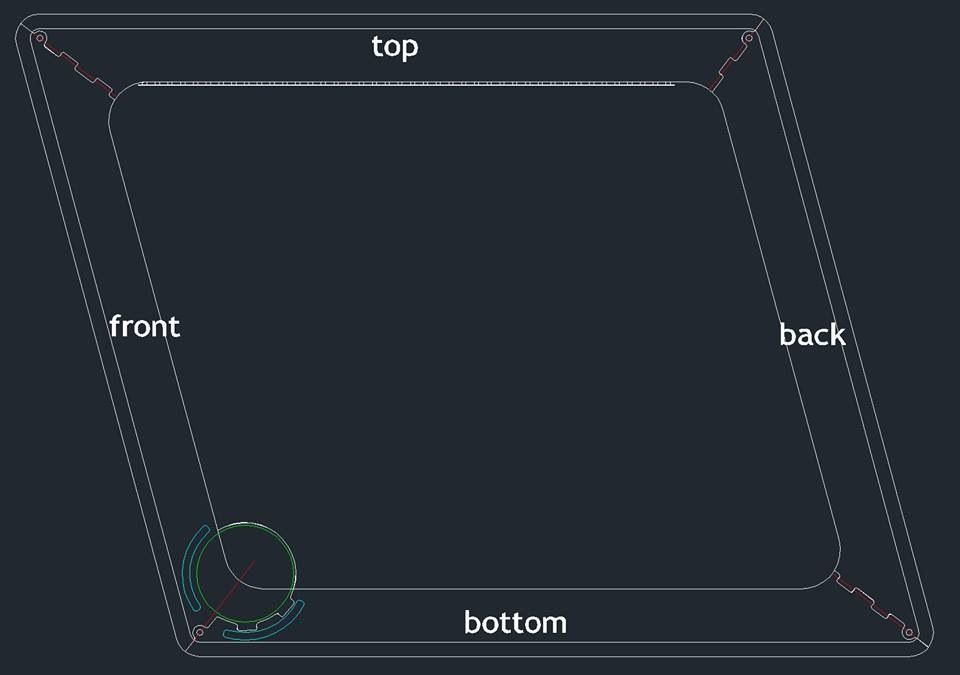
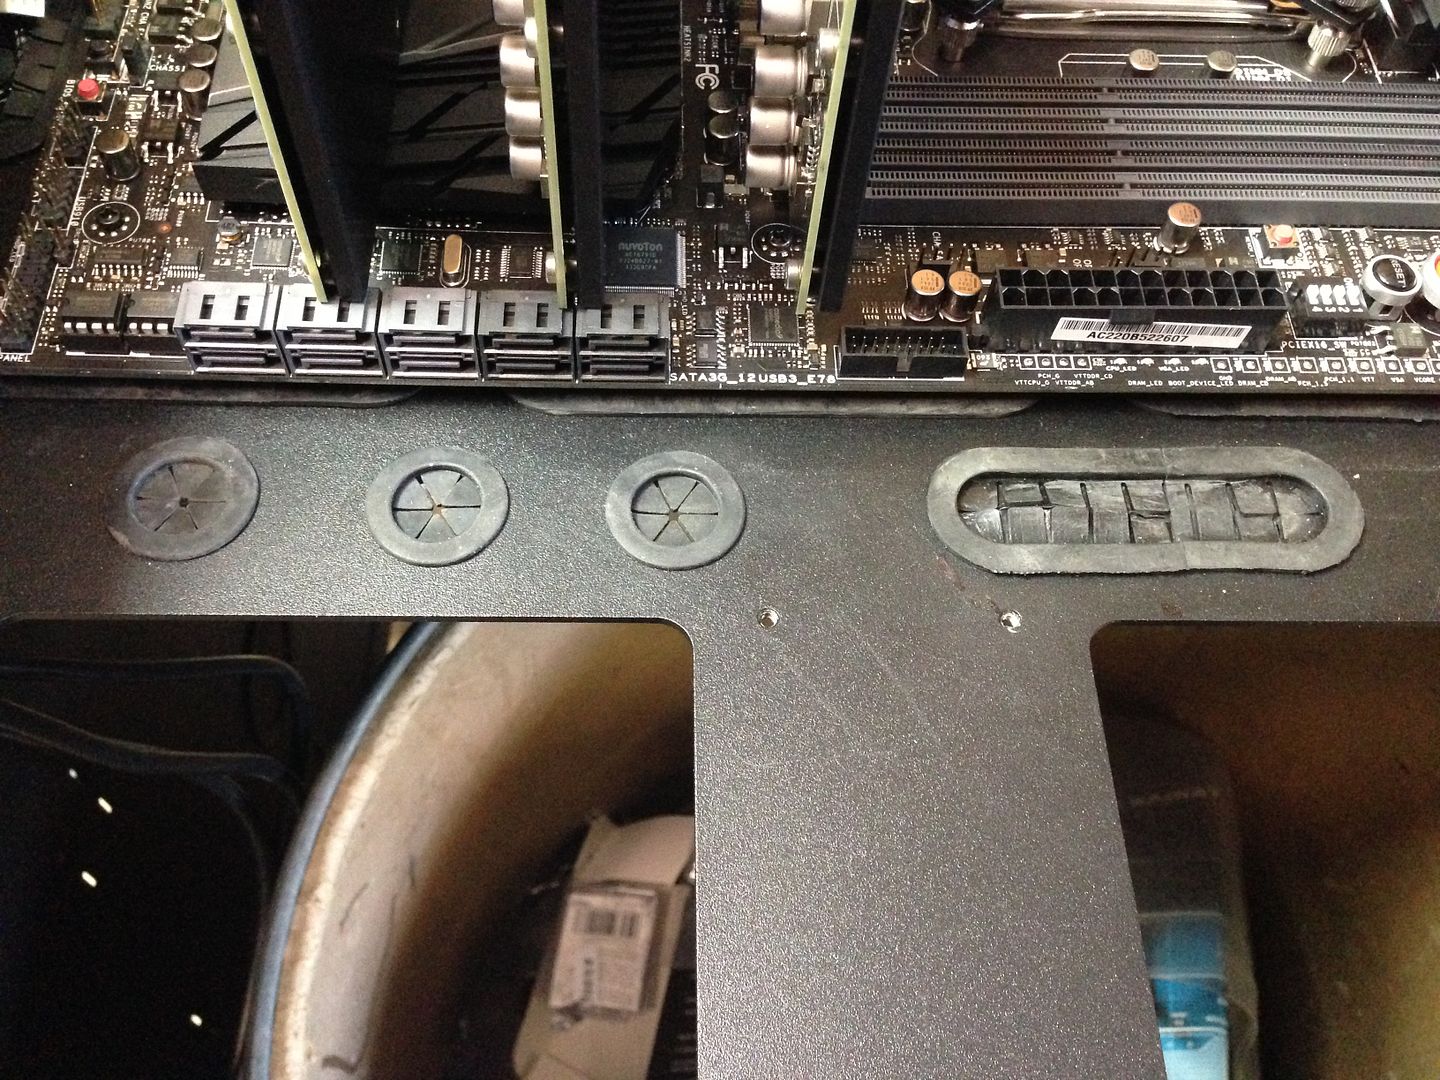
I didn't get a lot of picks in progress but I think you'll like what I did take pics of. Here's that moment where you figure out that the board is bigger than the board that was used for grommet layout. OOPS!
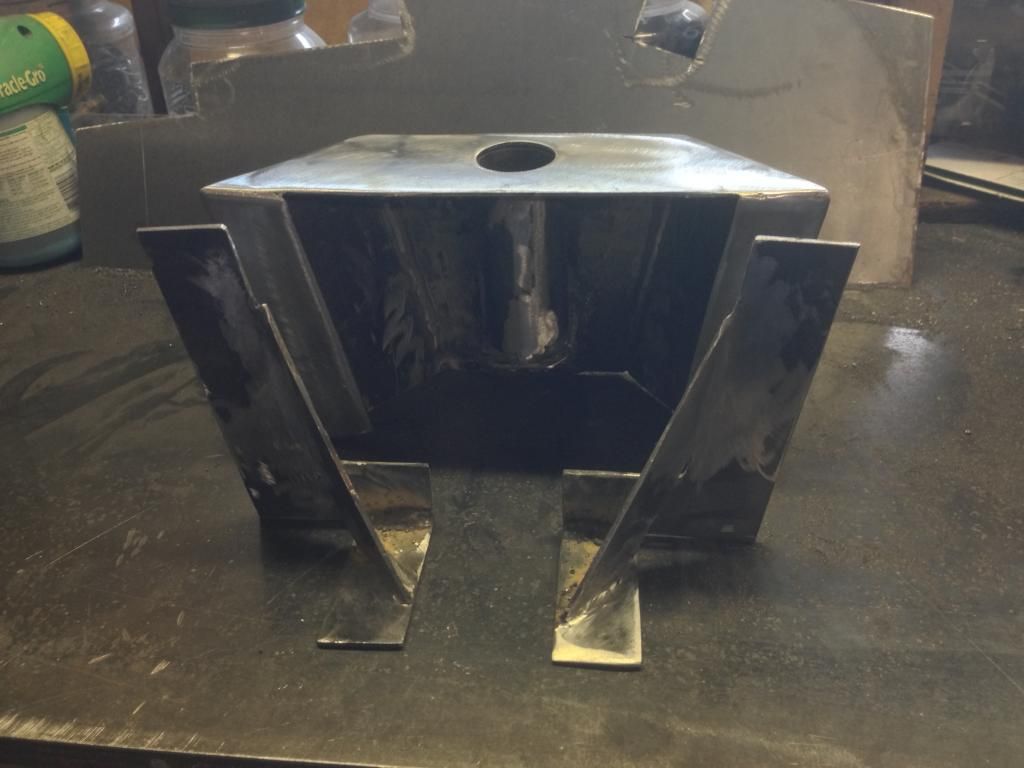
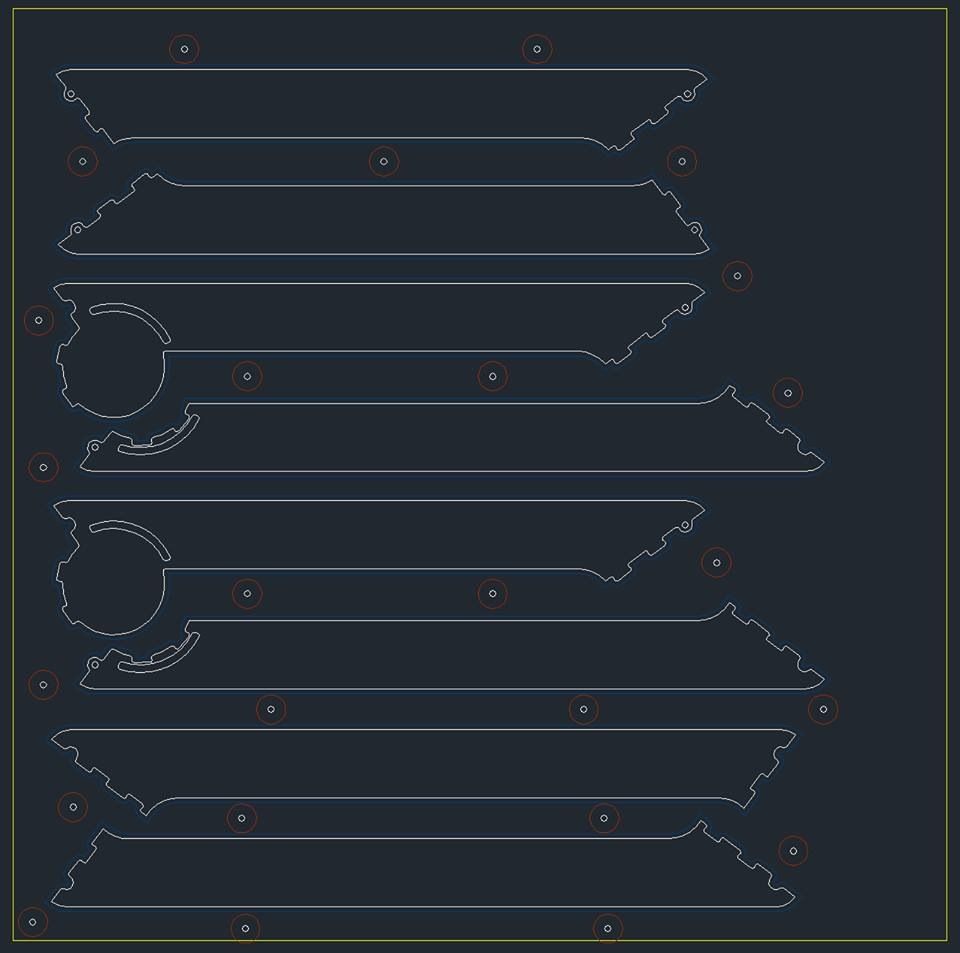
So I made my own
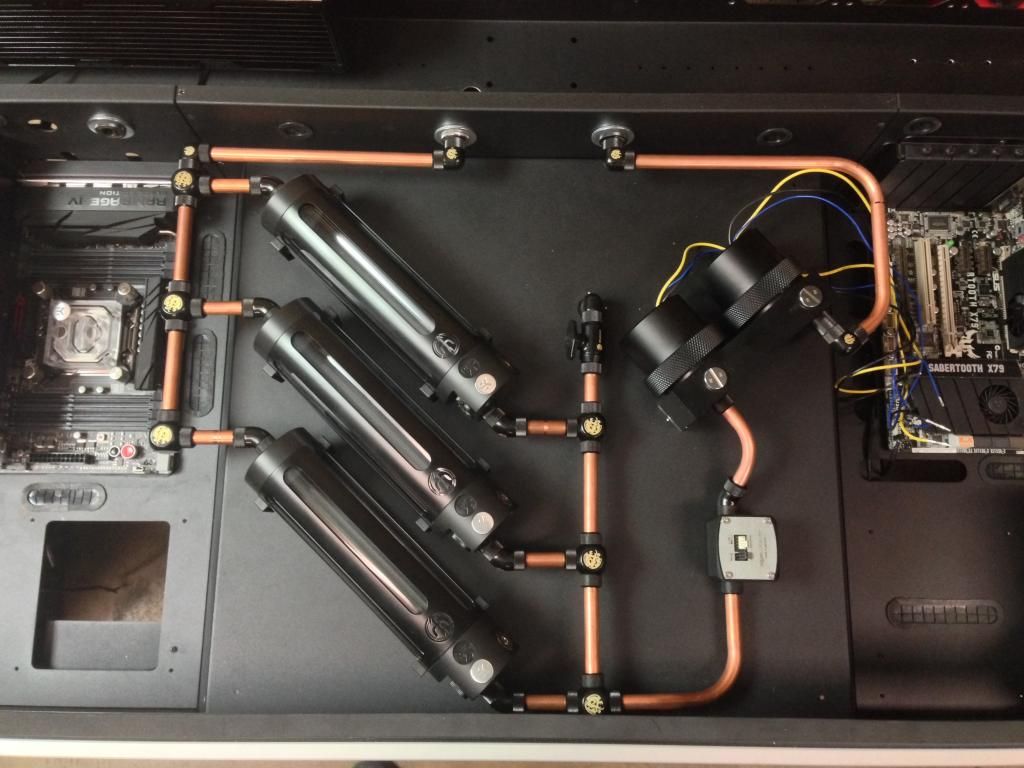
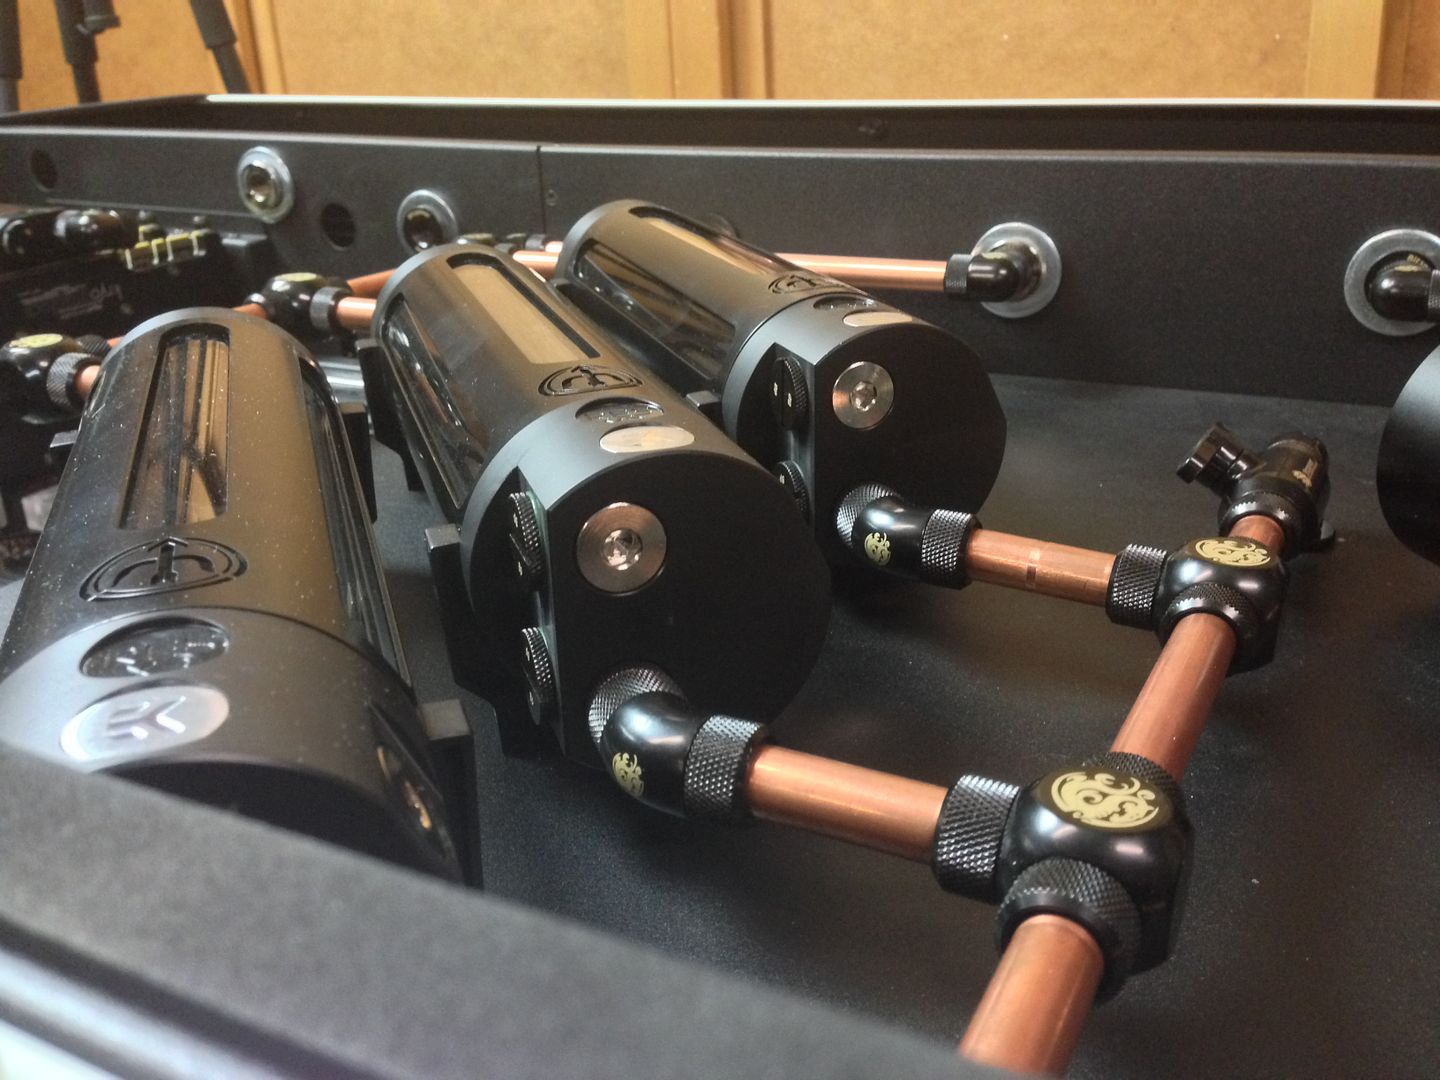
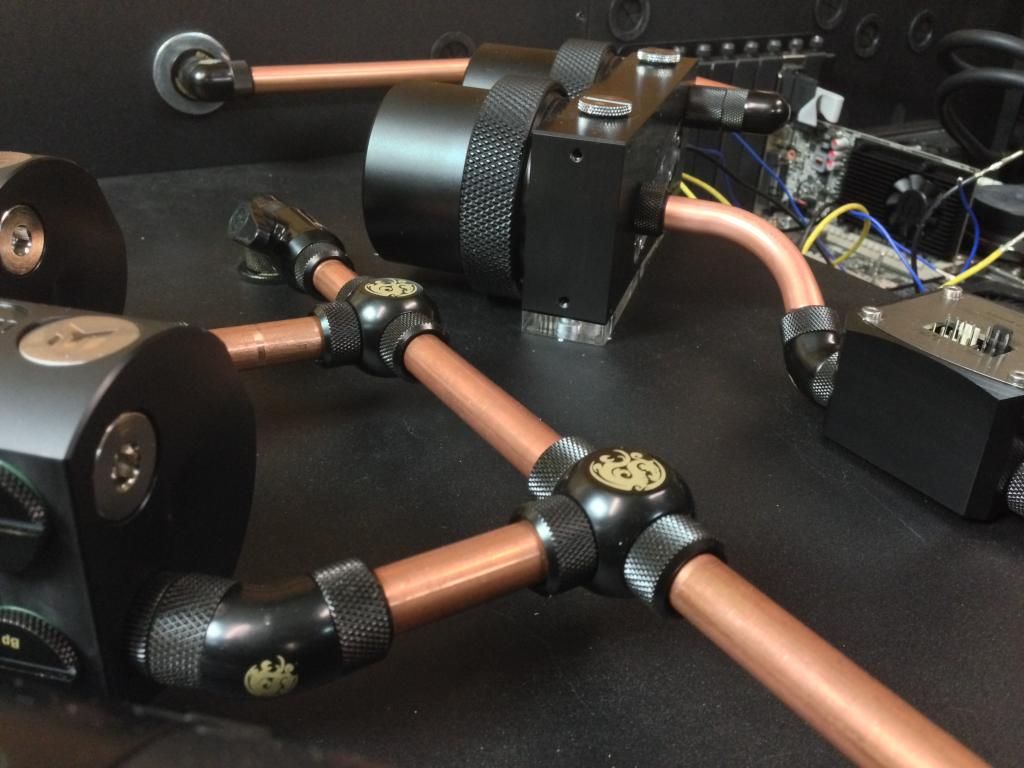
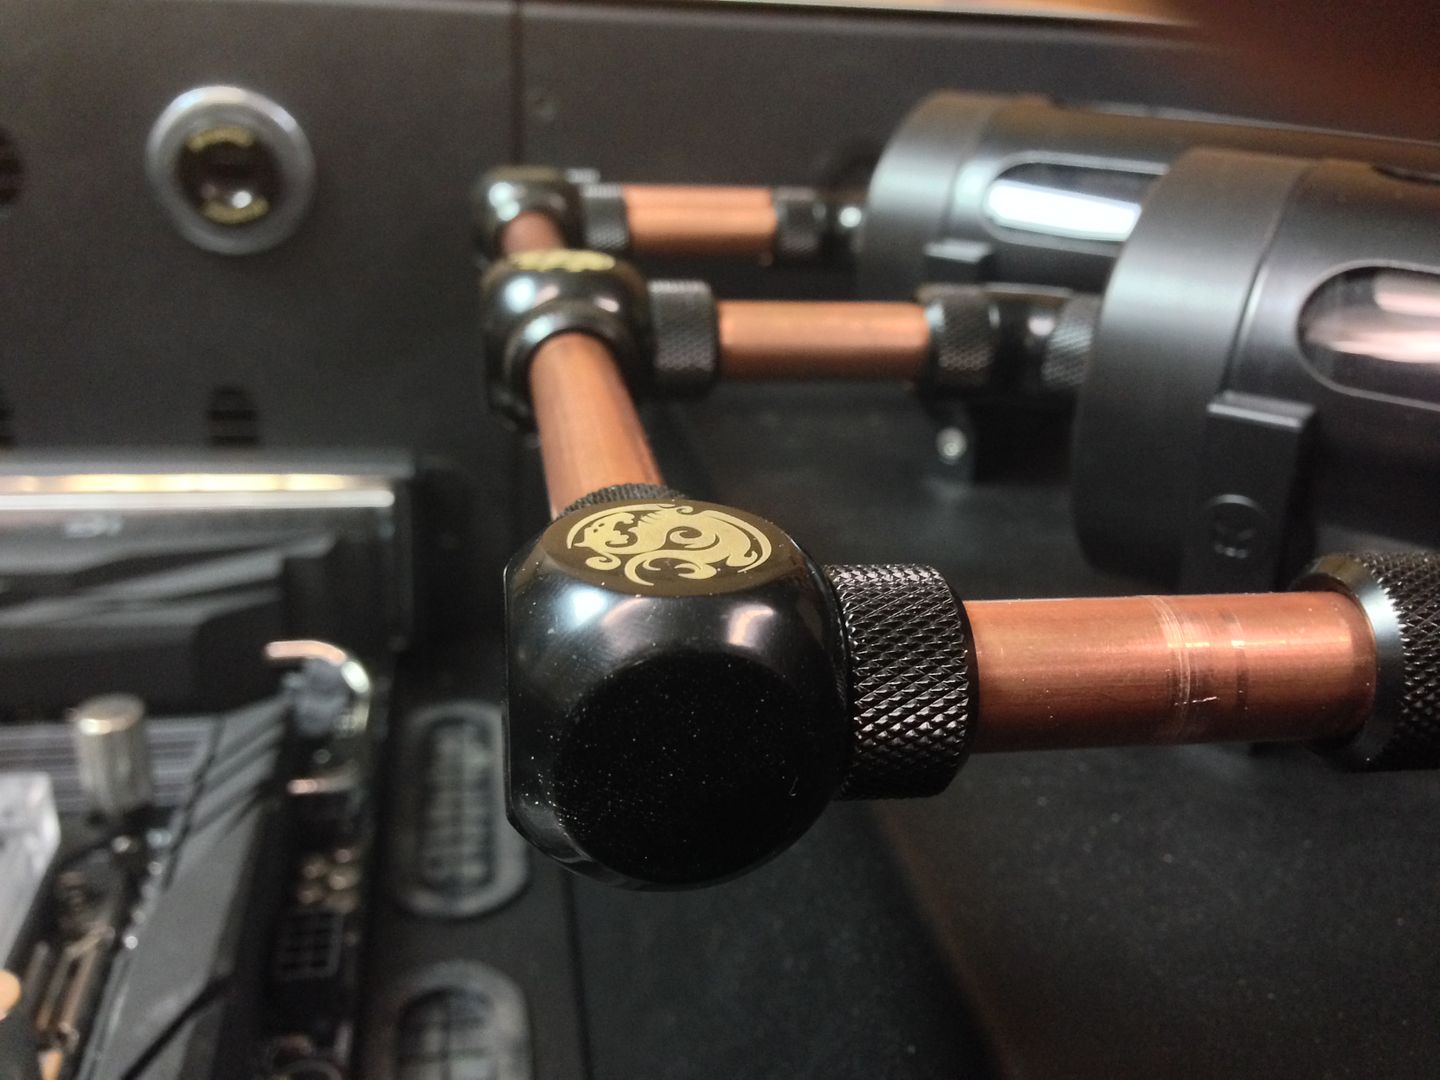
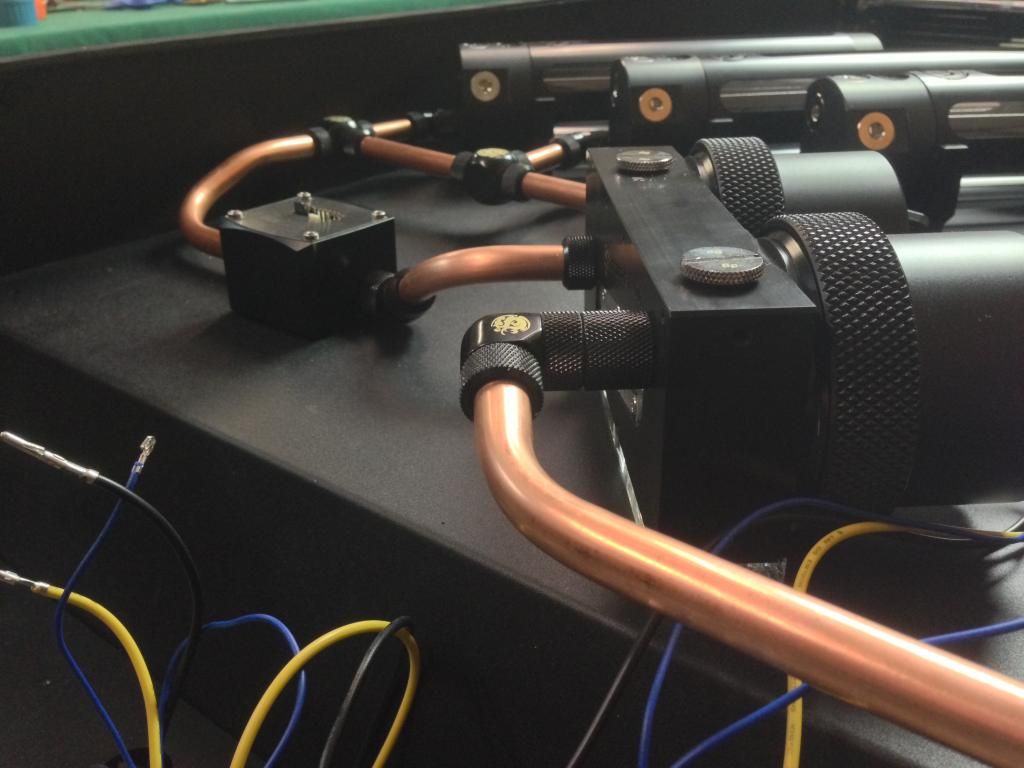
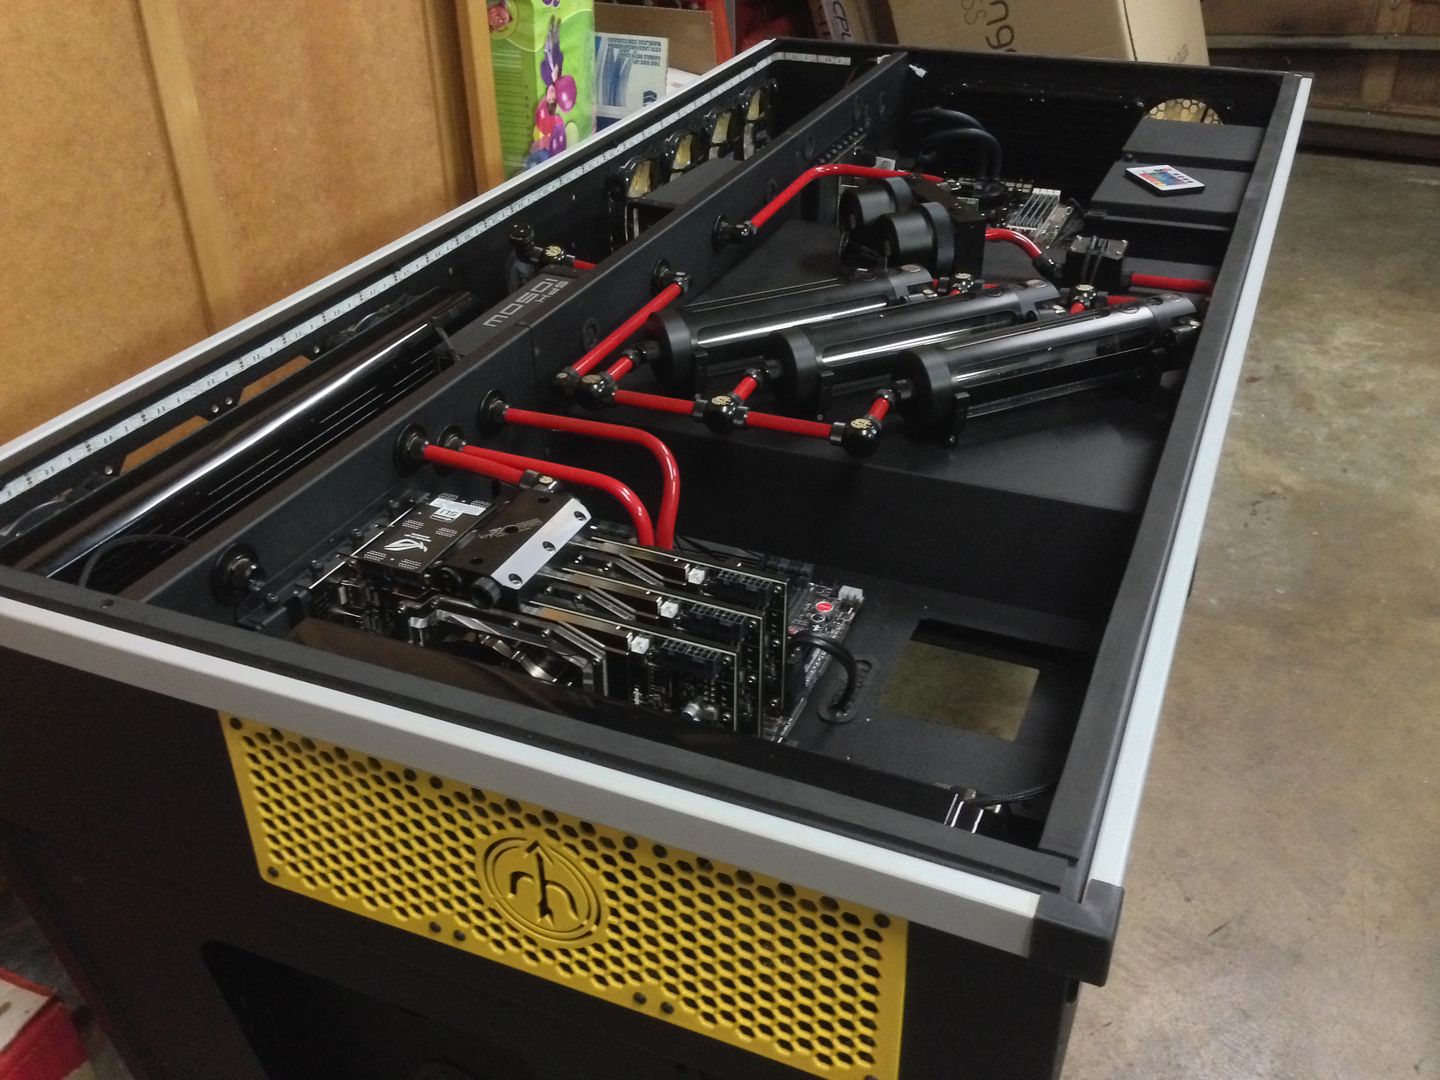
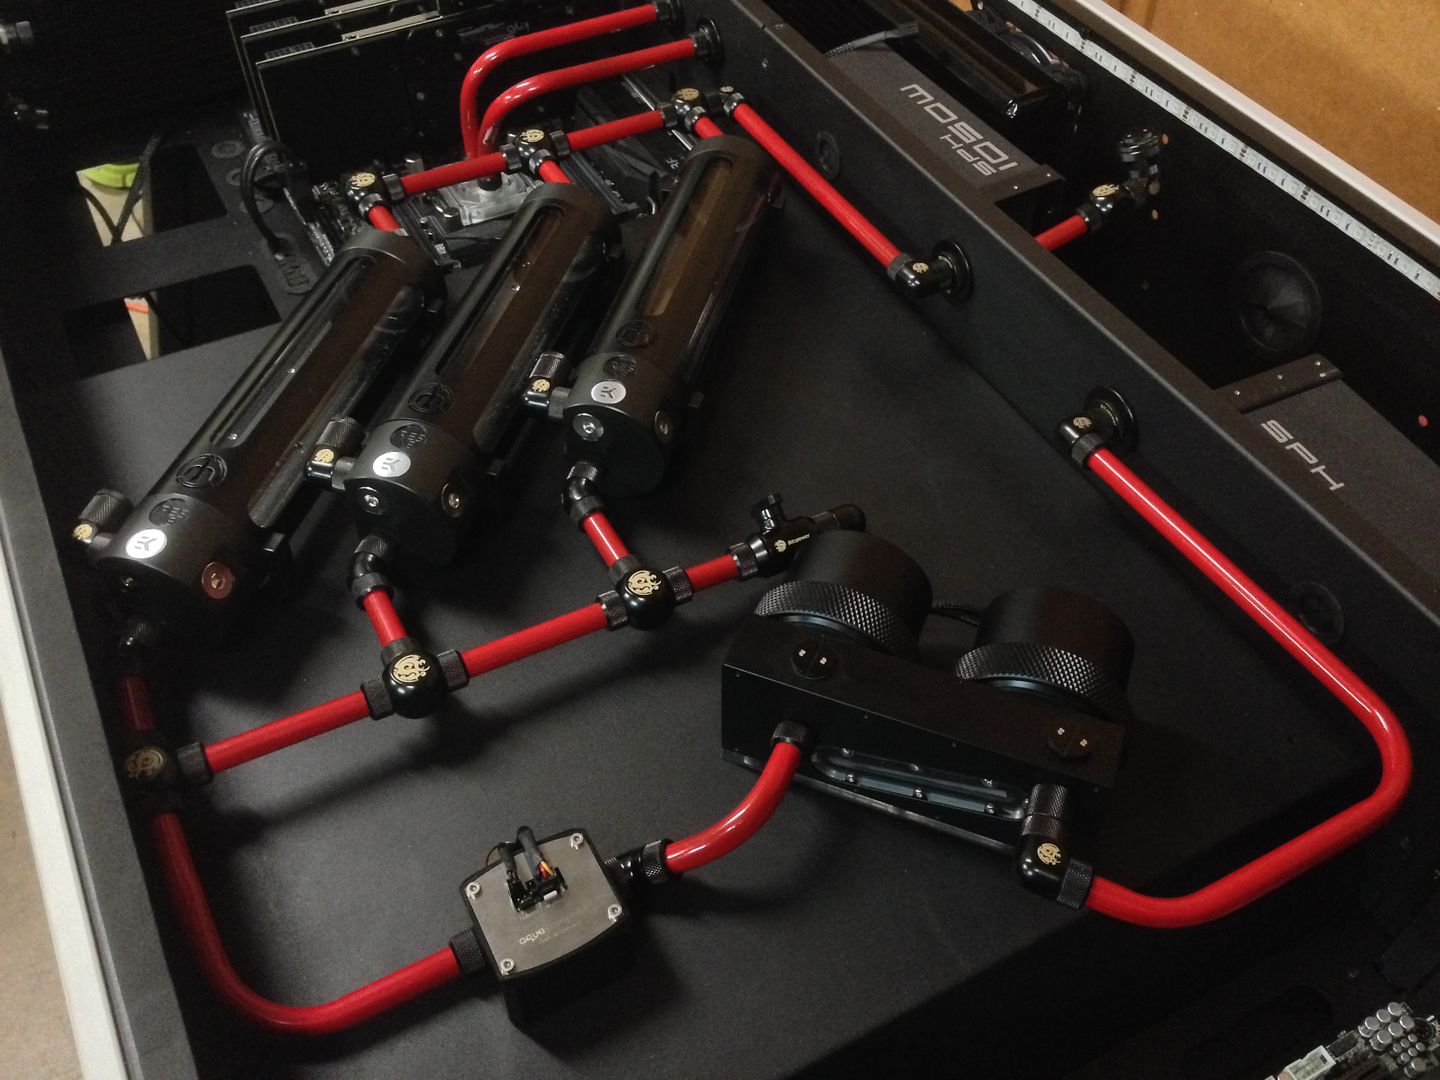
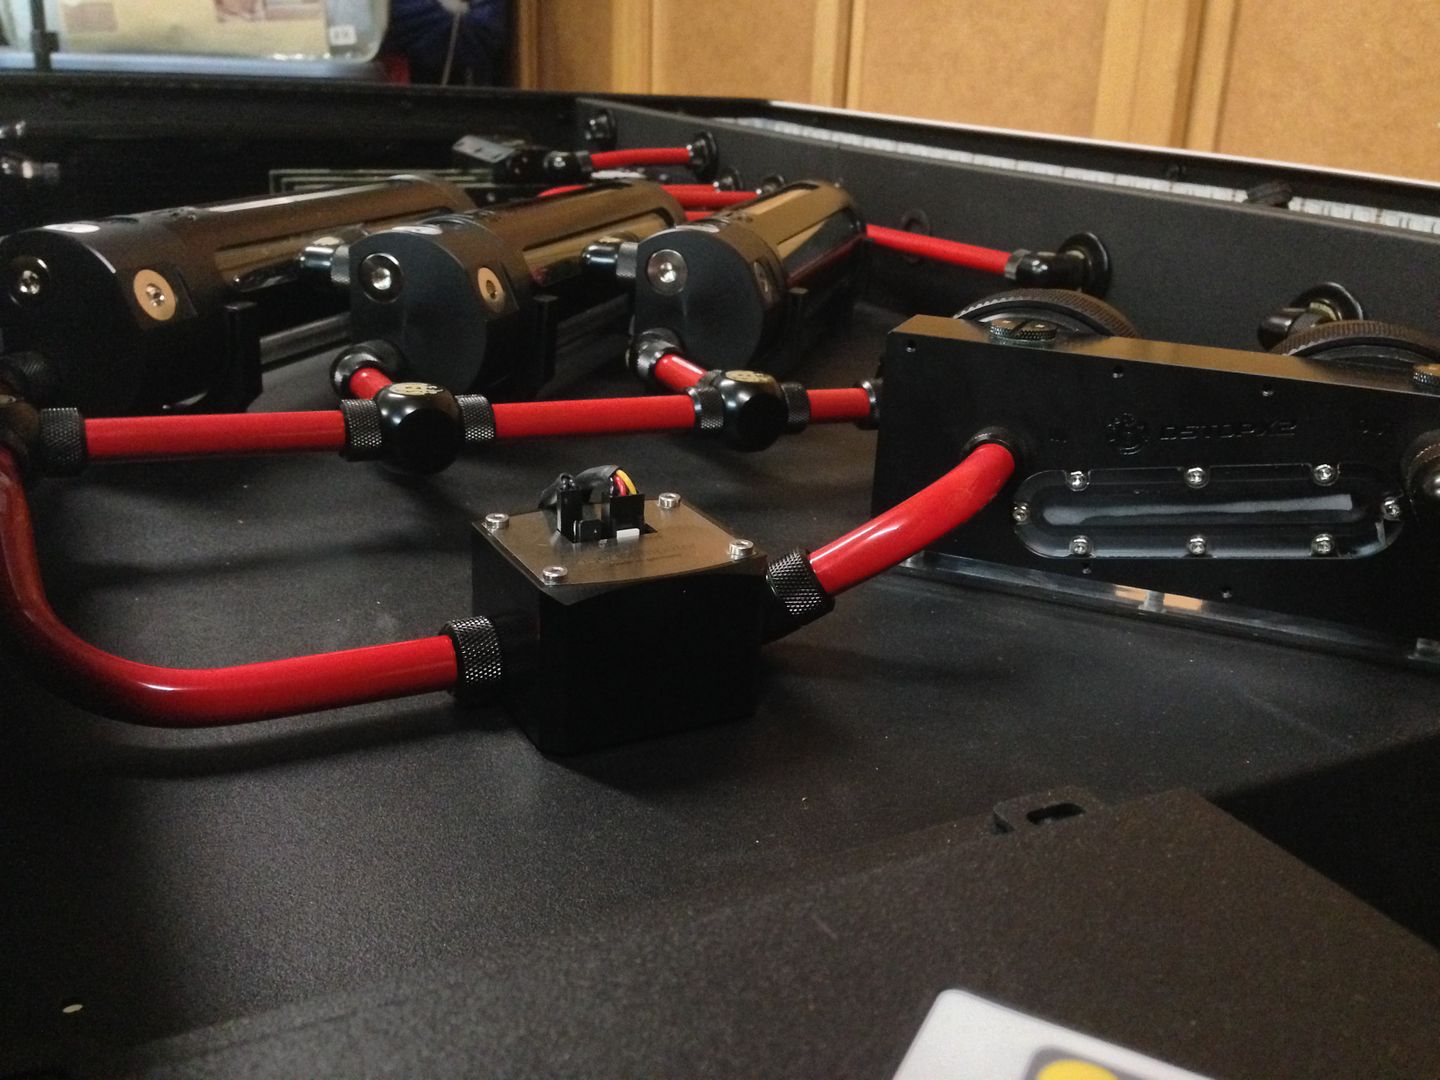
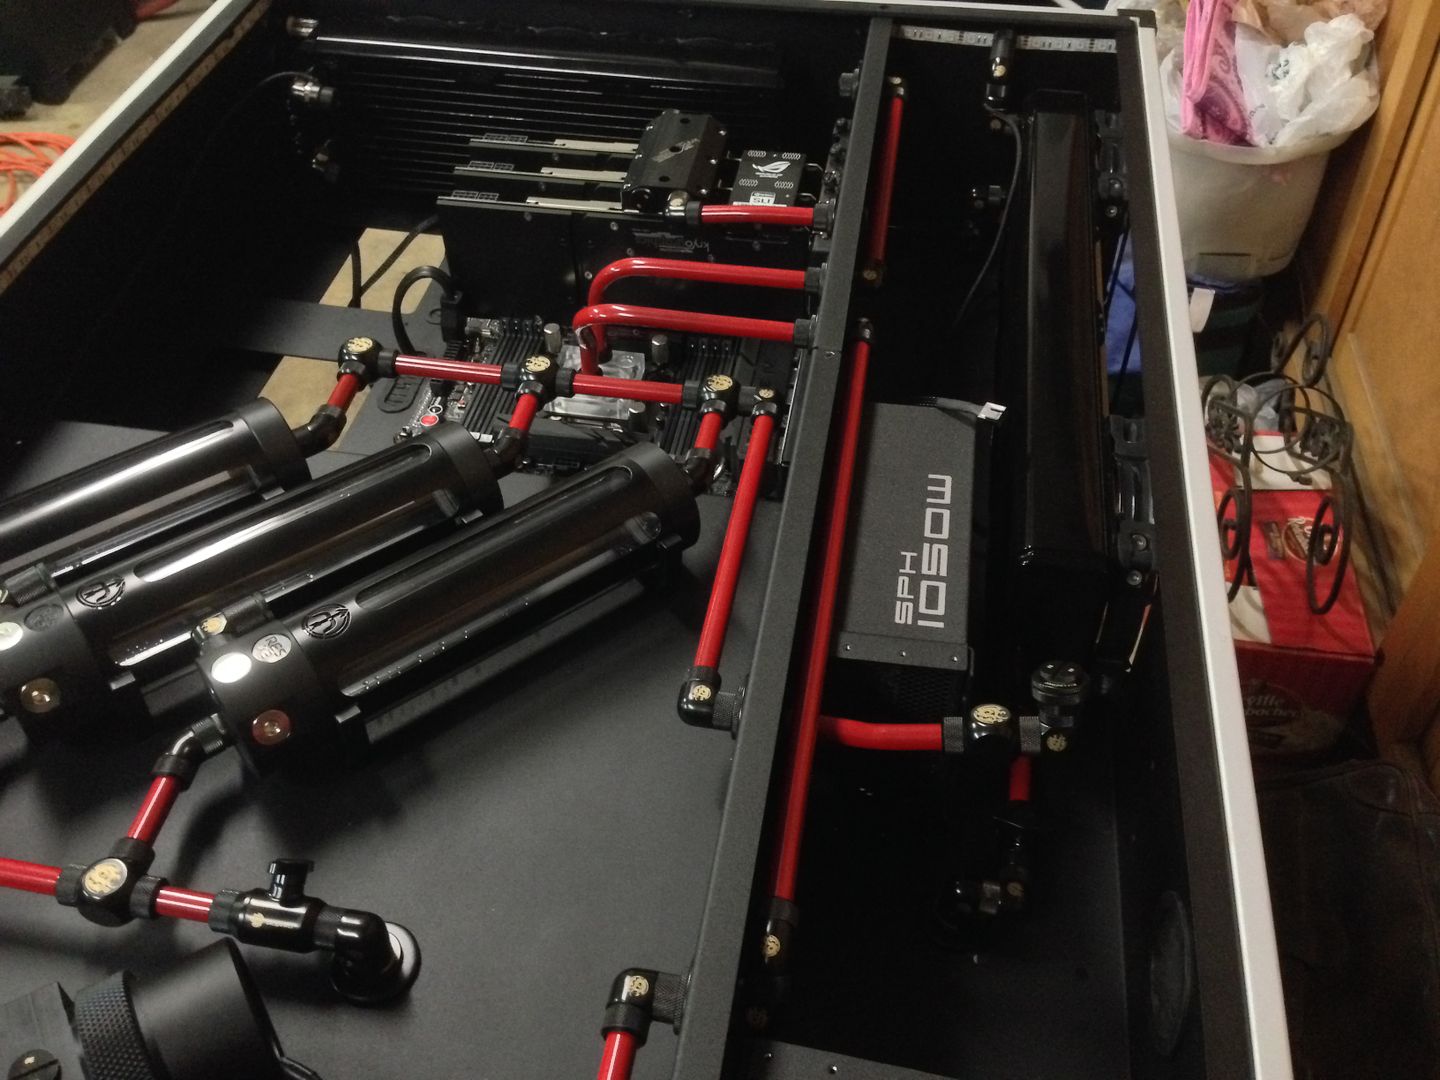
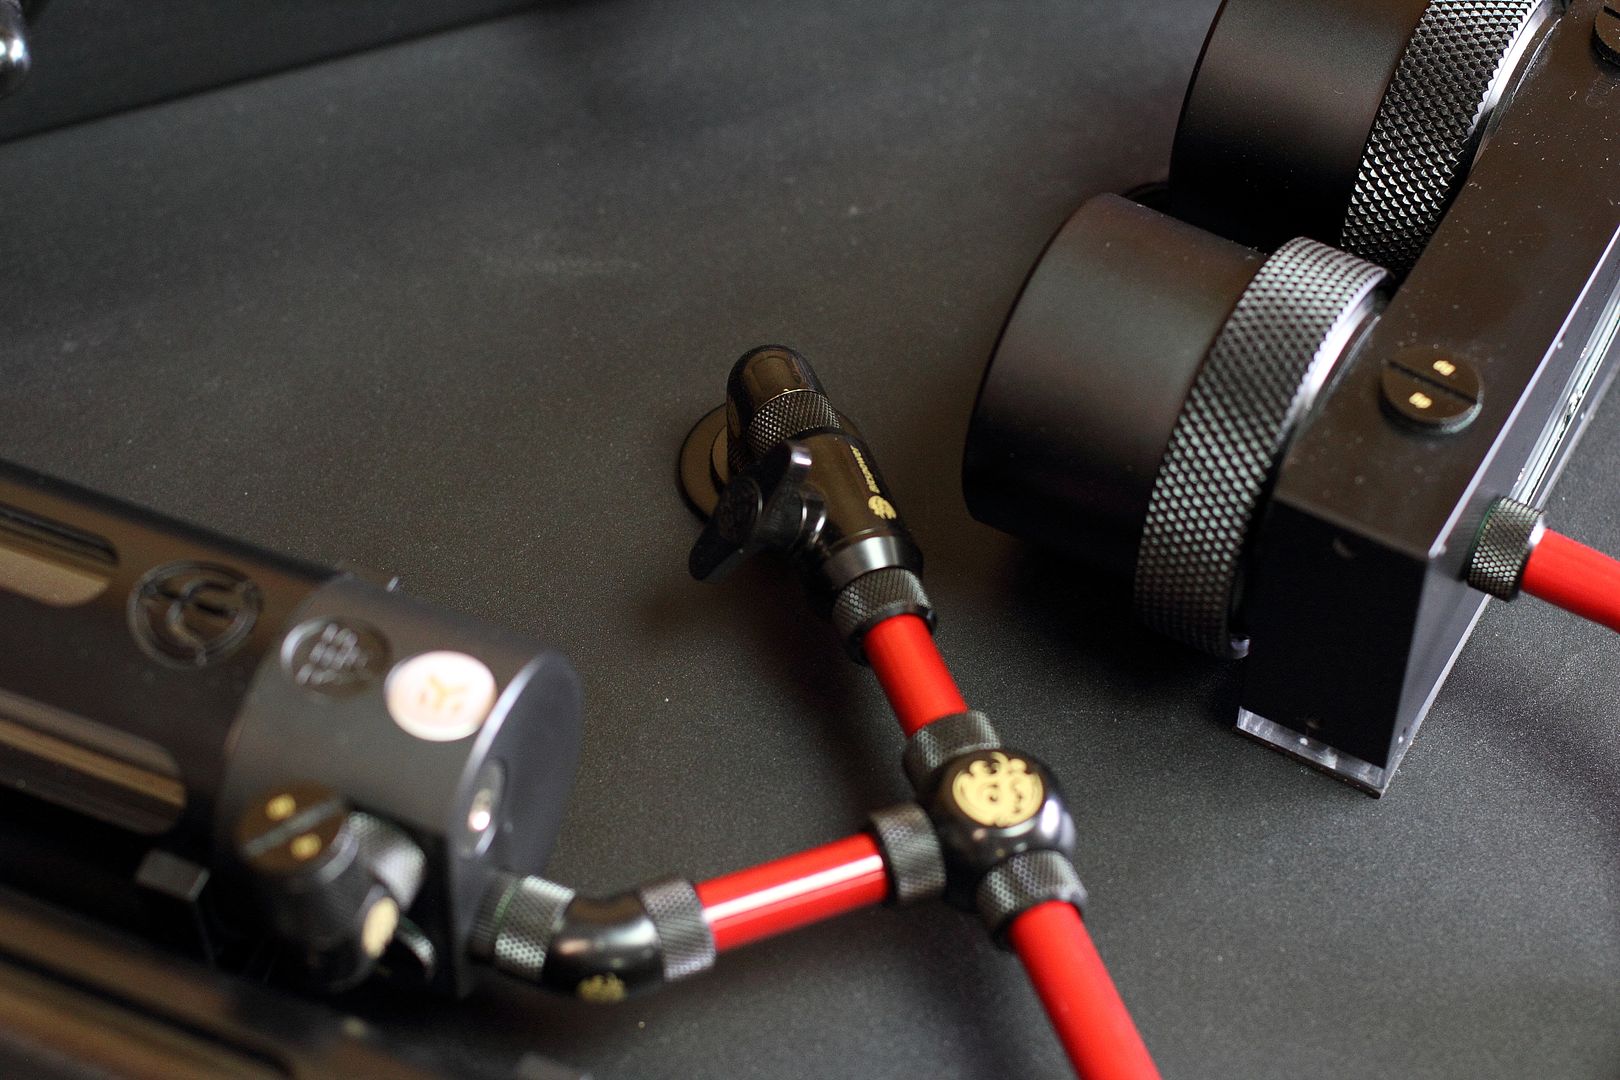
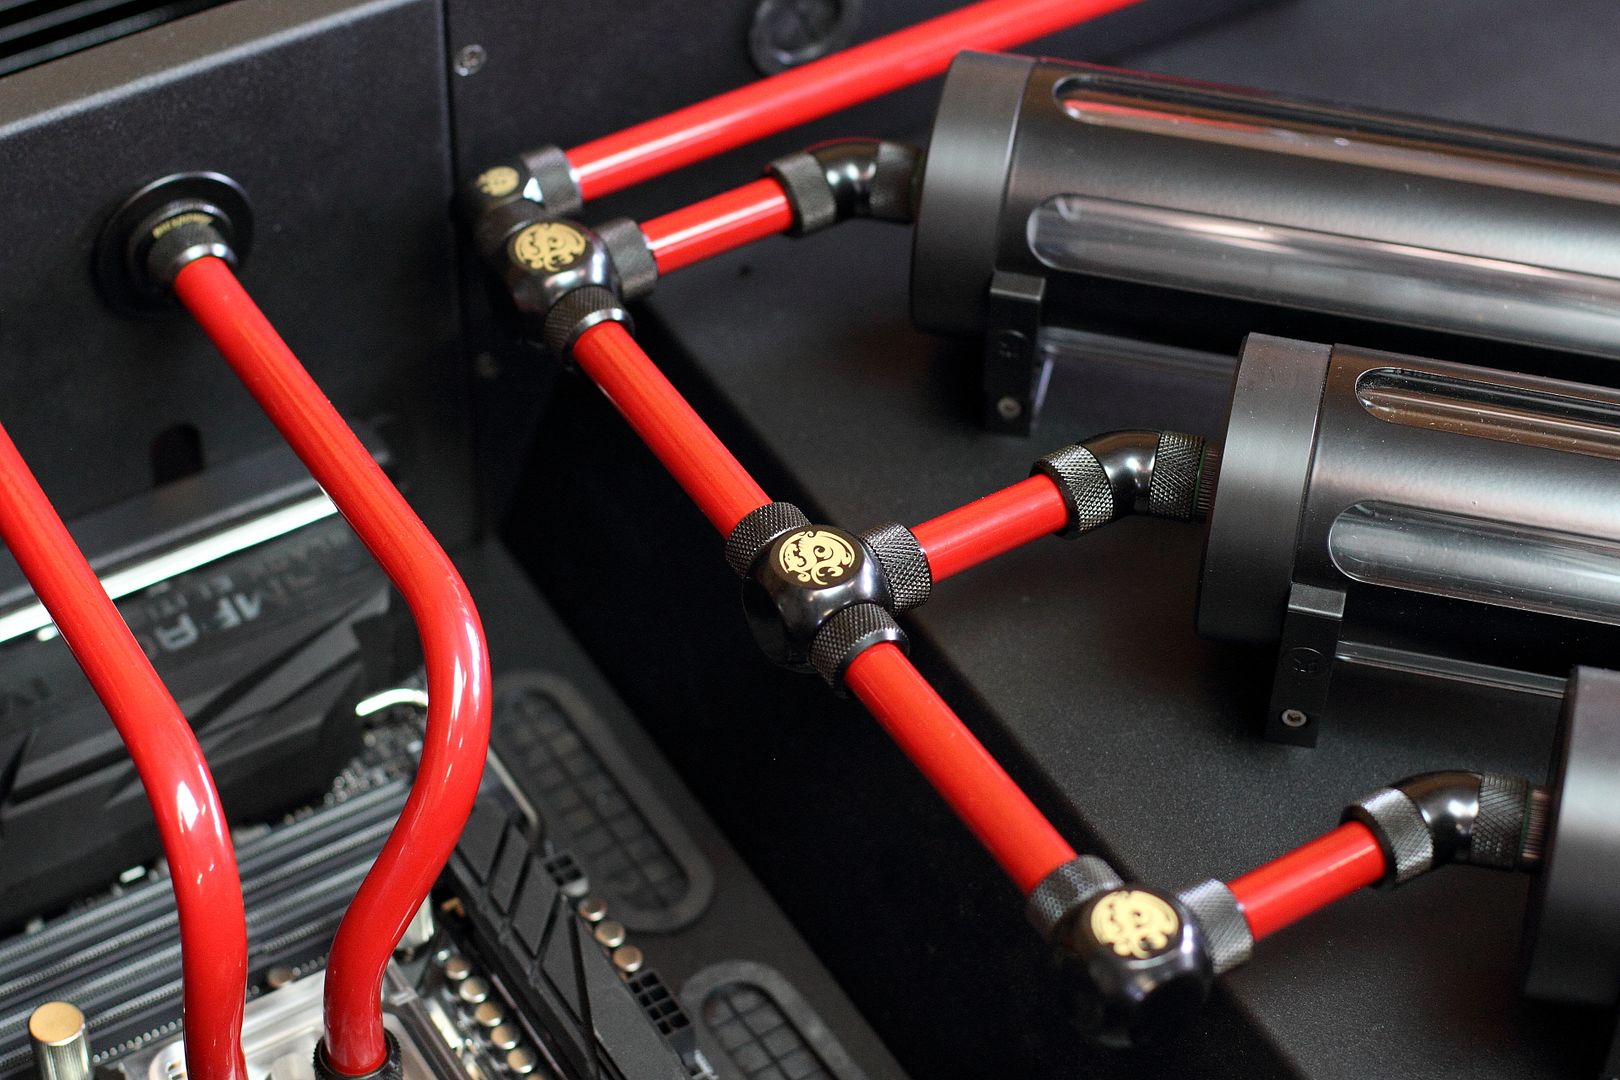
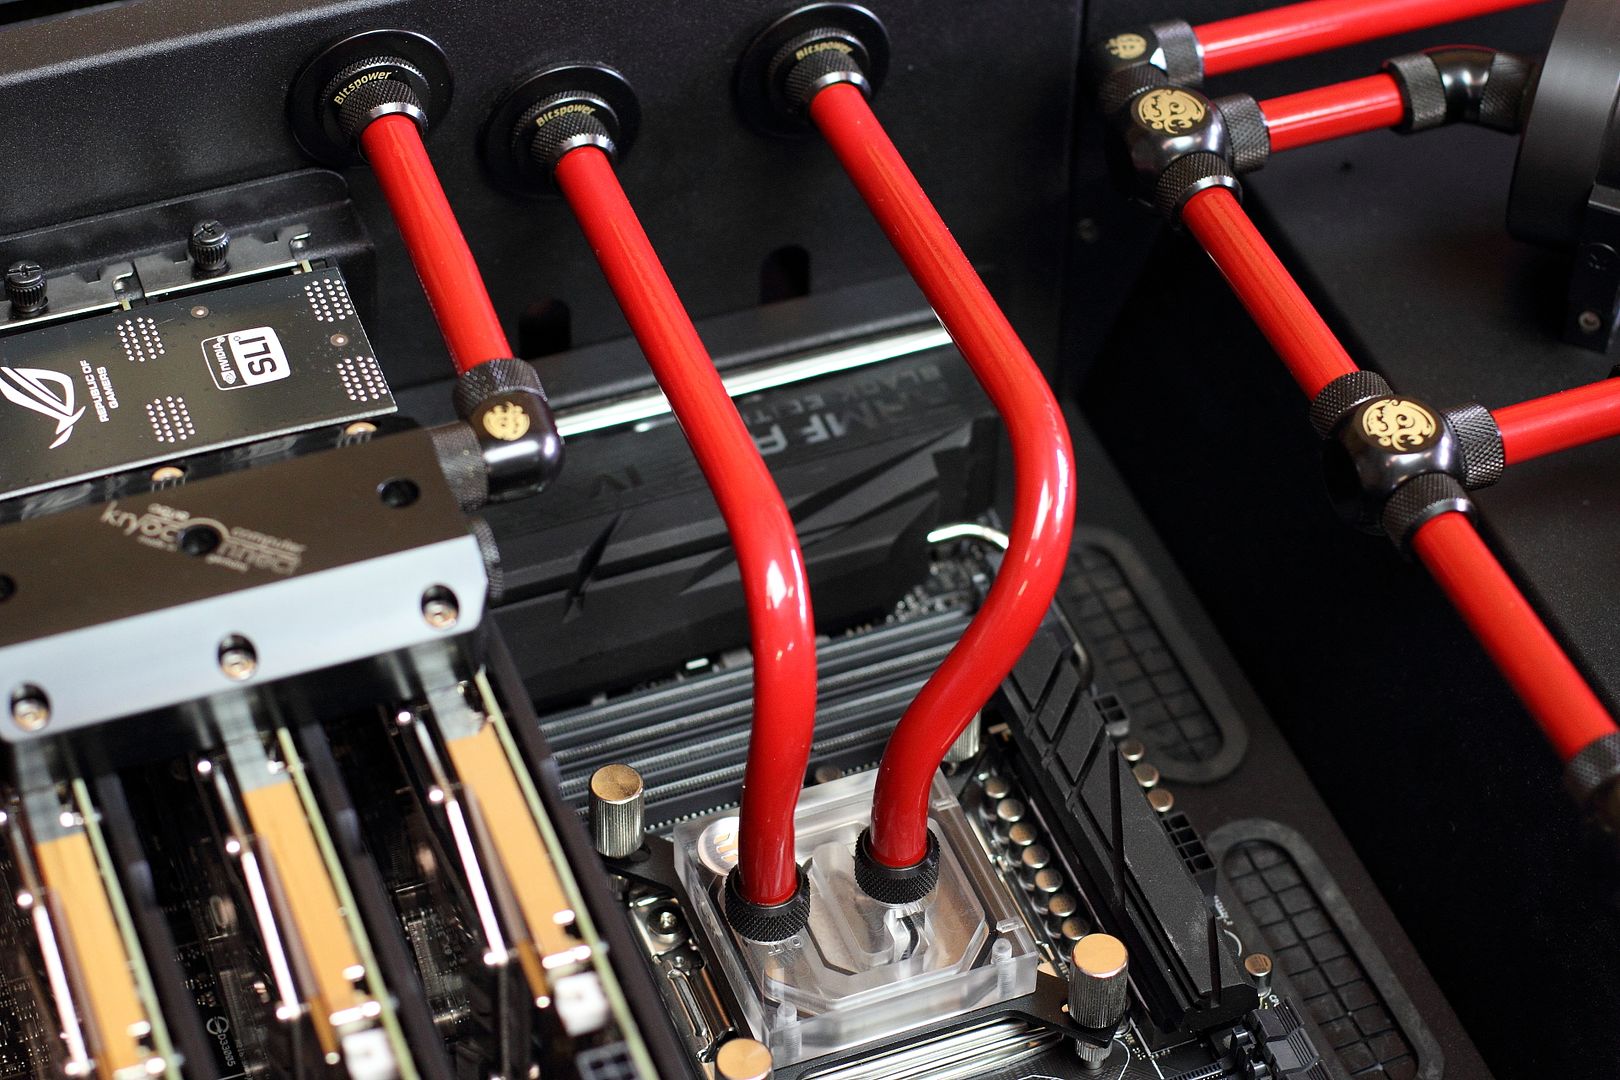
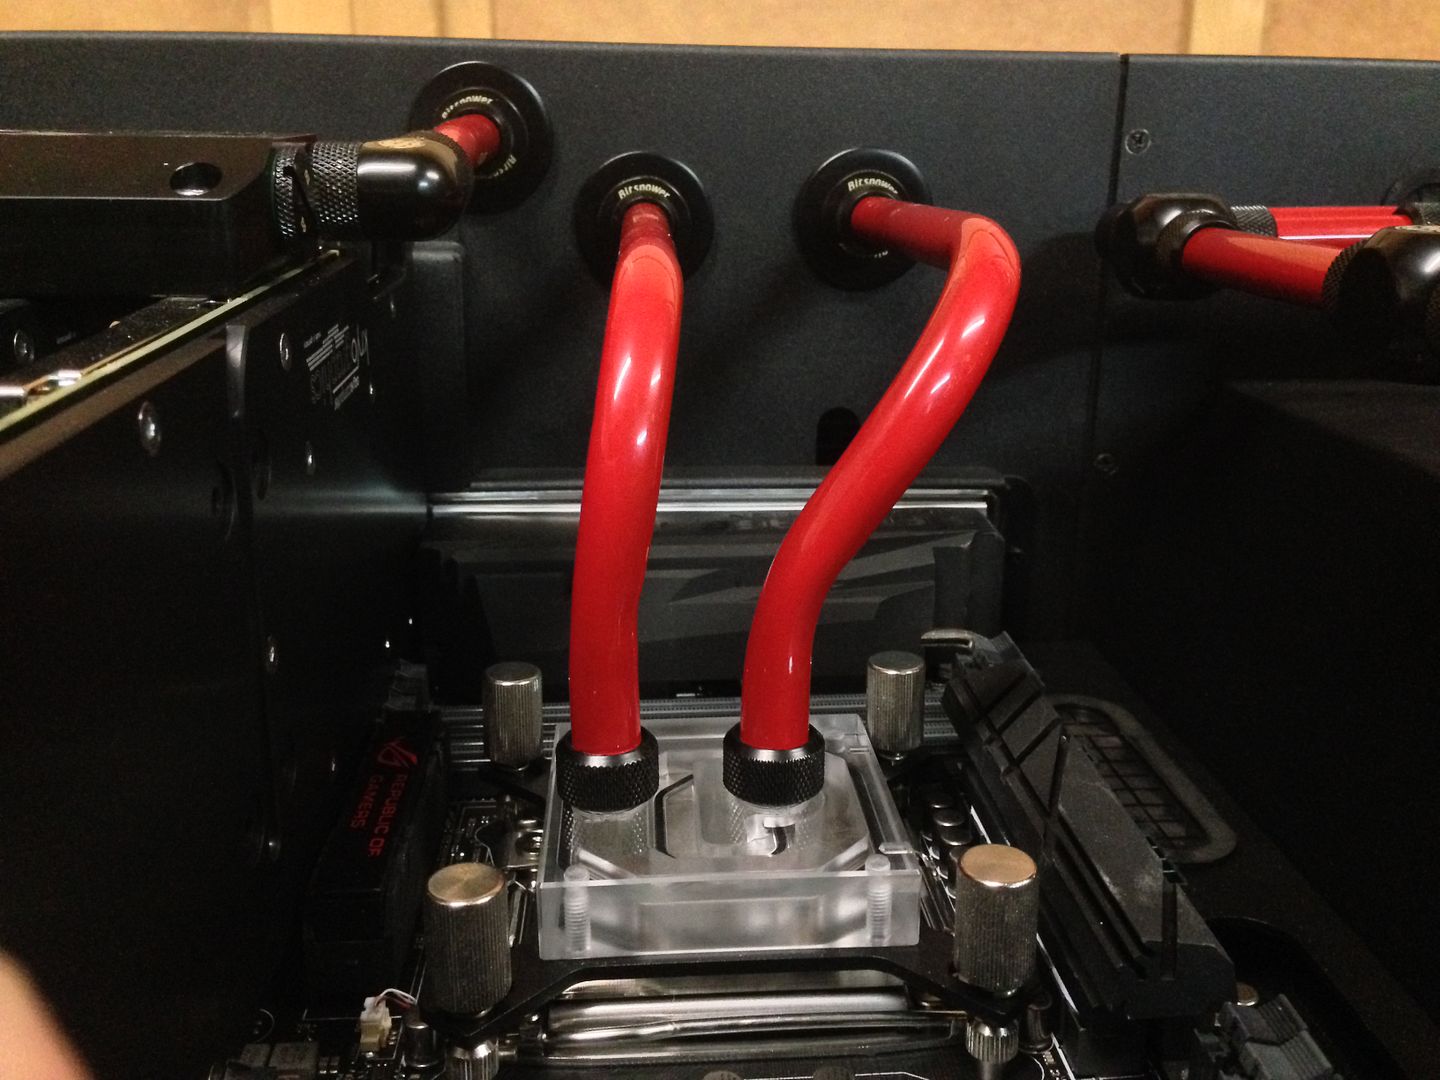
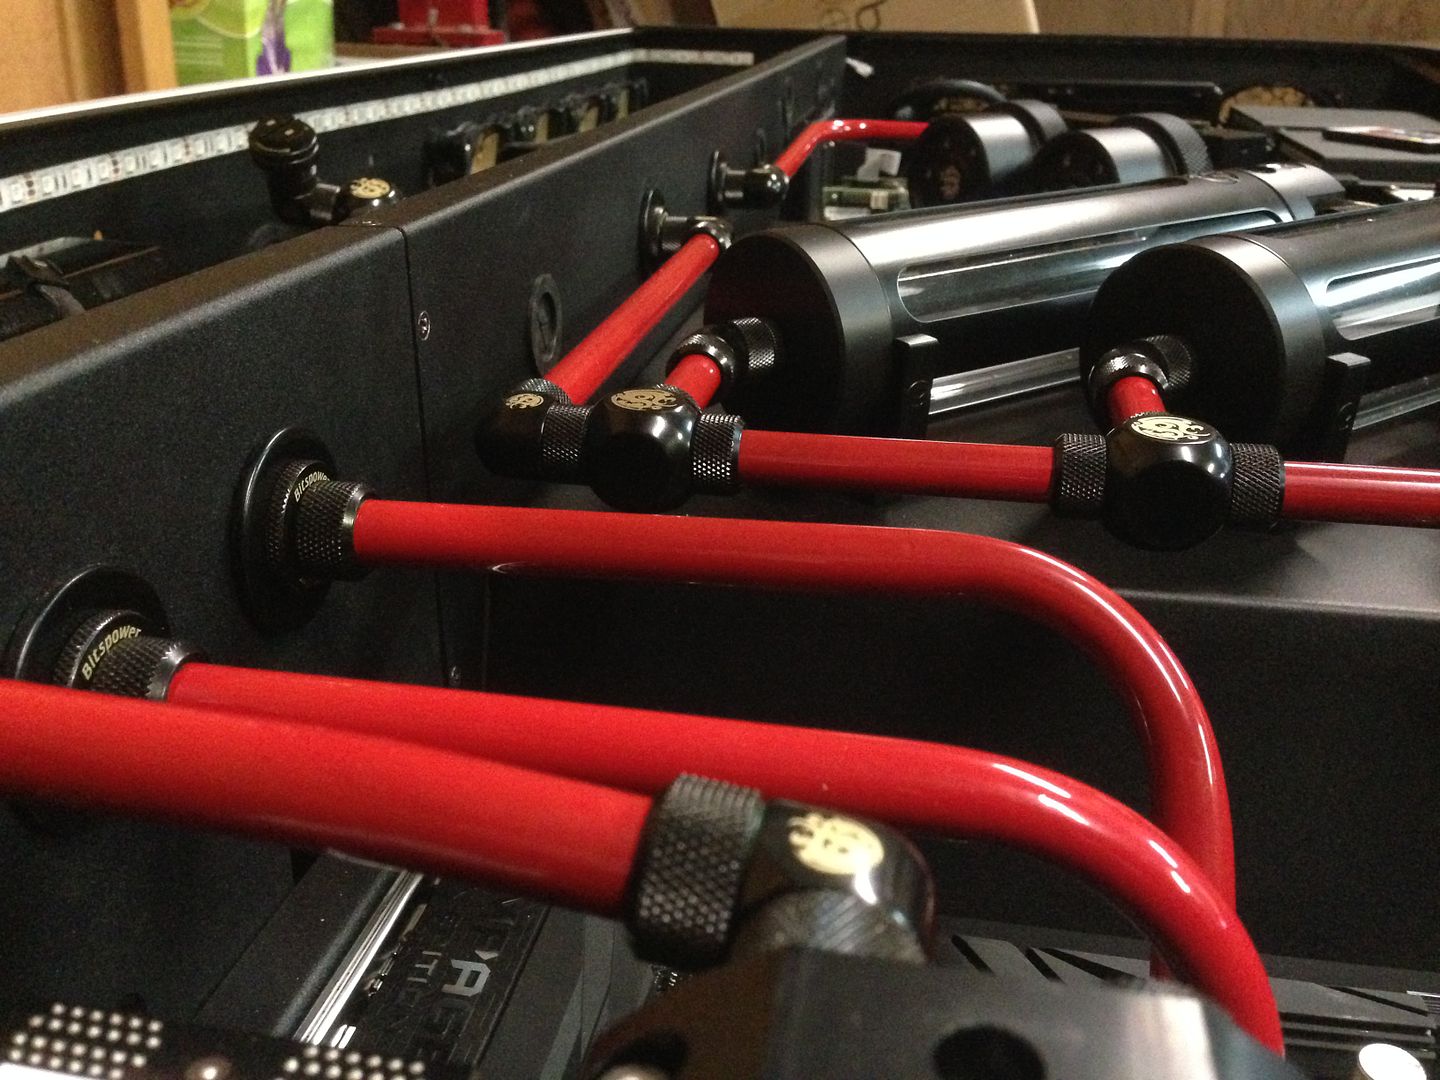
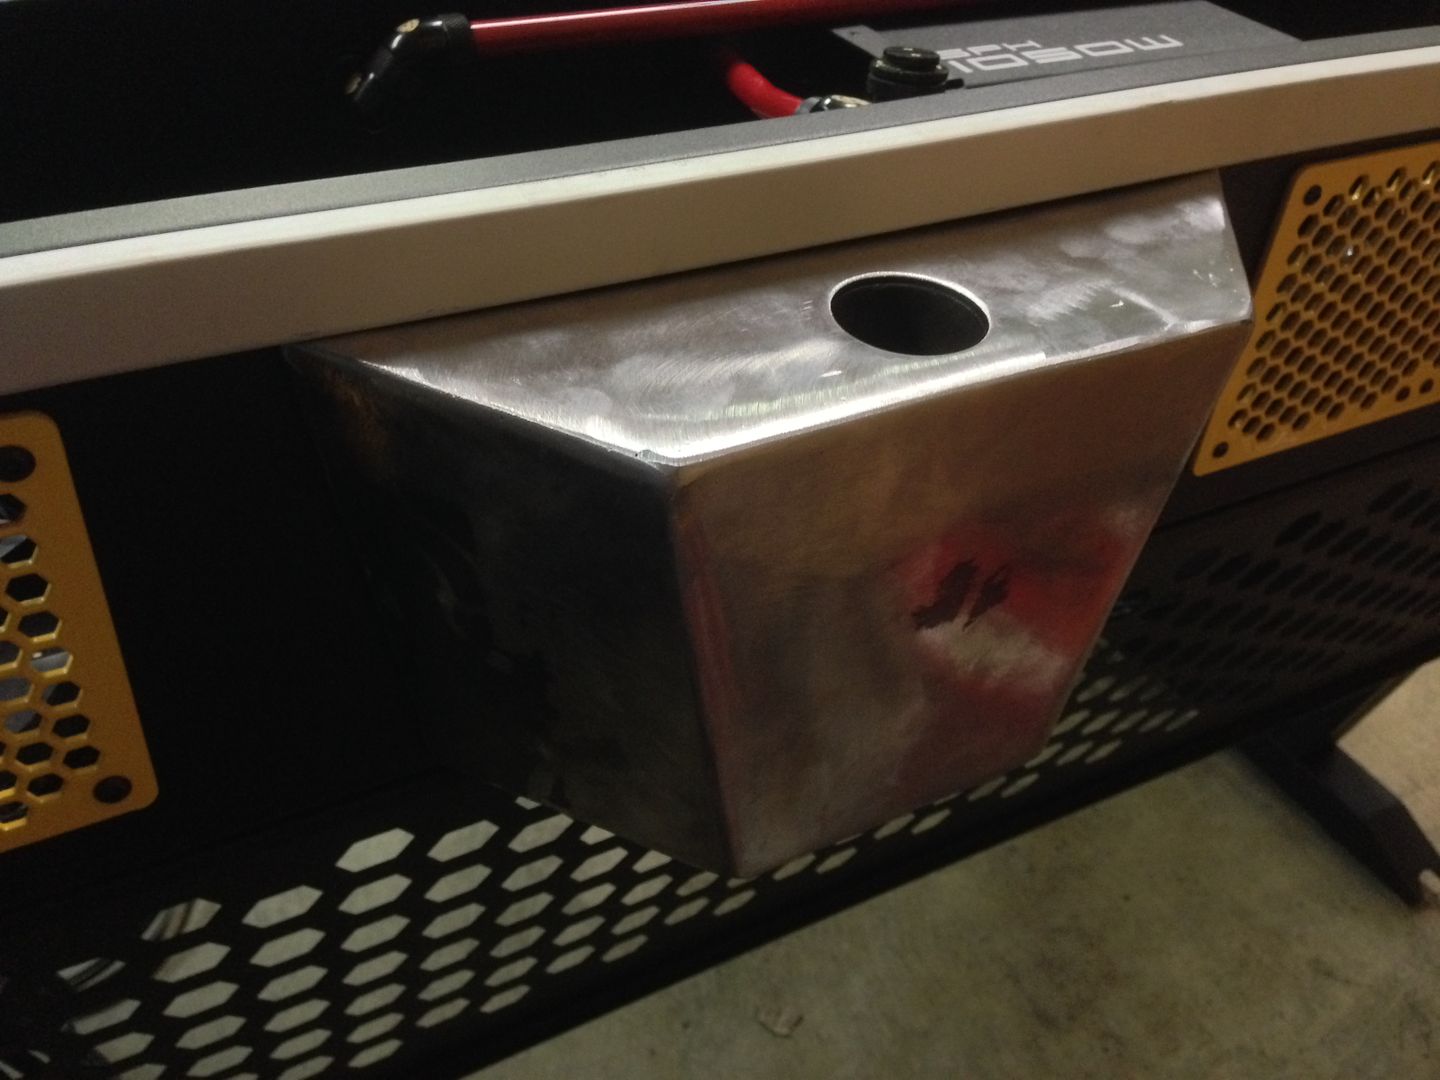
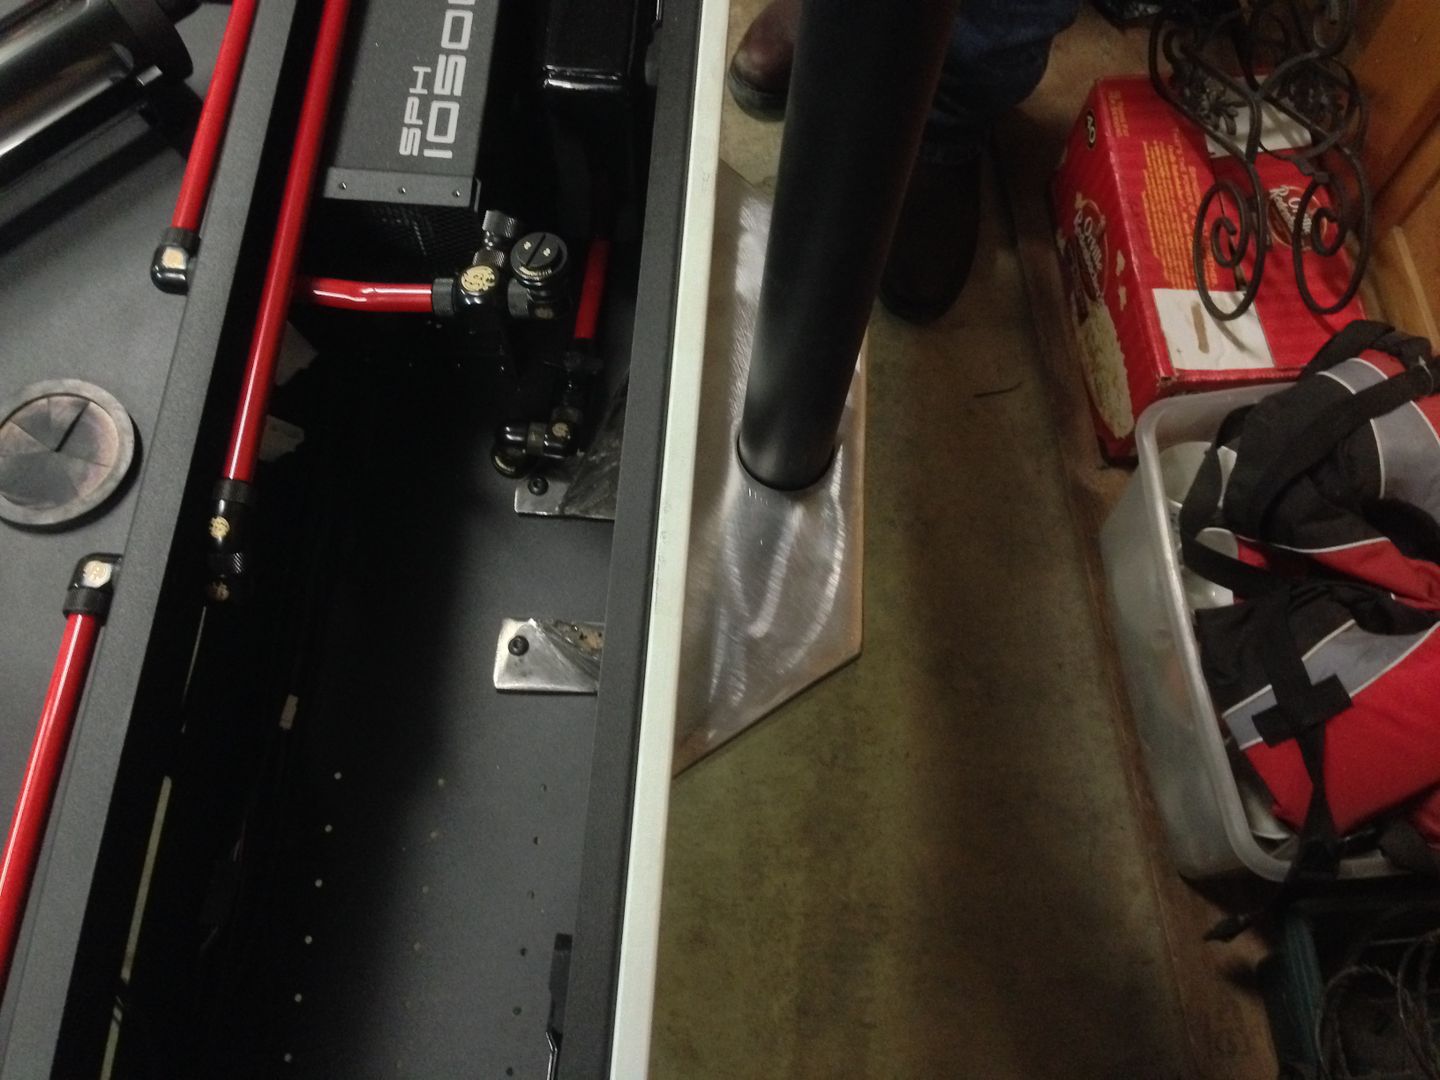
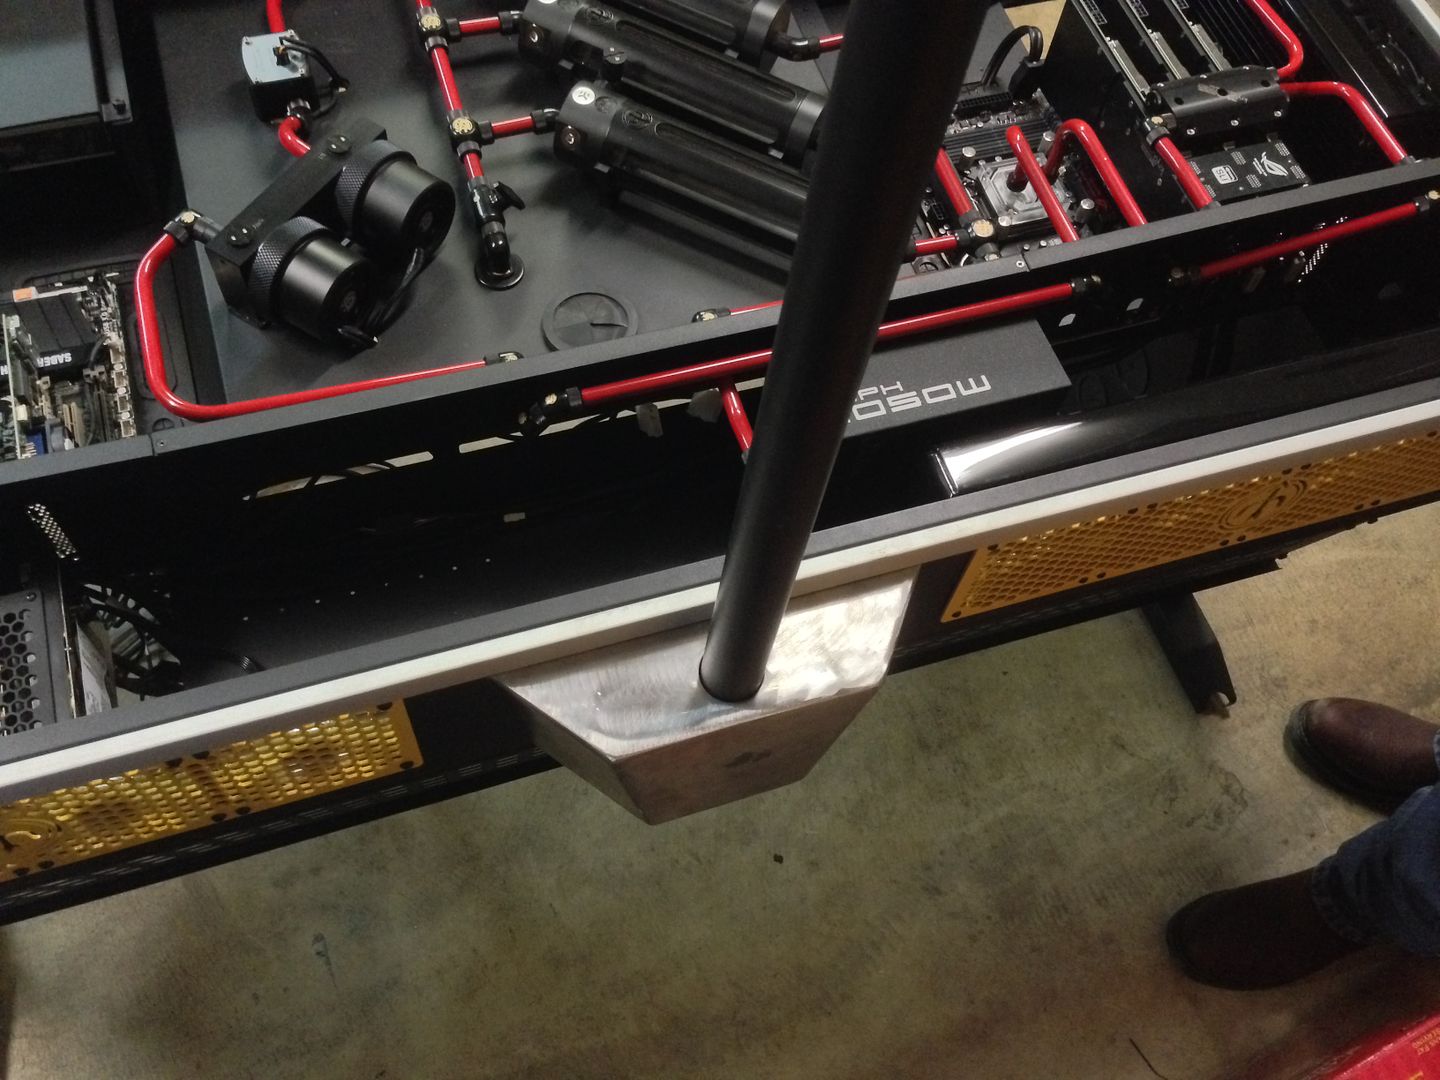
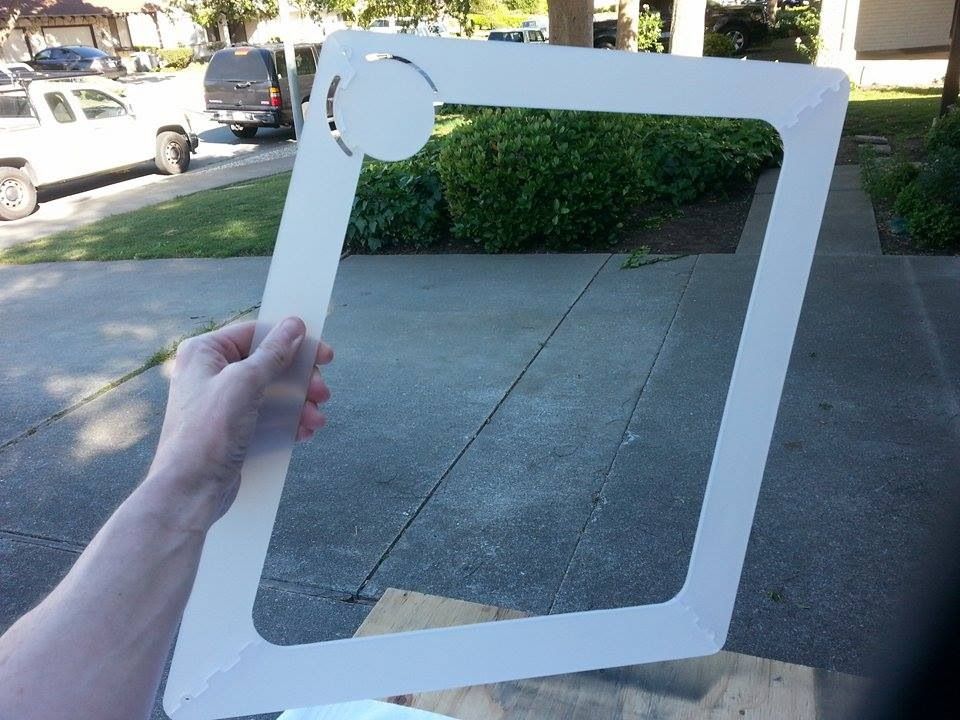
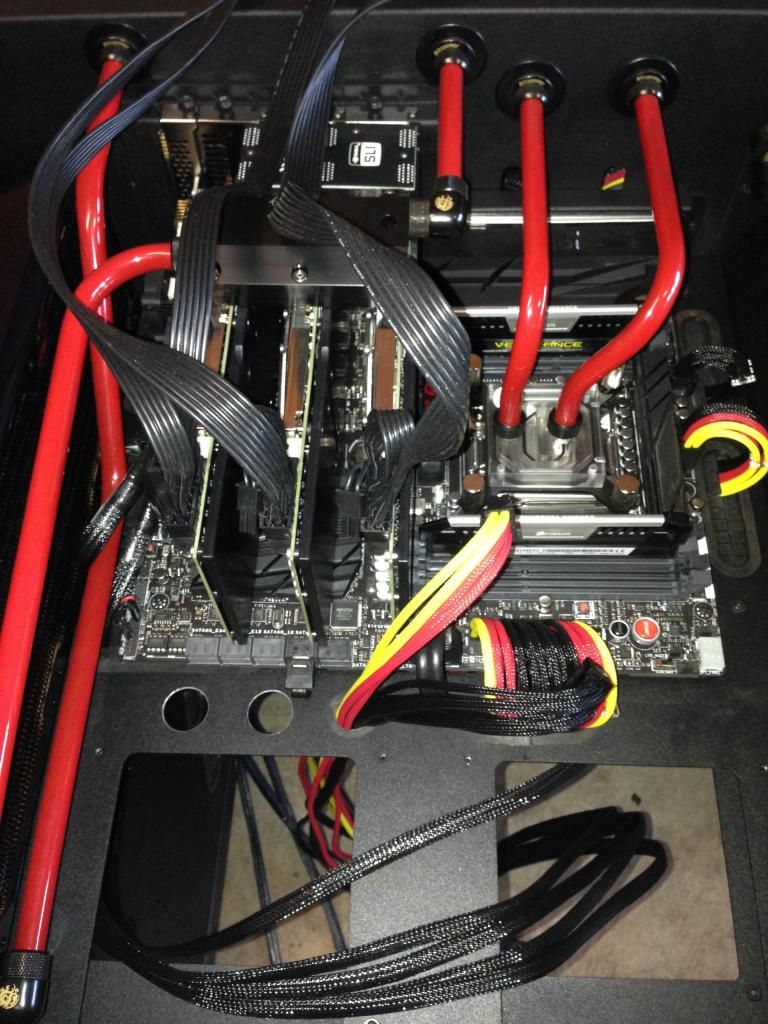
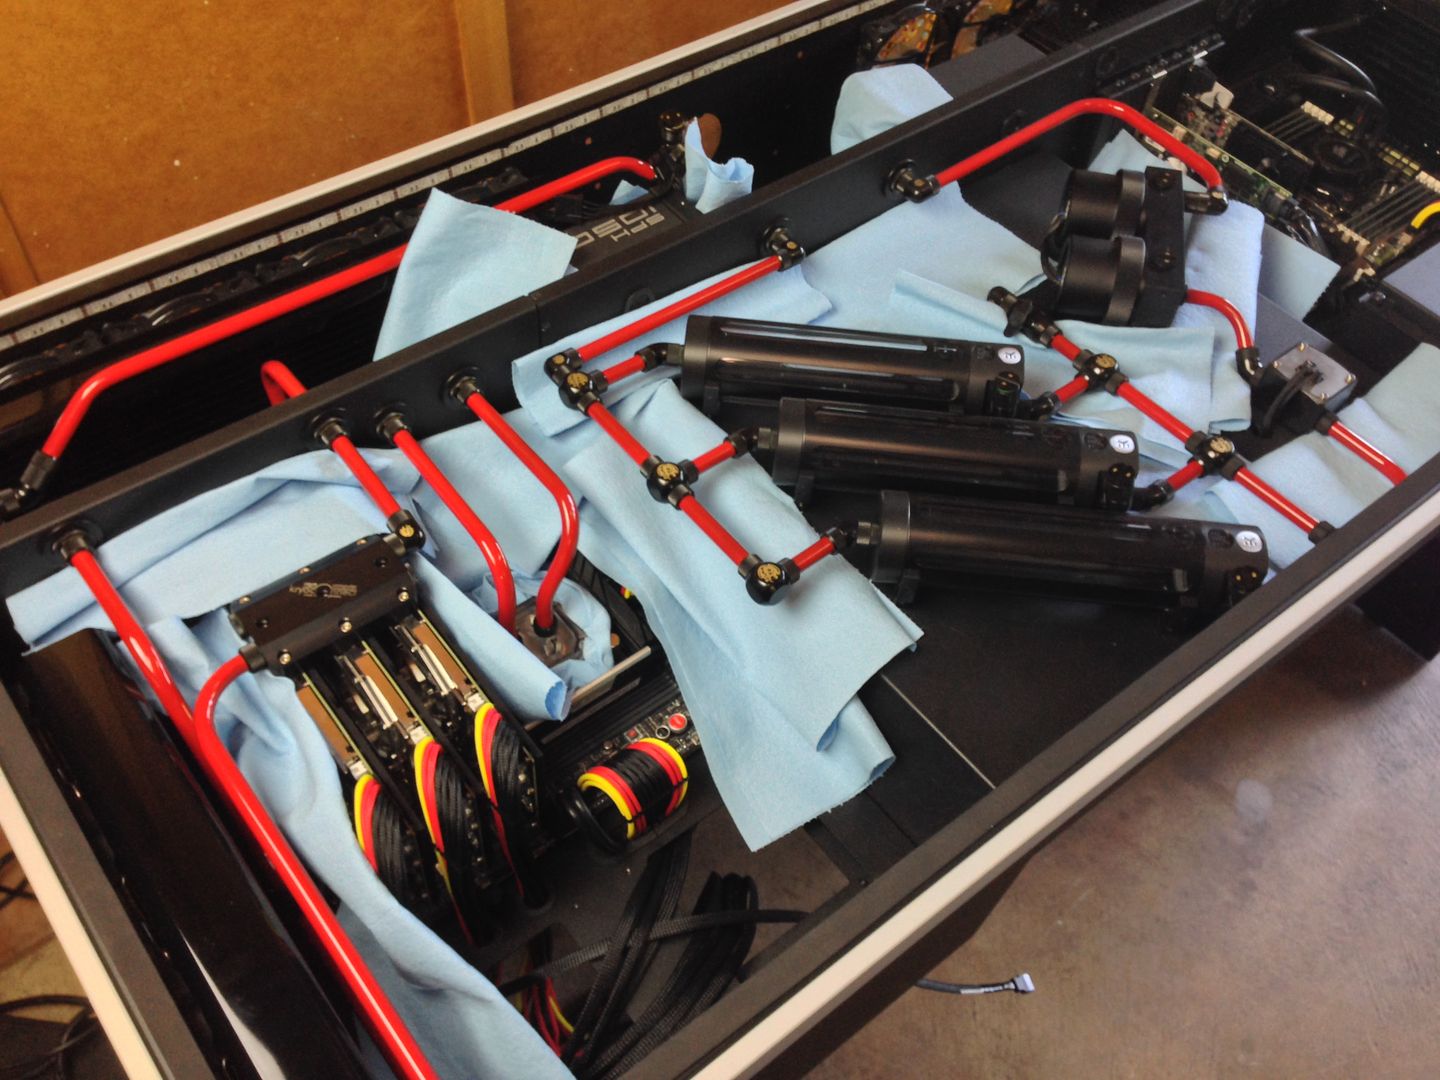
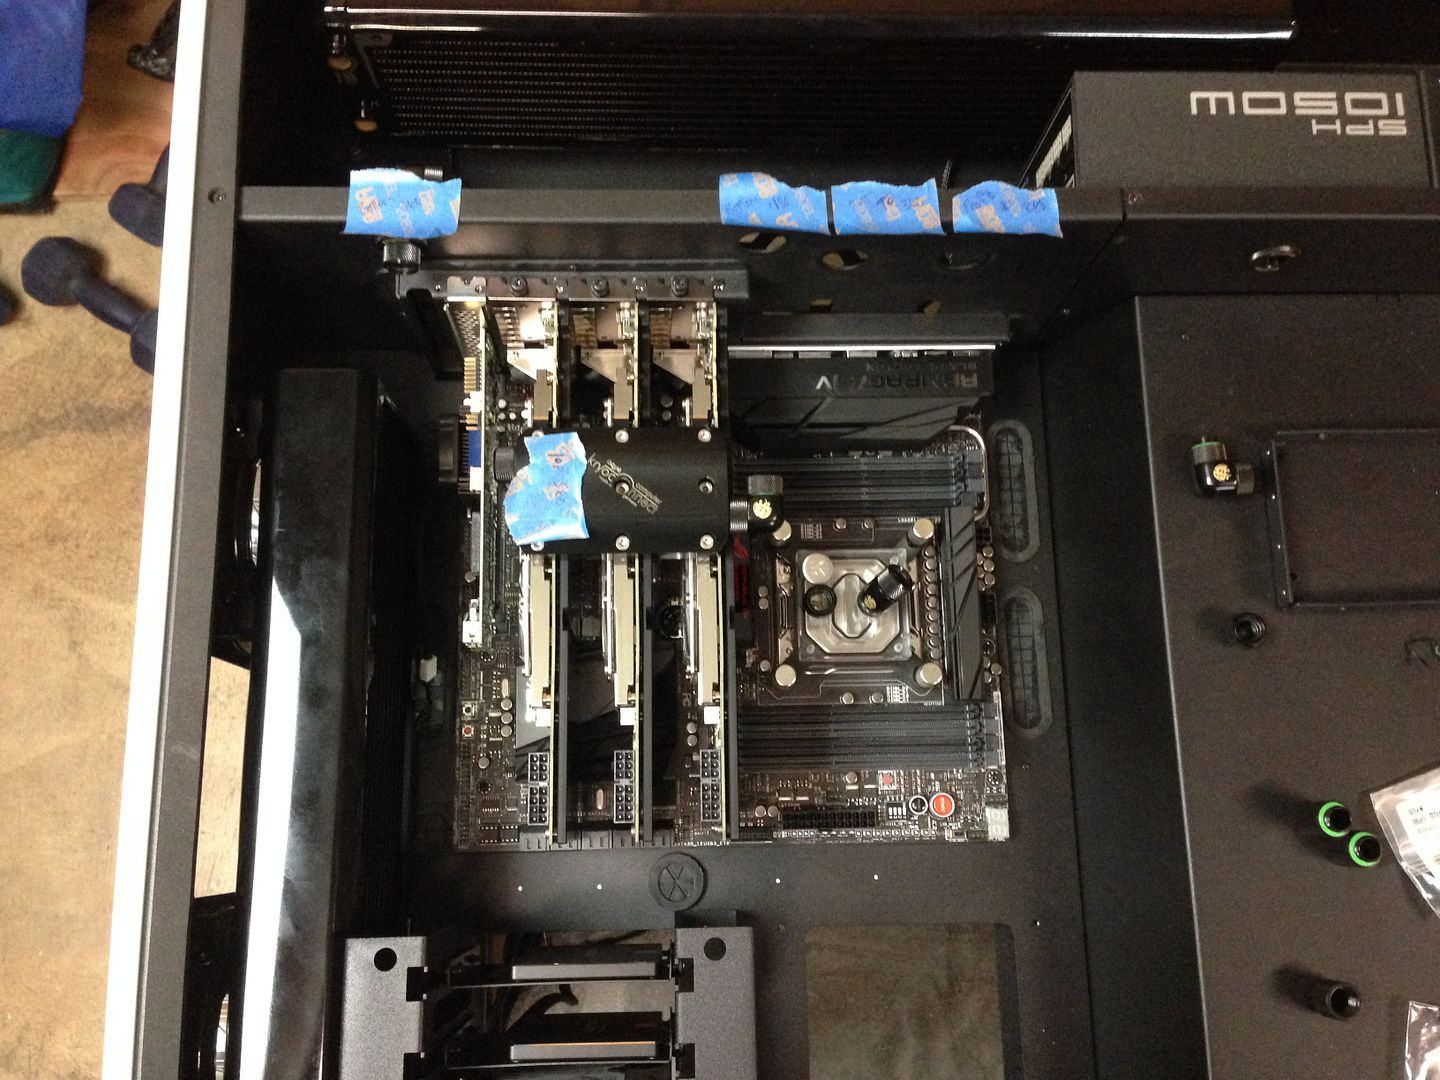
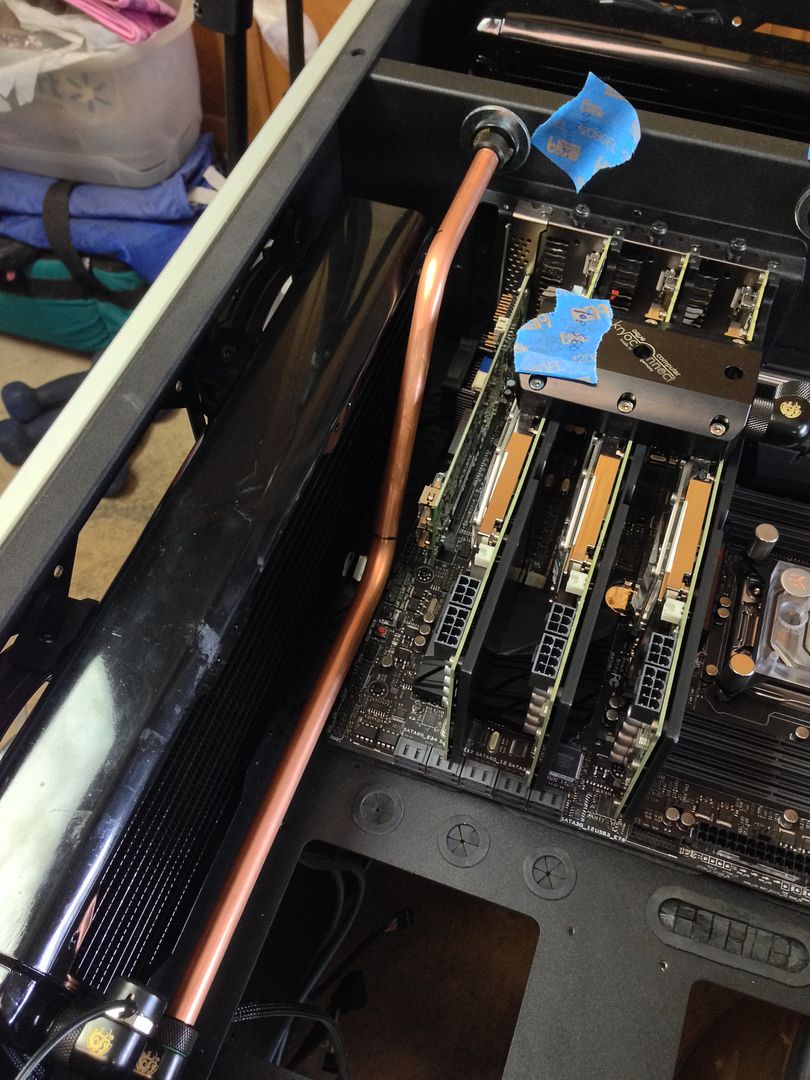
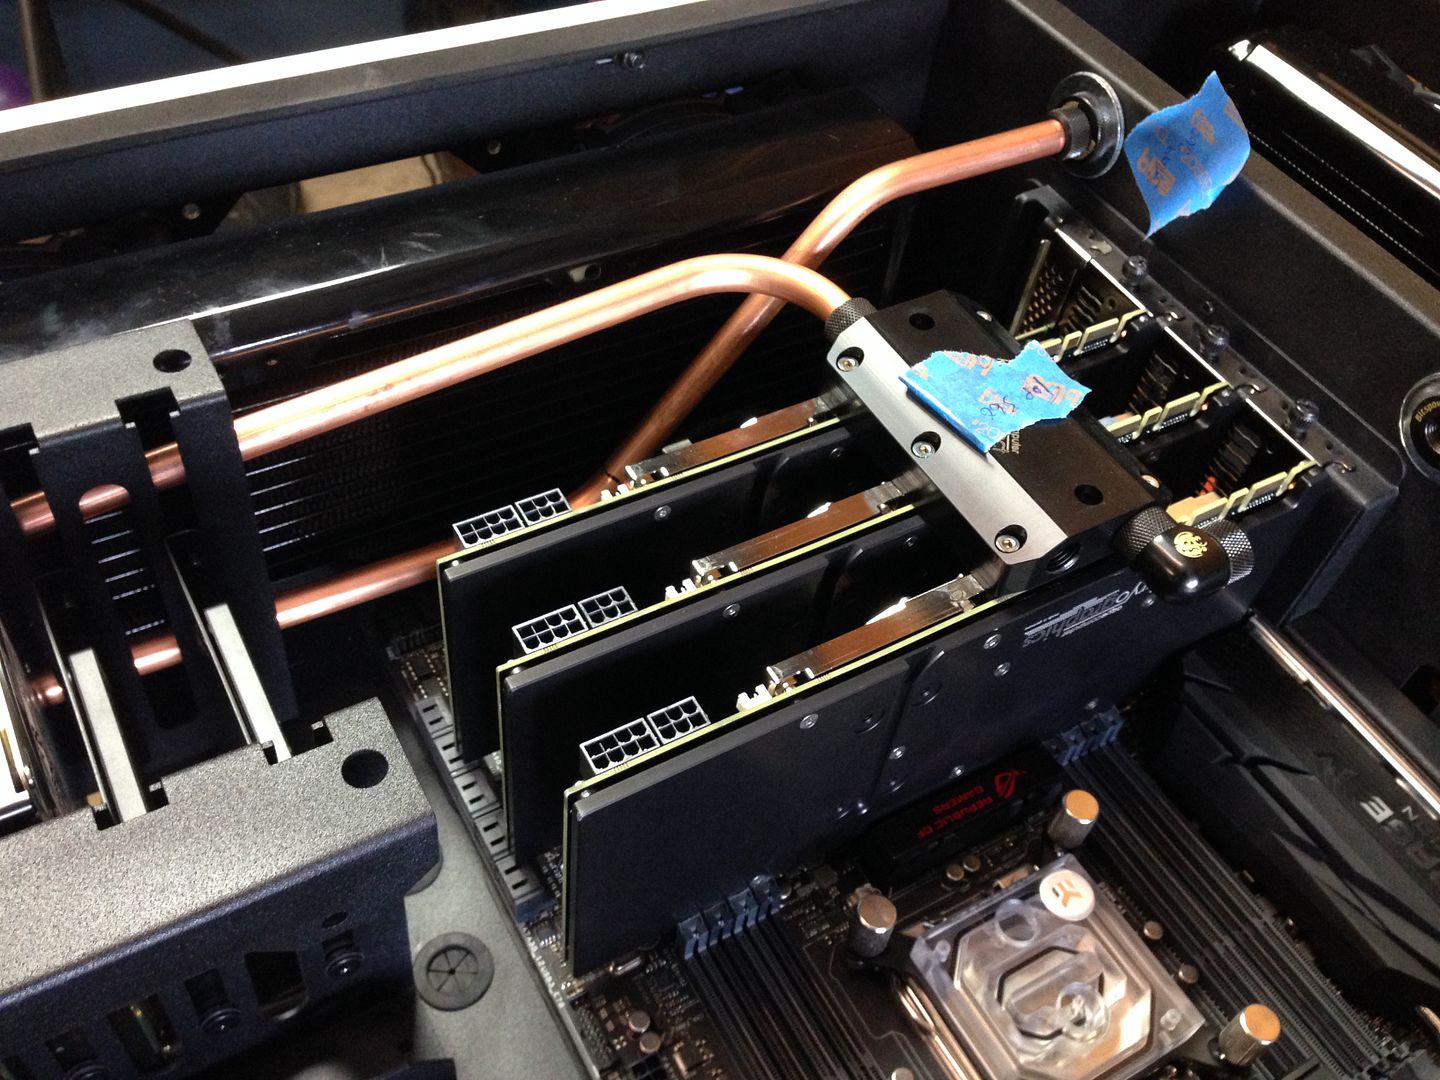
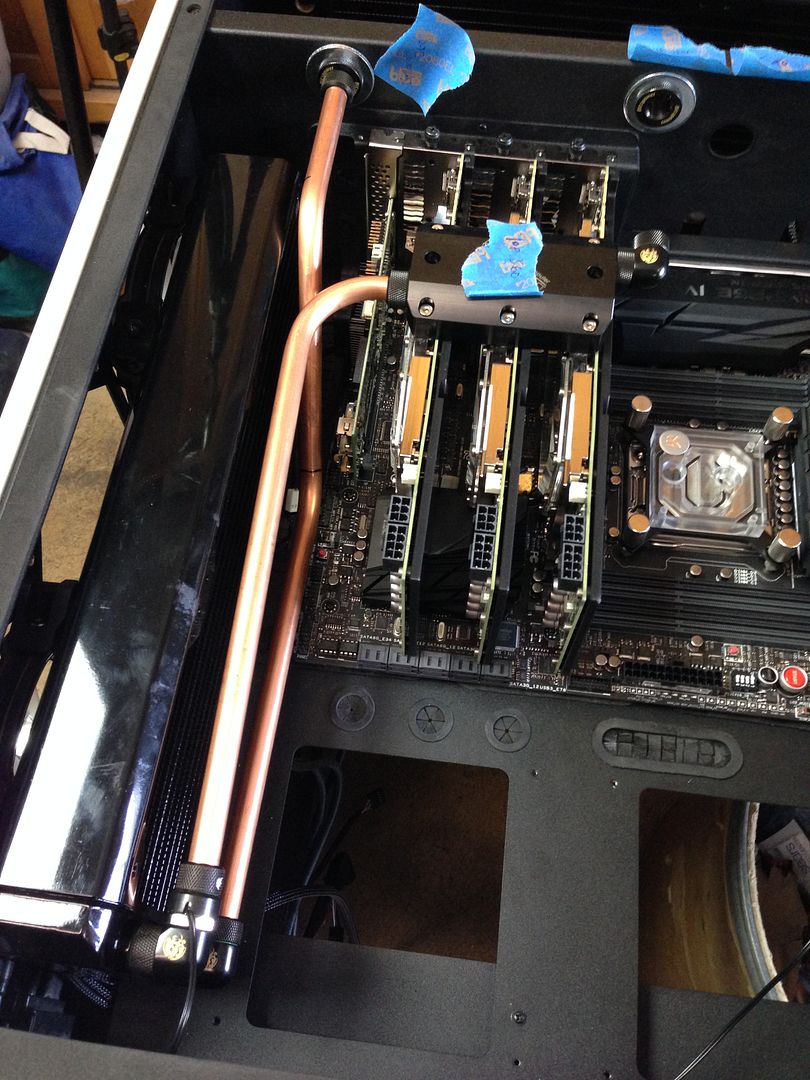
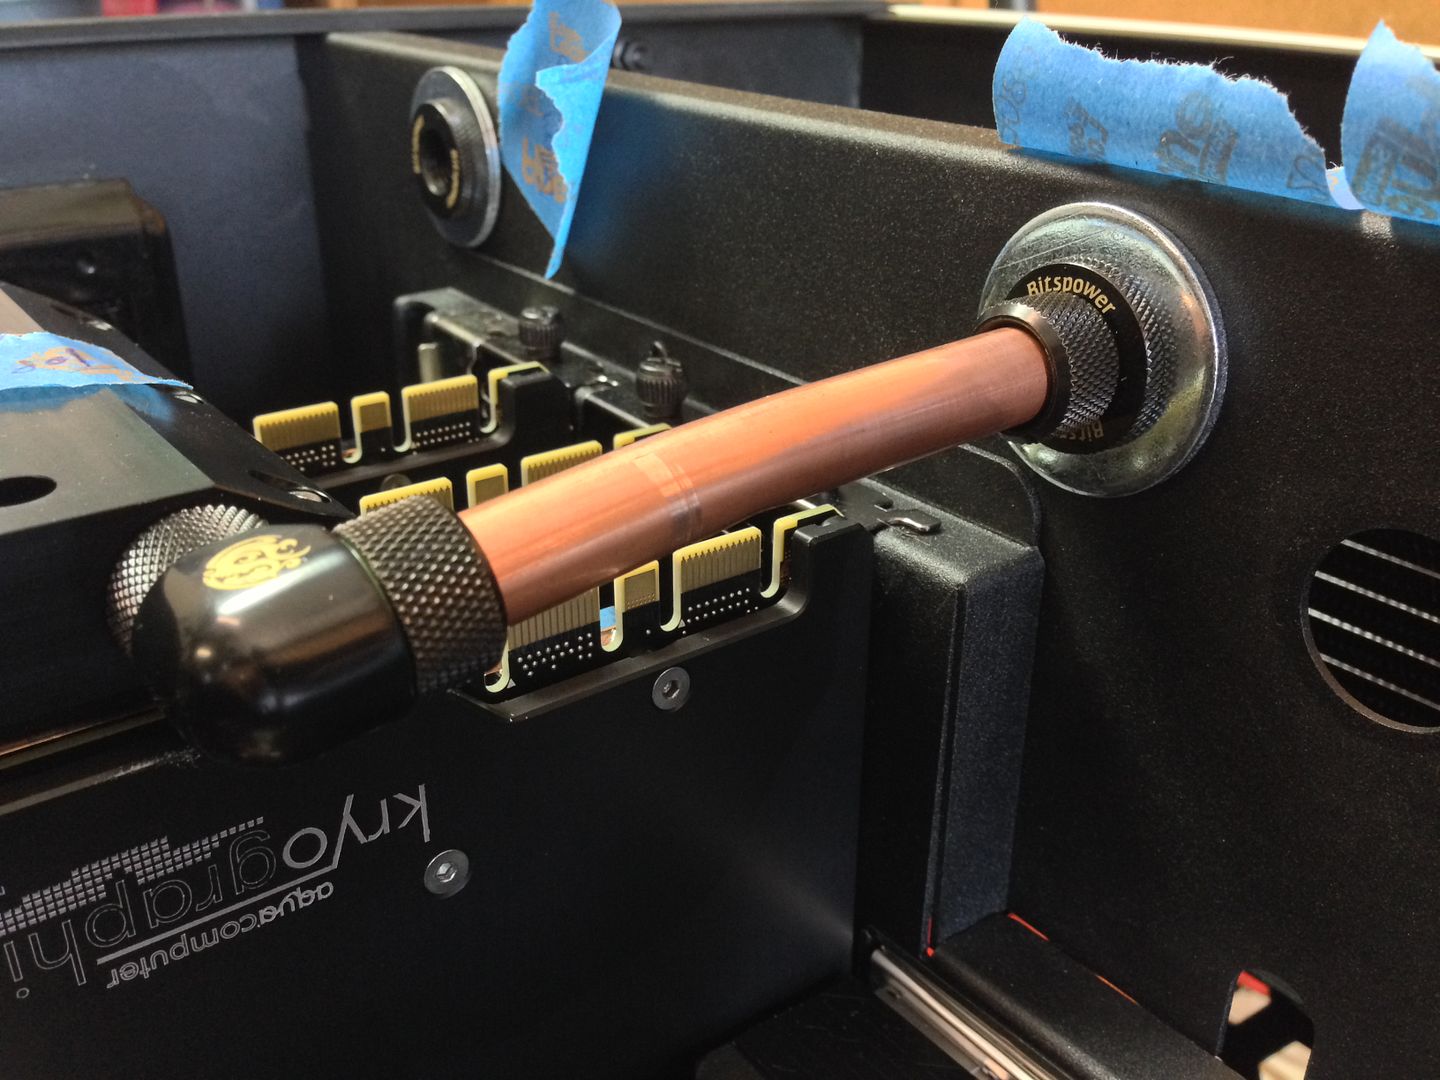
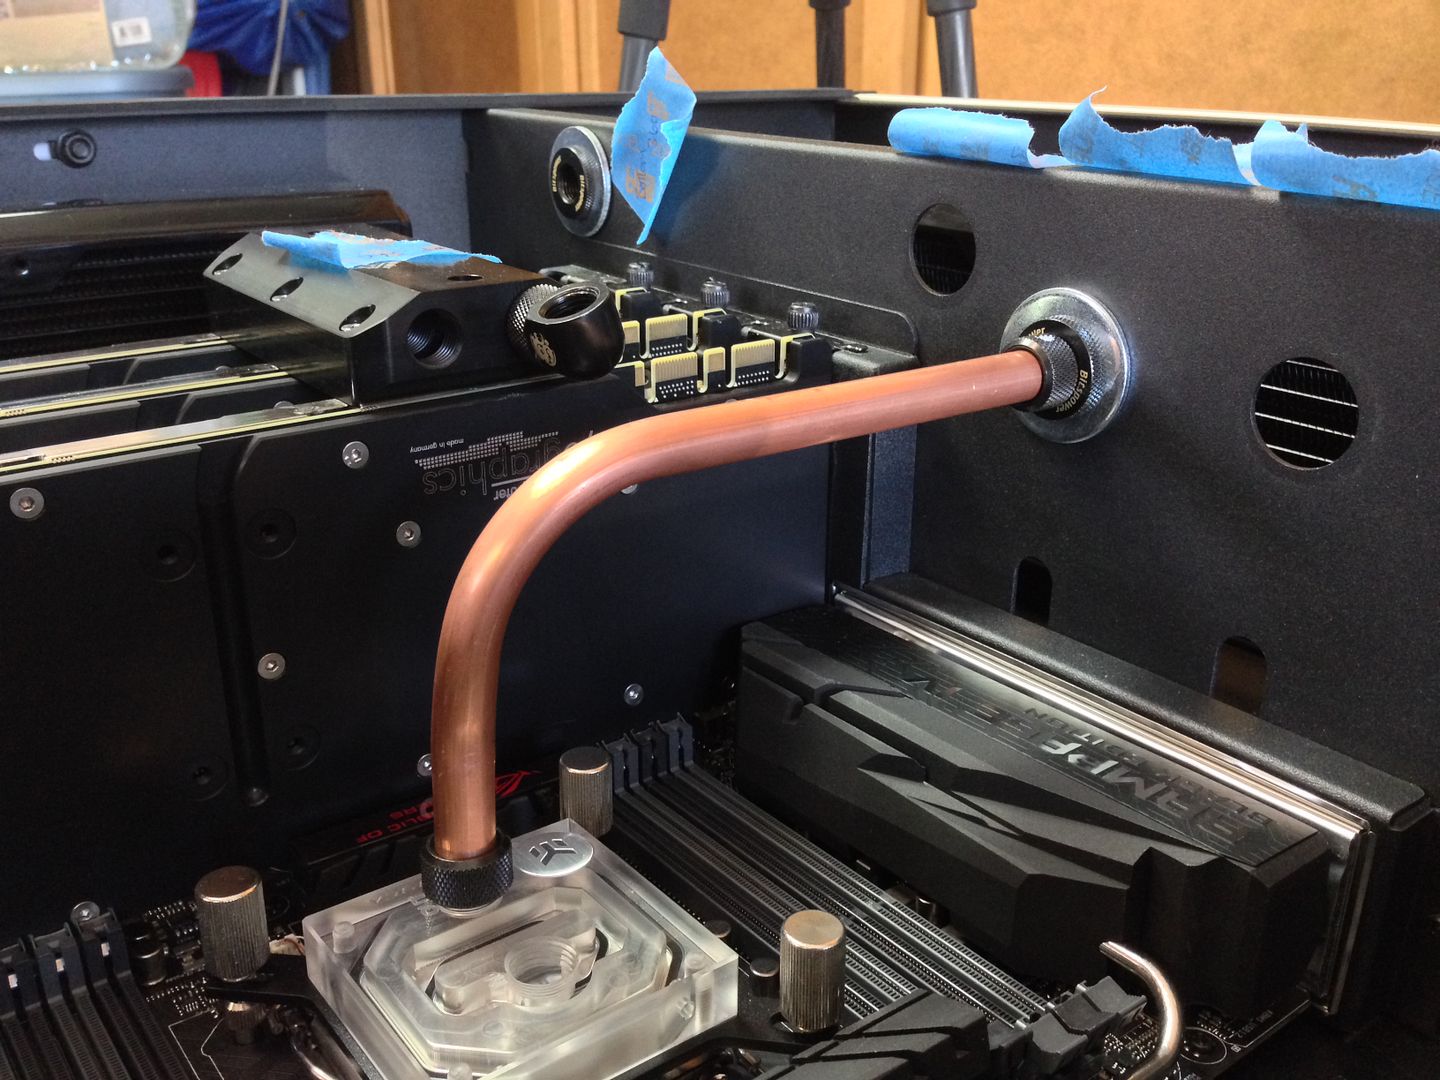
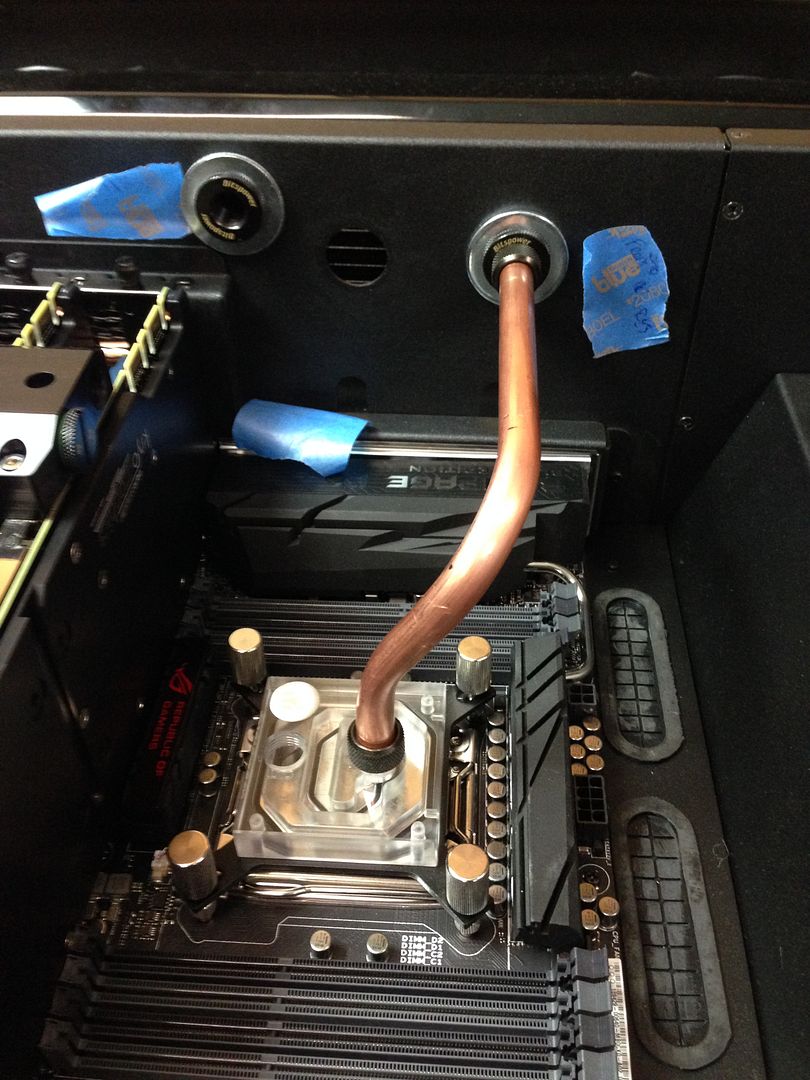
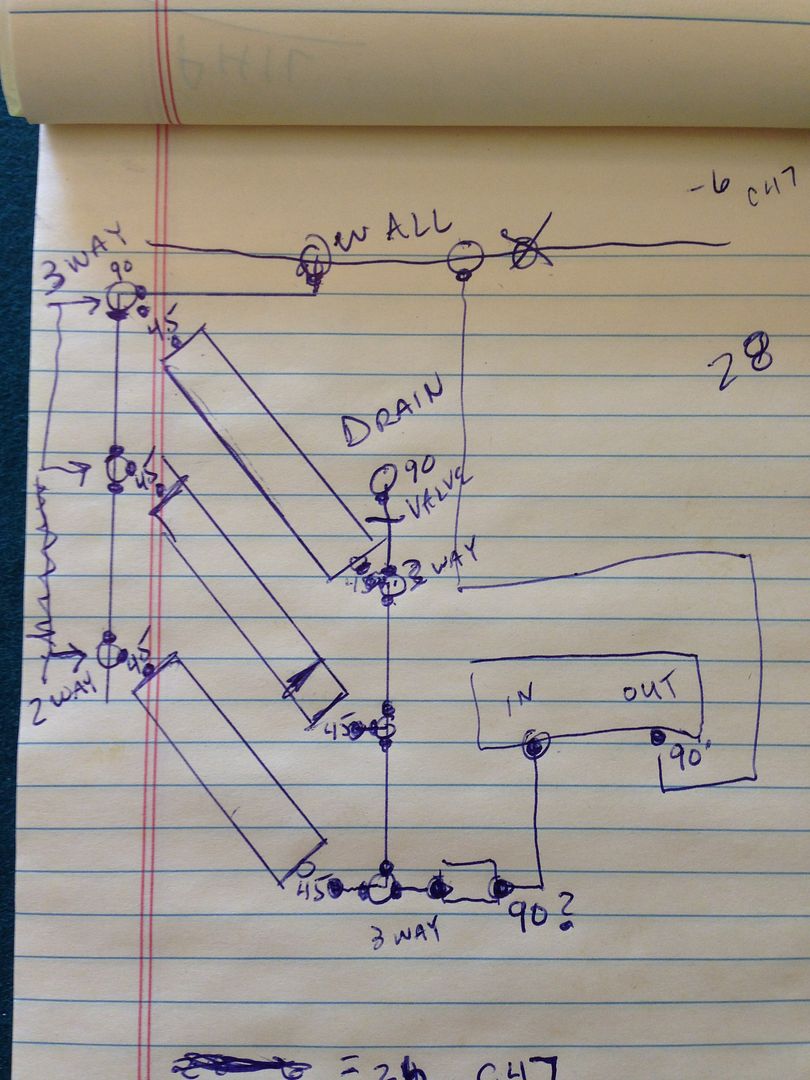
So lets move on to some water layout.
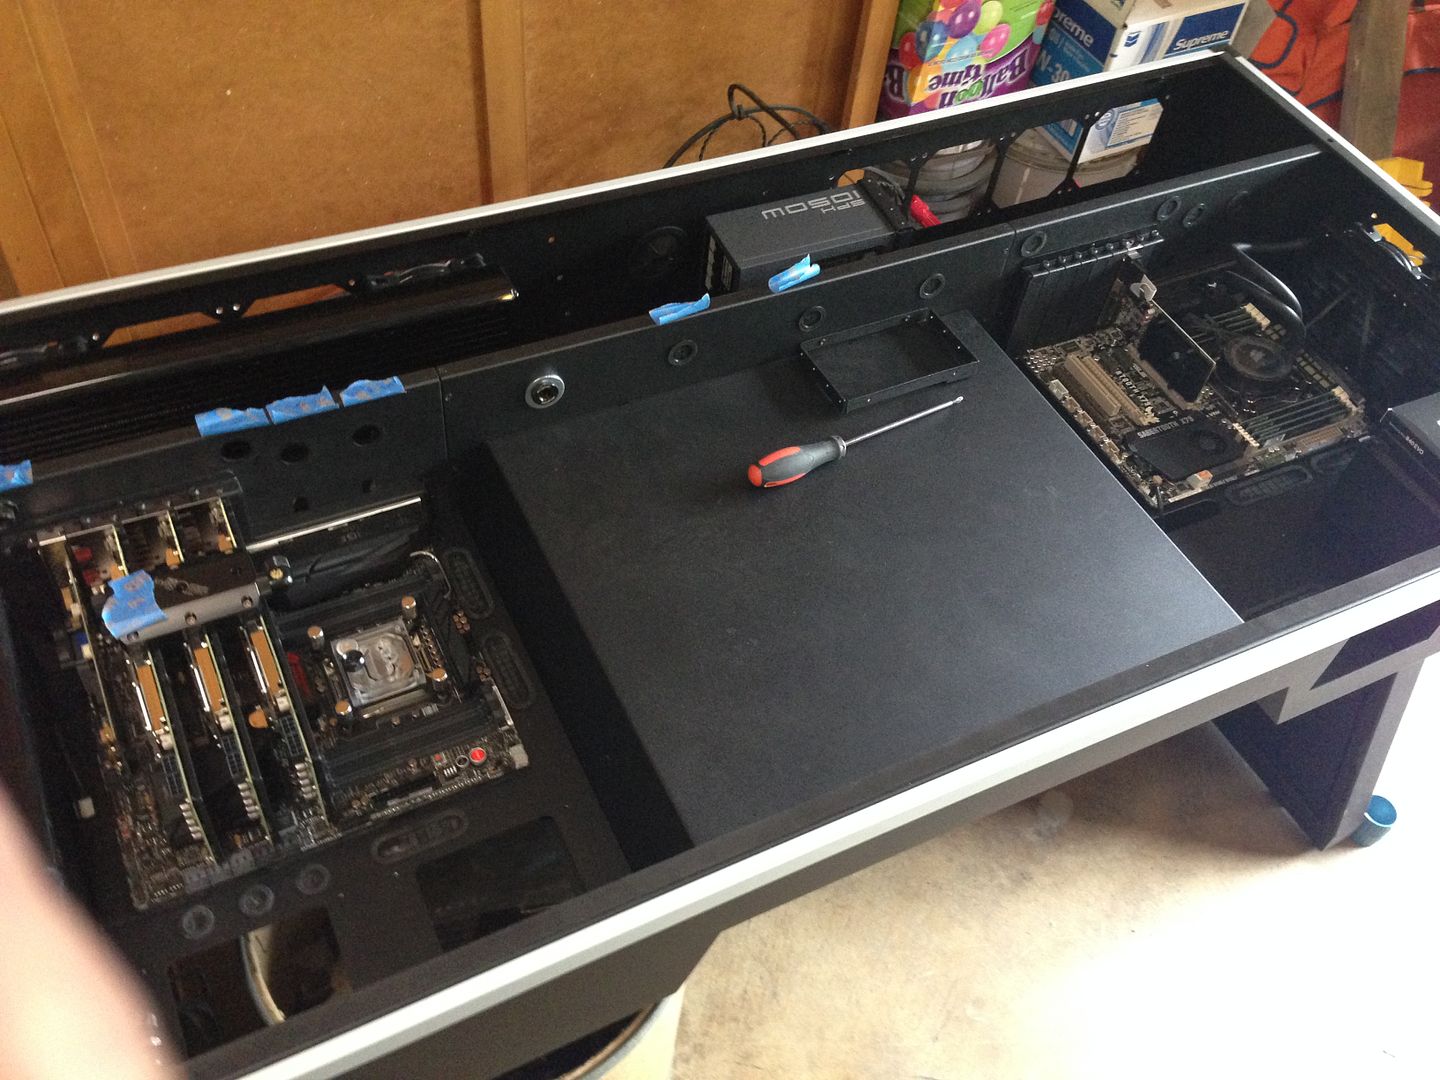
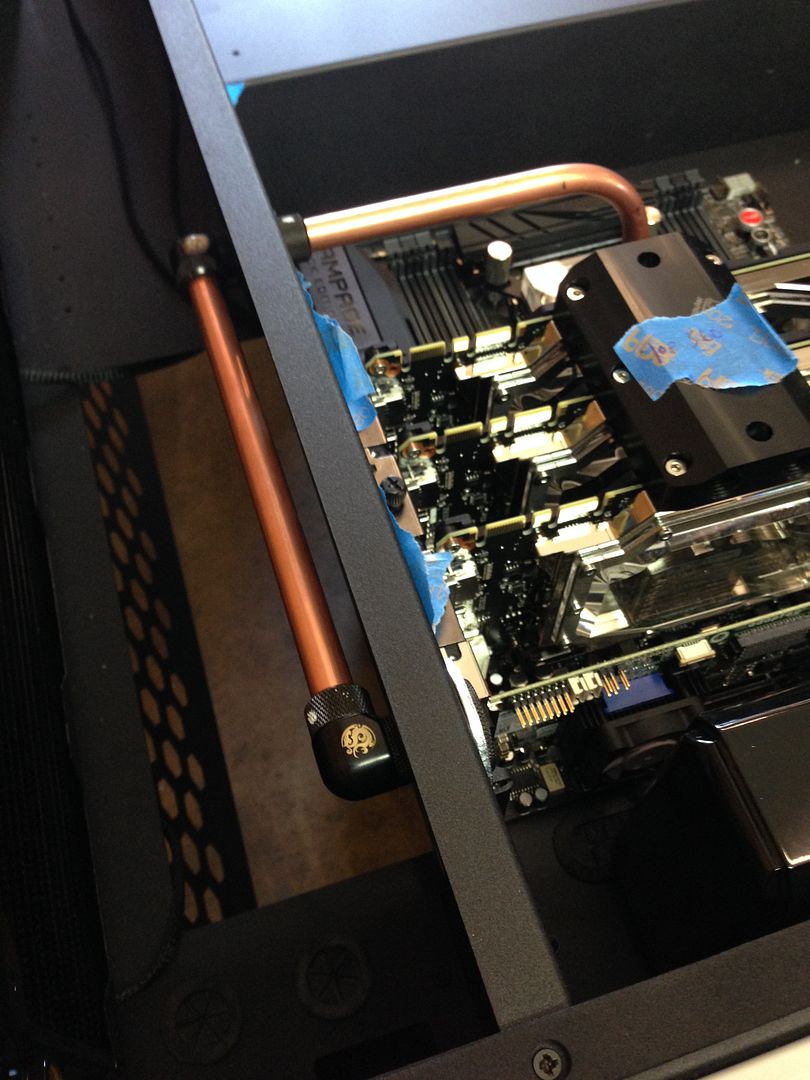
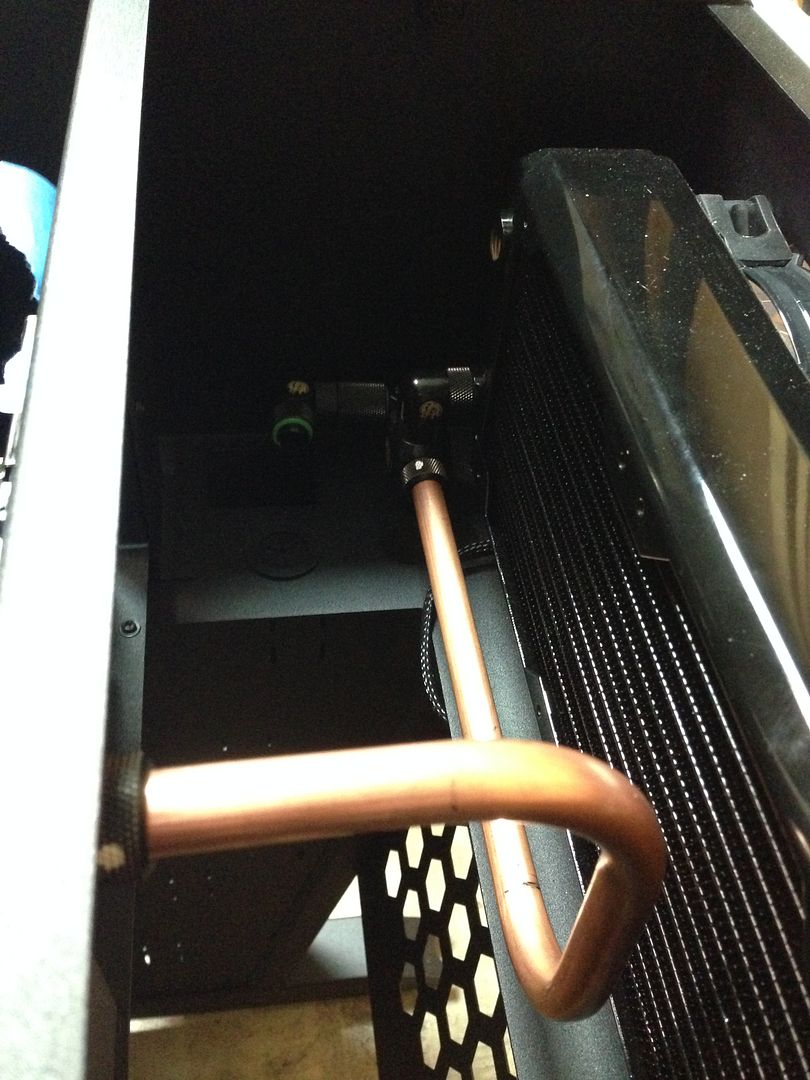
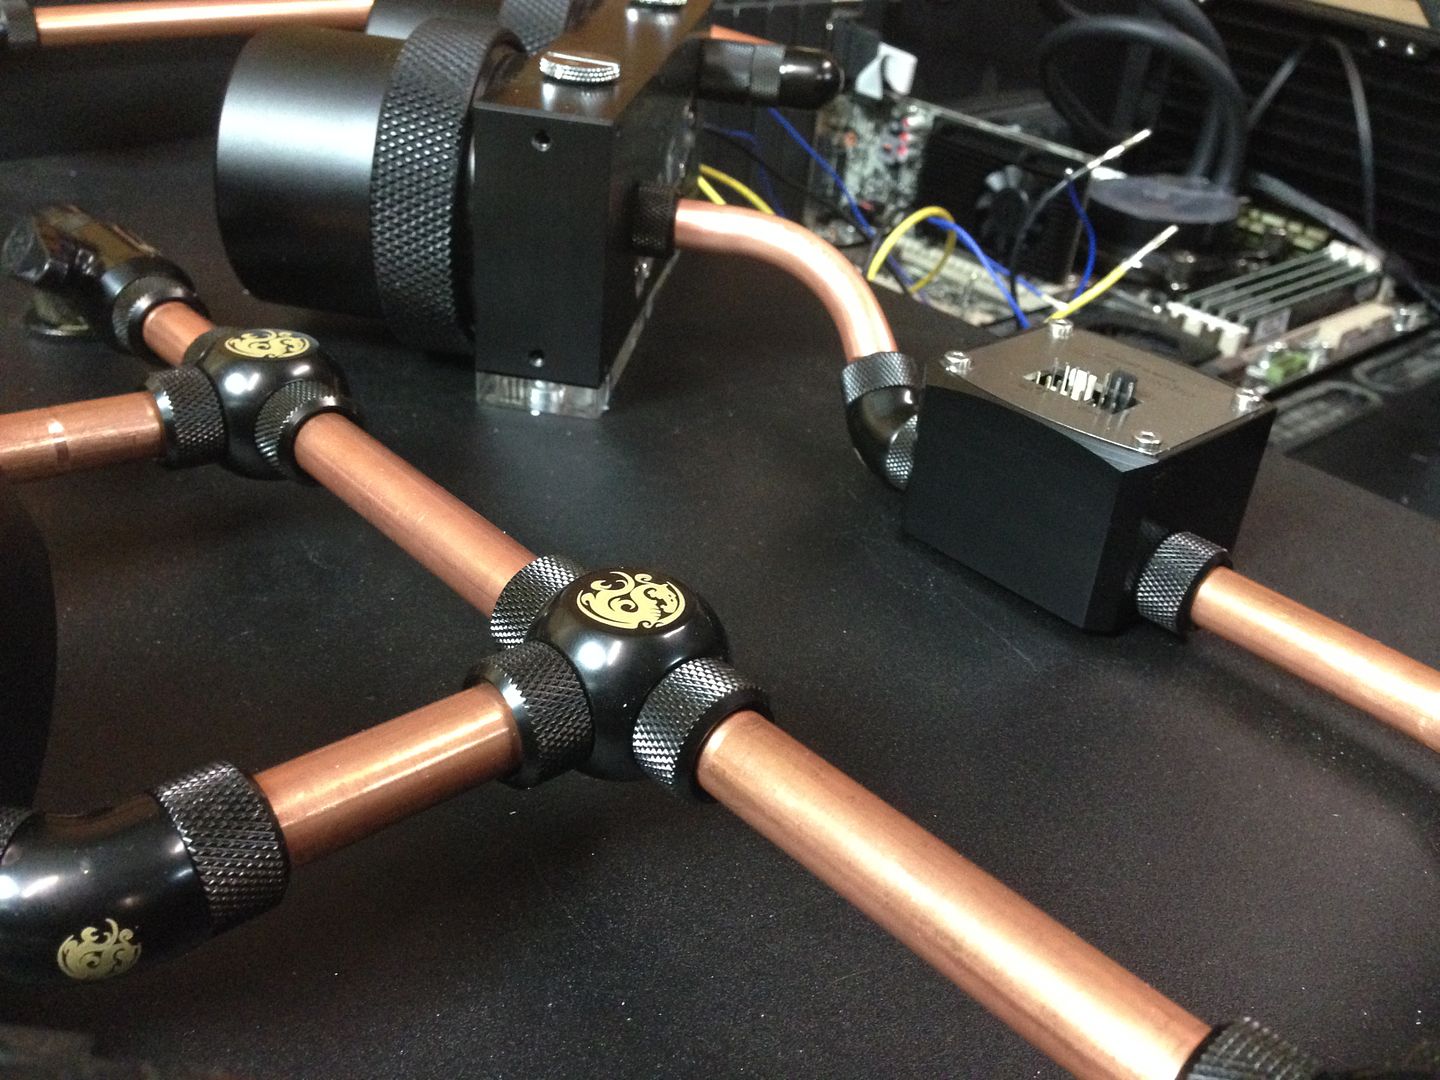
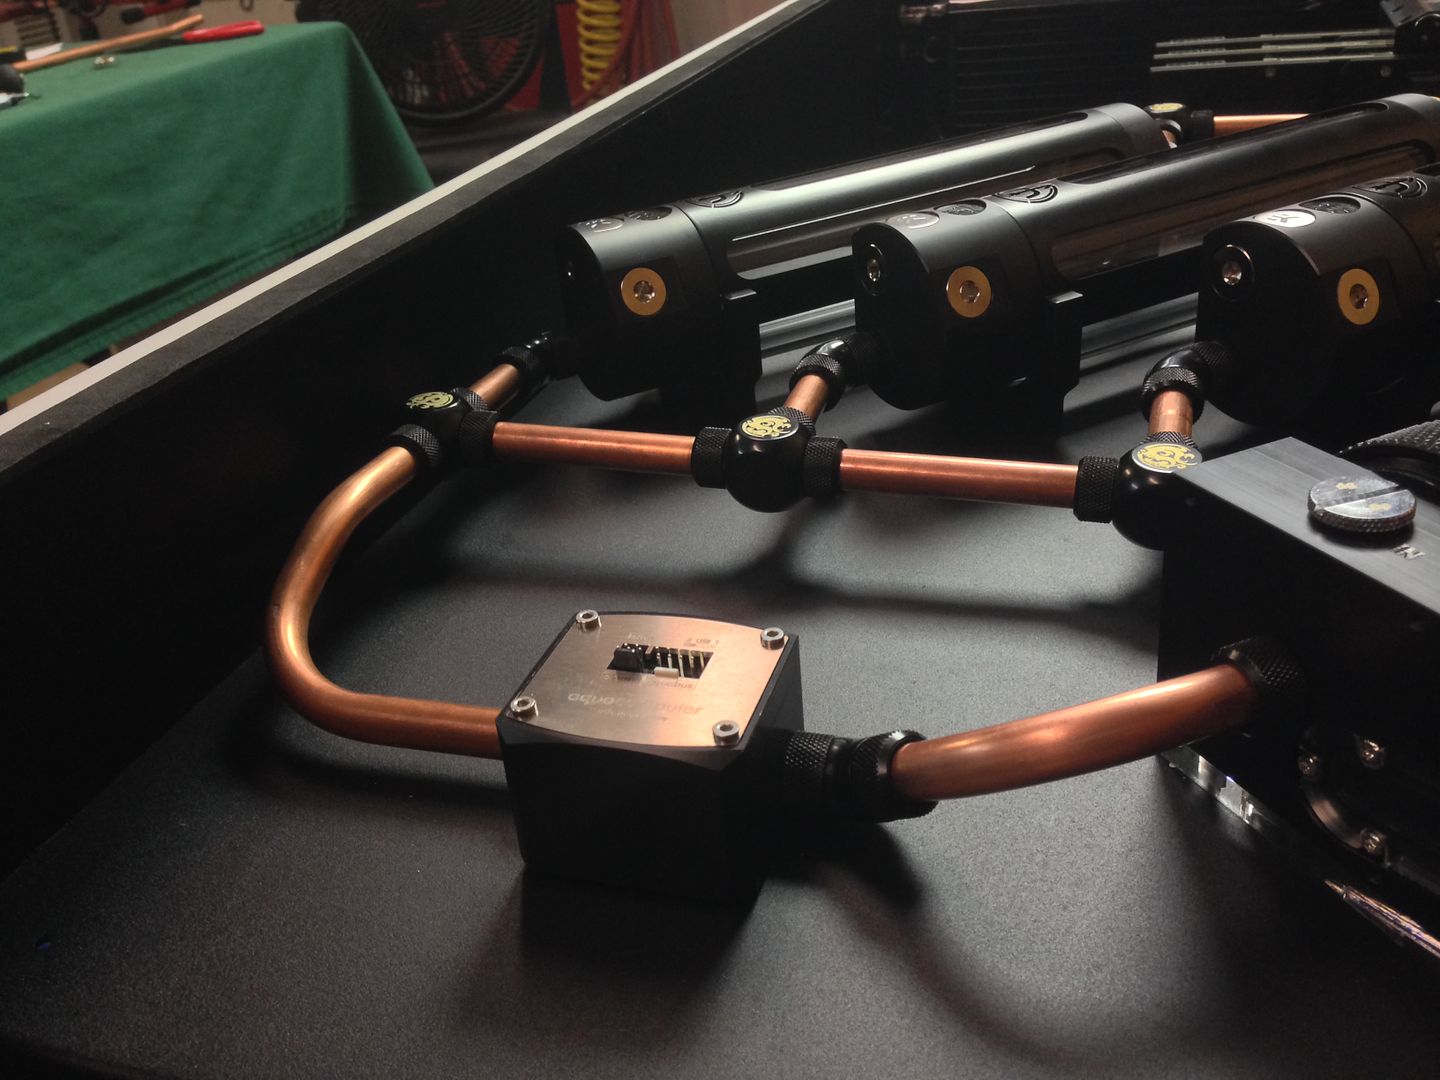
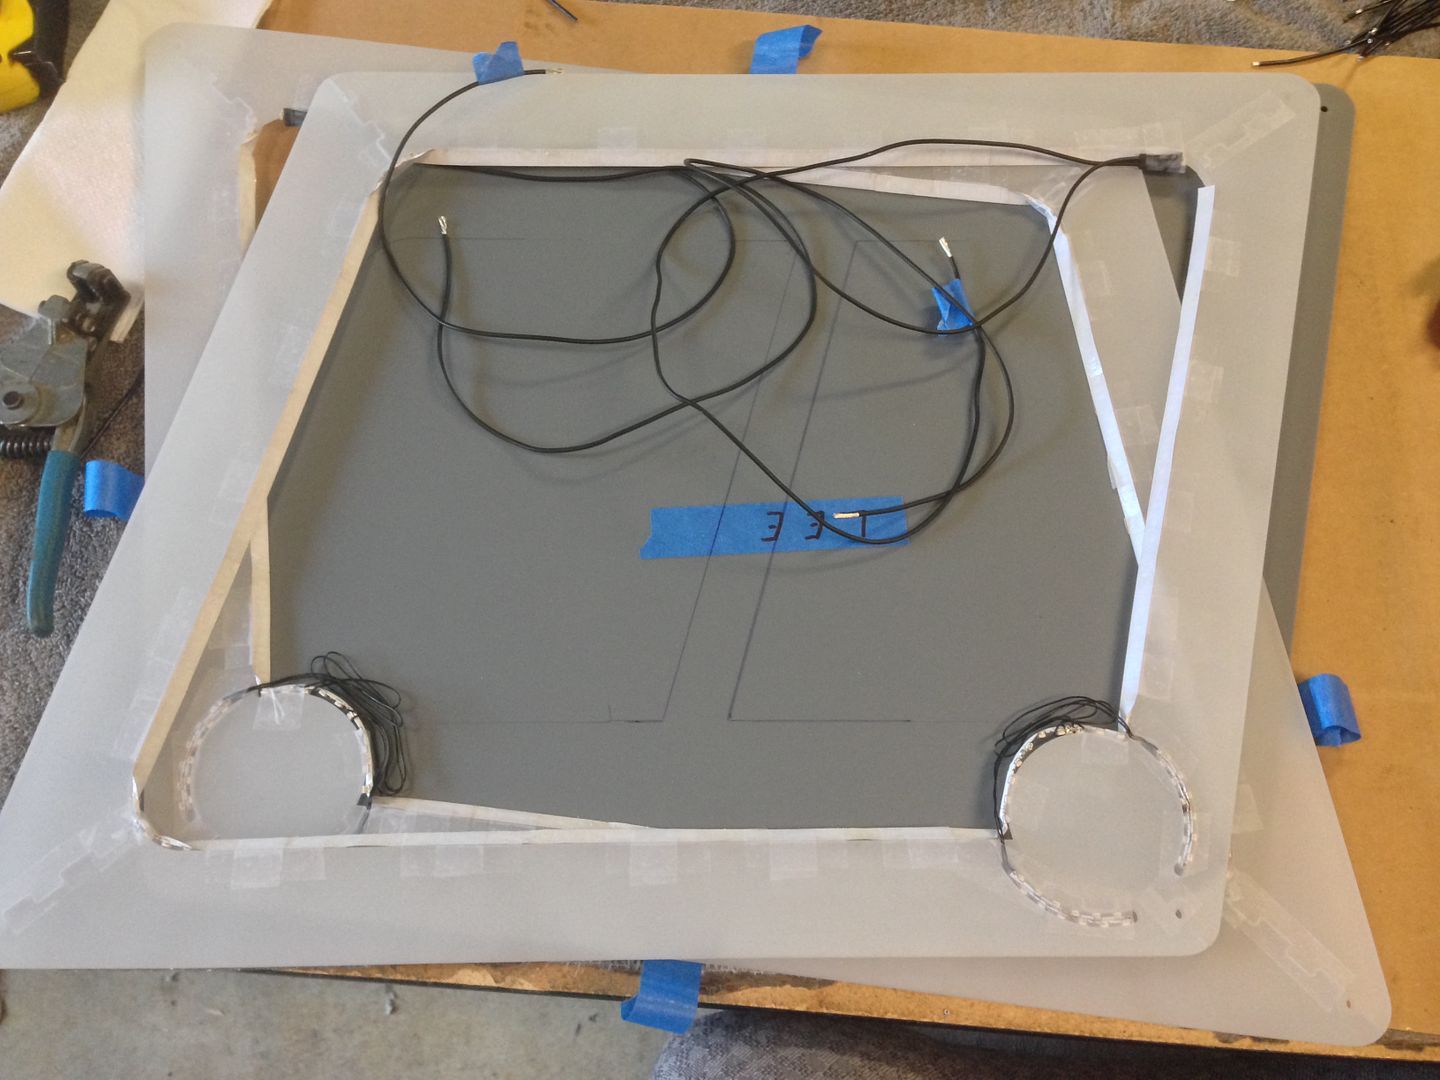
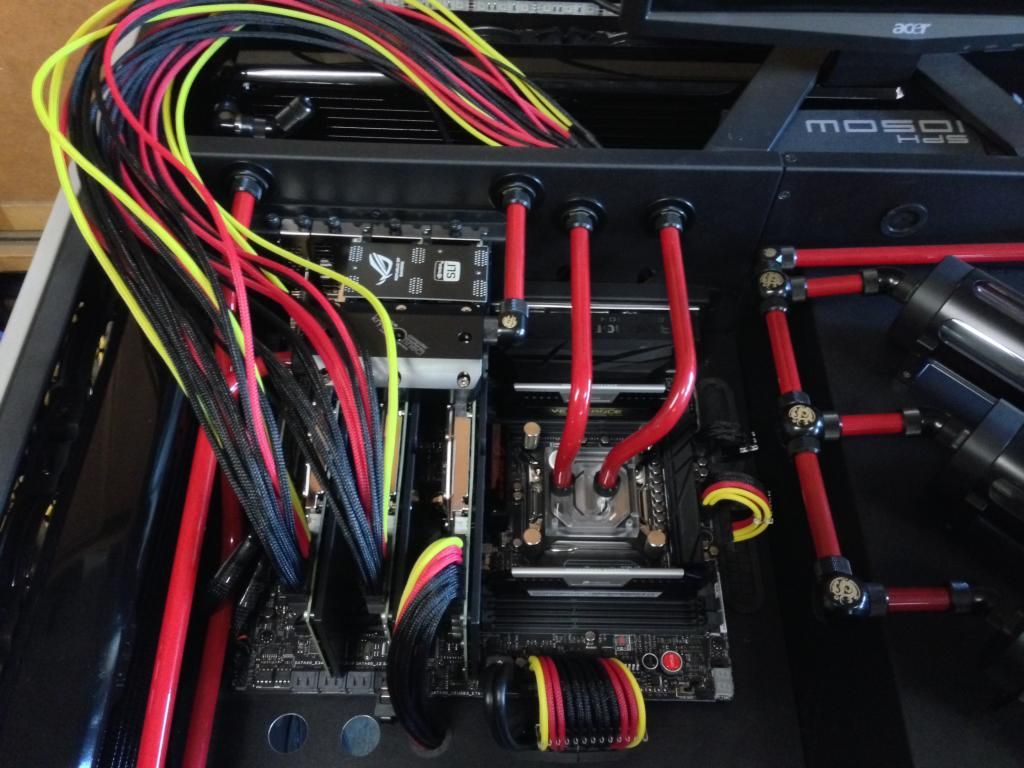
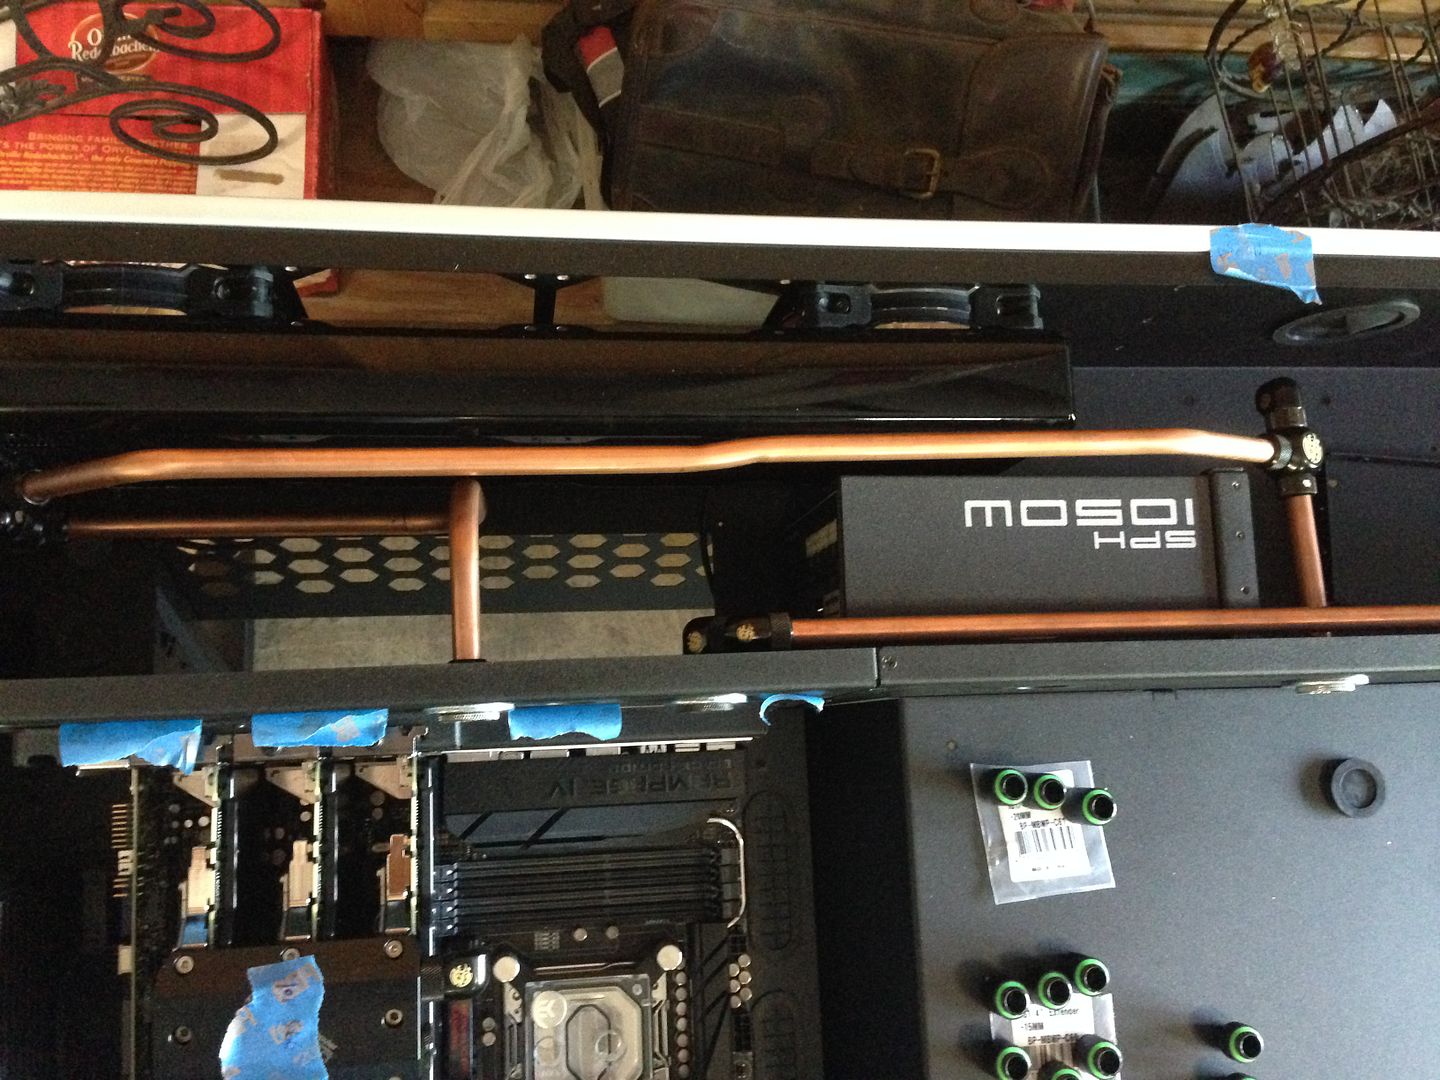
And here's a better look at the back area.
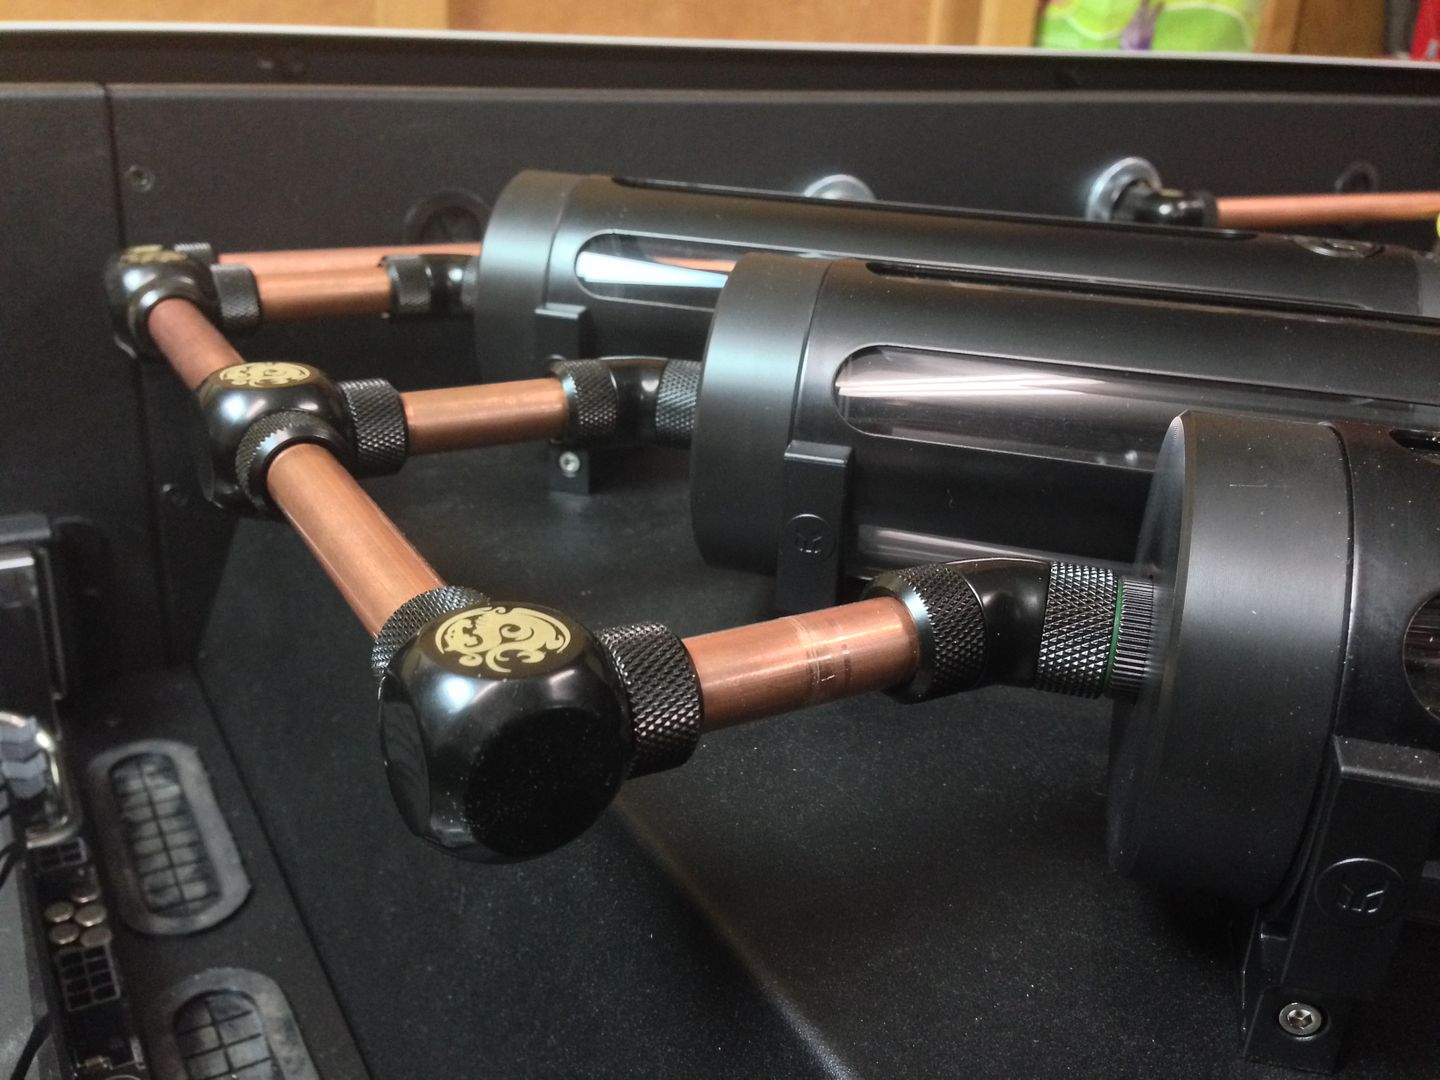
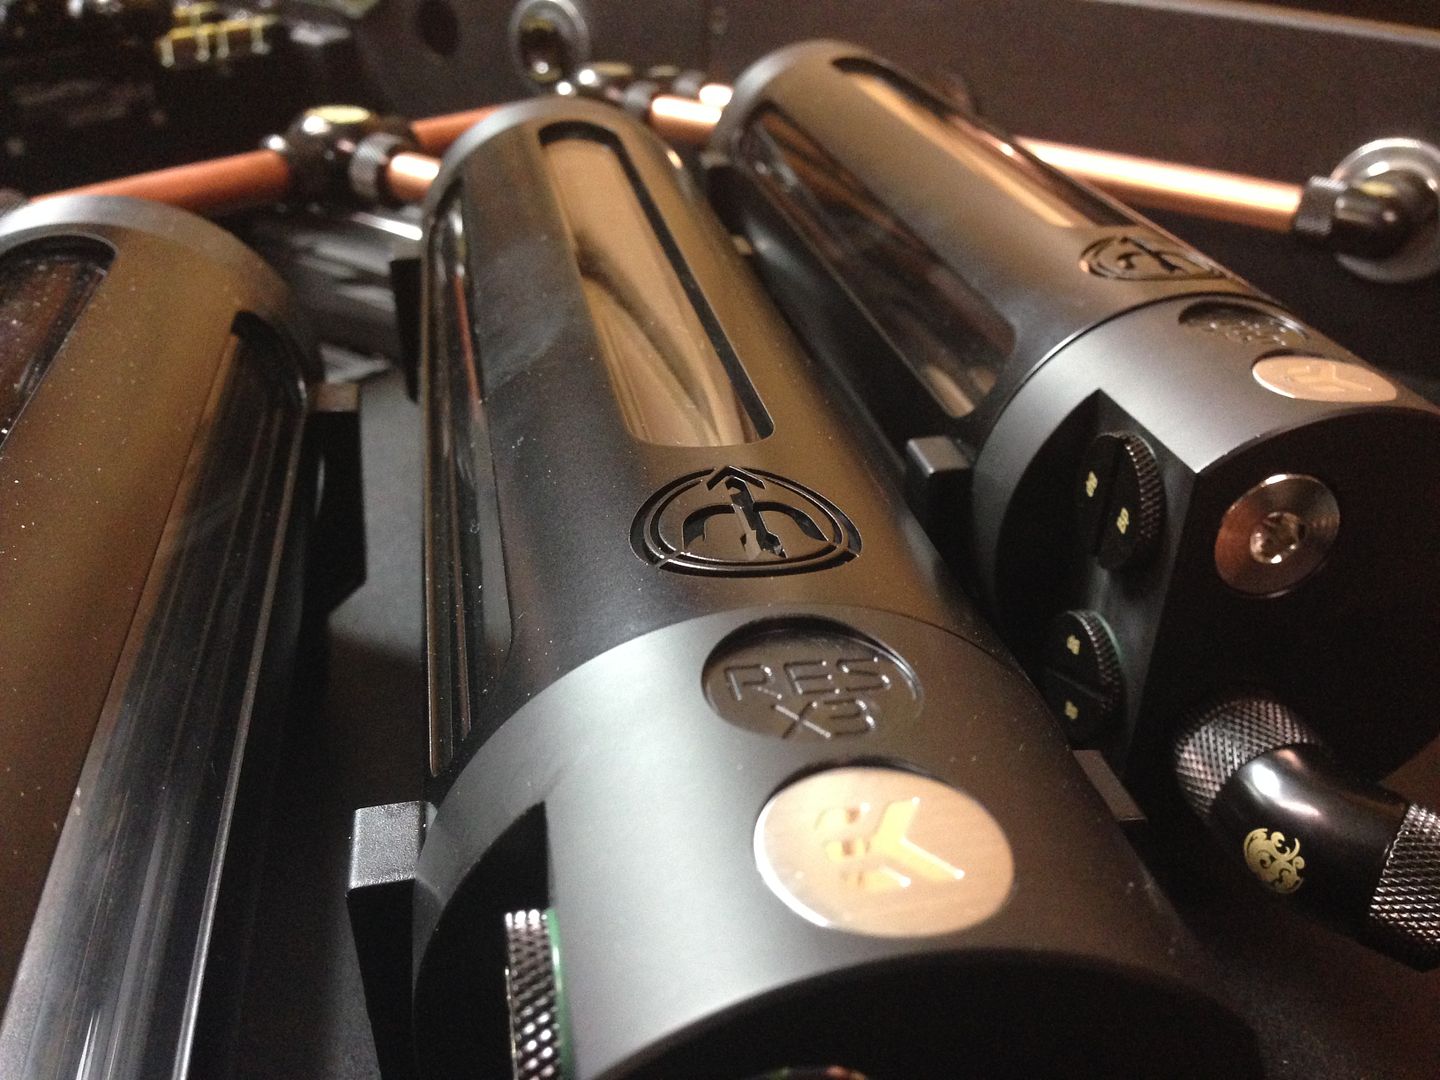
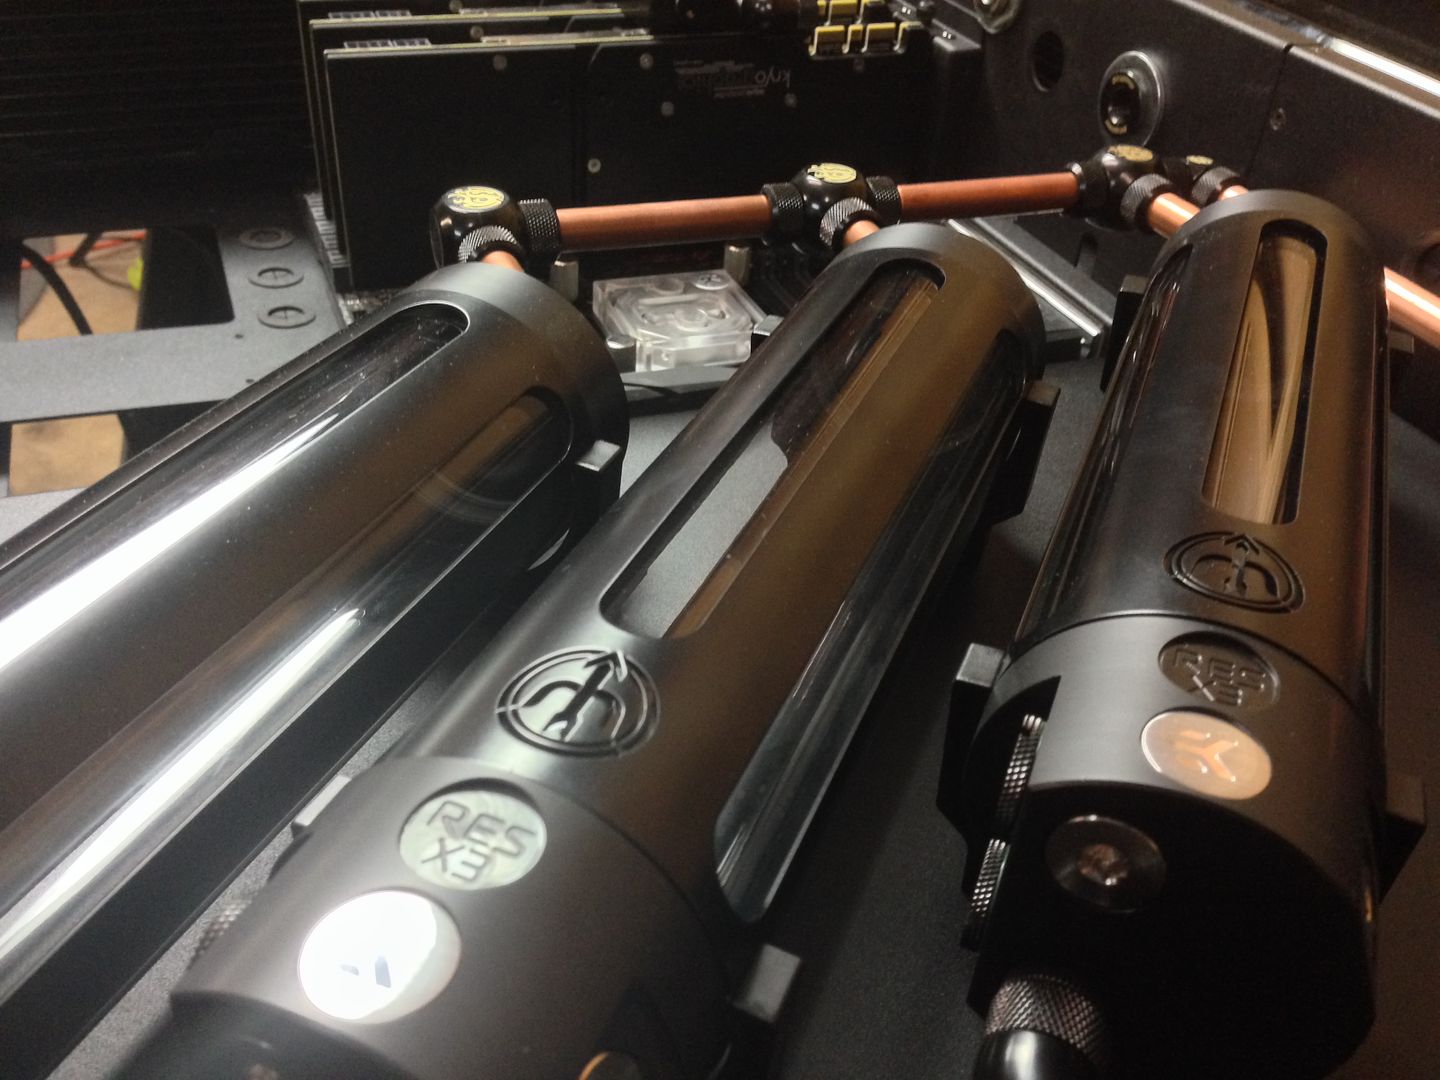
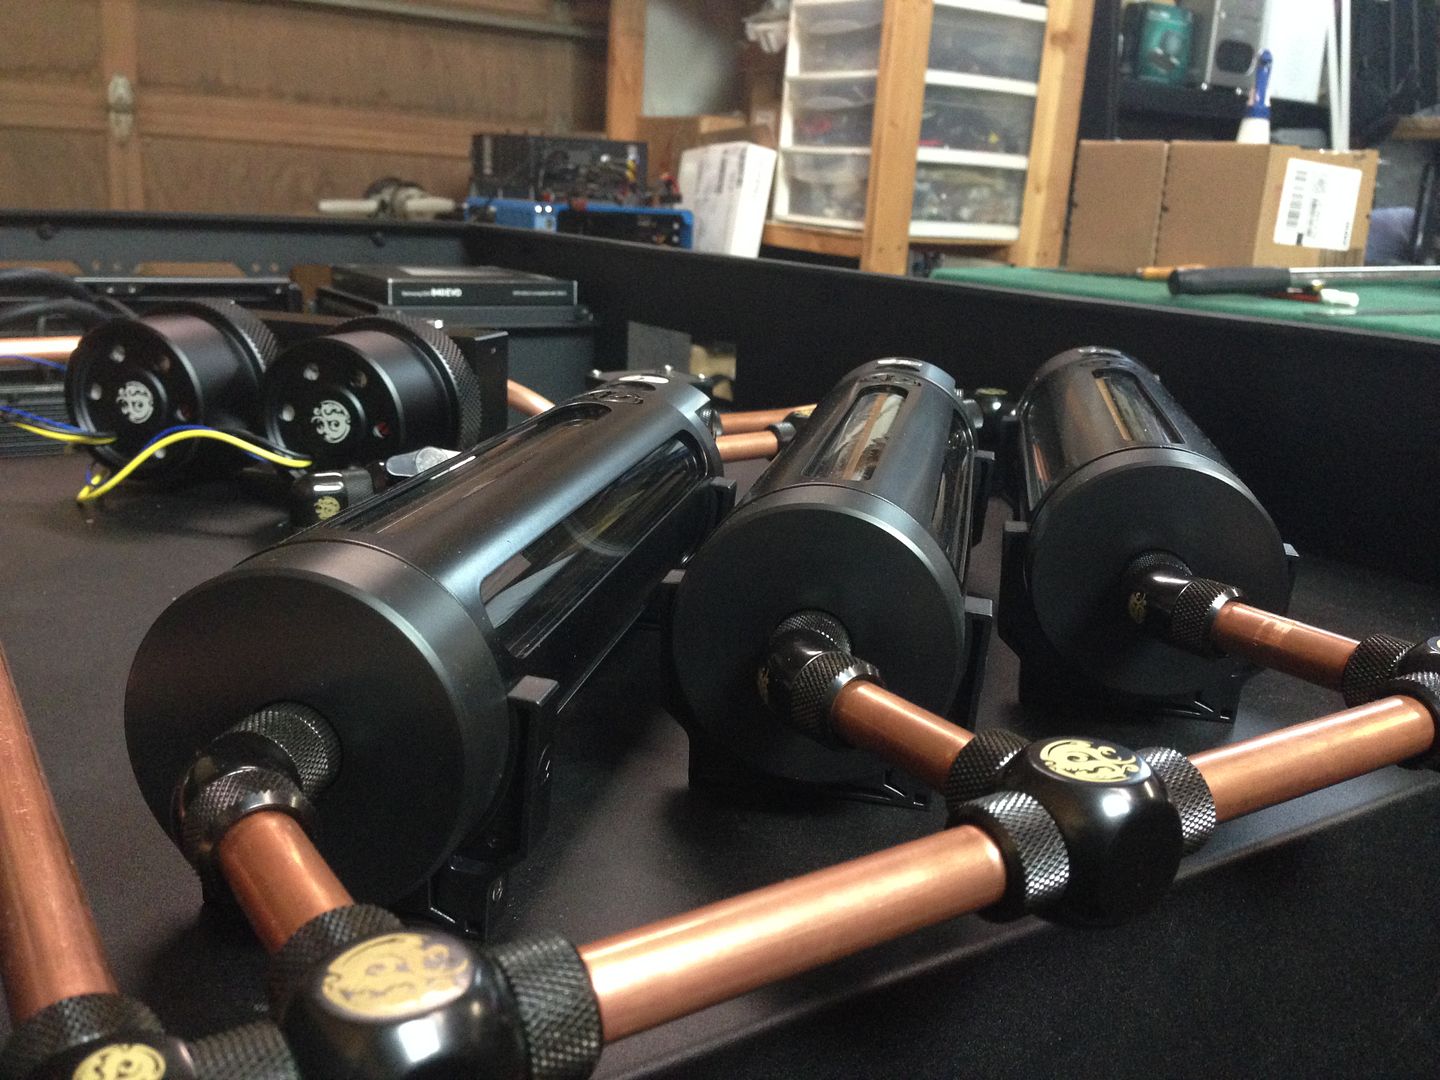
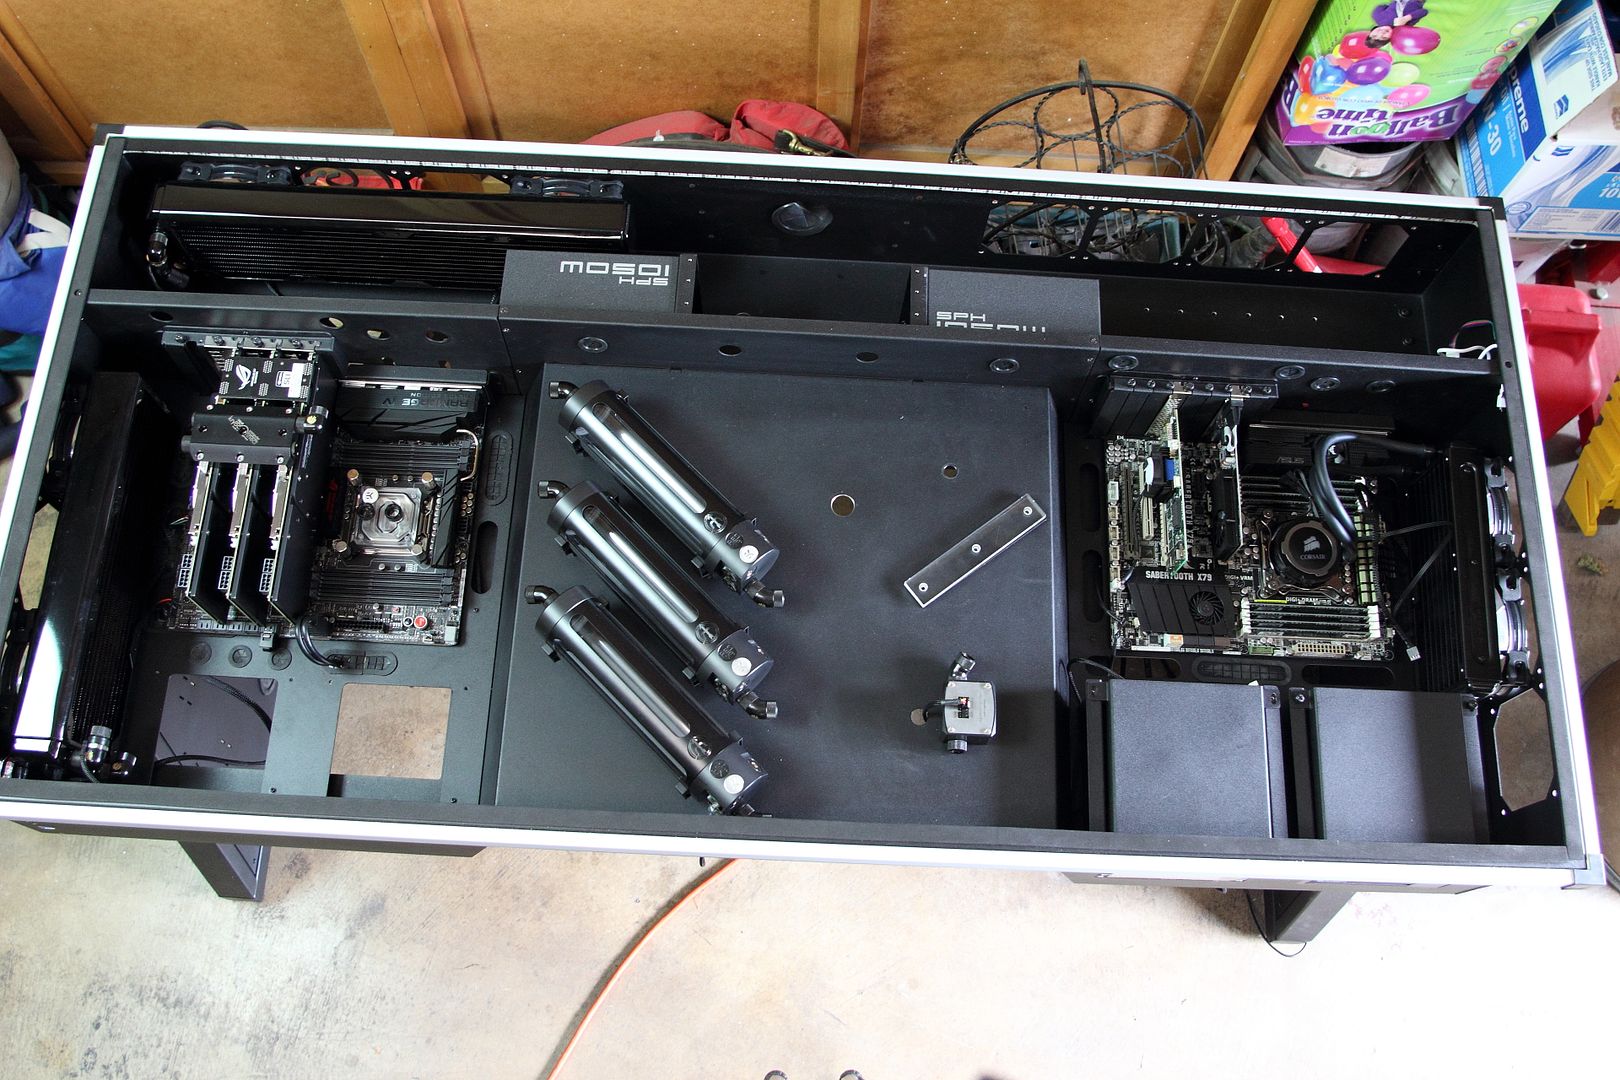
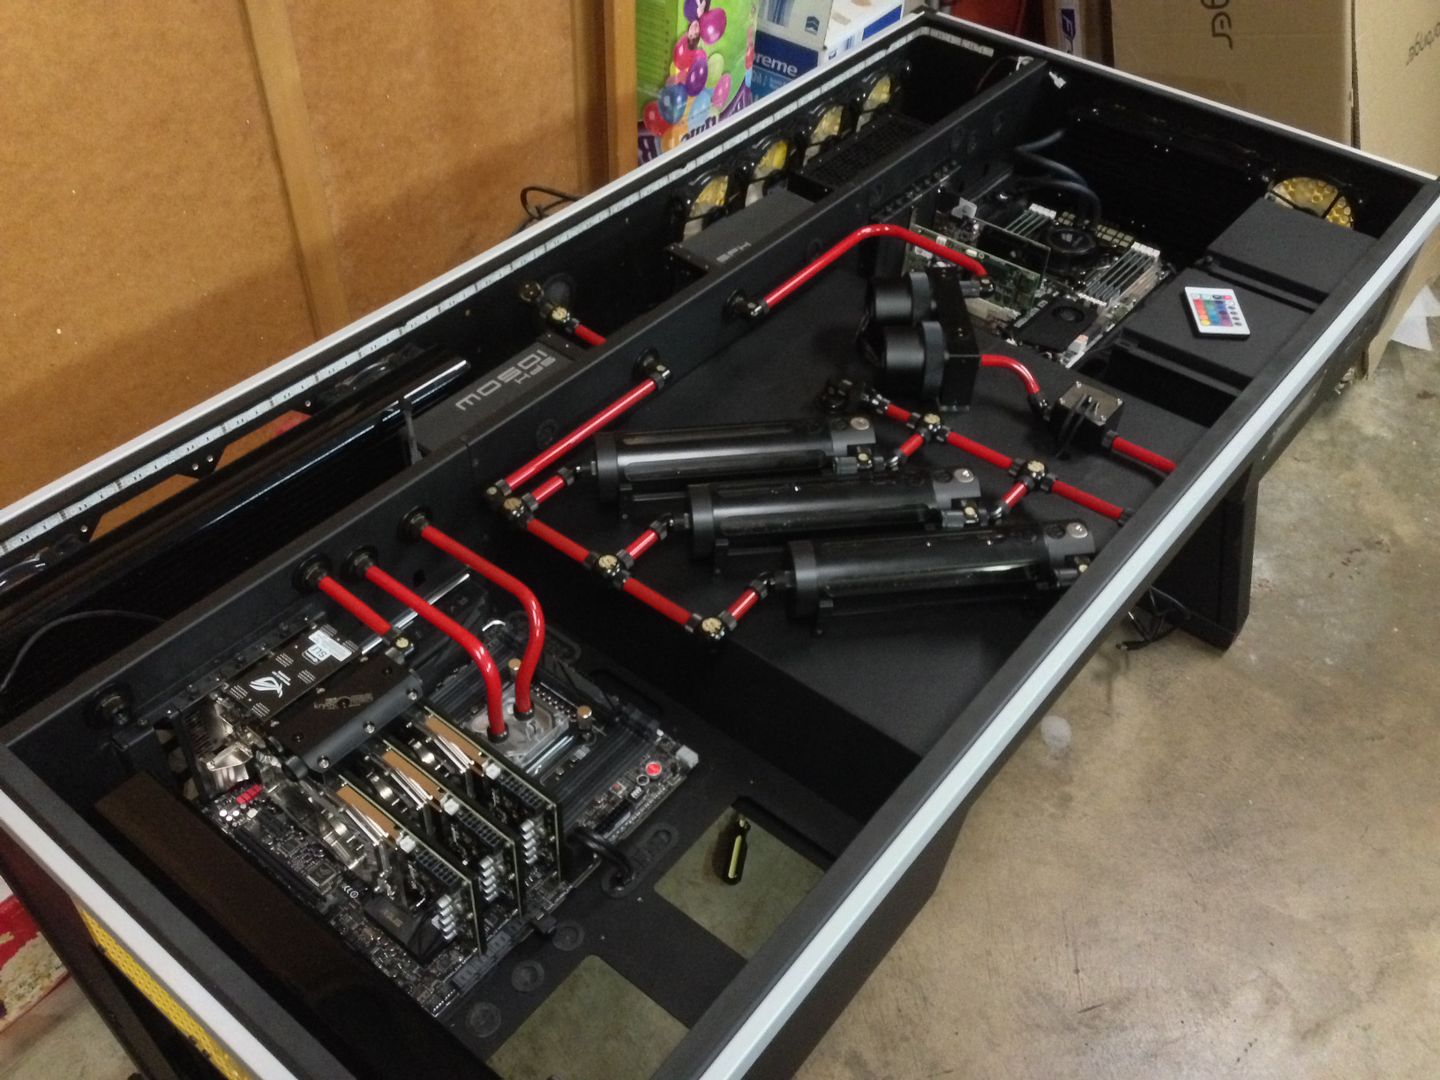
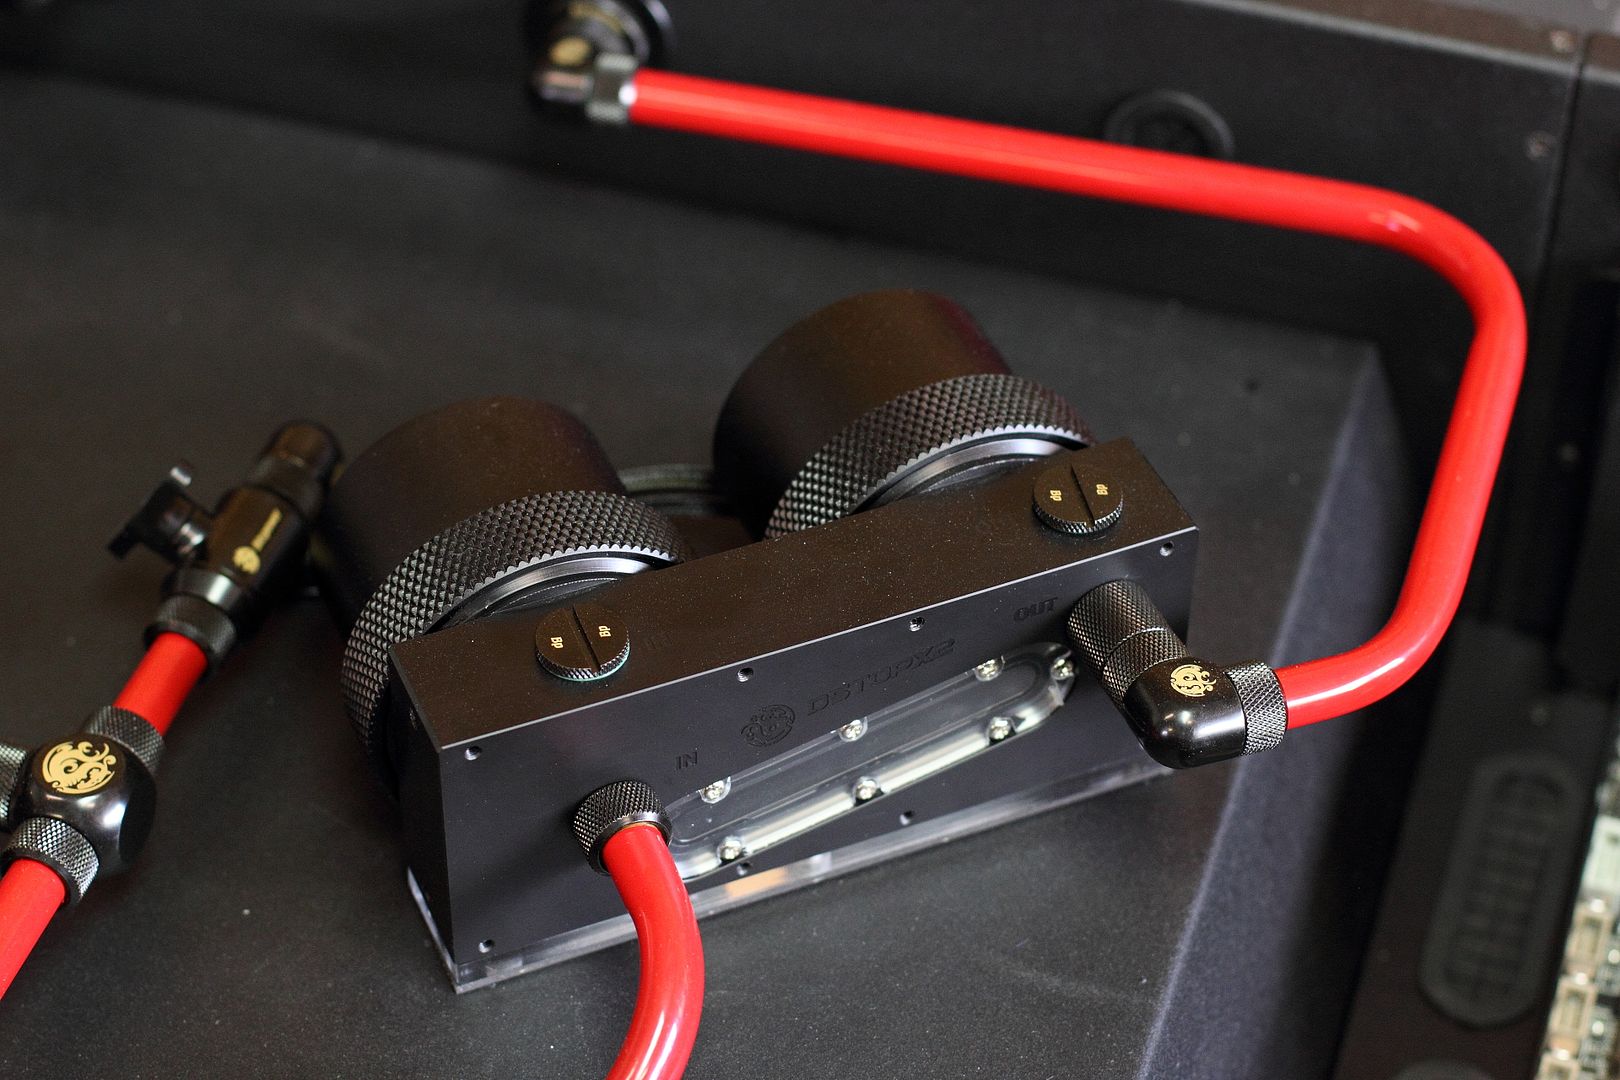
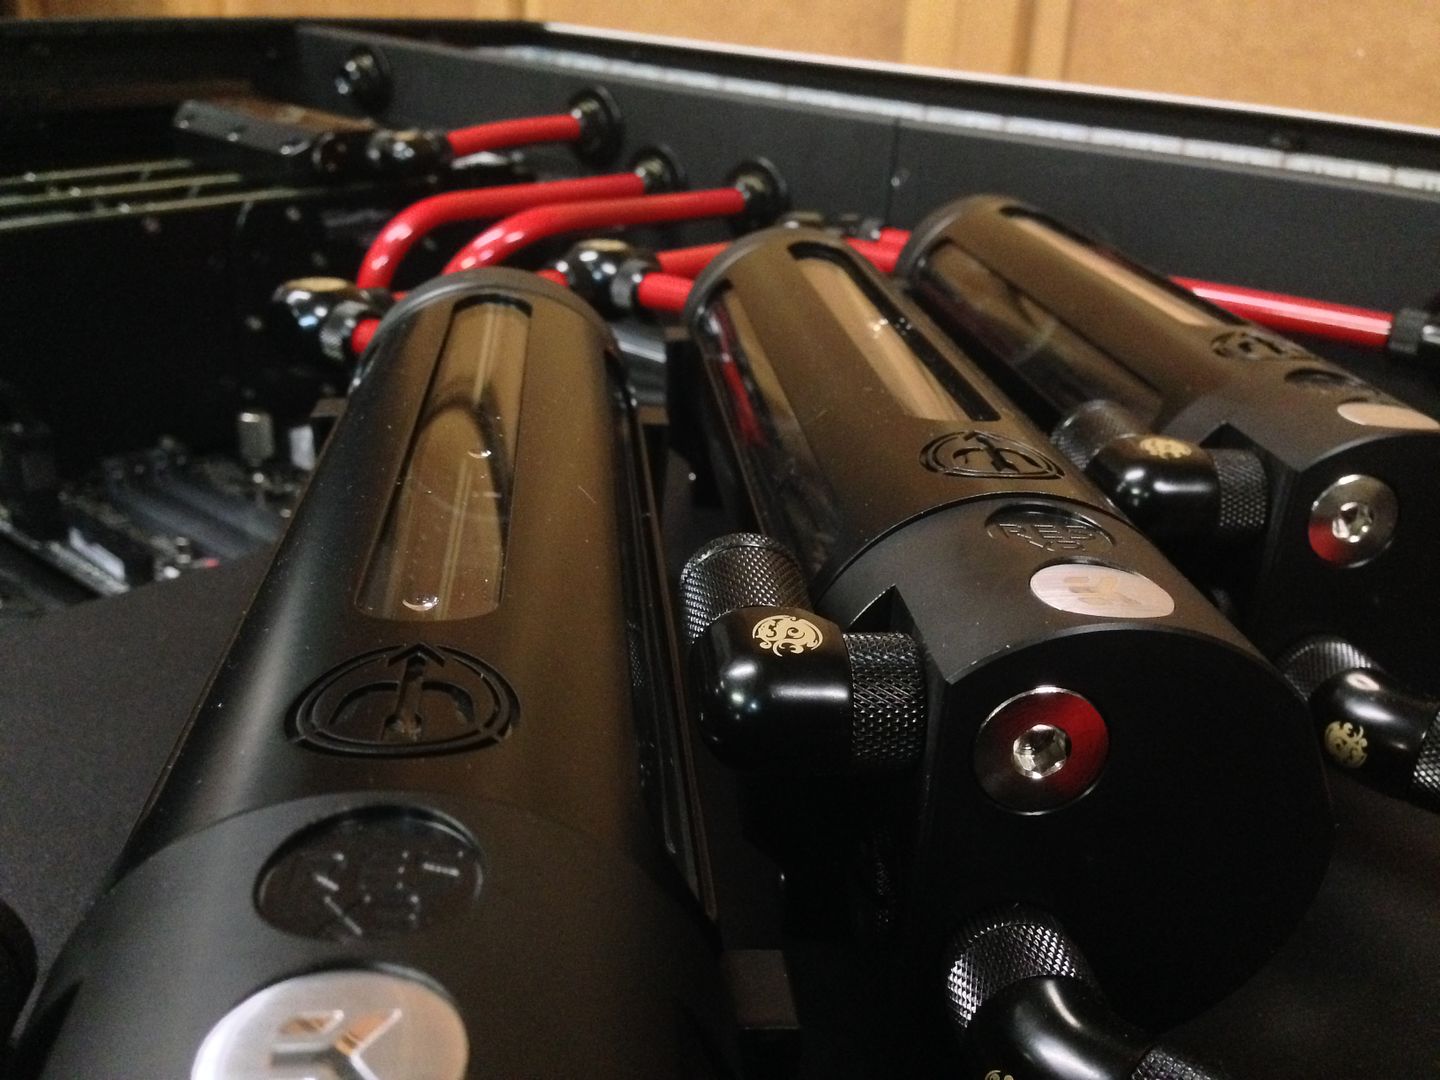
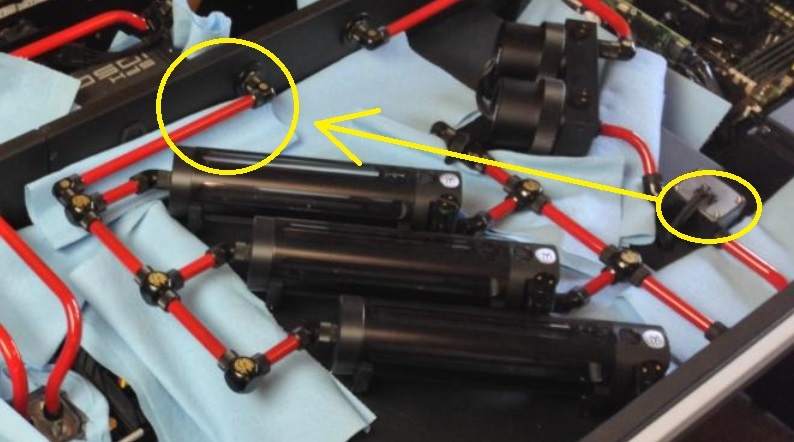
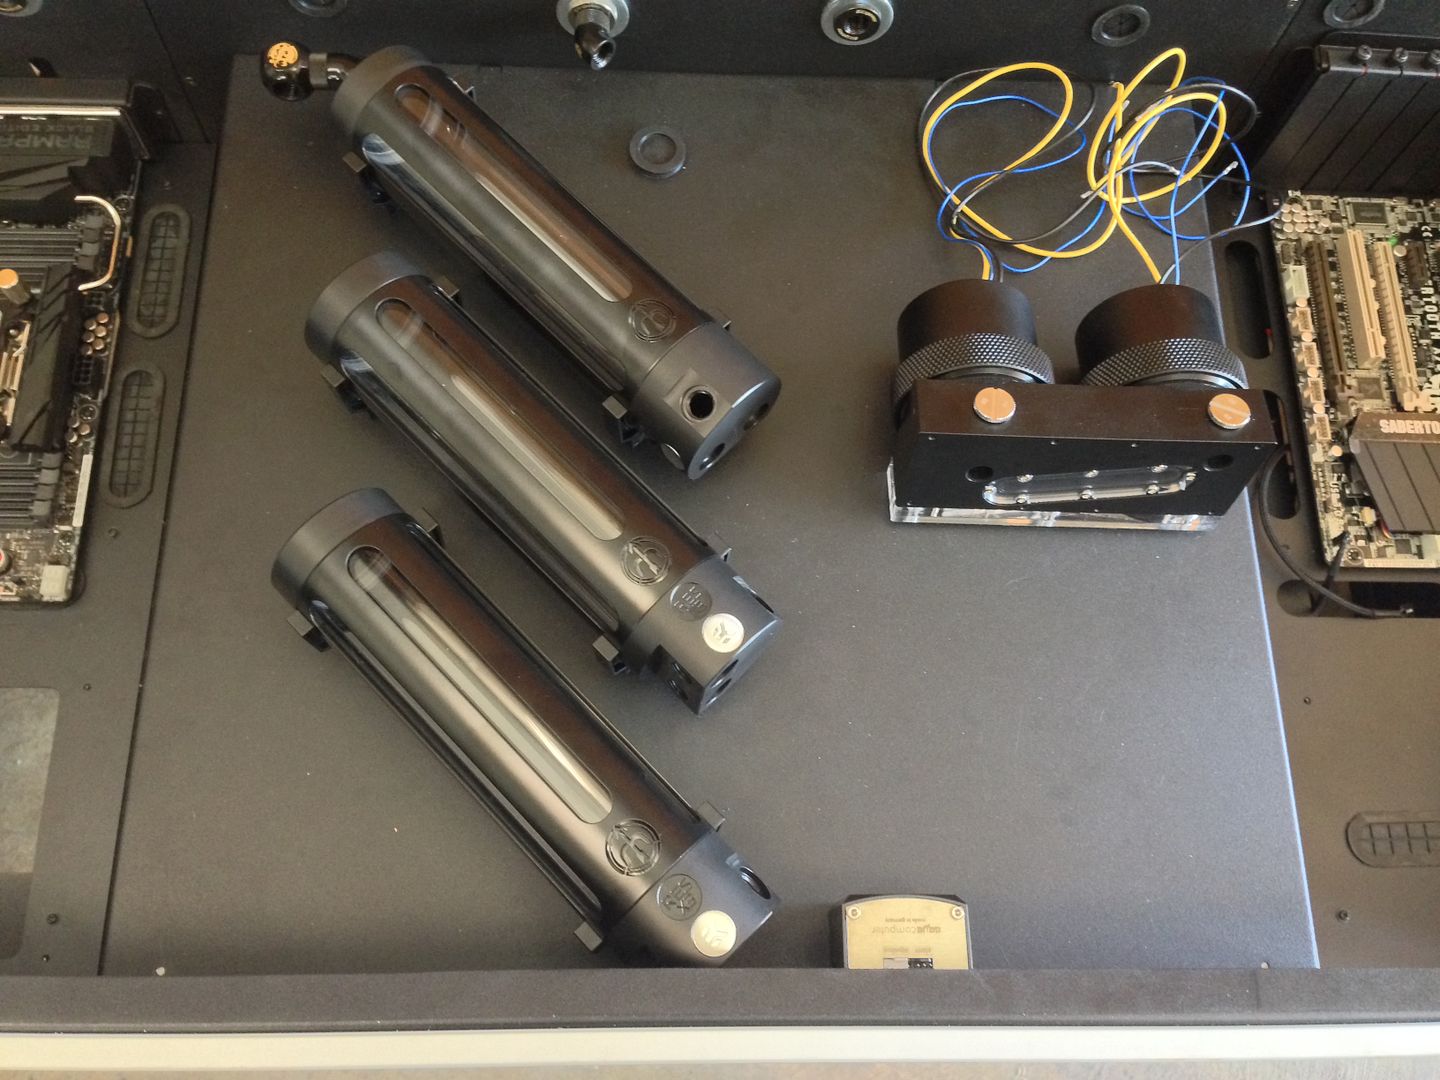
A look at Res setup
And a little teaser for now.......
Thats it for now. I hope you enjoyed my madness. Thanks for looking.............
Sorry for that. I have been crazy busy building and laying it out that I haven't had time to post a log about it. This desk is for a client of mine and I'd like to give a little info for the purpose of the build to give everyone an idea why it is going to be the way it is. First off Phil does web traffic among other things. So he needs a pc that can be on all the time that he doesn't have to worry about the liquid setup. This part of the desk will be a 24/7 system that he can remote into from anywhere. The other setup is more extreme and his daily driver. He will work from it and game from it. He will be running 4 x 144hz Asus monitors on this setup where as the other system will only have power and a nic hooked up. So lets try and do some specs. I'm gonna wing this part and I'll come back and try and fill anything I miss.
Work side -
Asus Sabertooth X79
Intel i7 4820K
Crucial Ballistic low pro 64gb 2133mhz
Samsung Evo 500gb SSD
Evga GT610
Adaptec 6805 Raid card
Western Digital 4TB Black x 6 in Raid 10
LG DVD burner
Corsair H105 AIO cooler
Cooler Master Hybrid 1050watt PSU
Main system-
Asus Rampage IV Black
Intel i7 4930K
Corsair Vengance Pro 64gb 2133mhz
Samsung 840 Pro x 2 in Raid 0 for OS
Evga GTX Titan x 3
Adaptec 6805 Raid card
Western Digital 4TB Black x 6 in Raid 10
LG Bluray burner
Cooler Master Hybrid 1050watt PSU
Cooling and Misc.-
Aquaero 6 XT
Aquacomputer high flow USB
Aquacomputer temp sensors x 3
Aquacomputer Kryographics for GTX TITAN - Acrylic Glass, back plates and bridge
EK-Supremacy Clean CSQ cpu block
Redharbinger FMJ Series Stainless Steel Reservoir Cover - Classic - 250e Black w/ EK-MultiOption RES X3 250 x 3
Bitspower fittings up the wazoo!
Hardware Labs 360mm and 480mm radiators
Bitspower dual D5 pump mod and covers
Koolance PMP450 pumps
Mayhems Sunshine Yellow Pastel
Cooler Master 120mm JetFlows x 16 Red LED
RGB kit from here
Ok I think that about covers it. I may have missed something so I may add later. So lets start with the Red Harbinger Cross Desk
Next up some Titan blocks.
I didn't get a lot of picks in progress but I think you'll like what I did take pics of.
Here's that moment where you figure out that the board is bigger than the board that was used for grommet layout. OOPS!
So I made my own
So lets move on to some water layout.
And here's a better look at the back area.
A look at Res setup
And a little teaser for now.......
Thats it for now. I hope you enjoyed my madness.
Thanks for looking.............