As the title suggests, I got bored and decided to build a PC in a cardboard box. 
Instead of simply throwing it together into some random box and duct taping all the bits in it, I have decided to put a little effort into the design and construction of this project.
The specs of this tinker rig will be:
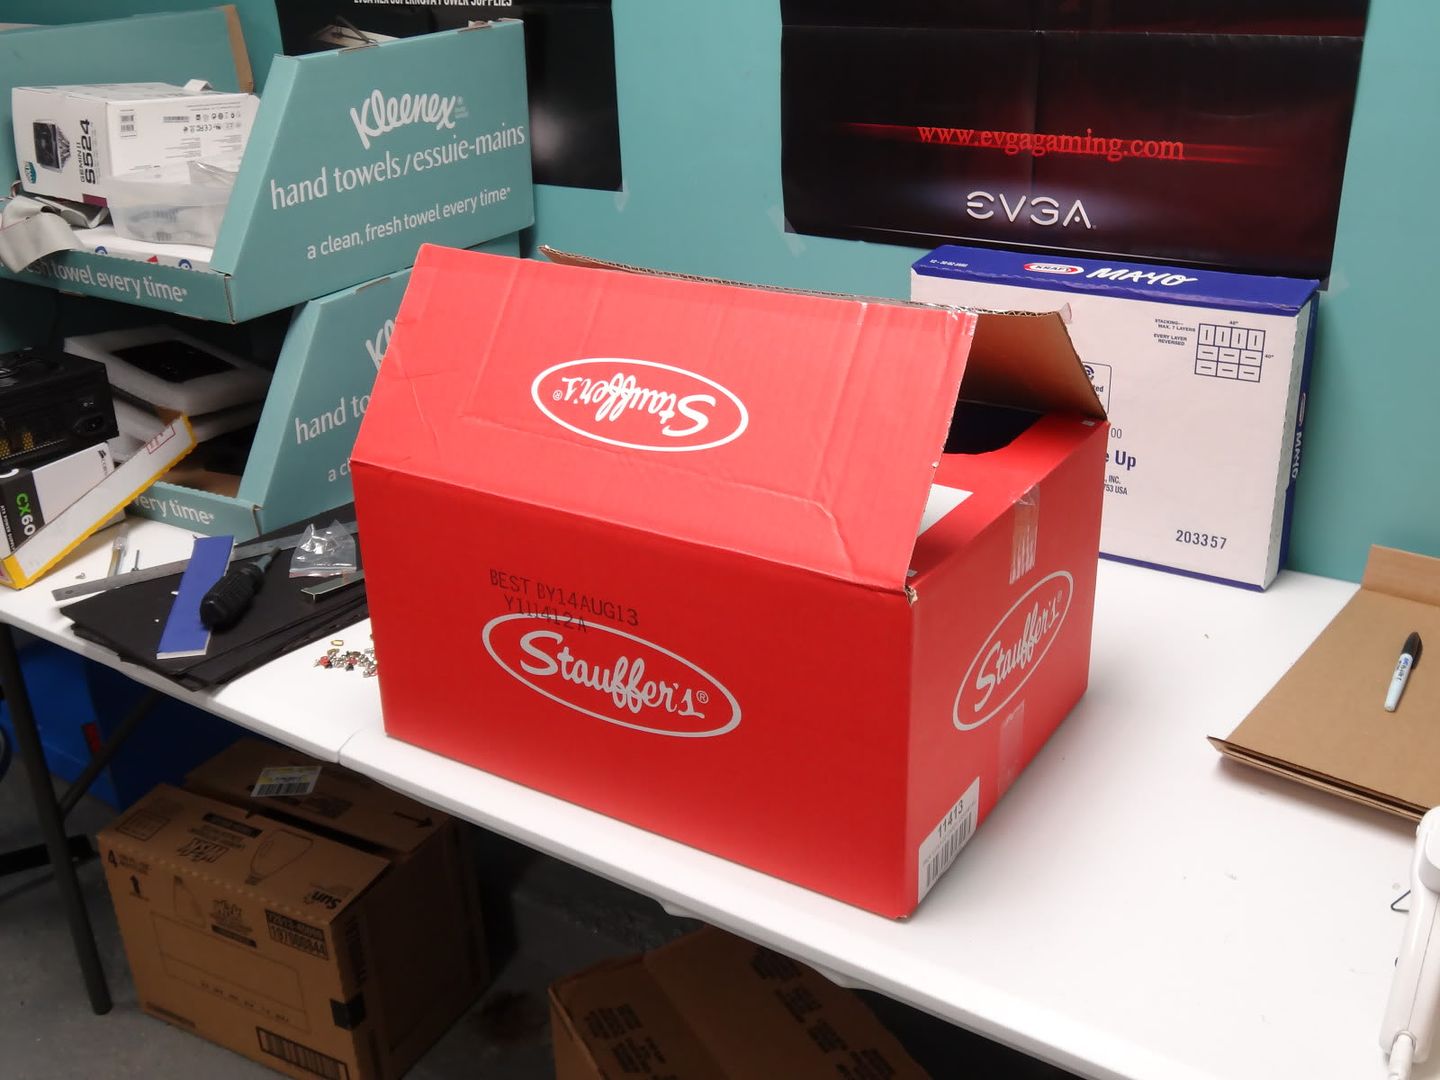
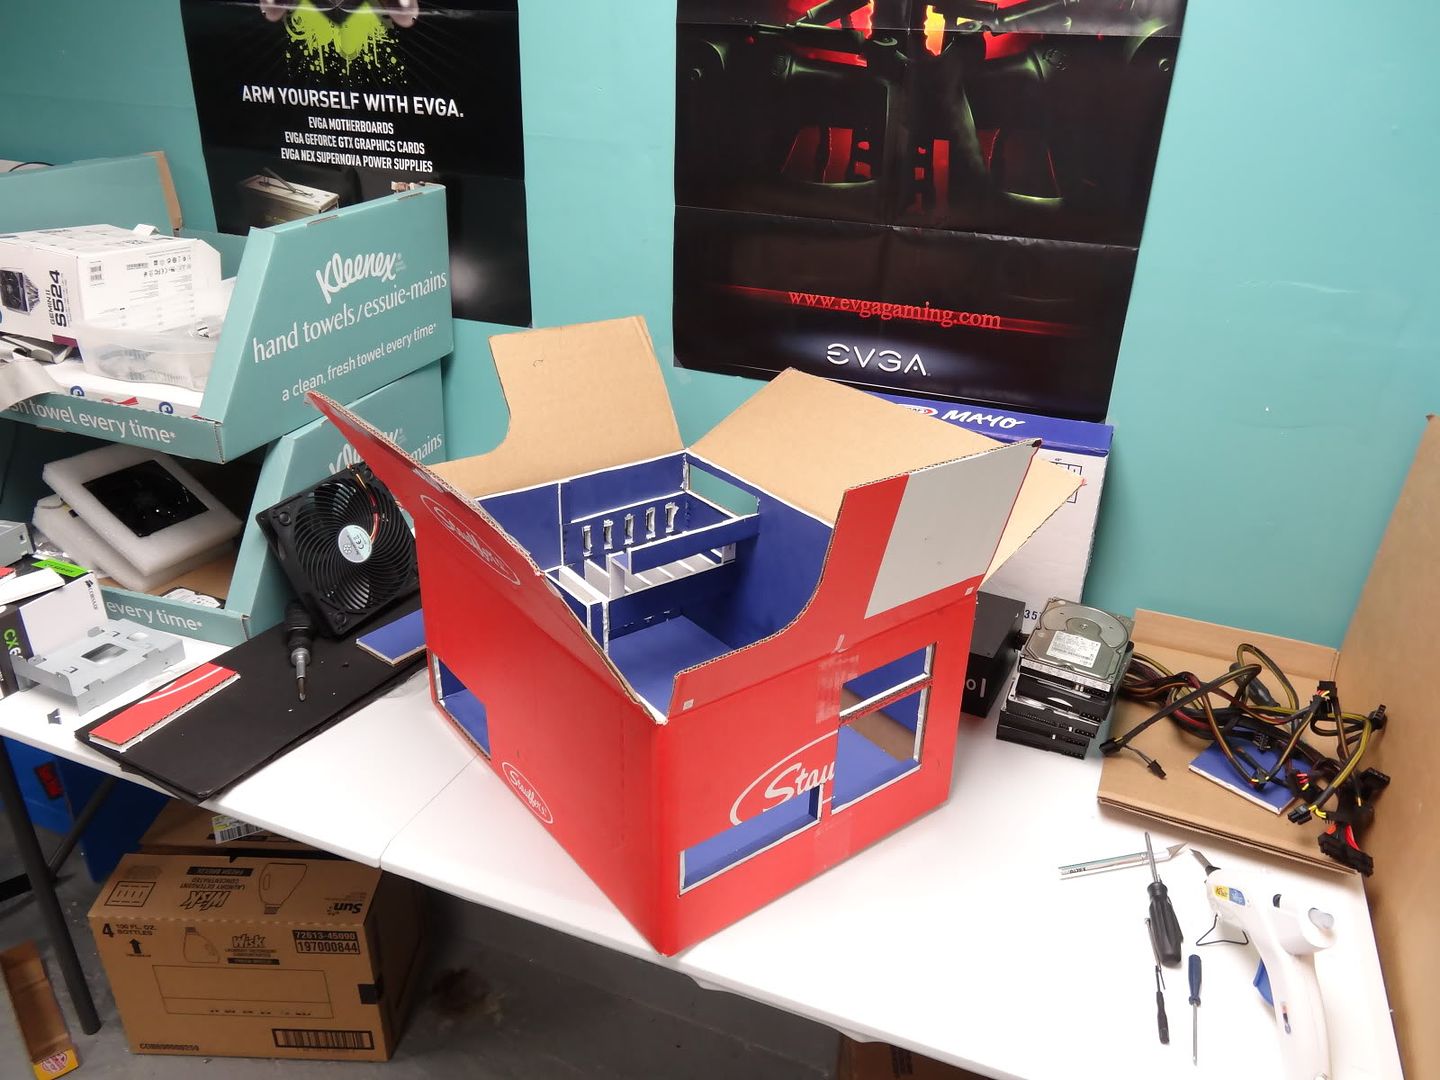
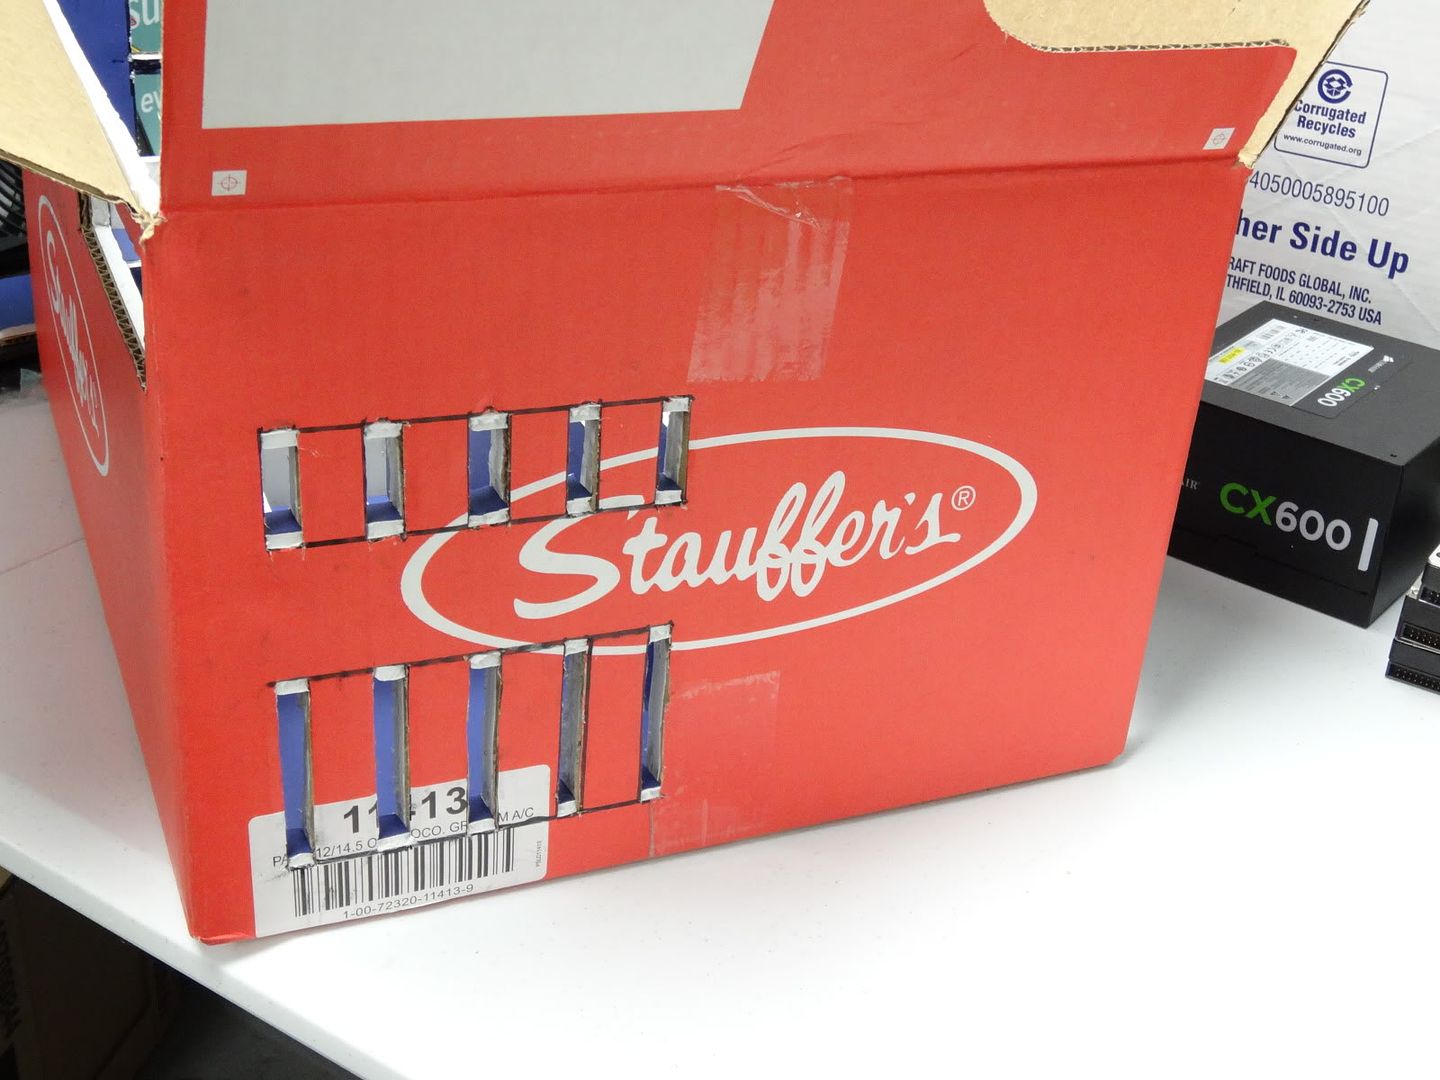
For starters, the box I chose is a Stauffers Animal Cracker box. It should be an adequate size for my needs.
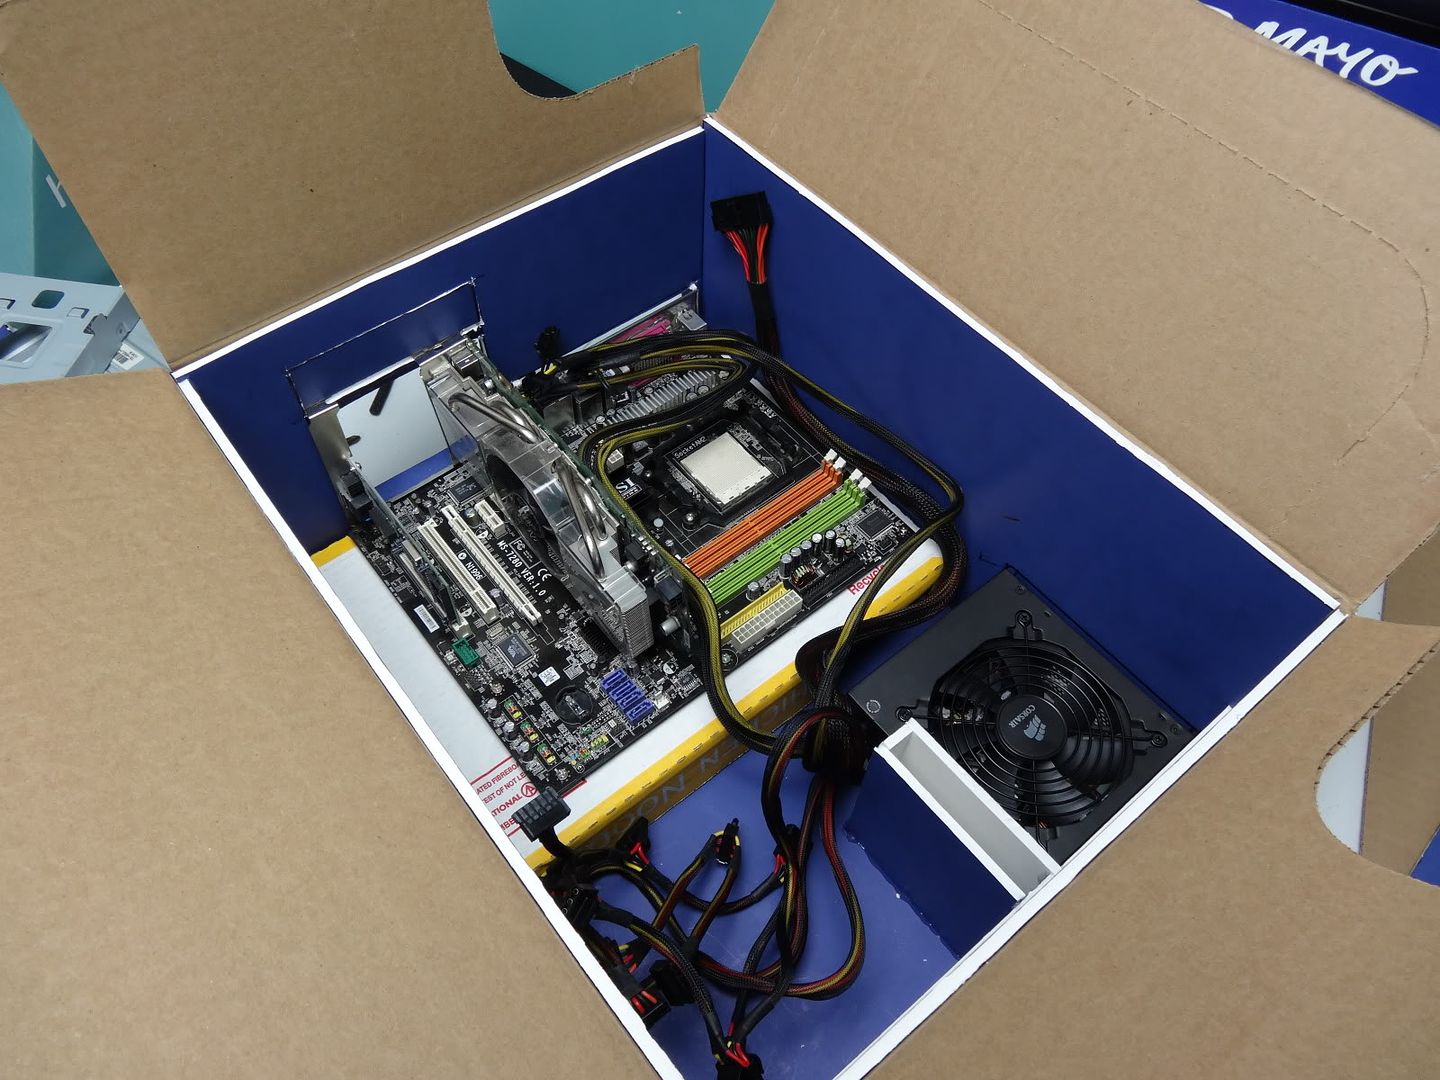
I used foam board to line the inside of the box to give it some added strength without adding too much weight. The motherboard tray is a chicken noodle soup flat, also reinforced with foam board.
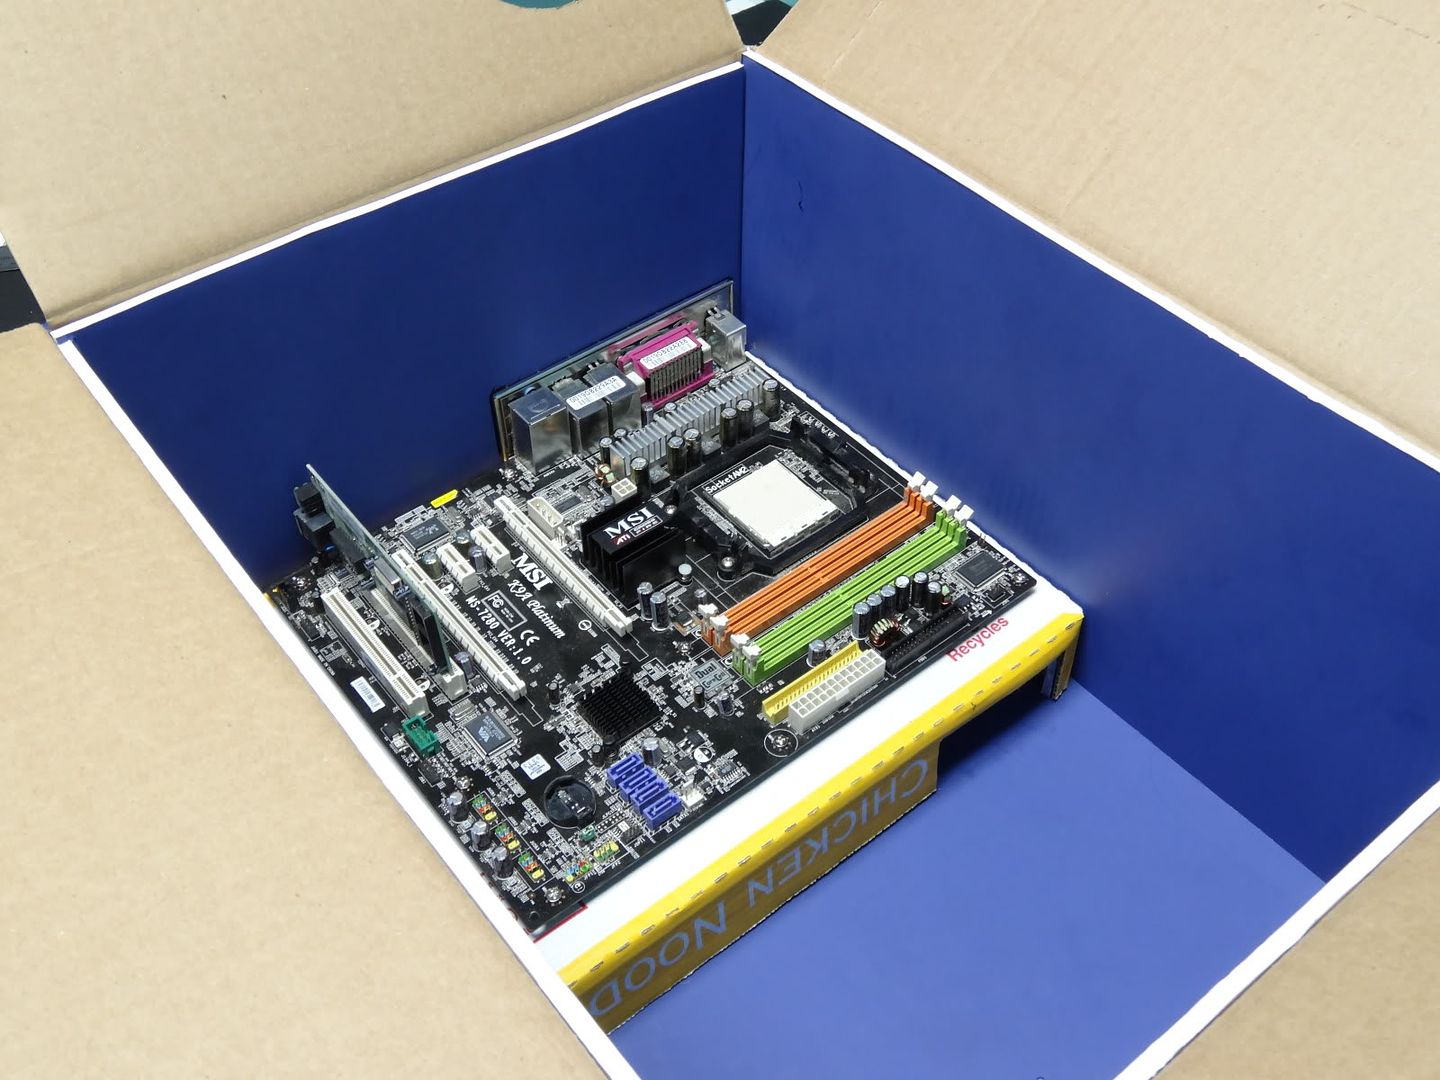
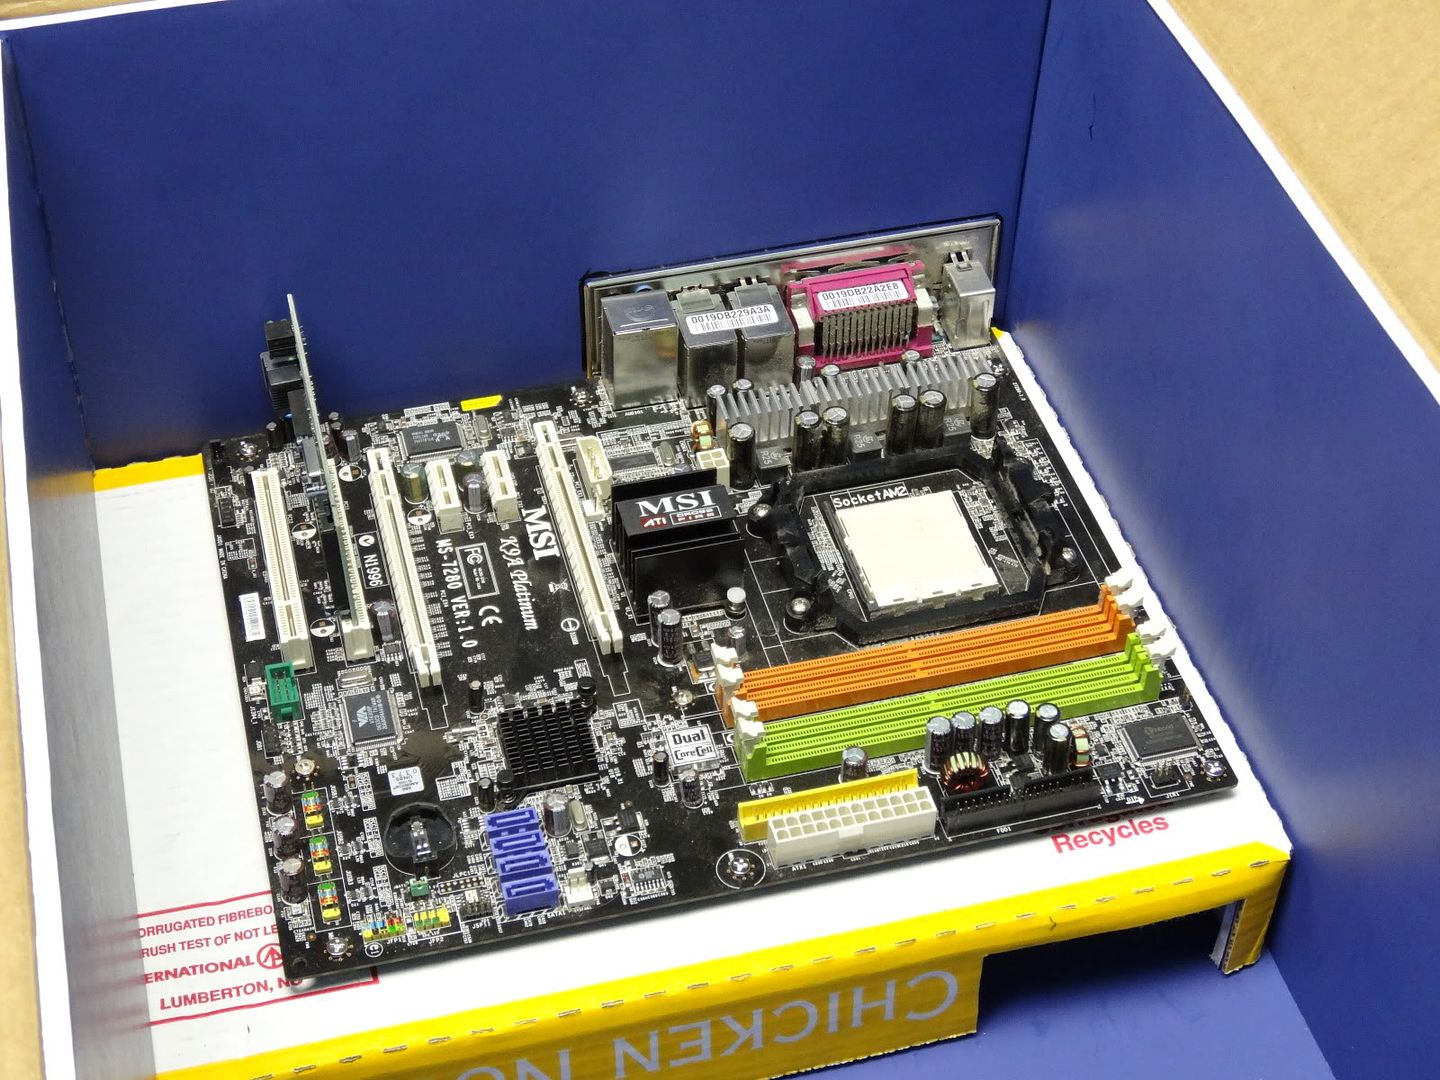
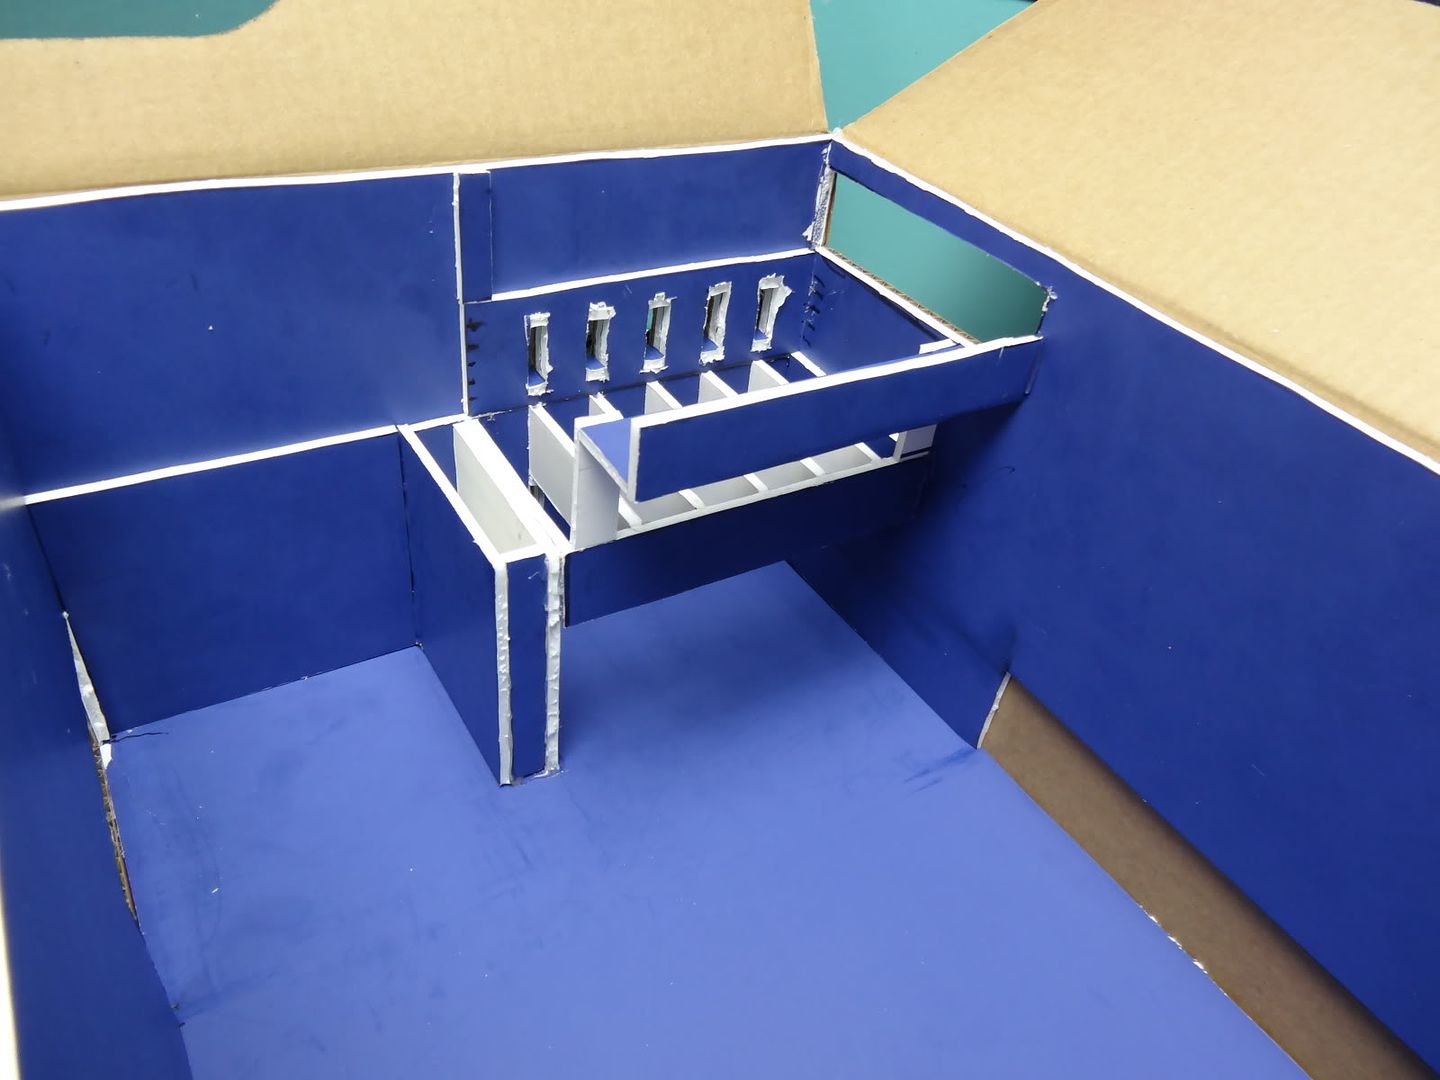
The motherboard tray is made to slide down into the case and wedge into place, eliminating the need to use mounting hardware. The notch in the side is a grab handle for easy removal of the tray. The motherboard is screwed to standoffs which have been hot glued into holes in the tray. The motherboard seen in the picture is a placeholder only. The actual motherboard will be installed in final assembly.
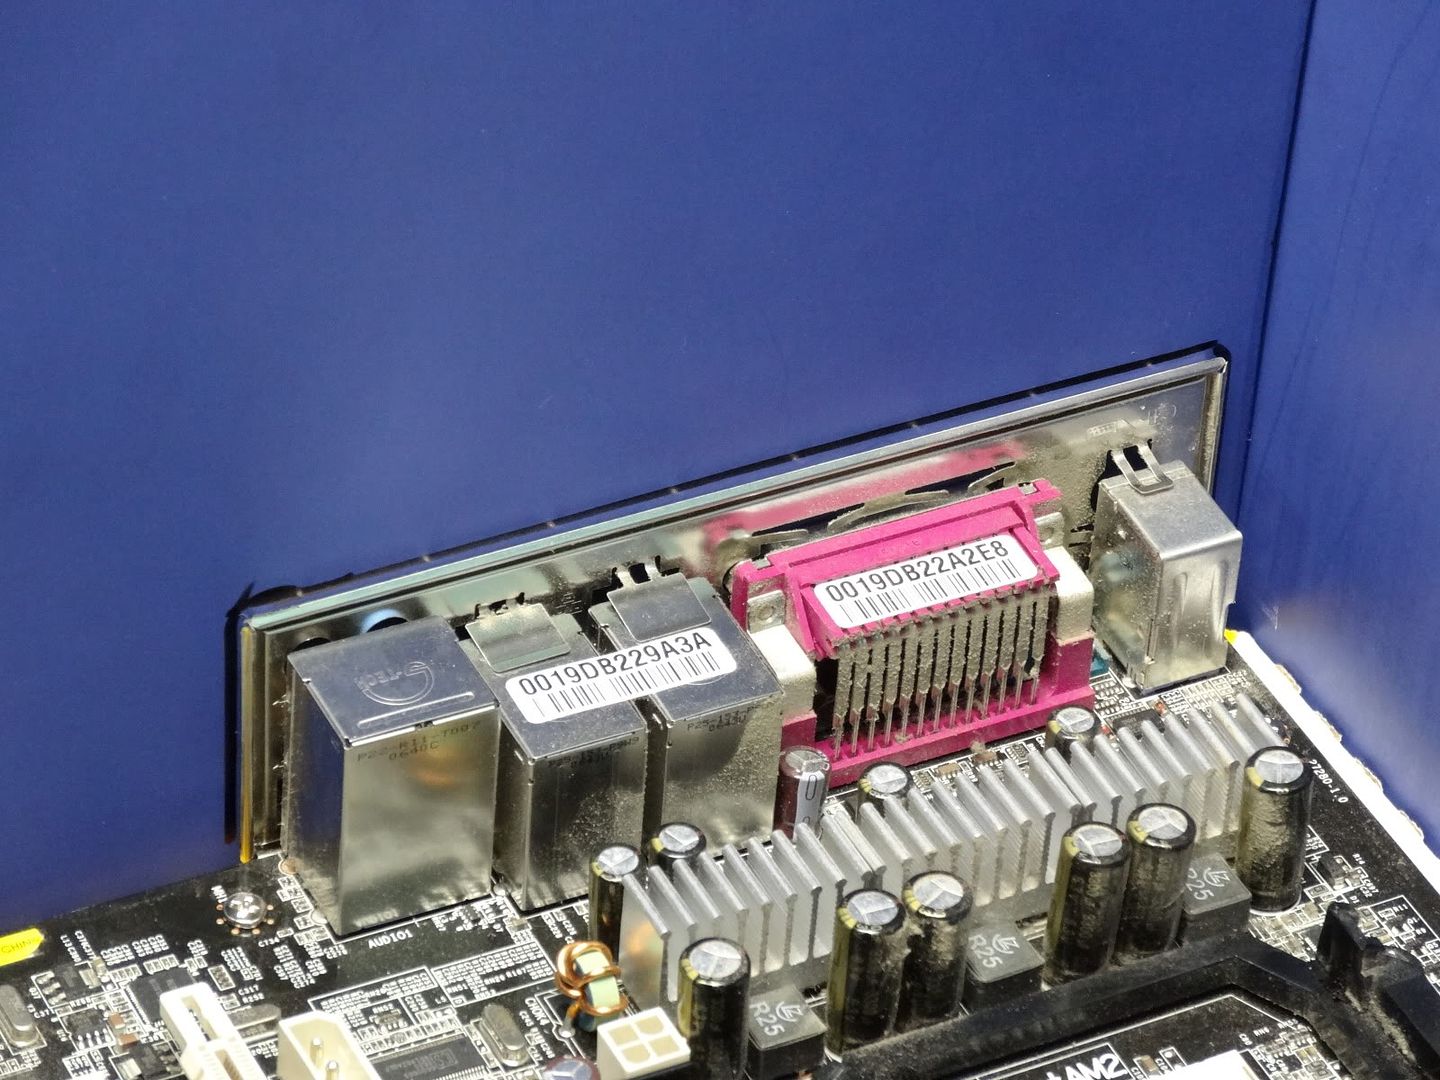
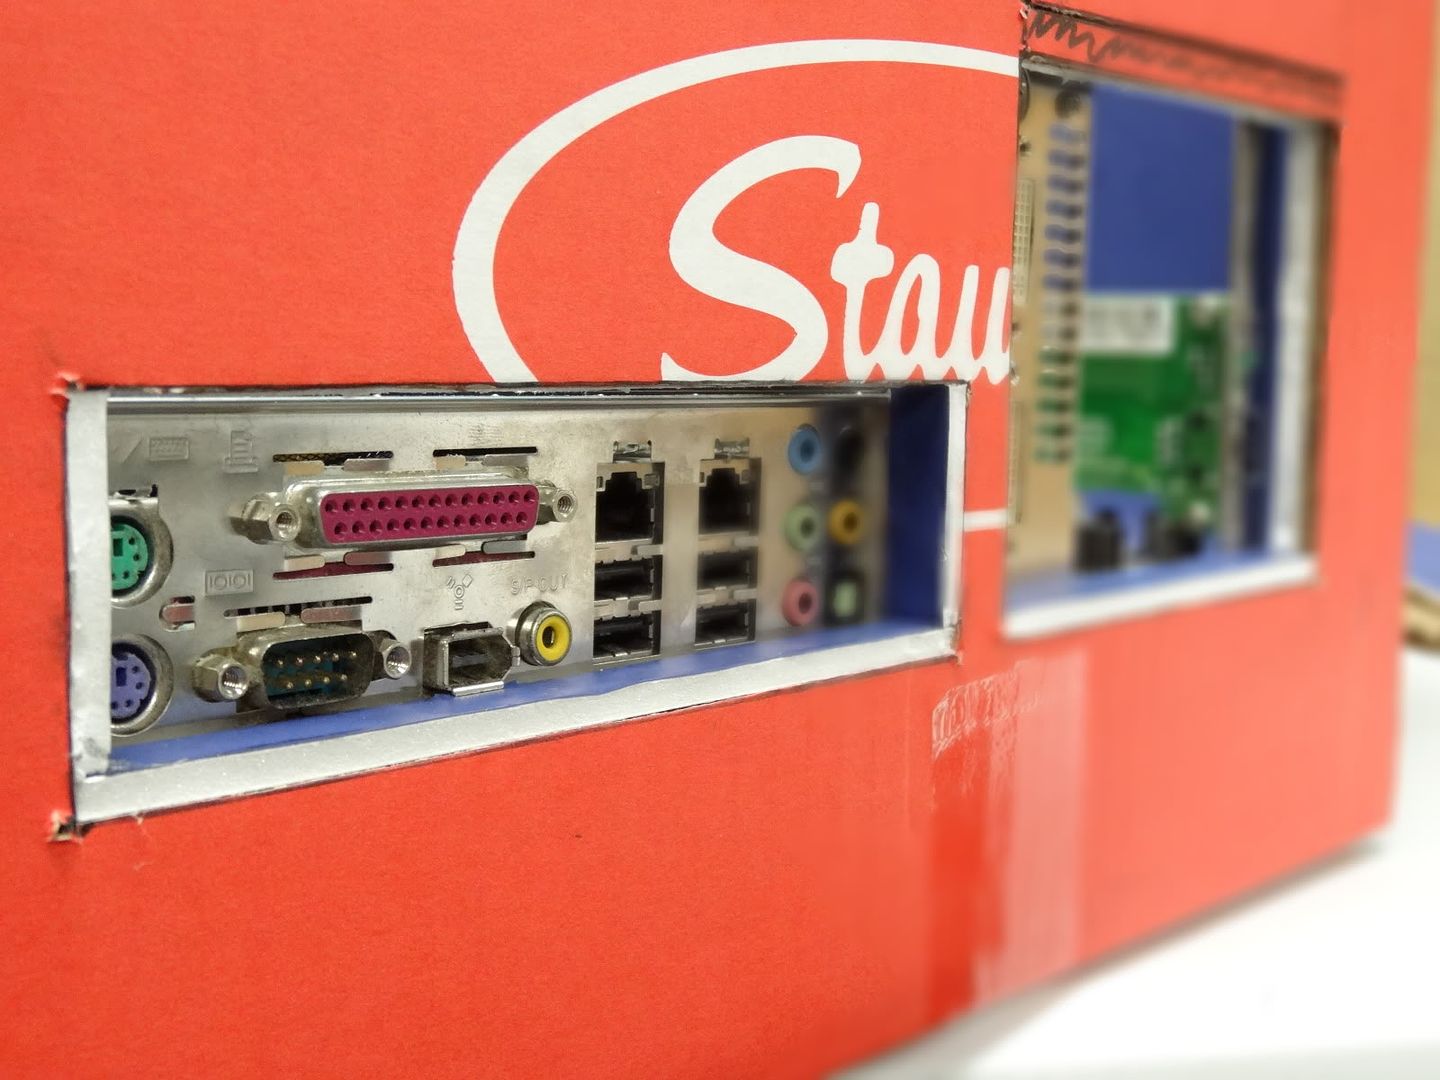
The hole for the I/O shield is marked on the inside. I use a screwdriver to punch holes in each corner so that I have a reference to duplicate the marking on the outside of the case and to make the cut with my trusty Xacto knife.
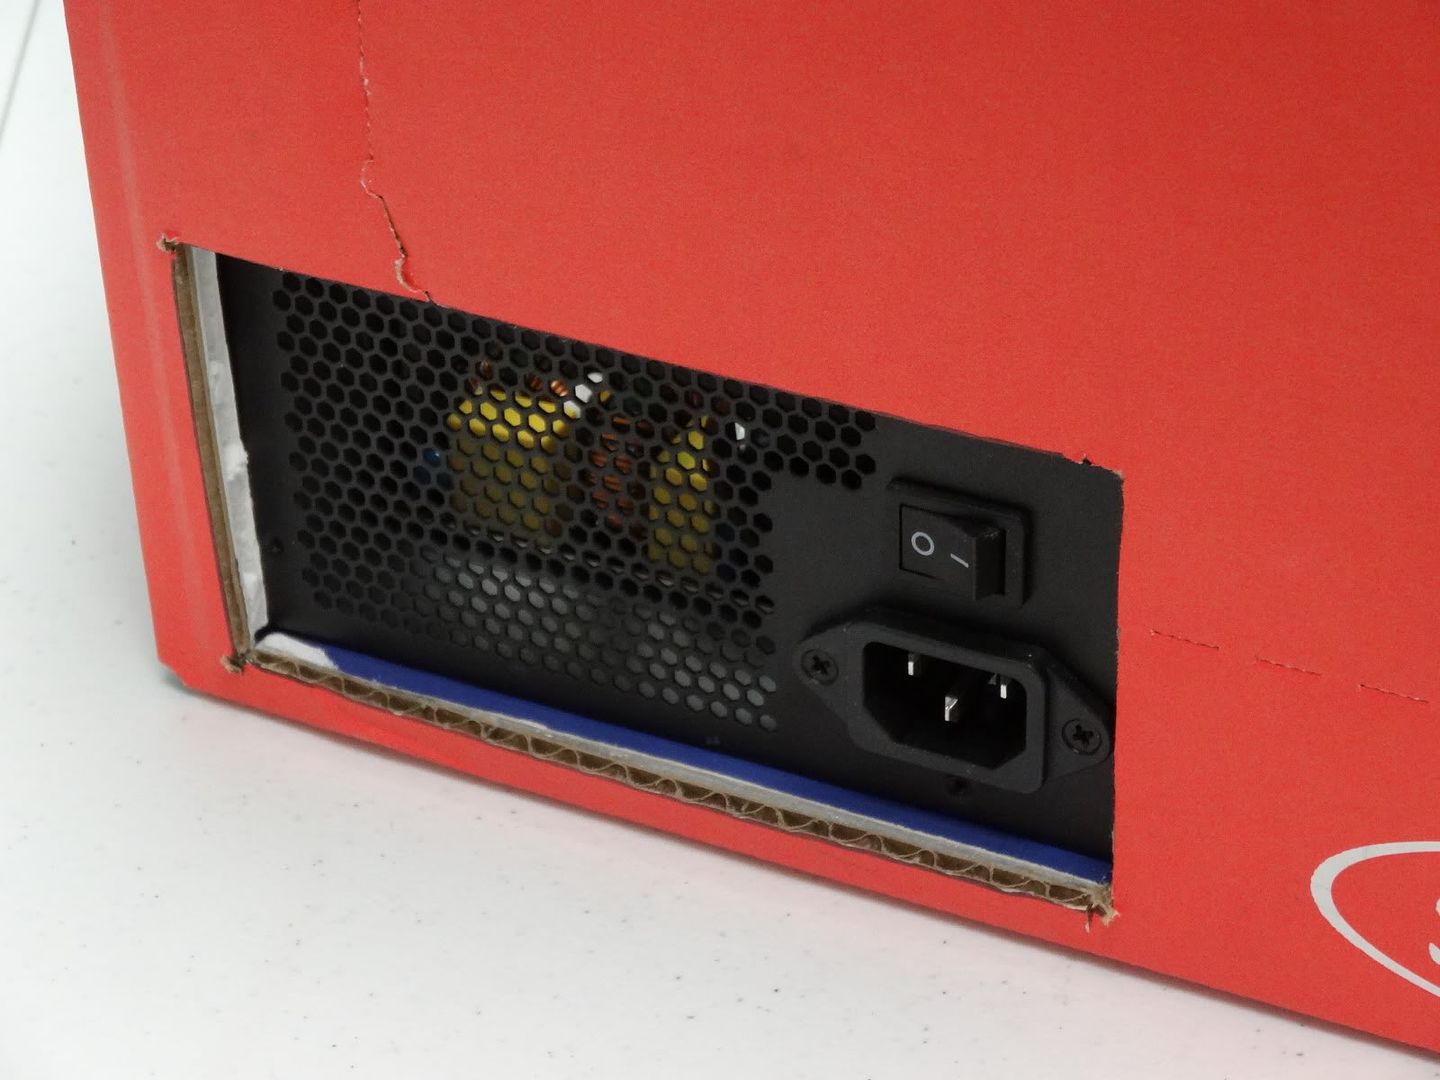
Fast forward a few hours and I've cut holes for the I/O shield, the expansion slots, and the power supply. I've also made a slot for the power supply to slide down into.
The drives will go in front of the power supply.
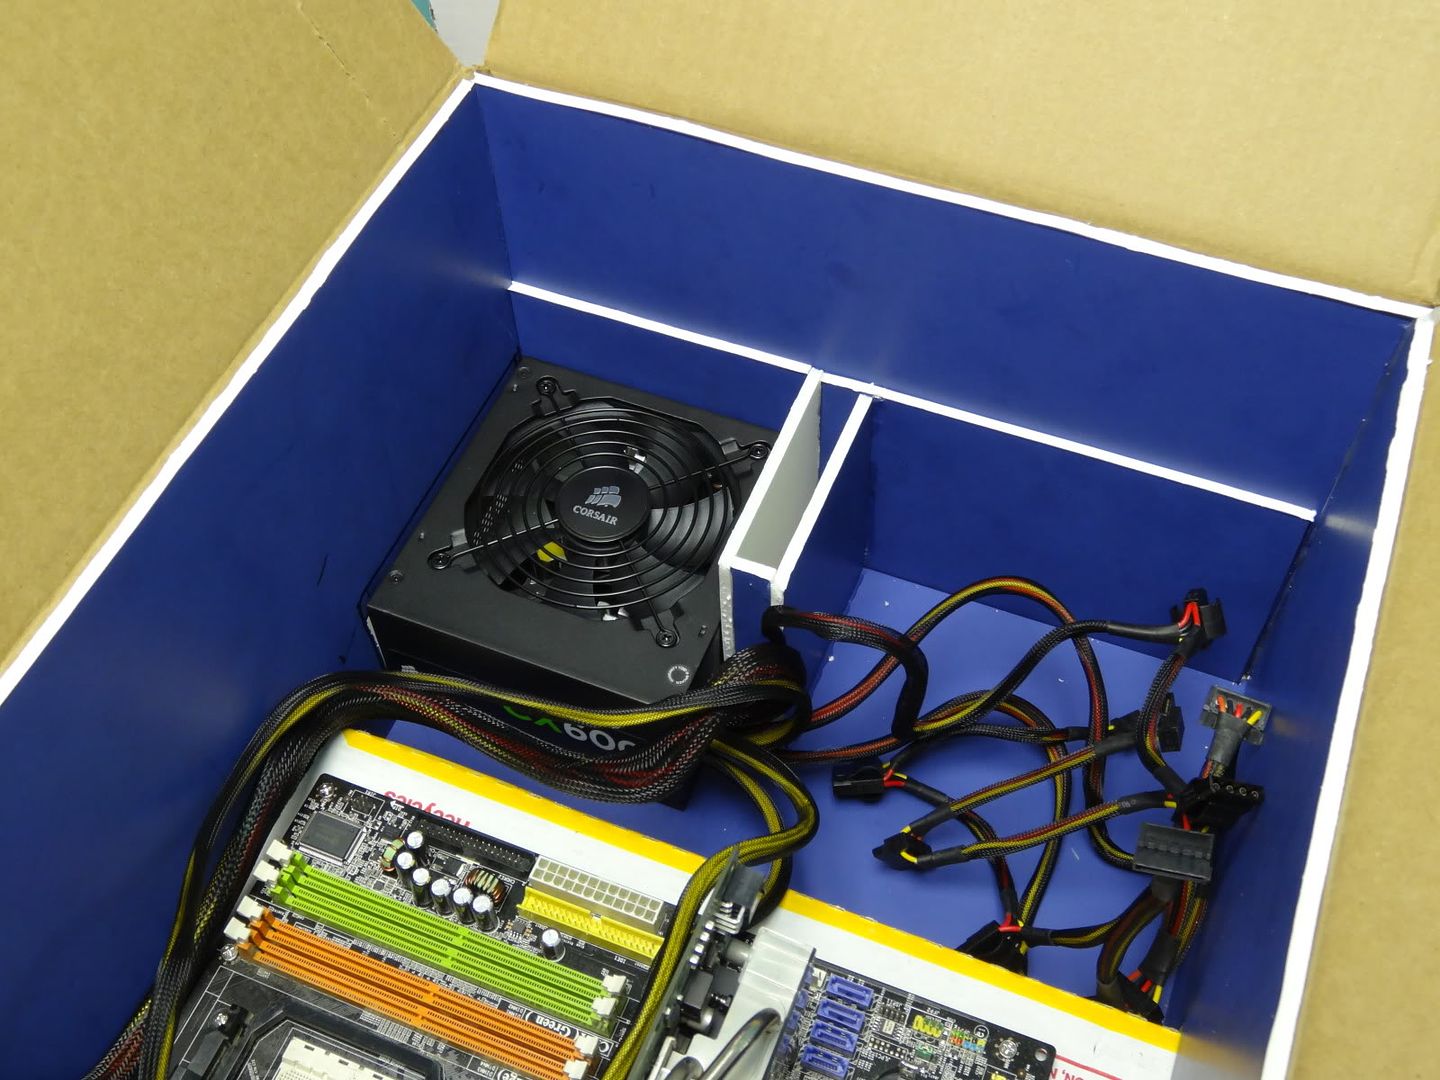
The power supply hole.
The I/O shield is held against the motherboard by the small pieces of foam board in the perimeter of the hole.
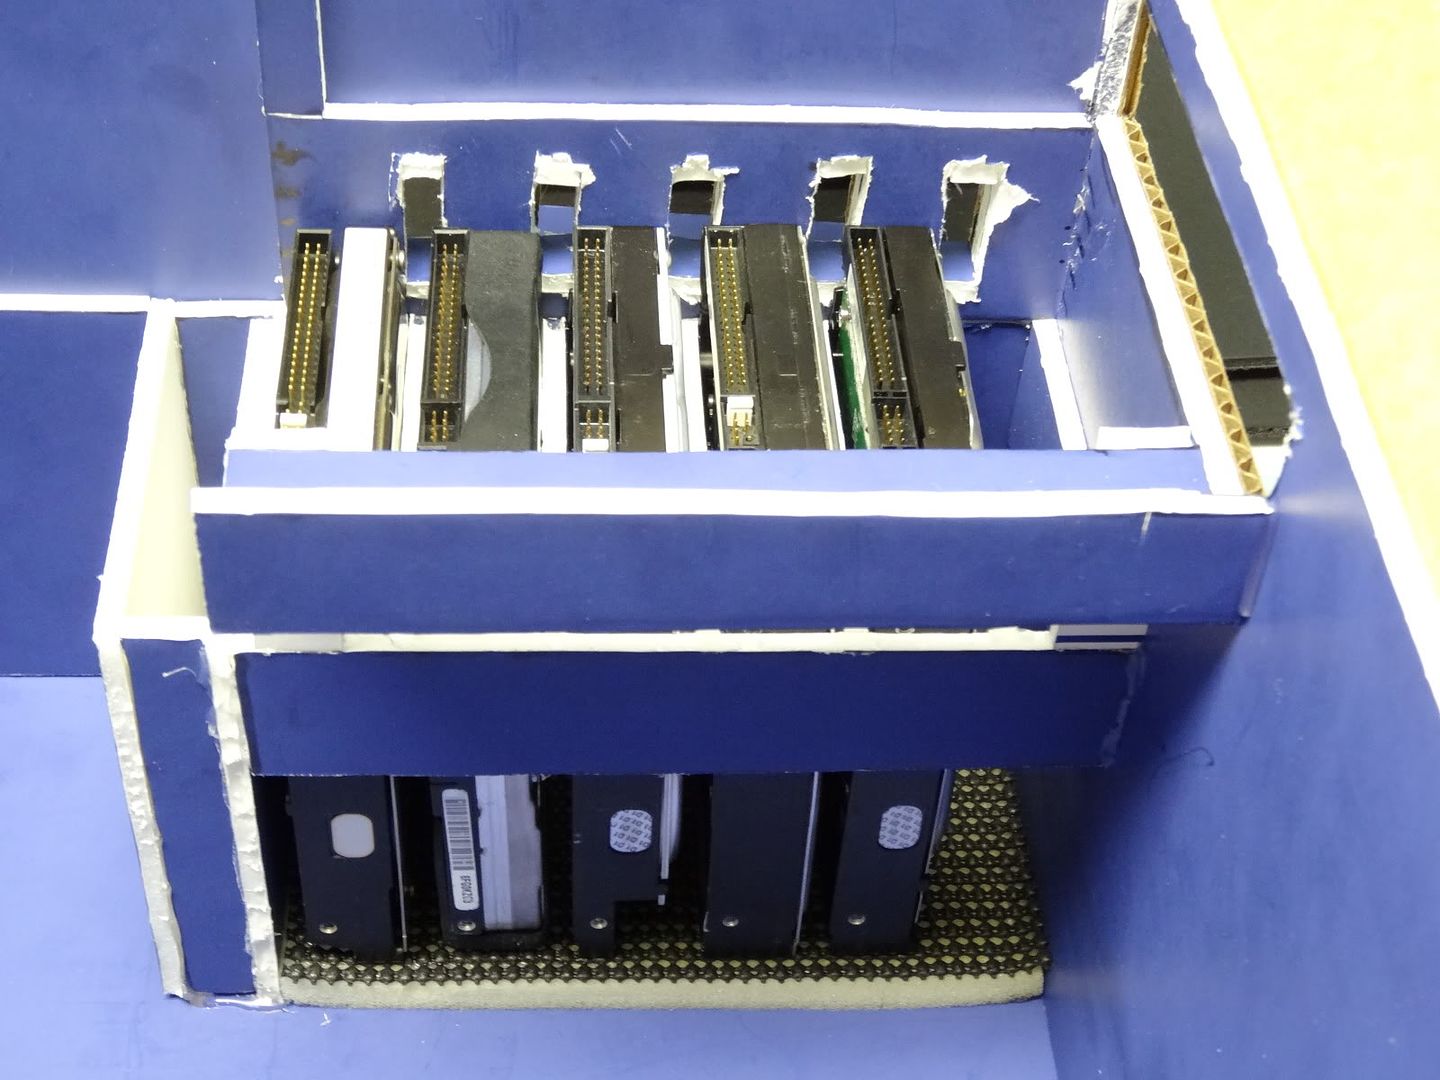
Fast forward a few more hours and I've completed the hard drive and optical drive mounting system.
On the bottom, there are five slots to which a hard drive can be inserted in vertical orientation. Each drive fits snugly in its slot and rests on a piece of foam with a kitchen mat surface so as to reduce vibration and absorb shock. Once again, no mounting hardware is needed. Just slide the drive into place!
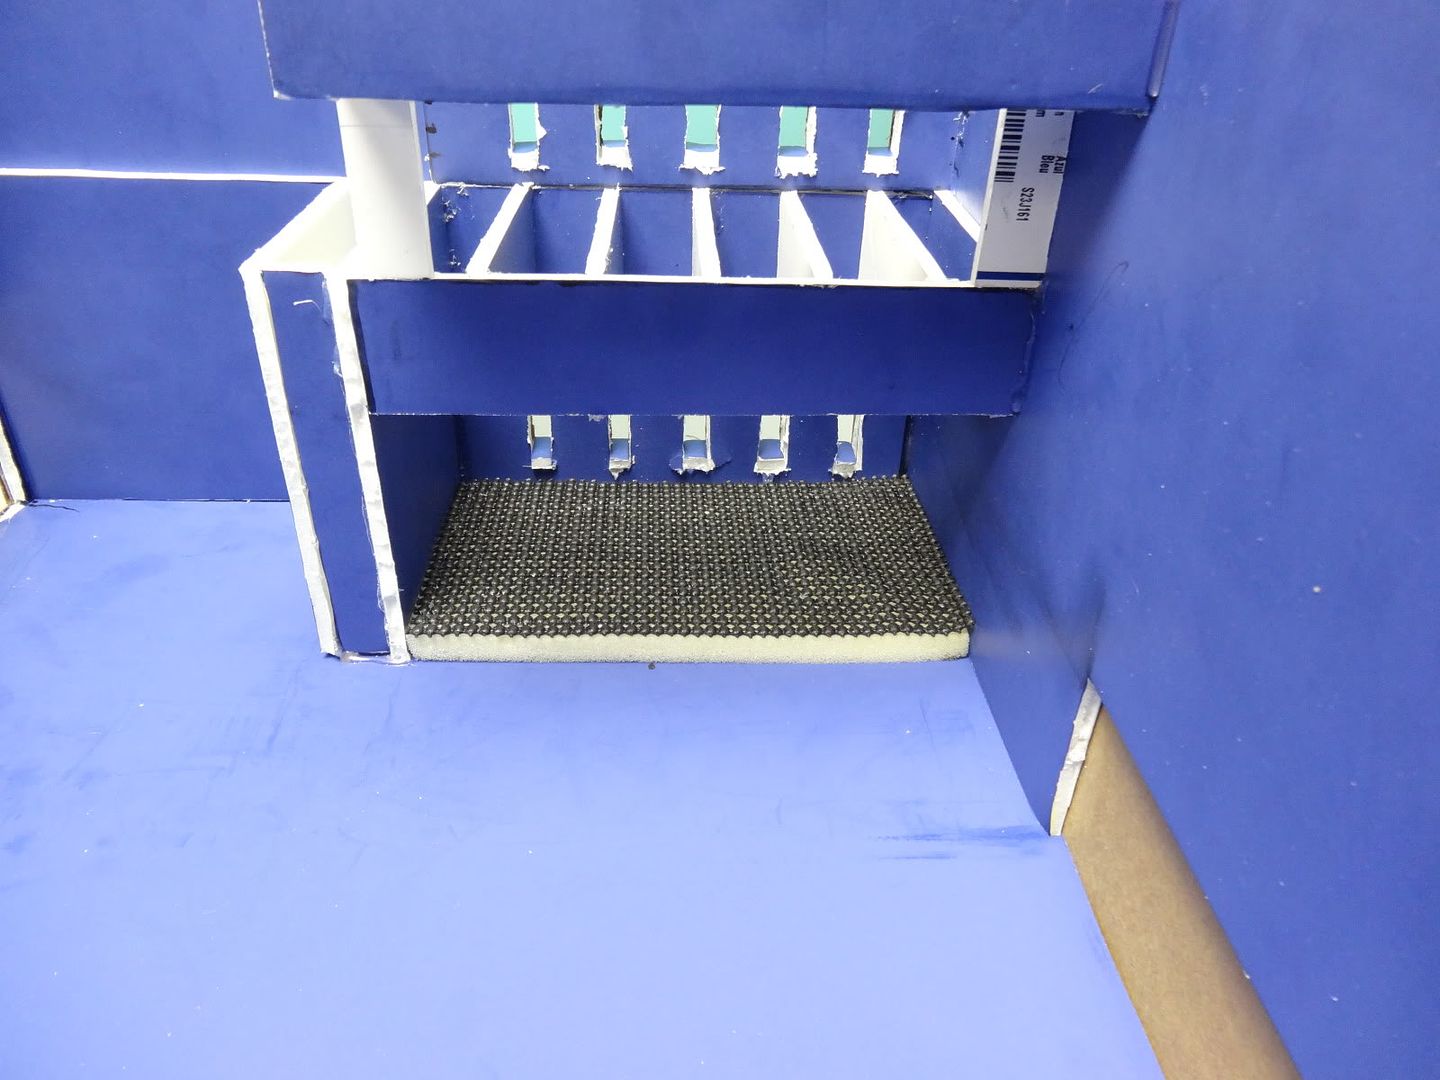

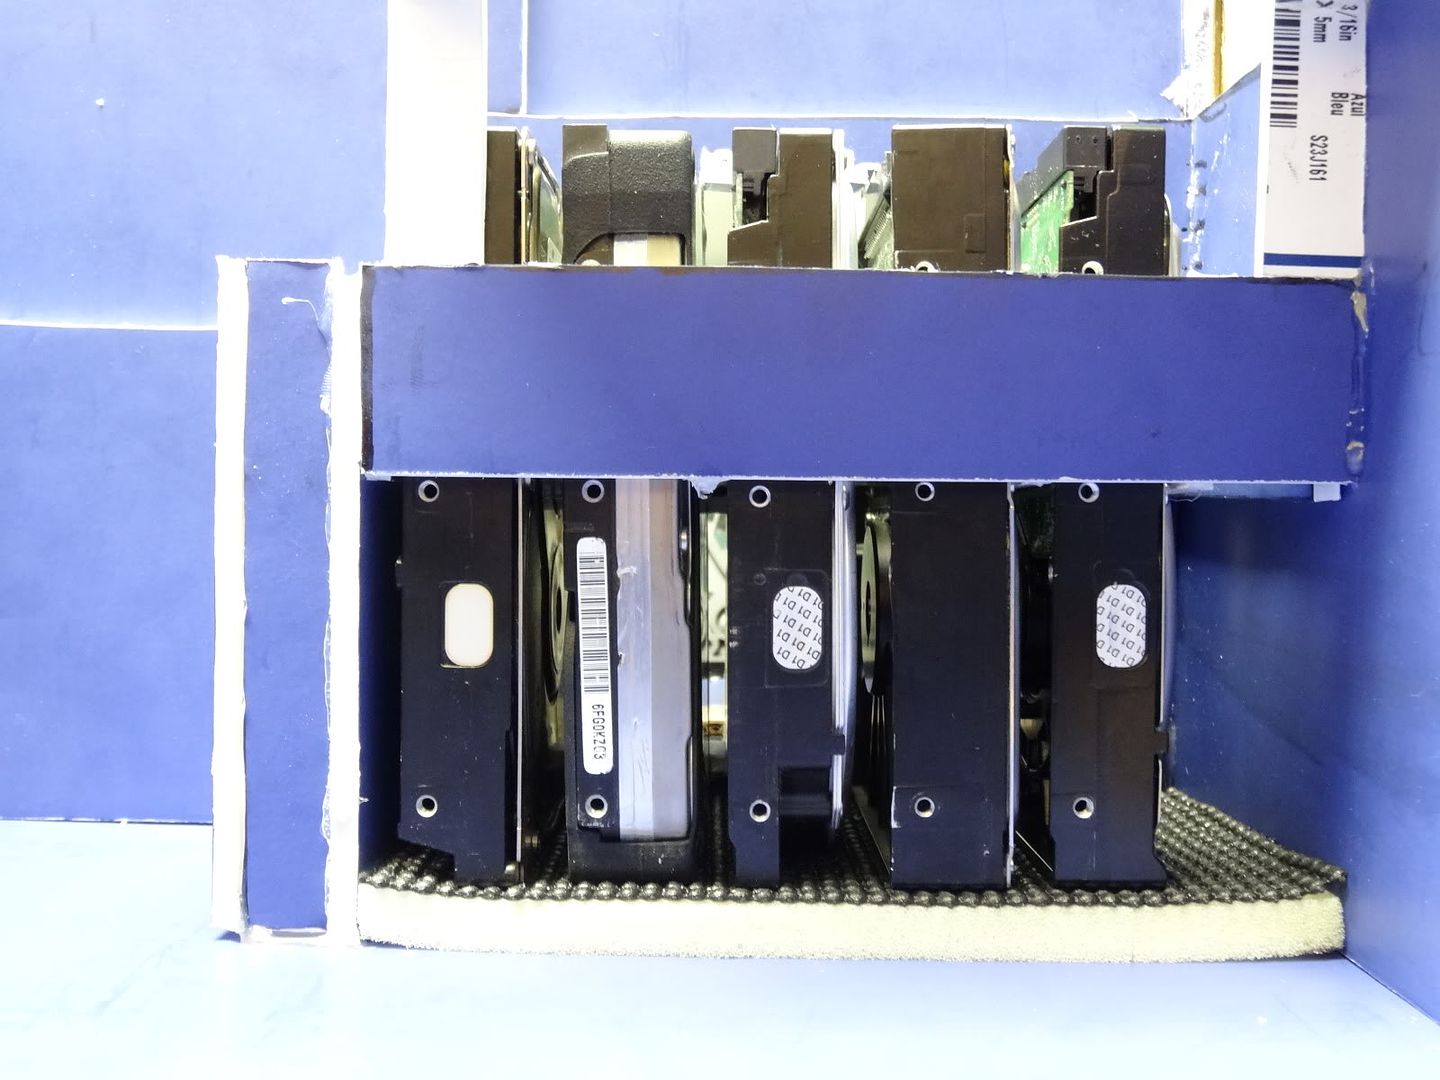
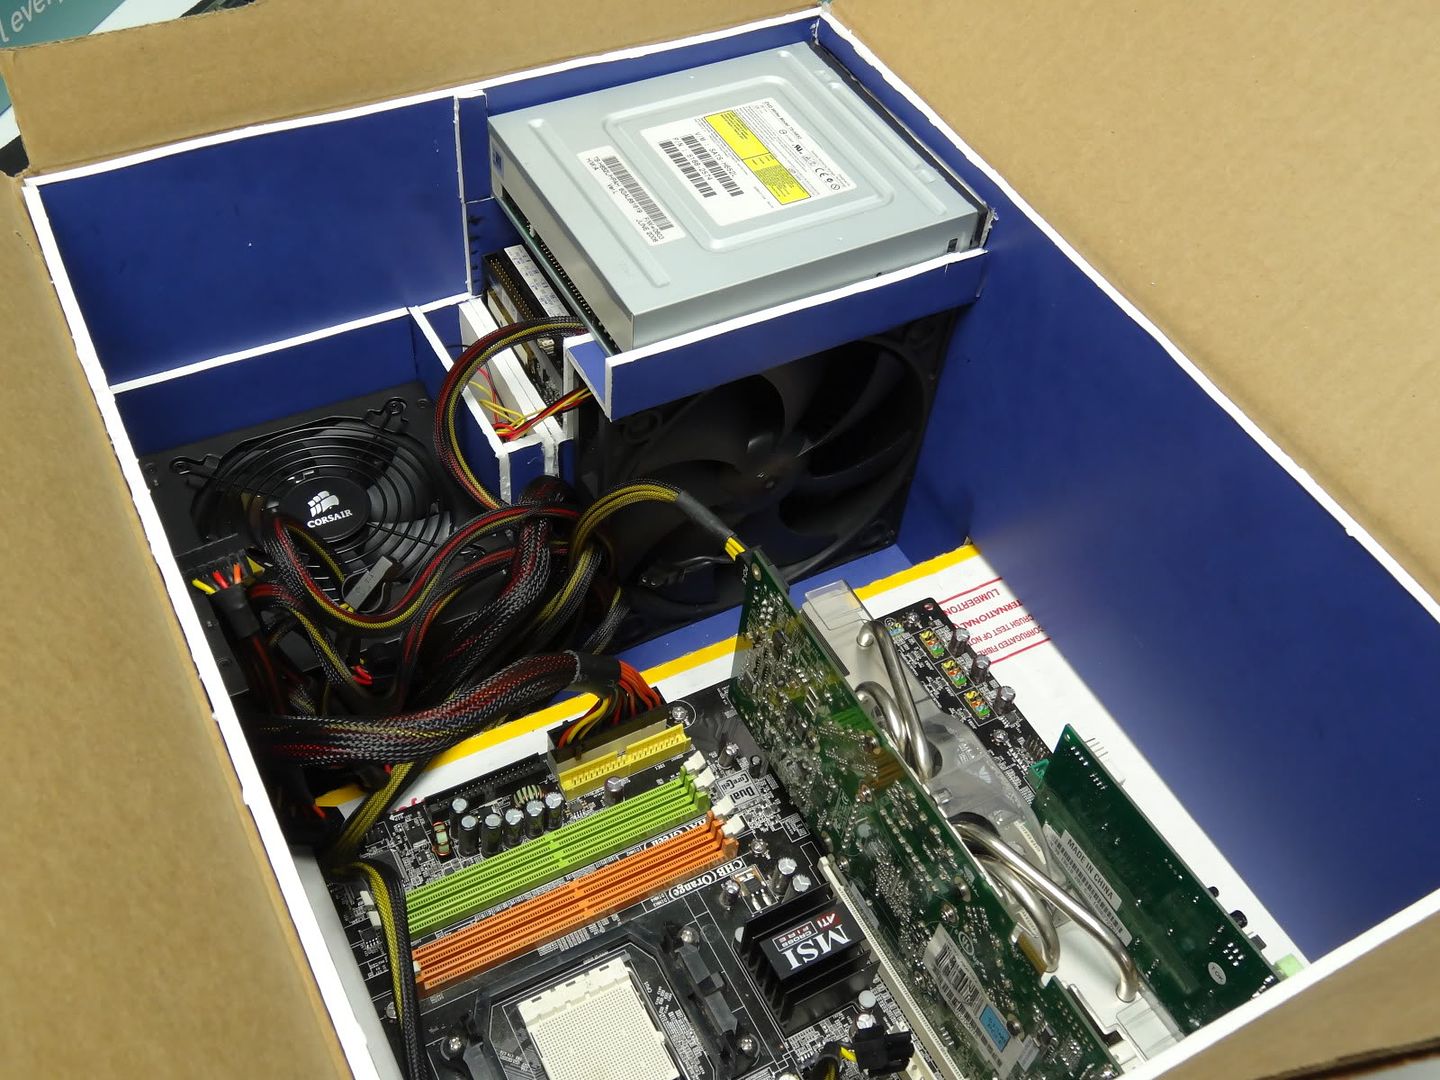
The drives each have a ventilation hole placed in between them. Through this ventilation hole a massive 200mm fan acts as an intake and draws cool air in between the drives and then disperses it inside the case.
On top of the hard drives and using the 200mm for support, the optical drive slides in at the upper corner of the case.
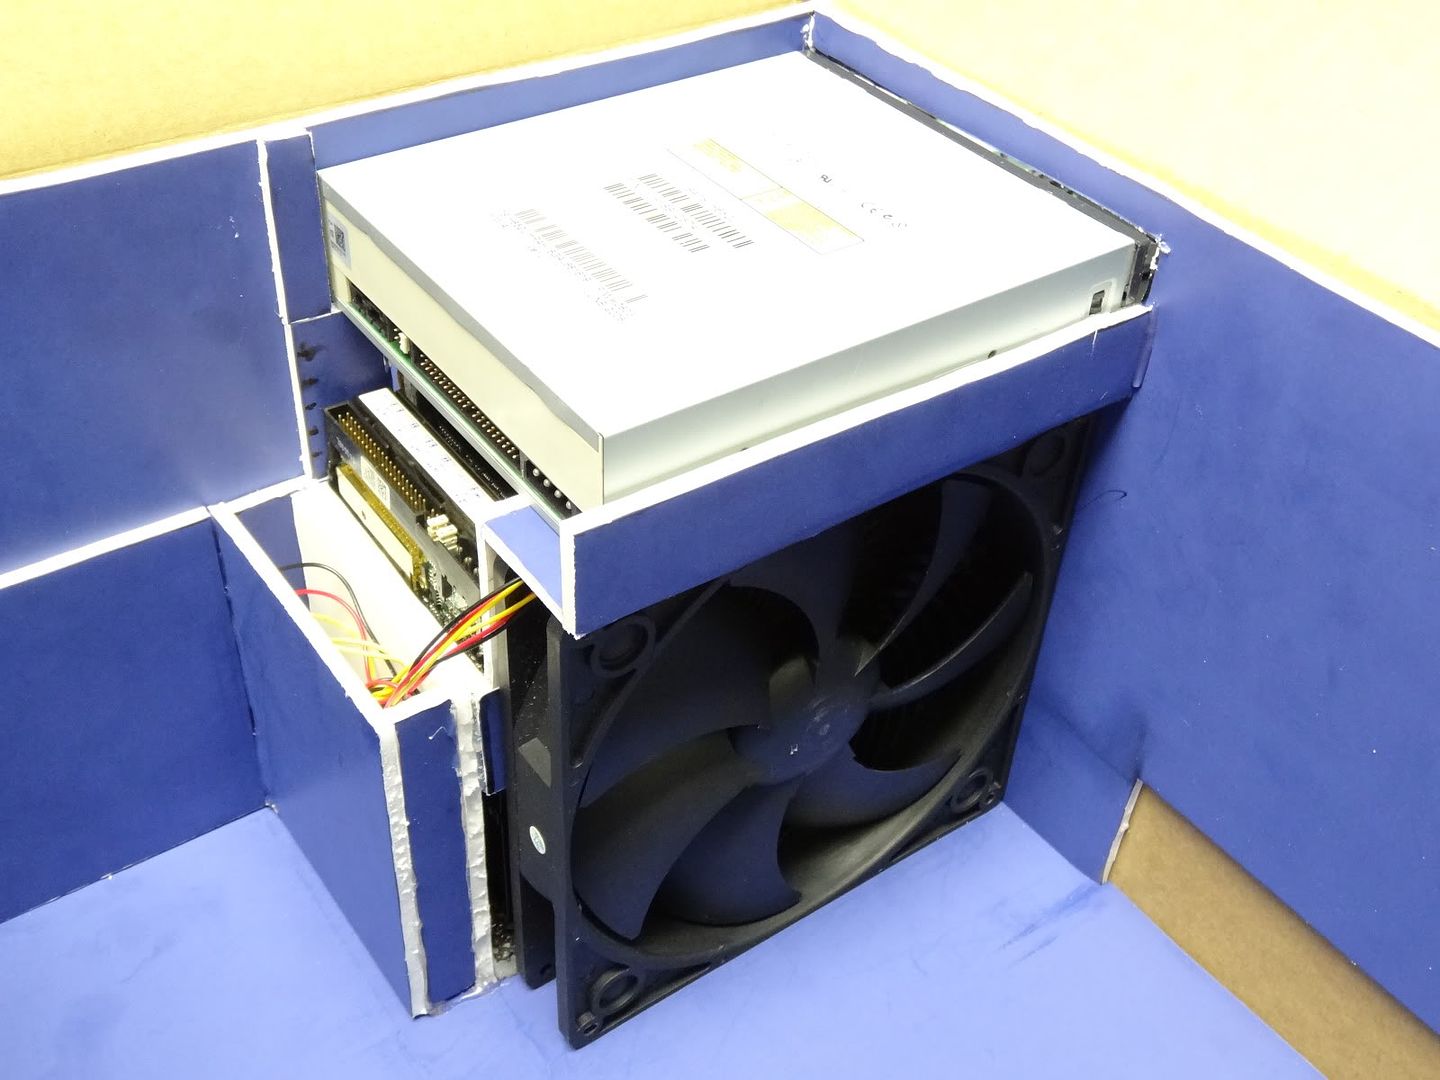
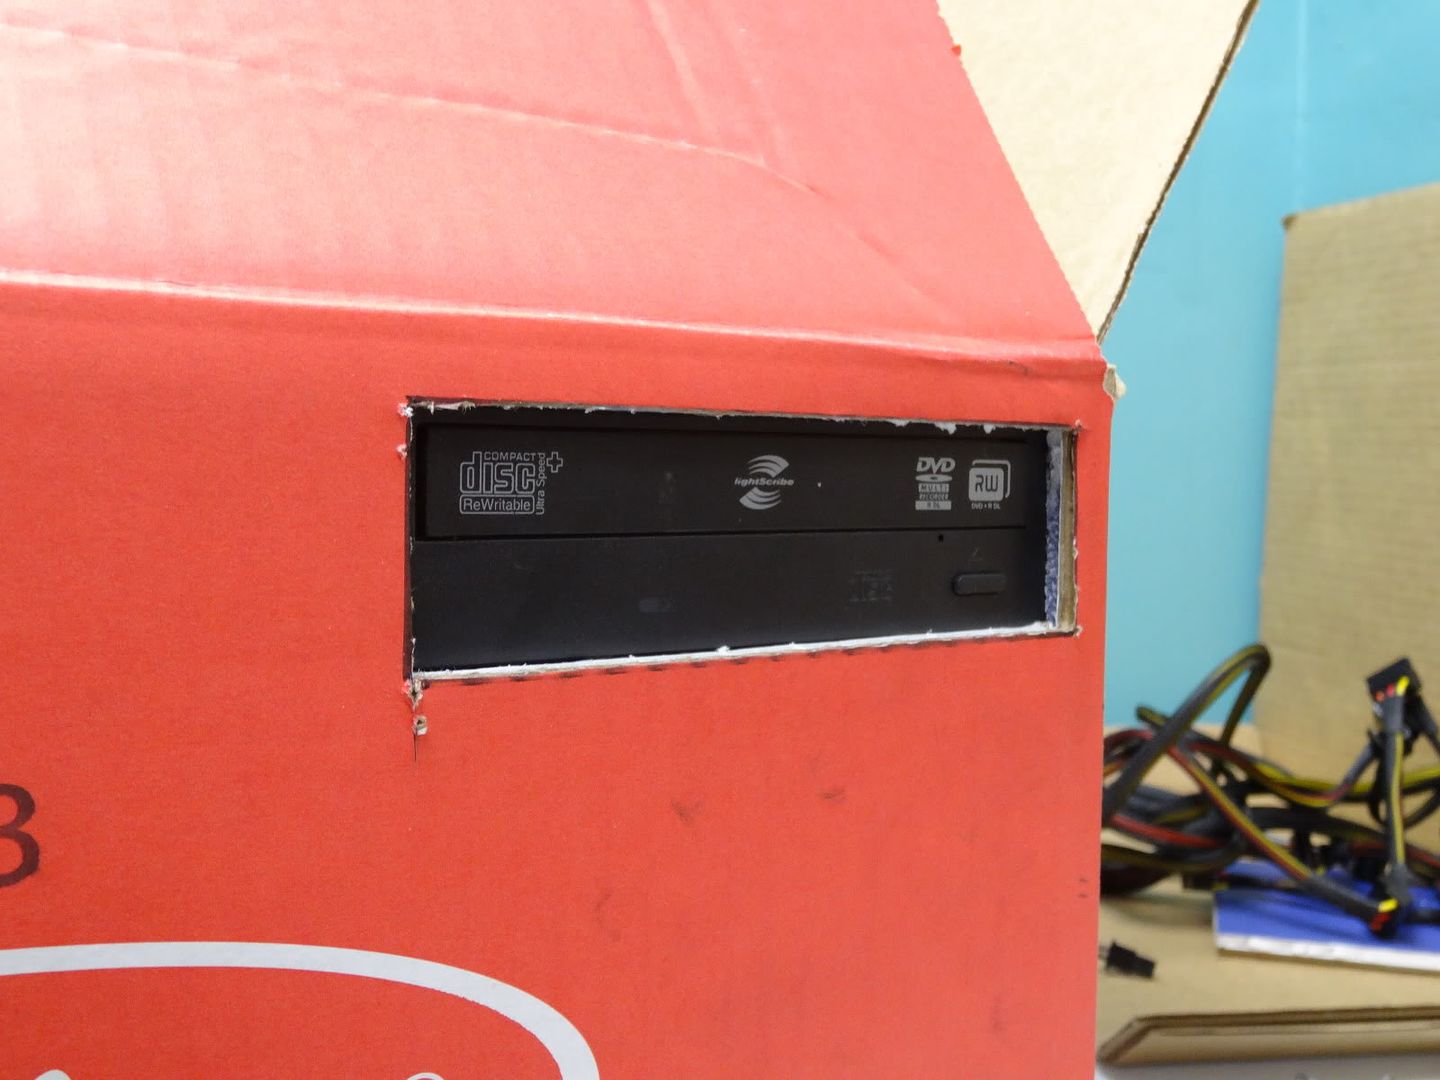
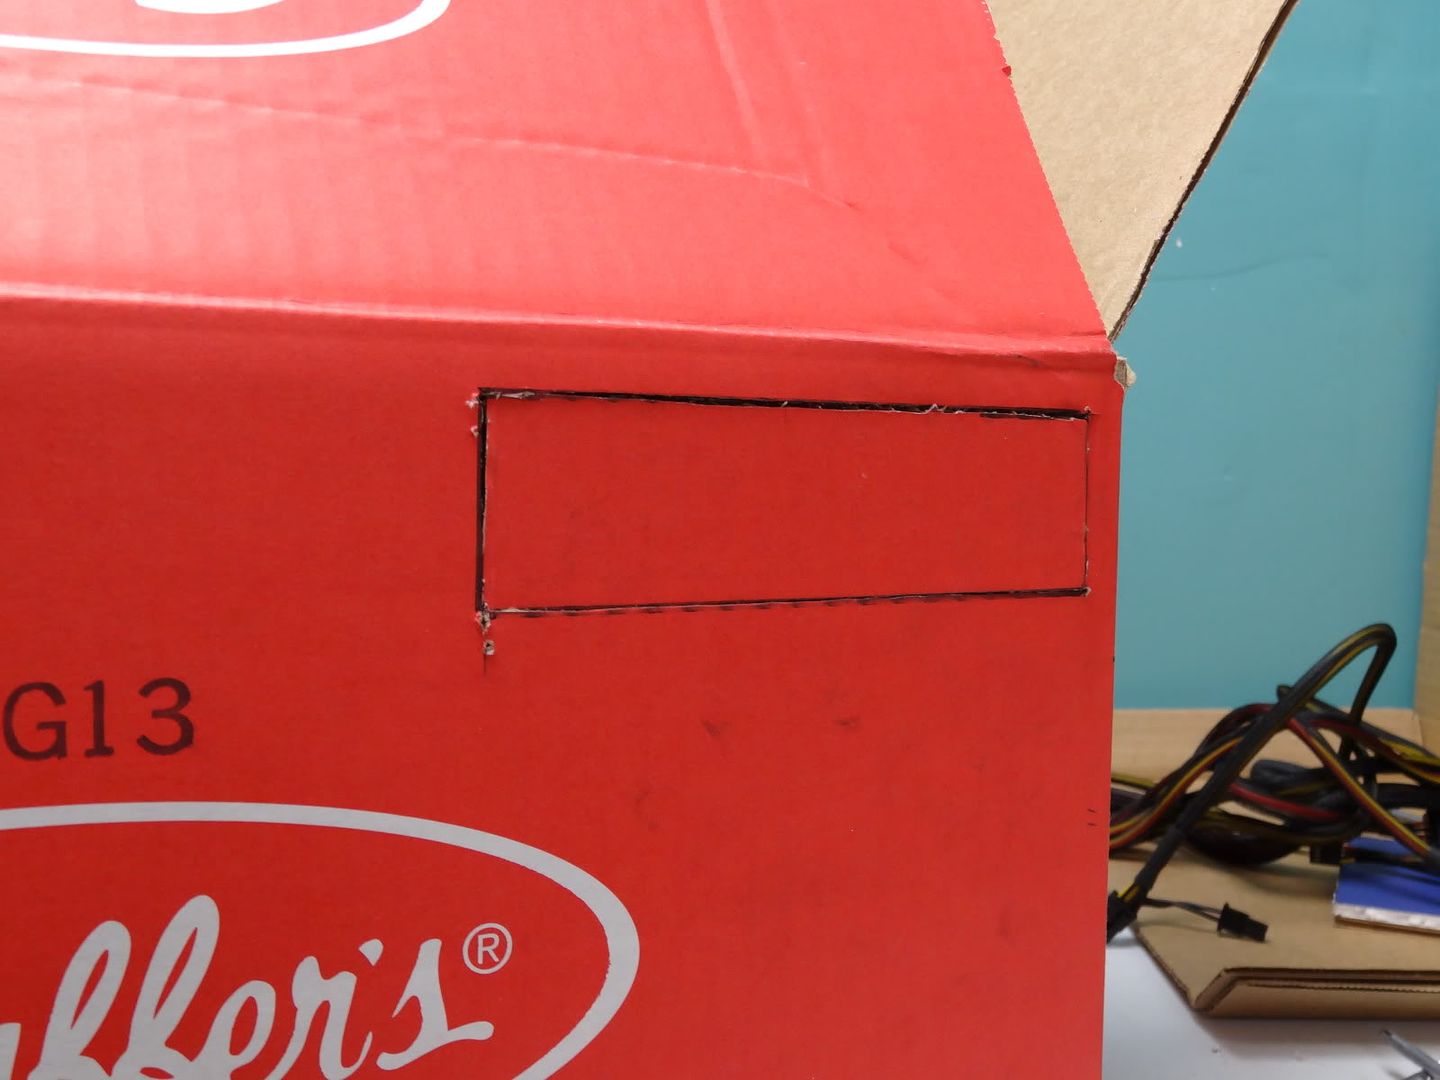
I plan on "stealthing" the optical drive with the piece I cut to make the hole for the drive.
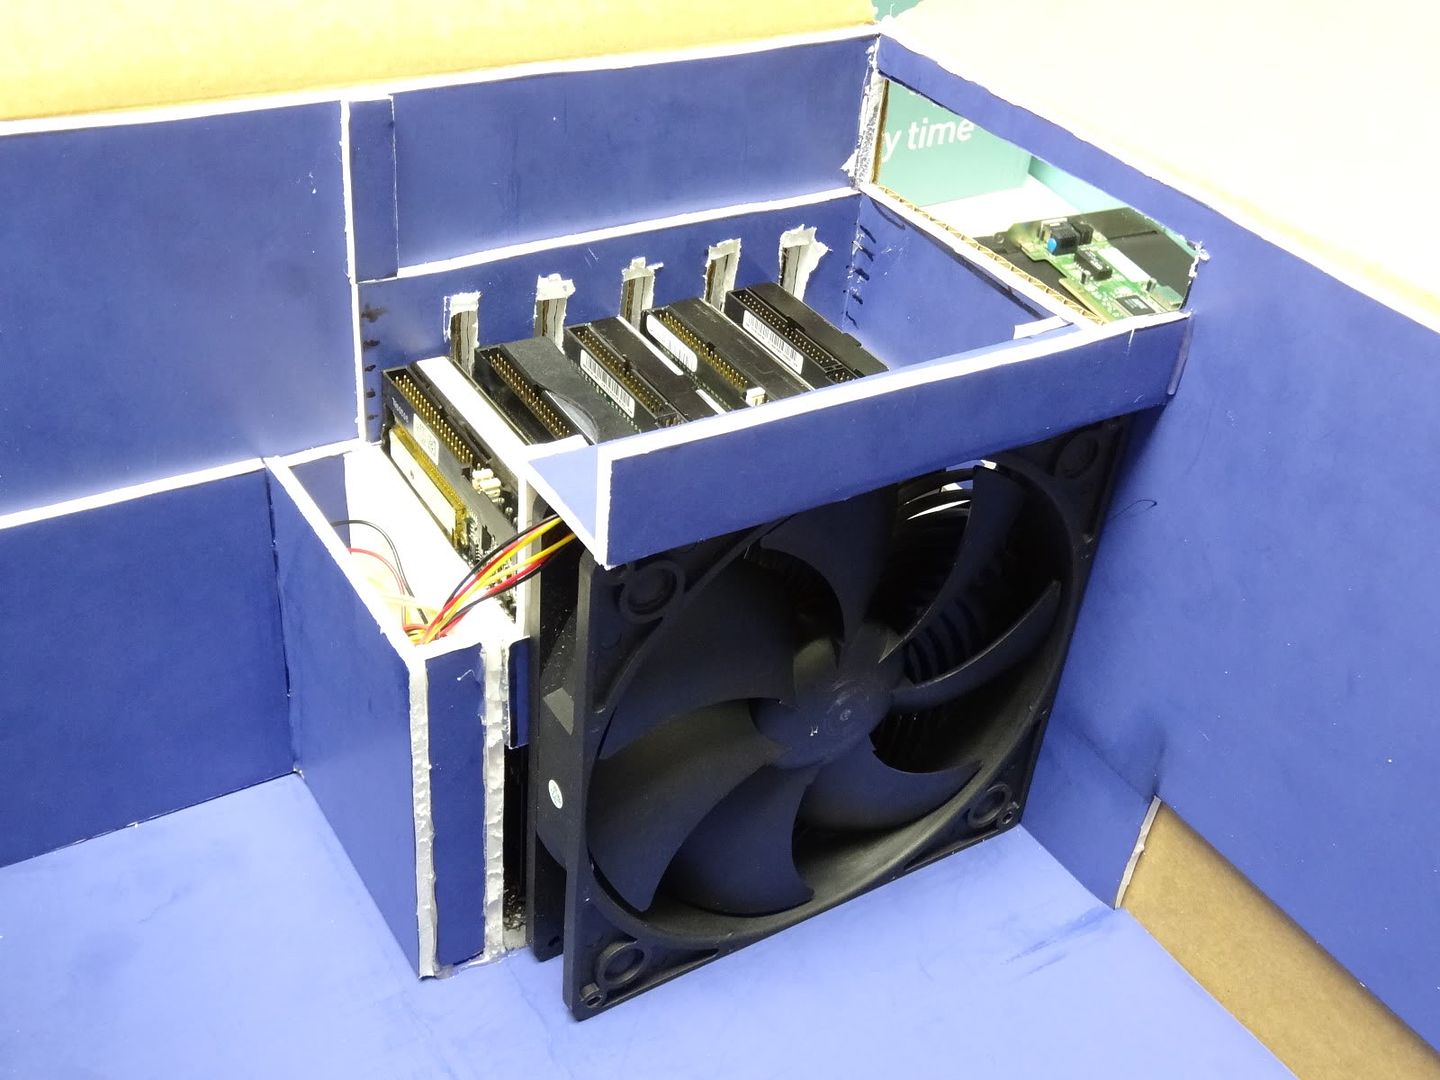
As you can see, I've managed to cram five hard drive slots, an optical drive, and a 200mm intake fan neatly into the corner of this case!
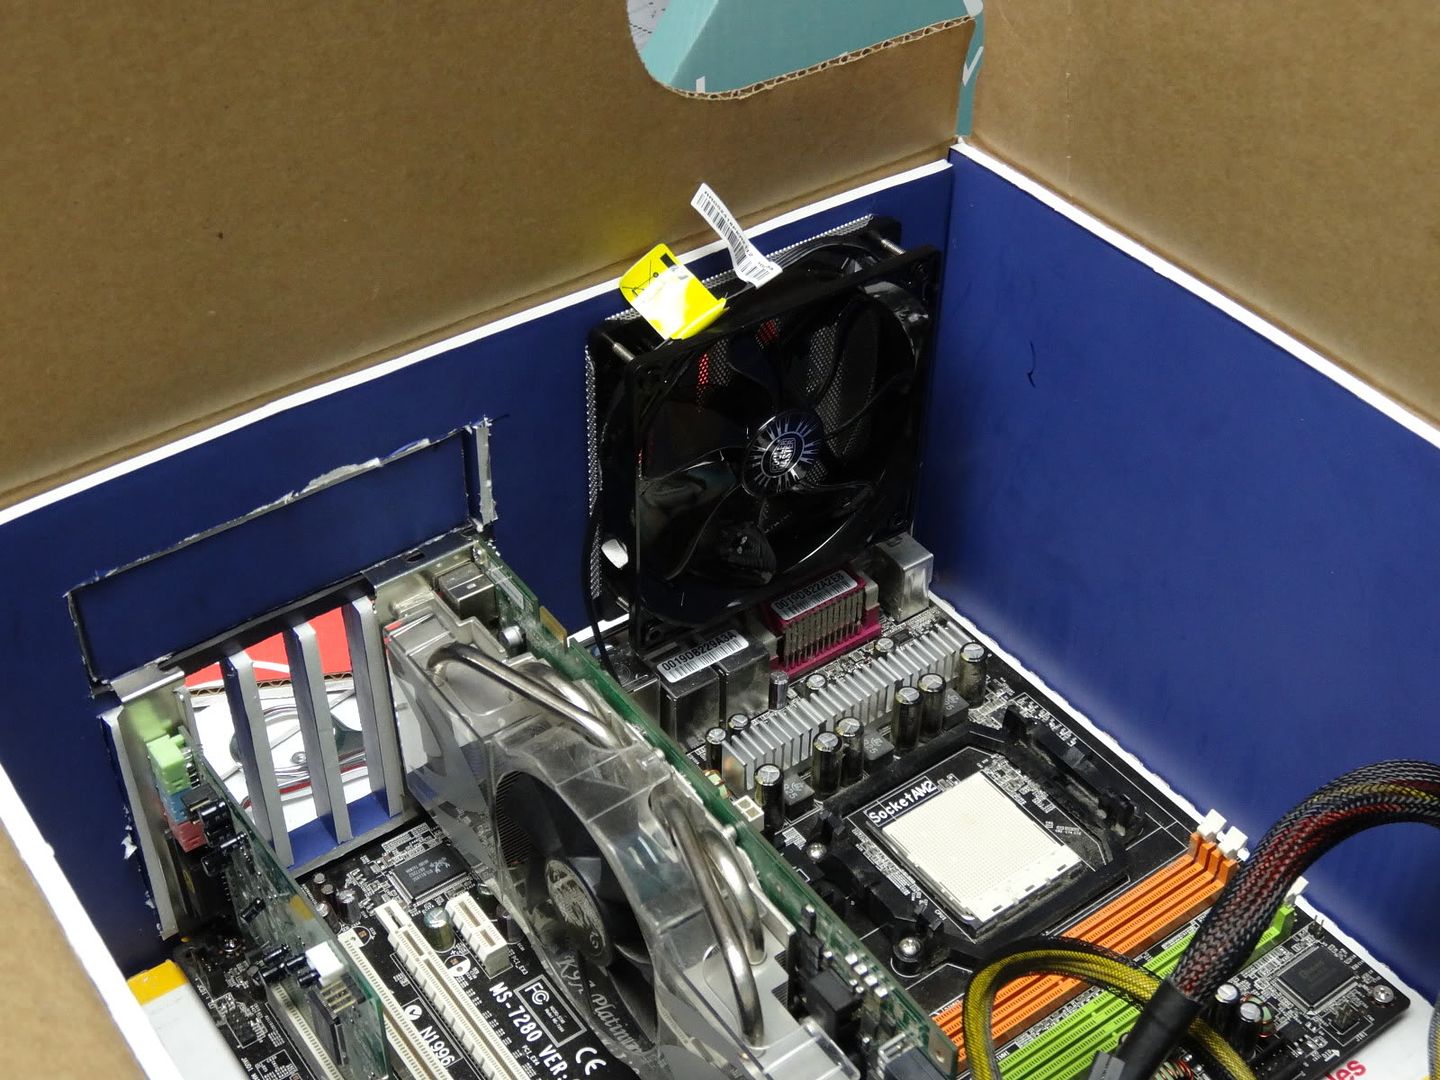
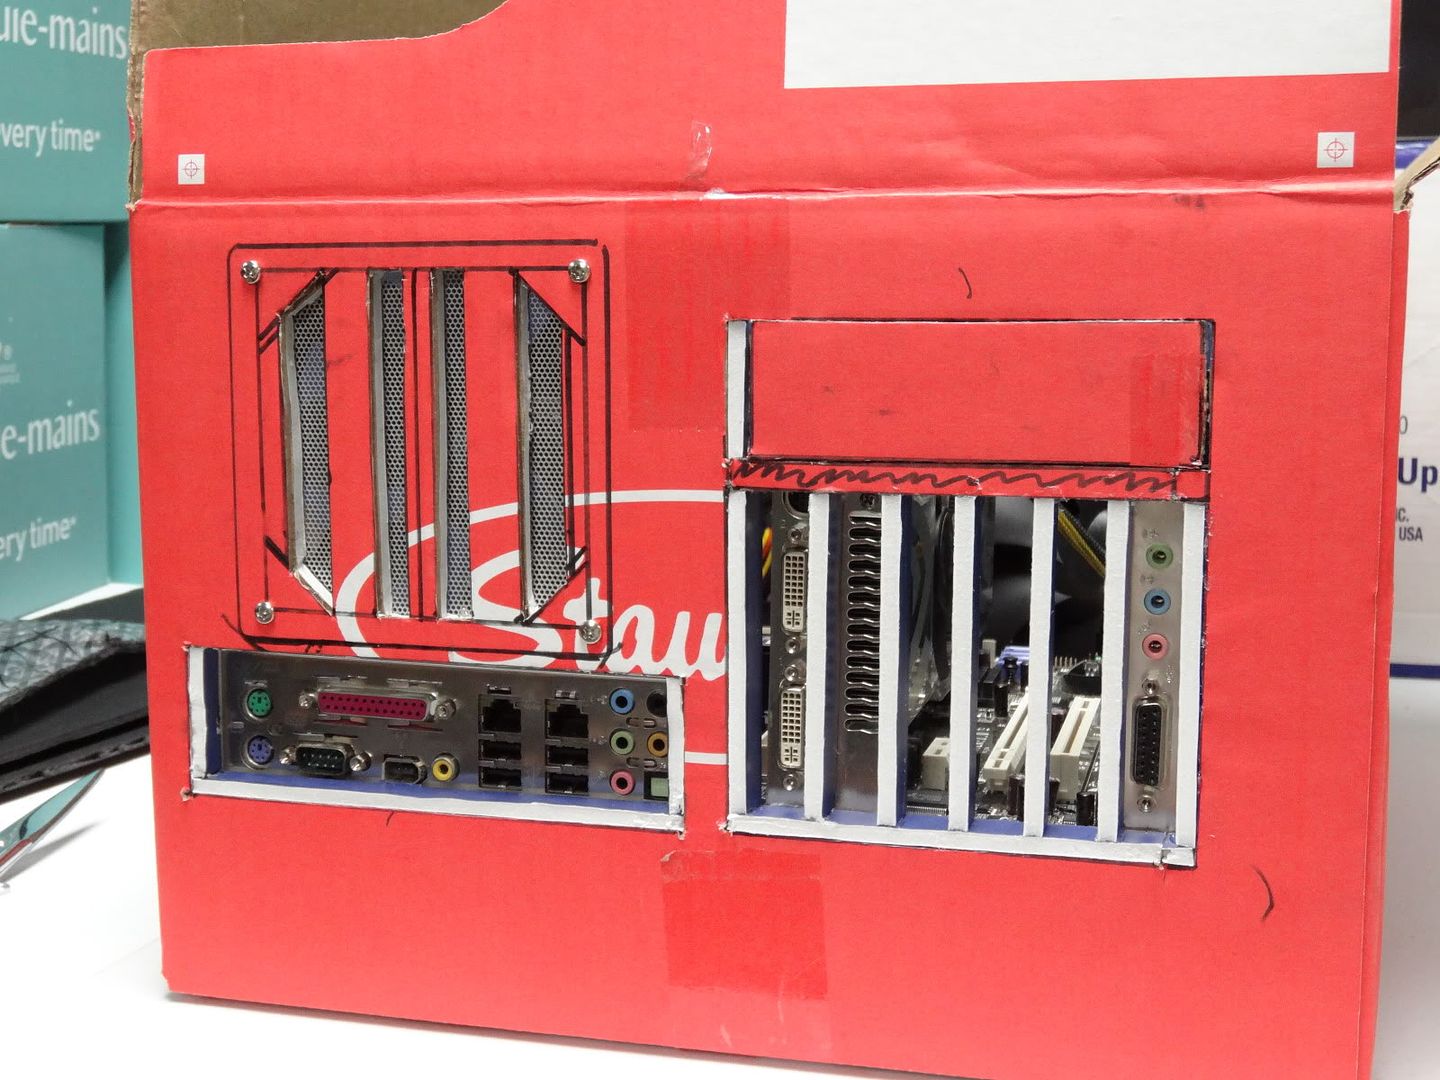
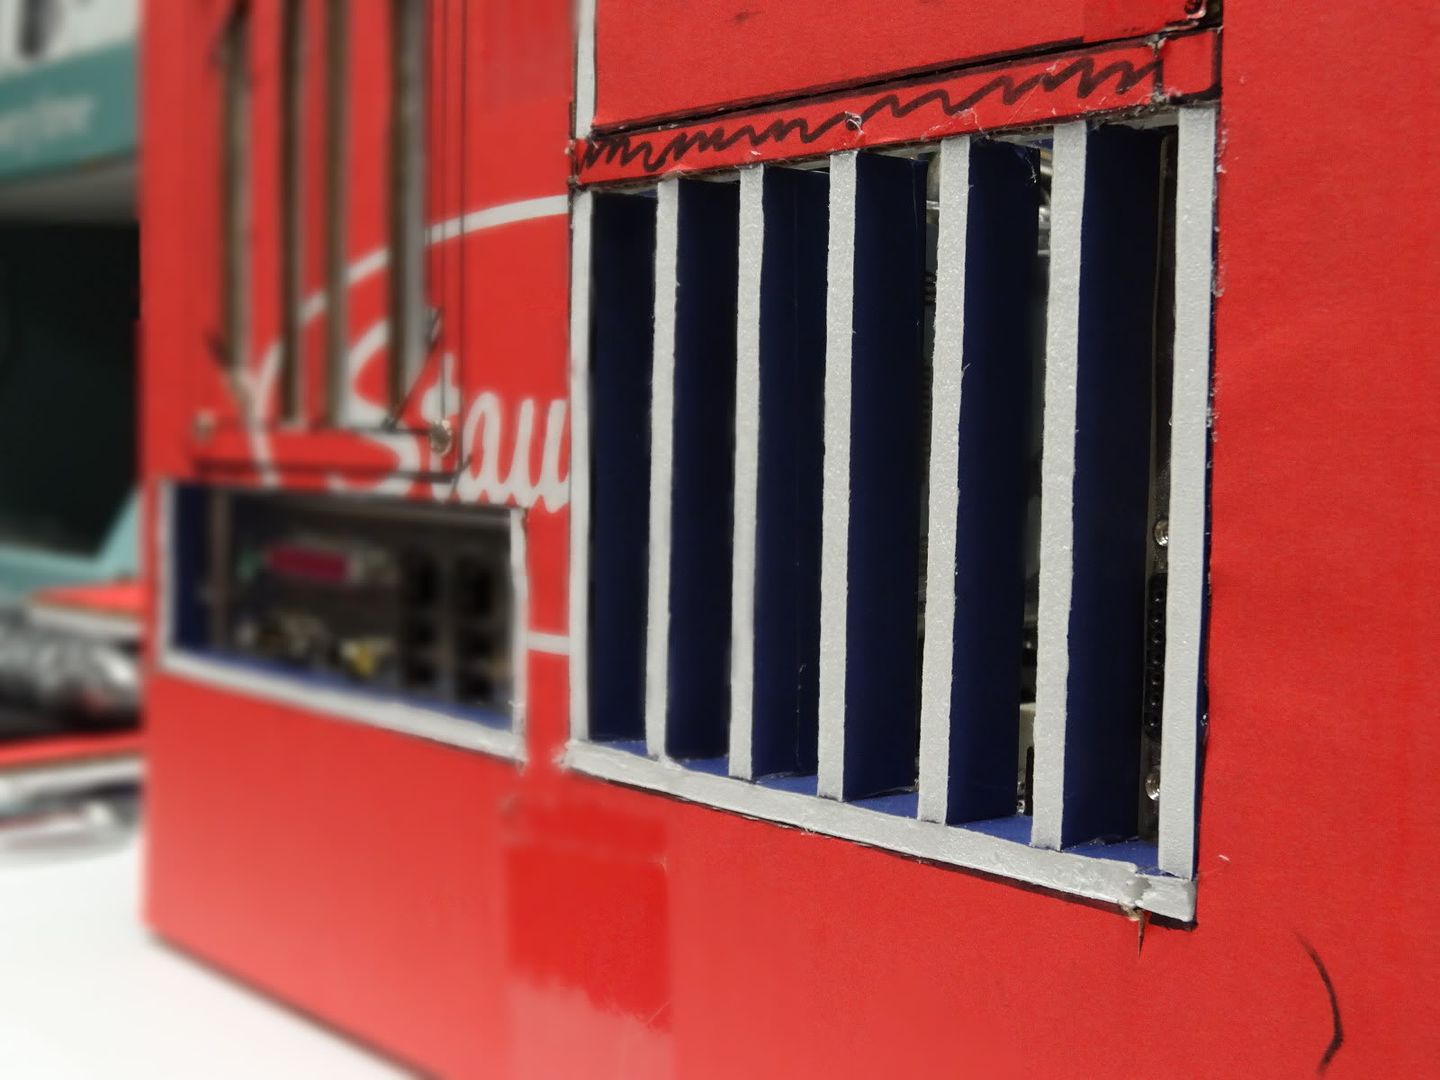
After that, I went on to add an exhaust fan to the rear section of the case. I also added dividers to the expansion card hole so it wasn't just a big gaping hole in a box.
That's all for now. Next I plan on adding a power switch and hdd activity led to the case. I'll probably use polystyrene to create a hard point to mount that stuff to.
Stay tuned!
Instead of simply throwing it together into some random box and duct taping all the bits in it, I have decided to put a little effort into the design and construction of this project.
The specs of this tinker rig will be:
- Asrock ALiveDual-eSATA2 (both PCI-E x16 and AGP 8x on this board!)
- Phenom II x4 965 (the fastest cpu this board supports)
- 4gb DDR2 800
- 2x WD Velociraptor RAID 0 (still to be decided what size to get)
- Any one of my many AGP and PCI-E cards in my collection
For starters, the box I chose is a Stauffers Animal Cracker box. It should be an adequate size for my needs.
I used foam board to line the inside of the box to give it some added strength without adding too much weight. The motherboard tray is a chicken noodle soup flat, also reinforced with foam board.
The motherboard tray is made to slide down into the case and wedge into place, eliminating the need to use mounting hardware. The notch in the side is a grab handle for easy removal of the tray. The motherboard is screwed to standoffs which have been hot glued into holes in the tray. The motherboard seen in the picture is a placeholder only. The actual motherboard will be installed in final assembly.
The hole for the I/O shield is marked on the inside. I use a screwdriver to punch holes in each corner so that I have a reference to duplicate the marking on the outside of the case and to make the cut with my trusty Xacto knife.
Fast forward a few hours and I've cut holes for the I/O shield, the expansion slots, and the power supply. I've also made a slot for the power supply to slide down into.
The drives will go in front of the power supply.
The power supply hole.
The I/O shield is held against the motherboard by the small pieces of foam board in the perimeter of the hole.
Fast forward a few more hours and I've completed the hard drive and optical drive mounting system.
On the bottom, there are five slots to which a hard drive can be inserted in vertical orientation. Each drive fits snugly in its slot and rests on a piece of foam with a kitchen mat surface so as to reduce vibration and absorb shock. Once again, no mounting hardware is needed. Just slide the drive into place!
The drives each have a ventilation hole placed in between them. Through this ventilation hole a massive 200mm fan acts as an intake and draws cool air in between the drives and then disperses it inside the case.
On top of the hard drives and using the 200mm for support, the optical drive slides in at the upper corner of the case.
I plan on "stealthing" the optical drive with the piece I cut to make the hole for the drive.
As you can see, I've managed to cram five hard drive slots, an optical drive, and a 200mm intake fan neatly into the corner of this case!
After that, I went on to add an exhaust fan to the rear section of the case. I also added dividers to the expansion card hole so it wasn't just a big gaping hole in a box.
That's all for now. Next I plan on adding a power switch and hdd activity led to the case. I'll probably use polystyrene to create a hard point to mount that stuff to.
Stay tuned!