jedihobbit
Gawd
- Joined
- Nov 3, 2005
- Messages
- 963
It looks like BluHaz will not be formally finished as I have fallen victim to the eBay curse again.
Originally powered by a 2600+ TBred I just couldnt get it to OC much (limited bios) and had a 2800+ Barton lying around so gave that a try in another 7NIL1. My fun can be reviewed here if interested http://forums.pcper.com/showthread.php?t=419135 I must really thank all of the guys that helped me there, and it saddens me that the effort may be for naught!
Sadly that work is now in hiding from the wifes Grand Purge of Unnecessary Computer Parts as I begin this version, so .. lets get going!
The primary changes to BluHaz to make it reDux are the new components (Bold) shown below:
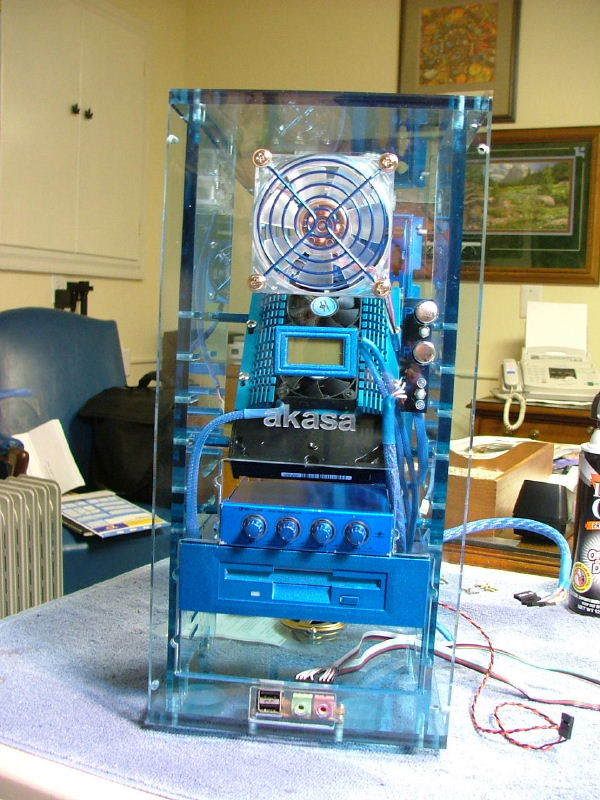
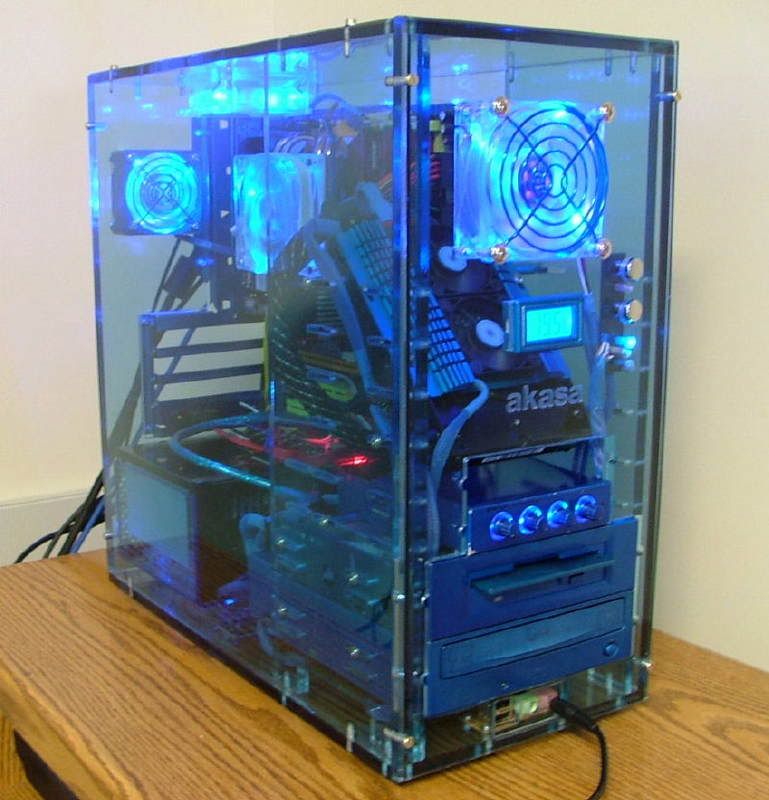
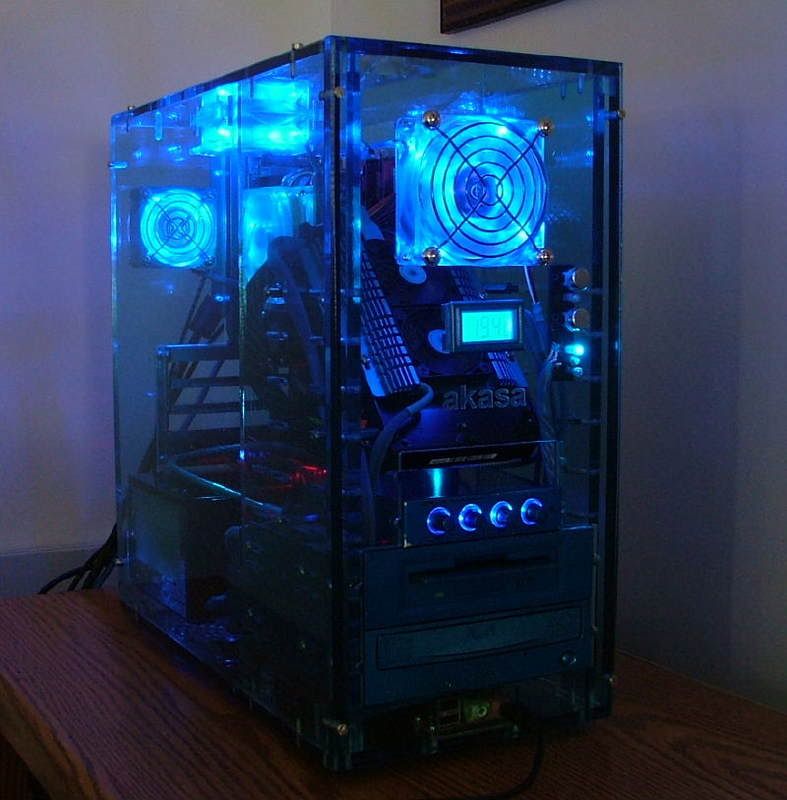
CASE: akasa Blue Acrylic mATX
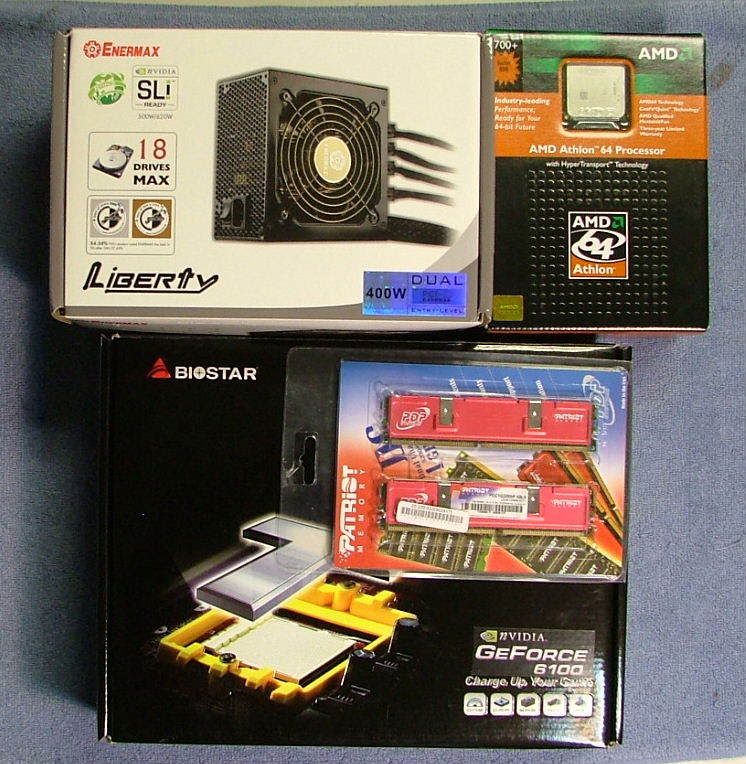
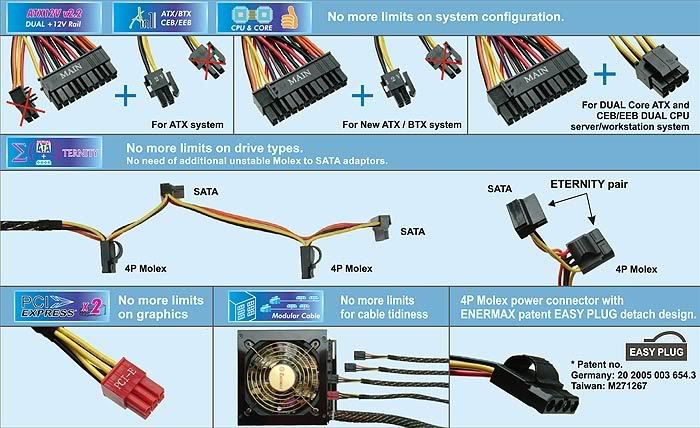
PSU: Enermax Liberty ELT400AWT 400W
MOBO: Biostar Tforce 6100-939
CPU: AMD A64 3700+ San Diego CCBWE 0549 WPMW
HSF: AMD Stock Opteron Cooler w/ Tt 80mm Smart Fan
GPU: On Board 6100 until ..
MEMORY: Patriot PDC1G3200+ XBLK 2 x 512Mg
HDD: 80 Maxtor 80 GB DiamondMax Plus 9 w/ Cooler
Optical Drive: LG GCC 4521B DVD / CD-RW
Here be the new stuff!
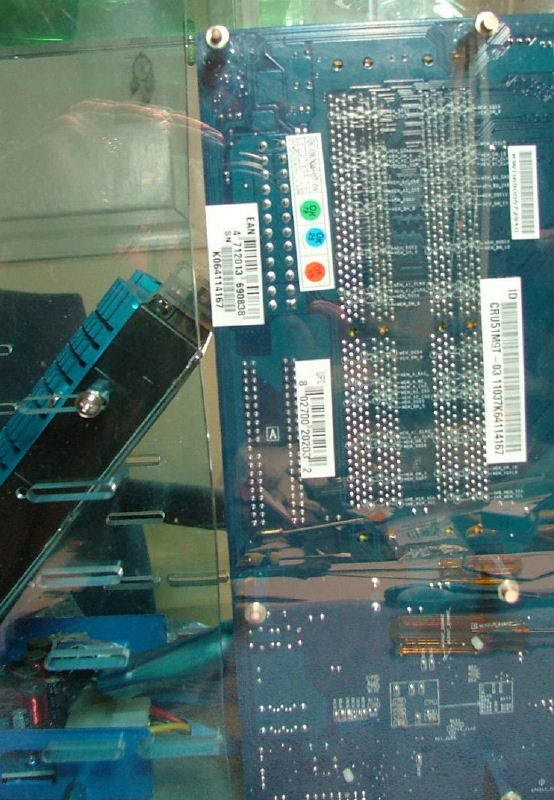
Here are the two 7NIL1 / CPU and new 6100-939 motherboards for comparison, top left is the original 2600+ w/modified Gladiator 3 top right with the pin modded 2800+ w/ Swiftech 462+ with the new Biostar at the bottom. The Swiftech 154A on the top right 7NIL1 will be transferred to the Skt. 939 board.

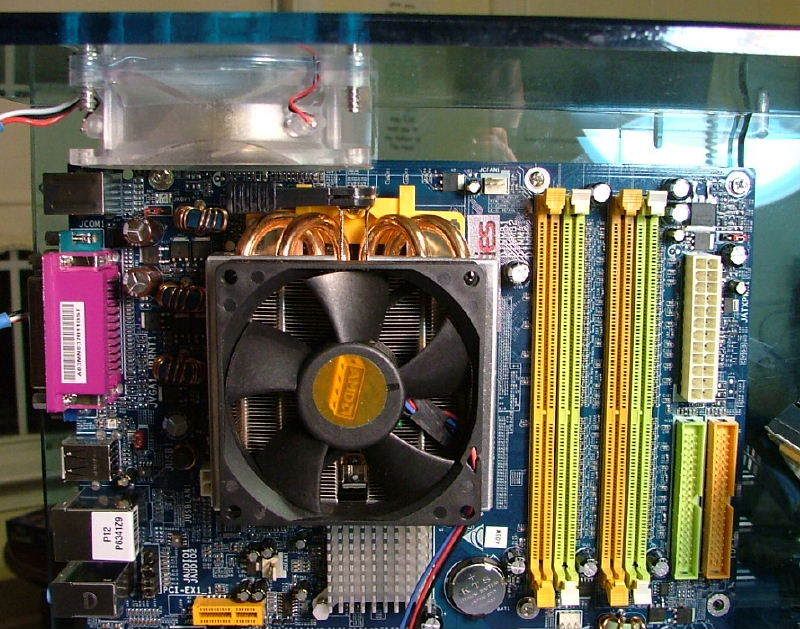
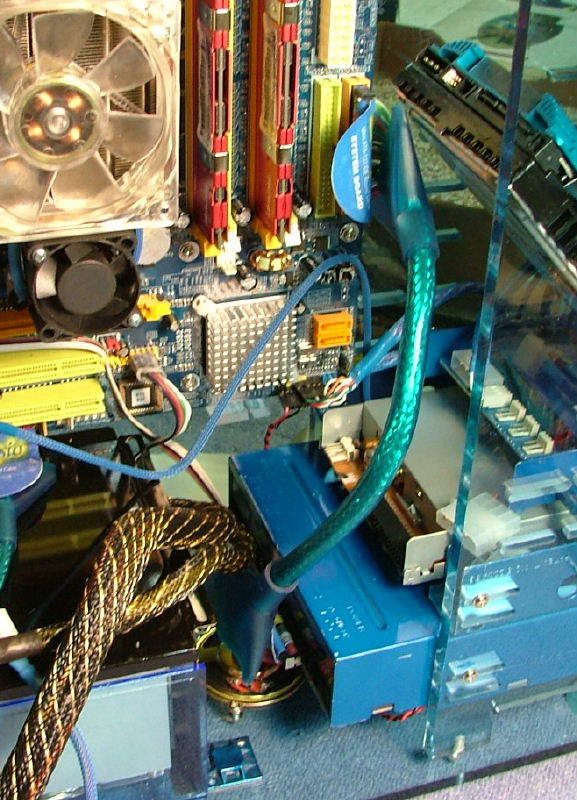
A concern I had was the how and what would fit for a HSF. Had considered the Zalman 9500, but tossed that out when I read it needed a decent case exhaust fan(s) to blow towards. BluHaz has only the one 60mm exit fan and the 80mm top fan / hole would not have lined up. So I opted for the Opteron cooler as Ive heard good thing about them and I have one from Celtic Spirits 175 (now slated for H2O!).
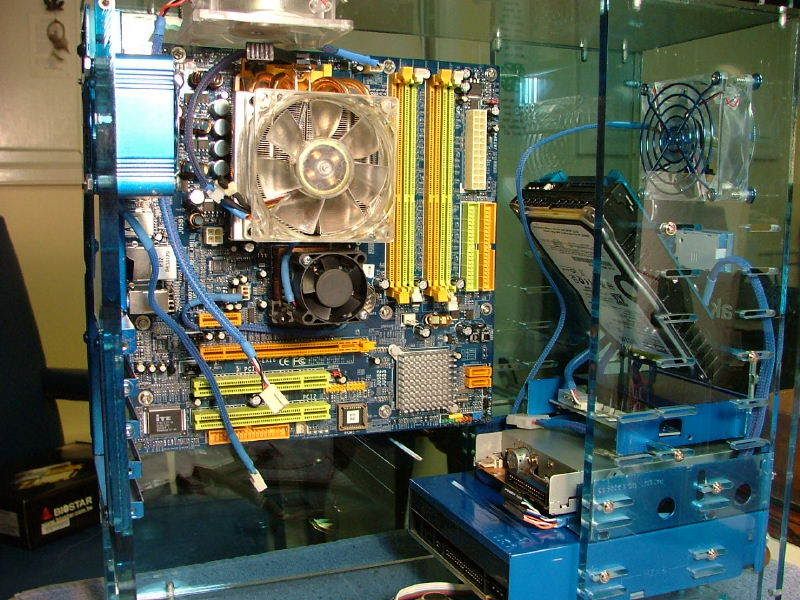
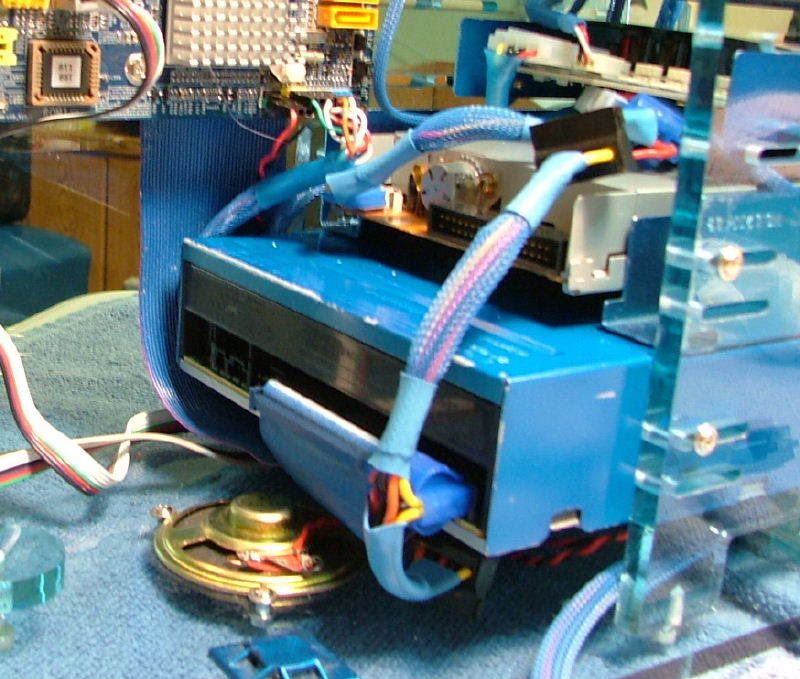
Temp mounted the mobo to the sidewall / motherboard plate of the case. Then I "dummy" mounted (no cpu) the stock cooler off of the 175. After placing the top of the case back on it looks like the 80 x 25 fan will be able to stay, as you can see here
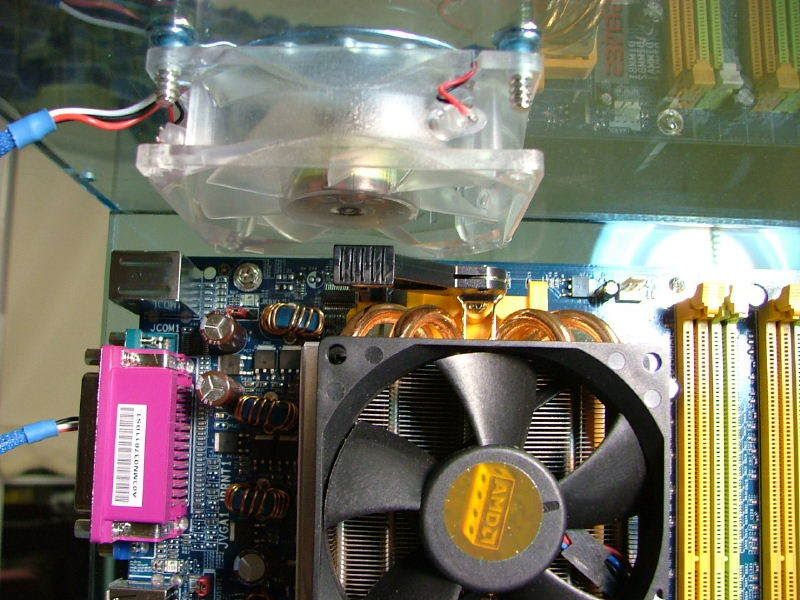
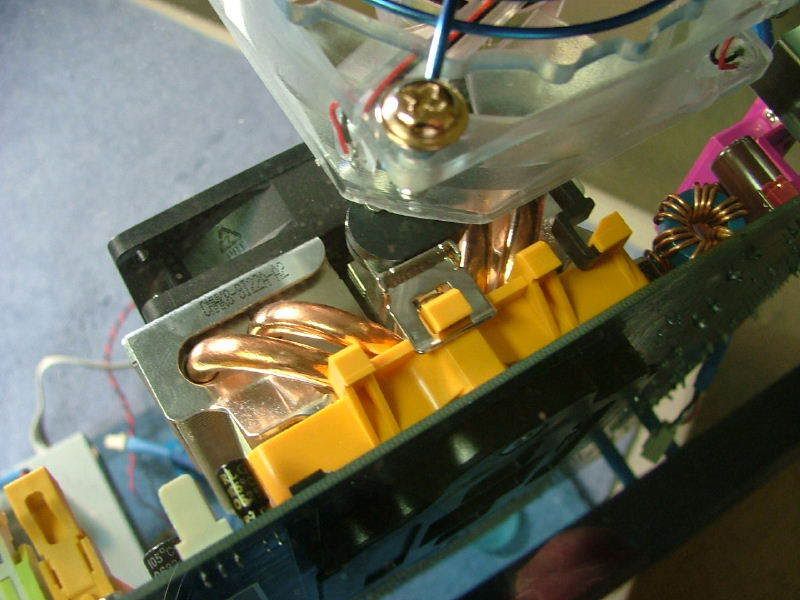
If the 2800+ w/ 462+ had been used this would have had to go bye bye. The notch in the fan was to miss the Gladiator 3 mounting clip on the first setup. The clip release on this particular hsf actually fits underneath.
Things to Be Cut
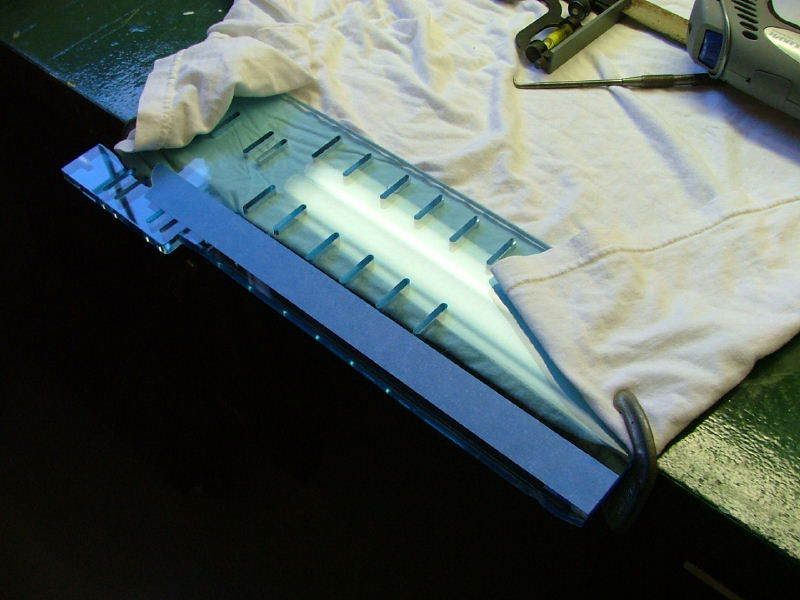
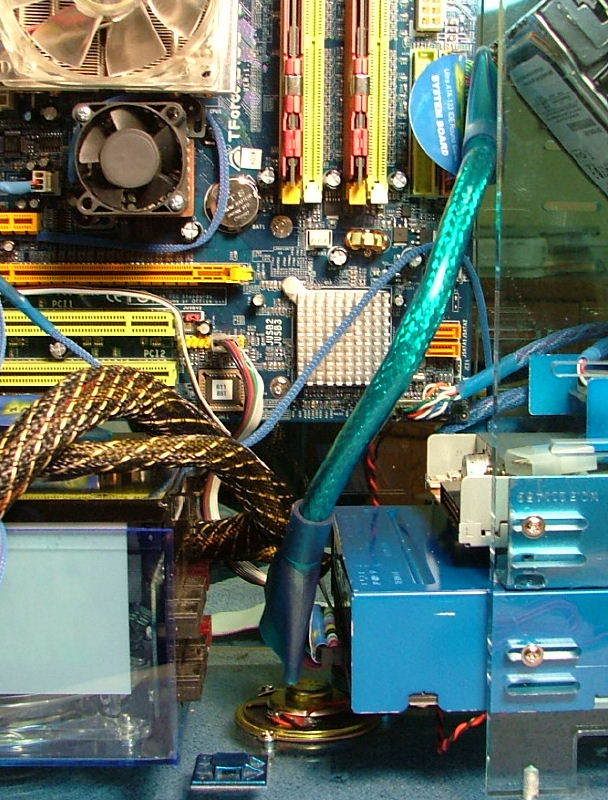
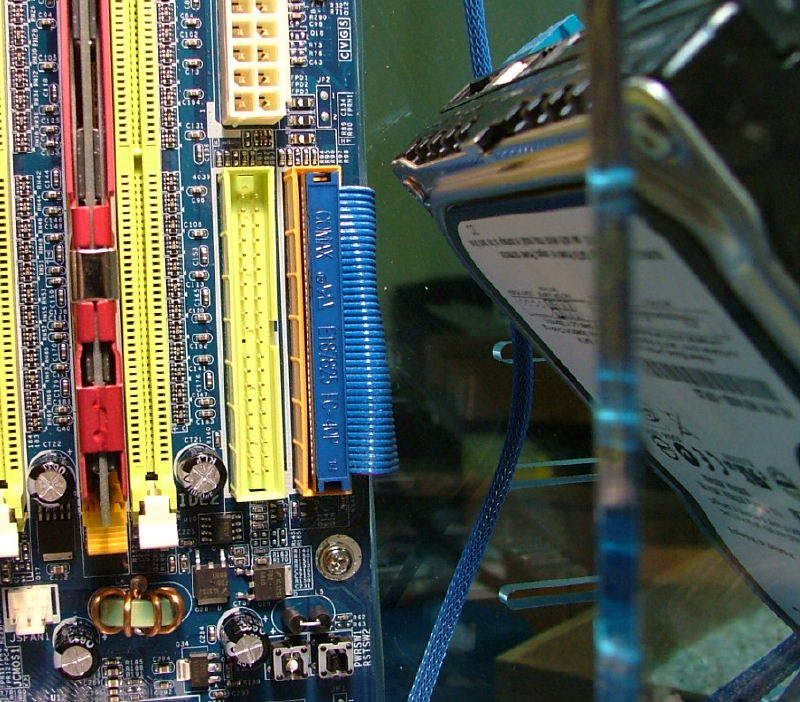
When I originally put BluHaz together I notched one of the drive side mounting plates to allow room for the larger mATX board. Unfortunately it turns out to be about 1/16 to 1/8 too short. So with the rework I took the opportunity to fix this.
In anticipation to doing several mods to finish up BH and Celtic Spirit I purchased a new dremel set. It has all the goodies like jig saw, planner, circle cutter, on and on. Sadly it didnt include talent, but that is another story!
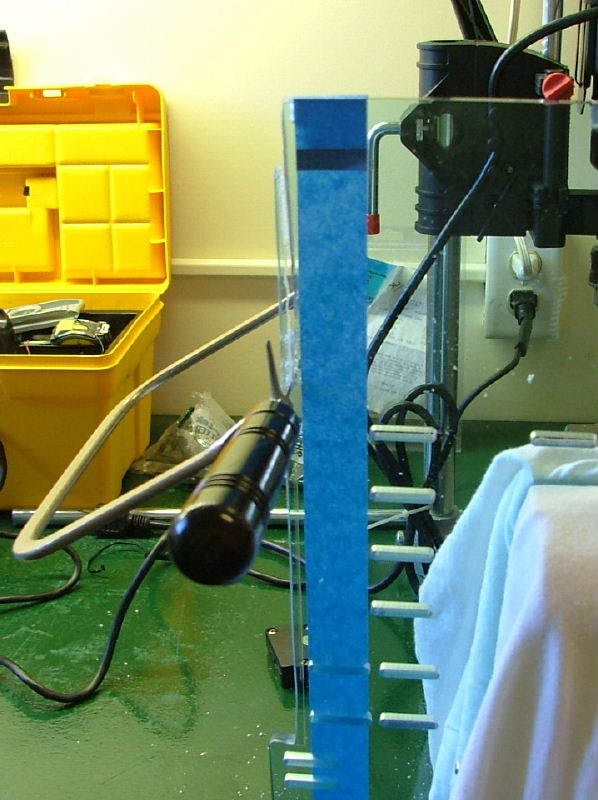
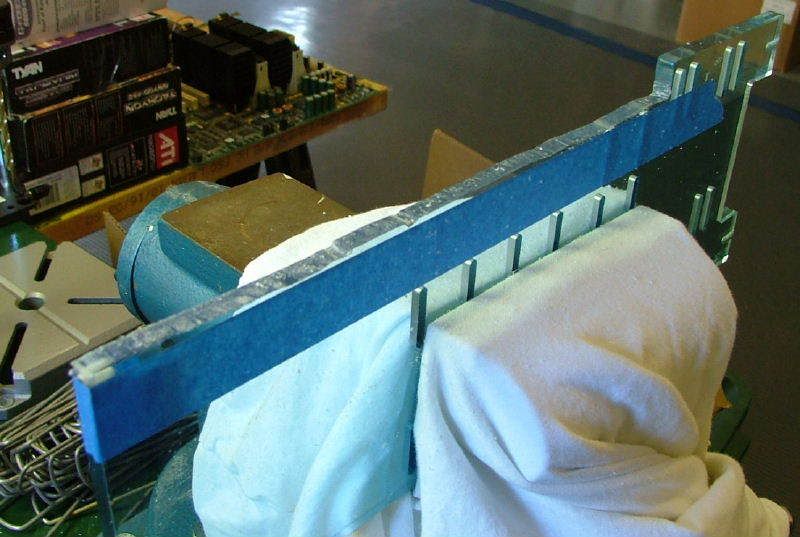
Planned on using the jig saw to cut the side plate, but after a couple of attempts I went back to old faithful the coping saw. Even then it was a butcher job!
Tied down ready for the jig saw (not!)
And it was down hill from there!
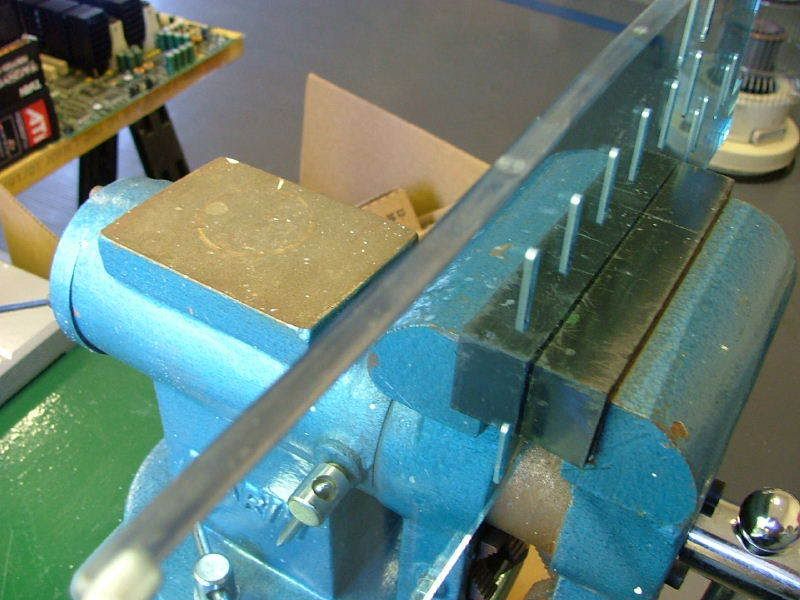
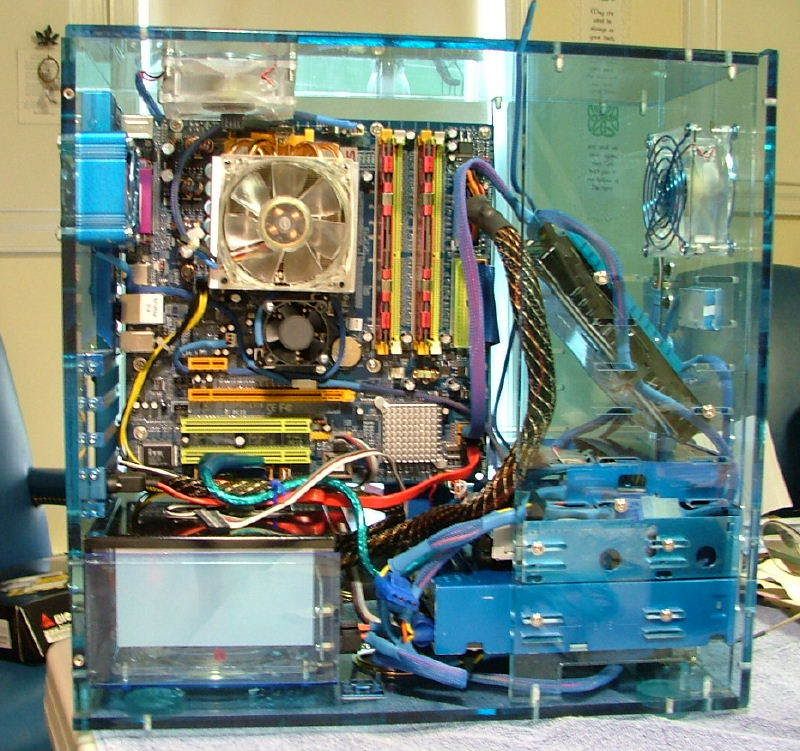
It polished (filed & sanded) up okay and as you can see here did give a little wiggle room for the mobo.
With everything apart I also took the opportunity to do the temp gage cutout in the front. After experimenting on a spare 5.25 cover plate it was again decided to go with the coping saw. Thanks be to the man that developed the file!
At first because of the jigsaw plan I taped the front for protection and then laid out the opening.
Then when that fell through, I dimpled the corners using an awl and then scribed the cut lines on the front plate. Next came the starter hole for the saw blade, then the saw.
Here are some shots of the rough (and I do mean rough) cutout before filing.
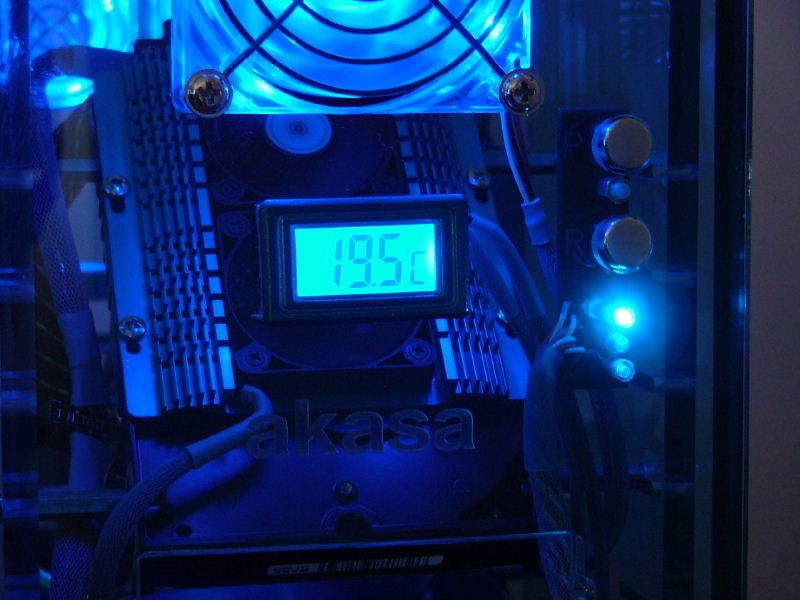
After filing for over a half hour, the gage kinda sorta fits and this is the opening.
Originally powered by a 2600+ TBred I just couldnt get it to OC much (limited bios) and had a 2800+ Barton lying around so gave that a try in another 7NIL1. My fun can be reviewed here if interested http://forums.pcper.com/showthread.php?t=419135 I must really thank all of the guys that helped me there, and it saddens me that the effort may be for naught!
Sadly that work is now in hiding from the wifes Grand Purge of Unnecessary Computer Parts as I begin this version, so .. lets get going!
The primary changes to BluHaz to make it reDux are the new components (Bold) shown below:
CASE: akasa Blue Acrylic mATX
PSU: Enermax Liberty ELT400AWT 400W
MOBO: Biostar Tforce 6100-939
CPU: AMD A64 3700+ San Diego CCBWE 0549 WPMW
HSF: AMD Stock Opteron Cooler w/ Tt 80mm Smart Fan
GPU: On Board 6100 until ..
MEMORY: Patriot PDC1G3200+ XBLK 2 x 512Mg
HDD: 80 Maxtor 80 GB DiamondMax Plus 9 w/ Cooler
Optical Drive: LG GCC 4521B DVD / CD-RW
Here be the new stuff!
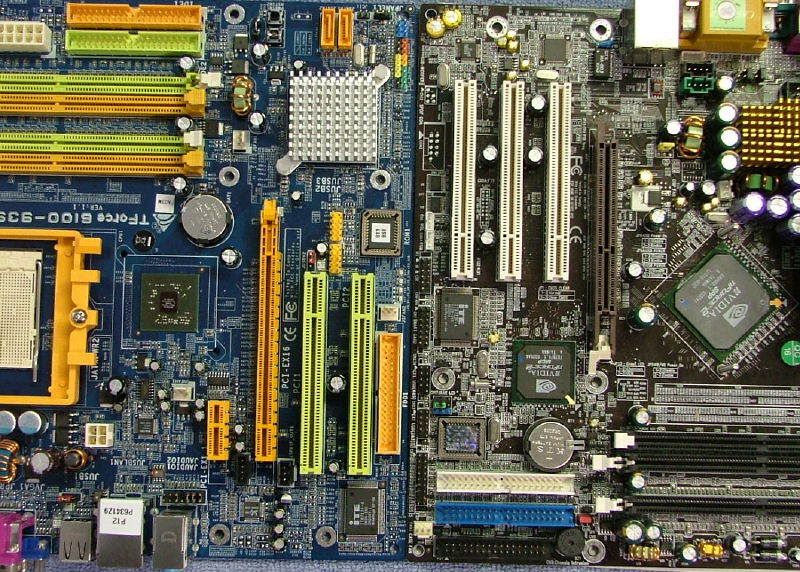
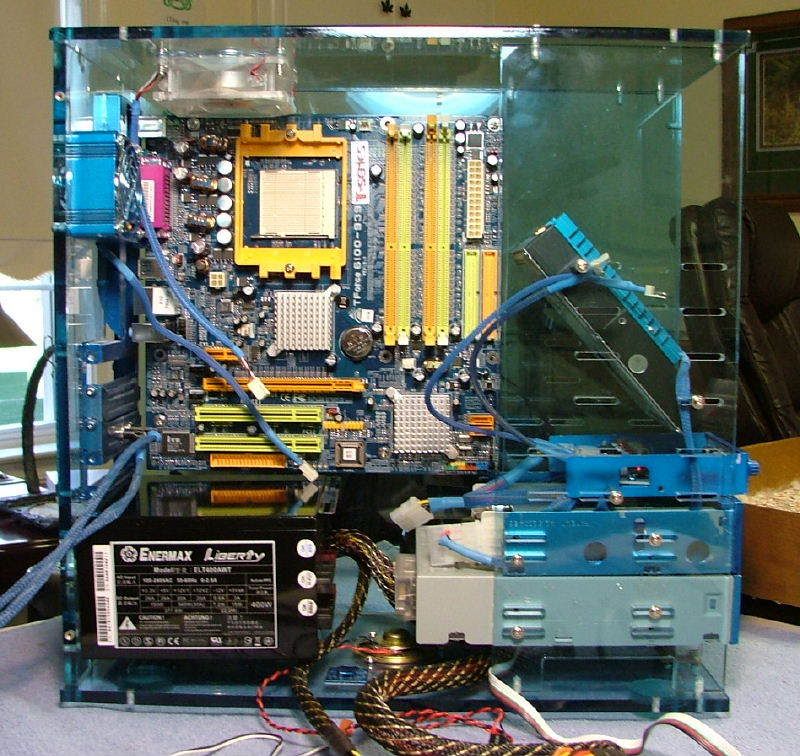
Here are the two 7NIL1 / CPU and new 6100-939 motherboards for comparison, top left is the original 2600+ w/modified Gladiator 3 top right with the pin modded 2800+ w/ Swiftech 462+ with the new Biostar at the bottom. The Swiftech 154A on the top right 7NIL1 will be transferred to the Skt. 939 board.
A concern I had was the how and what would fit for a HSF. Had considered the Zalman 9500, but tossed that out when I read it needed a decent case exhaust fan(s) to blow towards. BluHaz has only the one 60mm exit fan and the 80mm top fan / hole would not have lined up. So I opted for the Opteron cooler as Ive heard good thing about them and I have one from Celtic Spirits 175 (now slated for H2O!).
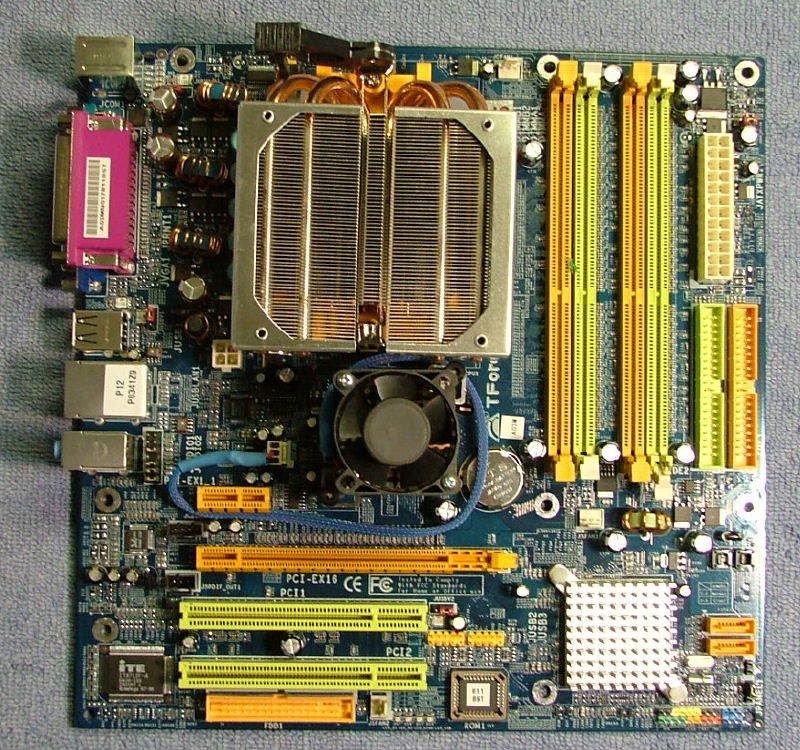
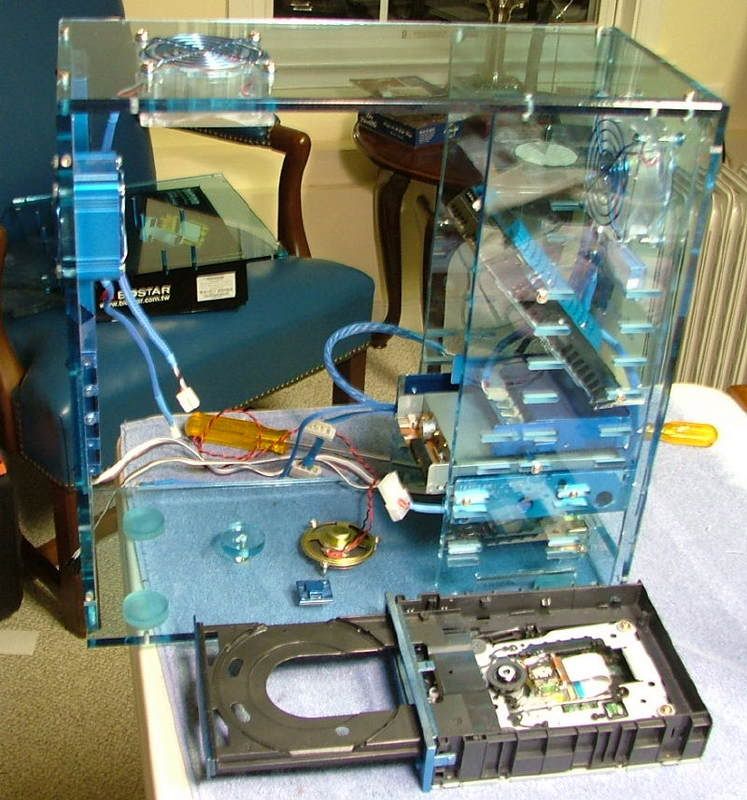
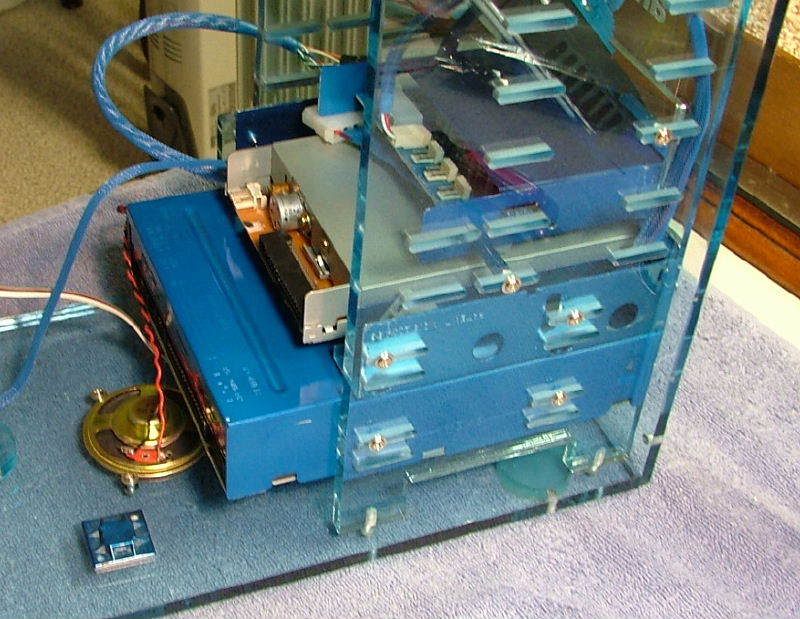
Temp mounted the mobo to the sidewall / motherboard plate of the case. Then I "dummy" mounted (no cpu) the stock cooler off of the 175. After placing the top of the case back on it looks like the 80 x 25 fan will be able to stay, as you can see here
If the 2800+ w/ 462+ had been used this would have had to go bye bye. The notch in the fan was to miss the Gladiator 3 mounting clip on the first setup. The clip release on this particular hsf actually fits underneath.
Things to Be Cut
When I originally put BluHaz together I notched one of the drive side mounting plates to allow room for the larger mATX board. Unfortunately it turns out to be about 1/16 to 1/8 too short. So with the rework I took the opportunity to fix this.
In anticipation to doing several mods to finish up BH and Celtic Spirit I purchased a new dremel set. It has all the goodies like jig saw, planner, circle cutter, on and on. Sadly it didnt include talent, but that is another story!
Planned on using the jig saw to cut the side plate, but after a couple of attempts I went back to old faithful the coping saw. Even then it was a butcher job!
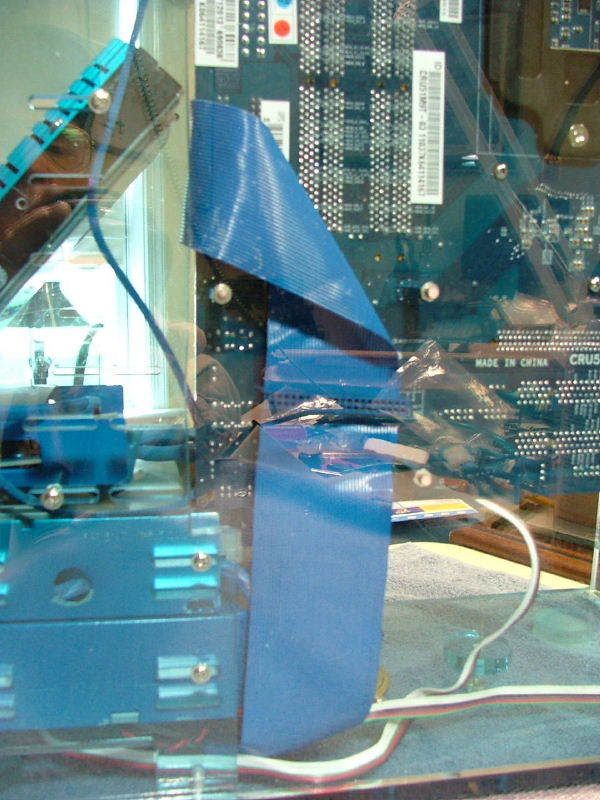
Tied down ready for the jig saw (not!)
And it was down hill from there!
It polished (filed & sanded) up okay and as you can see here did give a little wiggle room for the mobo.
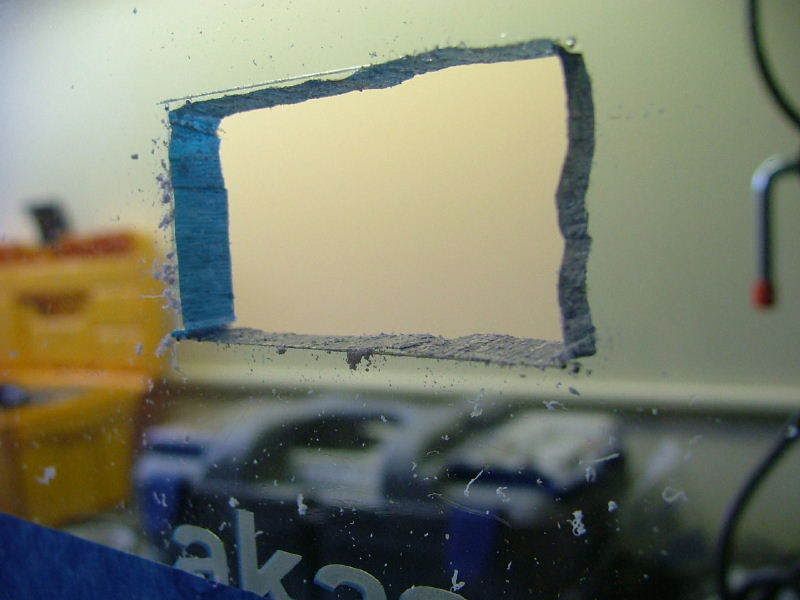
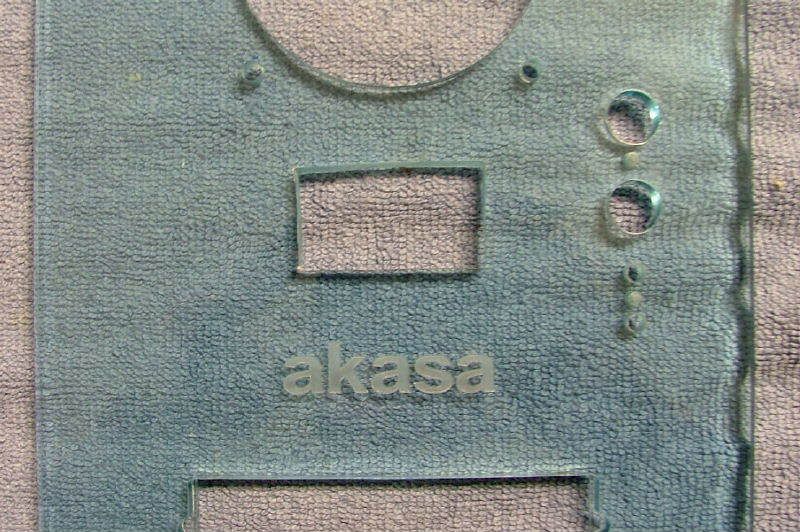
With everything apart I also took the opportunity to do the temp gage cutout in the front. After experimenting on a spare 5.25 cover plate it was again decided to go with the coping saw. Thanks be to the man that developed the file!
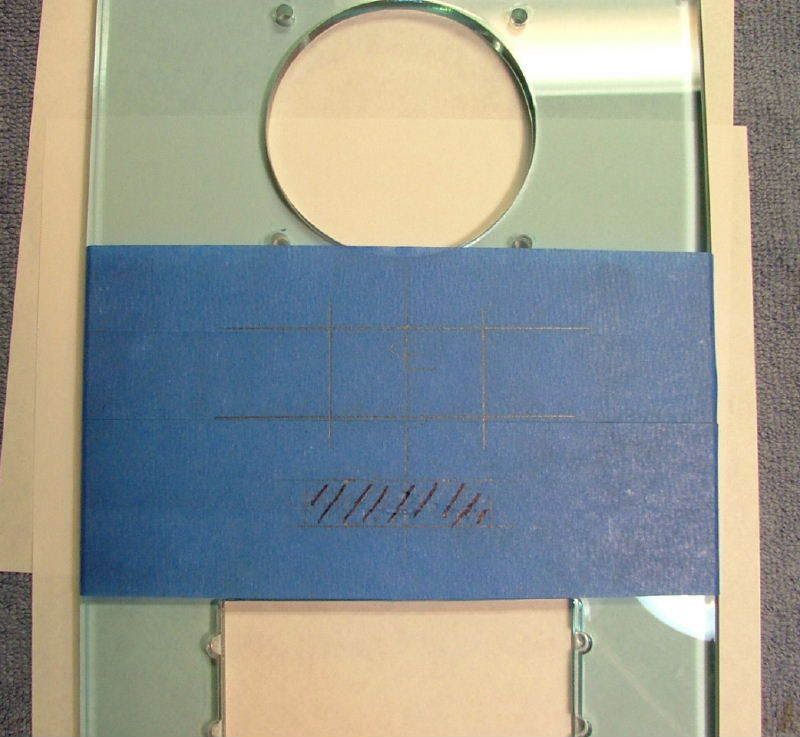
At first because of the jigsaw plan I taped the front for protection and then laid out the opening.
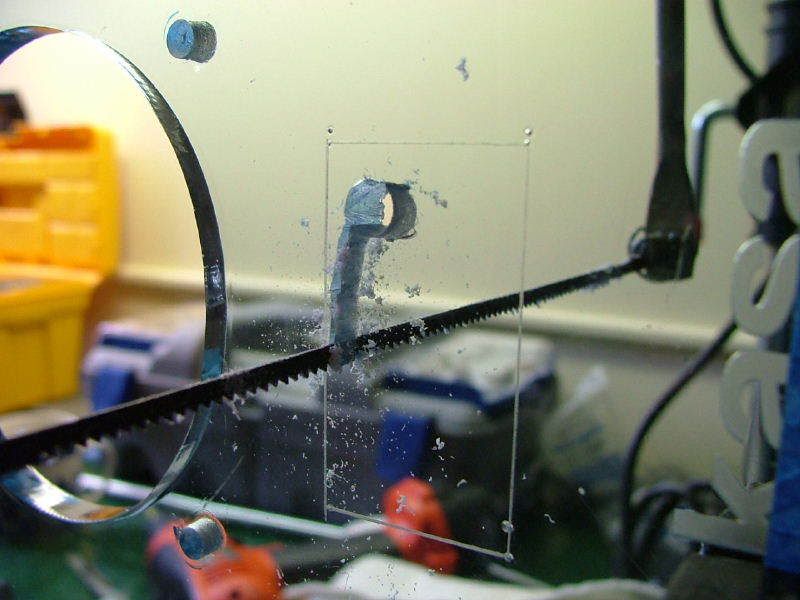
Then when that fell through, I dimpled the corners using an awl and then scribed the cut lines on the front plate. Next came the starter hole for the saw blade, then the saw.
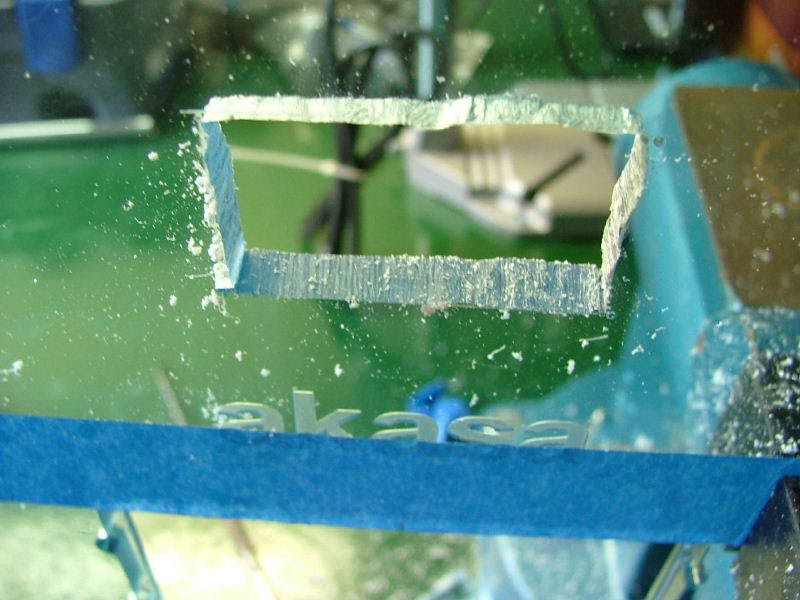
Here are some shots of the rough (and I do mean rough) cutout before filing.
After filing for over a half hour, the gage kinda sorta fits and this is the opening.


")