• Some users have recently had their accounts hijacked. It seems that the now defunct EVGA forums might have compromised your password there and seems many are using the same PW here. We would suggest you UPDATE YOUR PASSWORD and TURN ON 2FA for your account here to further secure it. None of the compromised accounts had 2FA turned on.
    Once you have enabled 2FA, your account will be updated soon to show a badge, letting other members know that you use 2FA to protect your account. This should be beneficial for everyone that uses FSFT.

Blue Storm

diluzio91

n00b
Joined
Nov 25, 2009
Messages
43
Hi, im new to HardForum, but not new to modding. Im registered on TBCS, but this will be my first post here. The project is blue storm, and ill be adding a new post a day for a while, (just copying the worklog on TBCS) and after that ill be putting up updates as needed

Here we go

So here it is. Im starting my second project, and i have 2 warnings, 1 this will be my first water cooled rig, and i will be using some used parts where i can. The second is that this build will be slooooow. Like one or 2 updates a month once i have to start buying parts, so it will probably be part build, part review as i oogle over the new toys as they come in. So, the story commences.

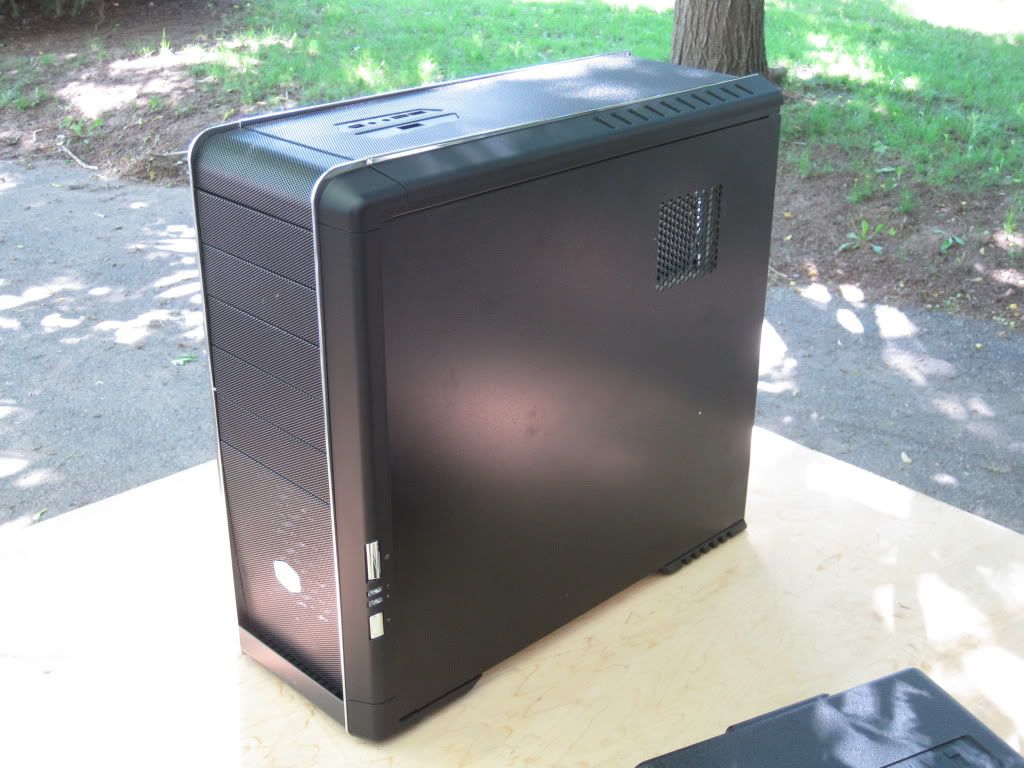
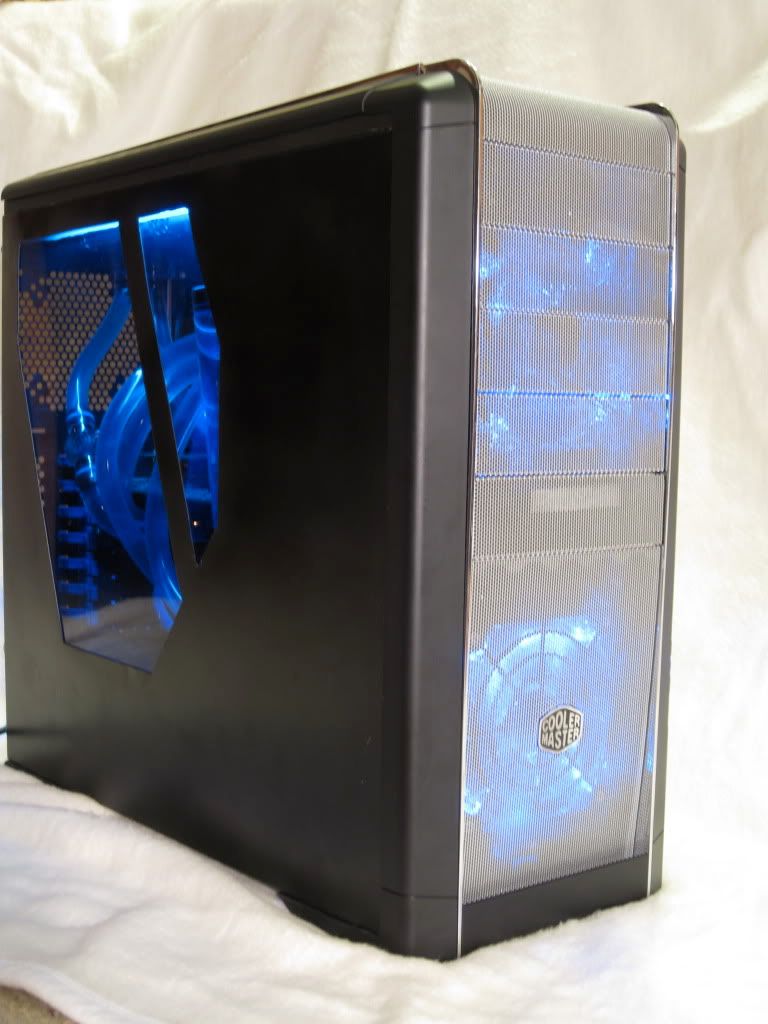
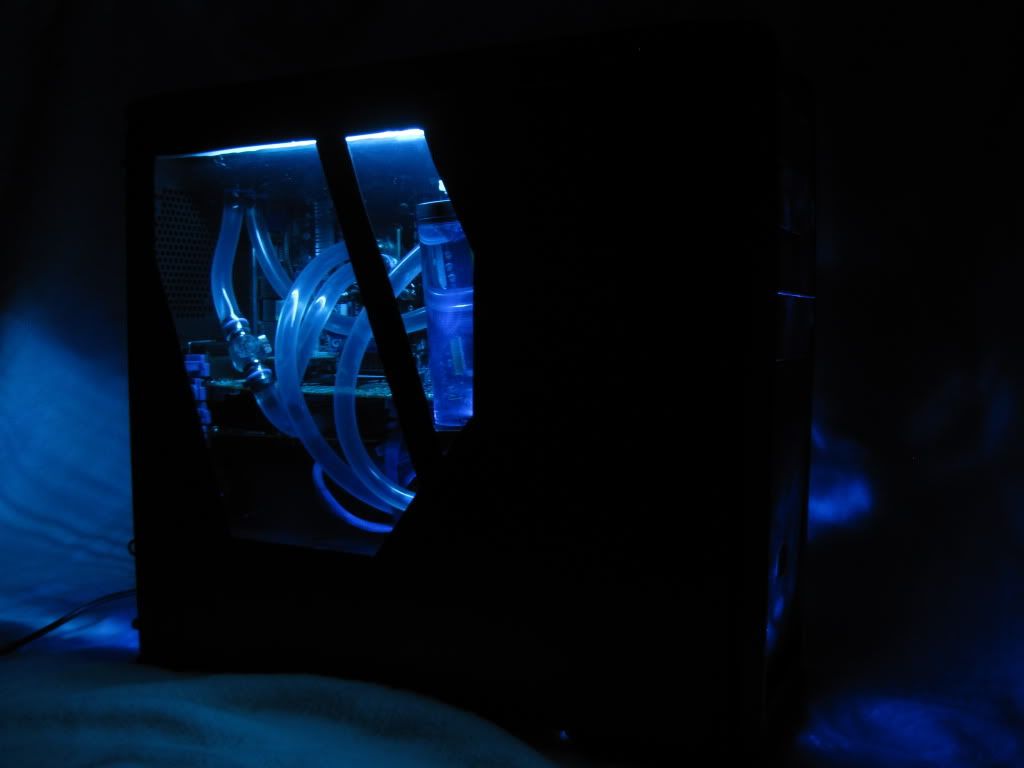
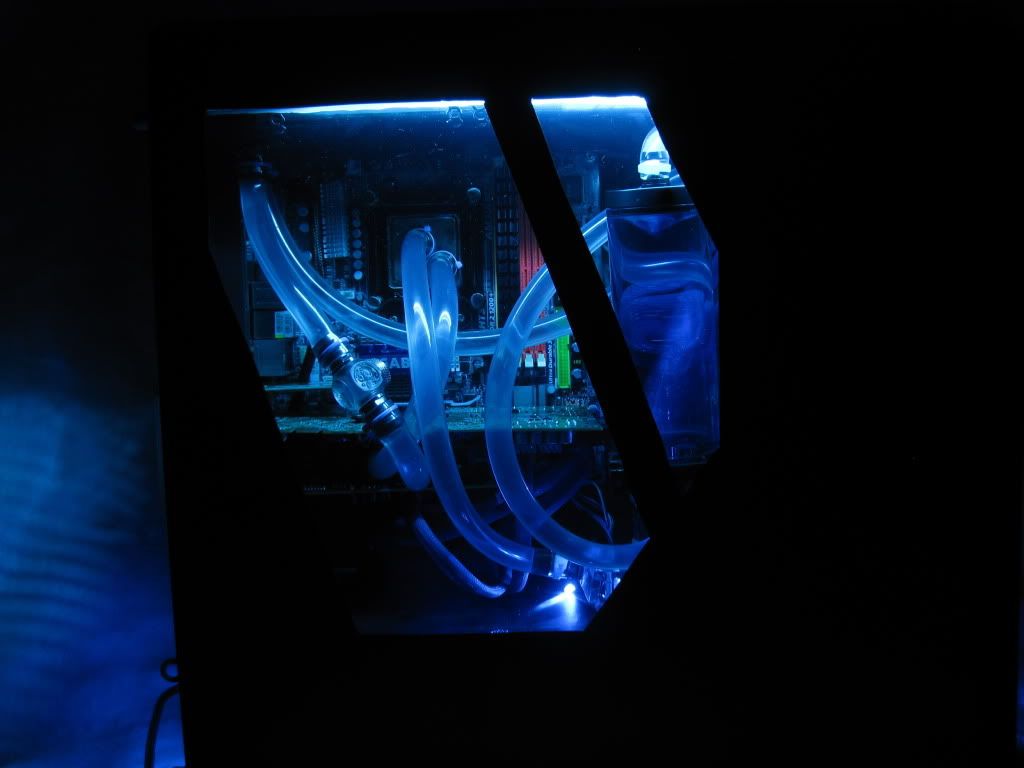
The goal: to make a watercooled rig in a cooler master 690 case, the lighting will be blue, and not blindingly bright, and the only cables that should be seen through the window will be the 24pin power connecter, the 4 pin processor connector, and the 6 pin graphics connectors (one at first, a second will be possible later). The budget is 1500, and thats where the parts list falls for everything new. Some things may be upgraded if i find good deals, or deals that go very underbudget ill be getting better parts. So this project began early because my gf got me the case for our one year anniversary :)bannana:). So here we go!

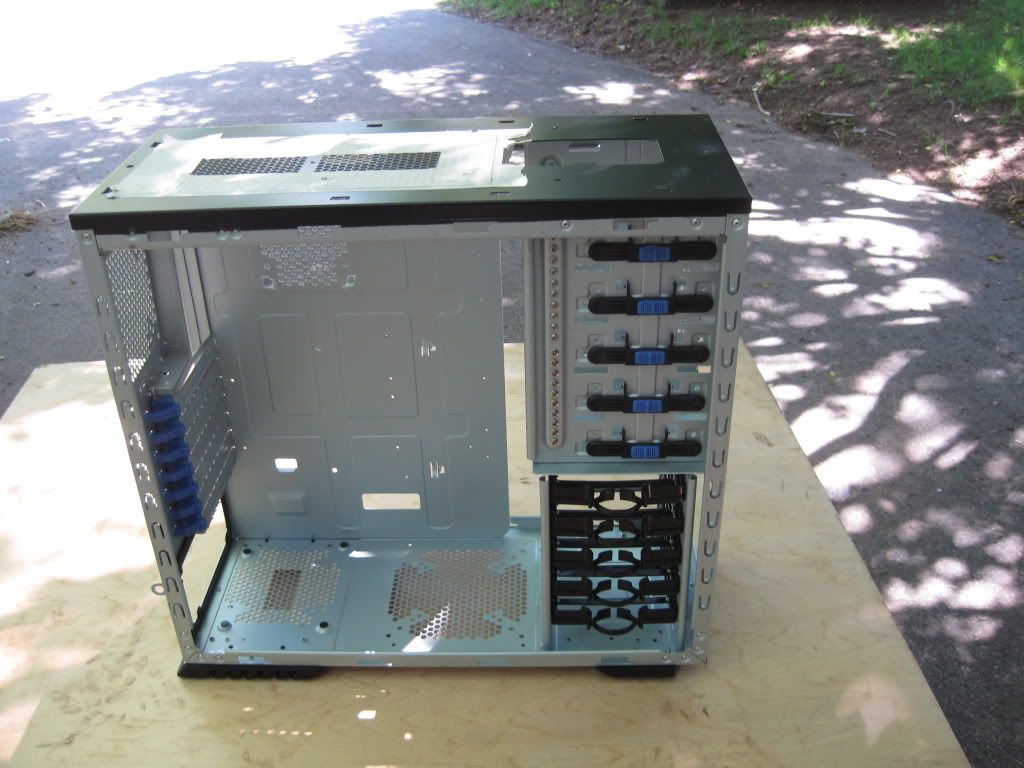
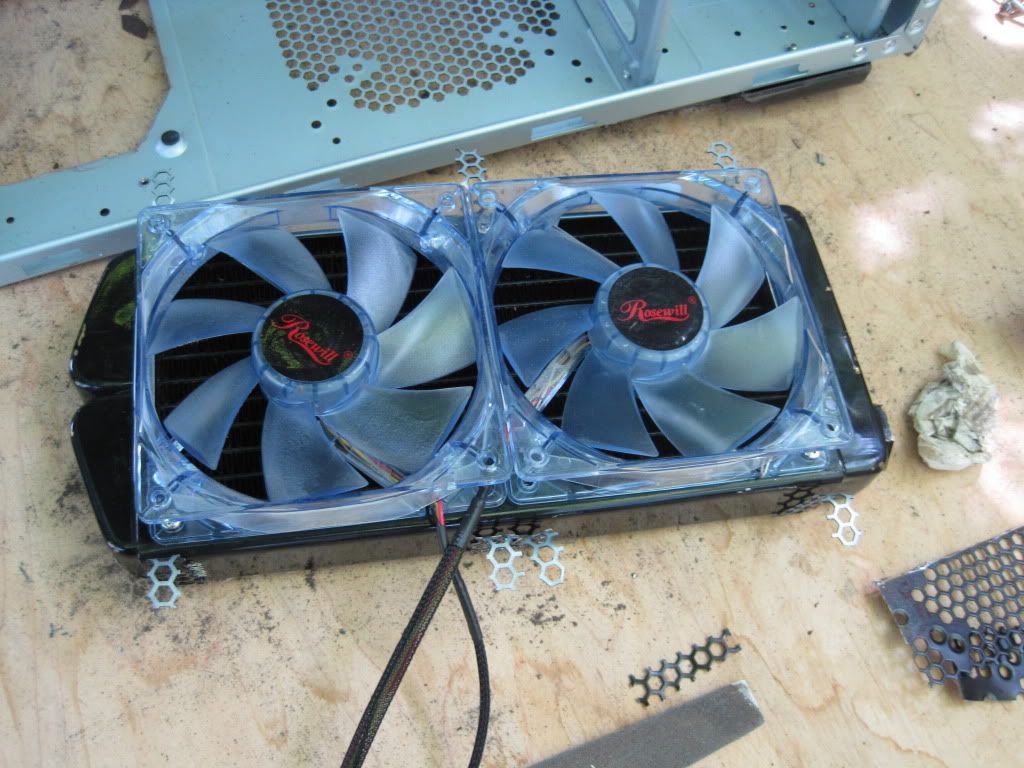
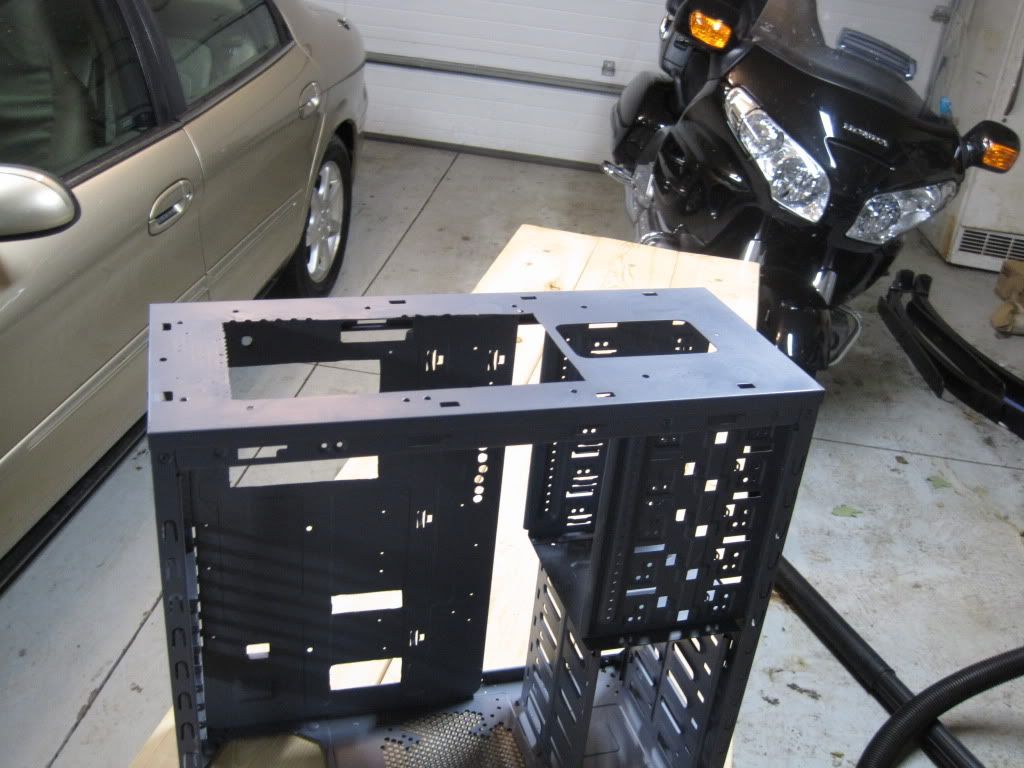
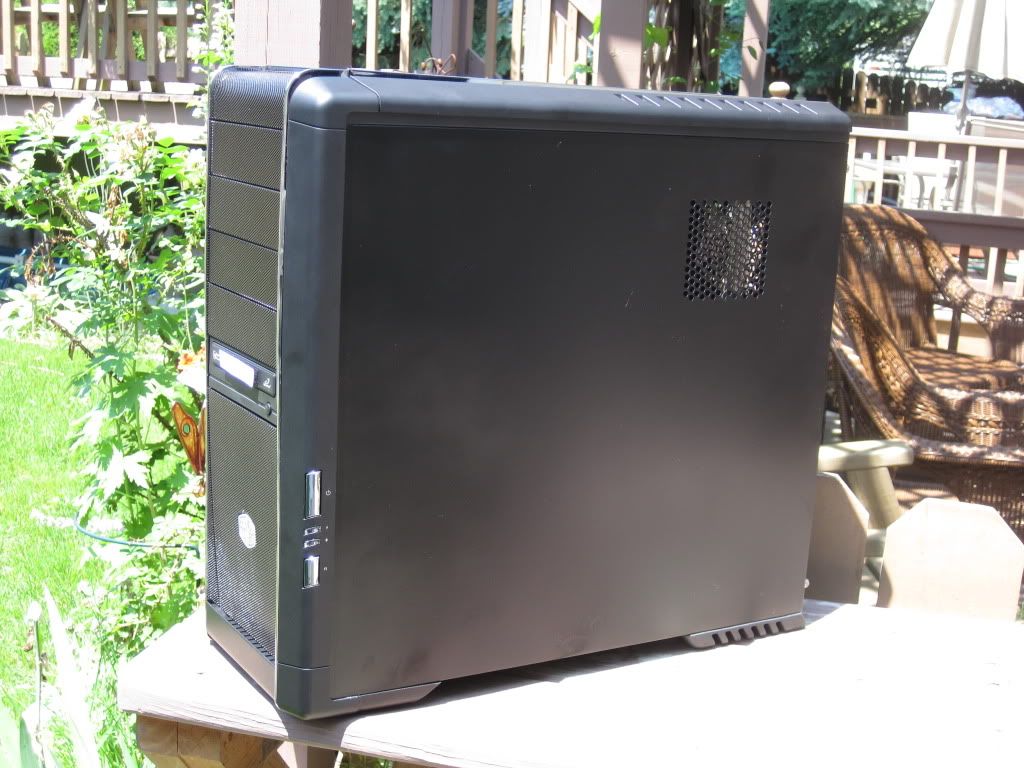
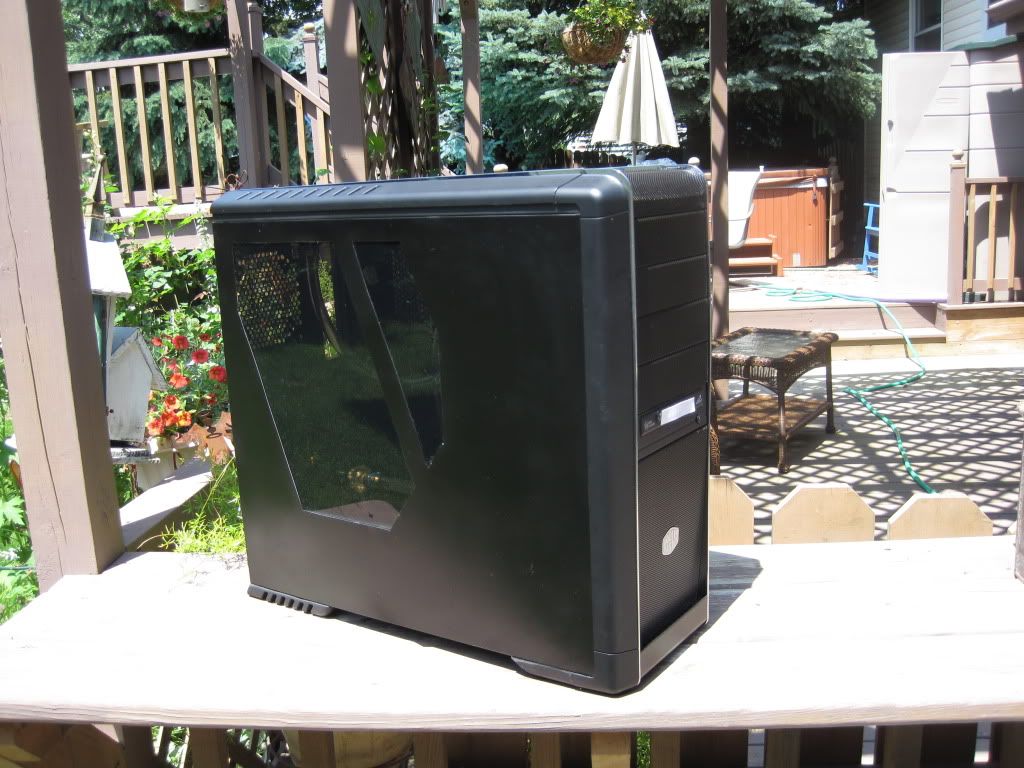
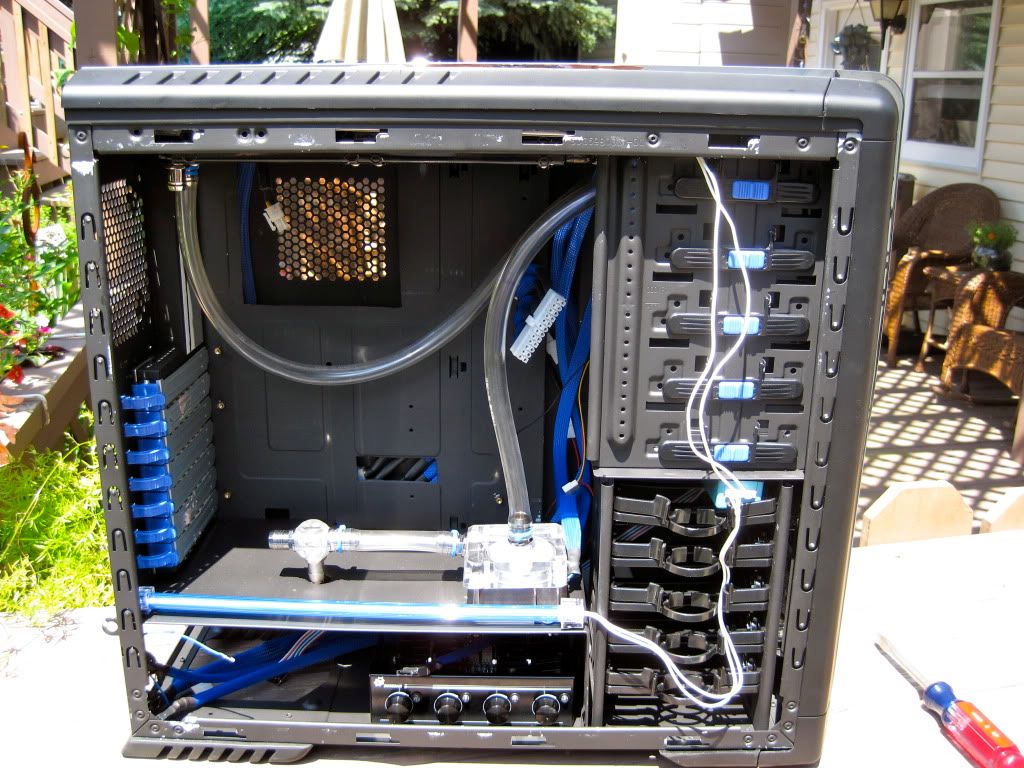
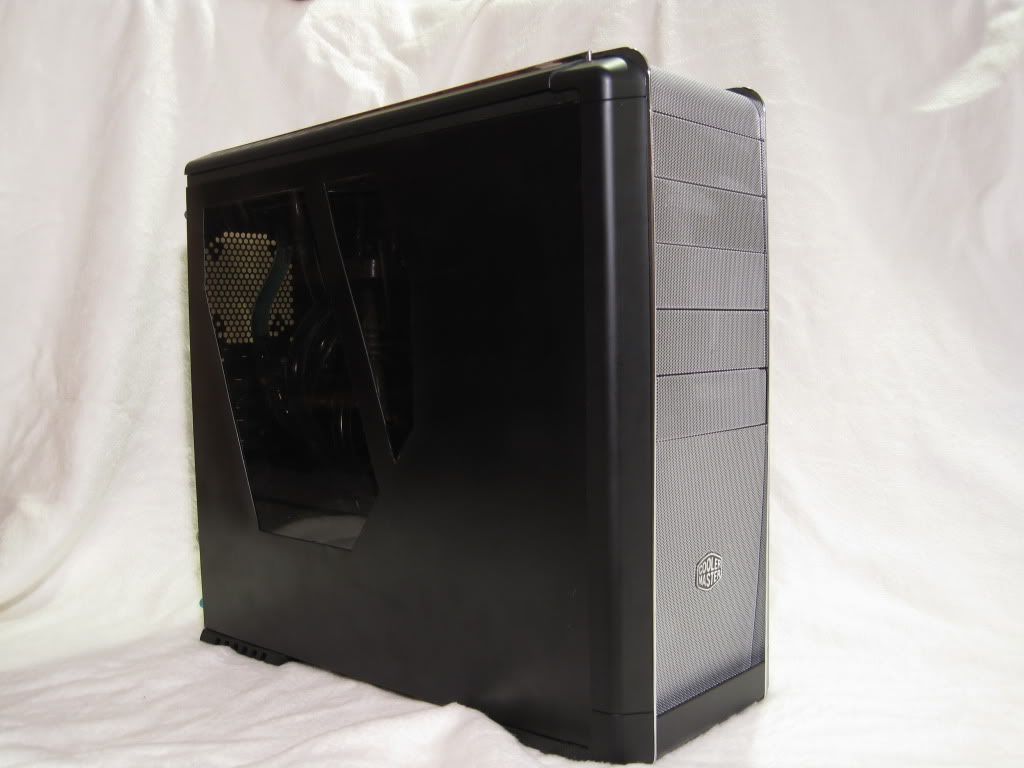
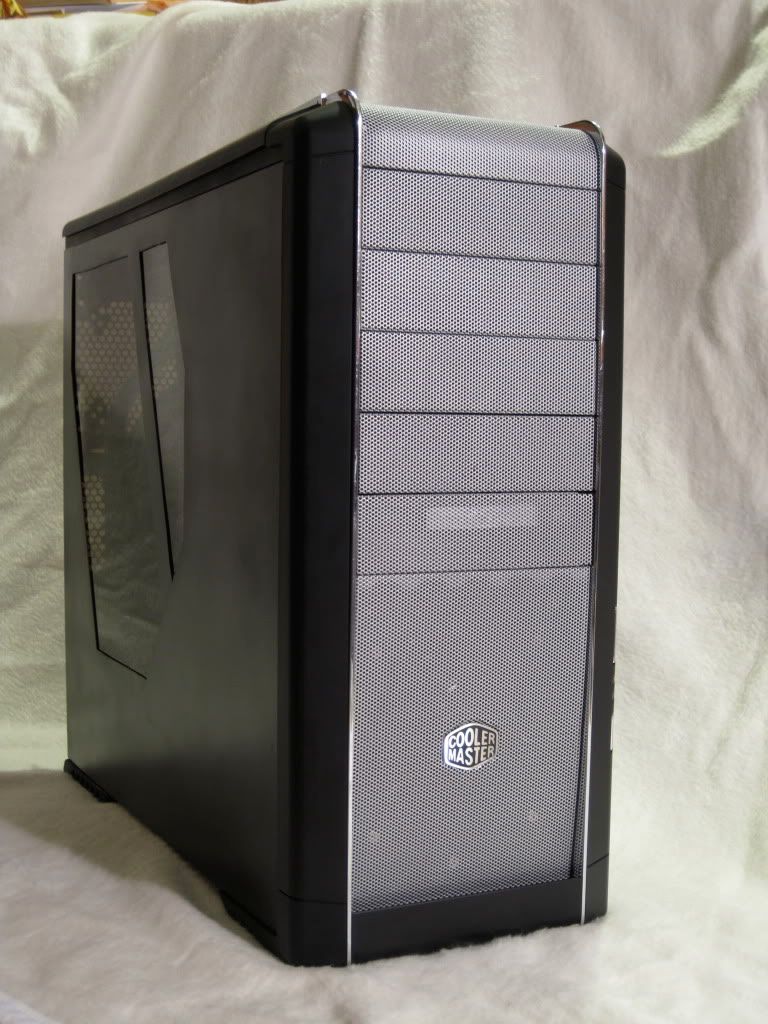
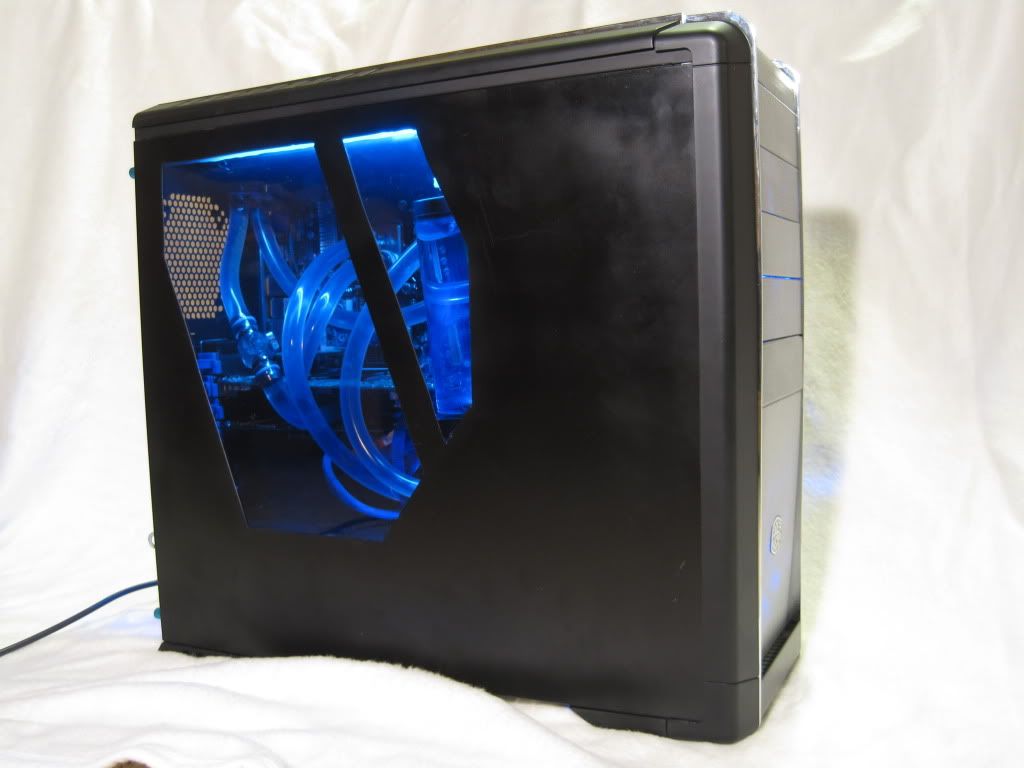
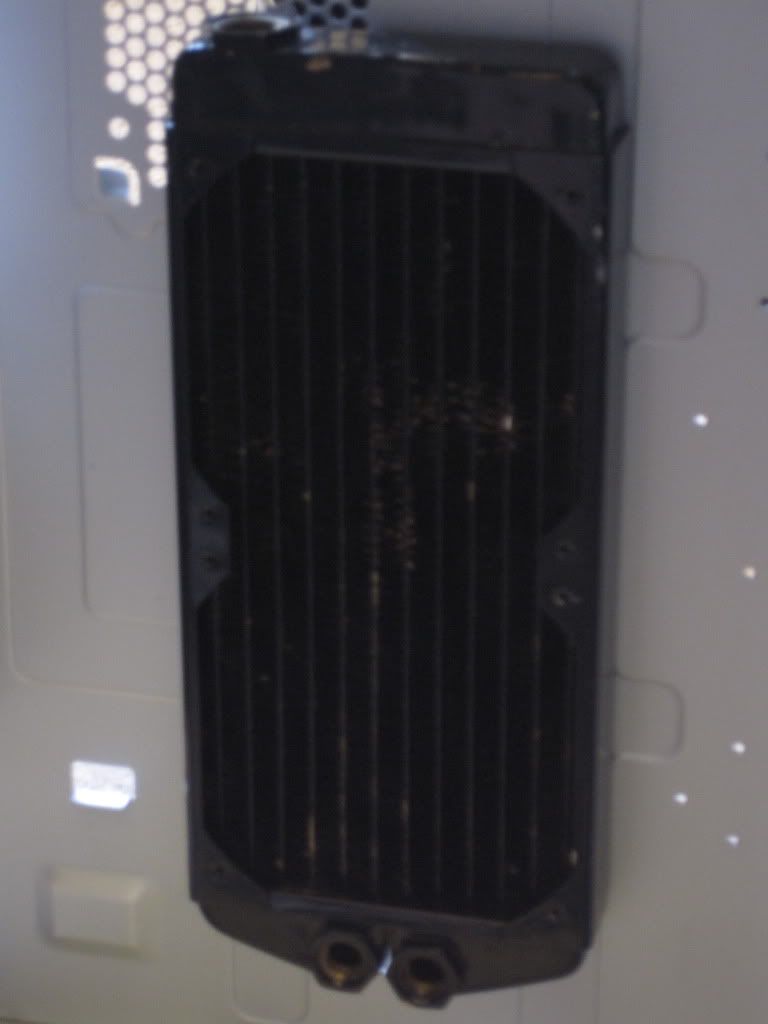
The case! and yes i have the radiator mounted to the motherboard for now to keep it safe and together. lol.

IMG_0546.jpg


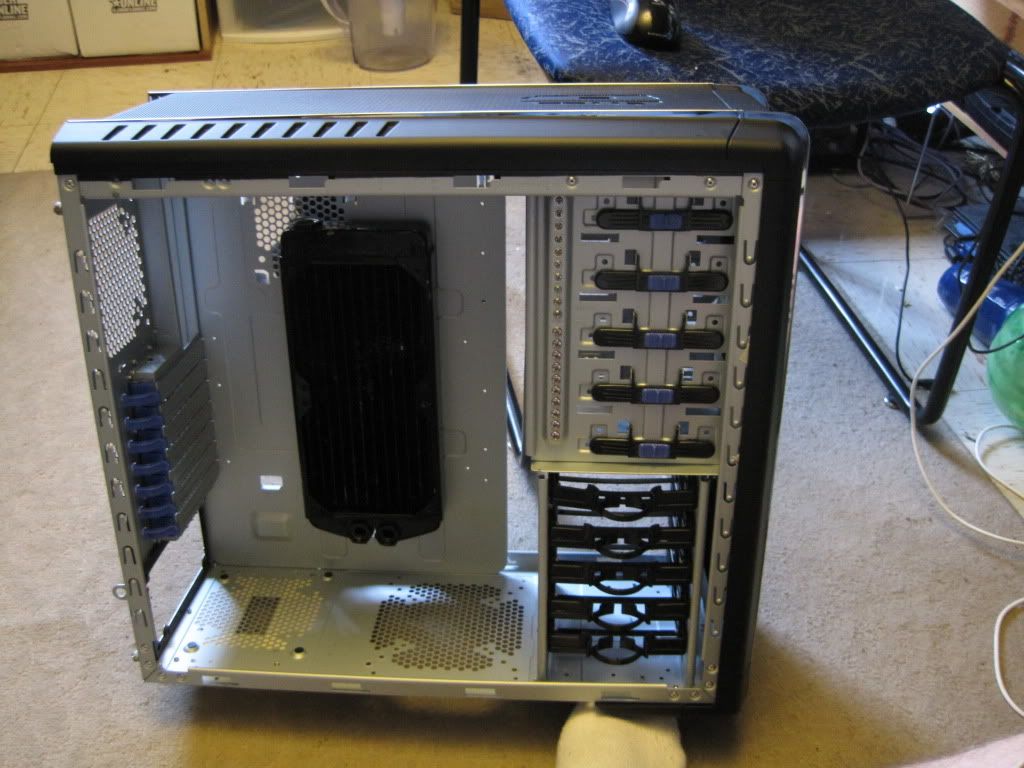
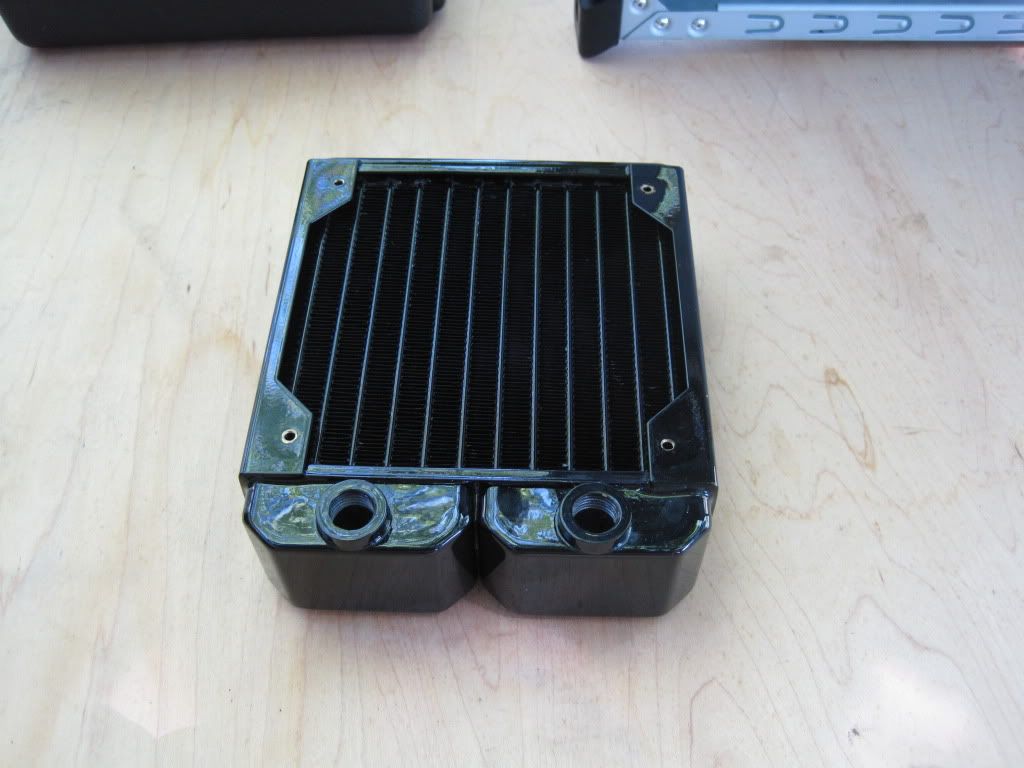
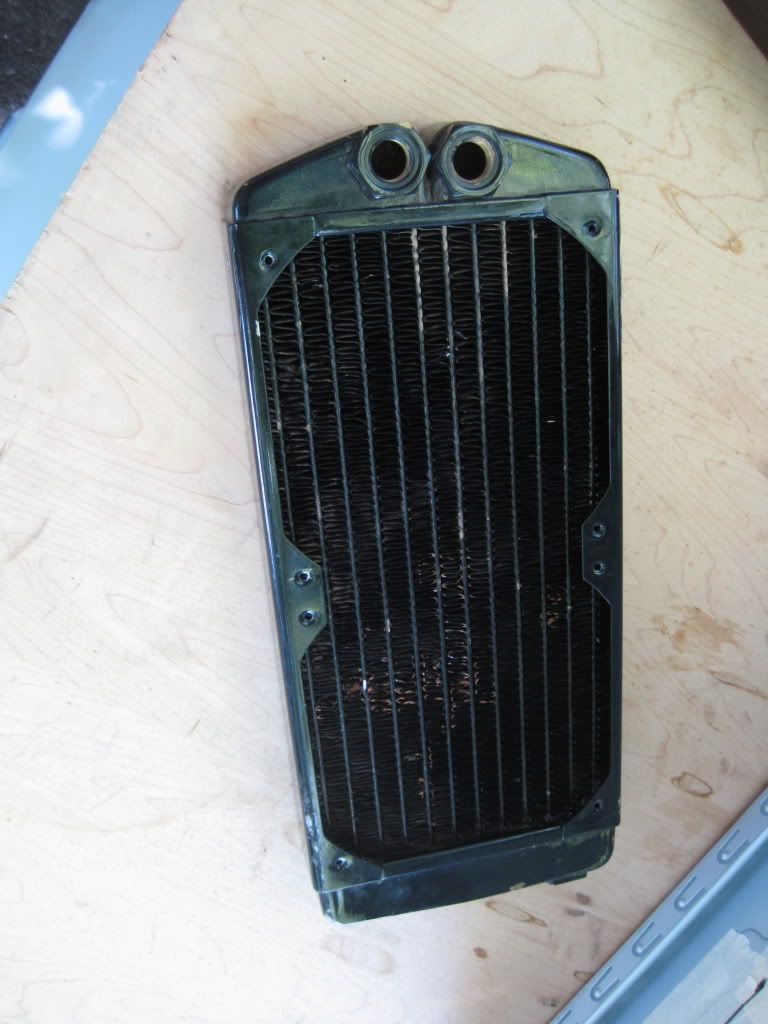
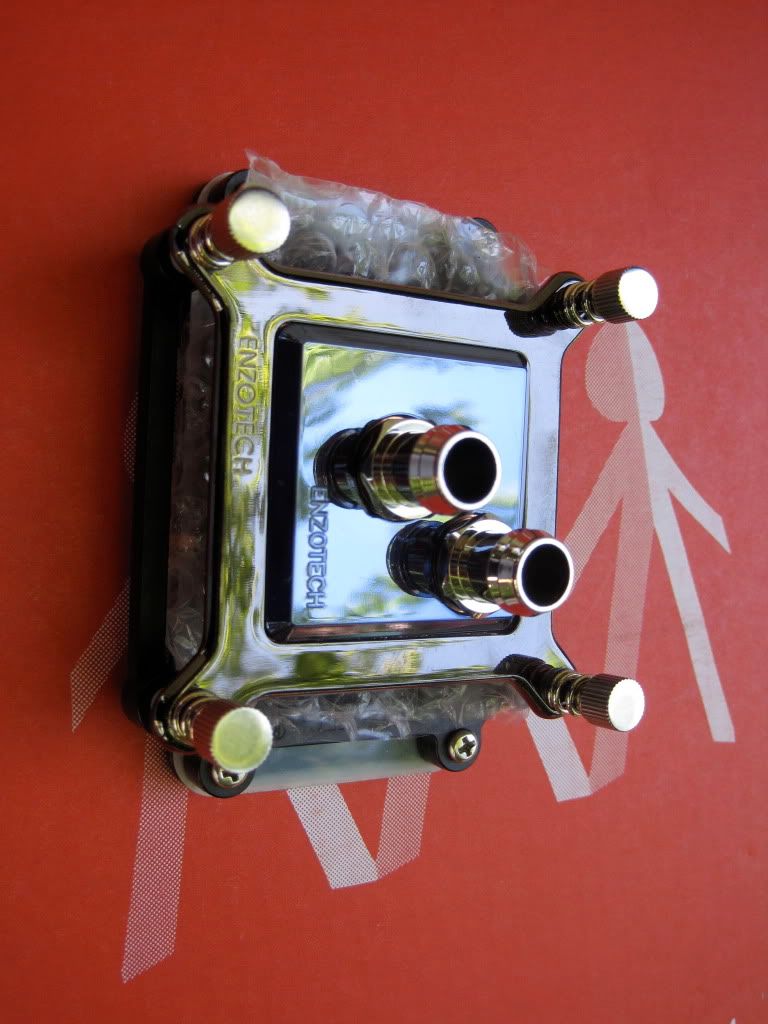
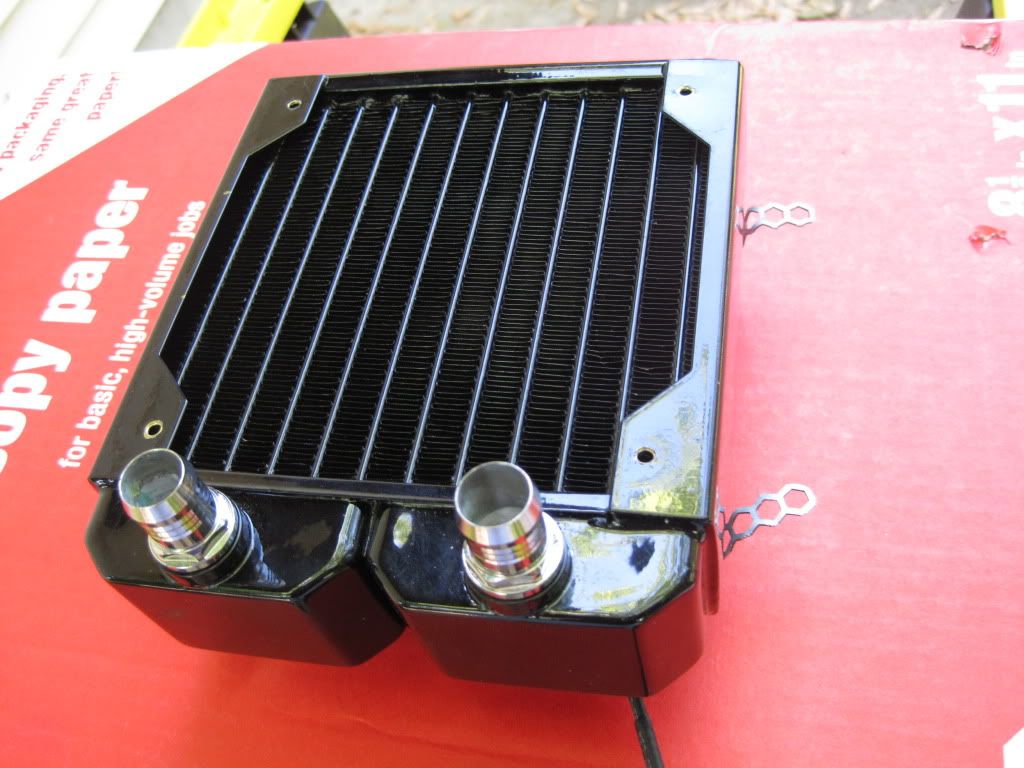
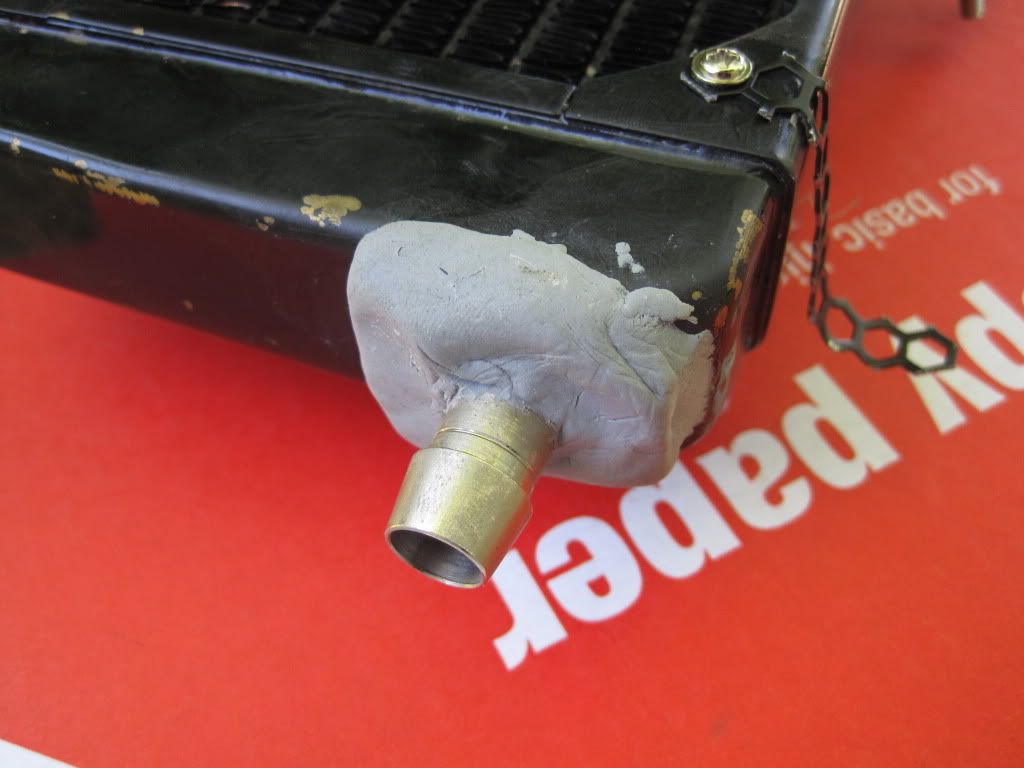
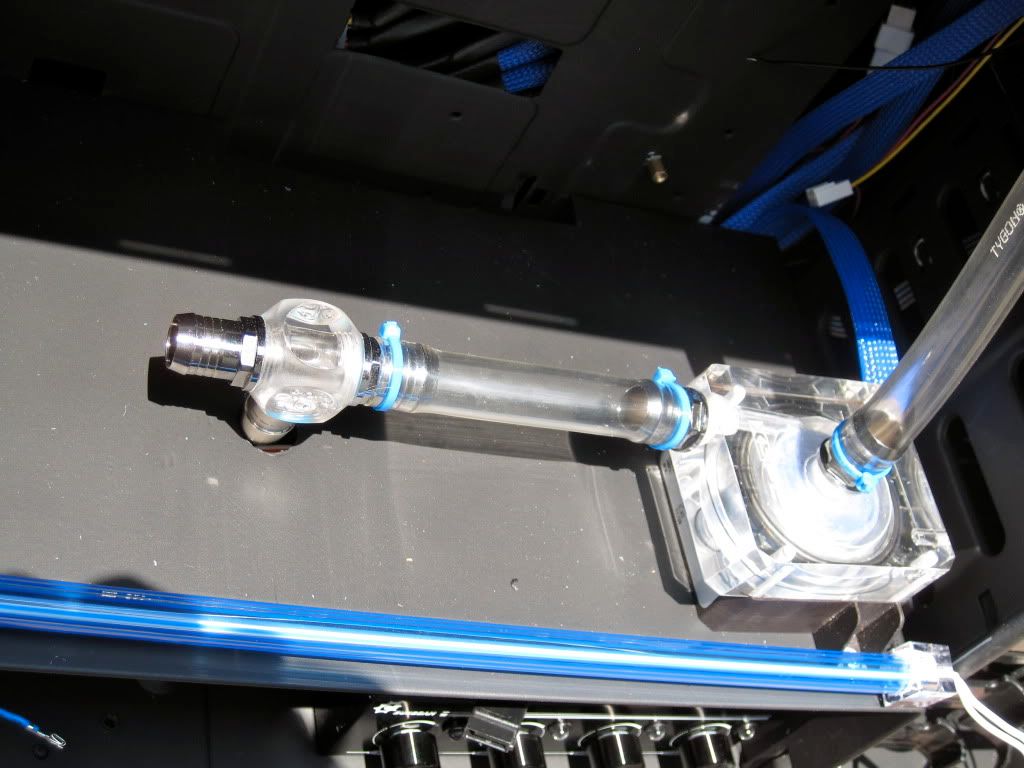
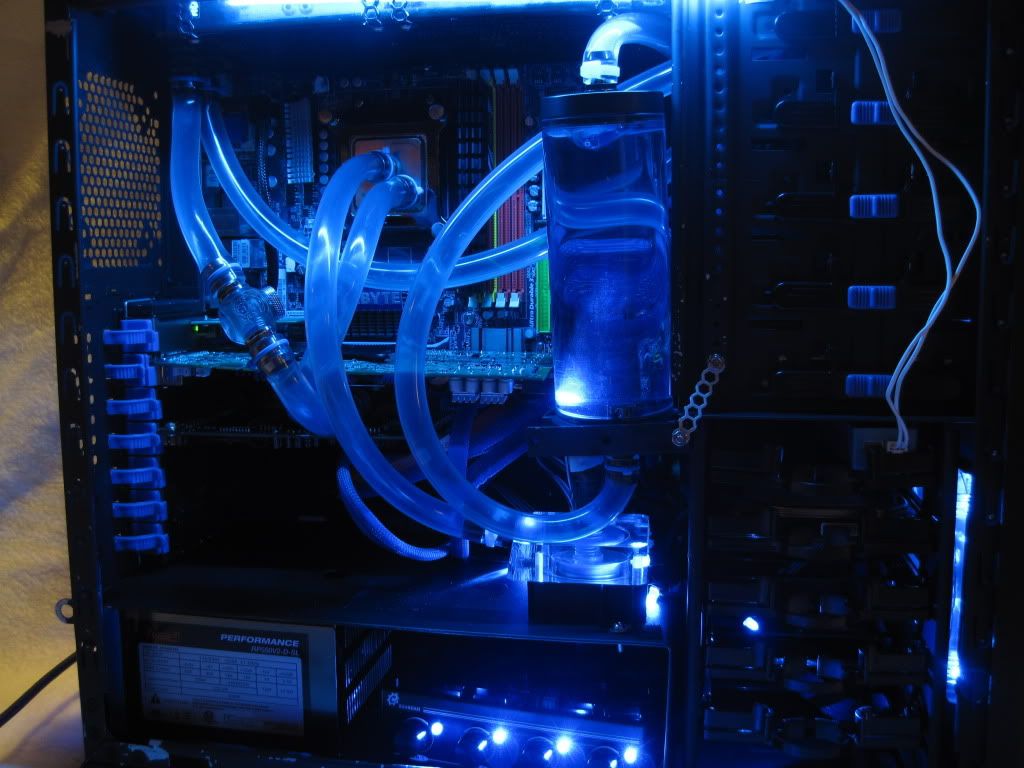
The radiator was purchased from SXRguyinMA, huge thanks and a + rep goes to him for helping me out with this! The Res is built in to the top, and i will be using it to make a fill port to the top of the case.

IMG_0551.jpg


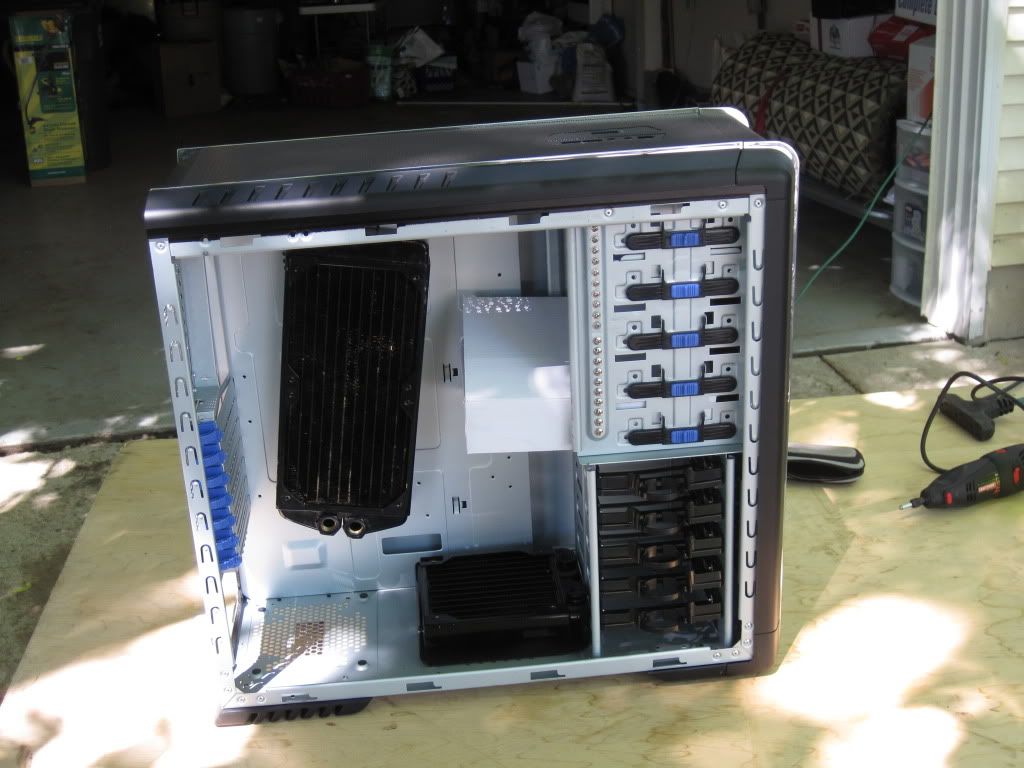
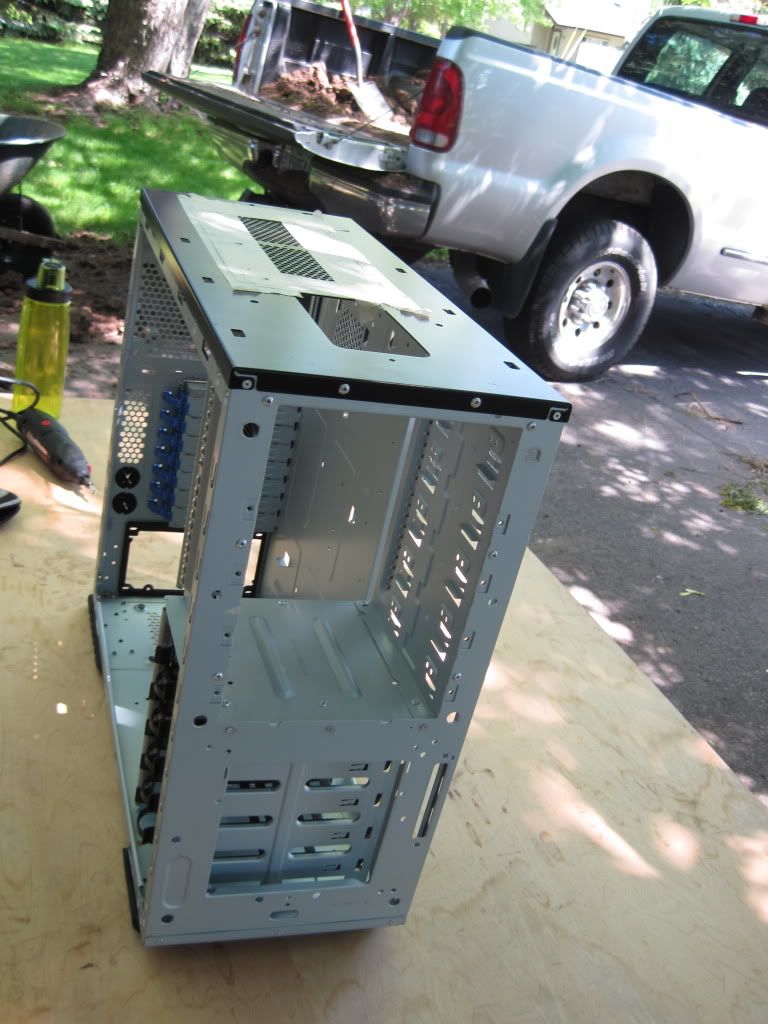
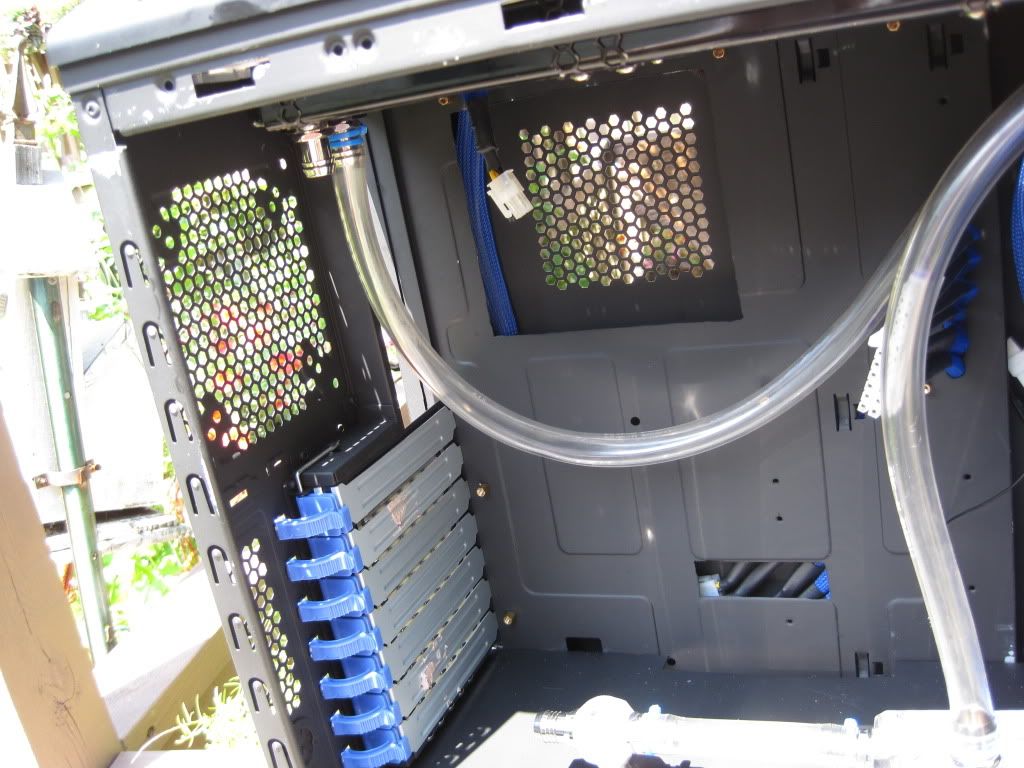
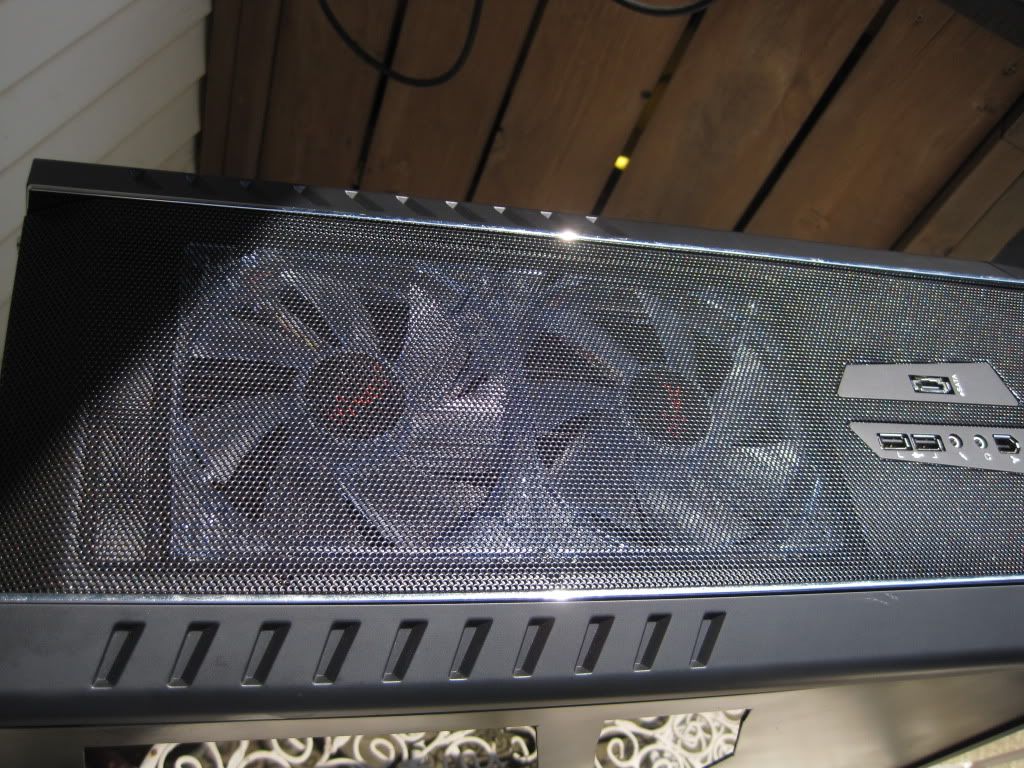
The case has quite a bit of mesh to cut out to make it as quiet as possible.

IMG_0554.jpg


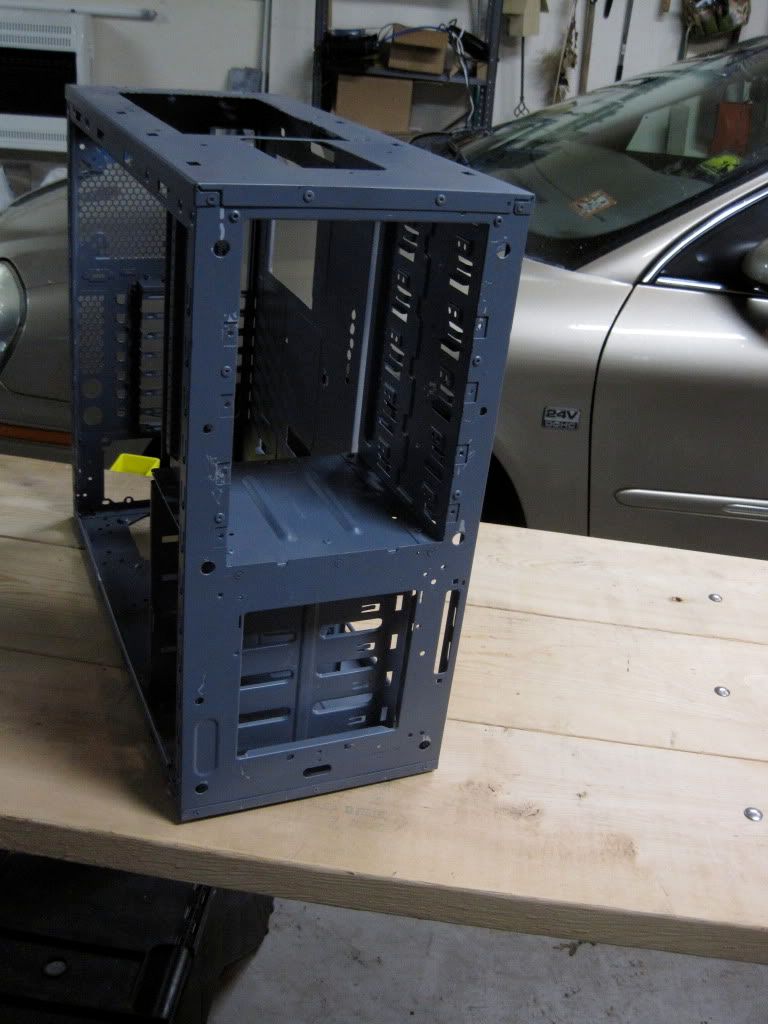
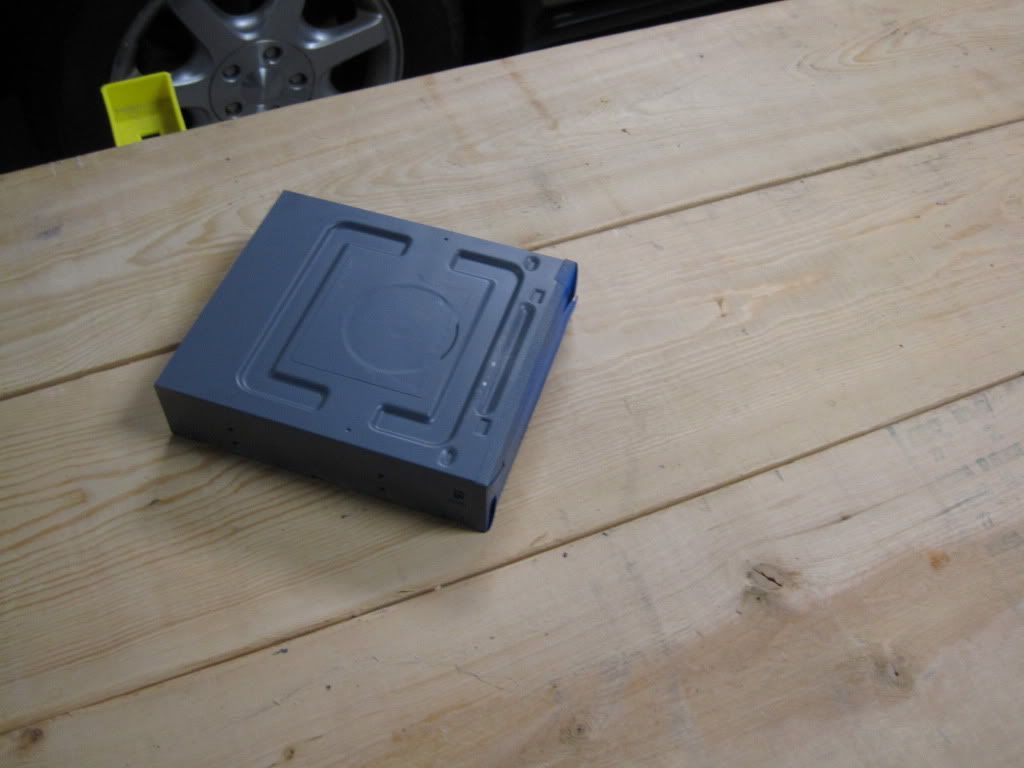
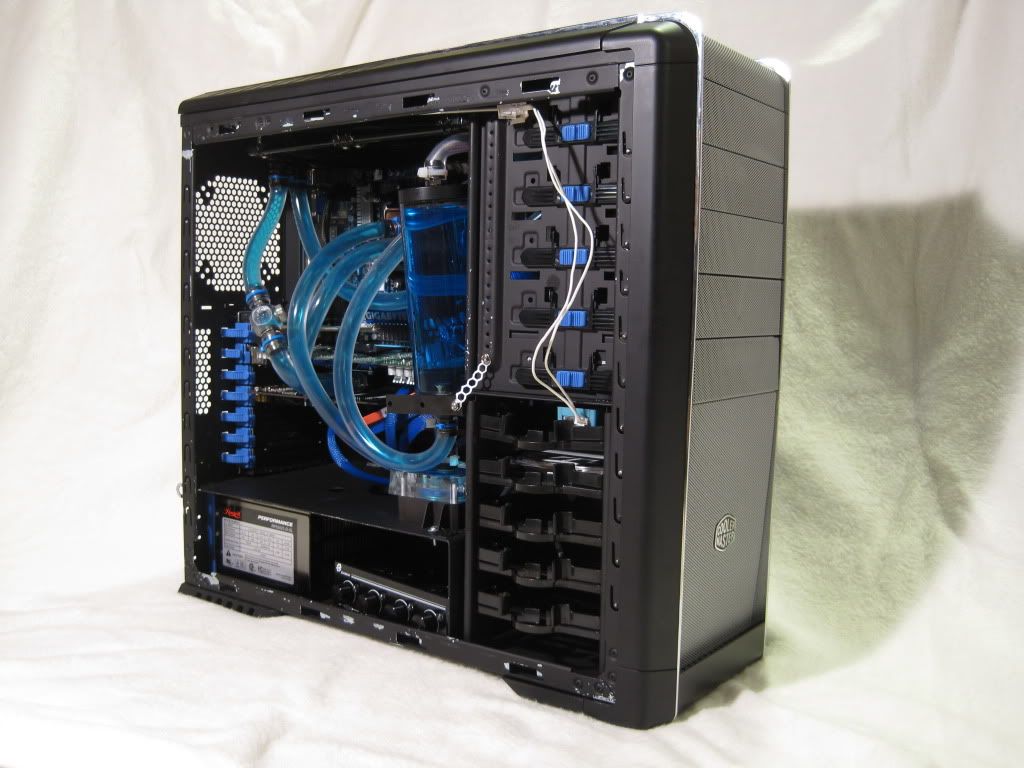
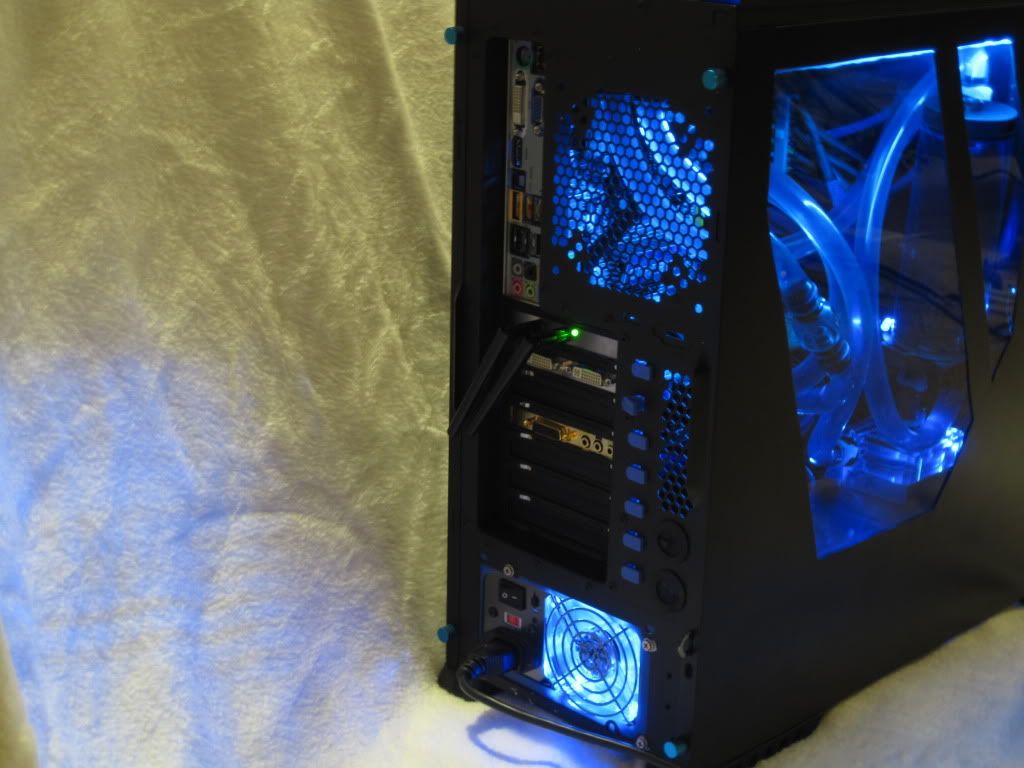
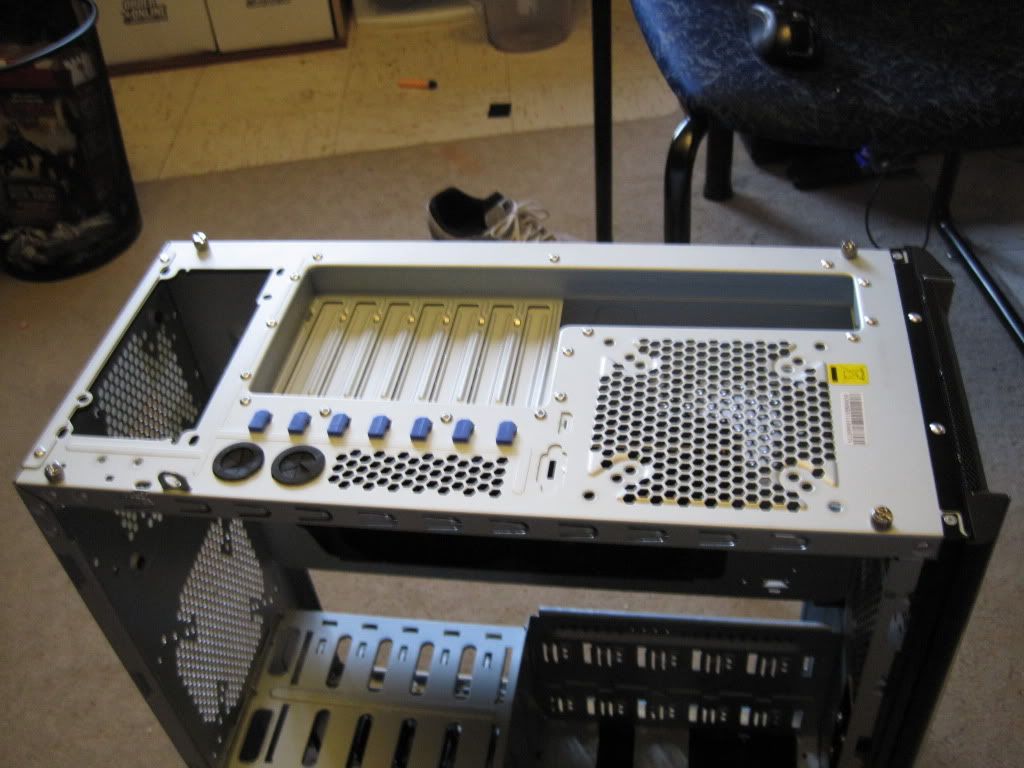
Here we can see the screwless PCI slots. That blue will not DO! they will have to be painted.

IMG_0556.jpg


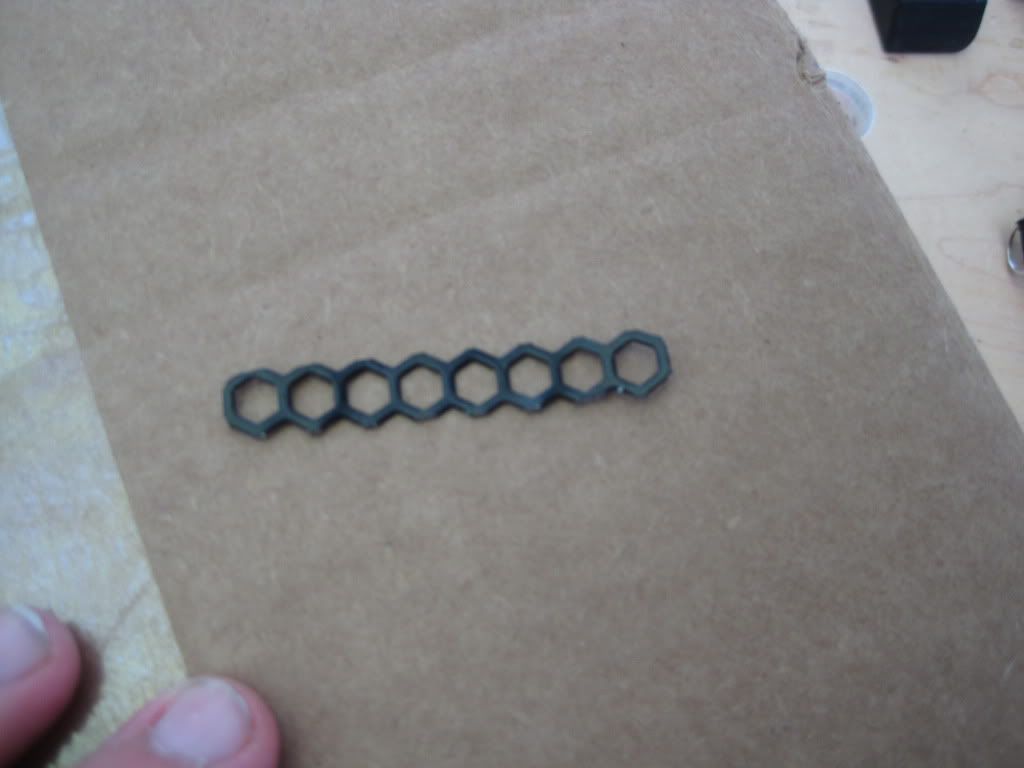
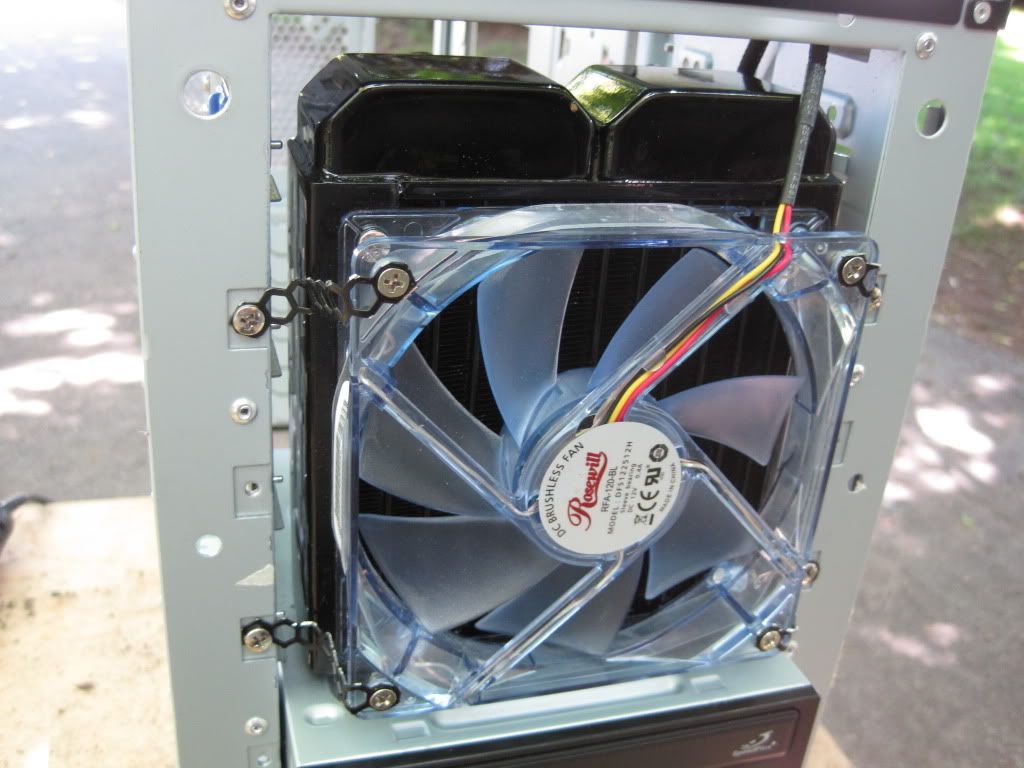
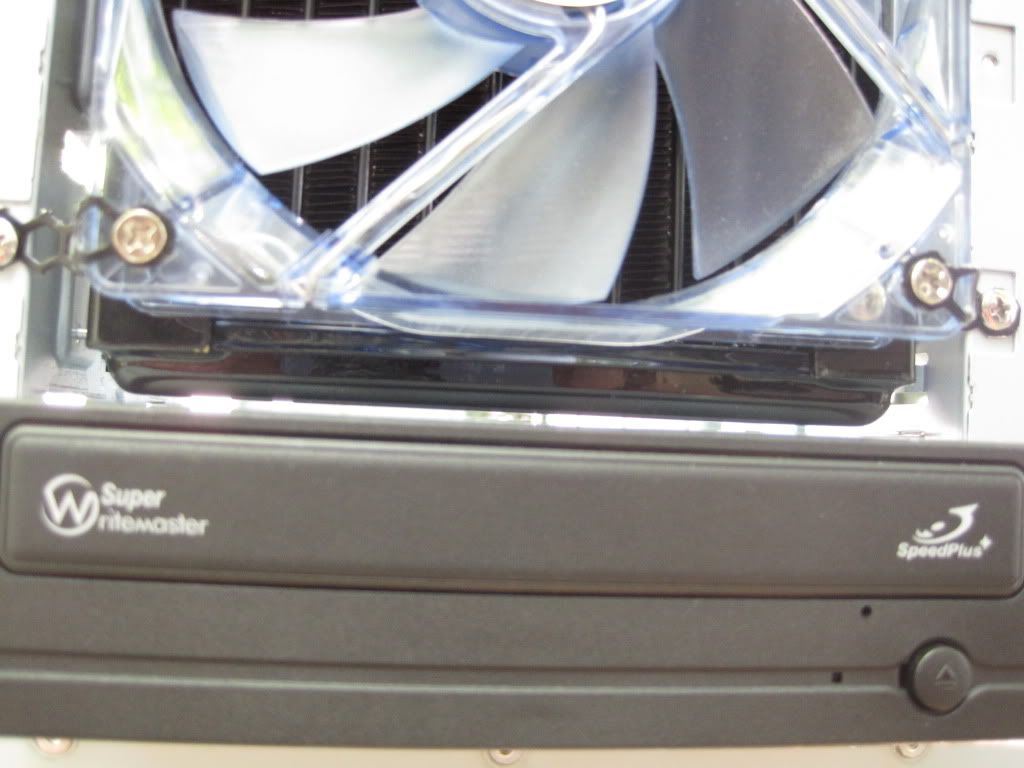
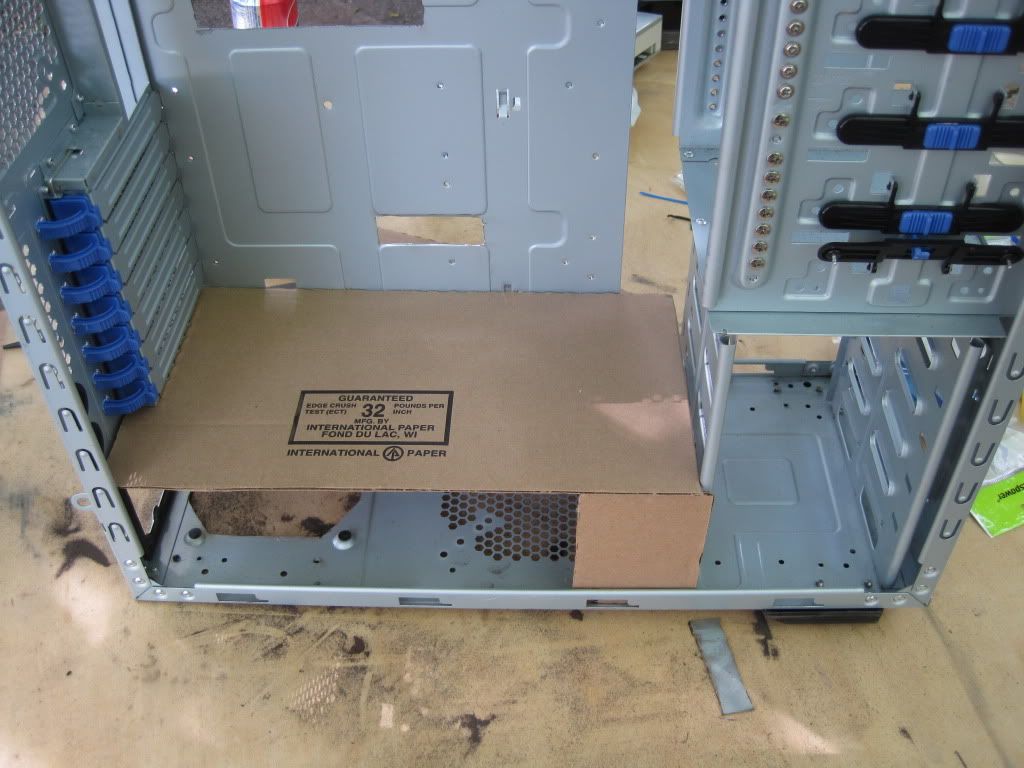
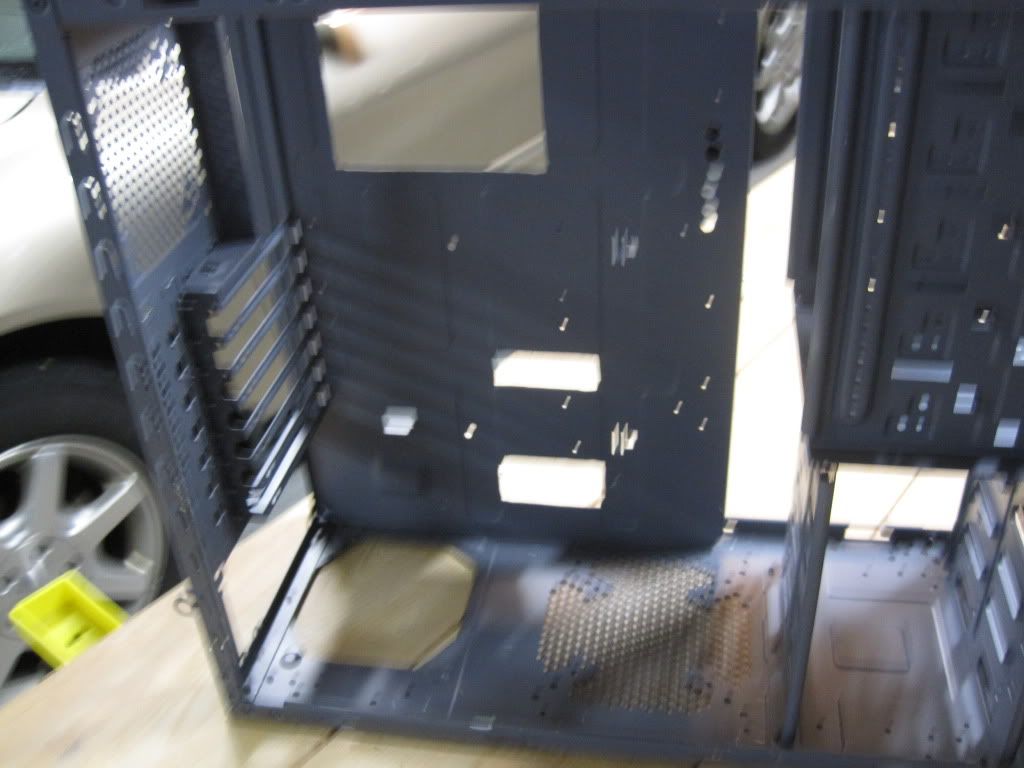
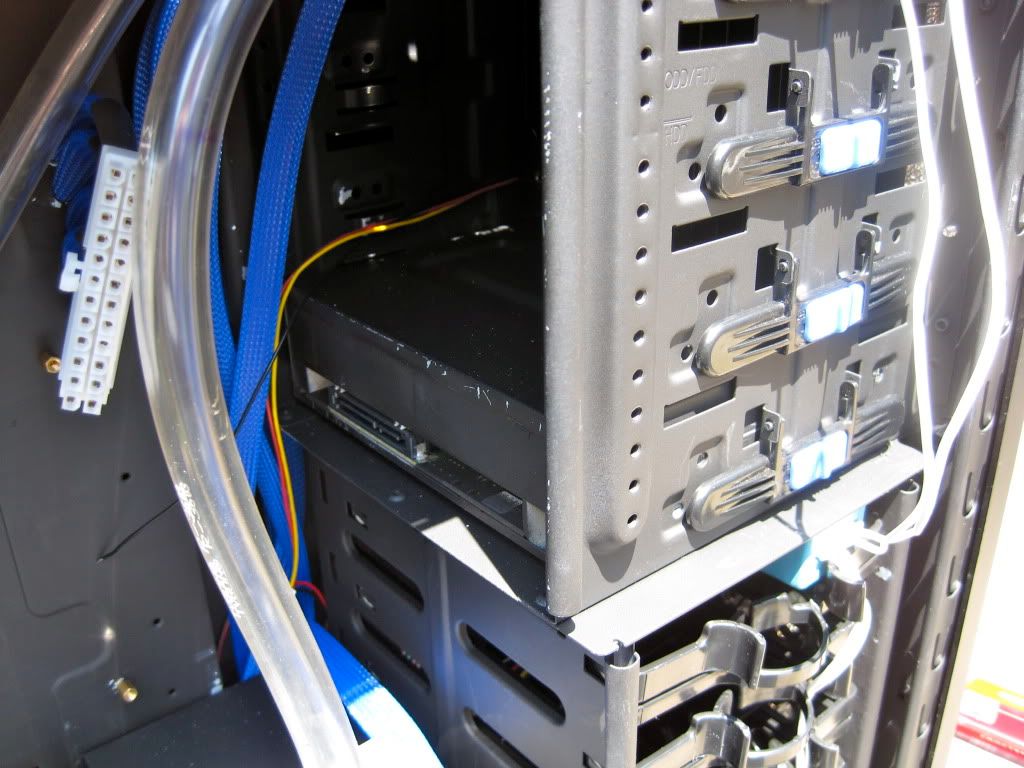
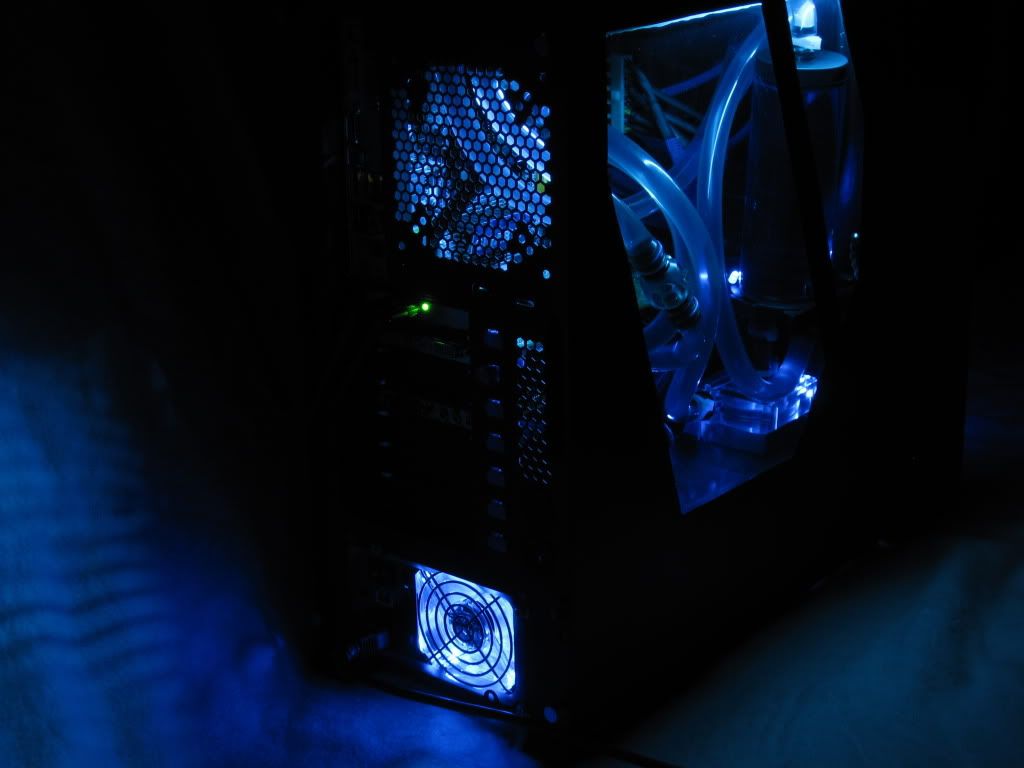
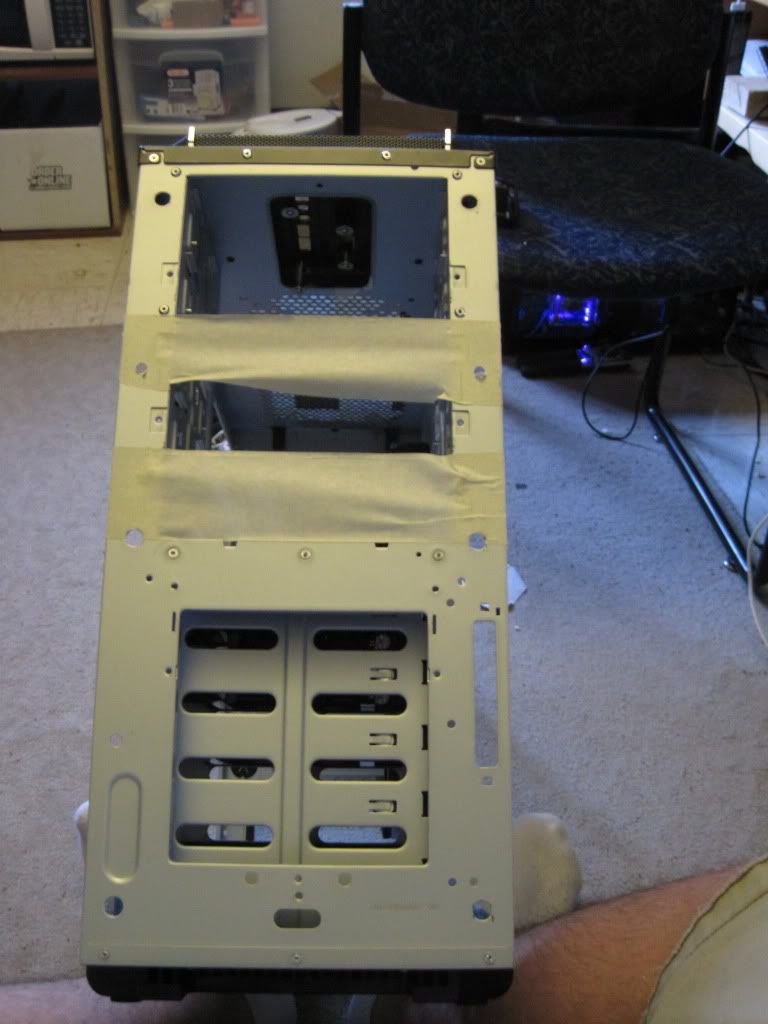
The drive bays where the 120 mm radiator will be mounted, the tape signifies the mounting bars (much, much thicker than the bars will be) that will be used for the rad mount, and allowing the blue fan to shine through the front.

IMG_0561.jpg


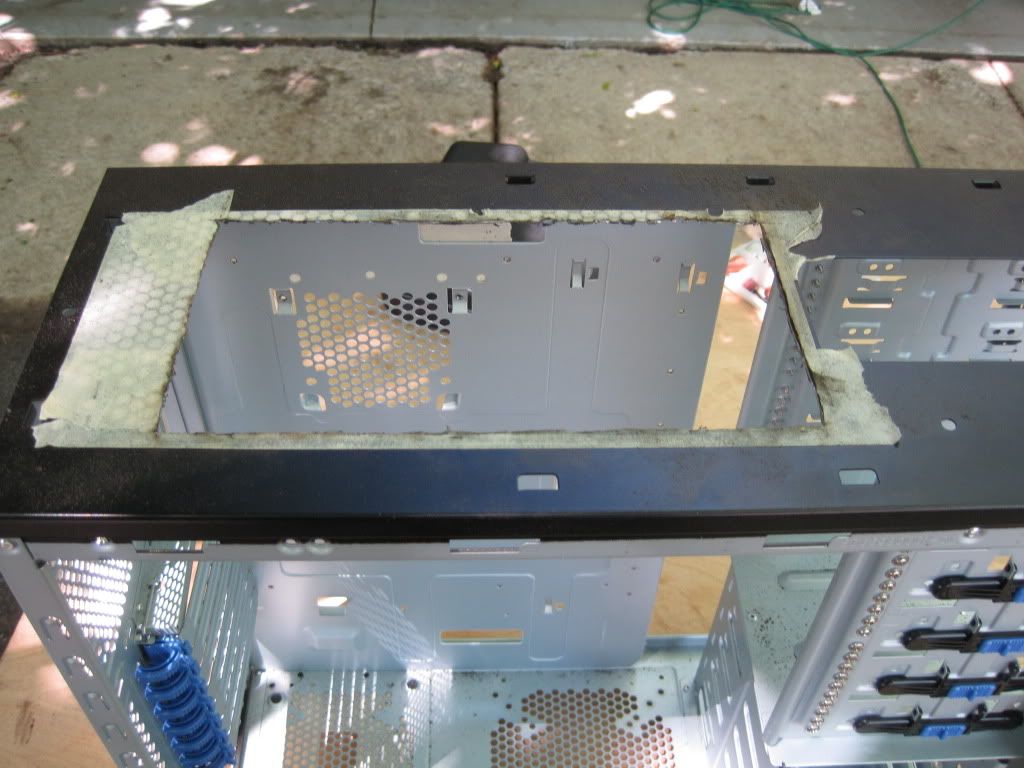
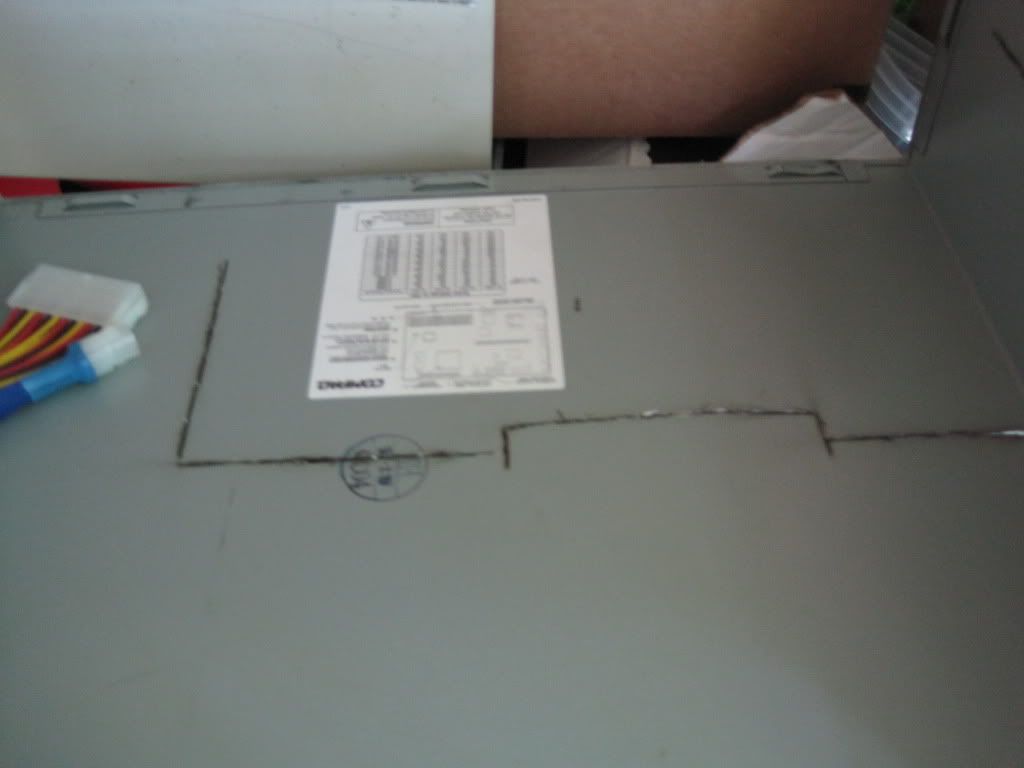
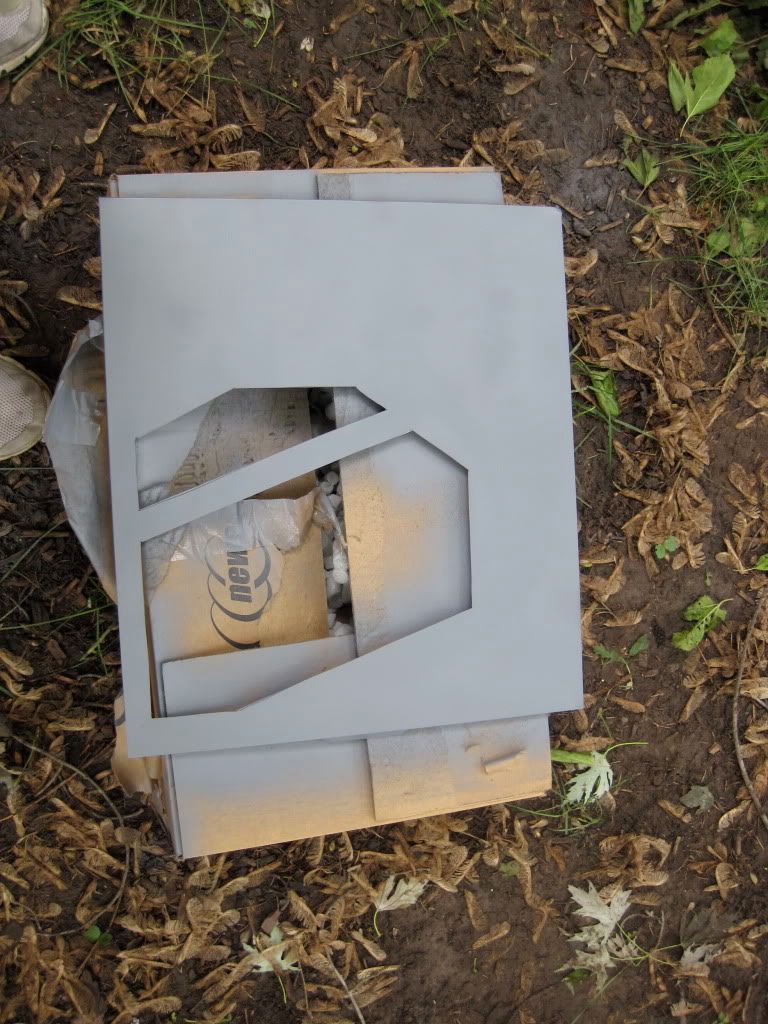
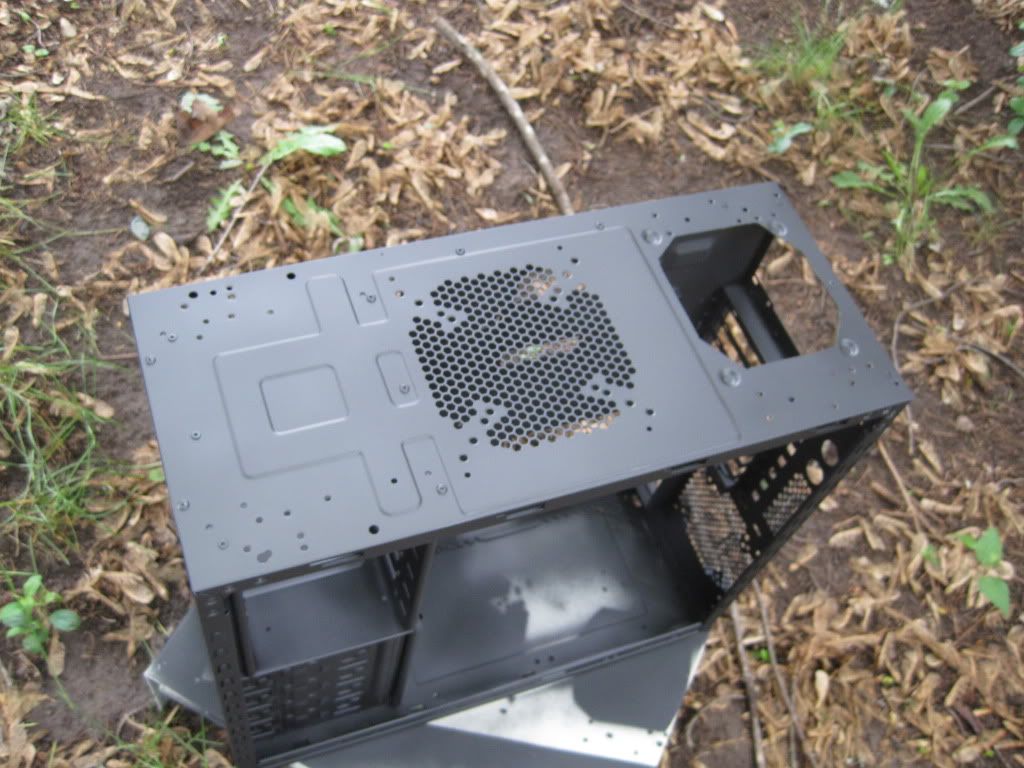
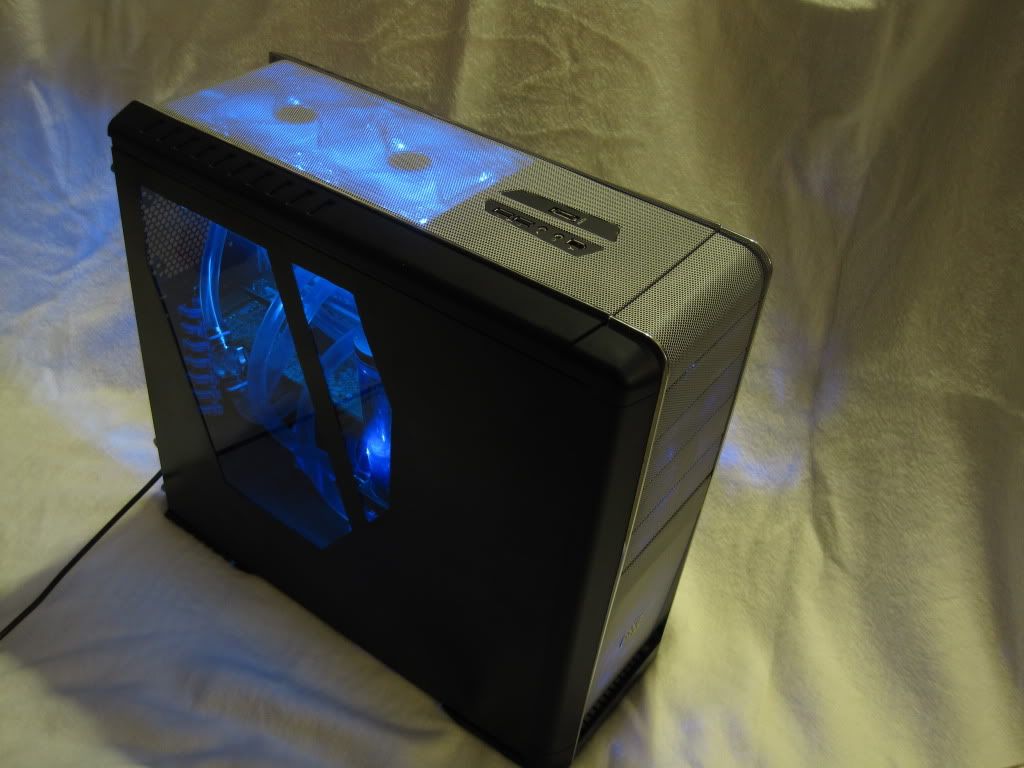
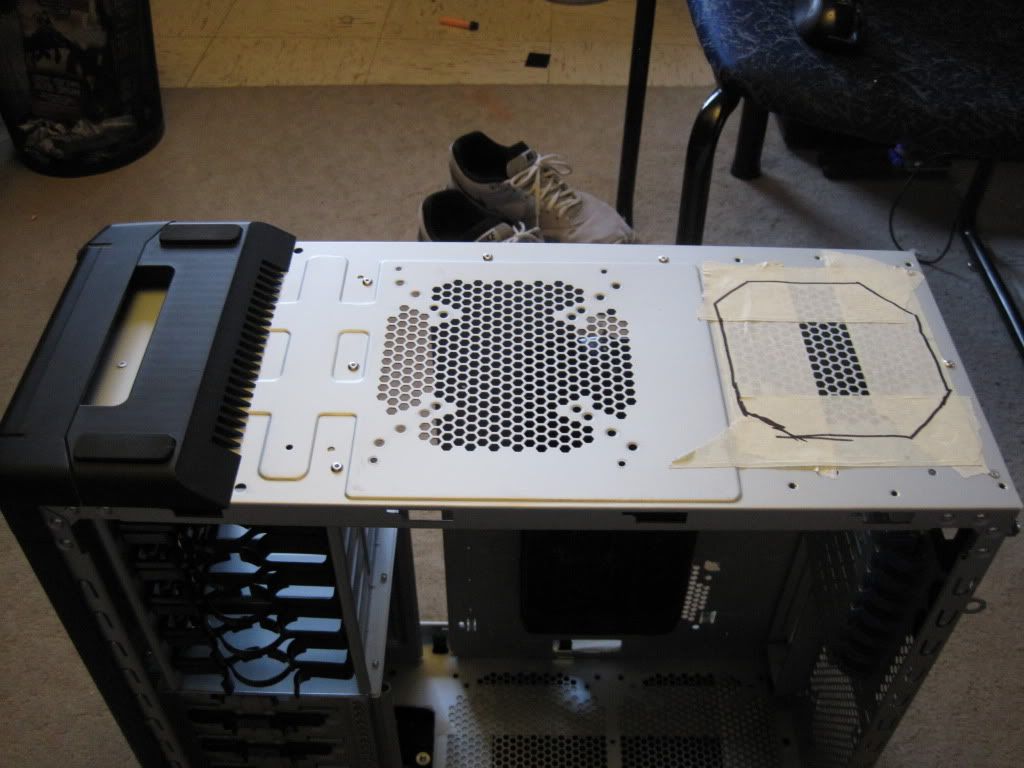
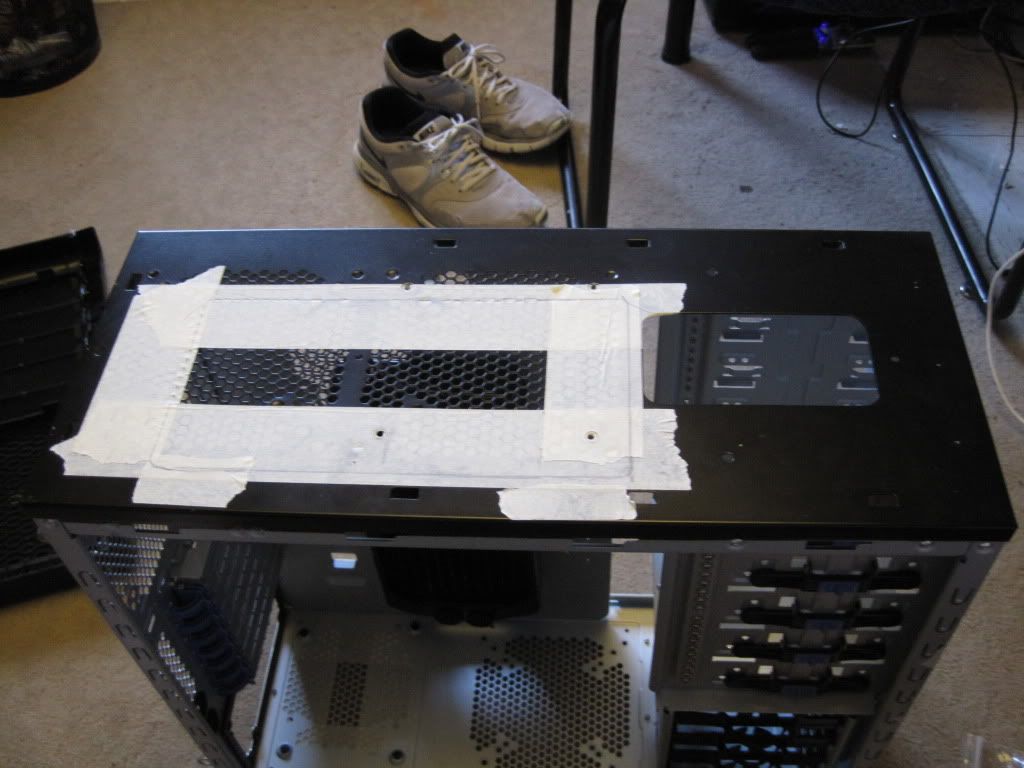
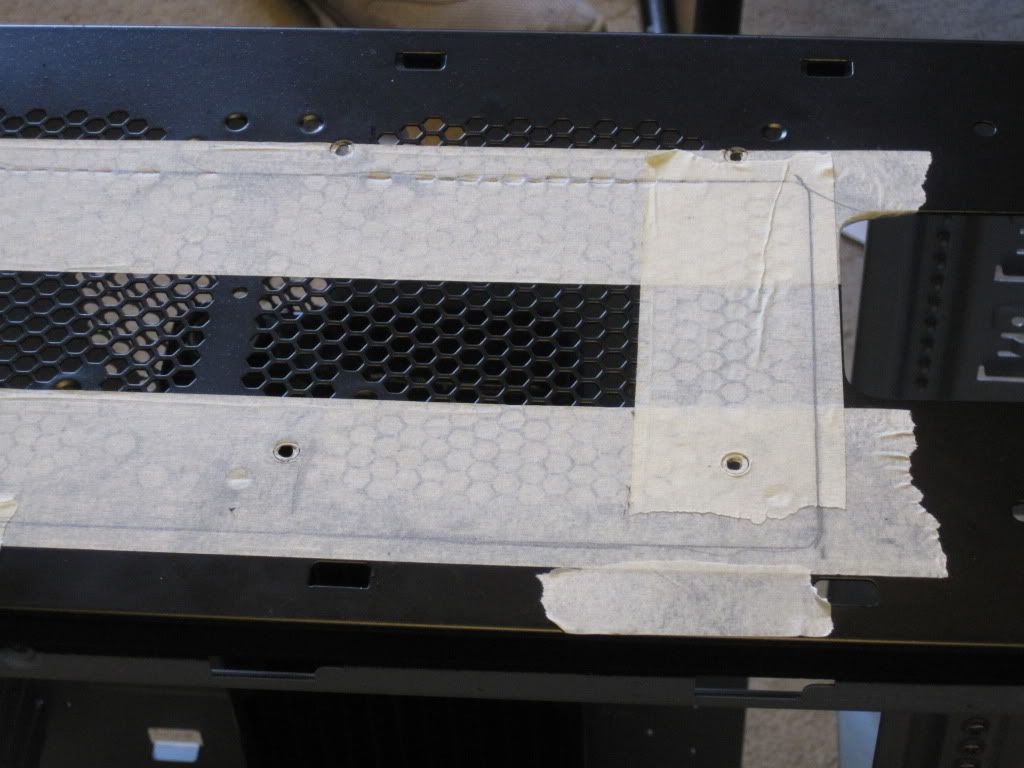
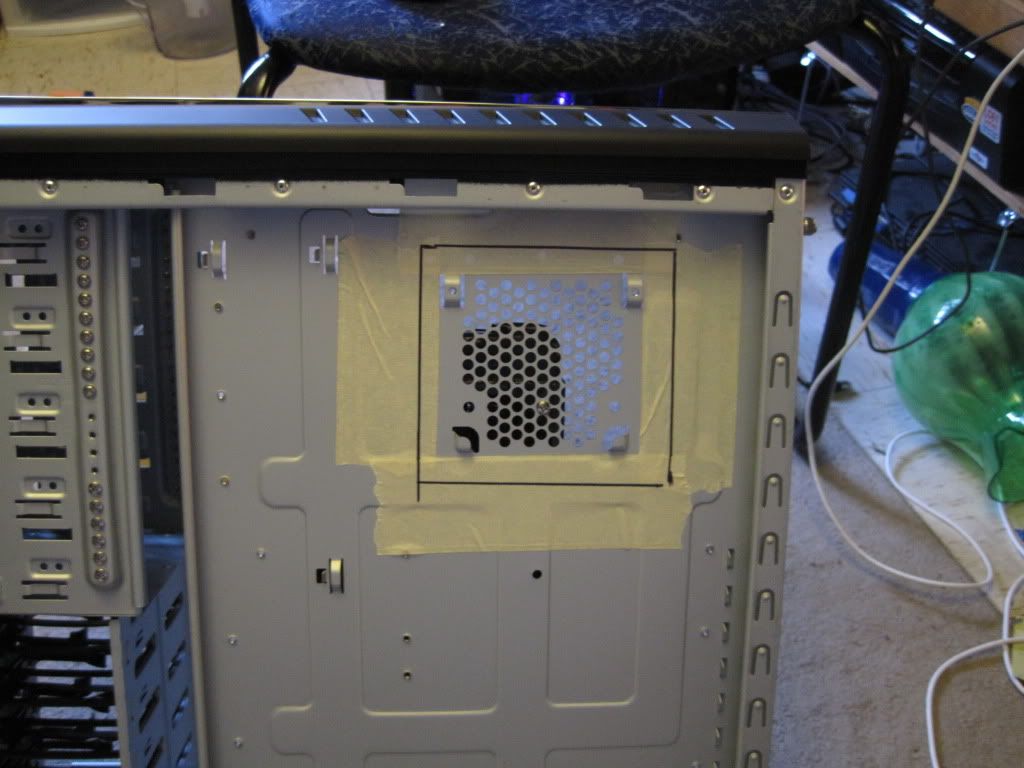
The 240 mm rad will be mounted on top... however, the pre made mount points wont fit the fans under the cover, and will block too much of the mother board, so it will have to be modded... hmm... who would have thought... :whistler: So you can see the lines where the 120mm fans will poke through, about half of the fan will sit above the case, the mounting solution will have to be improvised, so i will be stealing ideas from R2's sand crawler, and using flatbar to mount it.

IMG_0565.jpg

IMG_0568.jpg


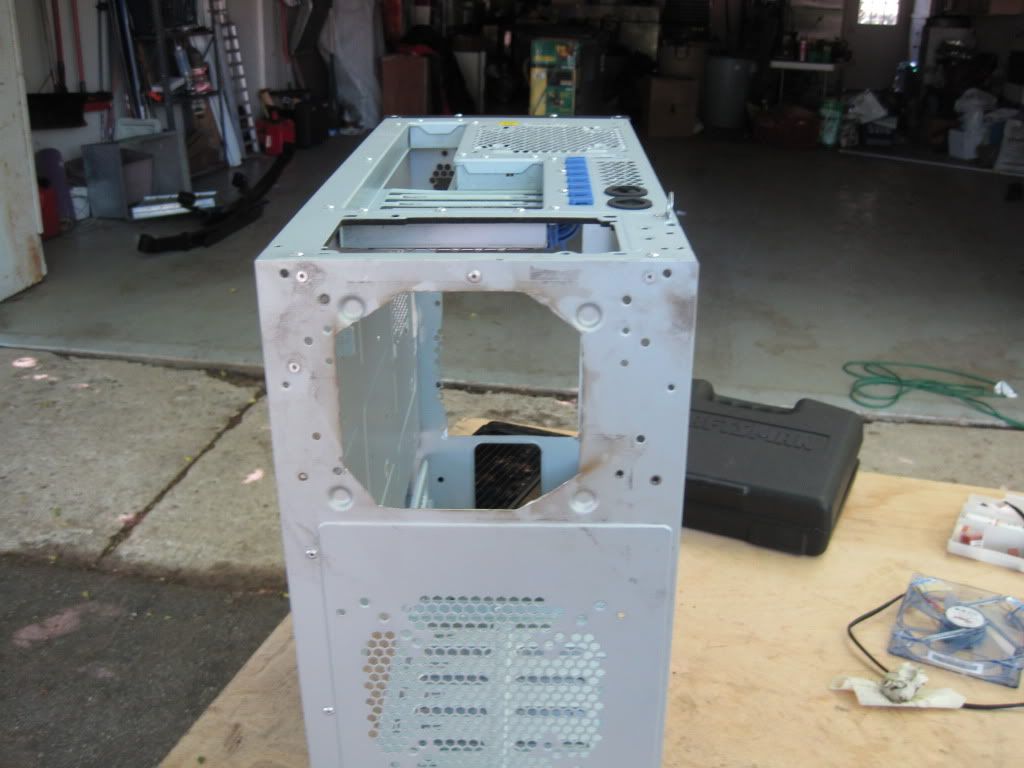
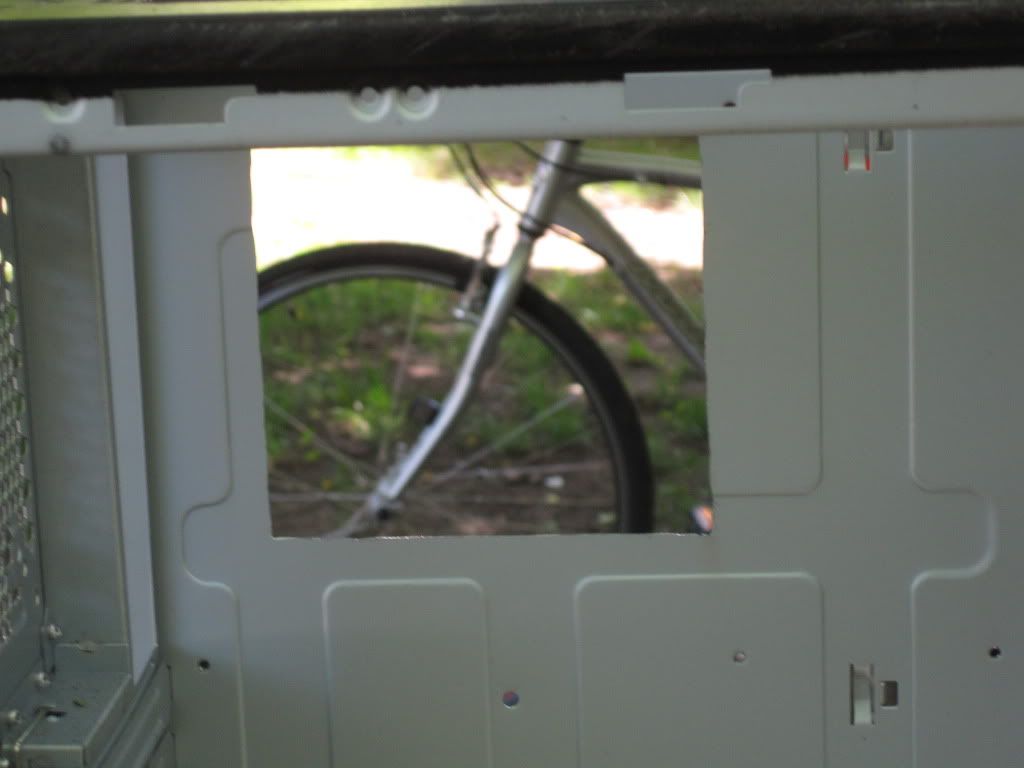
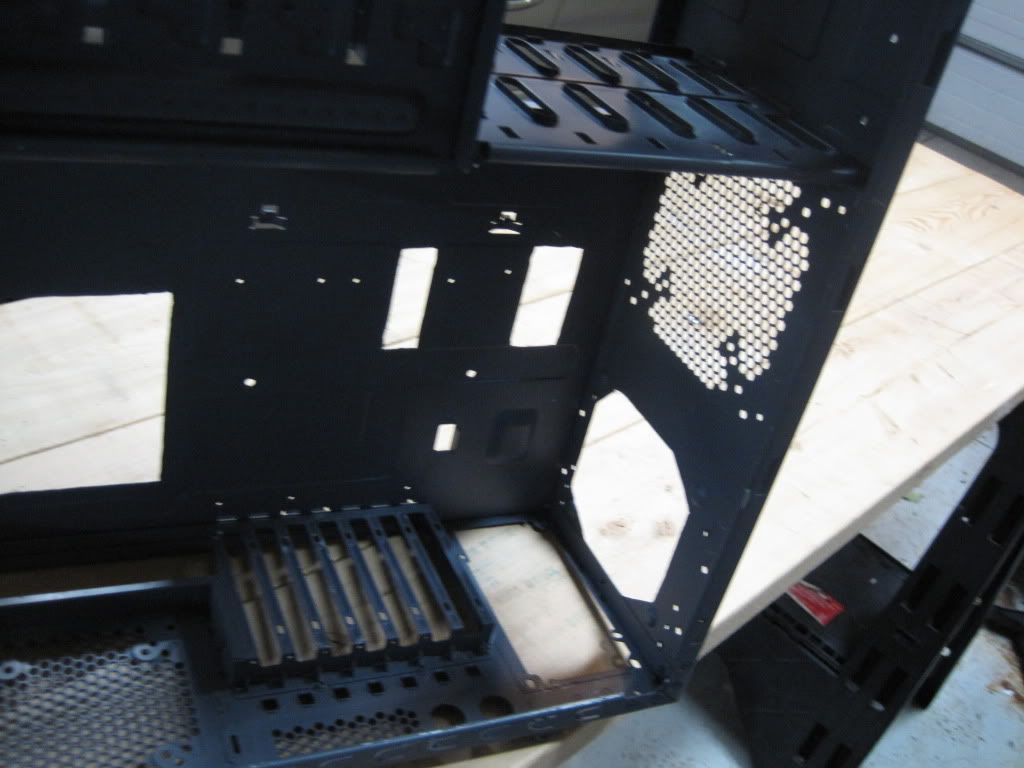
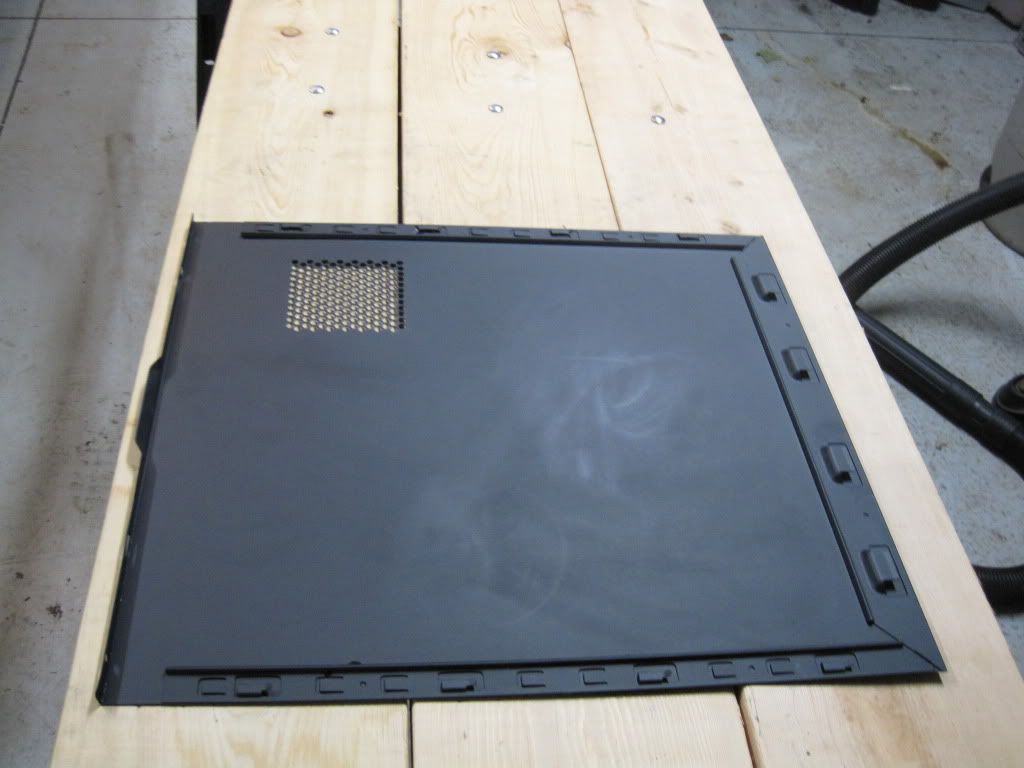
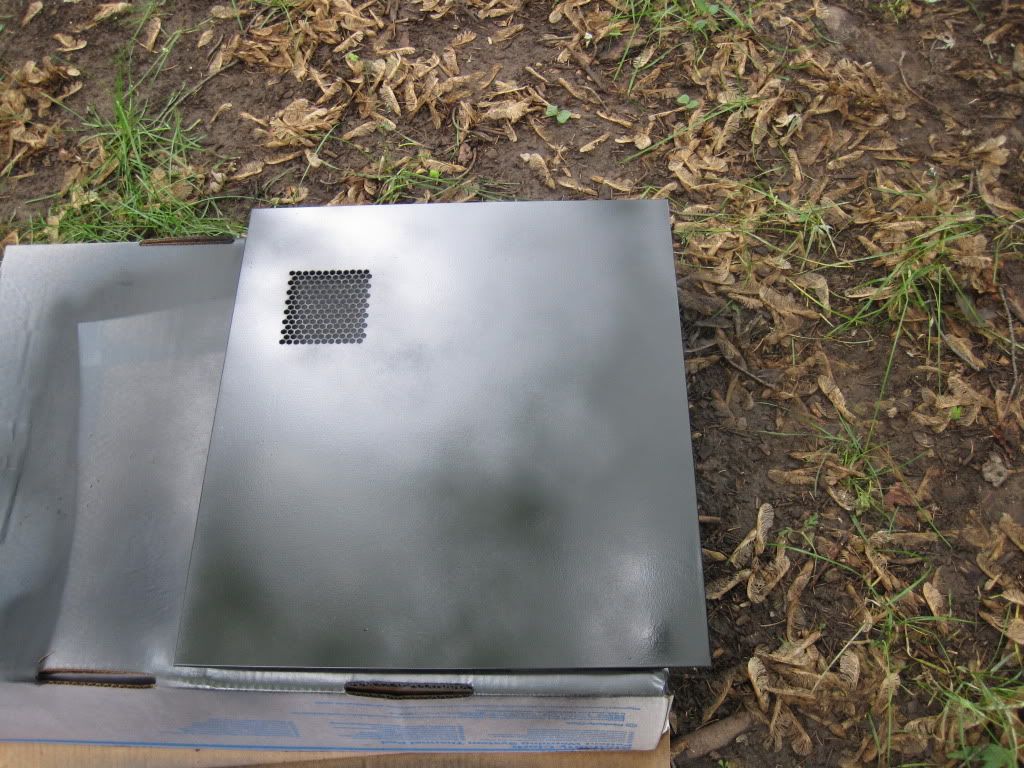
The vent for the back will be morphed into an open panel so that i can change out heatsink back plates like many of the newer cases.

IMG_0572.jpg


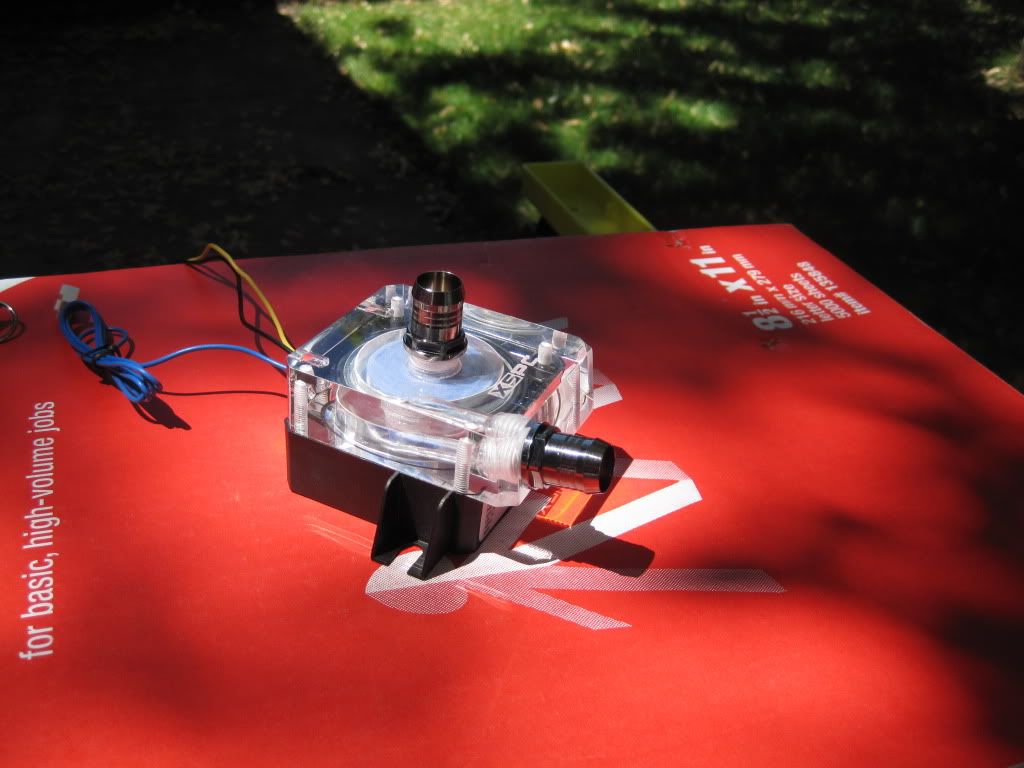
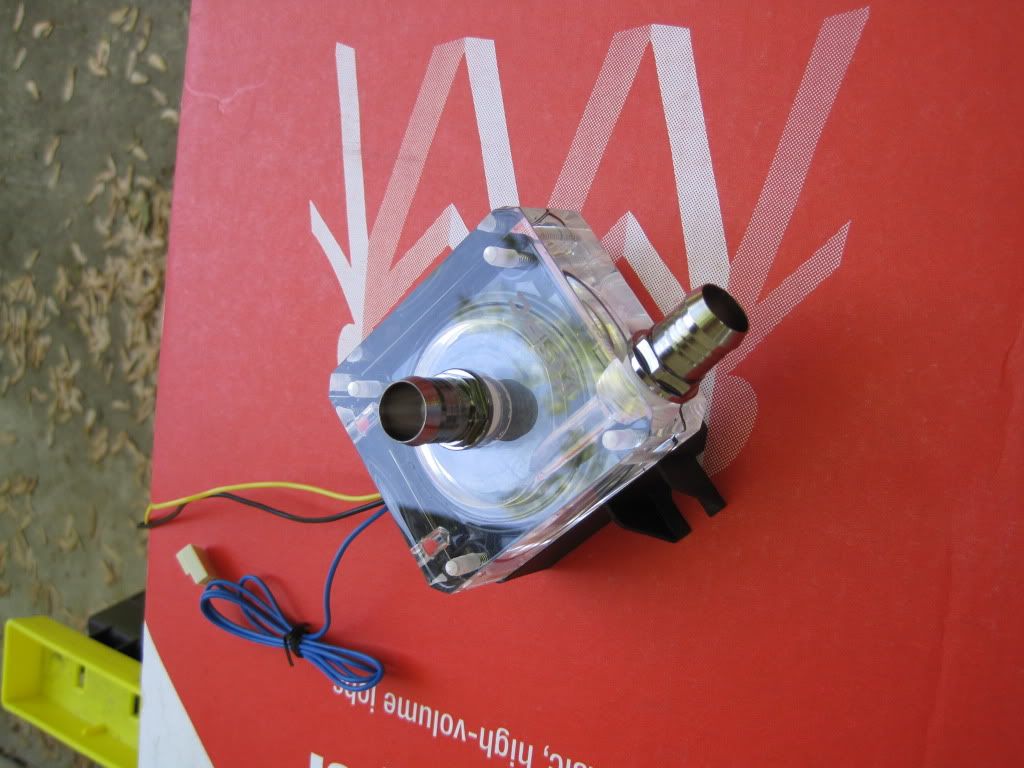
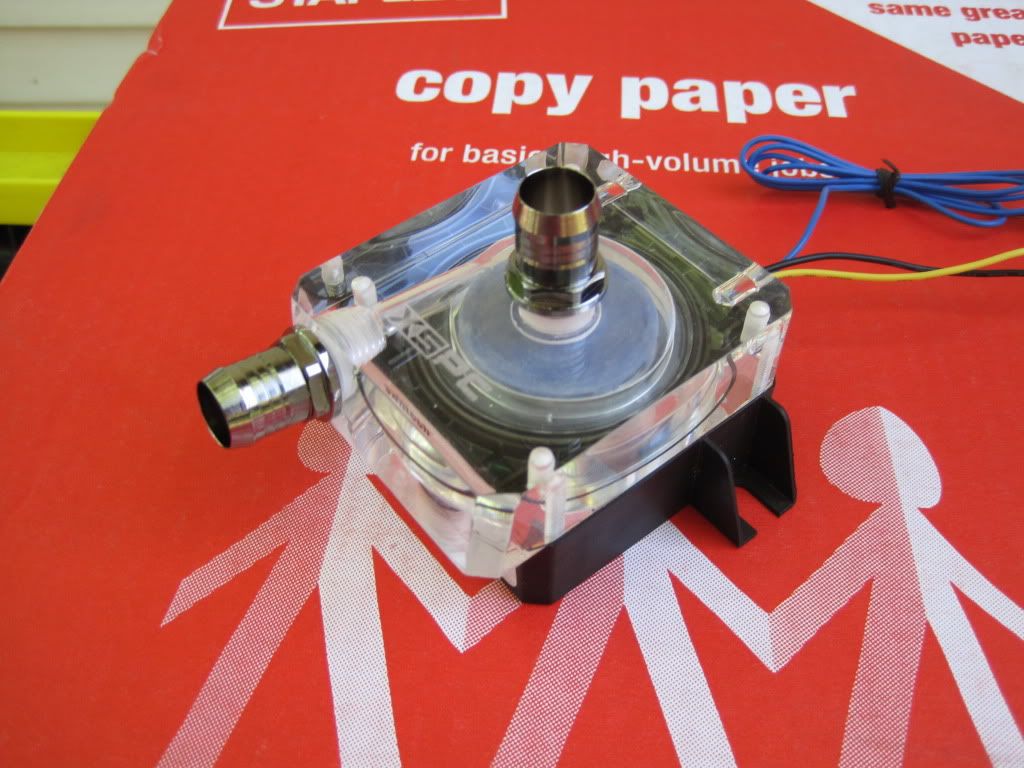
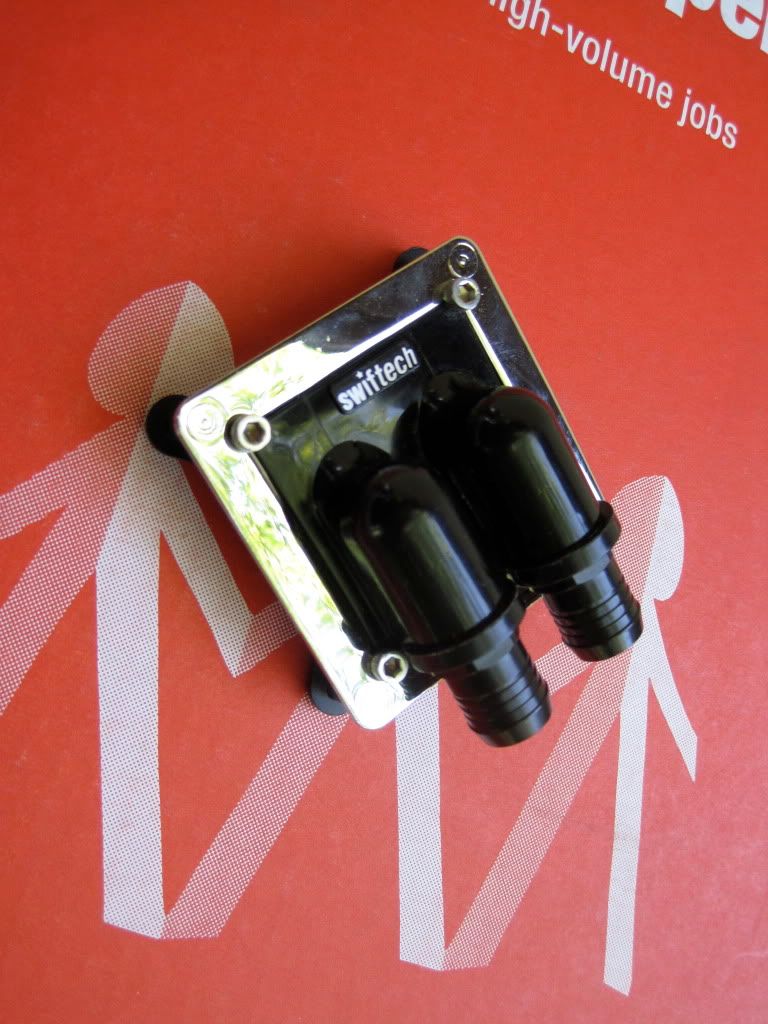
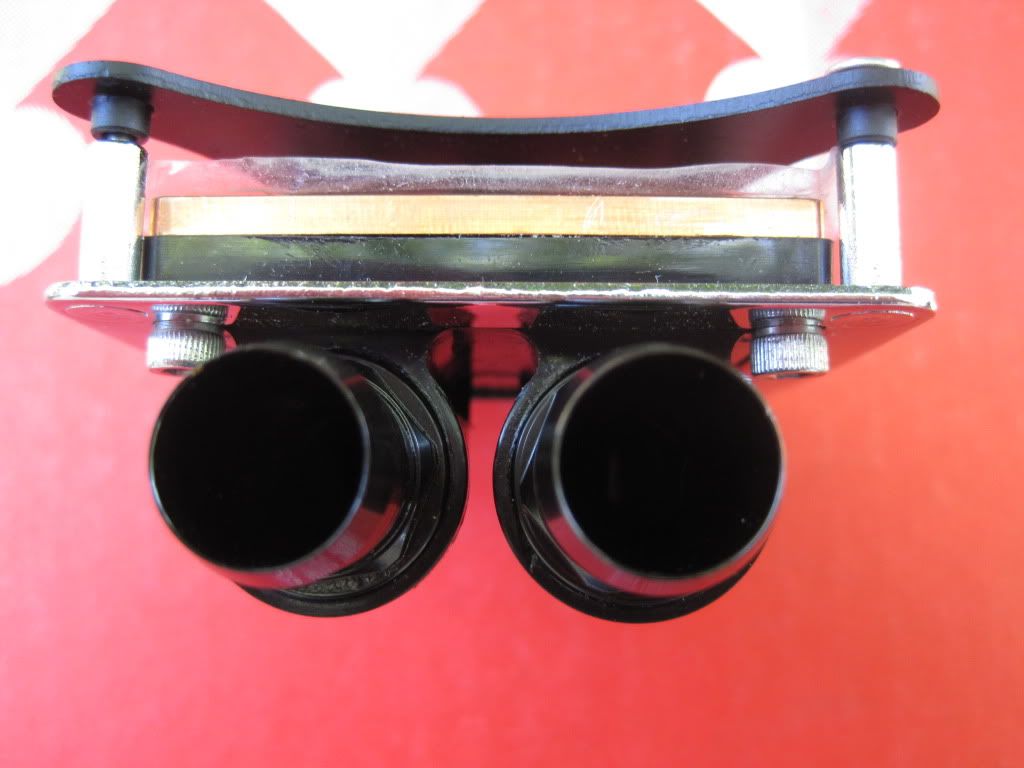
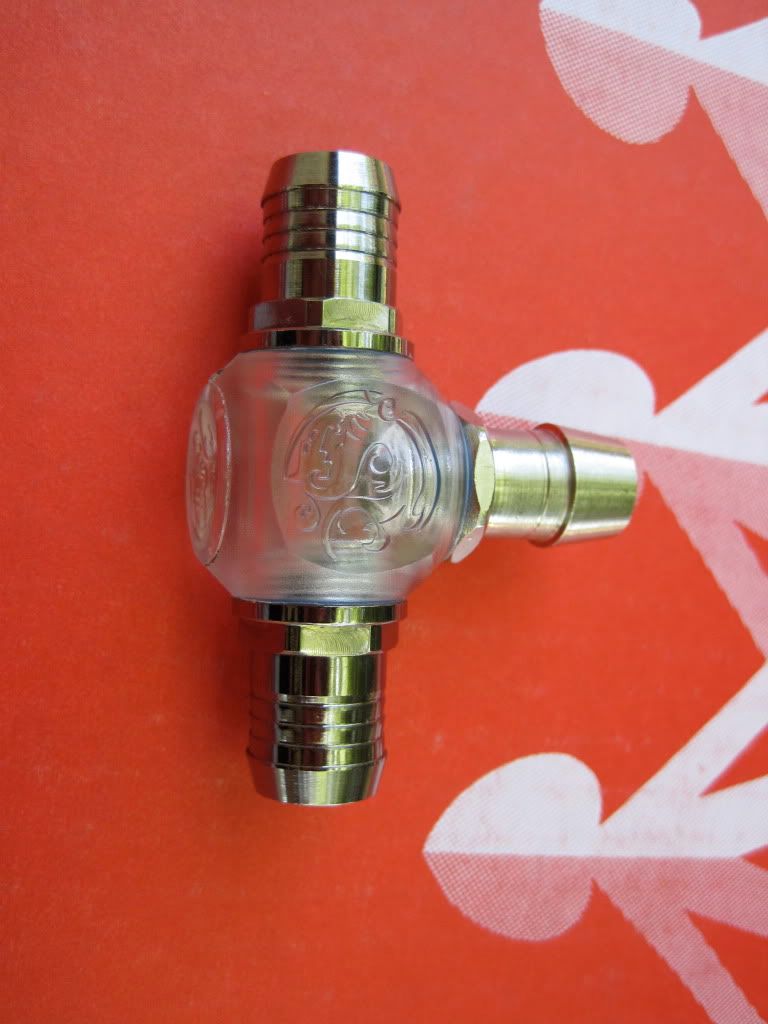
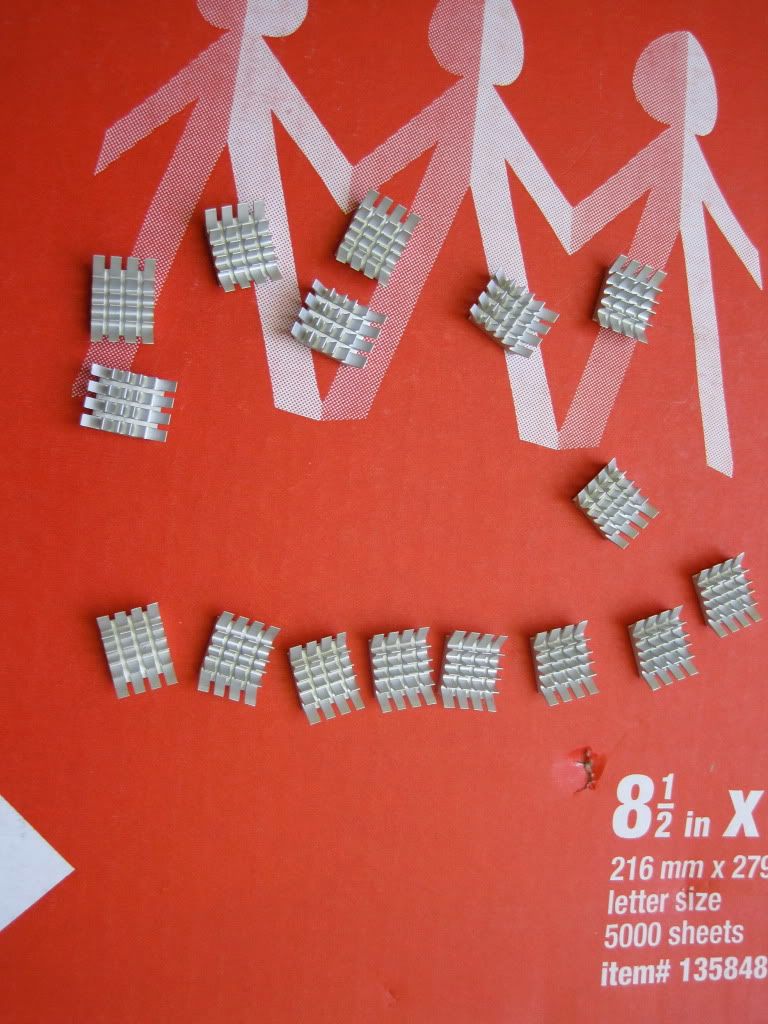
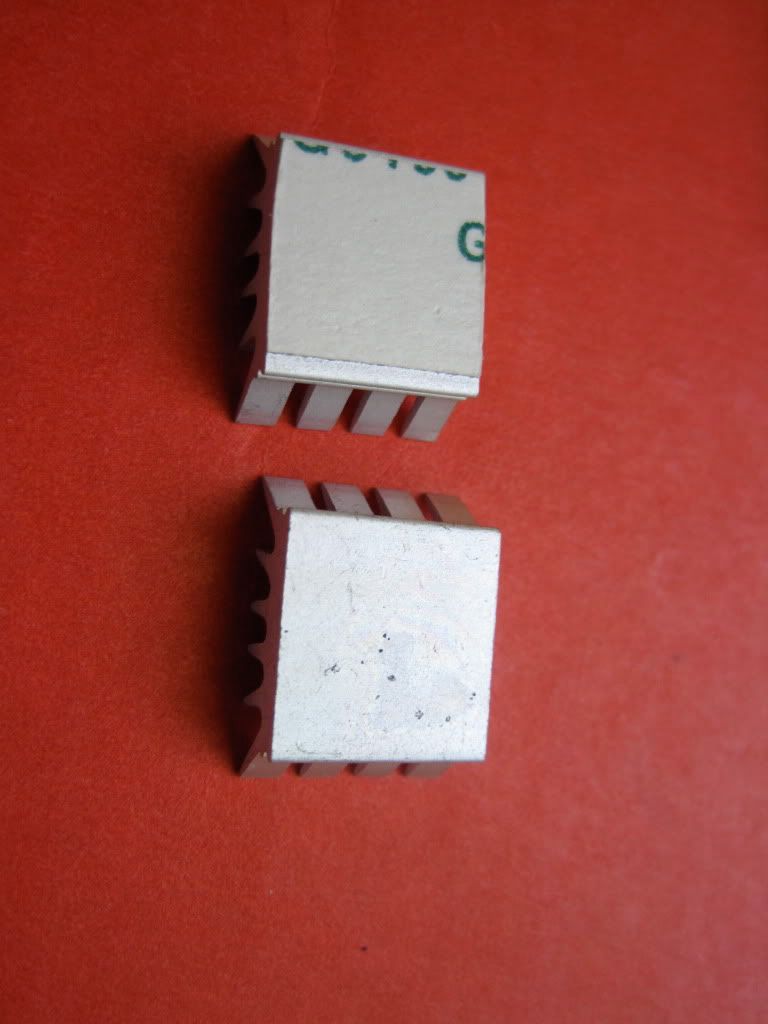
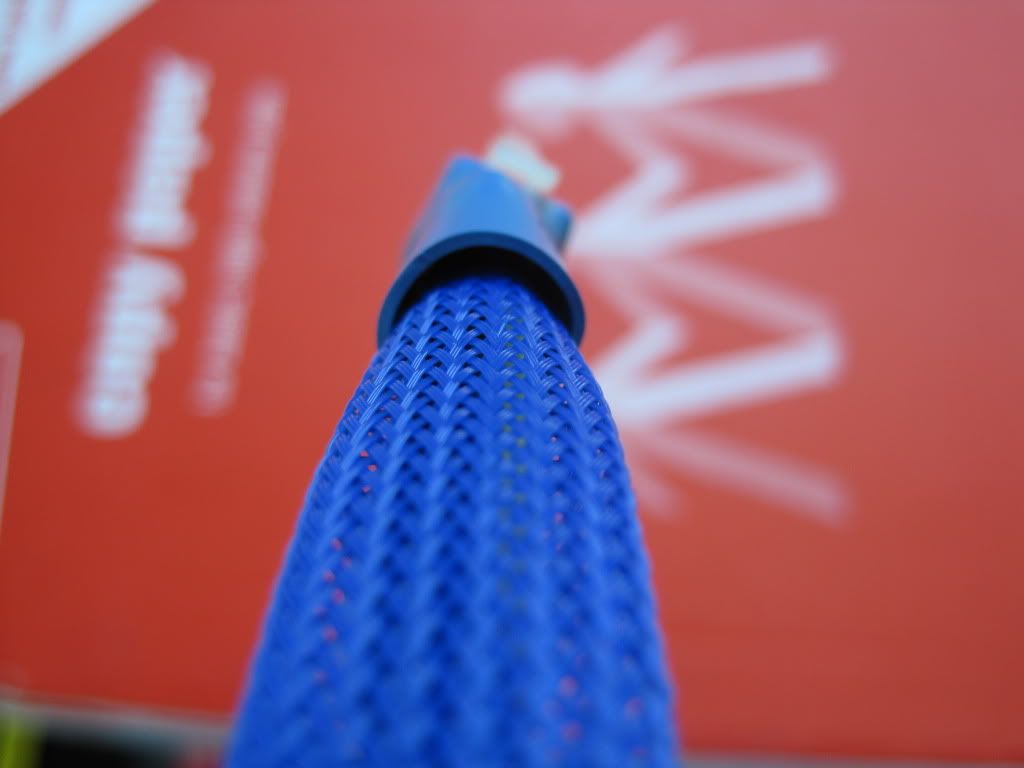
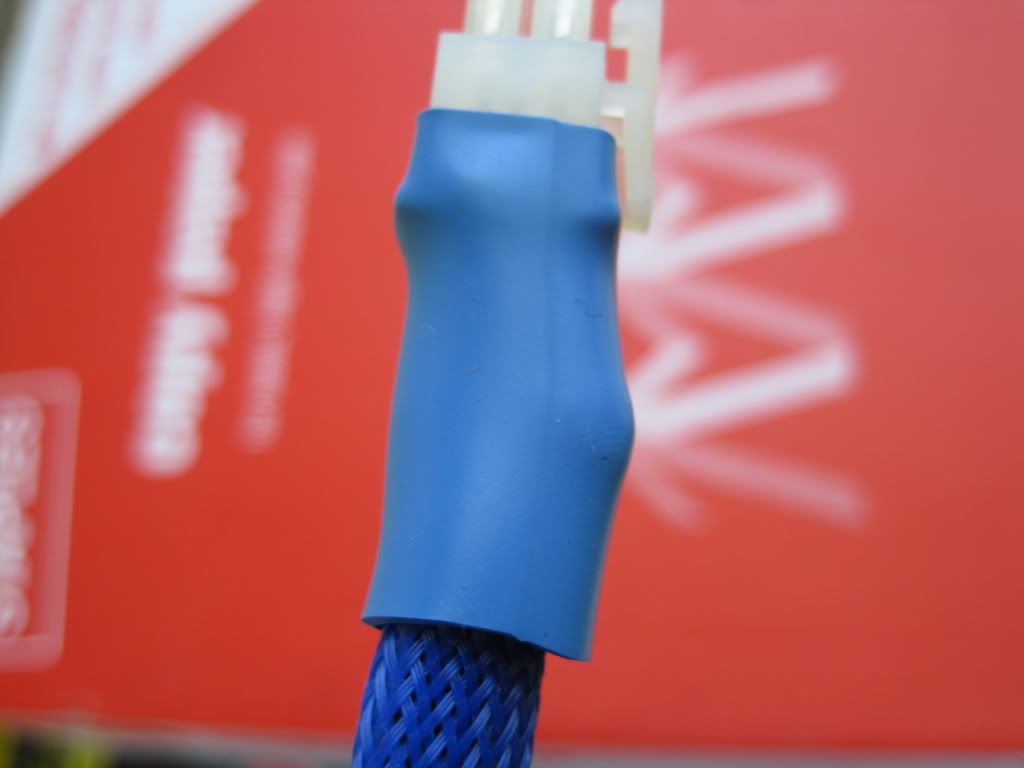
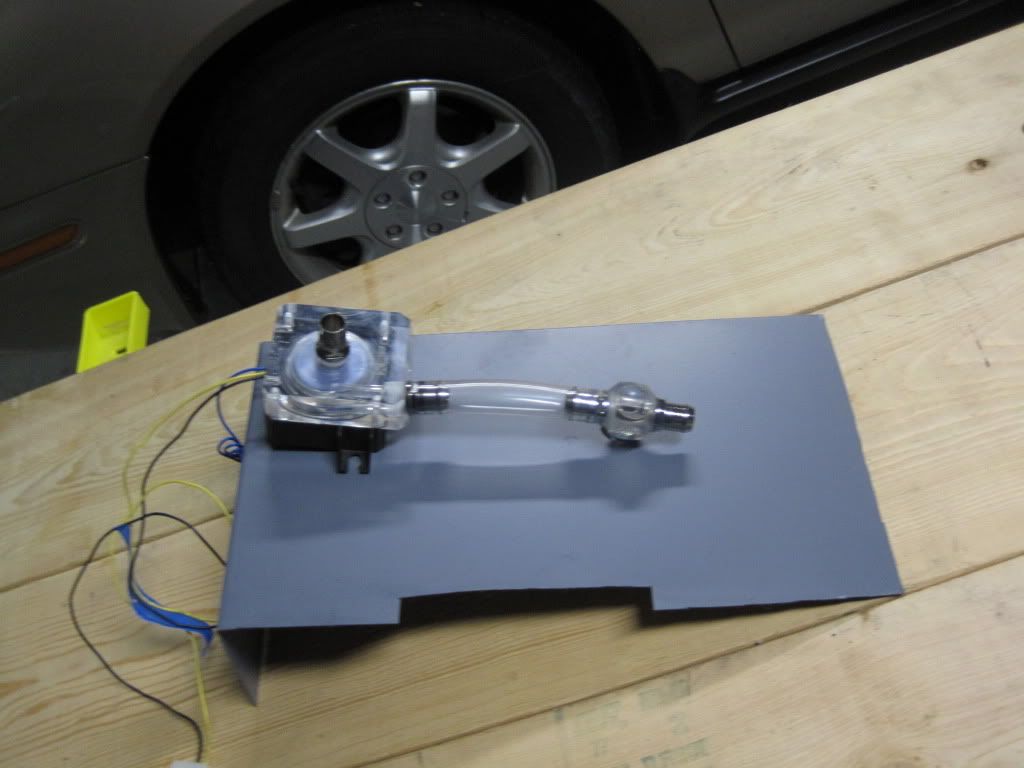
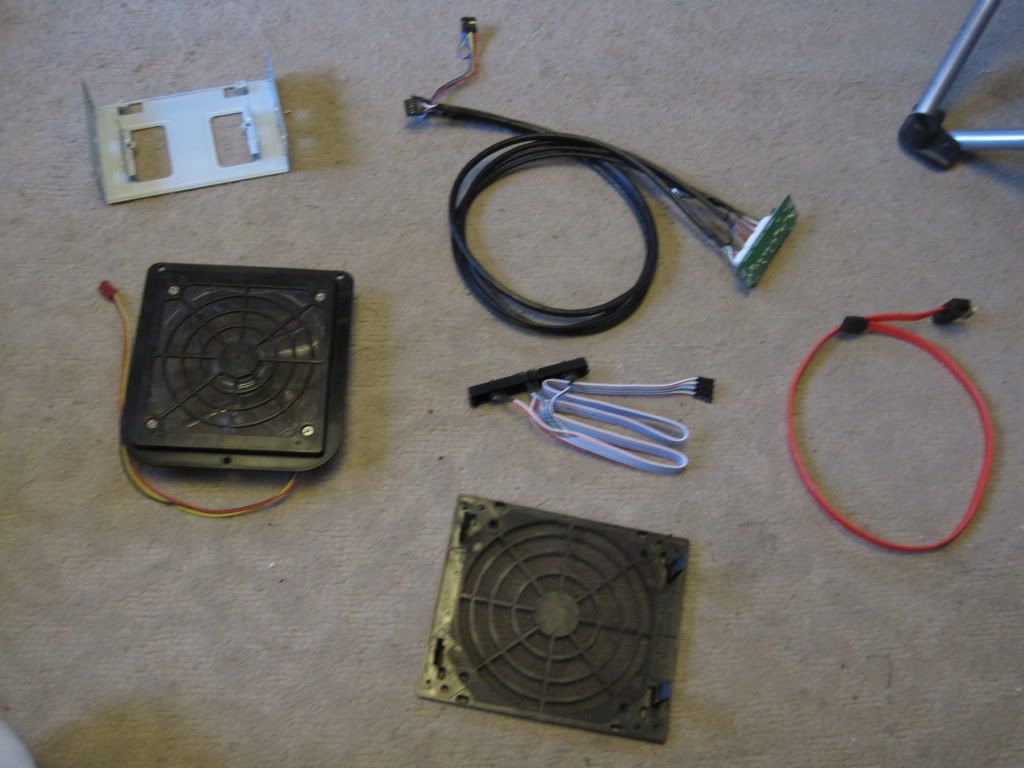
here are the toys that came in e case.
IMG_0576.jpg


A few more details.

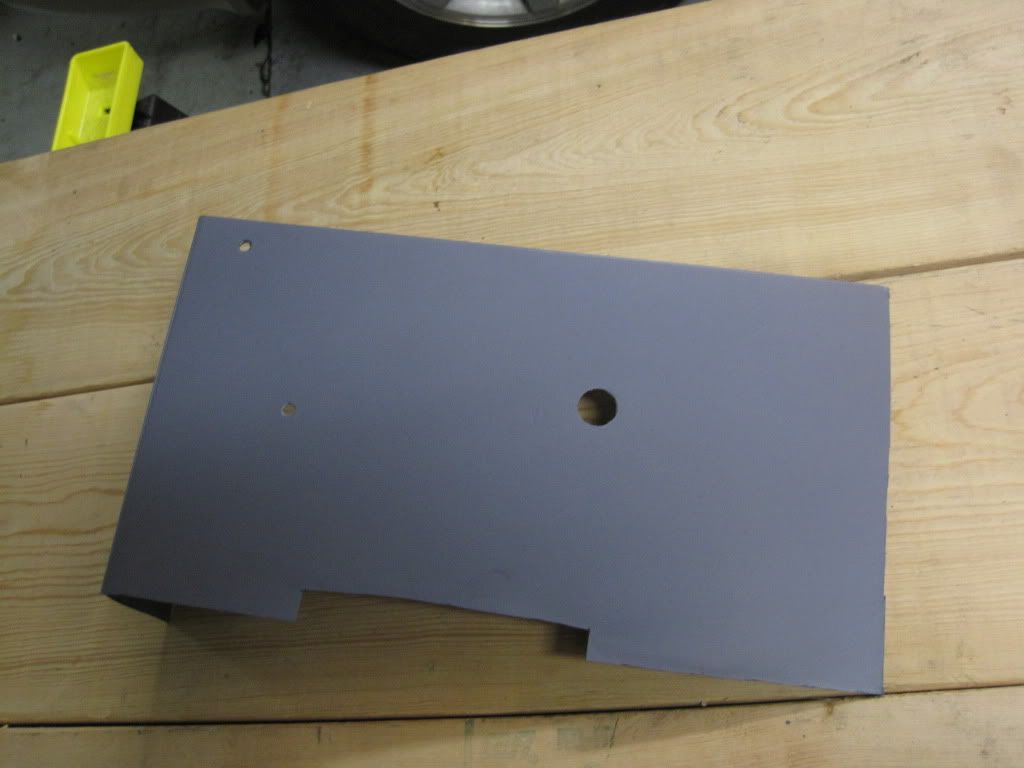
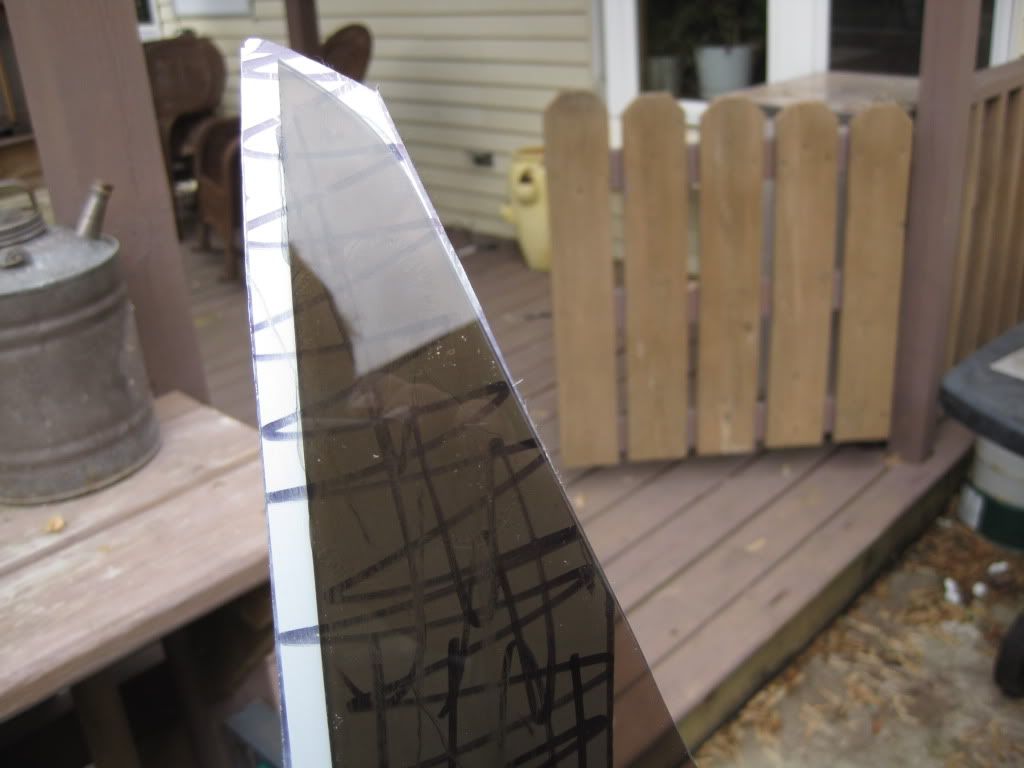
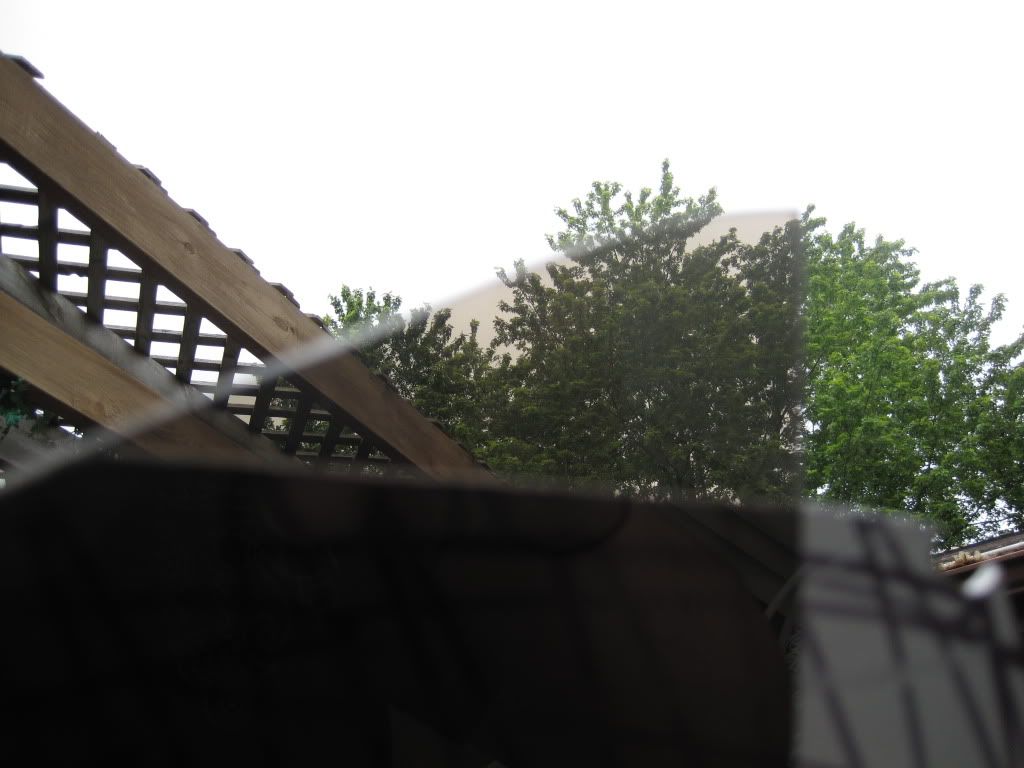
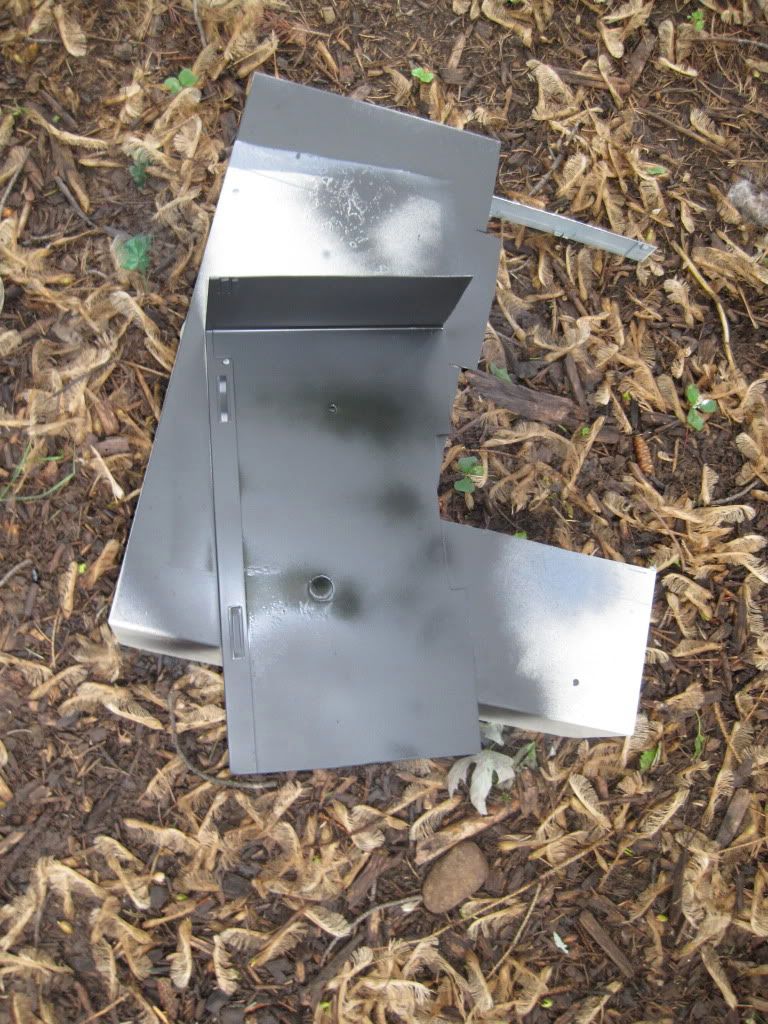
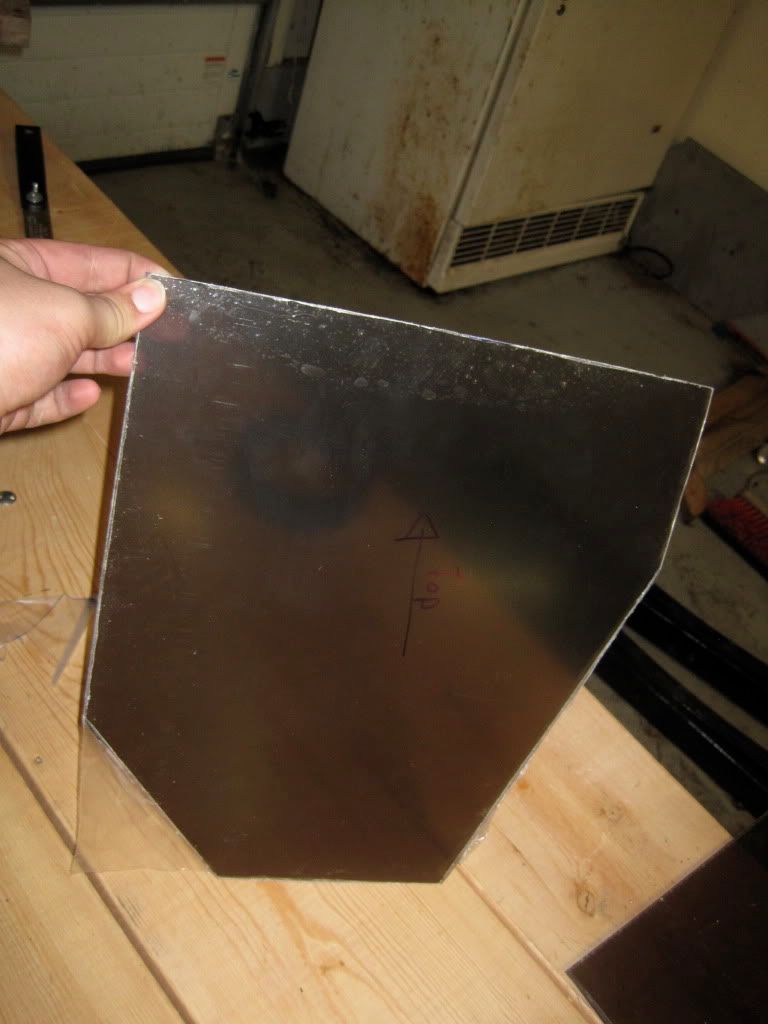
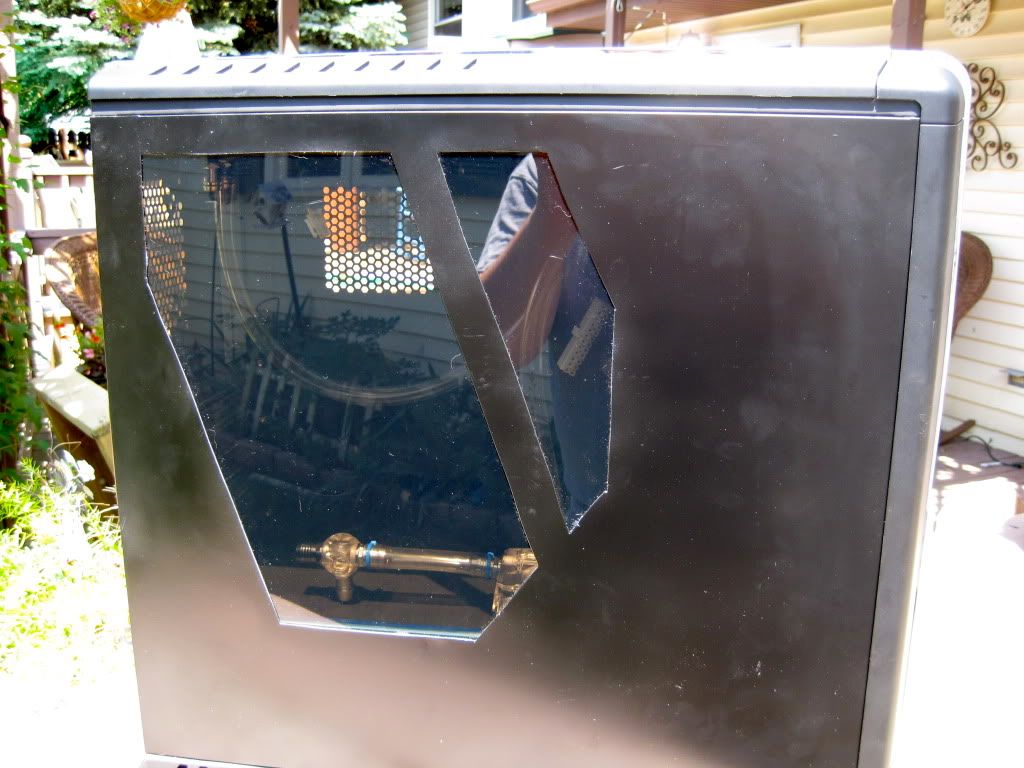
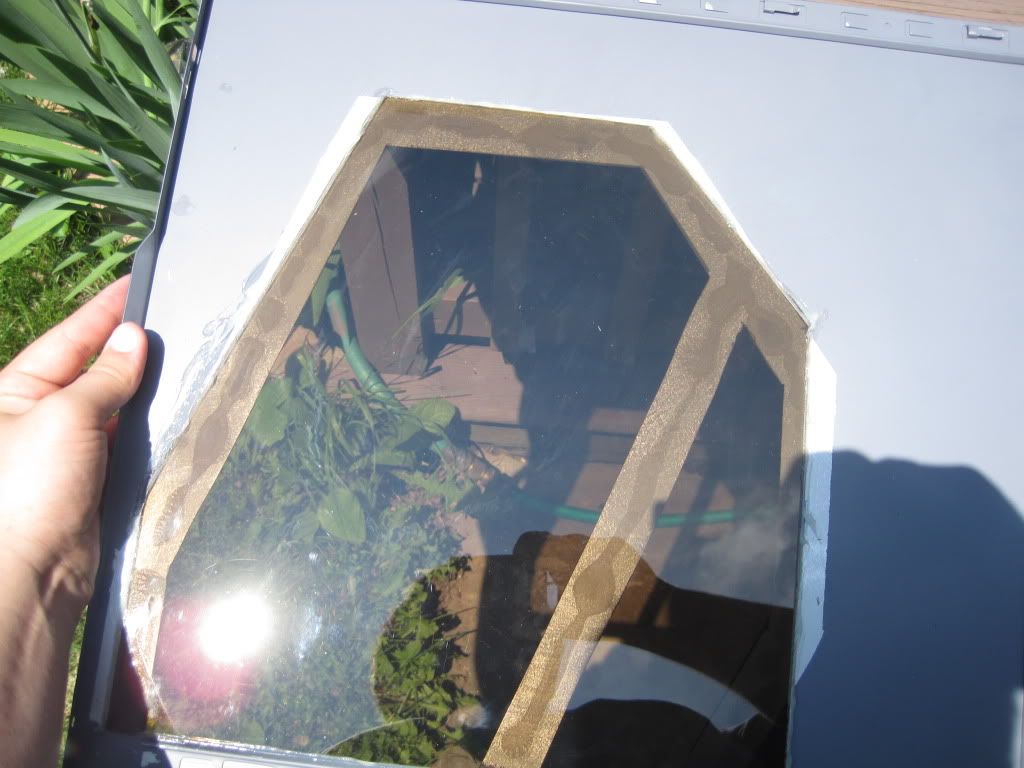
The interior color scheme is yet to be determined, how ever the outside will be satin black, there will be an aluminum bottom plate to hide the cables coming from the PSU, and there will be a mobo cover that covers the bottom inch or so to hide the cables that are going to be plugged in. The next update will be the window design for the side, Enjoy!
 
Da da da DAAAA update time!

So after getting over a cold i got to work on this thing (finally). To start out:

The Victim, a coolermaster 690 that my beloved girlfriend got me for our 1 year anniversary.

IMG_0595.jpg


Looking at the inside. :eek: it CAME WITH 2 RADIATORS???????? not quite, those are the fruits of my labors of staring at the for sale section for hours. :D

IMG_0596.jpg


A closer view of my $20 each radiators (lol... to B.O.B., thats what it works out to with division in my head)

the little one

IMG_0597.jpg


The big one!

IMG_0598.jpg


Sir! where are your clothes!

IMG_0599.jpg


Oh i see, you are here for surgery...

IMG_0600.jpg


Here is the hole for the top radiator!

IMG_0601.jpg


And all that silly mesh removed so the power supply can breathe.

IMG_0602.jpg


Oh i have always wanted one of these... would make life sooo much easier... Dremel tools make dreams come true :p

IMG_0603.jpg


Hmmm.... That looks like a piece of the mesh that he cut off... what could that be for...

IMG_0604.jpg


ZOMG... this man is a genius! Such a simple, free, and effective radiator mount! 8)

IMG_0605.jpg


And it even holds the radiator above the DVD drive to reduce vibration!

IMG_0606.jpg


The same design to mount the top radiator? how versatile!

IMG_0607.jpg


More to come

@ SXRguyinMA, Thanks for the awesome RAD hookup, ill be using plumber's epoxy to put a 1/2 in barb fitting into the top hole of the rad where the missing plug is supposed to go so i can route it to a fill port on top of the case.

@ Blue on Black, Thanks for the WC parts hookup, ill be taking glamour shots of the parts when my new barbs arrive.

@ x88x, microcenter hookup = AWESOME! you will see the use for that random seeming T fitting and all that sleeving soon enough.

Also thanks to all the sweet mods that prodded me into this!
 
Alrighty then! time for a real update... Mind you its mostly pics of my toys for the case thus far, but its progress in a way i suppose.

@x88x, you will see the application ill be using it for in the pics if that helps.

@SXR, any you dont need i can probably use.

so begins the update

So, I want to create a false bottom for this tower, and heres the cardboard mock up.

IMG_0618.jpg


Water pump with XSPC top and Bitspower fittings.

IMG_0619.jpg

IMG_0620.jpg

IMG_0621.jpg


Water Block with some black bitspower fittings i had around.

IMG_0623.jpg


MMMM high flow goodness

IMG_0625.jpg


Crystal T fitting... notice that the fittings that will be seen are pretty, and the ones that wont.. .well.. arent pretty...

IMG_0626.jpg


Mr CPU needs a waterblock too!

IMG_0628.jpg


So shiny it focused on the reflection of the trees...

IMG_0631.jpg


Same 120x1 rad, but with new fittings! :banana:

IMG_0632.jpg


For the graphics card again, Deal Extreme heatsinks... 1/5th the price of any other retailer online... with free shipping too

IMG_0634.jpg


Some came with thermal tape. some didnt

IMG_0635.jpg


So some real work finally, Plumbers waterproof epoxy puts a nice 1/2in fitting in the top of this so i can have a fill port on top.

IMG_0637.jpg


My 4 pin, deal ex again, sleeved this time.. now you can start to see my sleeving issues... if that helps you guys with sizing up HS for it...

IMG_0638.jpg

IMG_0639.jpg

IMG_0640.jpg


The 24 pin extender. Is it easier to remove the pins from the male or female end. And the HS needs to compress 4 wires with a zip tie over them well.

IMG_0642.jpg


I also started my false floor... but my dremel died on me... Sadddd :mad:

IMG_0645.jpg

IMG_0646.jpg


This will need some filing to make it right...

IMG_0647.jpg


Just easier to see the progress on this

IMG_0648.jpg

IMG_0649.jpg
 
Real update...

first off, the project that i did before the project.

IMG_0650.jpg


IMG_0651.jpg


IMG_0652.jpg


This also acts as a TV stand while im at school

Then The case, after bondo, sanding, and priming

IMG_0653.jpg


IMG_0654.jpg


IMG_0655.jpg


IMG_0656.jpg


DVD drive primed, will be painted flat black to match the interior
IMG_0657.jpg


Side panel after priming and 1 coat of paint ( i used engine enamel)
IMG_0658.jpg


False bottom is cut sanded primed and drilled for mounting needs
IMG_0660.jpg


How everything will be mounted on there

IMG_0661.jpg


GOODIES FROM XOXIDE!

IMG_0662.jpg

IMG_0663.jpg


And after a tip from sxr.

IMG_0664.jpg


Fancontroller... dosnt have to be pretty... just has to work...

IMG_0666.jpg


Thats all for now folks!... Gotta get back from a fam trip, then more painting... and next update you will get to see the new window design.
 
Got some more work done today... Here it is!

I tested the hold on my silicone glue with some scrap plexi and scrap from the case windows

IMG_0669.jpg


I picked up some awesome tinted Plexi at menards.

IMG_0670.jpg


My weapon of choice

IMG_0673.jpg


The new window of Blue Storm

IMG_0674.jpg


Exterior coat of paint. first coat

IMG_0675.jpg


The engine enamel dried on the tower

IMG_0676.jpg


The first coat of enamel for the false bottom

IMG_0678.jpg


The window cut out and ready for mounting

IMG_0679.jpg
 
So since ive last updated i've finished the case till i get hardware... (god i want the hardware! its like its teasing me...) But some pictures for all you guys watching this

Back Side looks stock, with a less... bumpy... paint job

IMG_0680.jpg


The user side (?) window looks sharp too... i love how this turned out... As a side note, i love the CM 690 that i used, just disliked its stock lack of window-ness. i also had to make the 240 rad fit on top...

IMG_0683.jpg


Better view of the window... looking at the pic there seems to be a little bit of wag in the cuts that dosnt appear in real life...

IMG_0685.jpg


Better window view... the flowers in the back ground are popping like crazy, this isnt edited, this is how it looks outside today, hence why im sitting on the back porch with my macbook

IMG_0688.jpg


The back of the window

IMG_0692.jpg


Silicone... messy... but effective

IMG_0695.jpg


My dirty wire secrets exposed!!! lol

IMG_0698.jpg


Pump mount

IMG_0700.jpg


Top radiator mount. The fans and the top of the case gave me some trouble... but it turned out well.

IMG_0702.jpg


Not quite unisleeving... but not a bad look... i like it... although the different lengths on the shrink bugs me a little.

IMG_0705.jpg


drive area

IMG_0708.jpg


another interior shot

IMG_0726.jpg


This was my remedy for the fan clearance issue... worked out pretty well i think...

IMG_0728.jpg


The next update will just be stealthing the dvd drive on front, you can already see the velcro there for it. i just need my dremel tool back... After that there will be updates when i can afford some hardware for this guy.
 
Already looking excellent. props for the many pictures, very good work here.
 
thanks, at the moment i have run out of funding for the project, so im petitioning a few companies for sponsorship... hoping i get it :D
 
this is the first case i used for watercooling. i used the same basic layout you are going for. no false bottom, no cool window and no paint job =(

the issues i ran into were my moffset blocks running into the 2x120 up top. i had to use some really low-profile fittings and some 120x20mm fans and that helped.

very versatile case isnt it?

gl & keep us posted
 
The pictures, so many pictures, I wish everyone would post this many pictures with their mods.
 
@ Mjg lol... hate to preach, but check out tbcs, i think everyone there is addicted to their shutter buttons...

Thanks for looking guys, im trying to get everything lined up for this case. Other than that i wont be cooling the mofsets with water, just the CPU and the GPU. Im pretty proud of this case so far, its leaps ahead of my first mod, which i dont have any pics of on this forum.
 
Final update for blue storm, this project is closed Pics follow

So with the computer complete and running, all thats left are the final pictures. Enjoy the photoshoot

IMG_1167.jpg

IMG_1170.jpg

IMG_1155.jpg

IMG_1171.jpg

IMG_1175.jpg

IMG_1186.jpg

IMG_1190.jpg

IMG_1163.jpg

IMG_1180.jpg

IMG_1198.jpg

IMG_1192.jpg


And for retrospect A pic of our shooting setup
IMG_1201.jpg


and i have to say. THA KITTAH APROVES OF DA POOTER

IMG_1195.jpg
 
Very nice log. I need to get mine up. It's not as technical since I'm not cutting my case up or doing any watercooling, but something that people tend to overlook. I also painted my DVD drive black haha.
 
thanks guys, the temps are about 10C cooler on load than they used to be on idle with air, and i bumped the 2.8 amd 7850 to 3.24, and the GPU OC'd pretty well, (about 2200 points on furmark to 3000)
 
Back
Top