Antec 1200 Build (First Build) *lots of pics*

Joined
Feb 15, 2009
Messages
41
This is my very first build i did all by myself with no help from anyone and i have to say im very proud of my work and the performance on this thing is amazing but i will get to that at the end of this post. Im going to keep it short and sweet and just show a lot of pix. I am going to post the pictures in order as i went threw my build.

Let me know what you guys think!

THIS WAS A BUDGET BUILD

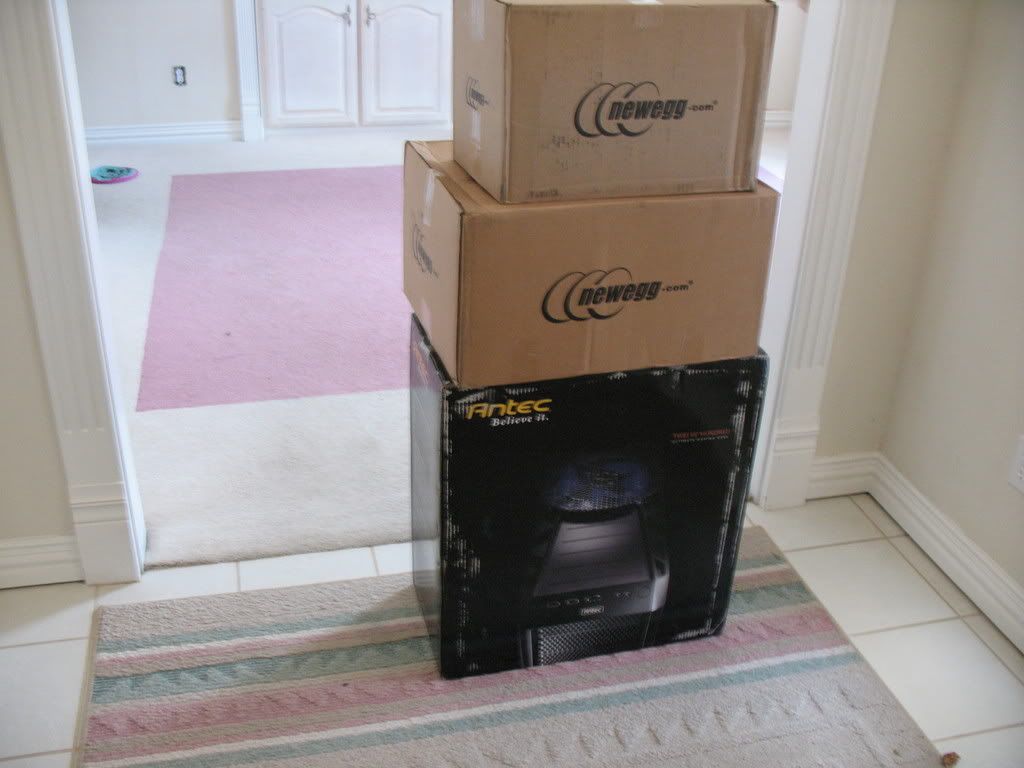
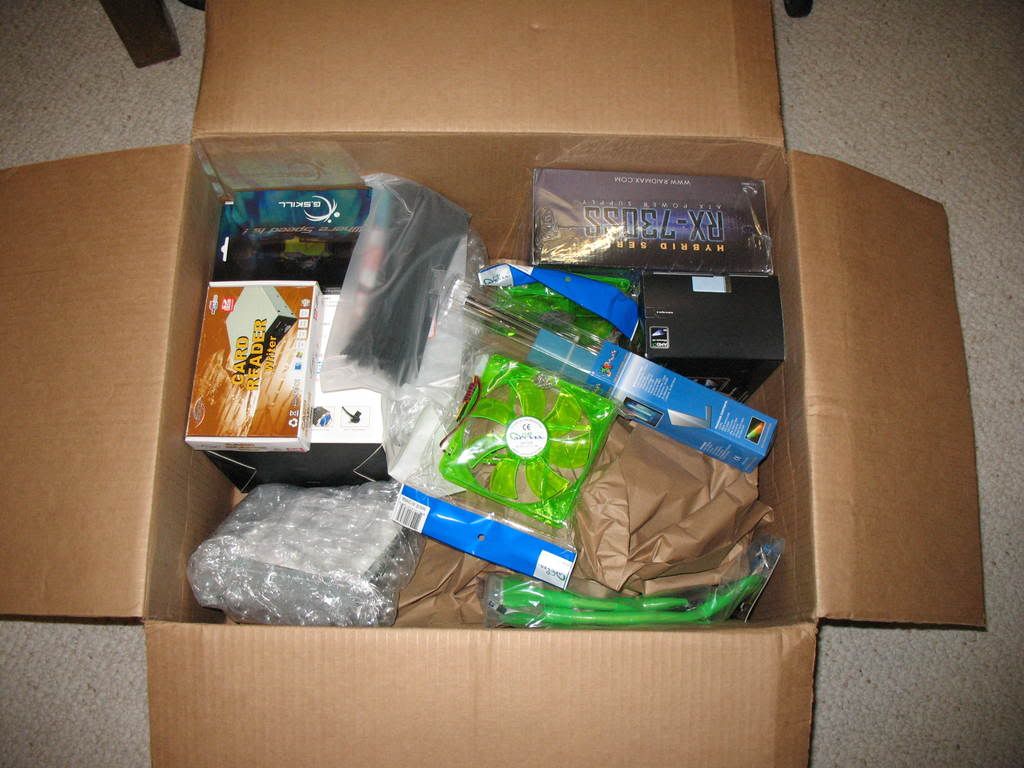
Packages arrived 3 days after my order just as Newegg promised, very happy on how fast it got here.

IMG_0390.jpg


IMG_0391.jpg


IMG_0394.jpg


IMG_0396.jpg


IMG_0401.jpg


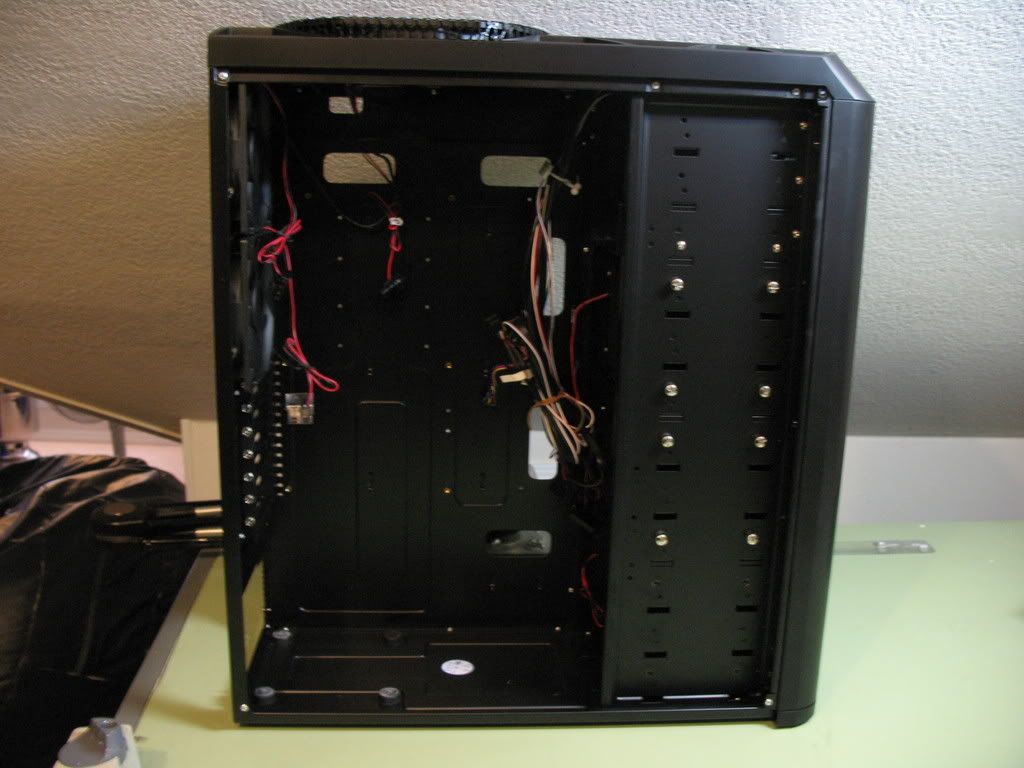
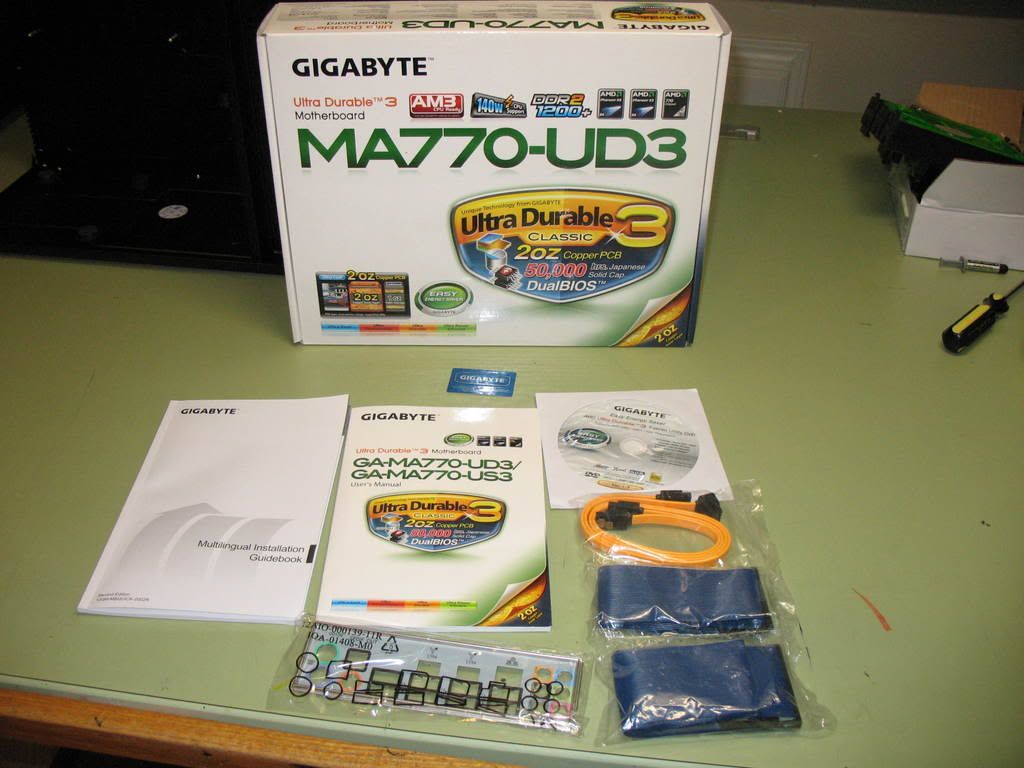
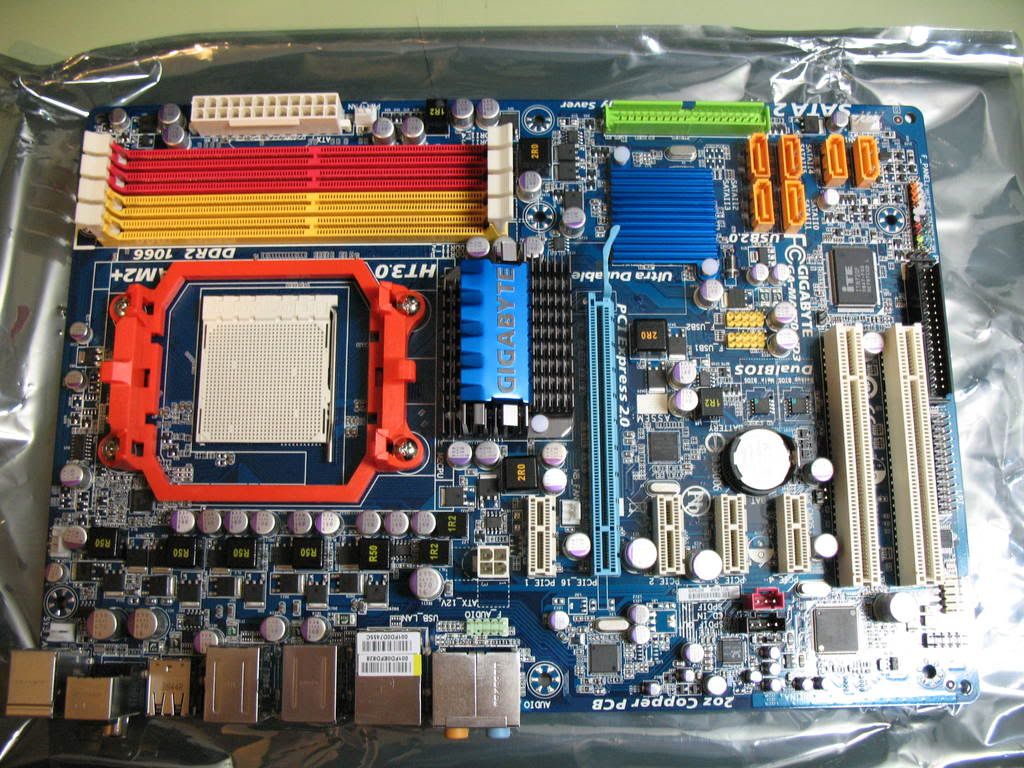
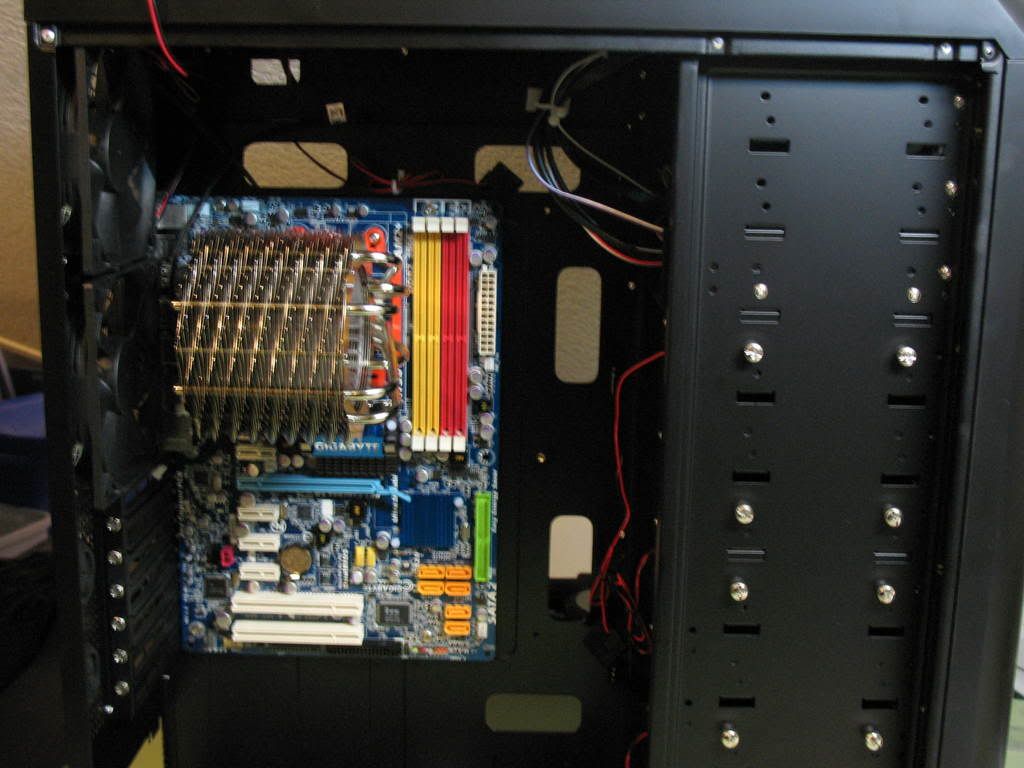
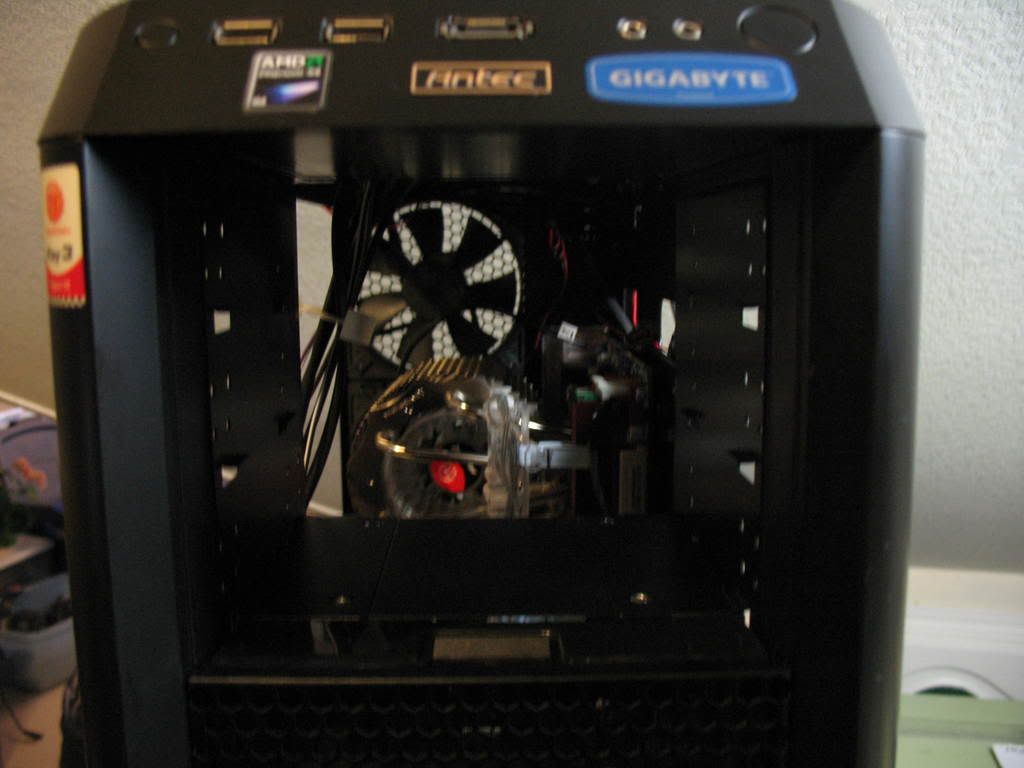
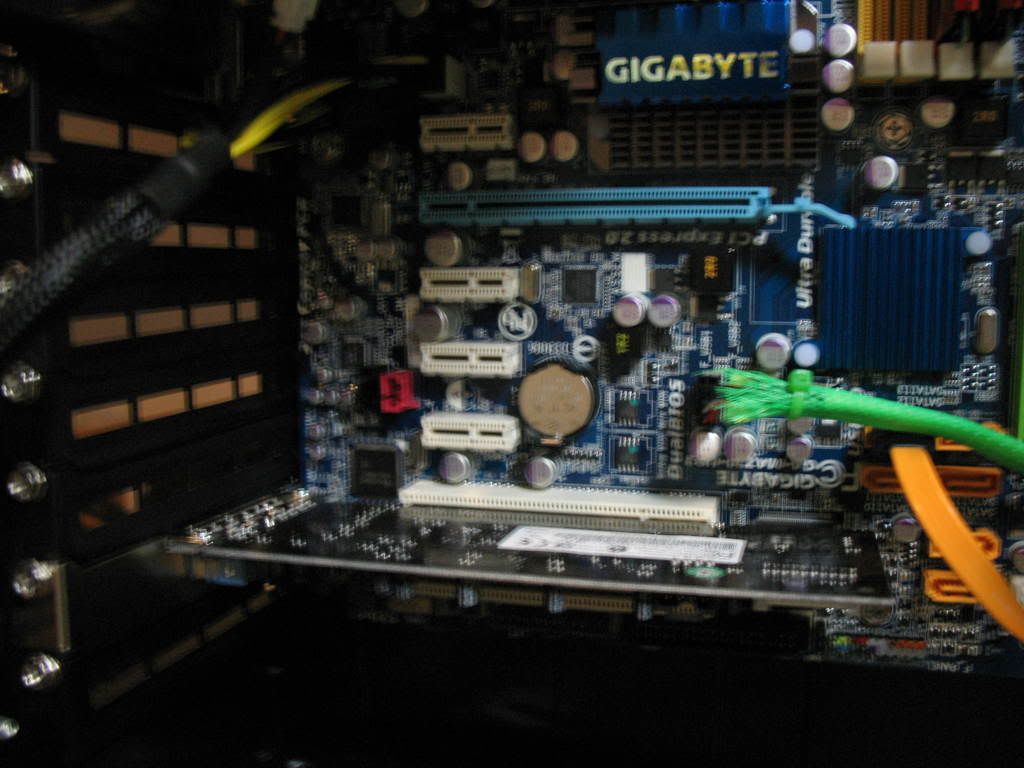
Now on to installing the motherboard (the mother board mounting screws were already pre-installed when i unboxed the case)

IMG_0402.jpg


IMG_0403.jpg


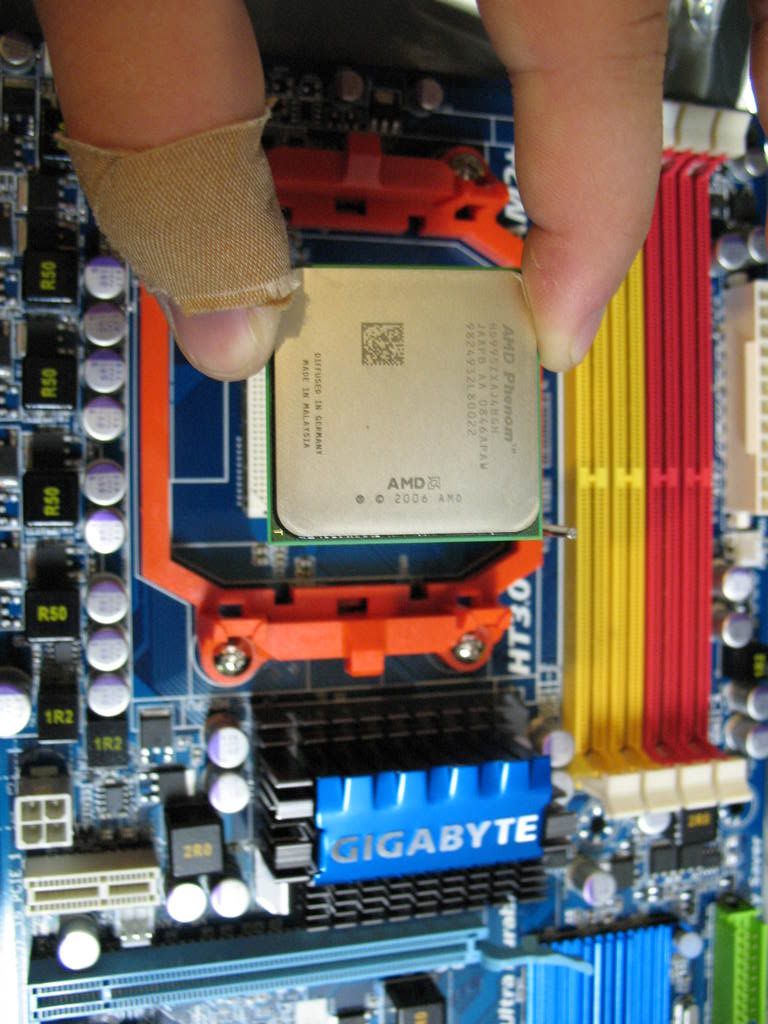
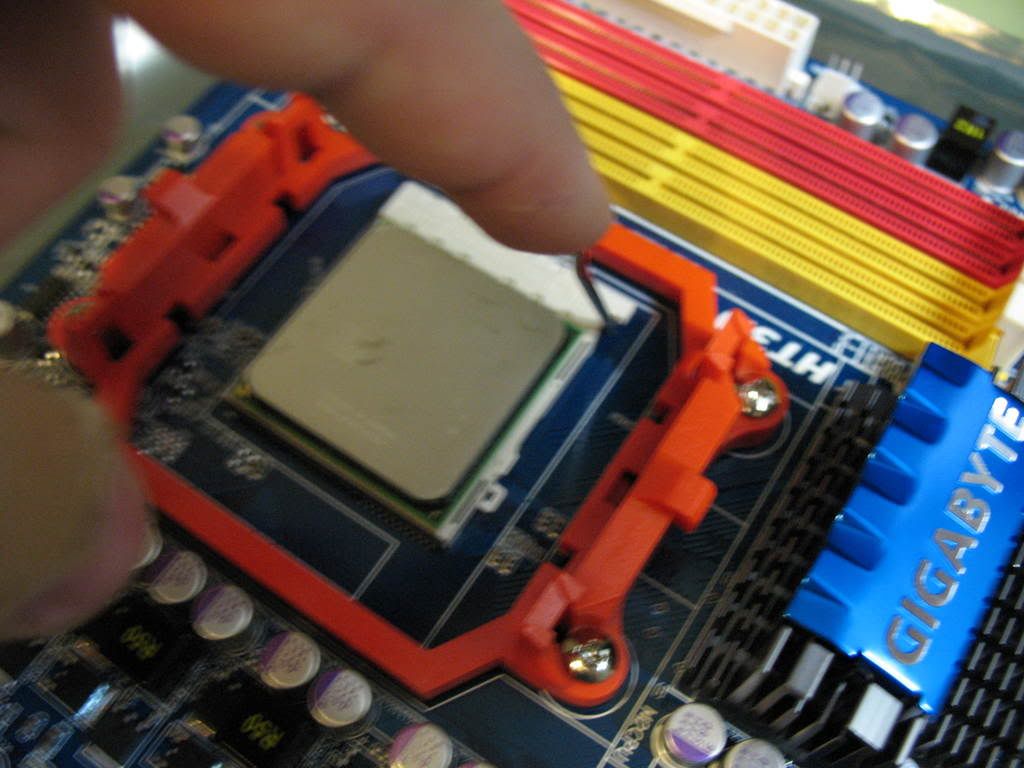
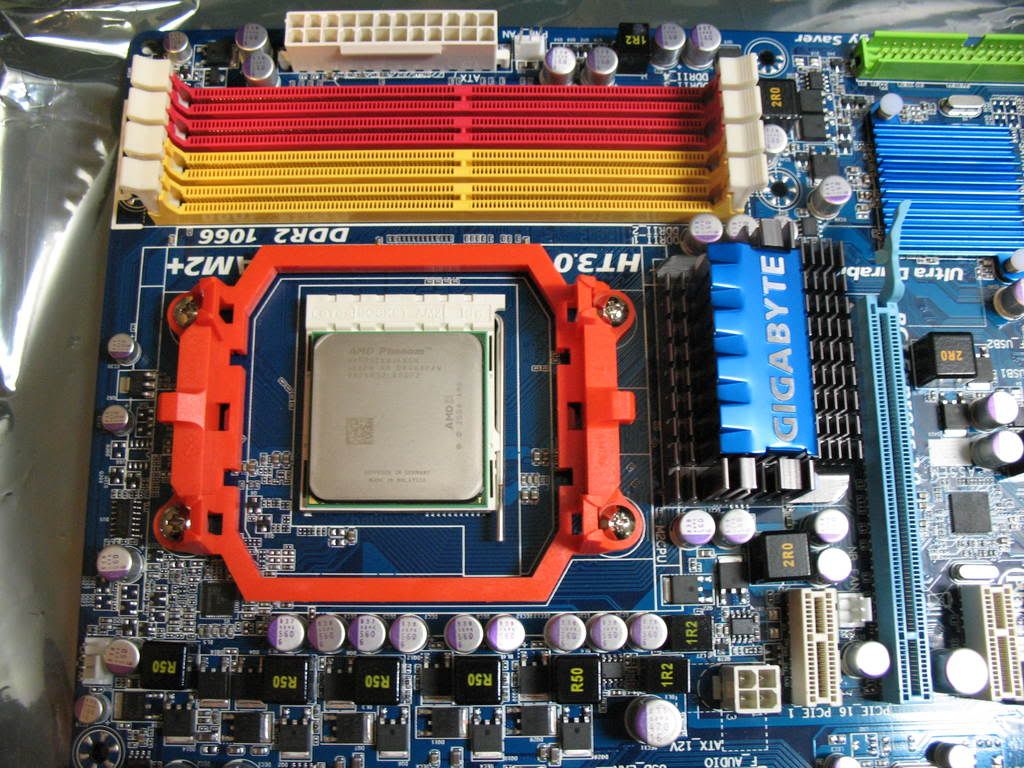
Installing the AMD Phenom 9950 Agena 2.6GHz Quad-Core

IMG_0406.jpg


IMG_0408.jpg


IMG_0409.jpg


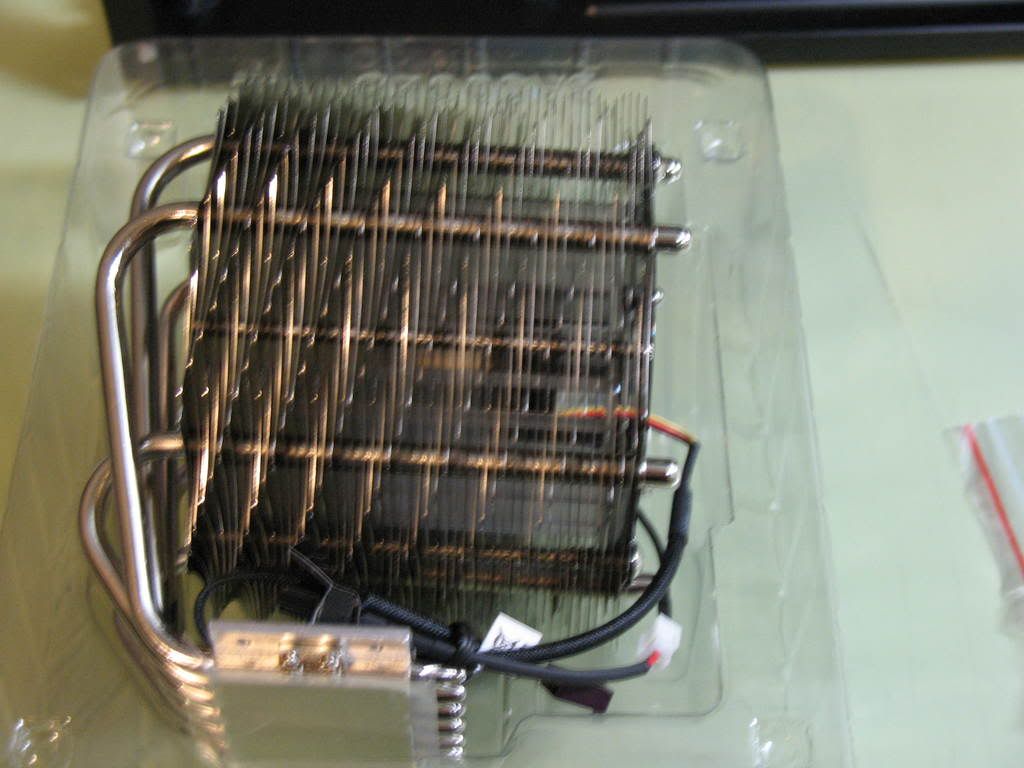
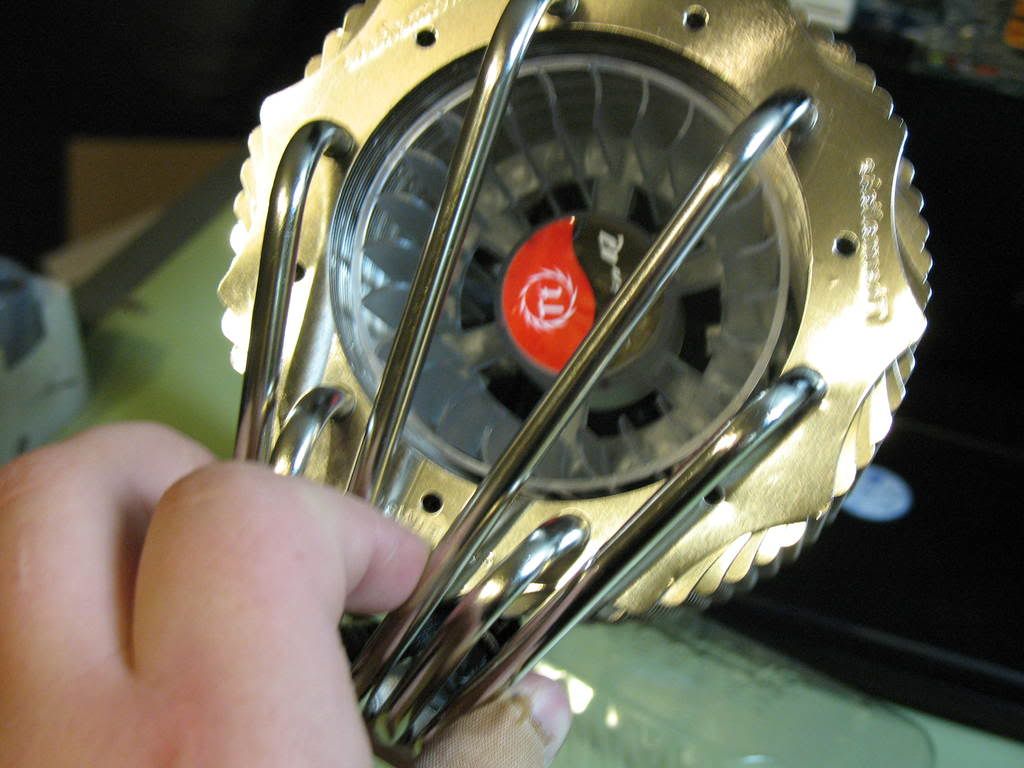
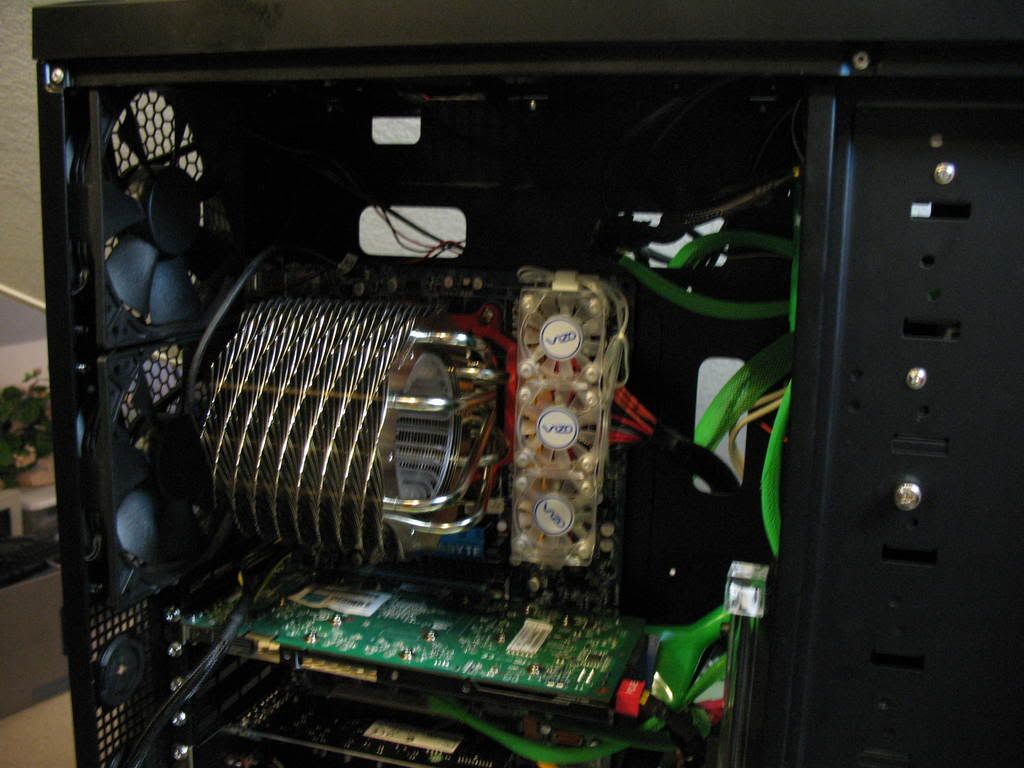
Instaling the Thermaltake SpinQ Performance Series CPU cooler

IMG_0414.jpg


IMG_0418.jpg


IMG_0420.jpg


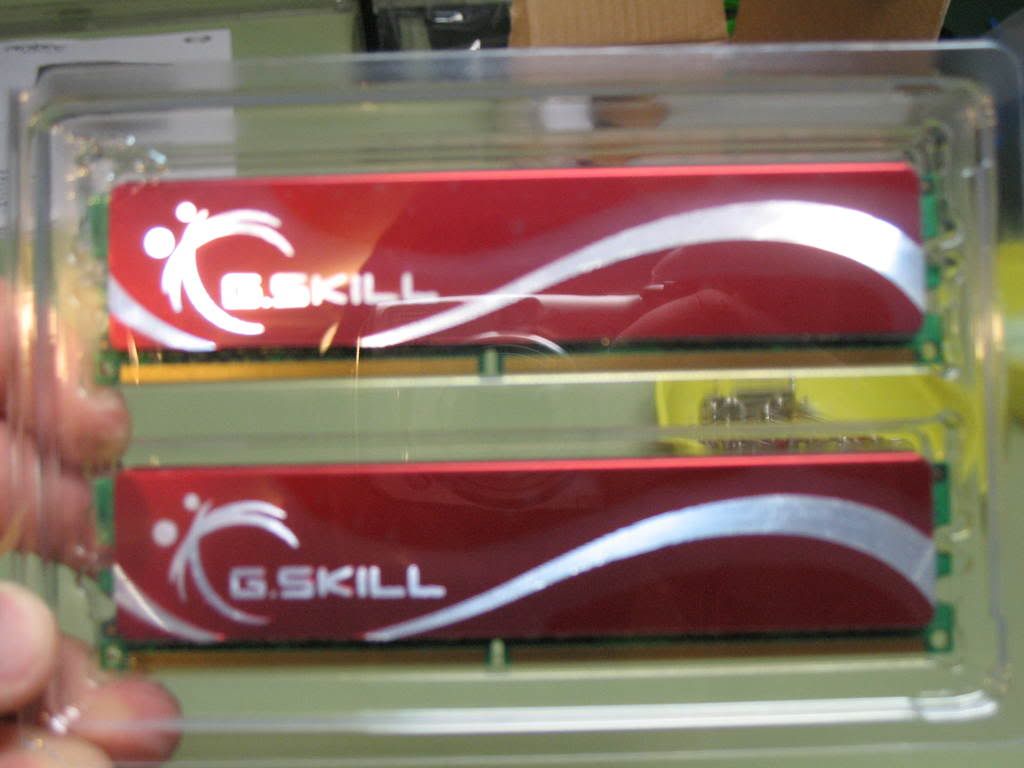
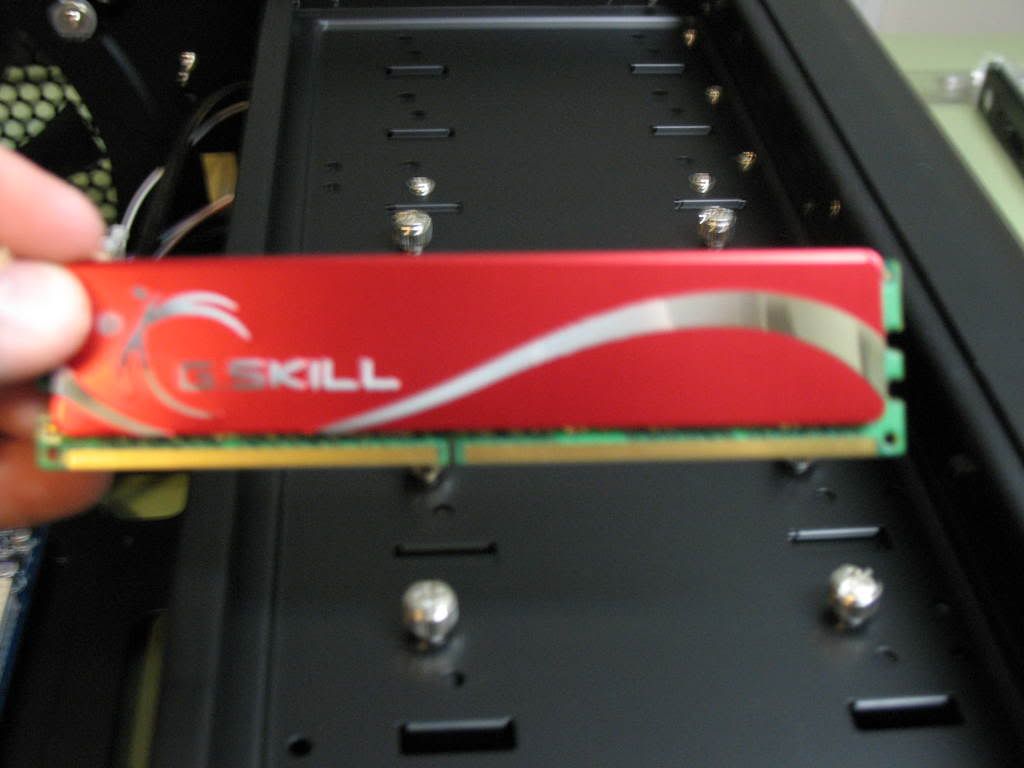
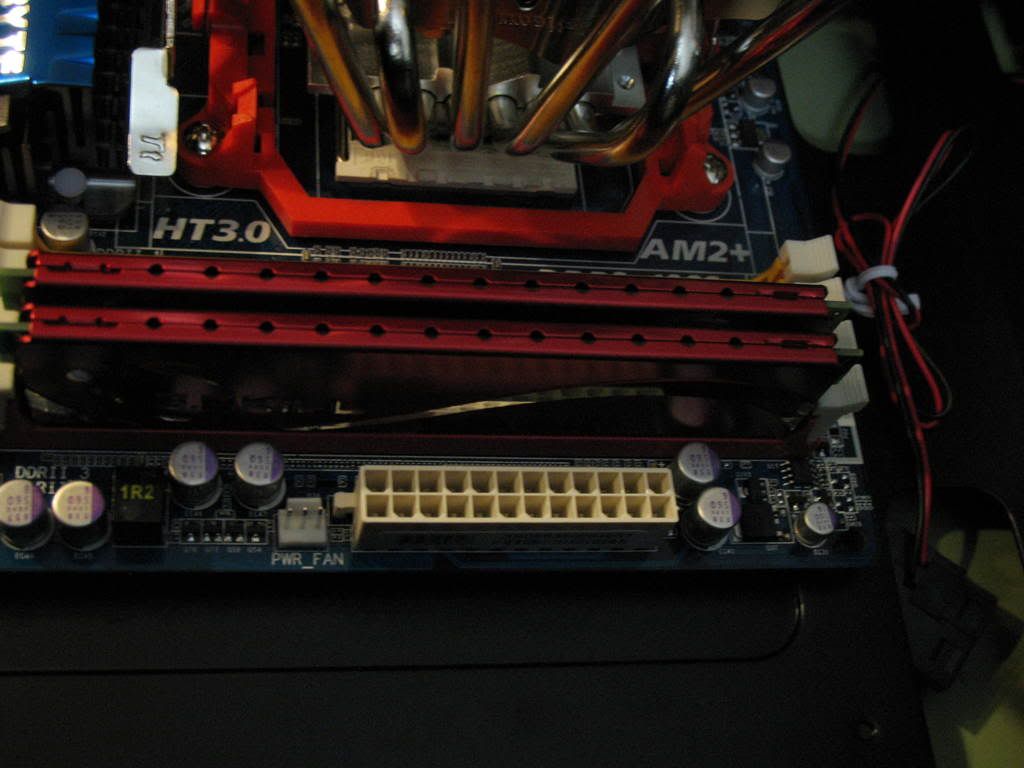
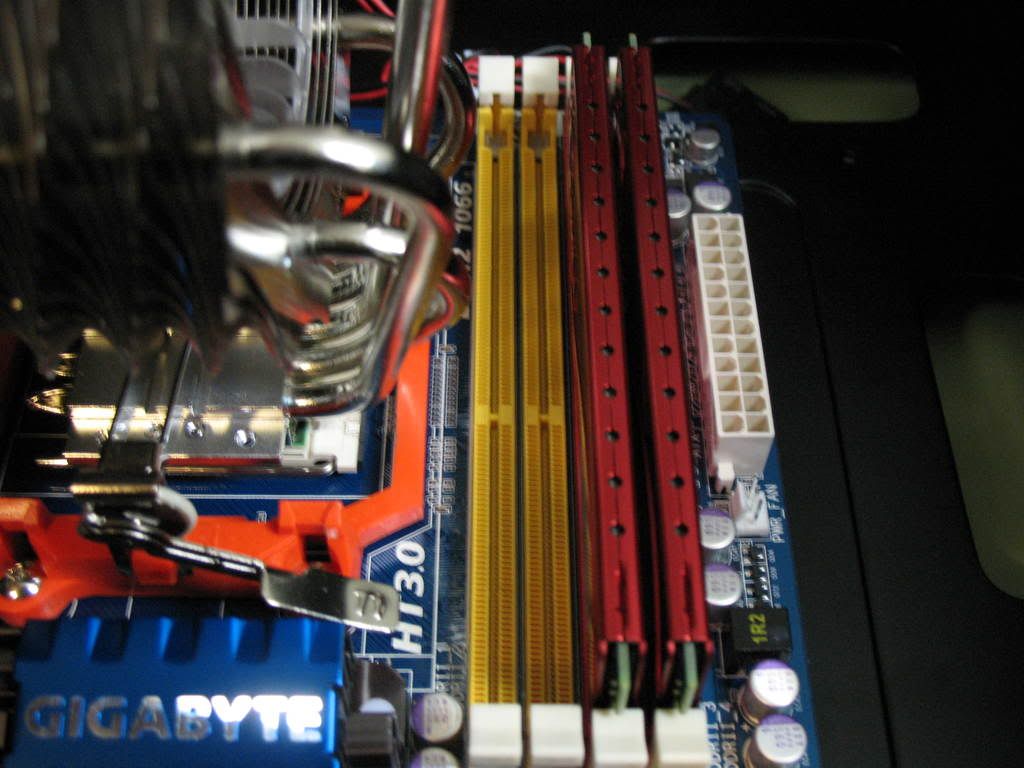
Installing the G.SKILL 4GB (2 x 2GB) DDR2 RAM 1066

IMG_0422.jpg


IMG_0425.jpg


IMG_0426.jpg


IMG_0427.jpg


IMG_0429.jpg


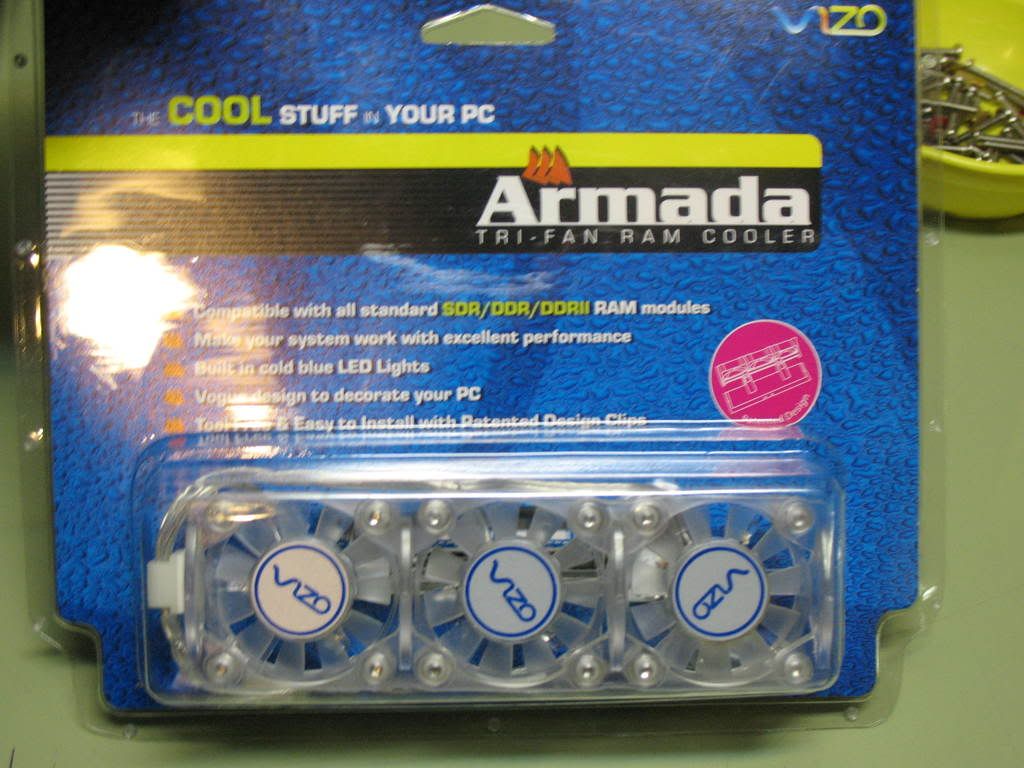
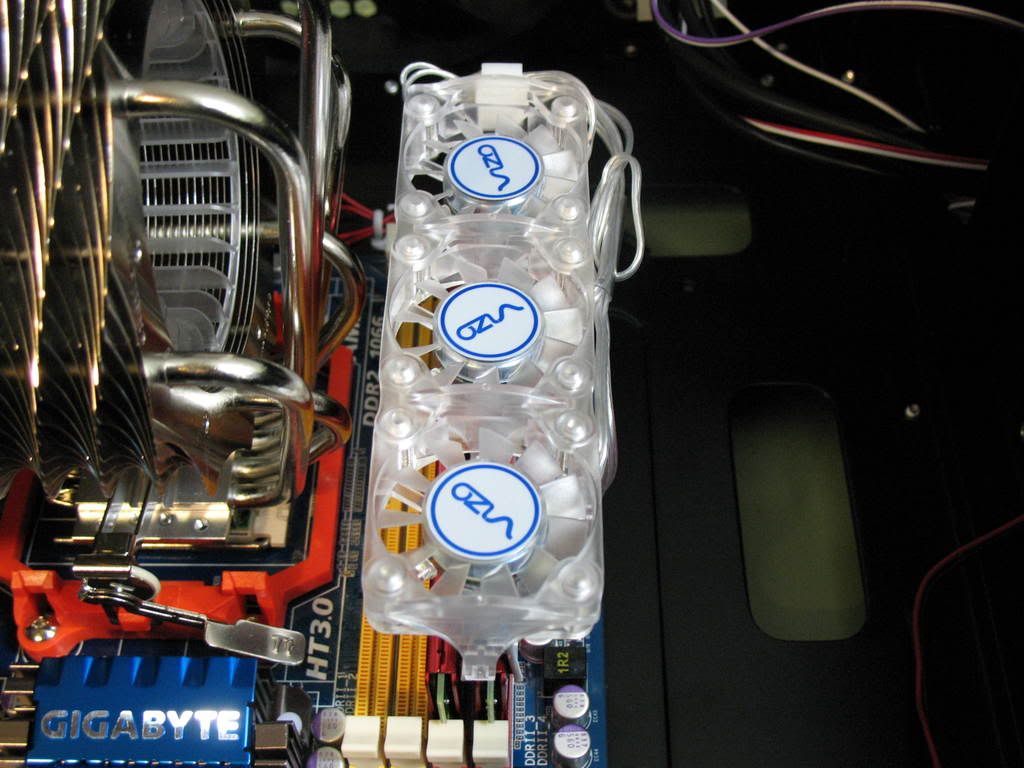
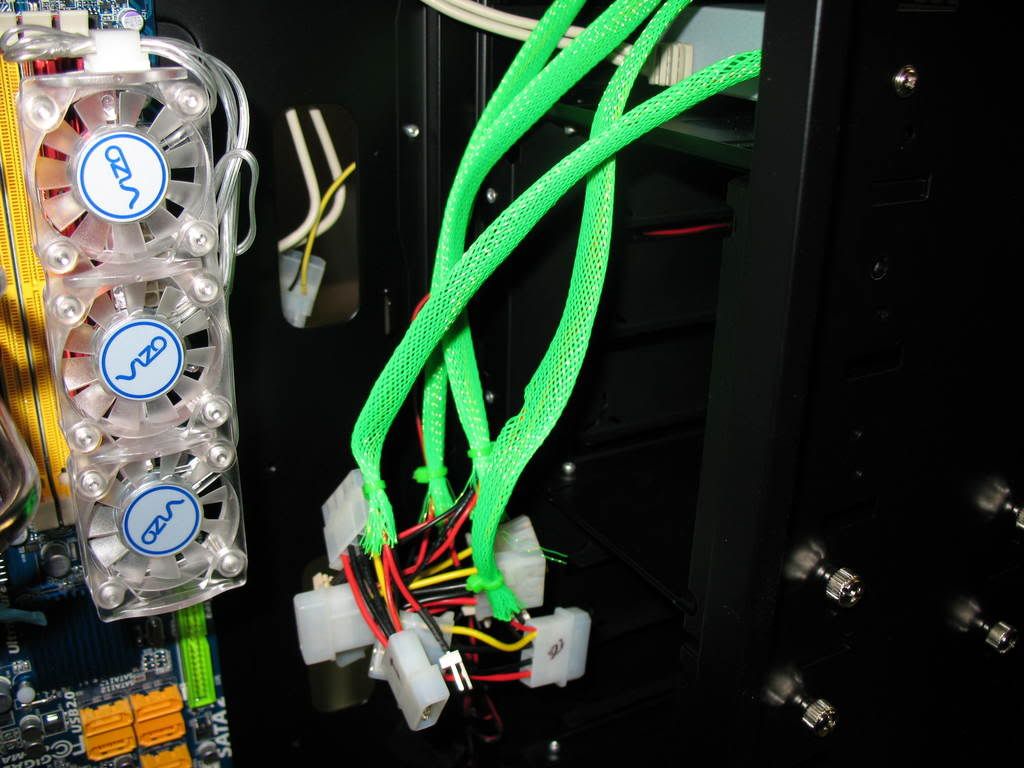
Installing the VIZO TRI-Fan RAM cooler

IMG_0430.jpg


IMG_0431.jpg


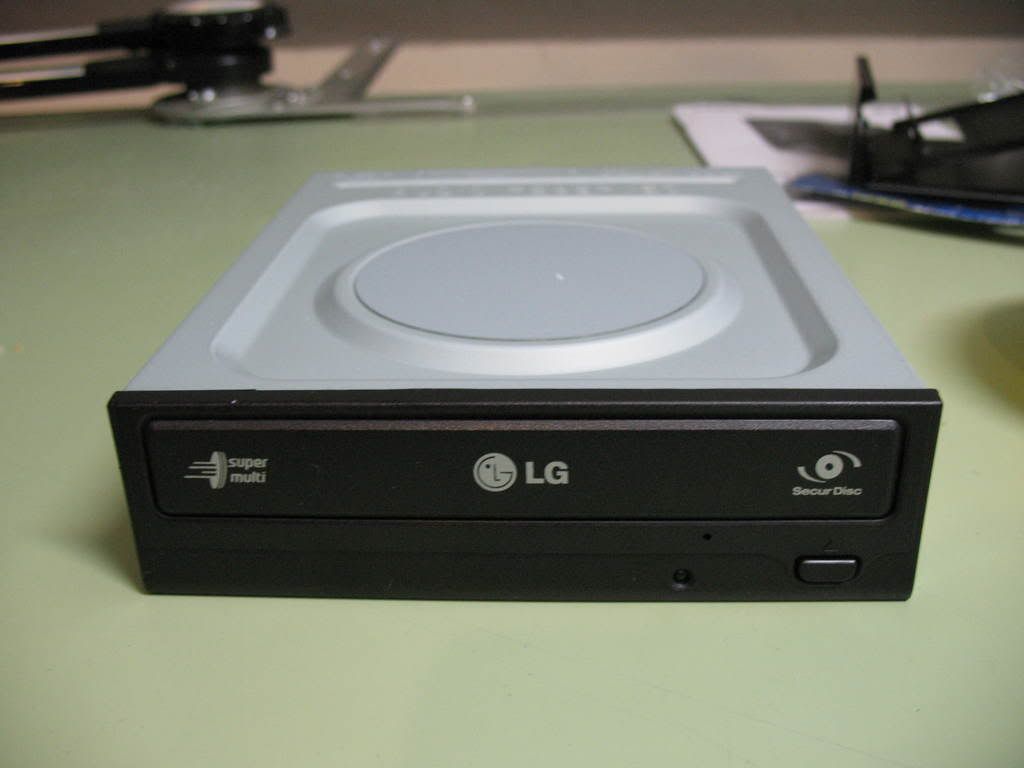
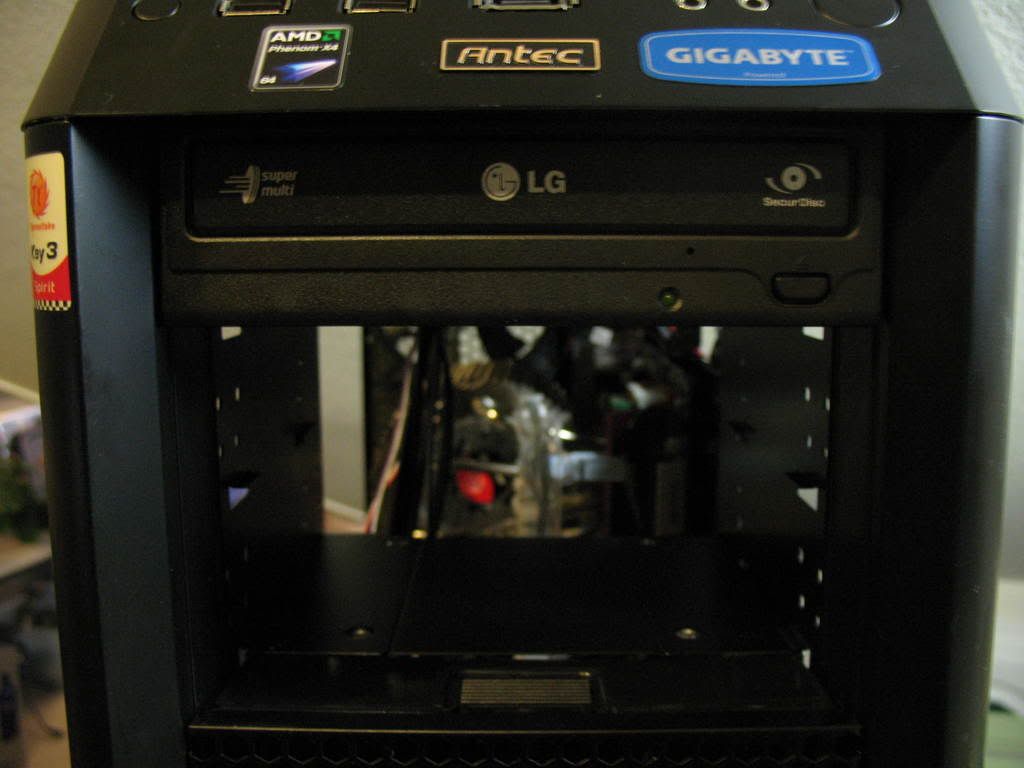
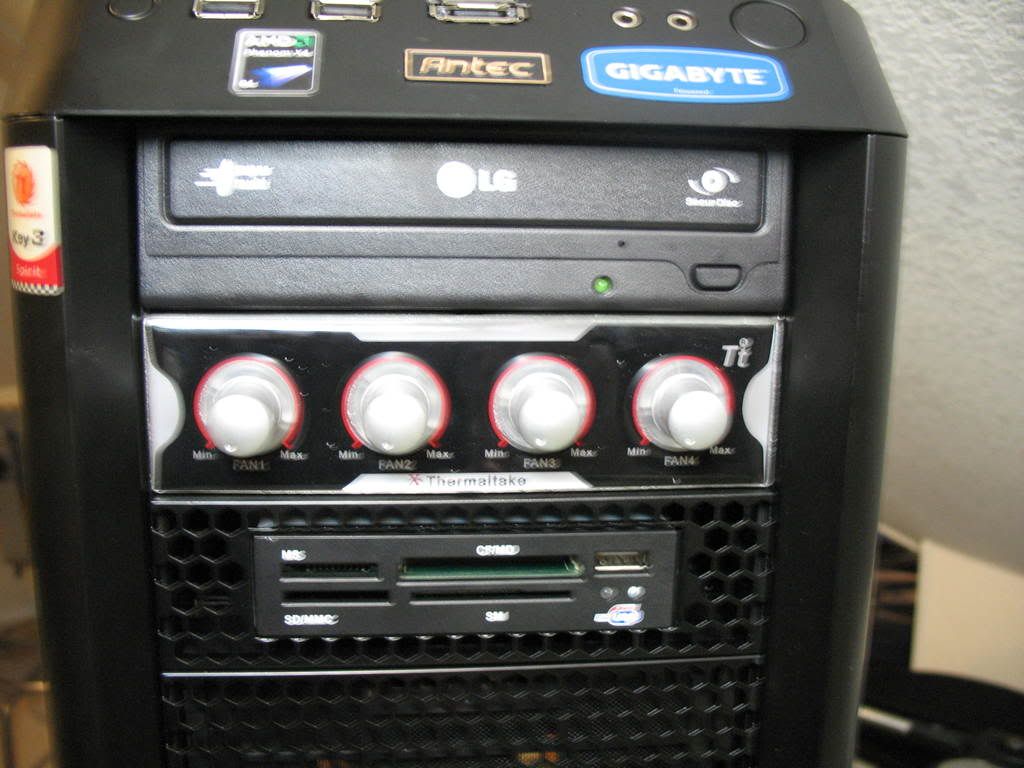
Installing the LG Black 22X DVD/CD ROM (Burner)

IMG_0436.jpg


IMG_0437.jpg


IMG_0438.jpg


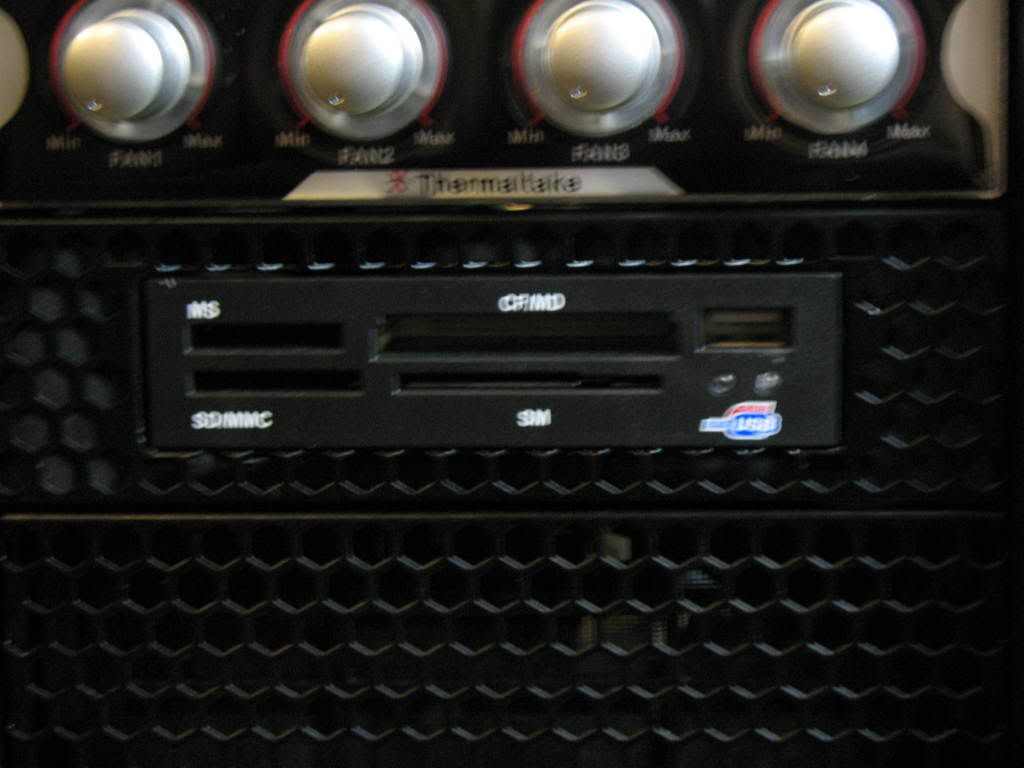
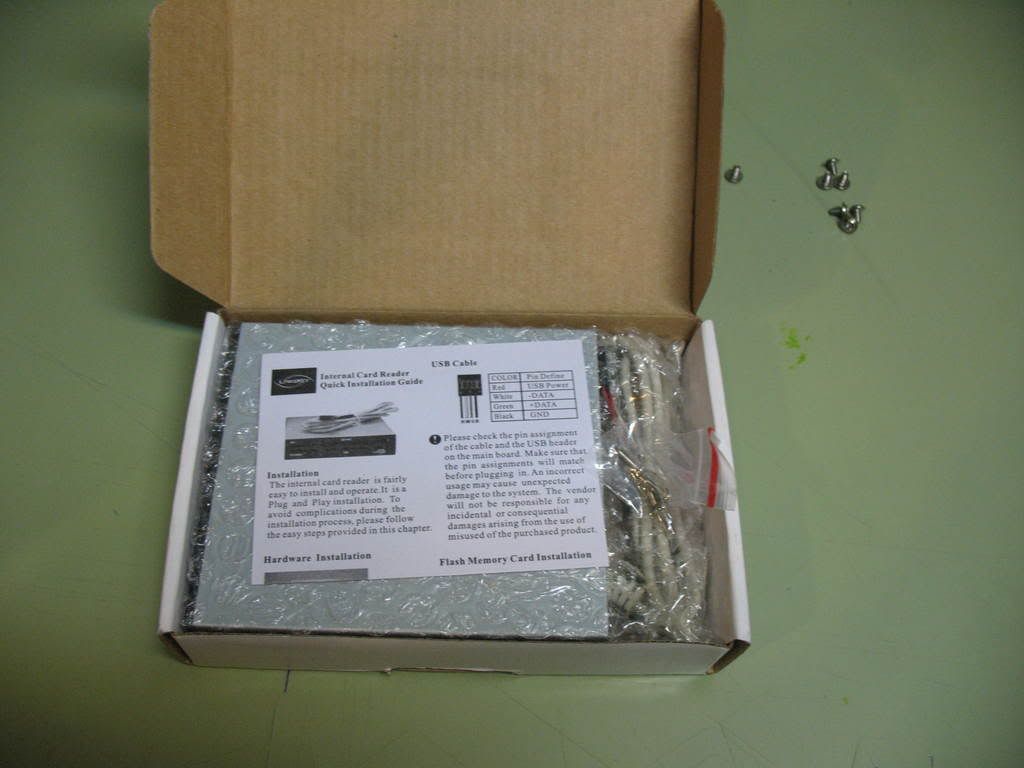
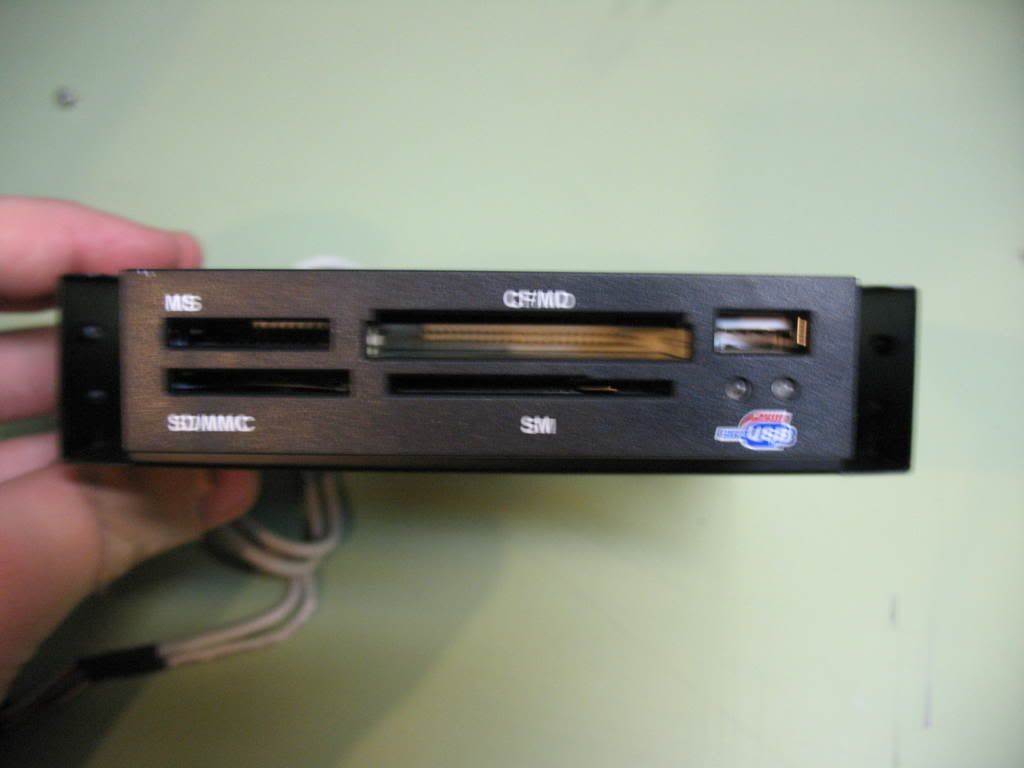
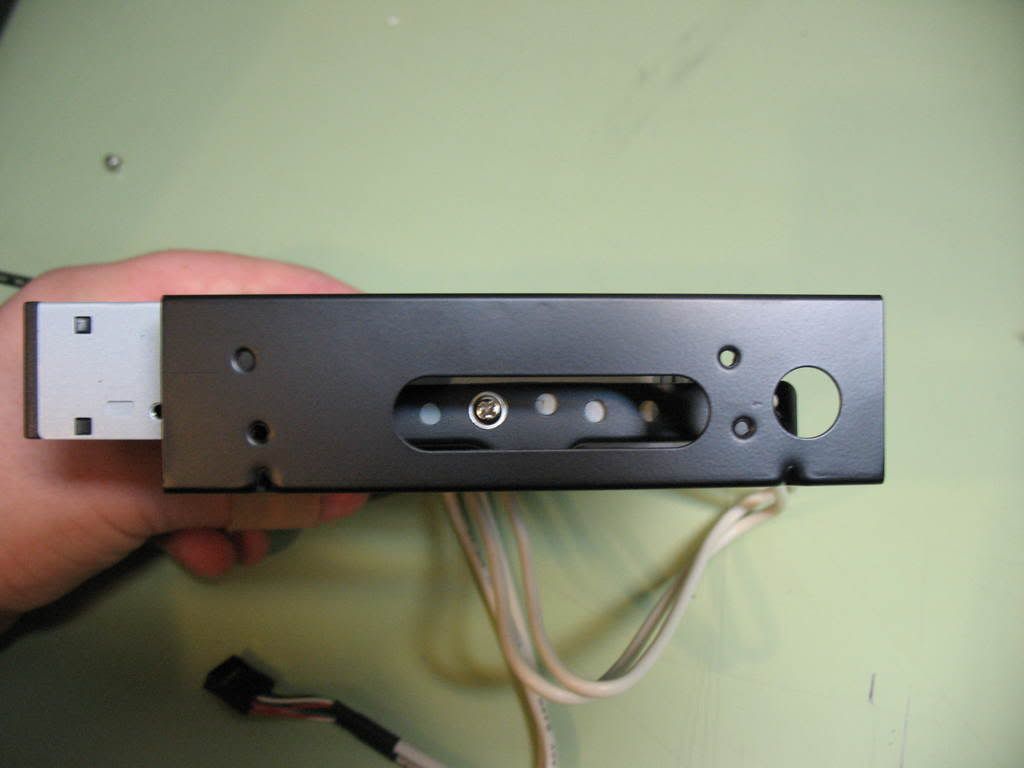
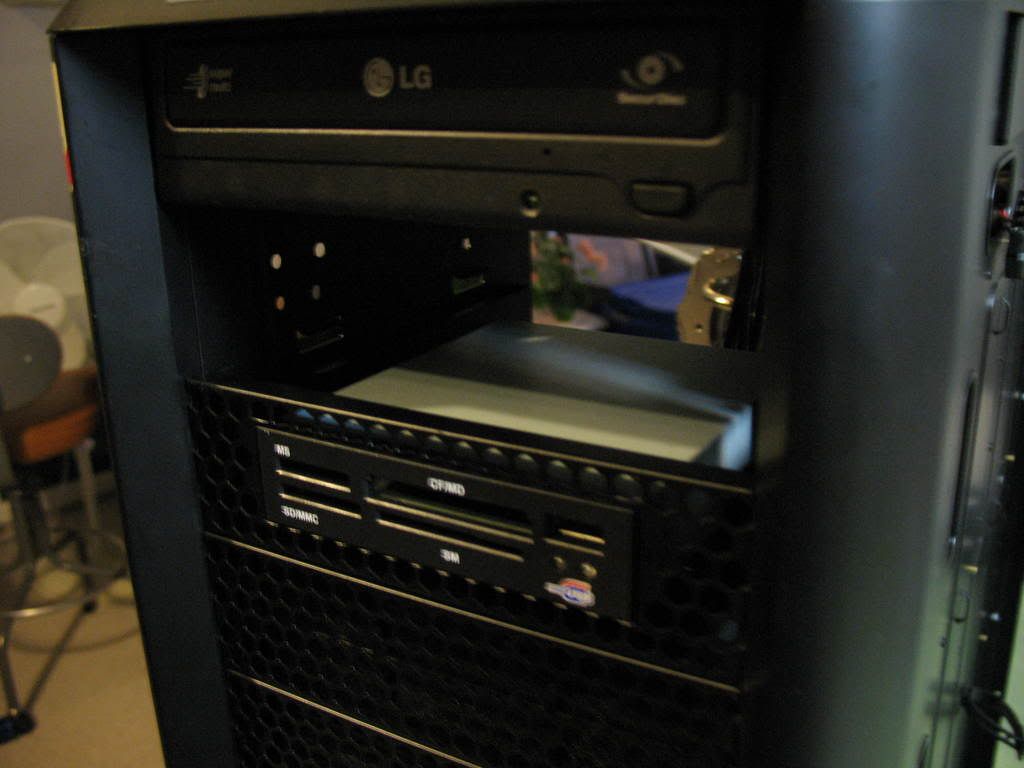
Installing the LINKSKEY USB/Card Reader

IMG_0439.jpg


IMG_0440.jpg


IMG_0441.jpg


IMG_0442.jpg


IMG_0444.jpg


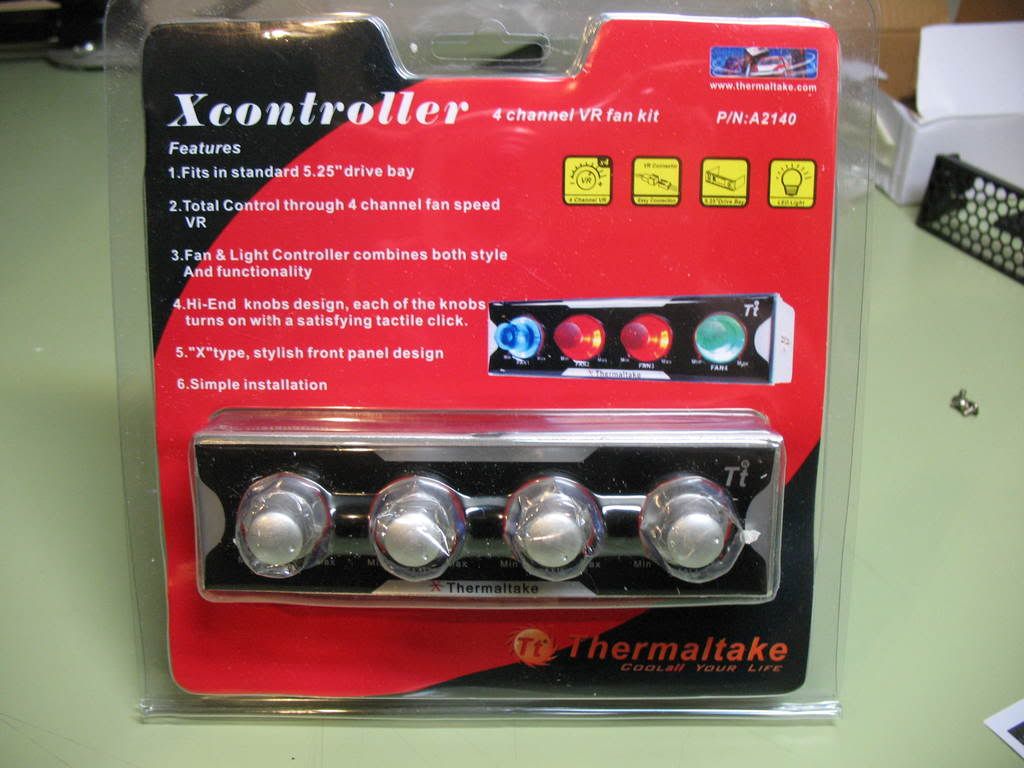
Installing the Thermaltake Fan Speed Controller

IMG_0445.jpg


IMG_0447.jpg


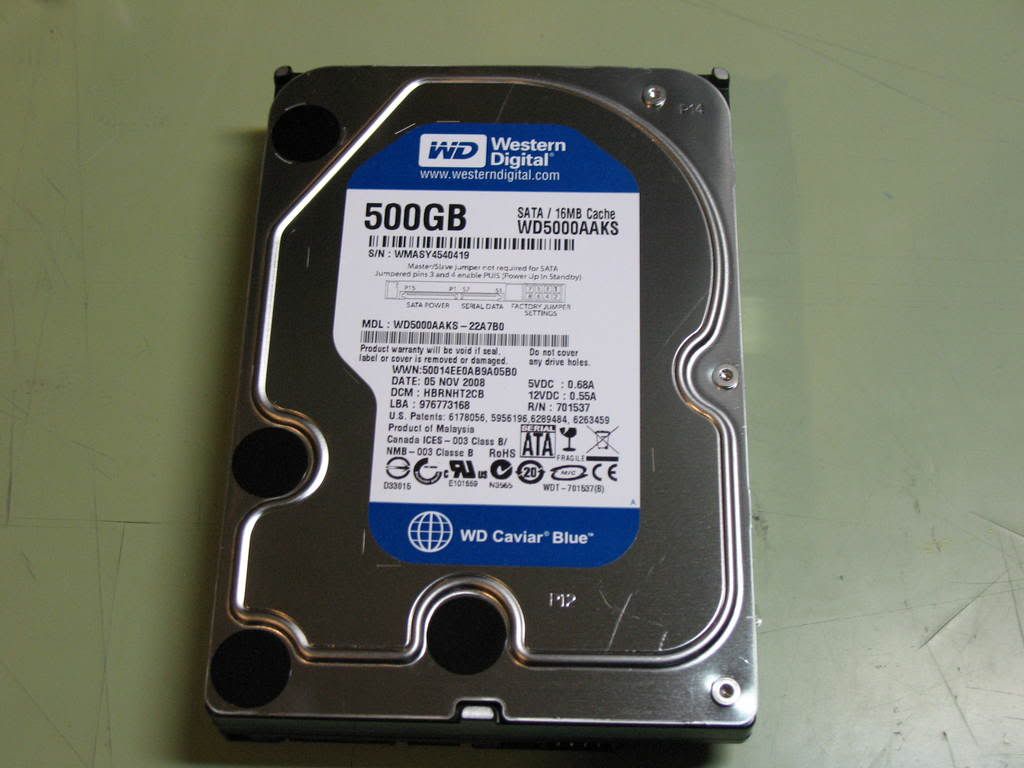
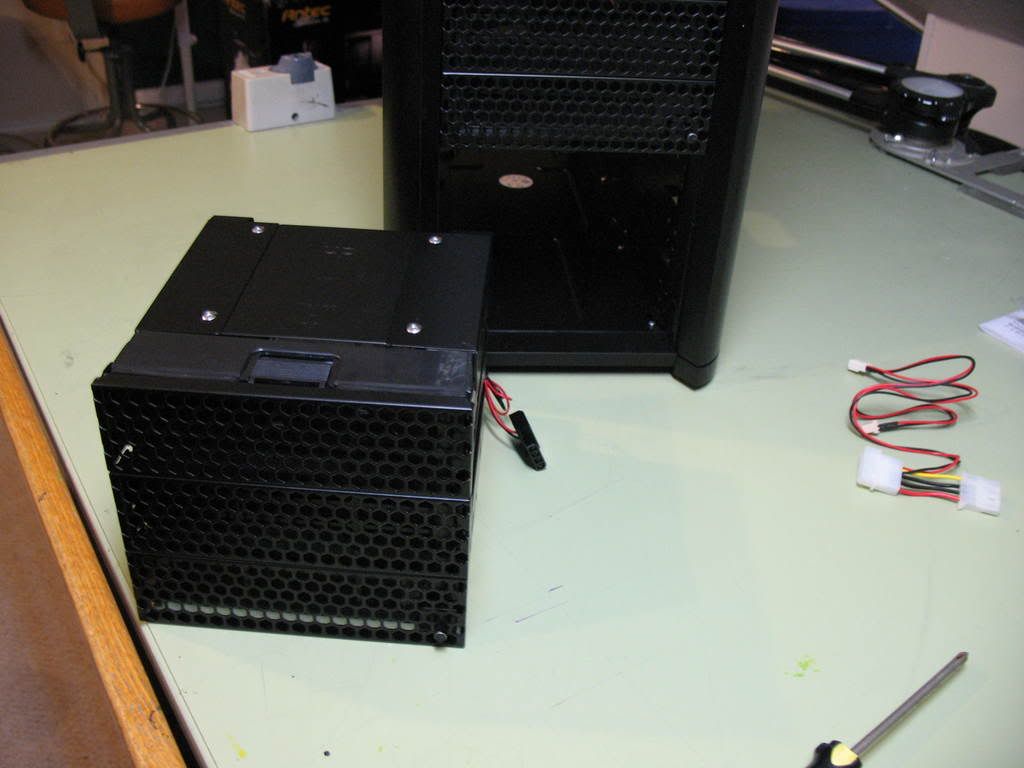
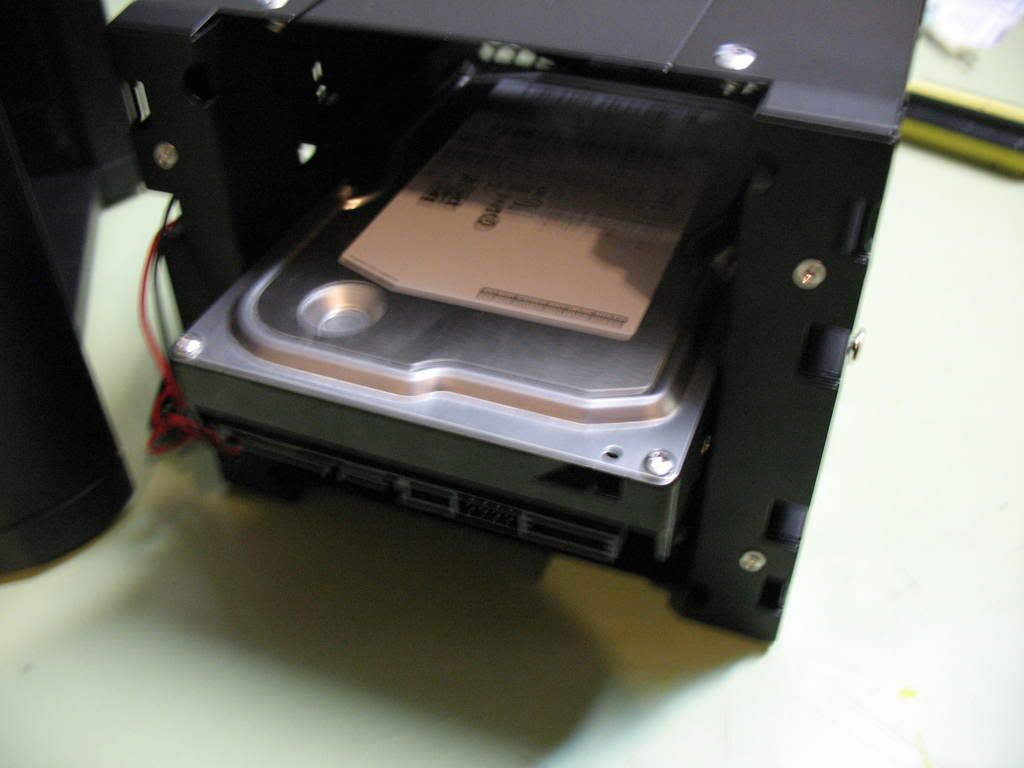
Installing the SAMSUNG Spinpoint F1 - 320g hard drive

IMG_0448.jpg


IMG_0449.jpg


IMG_0450.jpg


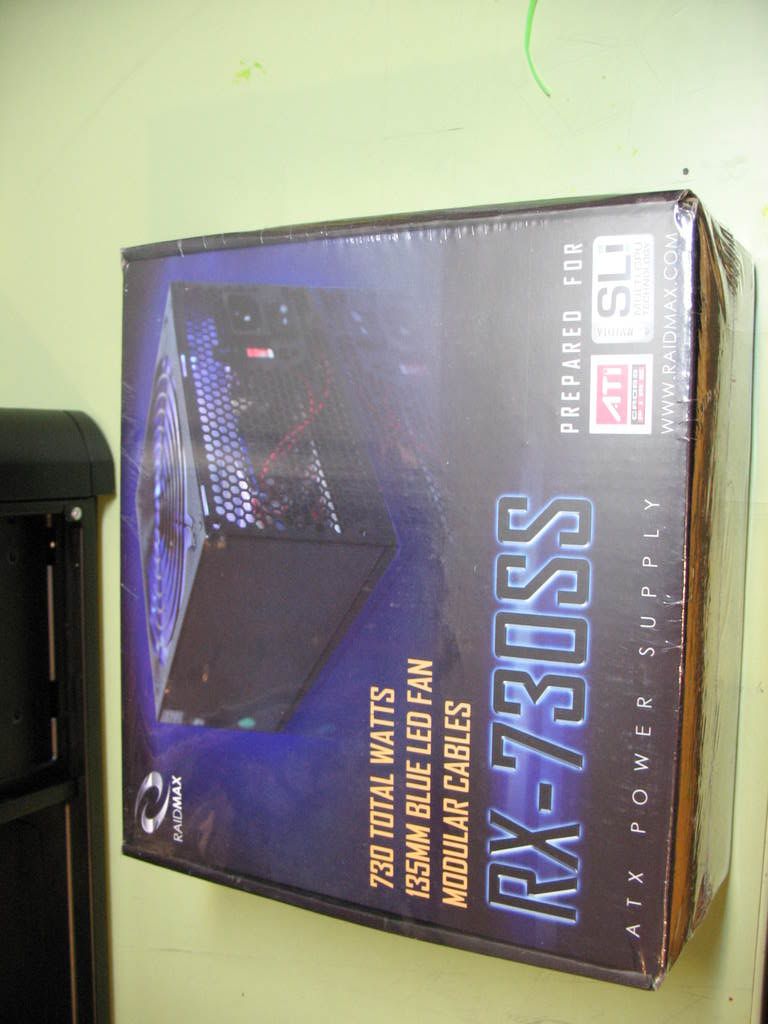
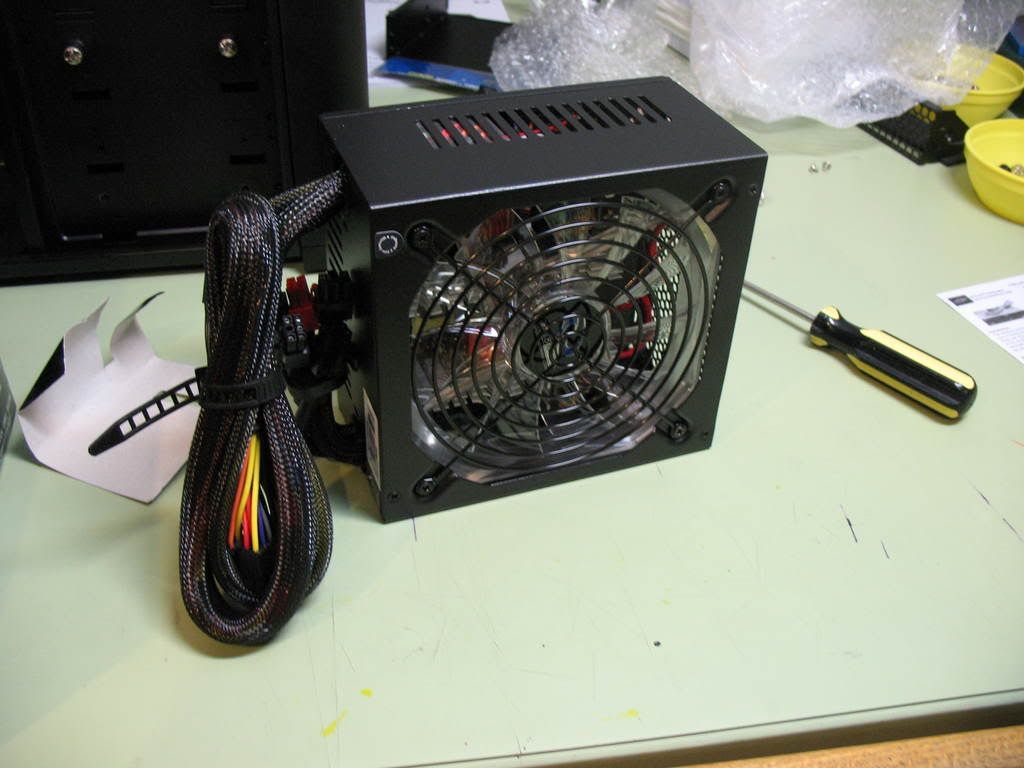
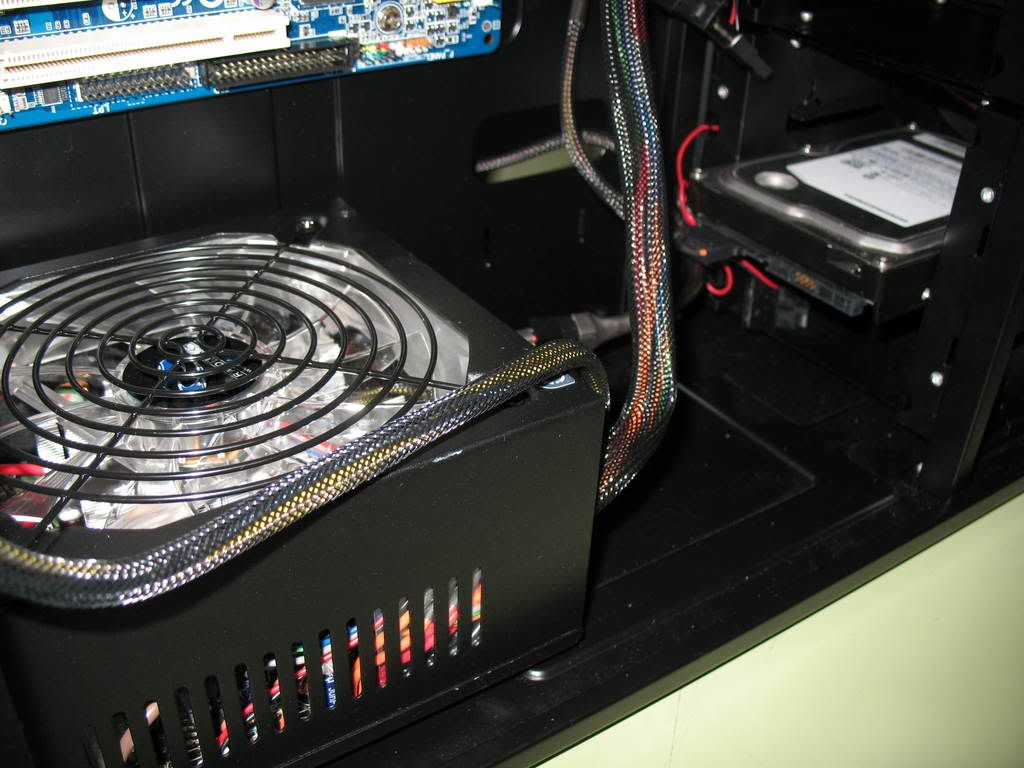
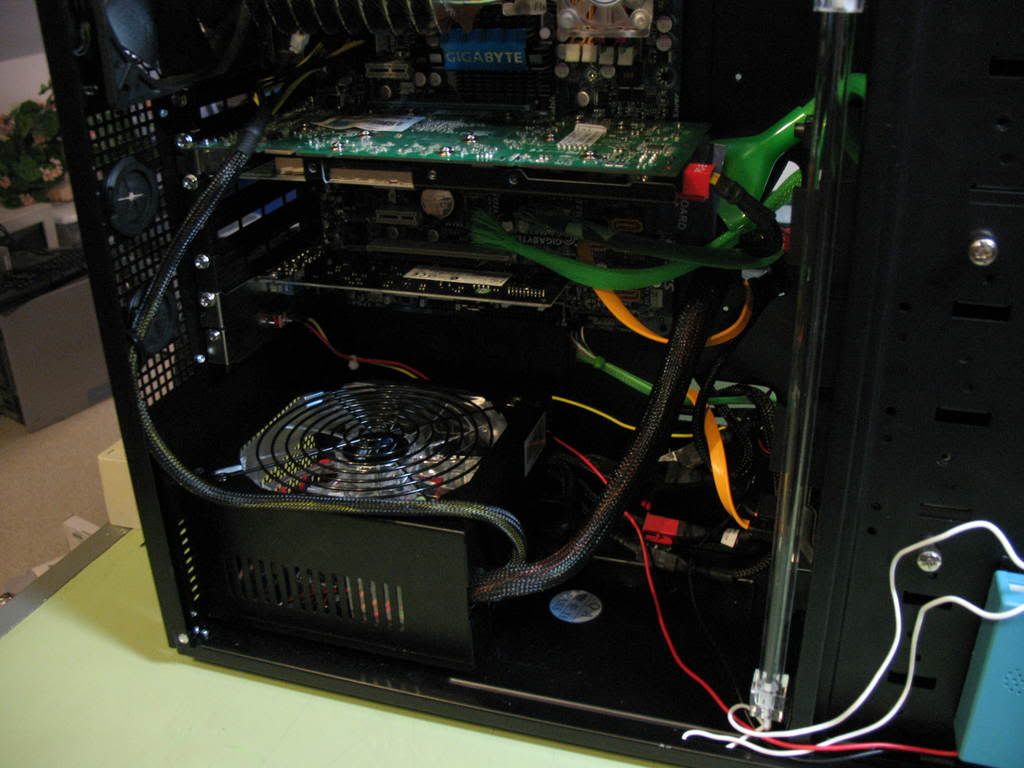
Installing the RAIDMAX HYBRID 730W Modular LED Power Supply

IMG_0455.jpg


IMG_0457.jpg


IMG_0460.jpg


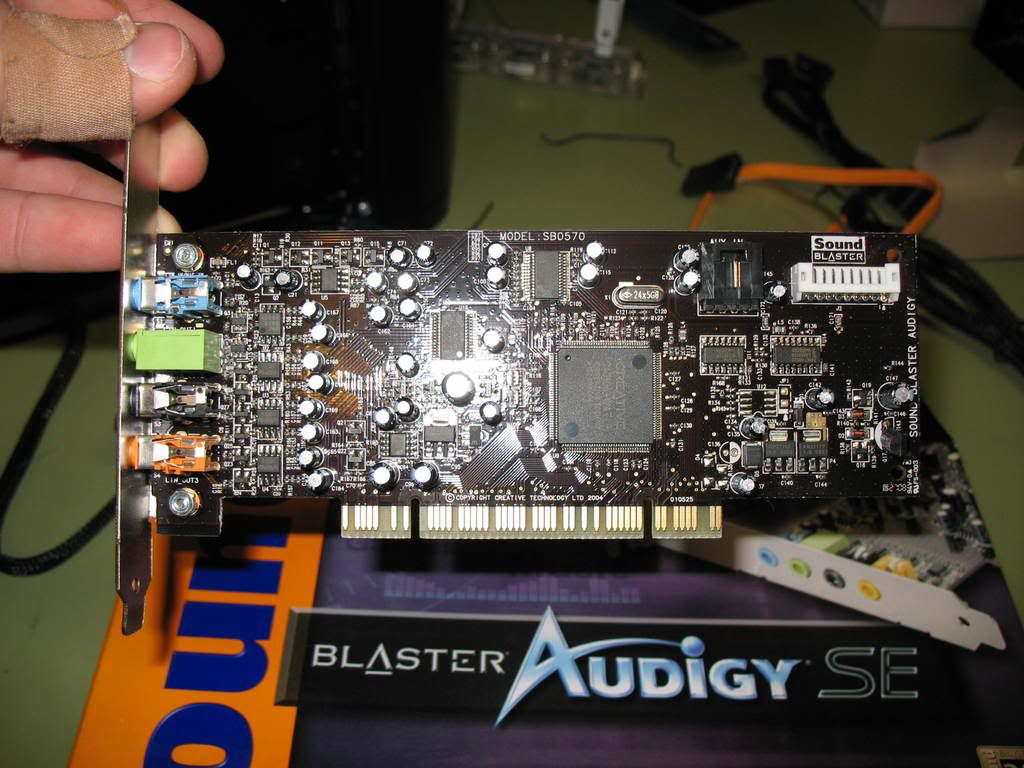
Installing the Creative Soundblaster 7.1 Audio Card

IMG_0464.jpg


IMG_0465.jpg


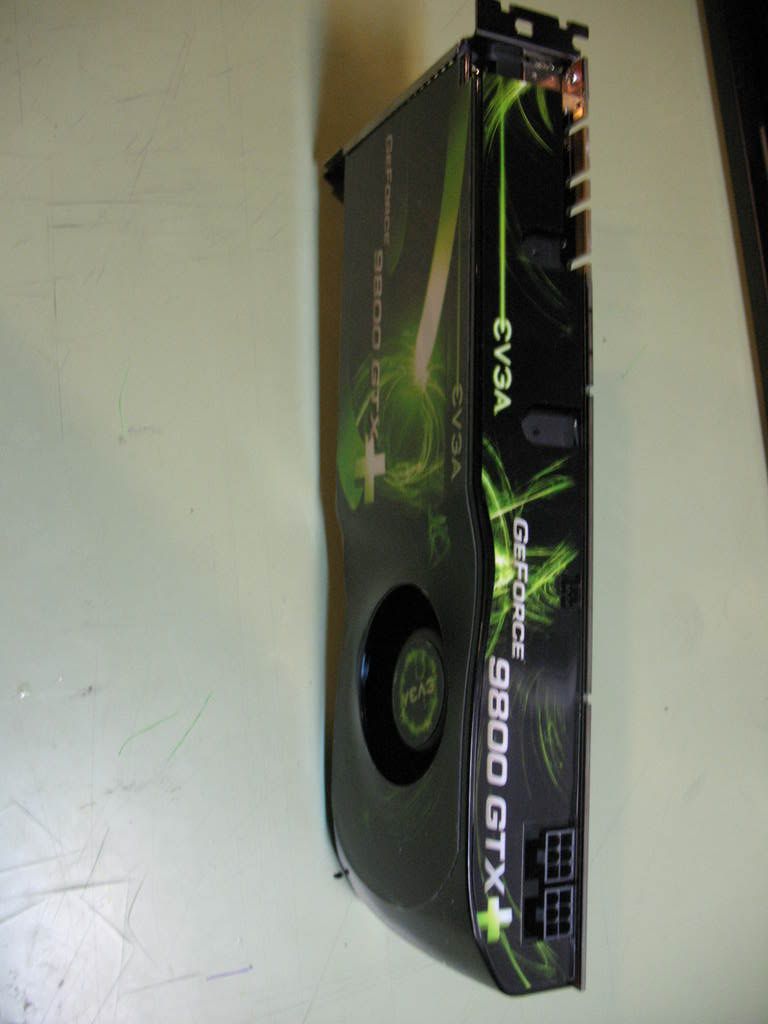
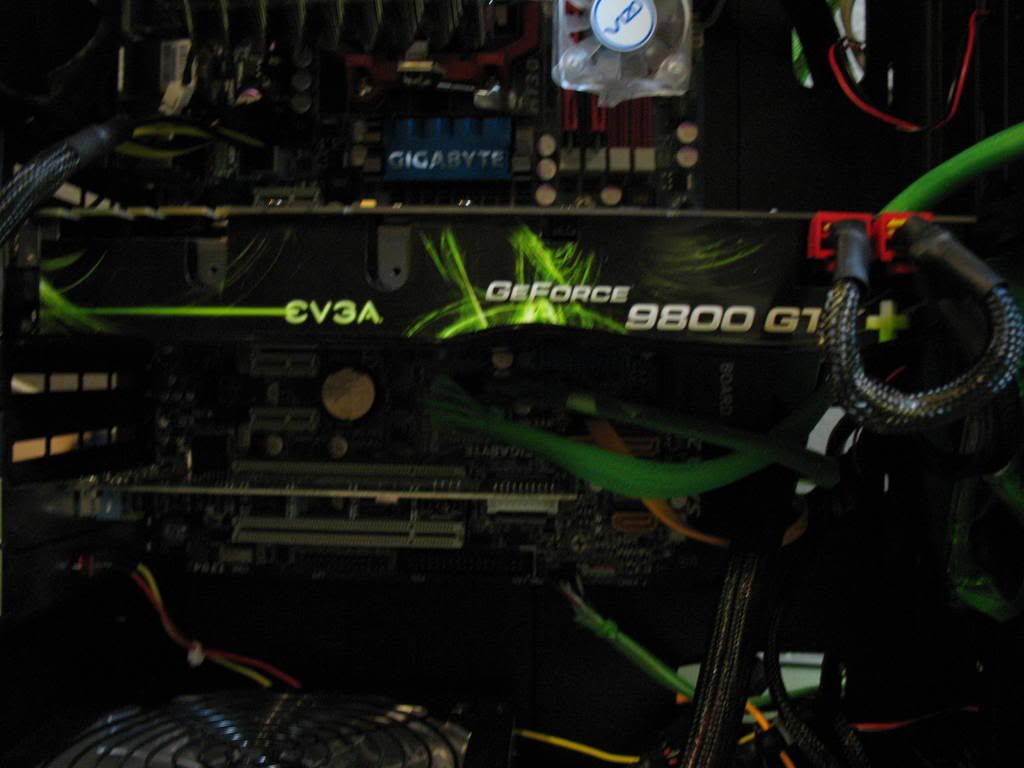
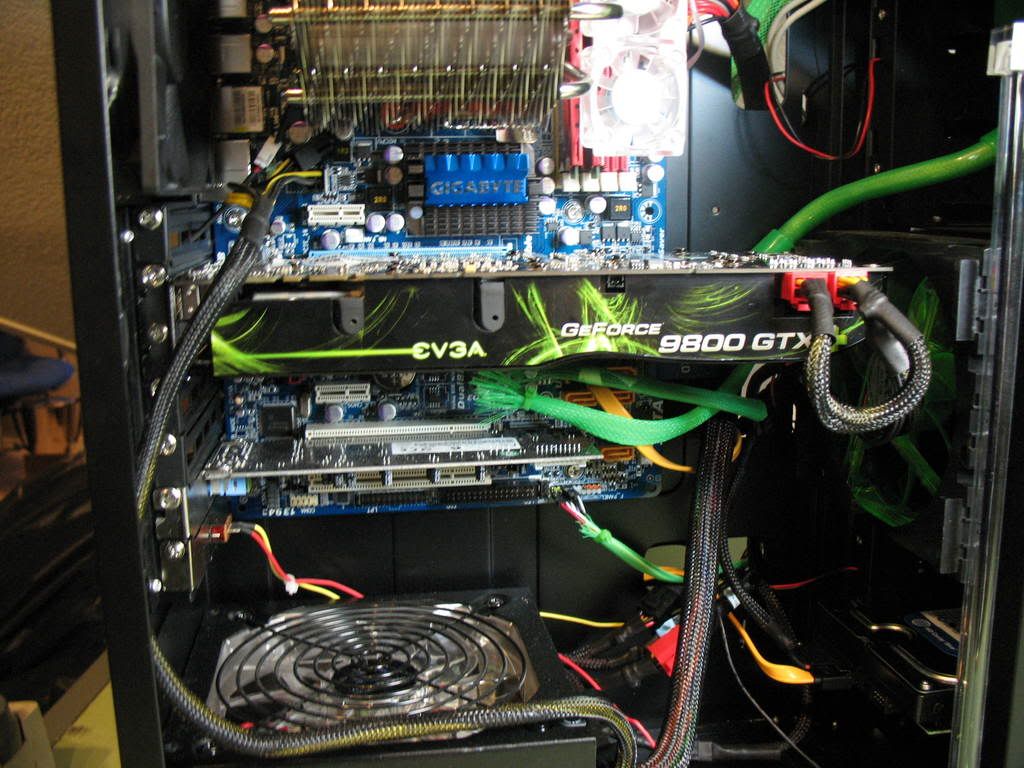
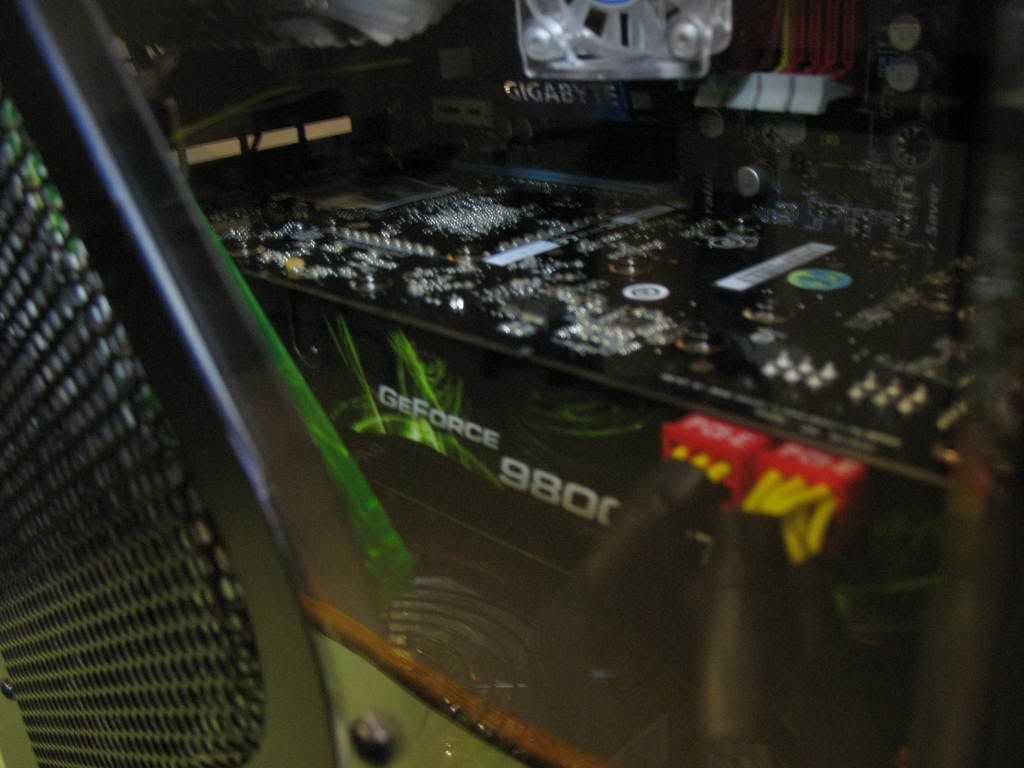
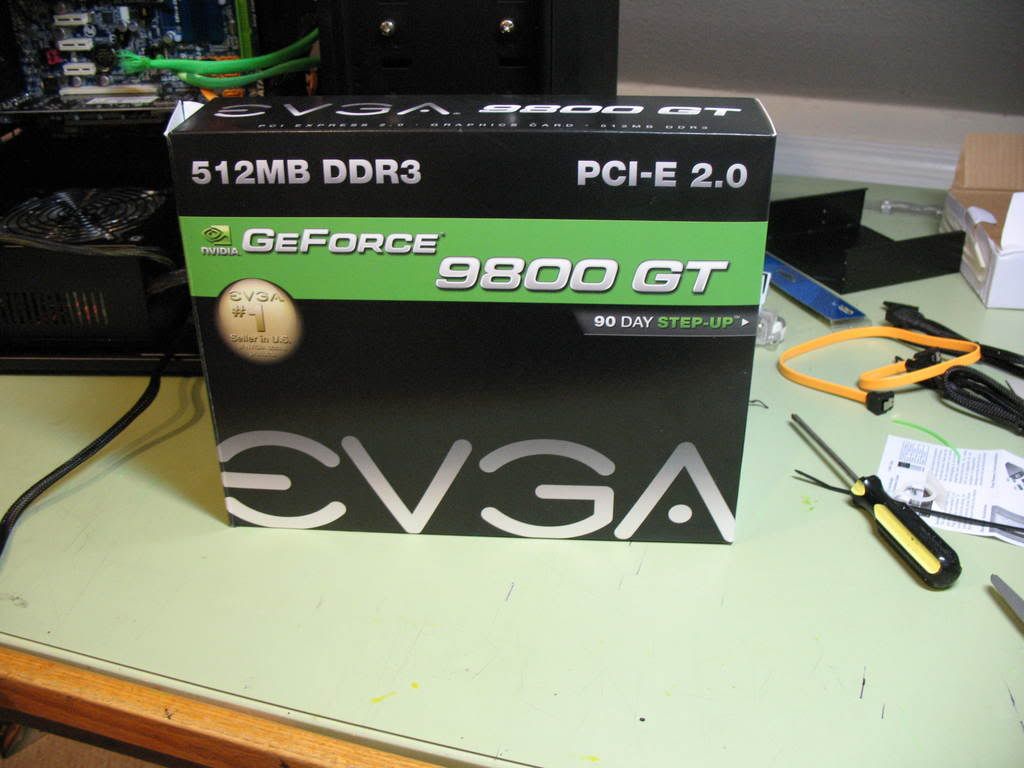
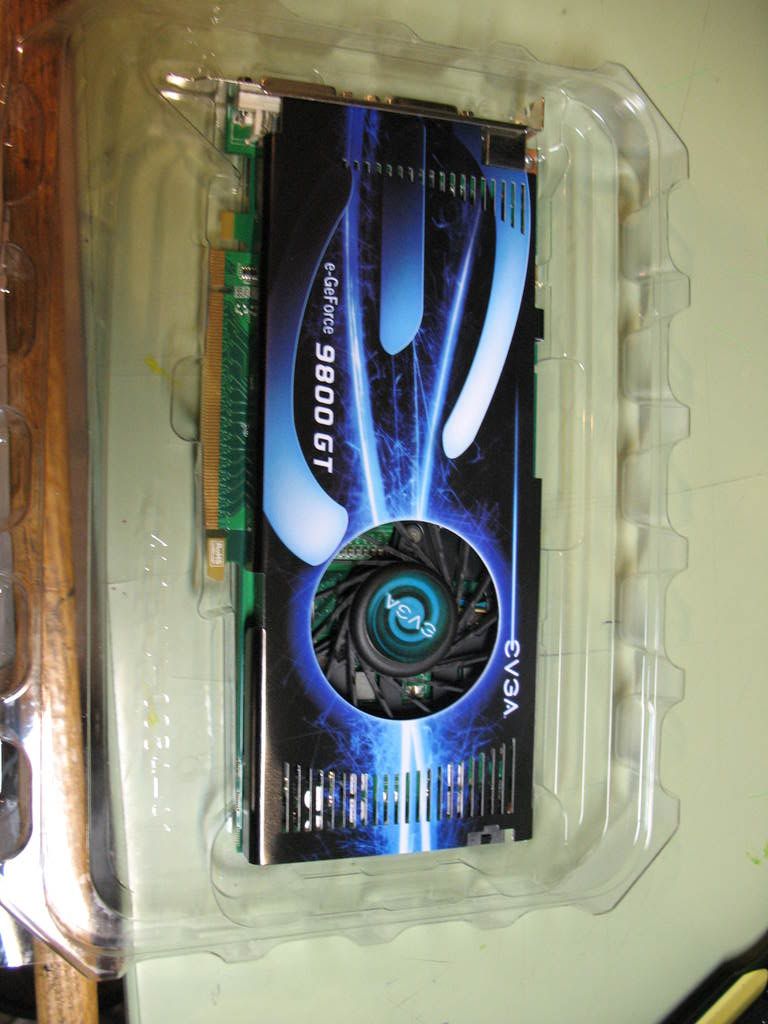
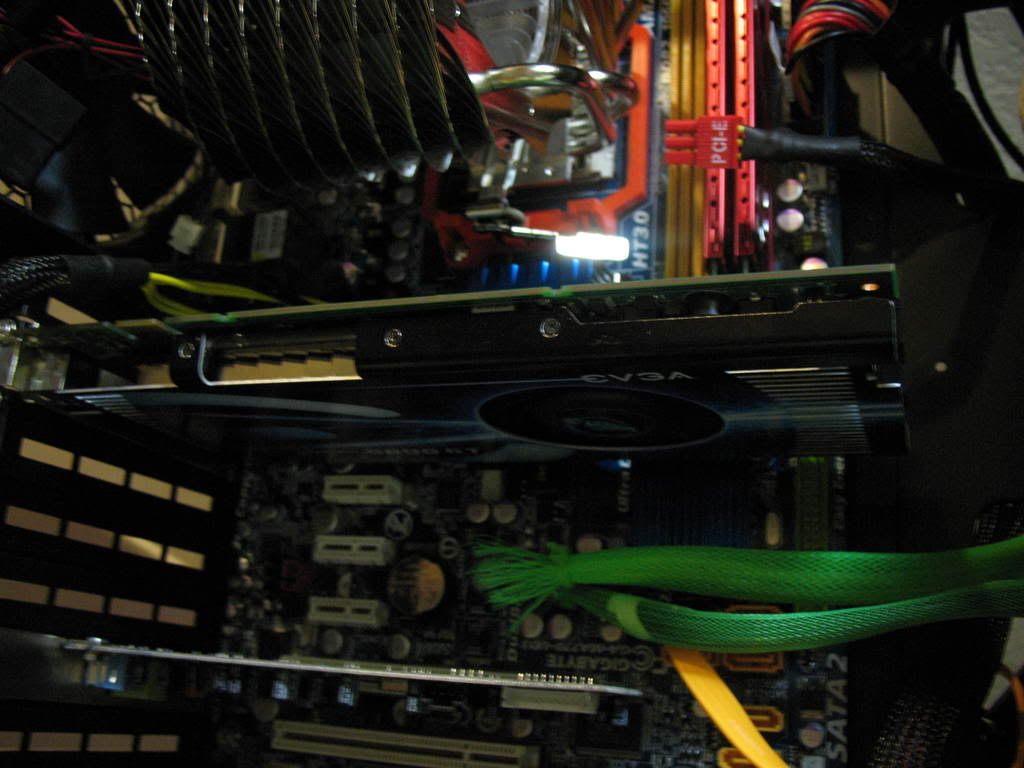
Installing the EVGA GeForce 9800 GT 512MB

IMG_0467.jpg


IMG_0468.jpg


IMG_0470.jpg


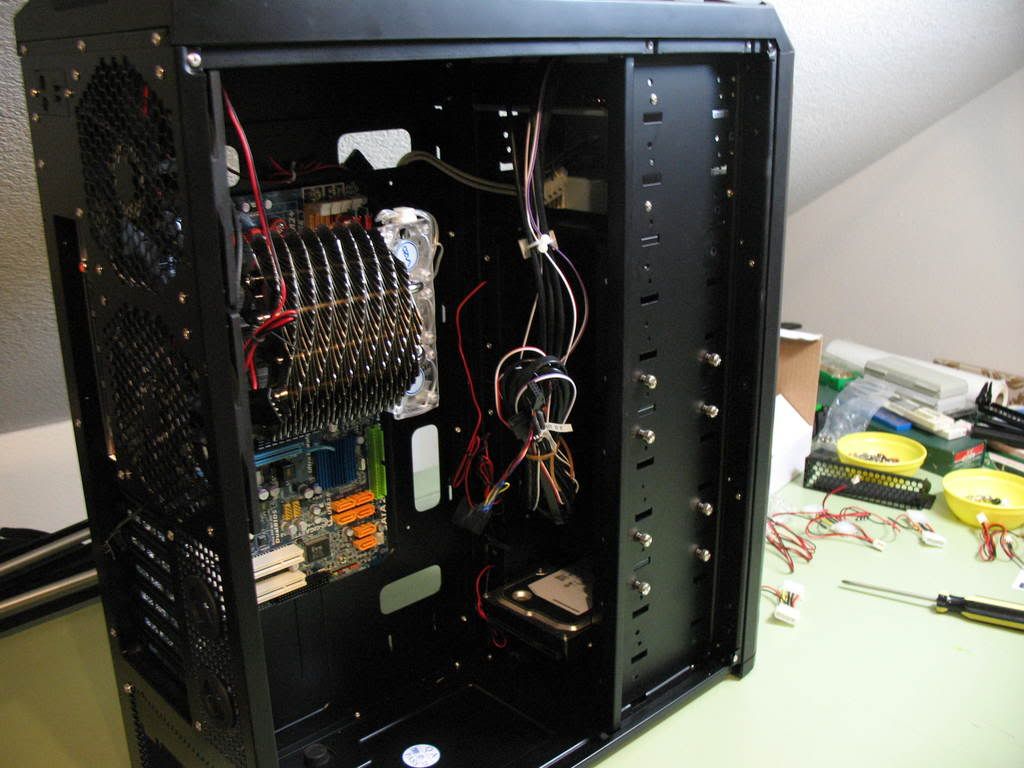
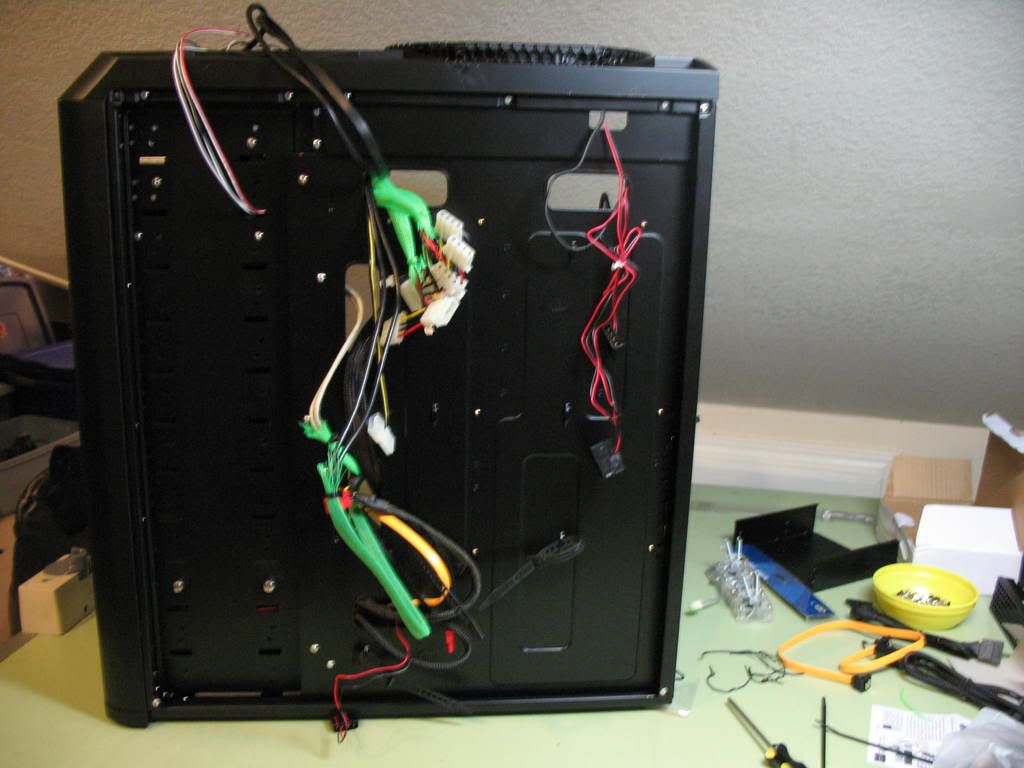
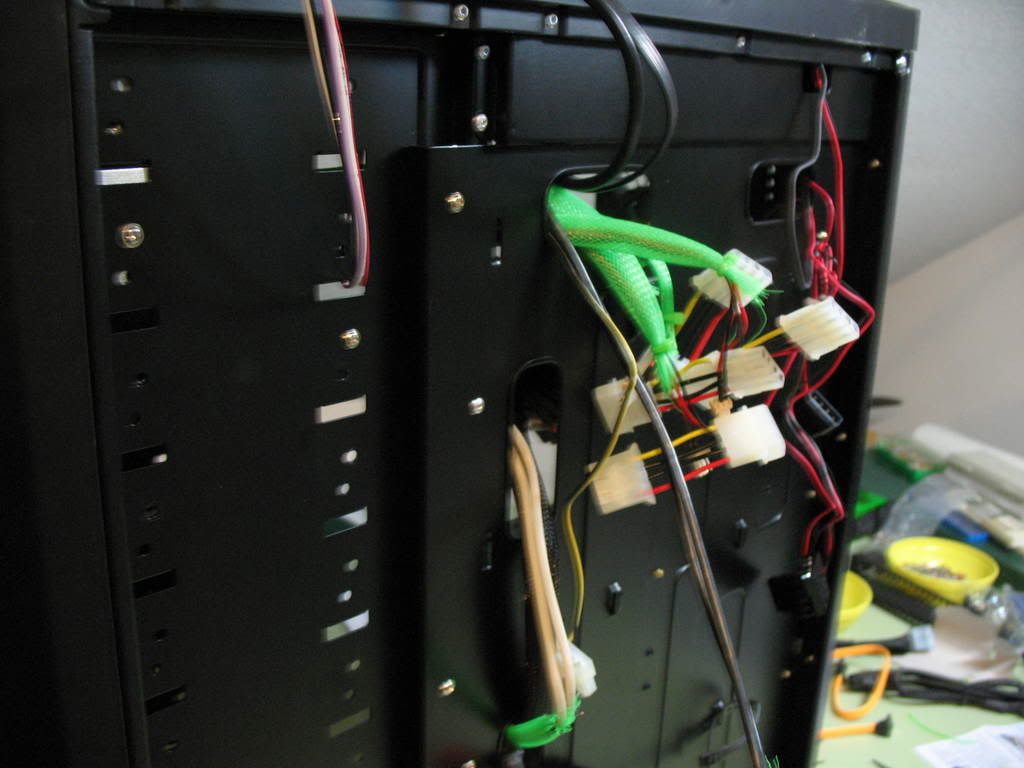
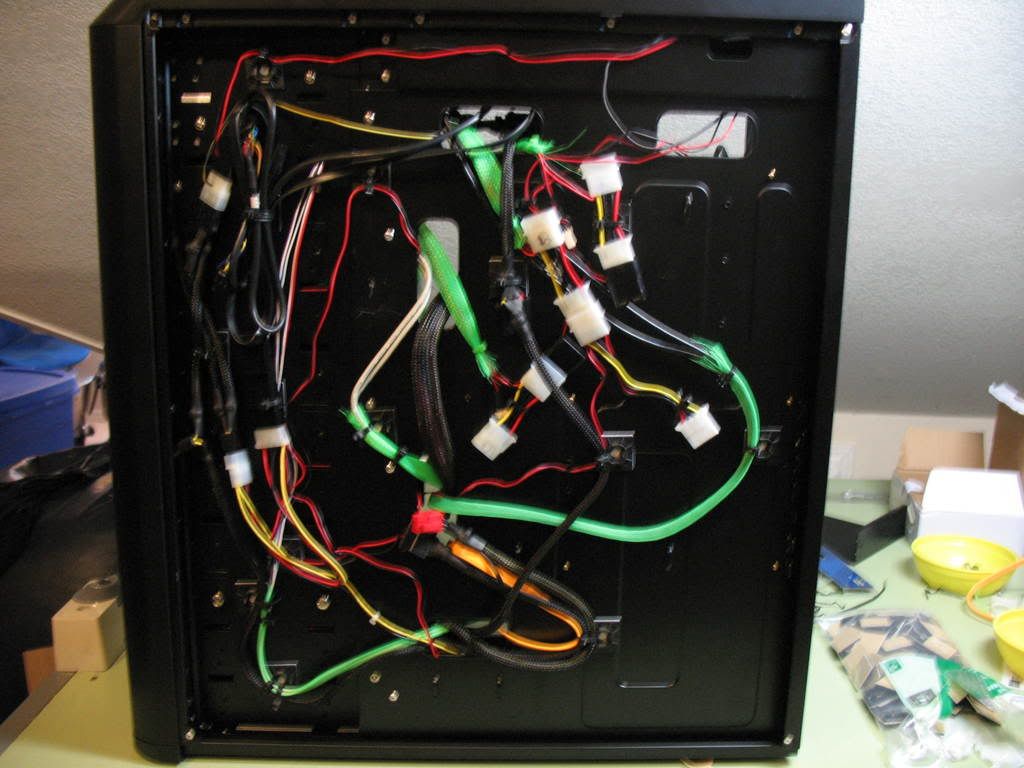
Now we start "stage 1" of cable management (I will keep working on the cable management as time goes on)
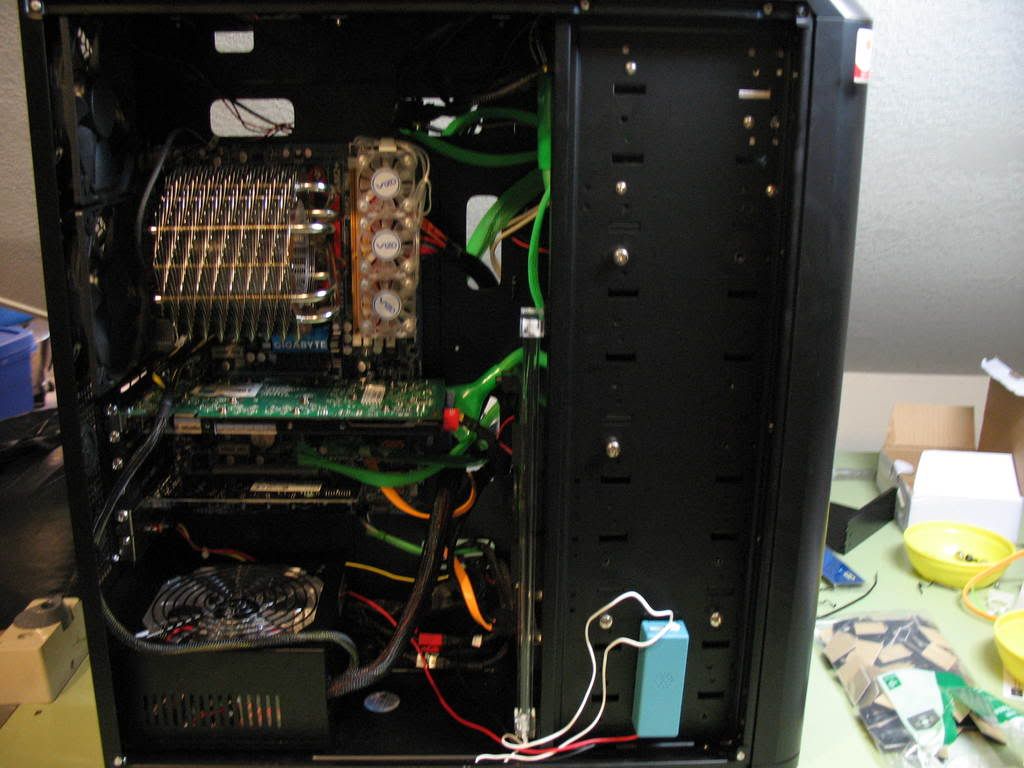
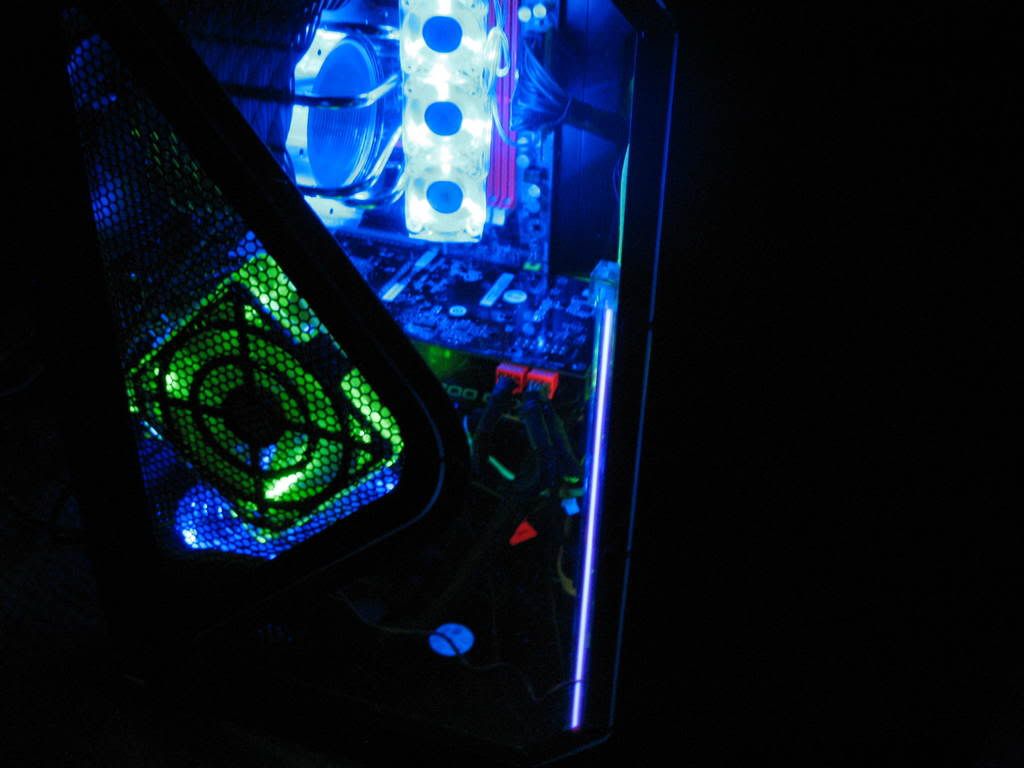
IMG_0453.jpg


IMG_0472.jpg


IMG_0473.jpg


IMG_0483.jpg


IMG_0482.jpg


IMG_0487.jpg


IMG_0488.jpg


IMG_0489.jpg


Project Finish

IMG_0490.jpg


IMG_0494.jpg


IMG_0491.jpg


IMG_0492.jpg


IMG_0493.jpg


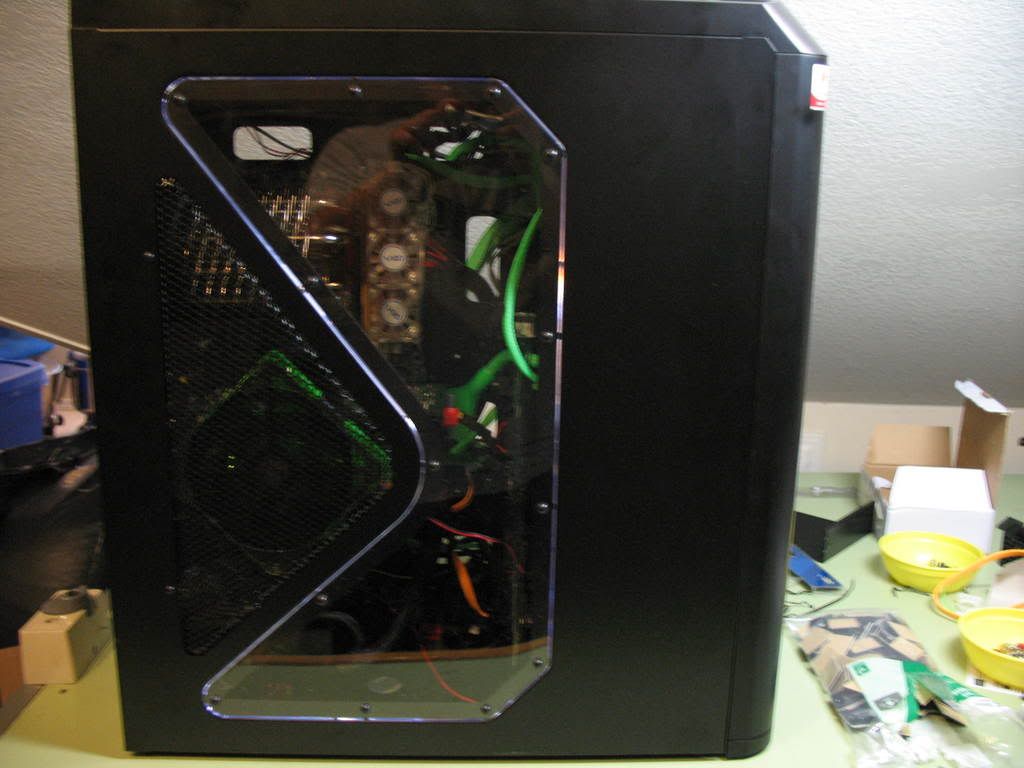
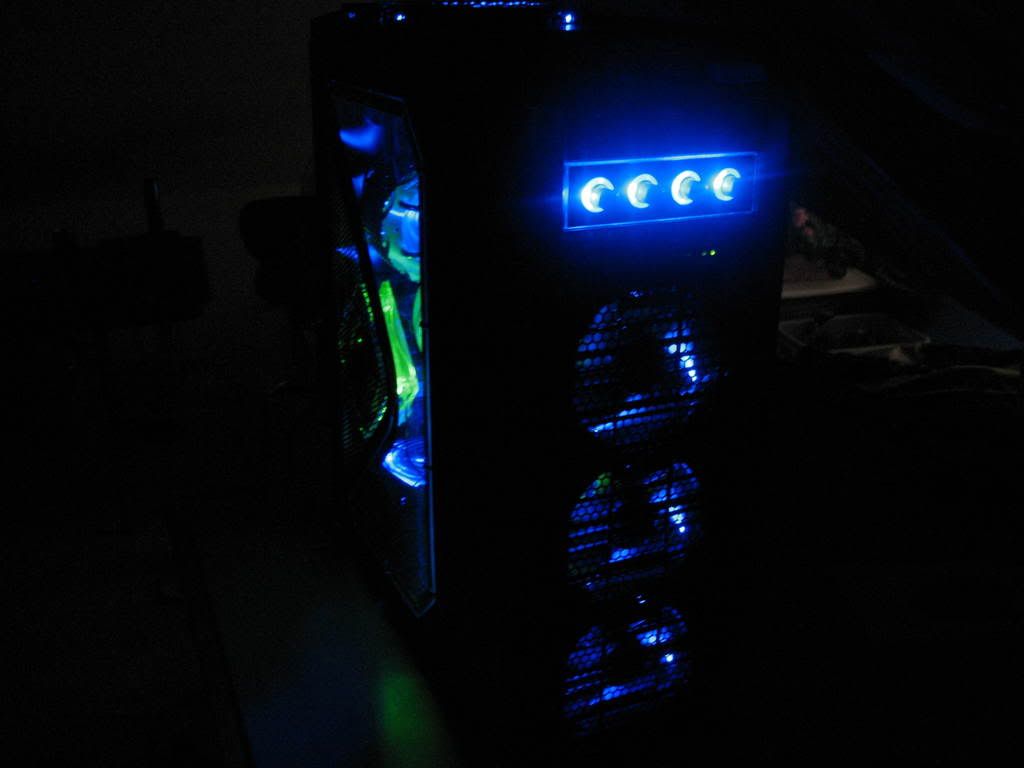
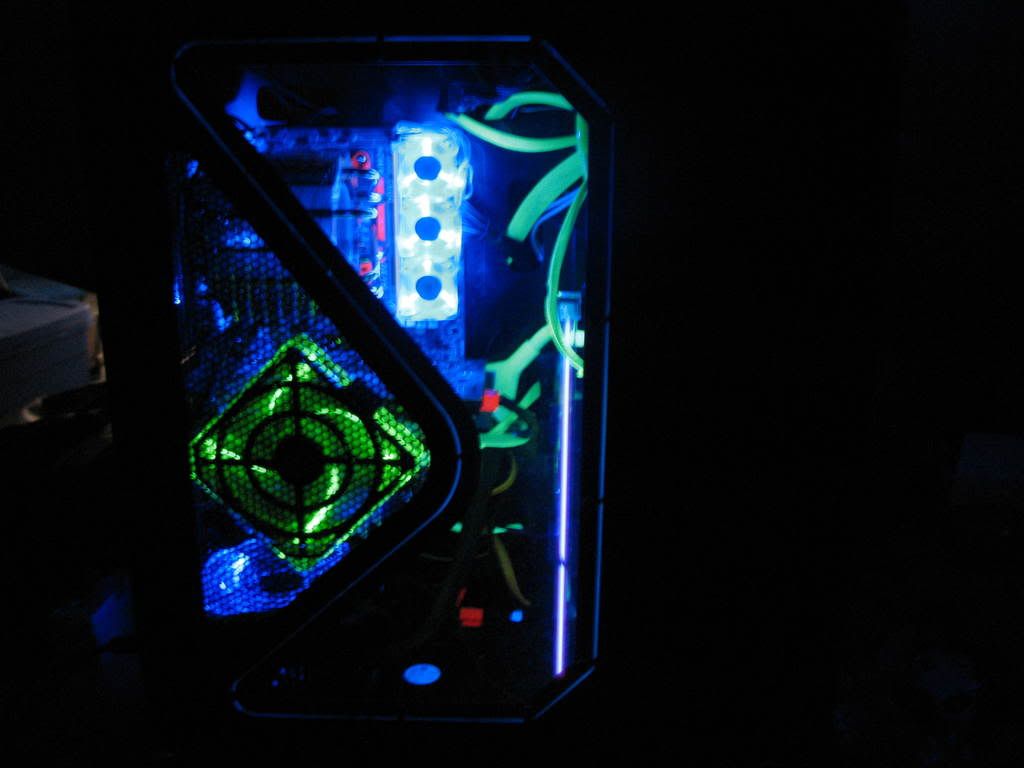
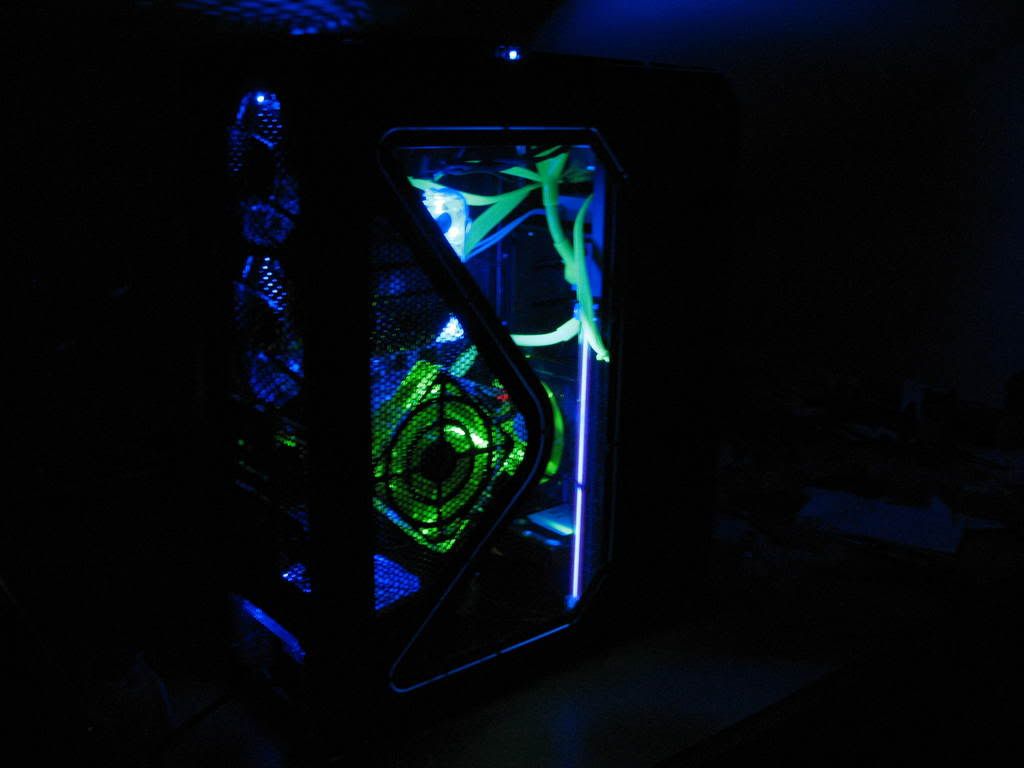
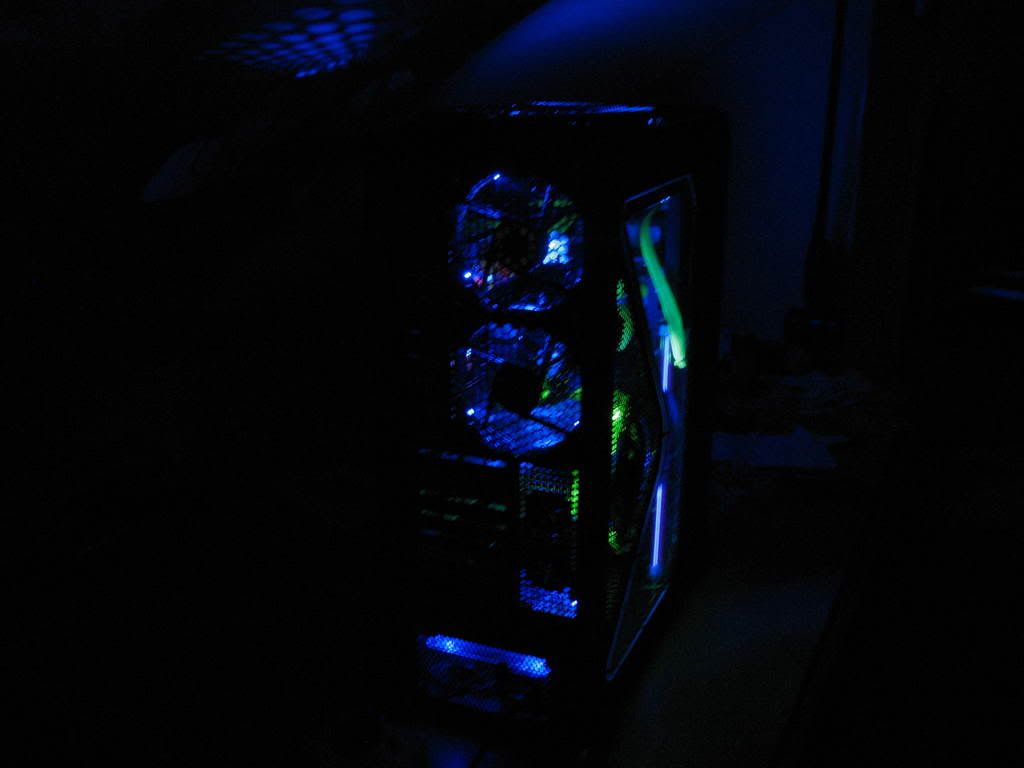
I plan on adding more parts as time goes on but for now this is a nice little rig for me (best i have ever had and 2nd one i have owned) but my 2nd mod would be a new Nvidia 200 series graphics card and maybe head to SLI (not srue yet) but that will come a ways down the road. And as for the cable management... i know its a little messy right now but i made it so air would still flow smoothly through my case and keep all my parts at a nice cool temperature and with the 12 fans i have installed in my Air cooled ANTEC 1200 case it keeps things icy cold :)

Comp Specs
AMD Phenom 9950 2.6GHz Quad-Core
4g Gskill Ram
320g Hard drive
EVGA 9800 GT Graphics card
730W PSU
Thermaltake SpinQ CPU Cooler
Crative Soundblaster 7.1 sound card
LG DVD/CD-ROM Burner
Windows XP Pro


Below is a list of games i can run flawlessly with no lag at all with all setting turned as high as they can go.
Crysis (AA off)
Crysis: Warhead (AA off)
Left 4 Dead
TF2
Counter-Strike: Source
Garry's Mod


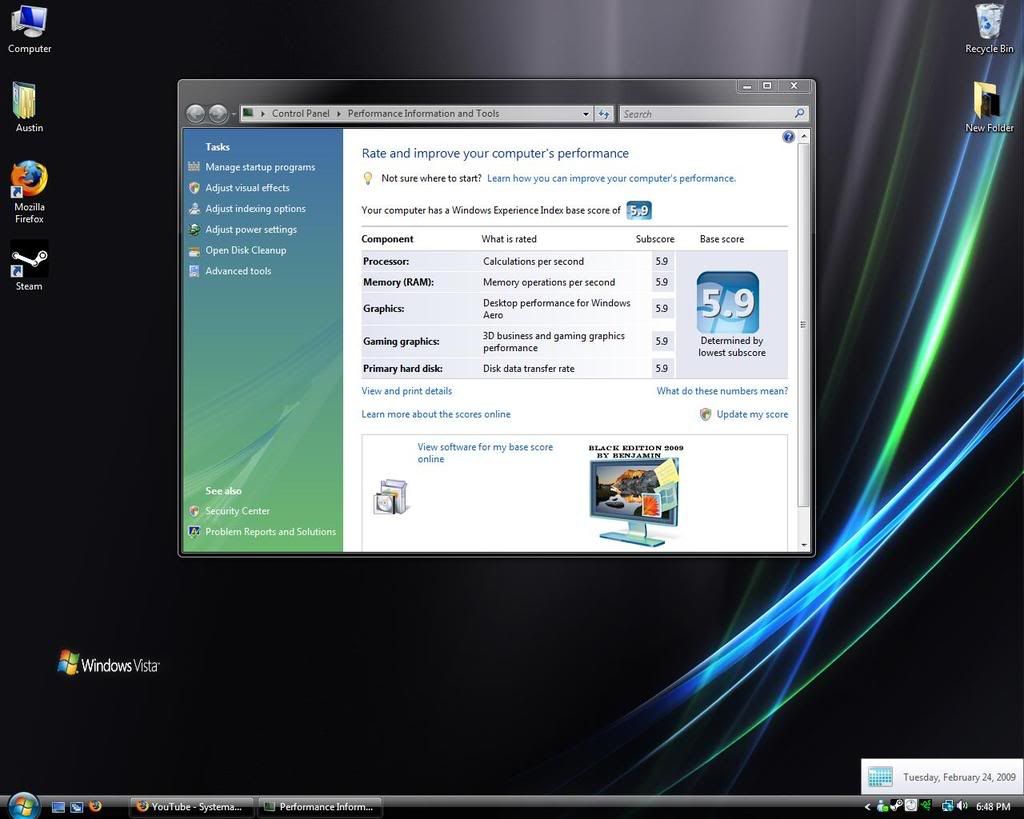
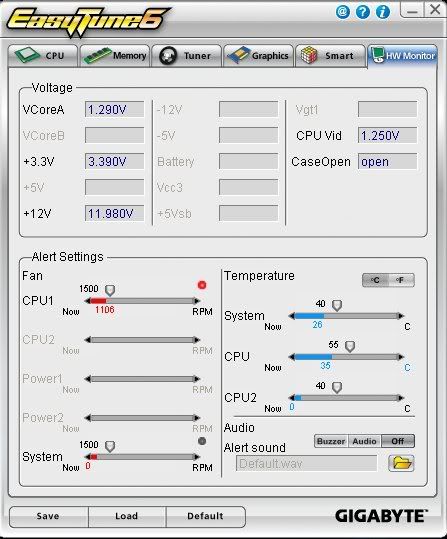
Here is a pic of my idle/light load temps (all fans at low setting)

Temp.jpg
 
all the hardware looks pretty good, it will be a decent performing system. and the build looks pretty good for a first timer.

But I would highly recommend getting a different power supply. I have seen to many issues with Raidmax PSUs. now that particular one may be ok, but I have actually seen one catch on fire and kill the MB, CPU, VID, and all hard drives in the same system. Yes a replacement PSU in the same wattage may run you $30-$60 more but will be a much more reliable PSU. I would recommend anything from Coolermaster, BFG, Thermaltake, Enermax, and Corsair.

PSU replacement = Recommended!!!
 
not the hardware I would have chosen but looks like you had fun

Well i was kinda on a budget and yes i had loads of fun. :D

all the hardware looks pretty good, it will be a decent performing system. and the build looks pretty good for a first timer.

But I would highly recommend getting a different power supply. I have seen to many issues with Raidmax PSUs. now that particular one may be ok, but I have actually seen one catch on fire and kill the MB, CPU, VID, and all hard drives in the same system. Yes a replacement PSU in the same wattage may run you $30-$60 more but will be a much more reliable PSU. I would recommend anything from Coolermaster, BFG, Thermaltake, Enermax, and Corsair.

PSU replacement = Recommended!!!

The reason i got this PSU was for the budget and it was a cheap 700W+ (modular) PSU so thats why i got it, but cheaper is not always better. I did read up on this particular model and i found nothing but good reviews on this exact model that's why i went with this one. I have heard before that "Raidmax" PSU's have been faulty. But i am glad you brought this to my attention because now it has me 2nd guessing this PSU. One thing i did not say before is i will not be overclocking my system and i will only be doing SLI and when i do go with SLI i will defiantly switch PSU's.

http://www.hardforum.com/showthread.php?t=974240

Might want to consider returning that PSU and getting something better.

Someone correct me if I'm wrong...but isn't memory supposed to be in the 1st and 3rd slots to utilize dual channel?

Other than that...looks good and grats on your new machine!

I put them in the 2 yellow slots, and im not 100% sure but i think you put them in the same color slots for dual channel, someone please correct me if i am wrong.
 
Most likely it would tell you how to install in the motherboard manual. I would check there first.

There is a good chance that the PSU you got won't hurt anything, especially since your system won't be pulling anywhere close to 730 watts from it anyway. But one of the most overlooked parts of a computer build is in fact the PSU. A lot of times people just assume that power is power...don't matter how you get it as long as it's there. Which can't be anymore wrong in the case of solid state components that are highly sensitive to not just the amount of power they receive, but more importantly, the QUALITY of power that they receive.

With that said, you can find some good deals on quality PSU's in your price range...might not be as high of a wattage rating...but that shouldn't matter because you're not going to need anywhere near that much wattage for what you have.

Here's a thread here at hardforums that helped me out a lot when it came to picking out my PSU for my build in progress.

http://www.hardforum.com/showthread.php?t=1371659

I just went by what friends have told me and they have built many PC's before but i wasnt sure on how many watts i would use on this build. What would be a good amount of watts for a Quad-Core & SLI set up?
 
Someone correct me if I'm wrong...but isn't memory supposed to be in the 1st and 3rd slots to utilize dual channel?

No I believe it depends on the mobo. In the manual it will usually list about 2-3 different possibilities for dual channel utilization. Usually they will color code it on the mobo.


OP looks like you had an awesome time man. I gotta agree on the PSU but I wouldnt blame you if you left it in because when you have a good performing system it is VERY hard to build up the courage to tinker with it :p Congrats man well done!

Thanks! And ya, i looked in my manual its color coded.
 
Looks very nice, congrats man. How do you like that Thermaltake fan controller? I've been looking into getting one.
 
Good job on your first build. I will tell you one thing: I hooked a Kill-A-Watt to the business end of a system similar to yours and never saw it go over 280 watts in 3DMark06 (AMD 9600 Black, XFX 9800GTX+, 1 TB WD Black, DVD-RW, PC Power 500 watt silencer)! Most of these power supplies can be utter overkill, so I usually recommend a good quality one with less RATED wattage but more chutzpa! Either way, if it never blows you are all good! Congrats on having a system to be proud of! :cool:
 
Looks very nice, congrats man. How do you like that Thermaltake fan controller? I've been looking into getting one.

Its actually really nice, i mean its kinda made cheap but it does a great job of controlling your fans and the color control is a really cool feature. Each channel (knob) has 3 colors that adjust to the speed of the fan.

Color Chart
Blue - low setting
Green - medium speed setting
Red - high speed setting


And thanks all for your comments :)
 
i love that motherboard... .something i would like to replace my media server motherboard when i buy a house in about 3 months and get a norco 20 hotswap case...

ultradurable sounds good
 
Pretty Sweet OP. I love that case to death.

Pretty sweet hardware too.

I think the only thing i would have done different, because everything but the fan speed controller is blue, is i would have gotten a fan speed controller with only blue LED's. The Zalman ZM-MFC1 is what i have. Only blue!
 
Its actually really nice, i mean its kinda made cheap but it does a great job of controlling your fans and the color control is a really cool feature. Each channel (knob) has 3 colors that adjust to the speed of the fan.

Color Chart
Blue - low setting
Green - medium speed setting
Red - high speed setting


And thanks all for your comments :)

I have the same controller in my computer and if your house is like mine, I never take mine off red during winter, well my room is above the fireplace area in the basement so my rooms always hot, and I have one window and the smallest bedroom so it is a pain.

Also, what was your budget price?
 
i love that motherboard... .something i would like to replace my media server motherboard when i buy a house in about 3 months and get a norco 20 hotswap case...

ultradurable sounds good

I really dont have any complaints about it and it was cheap. I hear nothing but good things from Gigabyte and this is the 2nd Gigabyte mobo i have used and it went in with no problems and all the drivers installed perfect.

Pretty Sweet OP. I love that case to death.

Pretty sweet hardware too.

I think the only thing i would have done different, because everything but the fan speed controller is blue, is i would have gotten a fan speed controller with only blue LED's. The Zalman ZM-MFC1 is what i have. Only blue!

Well i was actually looking at that one but i decided i wanted to add a little green mix in with the blue and it turned out looking pretty good. And i keep the fan speeds on low most of the time and my comps stays pretty cool and it was cheaper to go with the Thermaltake and it has 3 different colors rather then just 1 :)

I have the same controller in my computer and if your house is like mine, I never take mine off red during winter, well my room is above the fireplace area in the basement so my rooms always hot, and I have one window and the smallest bedroom so it is a pain.

Also, what was your budget price?

Under $1000 but i wanted to use the Antec 1200 case because i will be upgrading in the future and dont want to have to buy another case. And, i cant say enough about how cool this case really is and i love the features it has as well as the 6 fans it comes with stock. And overall the case is very quite.

I was going to go with the Thermaltake Armor Series Full tower case (http://www.newegg.com/Product/Product.aspx?Item=N82E16811133021) but i decided the Antec 1200 was the better buy for the same price because of all the extras it came with. Plus i didnt like the 250mm fan on the side covering the glass on the Thermaltake Case. Oh, and i saw both in person at Fry's Electronics before i made my discussion.
 
Looks good for a first build. Just one question though. It looks like your cable sleeving came in a kit. Don't the kits usually have heat shrink included. I would suggest using it and doing away wit the tie wraps and frayed ends that you have now. It gives a much cleaner look. :)
 
How to describe.....heat shrink is the thin sort of rubbery tubes that come in the package. You cut a piece to suit length and slide it over the end of the cable so that it half covers the wires and half covers the cable sleeve end. Then you apply heat using a candle or lighter and the tube shrinks to form a snug fit holding the sleeve snug to the wires and covers up the frayed ends where the sleeve was cut.

see the image for step 11.

http://www.wikihow.com/Sleeve-Computer-Cables
 
Looks good to me! I have the same cpu, its definitely not sluggish in anyway and the 9800 is still very capable for gaming performance.
 
How to describe.....heat shrink is the thin sort of rubbery tubes that come in the package. You cut a piece to suit length and slide it over the end of the cable so that it half covers the wires and half covers the cable sleeve end. Then you apply heat using a candle or lighter and the tube shrinks to form a snug fit holding the sleeve snug to the wires and covers up the frayed ends where the sleeve was cut.

see the image for step 11.

http://www.wikihow.com/Sleeve-Computer-Cables


Aww now i see. It says it is heat shrink but im afraid to put a lighter to my cords, but i just used the right size and it fits nice and snug around the wires as it sits now except for the frayed ends. The kit i bought from new egg did not come with the little rubber sleeves for the ends to cover up the frayed edges like this kit does... http://www.newegg.com/Product/Product.aspx?Item=N82E16899109001

Does anyone know where i can pick up some UV green rubber sleeves?
 
Any hardware (Home Depot) or automotive store will have them, but likely only in black or maybe grey.
 
How to describe.....heat shrink is the thin sort of rubbery tubes that come in the package. You cut a piece to suit length and slide it over the end of the cable so that it half covers the wires and half covers the cable sleeve end. Then you apply heat using a candle or lighter and the tube shrinks to form a snug fit holding the sleeve snug to the wires and covers up the frayed ends where the sleeve was cut.

see the image for step 11.

http://www.wikihow.com/Sleeve-Computer-Cables

K now i understand you, but where can i get some heat shrink? Radioshack, Home depot, ....??
 
lol $1000 is a budget build?

i would definitely swap that POS psu and get either a corsair or a pc power & cooling 500W rock. 700W is super overkill for your rig. hell, 500W is still overkill, but it is enough to handle dual 9800s when you want to SLI
 
Try frozenCPU.com for your heatshrink needs. I bought from them this last time and they have a nice selection.

Thank you for the link!

lol $1000 is a budget build?

i would definitely swap that POS psu and get either a corsair or a pc power & cooling 500W rock. 700W is super overkill for your rig. hell, 500W is still overkill, but it is enough to handle dual 9800s when you want to SLI

High end budget build :p... nah my goal was to keep it as much under $1000 as i could and i just added up my total and it was $850 for everything including shipping.

Just got my new video card and hard drive so i did a clean format of windows Vista Ultimate black edition so i was busy messing with windows but here are the 3 most recent mods i have done...

The package
IMG_0529.jpg


WD 500g 7200rpm hard drive
IMG_0532.jpg


EVGA GeForce 9800GTX+ (this thing was almost a tight fight in my case but still had half an inch between the card and my 120mm green LED fan)
IMG_0534.jpg


IMG_0537.jpg


IMG_0538.jpg


IMG_0540.jpg


IMG_0543.jpg


Added the foam back plate so dust wont enter around my card reader like "DraginElite" said
IMG_0533.jpg


Complete Build - Feb 24, 2009

IMG_0544.jpg


Im running Windows Vista 32bit ultimate black edition and here is my vista rating...
vistascore.jpg


NOTE:
Everything is all factory stock no over clocks yet. Complete build cost $850.00.

All and all im very happy with my build and am having fun with it. Thanks all to the comments please feel free to ask question or just tell me what you think.
 
I think they mis-named that heatsink... should be called the TT Lacerator. :rolleyes: I read it was a little spiny to install. Build looks good though, nice work.
 
I think they mis-named that heatsink... should be called the TT Lacerator. :rolleyes: I read it was a little spiny to install. Build looks good though, nice work.

By "spinny" you mean hard to install then yes it was a little tough cuz i was using the AMD socket so its not the best way to keep it attached but it does the job. It keeps my AMD Phenom 9950 X4 at 48C on a heavy load so its not bad.
 
How to describe.....heat shrink is the thin sort of rubbery tubes that come in the package. You cut a piece to suit length and slide it over the end of the cable so that it half covers the wires and half covers the cable sleeve end. Then you apply heat using a candle or lighter and the tube shrinks to form a snug fit holding the sleeve snug to the wires and covers up the frayed ends where the sleeve was cut.

see the image for step 11.

http://www.wikihow.com/Sleeve-Computer-Cables

^ This. <3 Heatshrinked look.
 
Return that PSU! I've personally seen two different Raidmax PSUs I have owned explode. Get something else!
 
nice build there but the cable management could us a little work :)
Good luck with it!
 
also glad the PSU is still going and has blown up you system xP
i used to have a 1200 and i must say it was a nice case but a bit too small for me as my 4890s were hitting the hard drive bays practically.
 
Back
Top