• Some users have recently had their accounts hijacked. It seems that the now defunct EVGA forums might have compromised your password there and seems many are using the same PW here. We would suggest you UPDATE YOUR PASSWORD and TURN ON 2FA for your account here to further secure it. None of the compromised accounts had 2FA turned on.
    Once you have enabled 2FA, your account will be updated soon to show a badge, letting other members know that you use 2FA to protect your account. This should be beneficial for everyone that uses FSFT.

Anima Mundi Redux

endscape

Gawd
Joined
Mar 19, 2004
Messages
966
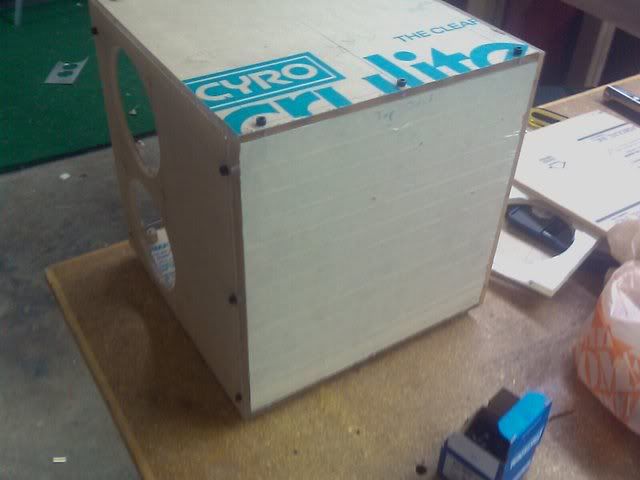
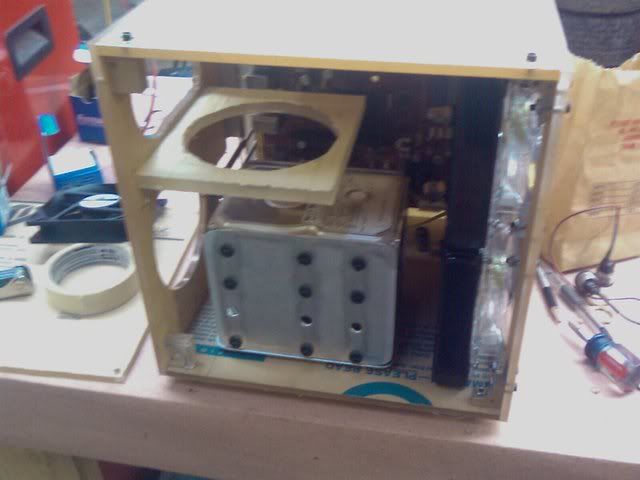
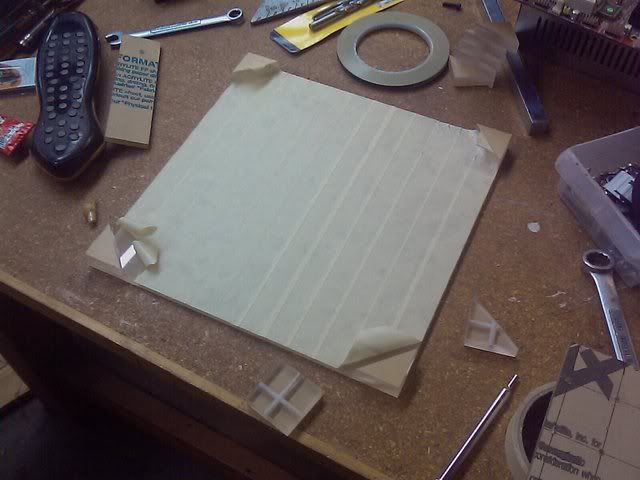
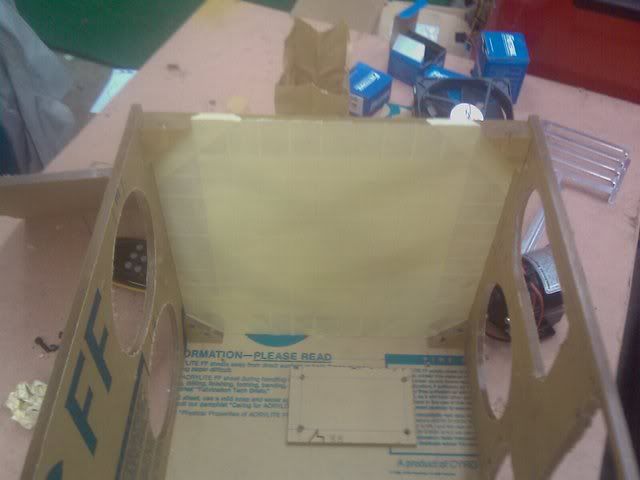
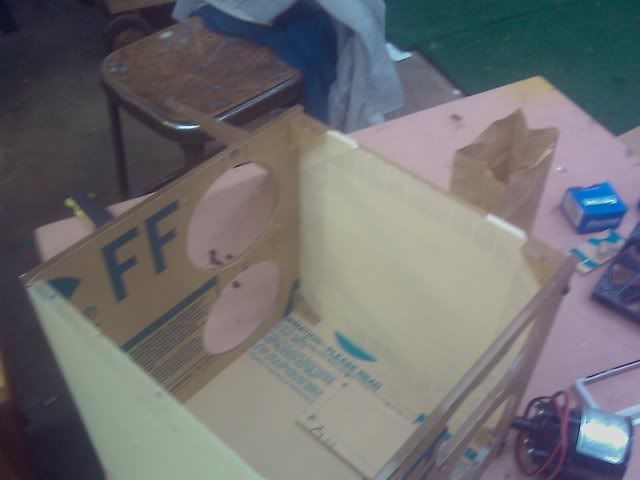
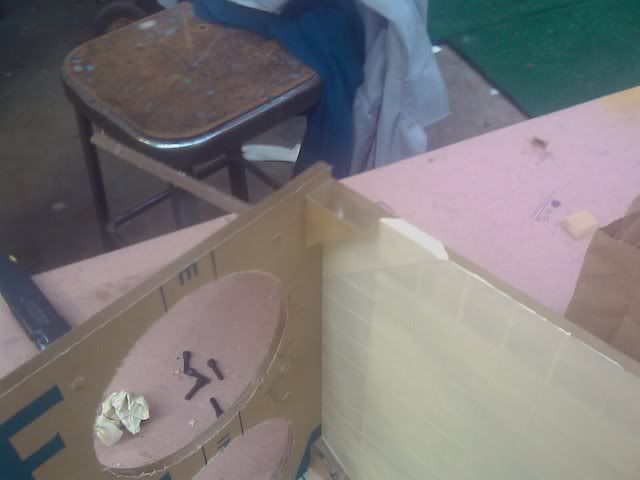
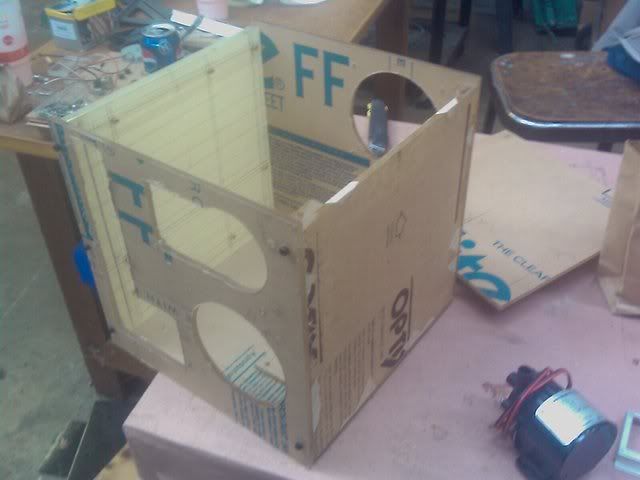
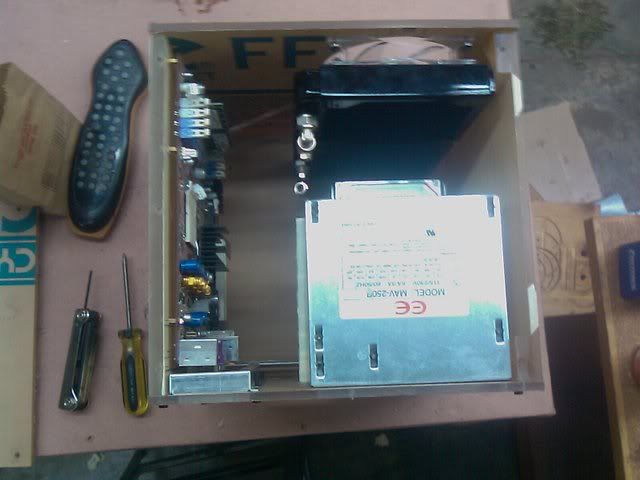
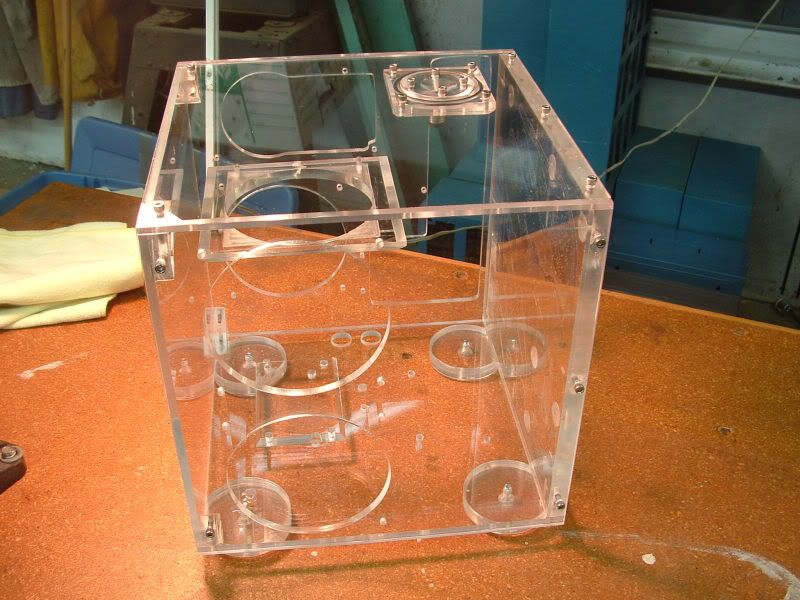
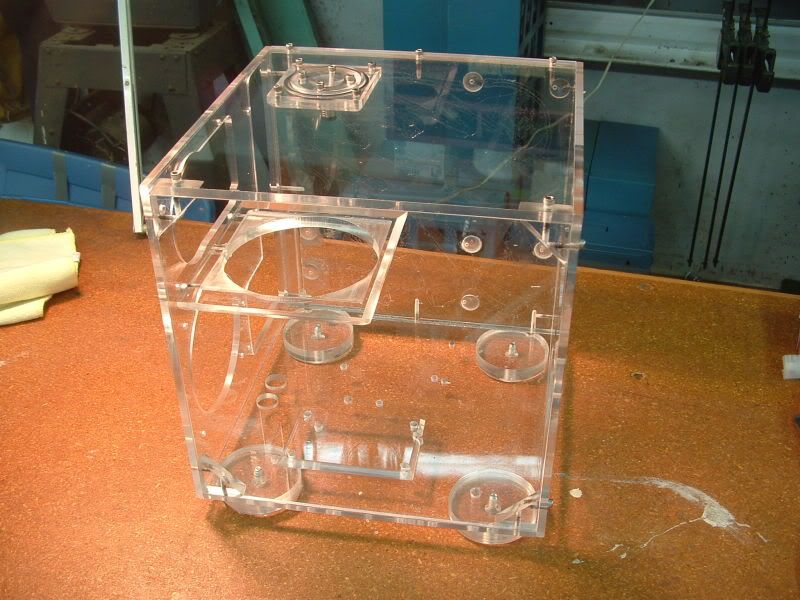
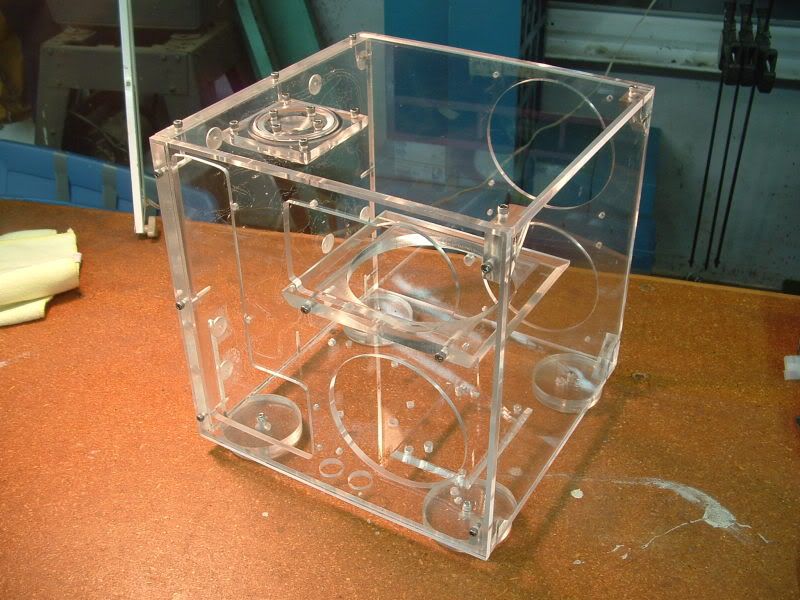
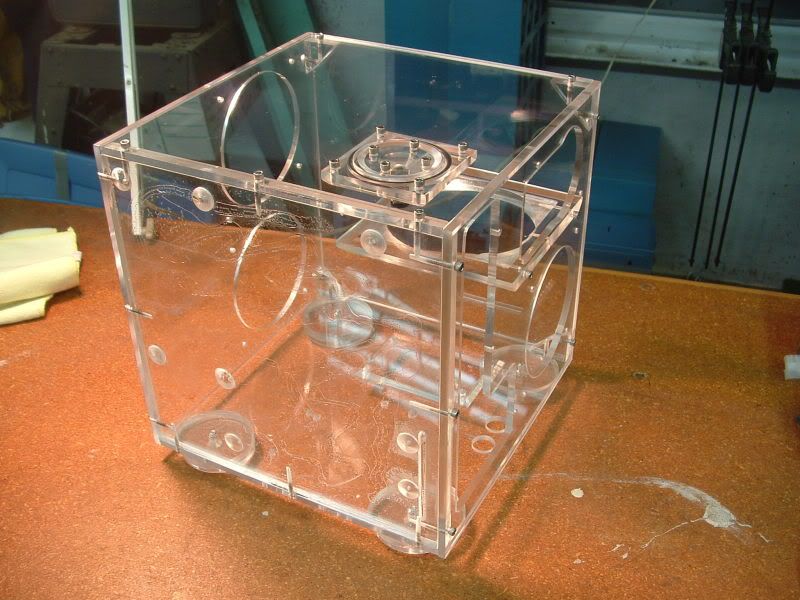
So I started building Anima Mundi, a mATX cube built almost entirely out of acrylic over a year ago (the old project log is here, pictures are down). Life got in the way, as did a all my acrylic breaking during the painting process.

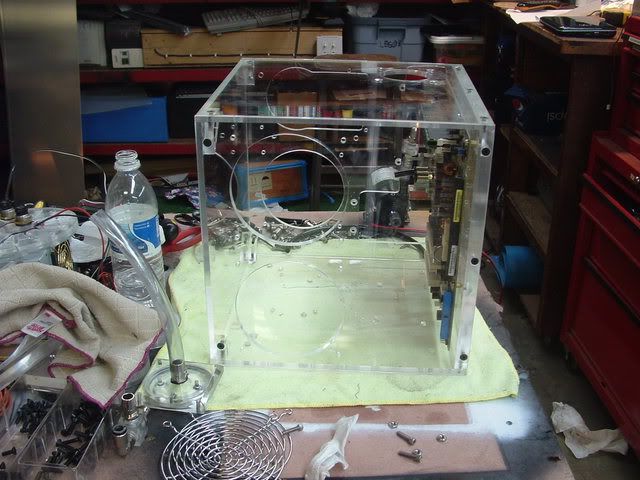
Well I found a pile of acrylic that I had cut for my second attempt and decided to give it another go! This all took me about 3 hours start to finish, so I'm hoping to wrap the entire project up inside two weeks. Please forgive the pictures, they came off my HTC Mogul.
1.jpg


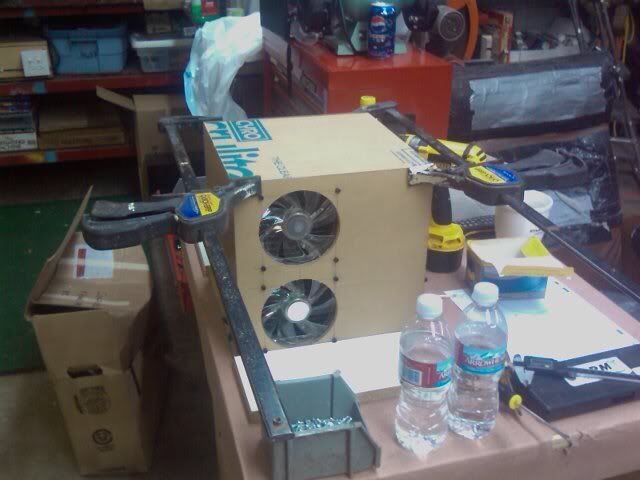
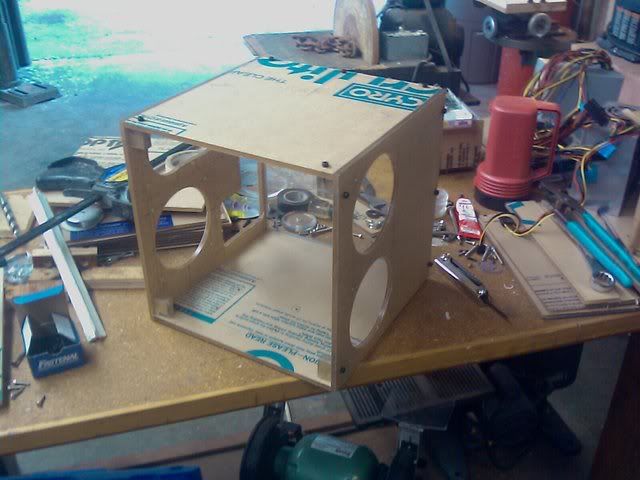
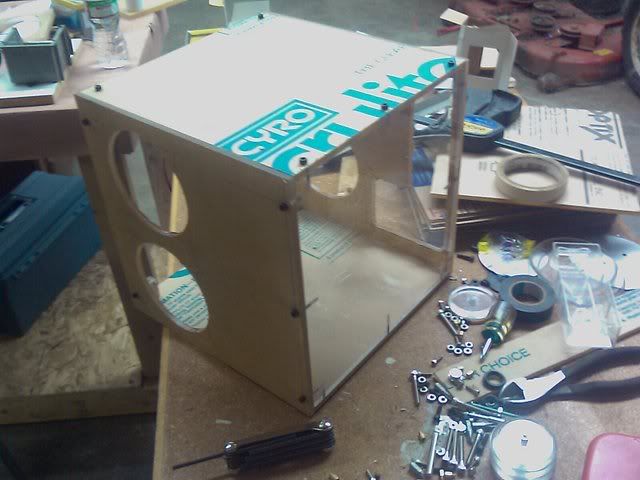
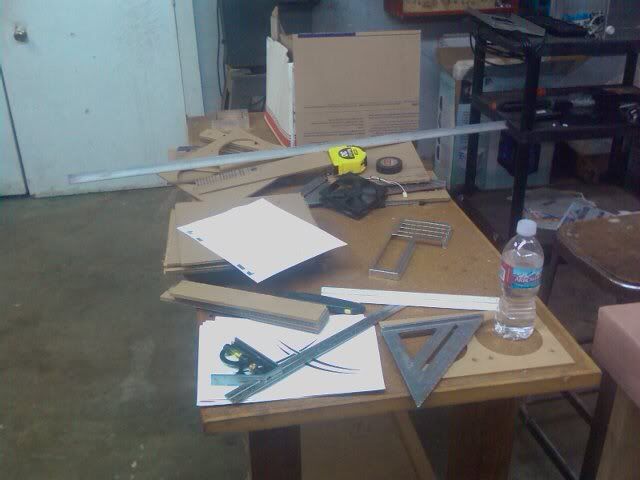
New work bench I picked up from my neighbor for...NOTHING. Plus a whole pile of random acrylic pieces.
2.jpg


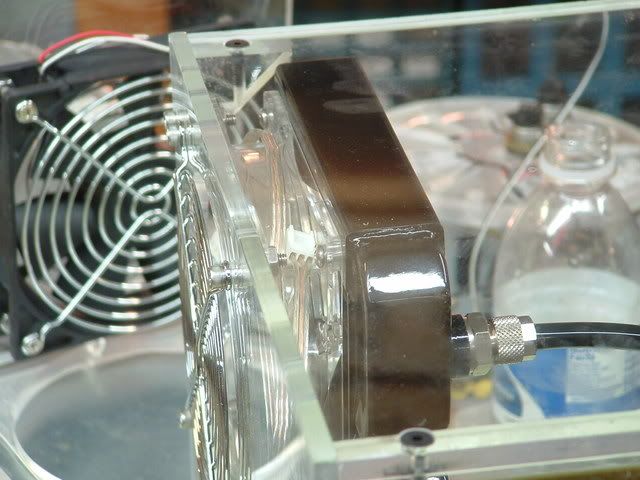
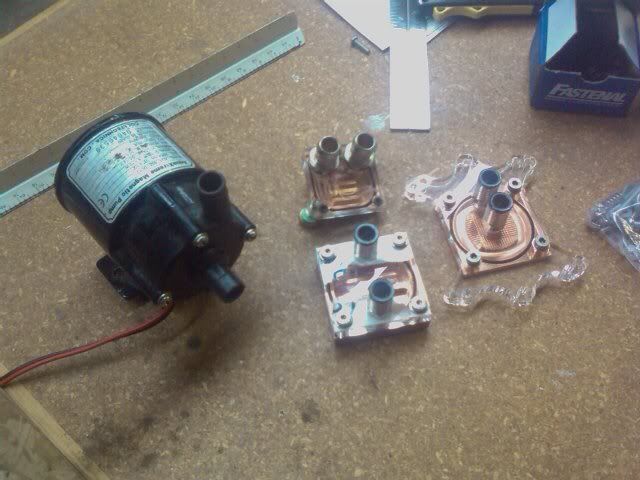
Spare watercooling gear that's been kicking around. Some of it will be used in Anima Mundi.
3.jpg


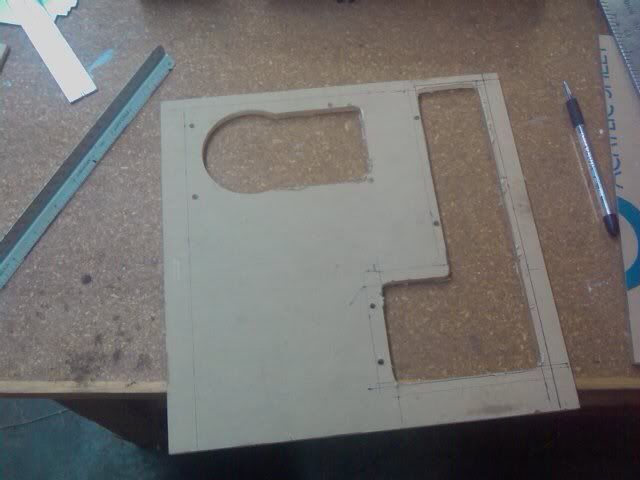
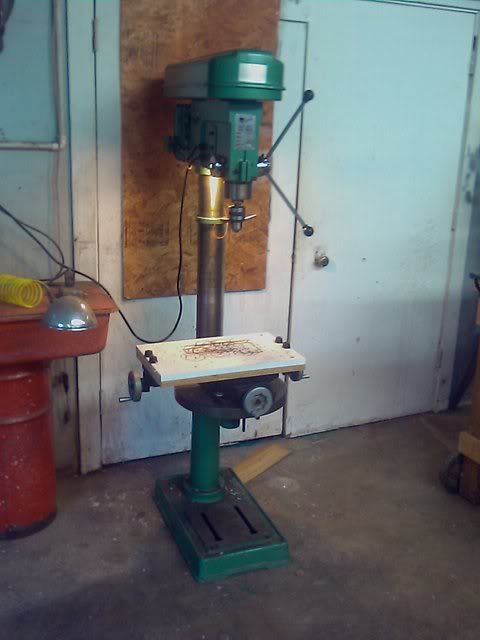
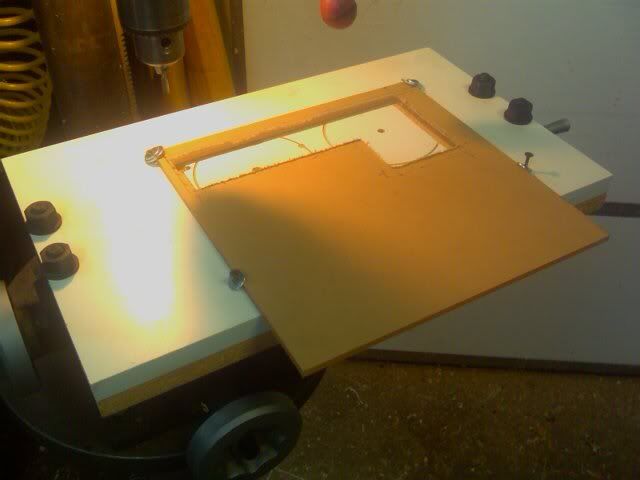
First cut completed. Drill press with a mill table and a bit from a Dremel. It's not the most...accurate...solution ever, but it does a damn good job considering the whole setup cost me less than $100.
4.jpg


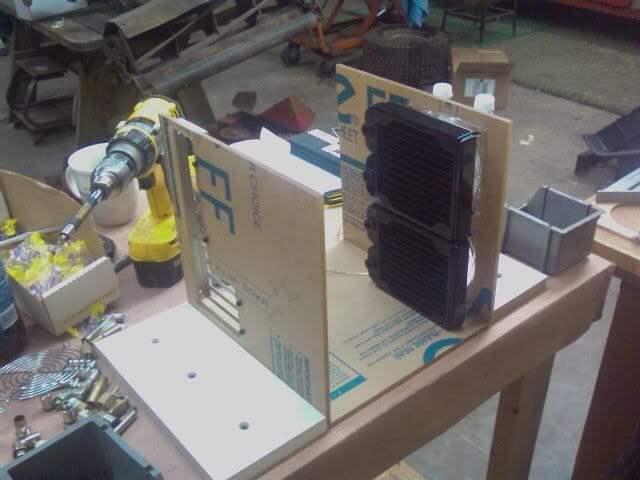
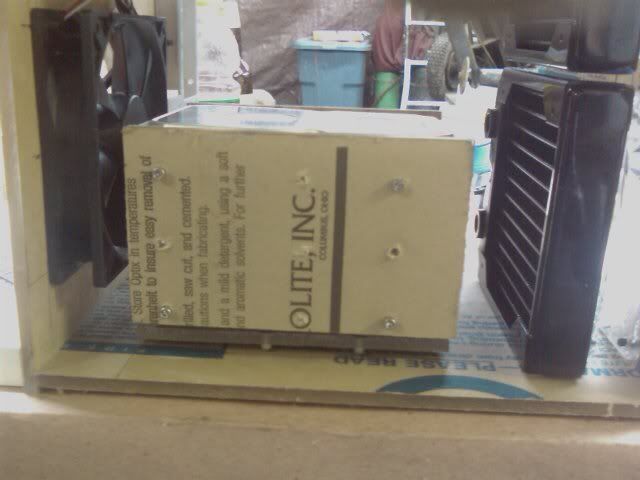
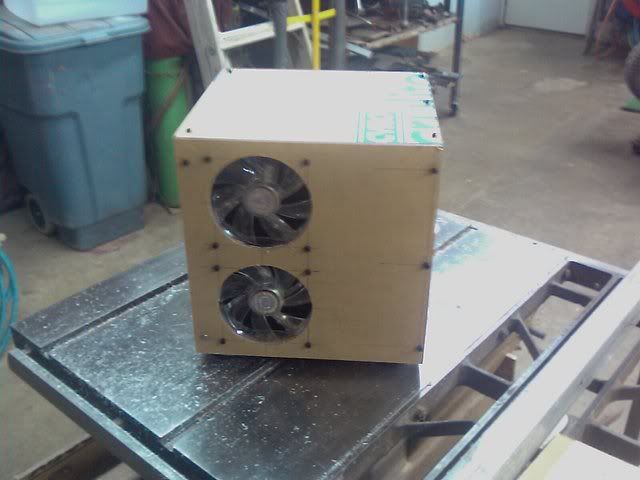
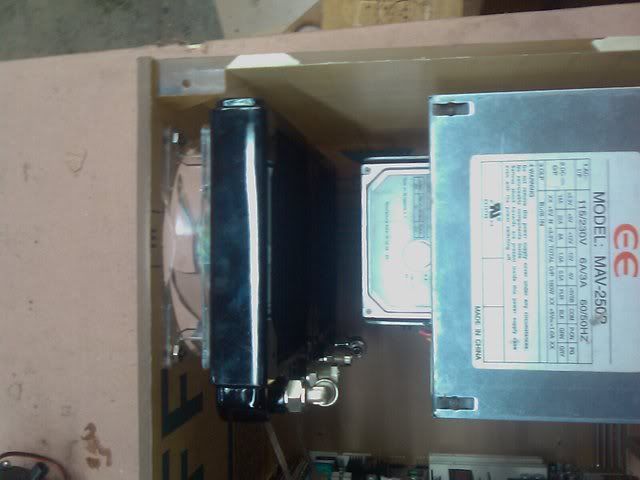
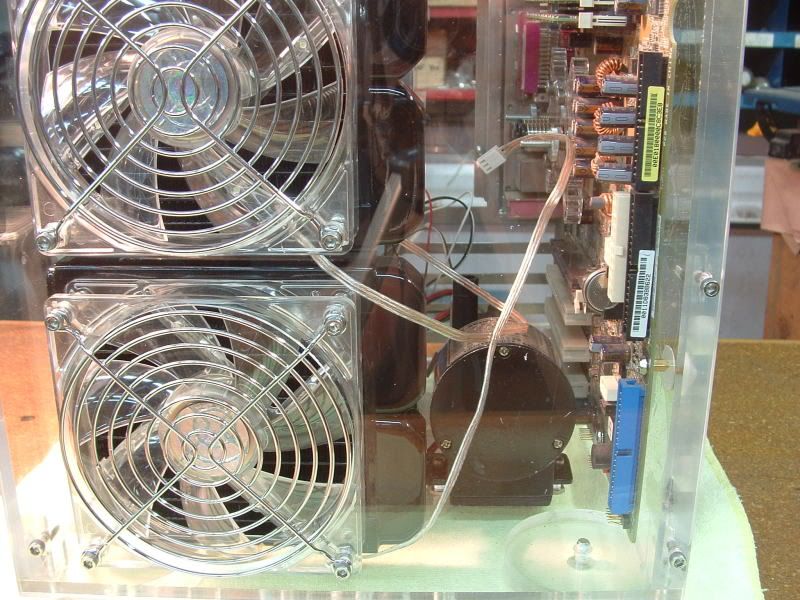
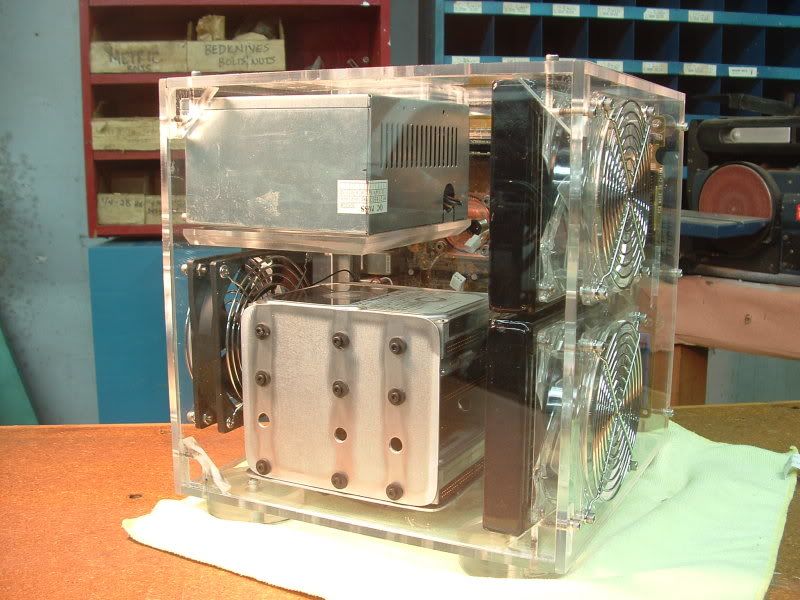
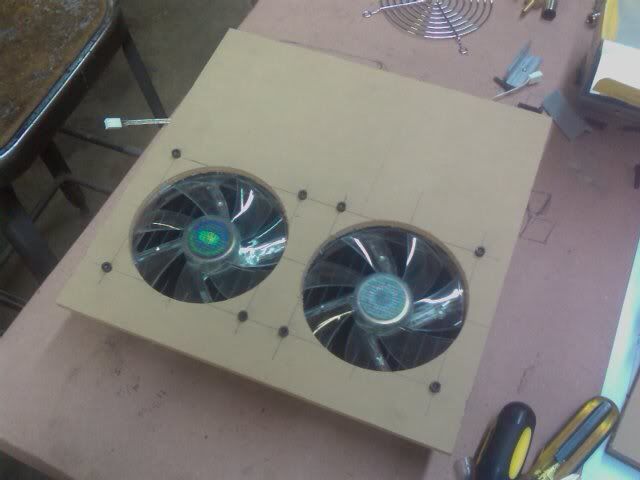
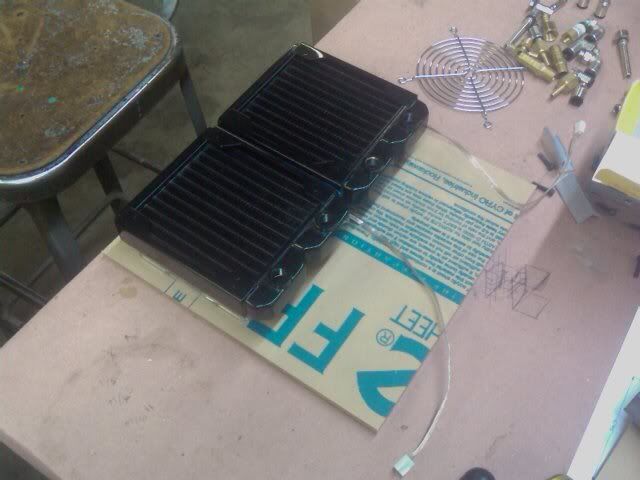
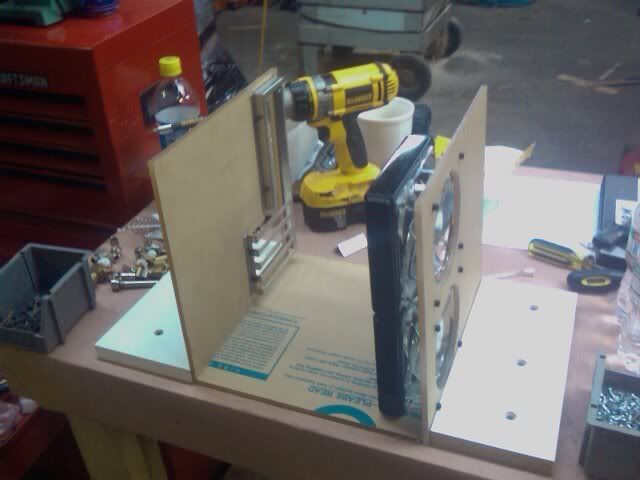
Radiators mounted. Because this will come up, a 2x120MM radiator wont fit, but 2 separate 120mm Black Ice pros fit just fine.
5.jpg


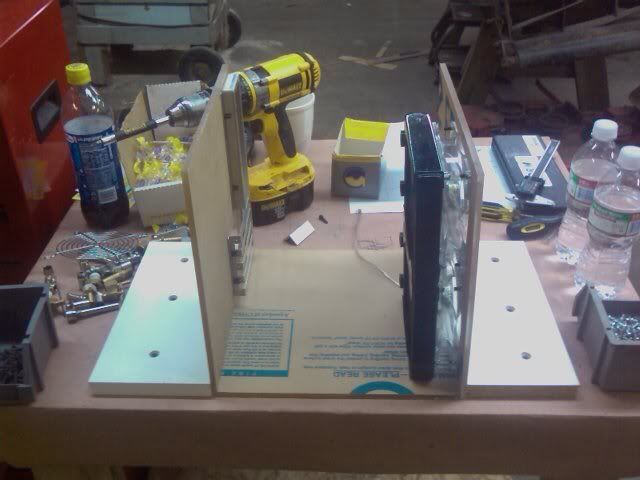
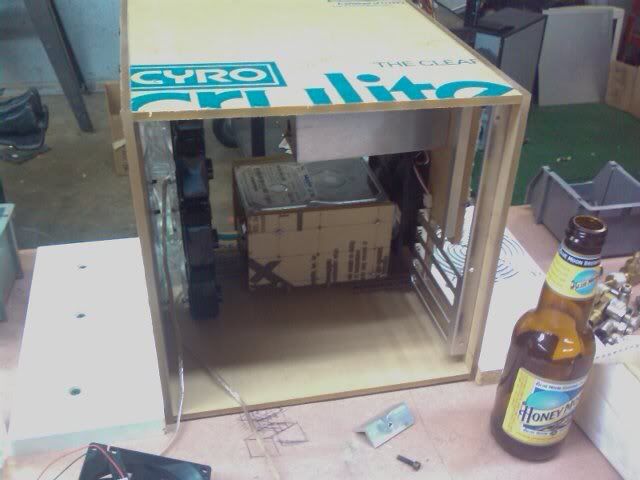
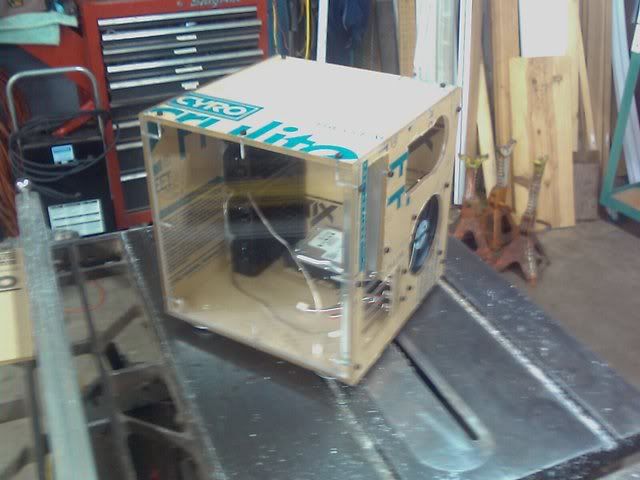
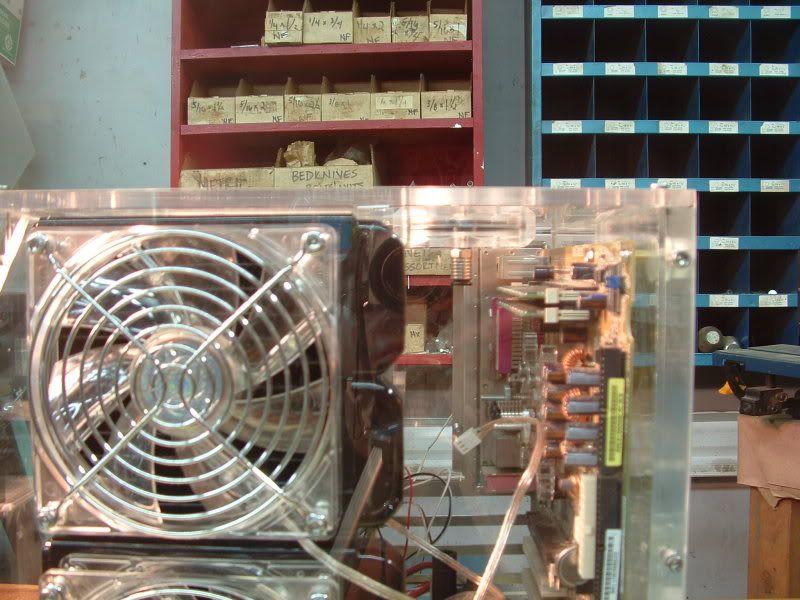
From the back! Not a whole lot of extra space.
6.jpg

7.jpg

8.jpg

9.jpg

10.jpg

11.jpg

12.jpg


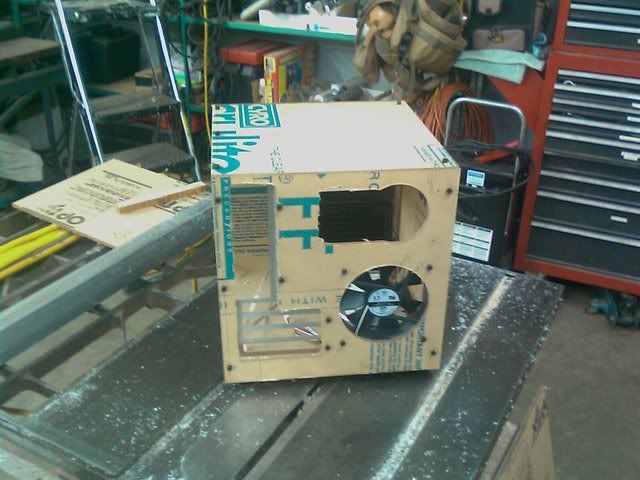
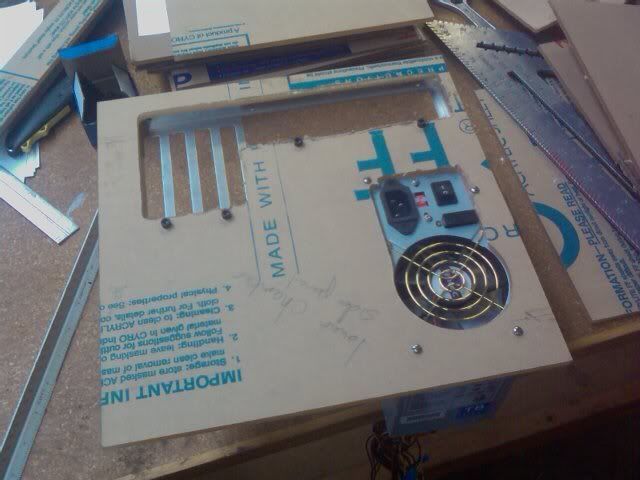
Cut the PSU mount out. Combination of a circle cutter that will be pictured later and the earlier mentioned drill press + mill table + dremel bit combo.
13.jpg


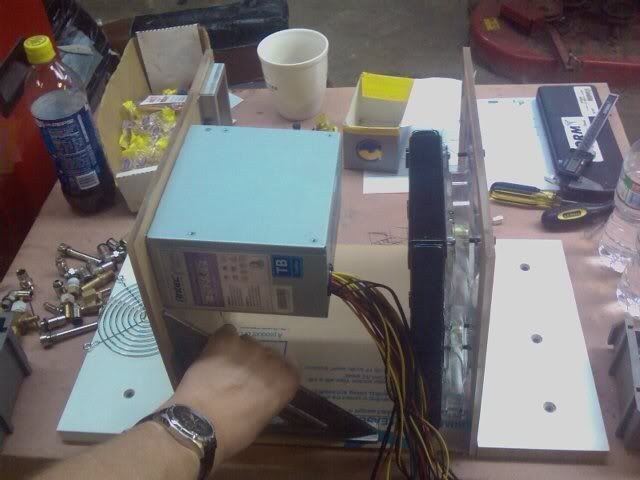
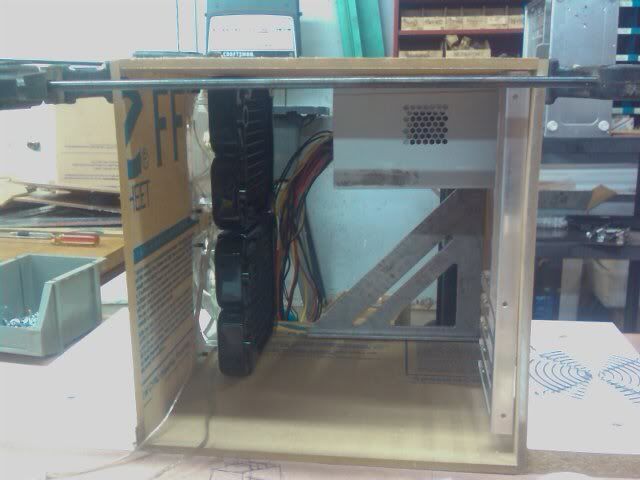
PSU mounted just to make sure everything fits. One screw hole is off, so I'm going to have to enlarge it slightly to make everything mesh.
14.jpg

15.jpg


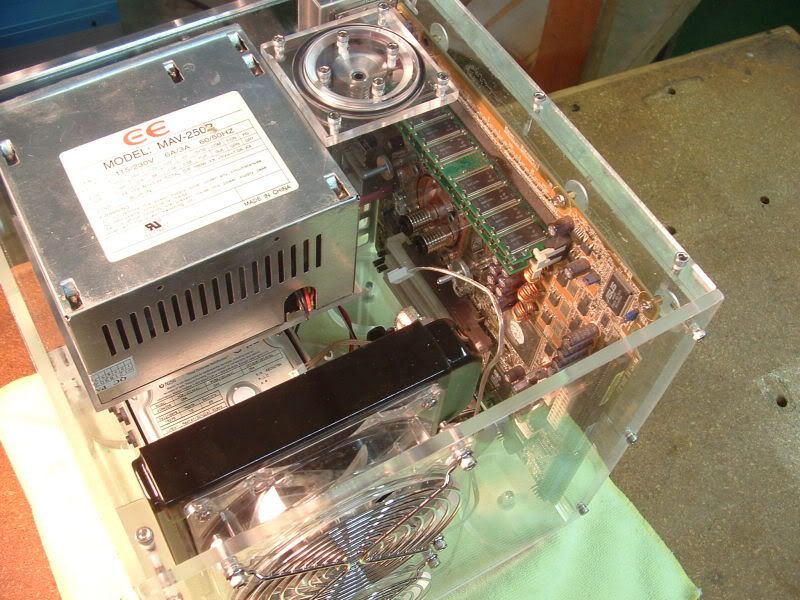
The PSU is a bit on the heavy side, so I'm thinking it needs a support shelf or something, I'll work on that tomorrow. That's an old Antec True Blue 480 that will probably find a new home in Anima Mundi. If that's the case, each and every wire will be a custom run, so no extraneous wires.
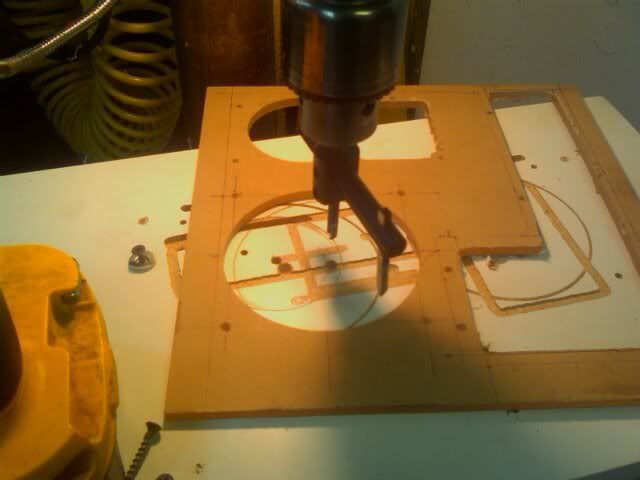
16.jpg


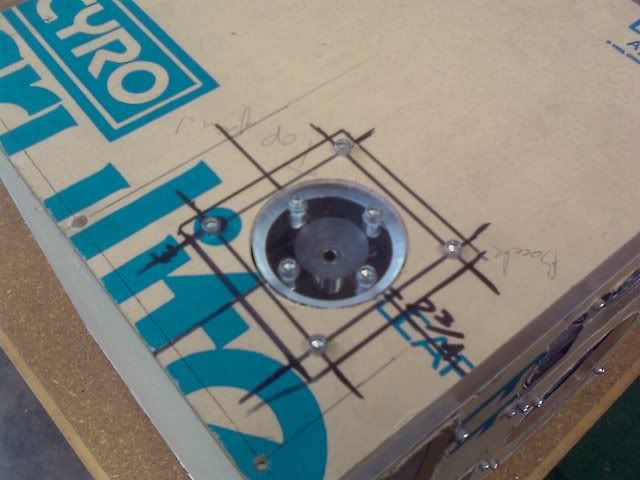
Yeah for circle cutters! Adding a 120MM exhaust fan to the rear panel.
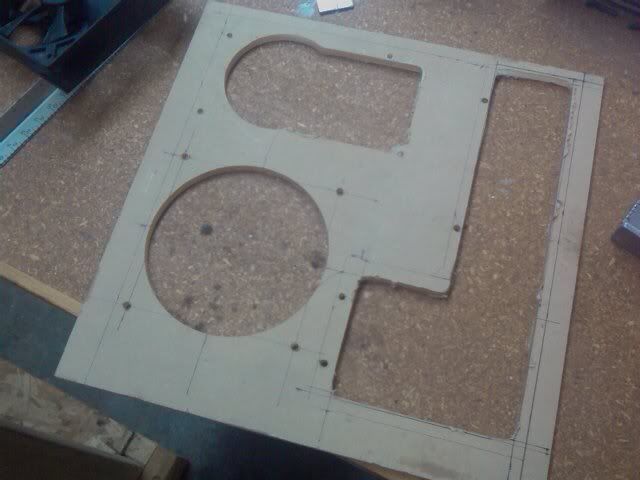
17.jpg


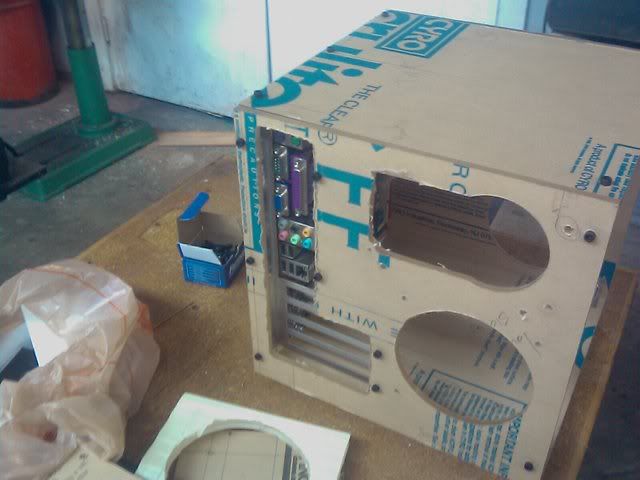
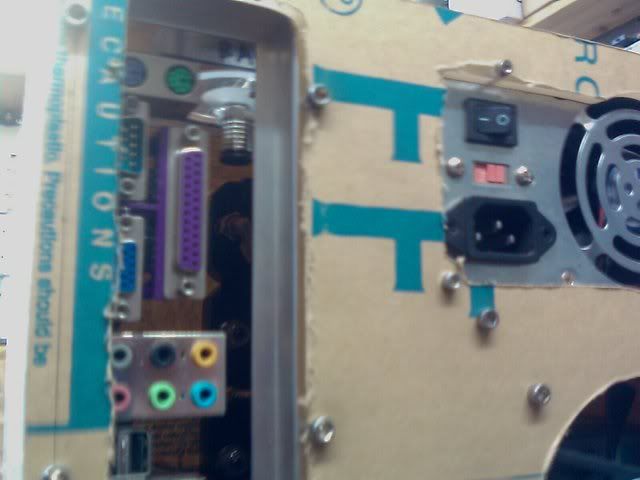
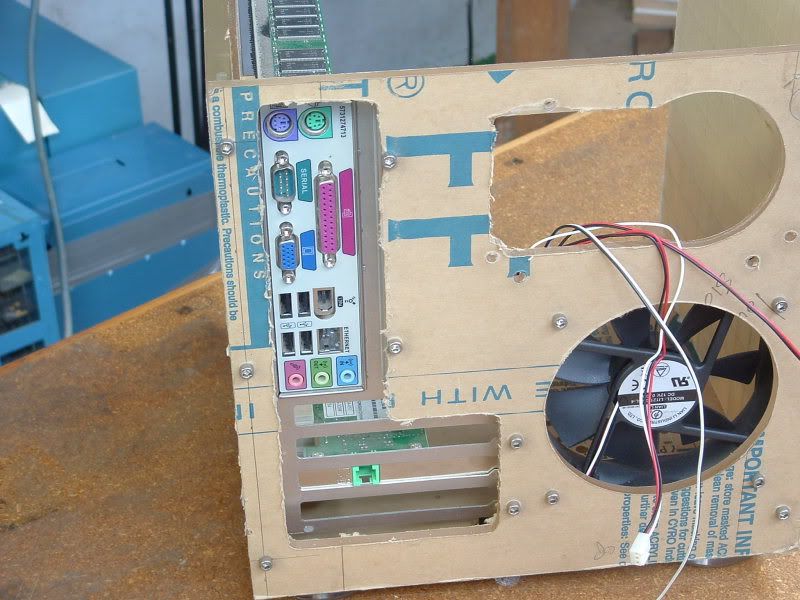
The completed back panel. I still need to countersink some screw holes and clean up the acrylic edges. There is a slim chance that I'll need to toss a couple more holes in there for the motherboard tray, but we'll get to that later.
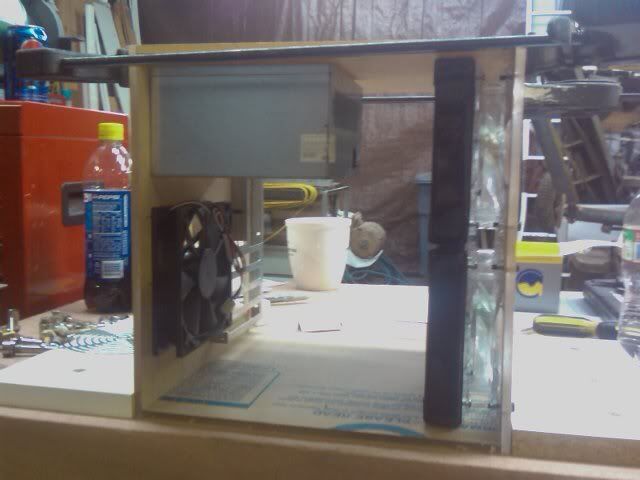
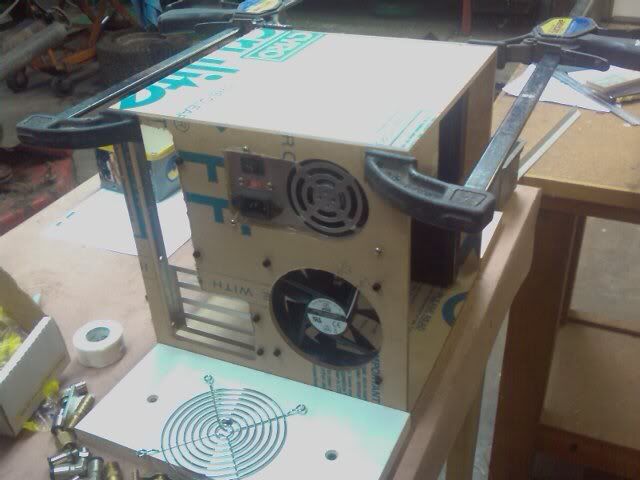
18.jpg

19.jpg


And that's all I got done for the night. Not bad for only a few hours haha.
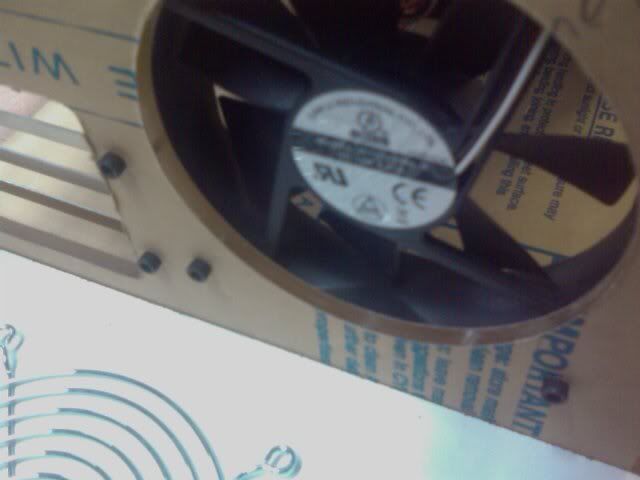
20.jpg


The results of the circle cutter. Will only need a bit of polishing, nothing major.
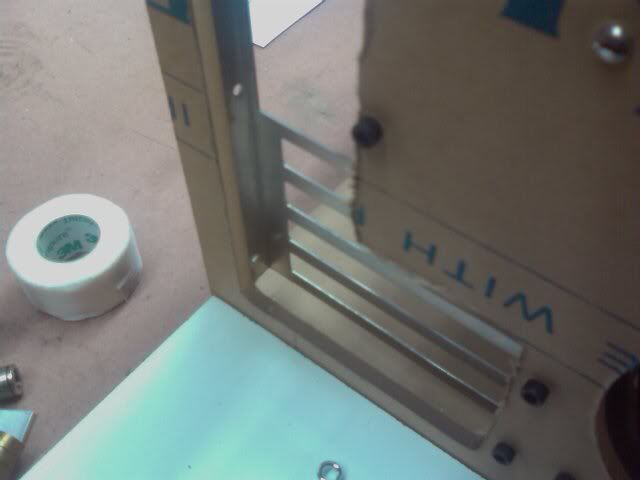
21.jpg


Straight off the drill press + mill table + dremel bit combo. Needs a little filing and sanding, maybe some flame polishing, but I haven't decided on that.
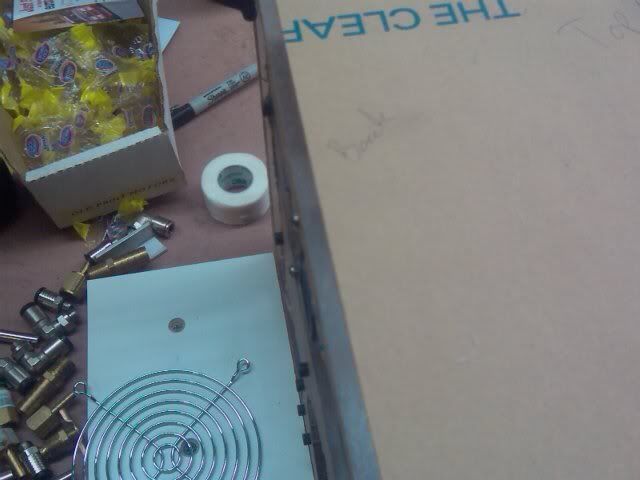
22.jpg


This is off the good side of the table saw, and will need the most work. Lots of filing to be done!
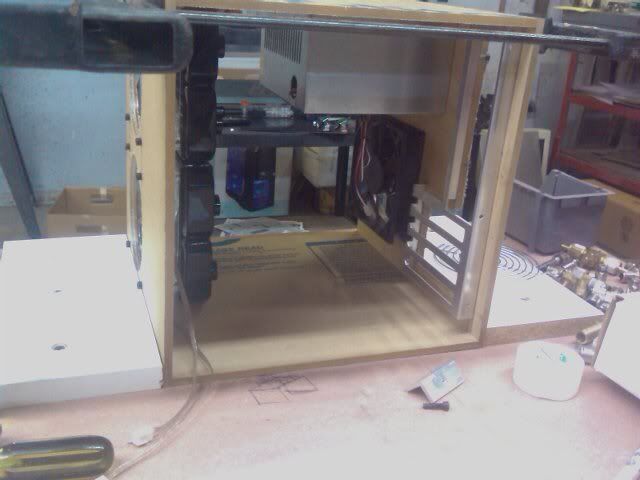
23.jpg


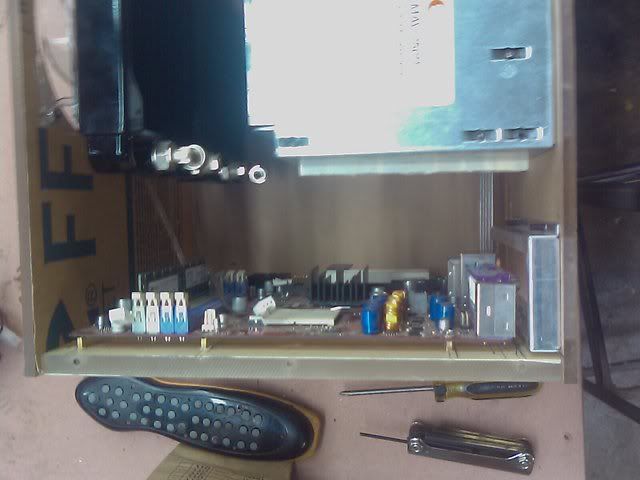
From the motherboad side of things.

24.jpg


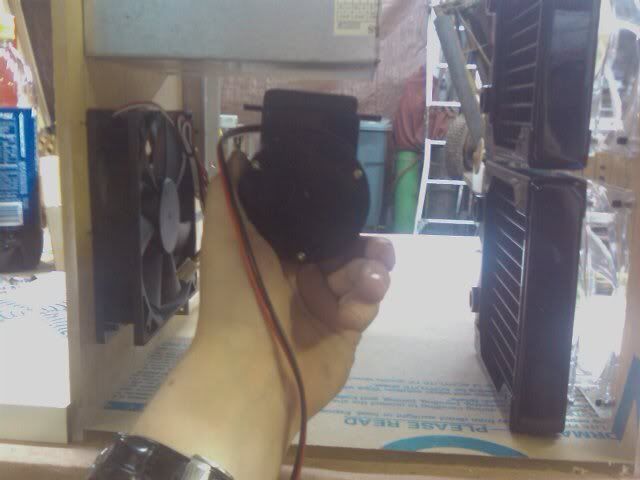
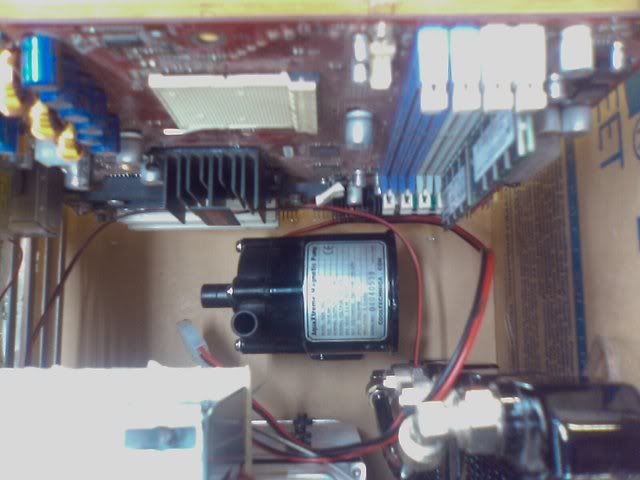
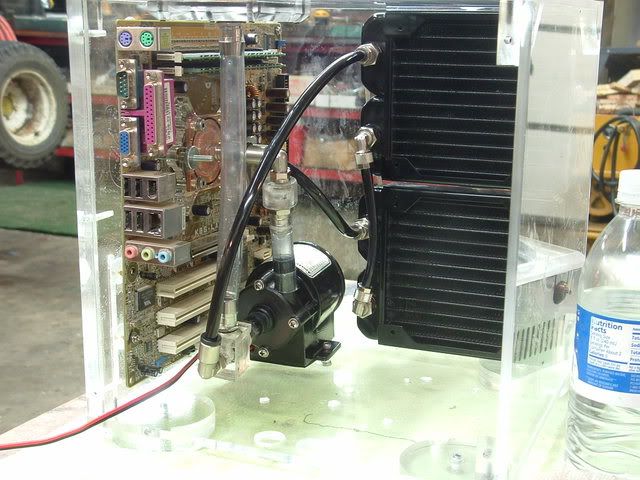
Possible pump location. Assuming I add a support shelf for the PSU, I would just slap the pump on the bottom and call it a day.

To do for tomorrow:
- Pick up some more 1/4 inch acrylic
- Design and build the PSU support/ pump mount
- Come up with some subtle lighting ideas
- Design and build the HD mount (hoping to get three drives in there, but who knows)
- Build the motherboard tray (I might need 1/2 inch acrylic, which would put a hink in things)

If I get all that done I will consider the day a success.
 
Well, didn't get nearly what I wanted to done. One of my friends got engaged so we had a little party in his honor.
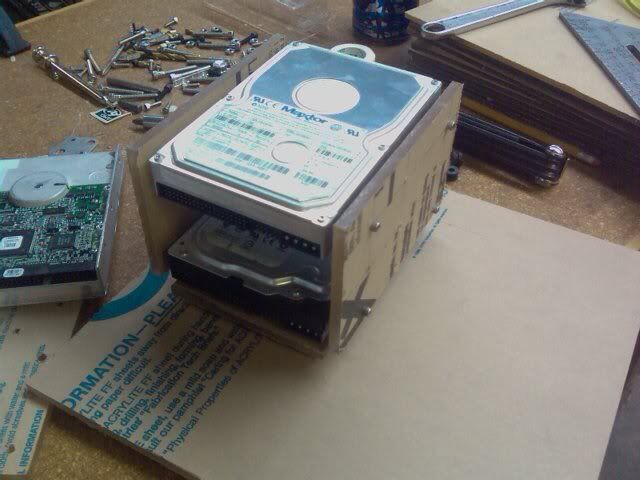
I did, however, get a fresh sheet of 1/4 inch plexi and ordered the 1/2 inch stuff that I needed. I also got the hard drive rack roughed out.
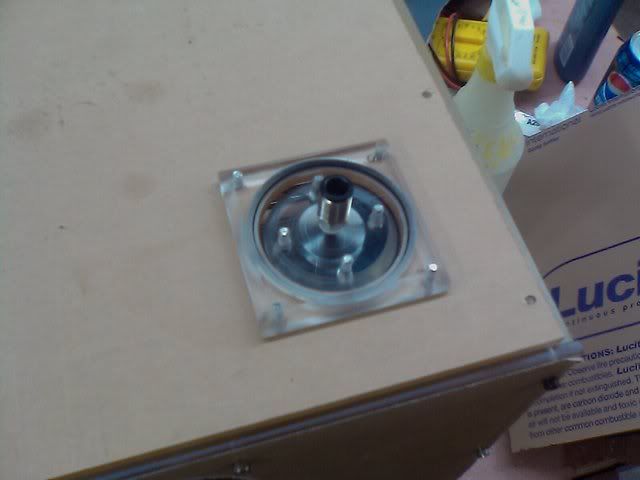
IMAGE_078.jpg

IMAGE_079.jpg

IMAGE_080.jpg

IMAGE_081.jpg

IMAGE_082.jpg

IMAGE_083.jpg

IMAGE_084.jpg

IMAGE_085.jpg


The 1/2 inch acrylic wont get into town until next Thursday :)mad:) so there isn't a whole lot more groundbreaking stuff for me to do until then. I'll probably start on the lighting tomorrow, as well as the case feet. I need to start planning the PSU wiring as well.
 
IMAGE_093.jpg


First up NEW TOY! My neighbor is an 85 year old man who never works in his shop anymore and is slowly giving away all his tools. He gave me that little work bench I posted earlier for nothing. I went over to mow his yard for him (its small and I was doing mine anyway), and he came out and said he had a couple tools that he wants out of his shop. The drill press just happened to be one of them. The best part, it was free. 3/4 HP Grizzly. Almost brand new.
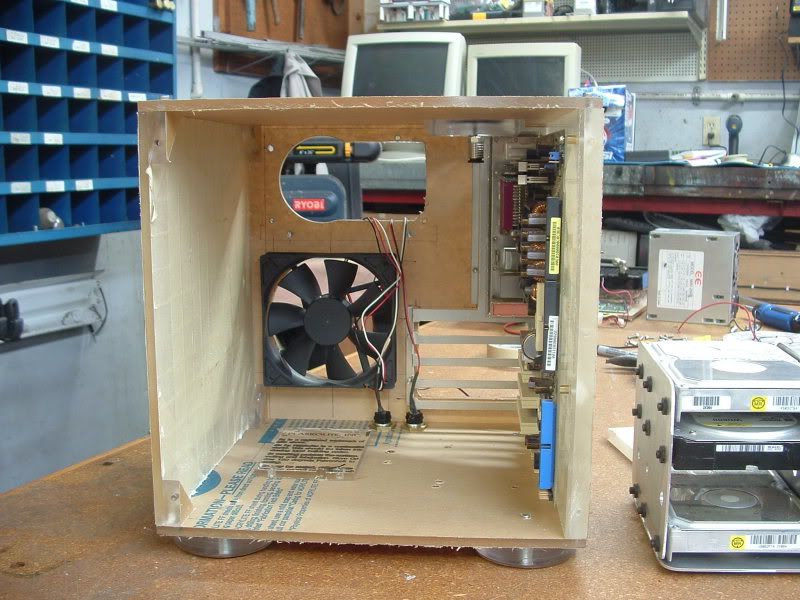
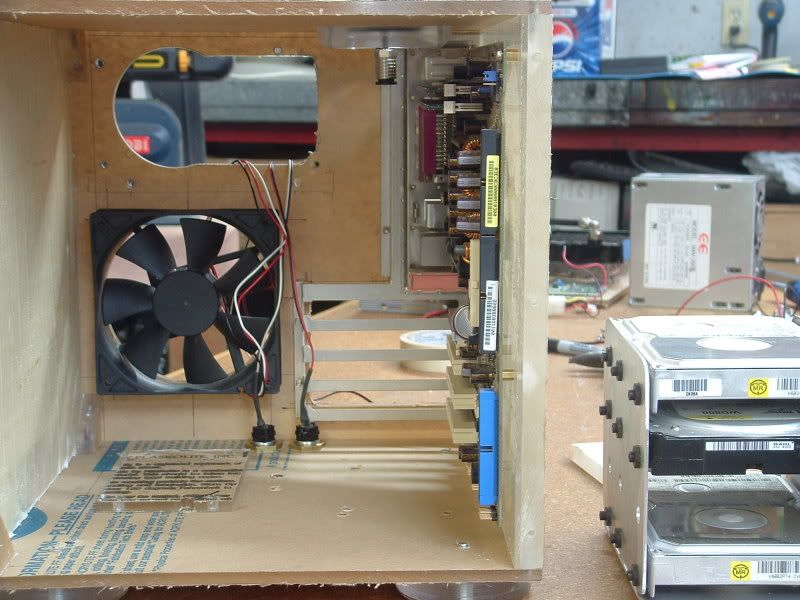
IMAGE_091.jpg


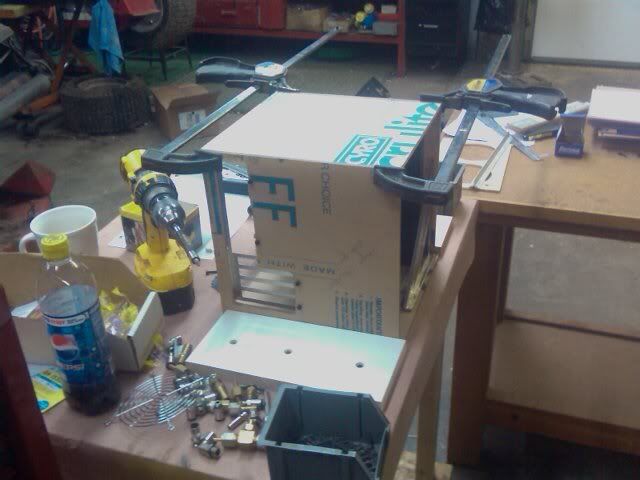
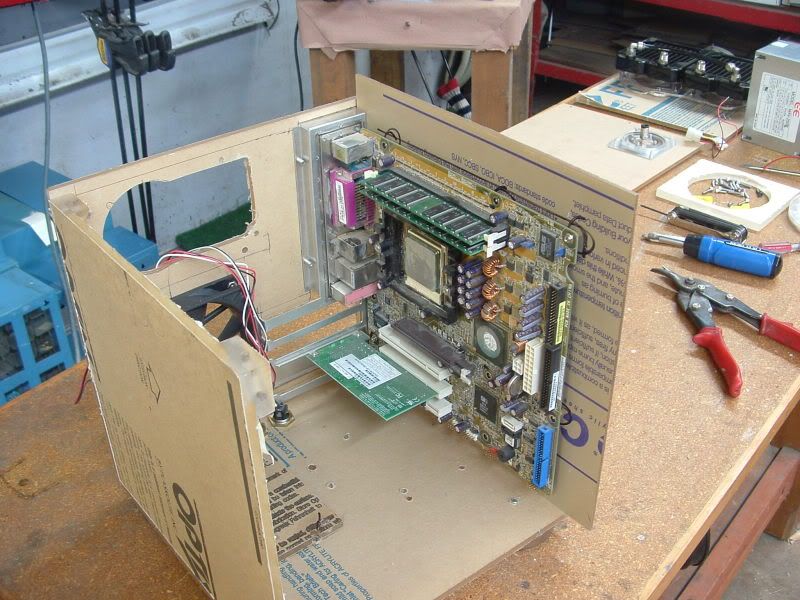
I decided that I wanted to screw this thing together instead of gluing it, mostly because I hate plexi glue, but that's besides the point. Sorry about the pictures, for whatever reason they didn't come out very sharp at all. This is the non motherboard tray side of things.

IMAGE_092.jpg


That would be the 1/2 inch acrylic I've been waiting for. This is the motherboard tray side of the case. I had to remove the paper to get everything lined up right. It's now covered in masking tape to keep it scratch free.

IMAGE_095.jpg


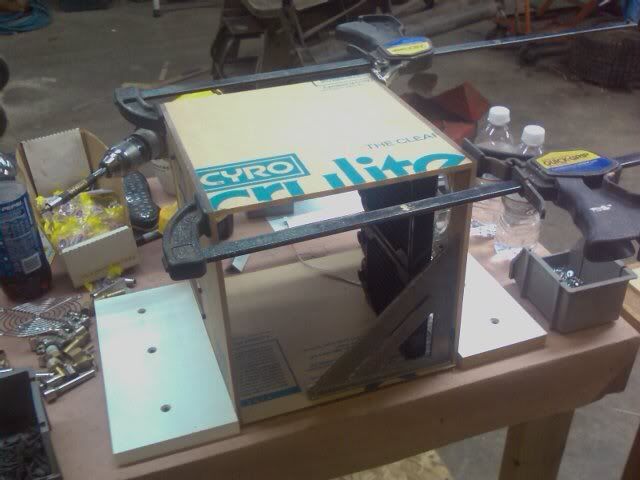
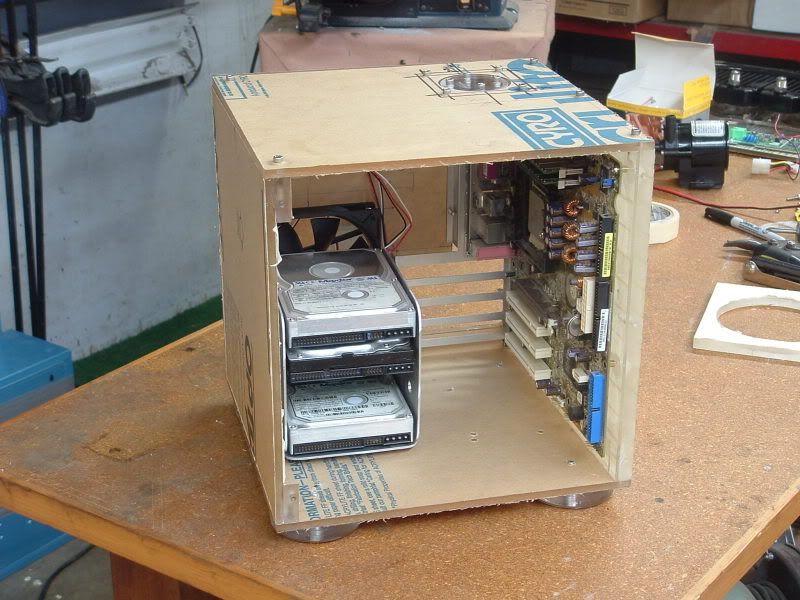
The new front view. Note the lack of clamps holding things together.

IMAGE_096.jpg


Motherboard side with some of the internals shoved back in. I ran into a little problem with the hard drive rack, I'll detail that tomorrow when I post my solution.

IMAGE_097.jpg


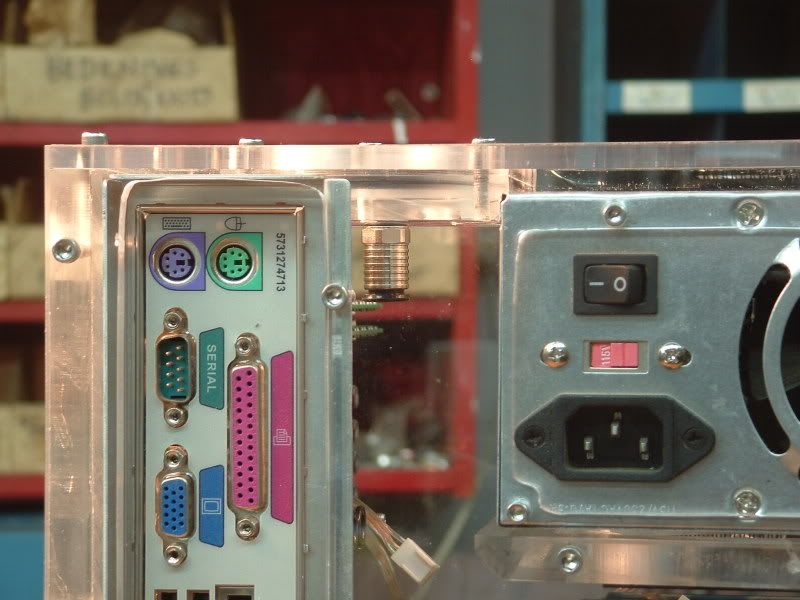
Rear motherboard side corner. Not really that interesting...

IMAGE_098.jpg


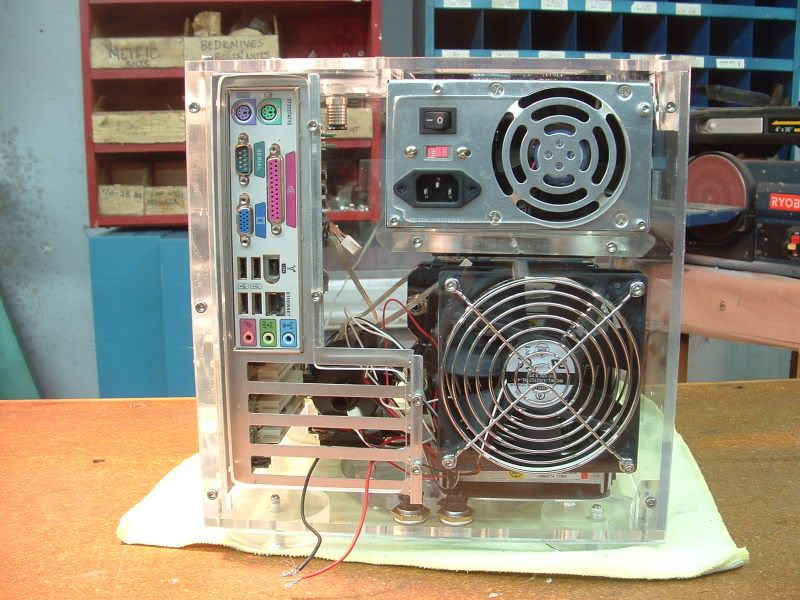
The back end, only thing new is the 3 screws on the left and the two on the right.

IMAGE_100.jpg


The removable side of things. I didn't measure two of the hole locations right, so I either have to fix the bottom left and top right holes or cut a new side panel.

IMAGE_101.jpg


Front left corner!

IMAGE_102.jpg


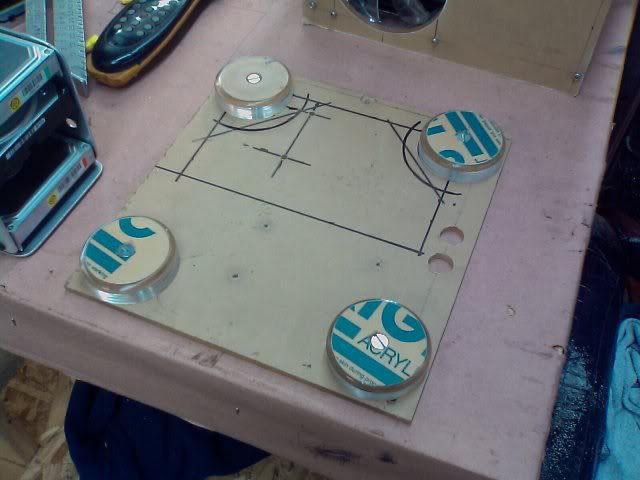
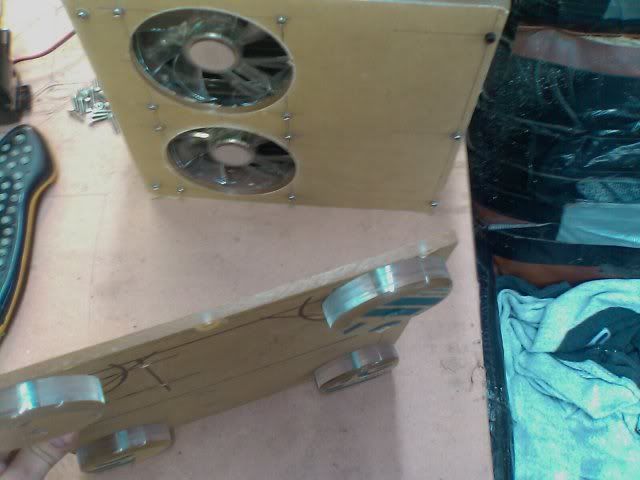
The sort of completed feet. Those aren't the final bolts, and they still need to be lit and the aluminum painted, but that's the general idea. 1/16 inch aluminum, two pieces of 3/16 acrylic, and another piece of aluminum all turned and smoothed on the drill press.

IMAGE_104.jpg


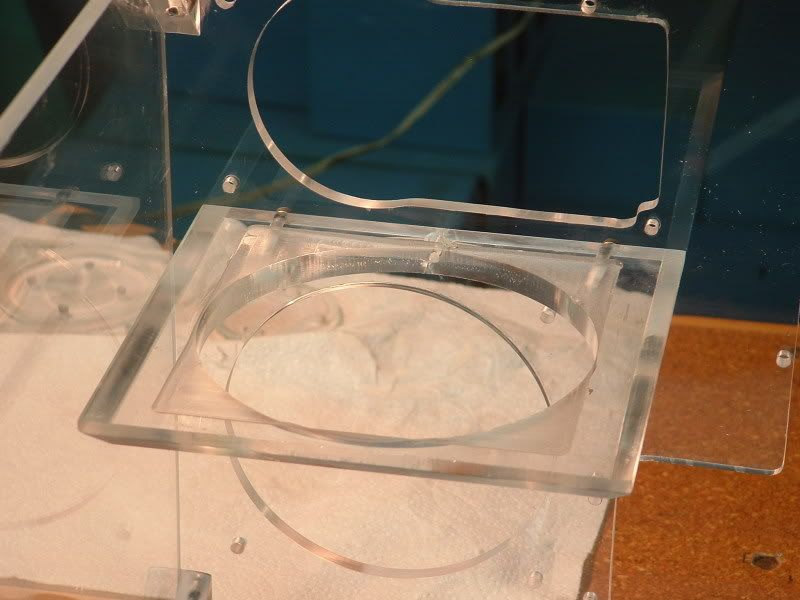
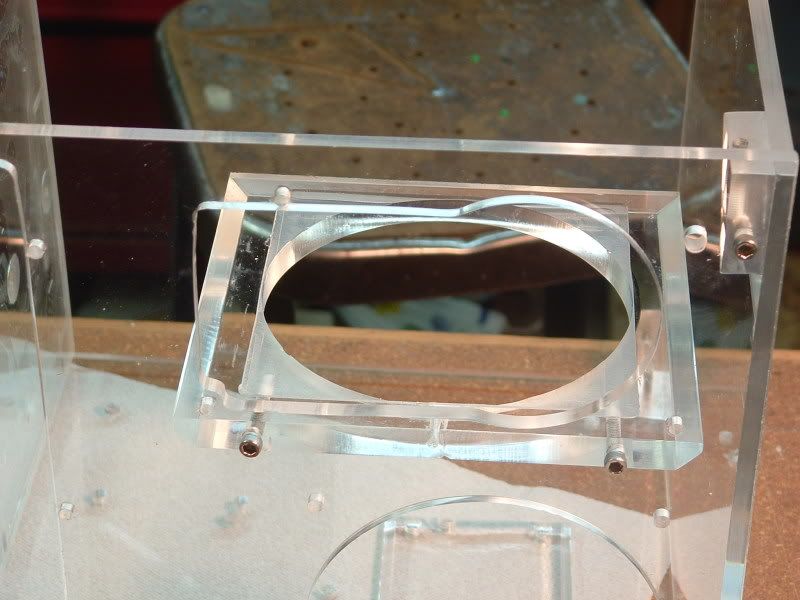
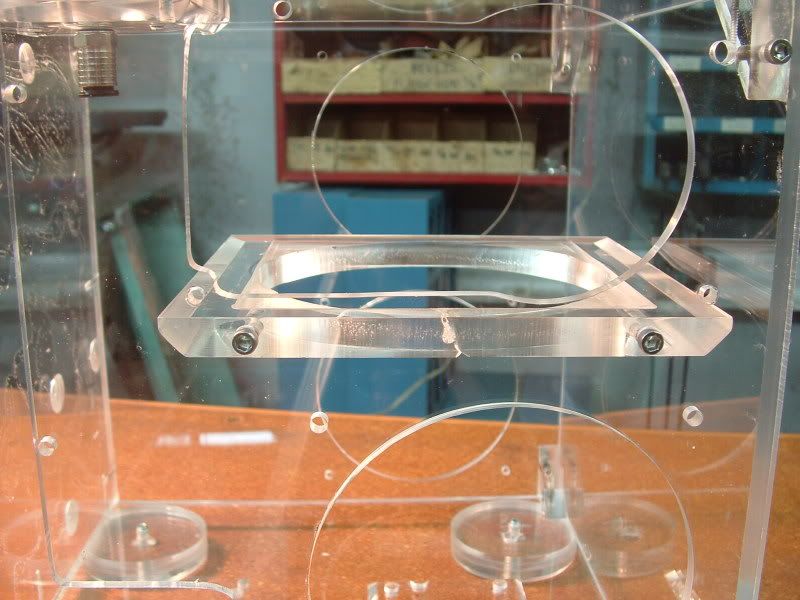
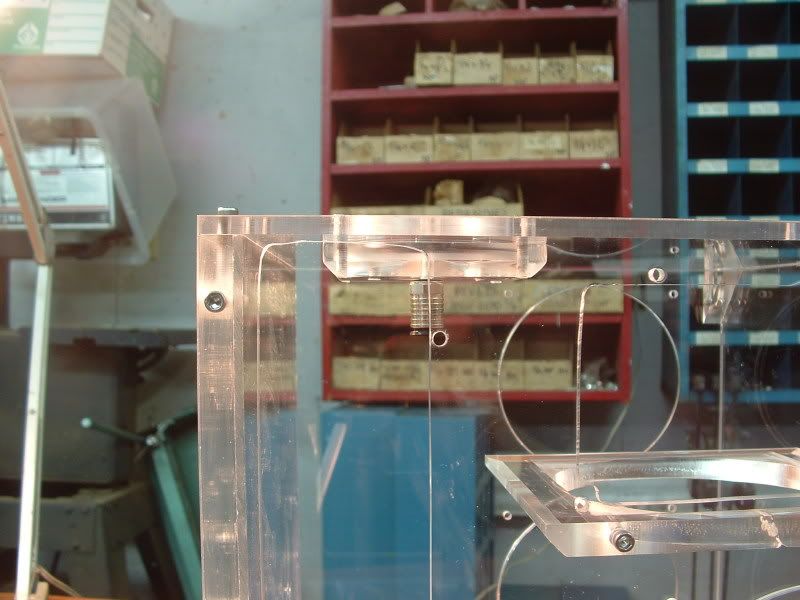
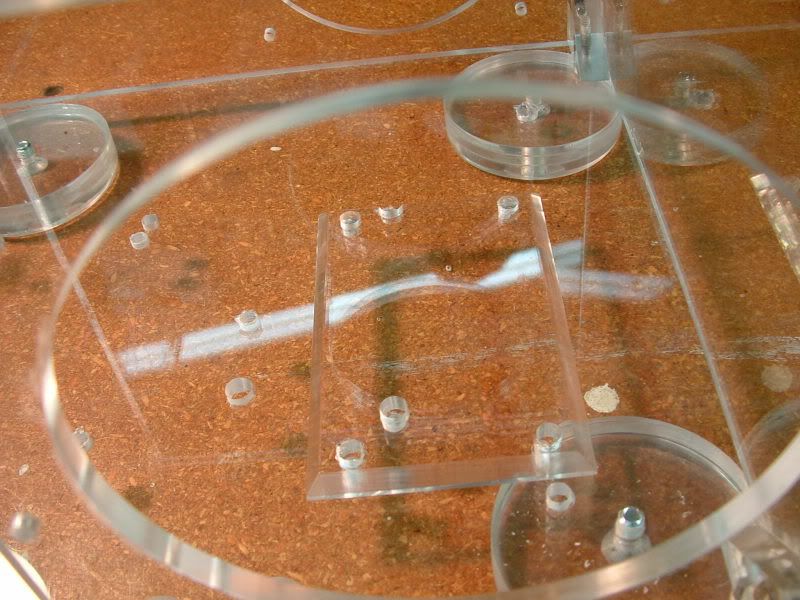
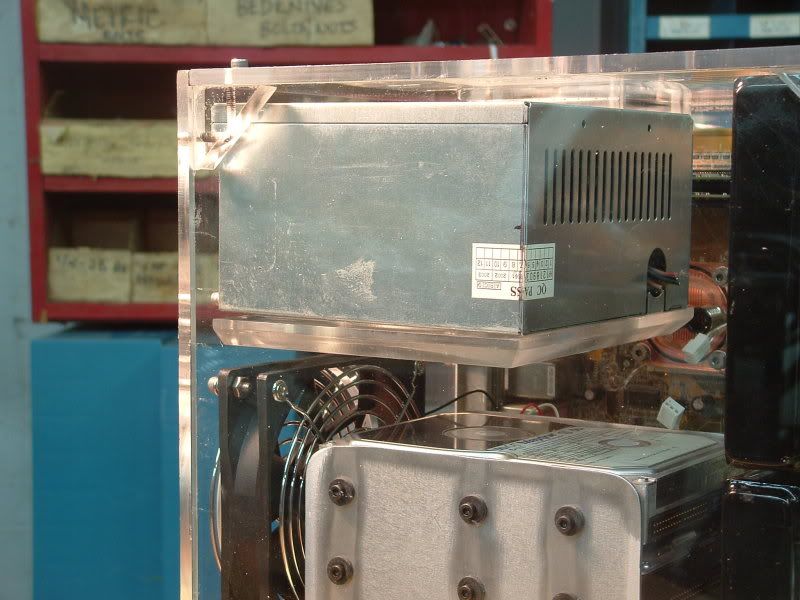
The PSU support. Note the hole in the middle that I screwed up. It cracked the acrylic, so when I go to do the polishing I'm going to fill it. The cloudy section has been cut down about 1/16 of an inch to allow for any fan grills that the PSU might have. I'm not quite done with the PSU support bracket, but I'll post about that tomorrow.

IMAGE_106.jpg


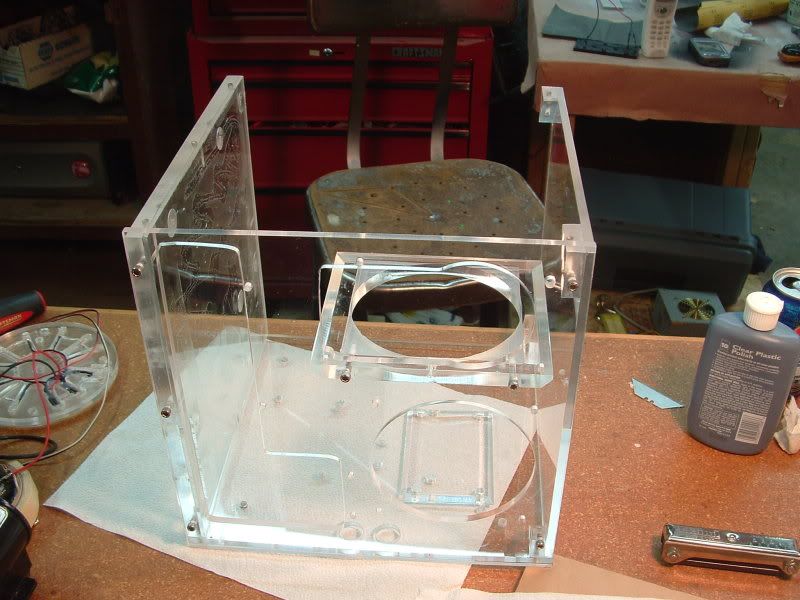
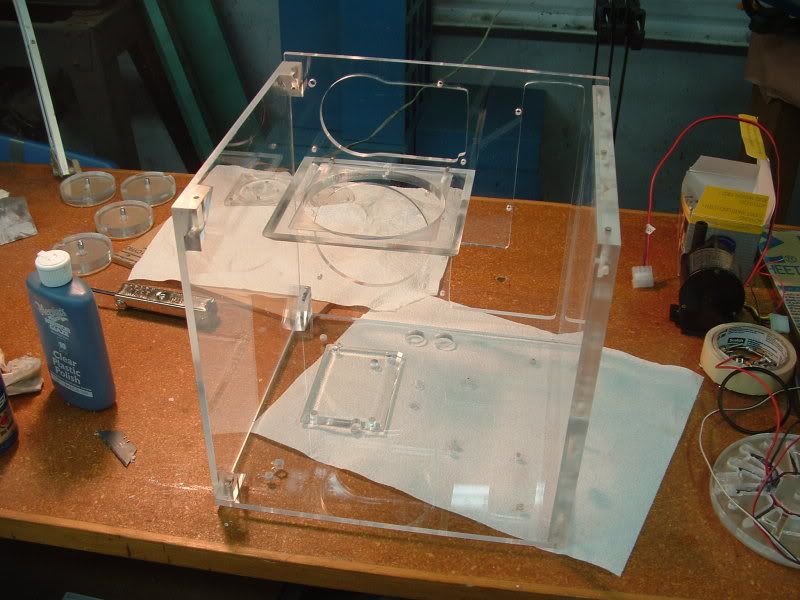
PSU bracket mounted in the case

IMAGE_107.jpg


Another angle

IMAGE_108.jpg


From the motherboard side of things before I taped up the MB tray.

So 99% of the structural stuff is done. I just have a few more odds and ends to tie up before I start the lighting. After lighting comes edge cleanup and hole countersinking (only a few holes need it), then comes paint and *secret step to be named later*.
 
Nice! How do you plan on hiding the wires?

I dont really. Every wire will be routed and run once the case is together. Everything will be cut to the perfect length and routed to avoid exposure without compromising usability.

And the case wont be clear, there aren't going to be any windows or anything, so it's not like they're going to be exposed to the world.
 
1.jpg


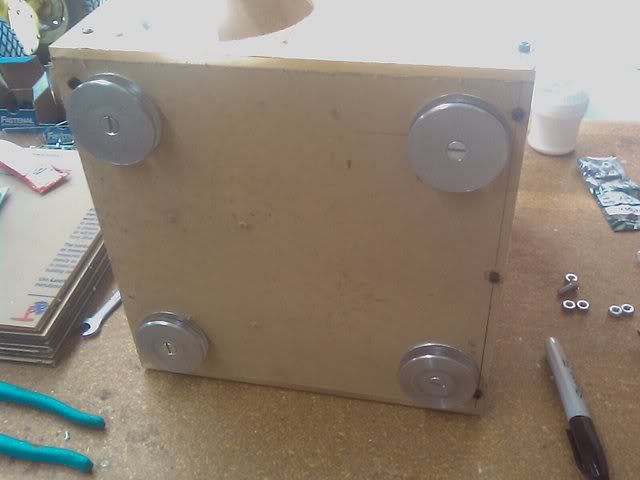
Counter sunk the feet. Next step on these things is lighting, which is a way off. The top aluminum disc will be painted to match the case, the bottom disc will be rubber coated.

2.jpg

3.jpg

4.jpg


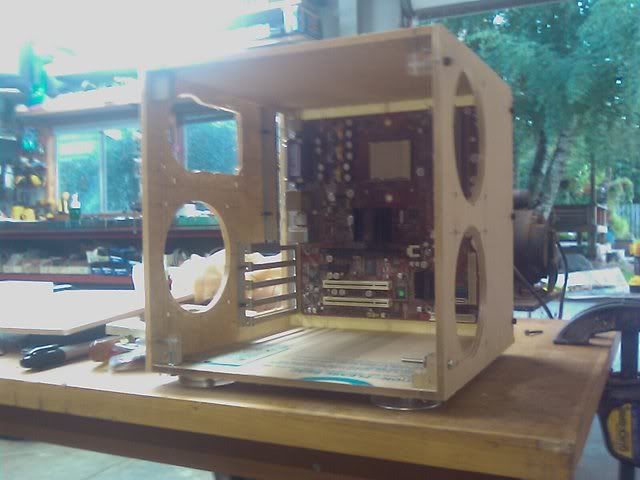
Got the motherboard mounted. It needs a little work still, but it fits together almost perfectly. The last picture is just there to show that I didn't drill all the way through to mount the standoffs.
 
Someone on another forum asked how much this bugger weighs, so I piled all the parts that will be in the final build and weighed it. At the moment it clocks in at 24.5 pounds.

On Monday I'm ordering a whole whack of stuff to finish off the project:
A Liang DDC Pump with built in reservoir
Two Vandal resistant white ringed switches
Three white Coolermaster LED fans
Four 120MM black wire fan grills
Four straight G1/4 compression fittings
Two 90 degree G1/4 compression fittings

And two sheets of copper, two sheets of brass, and two sheets of aluminum :cool:
 
I thought wood projects where rare newday, aint, doing one myself, looking around for inspiration.

My demands are quite simple, space for 2x 4870x2, microatx mobo, atx psu, 2.5" hdd mb the WDC 10k rpm one, costum cooling.
it will come on ocp soon, when im done, need the dfi micro atx 790GX mobo first(amd setup)
Its quite small, but wiiide, so space for a NH-12P ;D but its like lenght of 4870x2, hight of atx psu+MATX mobo, and wide: NH-12P so gonna be packed.

Anywayz, seems like one tight watercooled project, hope it will look nice, thats a main issue with many wood projects, the finish aint good, practical yes: good looking no.

GL on ur project, almost wanted to make one myself. but only got 2CM MDF plates, heaaaavy.
 
I thought wood projects where rare newday, aint, doing one myself, looking around for inspiration.

My demands are quite simple, space for 2x 4870x2, microatx mobo, atx psu, 2.5" hdd mb the WDC 10k rpm one, costum cooling.
it will come on ocp soon, when im done, need the dfi micro atx 790GX mobo first(amd setup)
Its quite small, but wiiide, so space for a NH-12P ;D but its like lenght of 4870x2, hight of atx psu+MATX mobo, and wide: NH-12P so gonna be packed.

Anywayz, seems like one tight watercooled project, hope it will look nice, thats a main issue with many wood projects, the finish aint good, practical yes: good looking no.

GL on ur project, almost wanted to make one myself. but only got 2CM MDF plates, heaaaavy.

Good luck with your project! With that sort of hardware you're going to have to be very careful about maintaining airflow and keeping everything cool. If you wanted to stick larger/ longer video cards into Anima Mundi, you could remove the bottom radiator and just stick a fan in there, could fit almost anything except those stupid long cards.

And I'm confused about your wood remarks, since this build is mostly acrylic.
 
Minor update:

1.jpg

2.jpg

3.jpg


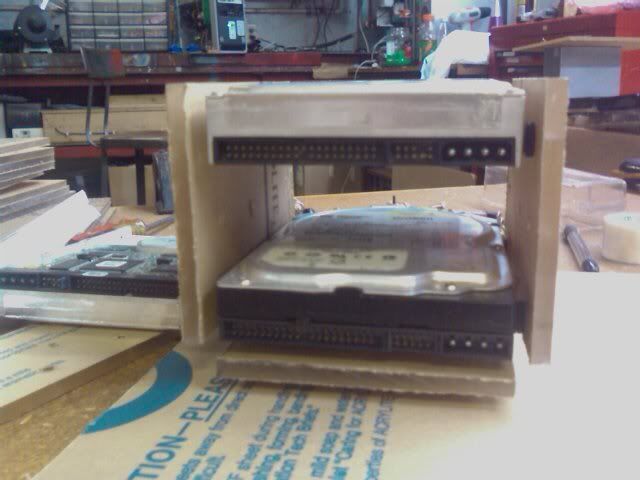
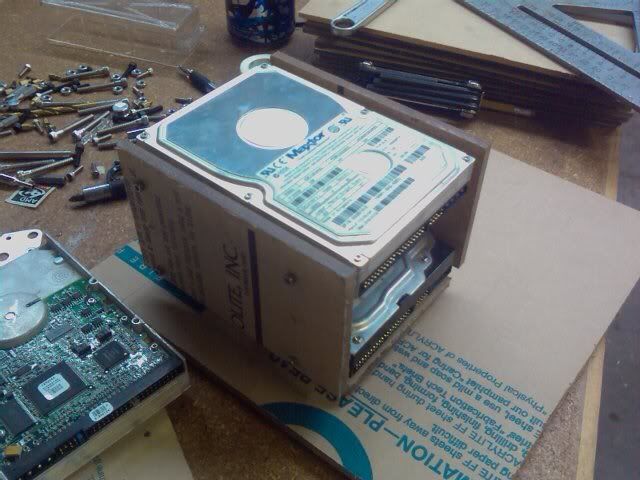
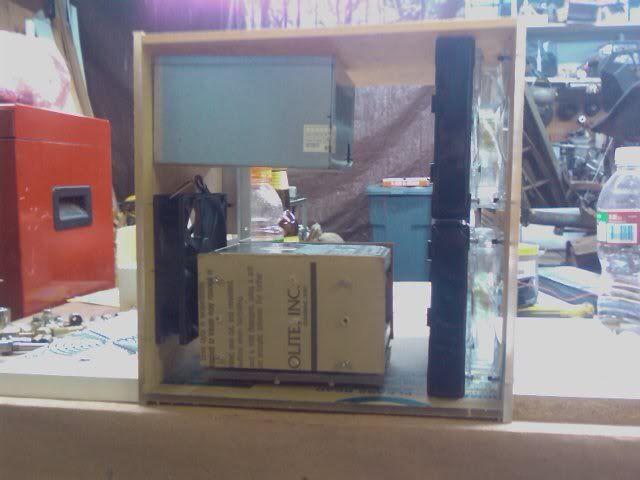
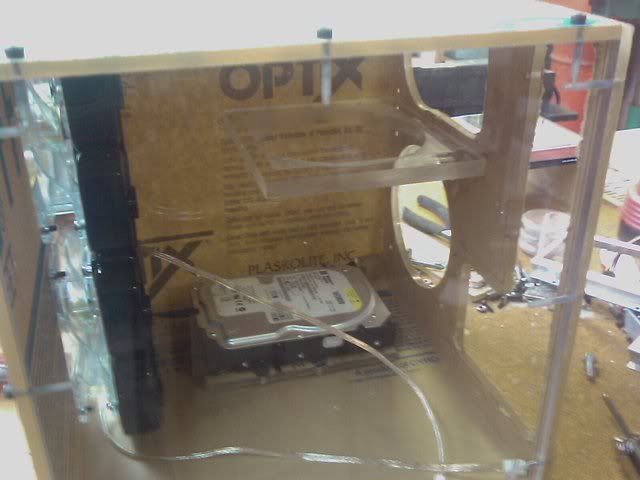
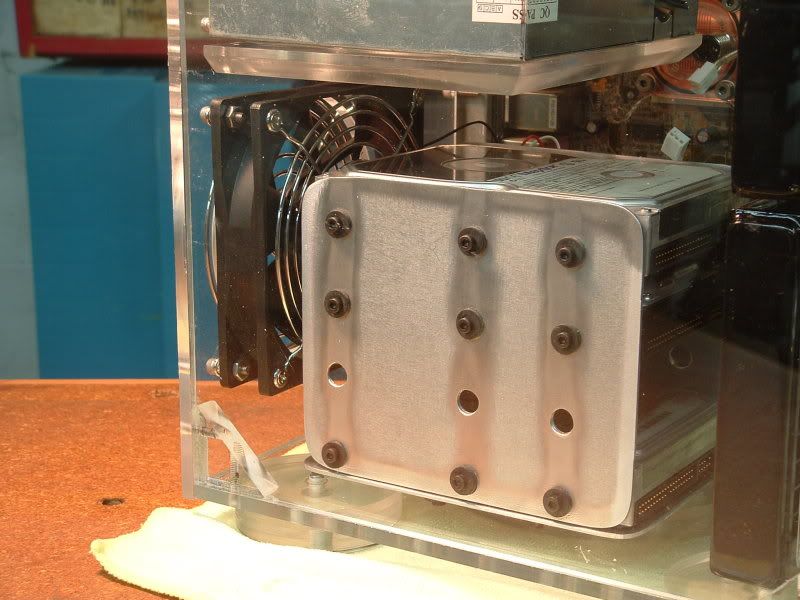
Rebuilt the hard drive rack. This one will isolate the vibrations coming off the hard drive better, and holds 4 drives vs the old 3 drive rack. Metal still needs a little cleanup. The discoloration you see is just from me running a wire wheel over it to remove some imperfections.

I have a design decision to make. I figured out where I can fit a laptop sized optical drive without compromising any of the other design elements. It fits like a freaking glove I'm impressed. I'm just debating whether I want to spend the $80 or whatever a slot loading DVD-RW would cost me.

Thoughts?
 
Very minor update. I've been battling the blocks on the hard drive side of things for three iterations now. I dont want to waste anymore half inch acrylic, so I have a new plan! Four corner pieces glued to the side panel. I'll clamp it into the case tomorrow and drill and tap the holes exactly where I want them. I will win!

1.jpg
 
Another minor update.

I got the sidepanel screwed on. The case is 100% structurally finished minus the pump situation. Next up is lighting and electronics. After that comes edge finishing, then paint and any exterior modifications that I may or may not have planned...

1.jpg

2.jpg

3.jpg

4.jpg
 
So here's a top down view with most of the components screwed in. I need to add a couple of spacers under the motherboard to make things rack right.

1.jpg

2.jpg

3.jpg


Anybody see the issue? Yeah, space for the pump. It's a toss up between a Liang DDC and a Danger Den CPX1. I think I have to give up having a video card, but either one should fit. Perhaps some fancy plumping will let me fit a video card in there, but that has yet to be seen.

The pumps:
Liang DDC with Plexi top
Dangerden CPX1
 
Well what's this? Progress?

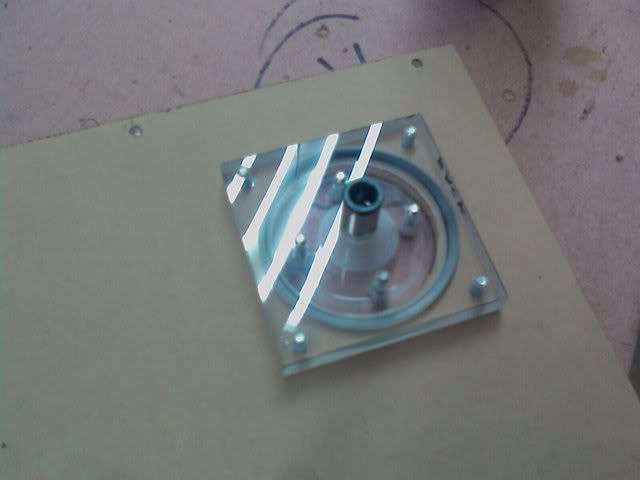
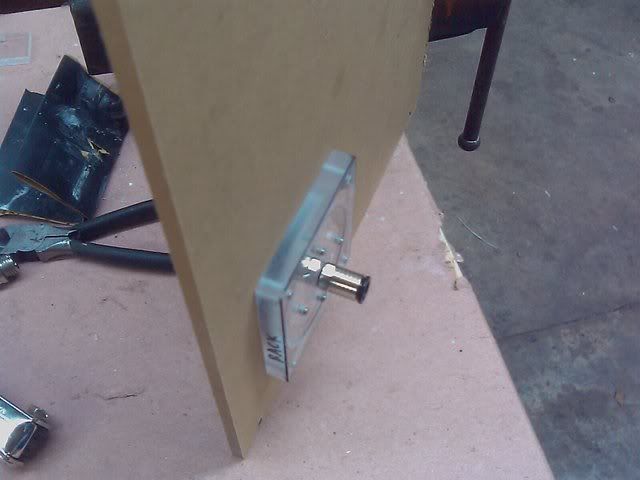
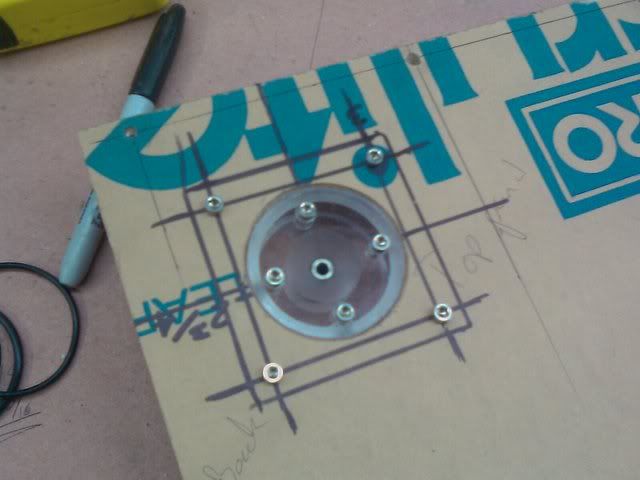
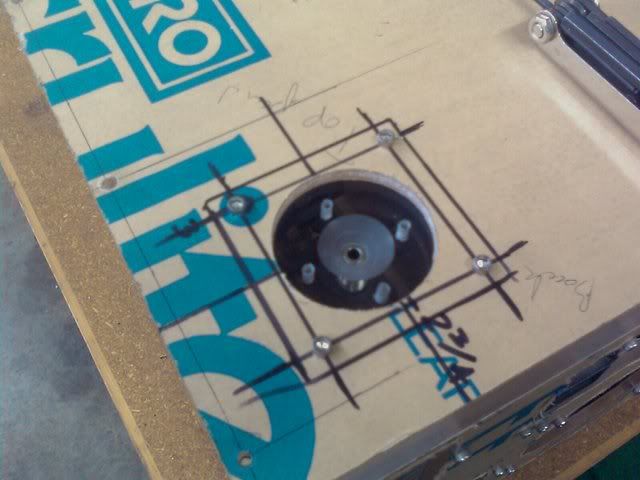
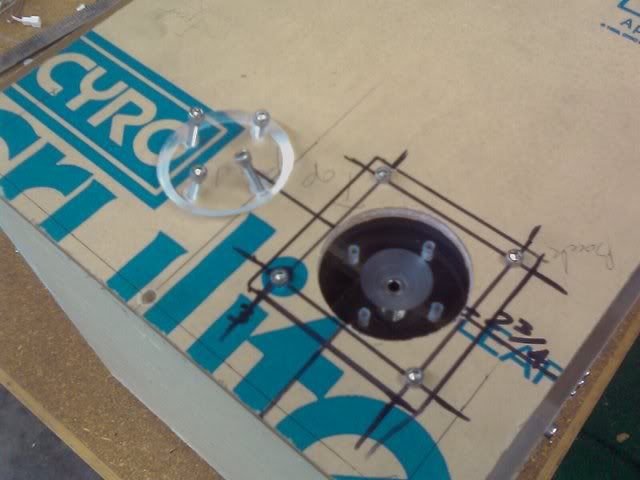
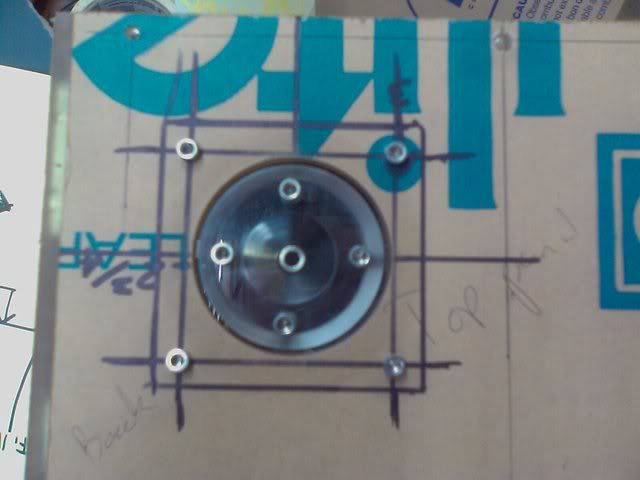
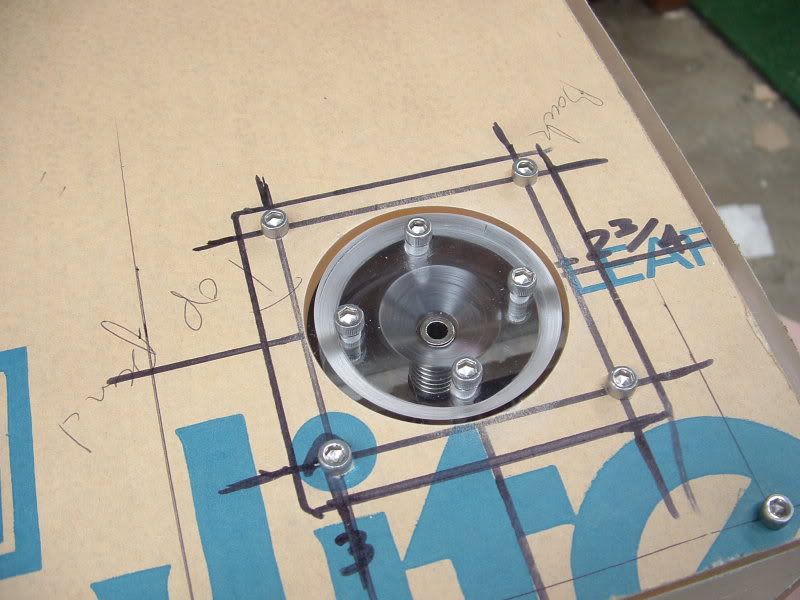
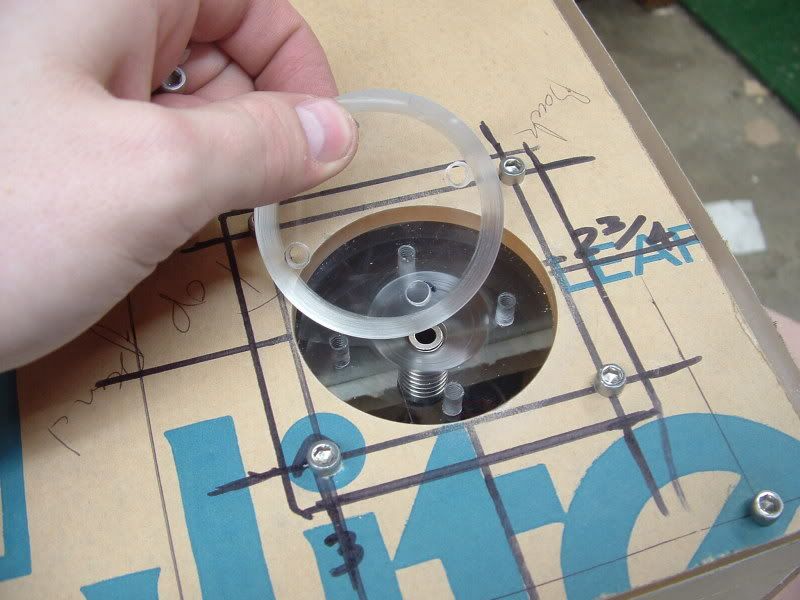
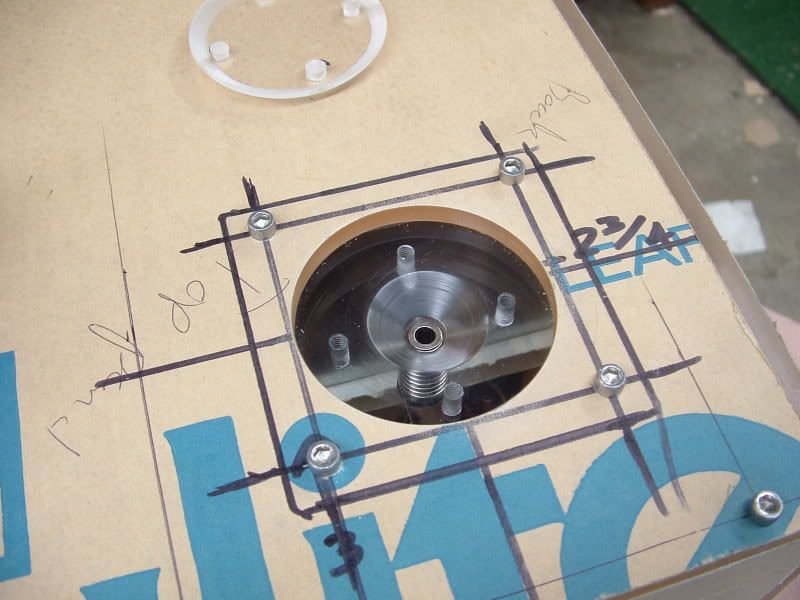
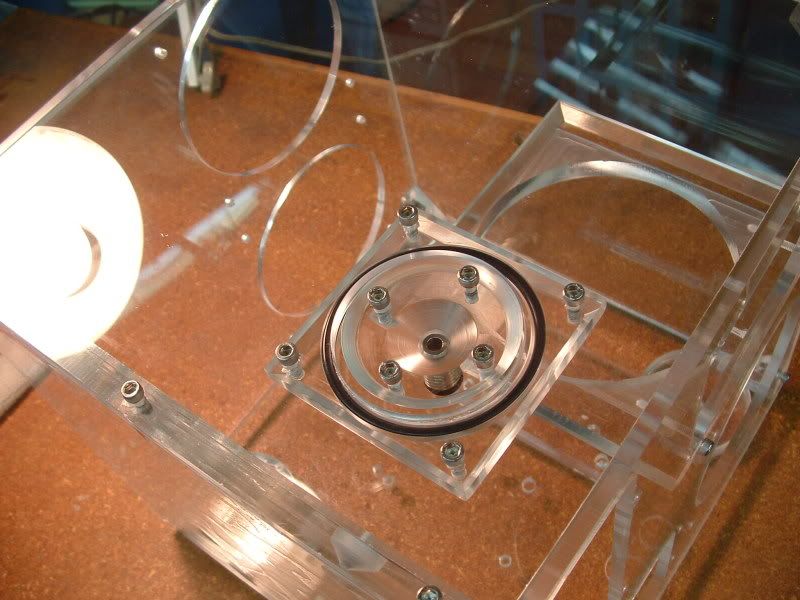
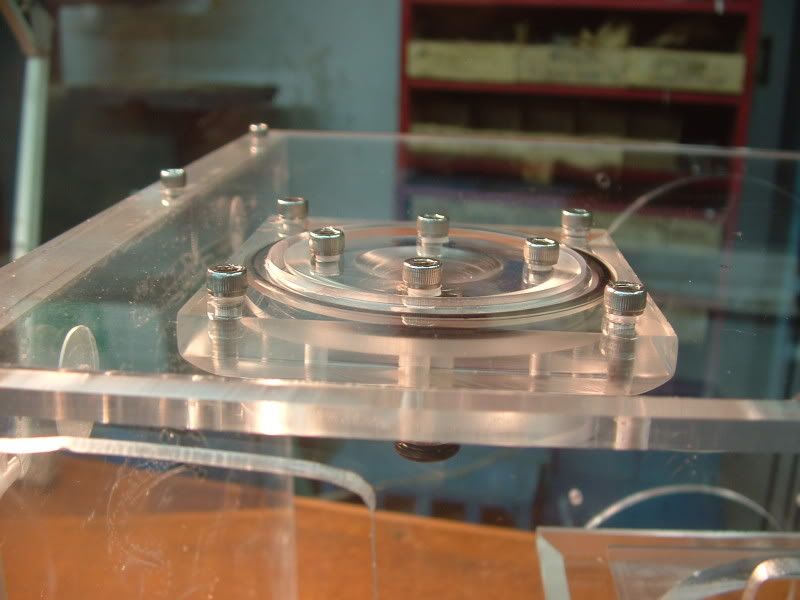
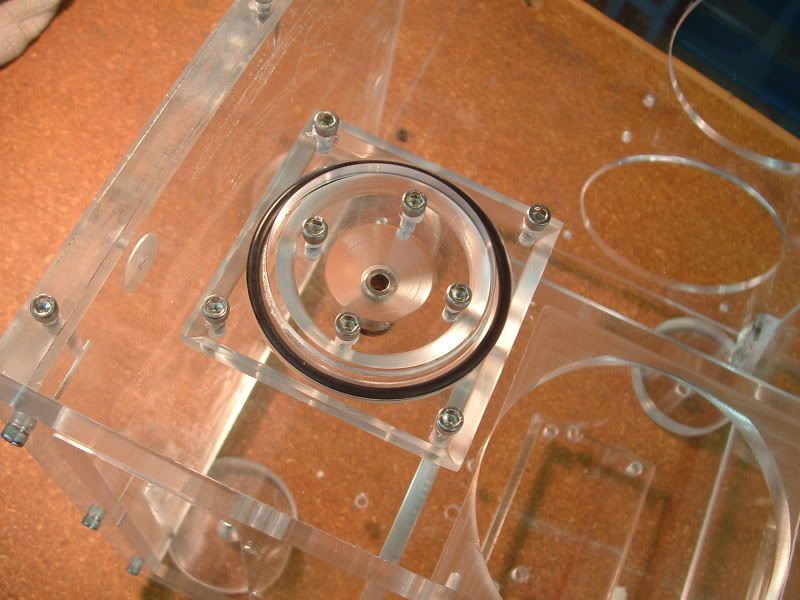
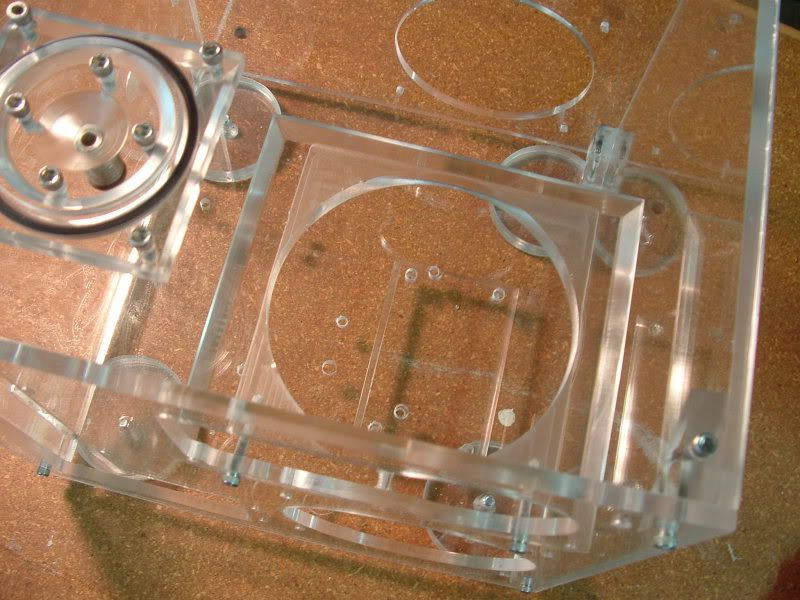
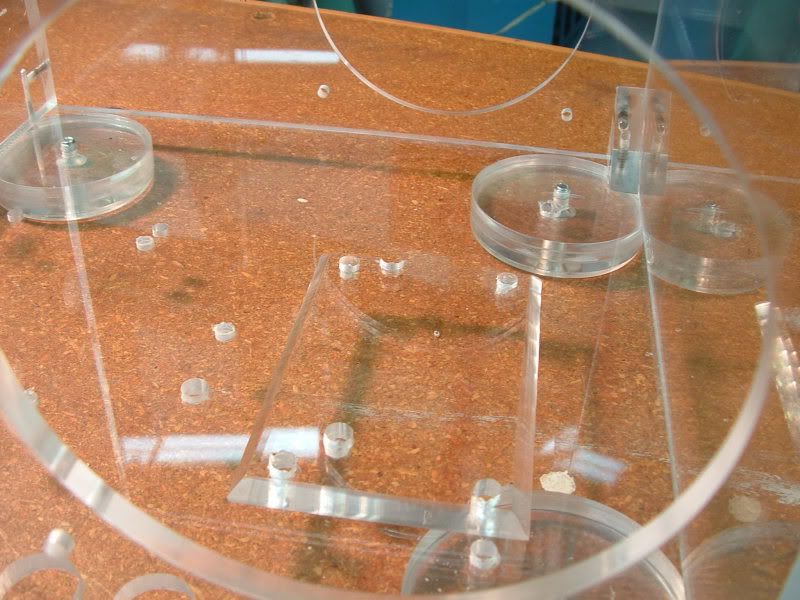
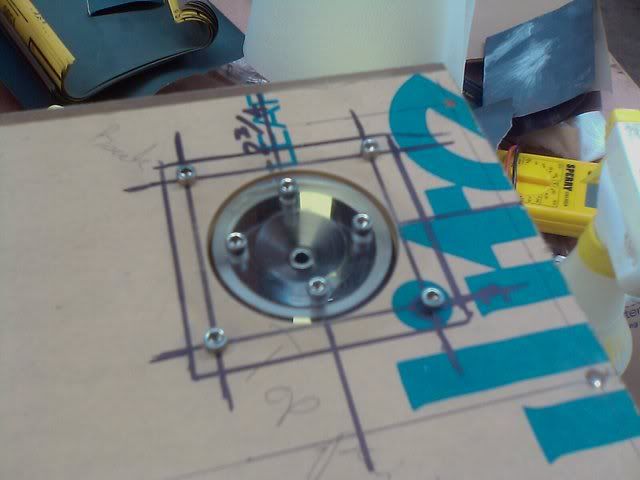
Fabbed up the fillport real quick.

1.jpg

2.jpg

3.jpg

4.jpg

5.jpg

6.jpg

7.jpg


Still have a lot of cleanup work to do, this is pretty rough and mostly straight off the drill press/ table saw.
 
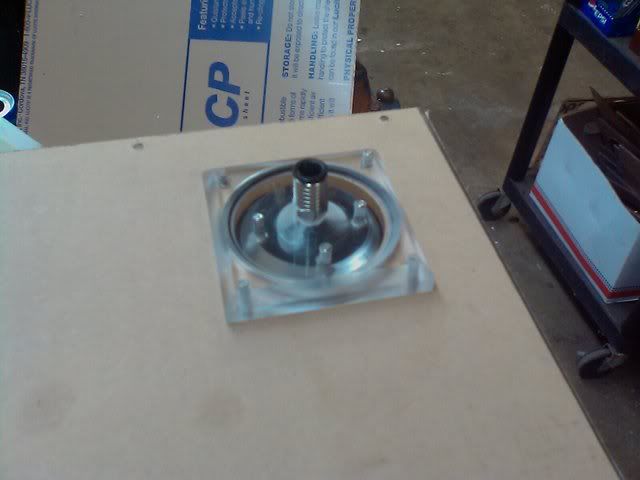
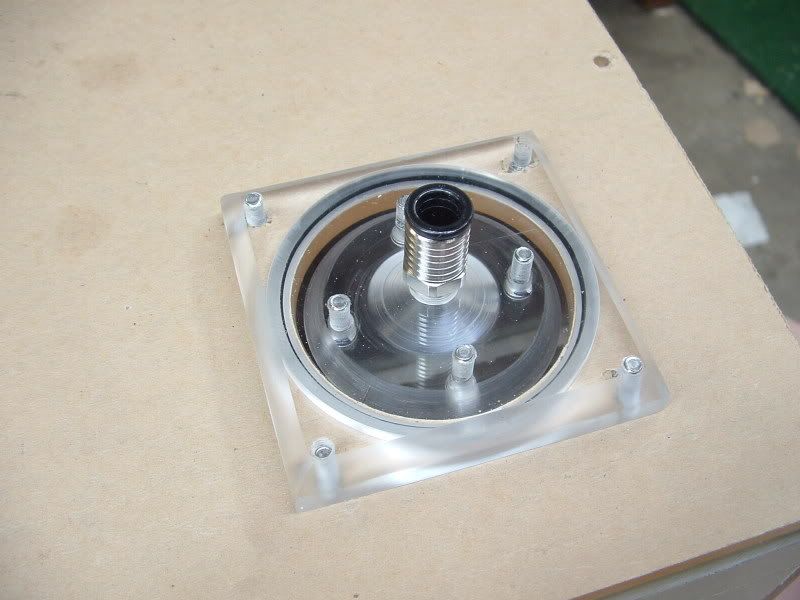
Cleaned up the fillport and mounted the pump.

1.jpg

2.jpg

3.jpg

4.jpg

5.jpg

6.jpg

7.jpg


I realized that since I'm stuck with the 50Z, there is NO way to mount it and still have a video card, so I just said screw it and bolted it to the floor. I think I want to move it over a little to give the motherboard some more room, but I dont think the new motherboard that I just ordered will have any issues.
 
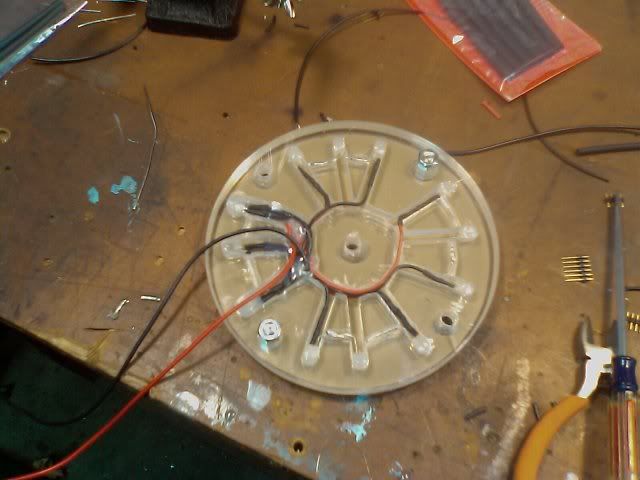
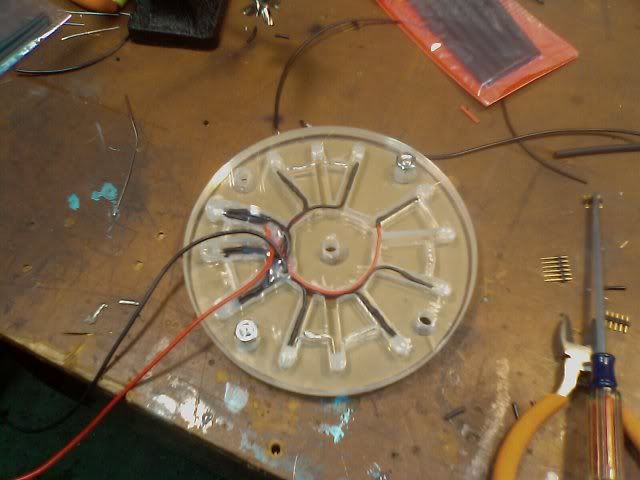
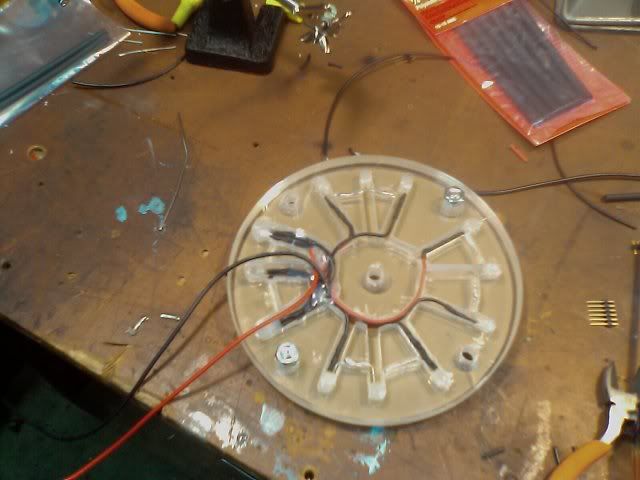
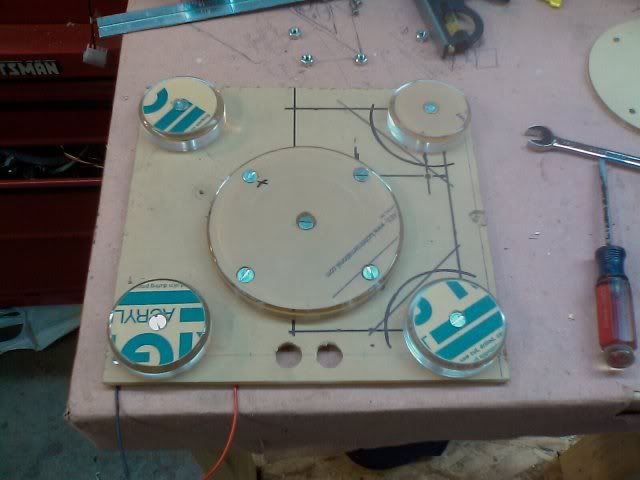
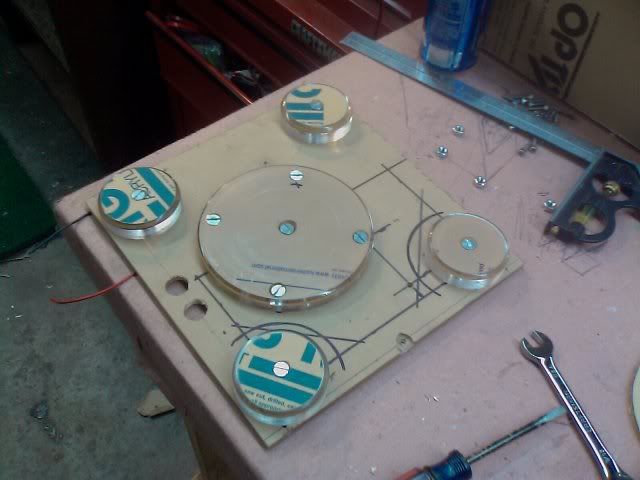
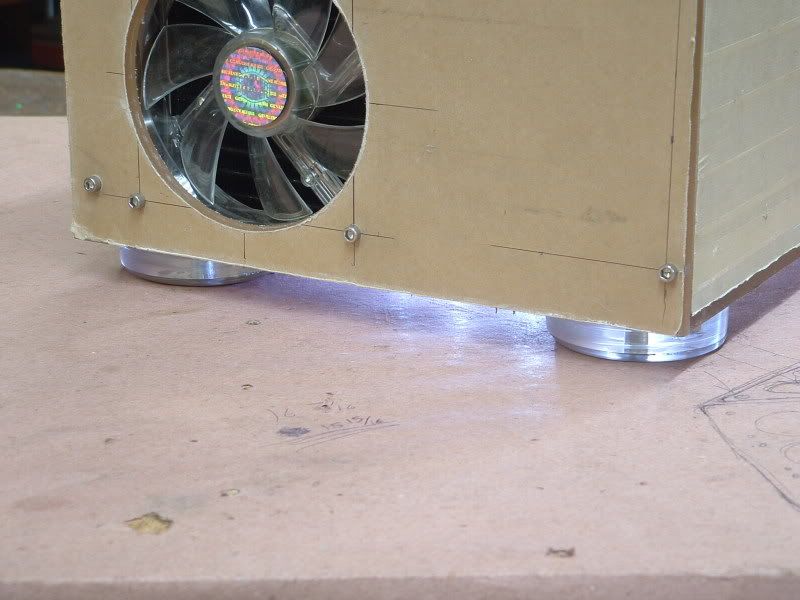
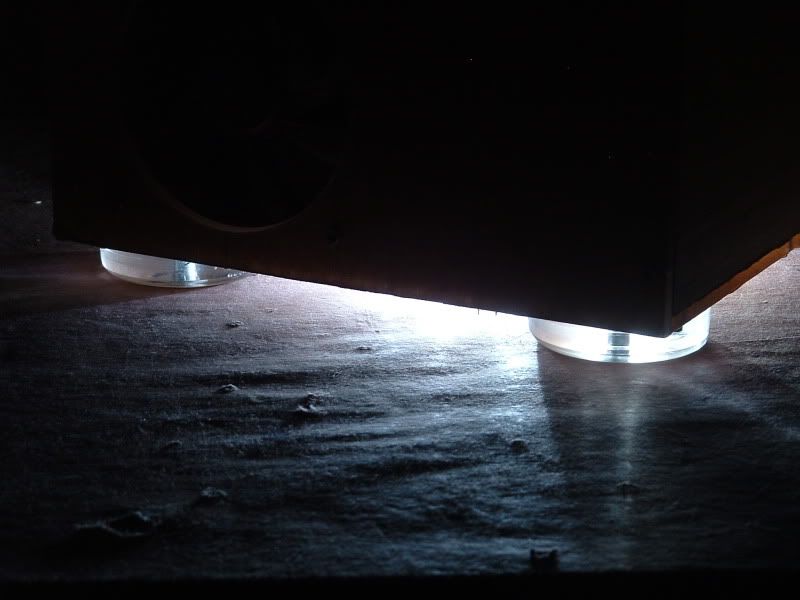
So I attempted to put LEDs in the feet and ended up lighting my bench on fire. It was fun. Something shorted out, sparked, and ignited some papers on my bench. Yeah for fire extinguishers!

Anyway, new feet, new lighting scheme.

1.jpg

2.jpg

3.jpg


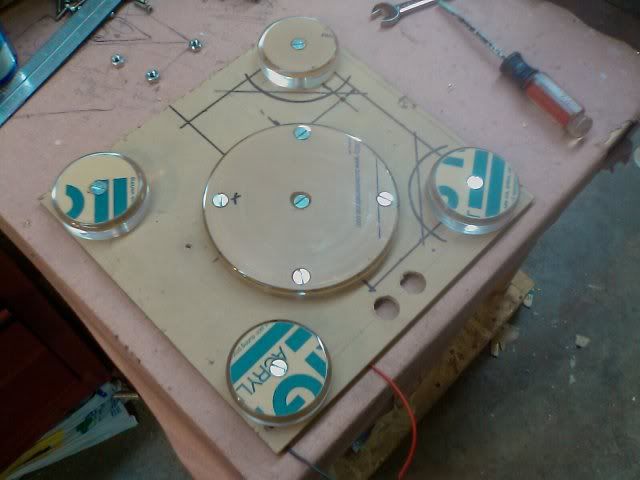
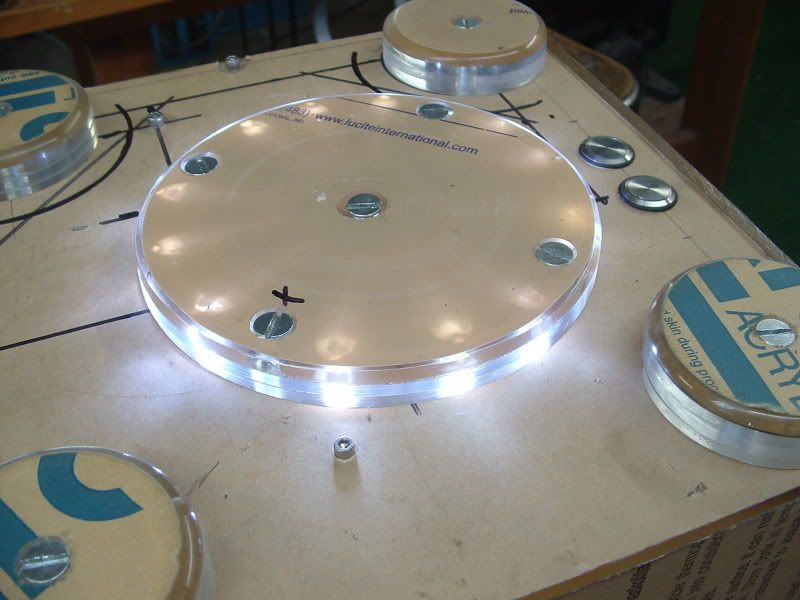
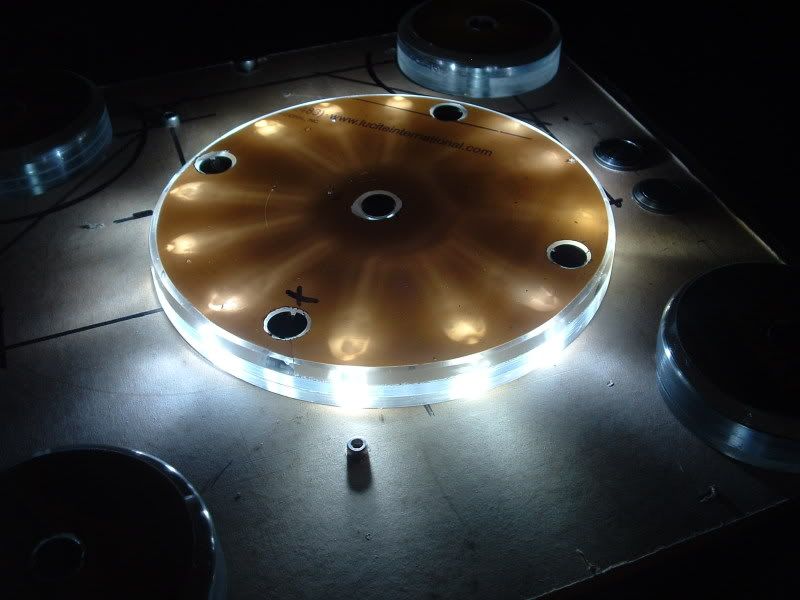
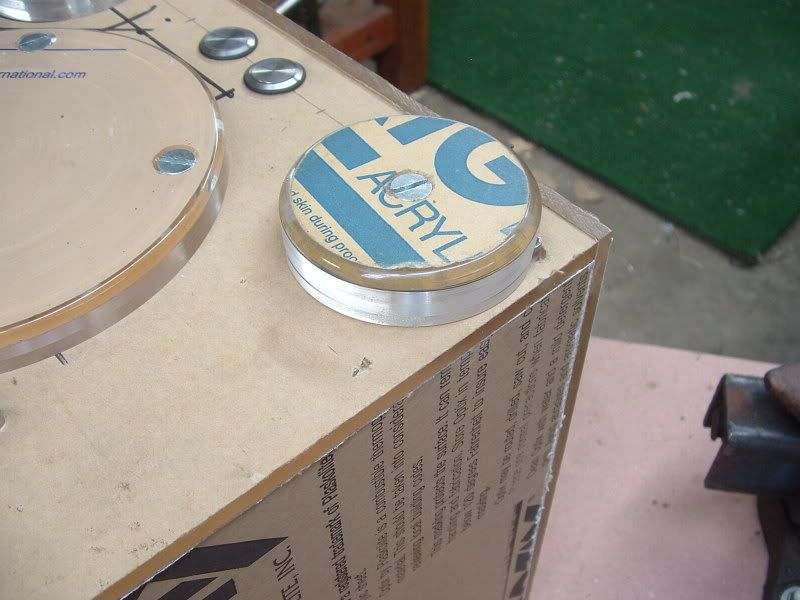
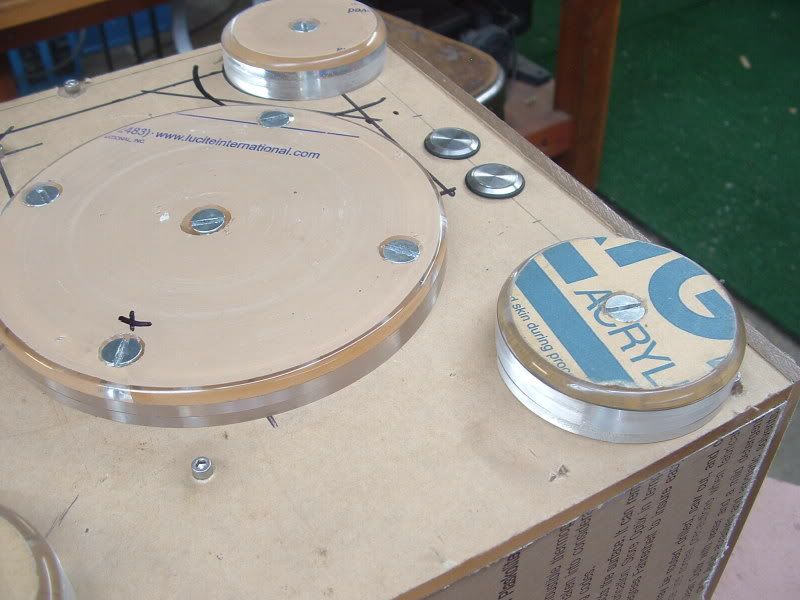
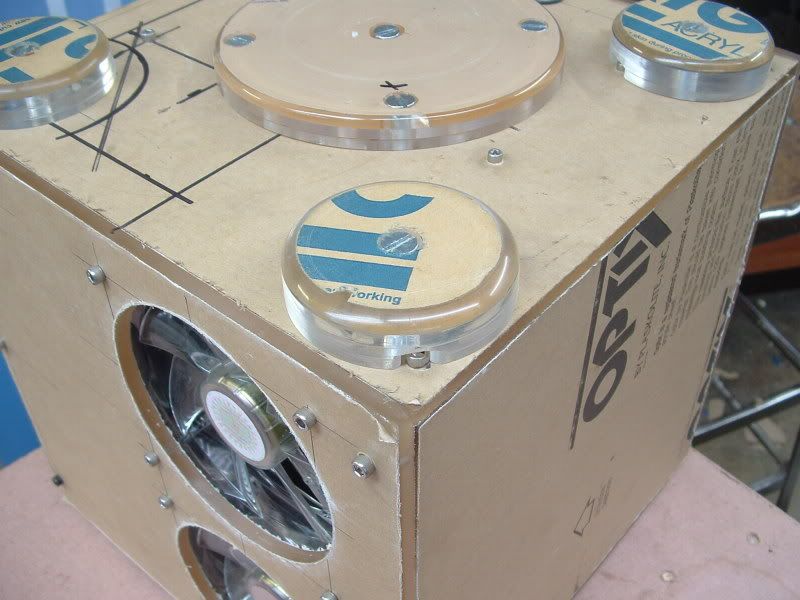
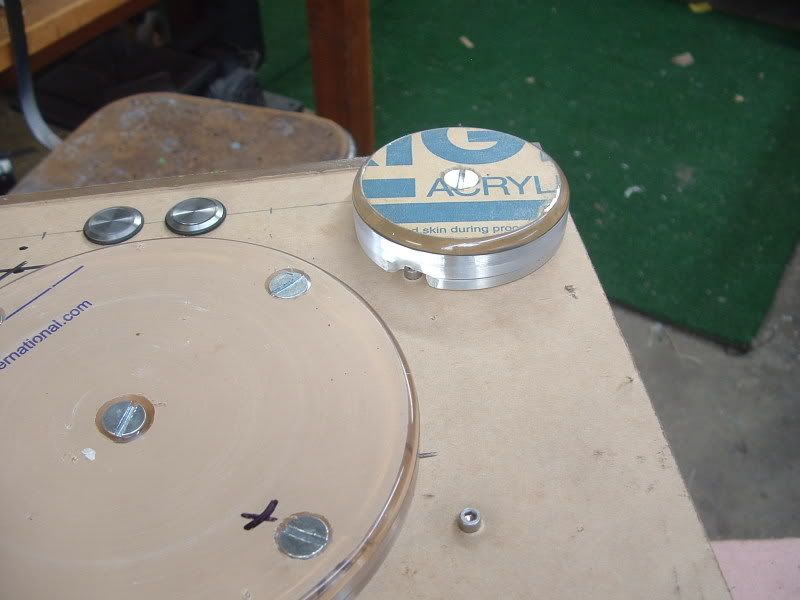
Much simpler, and turned out much better than the original design. Four pieces of 3/16 acrylic, cut with a circle cutter and spun on the drill press to shape, smooth, and polish. Turned out well enough. There are still some burn marks from me turning it too fast, but all in all they worked. There will be a little bit of light added to each foot, but nothing over powering.

4.jpg


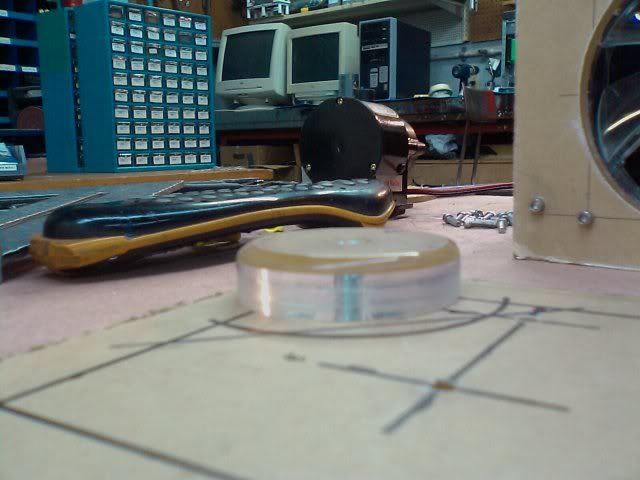
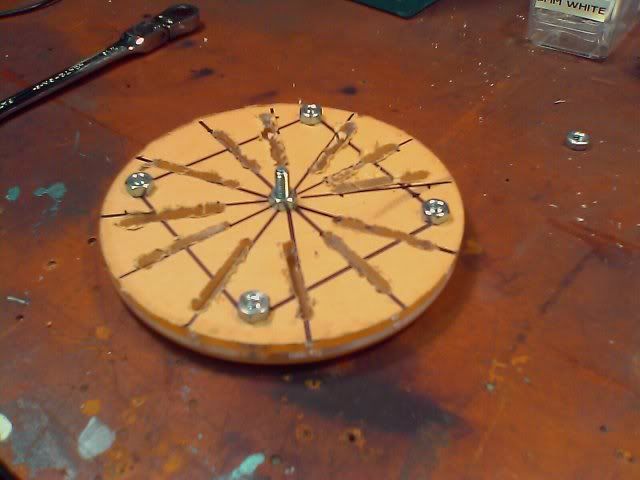
This turned out UGLY! My rotary table (its a geared, spinning platform for a mill) didn't come in until today, so I had to do this with just my XY table, and even considering that I didn't do a very good job. Which is one of the reasons the top and bottom of this little doohickey will be painted and then strapped to the bottom of the case so no one can see it.

5.jpg

6.jpg

7.jpg

8.jpg

9.jpg

10.jpg

11.jpg

12.jpg


Why isn't that lighting circle centered Mr Endscape? Well kids, that's because one of the mounting bolts would share the same hole with the pump mount. So I moved it just back of center, and bolted it down.

13.jpg

14.jpg


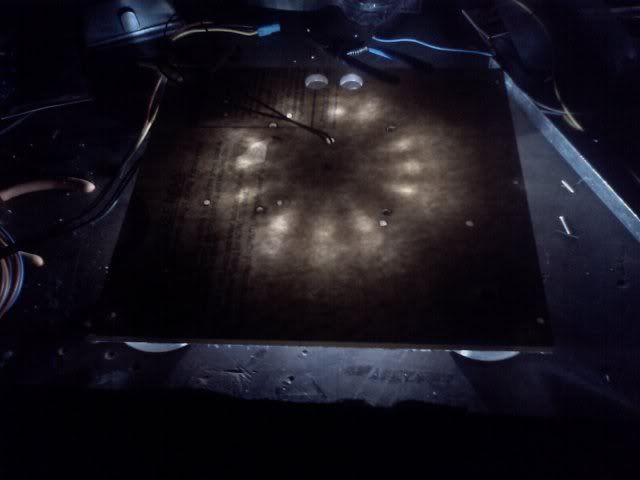
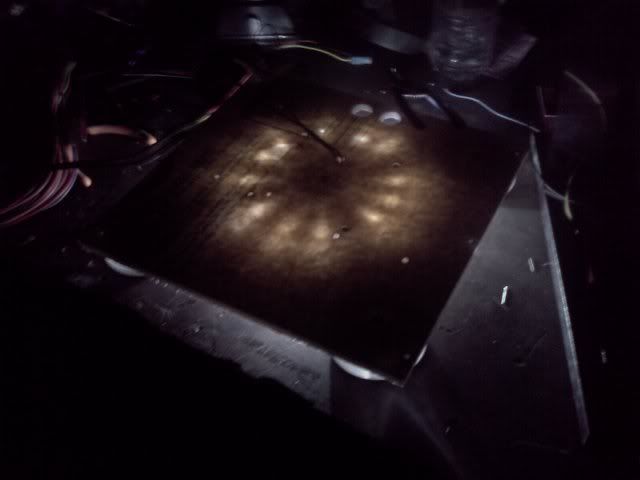
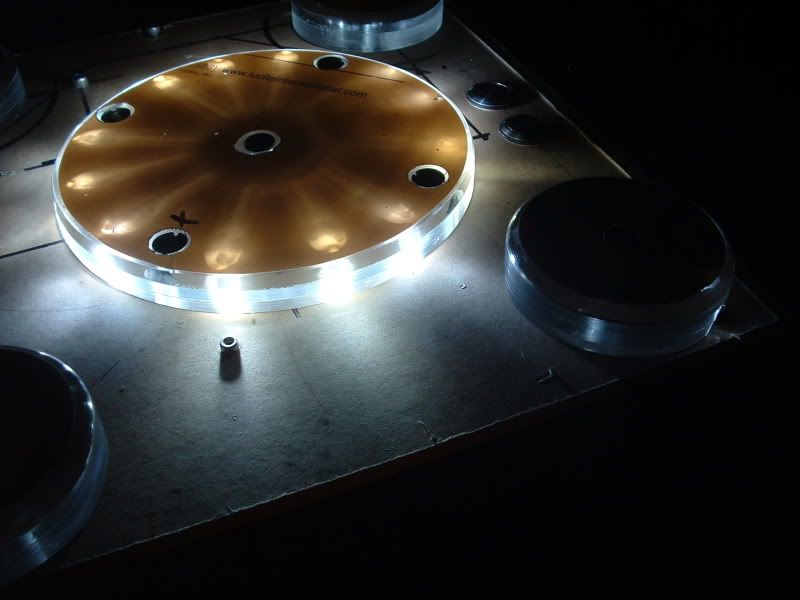
Light! Nothing overpowering, just a subtle glow. Not quite as bright as I wanted (I think I used the wrong resistor), but will still do the job.
 
So I finally unpacked my trusty old digital camera and snapped some non cell phone camera pictures. Most of these are just "the state of the mod" photos that dont show any new work. For progress skip to the end.

DSCF0020-2.jpg

DSCF0023.jpg

DSCF0026.jpg

DSCF0028.jpg

DSCF0046.jpg

DSCF0047.jpg


-------------------------------------------------------------------------------------

Some size comparisons:

DSCF0029.jpg

DSCF0032.jpg

DSCF0035.jpg

DSCF0036.jpg


-------------------------------------------------------------------------------------

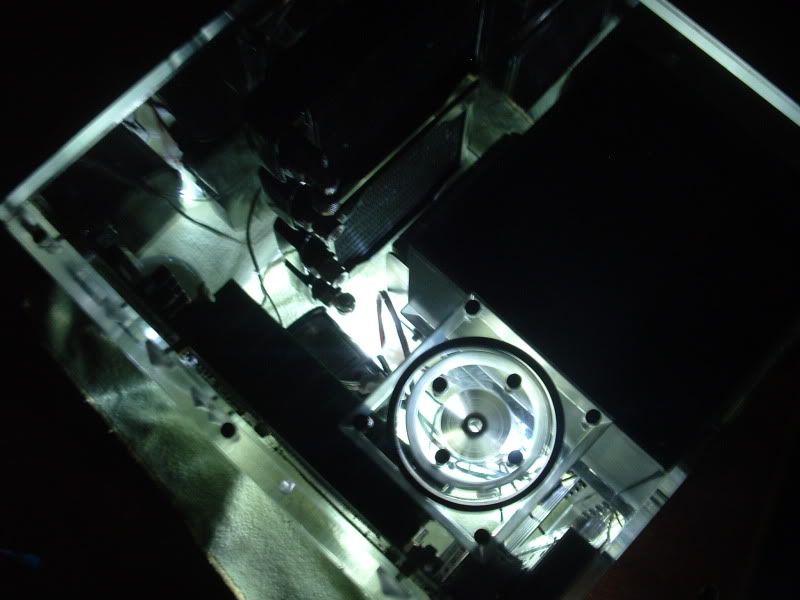
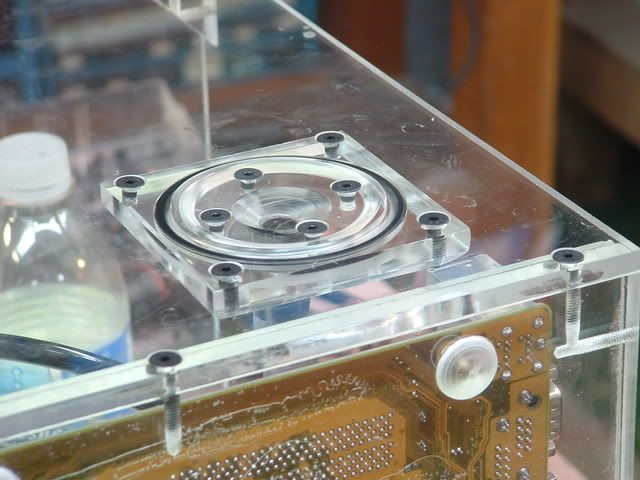
The fill port. I'm not going to lie, I'm pretty proud of how this turned out.

DSCF0040.jpg

DSCF0041.jpg

DSCF0062.jpg

DSCF0065.jpg

DSCF0068.jpg

DSCF0069.jpg


-------------------------------------------------------------------------------------

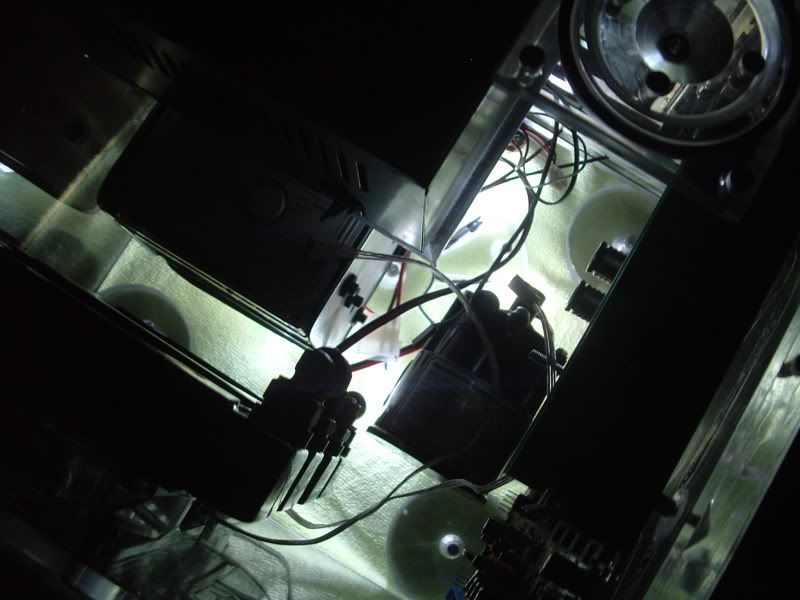
A little light!

DSCF0048.jpg

DSCF0049.jpg

DSCF0052.jpg

DSCF0055.jpg

DSCF0058.jpg

DSCF0059.jpg

DSCF0087.jpg

DSCF0091.jpg

DSCF0095.jpg


-------------------------------------------------------------------------------------

DSCF0077.jpg

DSCF0078.jpg

DSCF0079.jpg

DSCF0081.jpg

DSCF0082.jpg


-------------------------------------------------------------------------------------

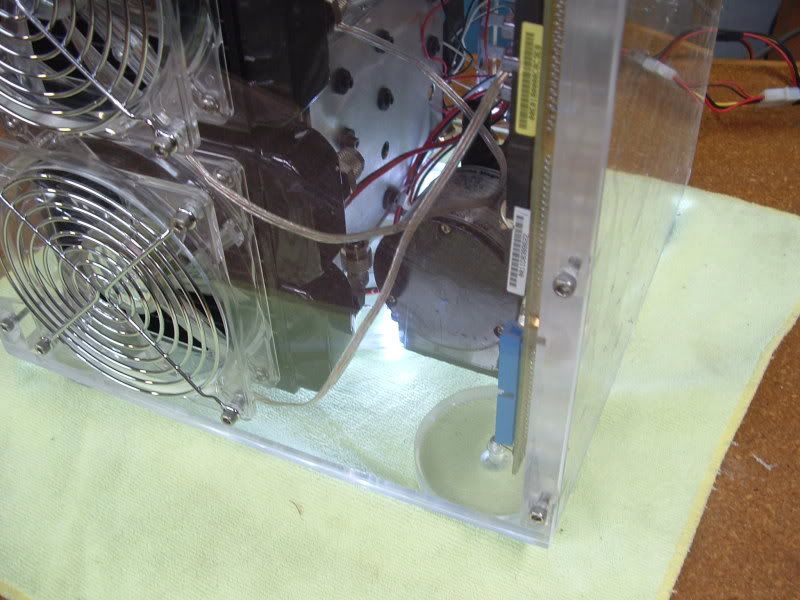
I had to cut some notches in the feet to accomodate the bolts. The origianal feet were much smaller, so they didn't have this issue. When I initalially cut the first batch of the second round of the feet, I accidently made them larger than planned. I liked them better, so I kept the size.

DSCF0098.jpg

DSCF0099.jpg


-------------------------------------------------------------------------------------

The ugliest foot. I burned it, then dropped it. Basically I hate it, and I think the feelings mutual. I'm pretty sure it's sleeping with my girlfriend, and I think I saw it kick my dog.

DSCF0102.jpg


-------------------------------------------------------------------------------------

So here's the real work I got accomplished on this fine evening.

DSCF0103.jpg

DSCF0104.jpg

DSCF0105.jpg


See that gap? The one between the IO shield (though that's not the IO shield, it's the thing that holds the IO shield correct? Back plane? Back panel? Metal motherboard doo hickey?) and the motherboard tray? Yeah, it's not supposed to be there. I miss measured something the first night I worked on the case, and it gave me that 1/8th inch gap.

DSCF0108.jpg

DSCF0109.jpg


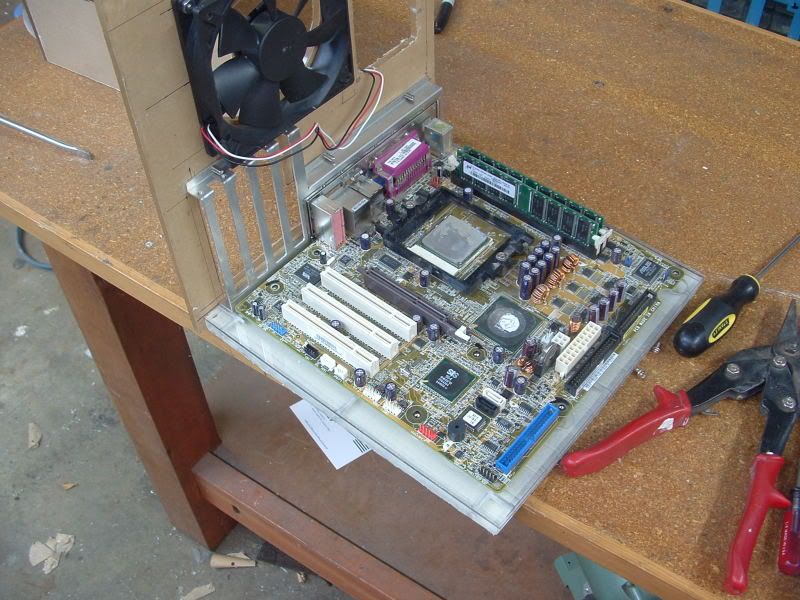
So I strapped a motherboard to a piece of 1/8 inch plexi and trimmed the edges until I got it racked correctly.

DSCF0111.jpg


Glued the pieces together, and TA DA! Edges still need to be polished of course.

DSCF0113.jpg

DSCF0114.jpg

DSCF0115.jpg

DSCF0117.jpg
 
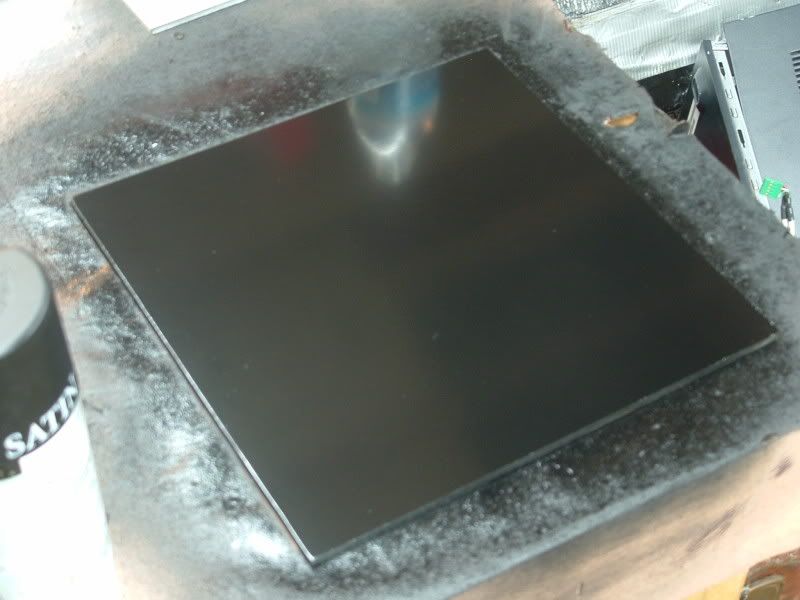
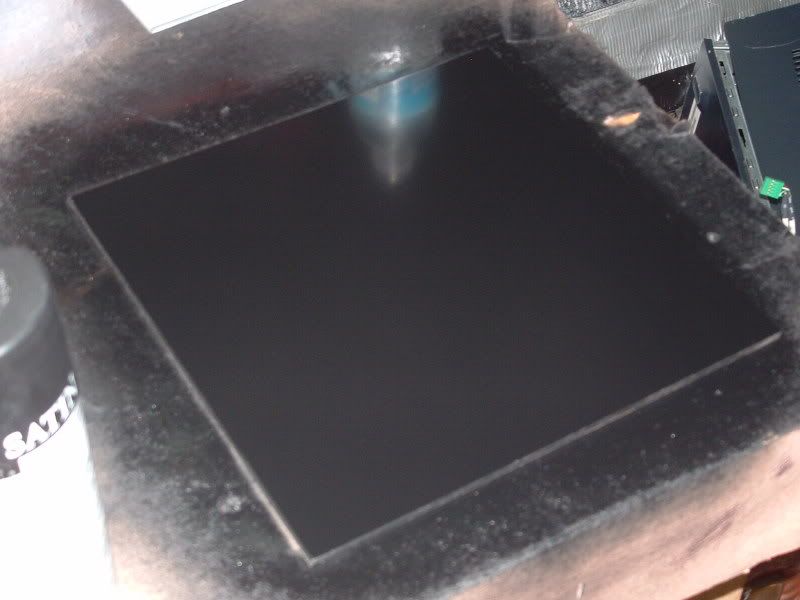
So I painted a test piece, satin black. I actually painted four pieces, gloss black, satin black, gloss white, and satin white. I like the satin white as well, so it might find it's way into the case also. Keep in mind that all the polished edges will be exposed, and most of them will be lit.

1.jpg

2.jpg


-------------------------------------------------------------------------------------------------------------------

Beveled and polished the PSU support and HD Rack shim. Need to touch up the fill port a bit, as I didn't do a very good job at polishing it.

3.jpg


-------------------------------------------------------------------------------------------------------------------

I'll let these pictures explain themselves.

4.jpg

5.jpg

6.jpg

7.jpg

8.jpg

9.jpg

10.jpg

11.jpg
 
Subbed wow!

Usually not a big fan of plexi but this is amazing, great work dude!

I liked all the lighting/plexi/etc when I was new to this stuff, but I'm all about silent/functional/clean setups, but this is a nice in-between and is very tasteful, keep up the great work!
 
Subbed wow!

Usually not a big fan of plexi but this is amazing, great work dude!

I liked all the lighting/plexi/etc when I was new to this stuff, but I'm all about silent/functional/clean setups, but this is a nice in-between and is very tasteful, keep up the great work!

I've always tried to blend the two schools of thought. This thing should be quiet, and once I redo the bolts, very clean, with minimal lighting and a little bit of polished acrylic visible.

Thanks for the compliments!
 
Wow great work i wish i had at lest some of your skills:(

Honestly there's nothing incredible involved here, skill wise. If you can operate a tape measure, a table saw, a drill press, and an XY table it would not be that hard to replicate this case.
 
Honestly there's nothing incredible involved here, skill wise. If you can operate a tape measure, a table saw, a drill press, and an XY table it would not be that hard to replicate this case.

But i dont have the access to wood tools seeing how most of the tools used was wood tools im a metal guy


im saying i suck at saws but rock at welding lol
 
But i dont have the access to wood tools seeing how most of the tools used was wood tools im a metal guy


im saying i suck at saws but rock at welding lol

Now that is understandable. It certainly is a different skill set. Though I'd wager its easier to learn to work with wood than metal.
 
It looks great! Looking forward to seeing the finished product.

Thanks! I'm hoping to be finished by the new year.

I was brought up around it

I am lucky enough to have a father (and a grandfather for that matter) who is both a metal and a wood guy, so I have both sets of skills (though I haven't done nearly as much metalwork as I should). It certainly helps to have parents or friends to teach you, makes life a whole lot more interesting

Modding has been put on hold as I just got my ass broken up with, and will be extremely inebriated for the next few days.
 
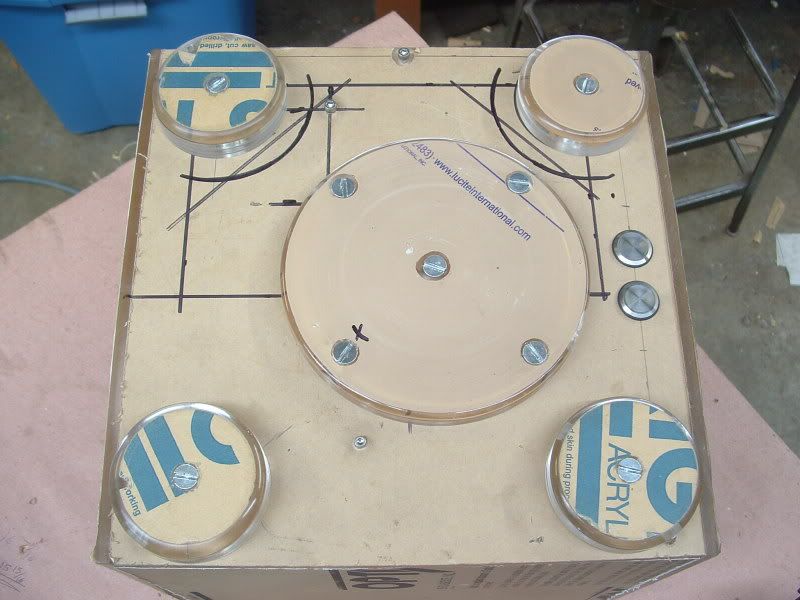
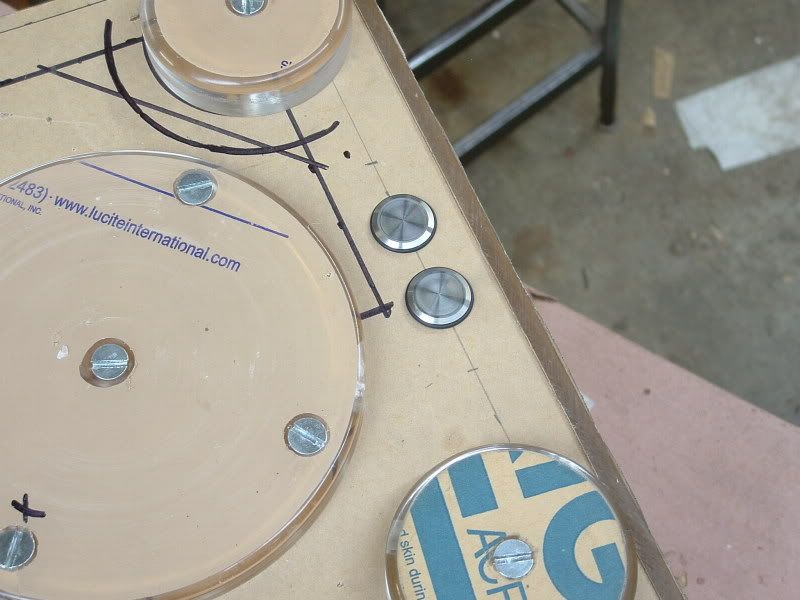
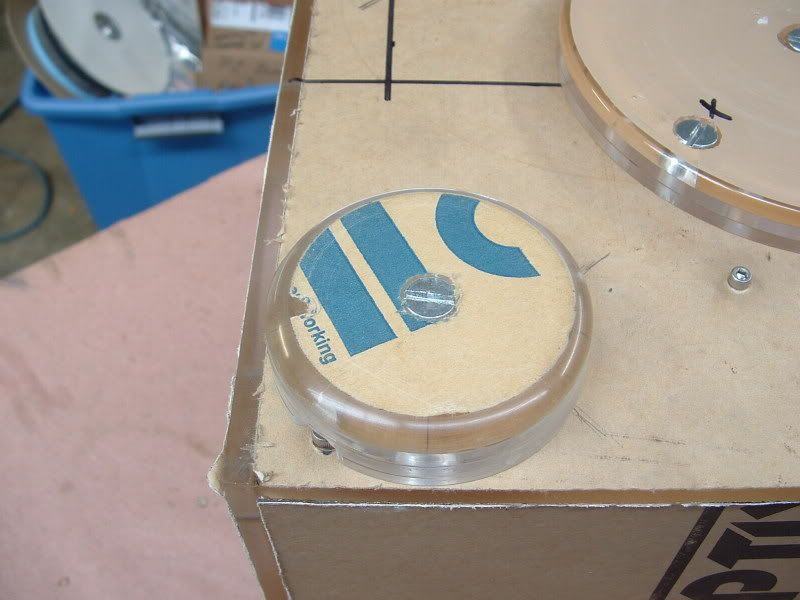
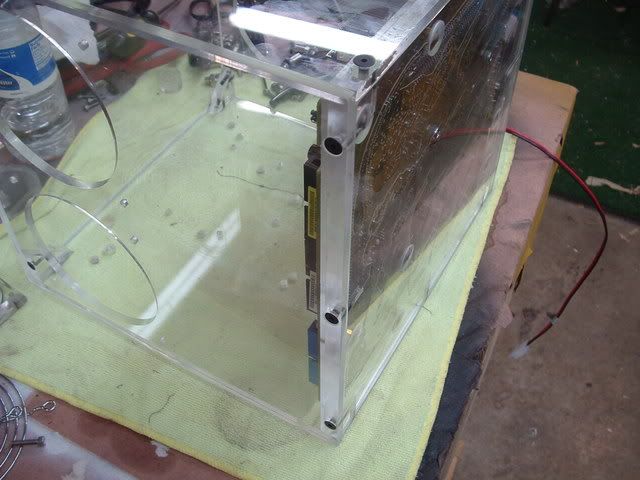
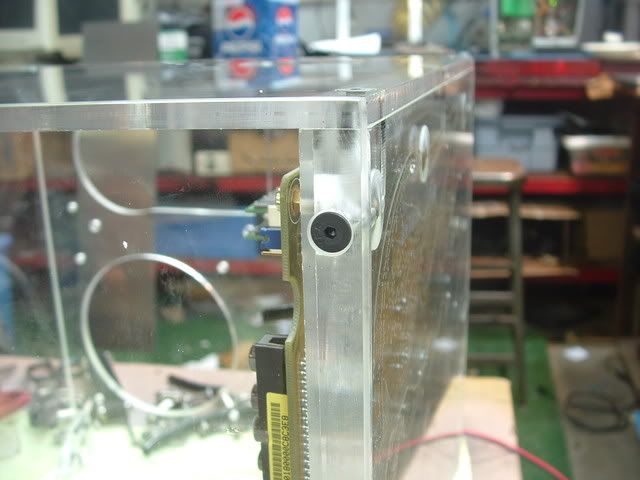
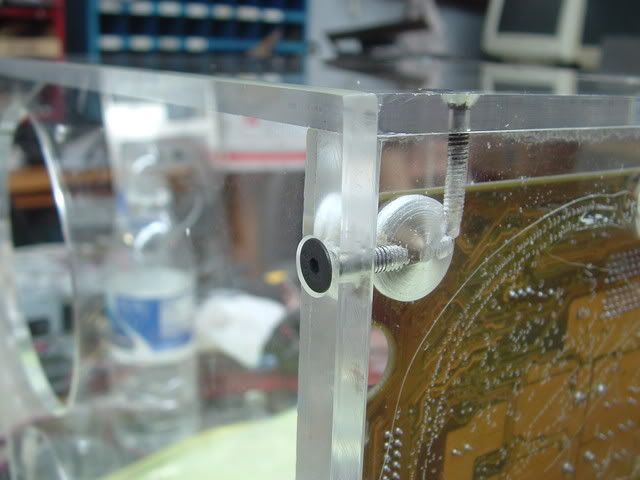
I've decided to replace the bolts with a slightly different style. The top panel happened to be off the case so I used it as a test piece. Dont mind the dirty acrylic. Thoughts?

1.jpg

2.jpg


-------------------------------------------------------------------------------------

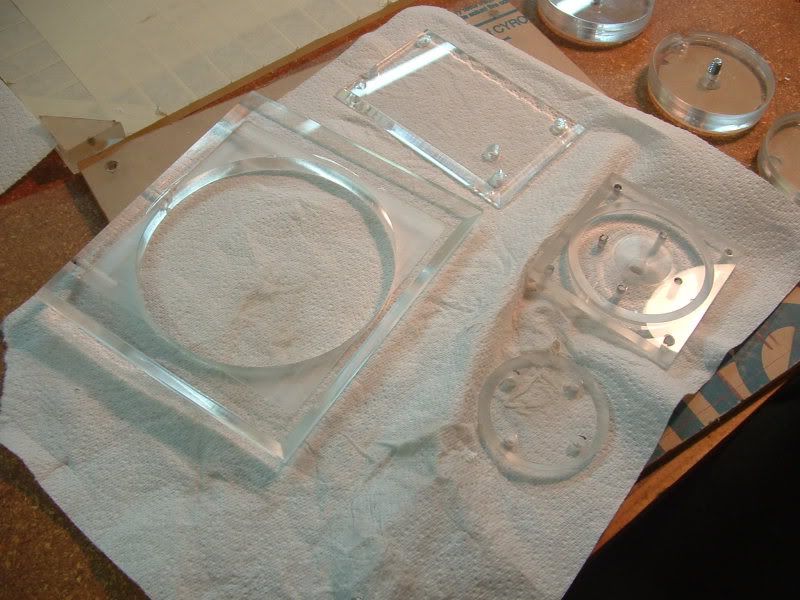
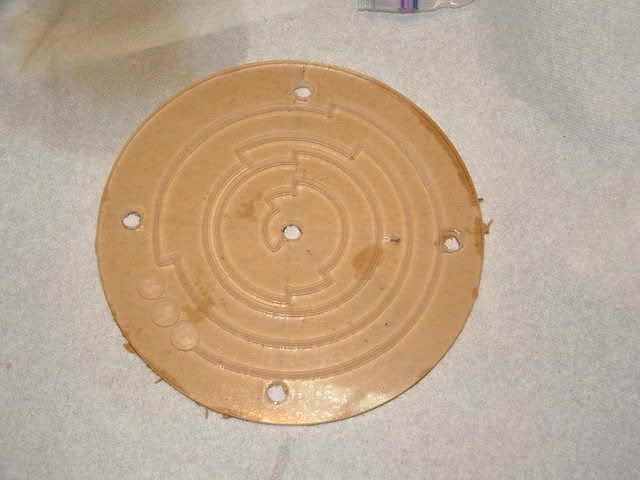
Did a little plumbing. I'm very seriously considering converting the block to a 1/2inch fitting, but I haven't decided. There are two adapters in the picture. The circular one is finished, the square one still needs to be cut down, squared off, and polished. I also changed the fill port over to a G1/4 1/2inch fitting.

3.jpg


-------------------------------------------------------------------------------------

Merry Christmas to me! This handy dandy tool might be vital to the exterior finish of Anima Mundi.

4.jpg


-------------------------------------------------------------------------------------

;)

5.jpg


-------------------------------------------------------------------------------------
 
The flat head bolts look awesome.

How do you get such clean and straight edges on the acrylic? I worked with thinner acrylic earlier (very thin, 2mm or so) with a jigsaw, fine blade and high sawing speed. The edges got all messy and curvy, though.

Is the PSU held by the screws on the back plate only? Or does that small "plateau" hold some of the weight too? Do you think you could attach the PSU just by the screws on the back without it bending/breaking the case?

Amazing work all in all.
 
The flat head bolts look awesome.

How do you get such clean and straight edges on the acrylic? I worked with thinner acrylic earlier (very thin, 2mm or so) with a jigsaw, fine blade and high sawing speed. The edges got all messy and curvy, though.

Is the PSU held by the screws on the back plate only? Or does that small "plateau" hold some of the weight too? Do you think you could attach the PSU just by the screws on the back without it bending/breaking the case?

Amazing work all in all.

Use a table saw, and get thicker acrylic. If you have to use a jigsaw, GO SLOW! Sounds like you were going way too fast and started melting the acrylic. Curve wise you need a guide or a jig to keep things straight. I use a table saw with a fence.

The PSU support does hold some of the weight when properly aligned. You could attach a PSU with just the screws, but some of the heavier ones do bow the acrylic slightly.

Thanks!
 
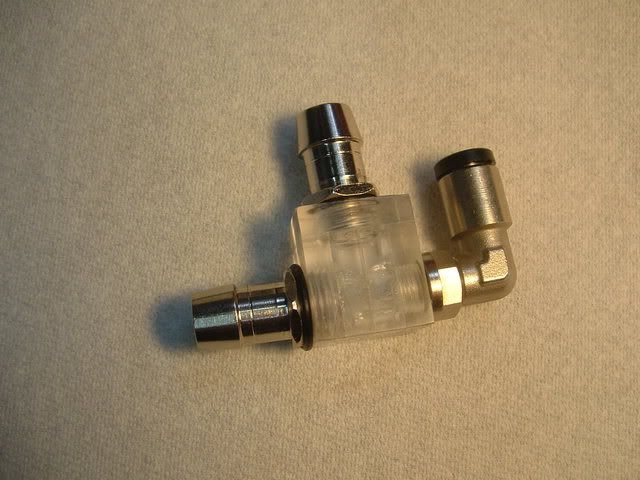
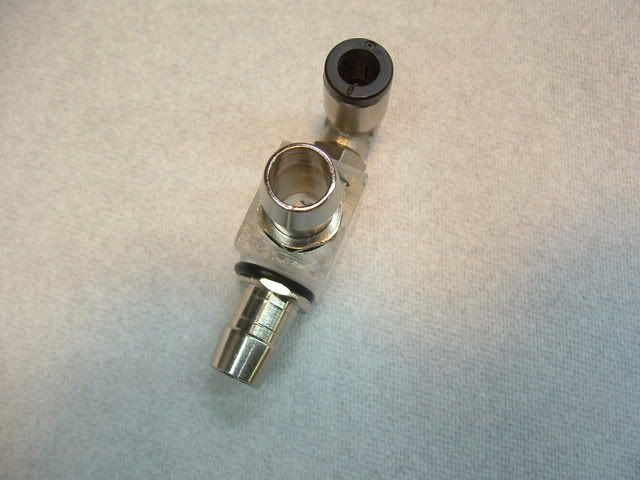
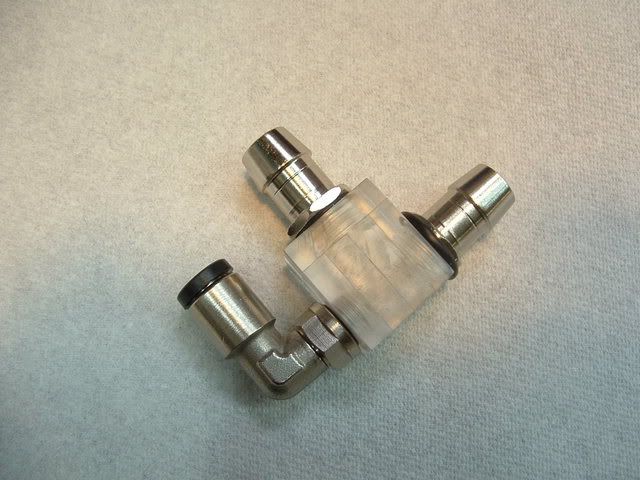
My finished T line! I am debating putting it through one more sand and polish, but for right now it'll do. You have no idea how long these little *******s take, and I made like eight of them before I got one I was happy with.

1.jpg

2.jpg

3.jpg


--------------------------------------------------------------------------------------------------------------------------

More countersinking shots. I hosed up one hole on the top panel, so I have to do some fancy footwork to save the panel. Might need to be filled and redrilled, but we'll see.

4.jpg

5.jpg

6.jpg

7.jpg


--------------------------------------------------------------------------------------------------------------------------

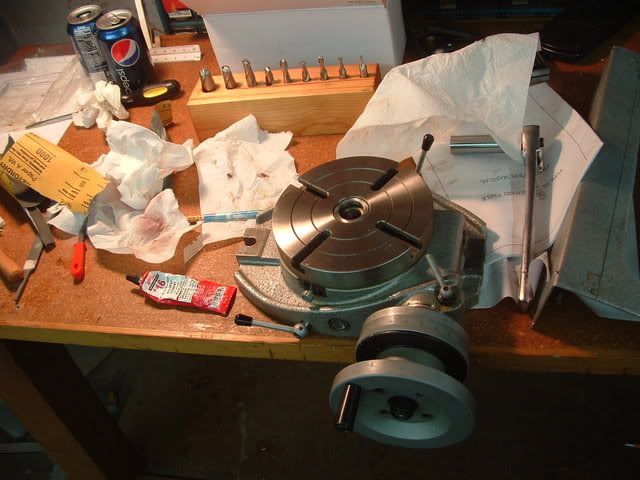
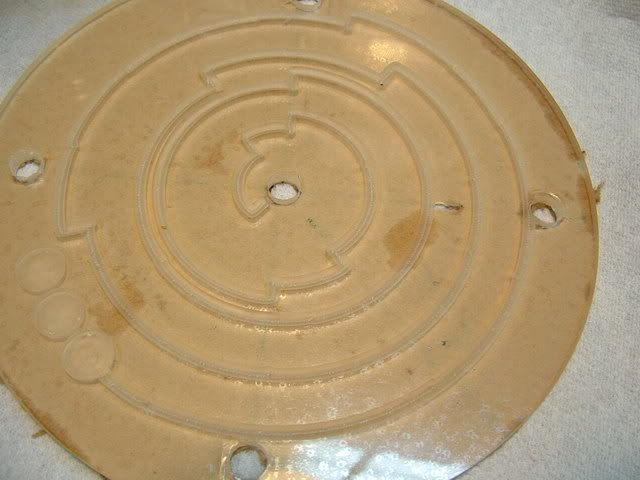
Played with my rotary table a bit...

8.jpg

9.jpg


--------------------------------------------------------------------------------------------------------------------------

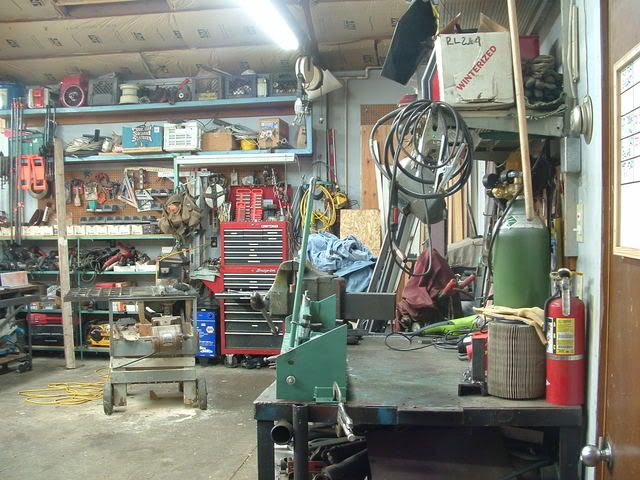
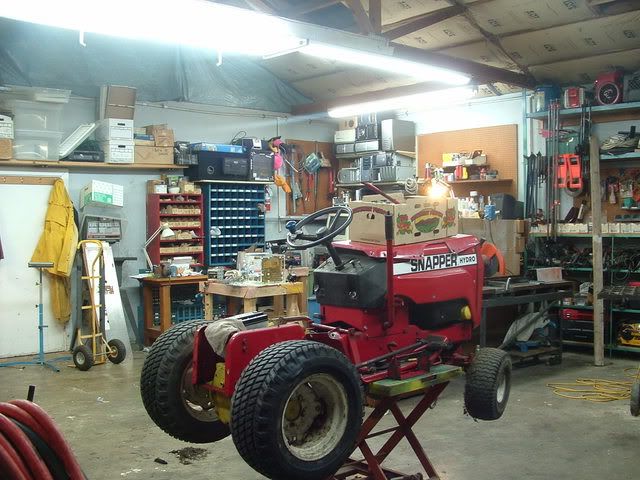
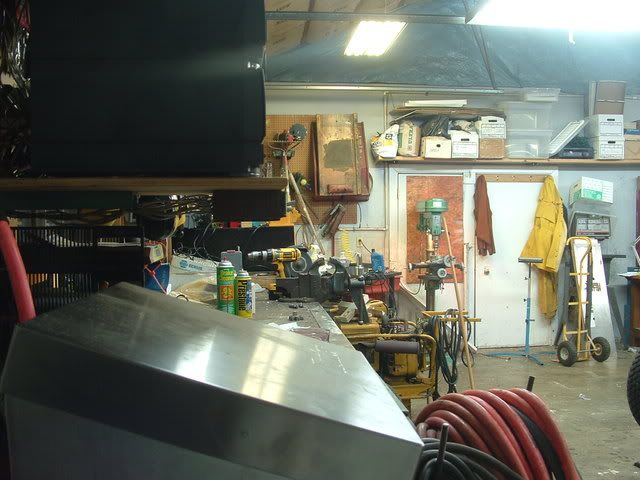
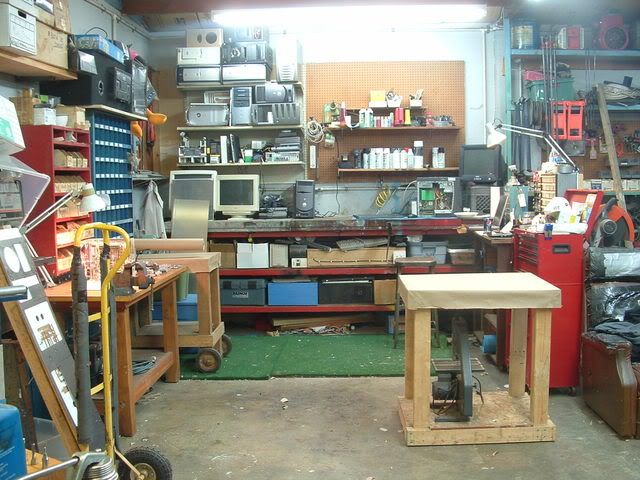
Somebody on another forum asked for a tour of my shop, so...

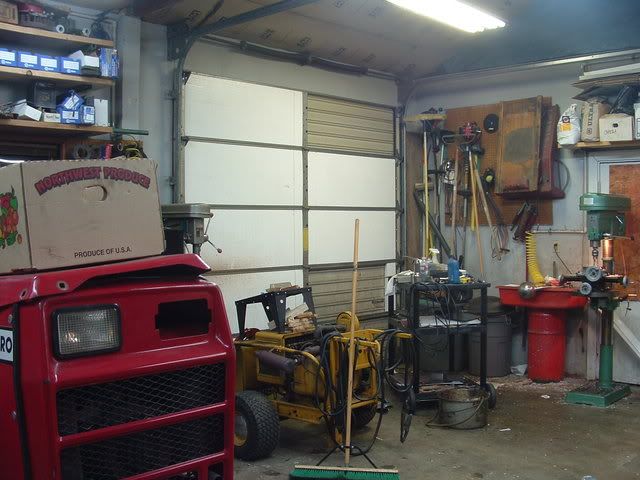
Immediatly after walking in the side door. That's the welding bench with my metal break on top of it directly in front of you.

10.jpg


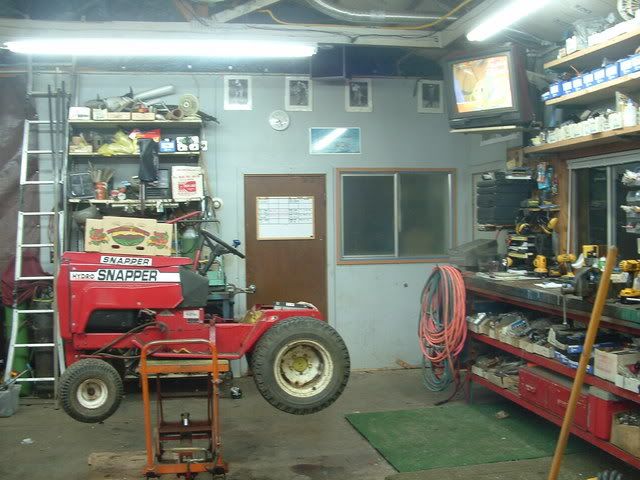
That's my corner behind my dad's project (rear end on the snapper went out, he's upgrading it...slightly haha)

11.jpg


My dad's bench, hiding behind the irrigation controller. Through those white doors is the one bay paint booth.

12.jpg


Bay door access to the back yard. Also drill press A and B, the parts washer, and for some reason a router table sitting on top of our old generator.

13.jpg


Cleaned my ever expanding work space up a bit.

1.jpg


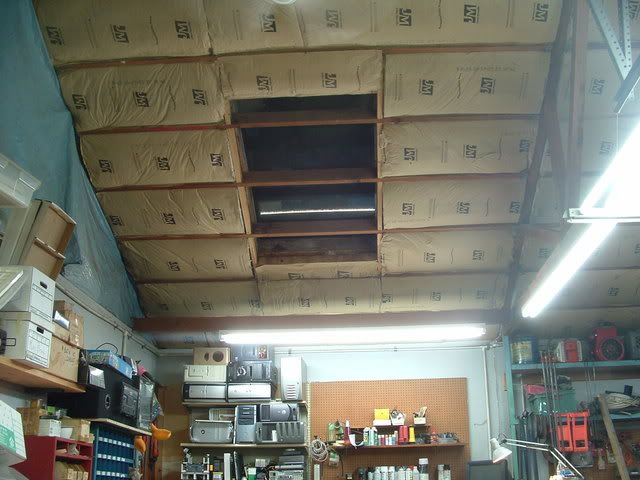
Every shop needs skylights made out of old sliding glass doors.

2.jpg


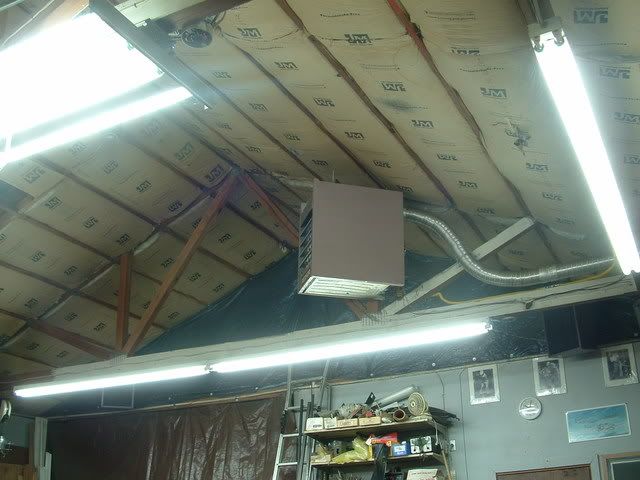
My absolute favorite part of this shop, the heater! Went from ~35 degrees to 65 in about 5 minutes. Makes things very nice in the winter.

3.jpg


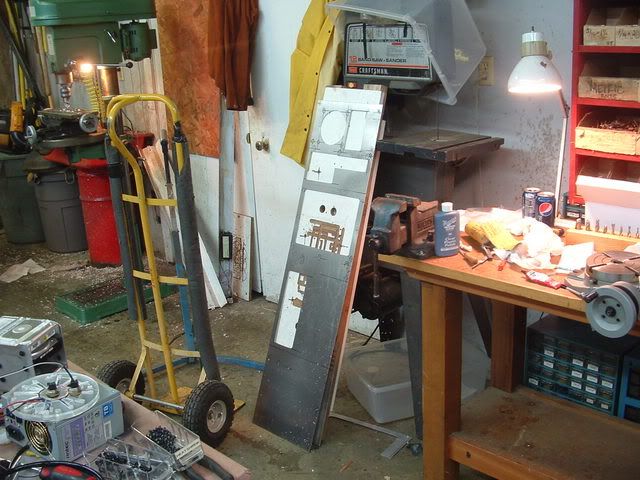
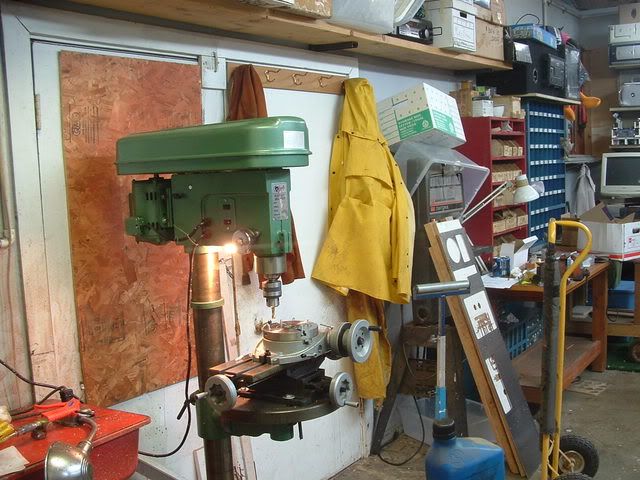
Drill press with mill and rotary table attached. Along with the doors to the paint booth.

15.jpg


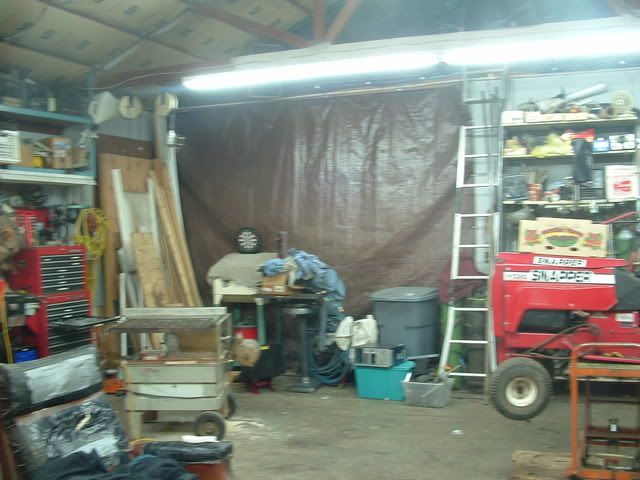
Behind the tarp is another large bay door and a parking space. We only move the tarp if you need to pull something in, and we're walling that area off in the next week or two anyway. There's also a washer, dryer, and sink back there.

16.jpg


When my dad ran his business out of here, that door led to the showroom and front office. Now it's my moms parking space and houses our beer fridge.

17.jpg
 
hats off to you. that is a very impressive piece of work!

oh, and nice shop too! (I'm happy to just have a 1-car garage after living in an apt. for 5+ years)
 
I want your shop. Seriously.

:jealous: :cool:

That seems to be a pretty common sentiment haha. I love my shop, and I should be moving into a larger unit in the next couple of months.

im so doing this, thanks for posting.

Good. Freaking. Luck. Seriously, I hope you have the right tools and a TON of time. For every post I put on here, 10 to 15 hours went into Anima Mundi Redux. At least. Heck, I've spent 35 hours just on making one little T fitting. Yeah, its big fun.

hats off to you. that is a very impressive piece of work!

oh, and nice shop too! (I'm happy to just have a 1-car garage after living in an apt. for 5+ years)

Thanks! I worked out of a one car garage for a while. NEVER AGAIN haha. Luckily I live about 20 minutes from my parents place (where this shop is) so I can just pop in whenever.

Small text update. I've been ironing out kinks in the watercooling system and doing the final prep before paint (the exterior work comes AFTER paint, no hints), as well as working on the PSU. In the process of rewiring the power supply I proceeded to kill both the Antec PSU I was going to use for Anima Mundi and the motherboard and processor that was going in.

Anima Mundi will go on, it just wont have a computer to go in it. Anyone happen to have a mATX motherboard and PSU laying around they want to get rid of?
 
Back
Top