• Some users have recently had their accounts hijacked. It seems that the now defunct EVGA forums might have compromised your password there and seems many are using the same PW here. We would suggest you UPDATE YOUR PASSWORD and TURN ON 2FA for your account here to further secure it. None of the compromised accounts had 2FA turned on.
    Once you have enabled 2FA, your account will be updated soon to show a badge, letting other members know that you use 2FA to protect your account. This should be beneficial for everyone that uses FSFT.

Alienware Aurora ALX-XL

kier

Weaksauce
Joined
May 27, 2011
Messages
123


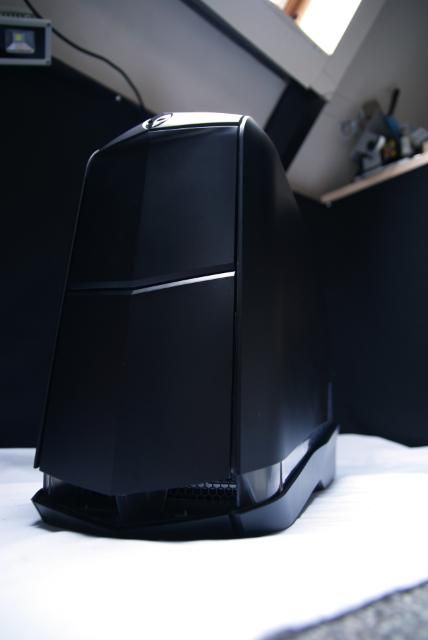
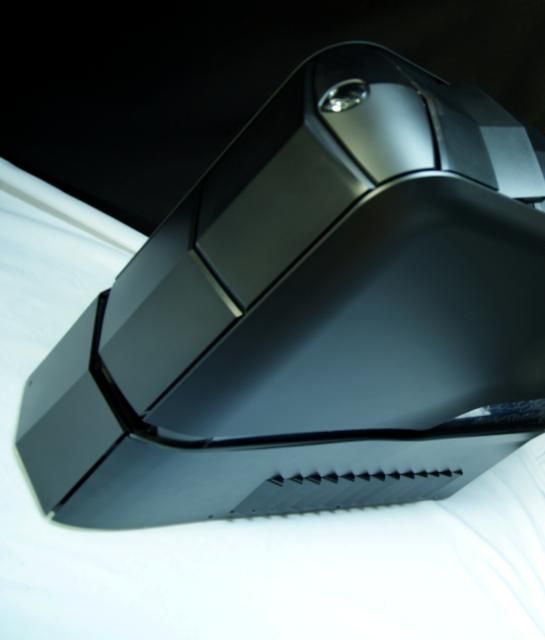
The Alienware Aurora ALX-XL

Sometimes you get a chance you can't say no to, so that's what happened to me.
After some discussions and exchanging ideas with Dell, I am very happy to announce to you a build with a super case. It's allready beautiful But I'm gonna give it a try ;)

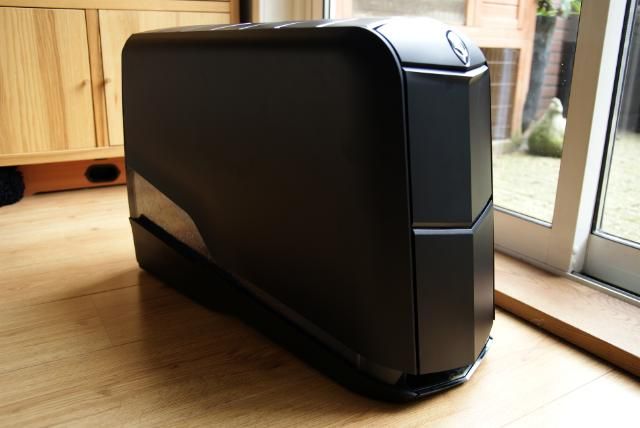
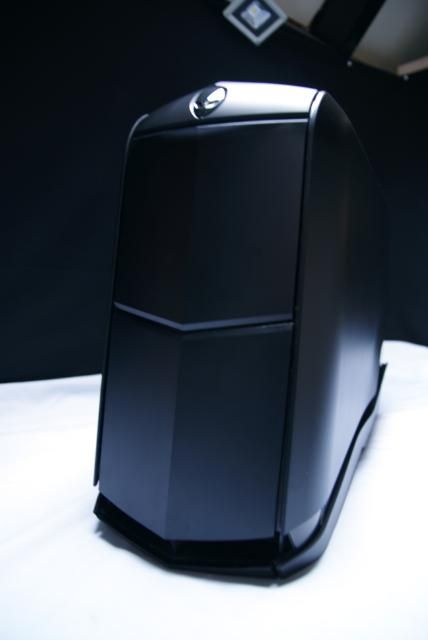
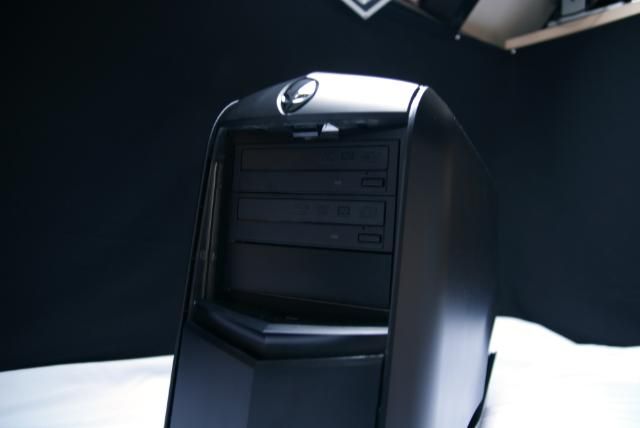
The Alienware Aurora desktop.

And not only the case, but a complete configuration with the following components:

- CASE : Alienware Aurora ALX 875W-chassis (Matte Black)
- PROCESSOR: Intel® Core i7-3820 (4 Core, 10MB Cache, 3.60GHz)
- OPERATING SYSTEM : Windows® 7 Home Premium, 64-bits
- GRAPHICS : 1 GB GDDR5 NVIDIA® GeForce® GTX 555
- MEMORY : 16GB (4 x 4 GB) 1.600 MHz Quad Channel DDR3
- HARD DRIVE : 256 GB SSD
- OPTICAL DRIVE : 8X Blu-ray Disc-rw-station en 24x dvd+/-rw-station

Before I start, first I want to thank all the great sponsors for making this build possible.

Alienware, for the system.



Nvidia to deliver GPU upgrade (more on this later)



And EKWB for the watercooling components



There will be a lot of pictures again in this build. What is new is that I now going to add videos, think this will be a nice addition.

First contact with an

alien

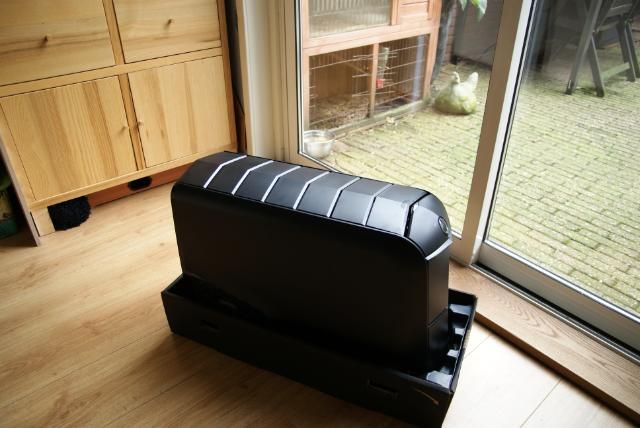
Always a great feeling to receive packages :) Once everything is dragged into the living room to have another great feeling .....

unboxing
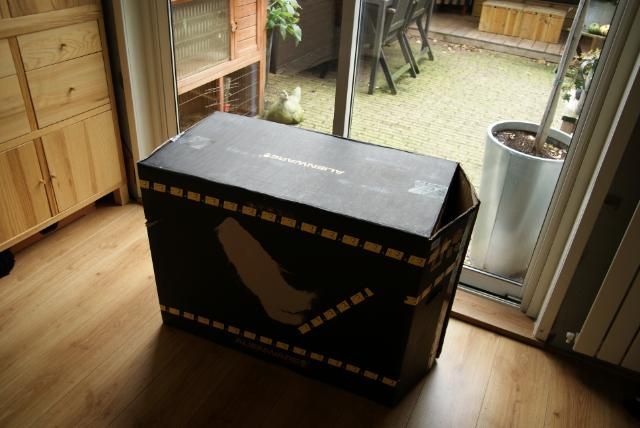
DSC09169.jpg


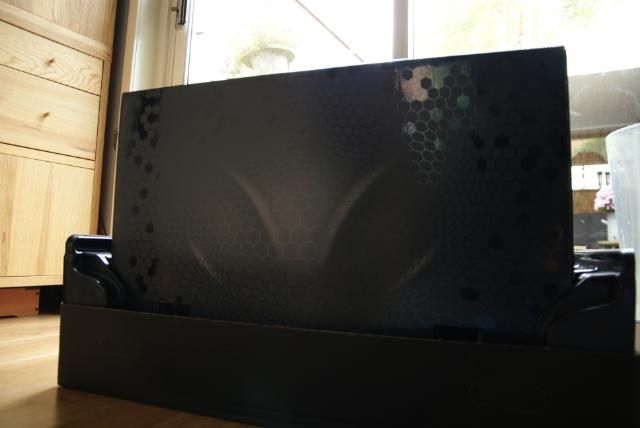
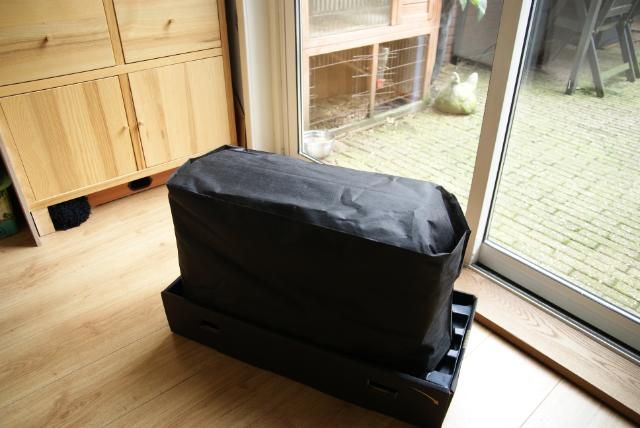
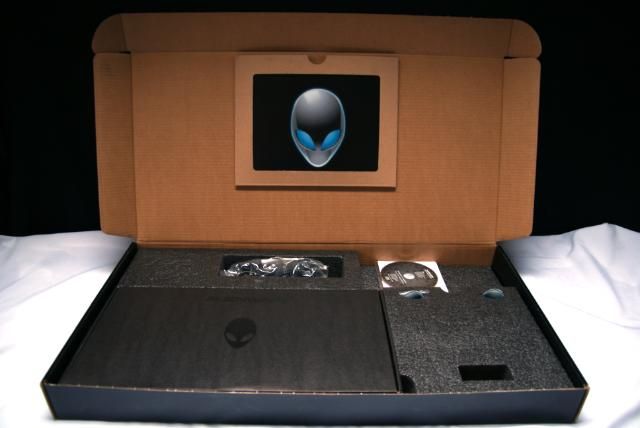
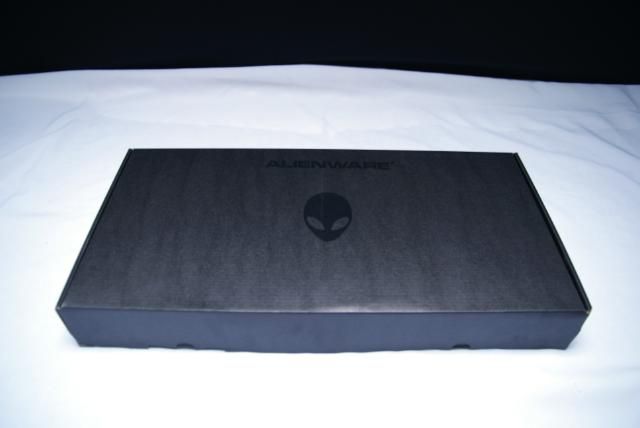
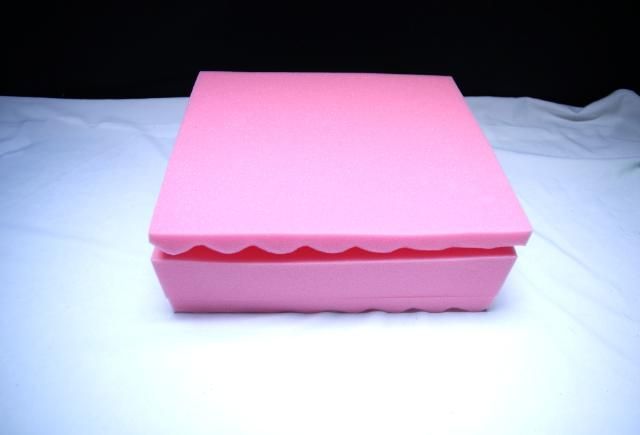
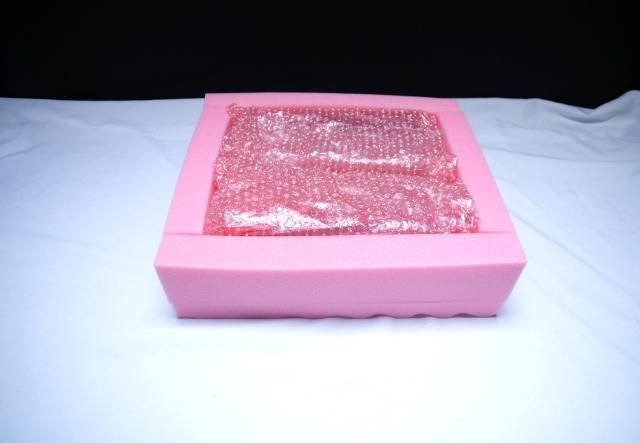
The Aurora is certainly well packed, they have given this some good thought.
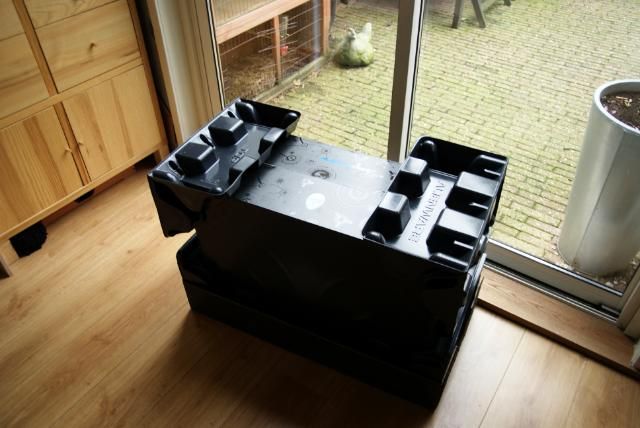
DSC09170.jpg


A box in a box

DSC09171.jpg


DSC09173.jpg


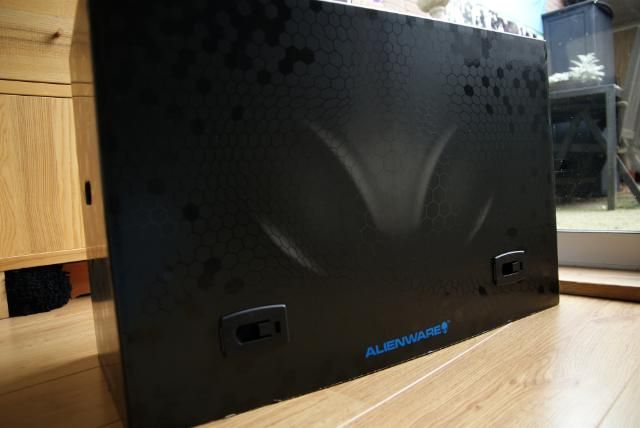
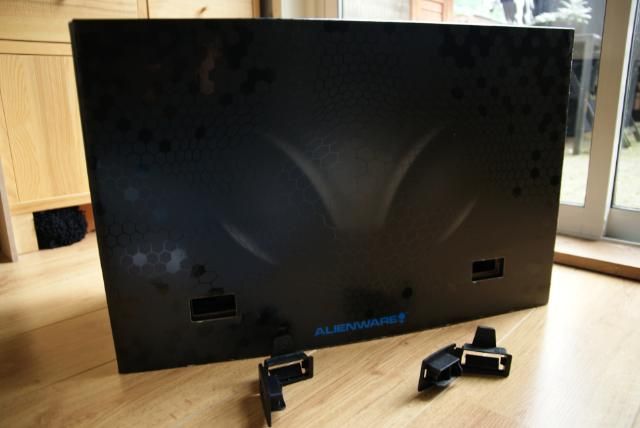
Clips to unlock the cover

DSC09174.jpg


Almost :eeek:

DSC09177.jpg


:jawdrop: :jawdrop: :jawdrop:

DSC09178.jpg


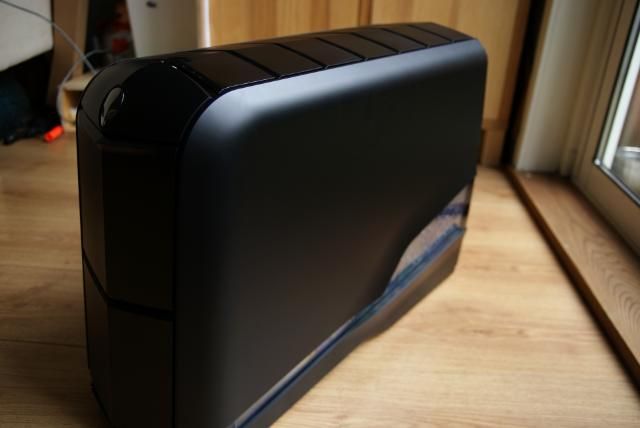
The Alienware Aurora

DSC09183.jpg


DSC09190.jpg


DSC09185.jpg


DSC09179.jpg


DSC09180.jpg


DSC09181.jpg


DSC09063.jpg


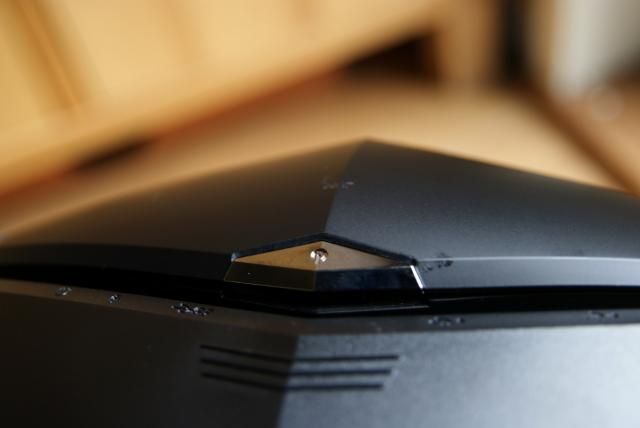
Nice shapes

DSC09186.jpg


DSC09236.jpg


DSC09084.jpg


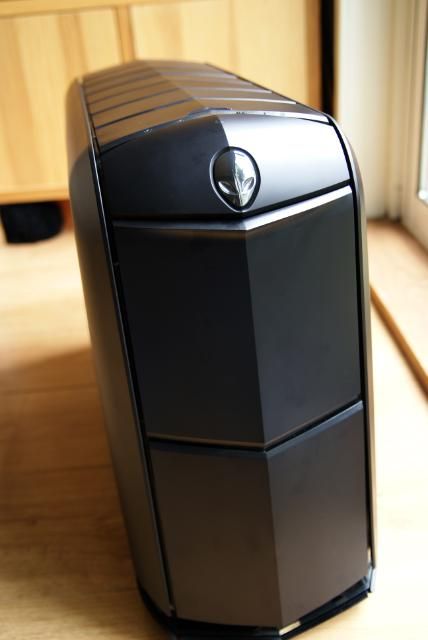
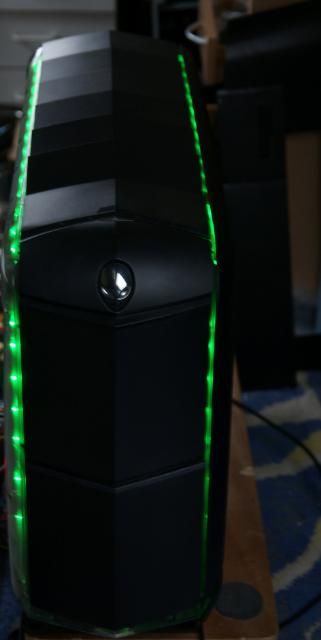
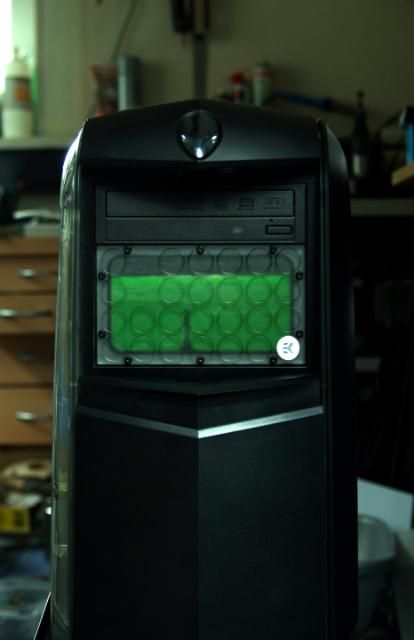
Front also beautiful and clean

DSC09099.jpg


DSC09100.jpg


DSC09112.jpg


DSC09106-kopie.jpg


DSC09105.jpg


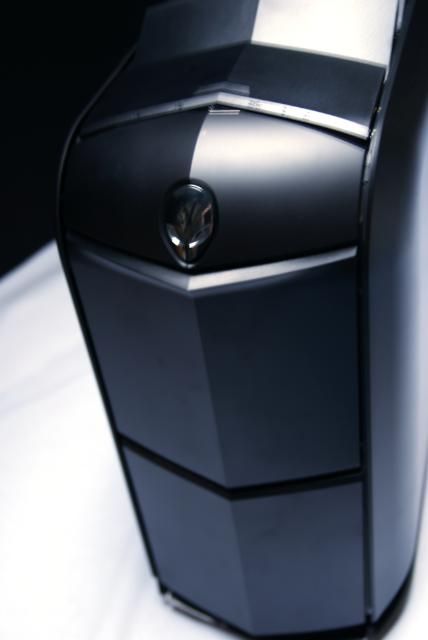
One touch on the Alien head and the panel slides down.
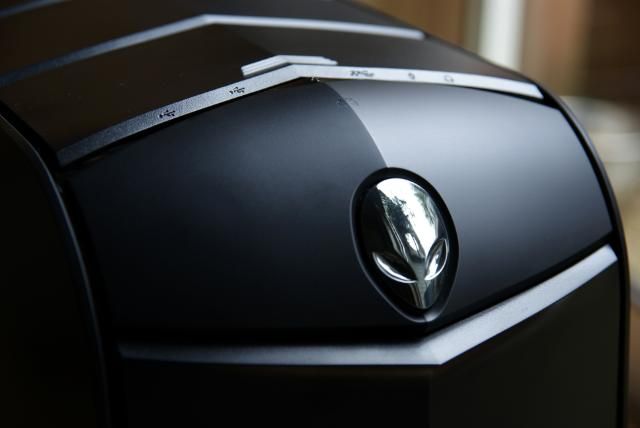
DSC09189.jpg


If the PC is turned on and you activate the sliding panel, the lights which illuminate the optical drives will turn on
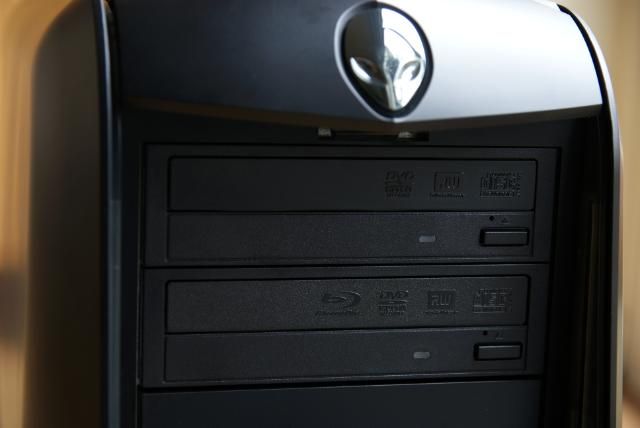
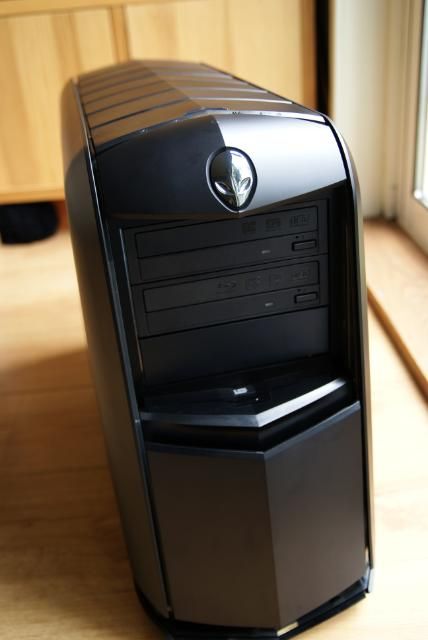
DSC09193.jpg


DSC09191.jpg


DSC09104.jpg


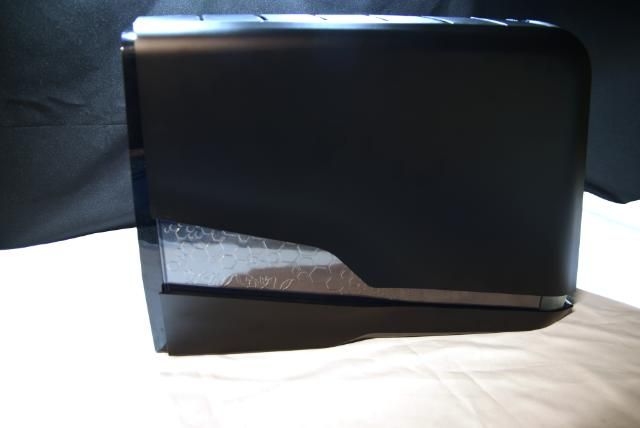
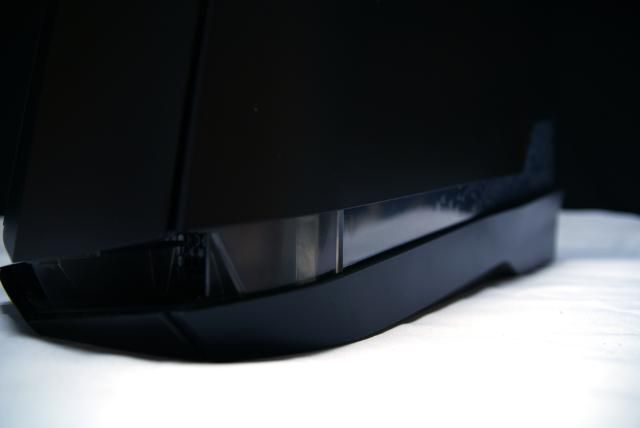
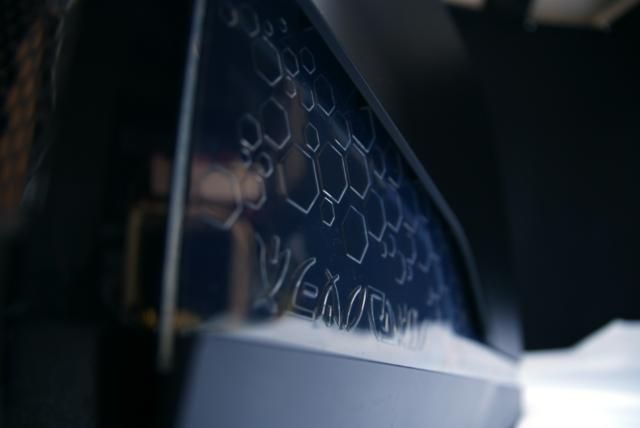
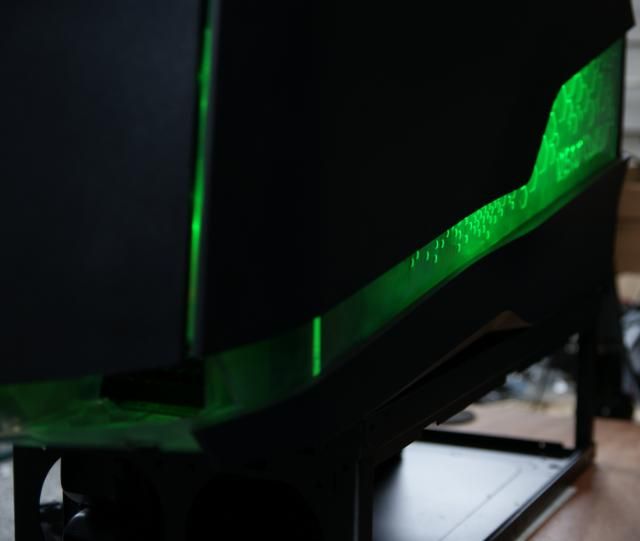
Acrylic part what looks very nice ... especially when it is enlightened
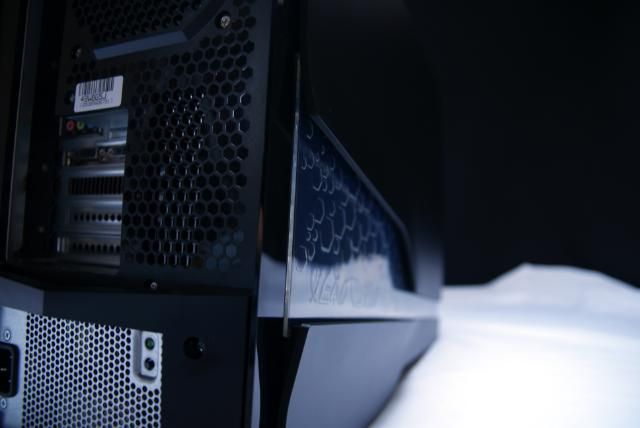
DSC09091.jpg


DSC09095.jpg


Power button

DSC09229.jpg


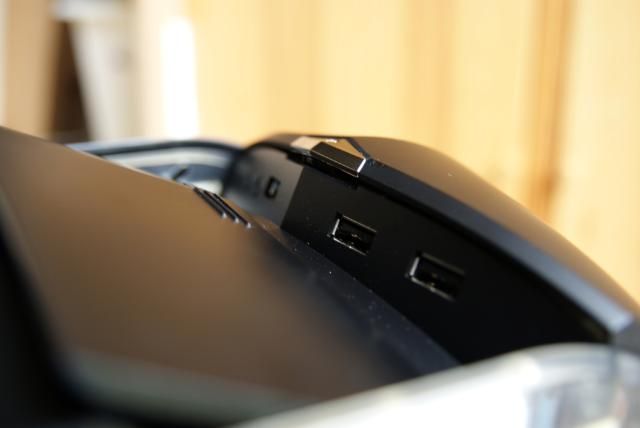
Behind this is a pushpanel to the front I / O. containing

(2x) Hi-Speed USB 2.0
(1x) SuperSpeed USB 3.0
(1x) Mic
(1x) Headphone
DSC09228.jpg


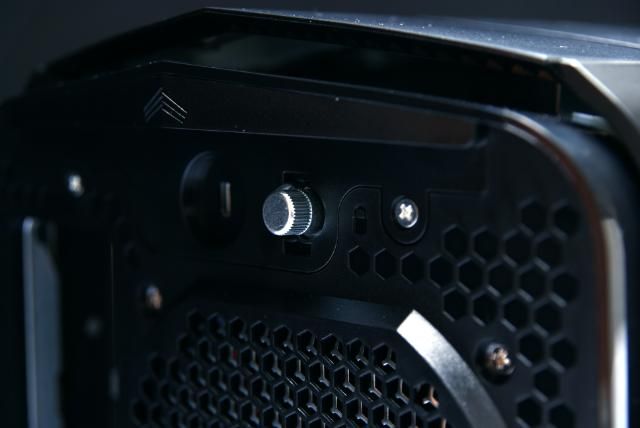
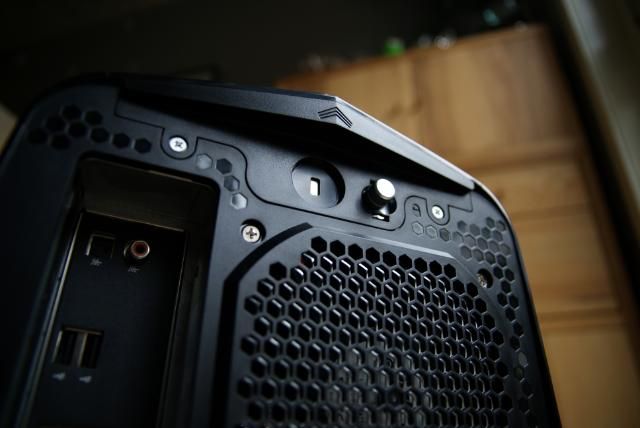
At the rear is the handle to unlock the side panel.
DSC09234.jpg


DSC09114-kopie.jpg


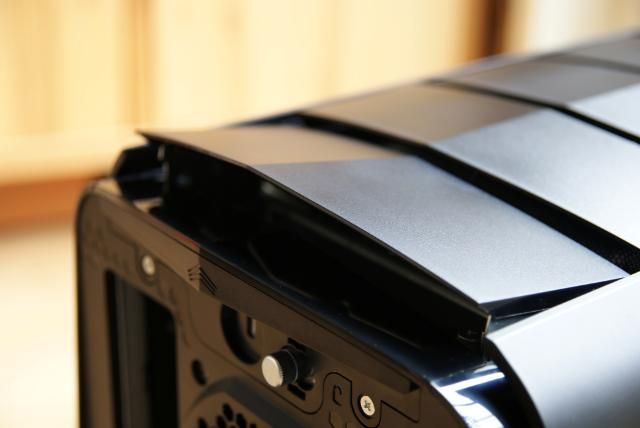
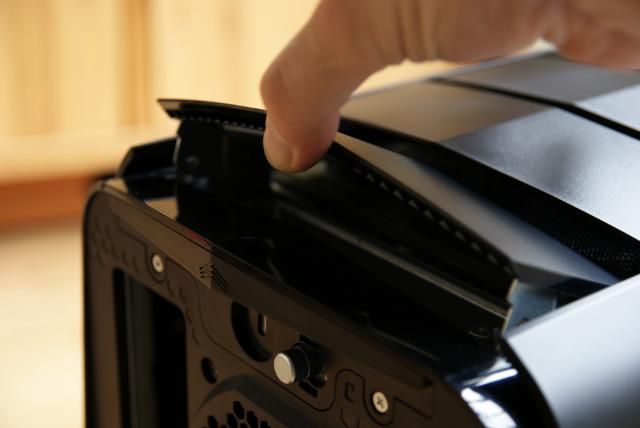
Pull the last vent

DSC09195.jpg


DSC09197.jpg


To unlock the sidepanel

DSC09198.jpg


DSC09199.jpg


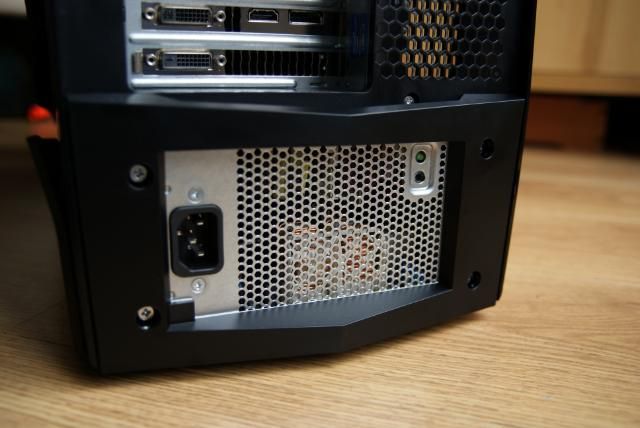
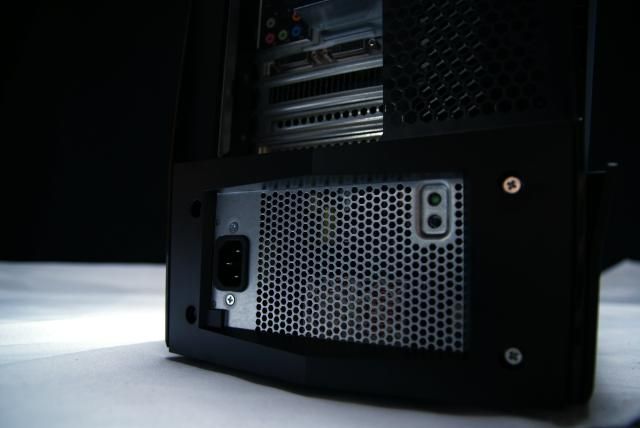
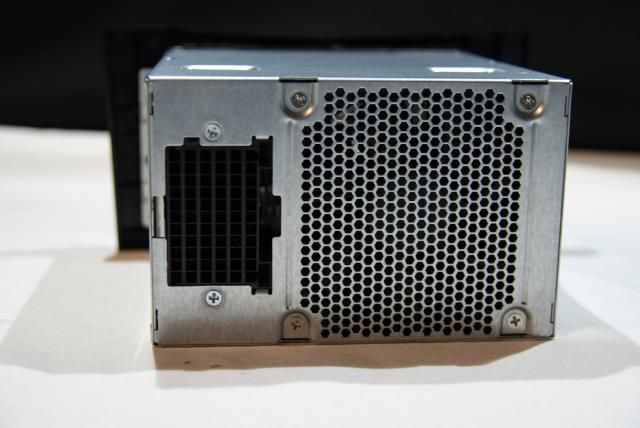
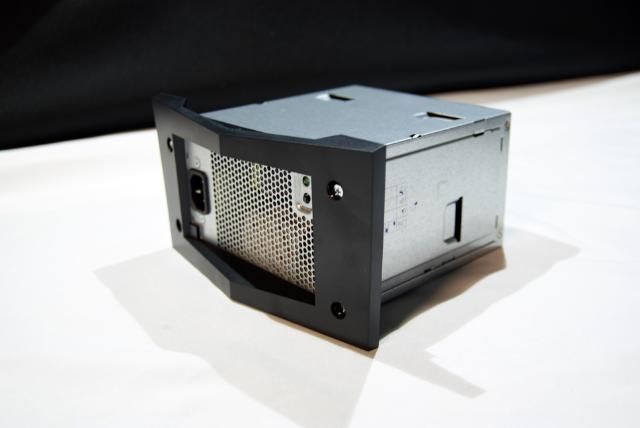
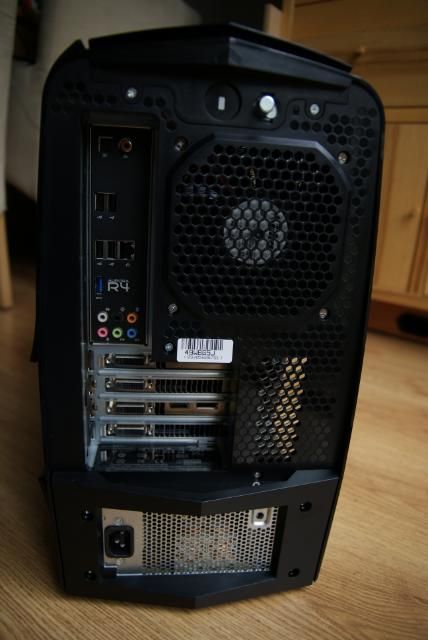
The PSU (Alienware™ 875-watt) is also swappable and modular
DSC09230.jpg


DSC09232.jpg


DSC09096.jpg


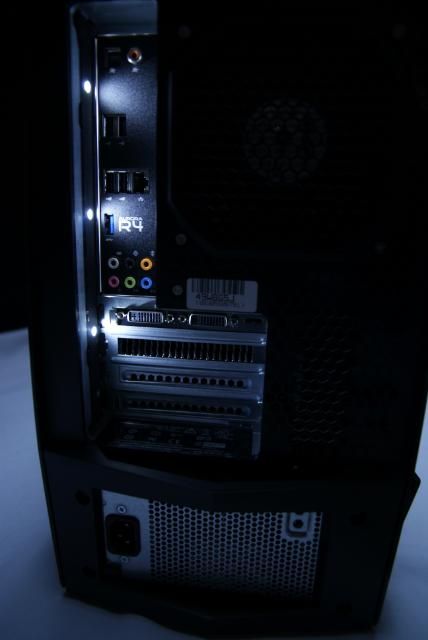
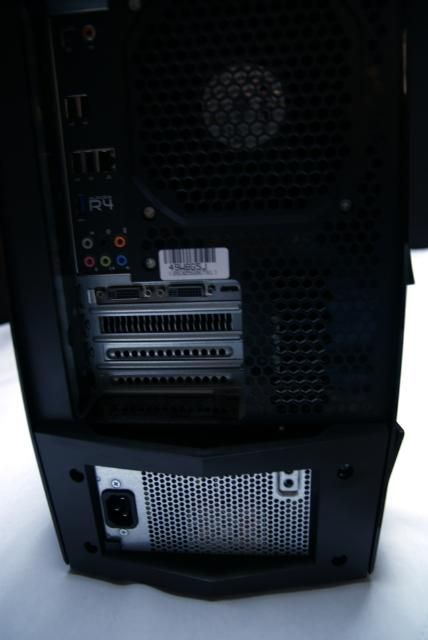
Another great gadget is the enlightenment on the back. Activated with a push button.
DSC09097.jpg


DSC09098.jpg


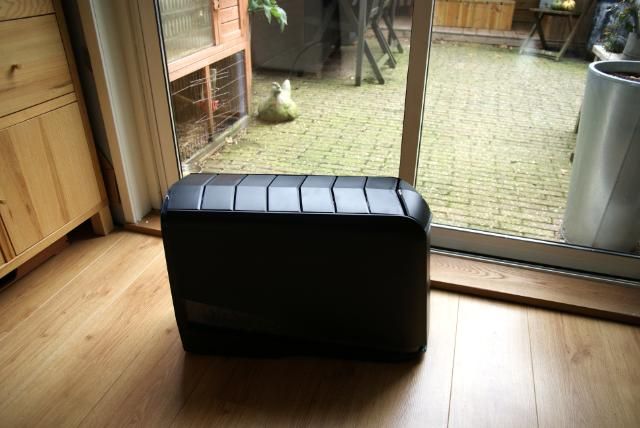
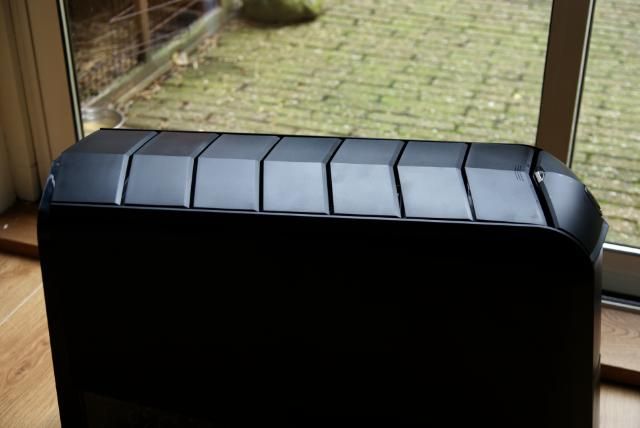
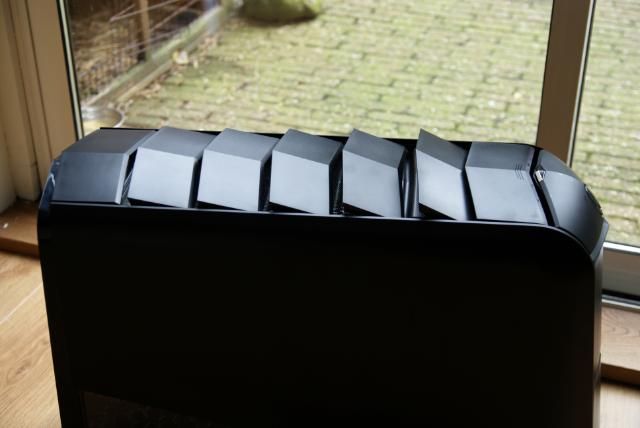
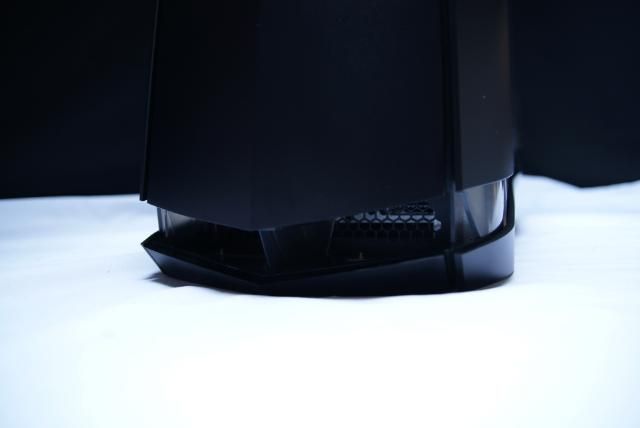
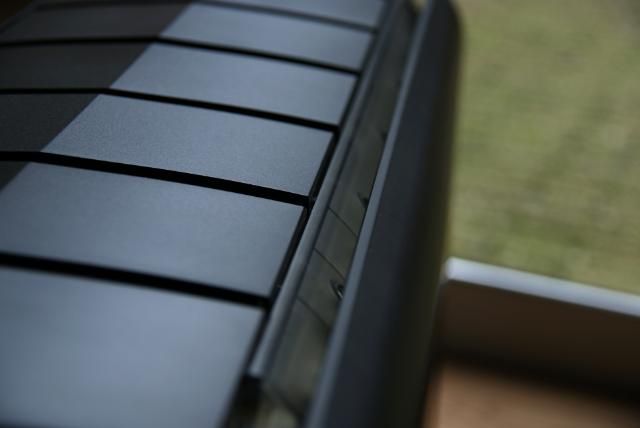
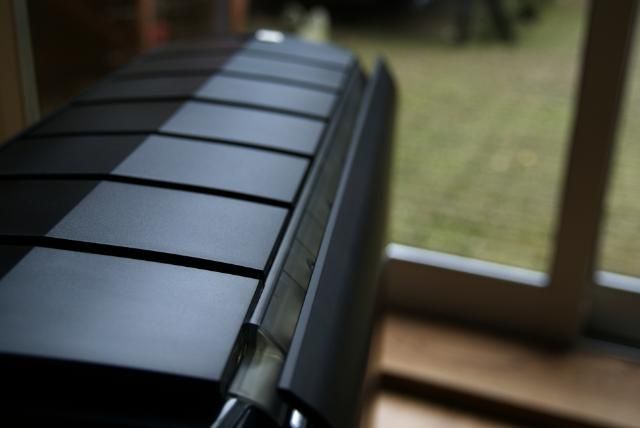
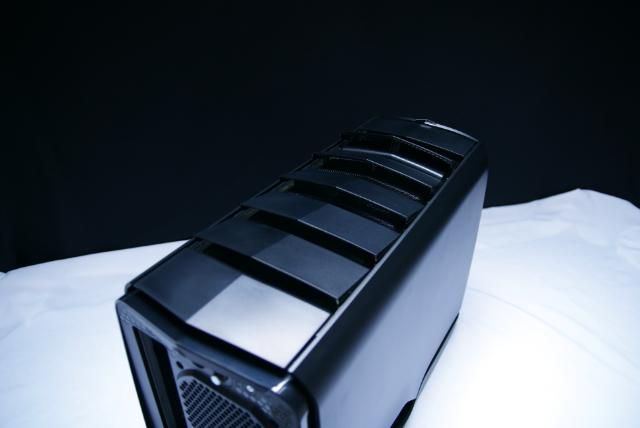
Also a great gadget is the Alienware Active Venting.
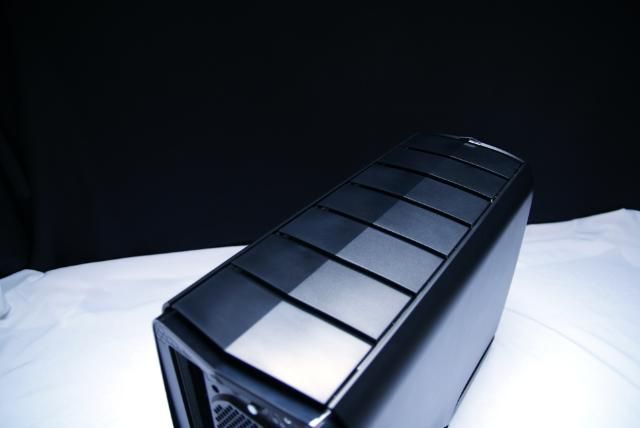
DSC09087.jpg


DSC09088.jpg


DSC09079.jpg


Next box. With keyboard and other accessories
DSC09139.jpg


DSC09140.jpg


DSC09141.jpg


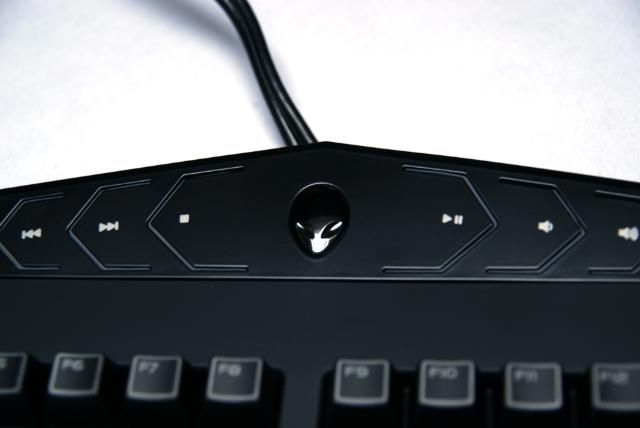
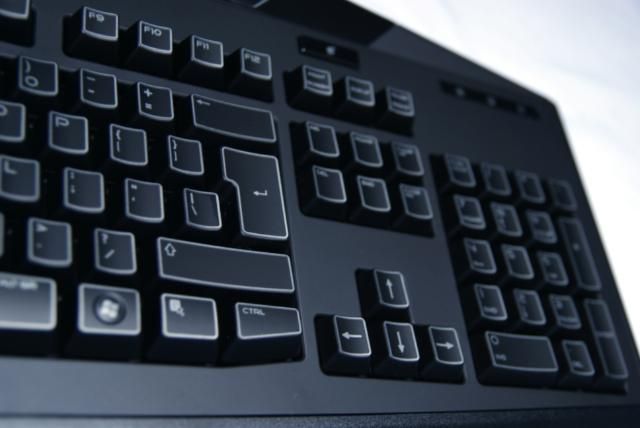
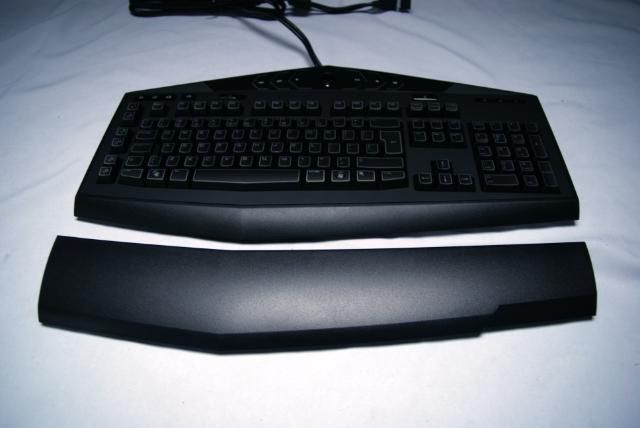
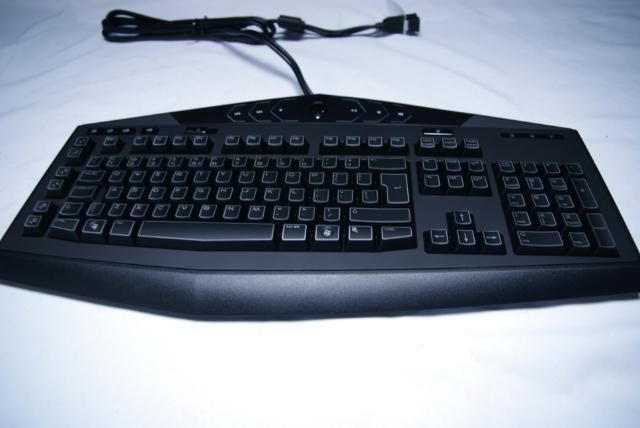
The Alienware tactx keyboard with two-zone lighting setup
DSC09142.jpg


DSC09143.jpg


DSC09145.jpg


DSC09146.jpg


DSC09147.jpg


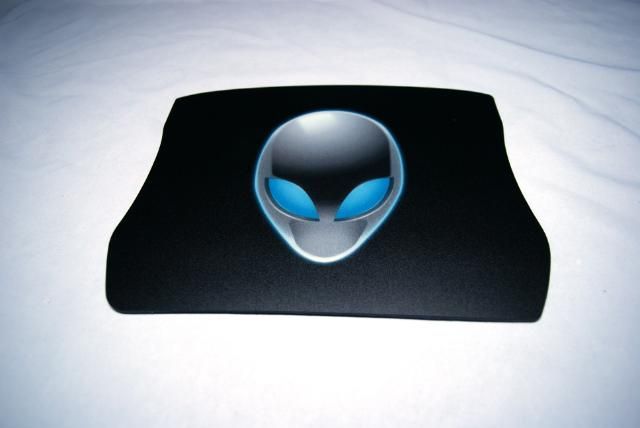
The Alienware mousepad

DSC09149-kopie.jpg


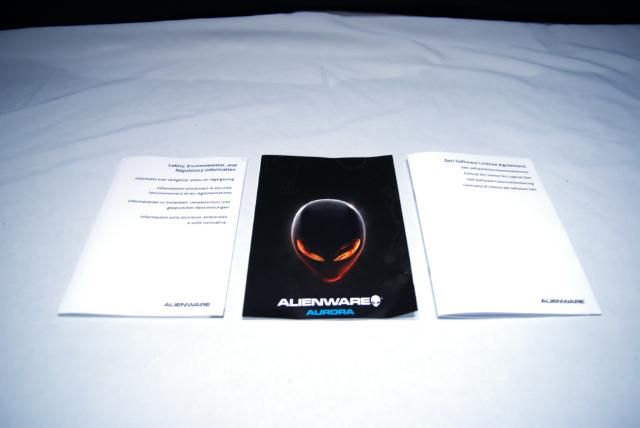
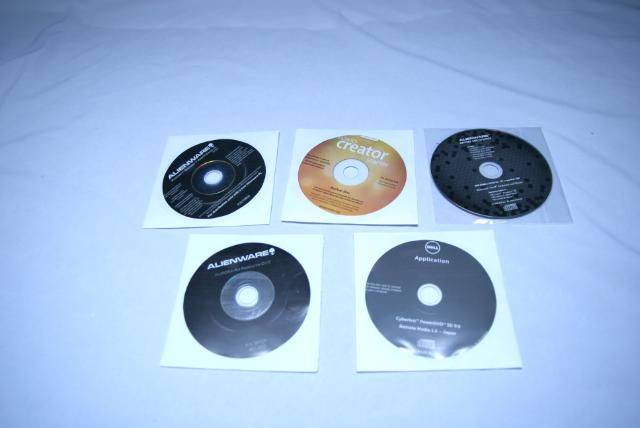
Some documents

DSC09154.jpg


Drivers and utilities

DSC09150.jpg


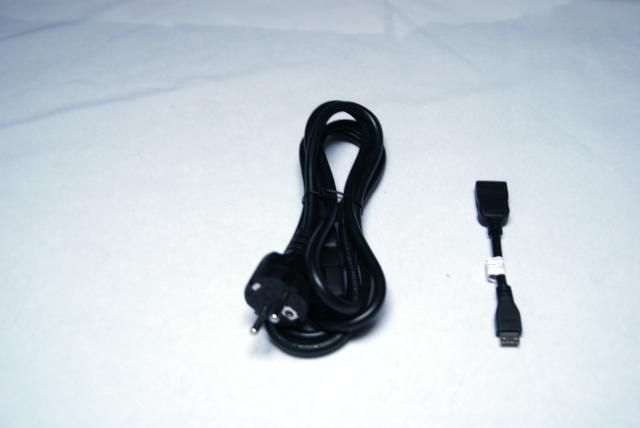
Cables

DSC09155-kopie.jpg


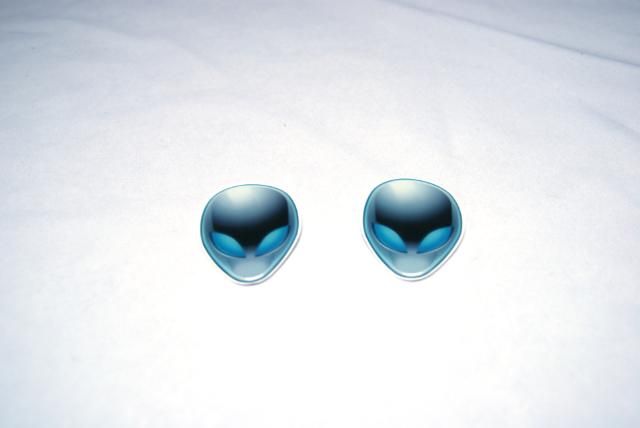
And two Alienware 3D avatars

DSC09152.jpg


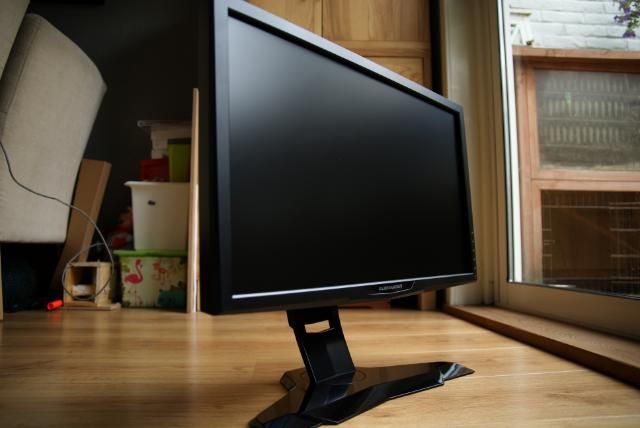
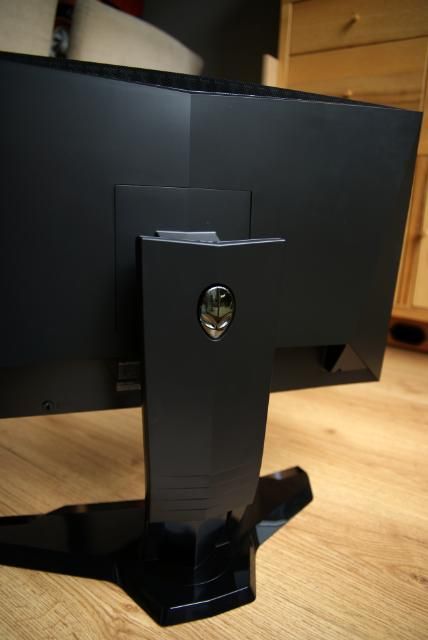
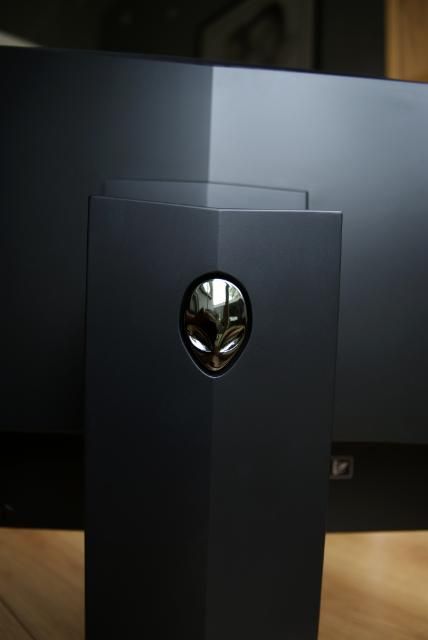
Not finished yet ..... a monitor, the beautiful

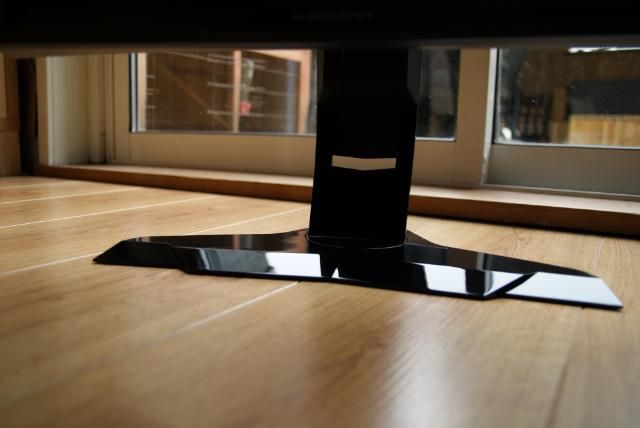
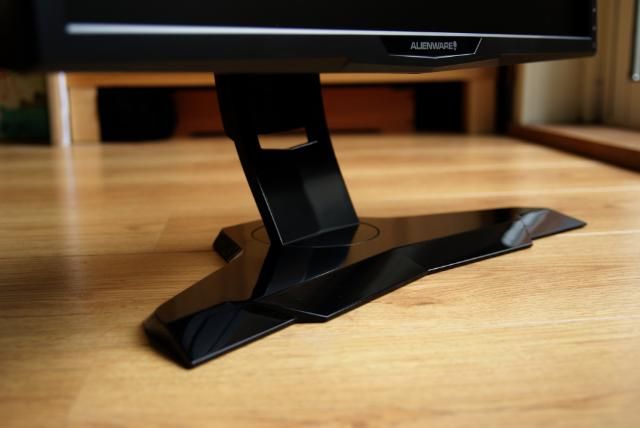
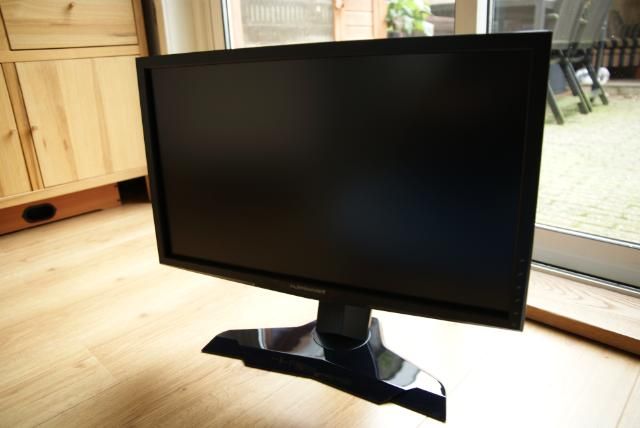
Alienware OPTX AW2310

Specs:

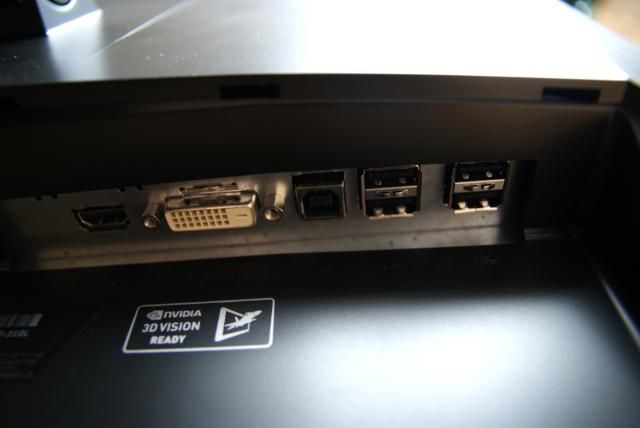
•Connections Dual-link DVI (with HDCP), HDMI, 4 x USB
•Viewable Screen Size 23.5in
•Maximum Resolution 1,920 x 1,080
•Contrast ratio 80,000:1 (dynamic), static not quoted
•Brightness 400cd/m2
•Response time 3ms (grey-to-grey)

DSC09242.jpg


DSC09238.jpg


DSC09245.jpg


DSC09241.jpg


DSC09243.jpg


DSC09251.jpg


DSC09247.jpg


DSC09252.jpg


Back to the Alienware Aurora ....

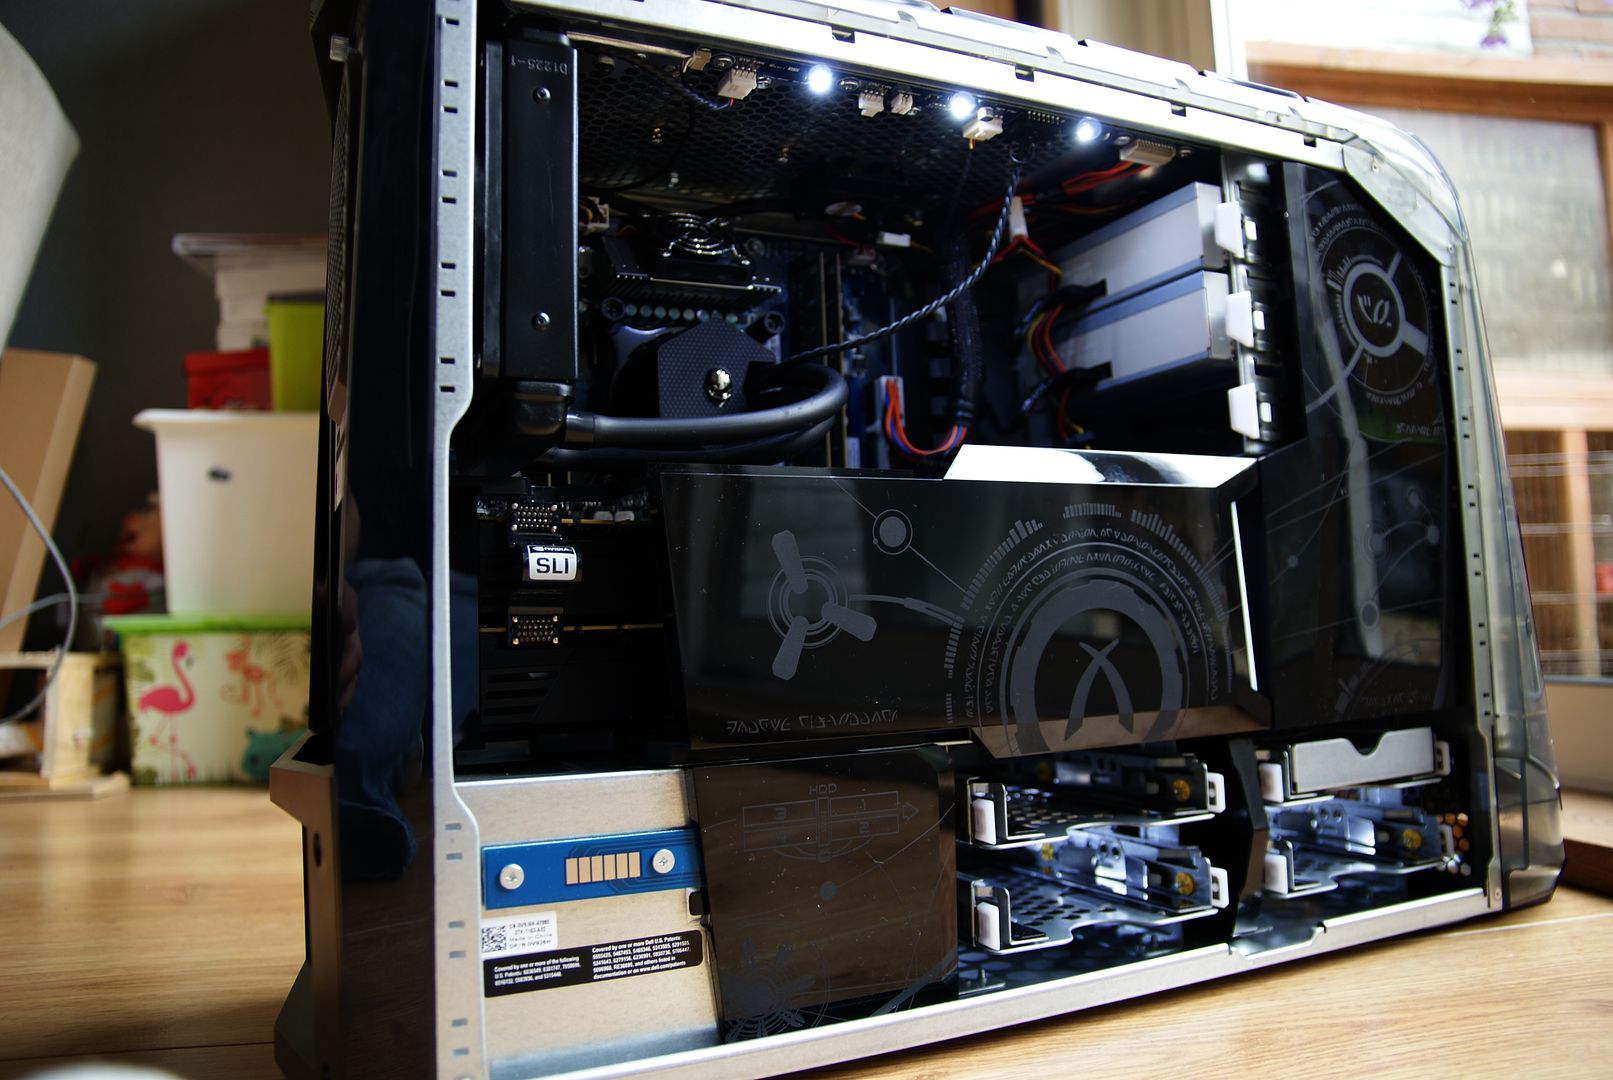
the inside

First looks without sidepanel
DSC09201.jpg


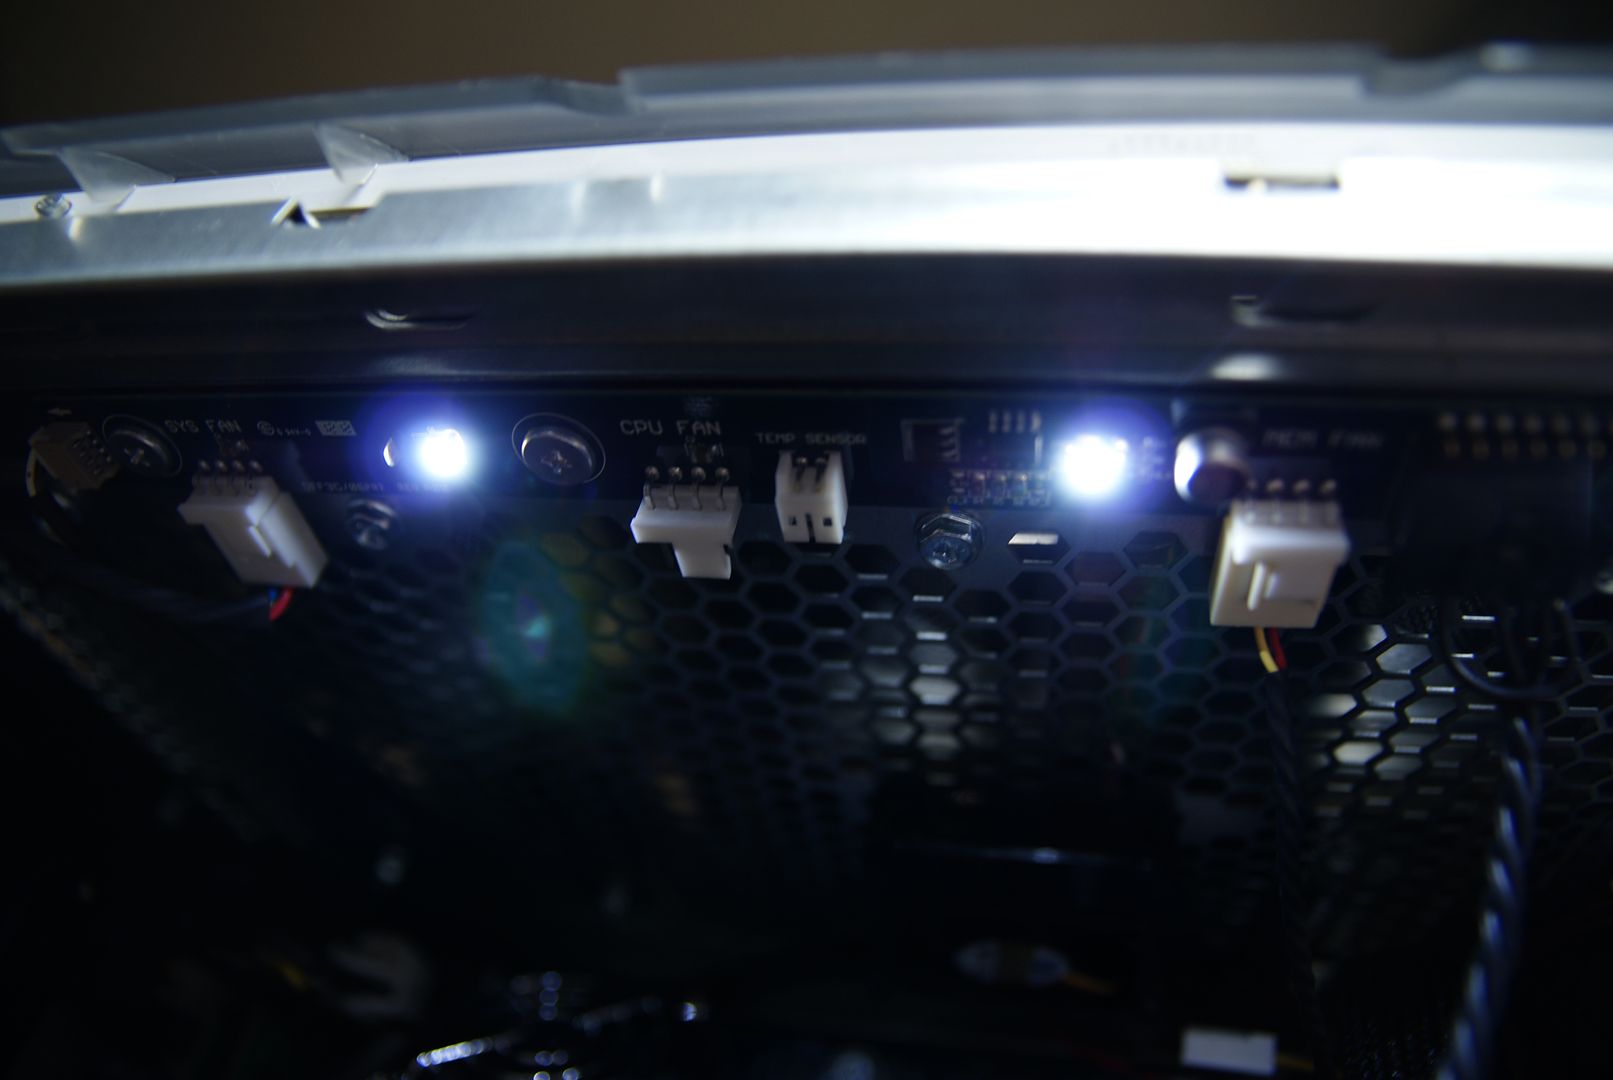
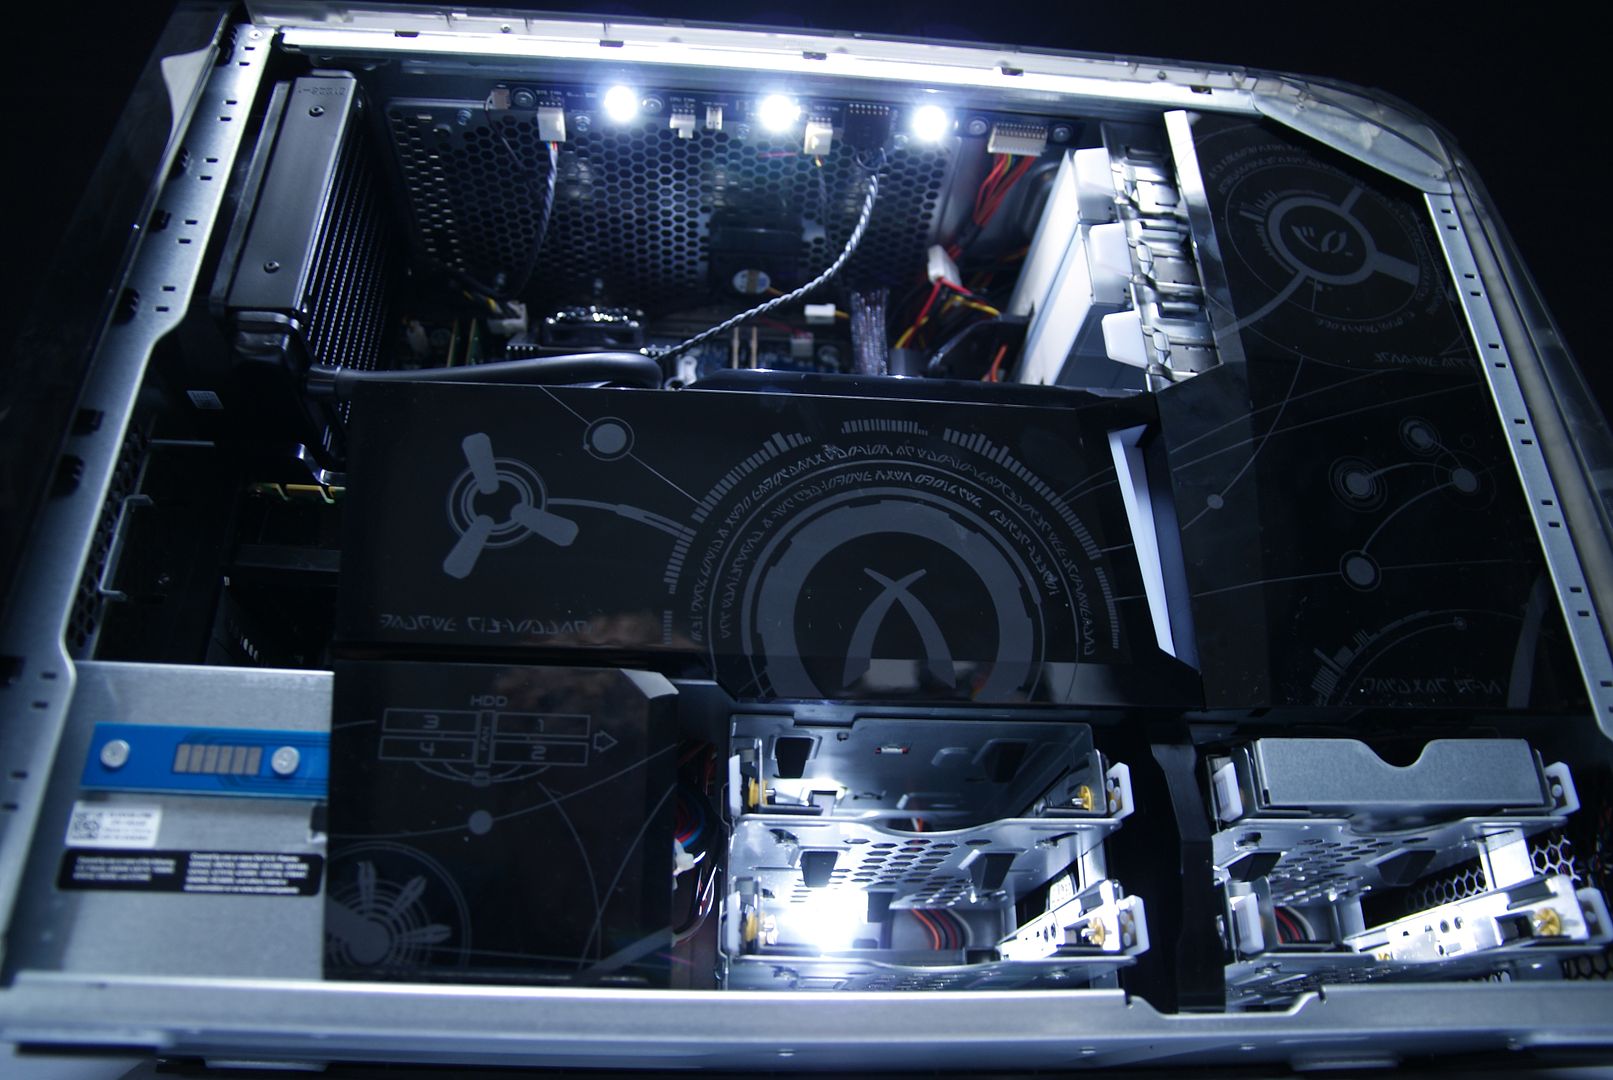
And again a nice gadget: when the sidepanel is removed, the inside is illuminated without the power on.
DSC09222.jpg


DSC09119.jpg


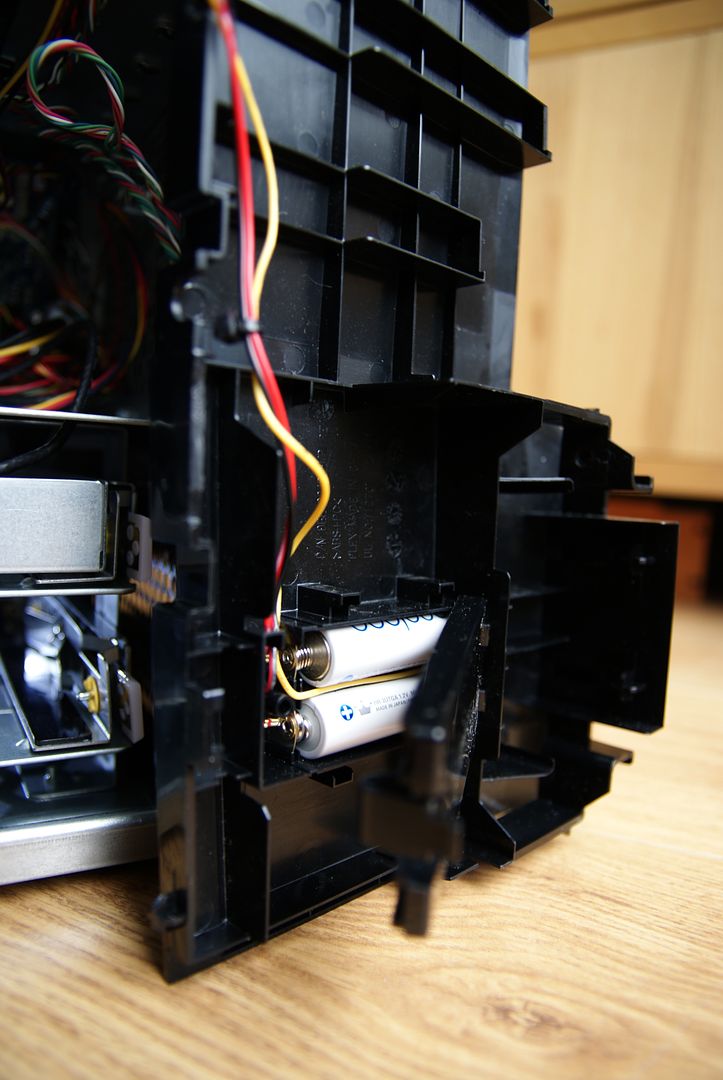
Powered by rechargeable batteries

DSC09224.jpg


Very handy!!!

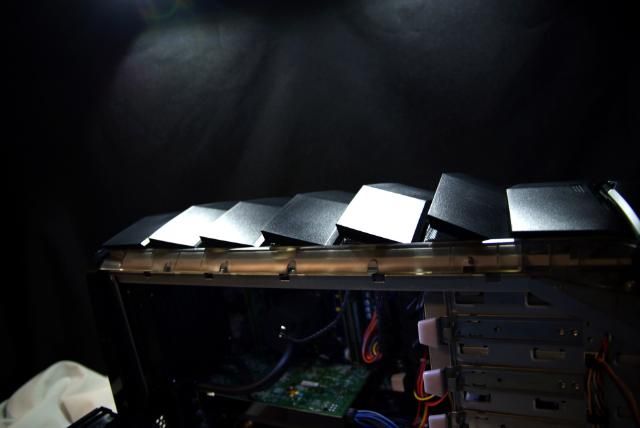
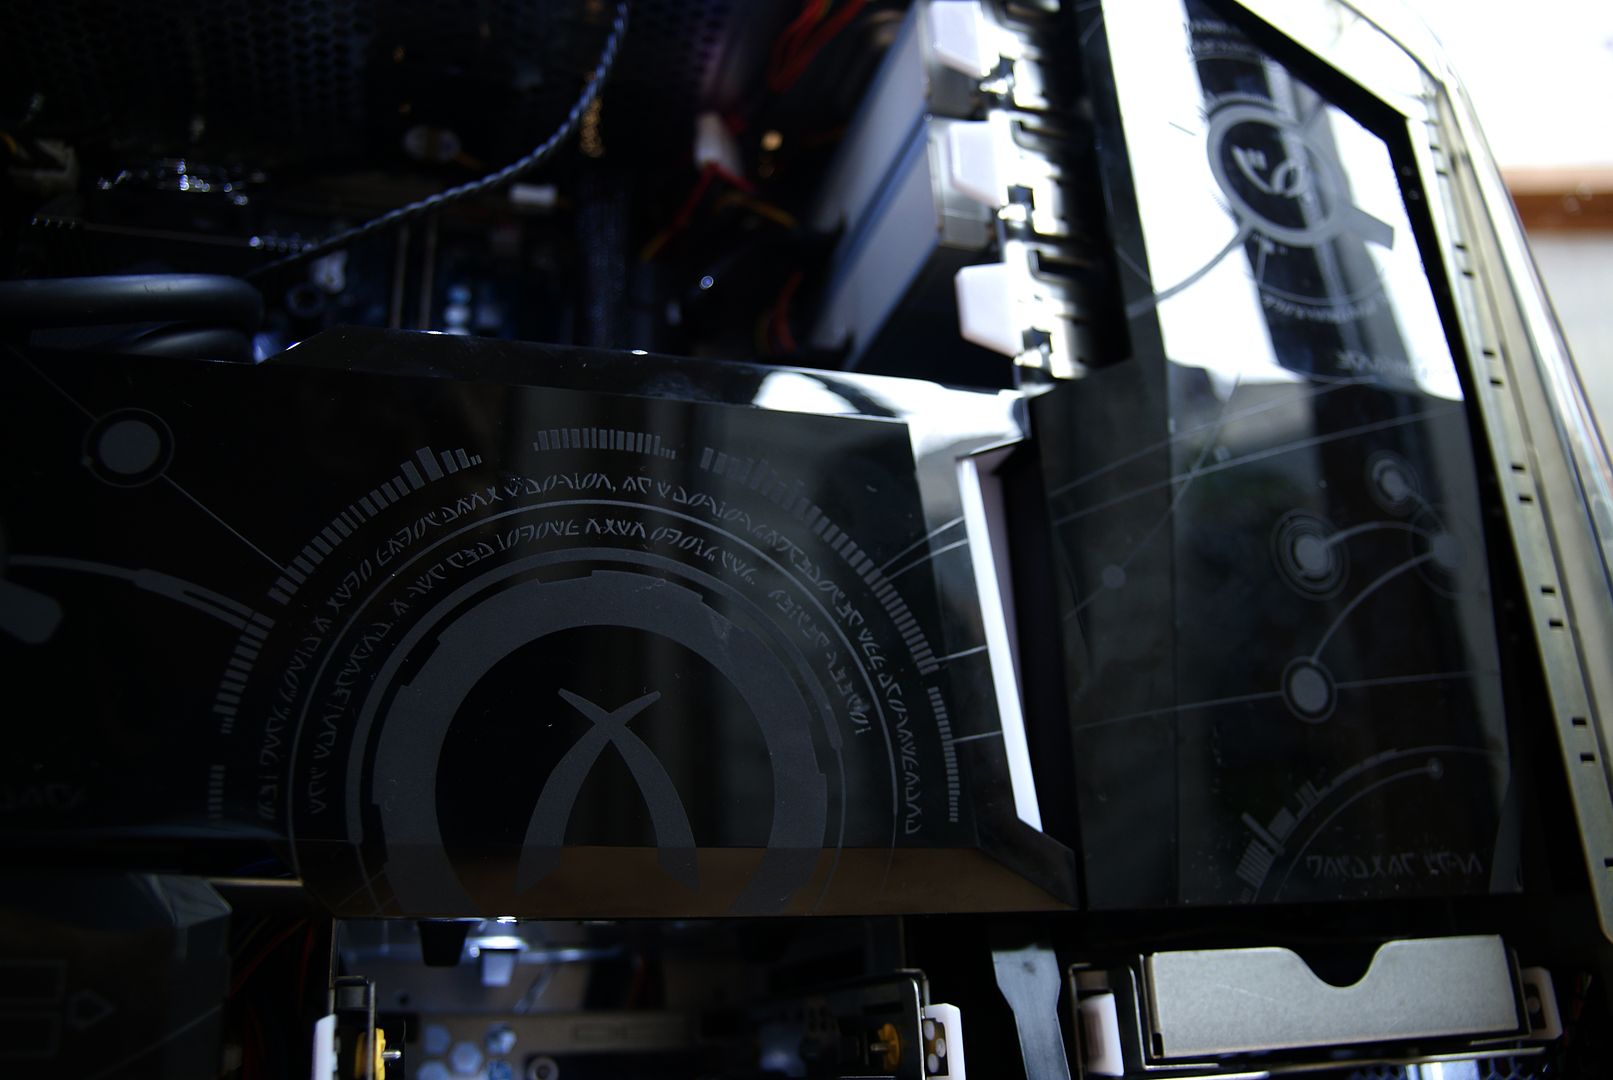
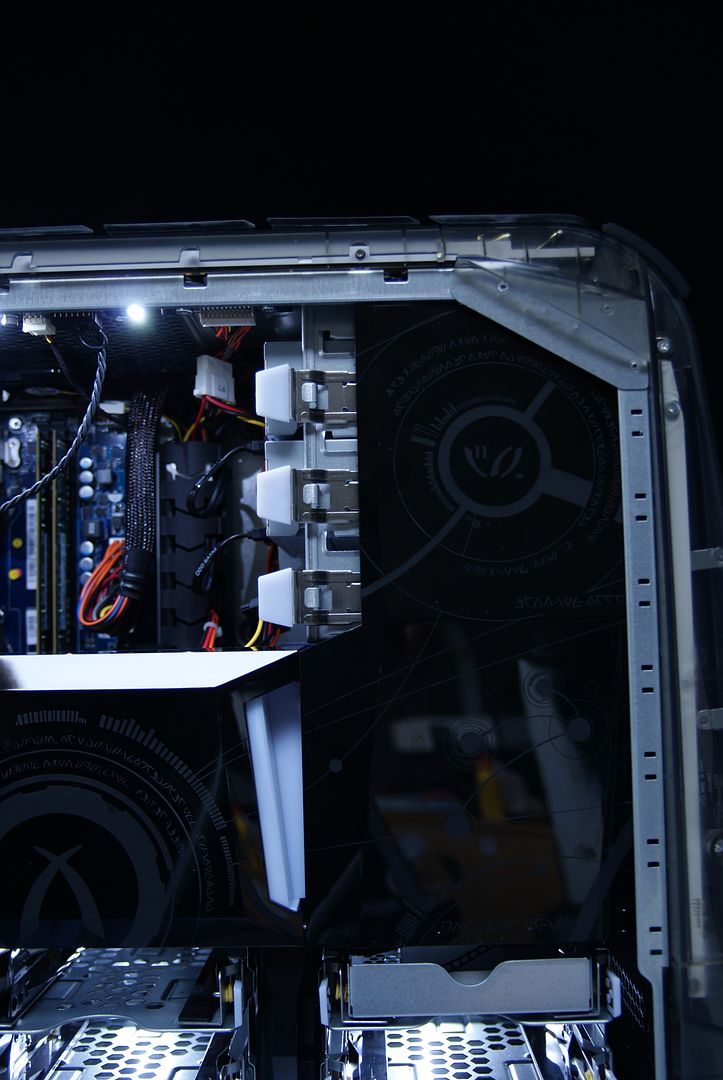
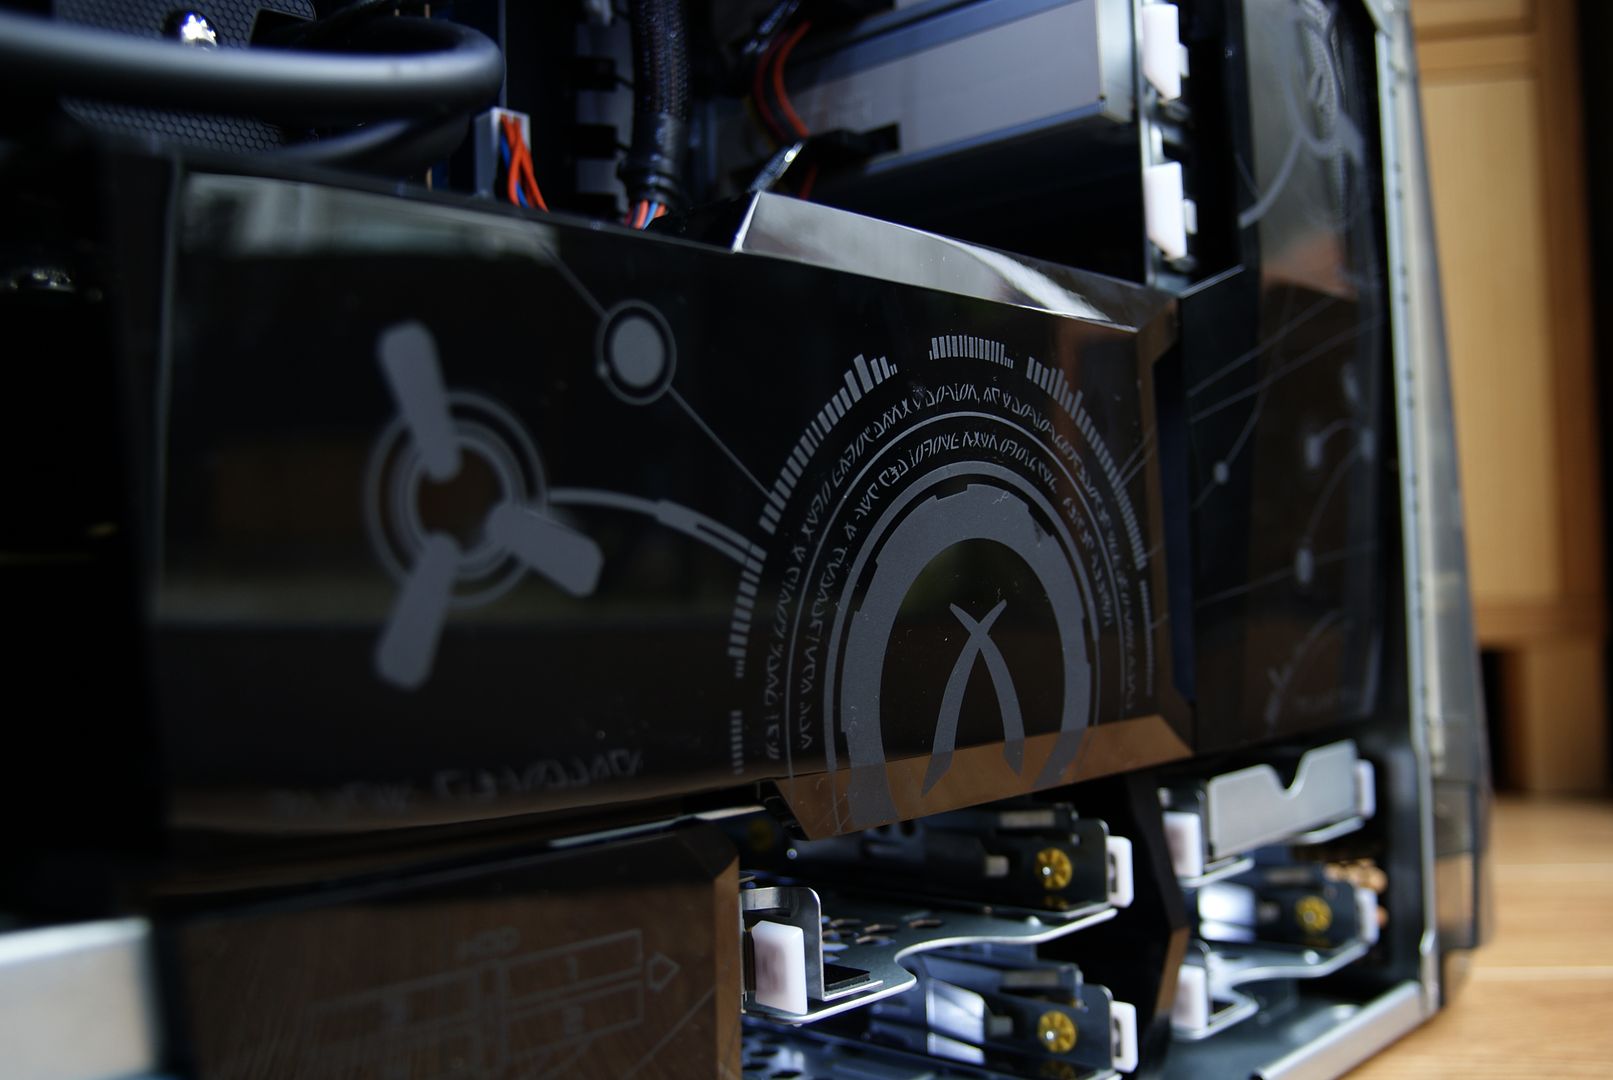
The caps for the airflow and coverup are very nicely designed and printed
DSC09213.jpg


DSC09212.jpg


DSC09205.jpg


DSC09123.jpg


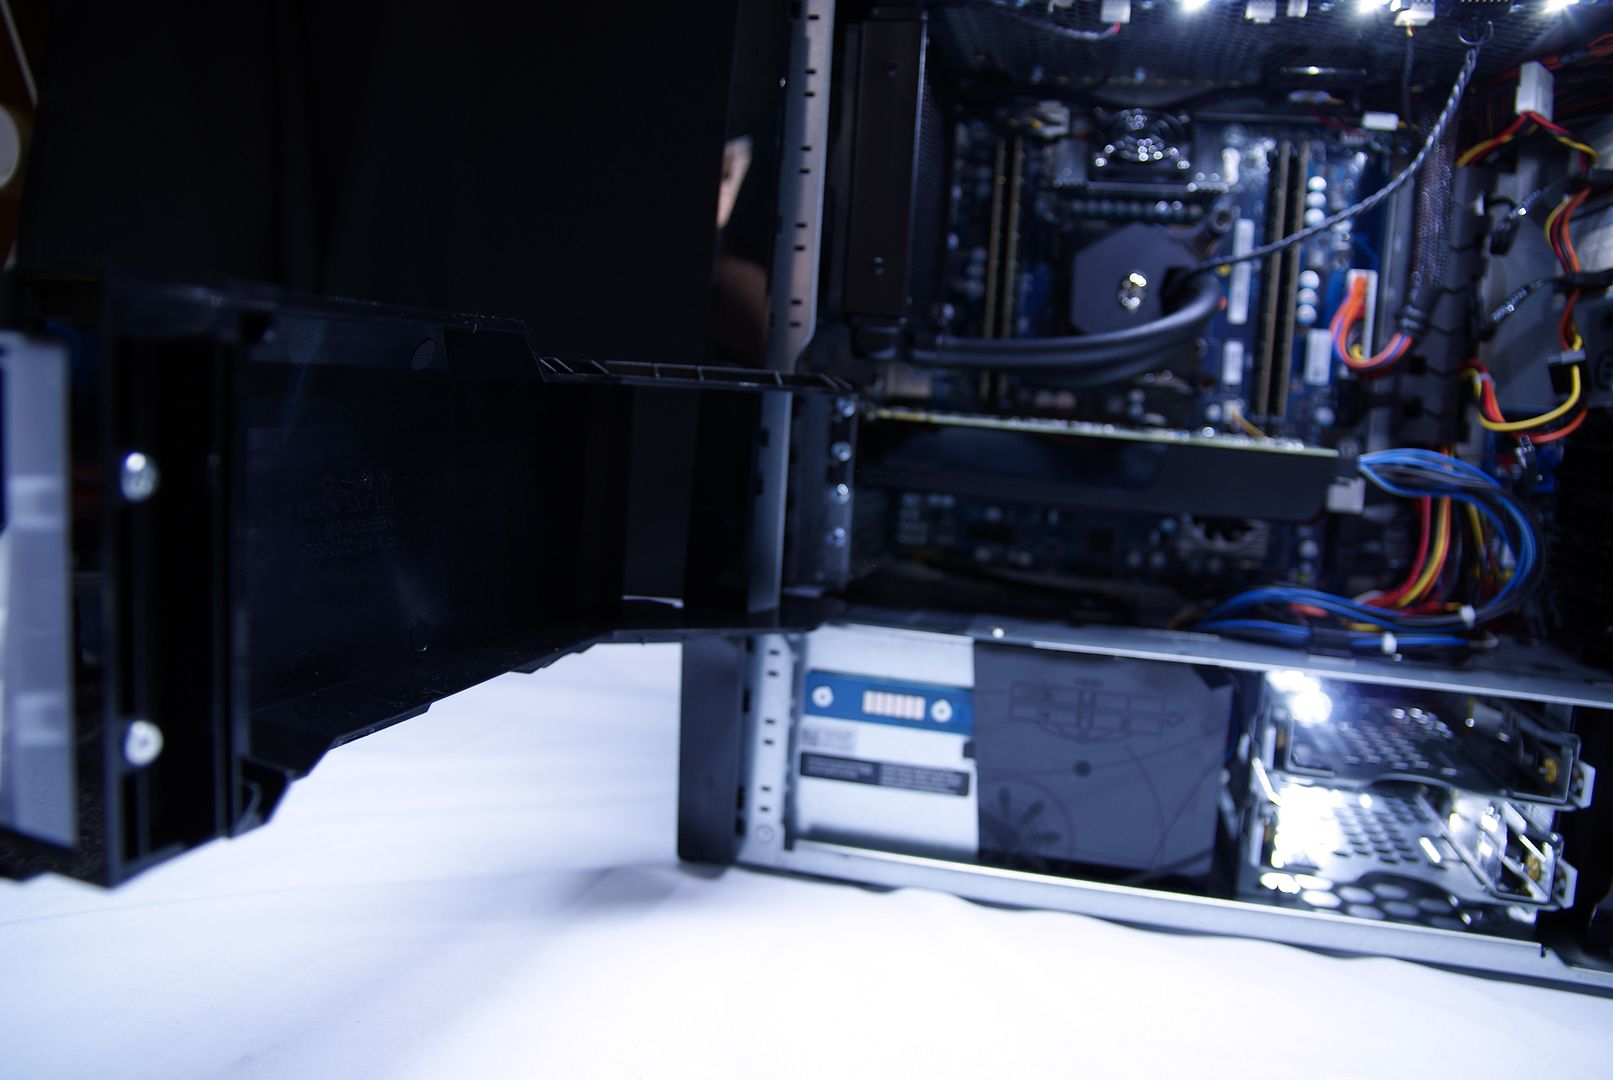
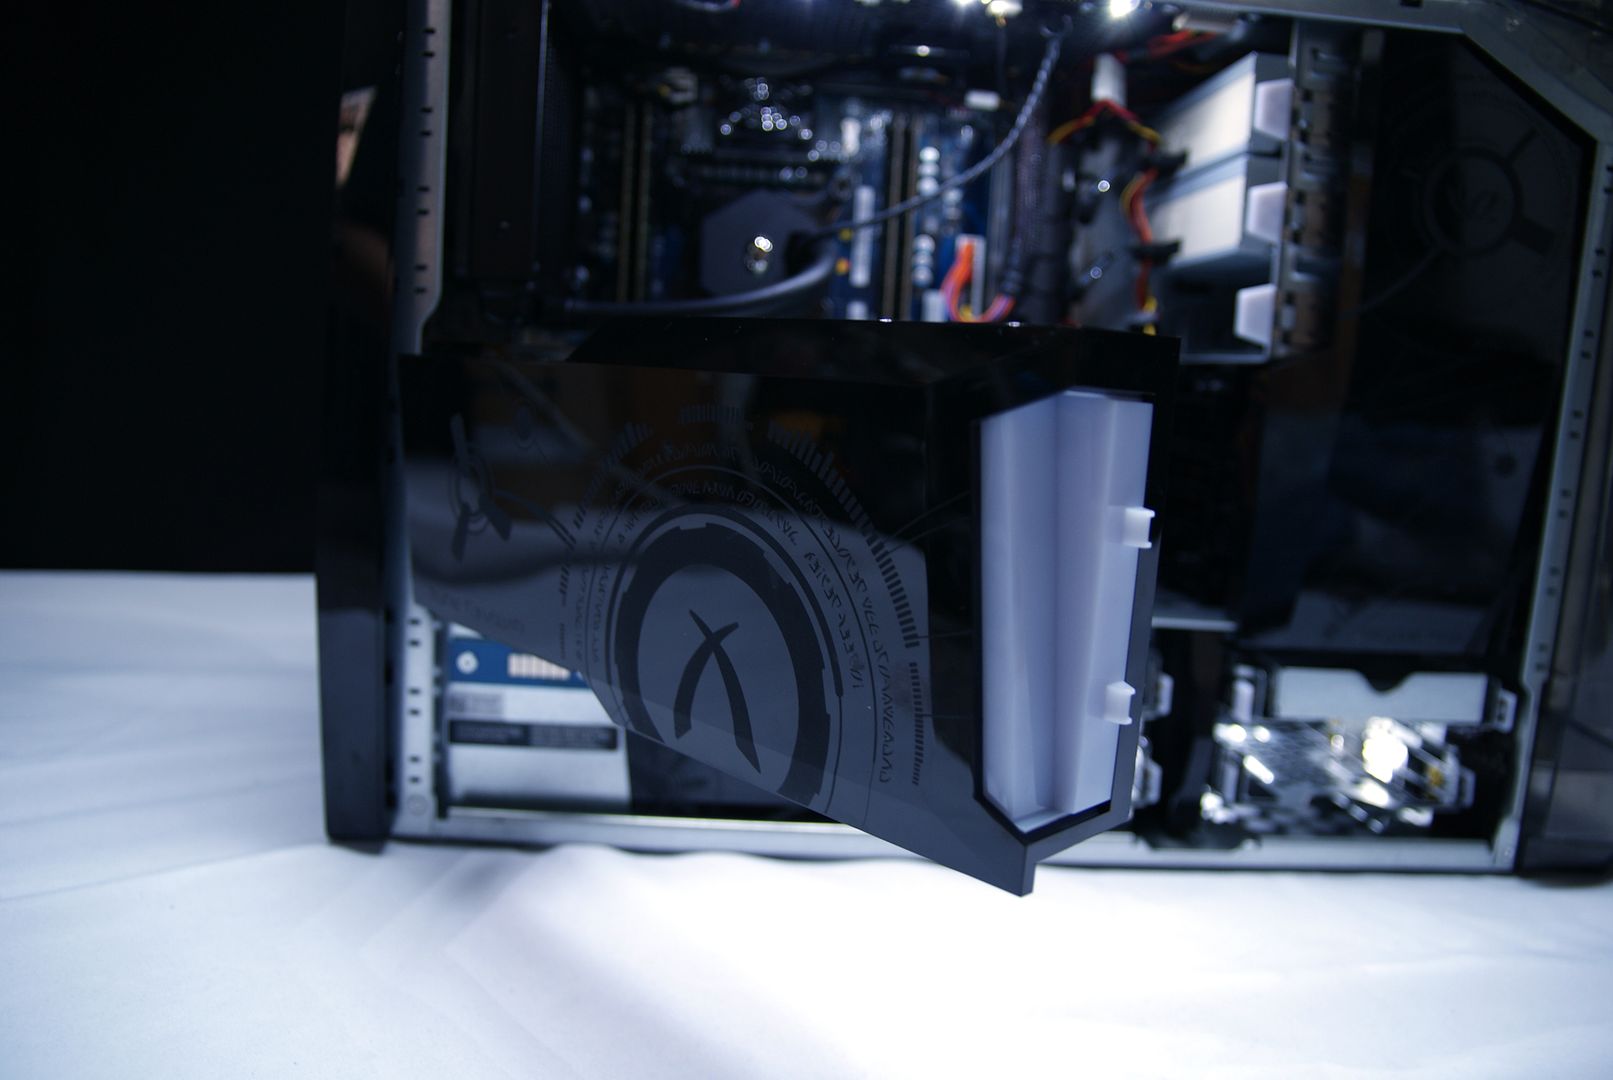
Cap for the GPUs is rotatable and removable
DSC09131.jpg


DSC09130.jpg


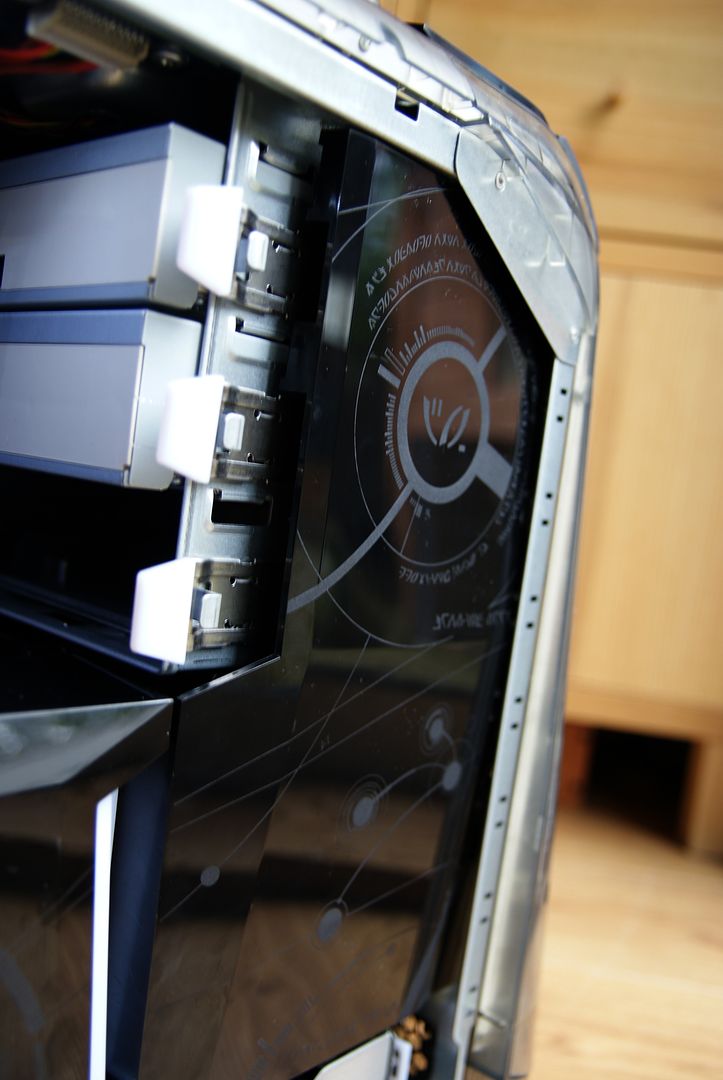
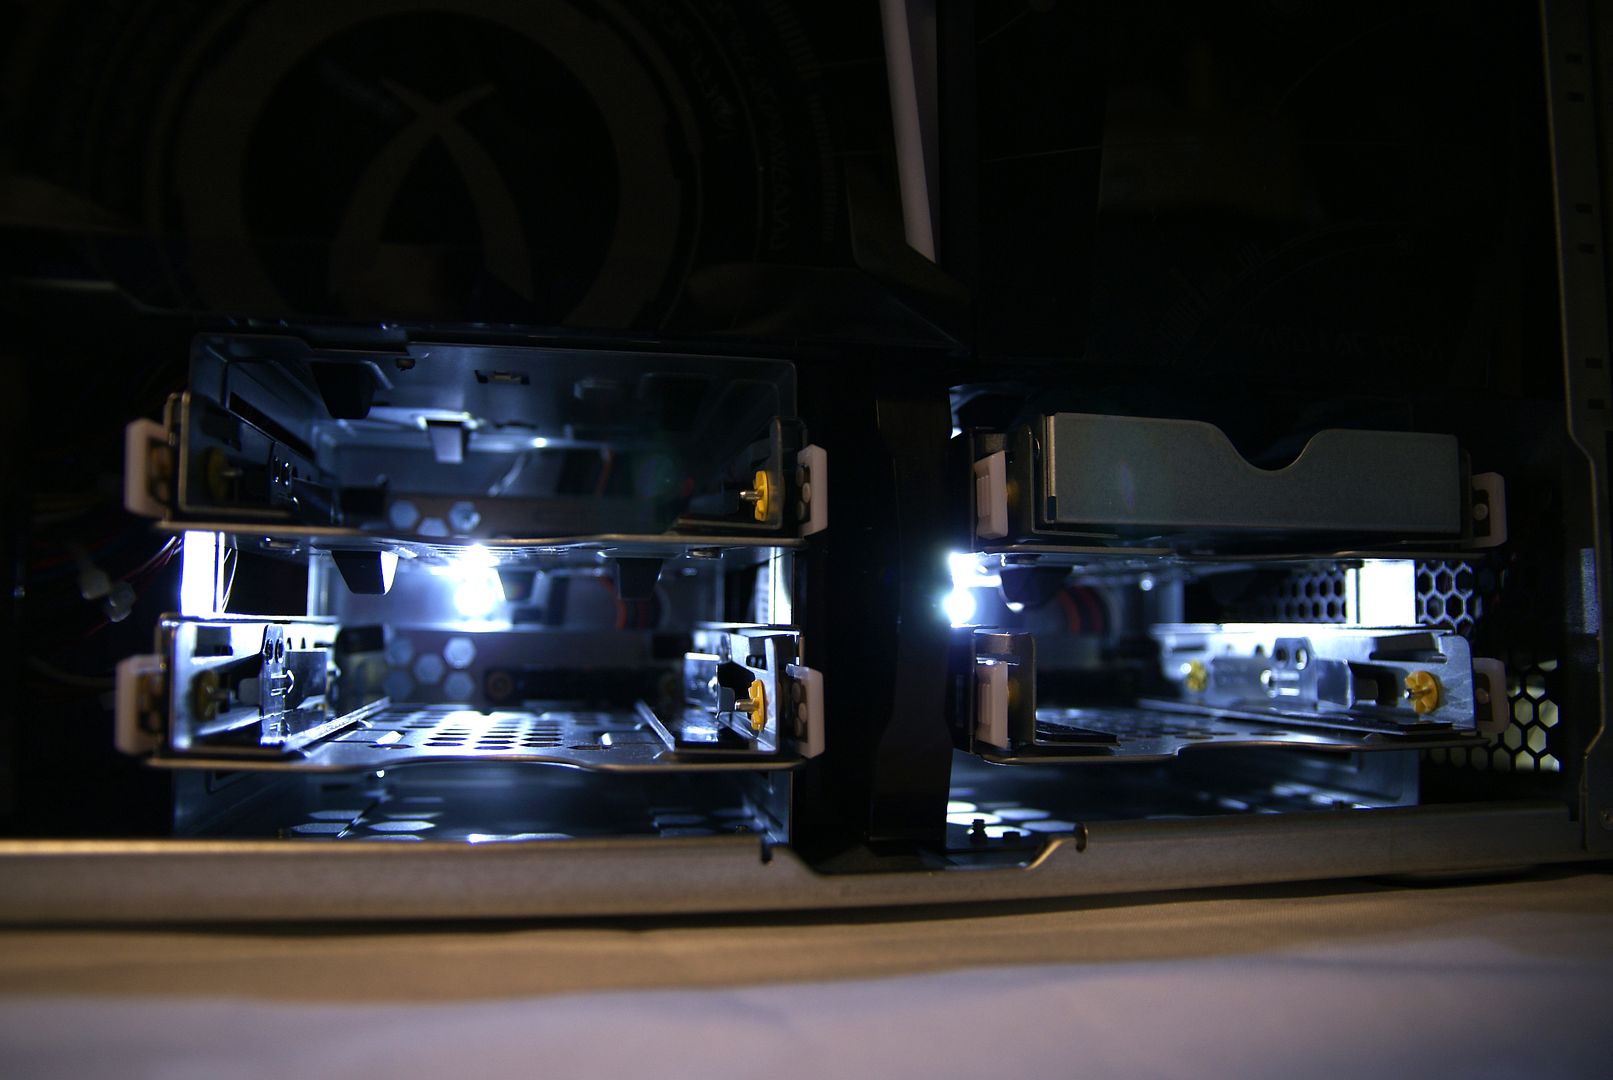
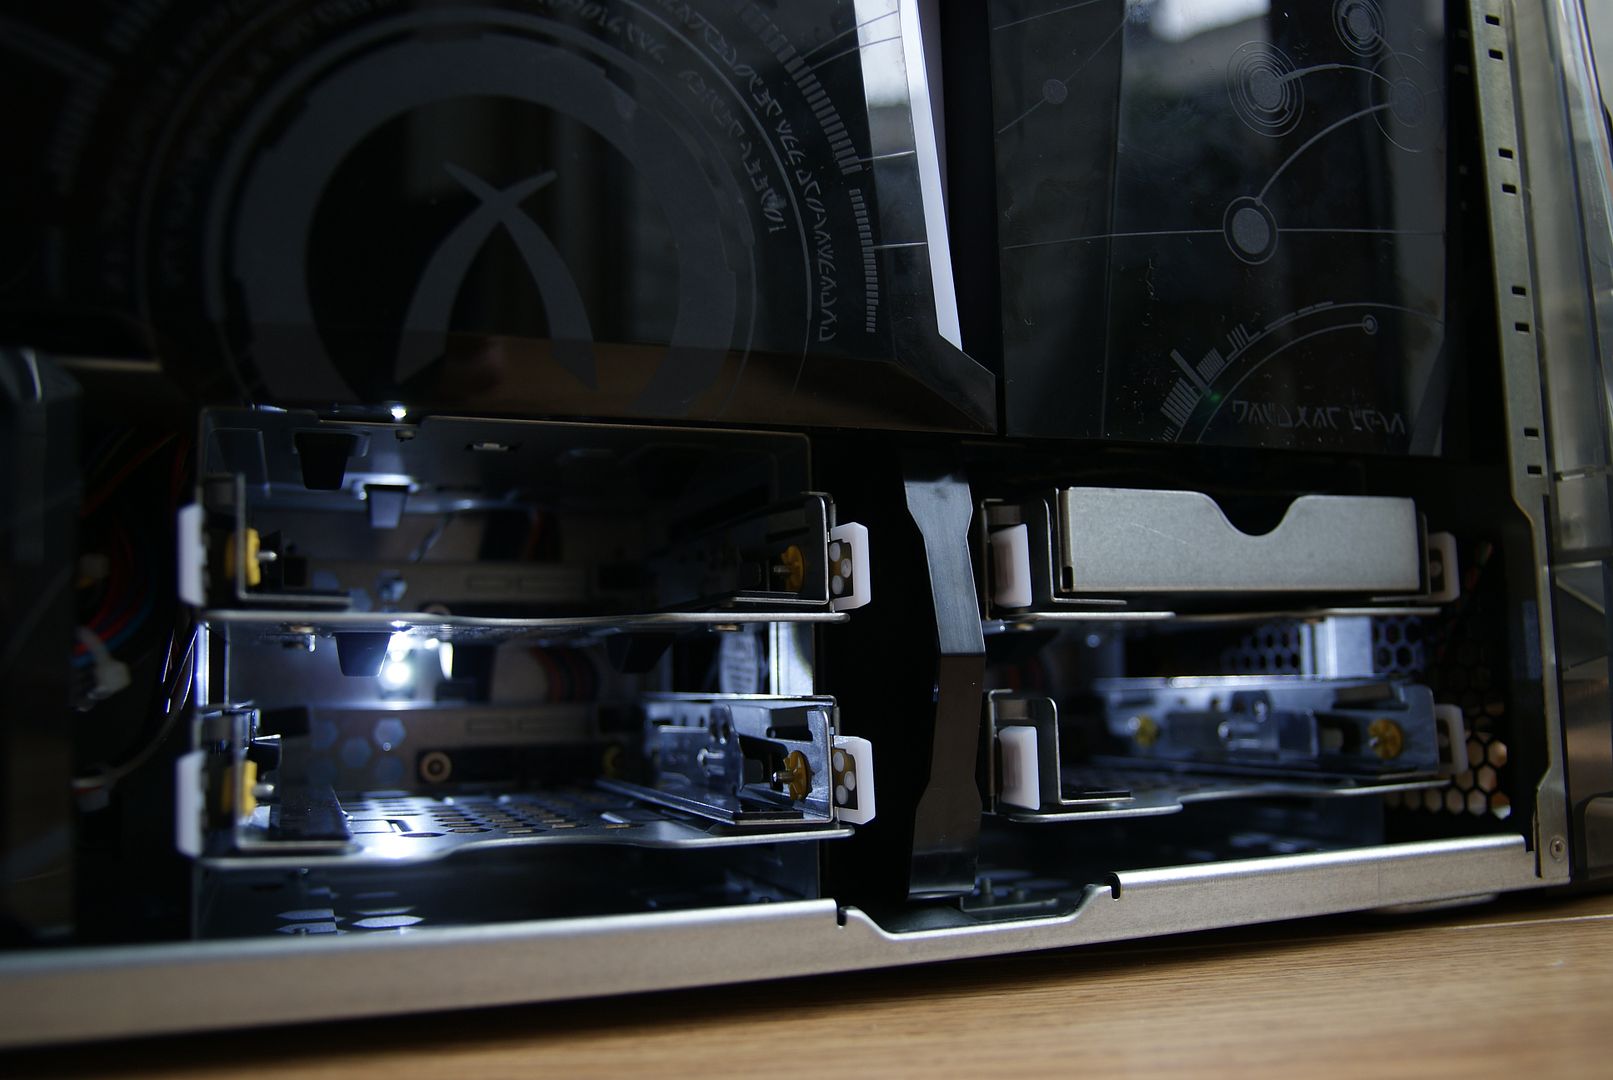
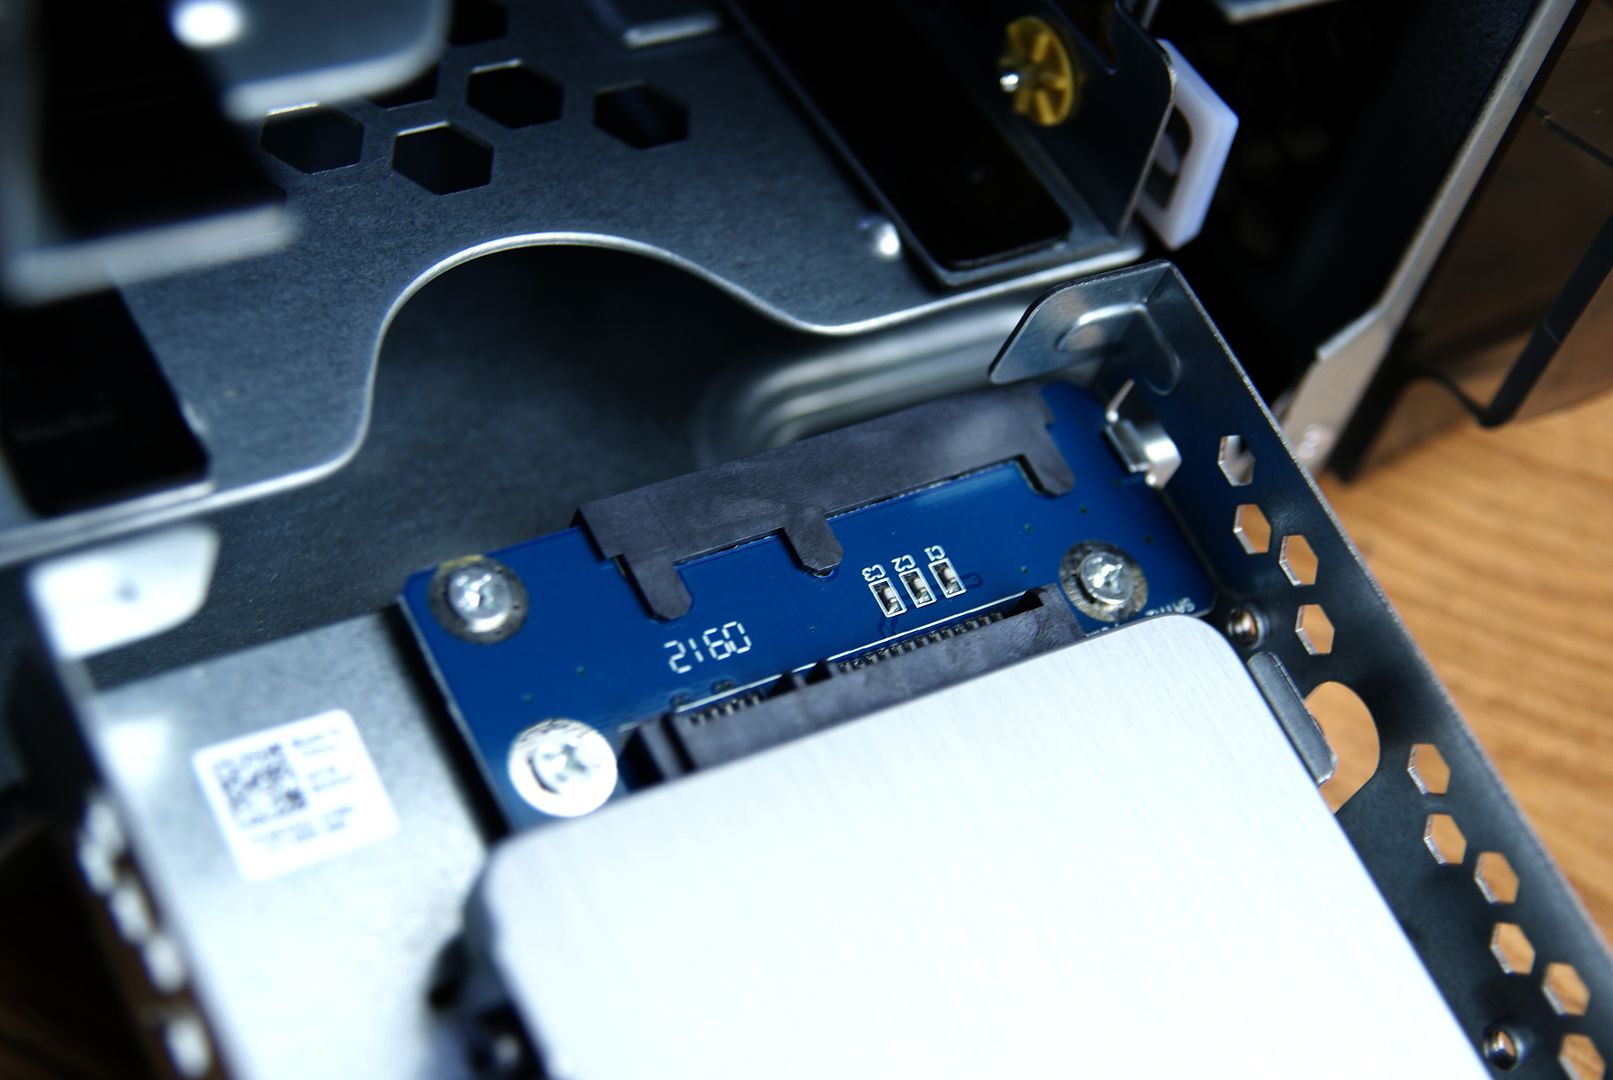
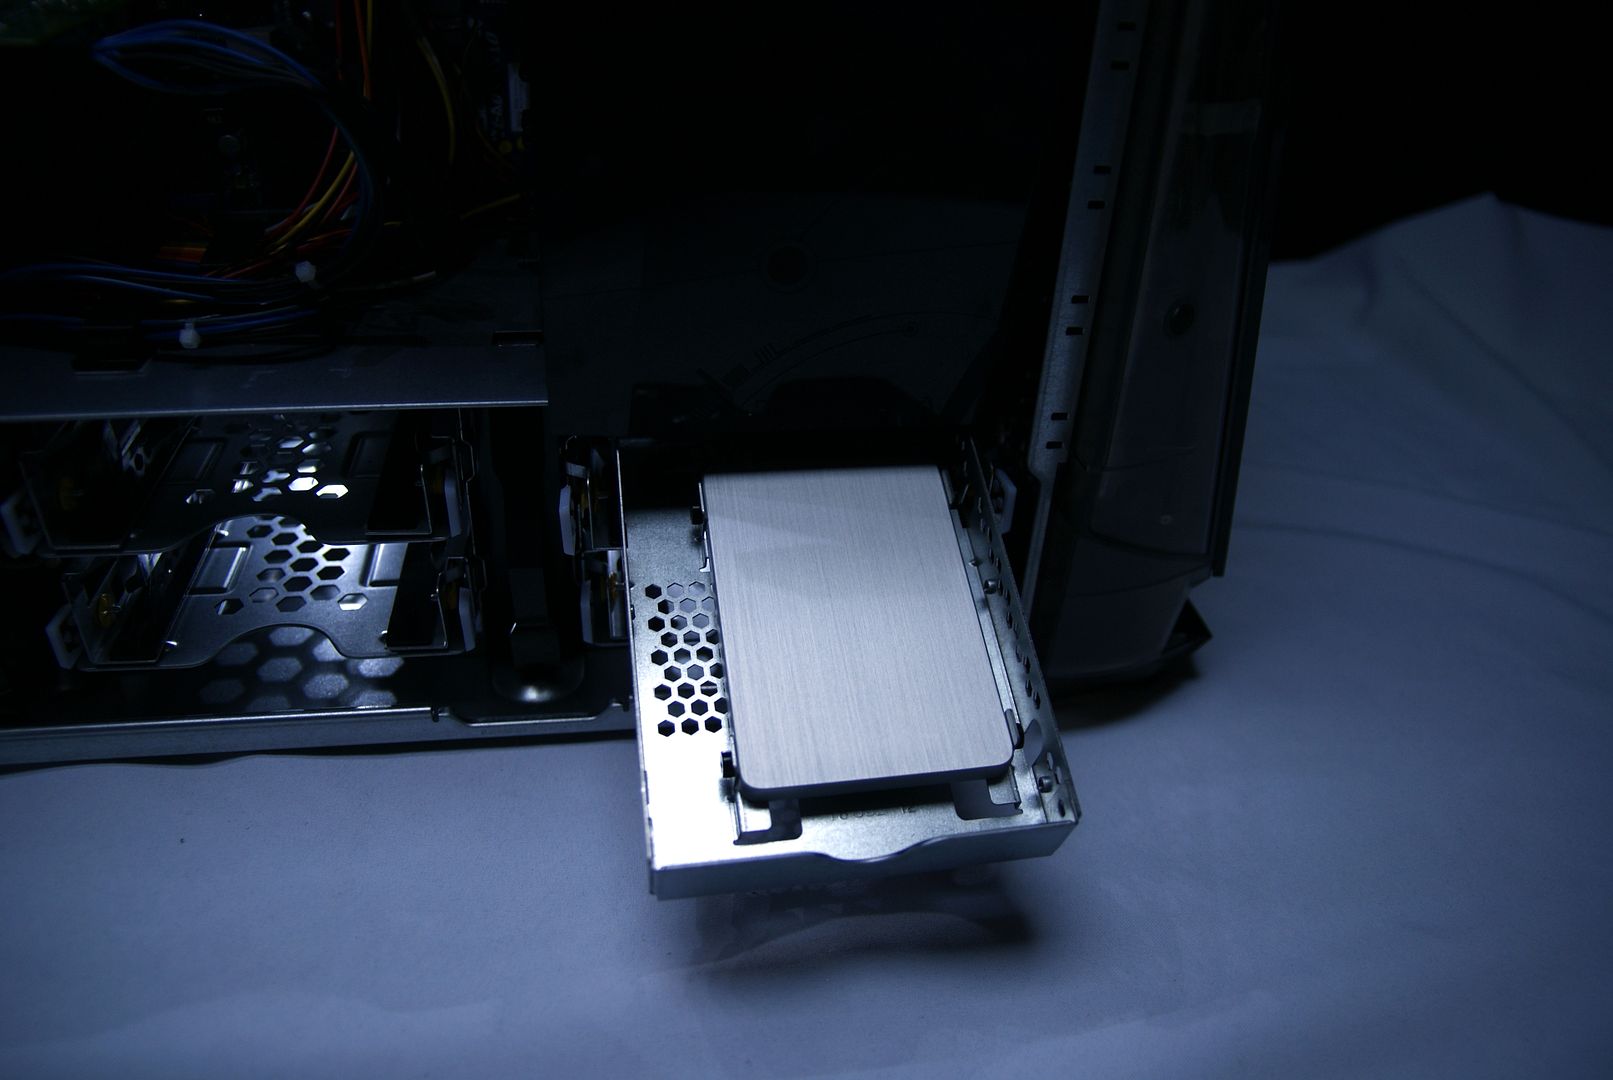
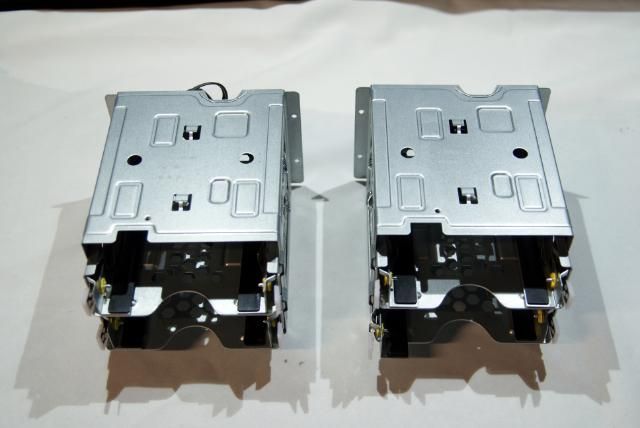
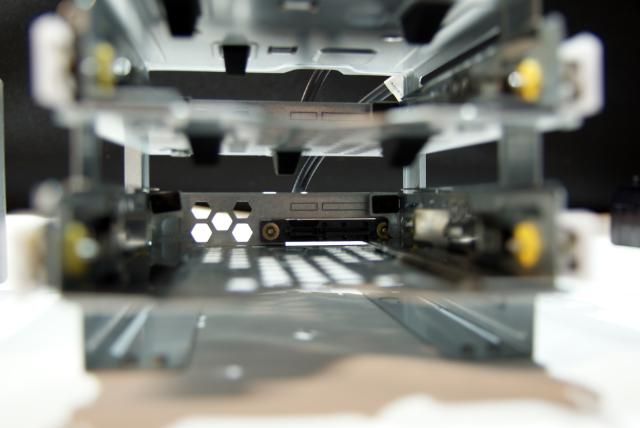
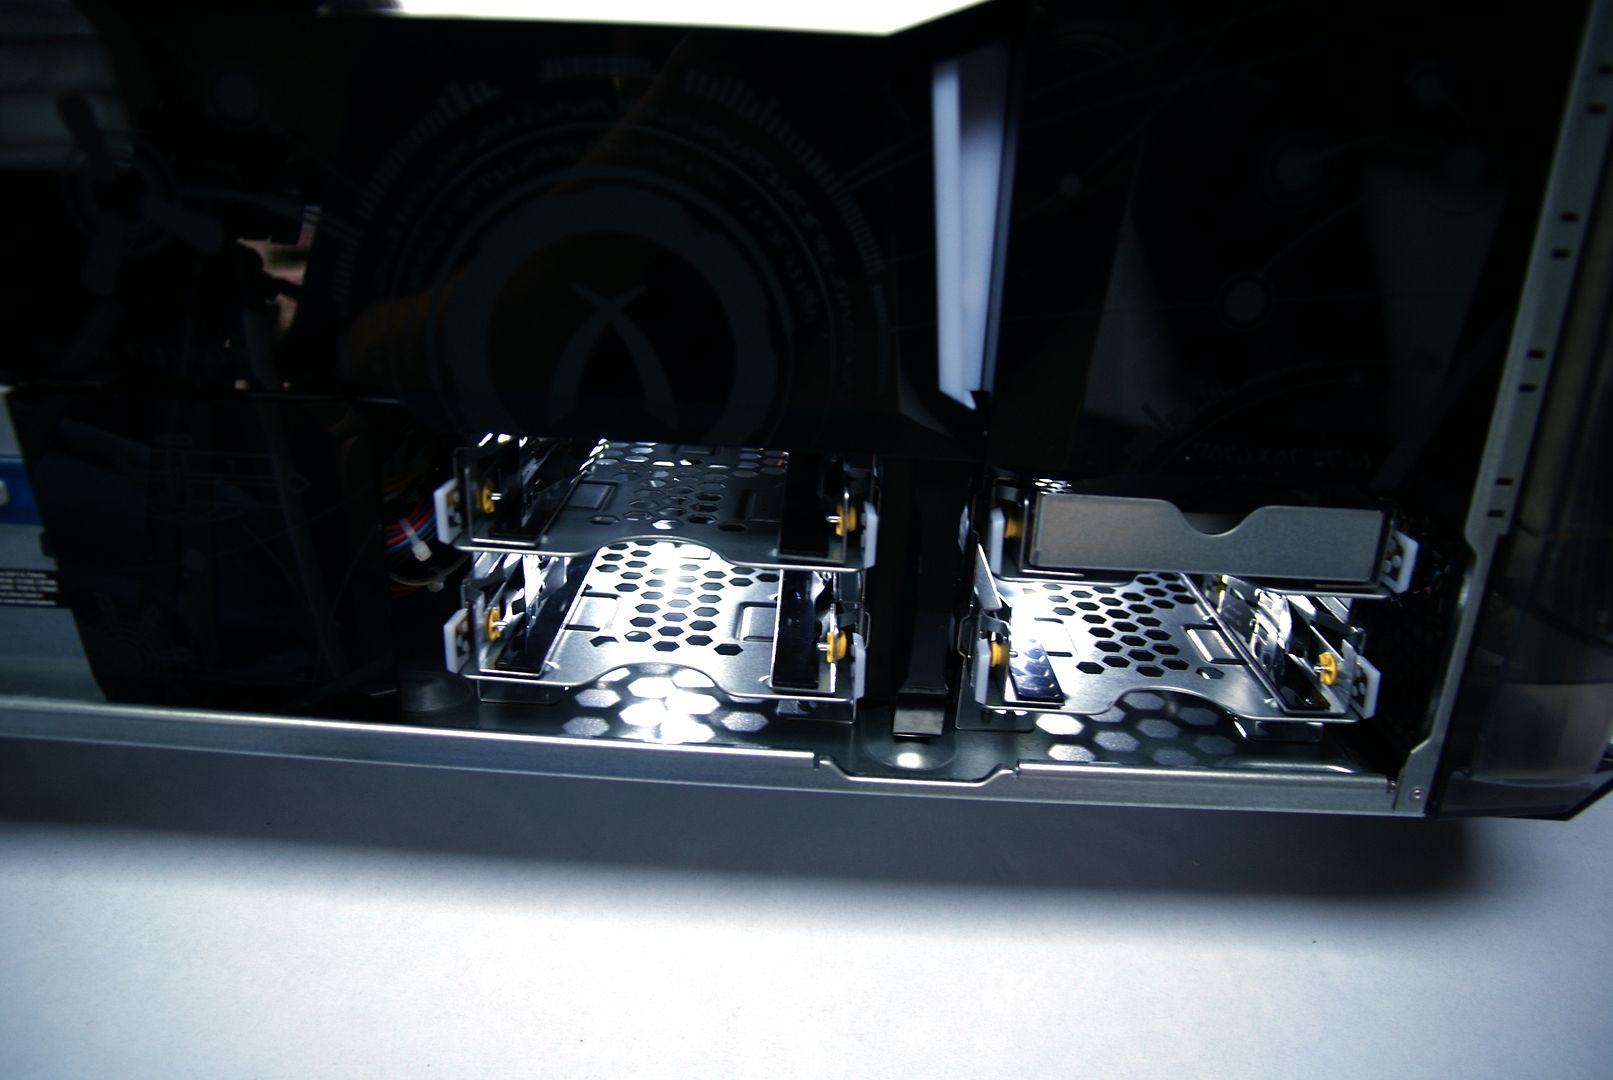
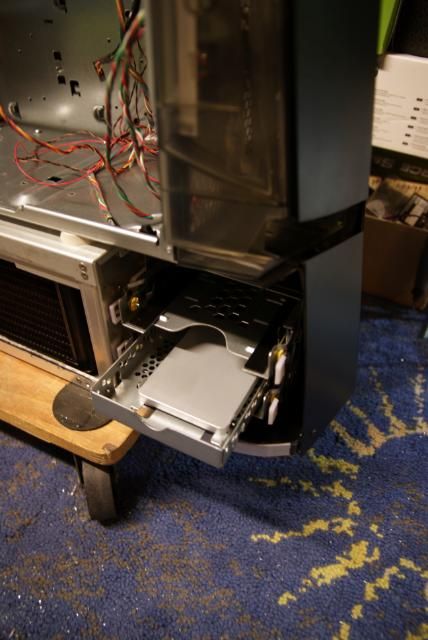
Beautiful swappable, tool-less and cable-free hard drive bays
DSC09122.jpg


DSC09067.jpg


DSC09203.jpg


DSC09226.jpg


DSC09133.jpg


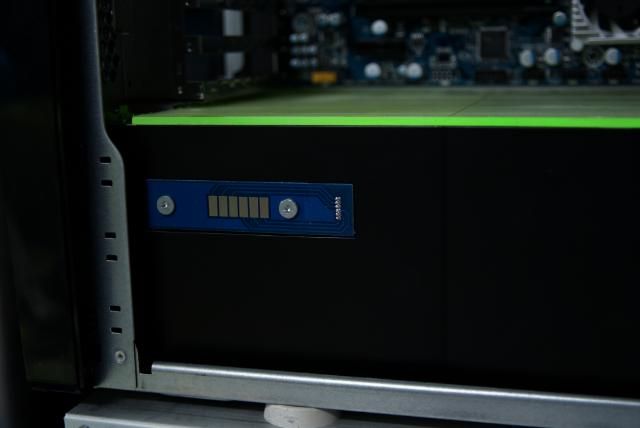
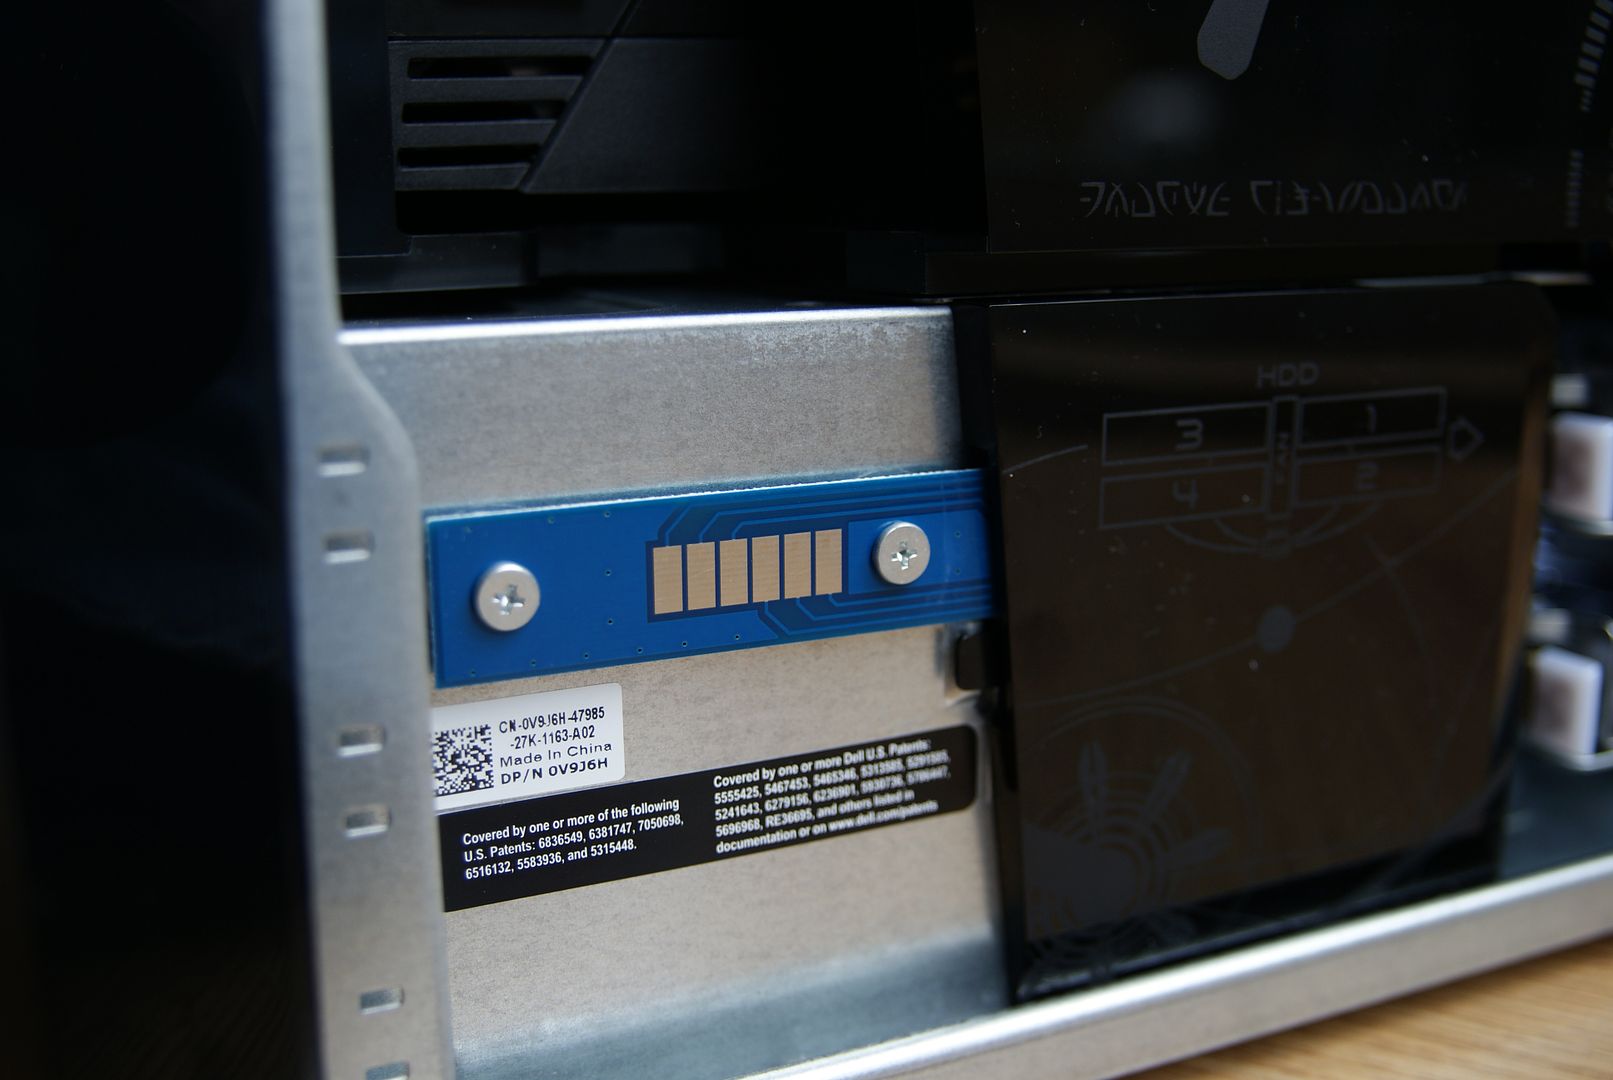
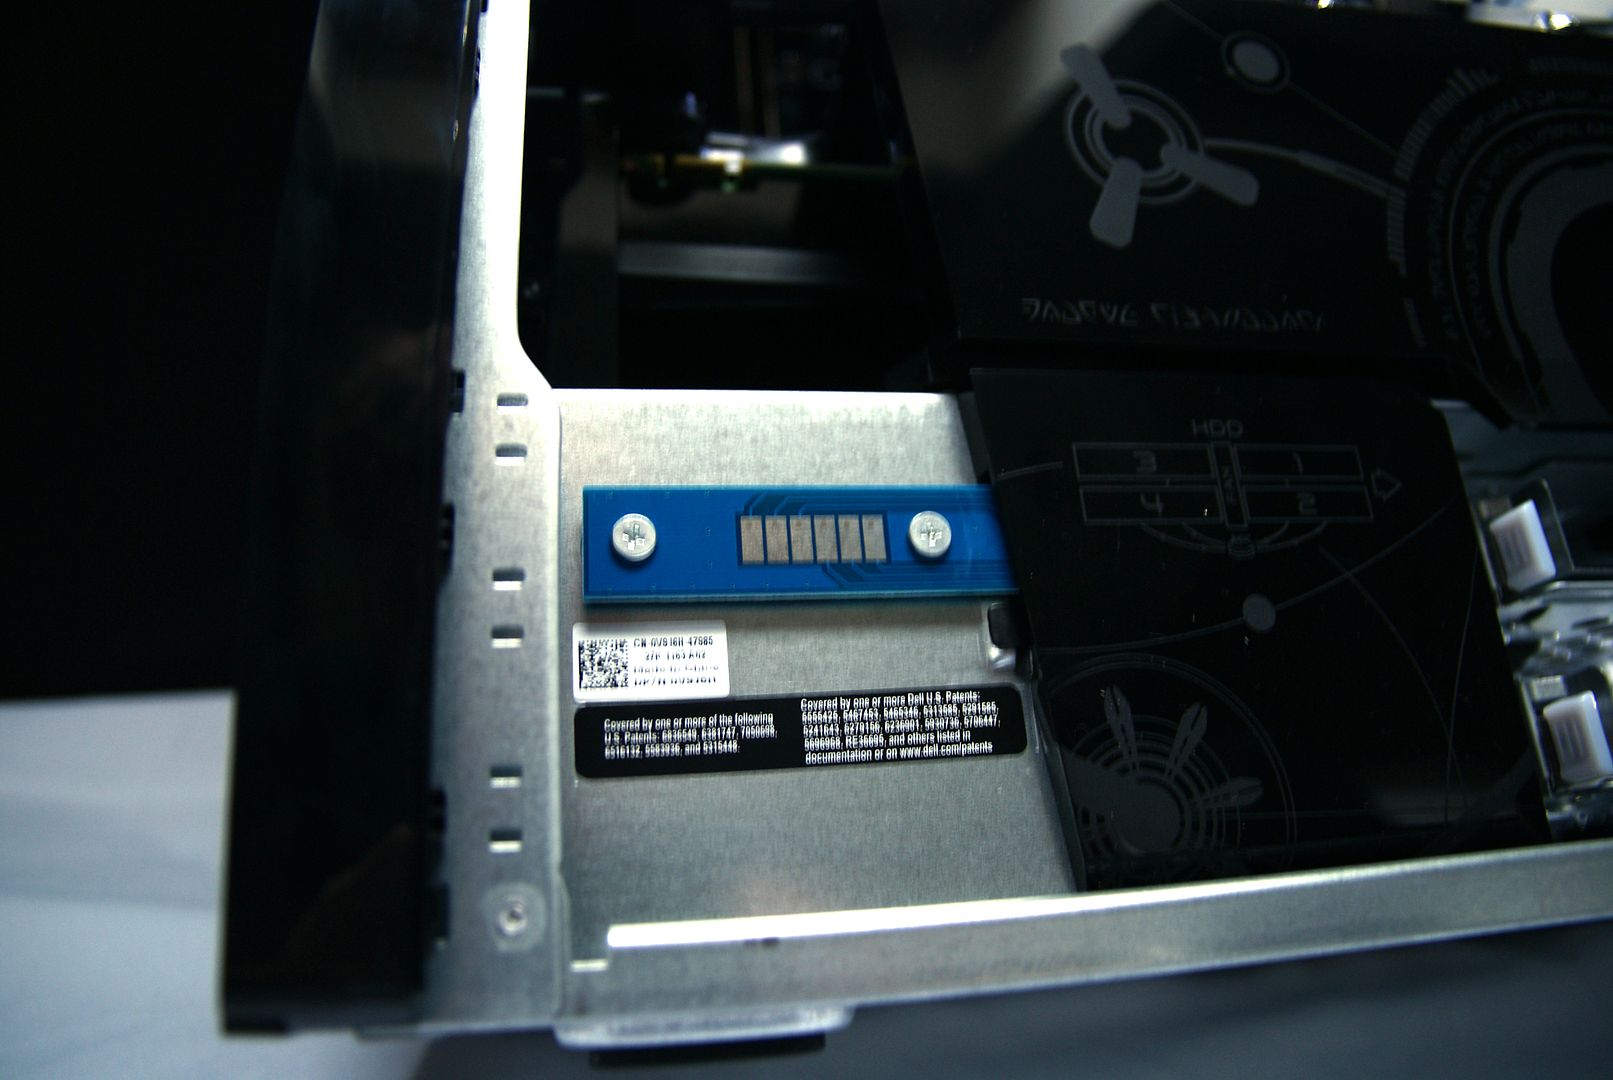
Also well thought about is the power suply for the side panel (Lights)
On the side of the powersupply are contact points which provide this
DSC09214.jpg


DSC09121.jpg


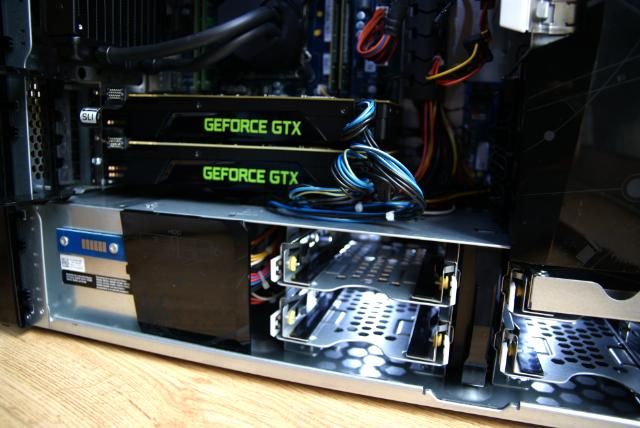
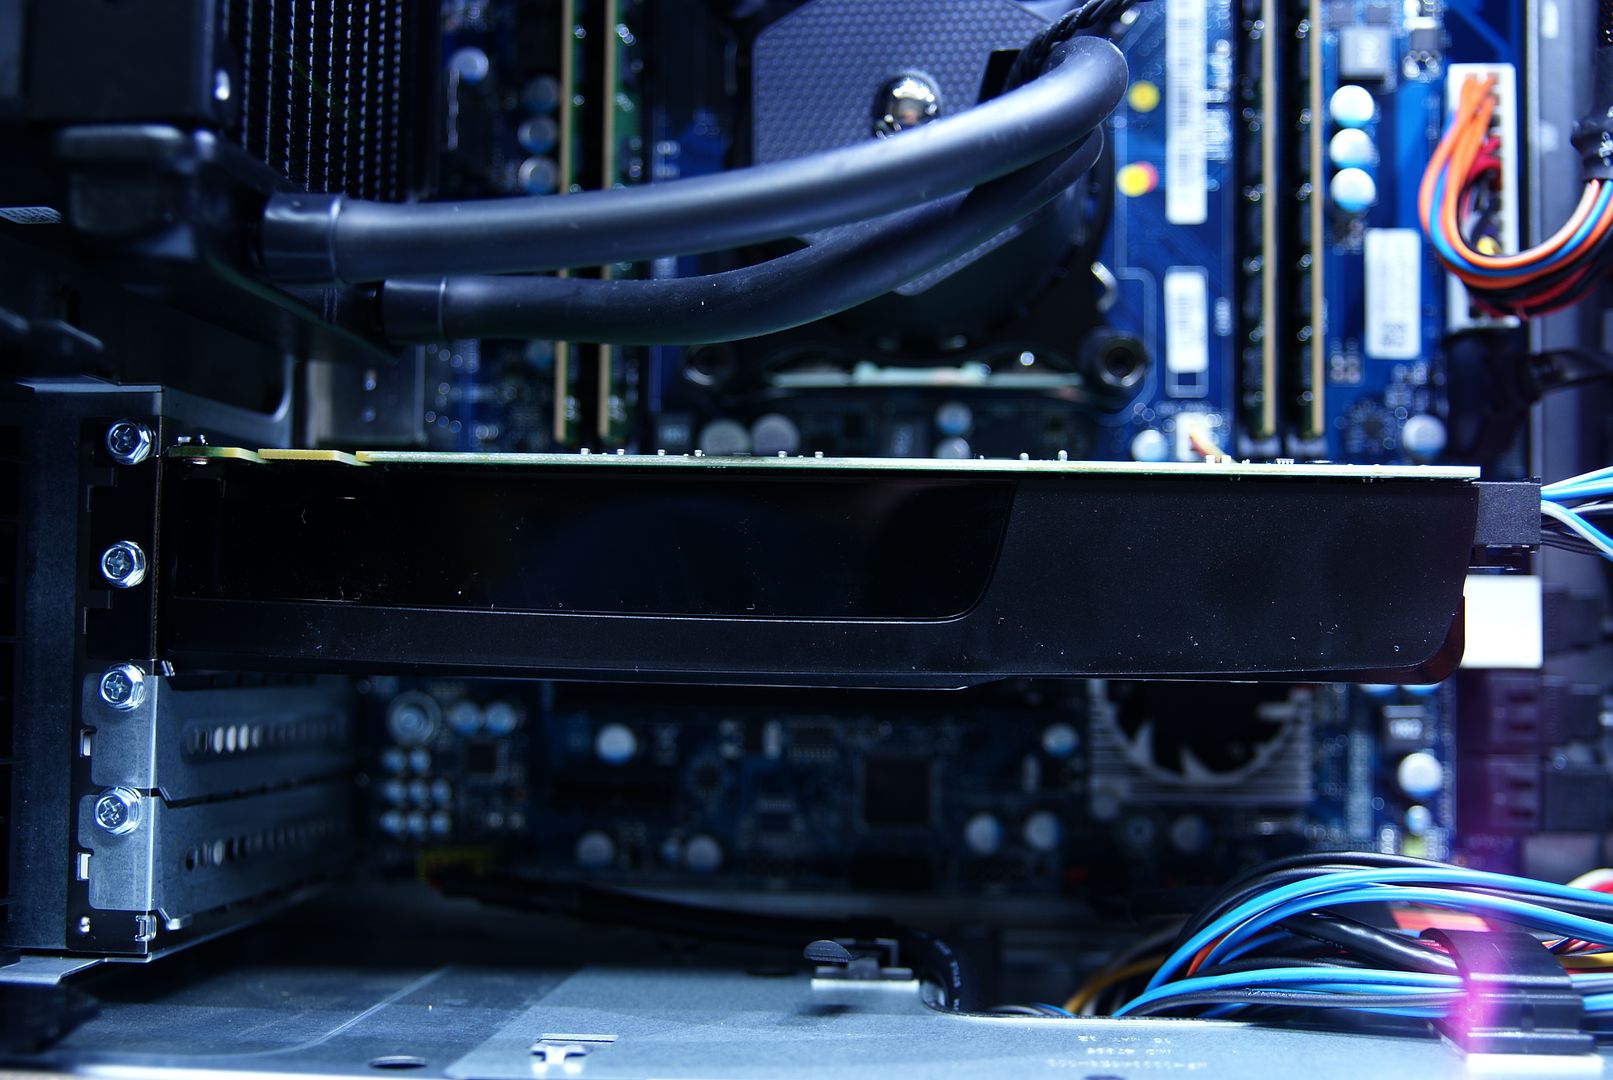
For now a Nvidia GTX555 is installed, but this will be exchanged for two Nvidia GTX680
DSC09129.jpg


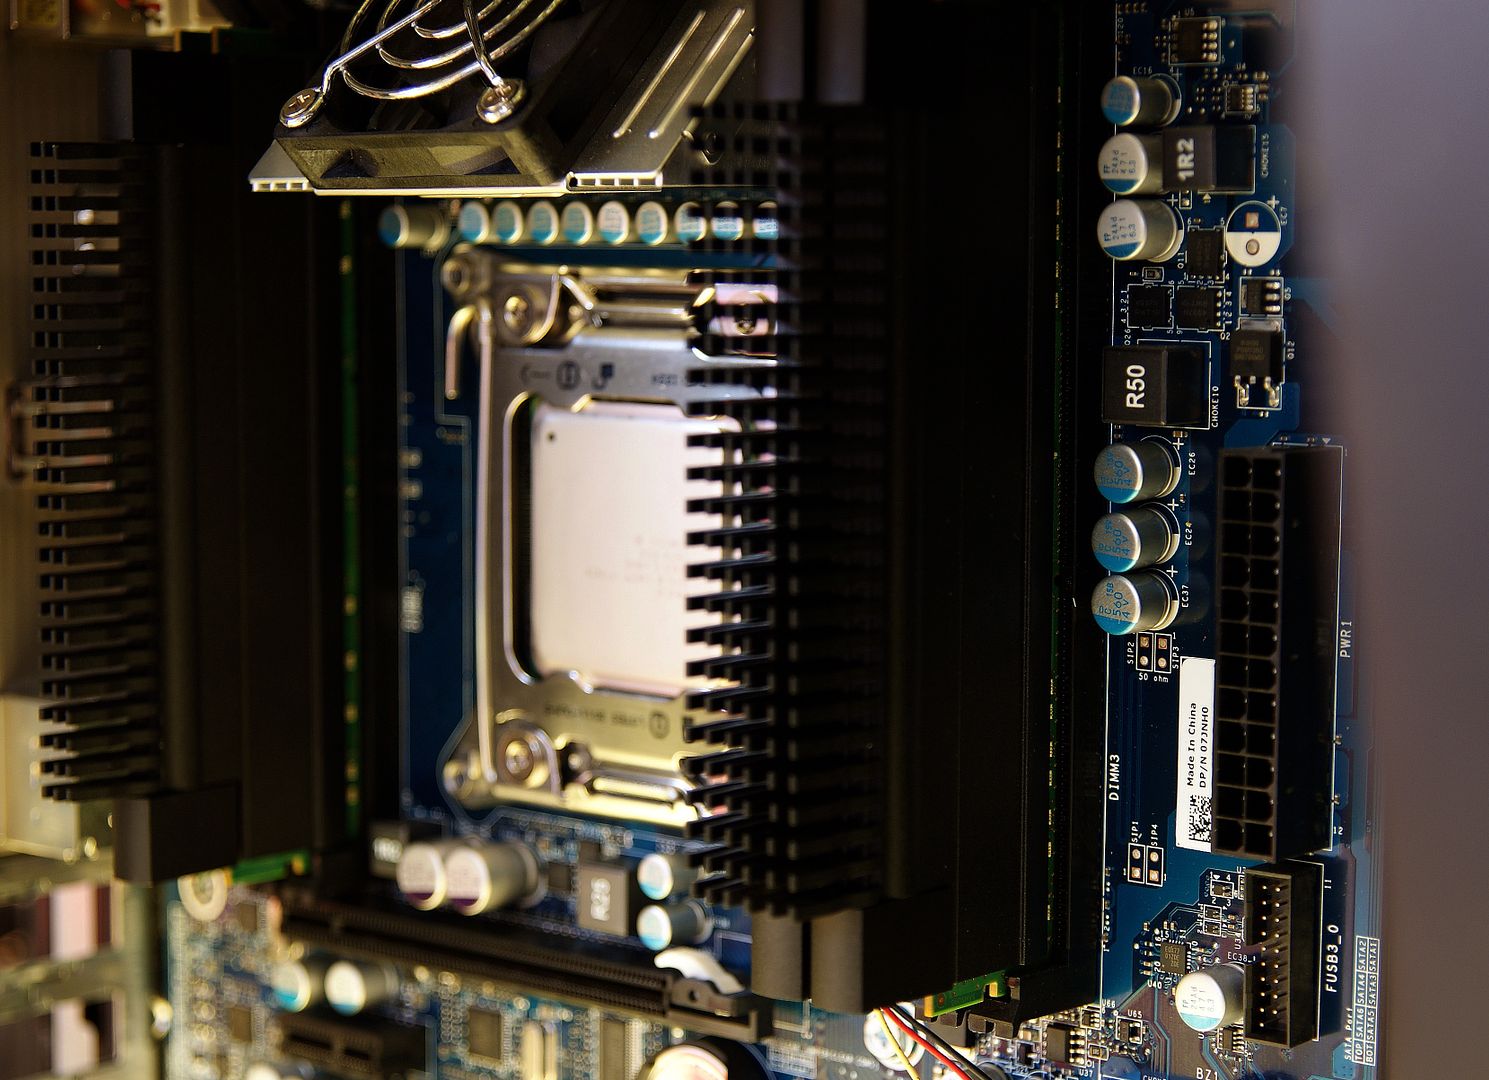
Cooler motherboard

DSC09127.jpg


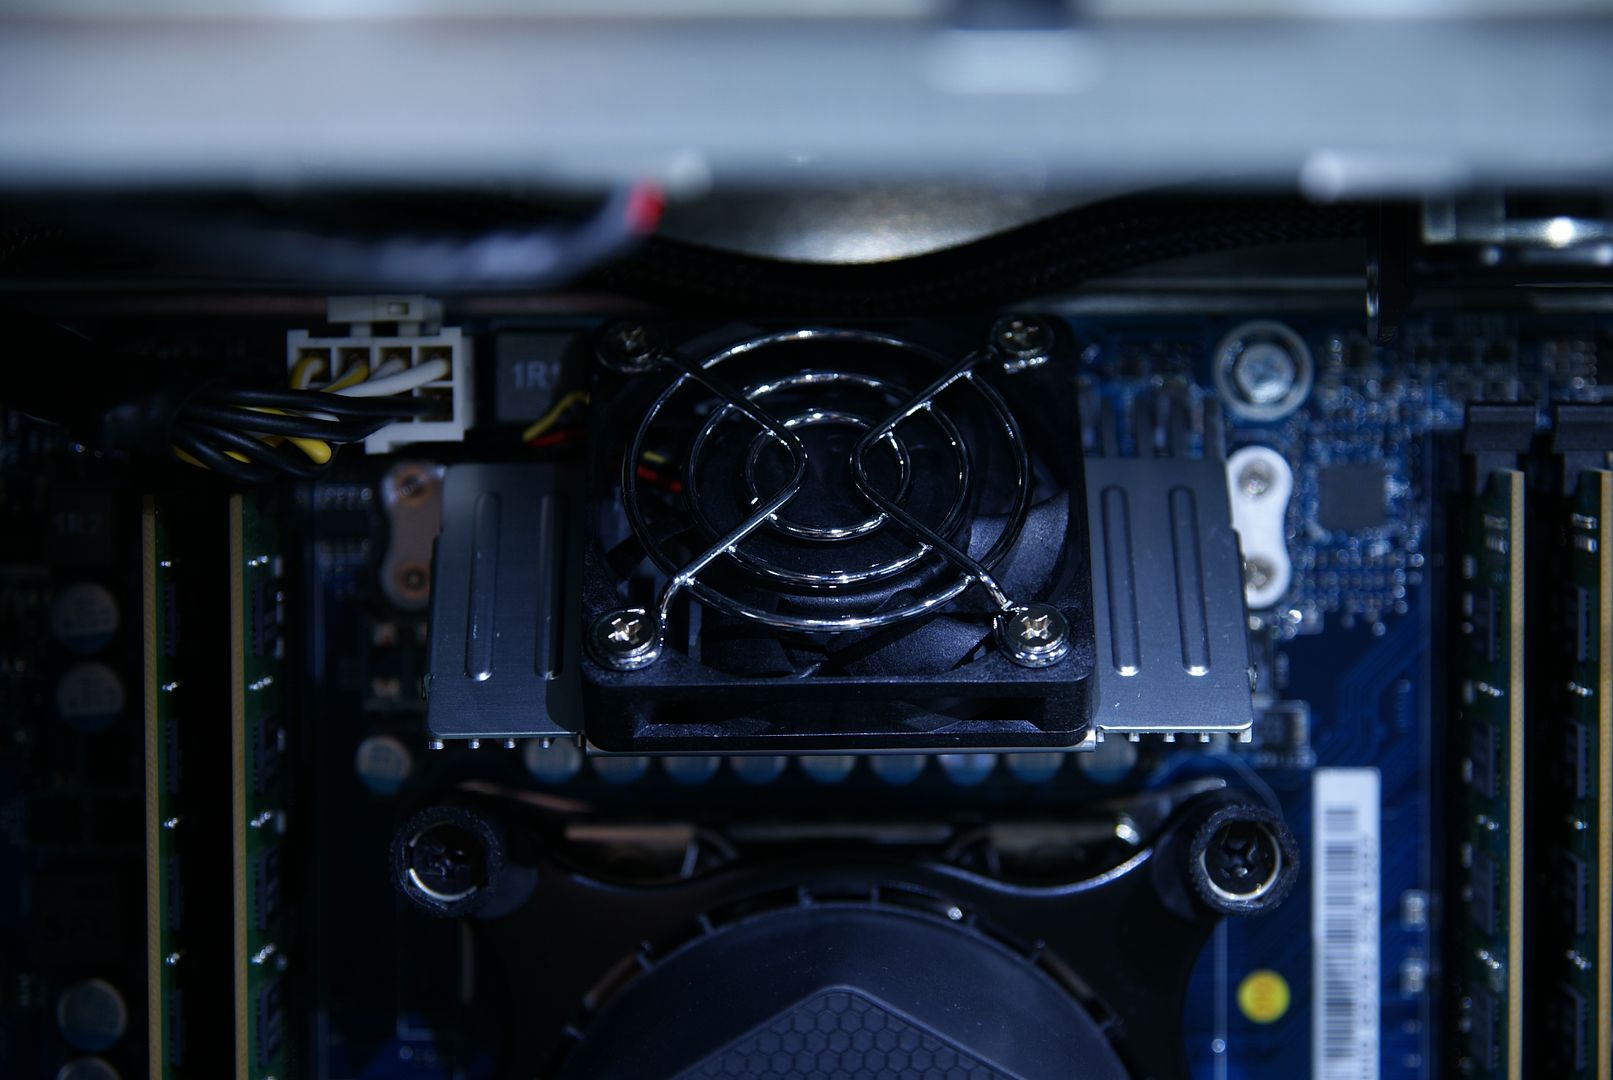
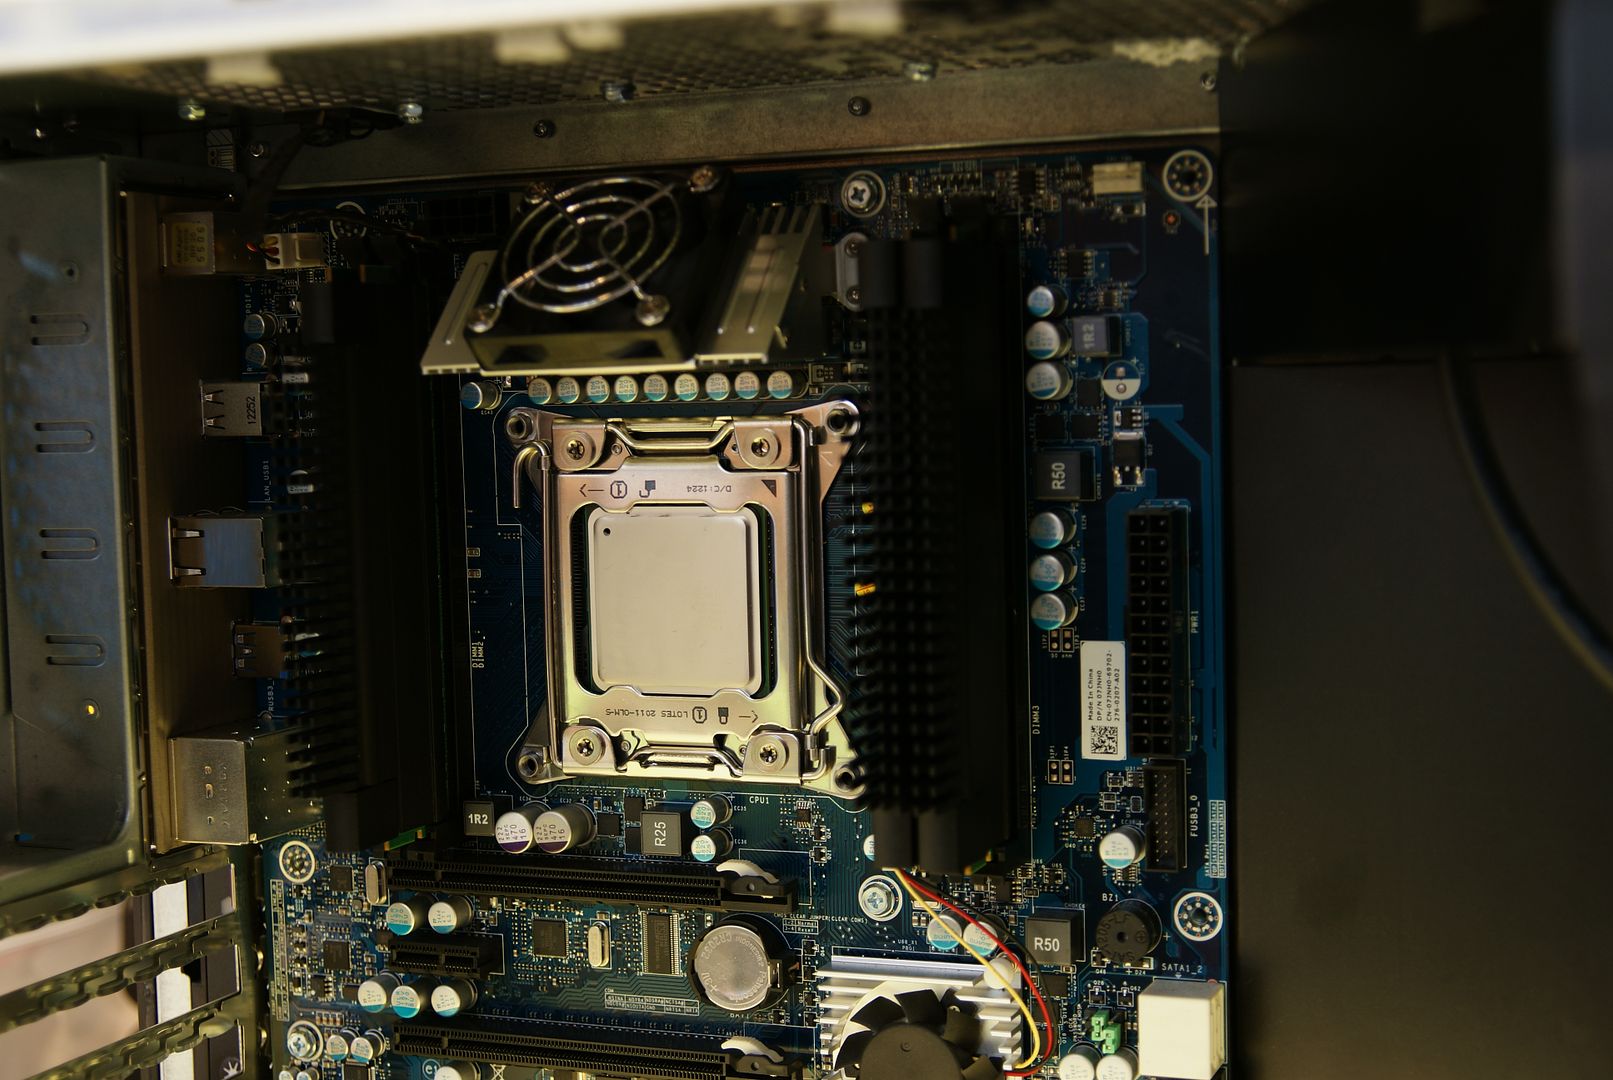
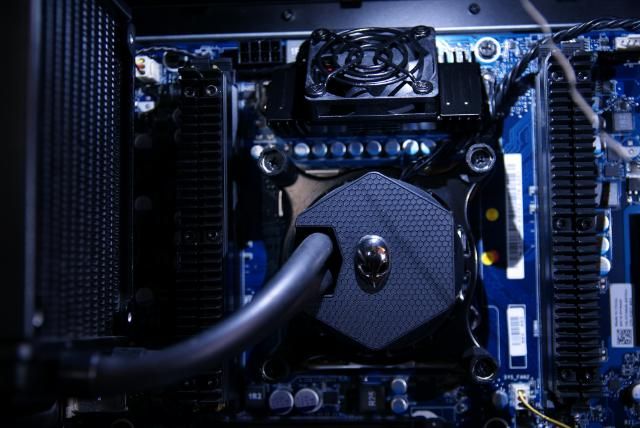
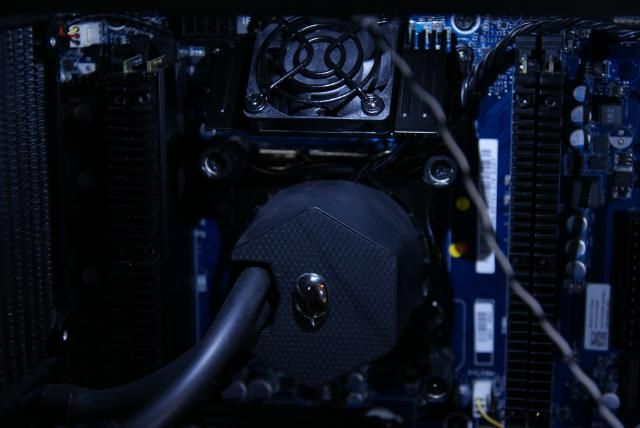
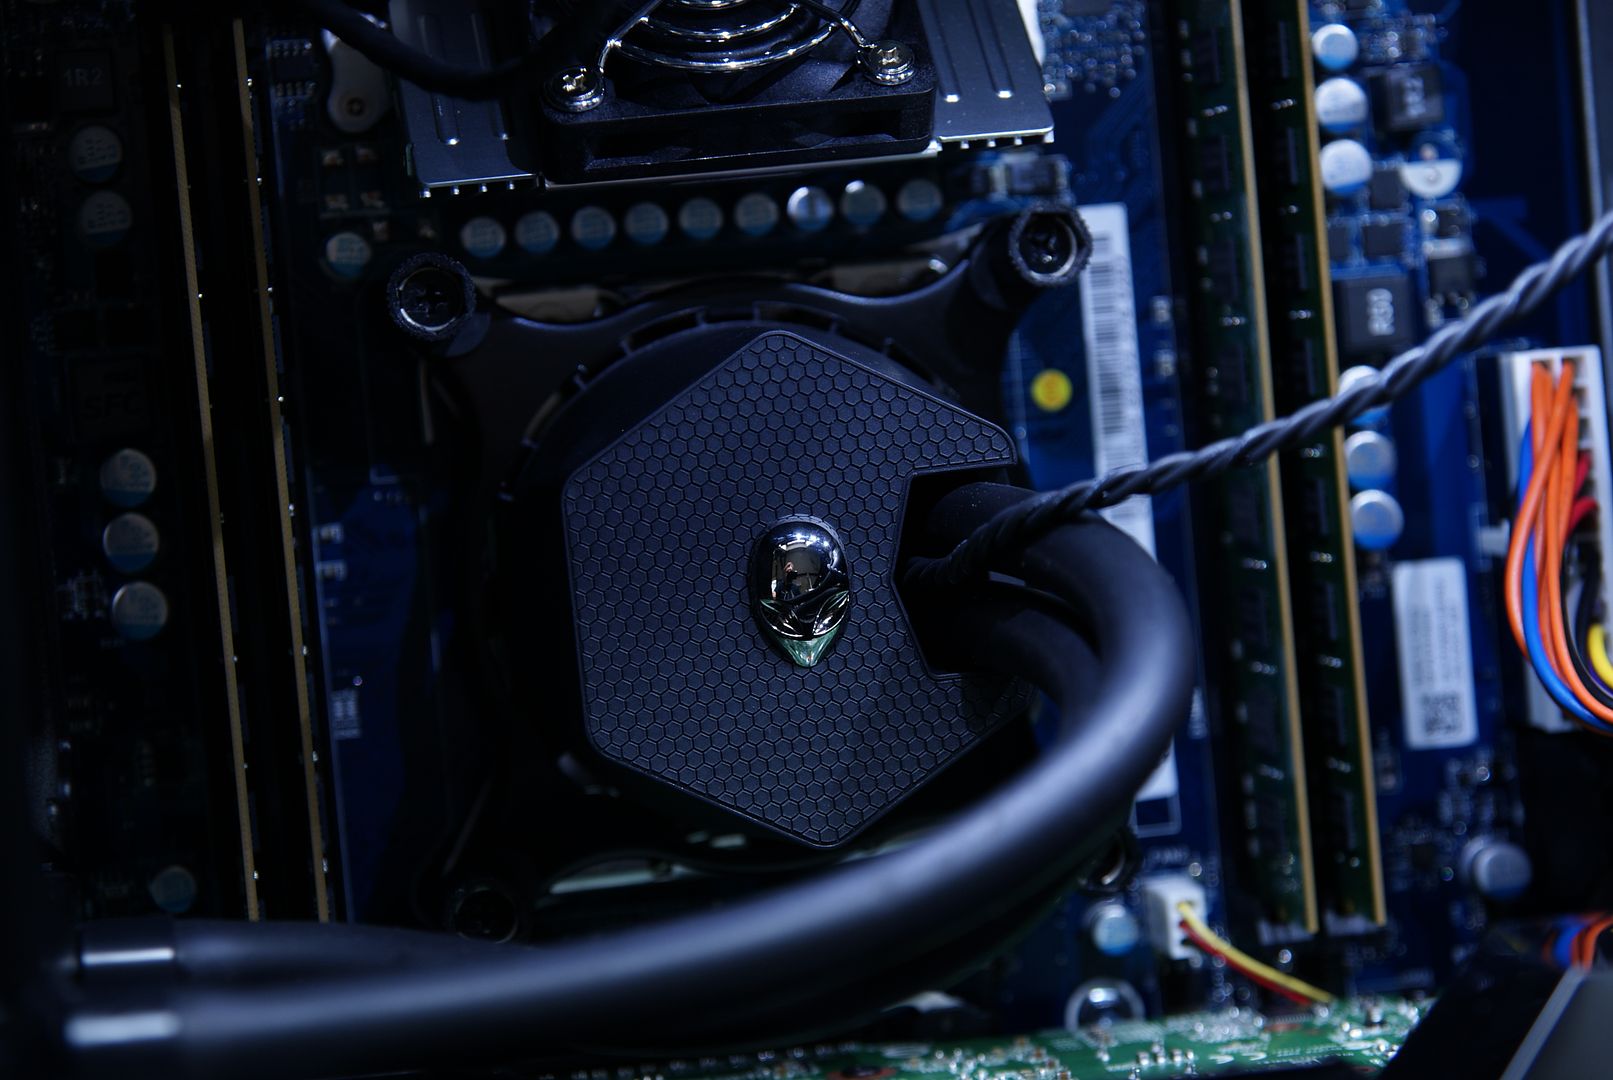
And the beautiful Alienware CPU cooler
DSC09126.jpg


DSC09071.jpg


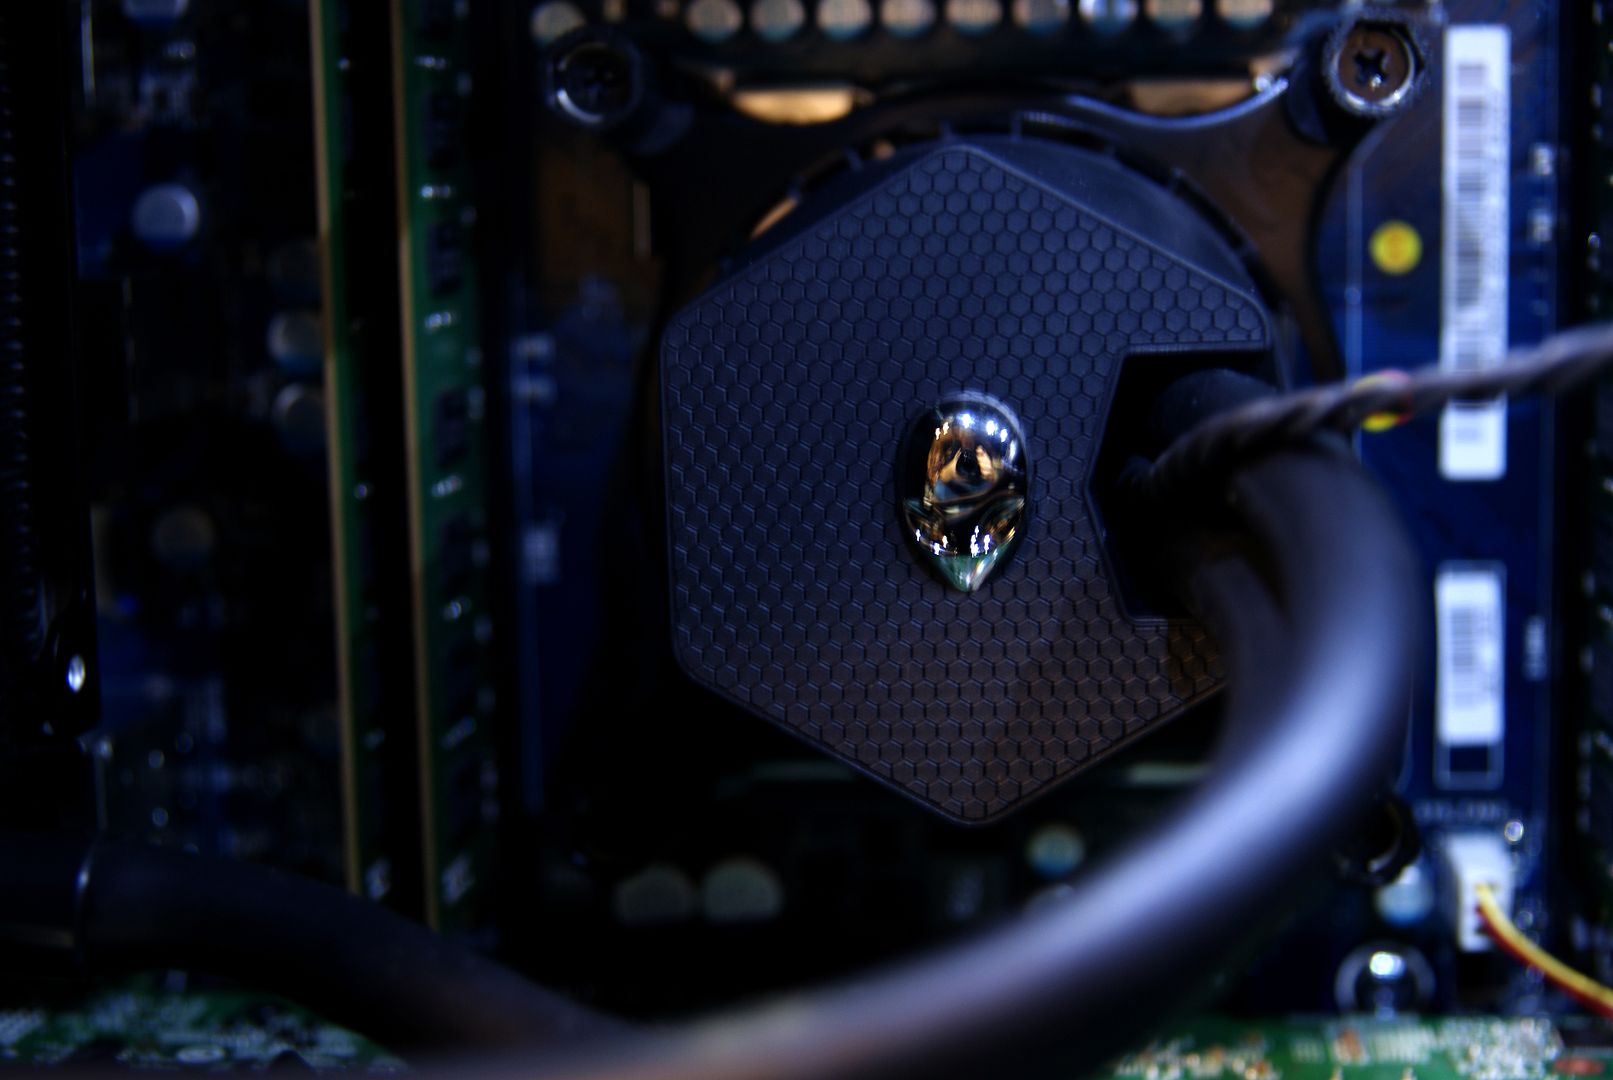
Personally I really like this one, so it stays in this build (perhaps modify)
DSC09072.jpg


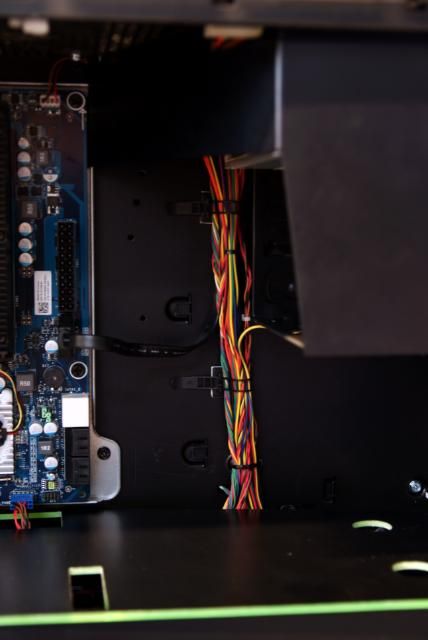
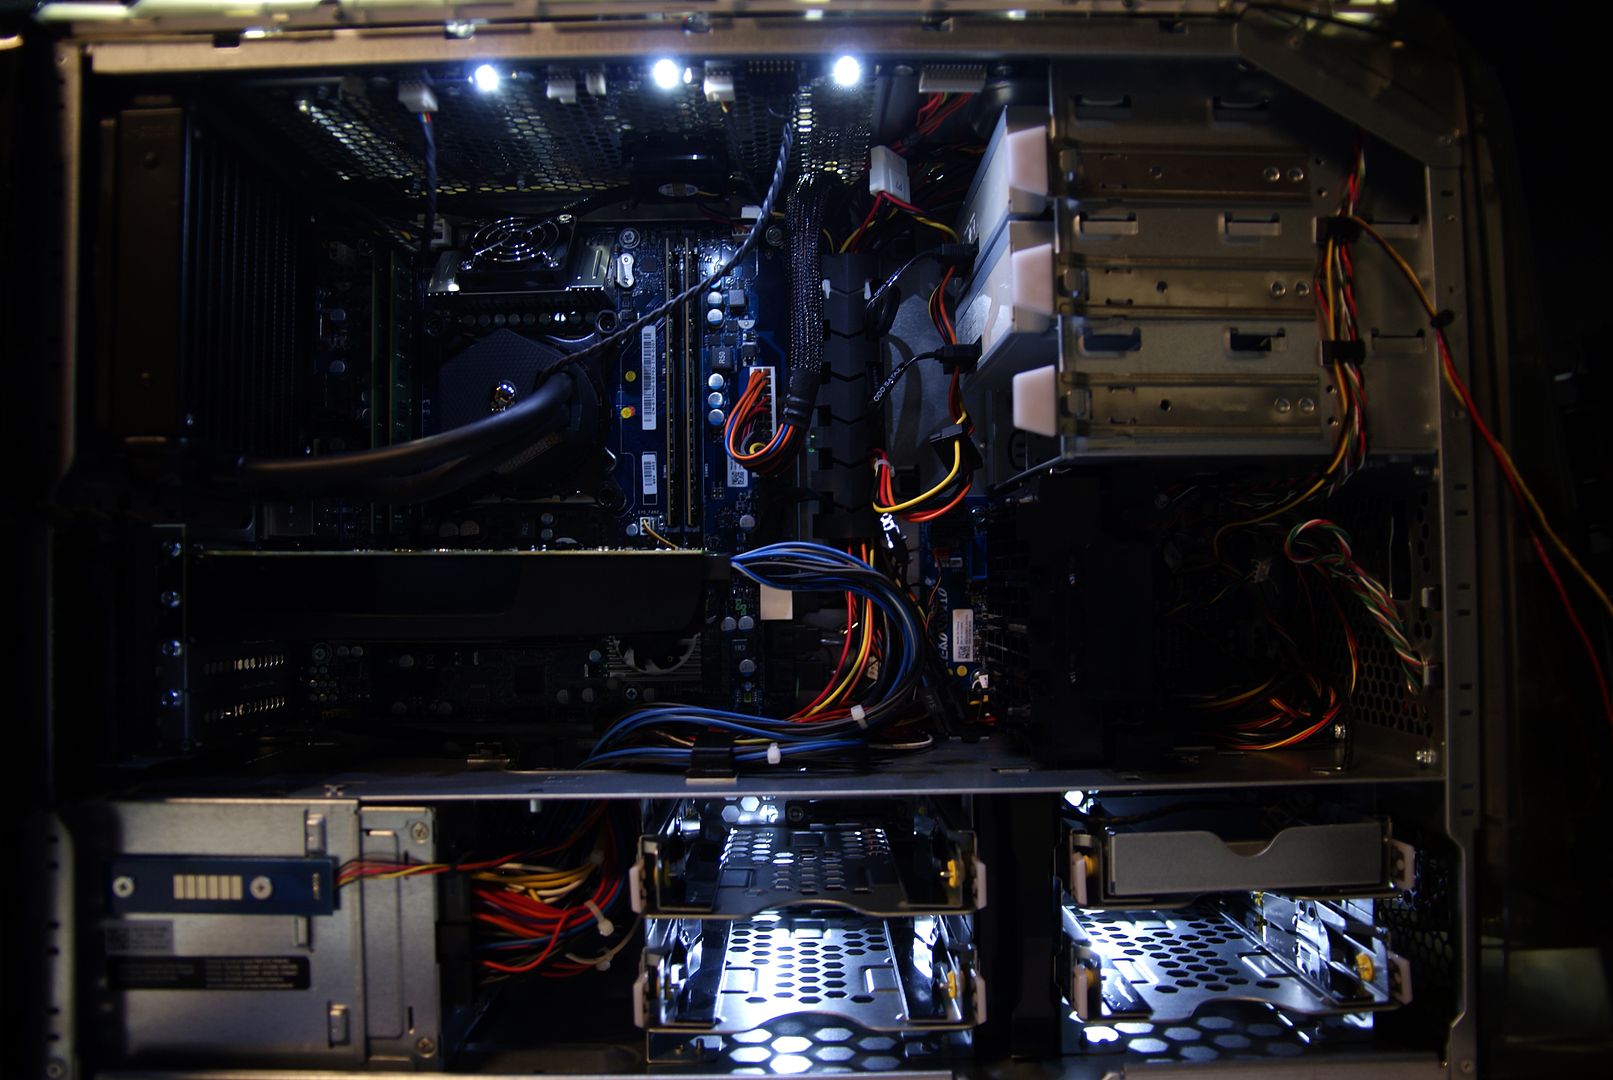
What cable management is concerned, everything is provided. But it looks a bit messy.
This will be better ;)
DSC09076.jpg


DSC09218.jpg


DSC09219.jpg


DSC09073.jpg


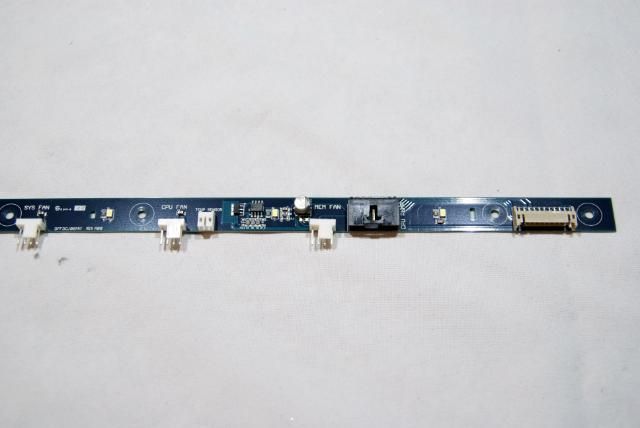
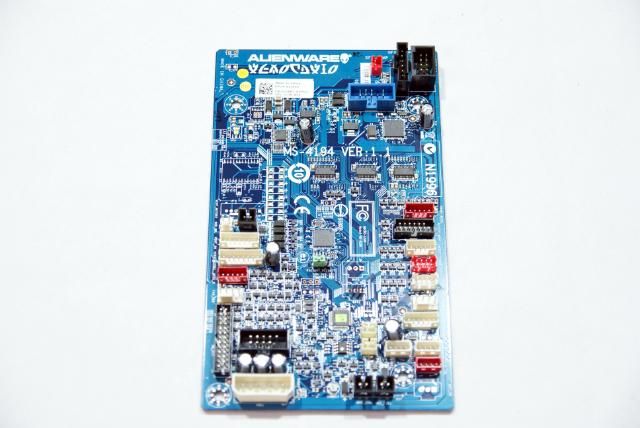
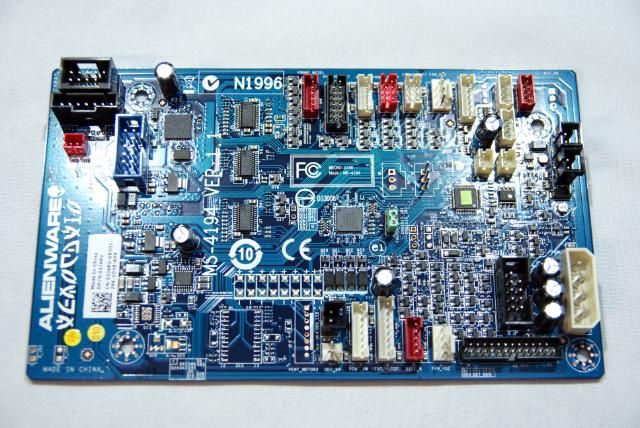
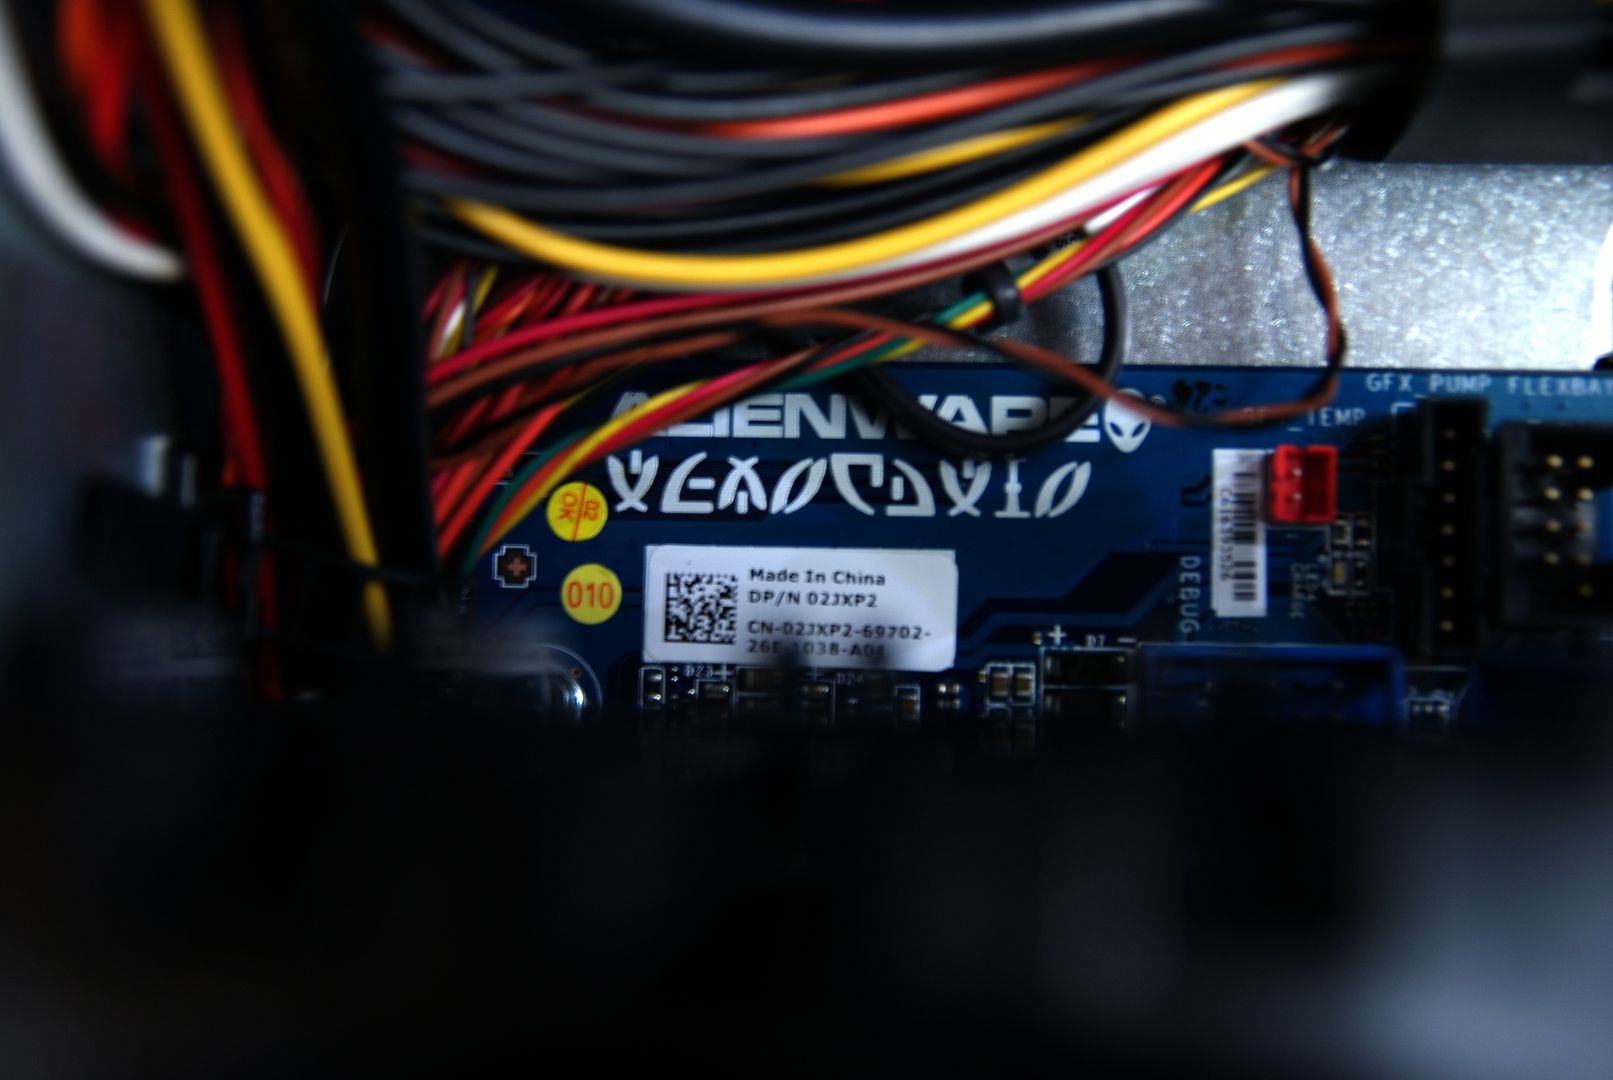
Module for lighting, fans and other applications
DSC09217.jpg


DSC09216.jpg


This will be a lot of work, but a very exciting thing to do.

The first change that I'm going to do is swap the Nvidia GTX555 for two GPUs Nvidia has sent me.

Again thank you Nvidia



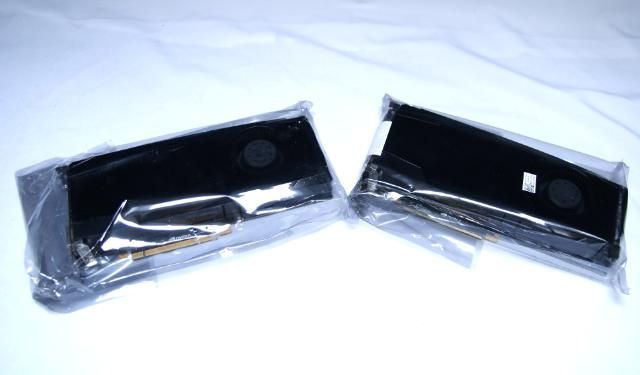
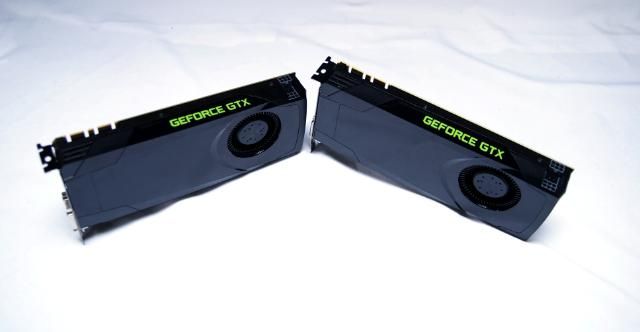
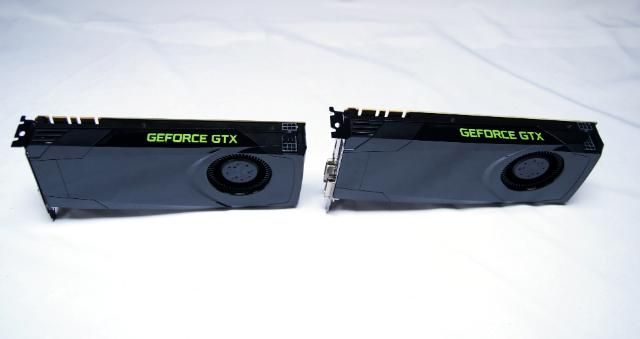
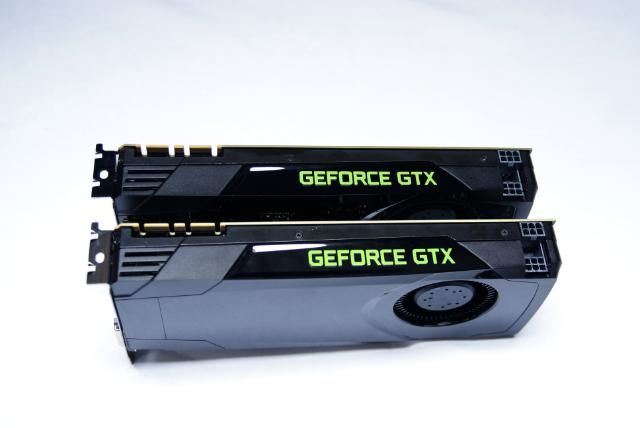
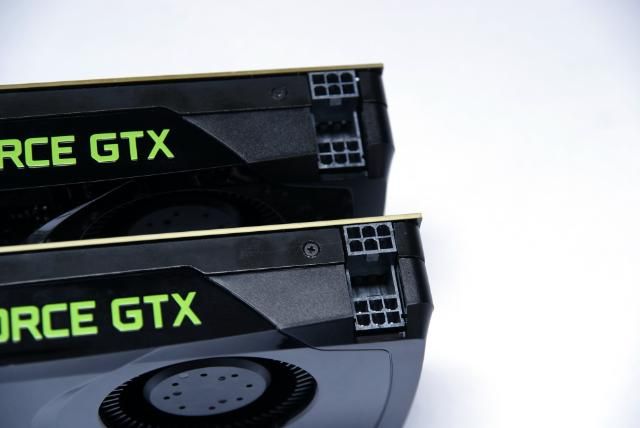
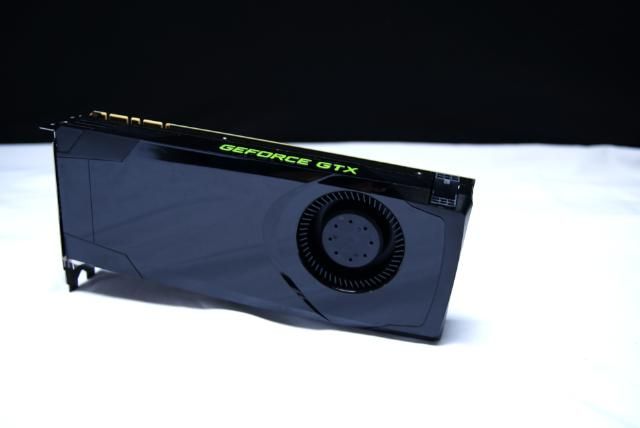
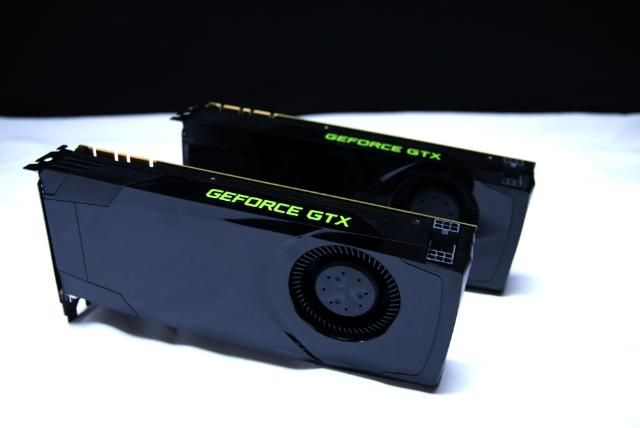
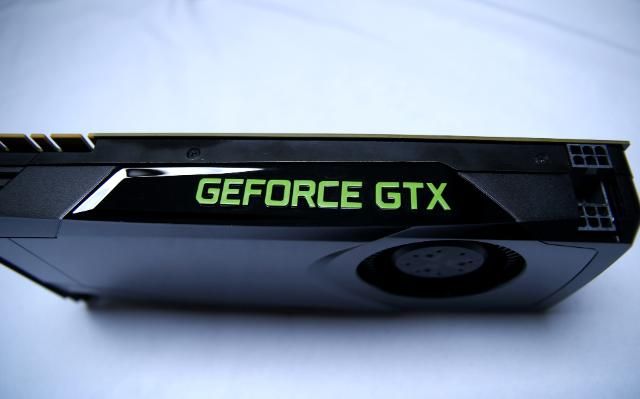
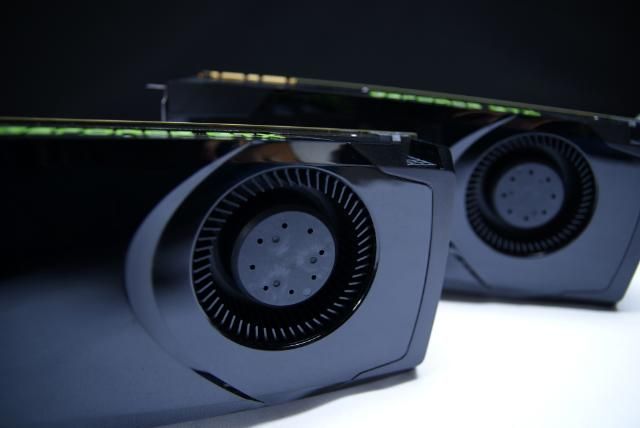
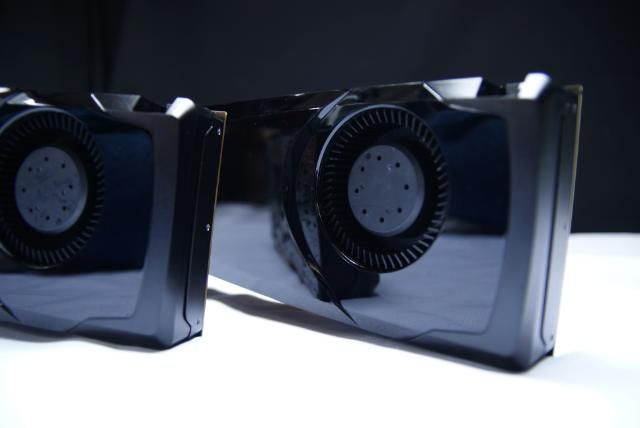
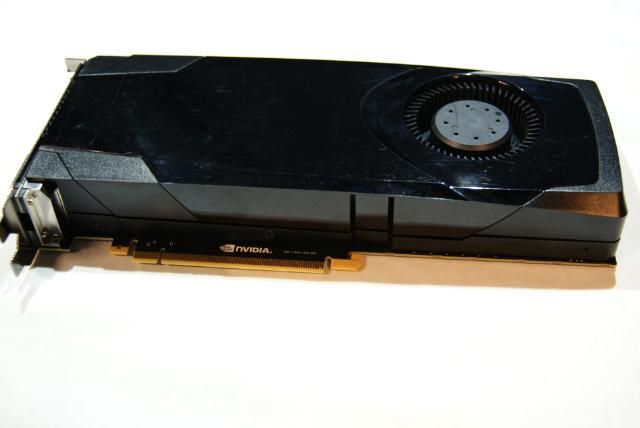
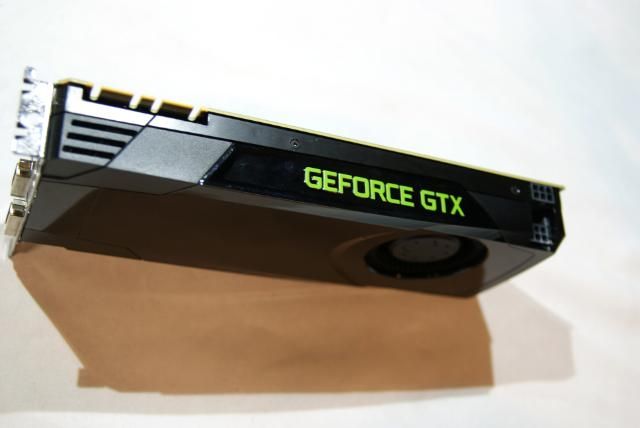
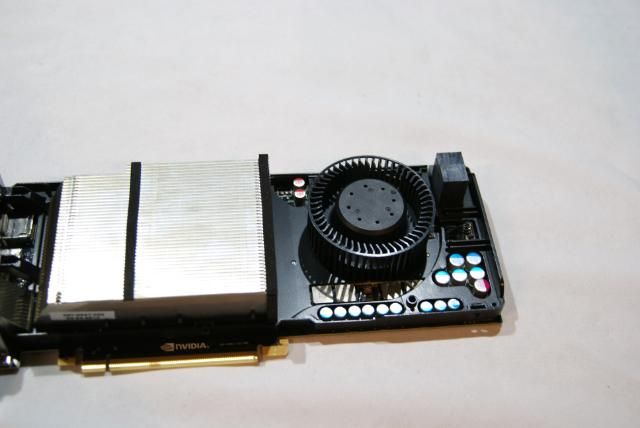
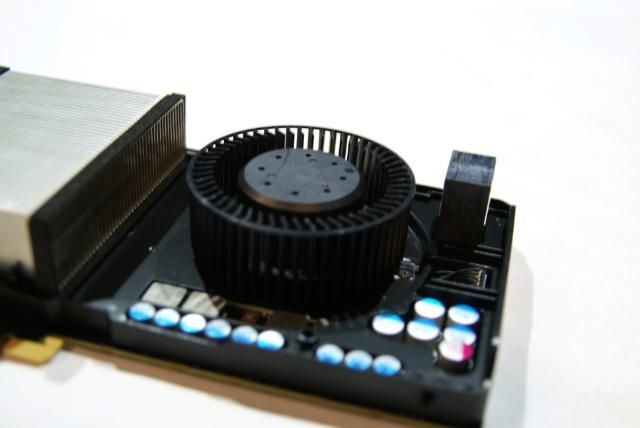
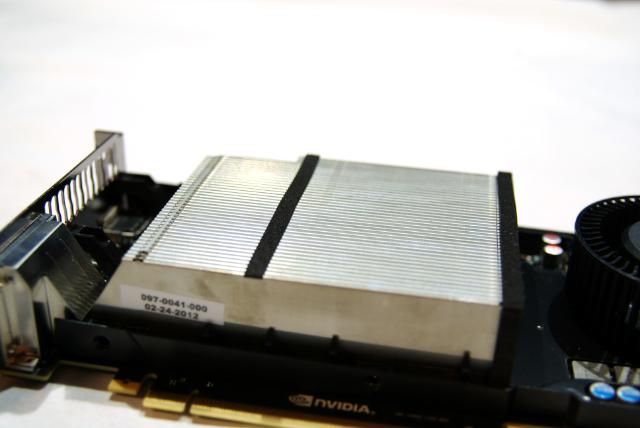
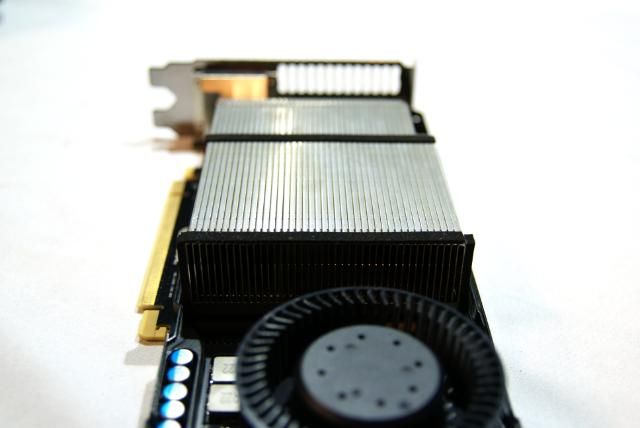
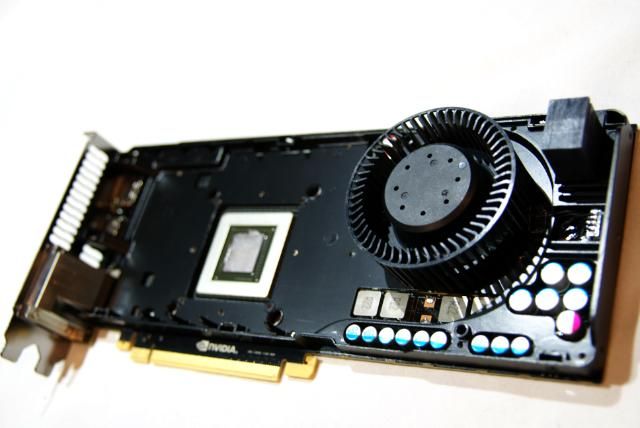
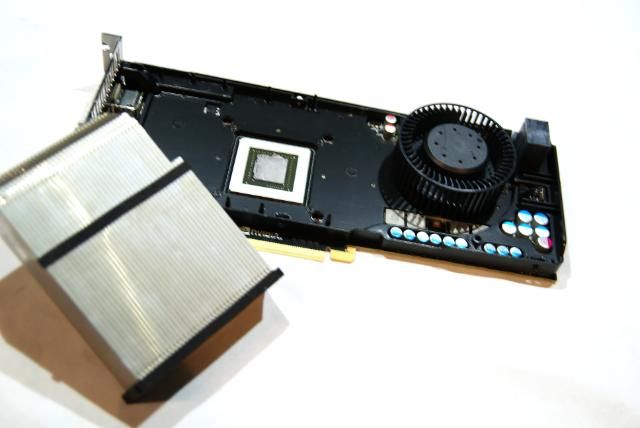
For sending me two Nvidia GTX680's

Engine Specs:

- CUDA Cores: 1536
- Base Clock: 1006
- Boost Clock: 1058
- Texture Fill Rate: 128.8
- Memory Speed: 6.0 Gbps
- Standard Memory Config: 2048MB
- Memory Interface Width: 256-bit GDDR5
- Memory Bandwidth (GB/sec): 192.2

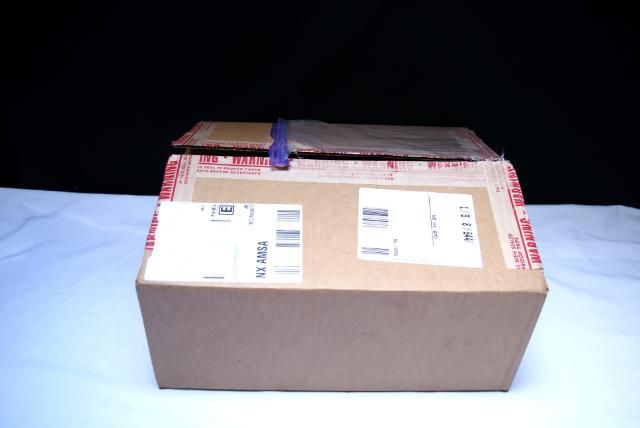
Unboxing again
DSC09025.jpg


DSC09026.jpg


DSC09028.jpg


DSC09029.jpg


The beautiful GPU's

DSC09042.jpg


DSC09043.jpg


DSC09046.jpg


DSC09047.jpg


DSC09032.jpg


DSC09033.jpg


DSC09035.jpg


DSC09037.jpg


DSC09038.jpg


DSC09039.jpg


DSC09048.jpg


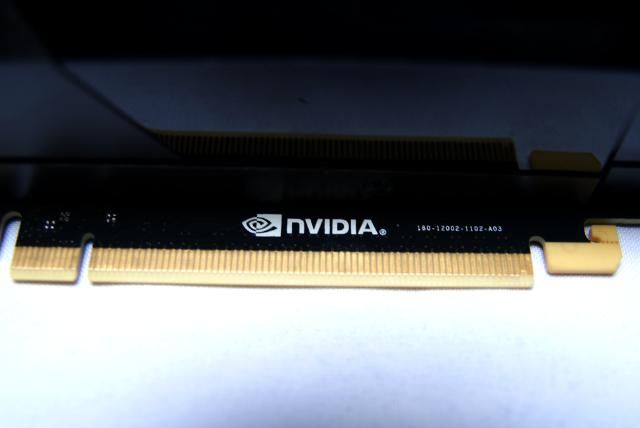
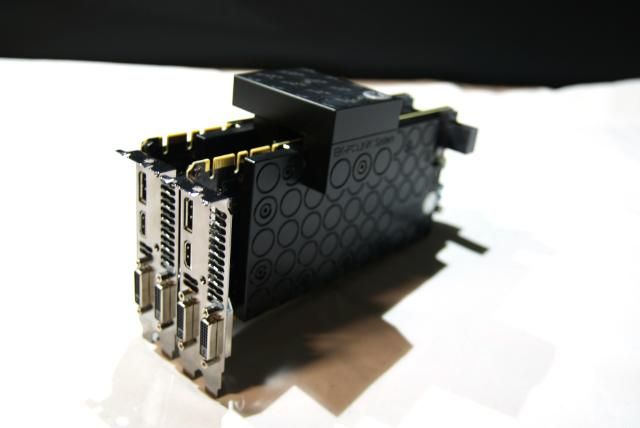
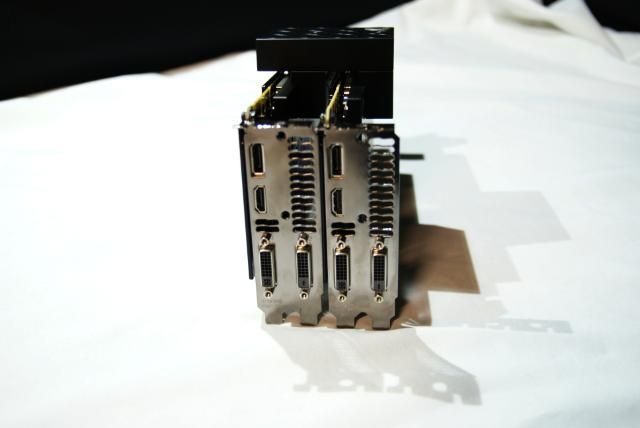
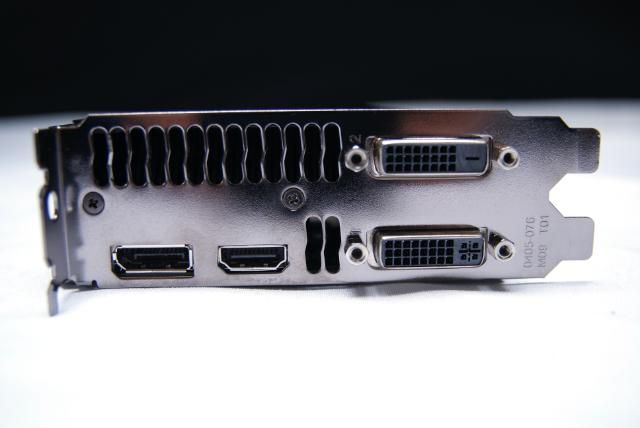
with one Dual Link DVI-I, one Dual Link DVI-D, one HDMI and one DisplayPort
DSC09040.jpg


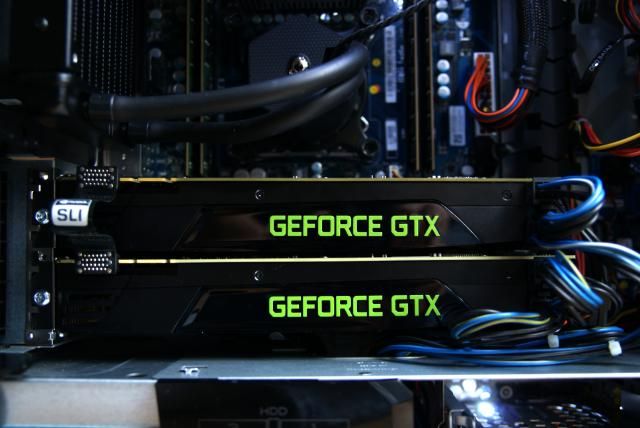
And installed the new GPU's

DSC09207.jpg


DSC09209.jpg


And now it is time for some modding :)

First a window in the Alienware Aurora. And maybe two, one on both sides.
But this is for later... first one.

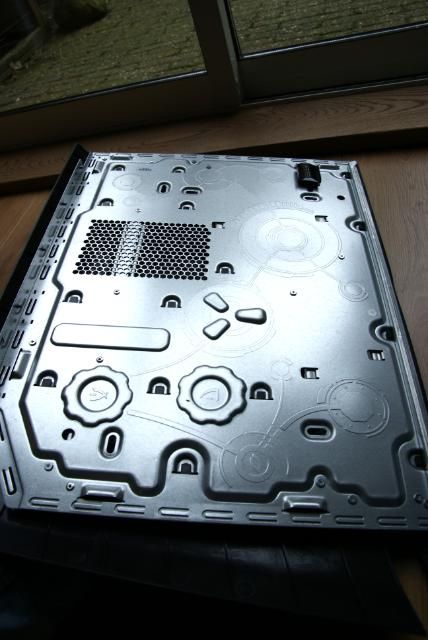
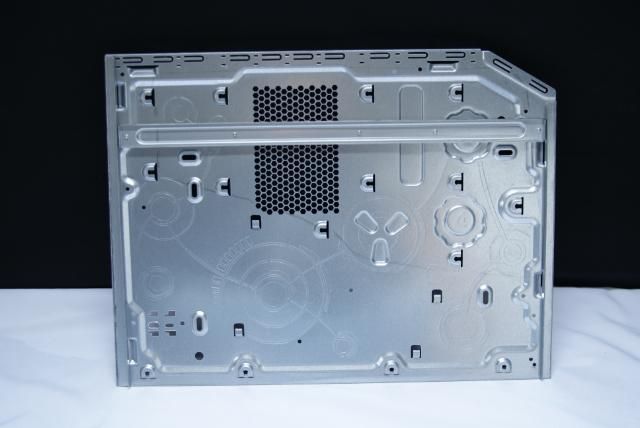
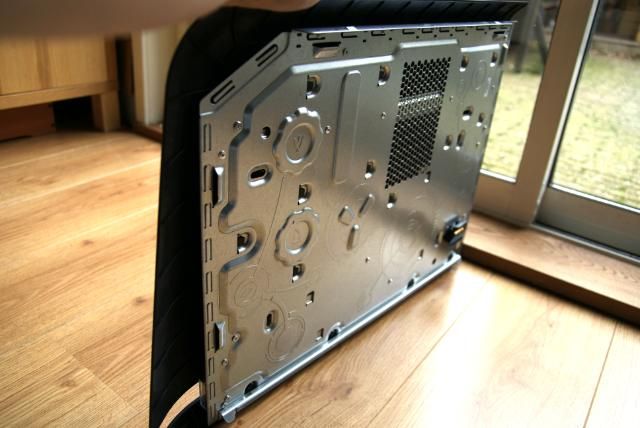
The sidepanel
DSC09253.jpg


DSC09258.jpg


Contacts for lighting has to be kept in mind
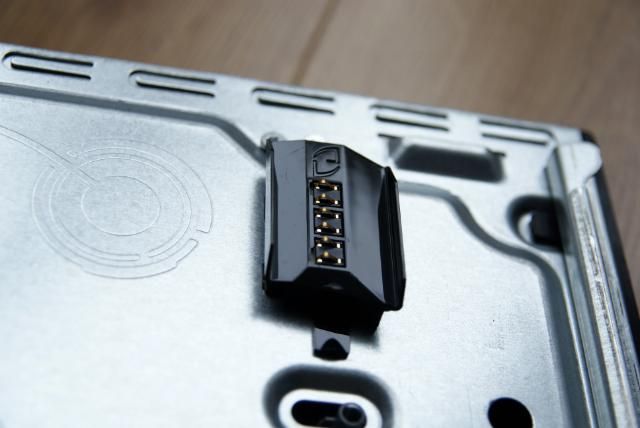
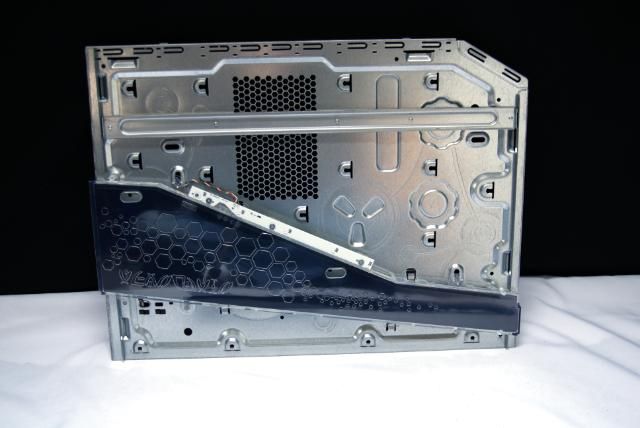
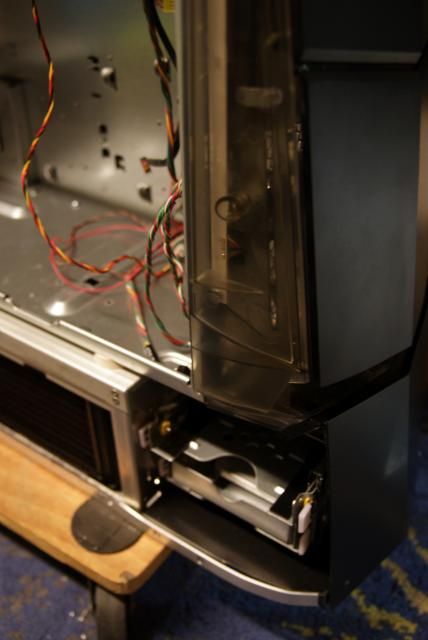
DSC09257.jpg


And the shapes / curves must be maintained
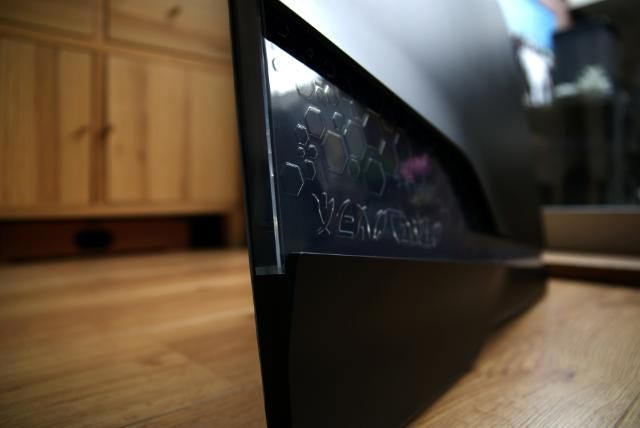
DSC09260.jpg


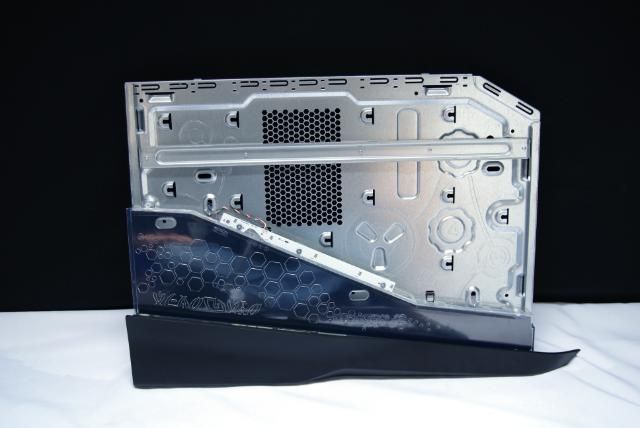
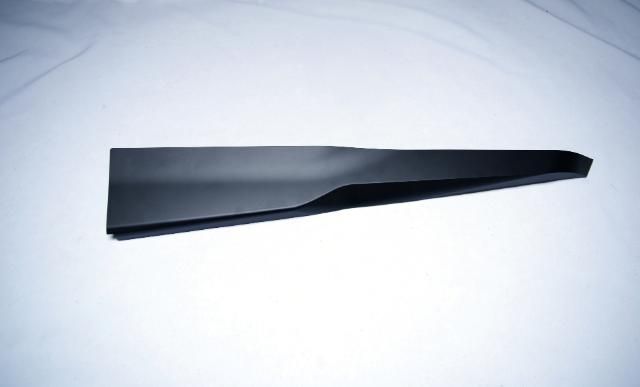
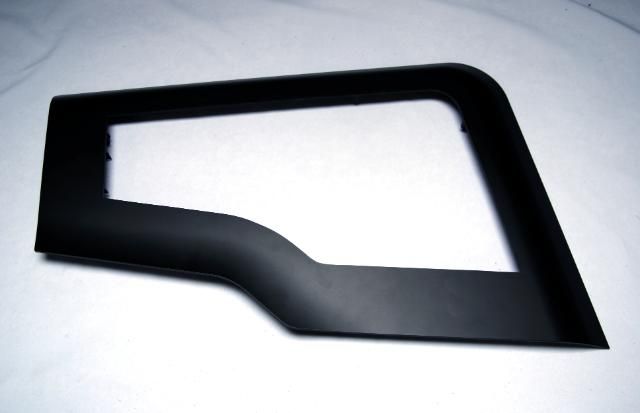
Everything is pretty easy to disassemble. Black panel removed and drawn the line for cutting
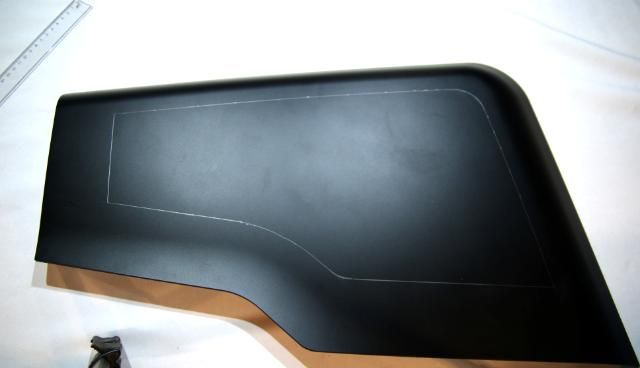
DSC09262.jpg


DSC09267.jpg


Disassambled the remaining parts

DSC09268.jpg


DSC09269.jpg


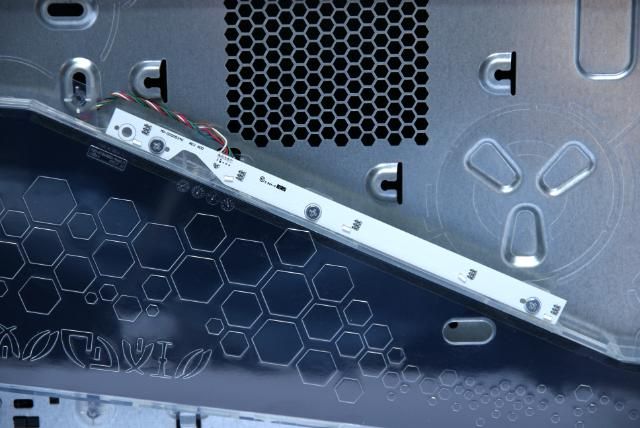
RGB strip for color effects

DSC09270.jpg


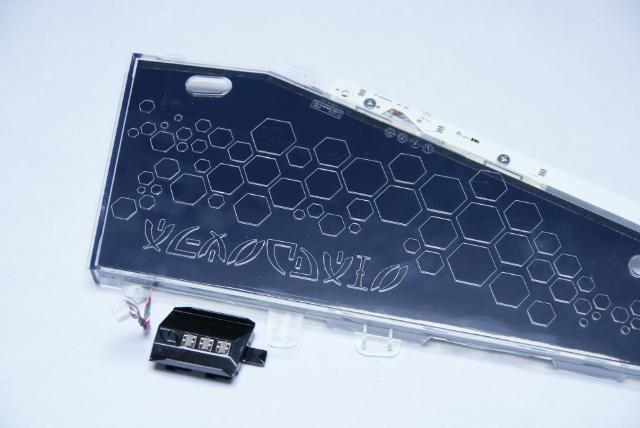
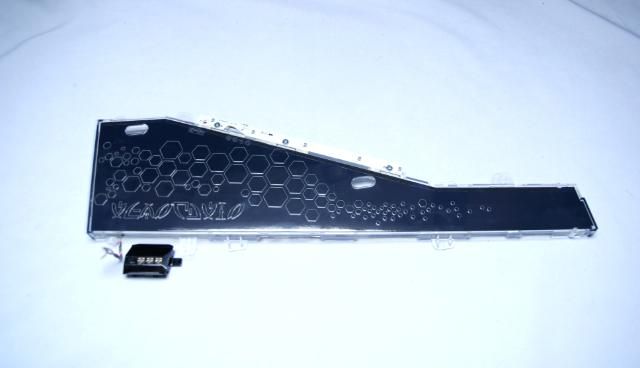
Detached the Acrylic carefully

DSC09275.jpg


DSC09272.jpg


What's left...a piece of iron

DSC09277.jpg


This is what we gonna use for cutting the window in the plastic panel
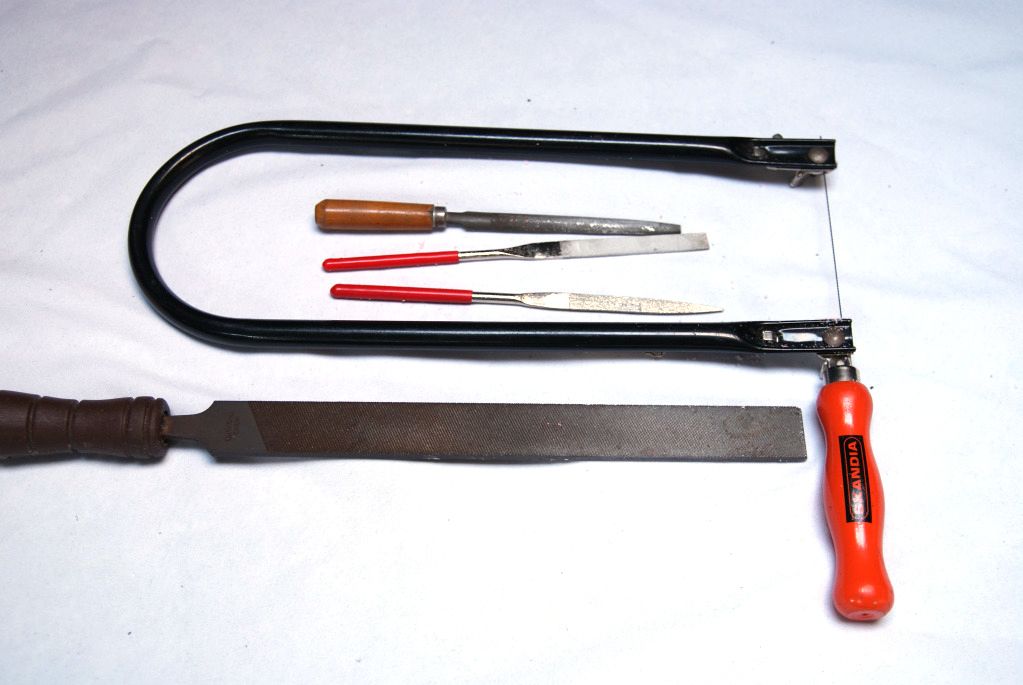
DSC08619.jpg


After some sawing and filing

DSC09265.jpg


DSC09400.jpg


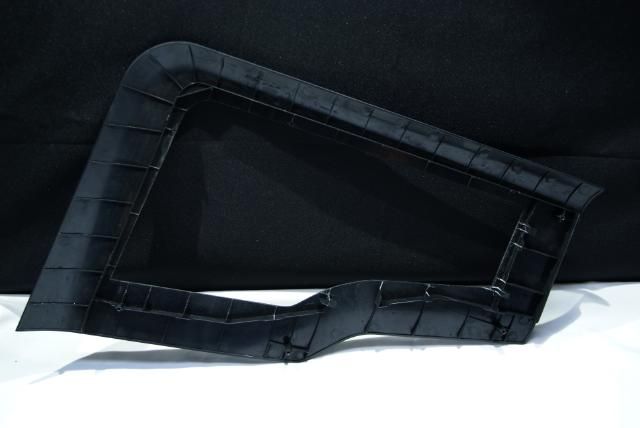
Excess plastic also removed with my dremel to place the window (later)
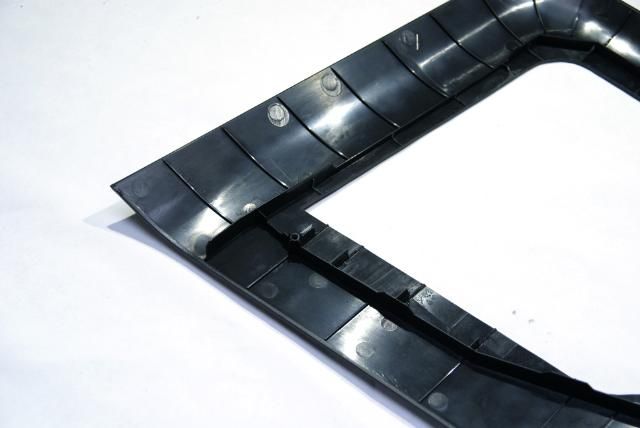
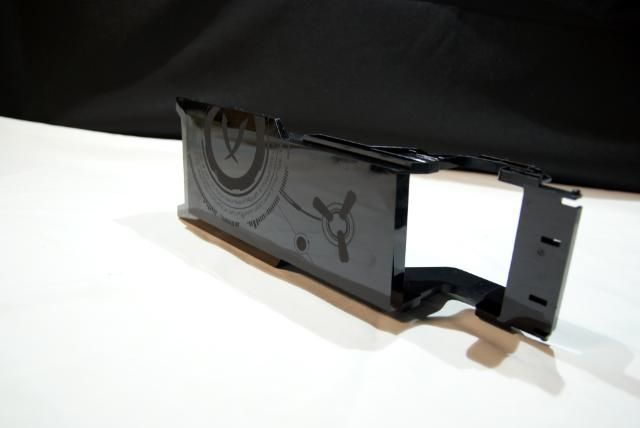
DSC09397.jpg


first fit

DSC09264.jpg


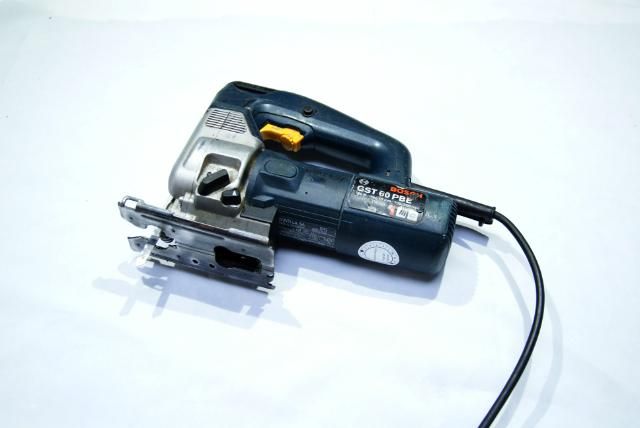
Next step. We use the jigsaw

DSC09403.jpg


Removed the reinforcement strip and drawned the hole slightly larger than the window in the plastic panel
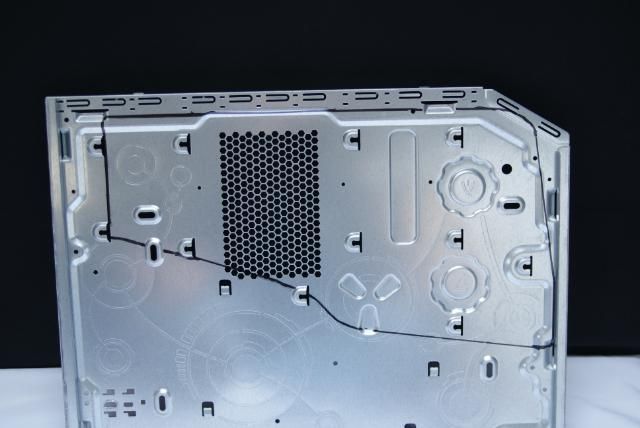
DSC09278.jpg


And saw it (and some filling of course)
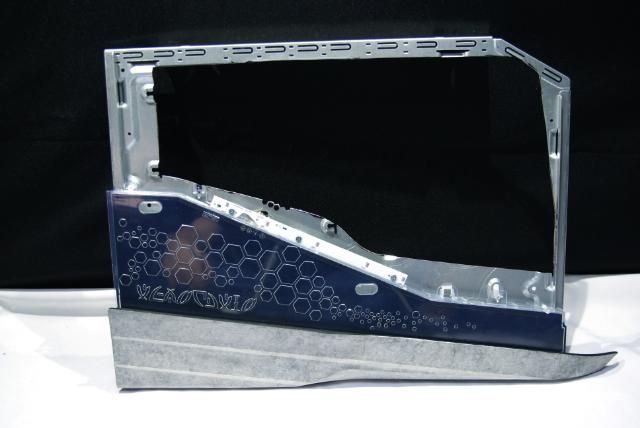
DSC09401.jpg


The points which seem to be thin will be reinforced

DSC09401.jpg


Furthermore, it's still a strong frame
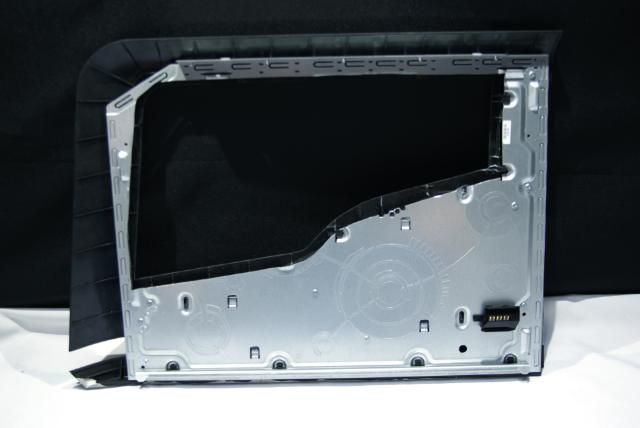
DSC09396.jpg


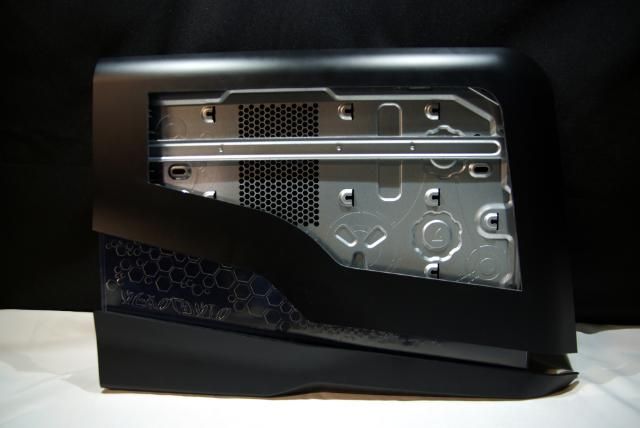
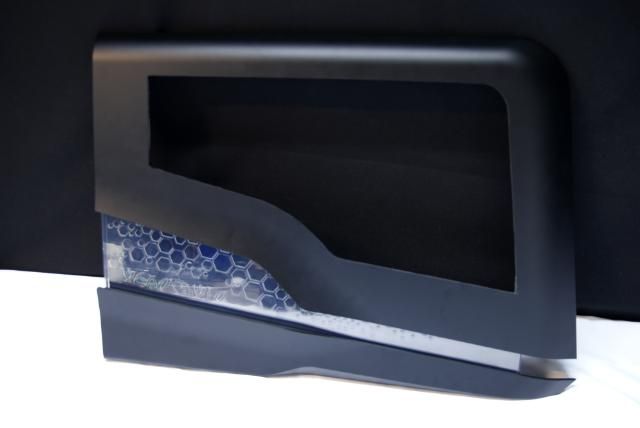
And placed everything back. The gap inside between the plastic and iron needs to be filled
DSC09280.jpg


And the window is almost finished

DSC09281.jpg


DSC09283.jpg


A big start topic with a lot of pics and vids, but hope you like it.

Until the next update!!!

Grtz.

Kier
 
Last edited:
Their systems are way overpriced but that case is extremely sexy. I especially love the vents that open like the beast just took a breath.

Your review of the case may have sold another system. I love the look!

Good luck with your modifications. You have one hell of a starting platform.
 
Their systems are way overpriced but that case is extremely sexy. I especially love the vents that open like the beast just took a breath.

Your review of the case may have sold another system. I love the look!

Good luck with your modifications. You have one hell of a starting platform.

Thanks, love the vents gadget also very much.


I'm not a fan of the case at all, but if anyone can make like it, Kier can.

Thanks bro, wont let you down ;)
 
Looks promising.

It's crazy how those inside panels are so elaborate but 90% of people will never see them.

Alienware is for sure overpriced, but you do get a nice bling factor, before I built my own I went with the XPS line. Most recent one is still trucking along as a backup computer 6 years later.
 
The active vents thing is pure awesome, really looking into those cases/pcs now :D

Thanks a lot Dell :p
 
Looks promising.

It's crazy how those inside panels are so elaborate but 90% of people will never see them.

Alienware is for sure overpriced, but you do get a nice bling factor, before I built my own I went with the XPS line. Most recent one is still trucking along as a backup computer 6 years later.

I also have a XPS 730 and really like this one. Great design

Very few big name Matx boxes I like...this is one of them. :)

Thanks!!!

The active vents thing is pure awesome, really looking into those cases/pcs now :D

Thanks a lot Dell :p

Yes, your absolutly right
 
This is very cool! Looking forward to what you have in store for this build. That case is just beautiful...wish I could buy just the case. lol.
 
I also have a XPS 730 and really like this one. Great design

Do you want to buy a case? I have a XPS 730 that's psu crapped out could be the motherboard, no real way to tell, and has a power button you need a chopstick to operate.

My brother may still be using it as a tv stand or sold the aluminum for scrap.

Maybe I will mod it instead.
 
This is very cool! Looking forward to what you have in store for this build. That case is just beautiful...wish I could buy just the case. lol.

Thanks, hope you like this new update ;)

Do you want to buy a case? I have a XPS 730 that's psu crapped out could be the motherboard, no real way to tell, and has a power button you need a chopstick to operate.

My brother may still be using it as a tv stand or sold the aluminum for scrap.

Maybe I will mod it instead.

Mod it!!! , maybe I will also do this for a next project


Update!!!

After playing some games and testing it was time to strip the case.
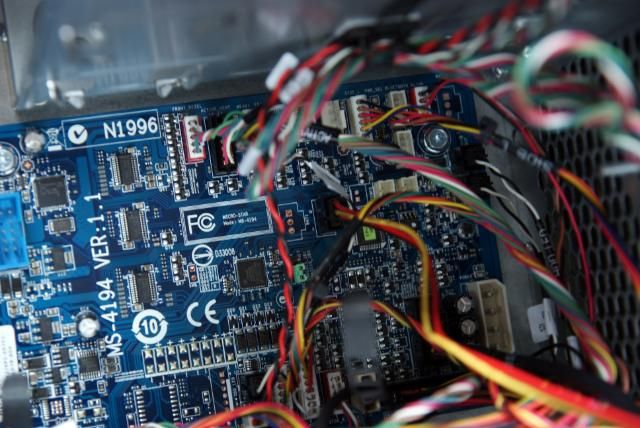
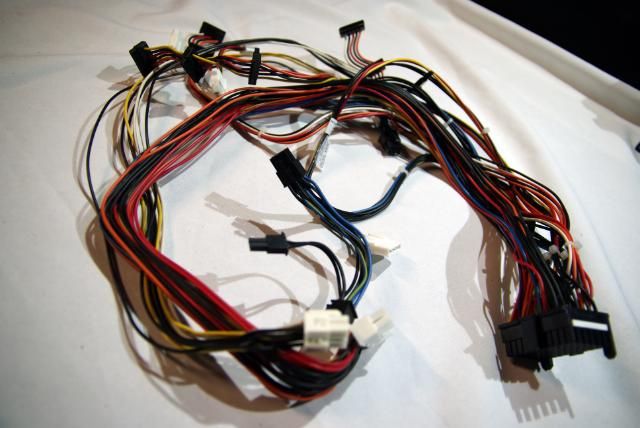
First the wiring, which is quite a lot in this case. But quite logical because all the gadgets.

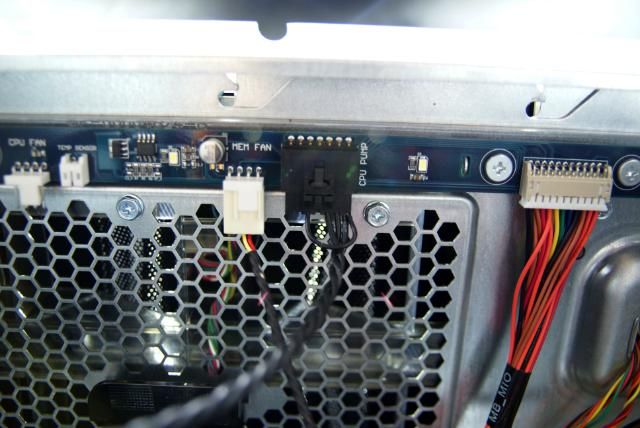
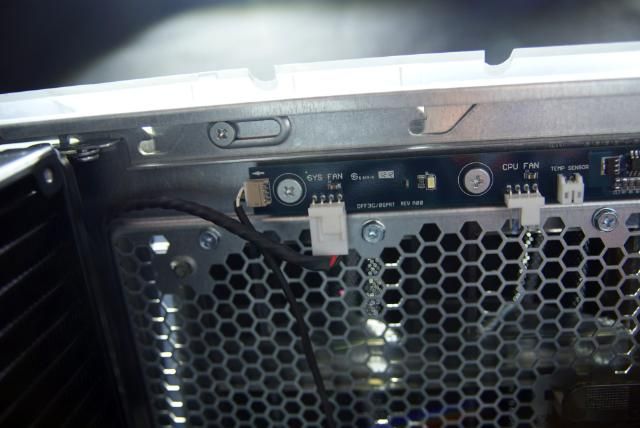
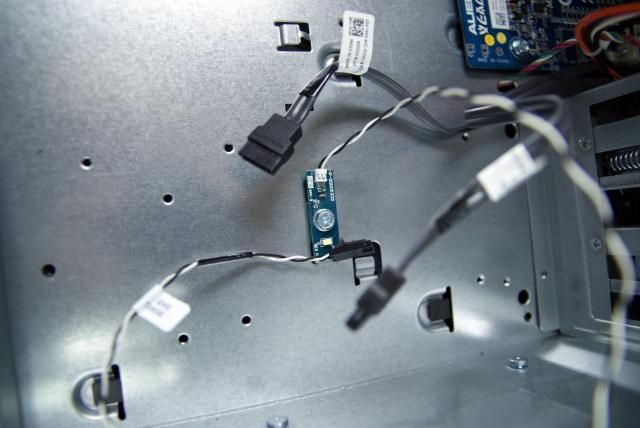
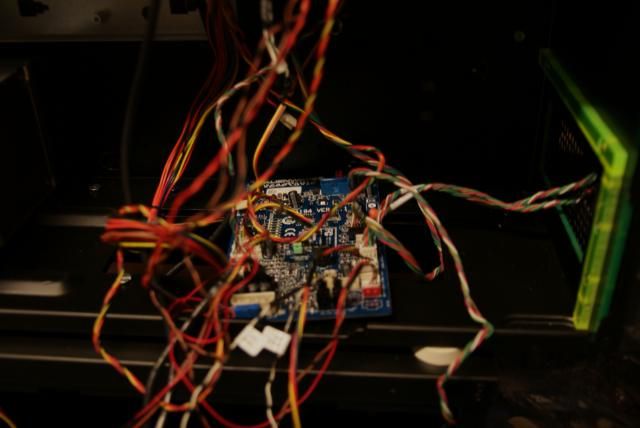
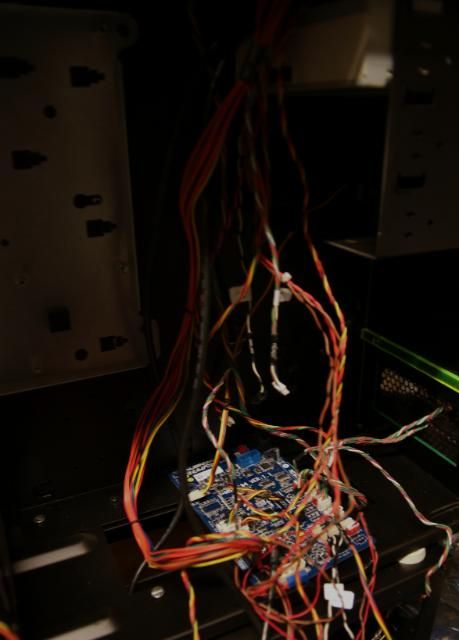
PCB and a lot of cables for the lights

DSC09288.jpg


DSC09293.jpg


DSC09300.jpg


DSC09304.jpg


The PCB strip at the top for lighting and power pump

DSC09295.jpg


DSC09296.jpg


DSC09298.jpg


DSC09333.jpg


2 of these for the lighting behind the HDD bays

DSC09305.jpg


And some more cables

DSC09286.jpg


DSC09290.jpg


DSC09293.jpg


After all cables are removed, This is what's left ... for illumination

DSC09310.jpg


DSC09311.jpg


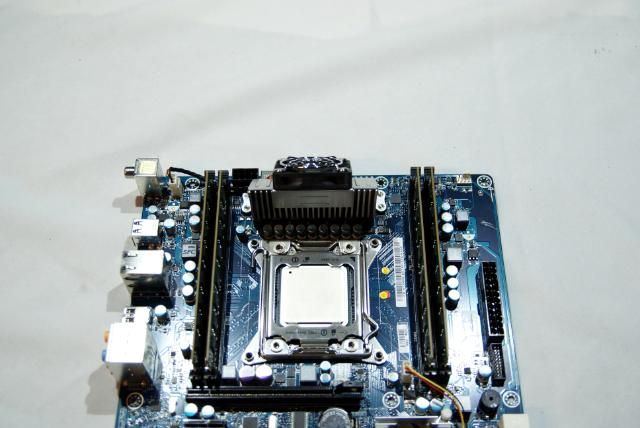
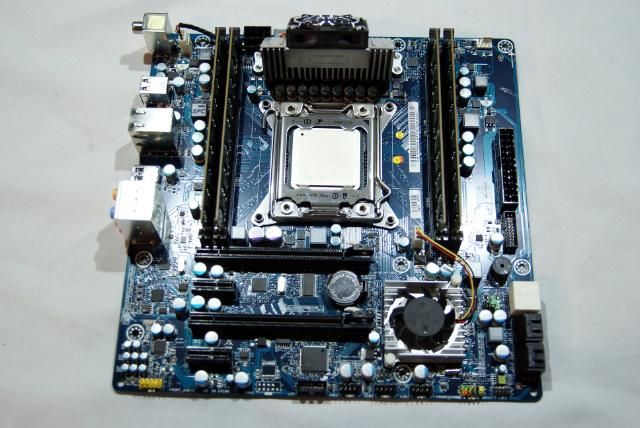
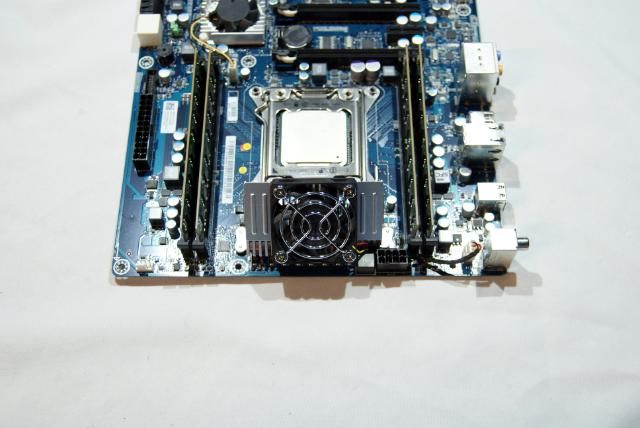
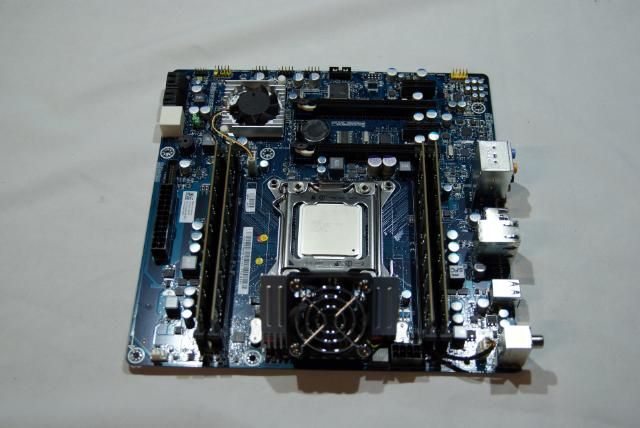
Also removed the Alienware mobo. Rams will by provided with black ram coolers later on.

DSC09320.jpg


DSC09319.jpg


DSC09322.jpg


DSC09321.jpg


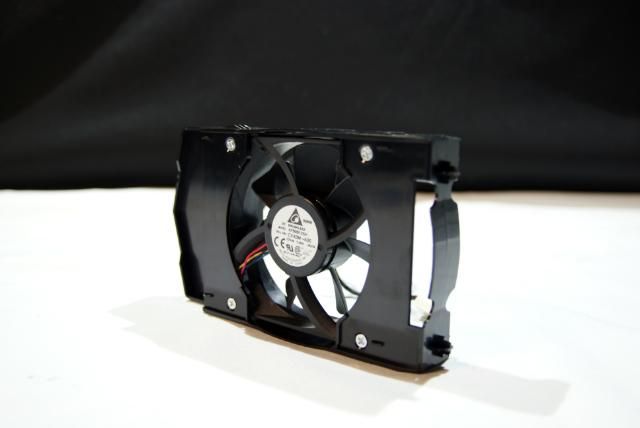
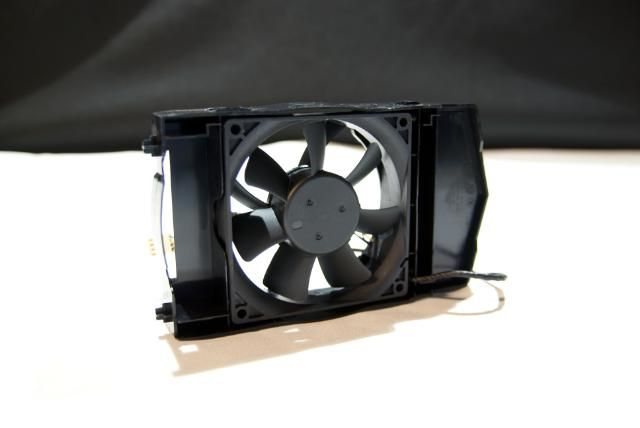
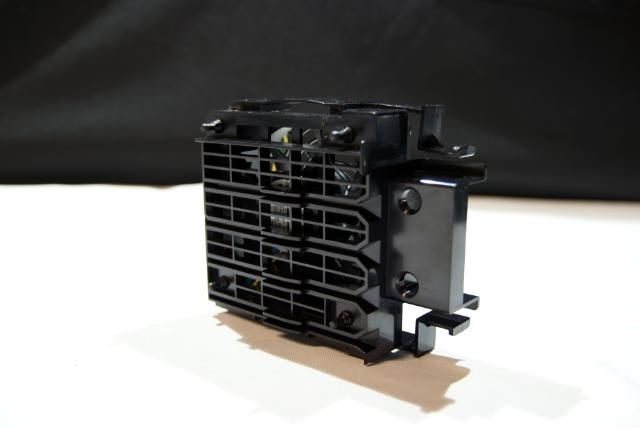
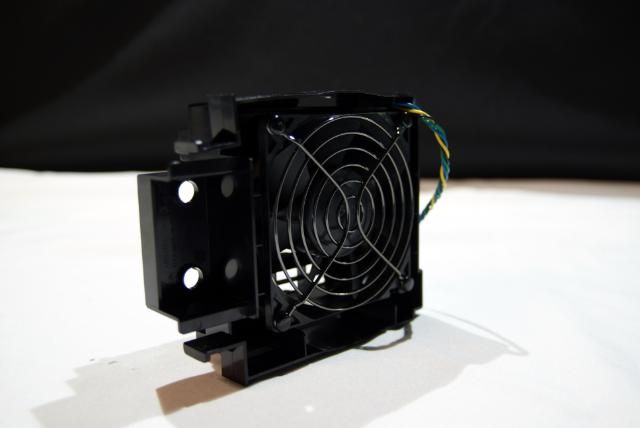
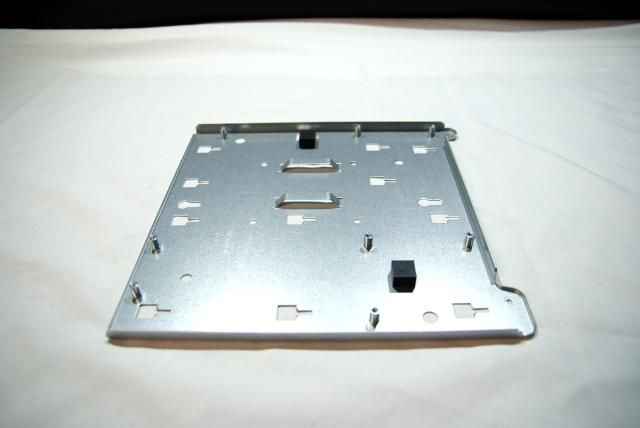
Fan bracket for the swap bay

DSC09330.jpg


DSC09331.jpg


And the fanbracket for the GPU's

DSC09327.jpg


DSC09328.jpg


The HDD bays are easy to disassemble with screwdriver

DSC09323.jpg


DSC09325.jpg


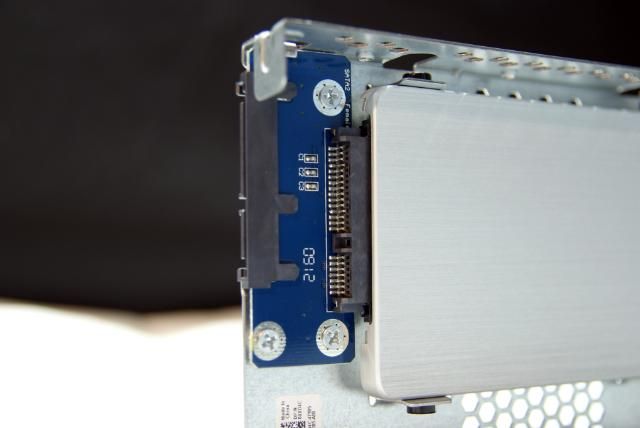
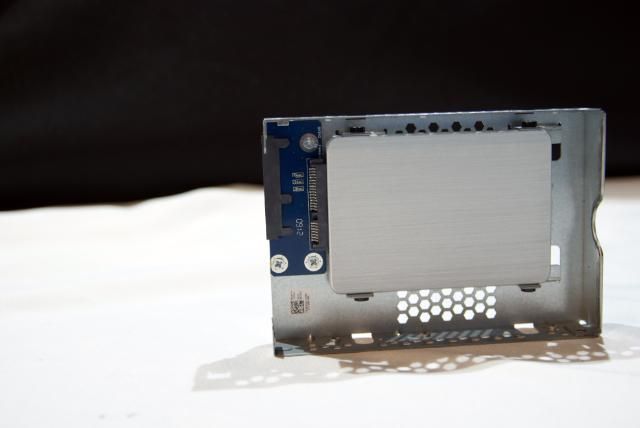
Putting the SSD away for later

DSC09338.jpg


DSC09335.jpg


CPU cooler remains a beautiful item, so as previously mentioned this will be used again in this build later

DSC09318.jpg


DSC09315.jpg


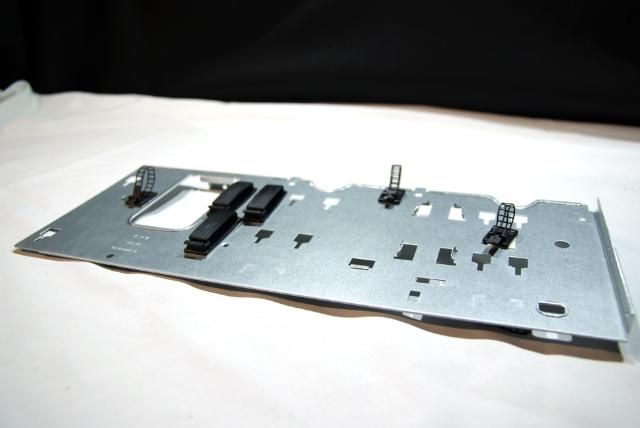
Removed the midplate.

DSC09340.jpg


And mobo tray

DSC09342.jpg


Still dismanteling with only a screwdriver ;) Also removed the PSU

DSC09344.jpg


Later on this will be black

DSC09343.jpg


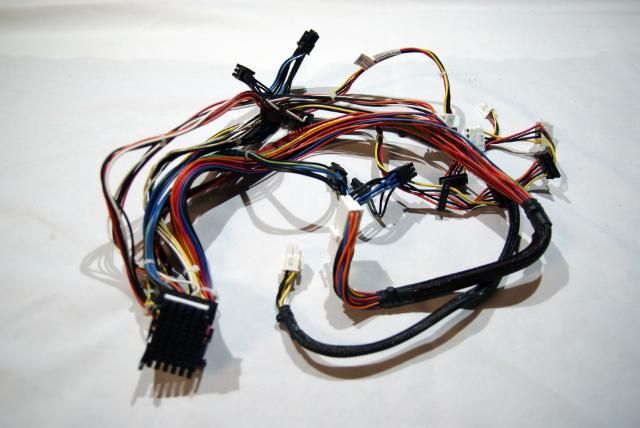
And the cables which will be a challenge regarding the sleeve job

DSC09346.jpg


And removed the covers

DSC09348.jpg


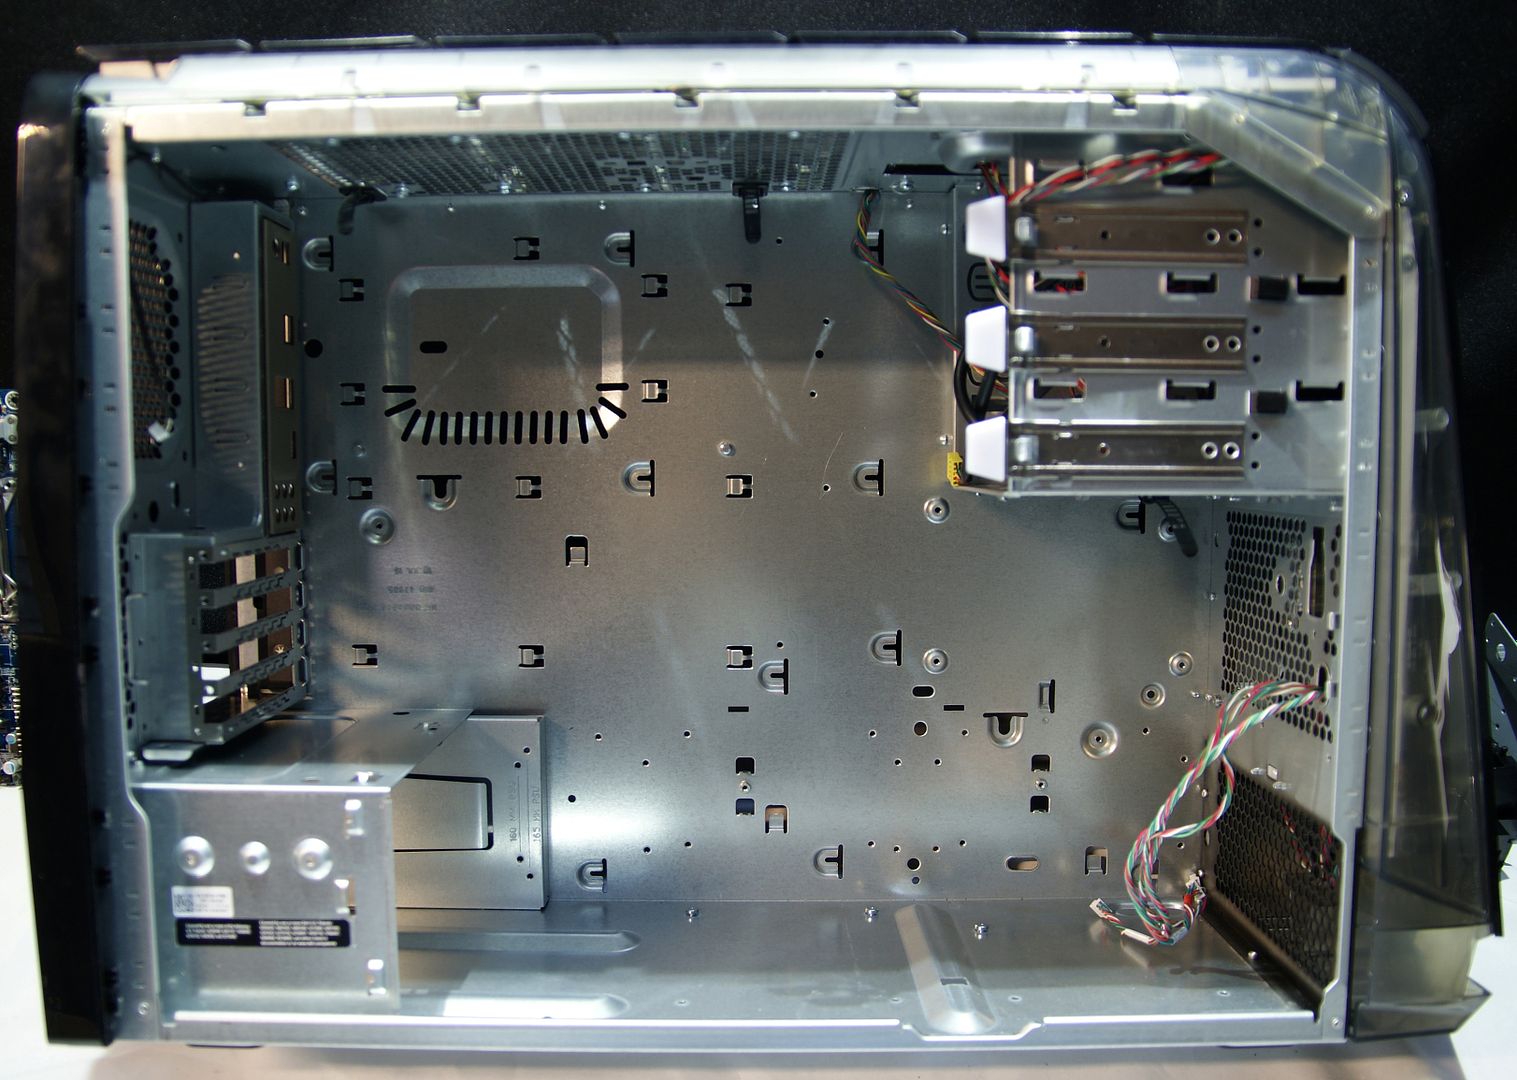
Everything is stripped, so this is what's left

DSC09307.jpg


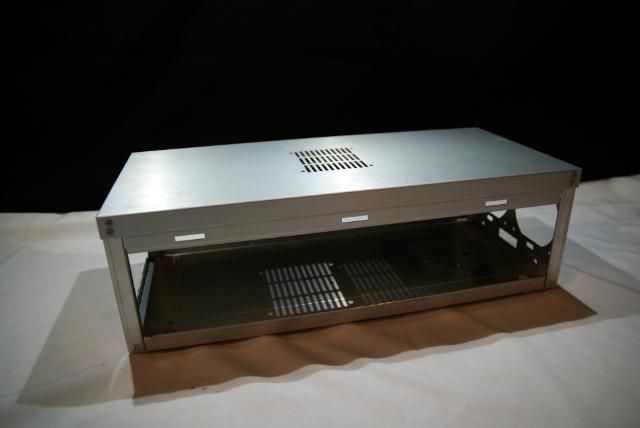
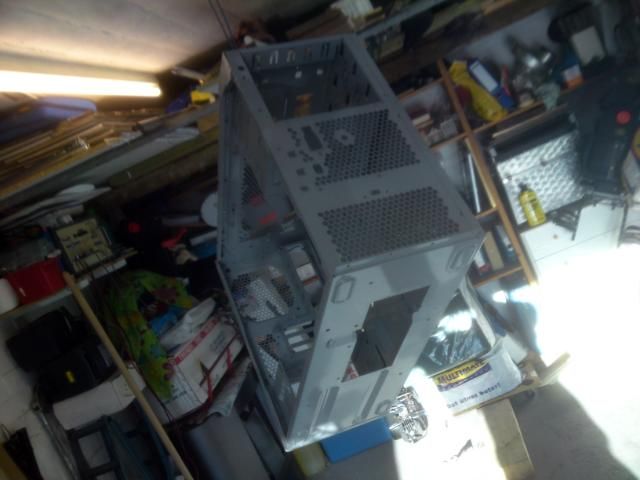
Time to think and mod. The idea is to put 2x 360 rads for the GPUs
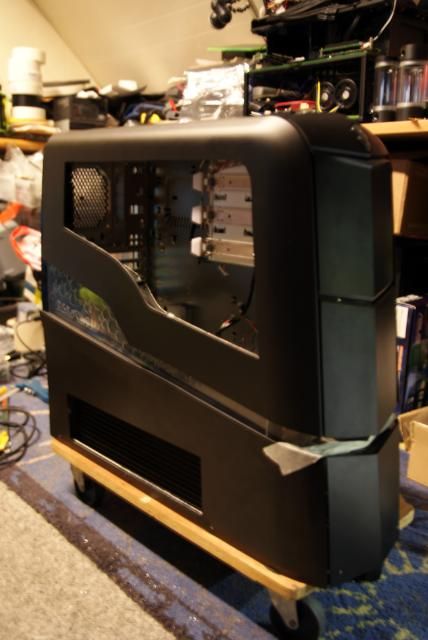
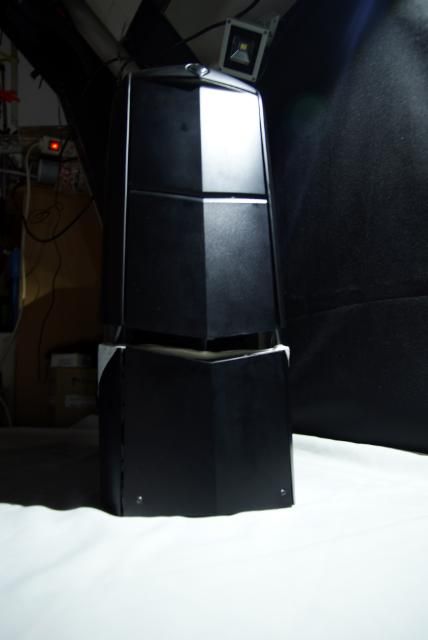
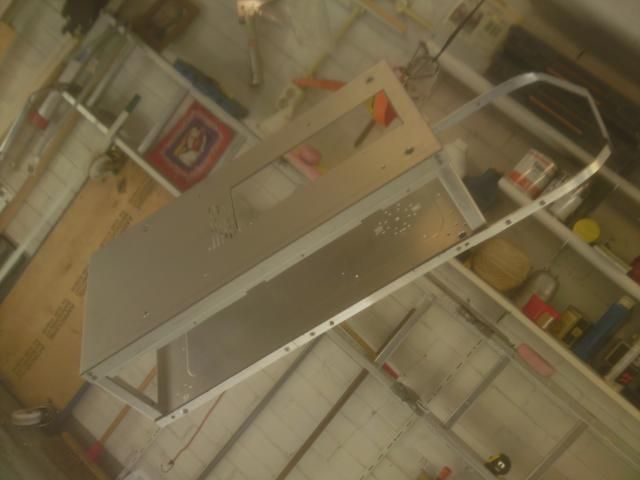
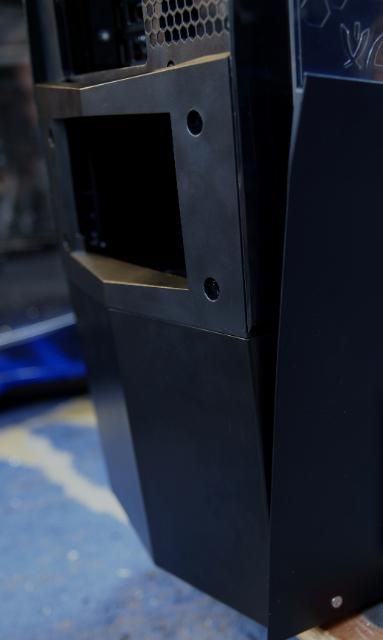
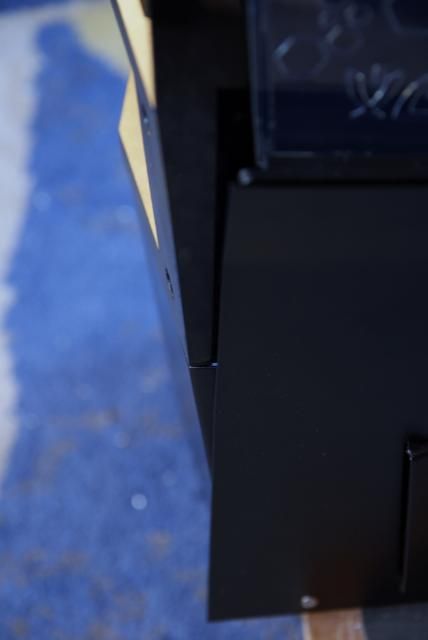
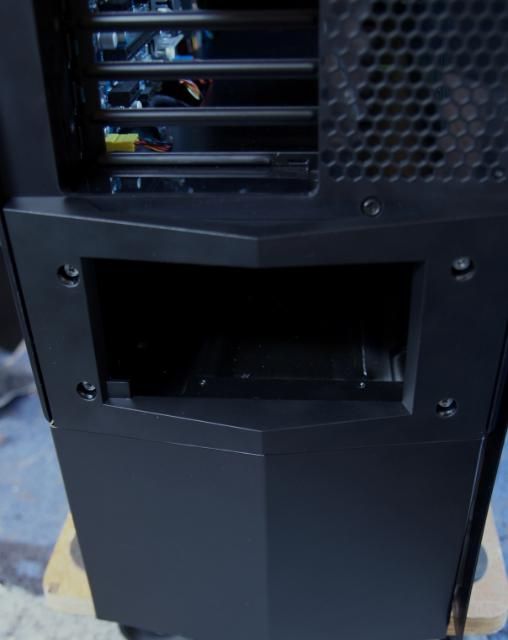
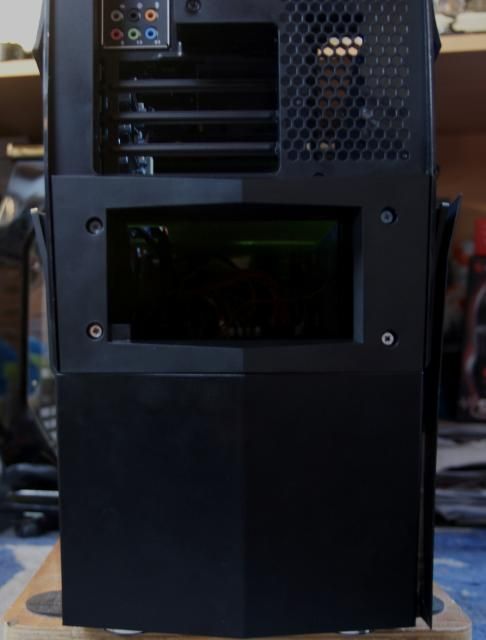
This is not possible in the original case. Therefore I'am gonna raise the case using an old LL case where I have shortened the vertical bars and put it back together.

DSC09351.jpg


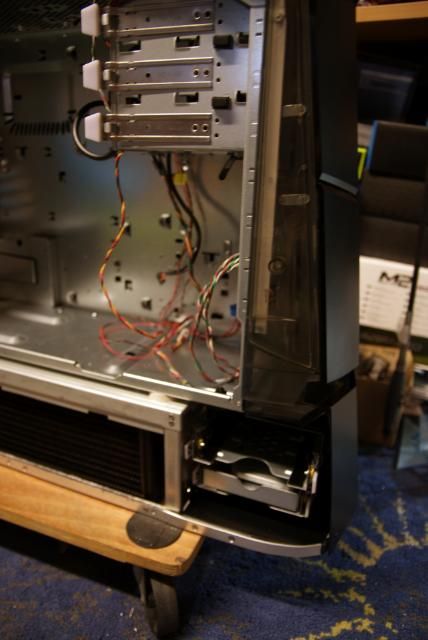
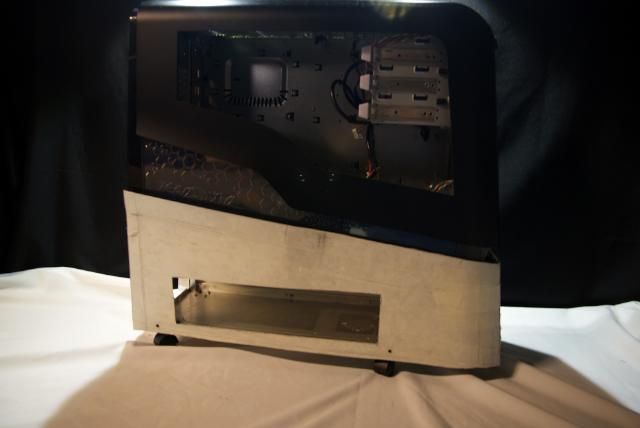
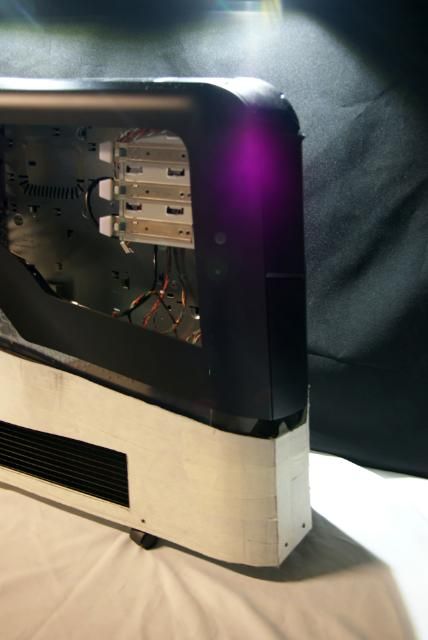
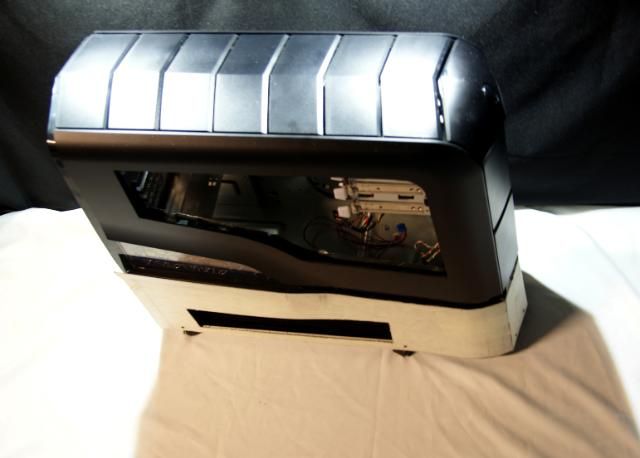
Mounted the Alienware Aurora on top and made a bracket around the lower part​. Because the lower case is smaller I had some space for the HDD cage to place it in the empty space.

DSC09458.jpg


DSC09465.jpg


DSC09461.jpg


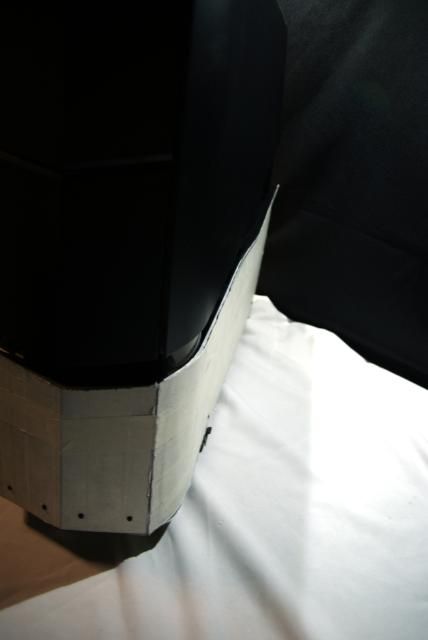
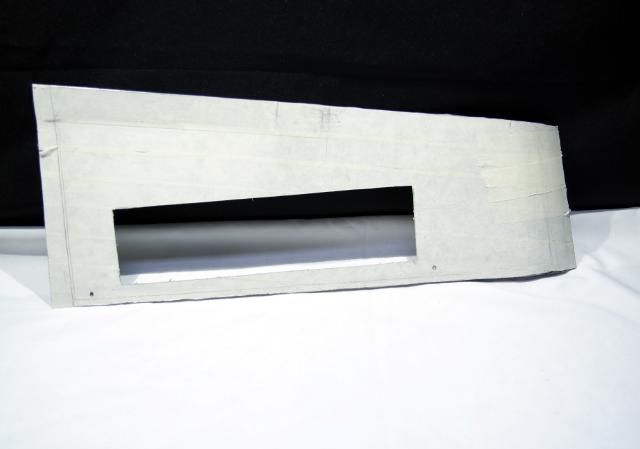
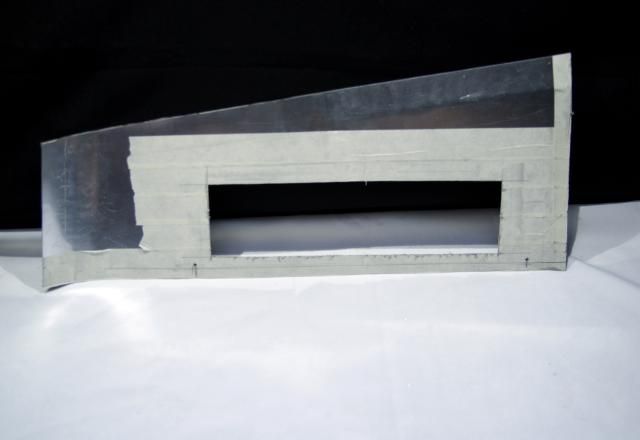
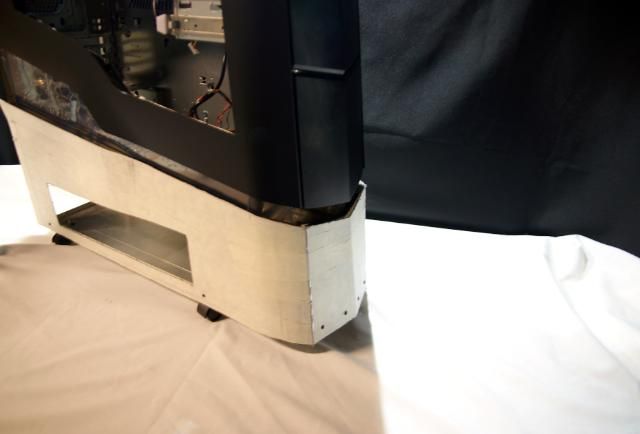
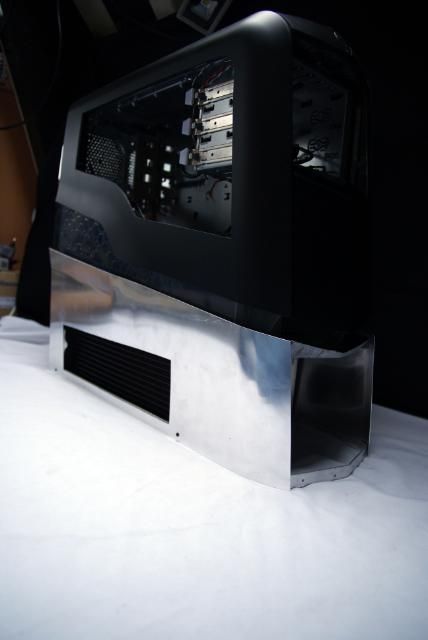
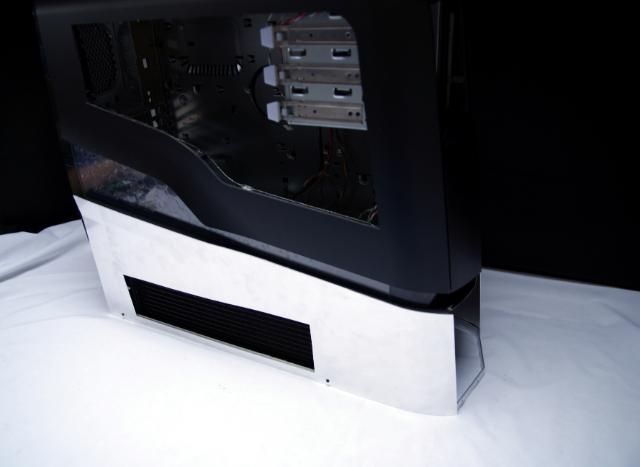
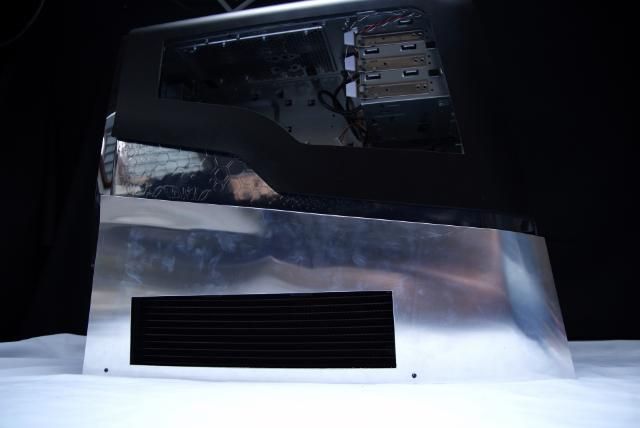
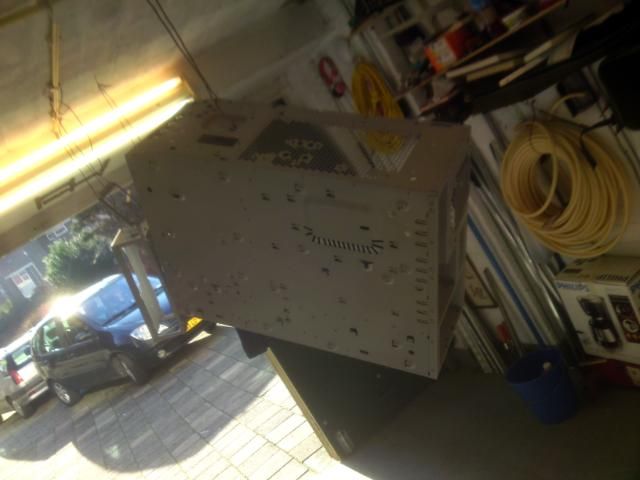
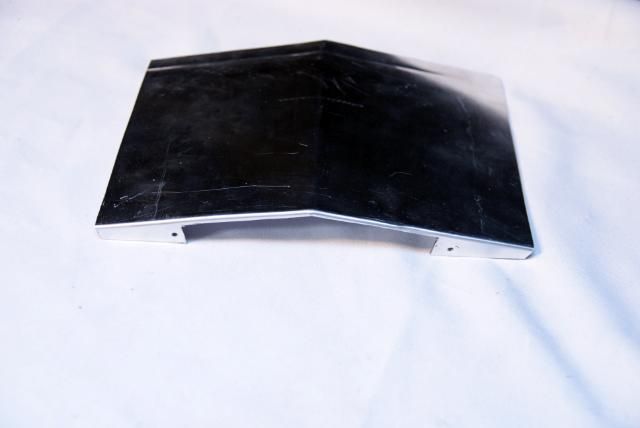
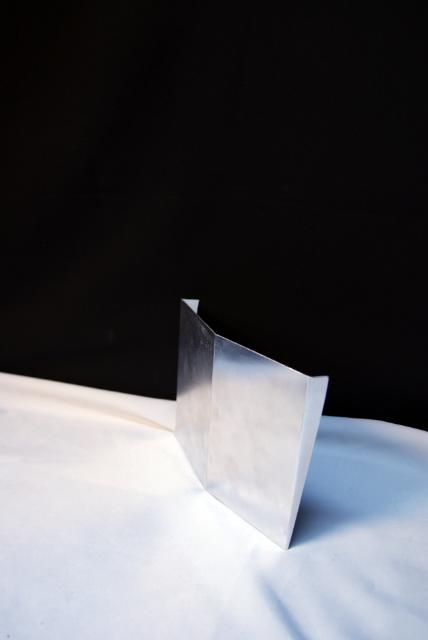
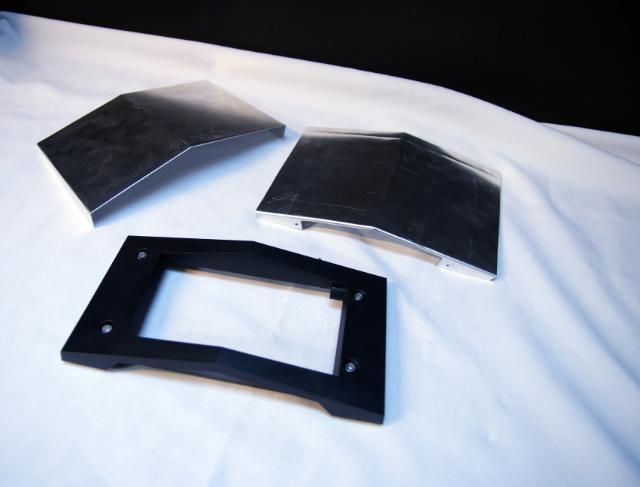
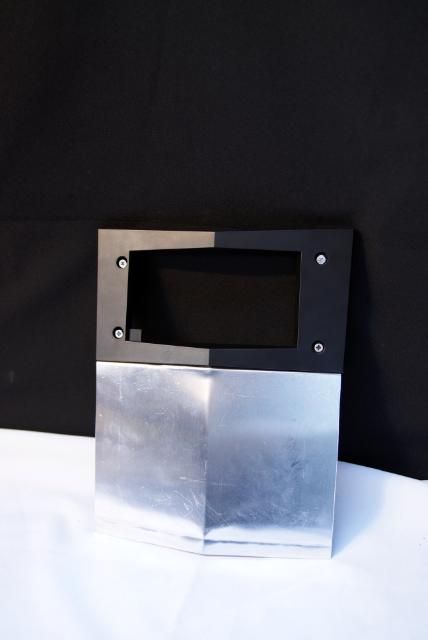
For the sides I have cut a piece of aluminum and bent the curves in it.

DSC09473.jpg


DSC09474.jpg


Bent everything in the shapes of the lower strip on the existing side panel. This strip is where the new cover is going to be mounted on.

DSC09268.jpg


DSC09364.jpg


Done both sides and front.

DSC09371.jpg


After this cut out the radiators

DSC09411.jpg


DSC09409.jpg


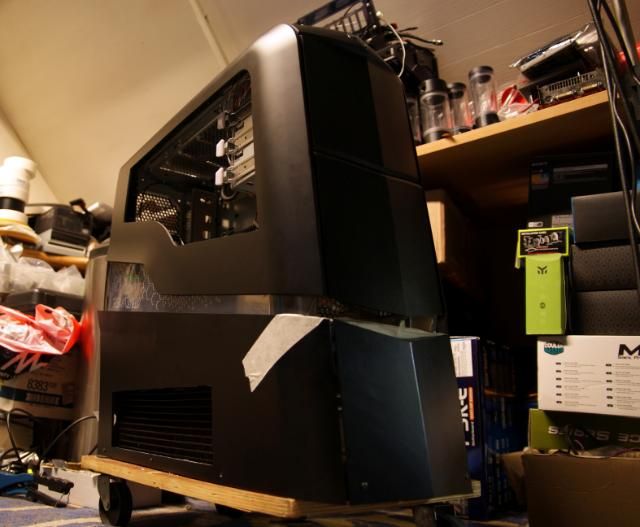
All assembled and stick together with tape

DSC09368.jpg


DSC09376.jpg


DSC09387.jpg


DSC09394.jpg


Shiny :)

DSC09418.jpg


DSC09412.jpg


DSC09423.jpg


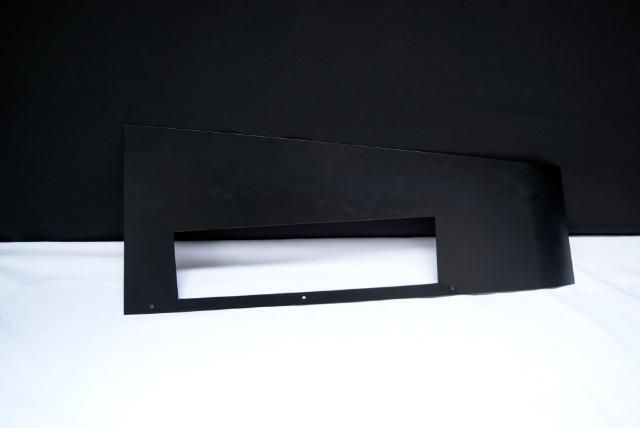
Made the covers black

DSC09475.jpg


DSC09430.jpg


DSC09449.jpg


DSC09431.jpg


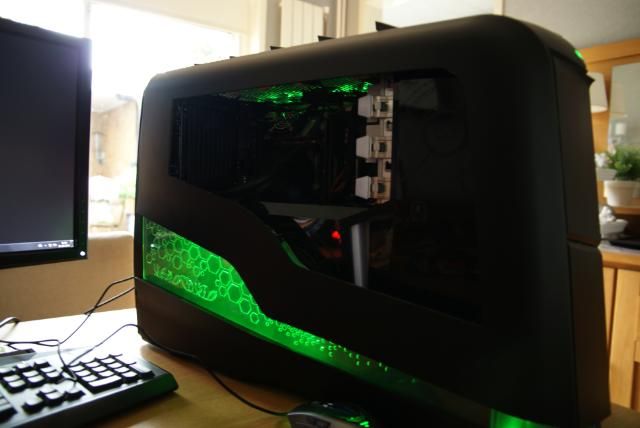
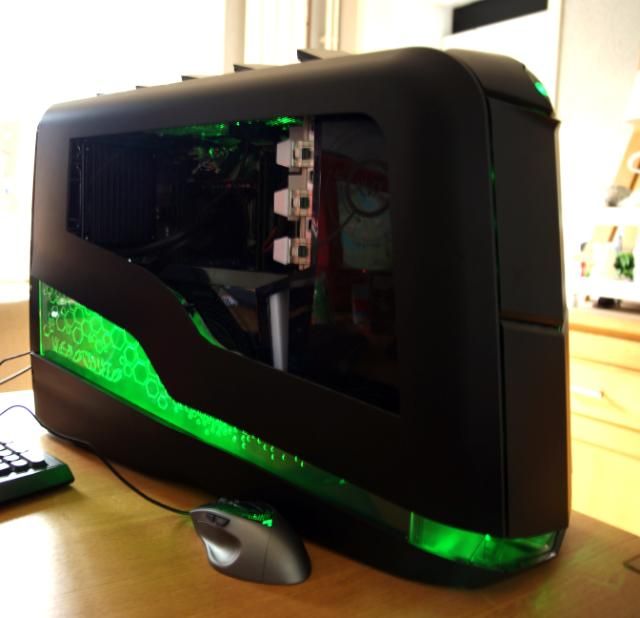
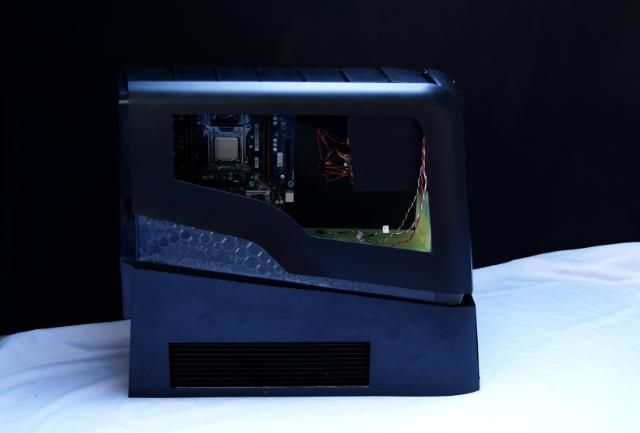
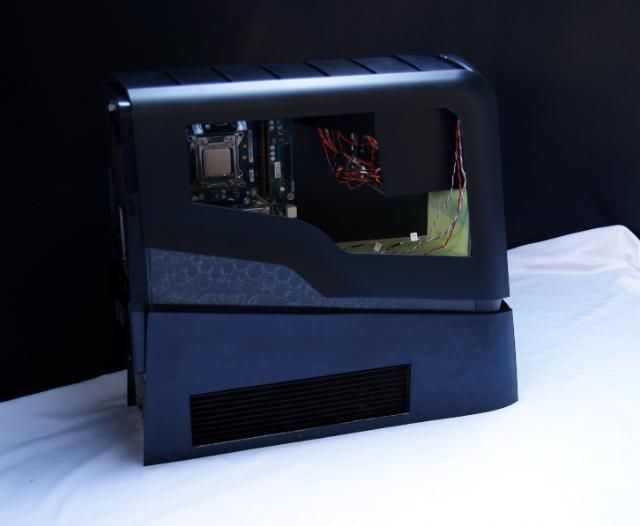
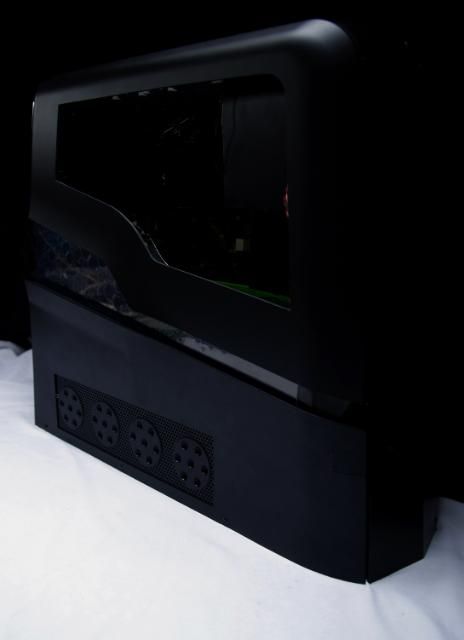
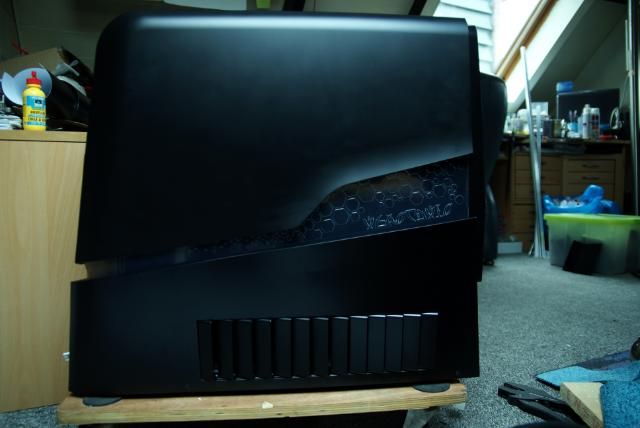
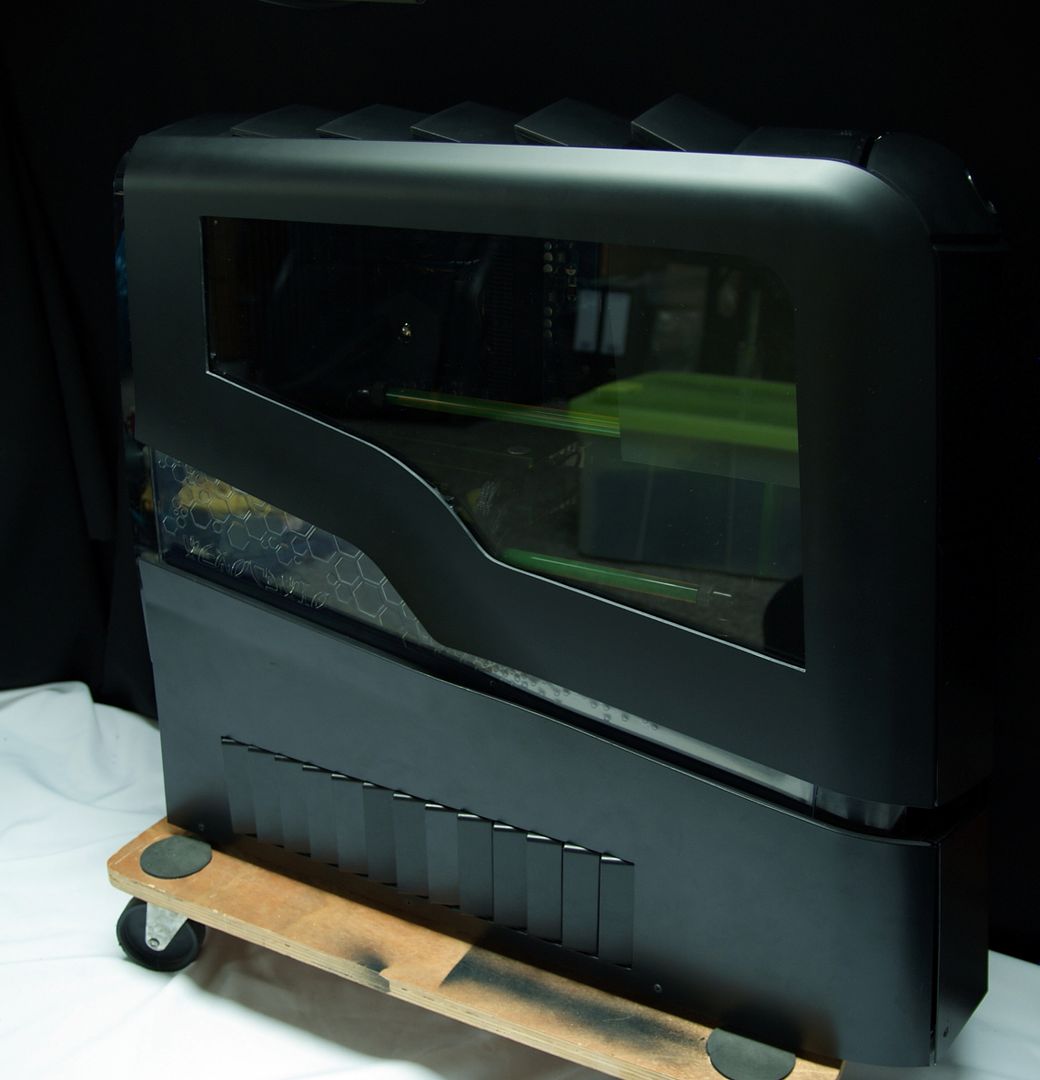
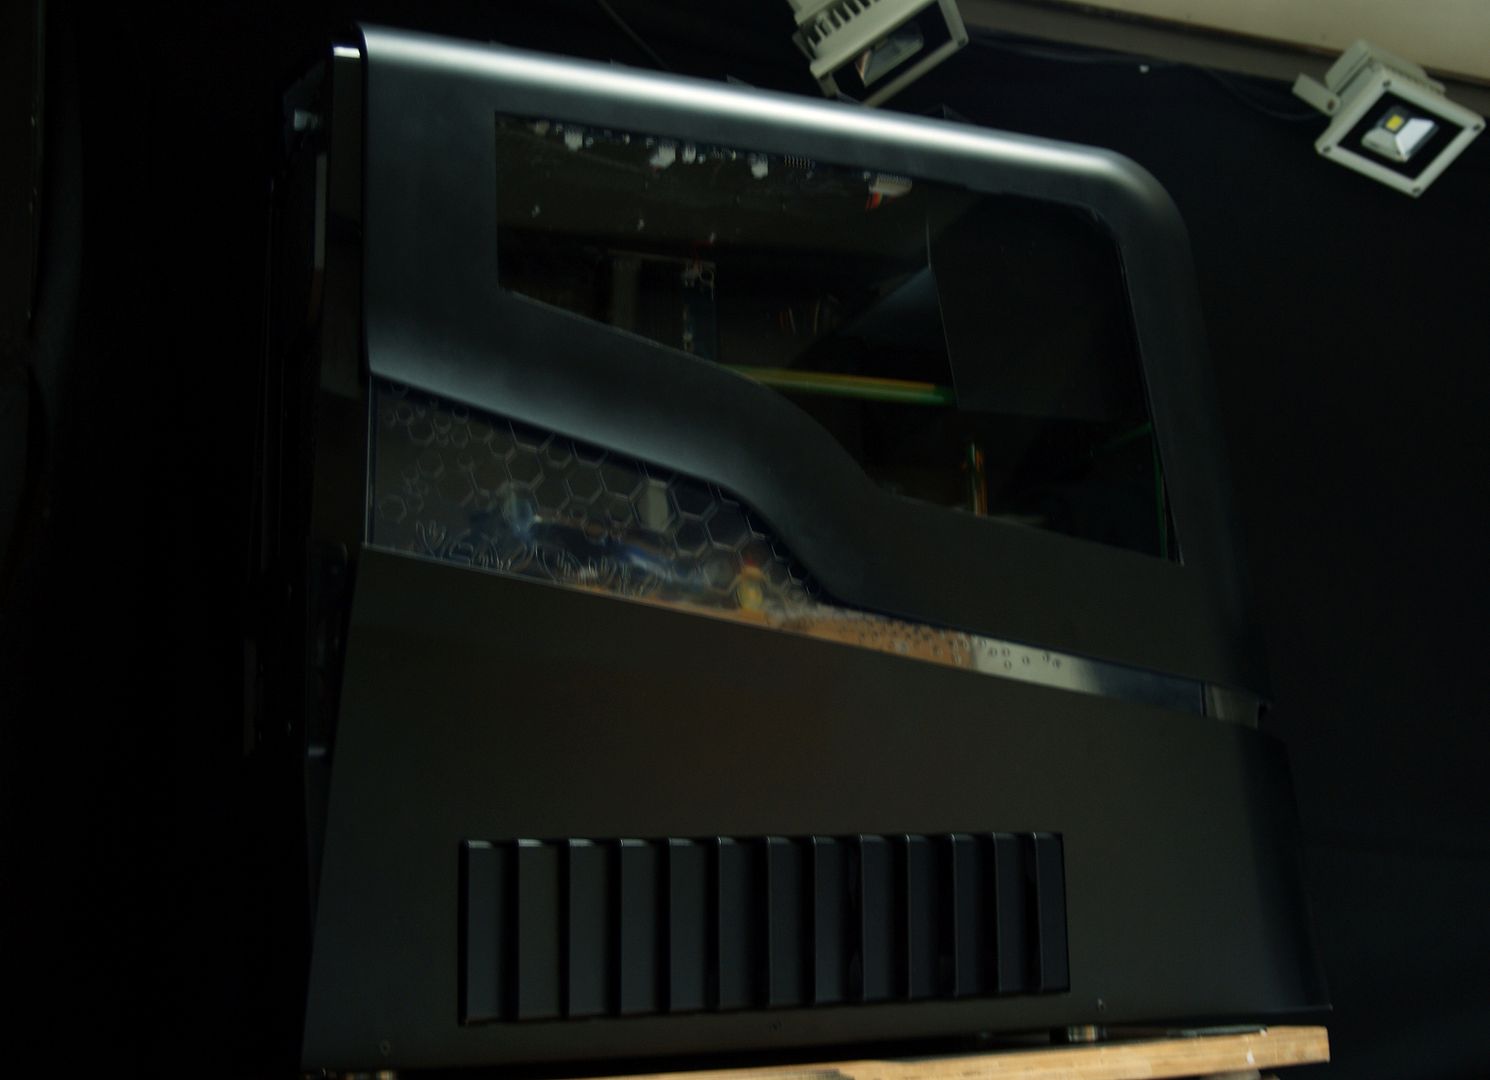
And the end result after some sawing, filing, drilling, bending and pasting.

DSC09489.jpg


DSC09491.jpg


DSC09492.jpg


DSC09495.jpg


DSC09501.jpg


DSC09502.jpg


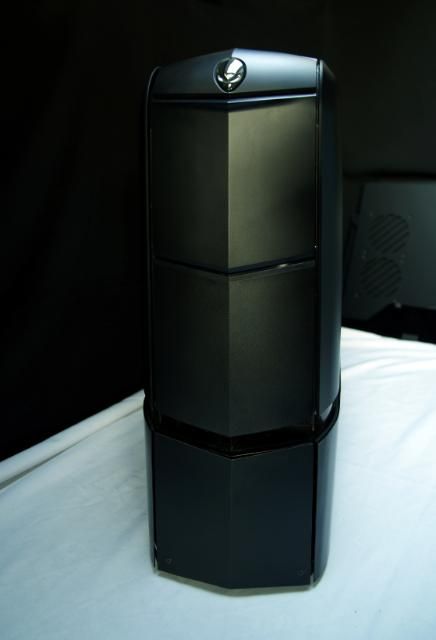
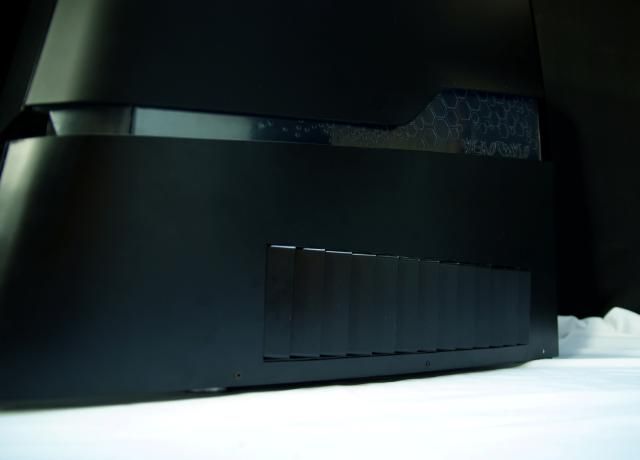
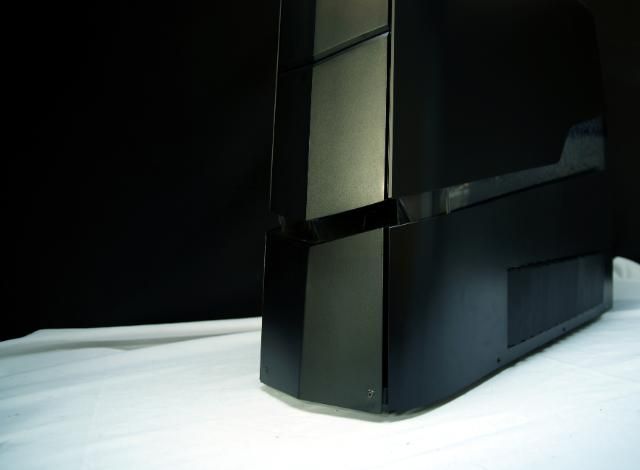
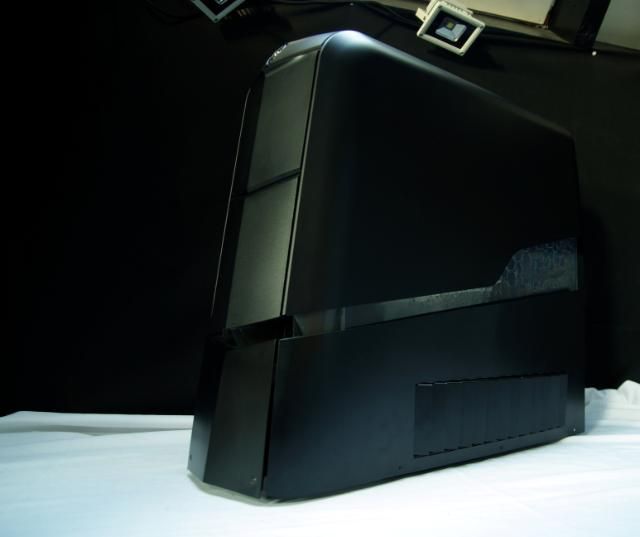
The Alienware Aurora XL version
 
Last edited:
Looks like a locomotive.

Fine job. Cant wait to see the final product. A challenge to re-do, I'm sure.:D
 
Very brave to cut an alienware case like this! haha I wouldn't have this courage... Anyway, great job.
 
Thanks for the great comments ;)


Update!!!

Hi Y'all,

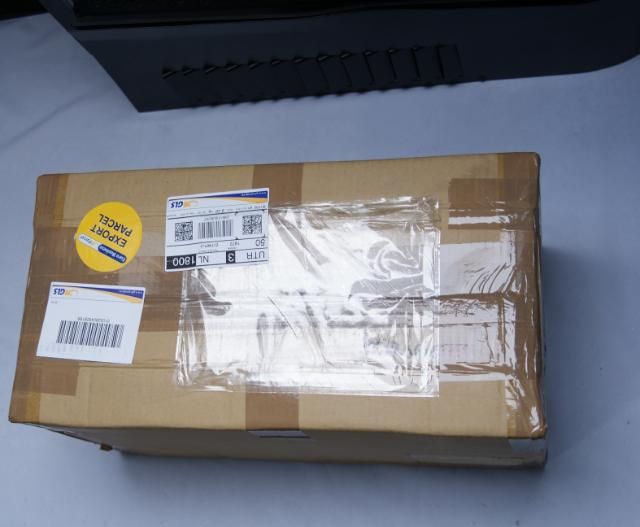
I had a nice update in mind about the internal and the beautiful water blocks. Unfortunately GLS did it again... destroyed my package and send it back to Slovenie.... Thanks again GLS!

So this time only an update about the internal parts.

First I have some RAM coolers mounted on the Dell RAMs

DSC09515.jpg


DSC09521.jpg


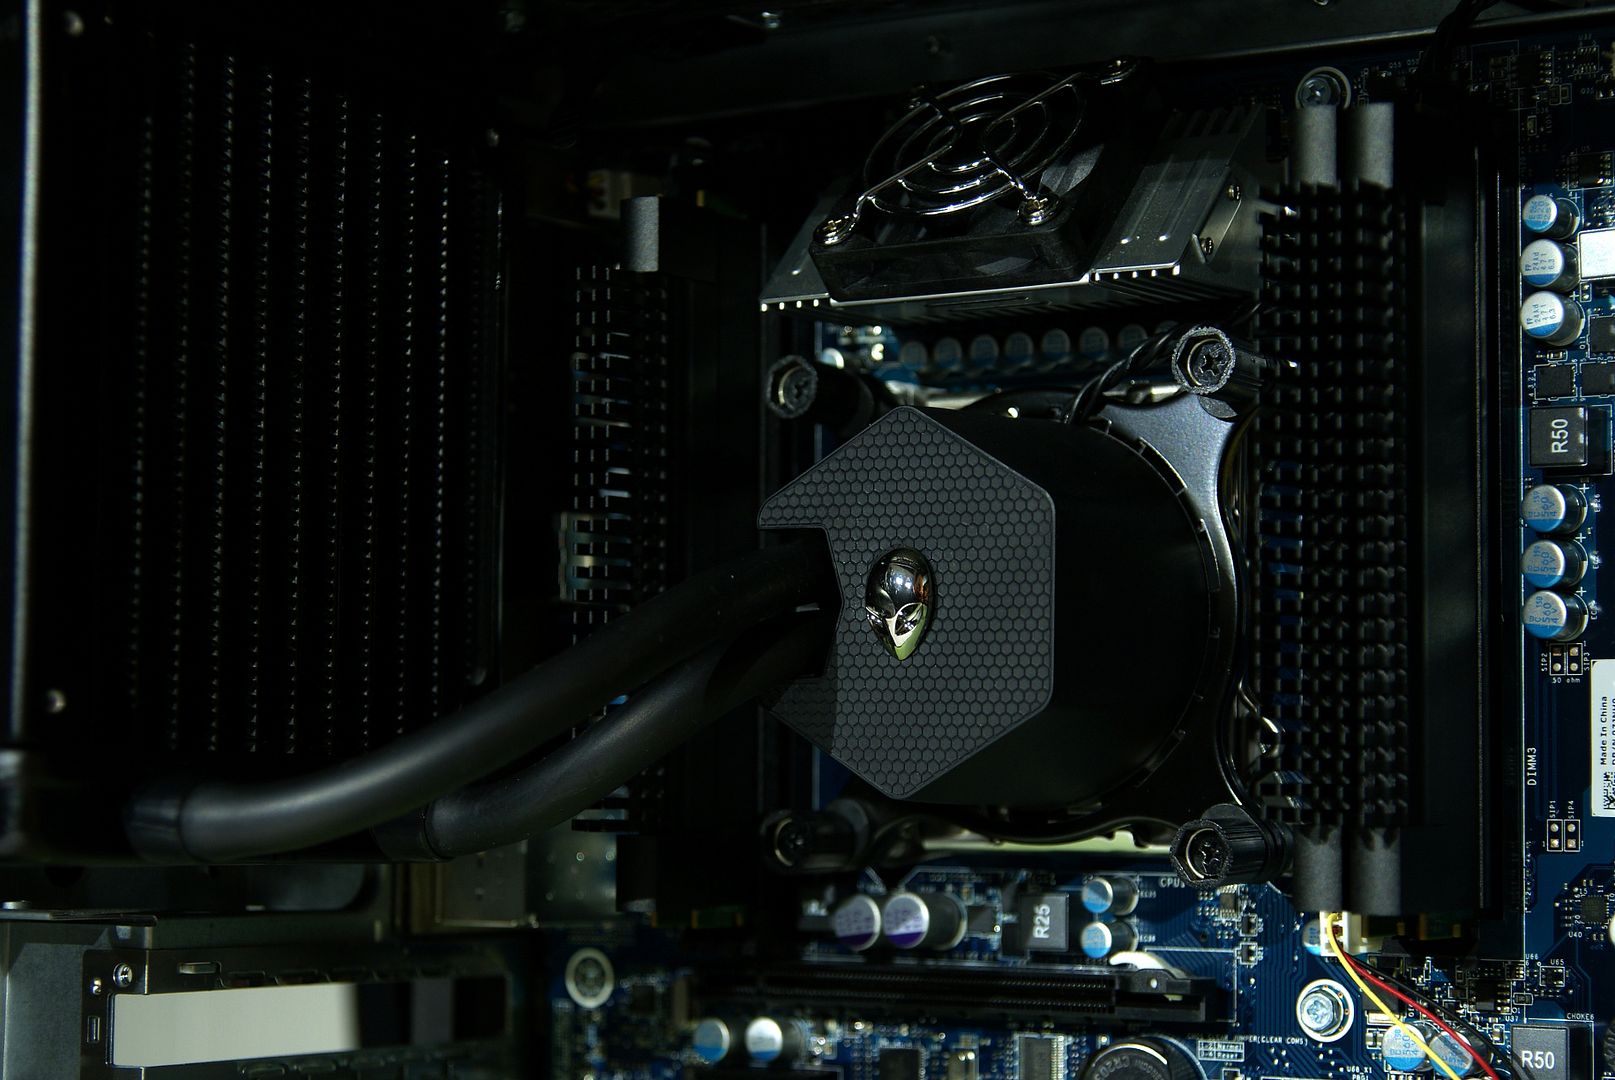
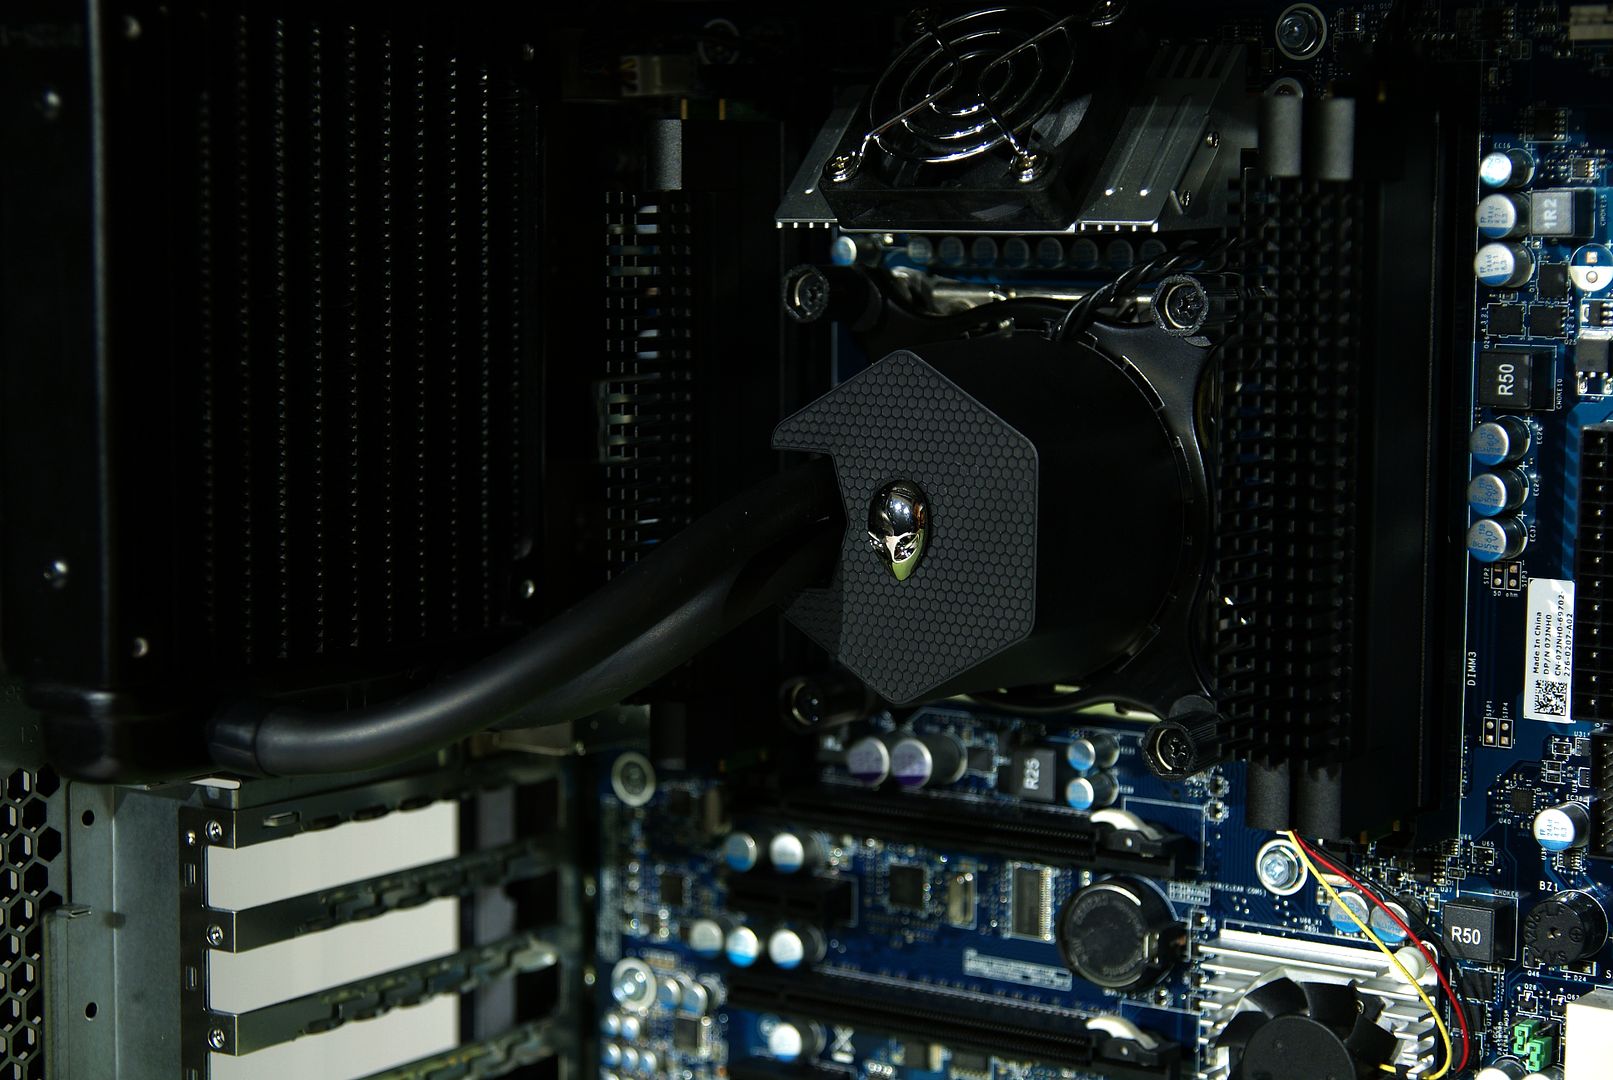
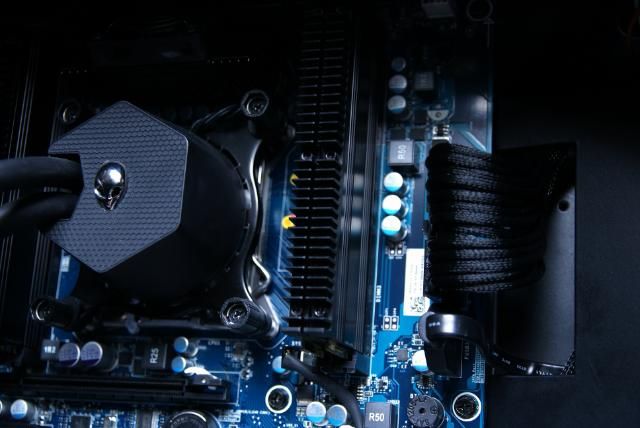
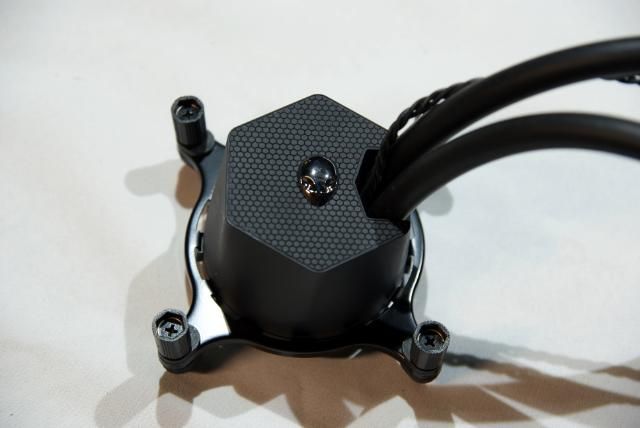
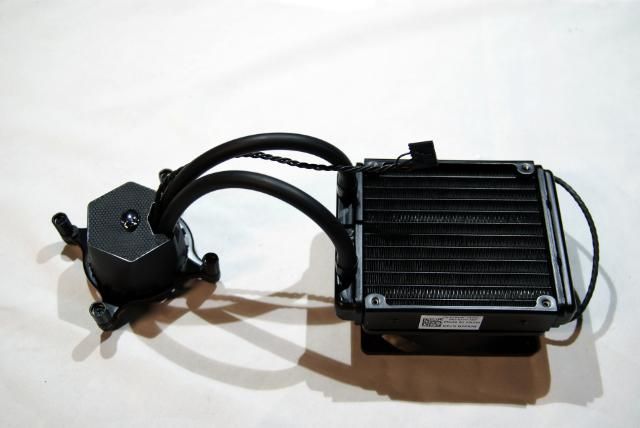
I also changed the CPU cooler.

Before:

DSC09071.jpg


Shorten the tubes, turn the cover, turn the alien and re-route the cable

DSC09539.jpg


DSC09540.jpg


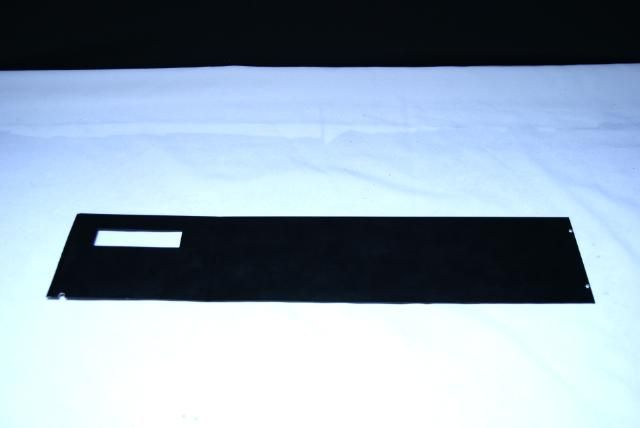
Internal: First cut and bent a custom cover

DSC09469.jpg


What hides the 5.25 bay

DSC09589.jpg


Made it black

DSC09587.jpg


Placed it

DSC09590.jpg


DSC09591.jpg


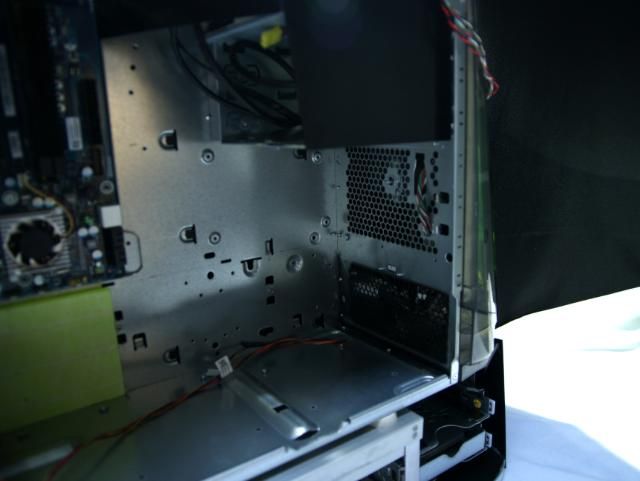
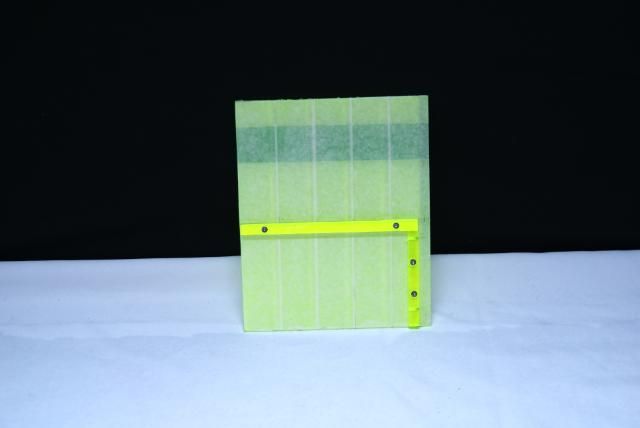
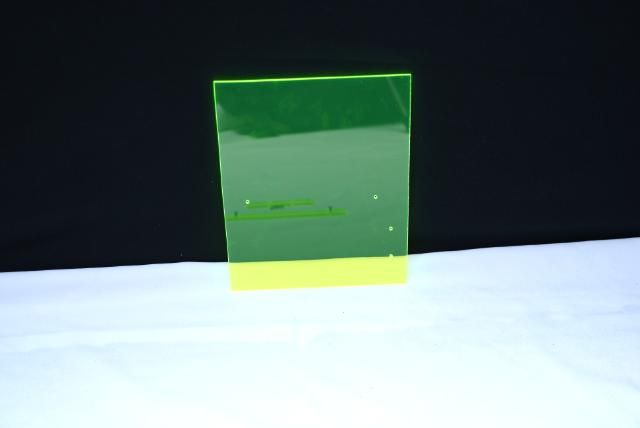
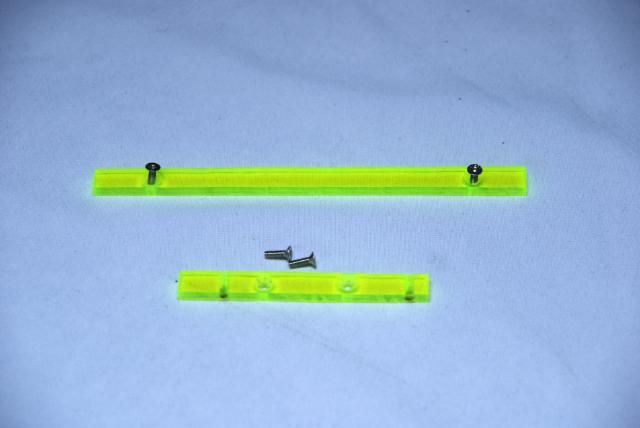
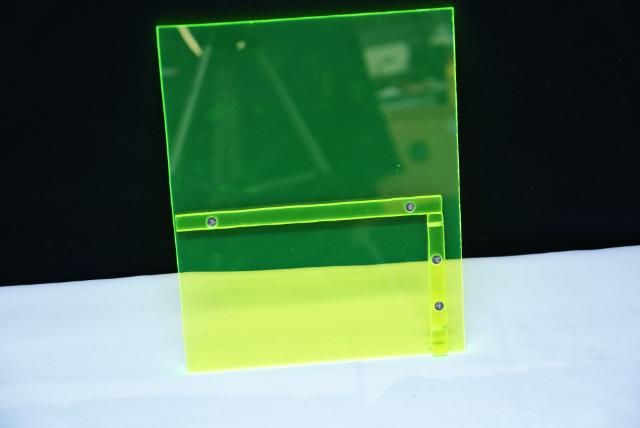
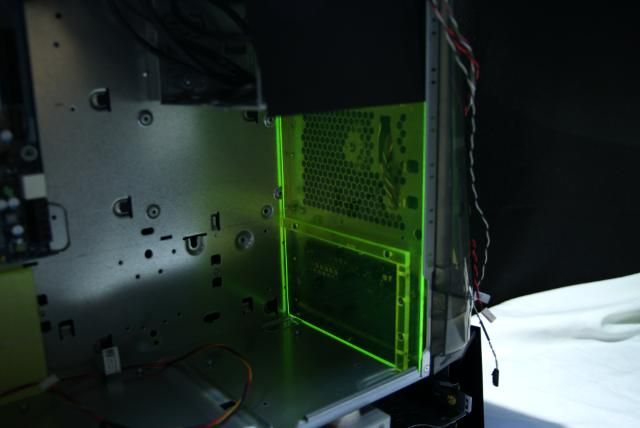
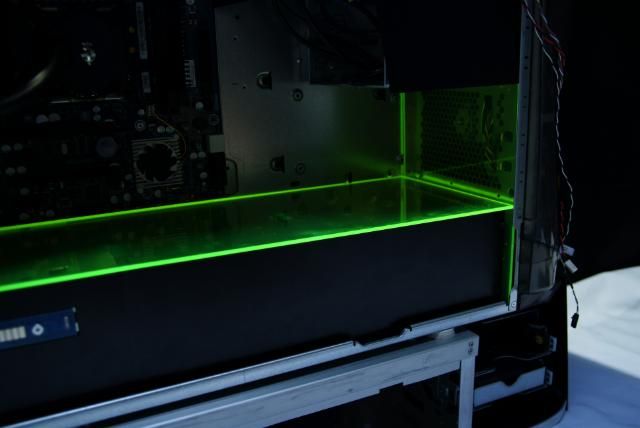
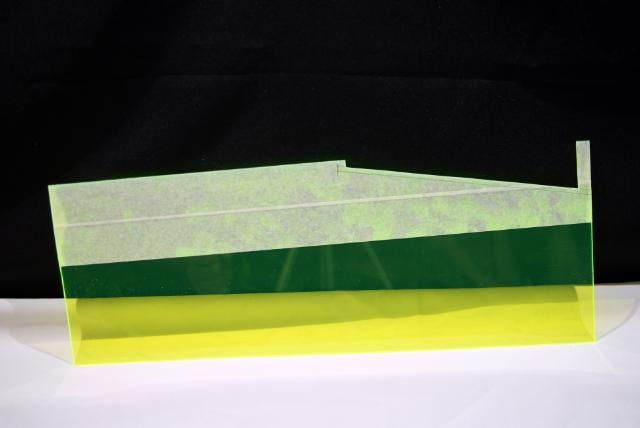
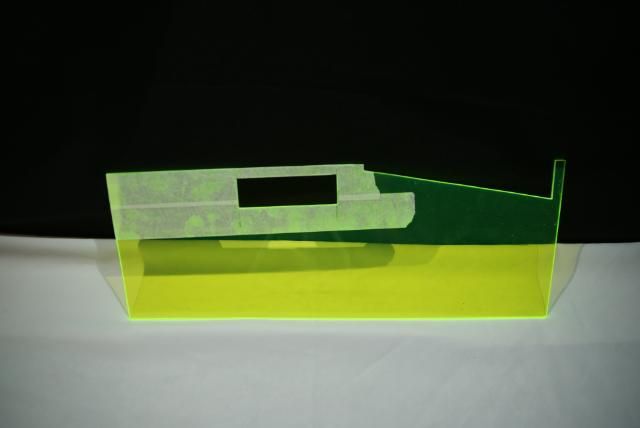
Next cut a piece of green acrylic to the right size with two small pieces for mounting the midplate and side cover

DSC09567.jpg


DSC09570.jpg


DSC09572.jpg


DSC09575.jpg


Which will be like this

DSC09592.jpg


The midplate. Later on there will be holes in it and a vinyl cover with the brand names which will be illuminated from below

DSC09579.jpg


DSC09583.jpg


DSC09594.jpg


DSC09597.jpg


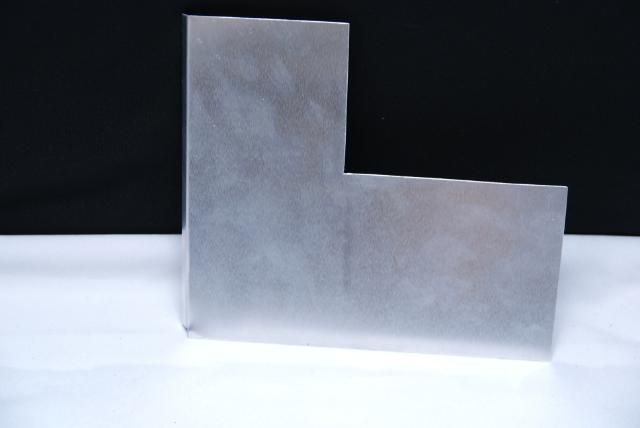
The side cover is also made ​​of aluminum with recess for the power for the side panel

DSC09576.jpg


DSC09598.jpg


DSC09599.jpg


DSC09600.jpg


DSC09504.jpg


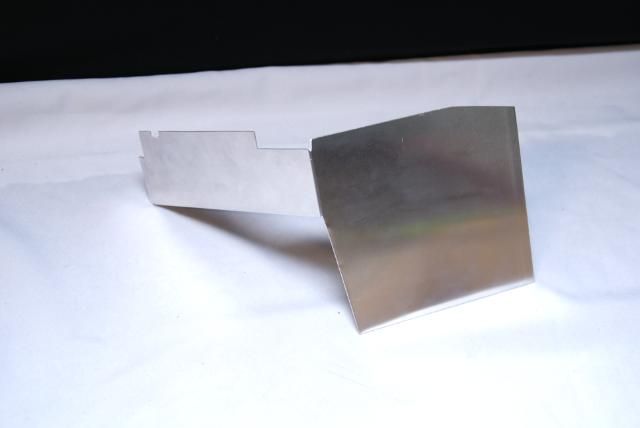
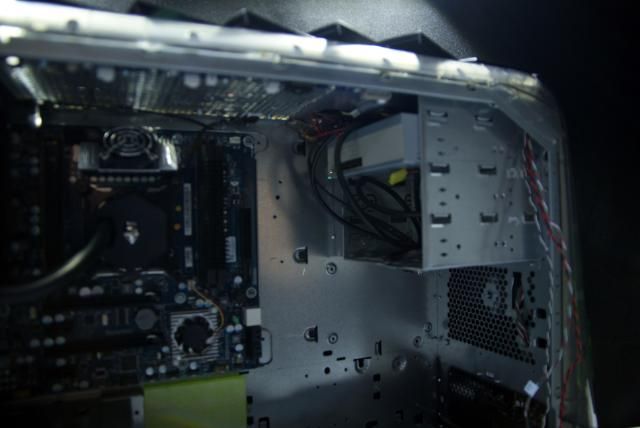
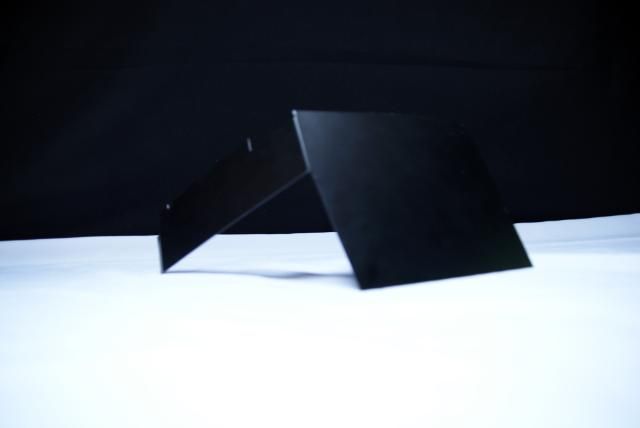
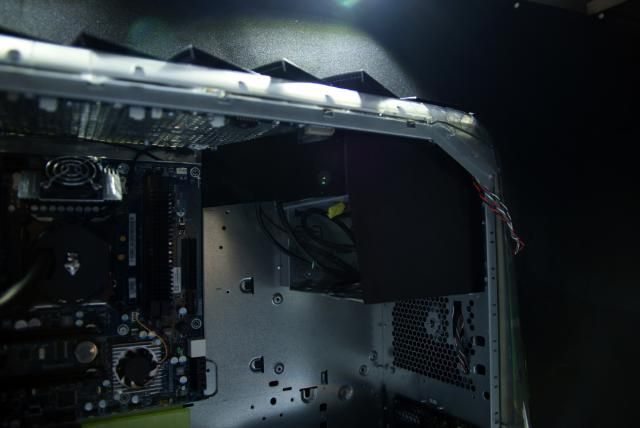
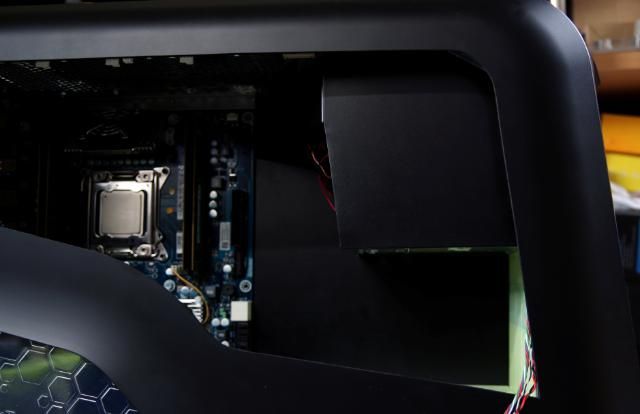
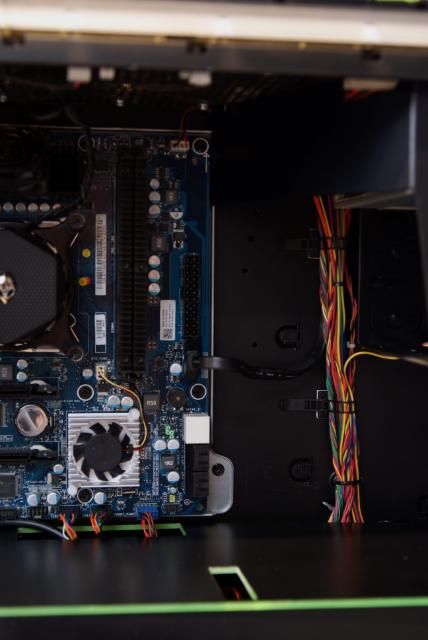
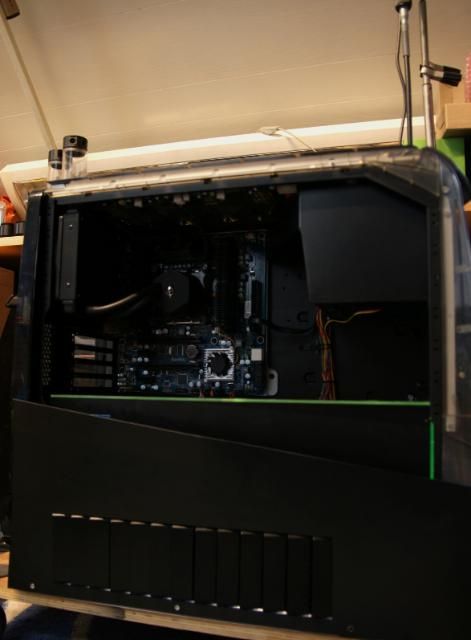
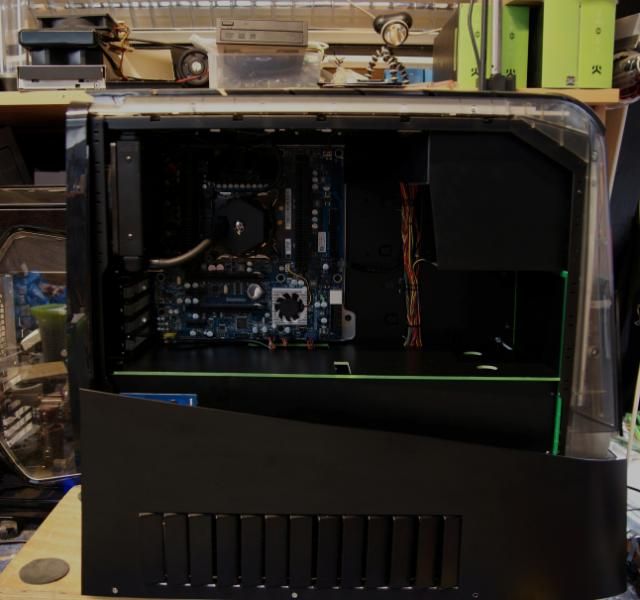
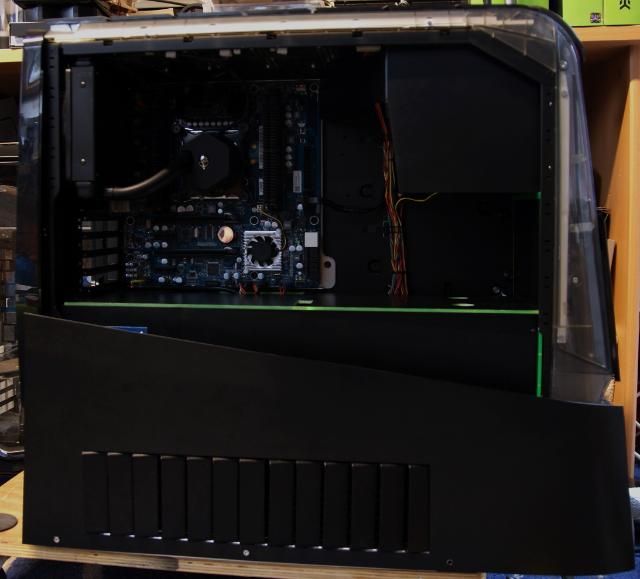
And last... made a cover next to the motherboard tray,which will hide all cables

DSC09476.jpg


DSC09584.jpg


DSC09609.jpg


DSC09485.jpg


DSC09512.jpg


DSC09604.jpg


DSC09607.jpg


Next week after the waterblocks are in, the case will go to the coater and turns completely black.
 
Last edited:


Update!!!

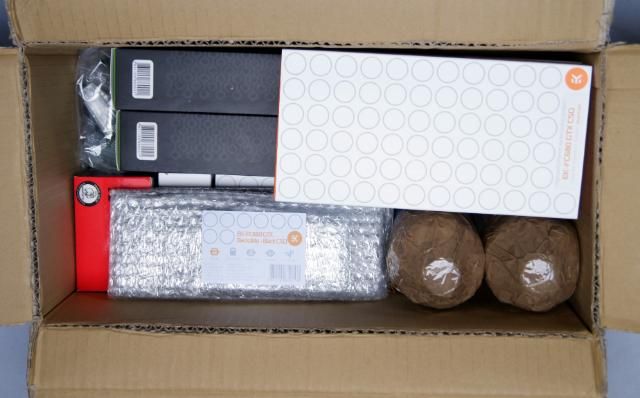
Received a beautiful package today. This time GLS did a good job ;)

DSC09691.jpg


Early christmas

DSC09693.jpg


EKWB your the best :)

DSC09700.jpg


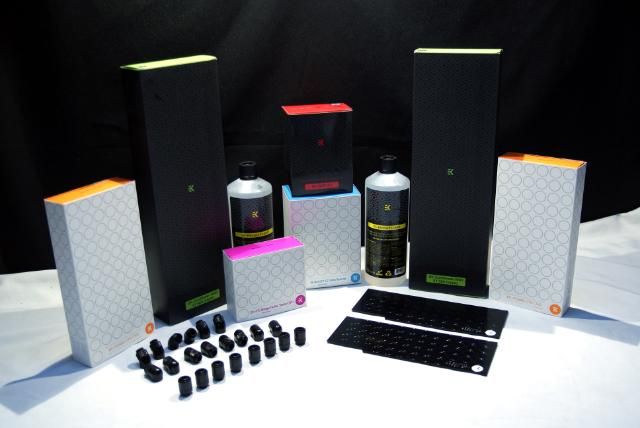
Unpacking can begin

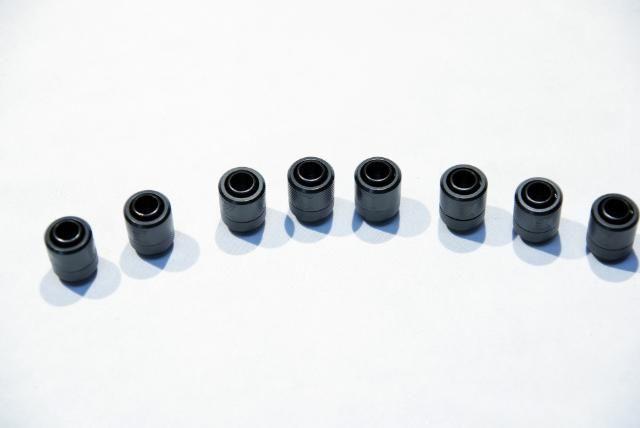
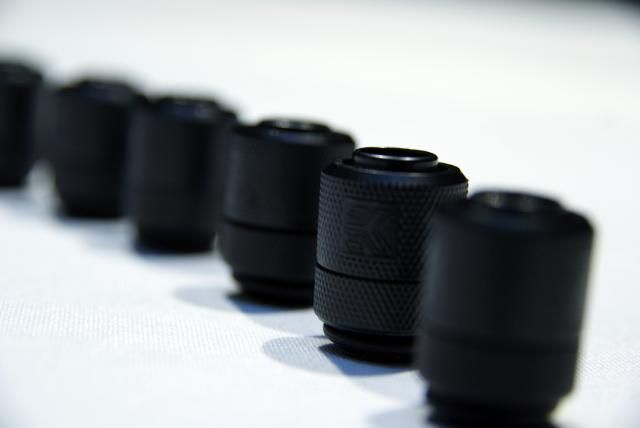
First some EK-PSC Fitting 10mm - G1/4 Black

DSC09708.jpg


DSC09710.jpg


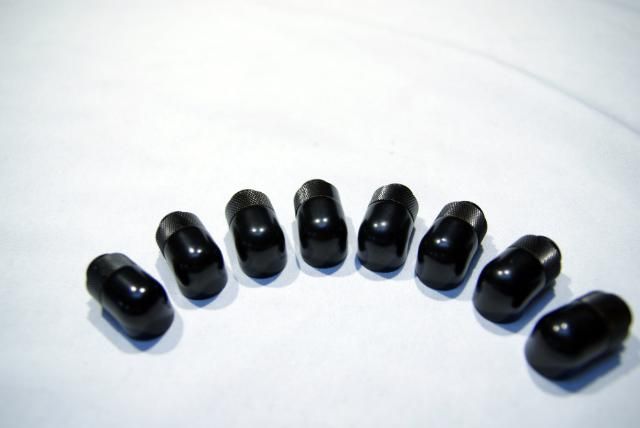
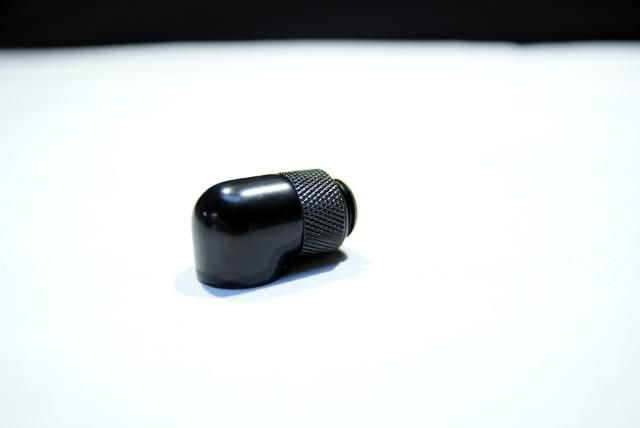
No build without EK-PSC Adapter 90° G1/4 Black

DSC09713.jpg


DSC09714.jpg


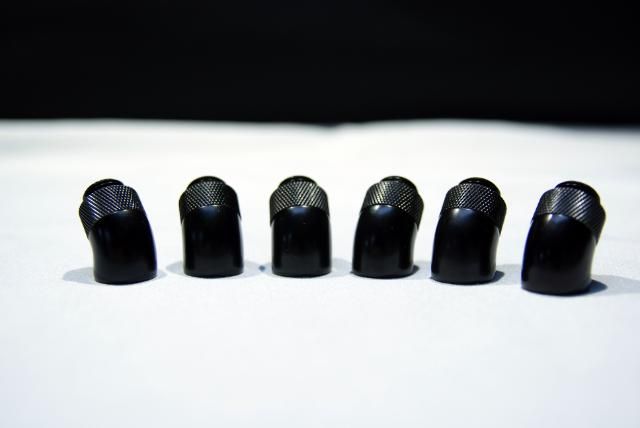
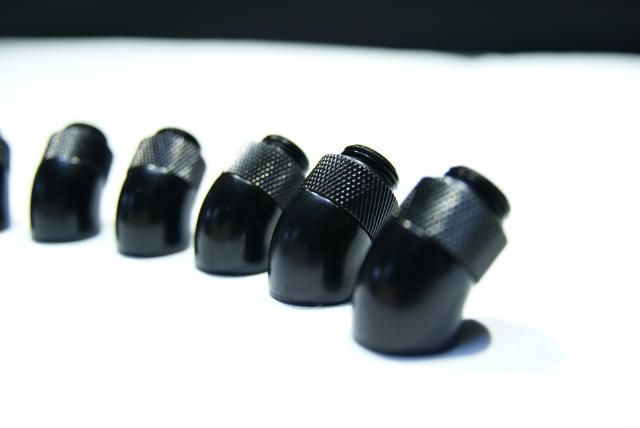
And offcourse the EK-PSC Adapter 45° G1/4 Black

DSC09718.jpg


DSC09720.jpg


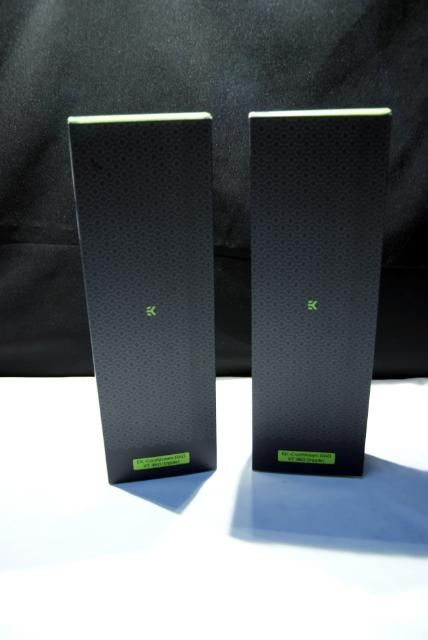
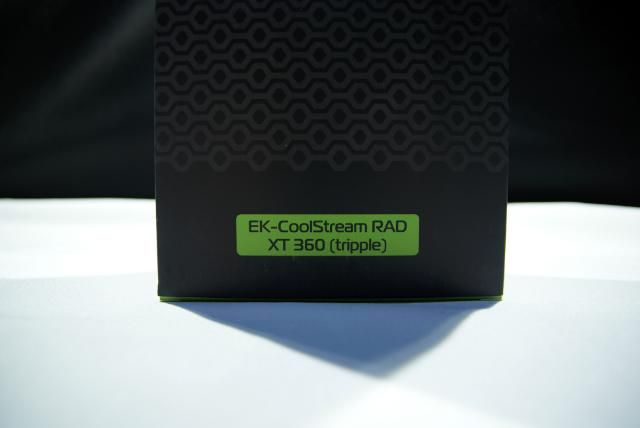
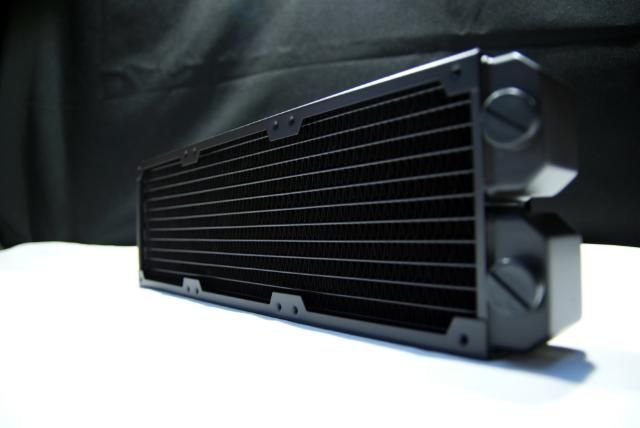
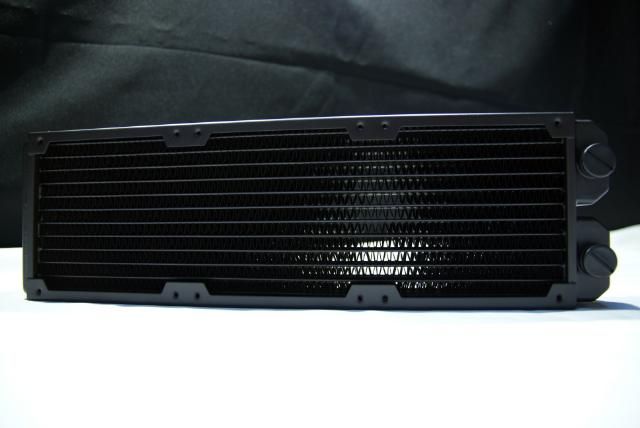
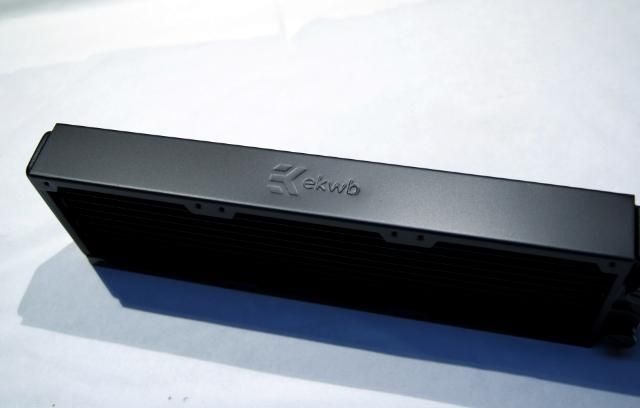
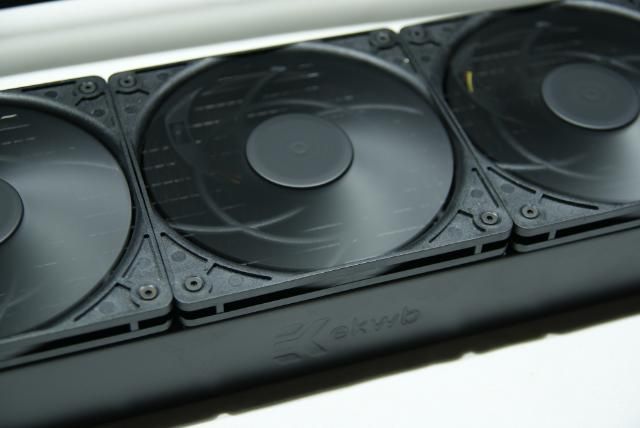
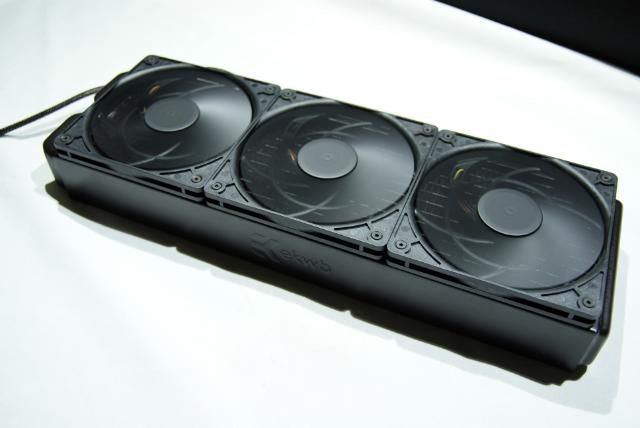
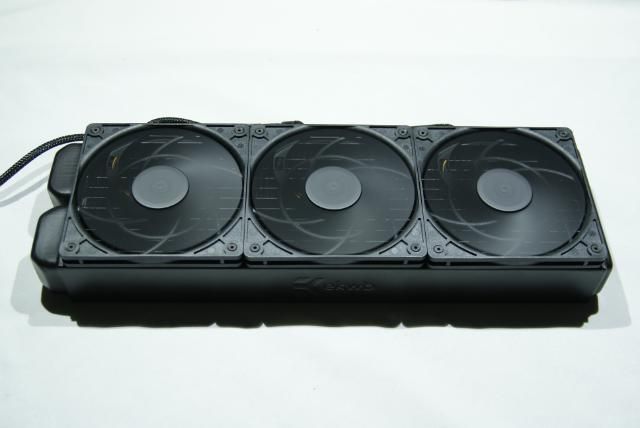
Two beautiful EK-CoolStream RAD XT (360)

DSC09790.jpg


DSC09791.jpg


DSC09737.jpg


DSC09739.jpg


DSC09735.jpg


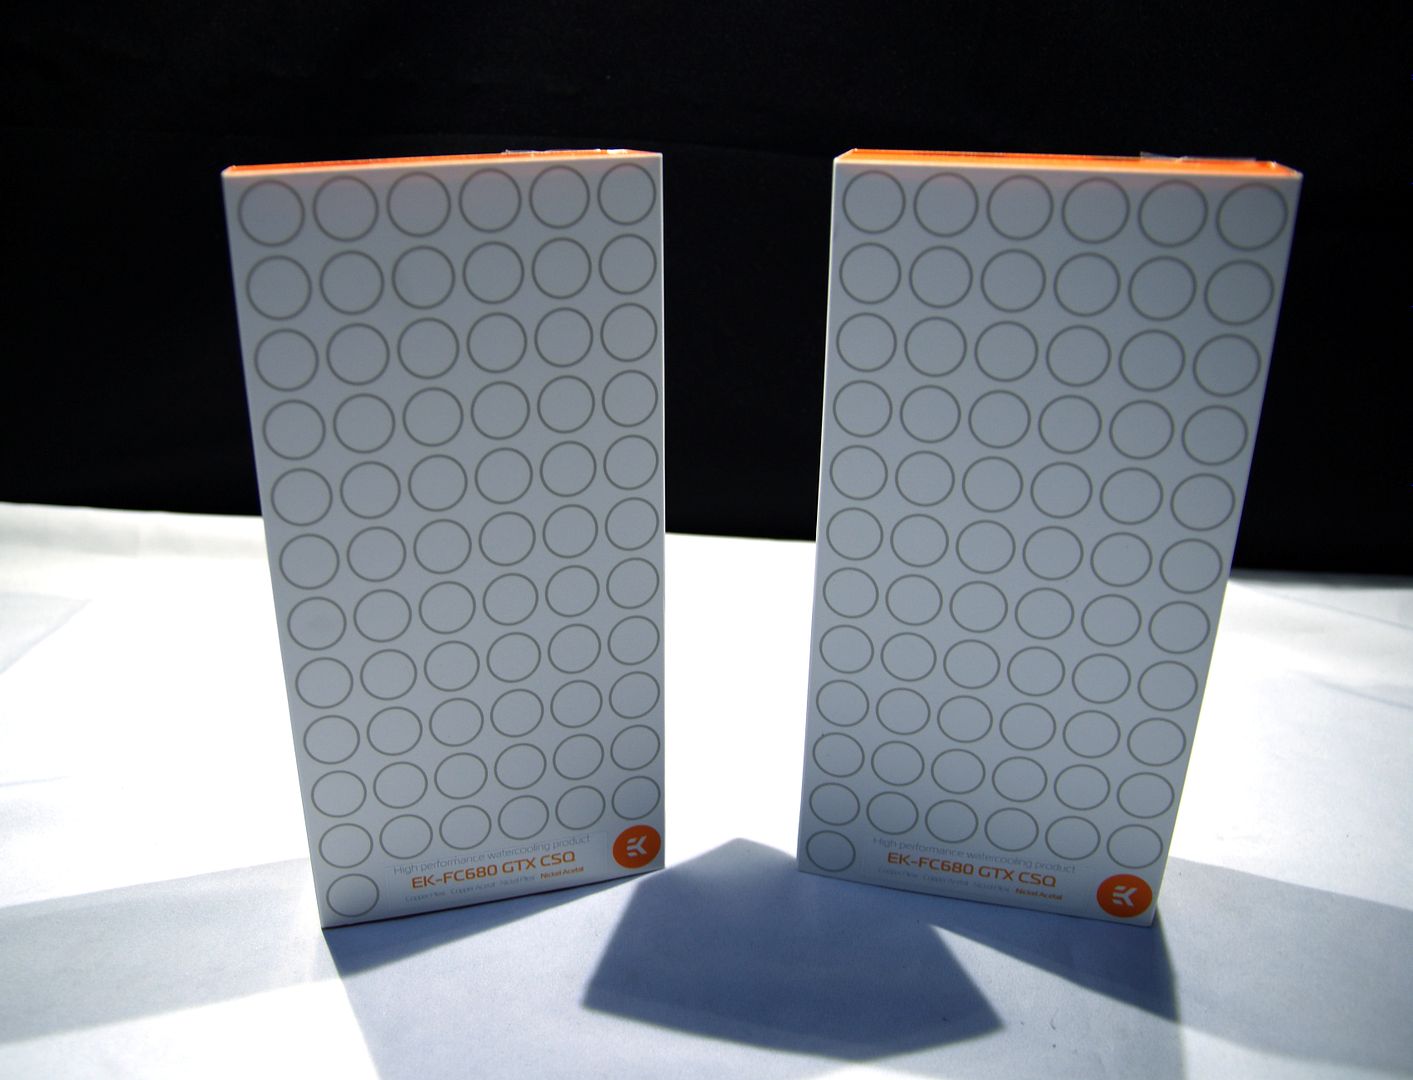
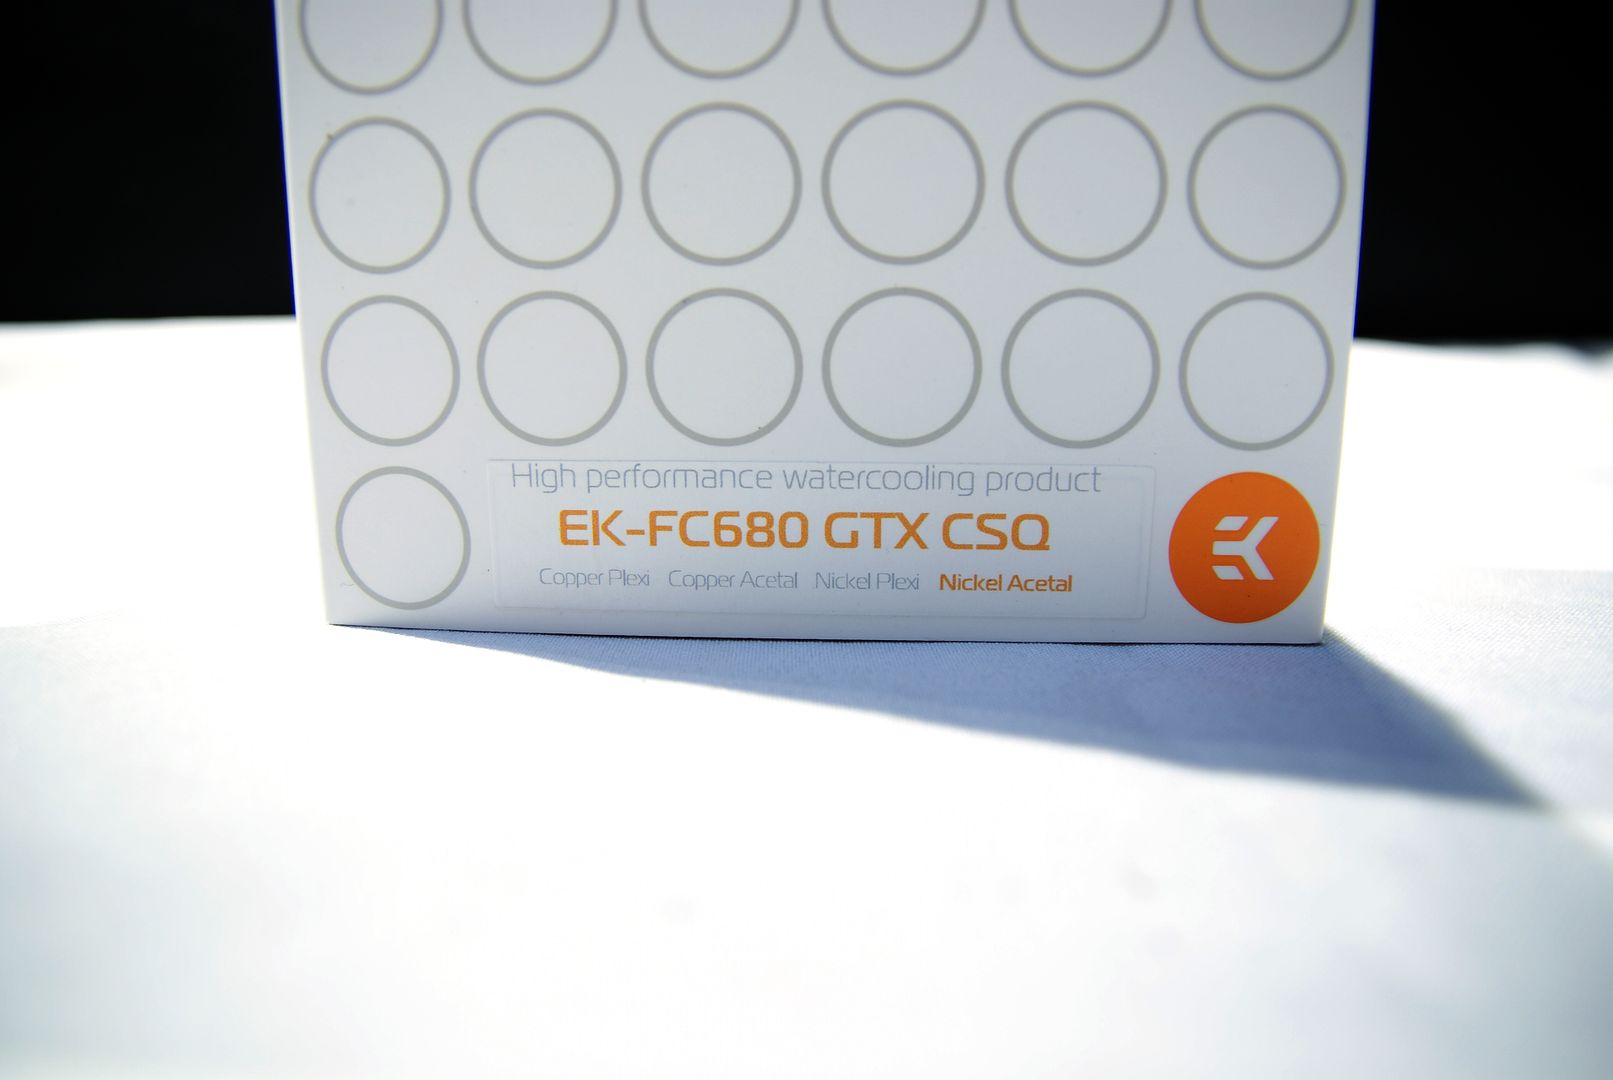
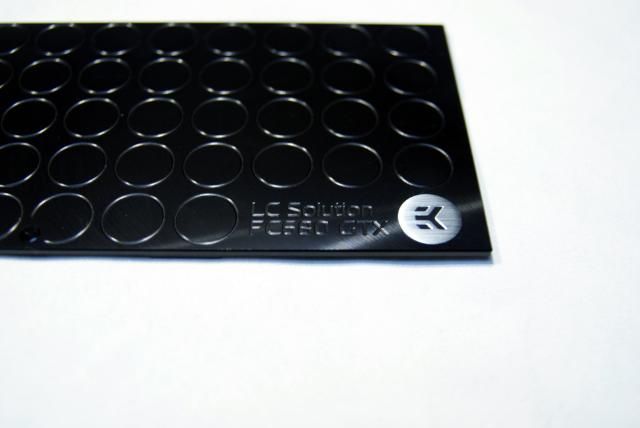
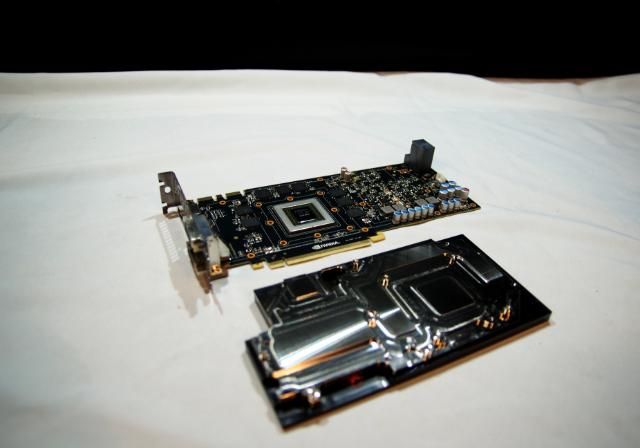
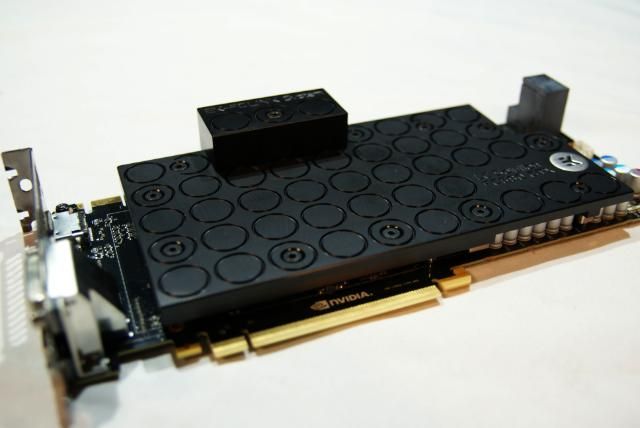
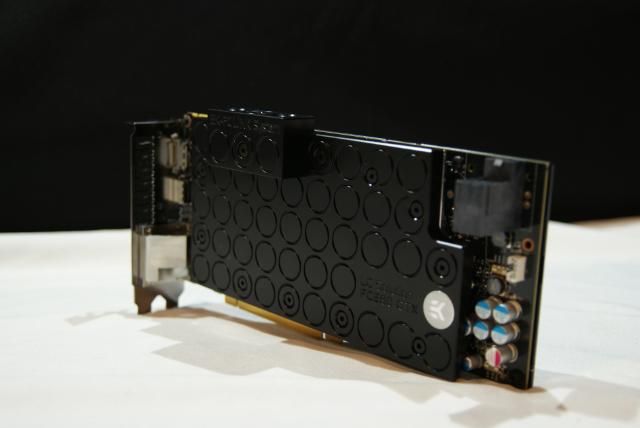
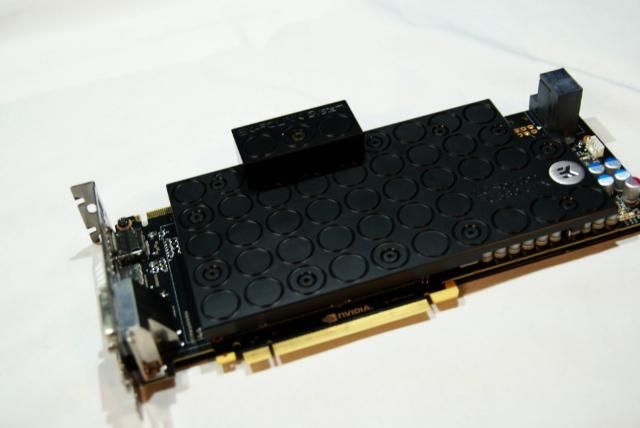
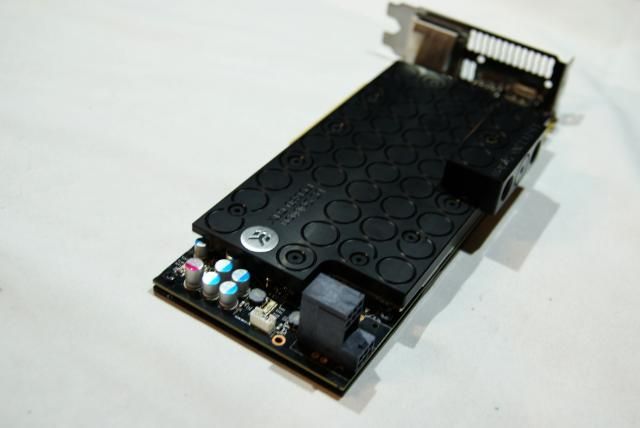
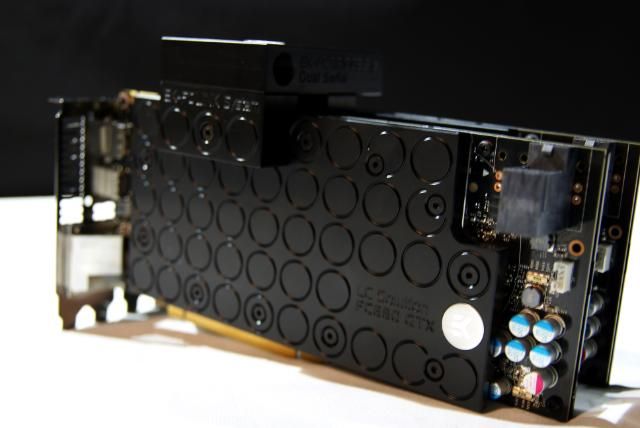
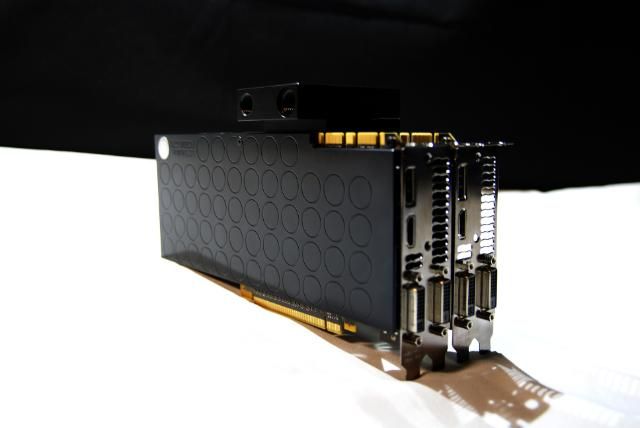
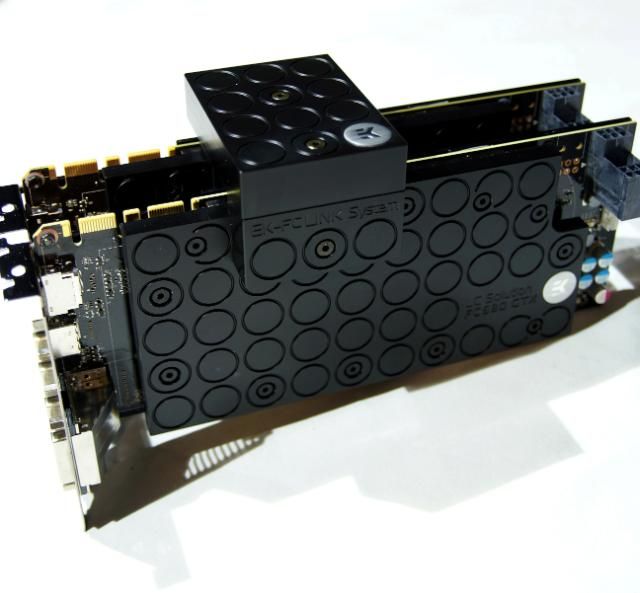
And for the great Nvidia GTX680 GPUs 2x EK-FC680 GTX - Acetal + Nickel CSQ

DSC09763-1.jpg


DSC09765-1.jpg


DSC09755.jpg


DSC09752.jpg


DSC09747.jpg


DSC09751.jpg


DSC09758.jpg


DSC09759.jpg


DSC09762.jpg


DSC09761.jpg


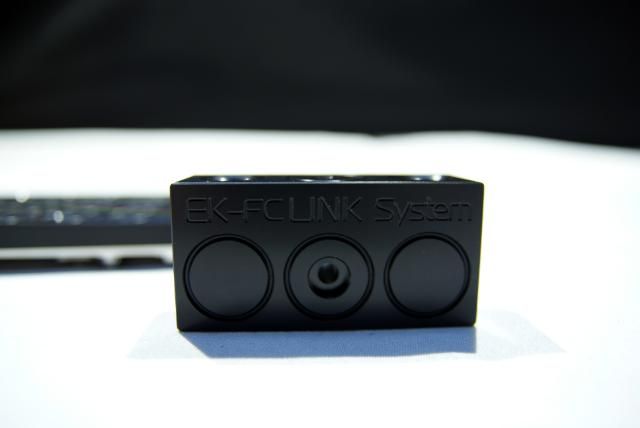
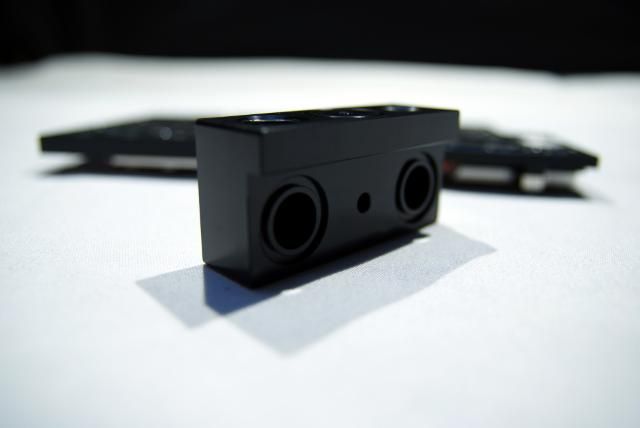
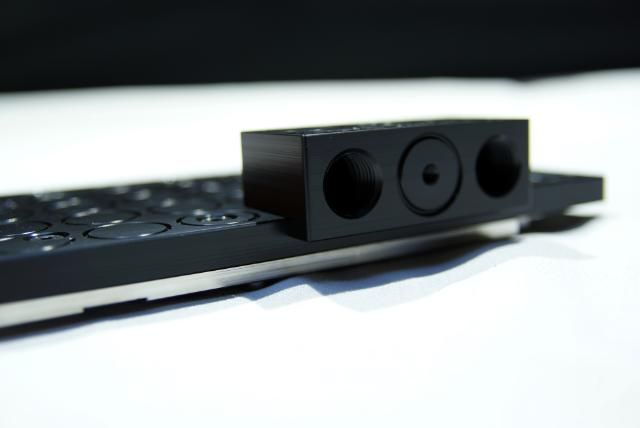
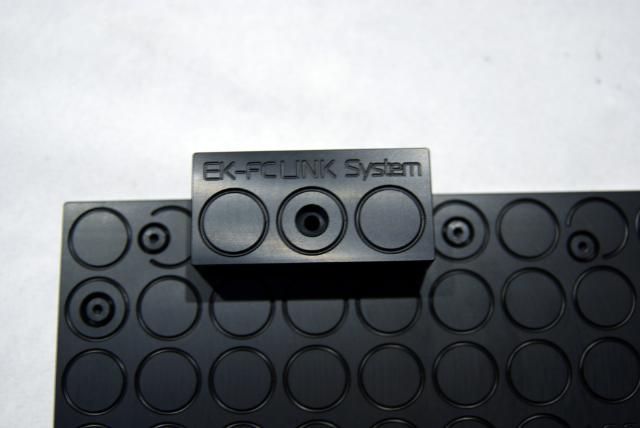
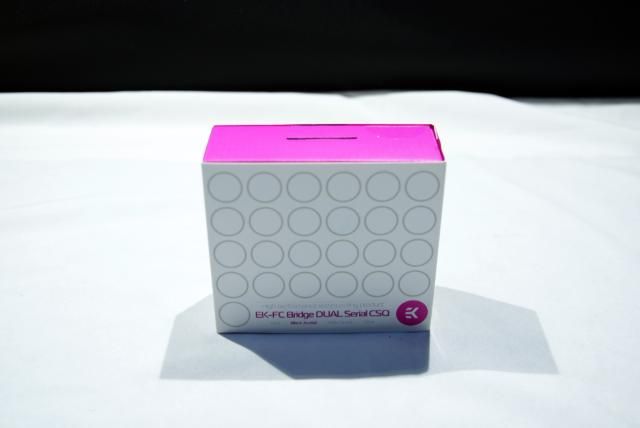
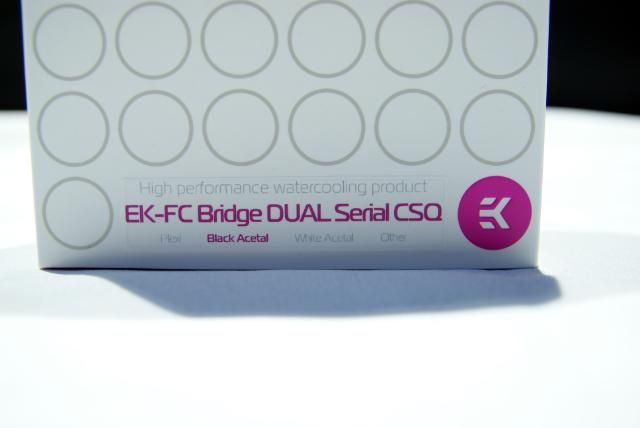
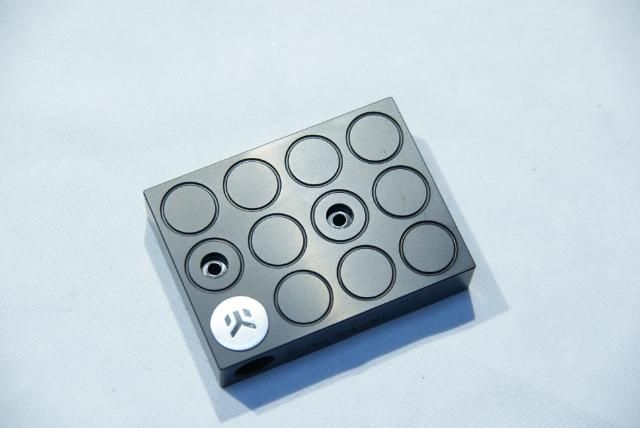
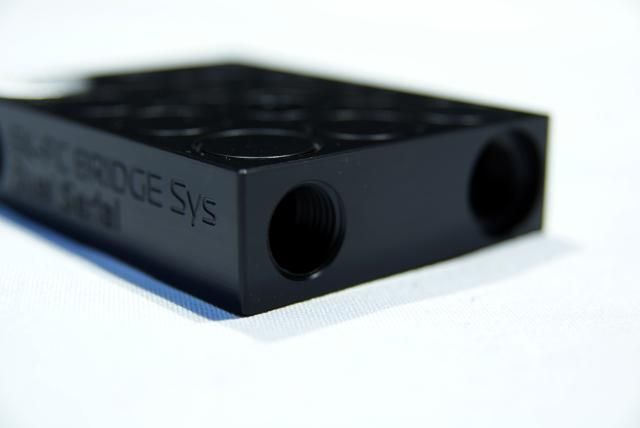
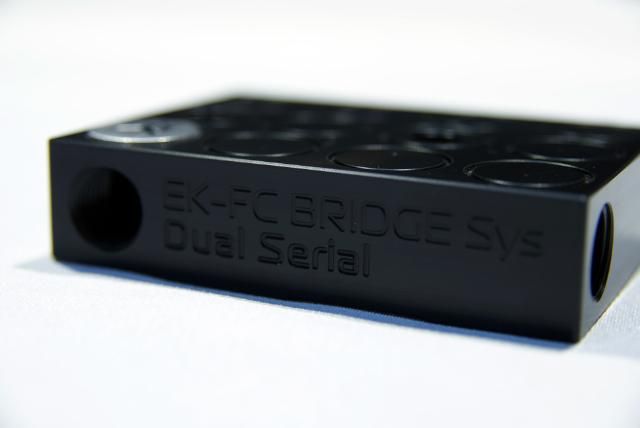
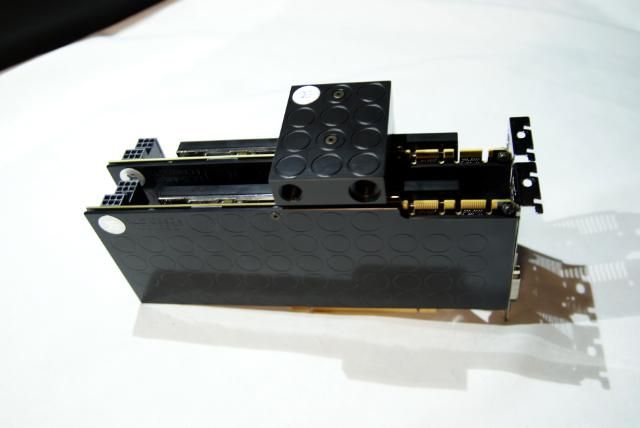
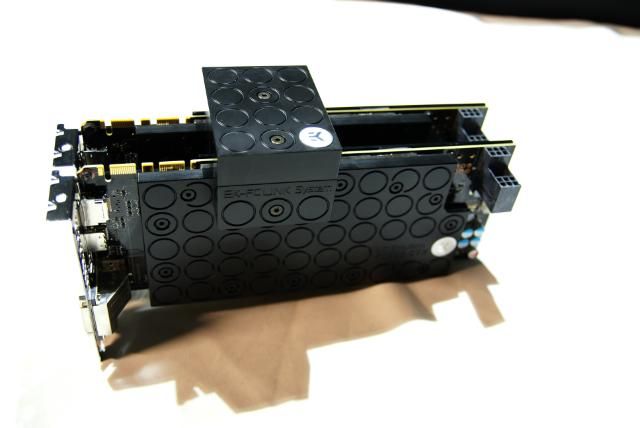
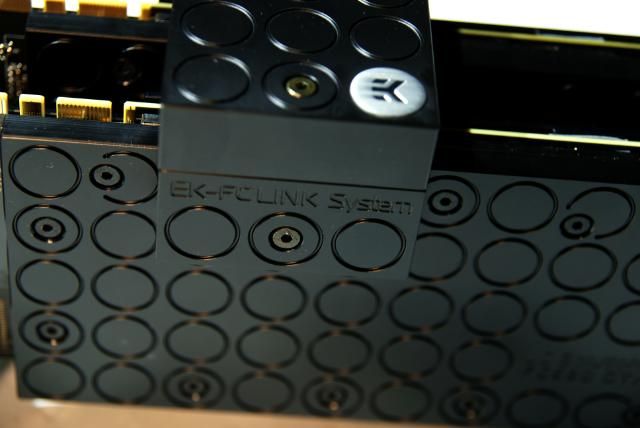
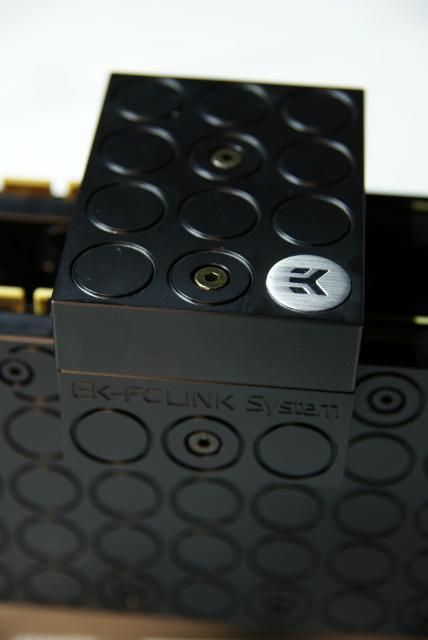
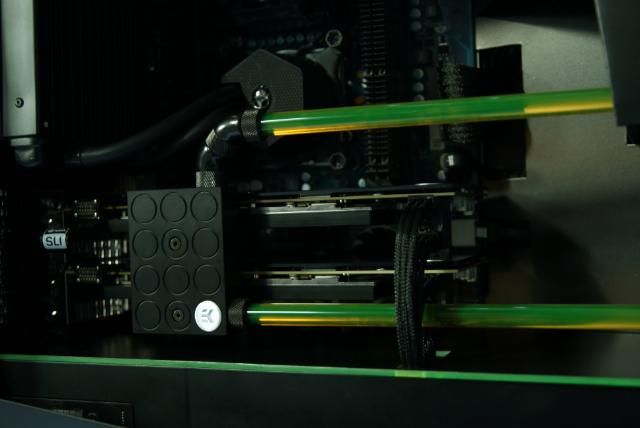
Linked with a EK-FC Bridge DUAL Serial CSQ

DSC09792.jpg


DSC09793.jpg


DSC09729.jpg


DSC09732.jpg


DSC09733.jpg


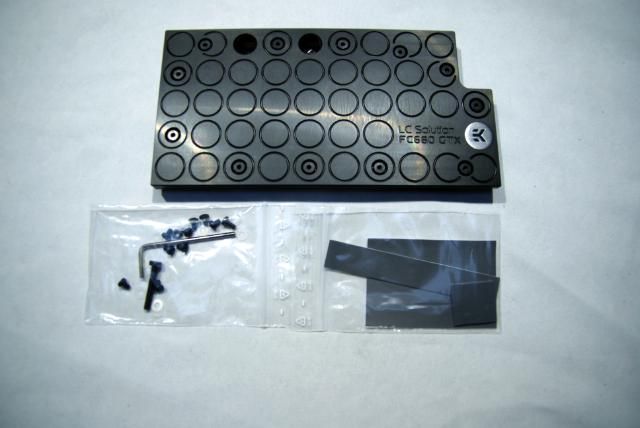
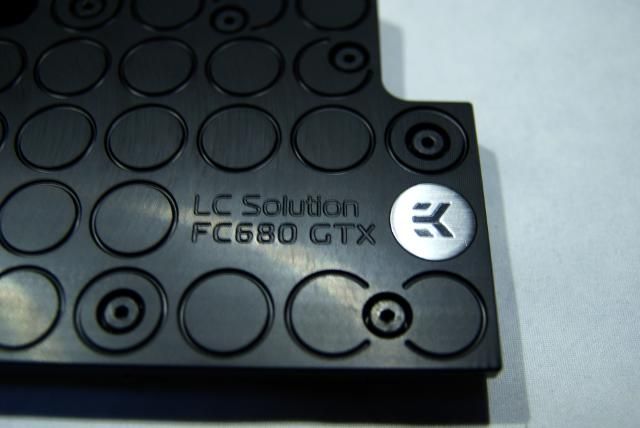
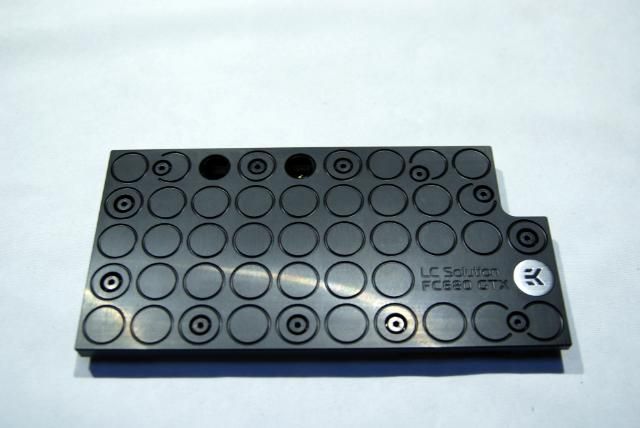
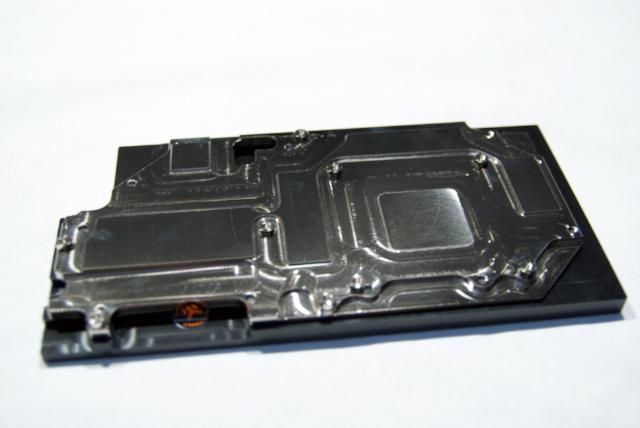
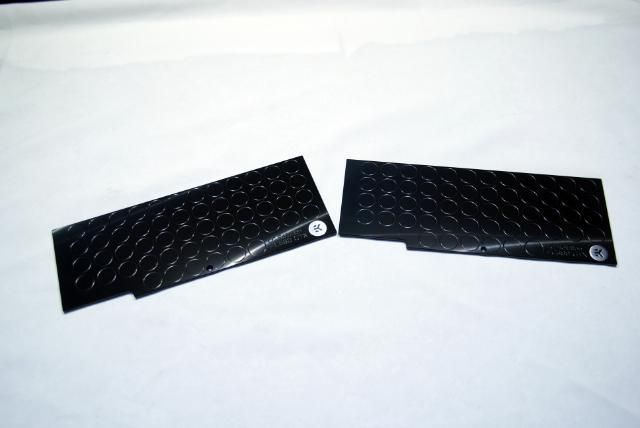
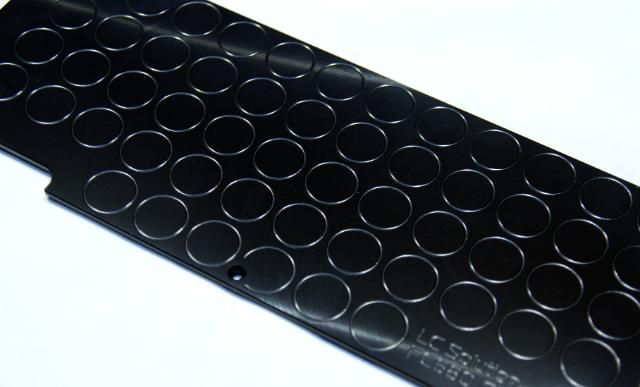
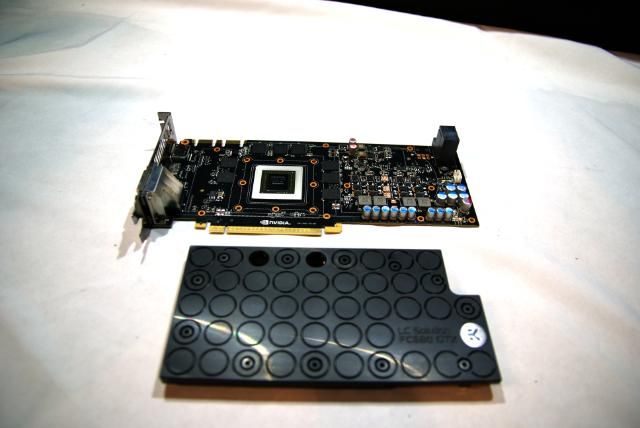
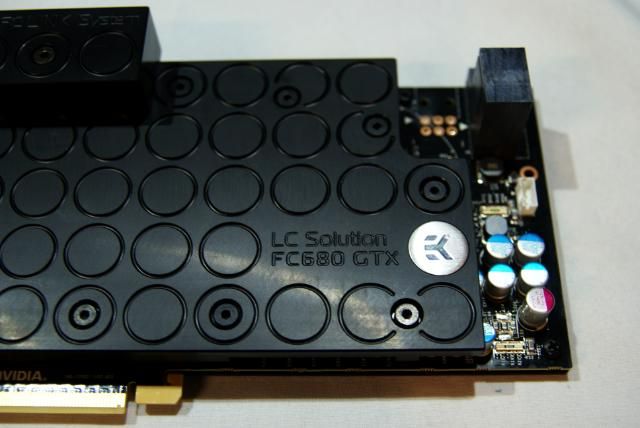
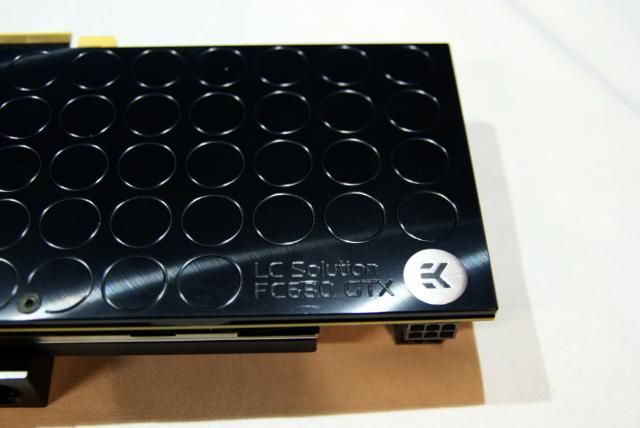
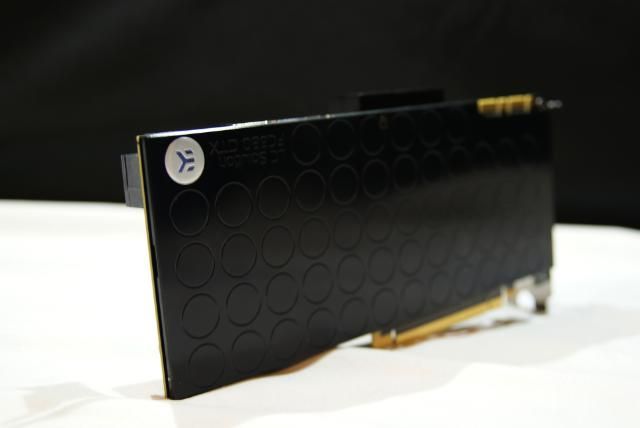
And don't forget the EK-FC680 GTX Backplate - Black CSQ (QClass2)

DSC09727.jpg


DSC09724.jpg


DSC09723.jpg


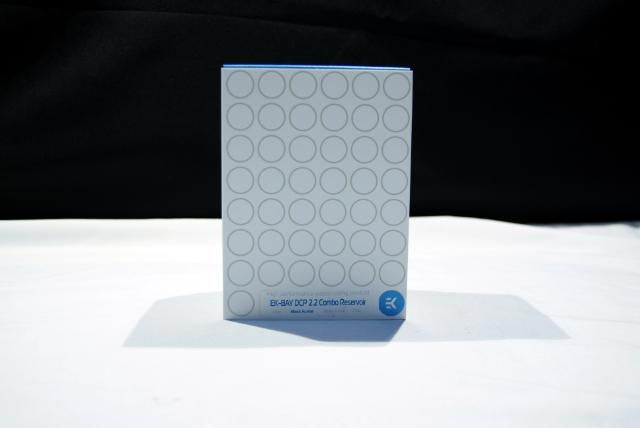
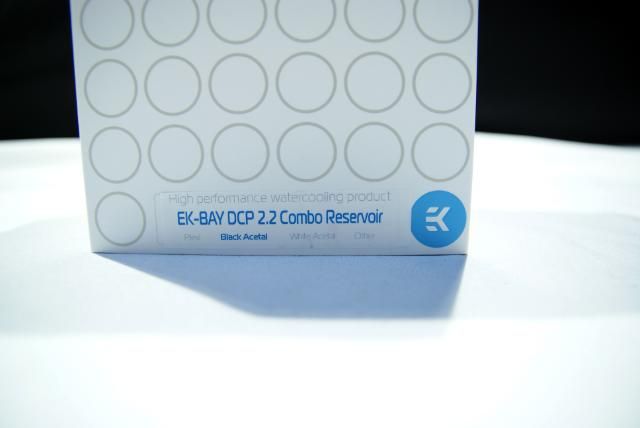
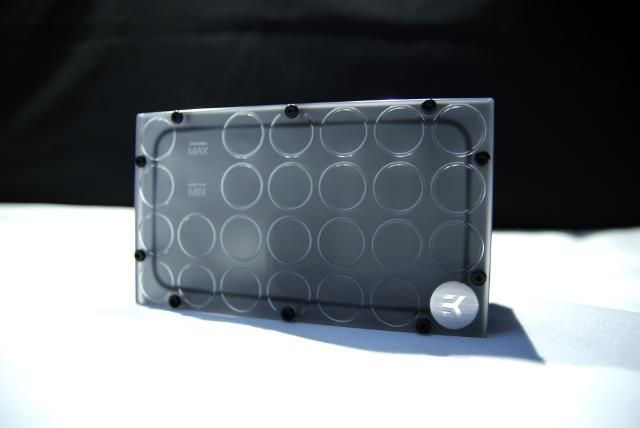
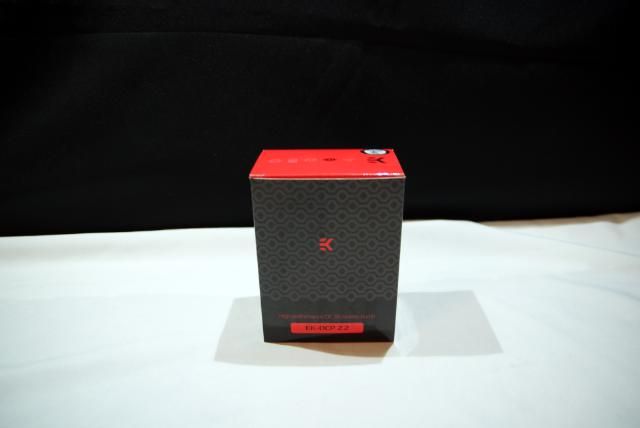
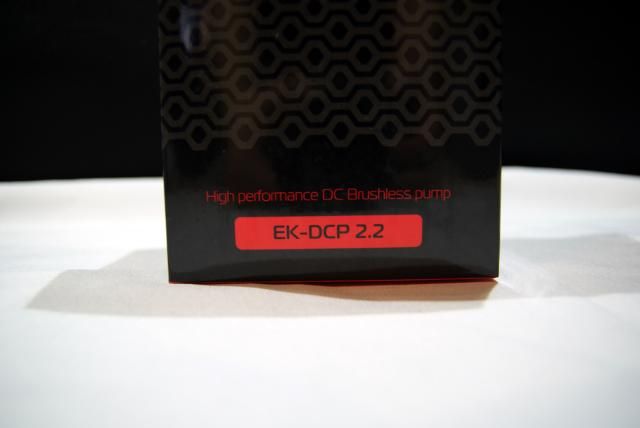
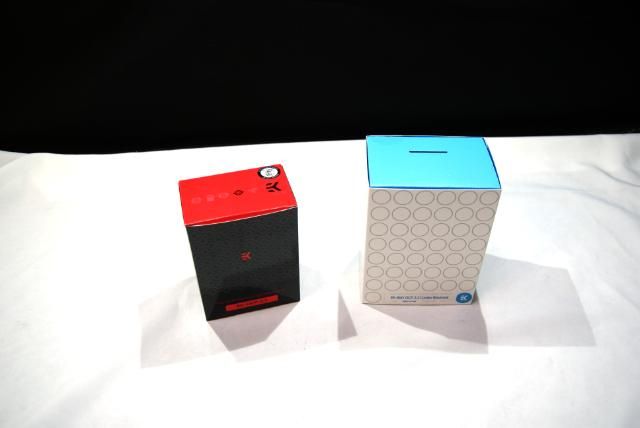
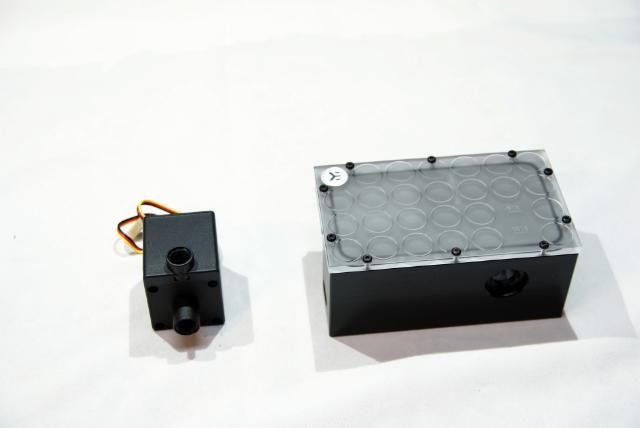
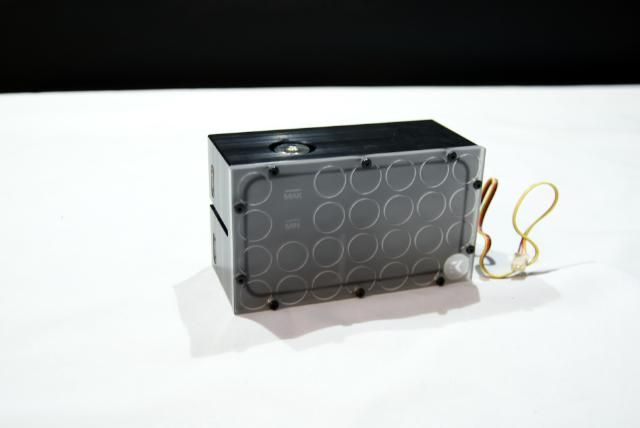
This time I will use the new EK-BAY DCP 2.2 Combo Reservoir - Acetal

DSC09772.jpg


DSC09774.jpg


DSC09776.jpg


DSC09781.jpg


DSC09785.jpg


DSC09782.jpg


DSC09786.jpg


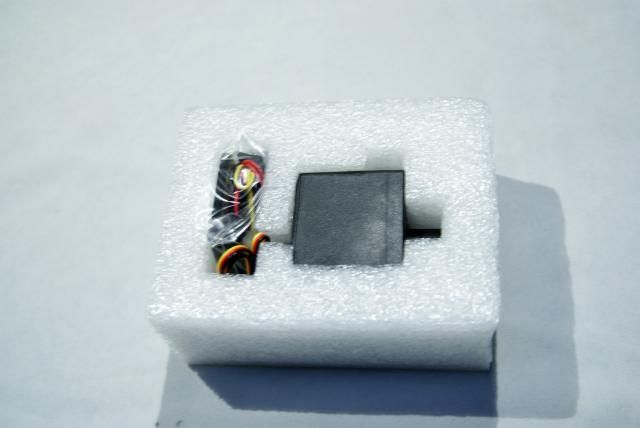
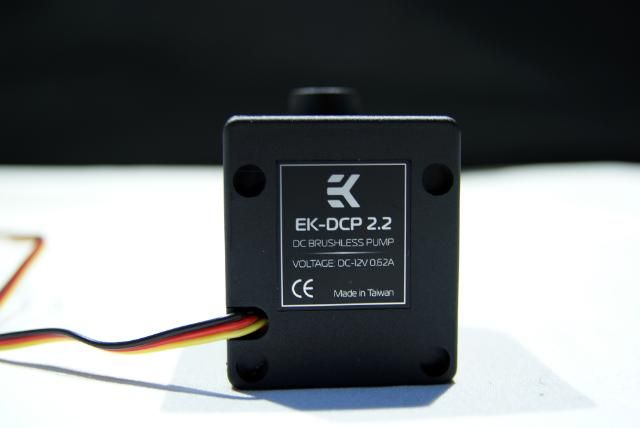
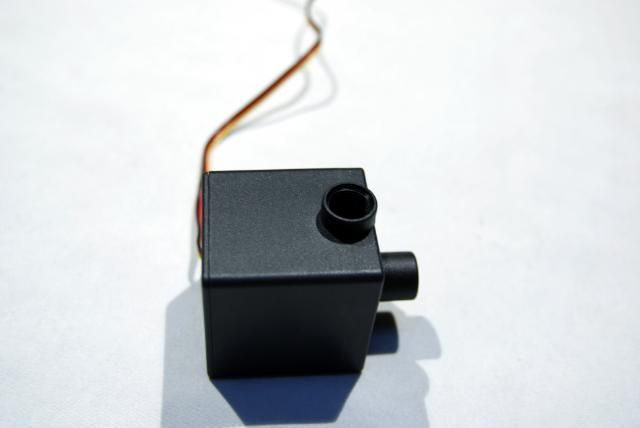
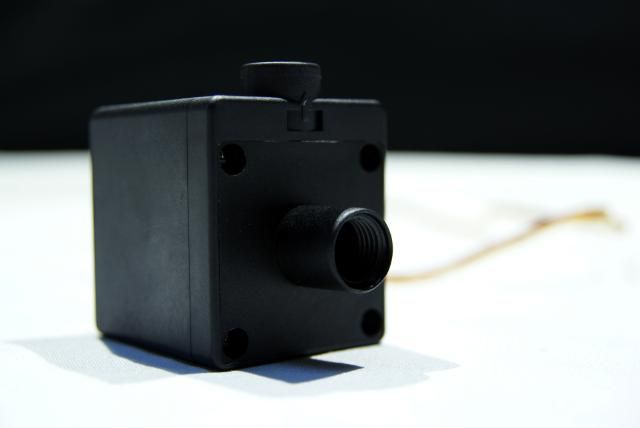
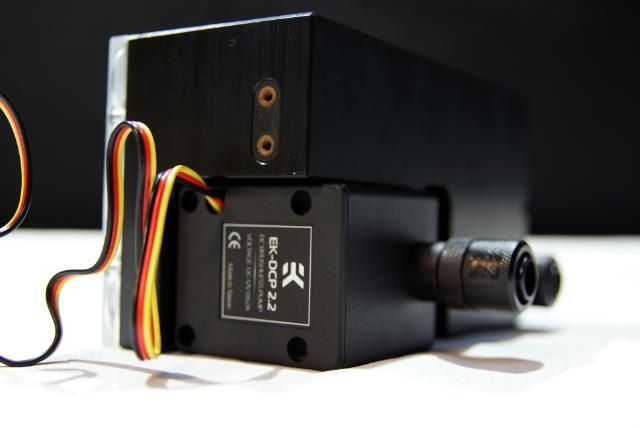
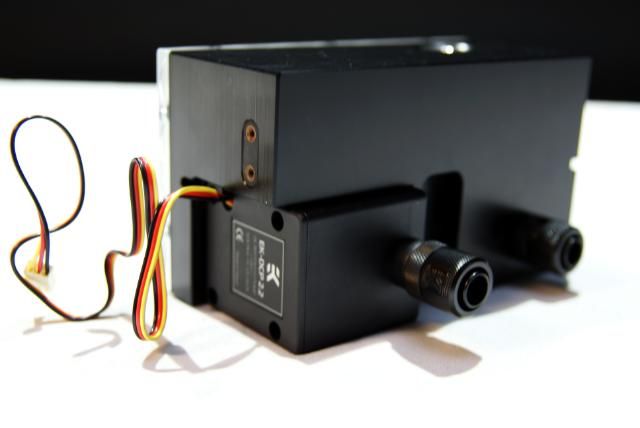
With this the EK-DCP 2.2 (12V DC Pump)

DSC09794.jpg


DSC09795.jpg


DSC09740.jpg


DSC09741.jpg


DSC09743.jpg


DSC09744.jpg


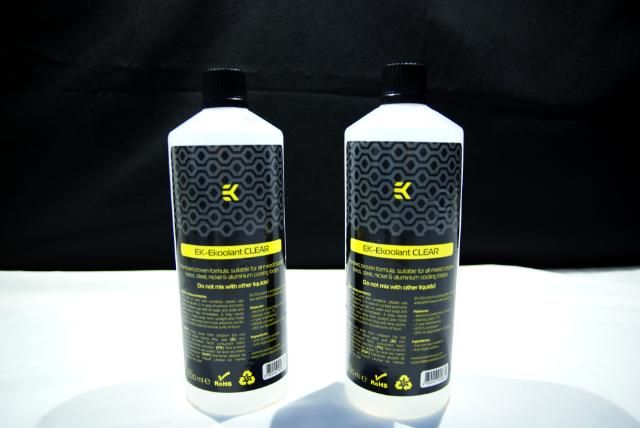
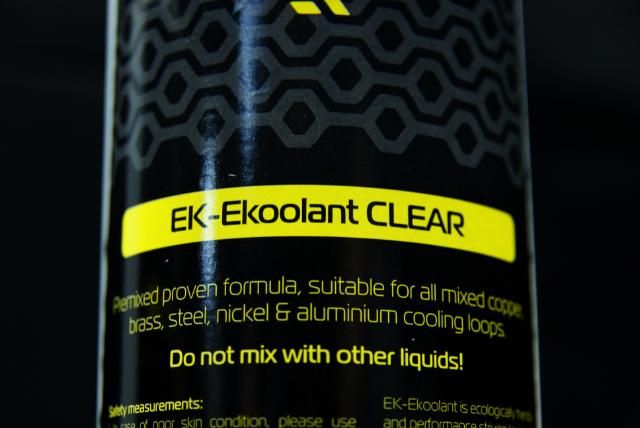
Filled with EK-Ekoolant CLEAR (premix 1000mL)

DSC09767.jpg


DSC09770.jpg


Thanks Gregor and everyone from EKWB who made ​​this possible.

Don't forget to look at the great new site from EKWB CooledPC and show your system to win great prizes
 
Last edited:
Alienware Aurora ALX-XL is sponsored by:


Update!!!

To start with I have placed the EK bayres to see how it looks

DSC09696.jpg


DSC09695.jpg


DSC09698.jpg


Installing the pump onto the bayres

DSC09920.jpg


DSC09921.jpg


Small tutorial about this

Installing pump/ Bayres tutorial

DSC09922.jpg


DSC09925.jpg


DSC09926.jpg


Time for the Nvidia GTX680


DSC09797.jpg


DSC09798.jpg


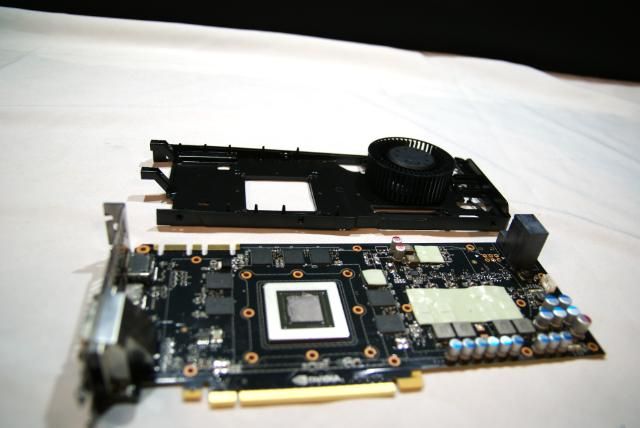
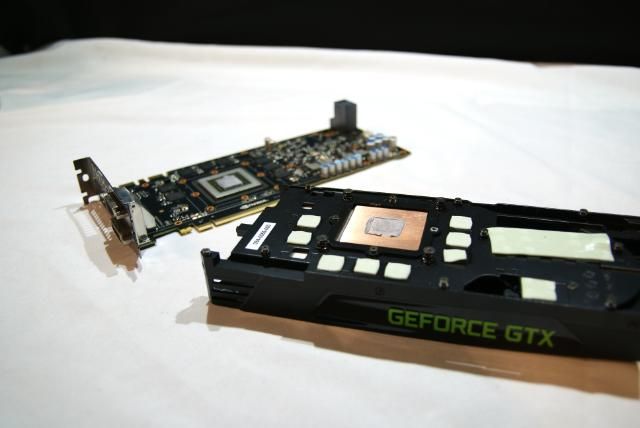
Also made a tut for placing the EK-FC680 onto the Nvidia GTX680

GPU/ Waterblock tutorial

Don't wanna see the vid!!! Thank god we still have pictures ;)

Removed the plastic

DSC09799.jpg


DSC09800.jpg


DSC09801.jpg


DSC09802.jpg


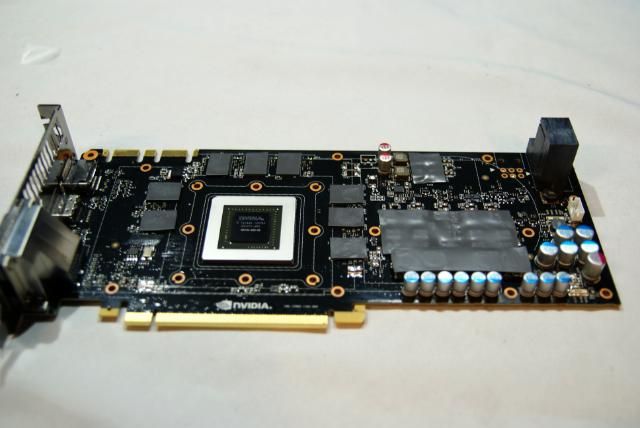
Also removed the block

DSC09803.jpg


DSC09804.jpg


Dismantled the bracket

DSC09805.jpg


DSC09809.jpg


The EK block

DSC09812.jpg


DSC09815.jpg


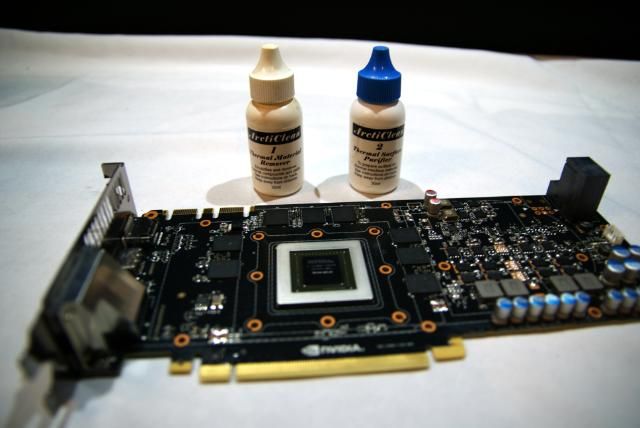
First cleaning up the GPU

DSC09816.jpg


Placed pads and compound

DSC09819.jpg


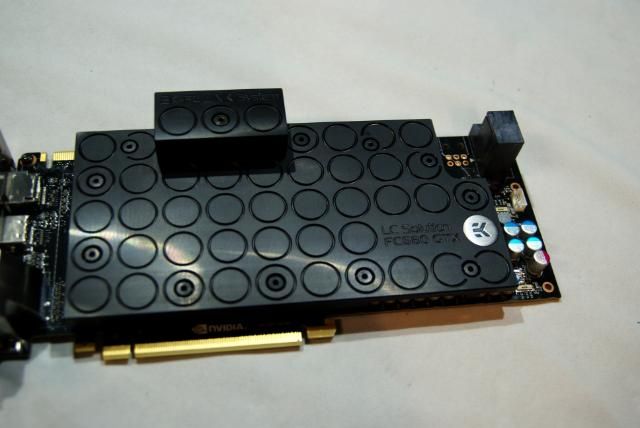
Mounted the EK block

DSC09820.jpg


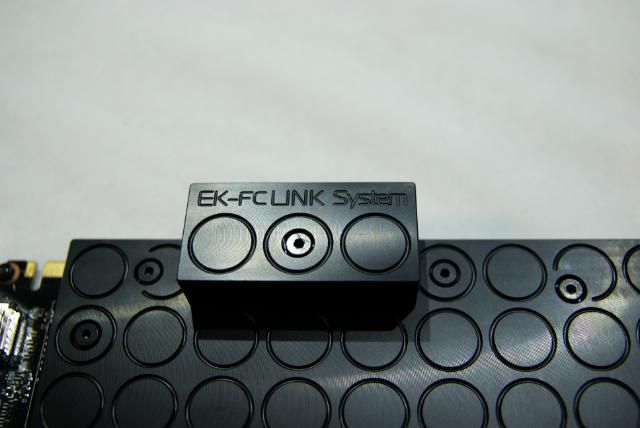
Also installed the EK-FC link

DSC09822.jpg


DSC09824.jpg


DSC09828.jpg


DSC09831.jpg


DSC09832.jpg


DSC09834.jpg


And backplate

DSC09836.jpg


DSC09830.jpg


Second GPU finished

DSC09850.jpg


DSC09853.jpg


DSC09840.jpg


DSC09842.jpg


DSC09844.jpg


DSC09845.jpg


DSC09853.jpg


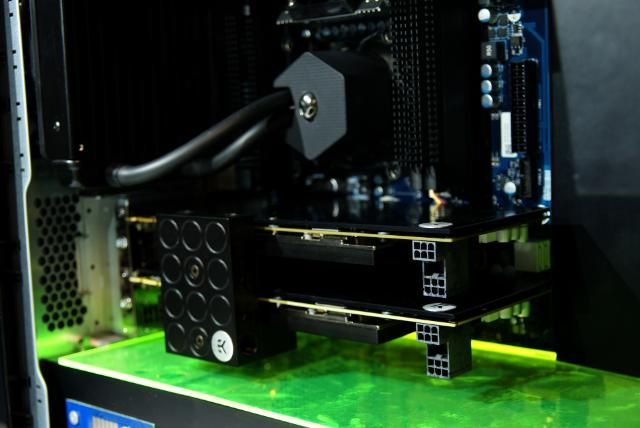
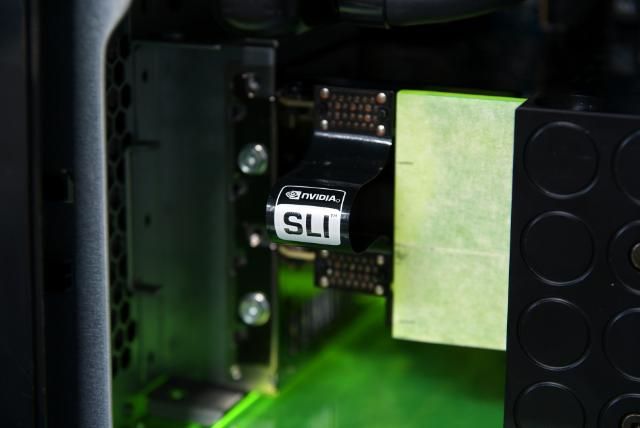
Connected all together with the EK-FC Bridge Dual Serial

DSC09855.jpg


DSC09856.jpg


DSC09860.jpg


And offcourse....placed it right away

DSC09863.jpg


DSC09871.jpg


DSC09873.jpg


DSC09862.jpg


DSC09874.jpg


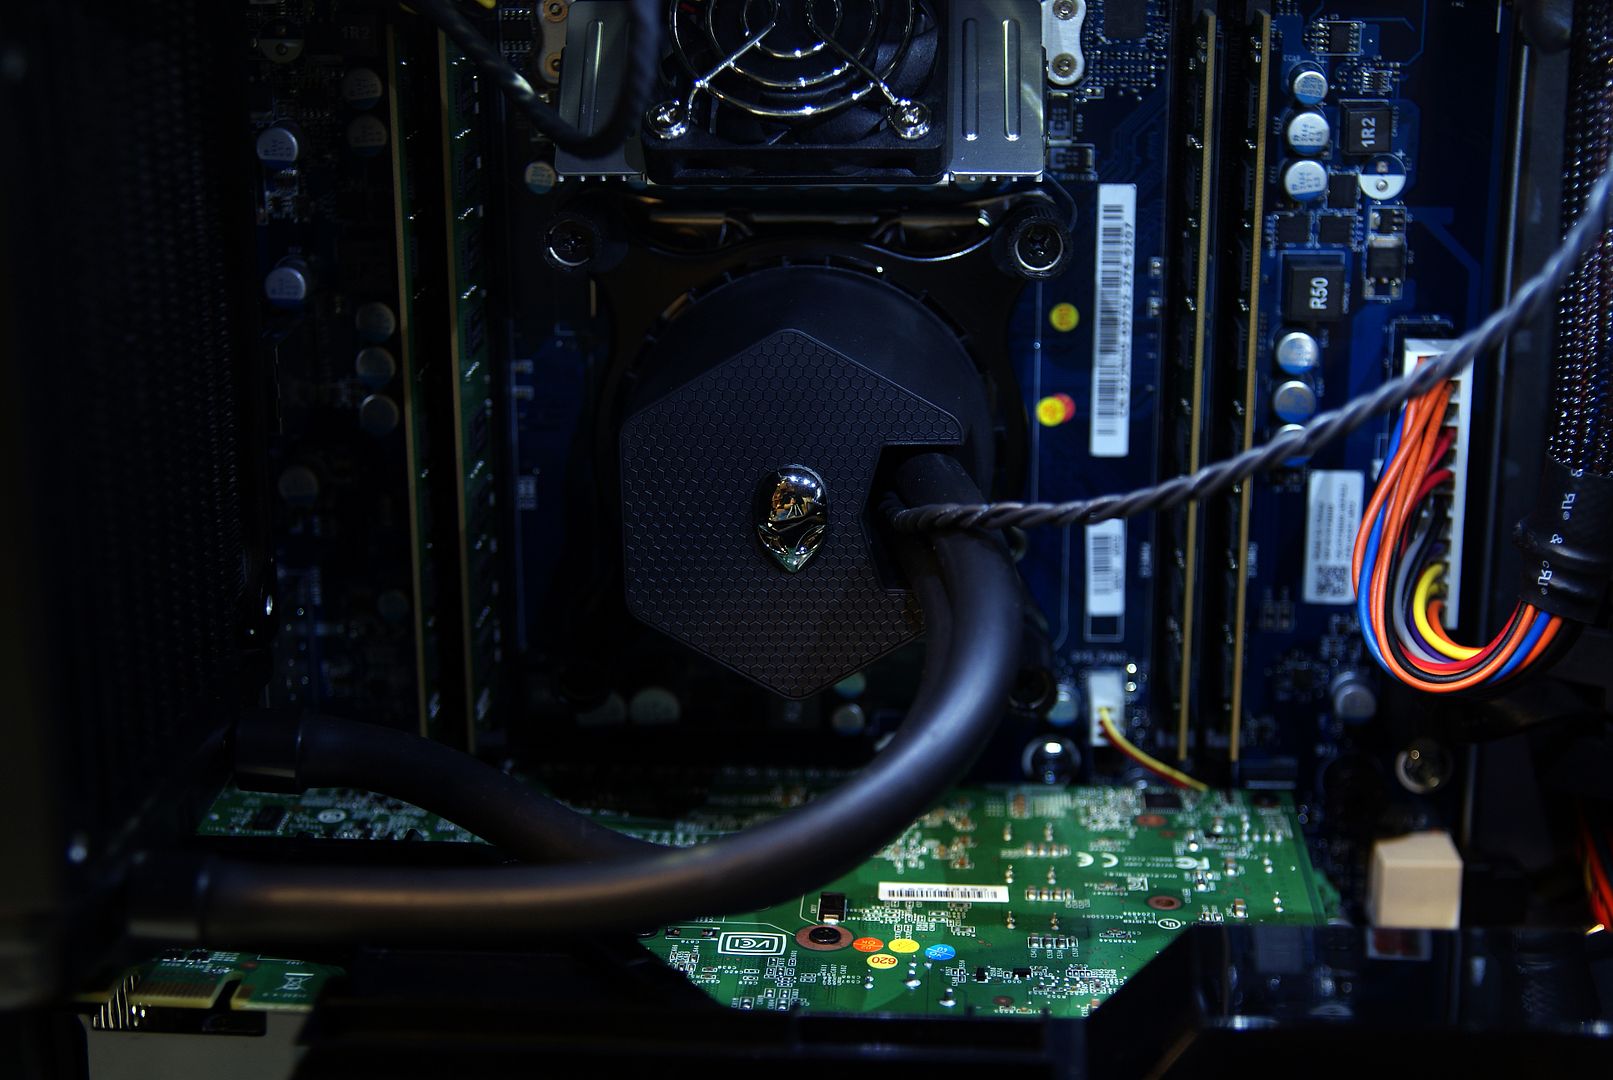
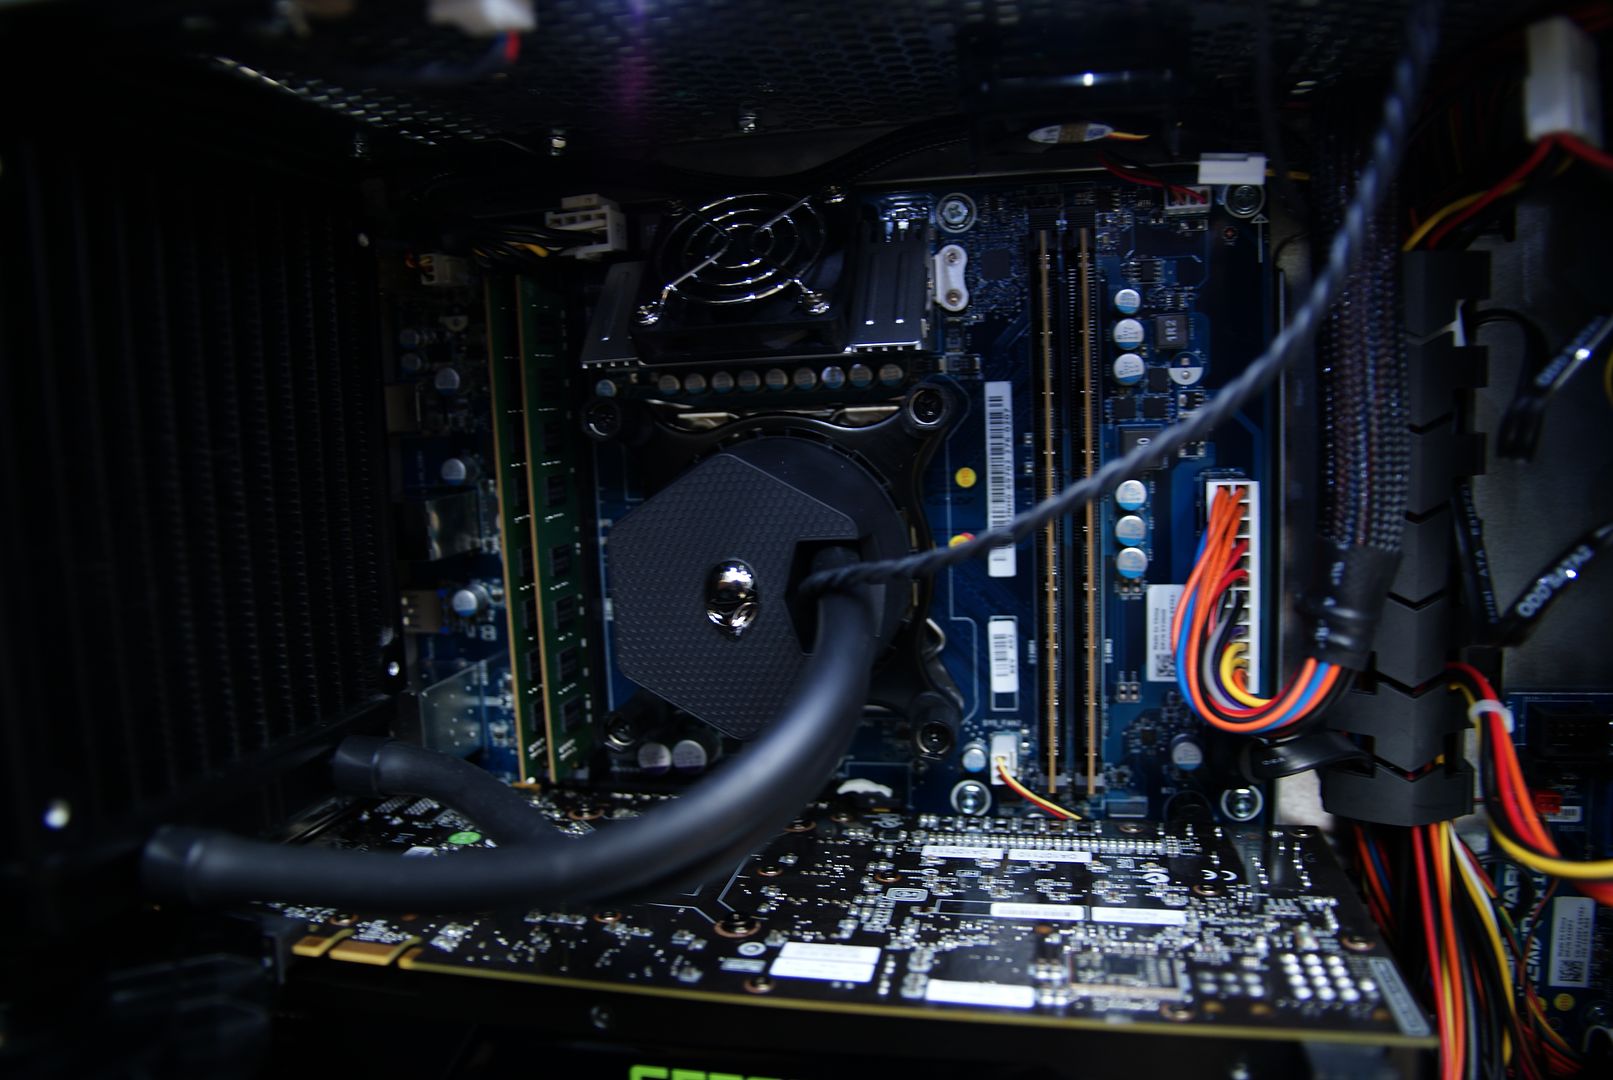
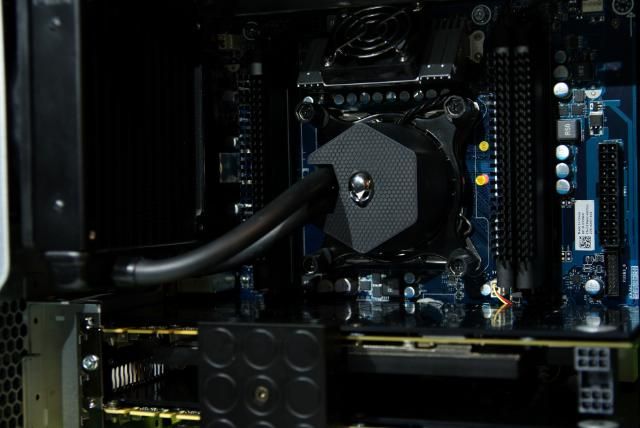
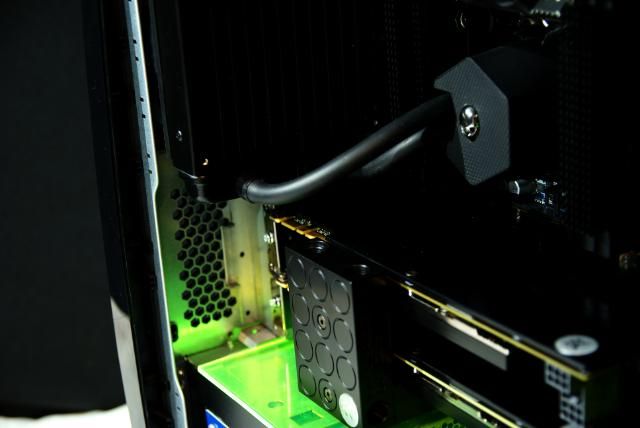
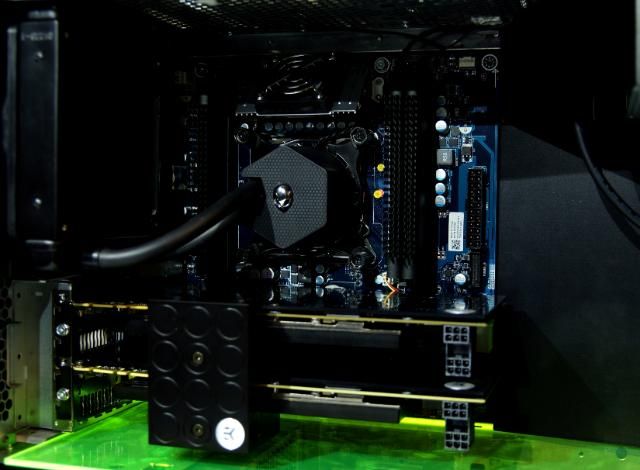
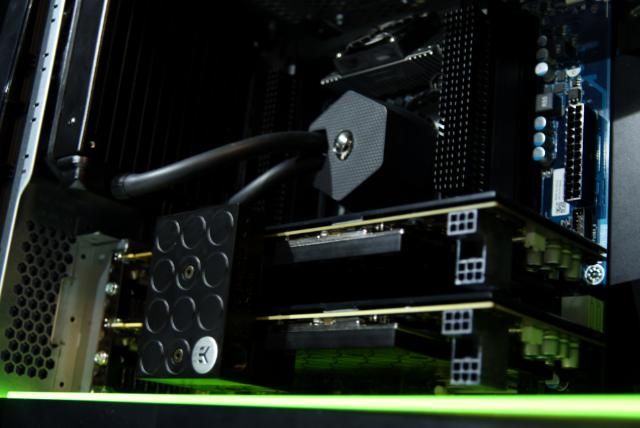
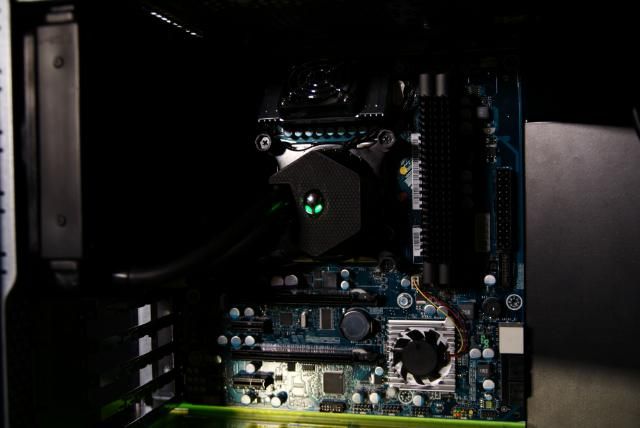
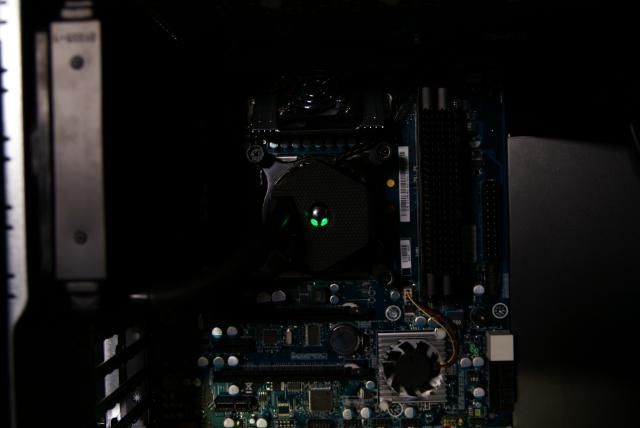
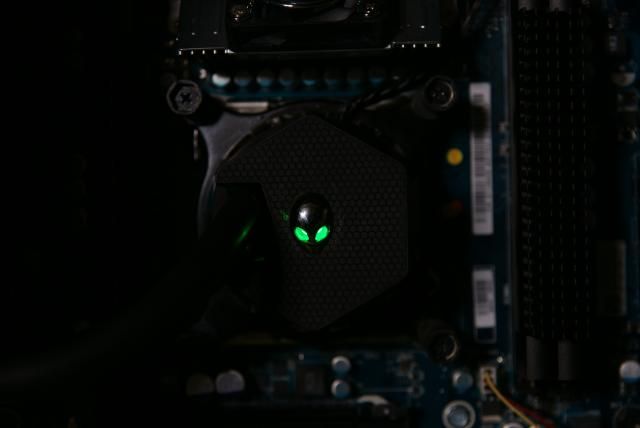
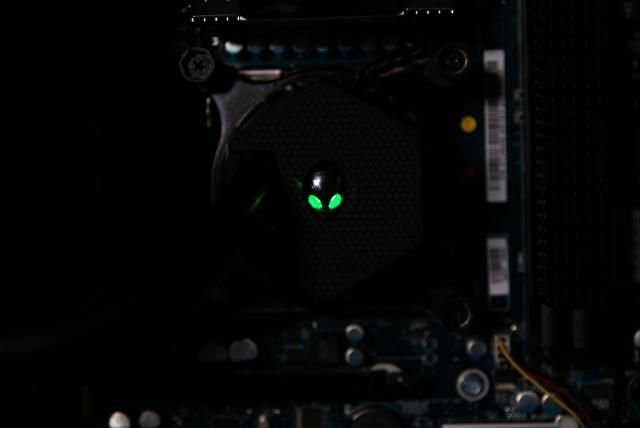
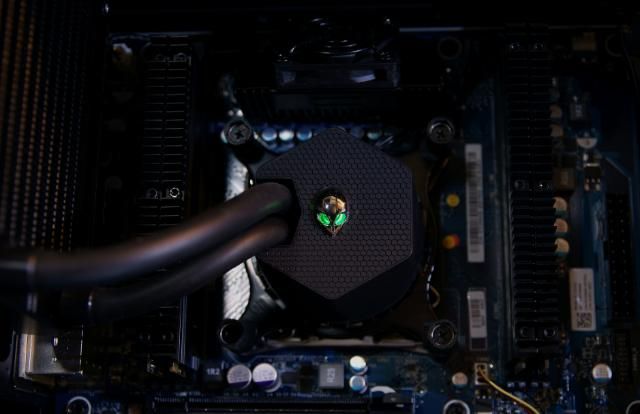
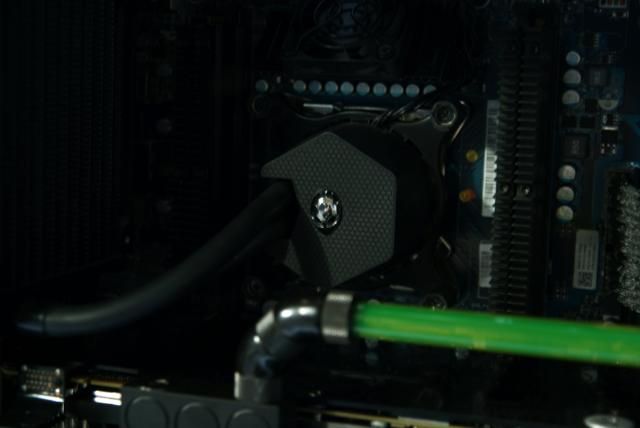
Made a minor adjustment into the CPU cooler. Placed LEDs for a nice effect, bright Alien eyes

DSC09613.jpg


DSC09614.jpg


DSC09615.jpg


DSC09618.jpg


I was still searching regards the radiator recesses on both sides. Here's the first idea.
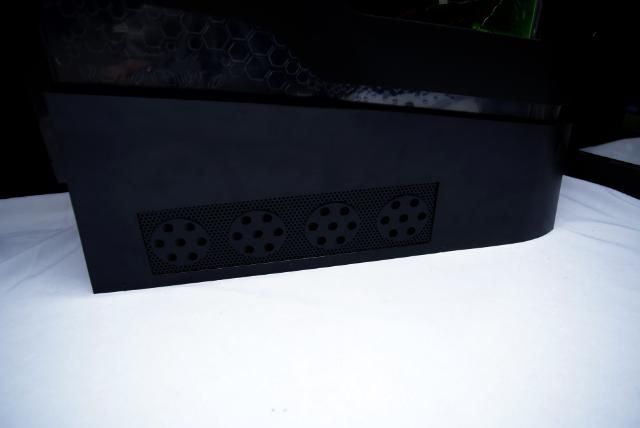
Playing with some mesh and air outlets

DSC09625.jpg


DSC09626.jpg


DSC09624.jpg


DSC09622.jpg


But no...didn't like this.
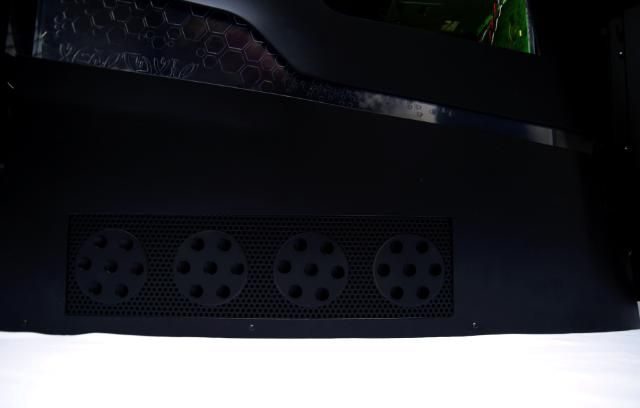
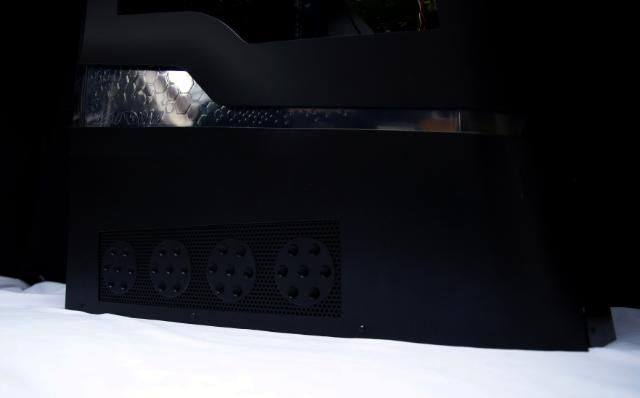
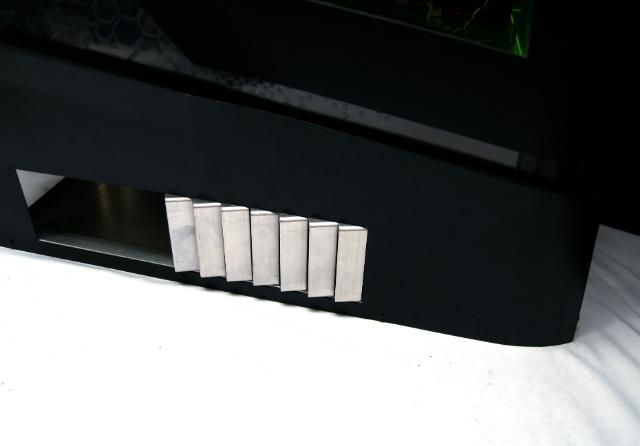
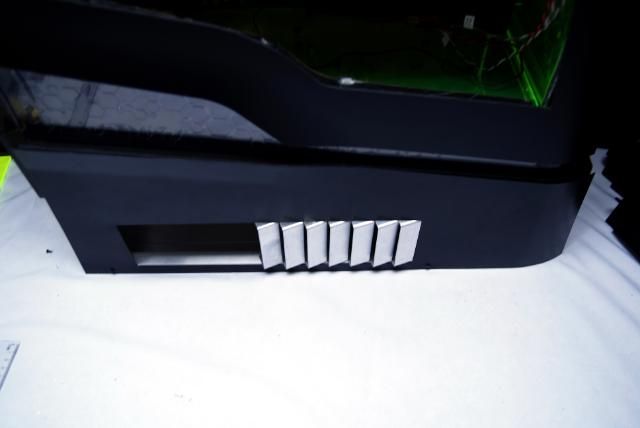
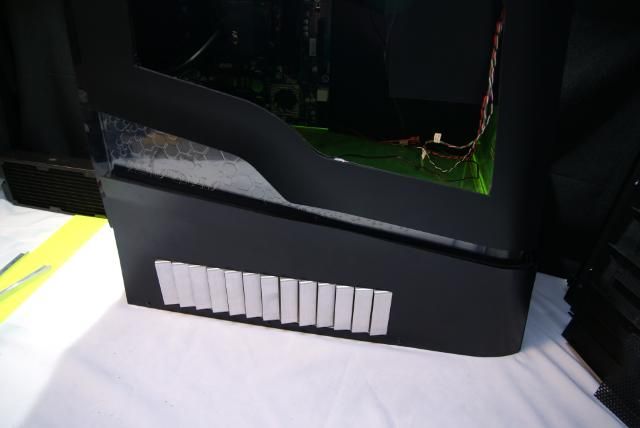
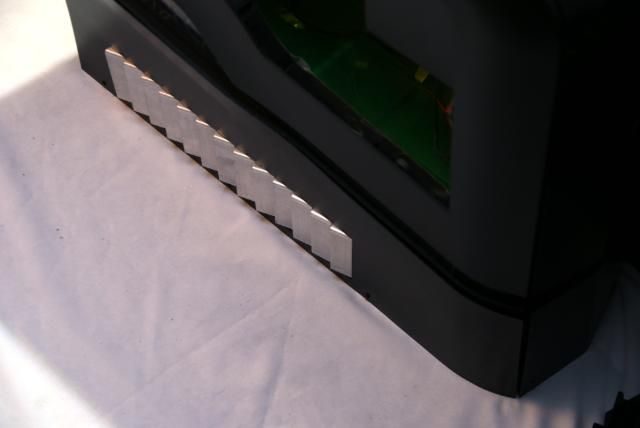
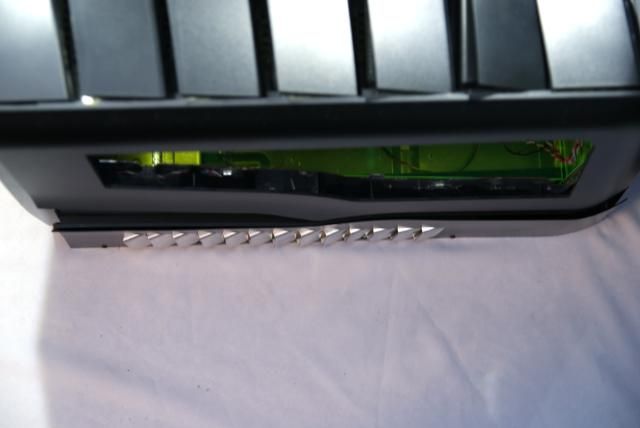
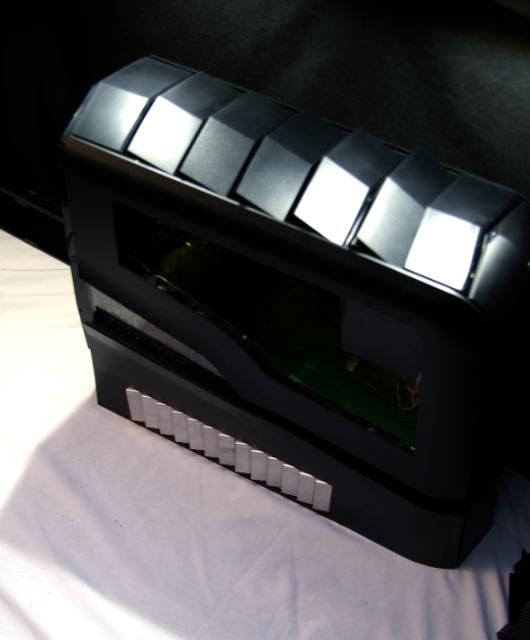
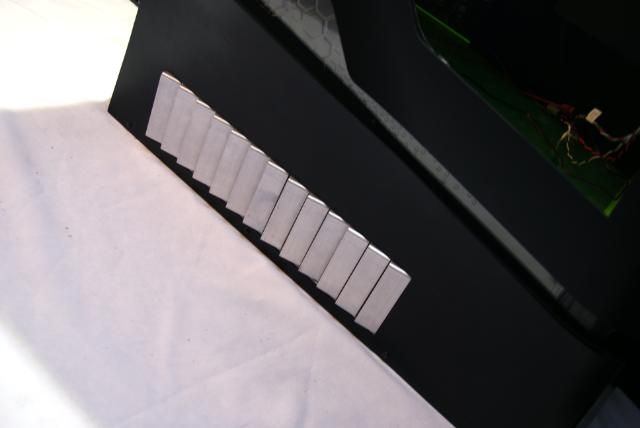
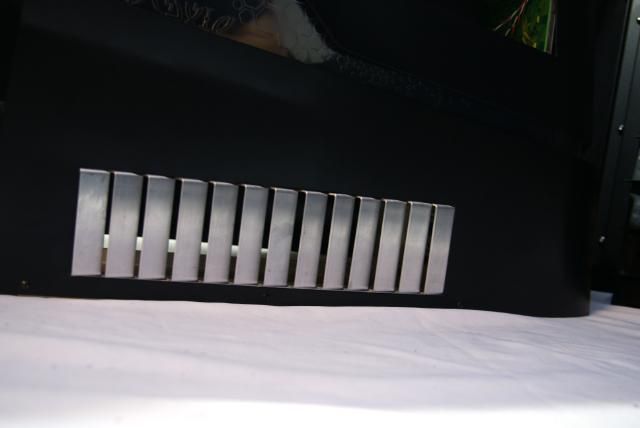
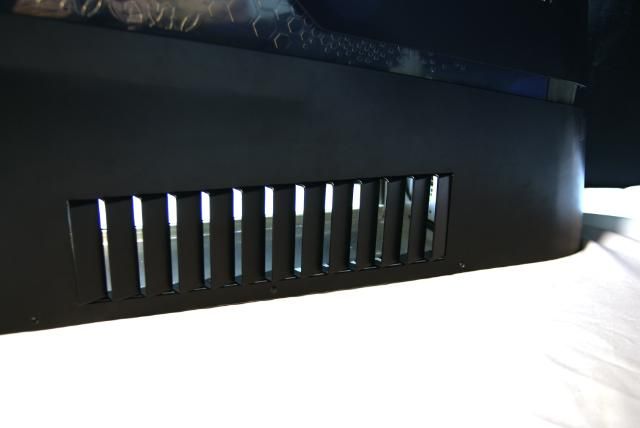
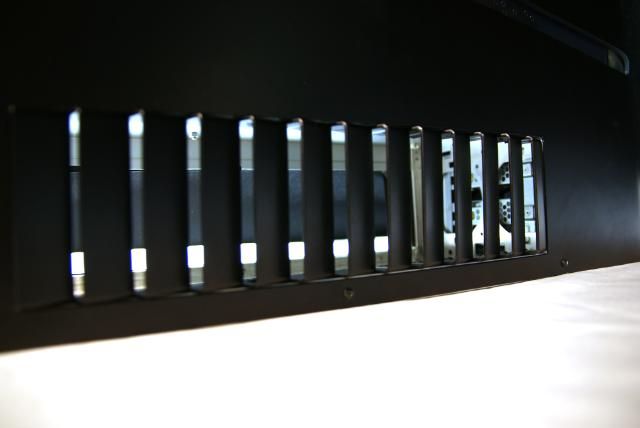
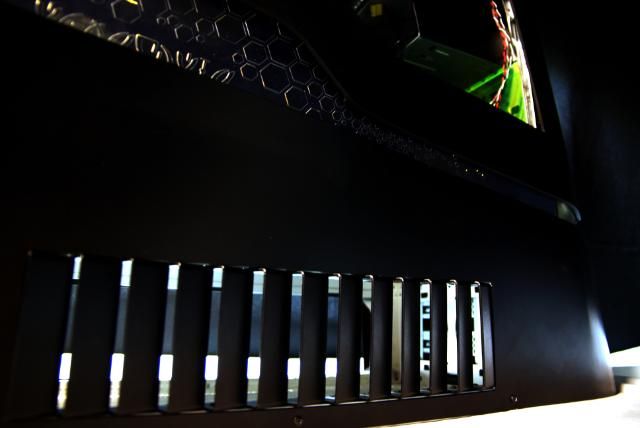
So cut an aluminium strip, bended a lot of vents and assembled

DSC09640.jpg


DSC09643.jpg


DSC09644.jpg


DSC09646.jpg


DSC09647.jpg


DSC09650.jpg


DSC09651.jpg


DSC09653.jpg


Made it black

DSC09681.jpg


DSC09687.jpg


DSC09688.jpg


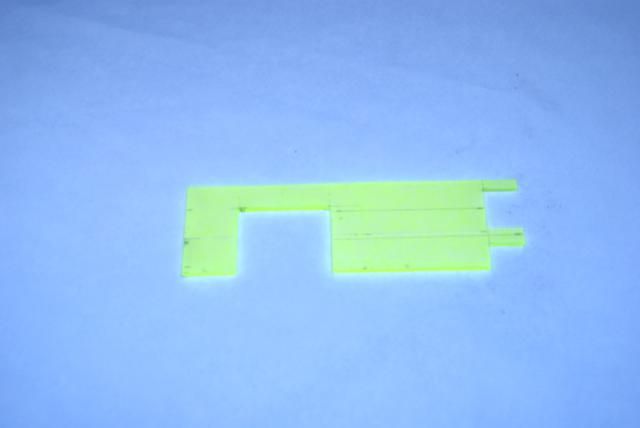
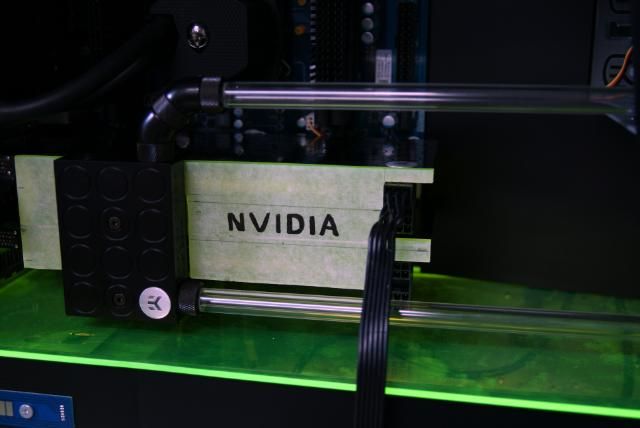
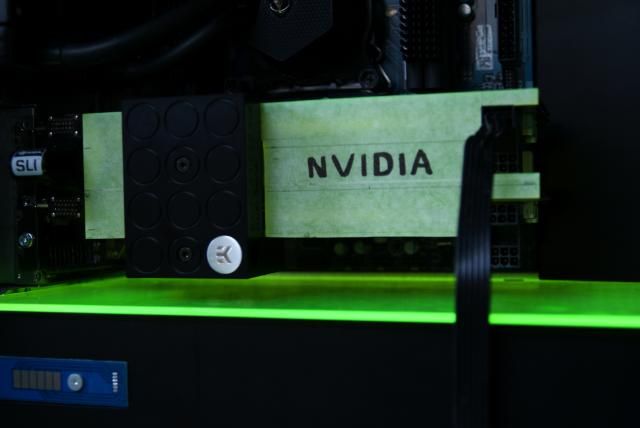
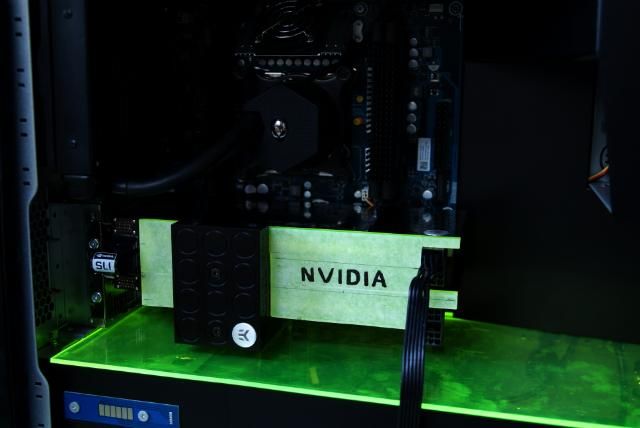
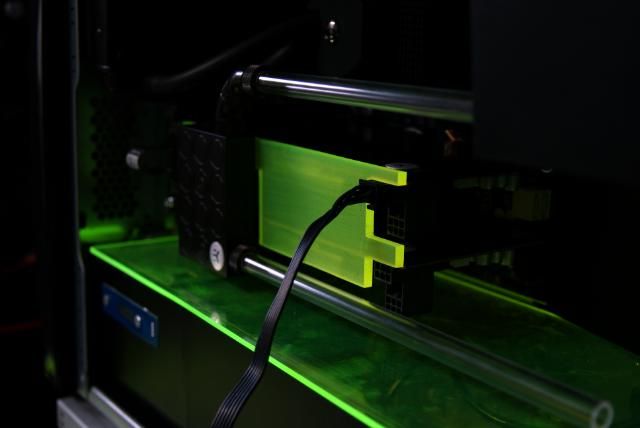
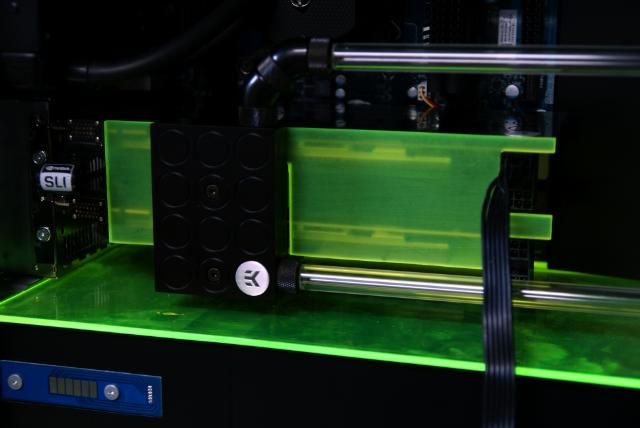
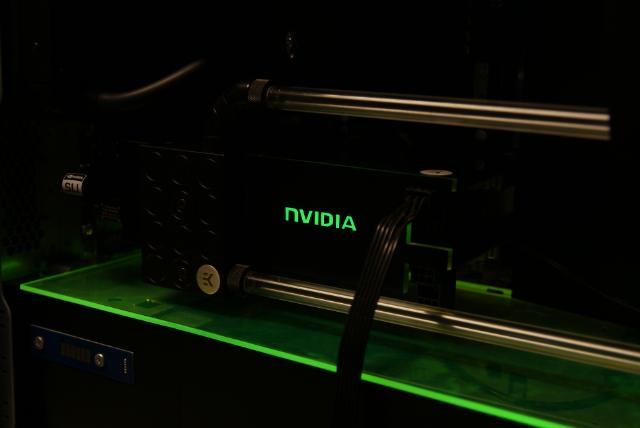
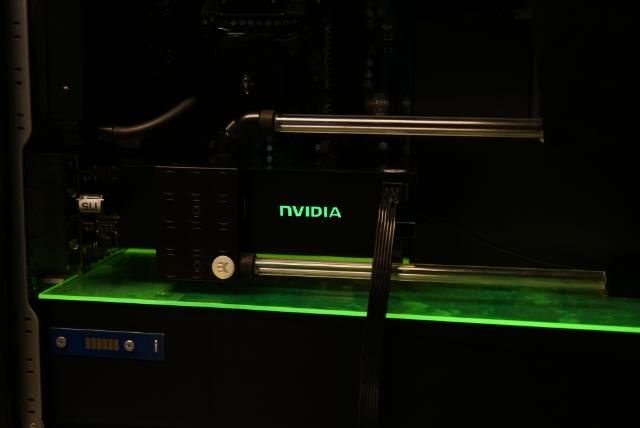
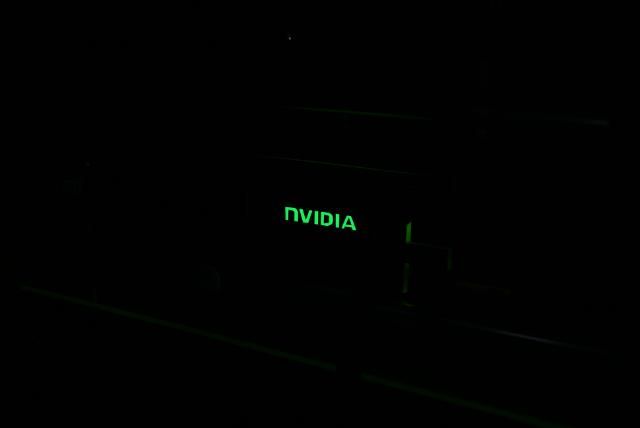
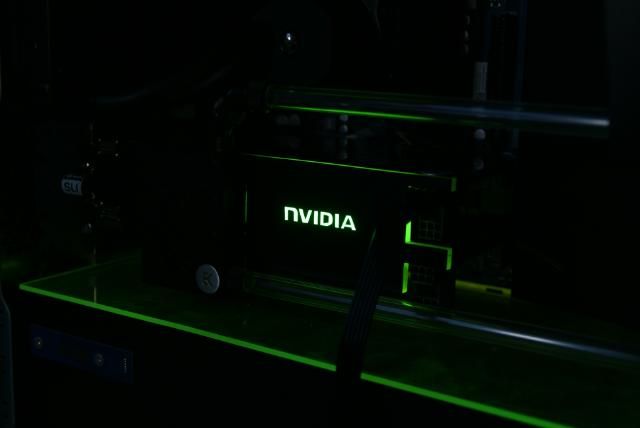
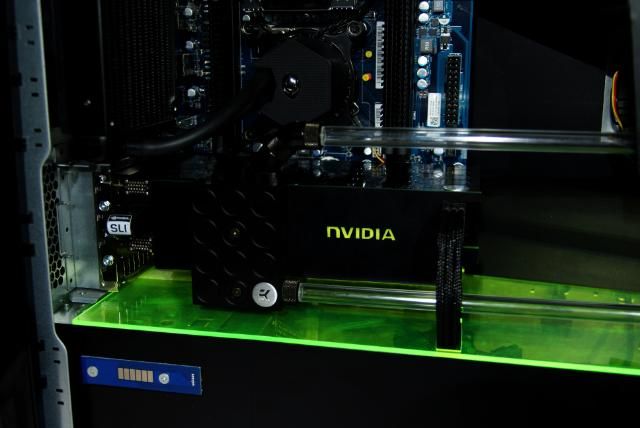
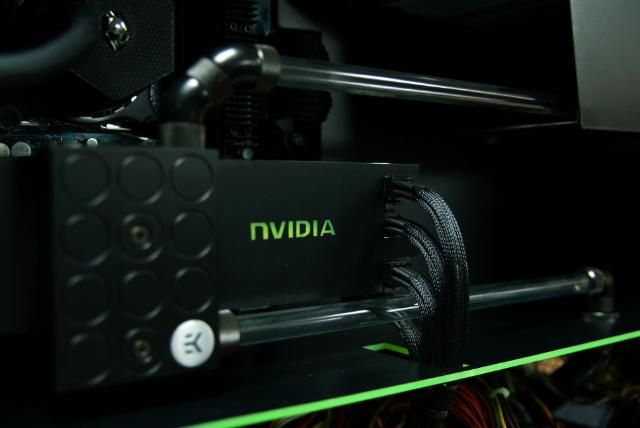
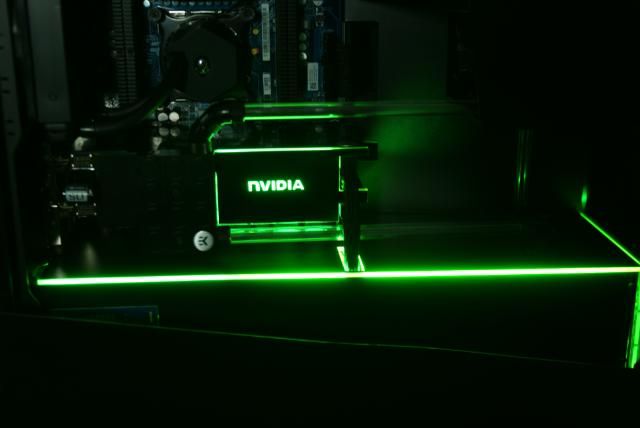
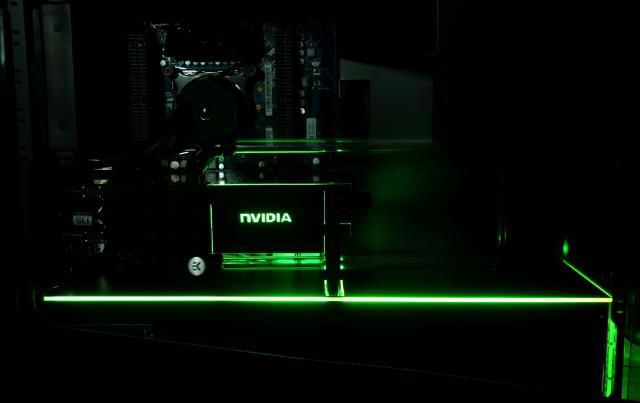
Next ..... The Nvidia Logo should come back. Therefore I made ​​a little cover where the Nvidia logo is displayed.

DSC00223.jpg


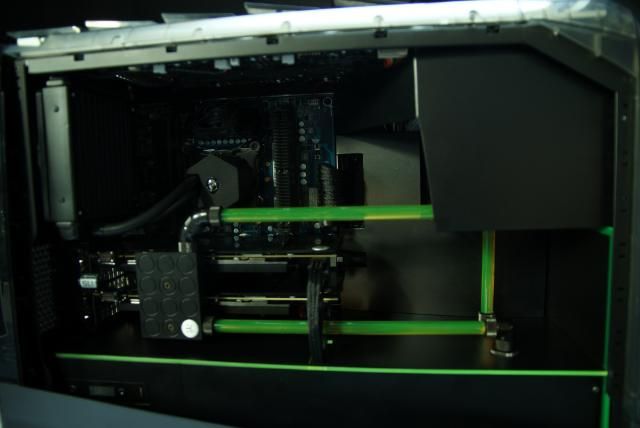
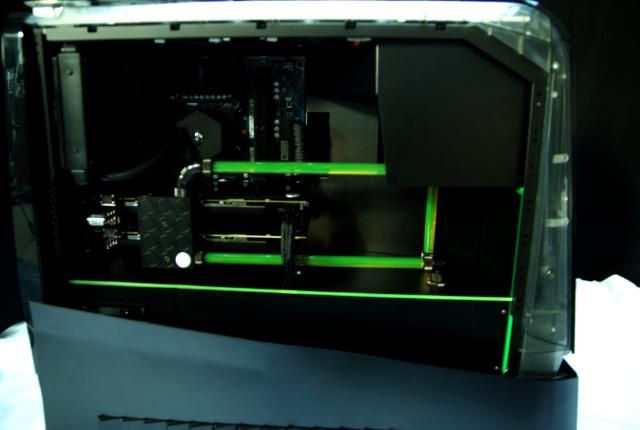
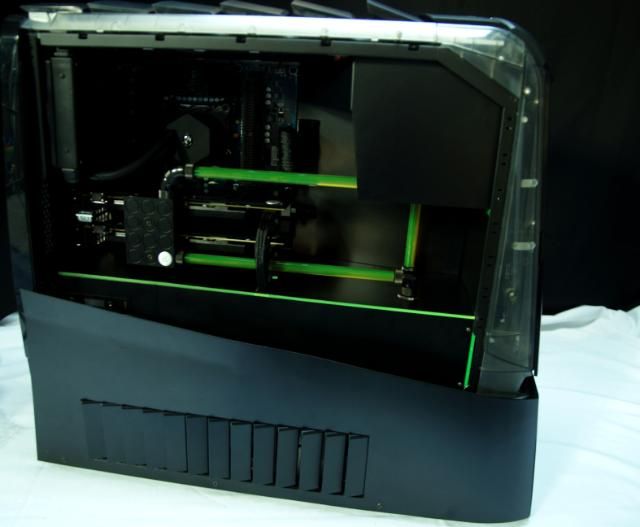
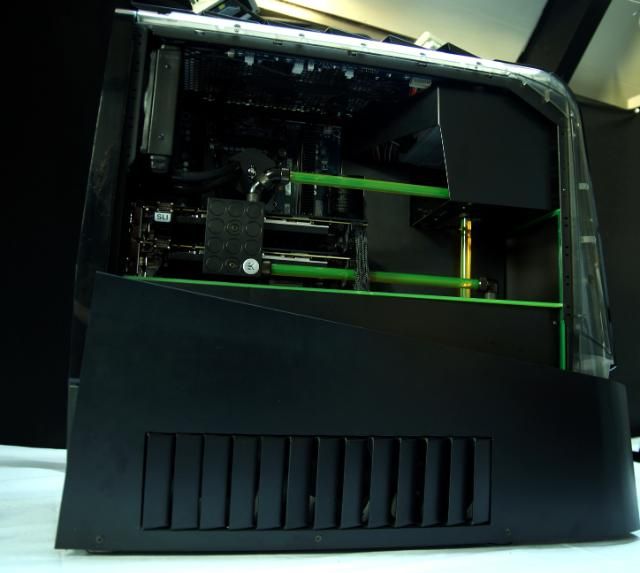
Like this

DSC00229.jpg


DSC00231.jpg


DSC00226.jpg


DSC00225.jpg


Frosted the piece

DSC00235.jpg


DSC00234.jpg


Just to see how it will look I cut out the name by hand.
This is NOT the final logo, soon there will be a better one (with Nvidia claw)

DSC00238.jpg


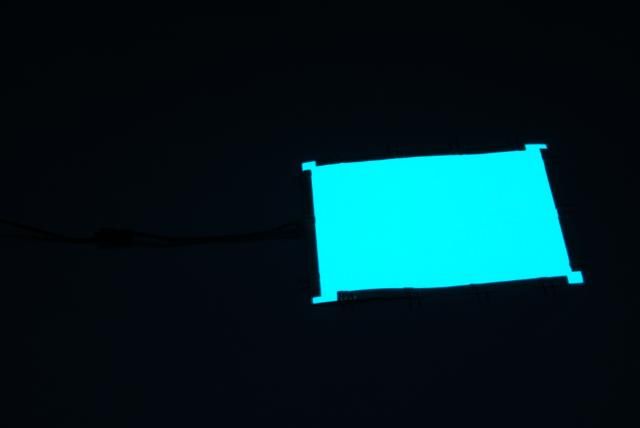
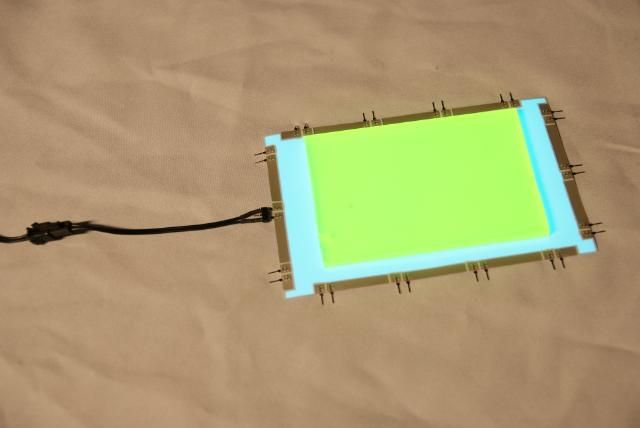
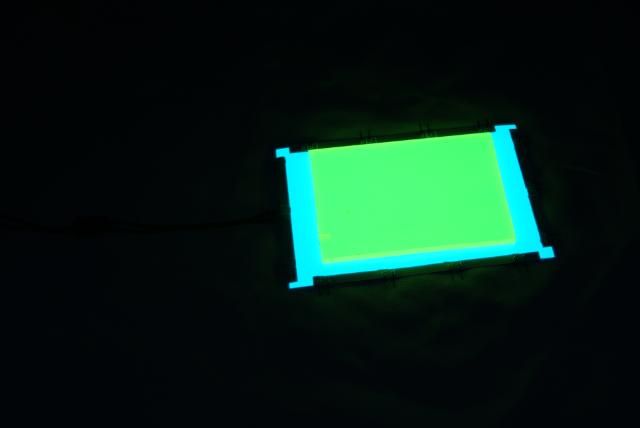
To give this a bright shine, I have used a piece of glowpad

DSC00242.jpg


DSC00244.jpg


DSC00243.jpg


Placed a small piece

DSC00237.jpg


DSC00239.jpg


DSC00240.jpg


For the cables, I cut out a recess

DSC00246.jpg


DSC00248.jpg


This will no longer be seen through the cover

DSC00250.jpg


And another recess for the remaining connections mobo

DSC00251.jpg


And a recess for the GPU power. Bottom PCI-e power is tight, but possible

DSC00257.jpg


DSC00258.jpg


DSC00254.jpg


And last... Busy again with acrylic tube

DSC09931.jpg


DSC09932.jpg


After some measuring, Made 2 holes ​​for the fill ports

DSC00260.jpg


DSC00266.jpg


DSC00267.jpg


DSC00268.jpg


DSC00271.jpg


DSC00265.jpg


That's it for this weekend ;) To be continued!
 
It never ceases to amaze me how you guys can actually get such a clean looking build going.
keep up the good
I will be checking back soon the see the updates.
 
Dude that's fucking amazing. I liked your idea and I'll do the same thing you did in the VGA on my case "floor". Ill put an acrylic piece covering all the "floor" and cover all of it to write my game nick, like you did with "nvidia". What you used to cover the acrylic full of black?
 
Alienware Aurora ALX-XL is sponsored by:


Update!!!

It took a while but here is a new update of the Alienware Aurora. After some doubt what I would do, paint or powder coating I decided to do it myself.
purchased a number of cans primer and Black.

Put the primer on

DSC00934.jpg


DSC00937.jpg


DSC00932.jpg


Let it dry for a night and then applied several layers of black
And again, hung to dry. Looks good i think :)

DSC08452.jpg


DSC08454.jpg


DSC08456.jpg


DSC08463.jpg


Internal also used some black for the heatsink and other small stuff ... still need to exchange the connectors

DSC09593.jpg


DSC09595.jpg


Always fun to play with Alien eyes;)

DSC09606.jpg


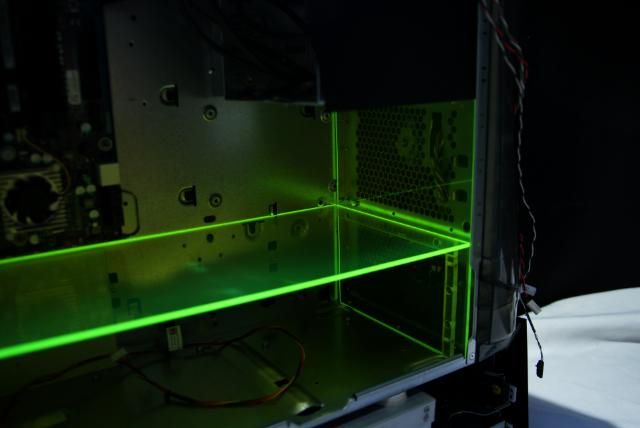
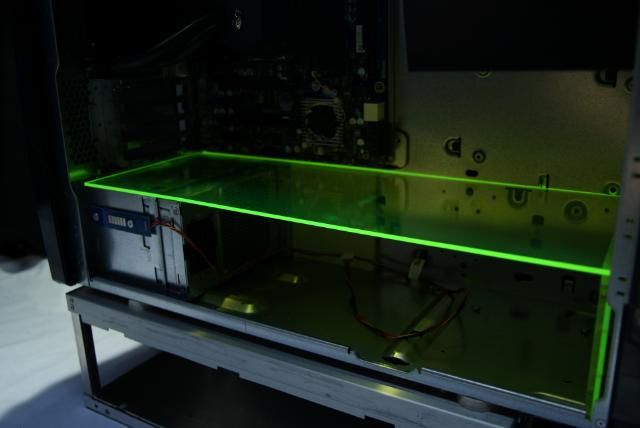
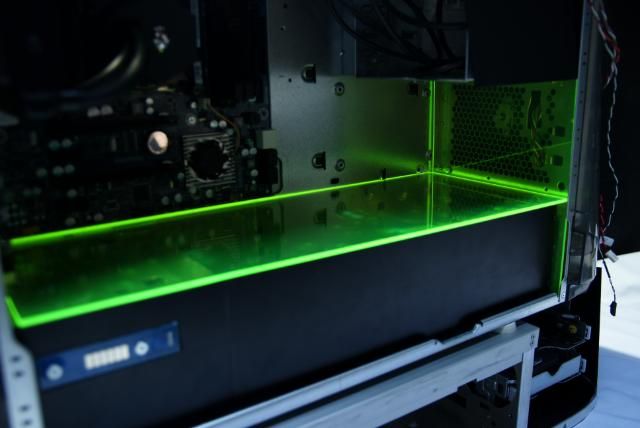
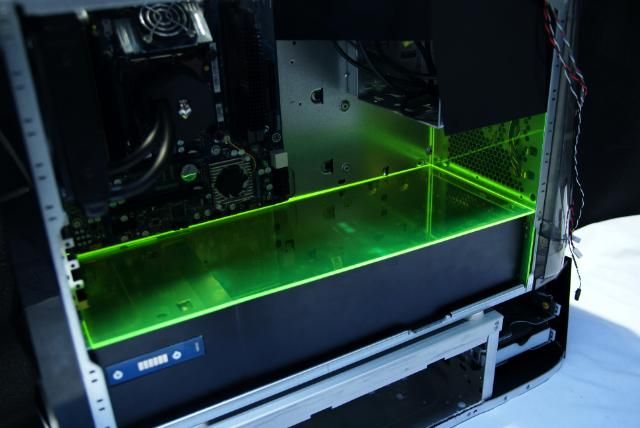
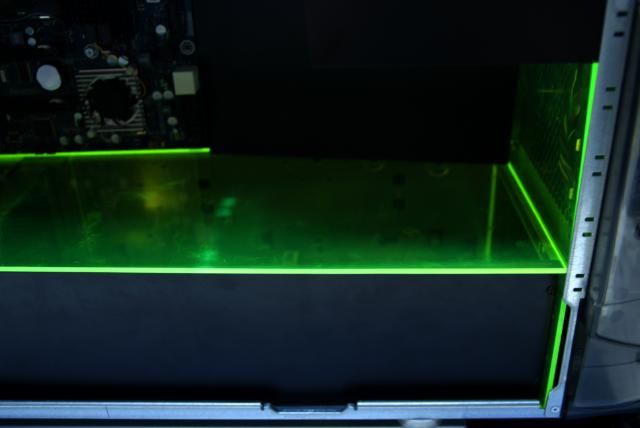
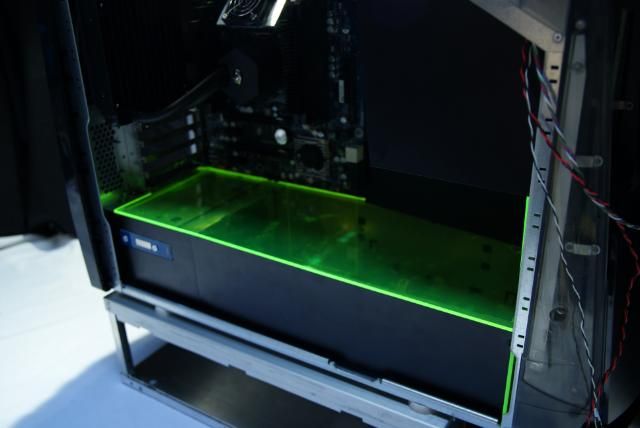
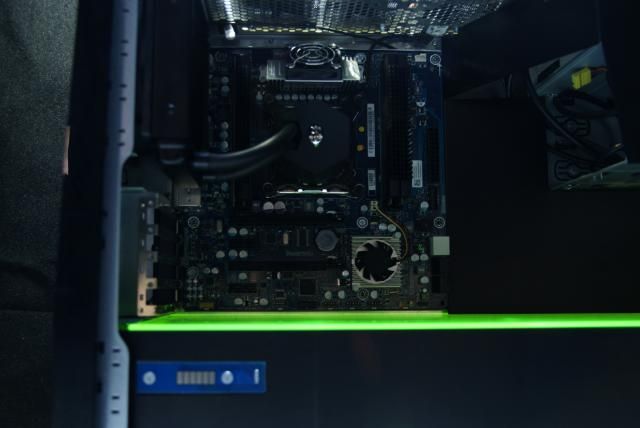
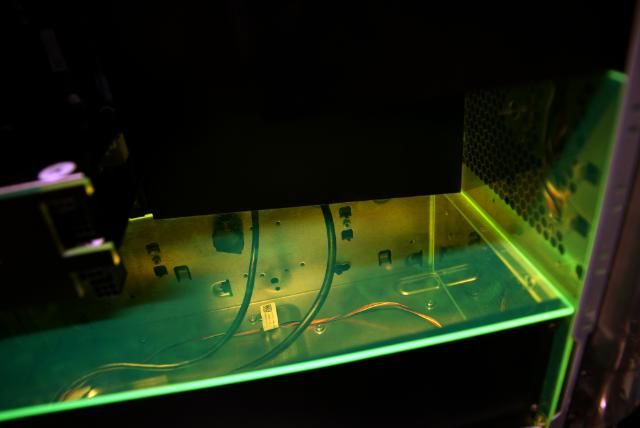
I also gave the midplate a black layer. This to get a illuminated green border using a CCFL. I first made the top ​​white, after that a black layer

DSC00286.jpg


Placed the CCFL

DSC00288.jpg


DSC00299.jpg


DSC00292.jpg


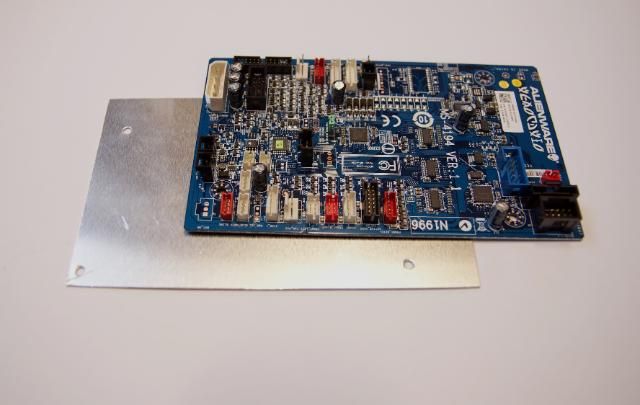
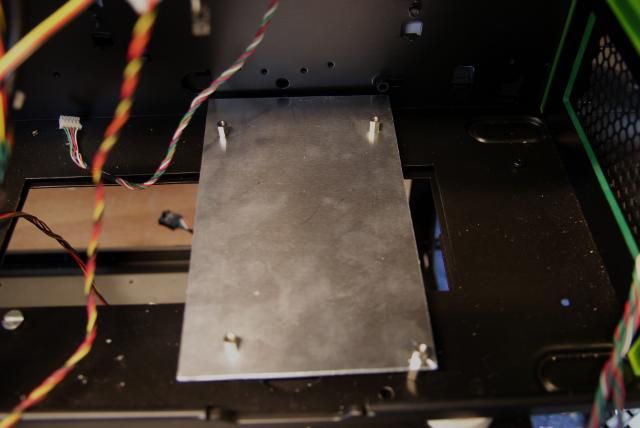
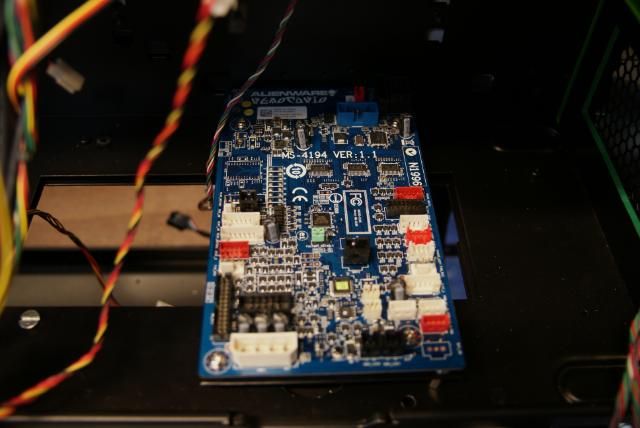
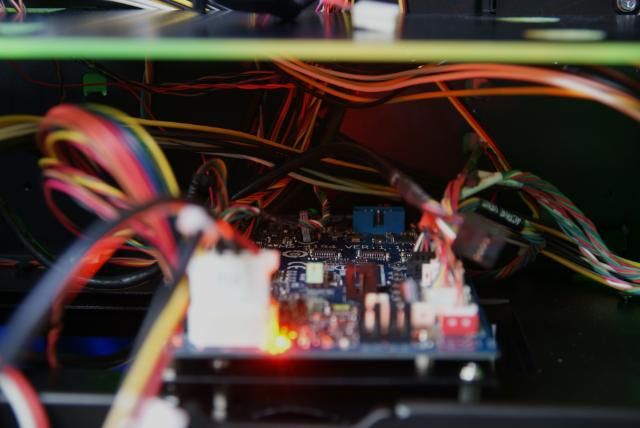
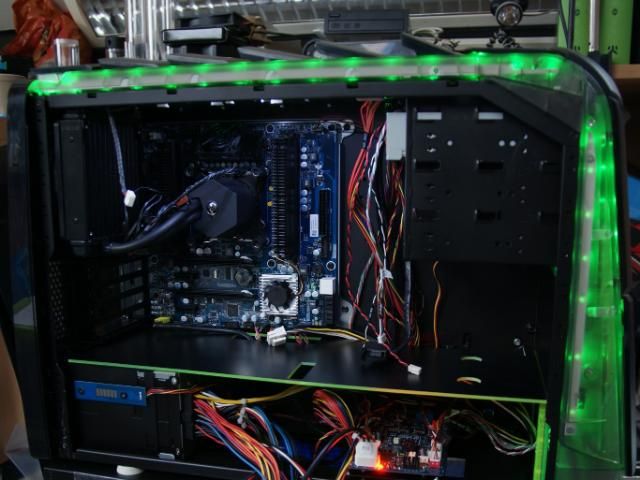
Time to place the PCB for the lighting etc. For this I have cut a aluminum plate

DSC09610.jpg


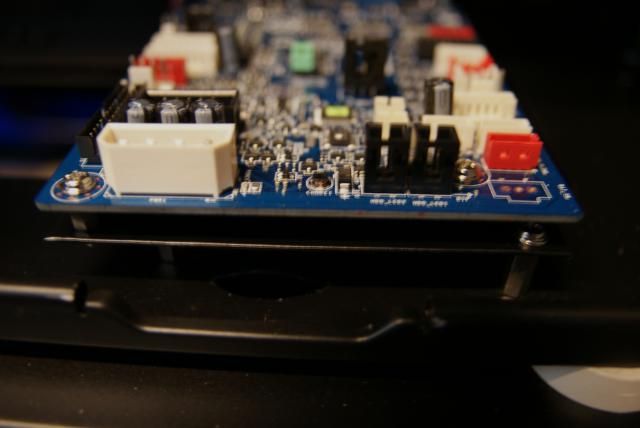
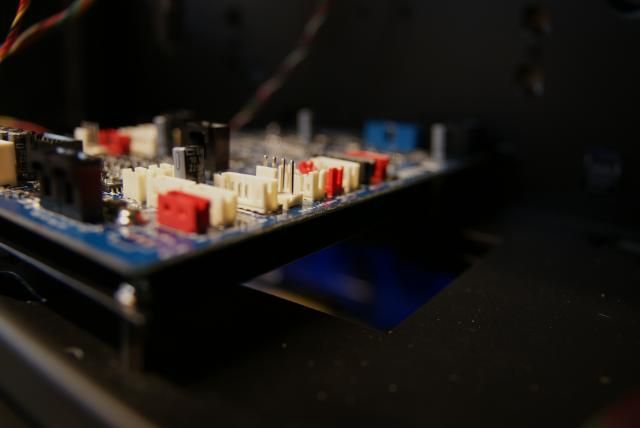
Placed like this

DSC09612.jpg


DSC09614.jpg


DSC09616.jpg


DSC09617.jpg


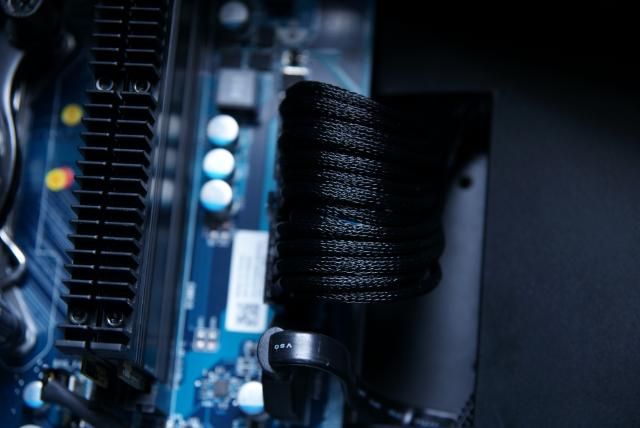
After extending some cables

DSC09586.jpg


DSC09589.jpg


DSC09622.jpg


Power on for testing

DSC09618.jpg


DSC09620.jpg


And it's working again

DSC09623.jpg


DSC09624.jpg


Always good to know before the cable management begins

DSC09635.jpg


DSC09638.jpg


DSC09632.jpg


DSC09634.jpg


DSC09631.jpg


Searched and found my sleeve stuff again :) for sleeving the big bundle

DSC09579.jpg


DSC09572.jpg


DSC09576.jpg


I discovered that the pins of the big block are not so easily to remove. 've Tried al kind of tools, but it isnt possible without demolishing. I just miss the slots for the pin remover.

DSC09571.jpg


So change of plans ... going to use sleeved extenions now. Sorry no sleeve update this time ;)

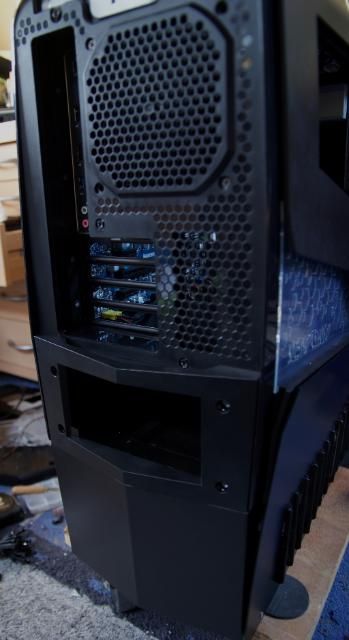
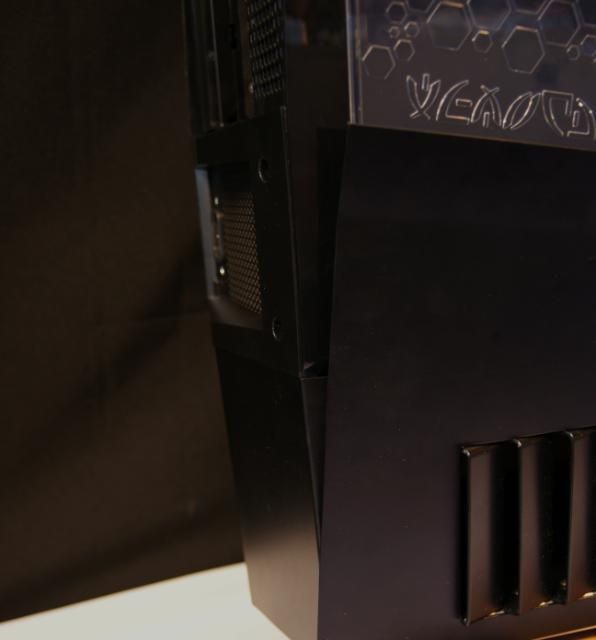
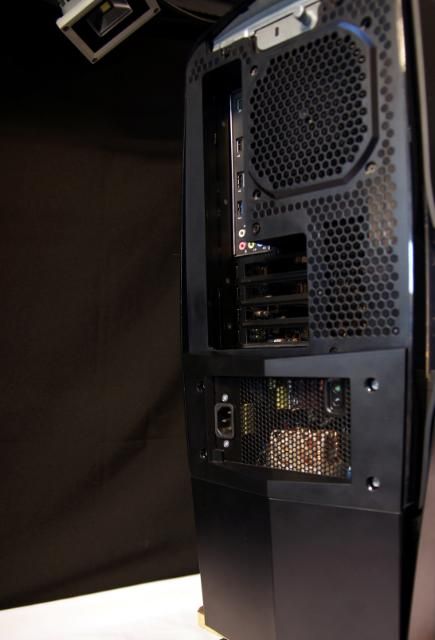
I also did the lower back. Because I made ​​the Aurora a bit higher, I also need to extend the back.
For this cut, bent and drilled an aluminum plate

DSC09659.jpg


Cut and bent another aluminum plate

DSC09656.jpg


DSC09661.jpg


First plate mounted on the existing PSU cover

DSC09655.jpg


And made the other plate black and mounted it. Must still bend it a bit and still make some openings with mesh in it..I think, but this is how it fits.

DSC09663.jpg


DSC09666.jpg


DSC09667.jpg


DSC09669.jpg


DSC09672.jpg


DSC09675.jpg


DSC09676.jpg


DSC09677.jpg


Finally the choice of the fans for the rads. The Scythe SY1212SL12H ... pretty thin fans but very noisy.
definitely need some adjusments ;)

DSC09647.jpg


DSC09650.jpg


DSC09652.jpg


DSC09643.jpg


More coming up!!!
 
Alienware Aurora ALX-XL is sponsored by:


Update!!!

The end is almost in sight. Recent weeks i've done a lot on the Alienware Aurora R4
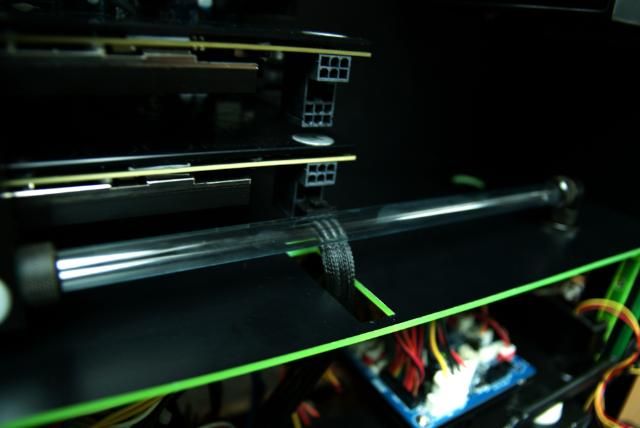
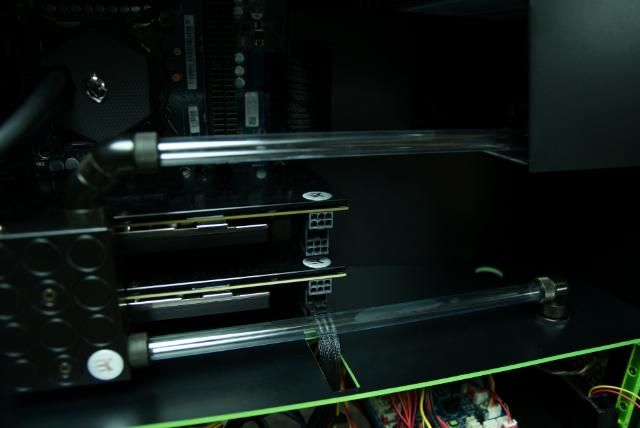
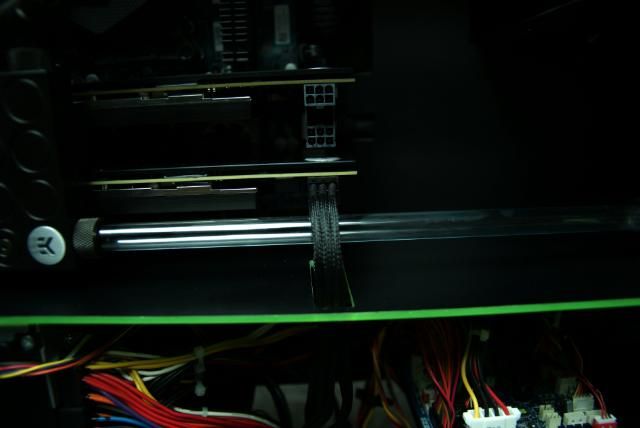
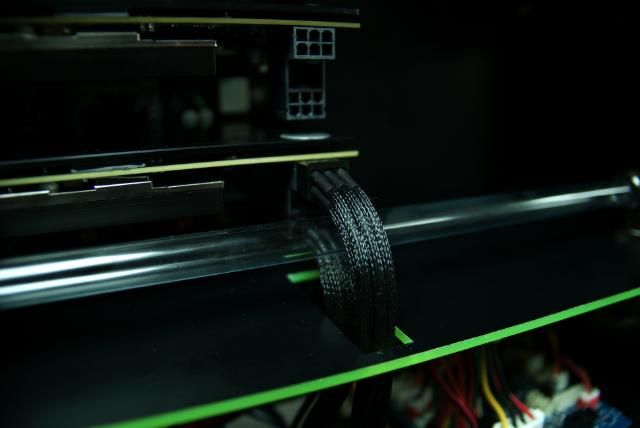
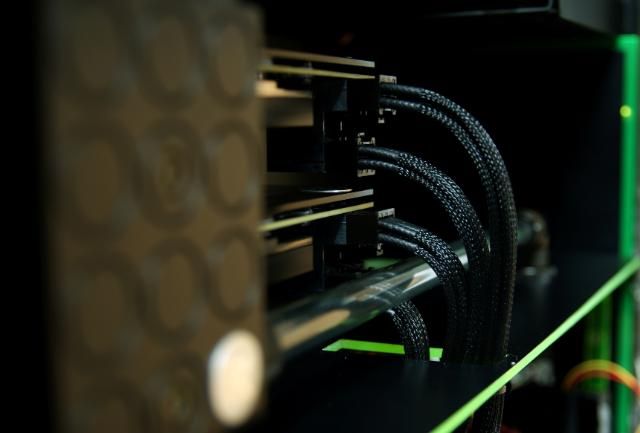
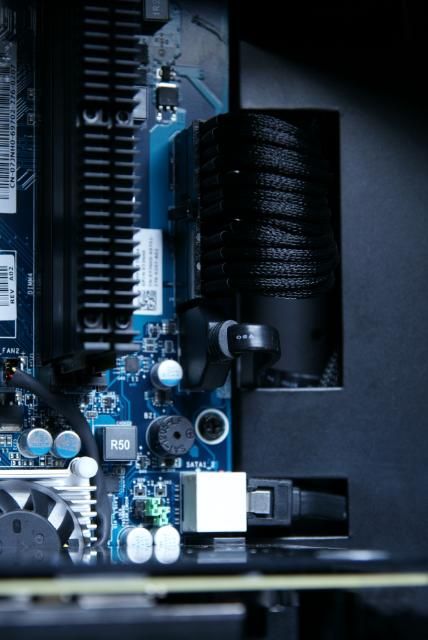
Because the sleeving didnt go easy with the large connector I used extensions. It is certainly not MDPC sleeve, but it's not too bad

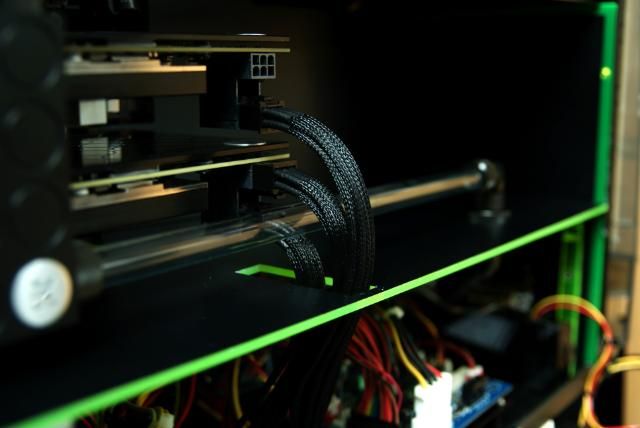
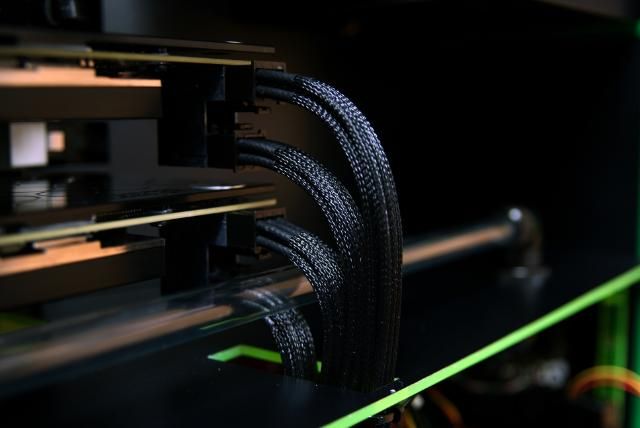
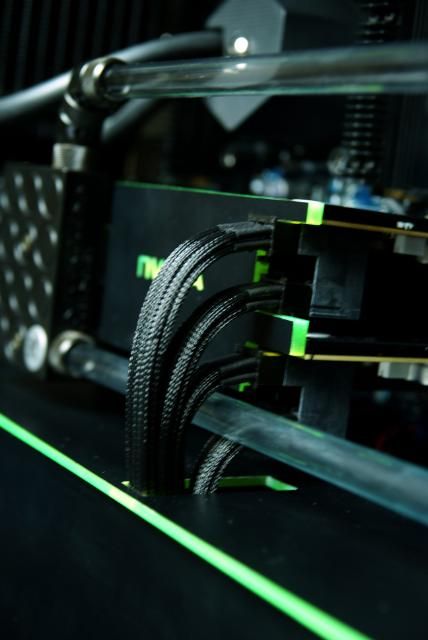
Lower GPU power connected

DSC00224.jpg


DSC00227.jpg


And another

DSC00229.jpg


DSC00230.jpg


One more

DSC00234.jpg


And the last one

DSC00235.jpg


DSC00236.jpg


Some straightening and pulling

DSC00239.jpg


Looks nice

DSC00243.jpg


24 pins also some shapening

DSC09691.jpg


DSC09693.jpg


DSC09687.jpg


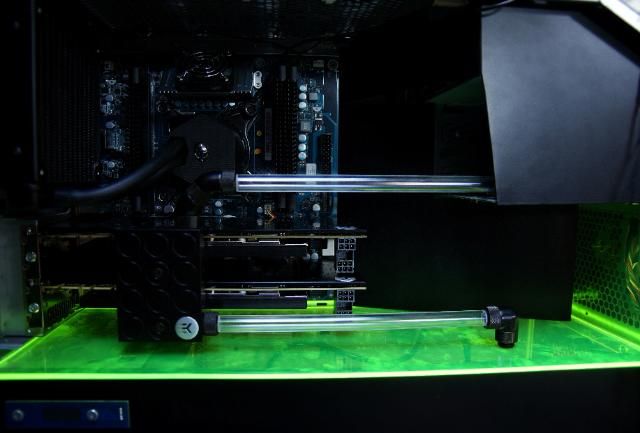
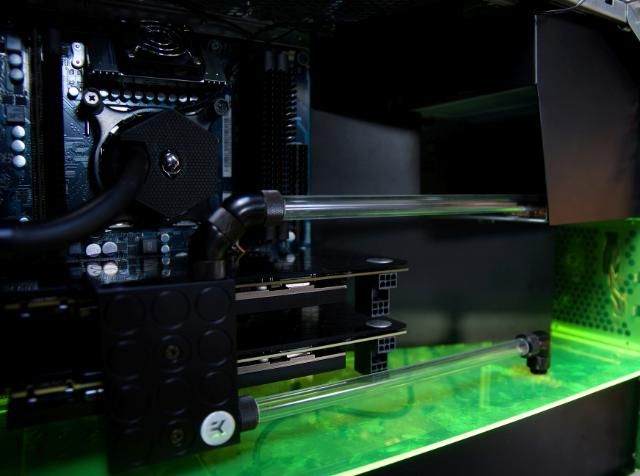
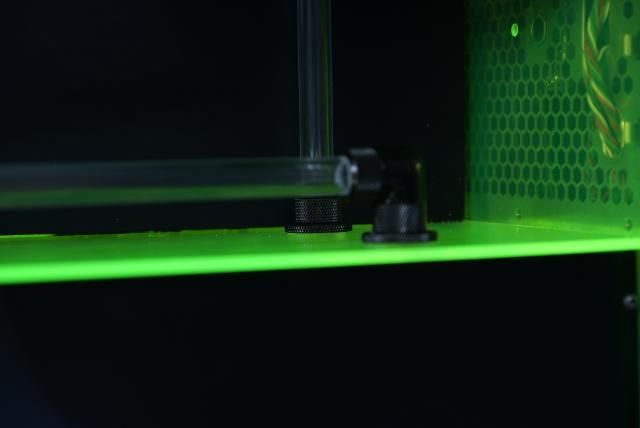
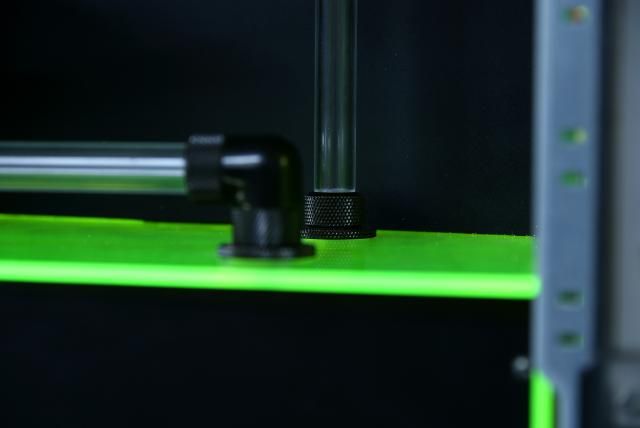
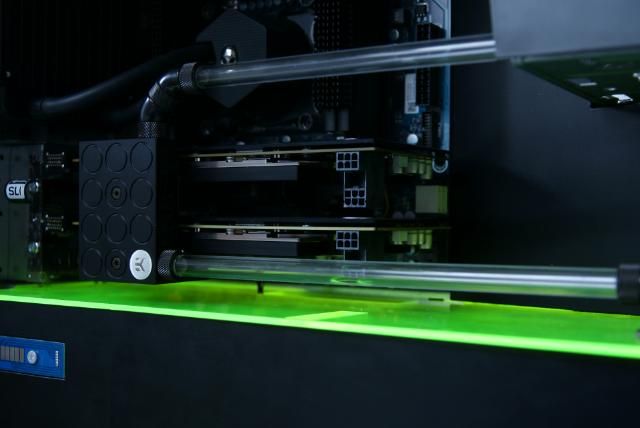
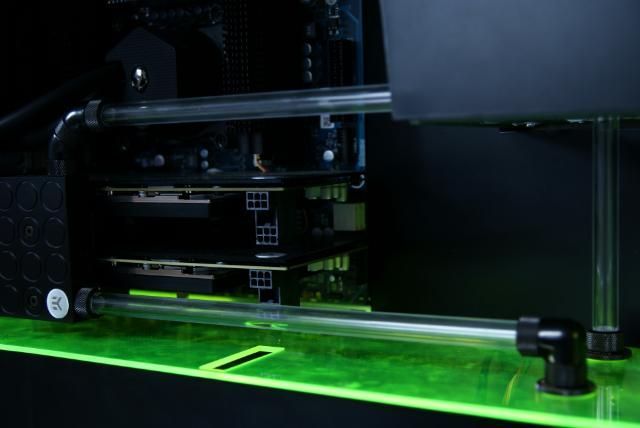
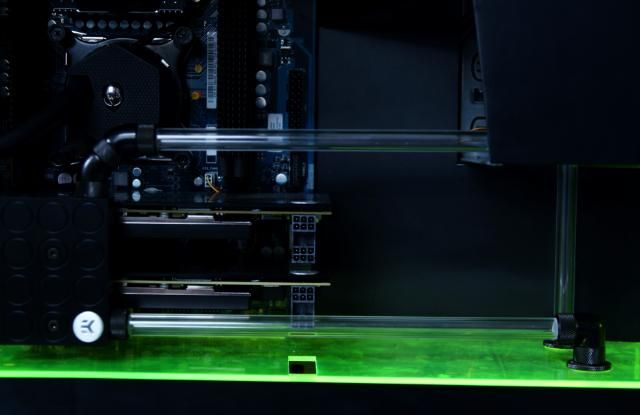
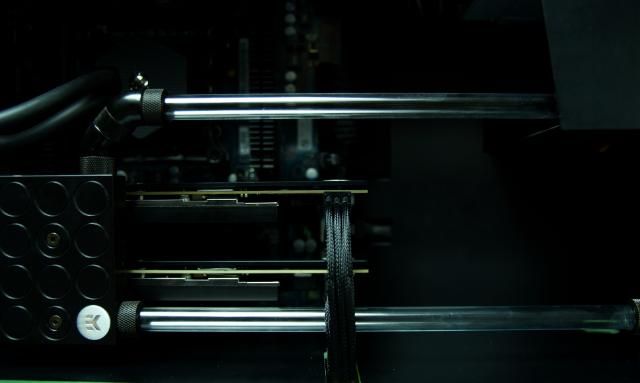
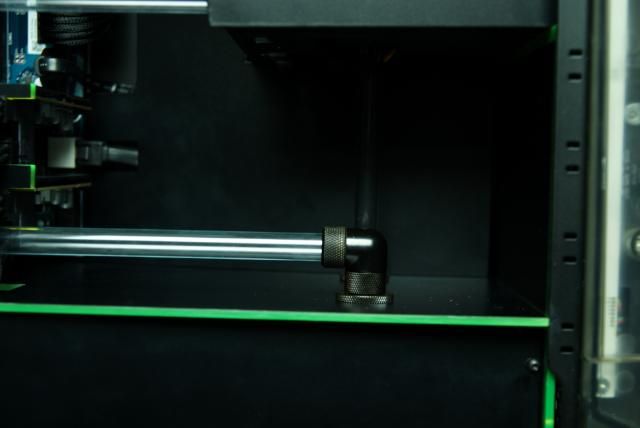
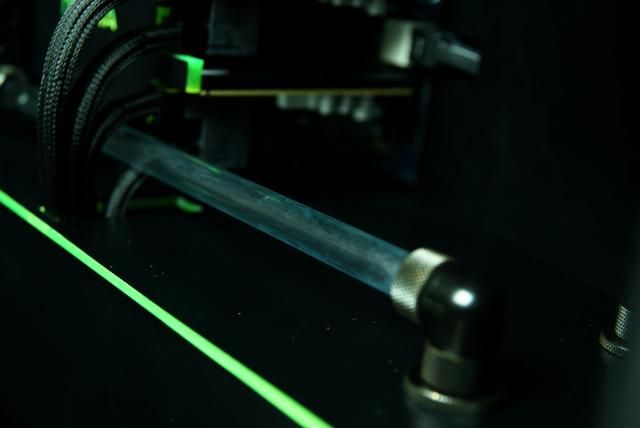
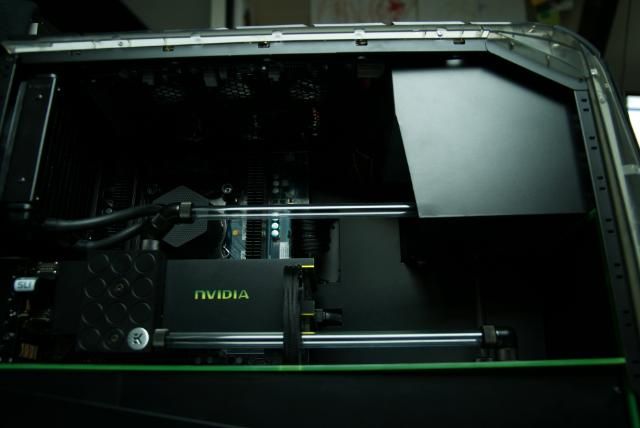
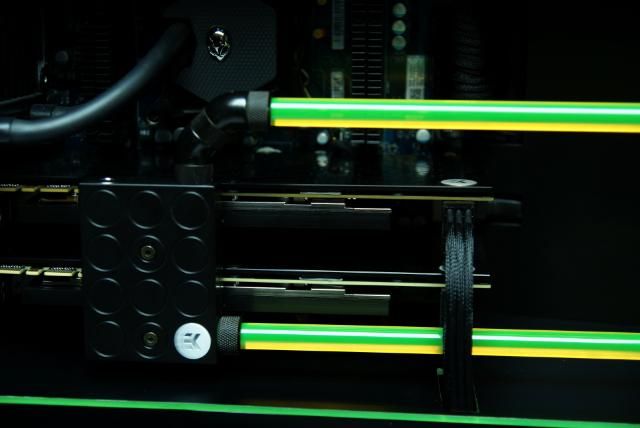
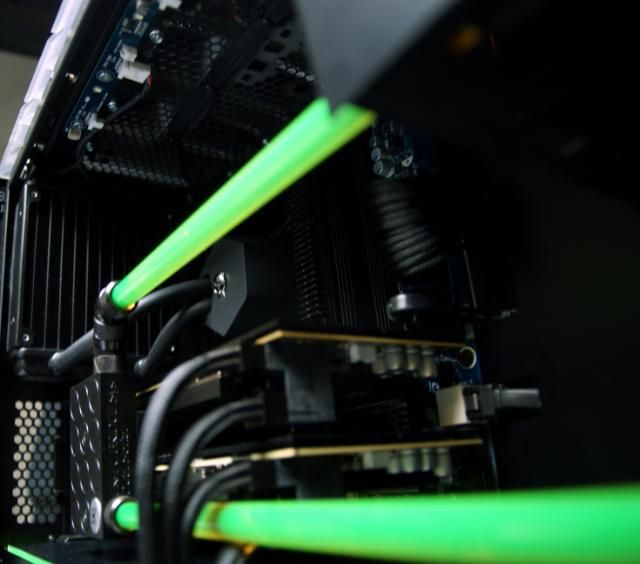
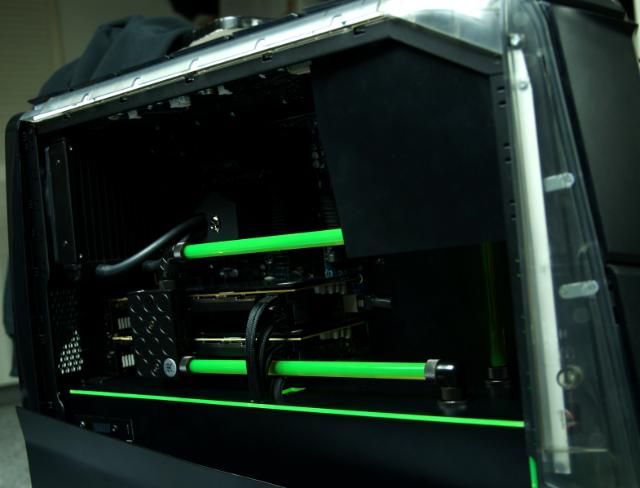
You've probably saw some pictures pass by with the the tubes, but here everything is connected. This time with 12/10mm tubing
Finally I found them with the perfect size (thanks E22 Nate). Only thing to do is to file a little edge off the tubes just like the crystal links.

DSC00253.jpg


DSC00257.jpg


DSC00253.jpg


DSC00259.jpg


DSC00249.jpg


Was a lot of work, but here one pic of the other side finished lol

DSC00317.jpg


Time to fill her up and leak testing. Optical drive removed and fill the bayres.

DSC00274.jpg


After some noise...it became quit ;)

DSC00287.jpg


DSC00306.jpg


DSC00300.jpg


DSC00296.jpg


DSC00292.jpg


DSC00297.jpg


DSC00280.jpg


And then it was dark ...
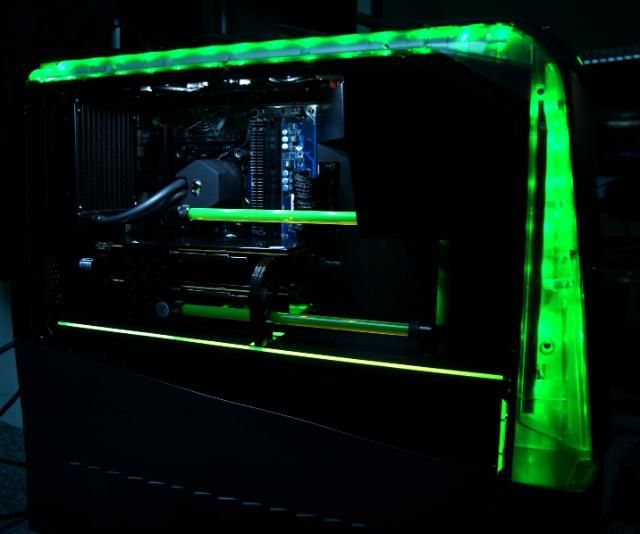
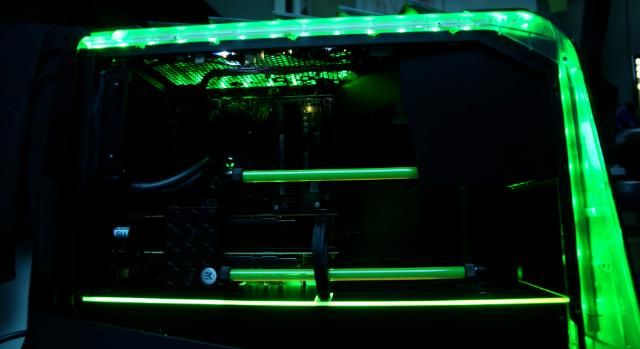
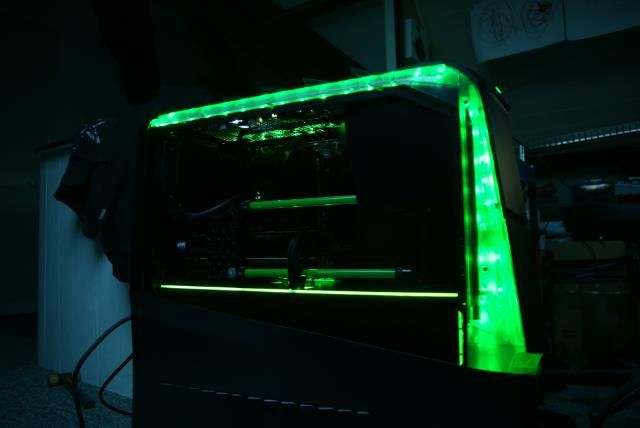
Lights on please!!!

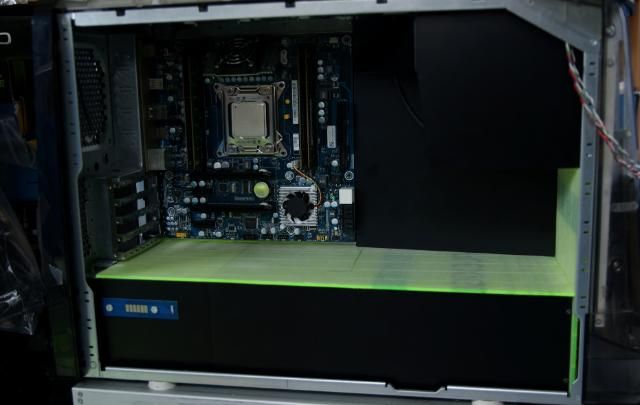
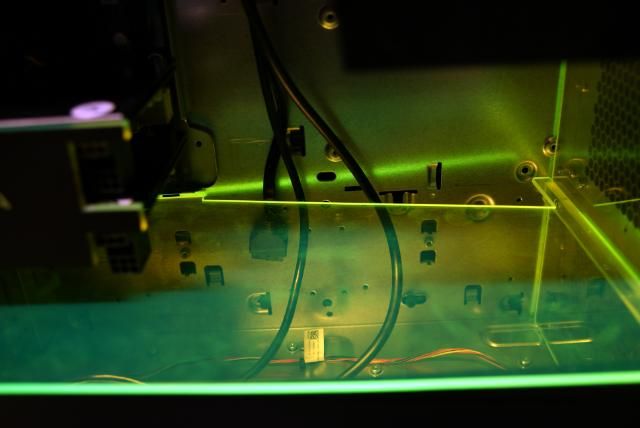
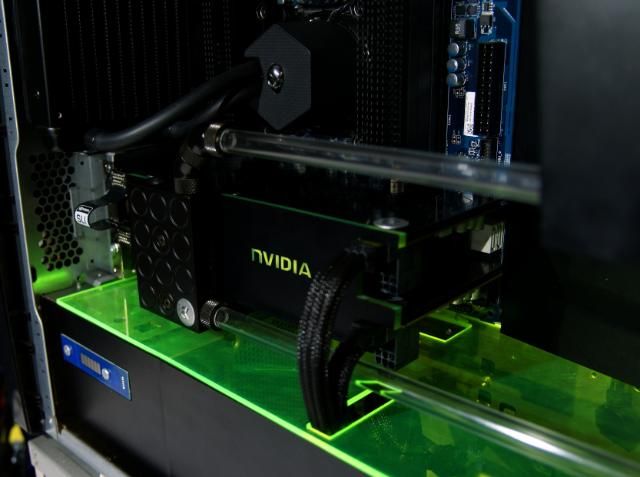
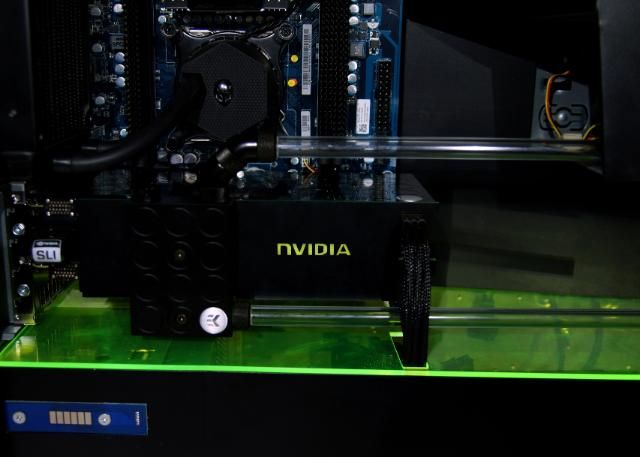
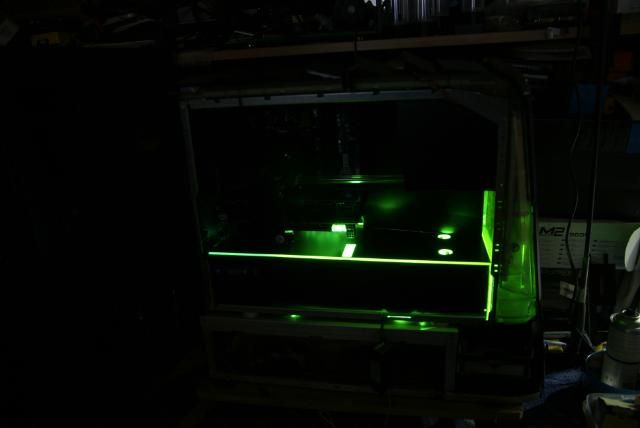
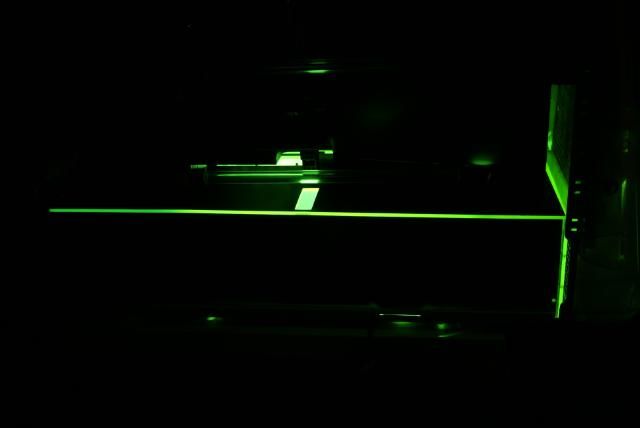
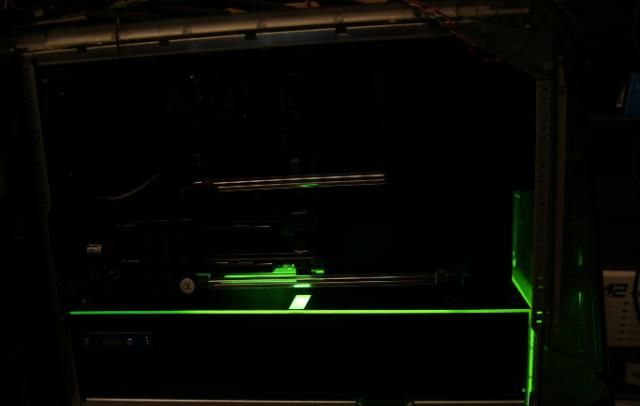
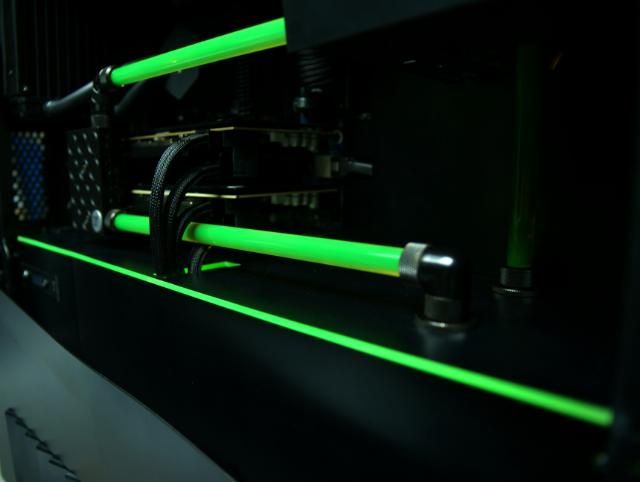
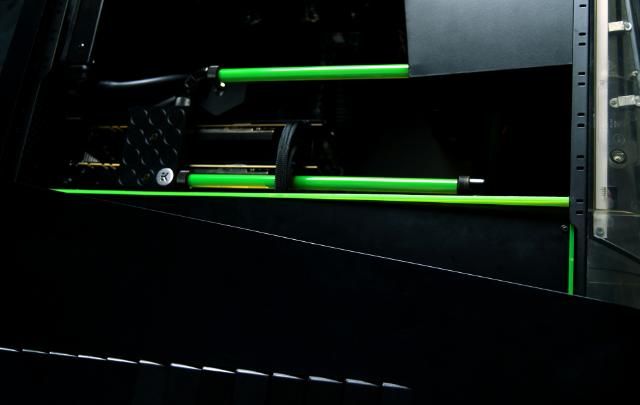
Oww almost forgot, the midplate: I've got the whole plate illuminated using a green ccfl bar for one half.
And the other half (left) I've used a glowpad. The PSU cage would otherwise cause a dark spot ... not now :)

DSC00263.jpg


DSC00267.jpg


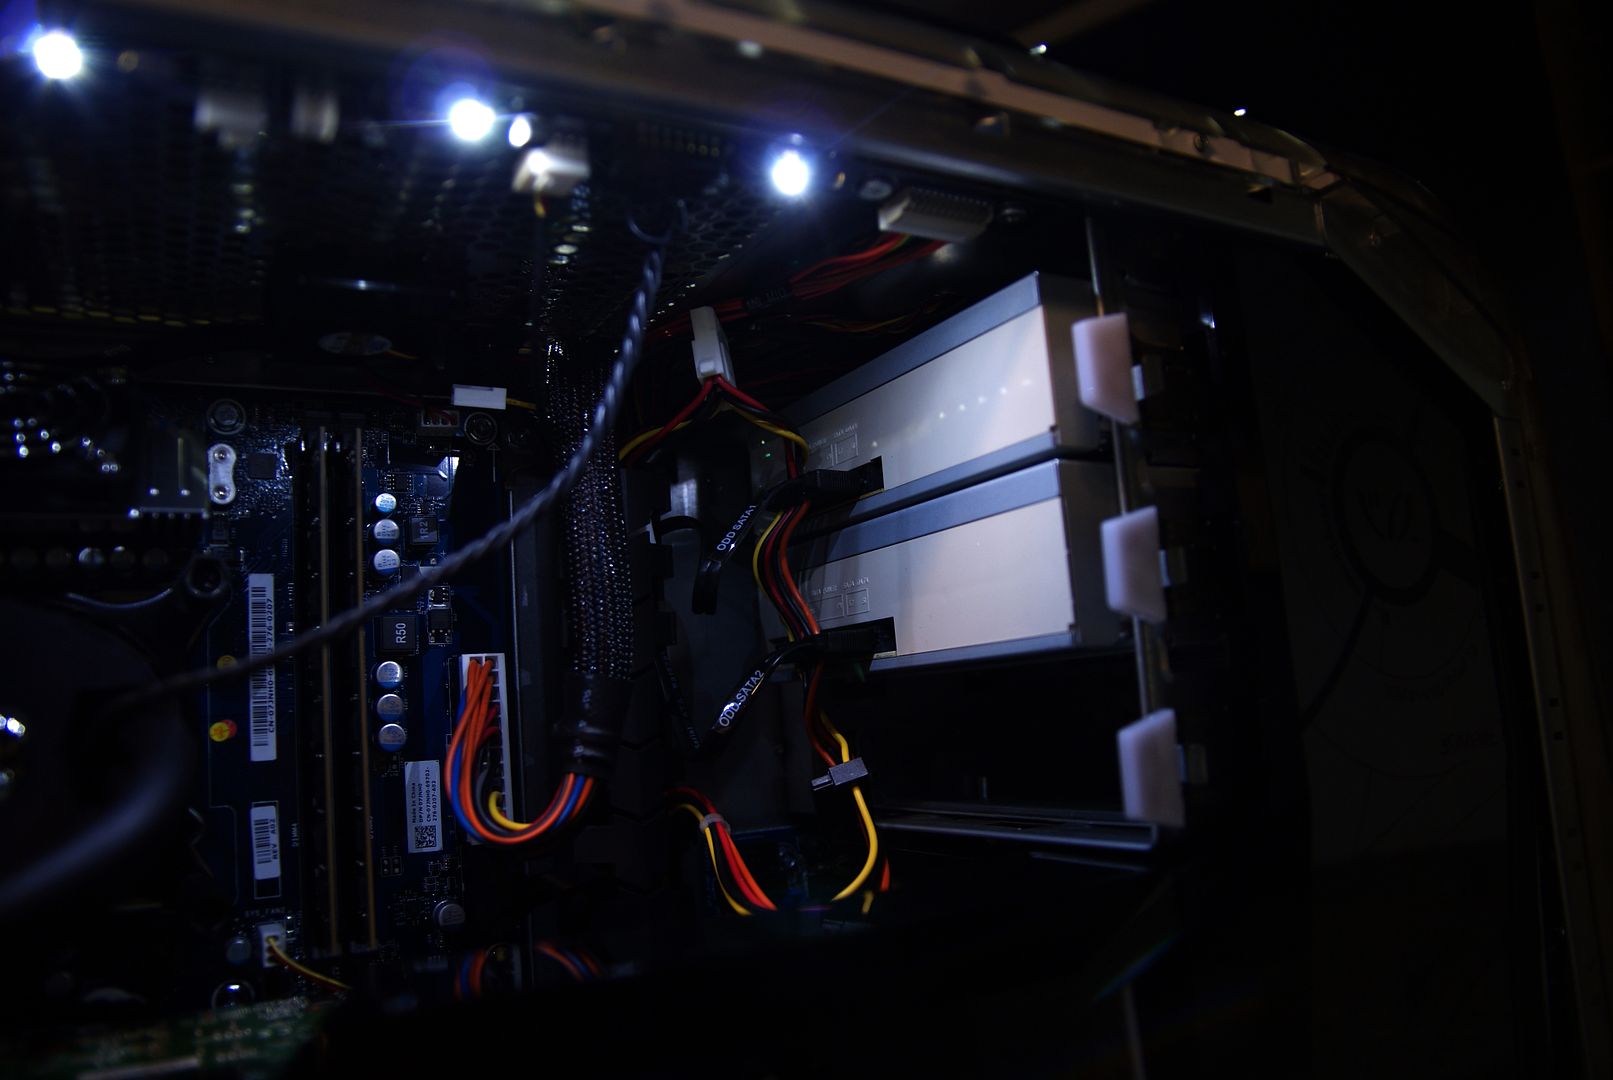
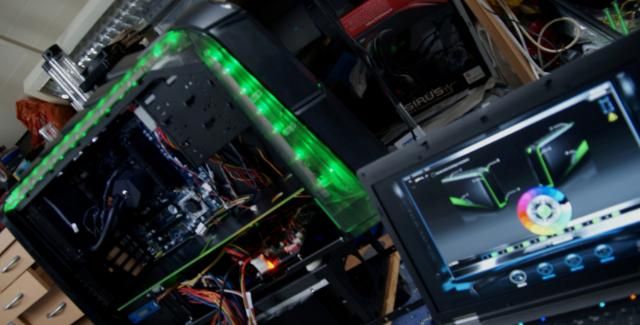
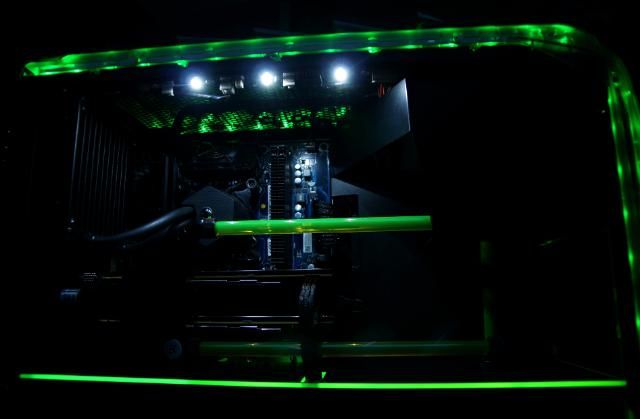
And power on!!!. Because the side panel is off, 3 white LEDs are shining at the top, which shows the internal

DSC00327.jpg


DSC00321.jpg


Leds off

DSC00328.jpg


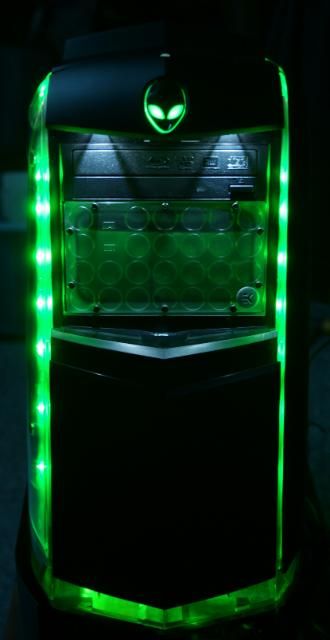
Default color is green, but all original color options are possible

DSC00331.jpg


Front is looking very nice

DSC00334.jpg


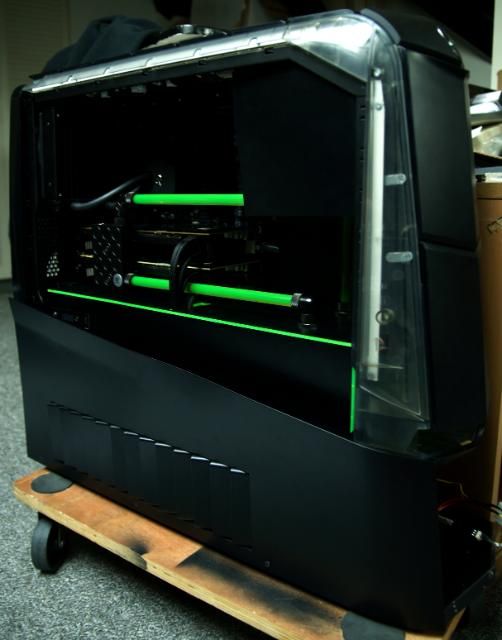
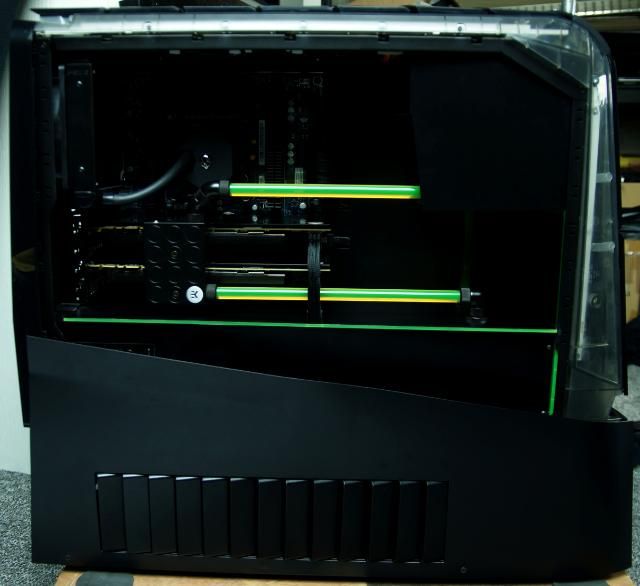
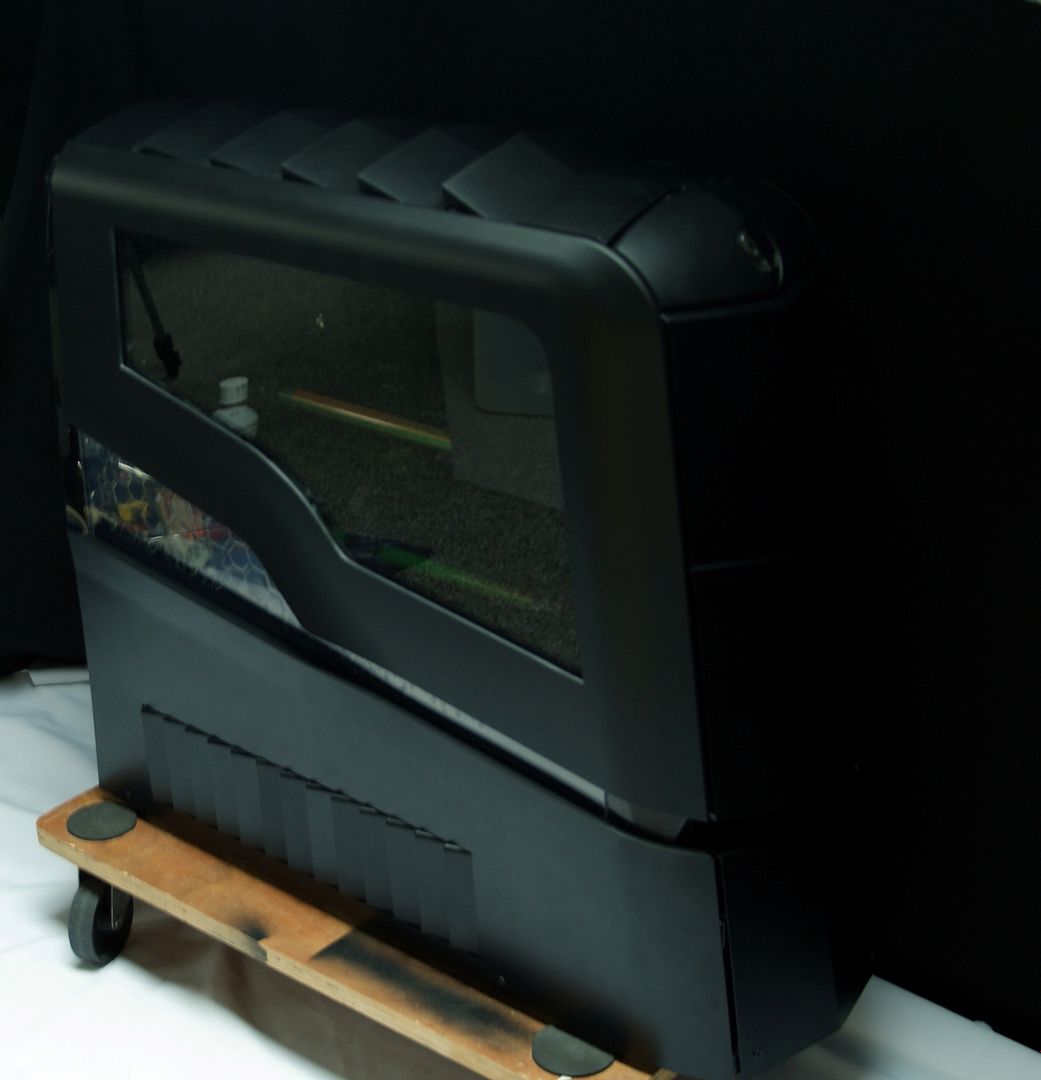
And lights back on. Some pictures with daylight and the panels installed

DSC00345.jpg


DSC00346.jpg


DSC00348.jpg


DSC00350.jpg


DSC00353.jpg


DSC00358.jpg


DSC00357.jpg


DSC00354.jpg


DSC00361.jpg


DSC00365.jpg


DSC00367.jpg


DSC00379.jpg


DSC00378.jpg


DSC00377.jpg


DSC00374.jpg


DSC00375.jpg


DSC00372.jpg


DSC00371.jpg


DSC00370.jpg


DSC00368.jpg


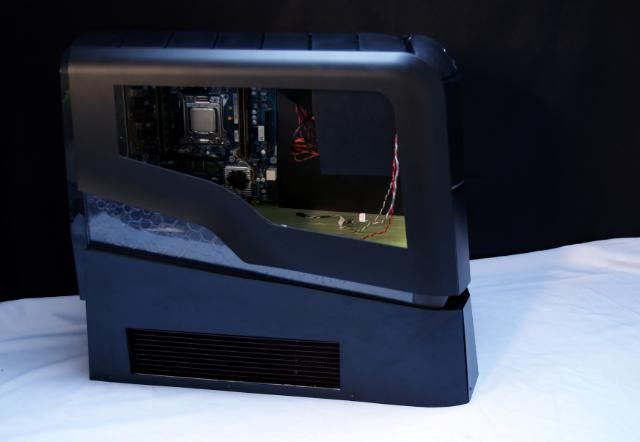
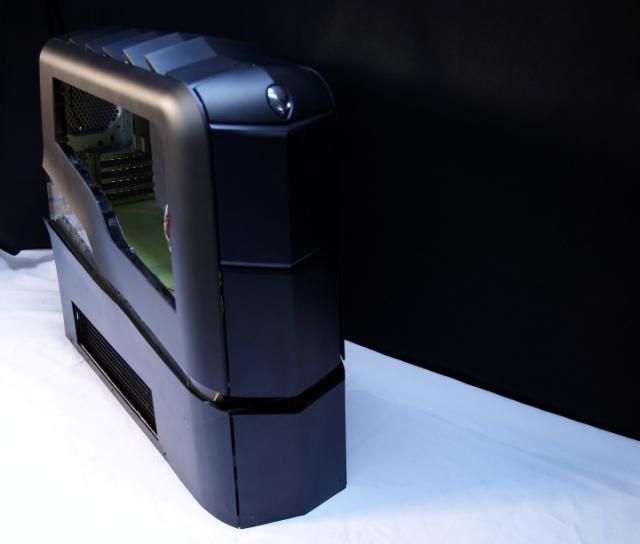
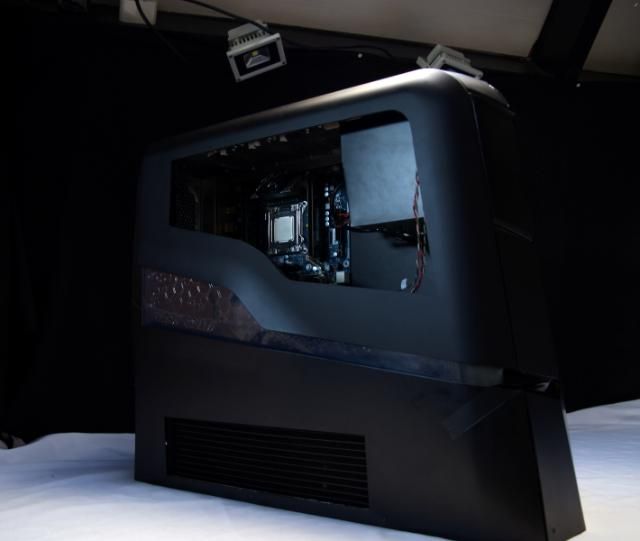
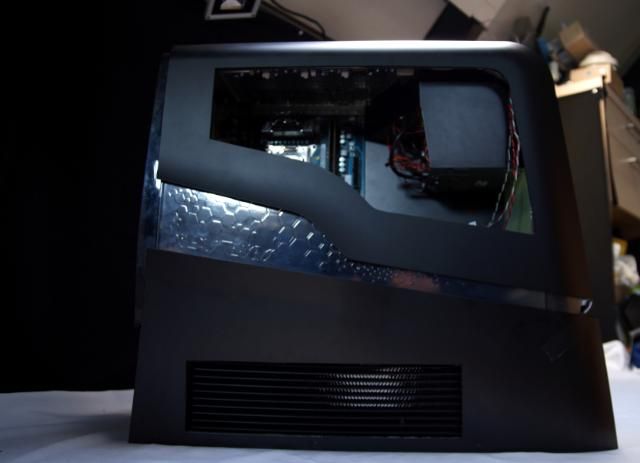
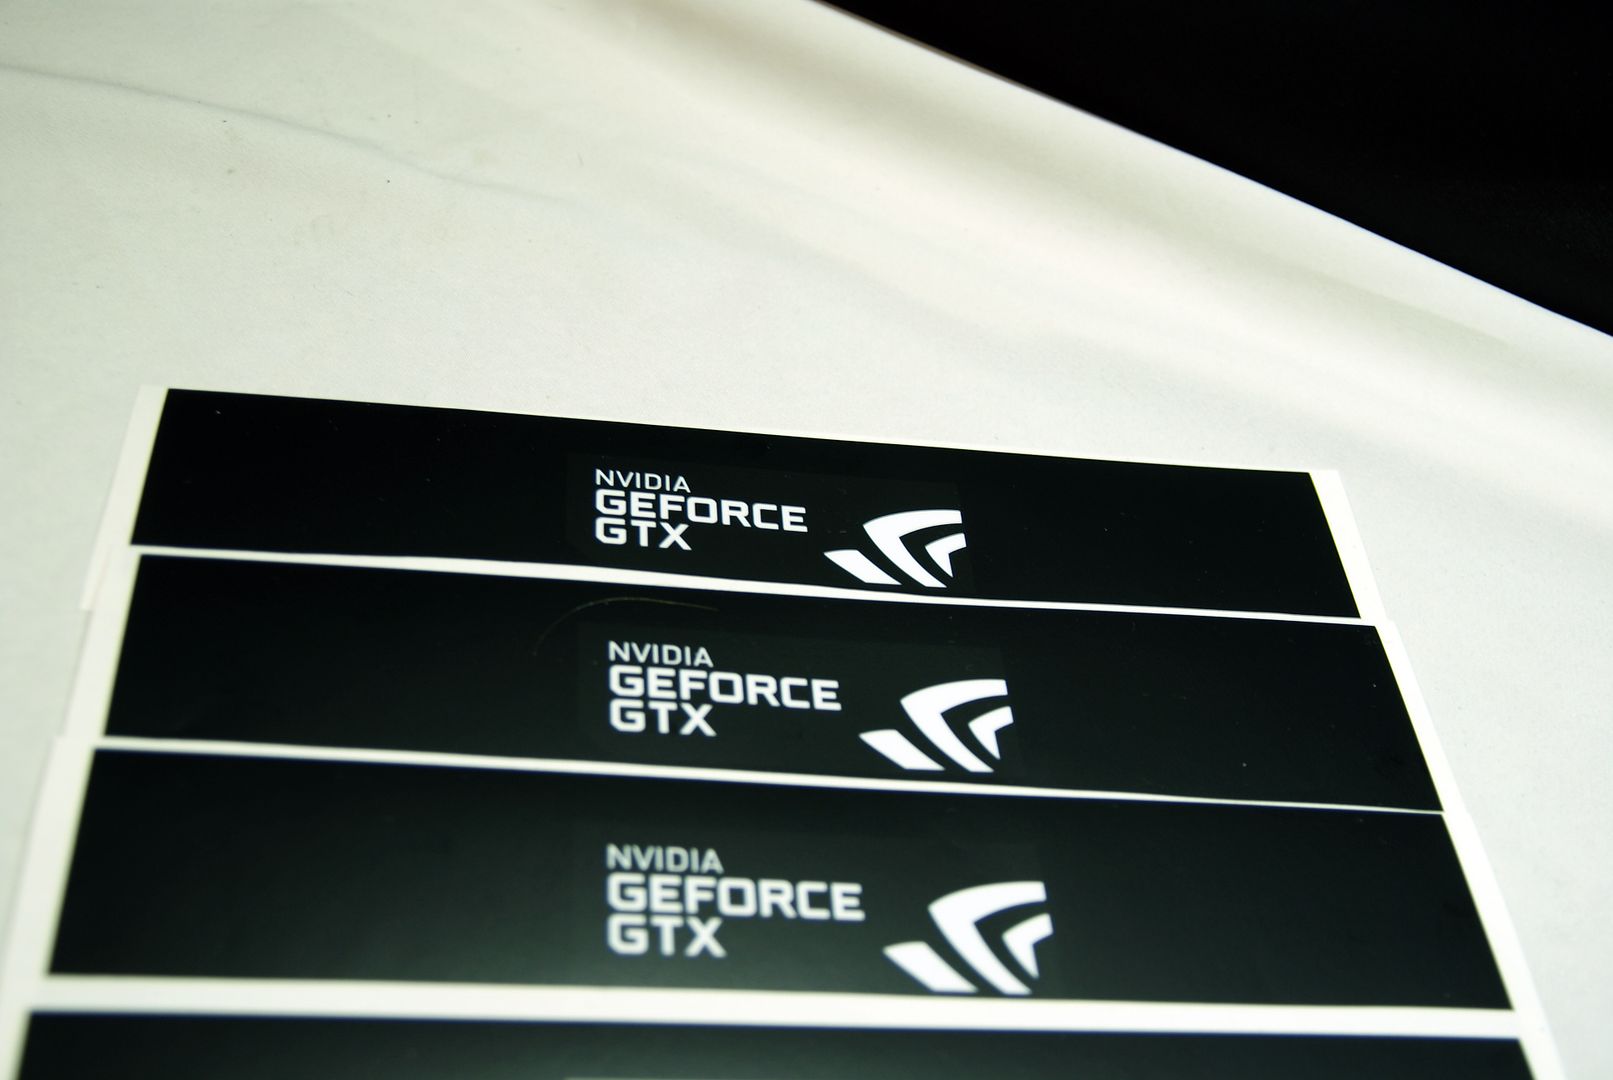
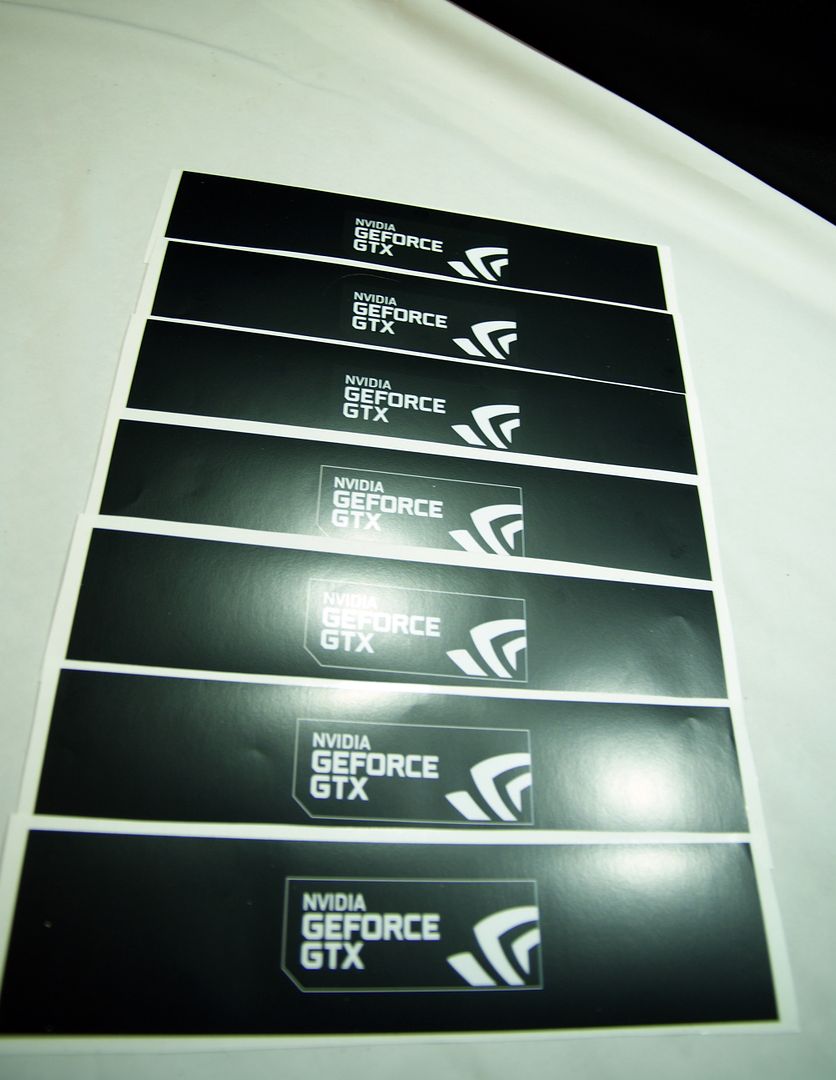
Still some minor work to be done, such as the Nvidia GPU sticker on the cover, acrylic window and so on. Next time;) Cheers!
 
Looks like you put a lot of time effort and work into, and it has paid off, love how it looks and you did a better job than Dell/Alienware did!
 
Wow that looks amazing and I never really liked alienware cases.
 
Alienware Aurora ALX-XL is sponsored by:


Update!!!

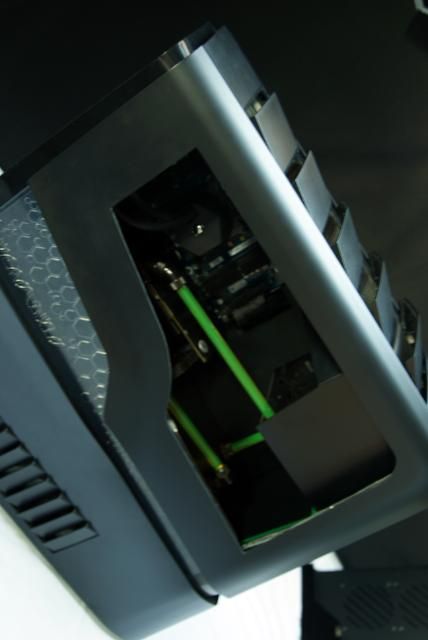
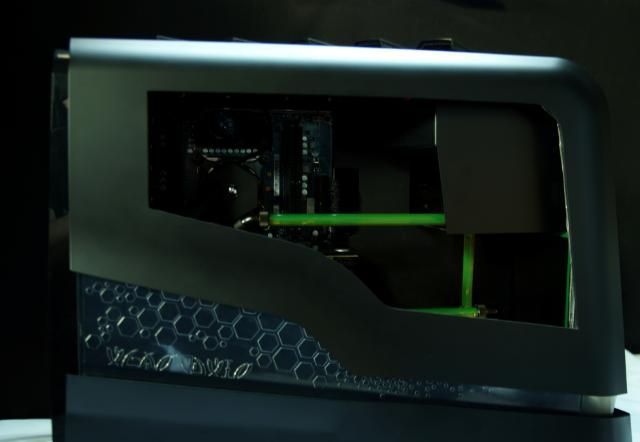
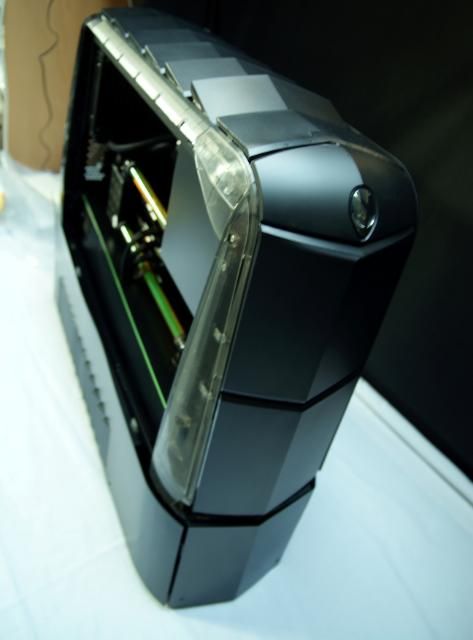
This is it ... he's finished.
Last work is done and now only the final photo shoot. Then he (temporarily) returns to Alienware.
For the demo room and events ... so maybe you'll see it again live somewhere

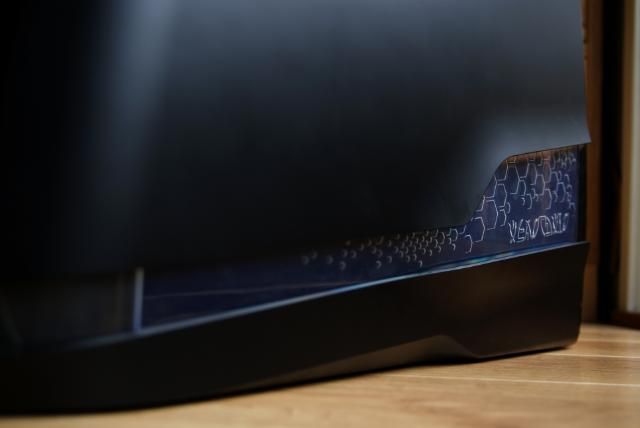
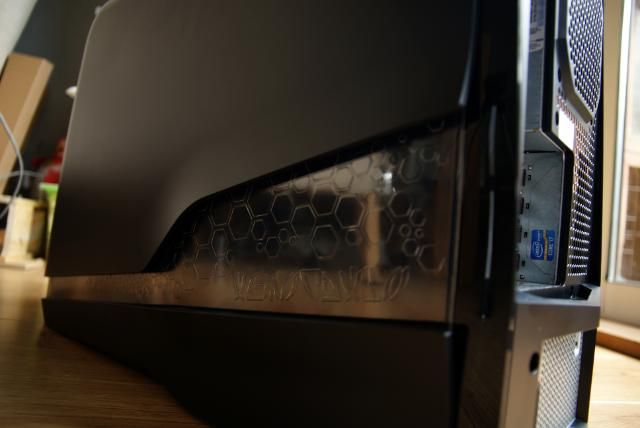
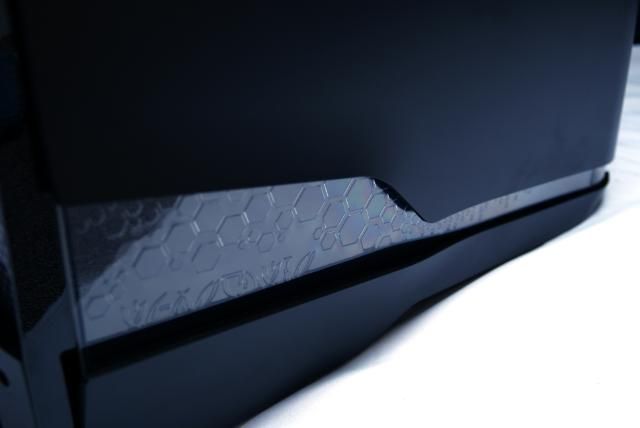
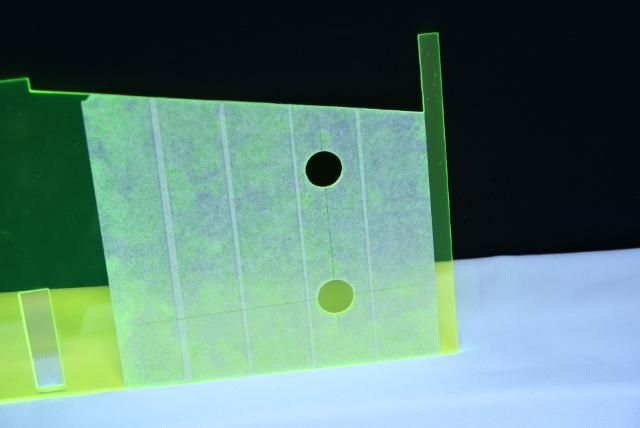
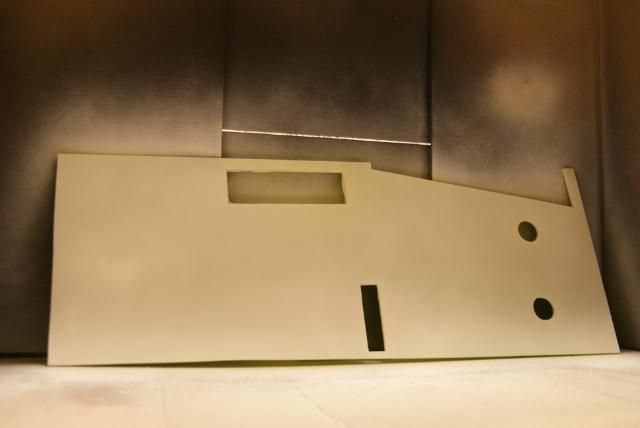
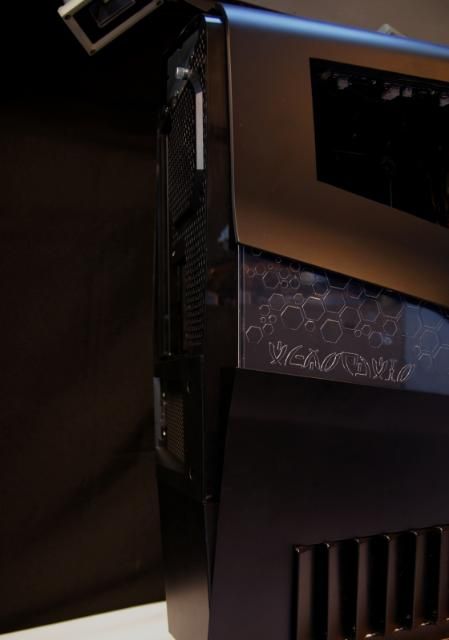
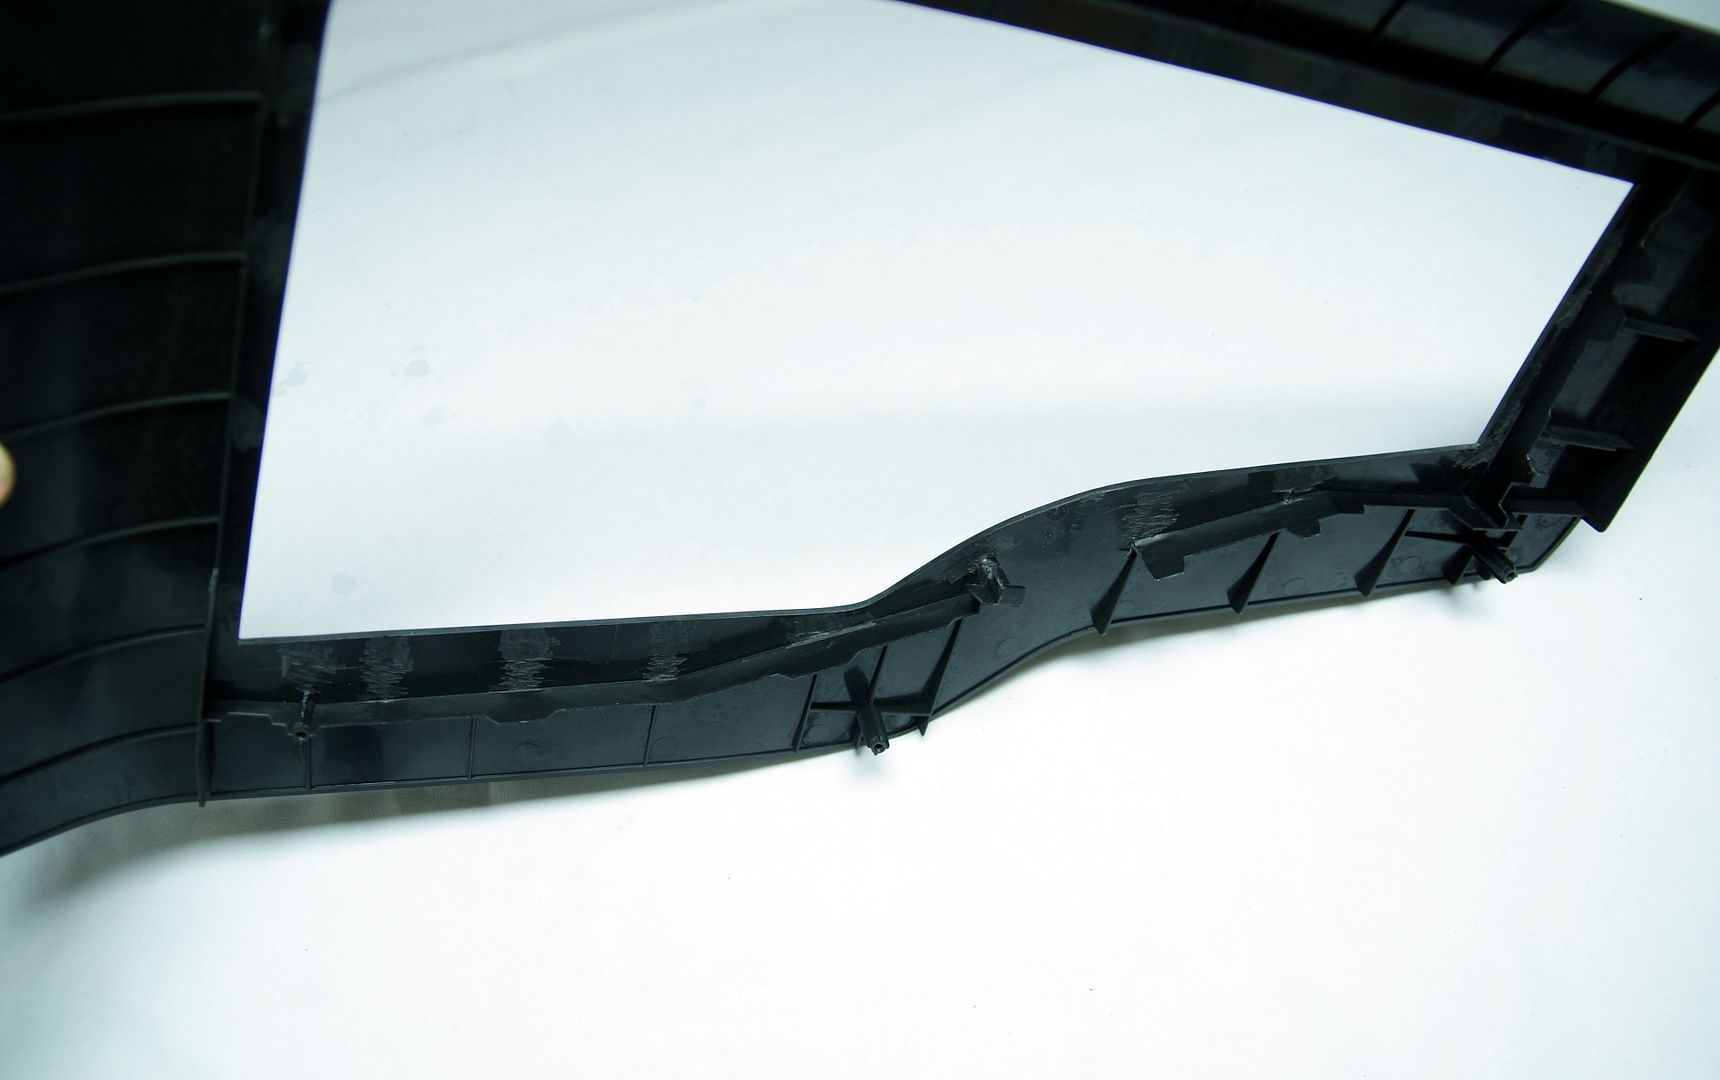
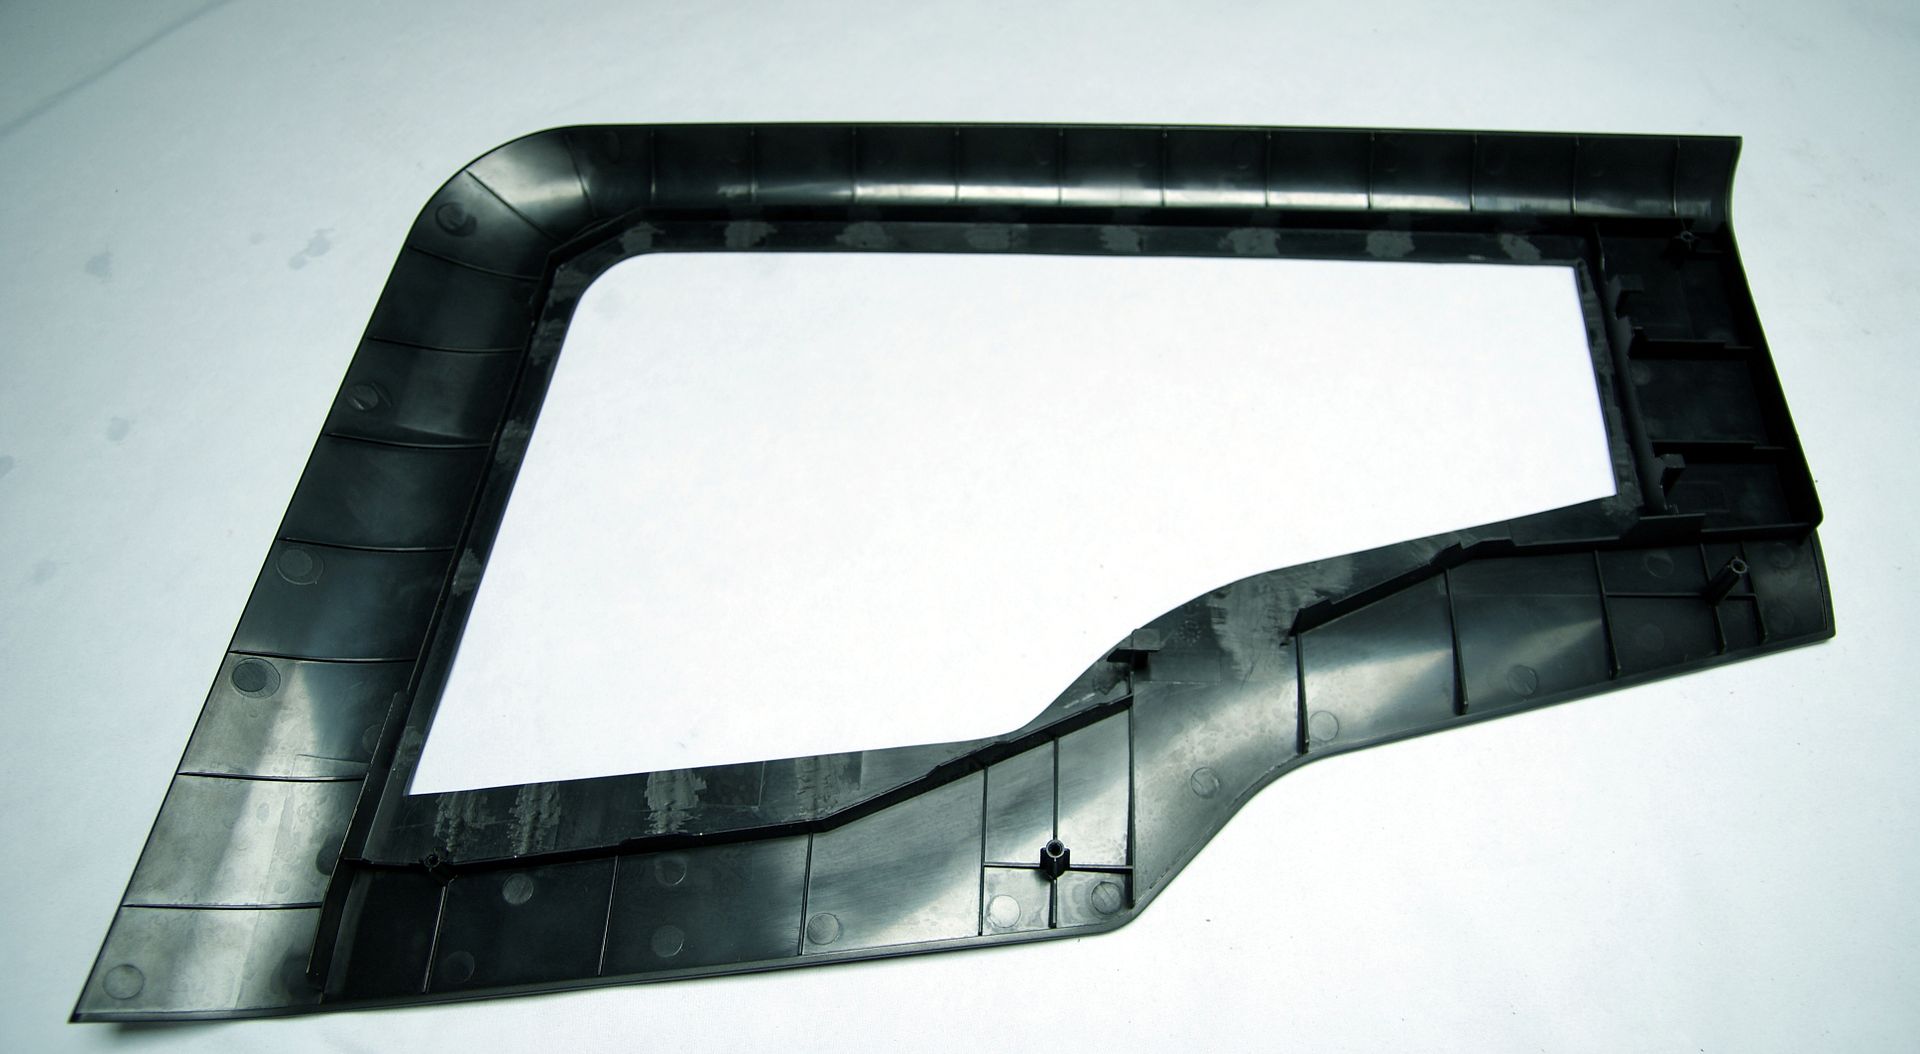
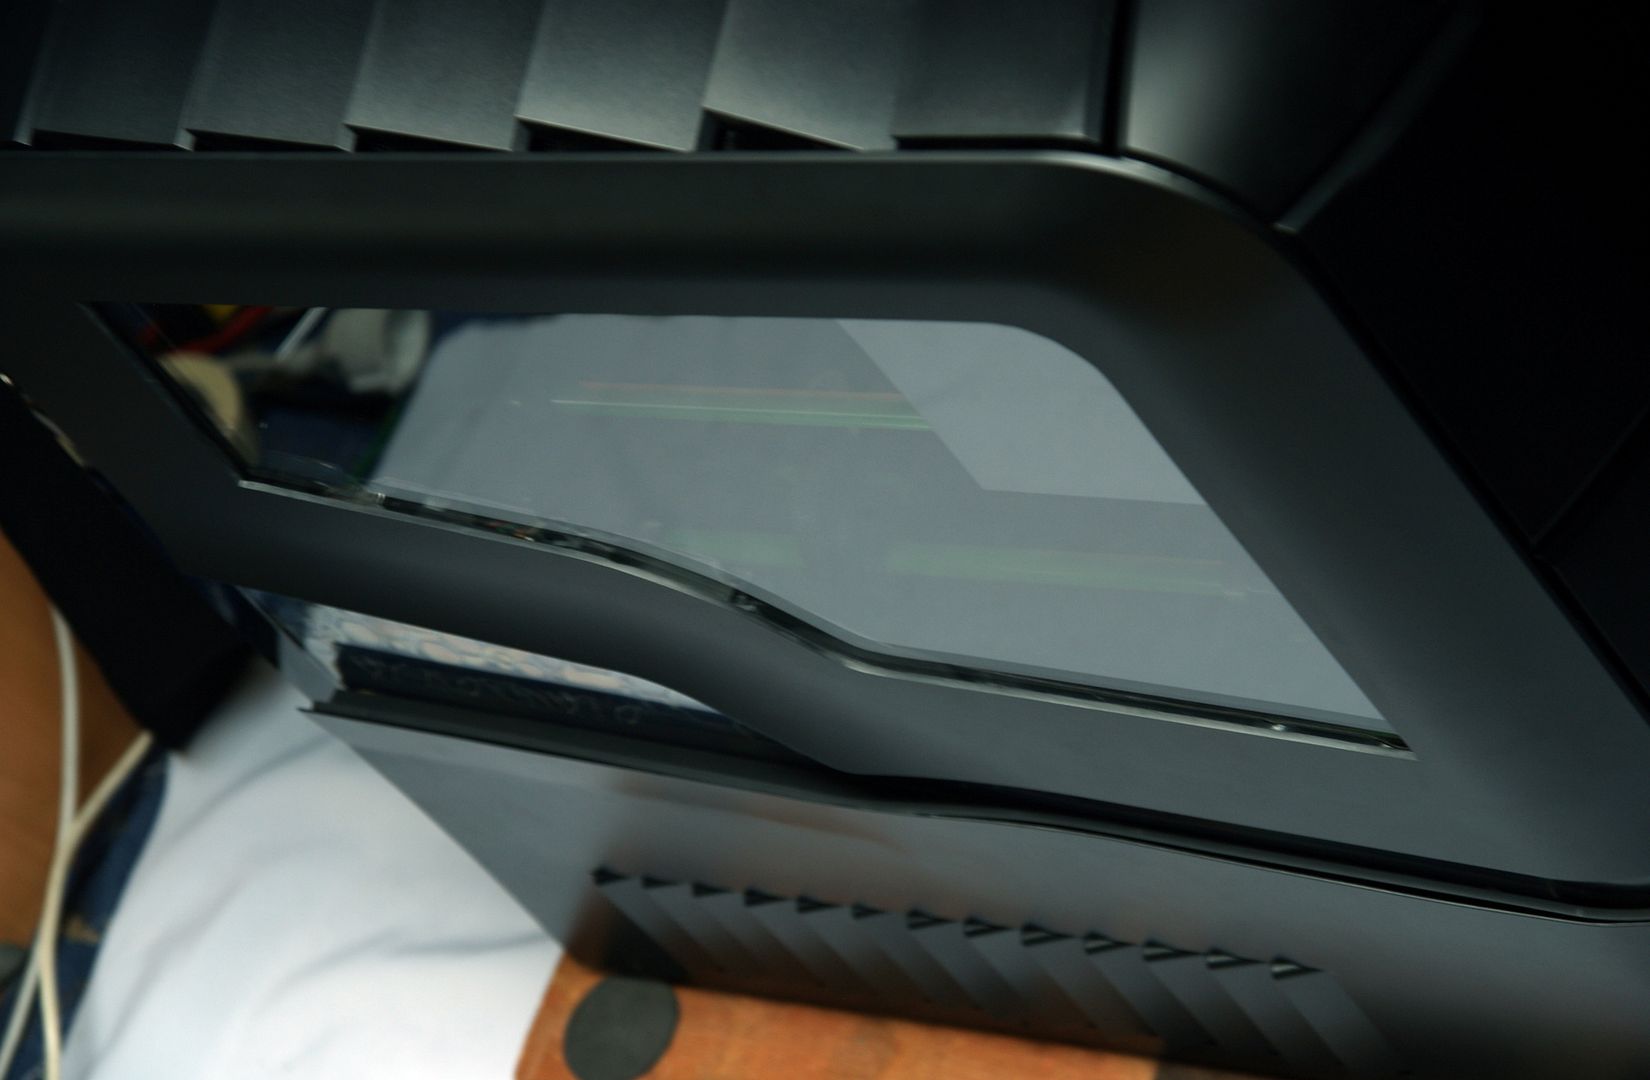
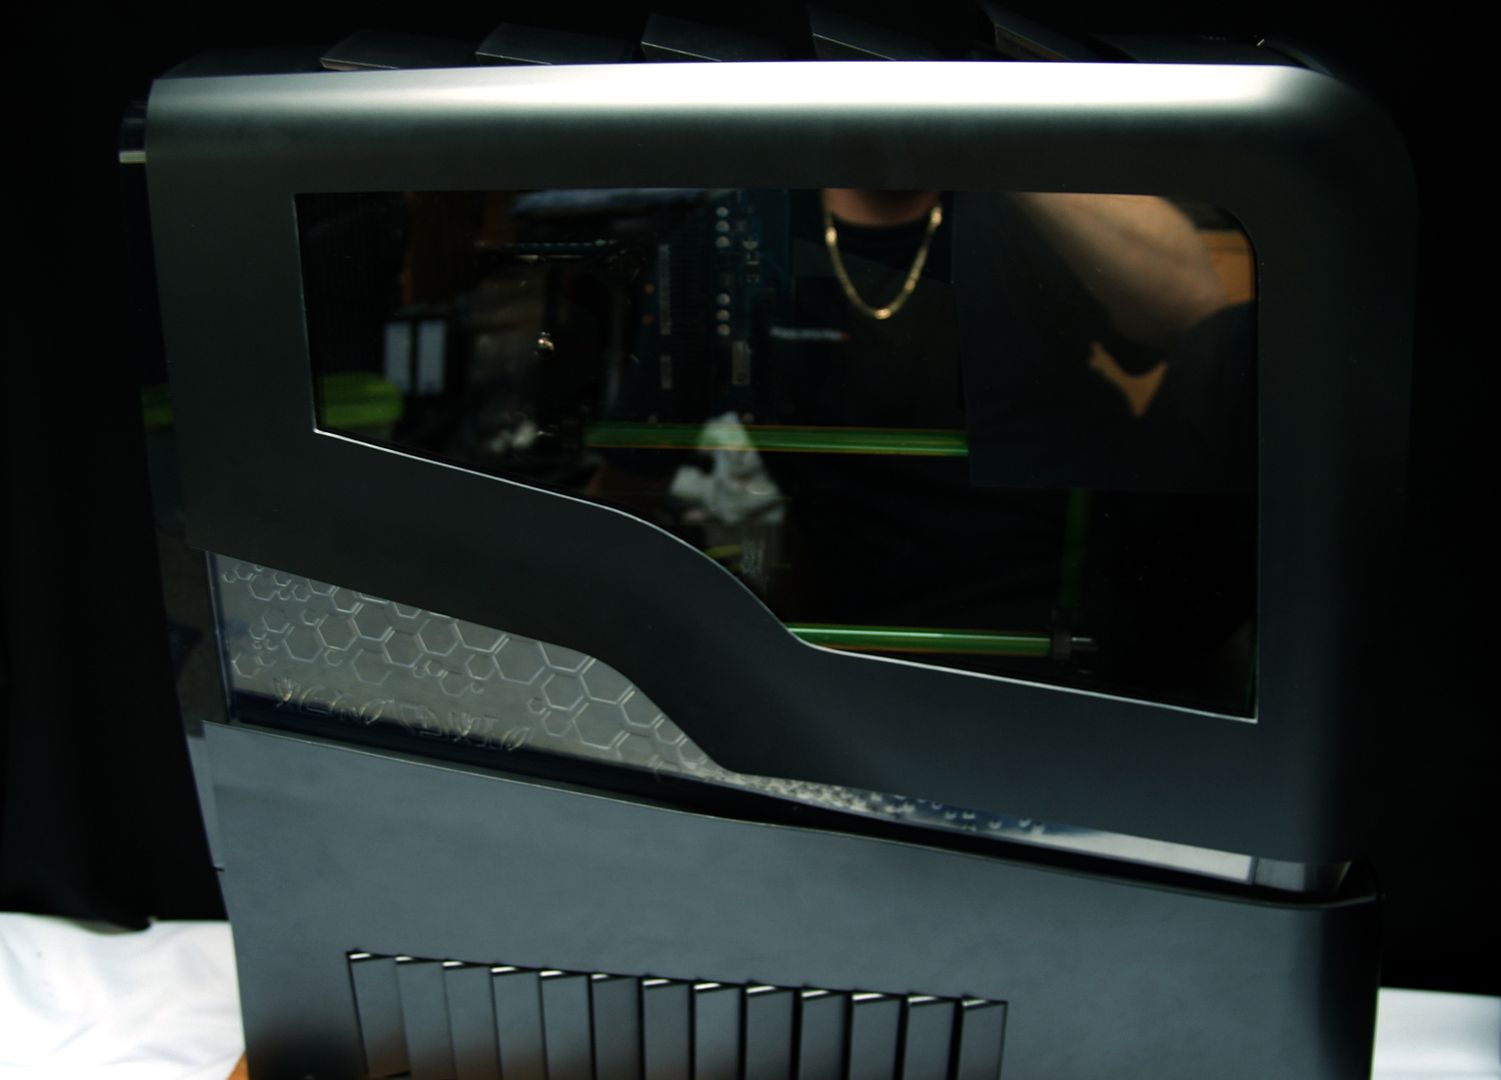
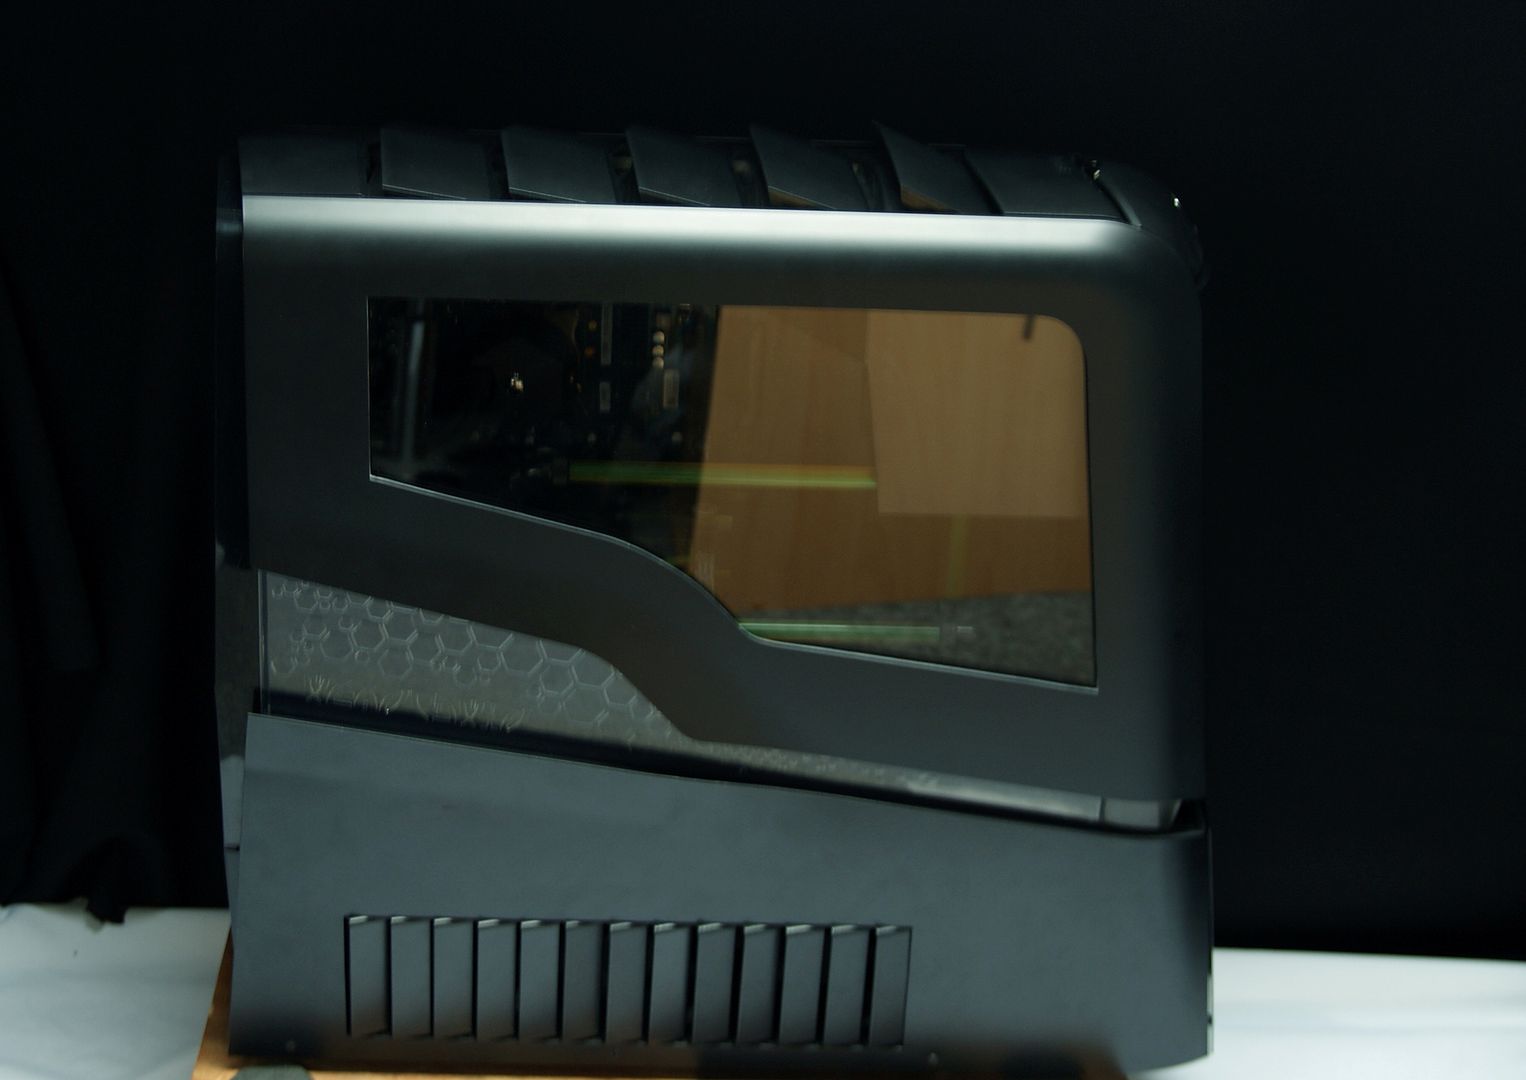
Window was one of the last things that must be done, so I have adjusted the original cover a bit more unnecessary plastic removed

DSC00588.jpg


DSC00586.jpg


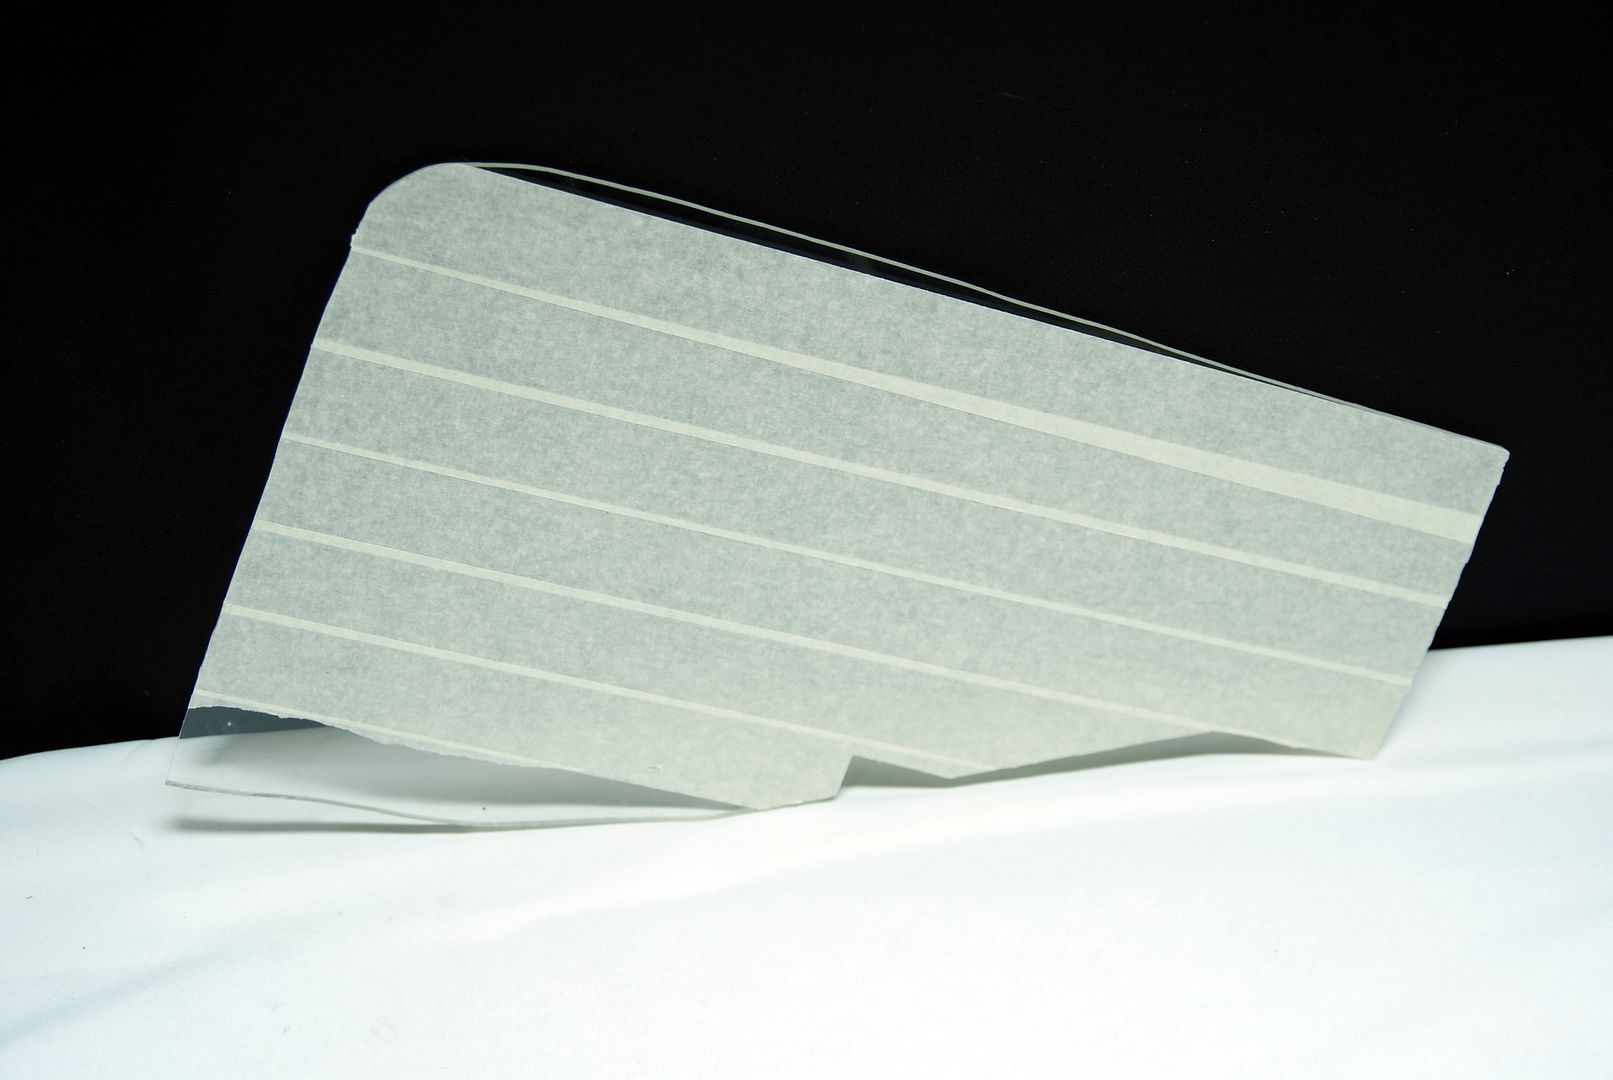
Cut a piece of acrylic.

DSC00590.jpg


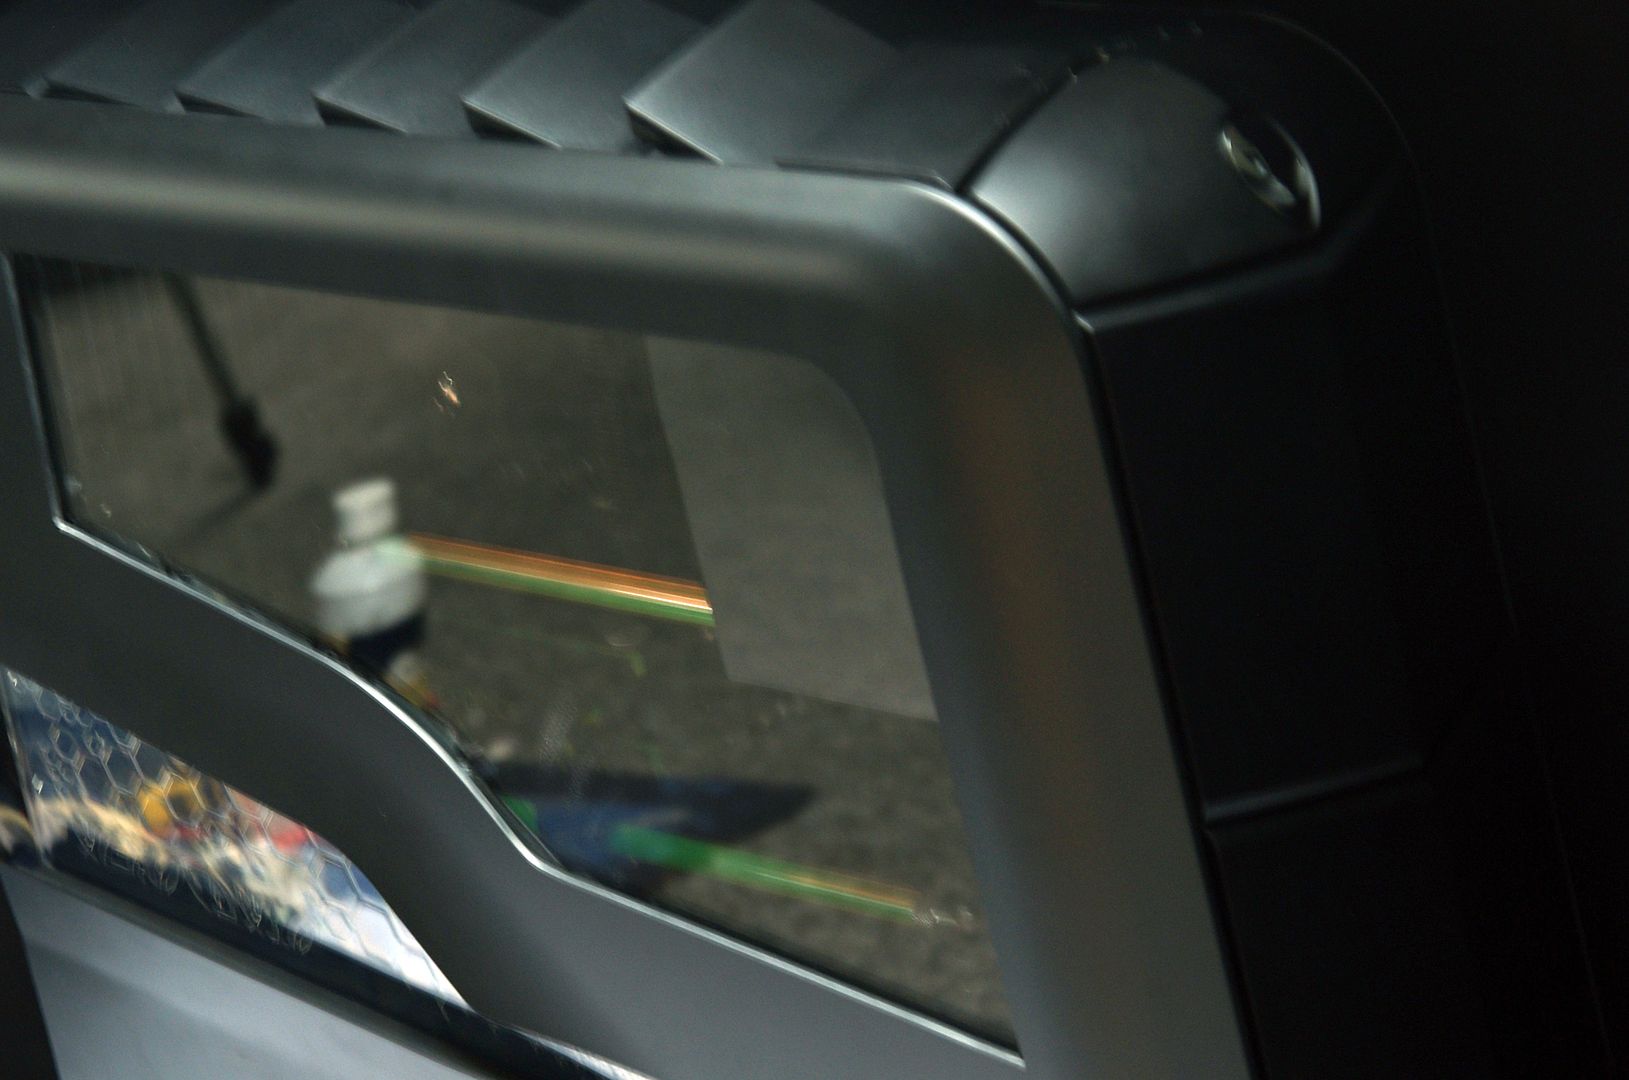
And installed

DSC00606.jpg


DSC00608.jpg


DSC00601.jpg


DSC00604.jpg


DSC00605.jpg


DSC00598.jpg


DSC00595.jpg


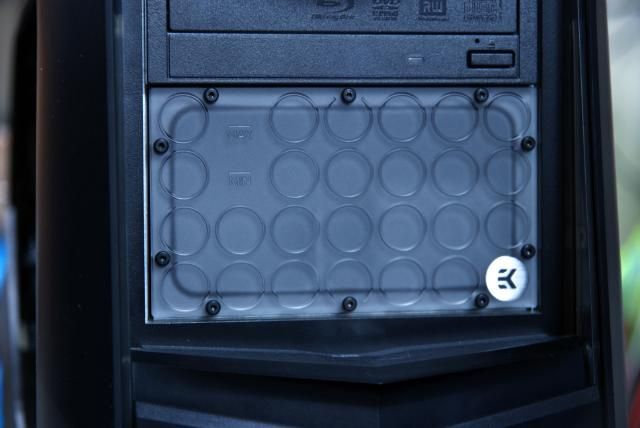
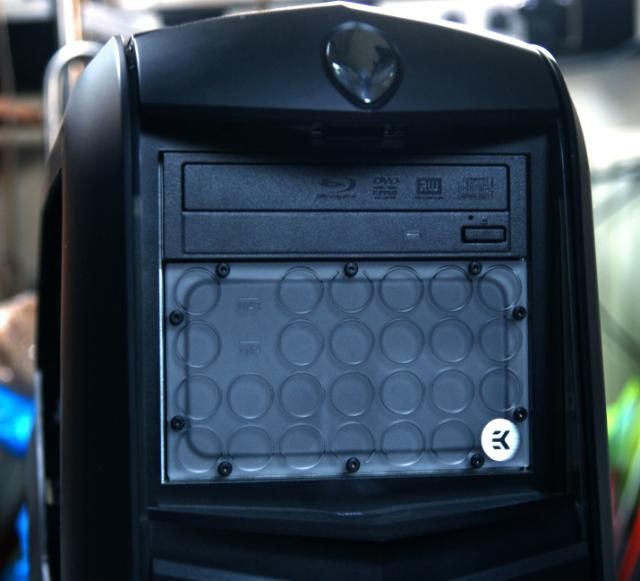
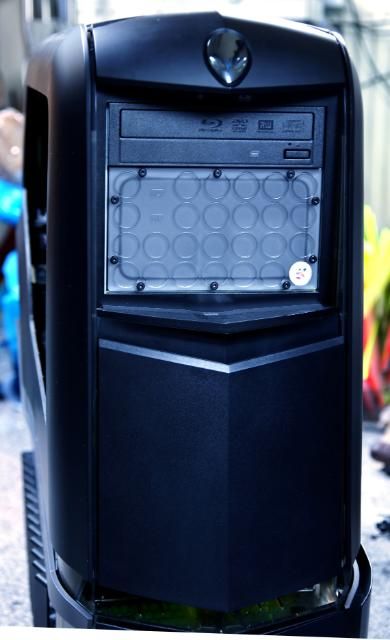
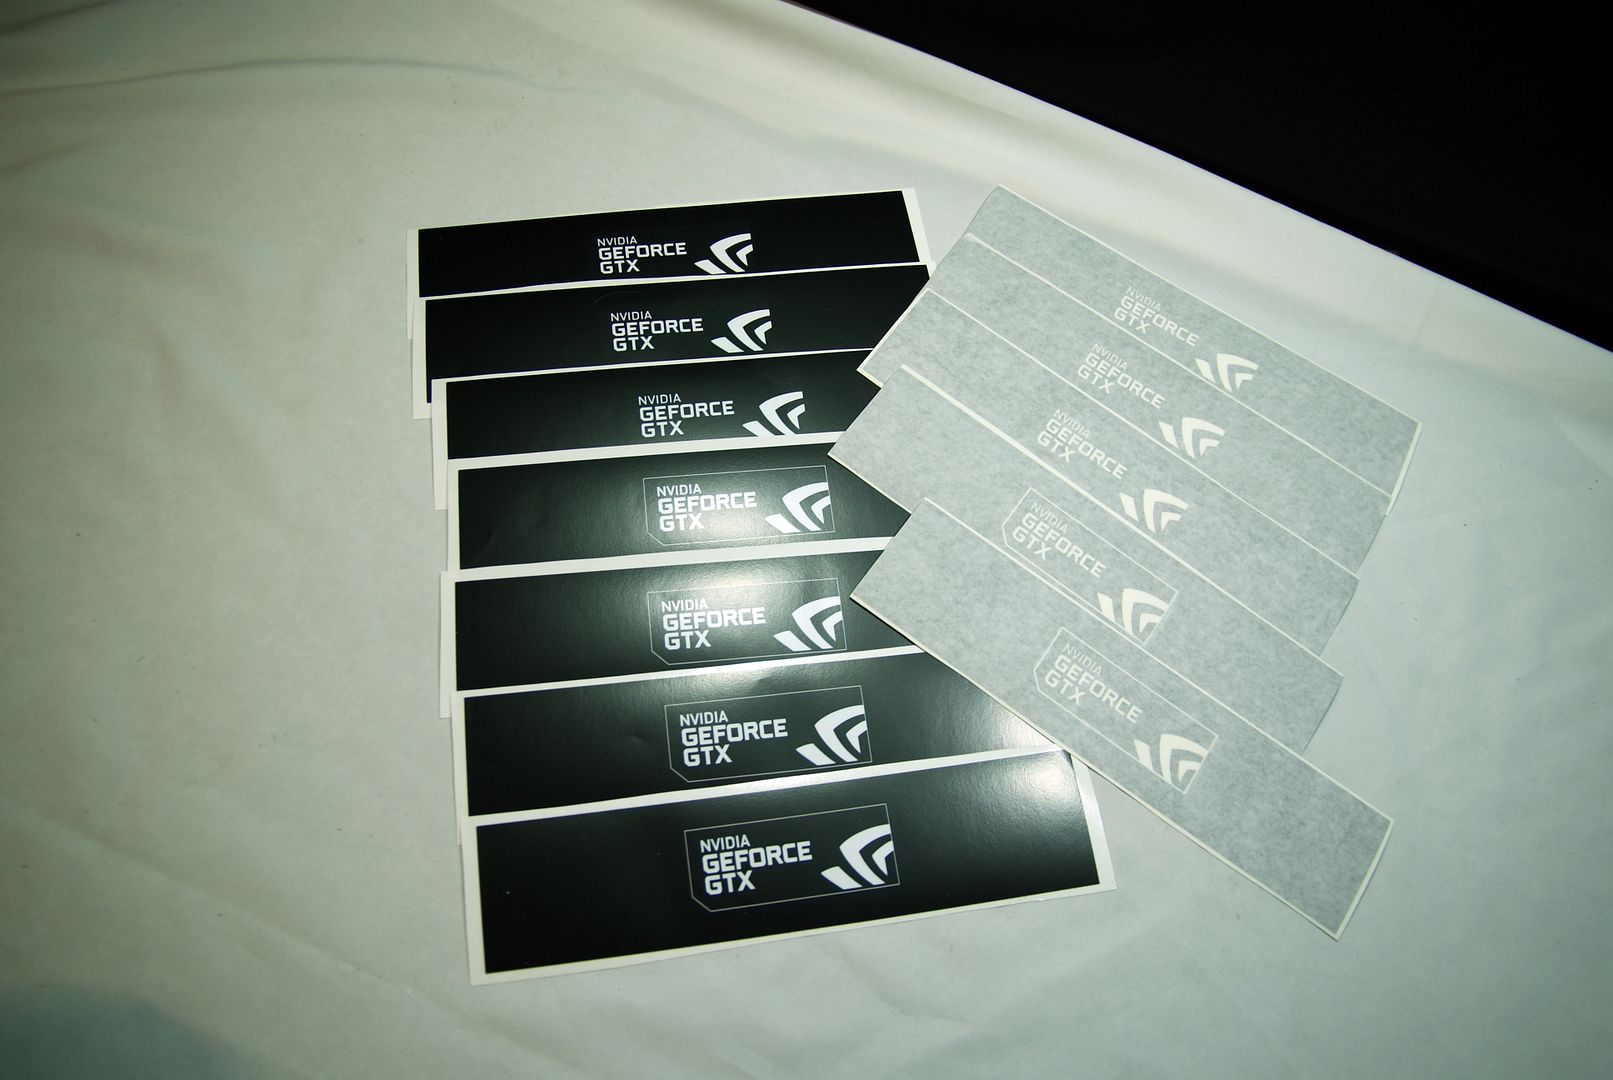
The vinyl stickers were in and looks very nice. They gave my some more pieces to try it out. Letterop Advertising thank you very much for this.


DSC00719.jpg


DSC00718.jpg


DSC00715.jpg


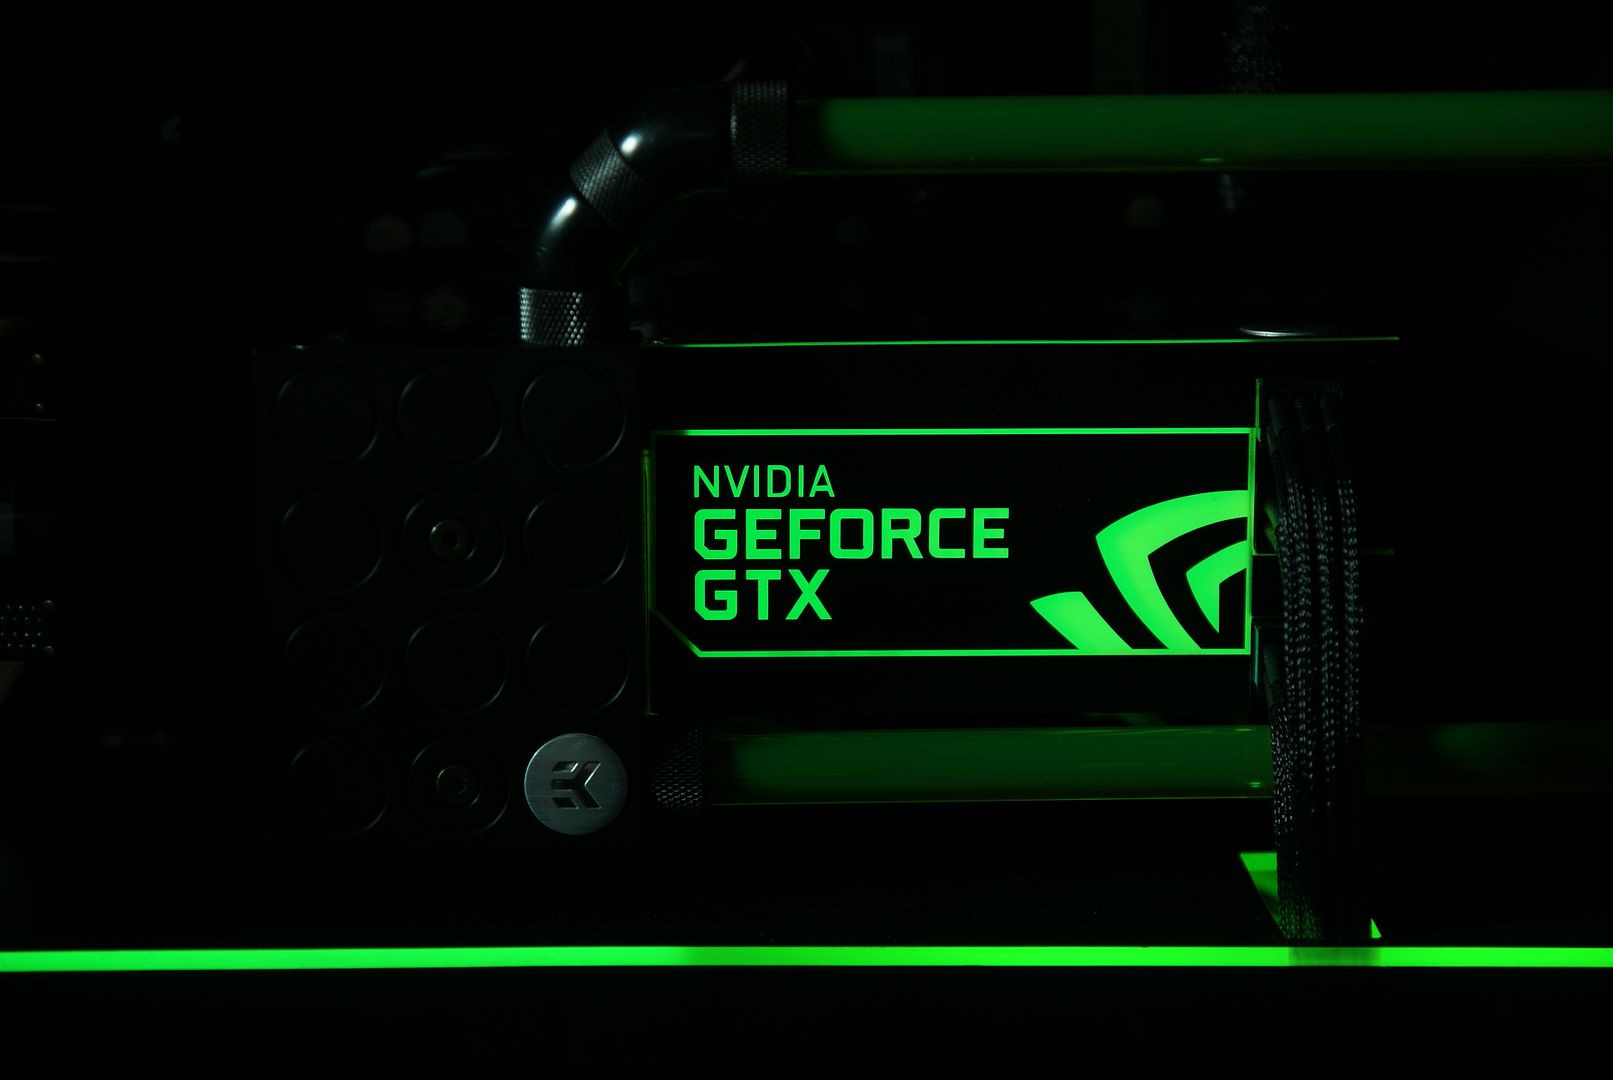
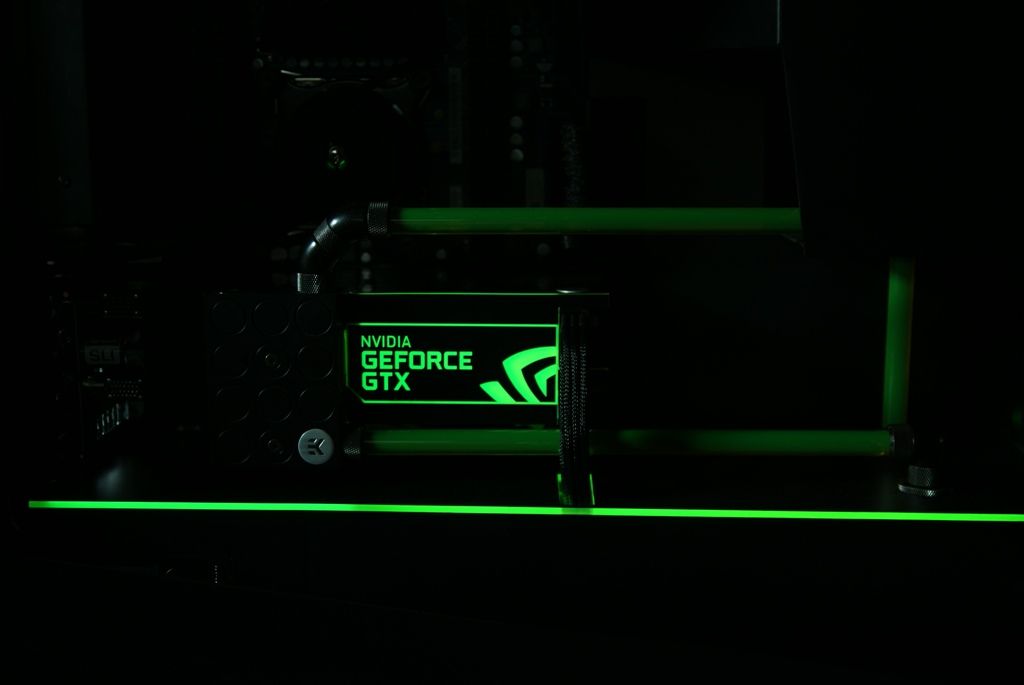
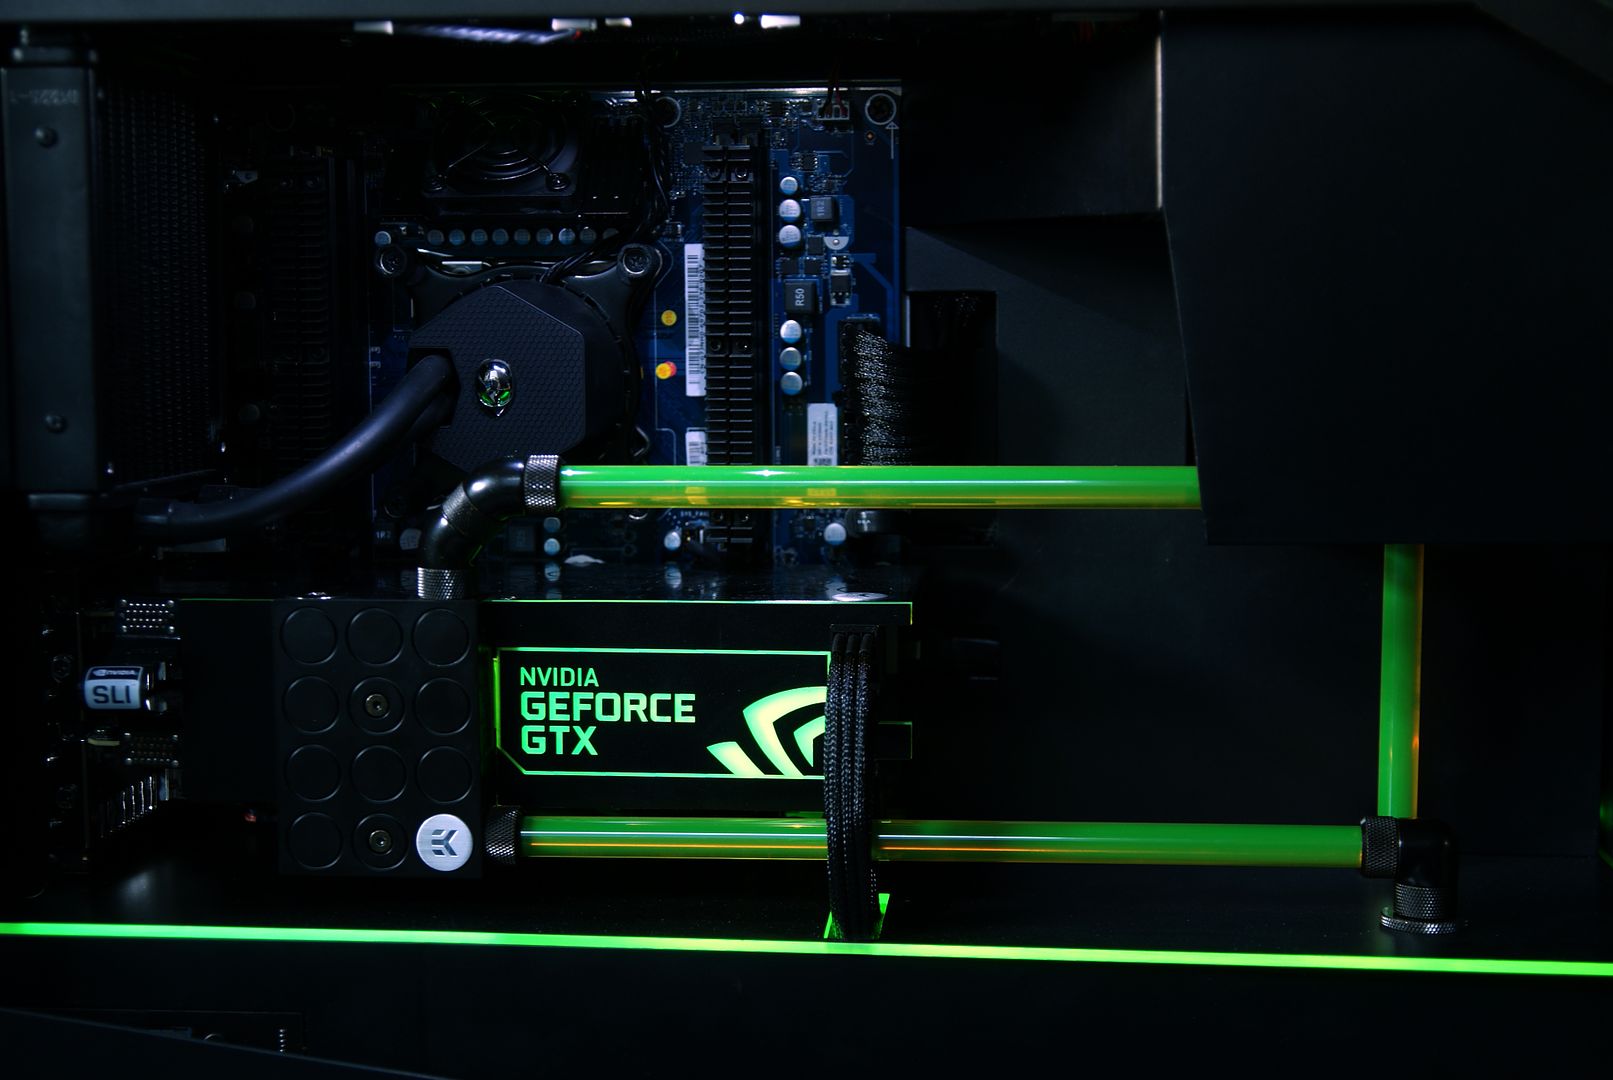
Applied and tested the light

DSC00453.jpg


DSC00448.jpg


DSC00488.jpg


DSC00487.jpg


DSC00475.jpg


DSC00457.jpg


And the Alienware Aurora ALX-XL connected

DSC00492.jpg


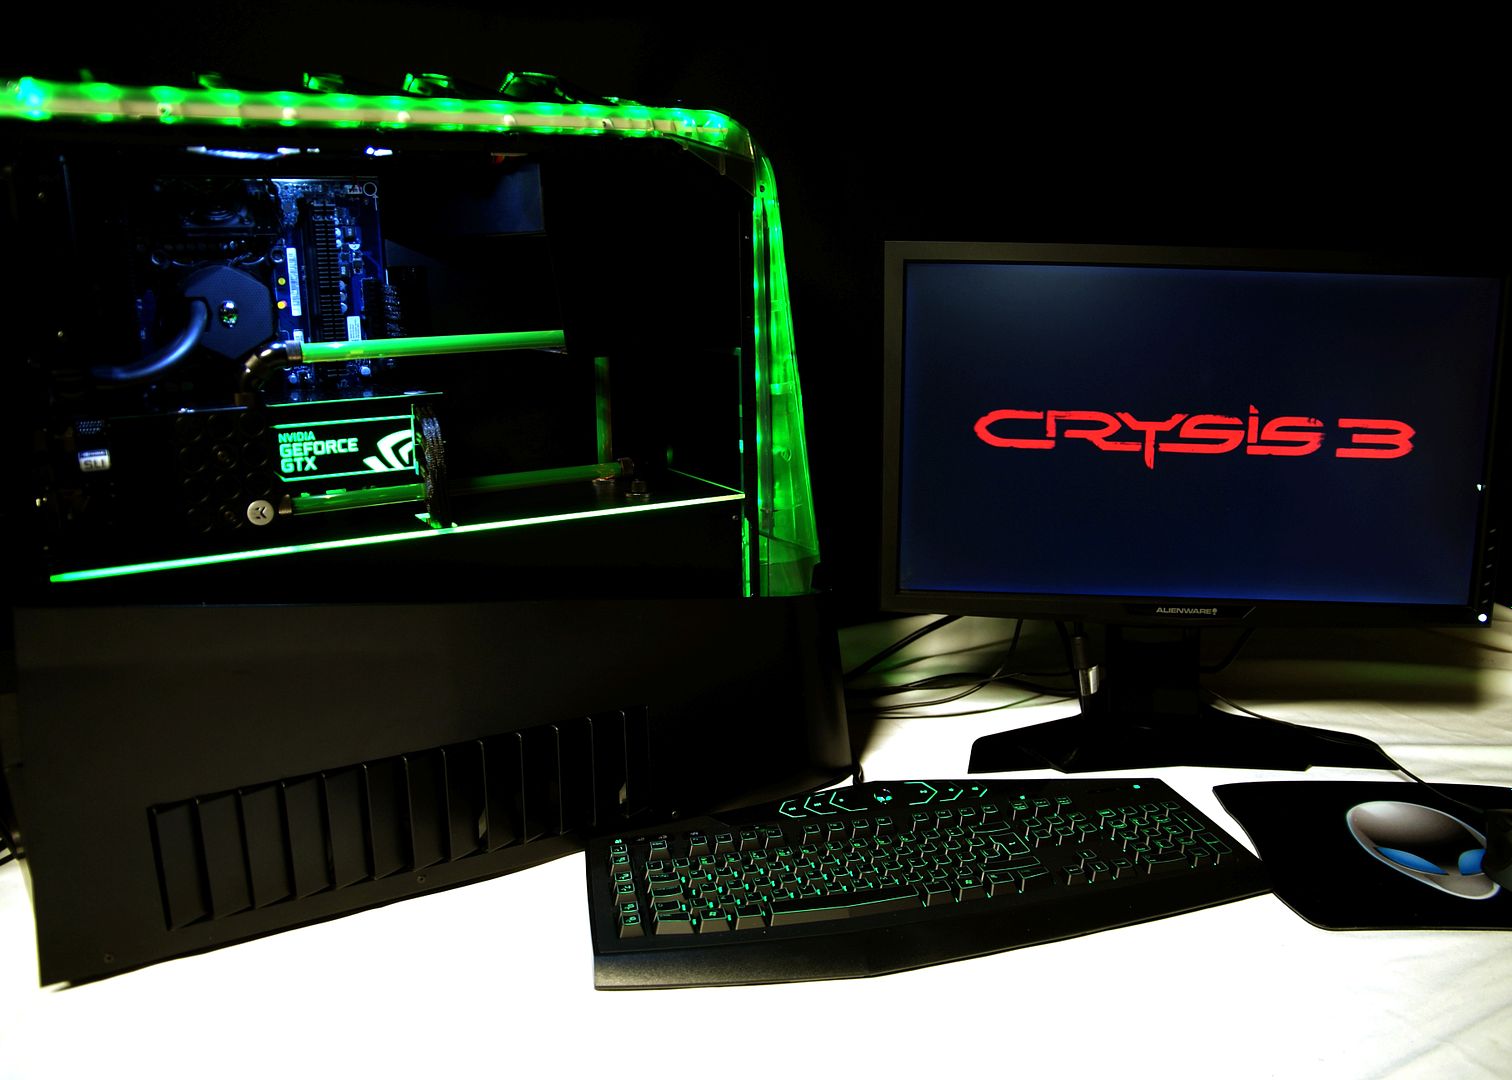
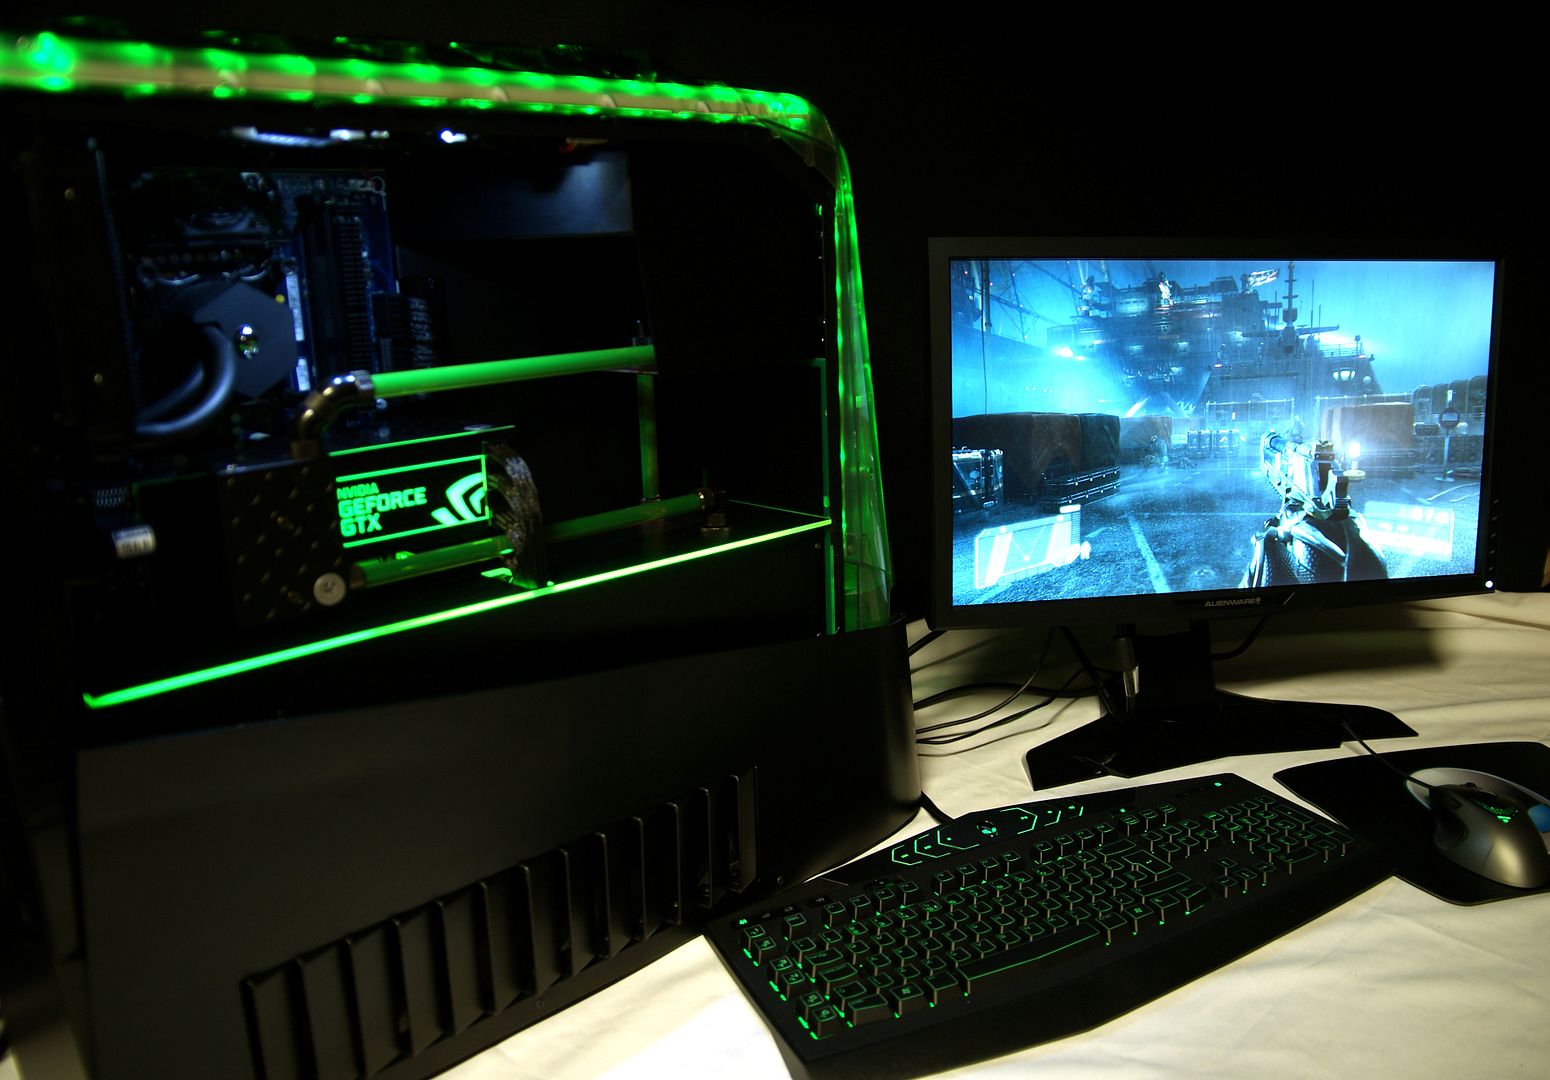
Crysis 3 installed ;)

DSC00510.jpg


DSC00511.jpg


Last update will be the final photo shoot and maybe a nice vid ... until then!
 
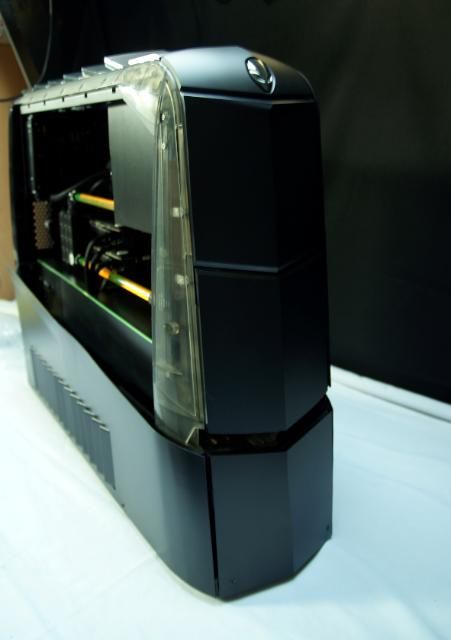
Alienware Aurora ALX-XL is sponsored by:


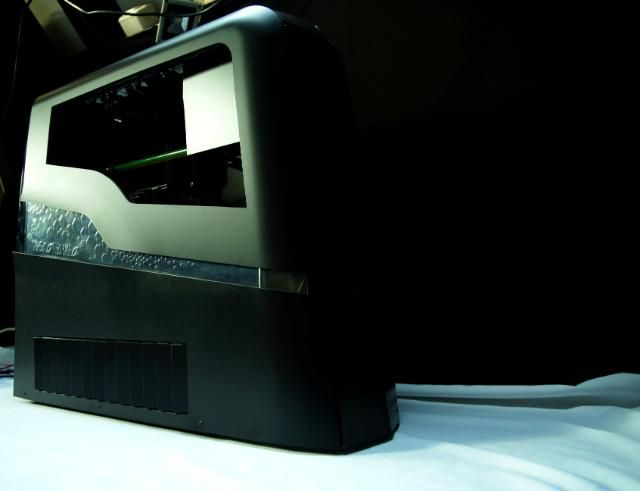
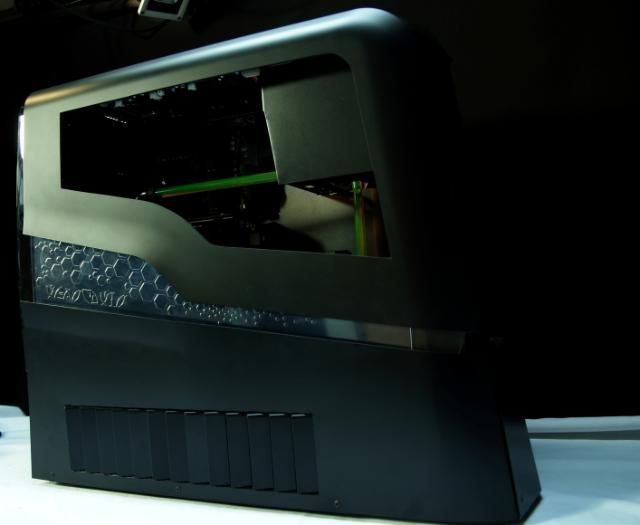
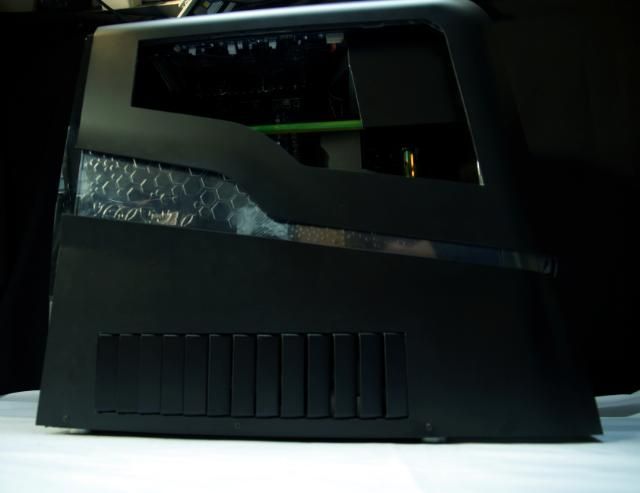
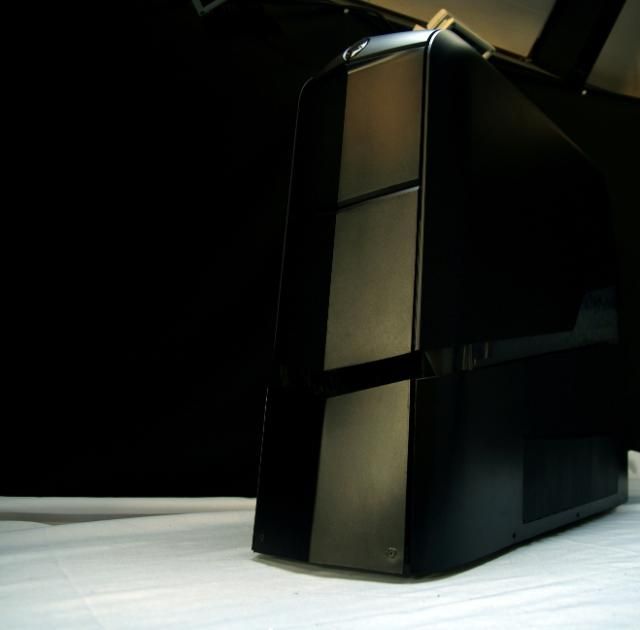
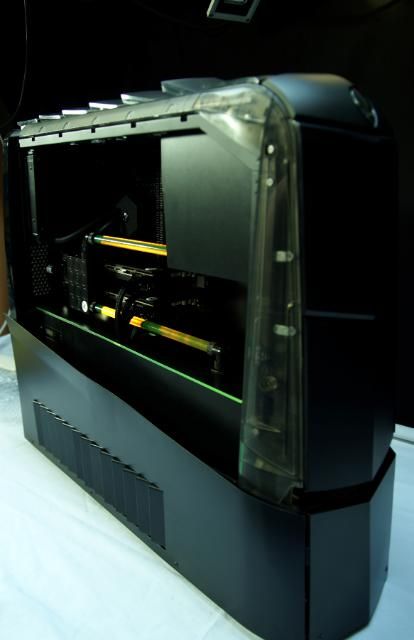
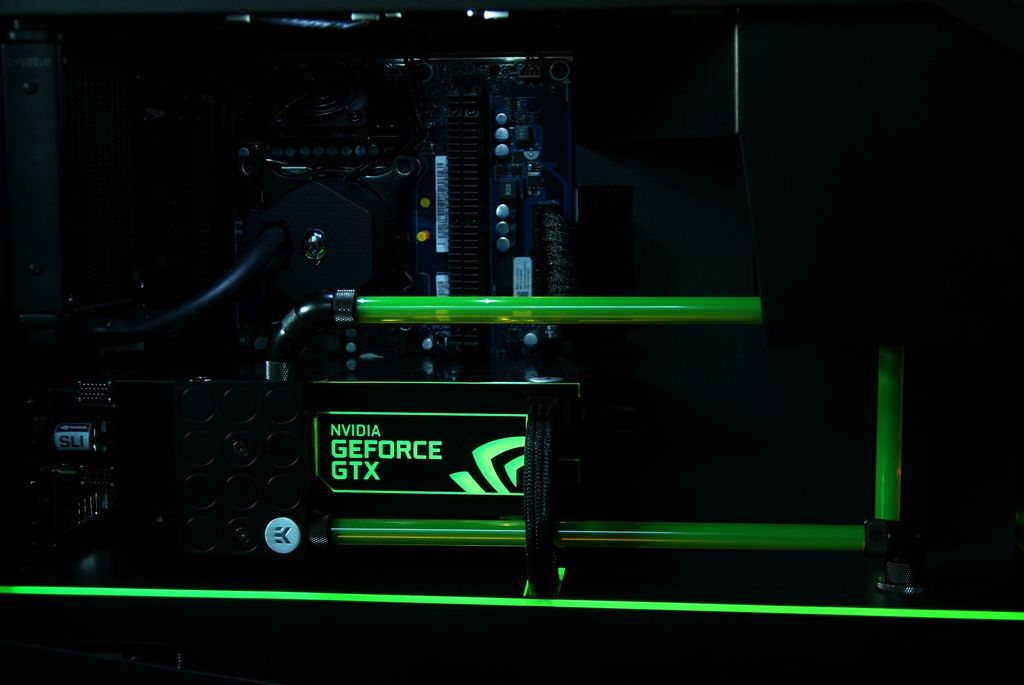
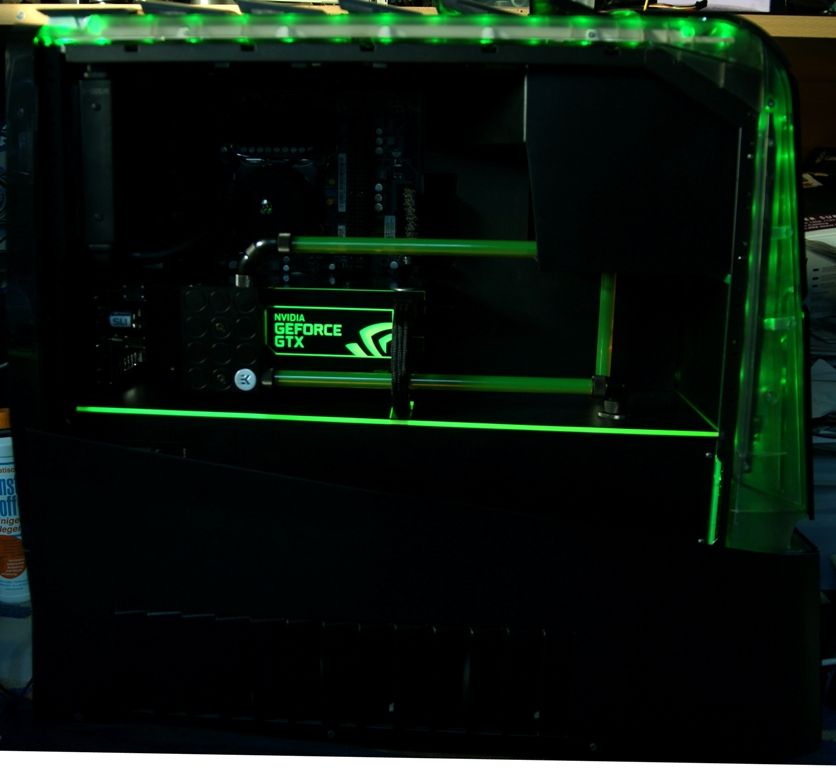
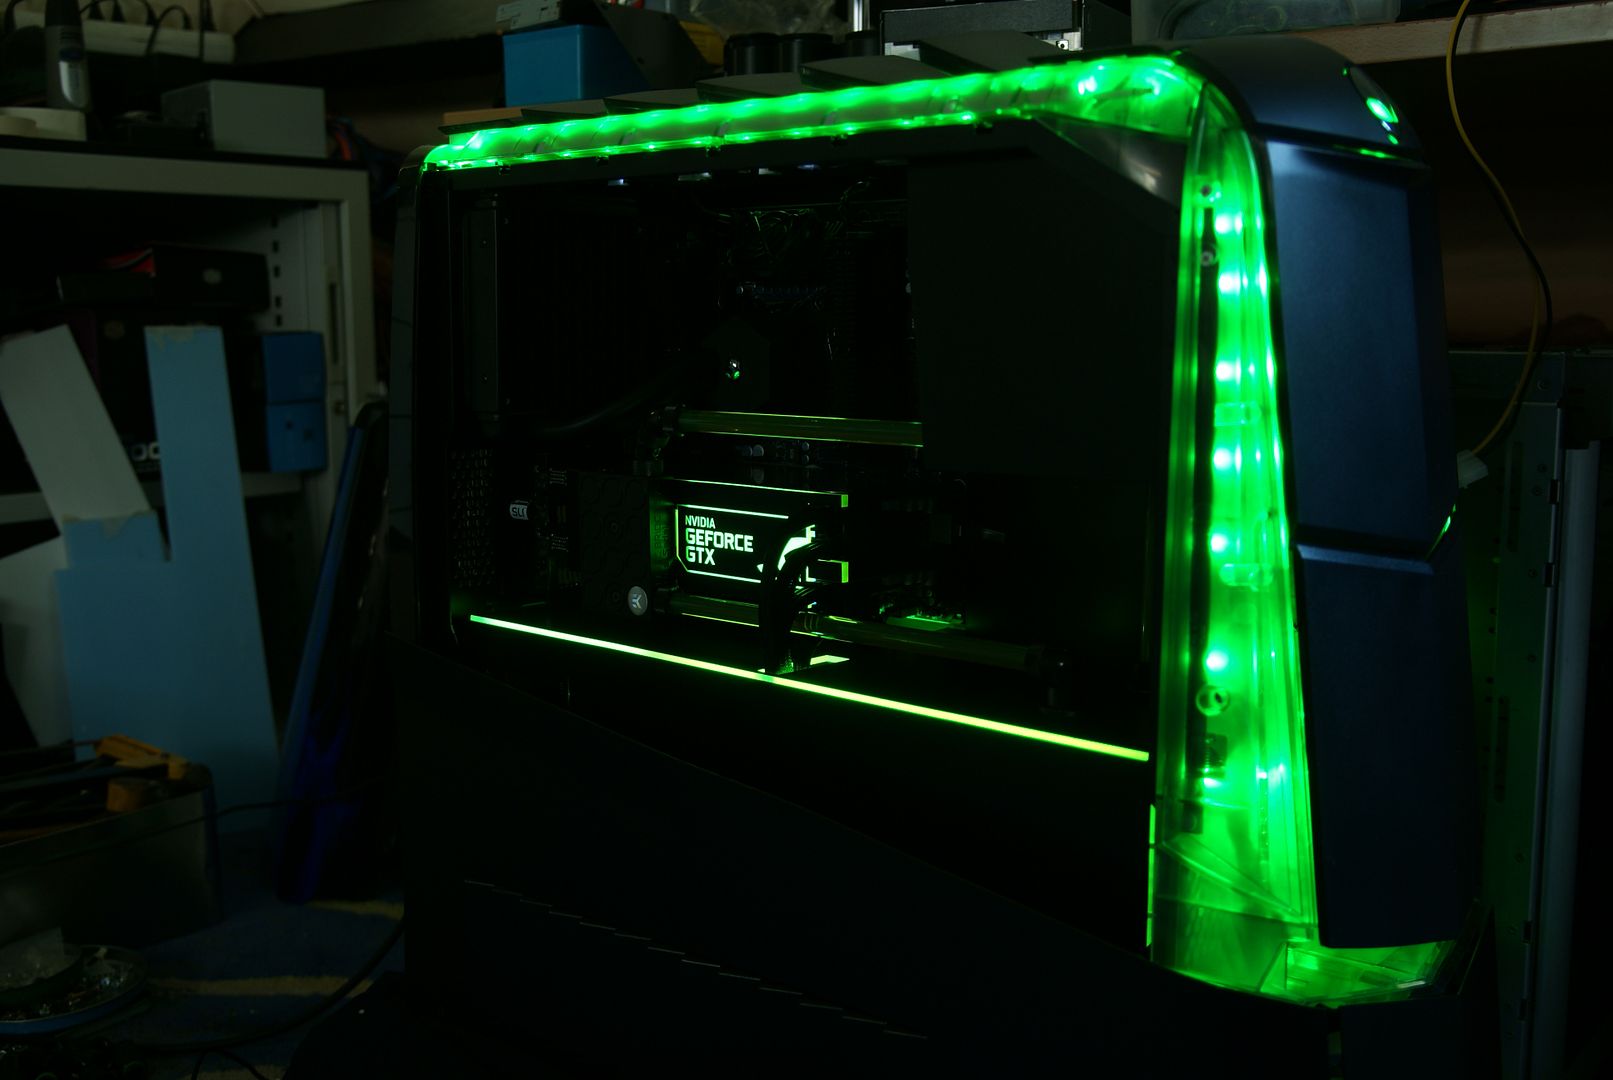
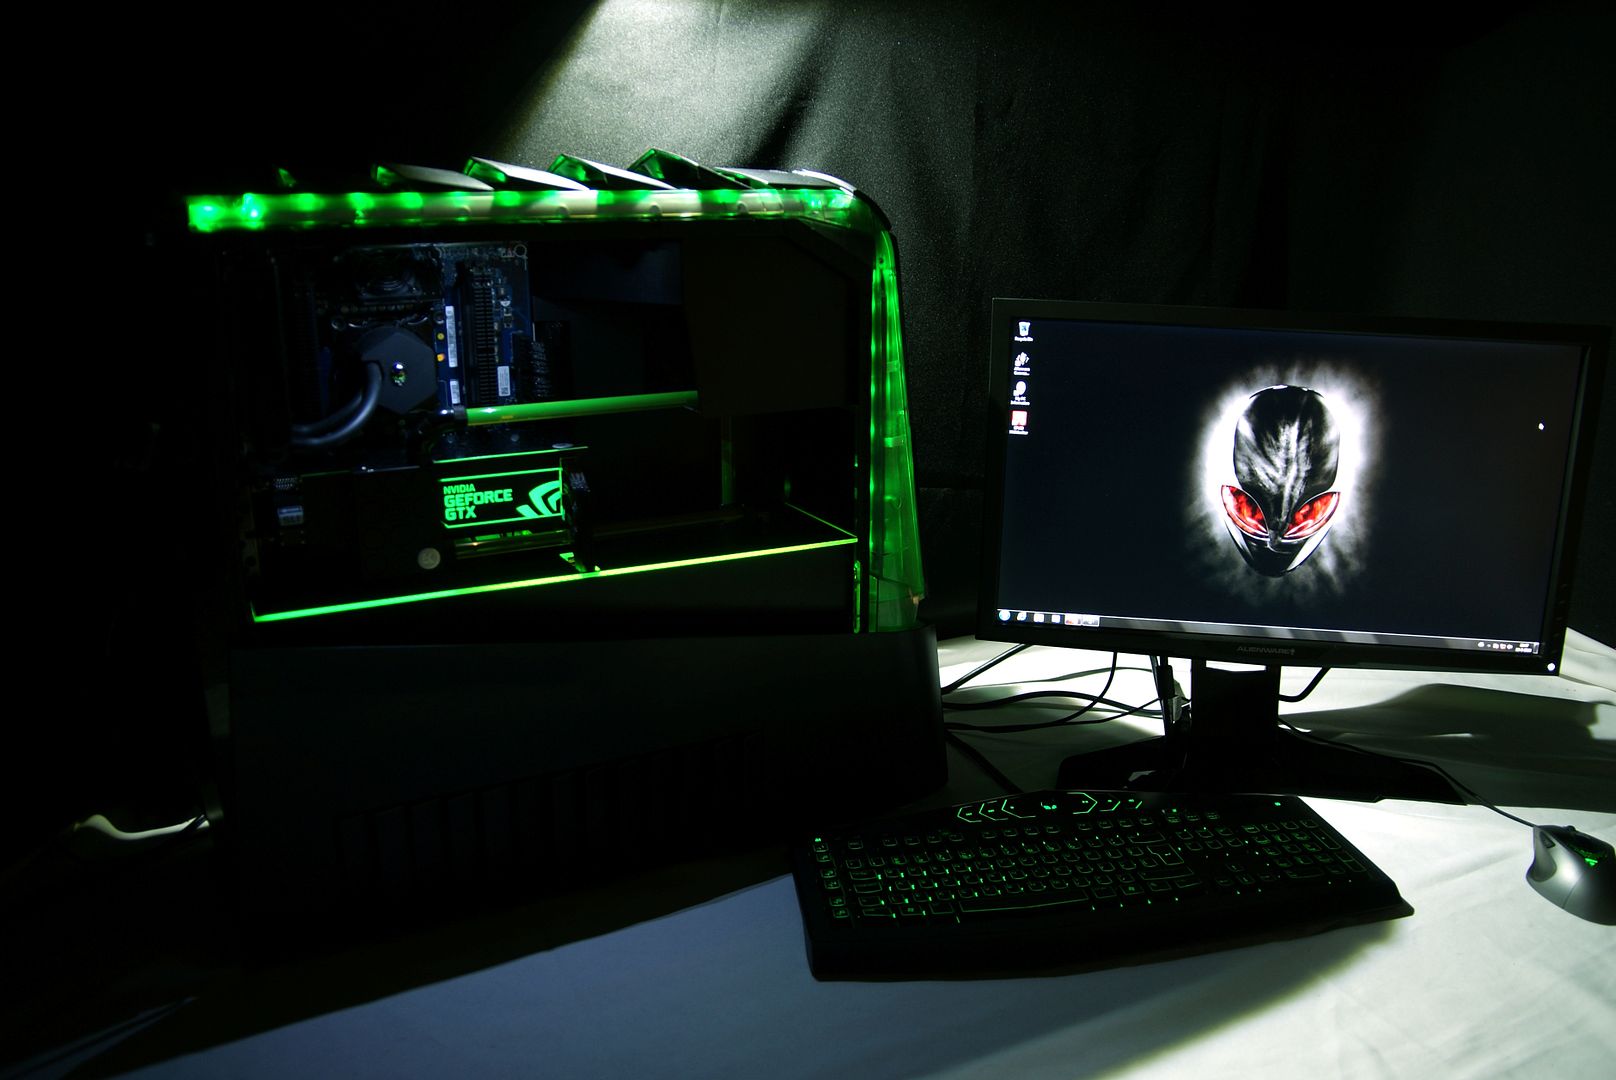
Final Update!!!

Hi fellow modders,

The final photoshoot. Hope you guys enjoyed it just as much I did building this casemod.

Special thanks goes to:

- Hendrik and Ian from Alienware
- Niko from EKWB
- Pascal and Lise from Nvidia
- All guys from Letterop

Janina, Pascal and all of you guys from the forums for the support.


Grtz. and see you at the next build again ;)
 
Back
Top