Project: aero.x
aka: inspiration culmination
For a while now I have been planning a new mod and recently got it started. I named this project aero.x as it will yet again be a air cooled machine. I started in photoshop making a quick logo.
The logo will be placed in multiple areas as appliques.
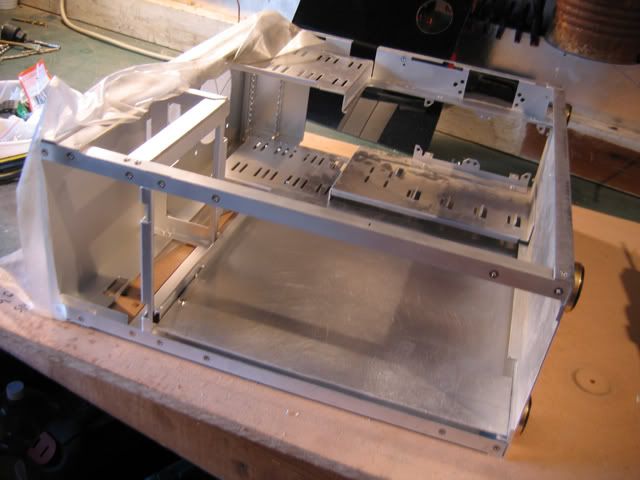
The basis of this mod is taking a shuttle system and placing it into a mid tower case. I chose the Coolermaster ATC-110B. I wanted the motherboard to be covered and to have the hard drive below it. The shuttles size makes this very easy.
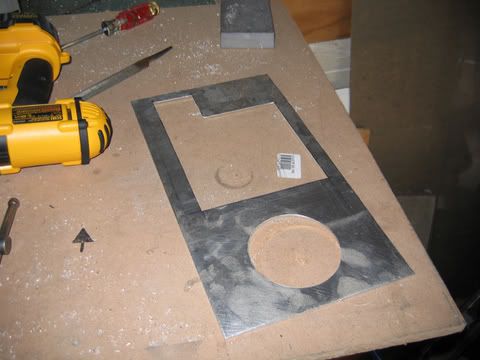
Here are the plans for the inside to understand where I am going.
Motherboard cover:

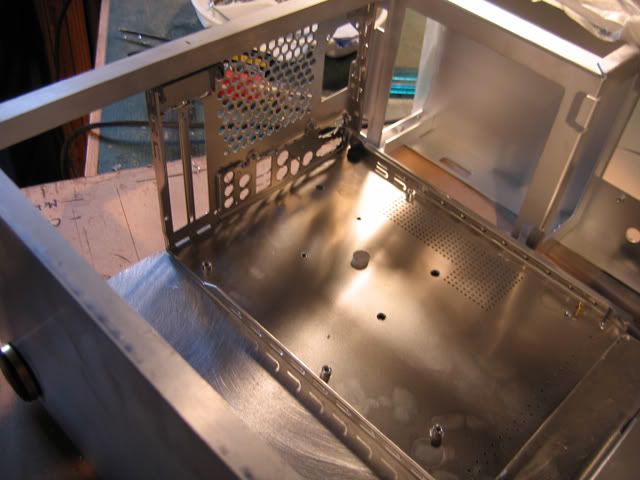
Full inside view:

The top of the inside will have a black acrylic cover with a second piece below it that is clear with blue leds lighting it.
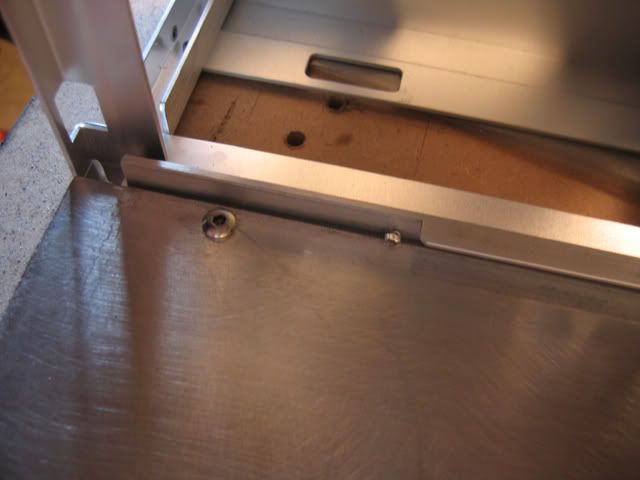
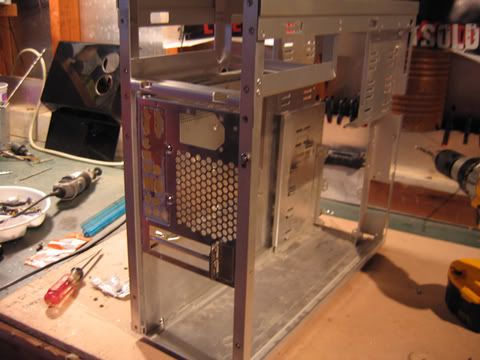
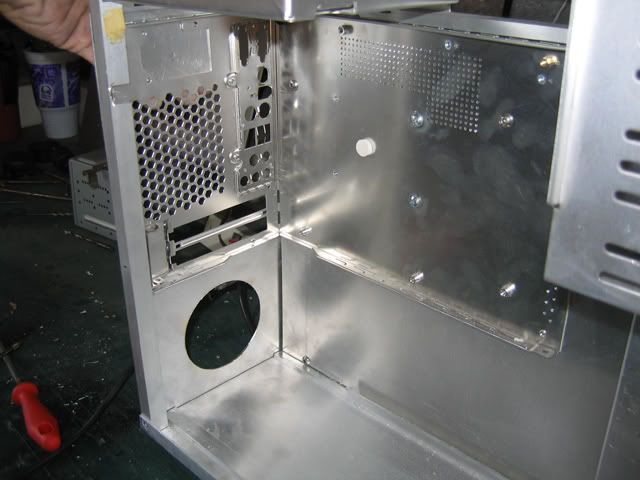
The first thing I did on the project was take the original case and cut out the areas I did not want. I cut out the hard drive bay area as I would not be using it. I only did the one side thus far. Ran out of cutting discs.


Then I bought some acrylic and metal from some local shops. While there I got this huge piece of perforated aluminum.

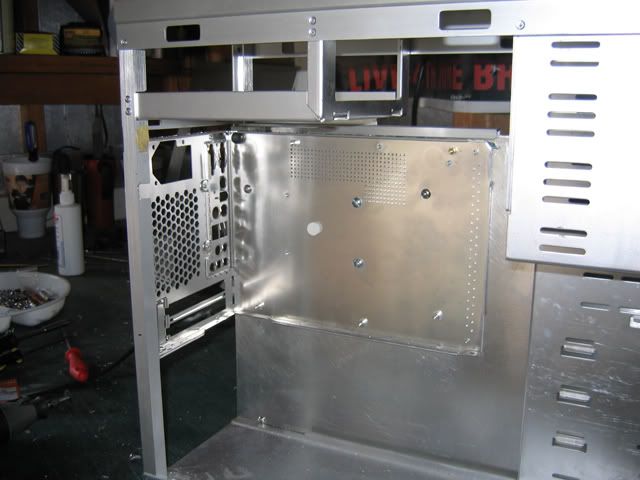
I used black acrylic for what would be the motherboard cover. I then heated and bent it into the shape I wanted

Next I drilled two holes for vents

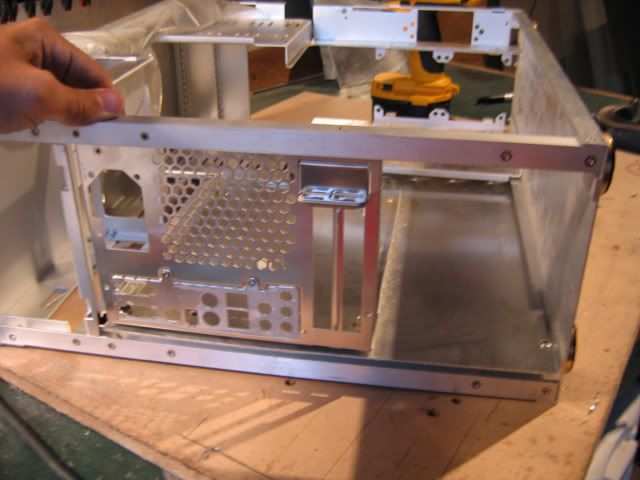
Holding it up to what will be behind it

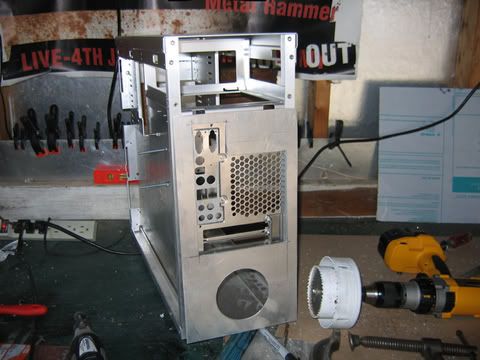
Next I need to cut out more vent areas and make the spot for the video card as it will protrude through it.
CONTINUED BELOW:


")